
This short article shows a number of intriguing advertisements from The Modern Tramway magazine in 1951.
There were only a few different UK companies in the early 1950s who took out advertisements in The Modern Tramway. These advertisements are of interest for the wider perspective on the industry that they provide. …
1. Crompton Parkinson
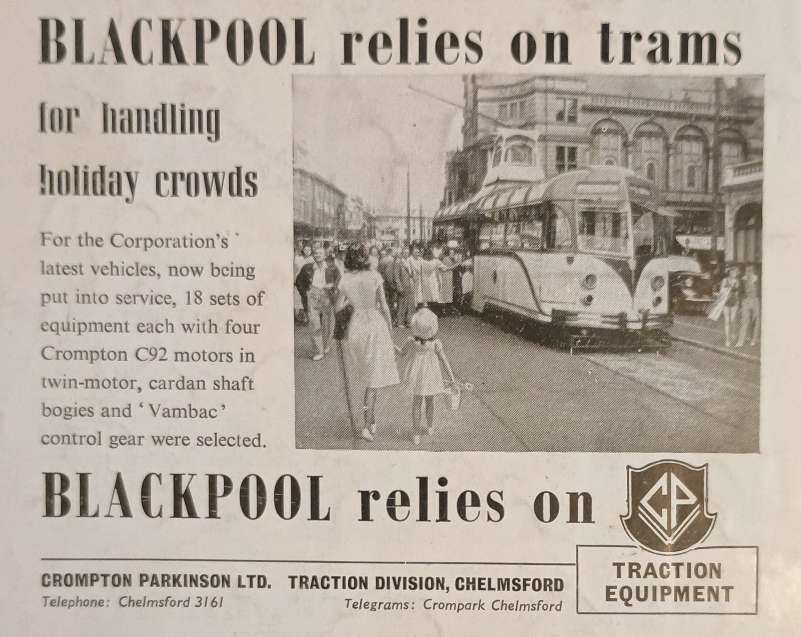
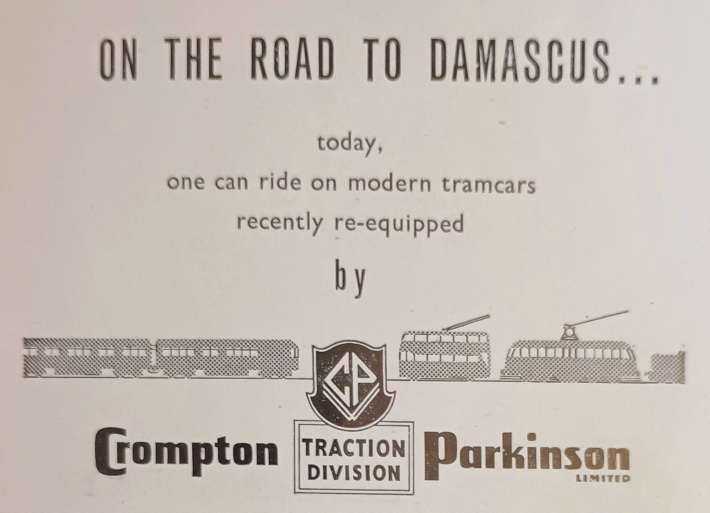
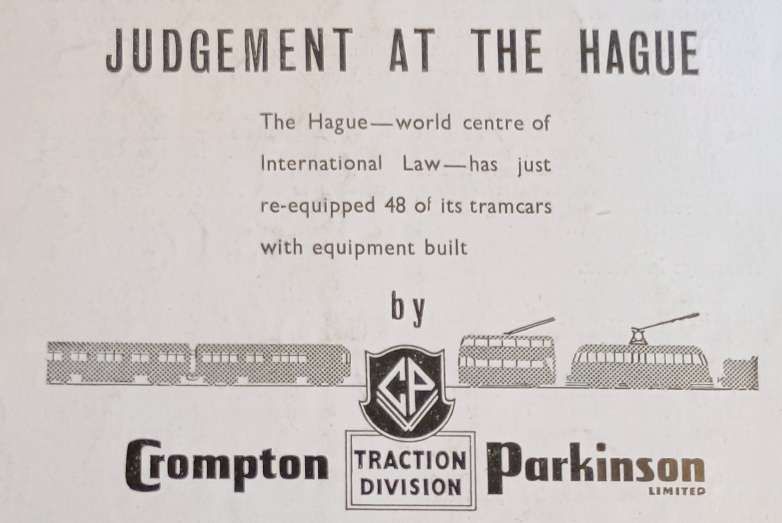
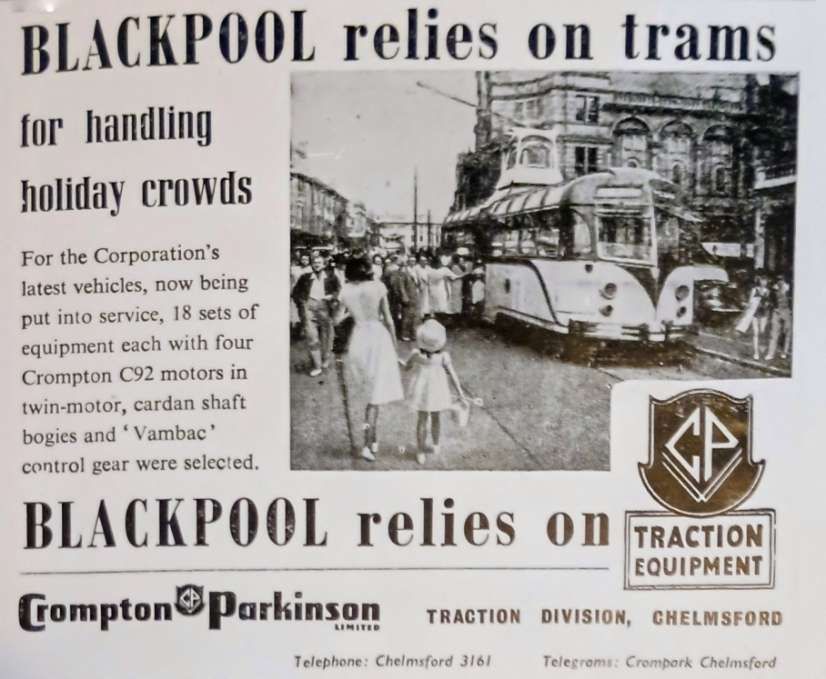
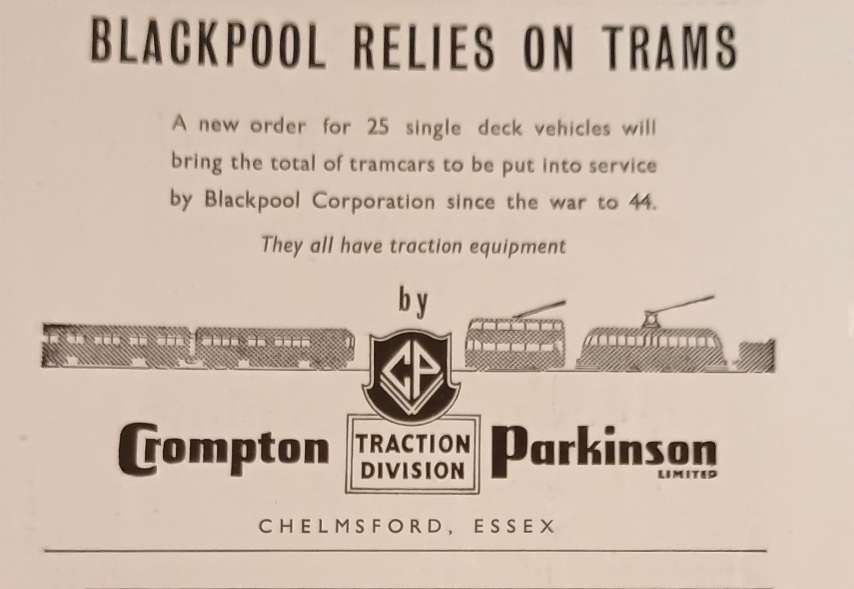
One of these advertisers was Crompton Parkinson (Chelmsford, Essex) whose Traction Division placed advertisements in most of the journals during the year. These usually included details of work done by the company for a UK tram network.
Crompton Parkinson Tramcar Equipment was also the subject of the first article in The Modern Tramway of May 1951. [5: p94-95]
The short article was entitled, ‘Crompton Parkinson Tramcar Equipment at the Festival South Bank Site’.
The Modern Tramway commented:
“Those who try to argue that the tramcar has ‘had its day’ should note that in the Transport Pavilion on the Festival South Bank site there is an exhibit of traction equipment for the modern tramcar selected as representing a notable achievement of British engineering. This equipment, supplied by Crompton Parkinson Ltd. is a new development that, in conjunction with car bodies now being built, provides for tramcars with standards of performance and passenger comfort unsurpassed by any, and superior to most, other passenger transport vehicles.
“The equipment (Exhibit No. 1240) is arranged as a working demonstration that can be operated by any visitor.” [5: p94
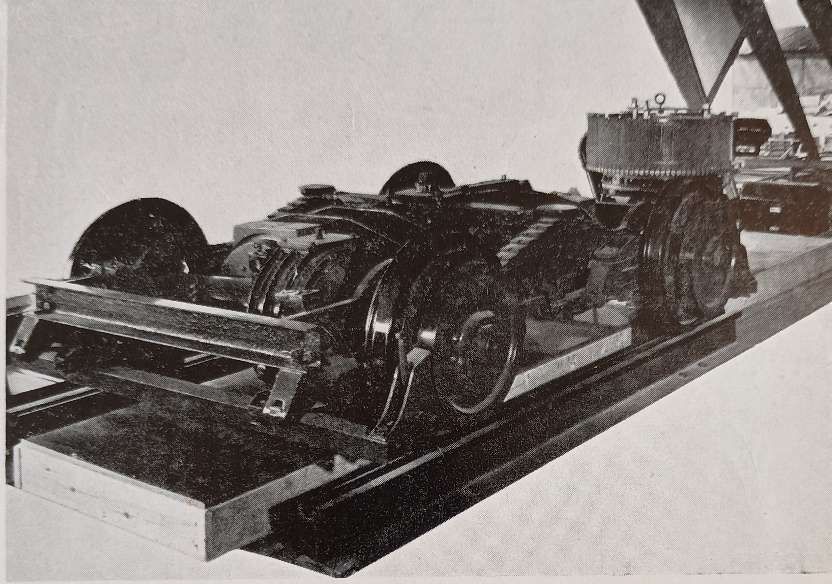
“The equipment consists of a bogie fitted with two traction motors; a ‘Vambac’ accelerator unit and a driving control panel. Motors and control gear are wired-up and connected to a D.C. supply, and the bogie raised slightly so that visitors can observe the acceleration or retardation of the wheels in response to movements of the single driving control lever.
“The D.C. power supply is obtained from a metal rectifier unit of the type normally used for operating C.P. stud welding equipment.
“The ‘Vambac’ system of control has been developed to obtain really smooth vehicle motion with high rates of acceleration and braking. The car is driven by a single lever which is pushed forward for acceleration and pulled back for electric braking. The rate of acceleration or braking is determined by how far the control lever is moved; but when it is left in a particular position this rate is then maintained automatically. Automatic safeguards prevent rates of acceleration that would overload the equipment. The only other control is a reversing switch.
“Both the smooth acceleration and braking result from the design of the accelerator unit which switches the resistance in steps small enough to prevent current peaks from one step to the next so that there is no tendency to jerky motion whether accelerating or braking. What is equivalent to more than 90 notching positions is obtained by resistor grids arranged in a circular bank. A contact arm, rotating within the bank to switch the resistor steps, is driven by a small motor under the control of automatic relays regulating its speed in accordance with the setting of the control lever and the load on the equipment.
“It is claimed that this system of control gives acceleration and braking at higher rates far smoother than are obtainable with any other road vehicles to-day.
“The bogie is fitted with two motors driving through propeller shafts and is designed to eliminate the pitching and rolling that often occurs with rail vehicles.
“The wheels are of the resilient type, developed by Crompton Parkinson Ltd., with a rubber sandwich arranged so that there is no metal connection between the tyres and the hub, the torque being transmitted by [the] rubber sandwich.
“The sandwich damps out vibration from the track, reduces the stresses imposed on the car and stops the transmission of noise to the interior. Several years’ operating experience has proved that [this] resilient type of wheel effectively reduces wear and tear on the equipment with a saving in maintenance charges.
“Tramcars equipped with ‘Vambac’ control equipment and bogies with resilient wheels are superior in passenger comfort and operating performance to any other British public transport vehicle.
‘For this equipment, Allen West Ltd. built the control gear and Maley & Taunton Ltd., the bogie, in co-operation with Crompton Parkinson Ltd. The equipment has been loaned for the duration of the Festival by Mr. W. Luff, transport manager, Blackpool Corporation, and it is one of … eighteen equipments now being supplied to the Corporation for their new single deck tramcars.” [5: p94-95]
Crompton Parkinson was a British electrical manufacturing company. It was formed in 1927 by the merger of Crompton & Co. with F. & A. Parkinson Ltd. The brand is now part of Brook Crompton. [9]
“Crompton & Co. was a lamp manufacturer founded by R. E. B. Crompton in 1878. The company was widely known for installing the first electric lighting in Windsor Castle, Holyrood Palace and other prominent buildings.” [10][11]
“F. & A. Parkinson Ltd. was a successful electric motor manufacturing company founded by two brothers, Albert and Frank Parkinson, who was a former student of (and later a major benefactor of) Leeds University. The university’s Parkinson Building, opened in 1951, is named in his honour.” [11]
“As well as making significant commercial contributions to the tramway industry, Crompton Parkinson made a wide range of electrical goods including electric motors, ceiling fans, electric generators, light bulbs, power cables and batteries. Some British Railways diesel locomotives (e.g. British Rail Classes 26, 33, 44 and 45) were outfitted with their electrical equipment. The company also produced an extensive range of electrical measuring instruments including voltmeters, ammeters and current transformers, and for a brief time at the beginning , made spark plugs.” [11]
2. Edgar Allen & Co. Limited
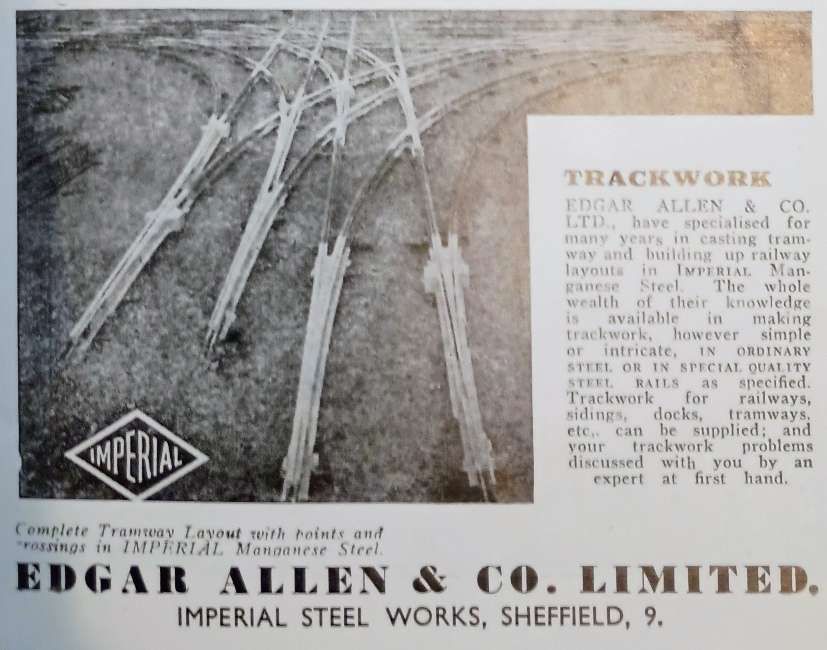
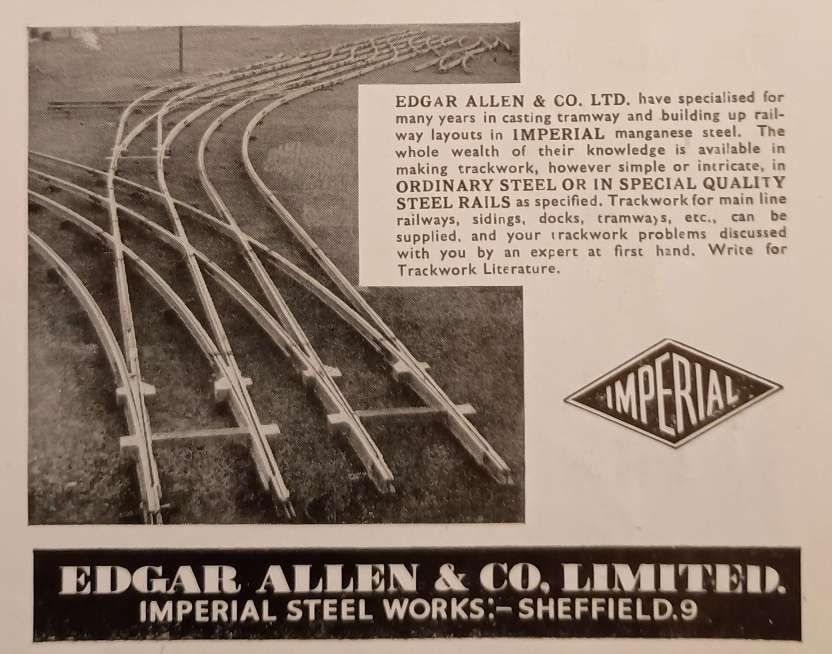
“Edgar Allen and Company was a steel maker and engineer, which from the late 19th century was based at Imperial Steel Works, Tinsley, Sheffield, South Yorkshire. The site was bounded by Sheffield Road, Vulcan Road and the Sheffield District Railway to which it was connected.” [12]
Their Imperial Works site eventually closed in 1989. After a number of proposals for the site failed to come to fruition, it now is used as an overflow car park for the Meadowhall Shopping Centre, used only at Christmas and the January sales period. [12]
3. Electro-Mechanical Brake Co. Ltd.
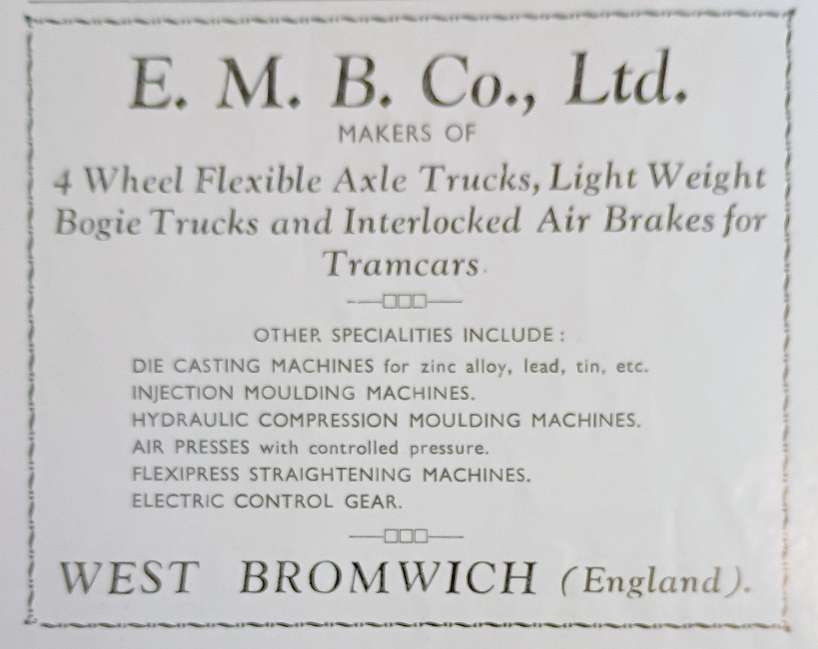
The Electro-Mechanical Brake Co. Ltd., was a West Bromwich engineering firm founded in 1908. The company is historically renowned for manufacturing electric tram and railway control gear, air brakes, and later die-casting and injection moulding machinery.
Much of its output served the tramway industry in the UK. As the tramway network declined, the company successfully diversified into heavy industrial equipment, manufacturing air presses, and die-casting and injection moulding machines.
It ceased operating in the late 20th century.
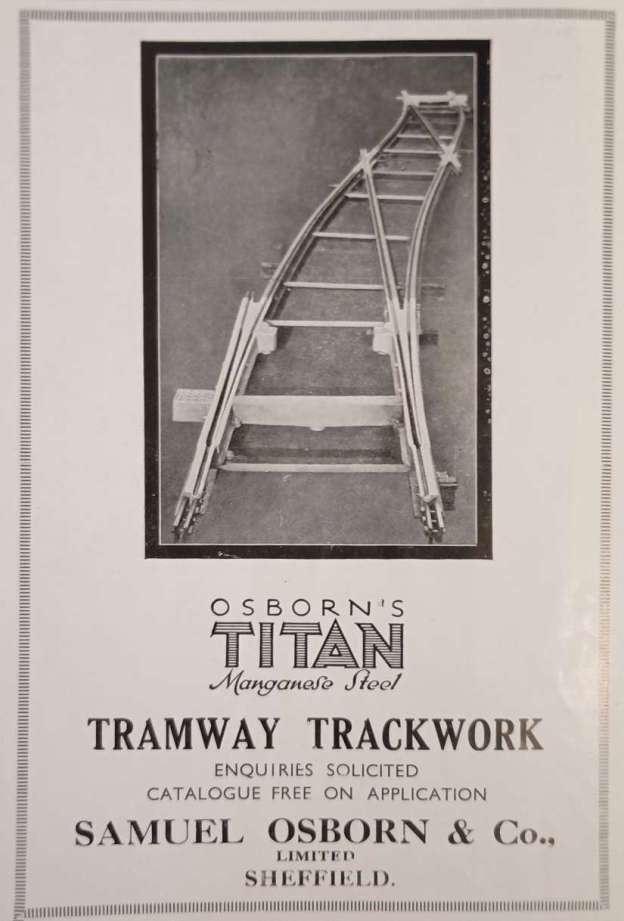
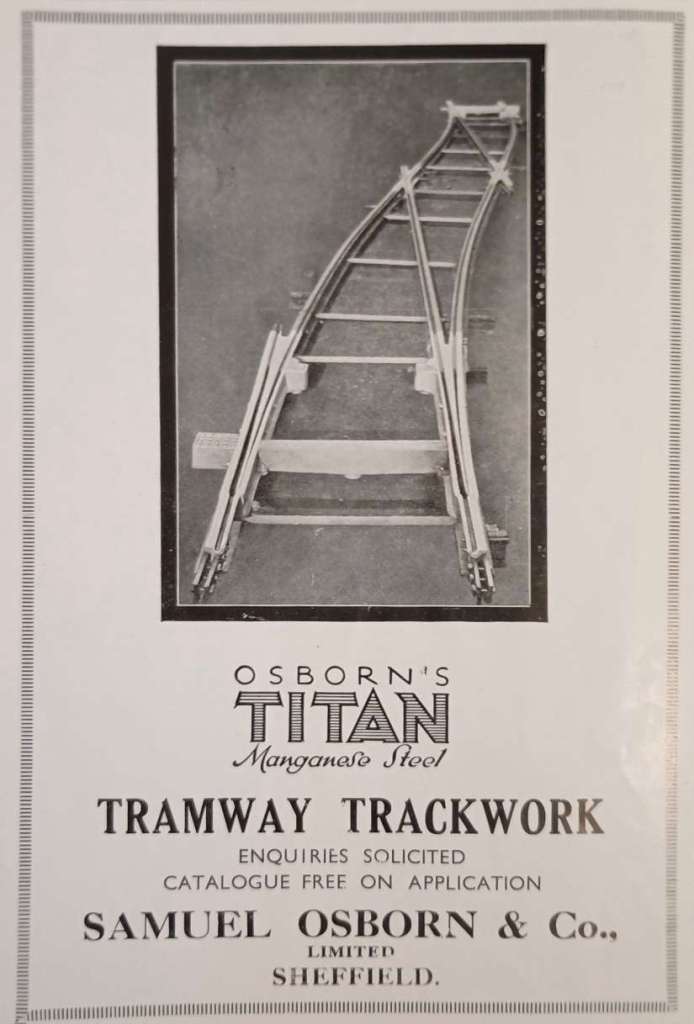
4. Samuel Osborn & Co. Ltd.
It seems as though insufficient trade was generated by the company’s advertising in The Modern Tramway because the July 1951 issue of the magazine carried this advertisement. …
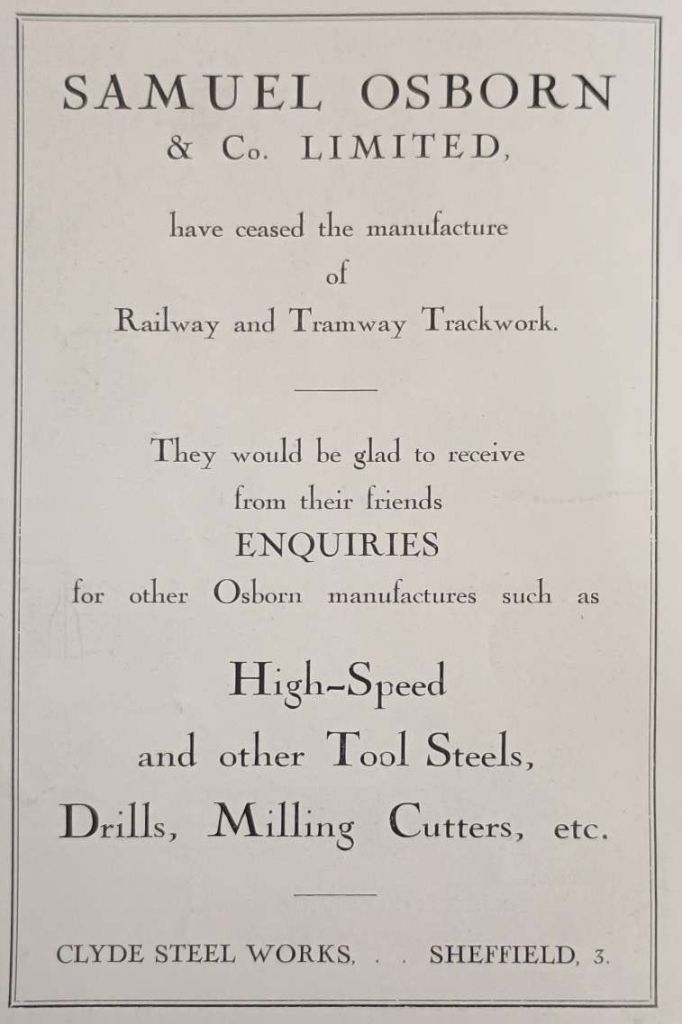
Samuel Osborn & Co. Ltd. was a steelmaker and engineering tool manufacturer situated in Sheffield.
“In 1870, Osborn met Robert Forester Mushet, an iron master working in the Forest of Dean where he was producing a new alloy steel, considered far superior to crucible steel. Osborn bought the sole rights to manufacture ‘R. Mushet’s Special Steel’ (R.M.S) and Mushet’s two sons, Henry and Edward, moved up to Sheffield to oversee its manufacture. Business was booming with orders created by the Franco-Prussian War and the development of the railways.” [13]
“The bubble, however, burst and in 1874 Osborn was forced to file for liquidation. ” [13]
However, “with industrial development, a new market for Mushet’s Self Hardening Steel was found in America and the company opened a London Office. Taking on new partners and making connections in continental Europe he paid off all his creditors within ten years, the company being registered as the second largest private enterprise in the Sheffield & District Steel & Allied Trades Association. Expanding again, in 1885 he bought and expanded the Rutland Works, in the Neepsed area of the city.” [13]
After Samuel Osborn died in 1891, the company sought other markets for its products in the UK and abroad. It was a significant supplier of steel rails for tramway trackwork.
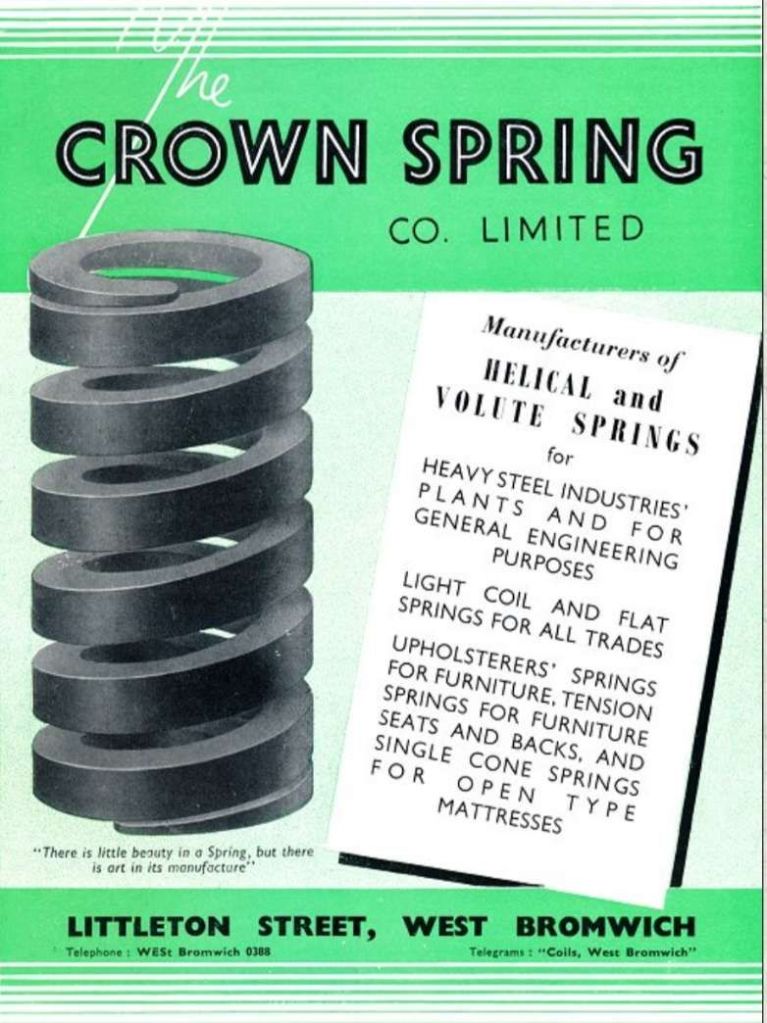
5. The Crown Spring Co. Ltd.
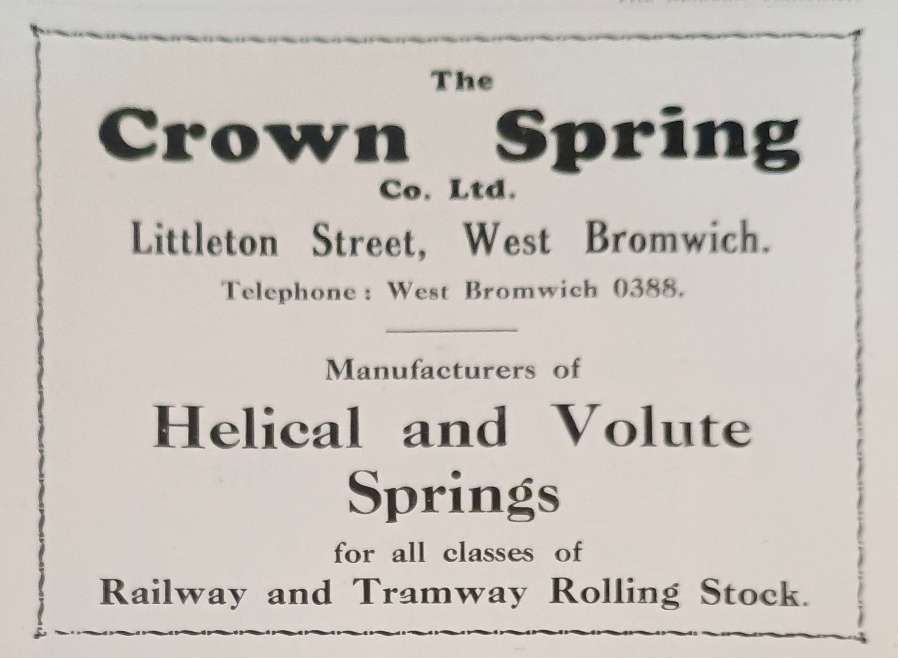
There were once more than 30 spring manufacturers in West Bromwich, selling products that were well known throughout much of the world. The demand for springs rapidly increased with the development of the motorcar, aeronautics, wireless, electricity and engineering. [14]
The Crown Spring Company Limited, was associated with the production of helical and volute springs for heavy industries, rolling mills, pipe supports and valves etc. Other products included valve springs to fine loading limits, diesel engine valve springs from specially prepared materials, upholsterers’ springs for furniture and tension springs for the mattress trade. [14]
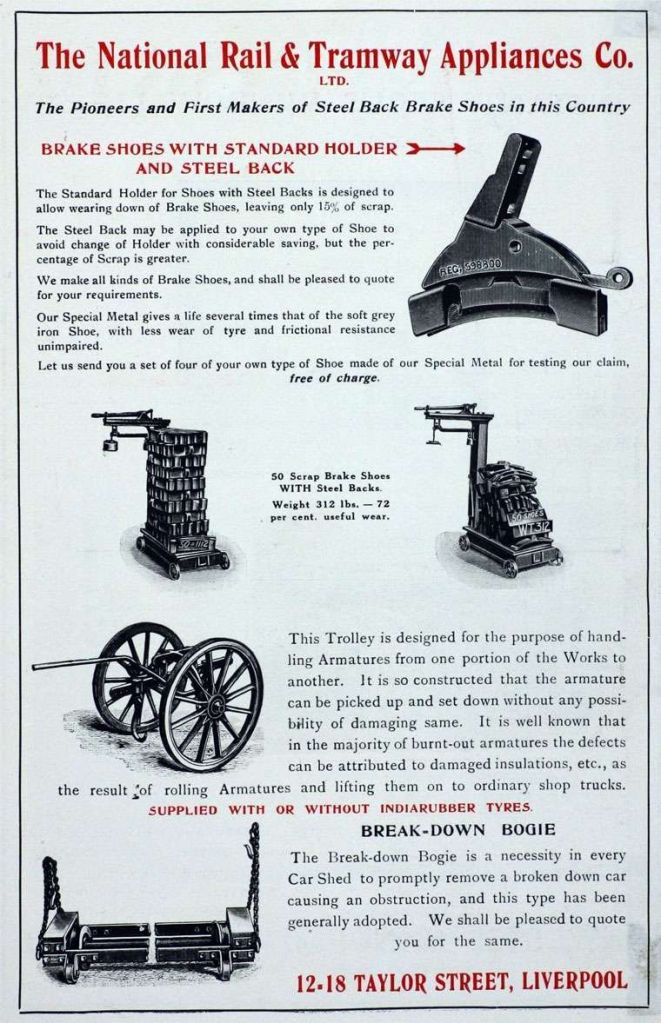
6. The National Rail & Tramway Appliances Co. Ltd.
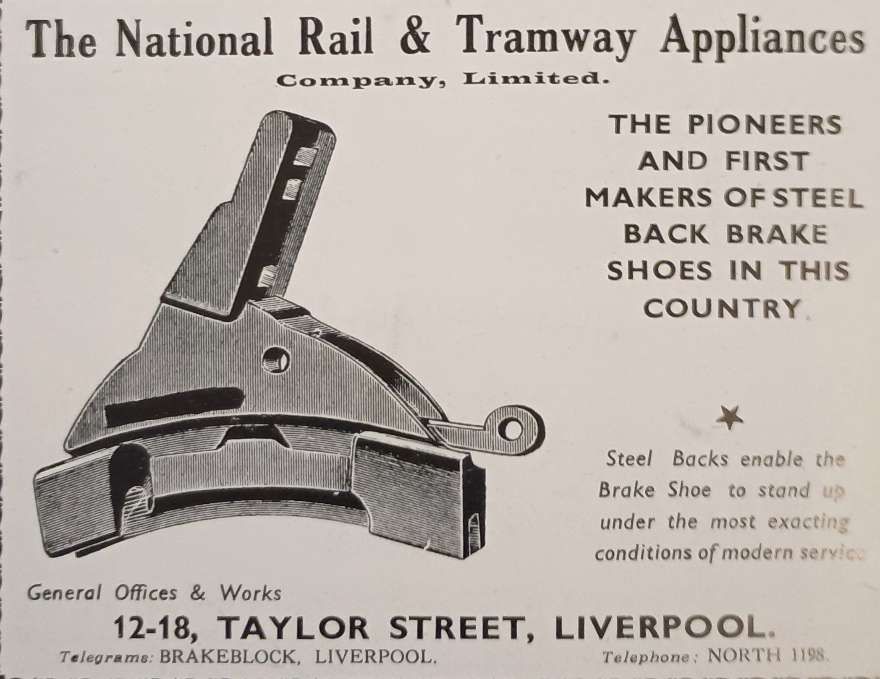
The National Rail & Tramway Appliances Co. Ltd. was a British engineering firm founded in 1902 and historically based at 12–18 Taylor Street, Liverpool. It specialized in manufacturing brake blocks and ancillary components for the railway and tramway industries. They supplied essential mechanical items, track brakes and various truck components, which were vital for the safe operation of street tramways and early light railways across the UK.
A couple of earlier adverts for their products are shown below. … [15]

The Company is, however, more generally remembered today because of a landmark 1966 English tort law case, ‘O’Reilly v National Rail and Tramway Appliances Co. Ltd.’ The case remains a key fixture in UK law curricula regarding employers’ liability and negligence.[16]
The lawsuit involved an employee injured by a co-worker’s practical joke. It is widely cited in UK law courses regarding an employer’s threefold common-law duty of care: providing competent staff, safe equipment, and a proper system of work.In this specific ruling, the court found the employer not liable for the employee’s injuries. The judge established that the company was not in breach of its duty of care, as the employer had no prior knowledge or warning of the offending employee’s tendency to play practical jokes. [16]
References
- The Modern Tramway, Volume 14, No. 157, January 1951.
- The Modern Tramway, Volume 14, No. 158, February 1951.
- The Modern Tramway, Volume 14, No. 159, March 1951.
- The Modern Tramway, Volume 14, No. 160, April 1951.
- The Modern Tramway, Volume 14, No. 161, May 1951.
- The Modern Tramway, Volume 14, No. 162, June 1951.
- The Modern Tramway, Volume 14, No. 163, July 1951.
- The Modern Tramway, Volume 14, No. 168, December 1951.
- https://www.brookcrompton.com/about-us, accessed on 19th May 2026.
- David Cousins; Supplement to the Histelect News Col. R E B Crompton (PDF); in Western Power Electricity Historical Society. December 2020, p.3, via: https://wpehs.org.uk/wp-content/uploads/2020/12/Sup076ColREBCrompton.pdf, accessed on 19th May 2026.
- https://en.wikipedia.org/wiki/Crompton_Parkinson, accessed on 19th May 2026.
- https://en.wikipedia.org/wiki/Edgar_Allen_and_Company, accessed on 19th May 2026.
- https://en.wikipedia.org/wiki/Samuel_Osborn_%26_Company, accessed on 19th May 2026.
- http://www.historywebsite.co.uk/articles/westbromwich/springs/springs.htm, accessed on 19th May 2026.
- https://www.gracesguide.co.uk/National_Rail_and_Tramway_Appliances_Co, accessed on 19th May 2026.
- https://swarb.co.uk/oreilly-v-national-rail-and-tramway-appliances-1966, accessed on 19th May 2026.


#/media/File%3AT_Lightrail_an_der_Station_Square_03.jpg)
?wprov=rarw1#/media/File%3ARed_Line_Car%2C_Beechview%2C_2015-09-10%2C_02.jpg)
?wprov=rarw1#/media/File%3ASilver_Line_(cropped).jpg)
.jpg)
#/media/File%3ATramway-electrique-Clermont-Ferrand-cp.jpg)
#/media/File%3AELD_3497_-_CLERMONT-FD_-_Place_de_Jaude_-_Vue_prise_de_l'Hotel_de_la_Poste_(D%C3%A9tail).JPG)