
This is the fifth article about the Railways of Tanzania, and there will be more to come.
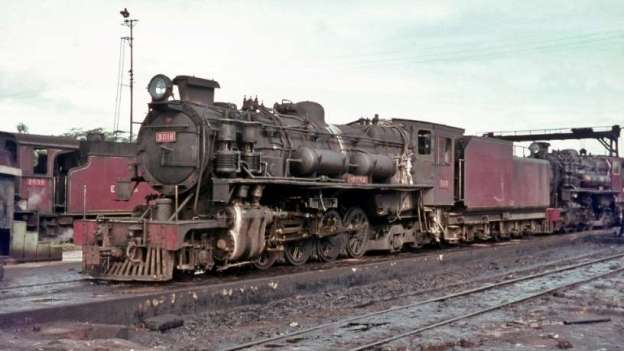
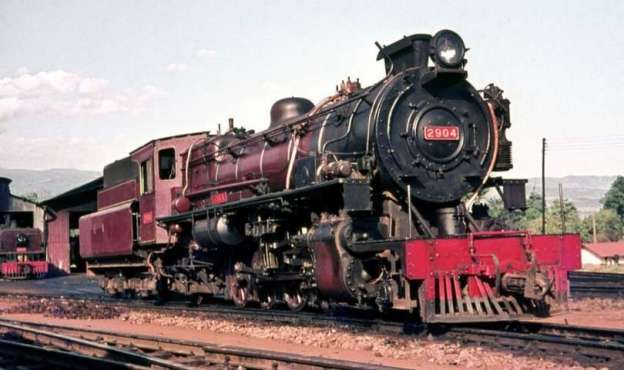
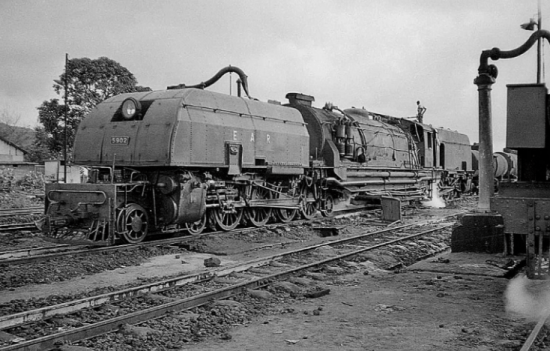
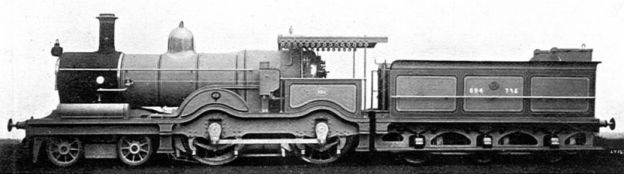
The featured image for this article is an EAR Class 30 locomotive No. 3019 ‘Nyamwezi’ at Tabora depot. This Class and Class 29 locomotives were active on the railway network at the time the line between Mnyusi and Ruvu was opened. It is likely that the two classes of locomotives would have operated between Mnyusi and Ruvu before deisel-electric locomotives took over freight duties, © Basil Roberts and licenced for reuse under a Creative Commons licence, (CC BY-SA 4.0). [55]
The first length of the rail route from Tanga to Dar-es-Salaam is the length of what was the Usambarabahn (the Tanga Railway) from Tanga to Moshi and on to Arusha.
That length of the route was covered fully in Part 2 of this series of articles. [1] Highlights from the first part of that article are included here for the sake of completeness.
A significant source of information about Tanzania’s Railways is M. F. Hill’s book Permanent Way Volume II: The Story of the Tanganyika Railways. [2] This book is only available second-hand or possibly from libraries. It was written before the construction of the link line between Tanga and Dar-es-Salaam. In the context of this article it is useful as background material.
UnitedRepublicofTanzania.com has a page dedicated to this link line which it refers to as the ‘Ruvu Link Line’. It says: “The Ruvu Link Line serves as a vital junction, linking the Central Line, which runs from Dar es Salaam to Mwanza, and the Tanga Line, which connects the port city of Tanga to [Moshi and Arusha]. This strategic positioning allows for the efficient distribution of goods and resources throughout the country, enhancing Tanzania’s overall economic competitiveness.” [23]
“In recent years, the Tanzanian government has made significant investments in the Ruvu Link Line, with the aim of modernizing and expanding the infrastructure. This includes the ongoing rehabilitation of the existing track, the construction of new stations and maintenance facilities, and the introduction of more efficient locomotives and rolling stock.” [23]
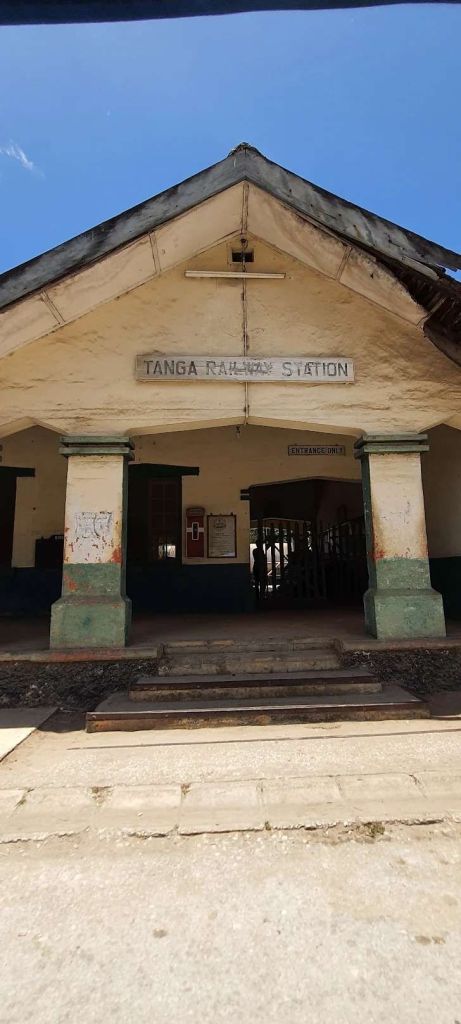
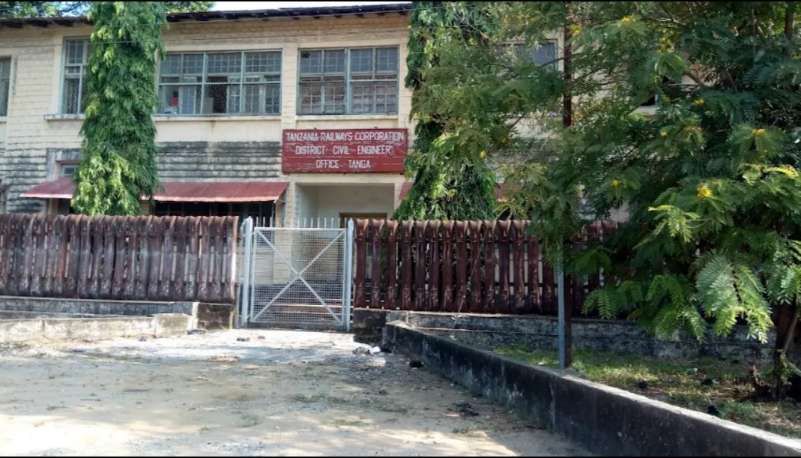
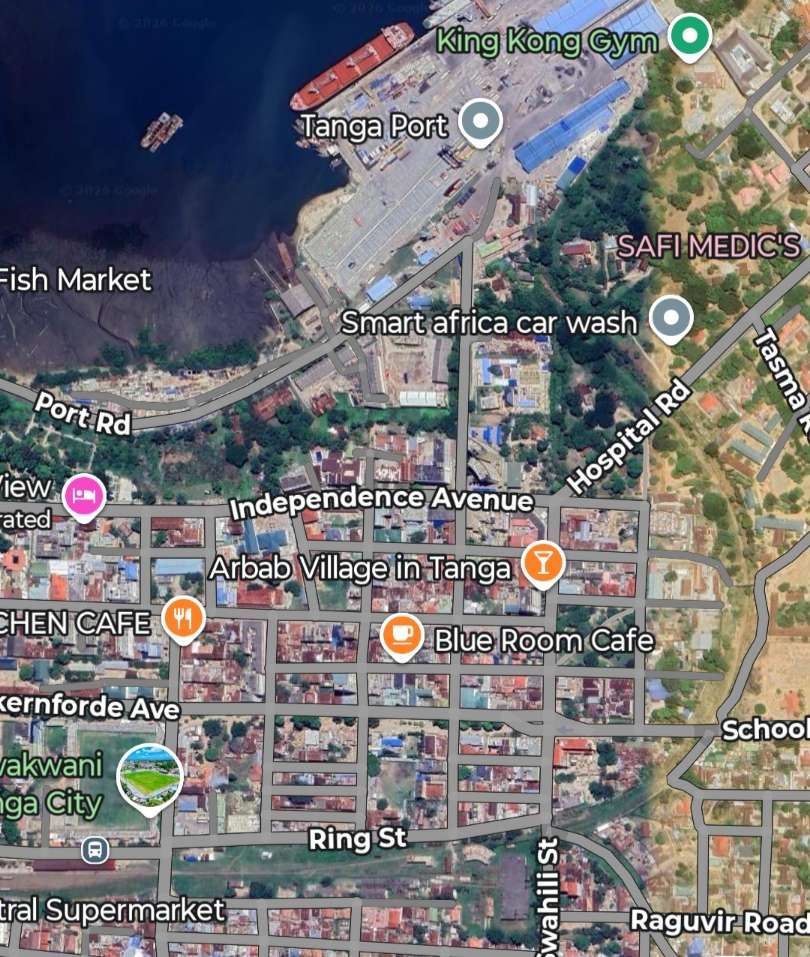
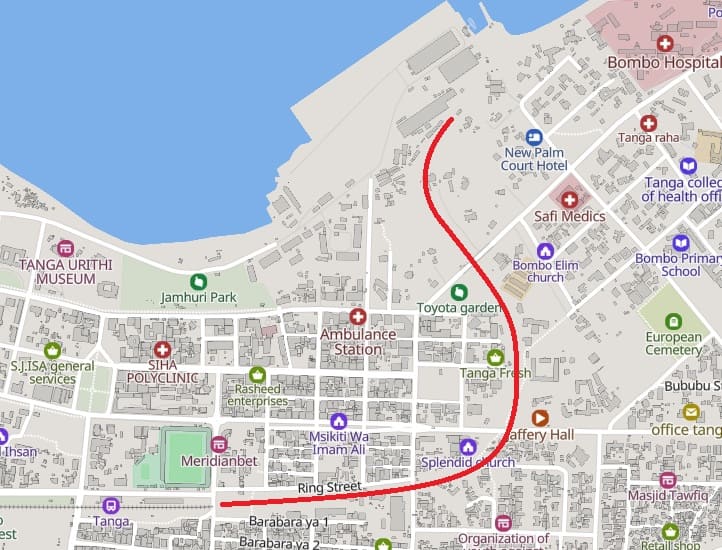
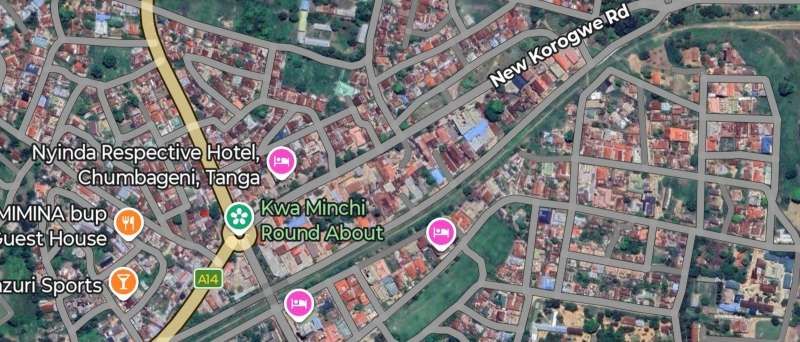
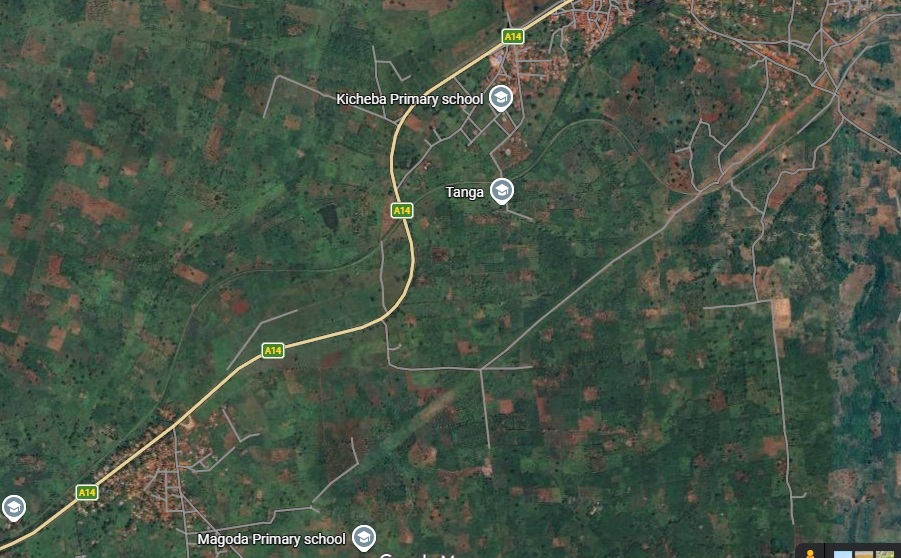
The journey from Tanga to Dar-es-Salaam begins at Tanga Railway Station on Ring Street, Tanga.
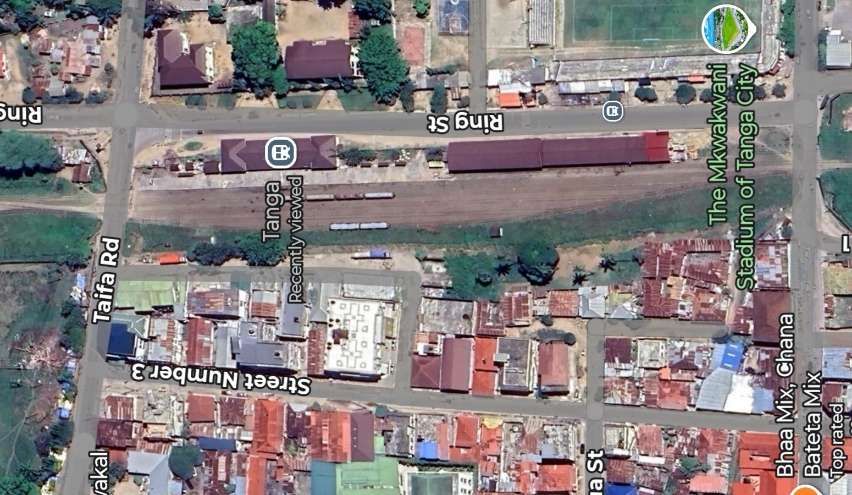

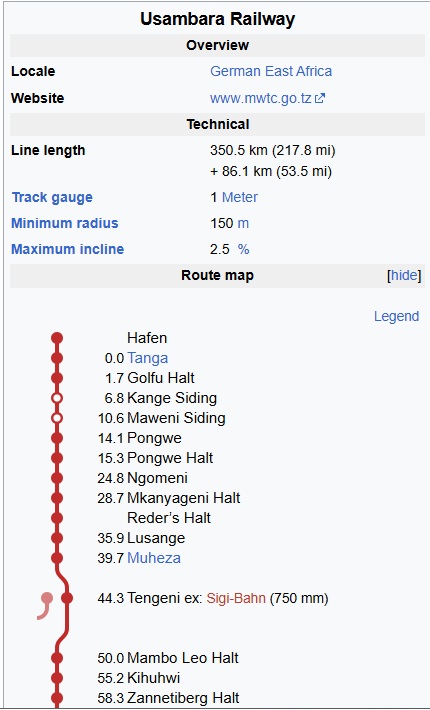
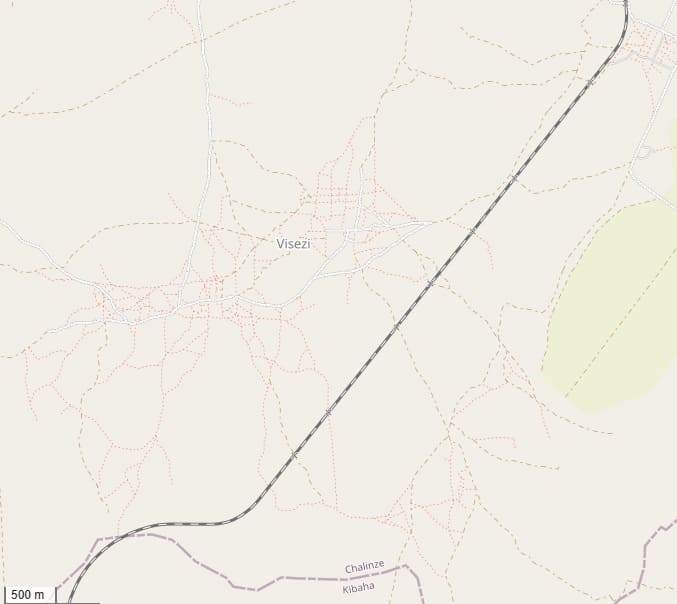
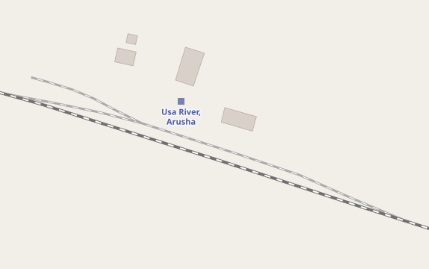
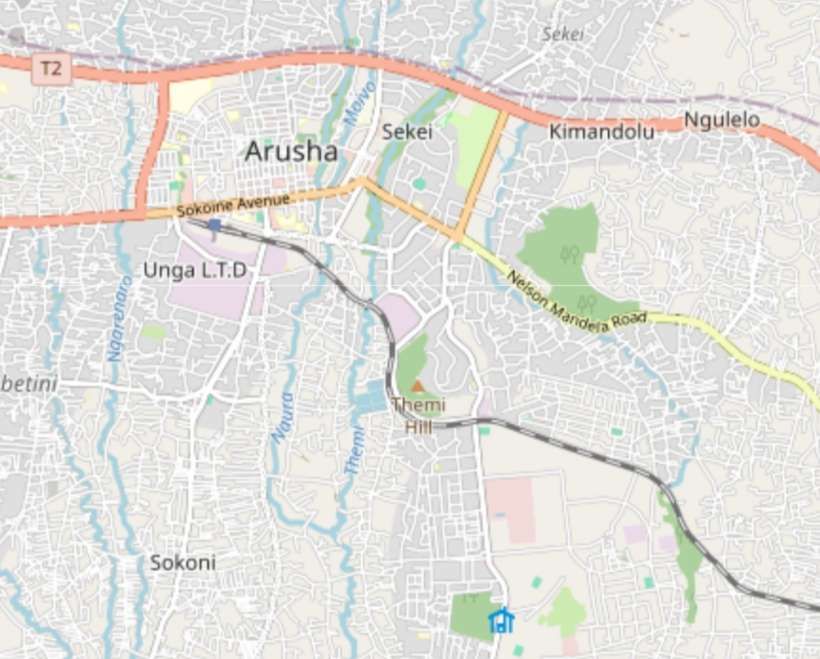
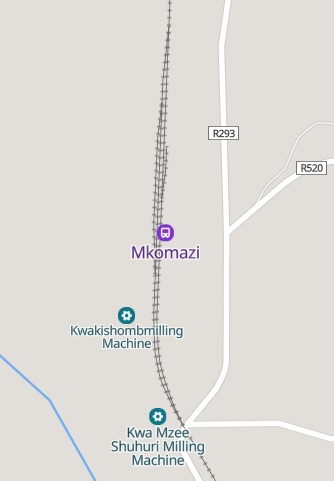
The significant locations along the first stretch of the Tanga Railway (or the Usambarabahn or Usambara Railway) are highlighted on the adjacent schematic map of the line. [6]
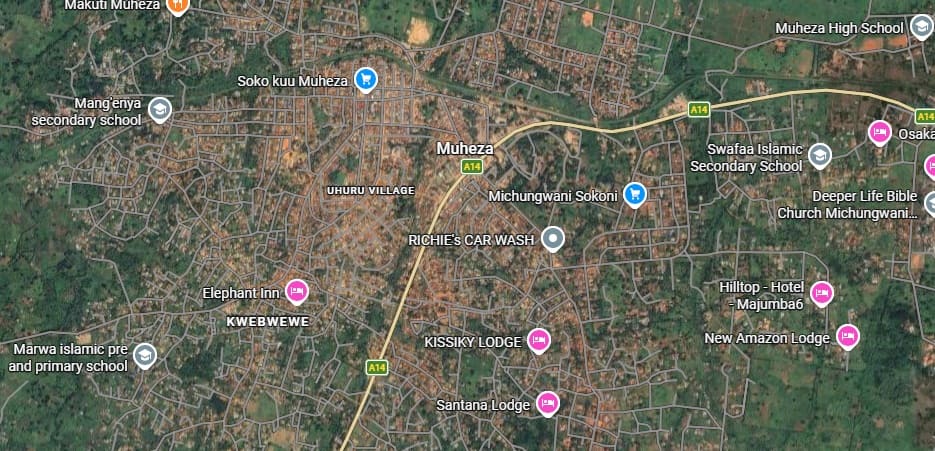
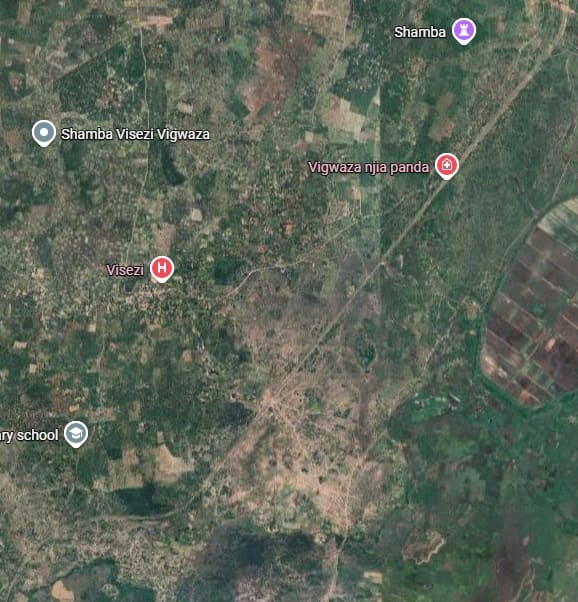
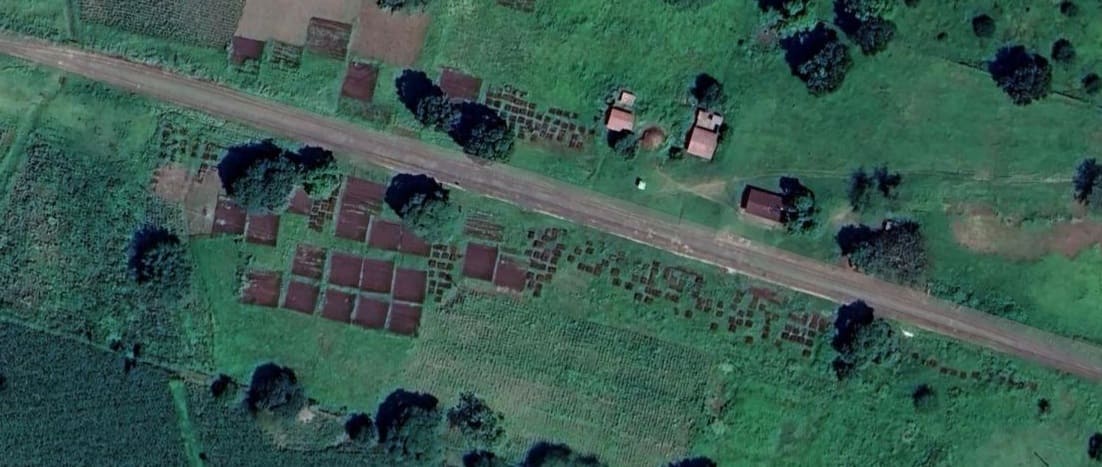
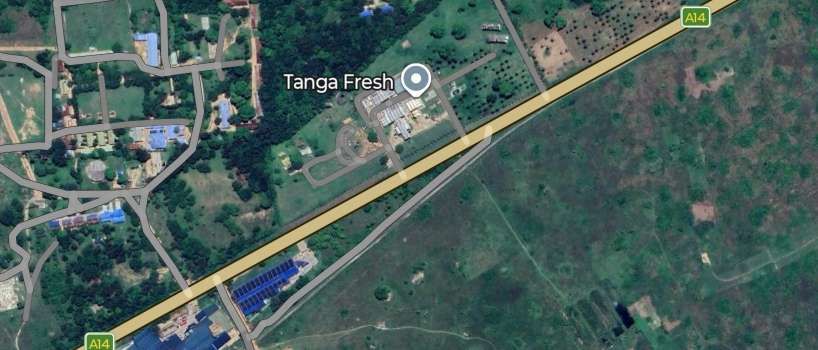
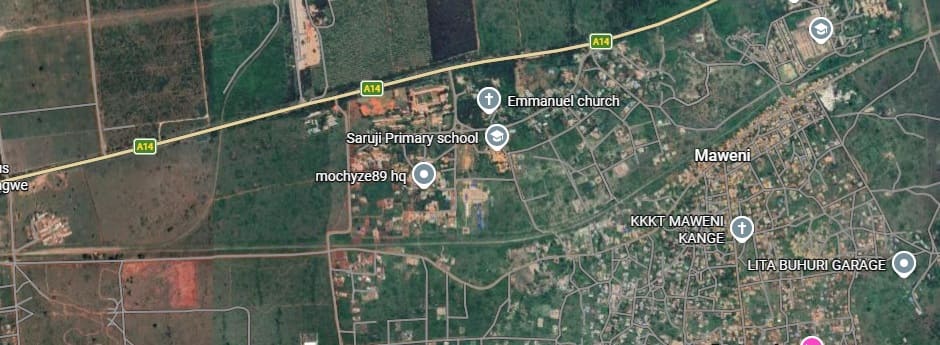
The first location that we can easily establish on the satellite images below is the village/town of Maweni, nearly 11 kilometres from Tanga Railway Station.
Pongwe is only a few kilometres along the line. Again no obvious location can be seen on satellite images for any halt/station. Mkanyageni Halt (Reder’s Halt) is also not obvious on the satellite imagery.
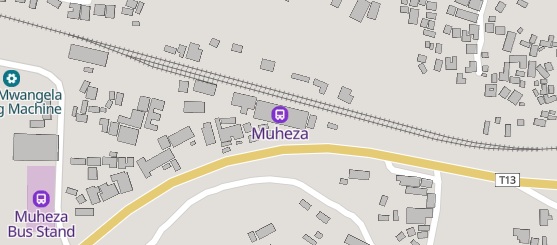
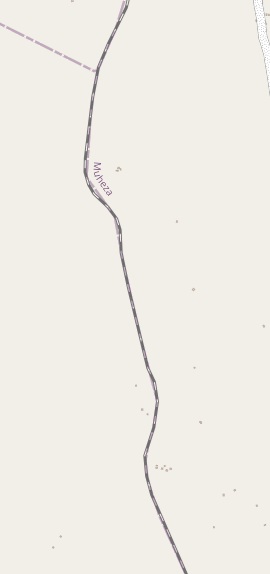
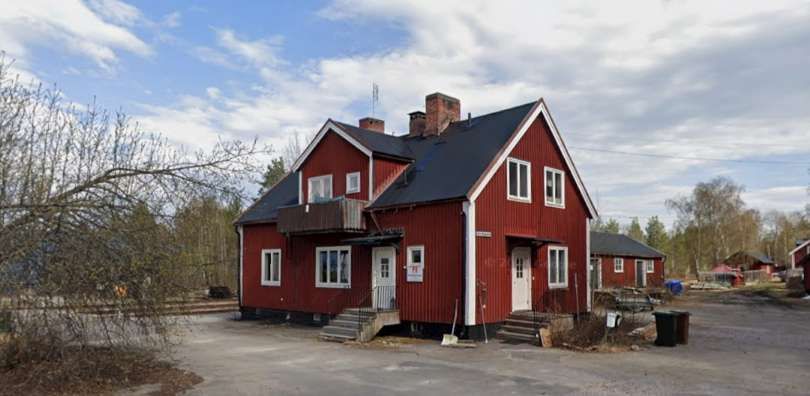
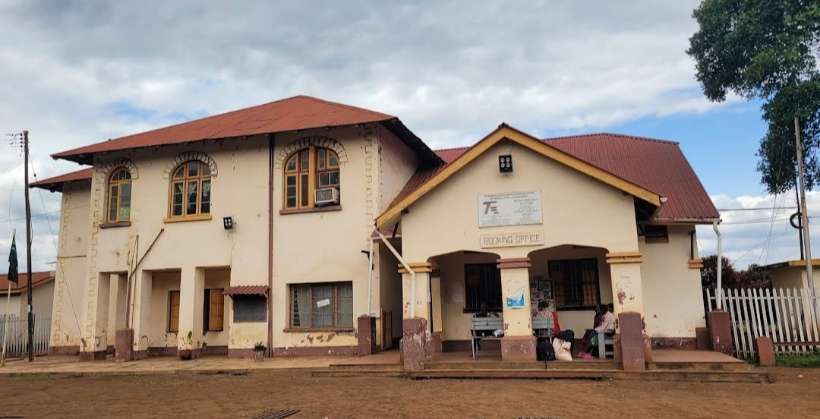
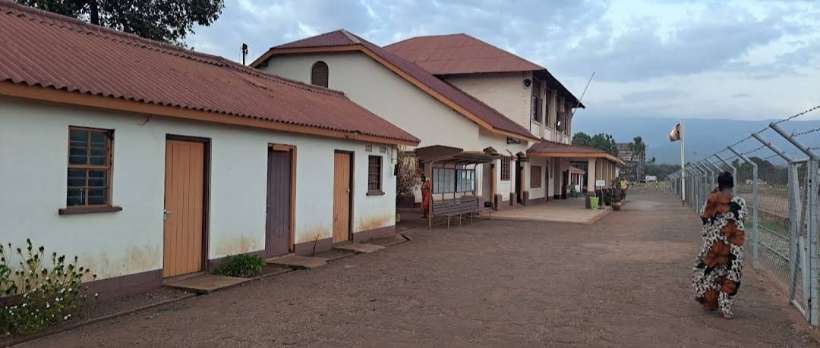
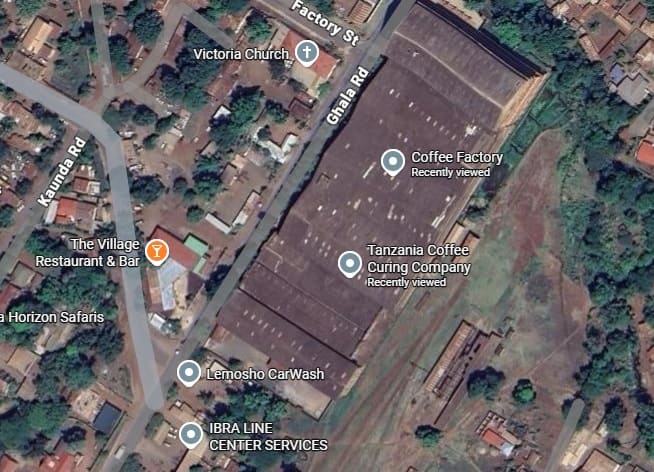
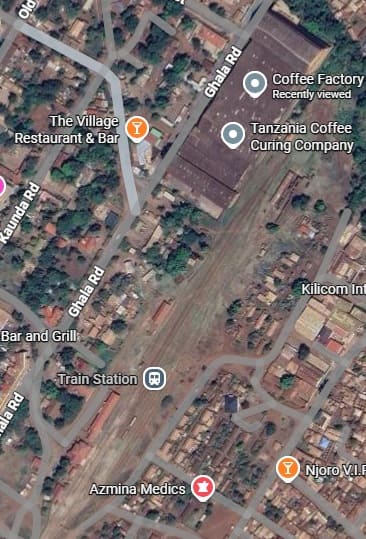
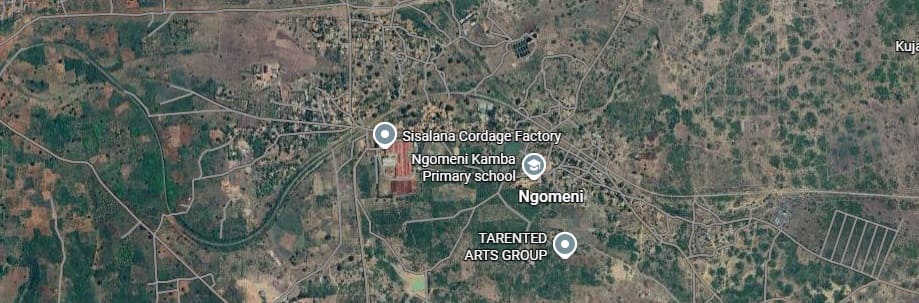
Muheza, a more significant township, has an easily identifiable railway station!
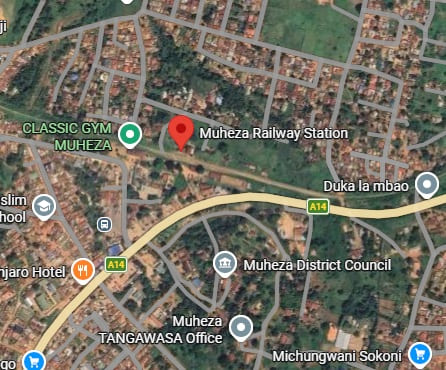
Muheza Railway Station sits close to the centre of the town. [Google Maps, March 2026]
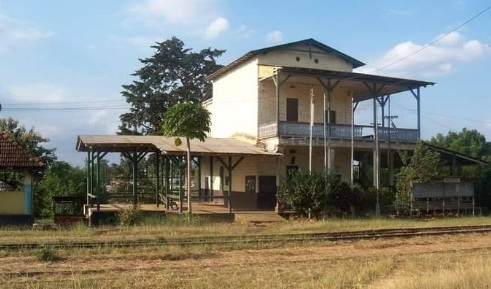
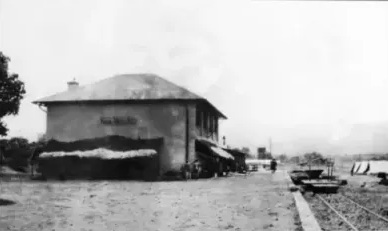
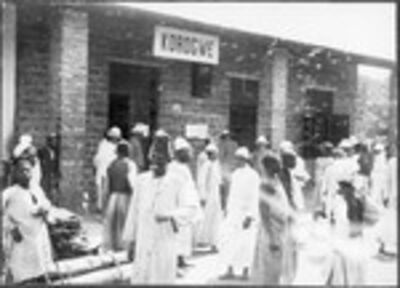
The station location was caught on camera in the late 19th century. It can be found among a series of photographs held by the Getty Foundation, here. [8] The picture is annotated, “Muheza station on Usambara Railway, Usambarabahn, German East Africa, Tanzania, 1890s, 19th Century.”
The line runs through or close to a series of villages – all of which are covered in Part 2 of this series of articles. [1]
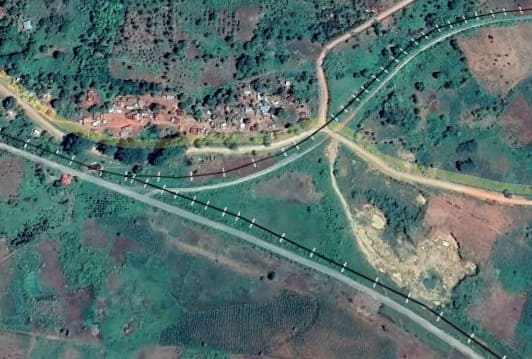
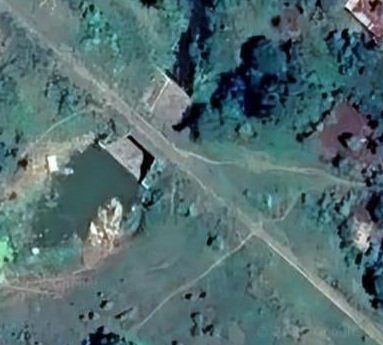
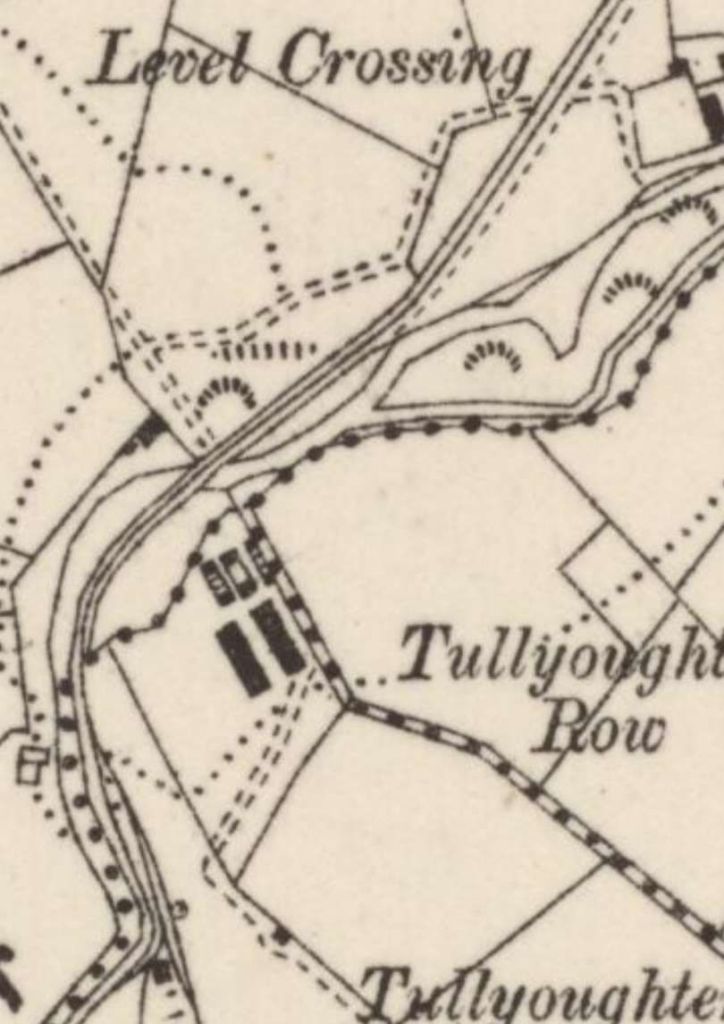
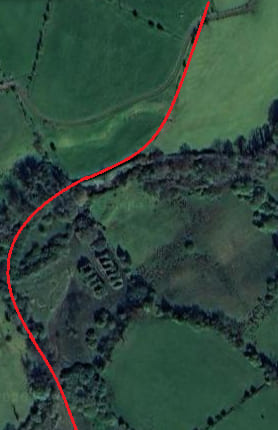
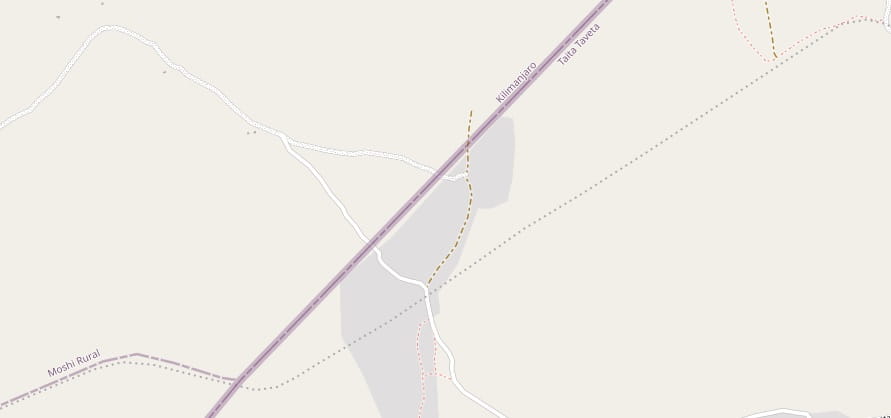
This closer view of the junction is taken from Google Earth. The black lines approximate to the two railway routes but are several metres, at least, out of position. The junction is named on the Schematic map of the line below – Murasi Junction and is recorded as being 65 km from Tanga. [Google Earth, March 2026]
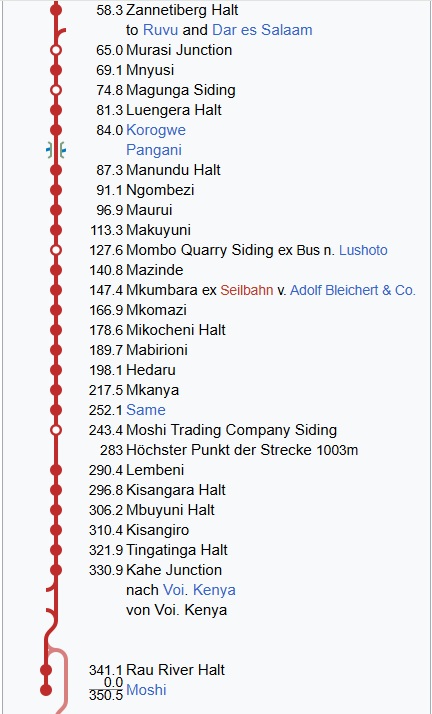
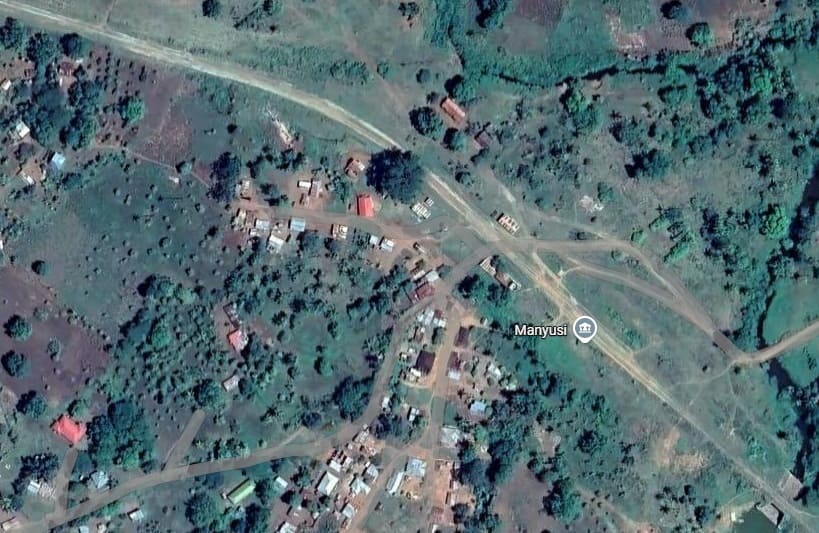
The most notable location at the top of this section of the schmatic map of the line is the railway junction between the line from Tanga and that from Dar es Salaam. – Murasi Junction. Travelling on from Murasi Junction the next location recorded is the town of Mnyusi. [6]
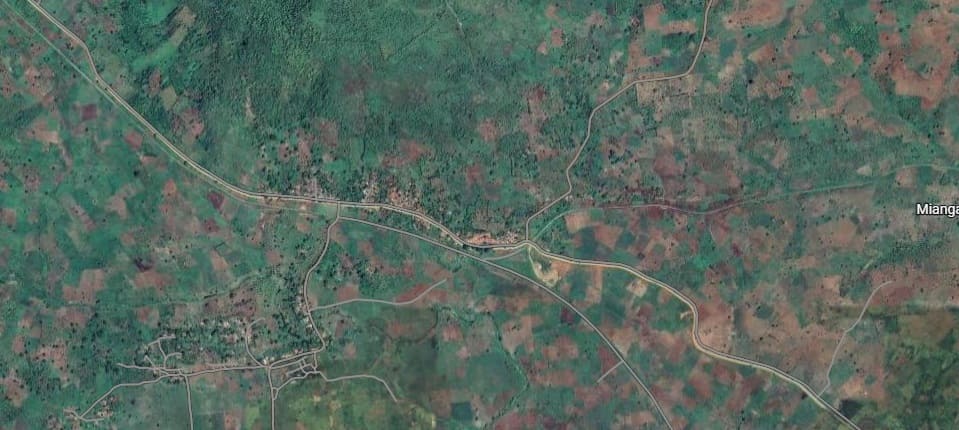
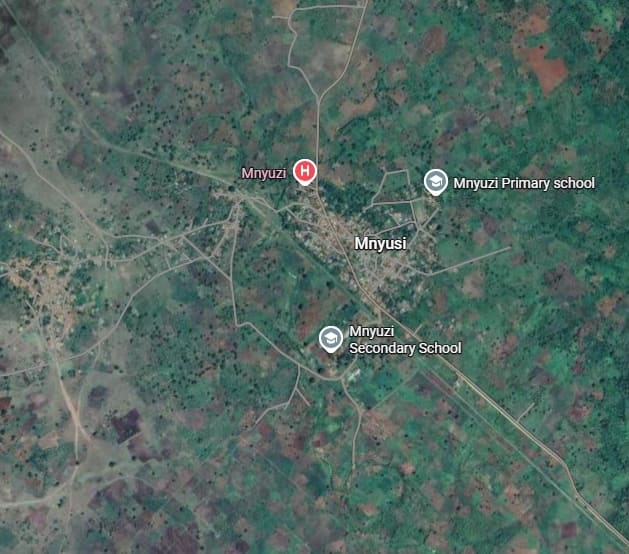
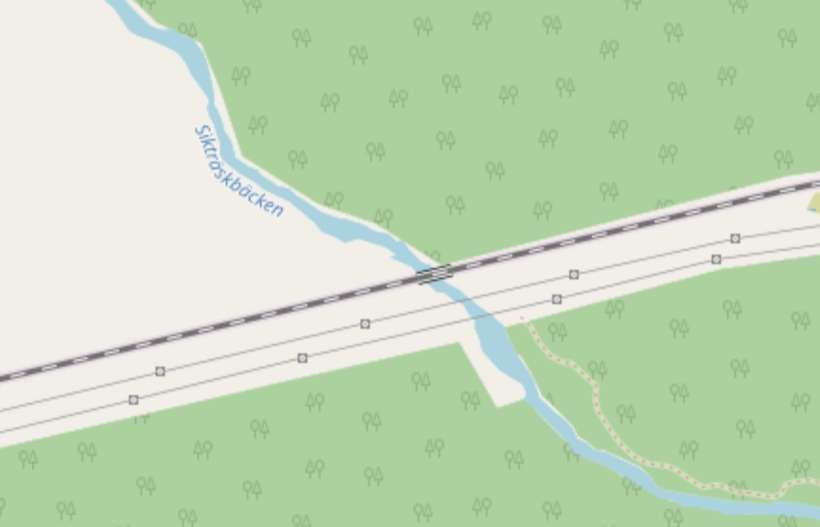
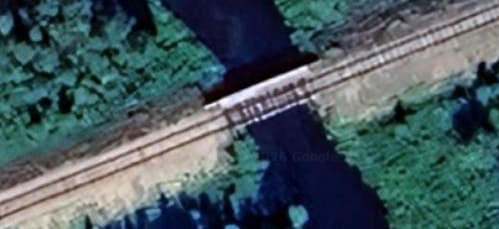
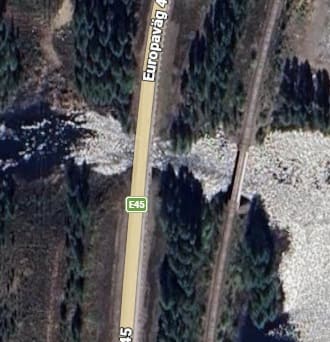
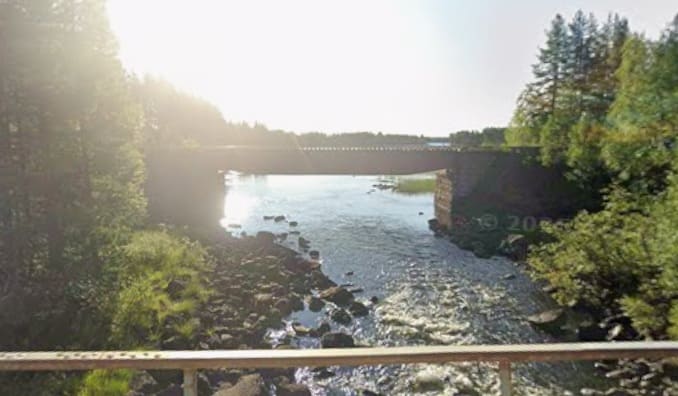
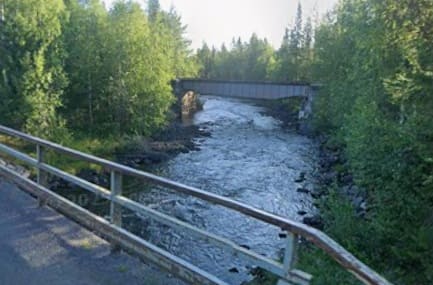
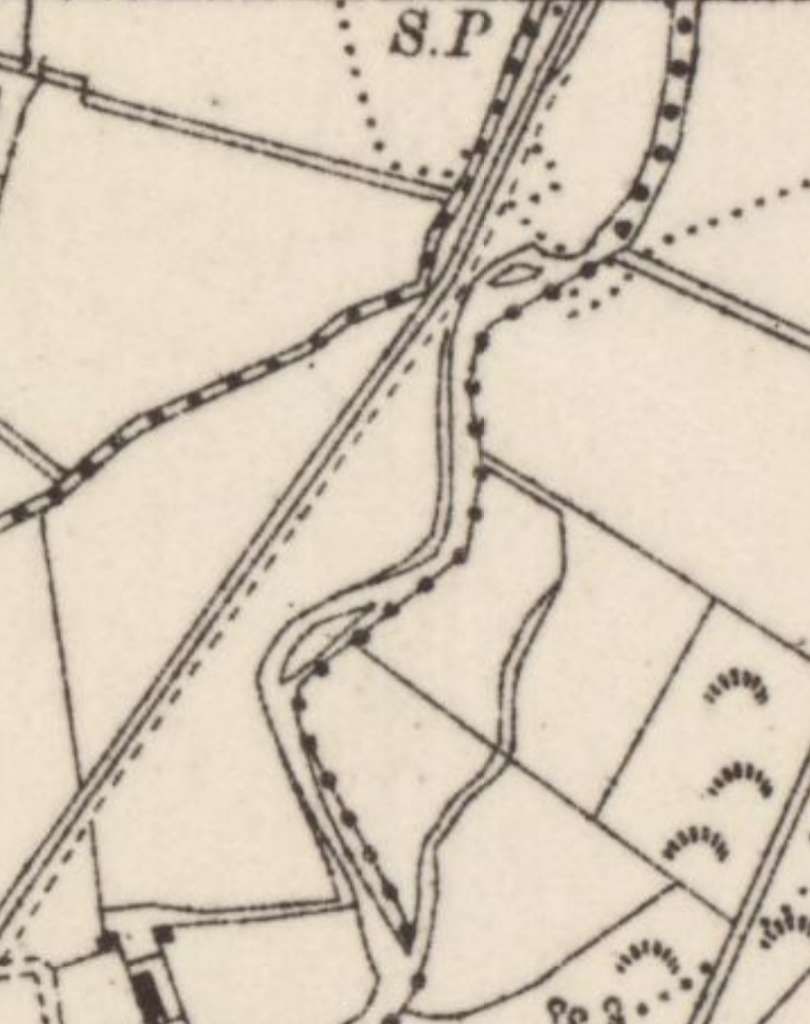
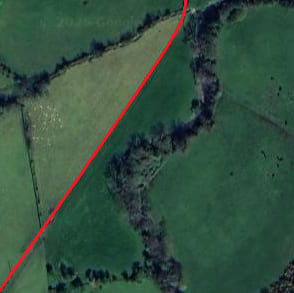
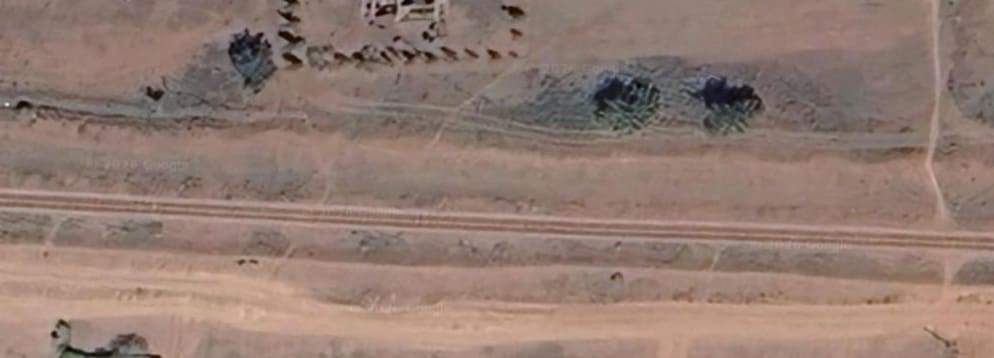
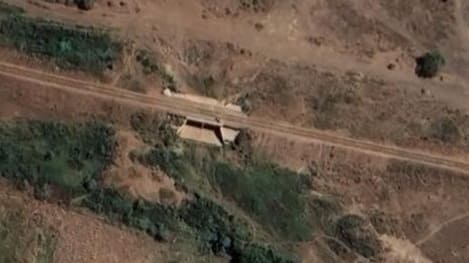
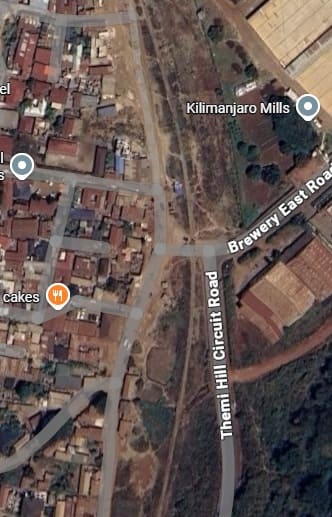
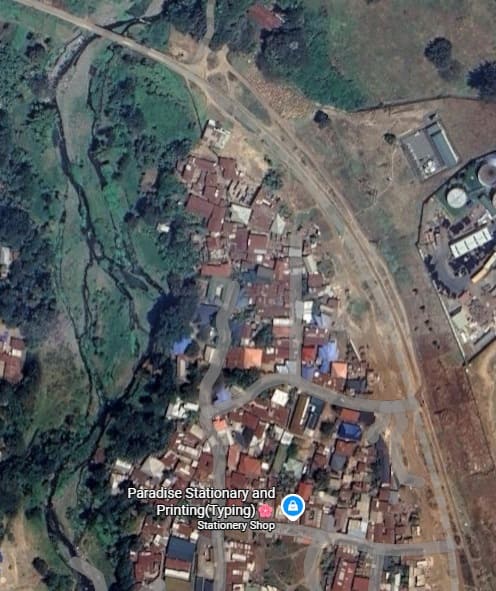
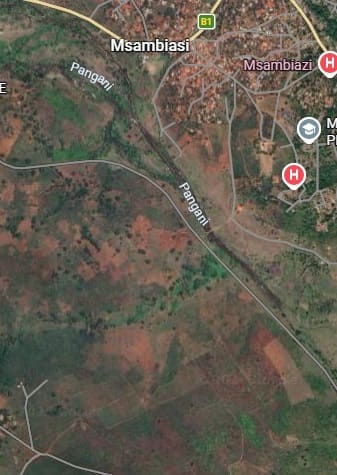
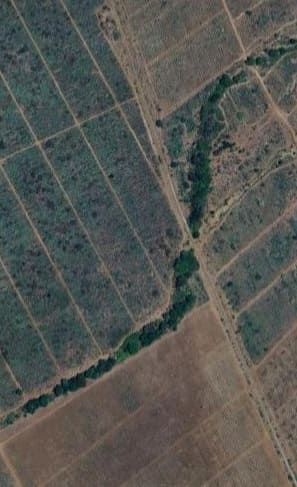
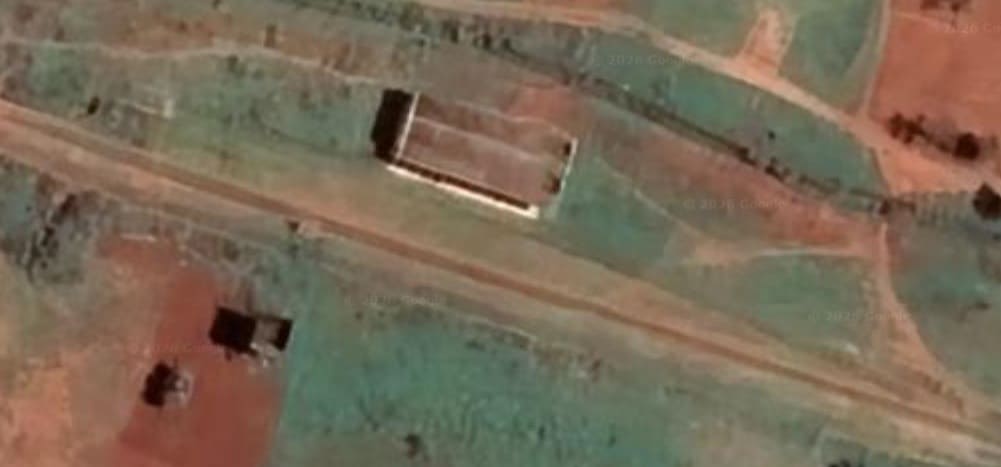
Mnyusi sits at the centre of the satellite image below. The line runs along the Southwest side of the town. There is a significant culvert/bridge carrying the line over the local river.

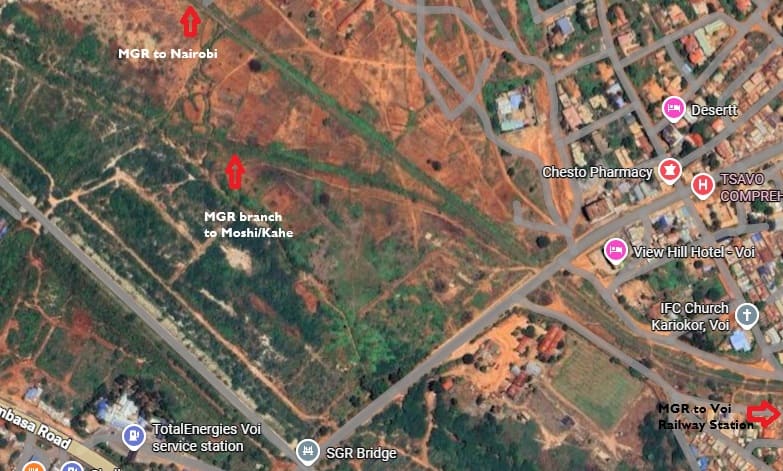
Returning to the railway junction from Mnyusi, Dar-es Salaam trains left the Usambarabahn to head for Ruvu. [6]
The Usambarabahn (the Usambara Railway, Northern Line or Tanga Line) existed in splendid isolation under German rule and between the two world wars. No connection was made to the central line and Dar-es-Salaam until August 1963! [10] The line was built, primarily, to provide a through connection between all parts of the East African railway system, one particular benefit being the possibility of moving rolling stock between sections which have peaks of traffic at different
times of year. [11]
By that time, Tanganyika was independent of British rule. Tanganyika became independent from the British on December 1961 and Zanzibar became free through a revolution on 12th January 1964. Tanganyika and Zanzibar united on 26th April 1964, forming the United Republic of Tanzania.
The story of the construction of this line was told at a meeting of the Permanent Way Institution in 1964. [12]

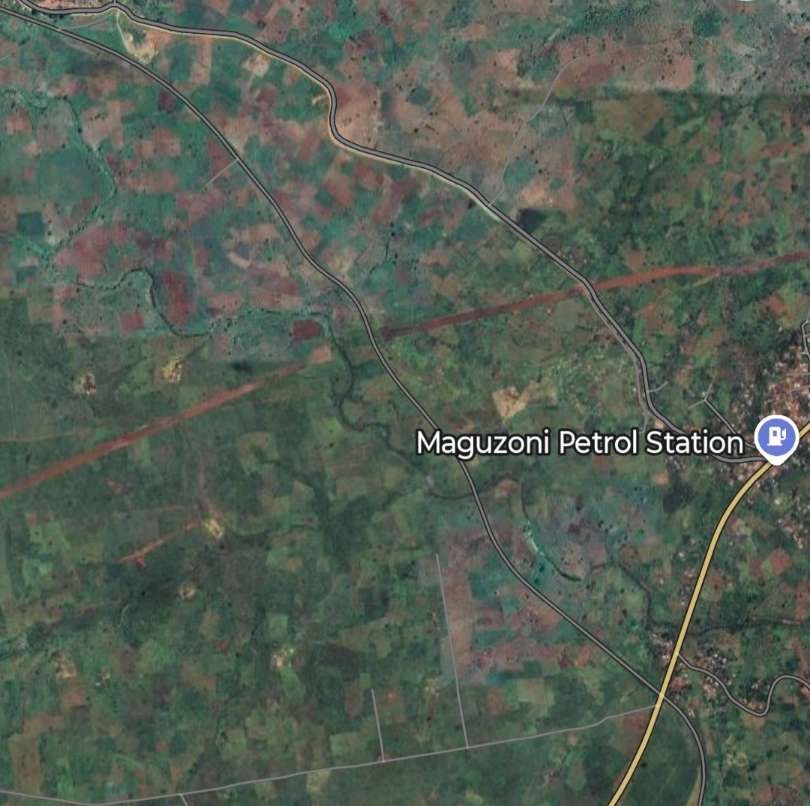
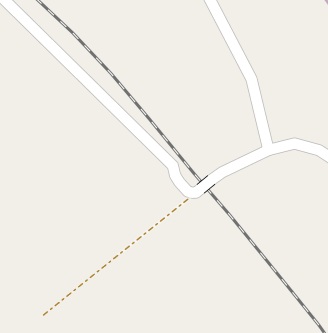
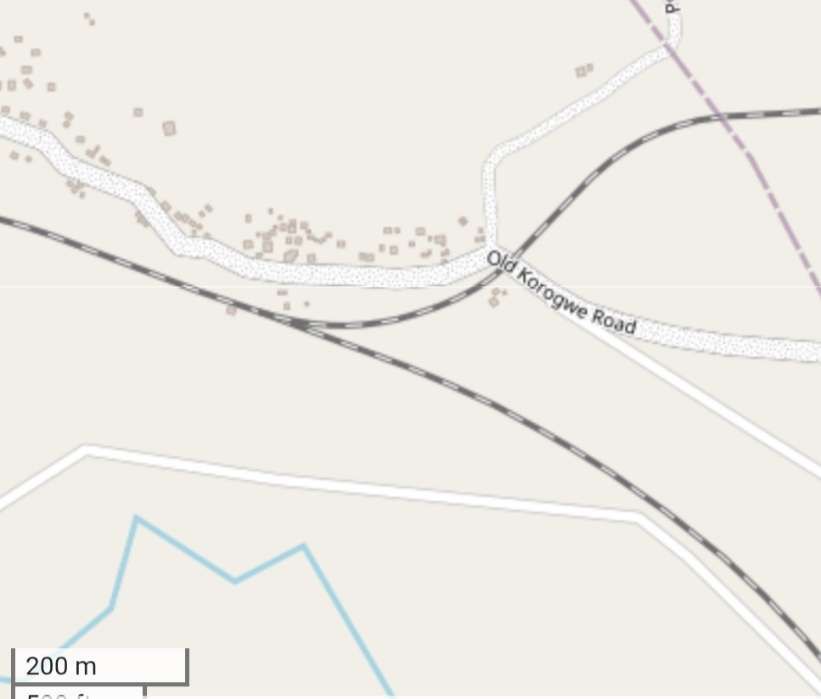
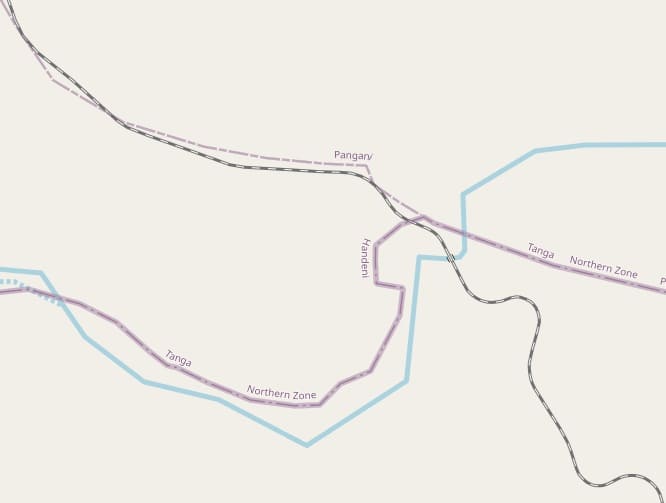
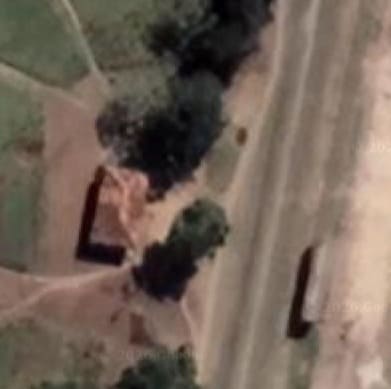
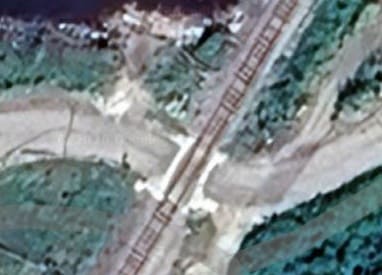
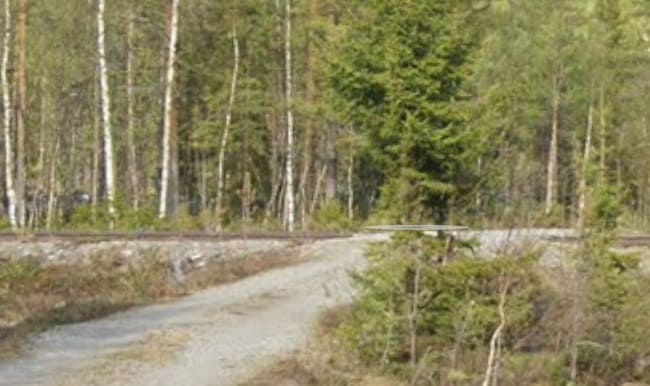
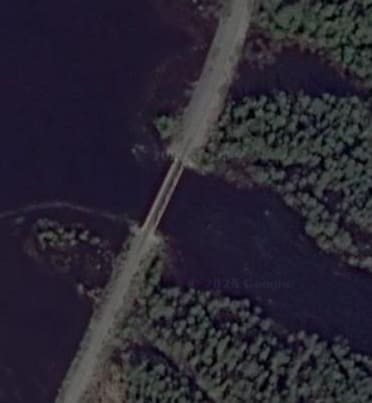
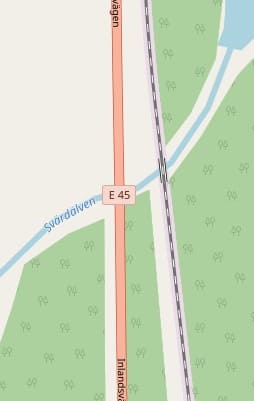
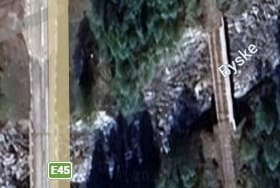
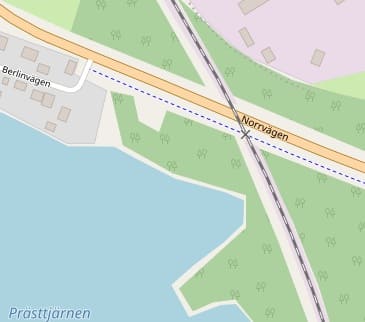
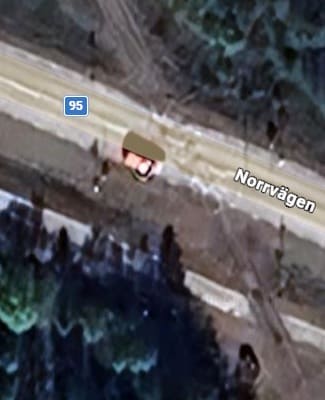
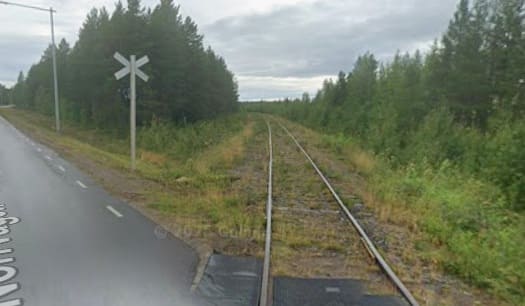
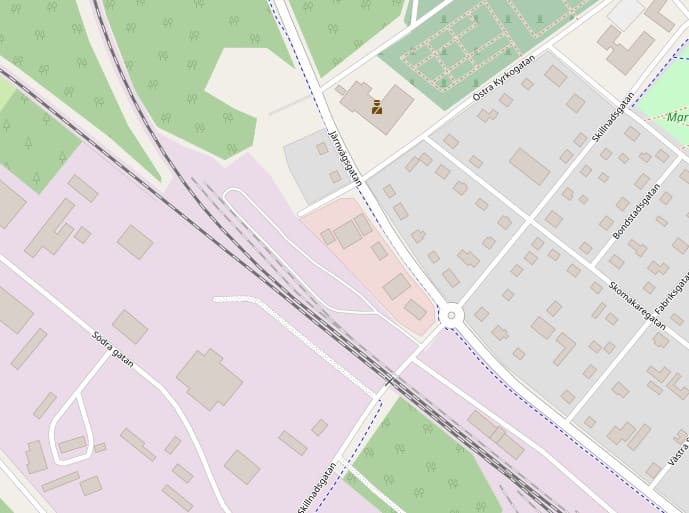
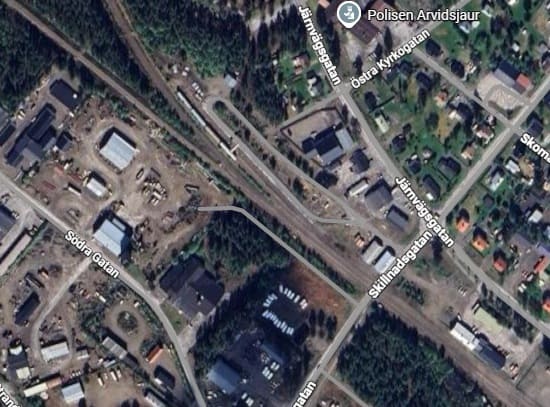
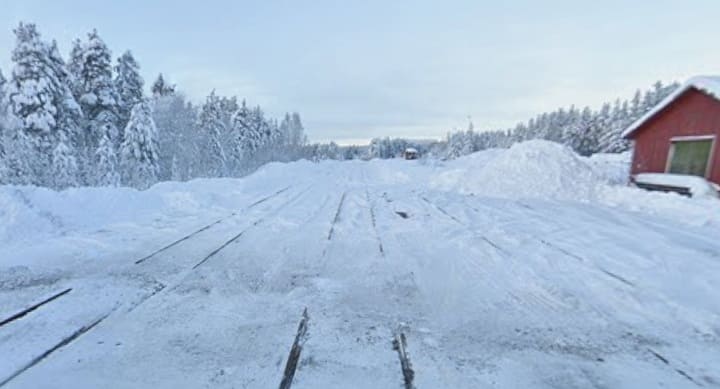
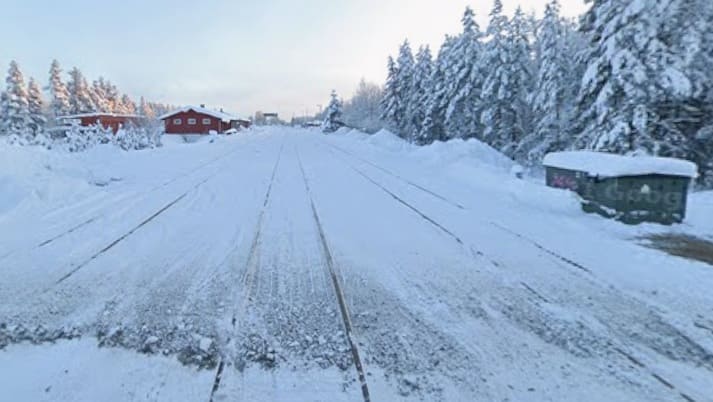
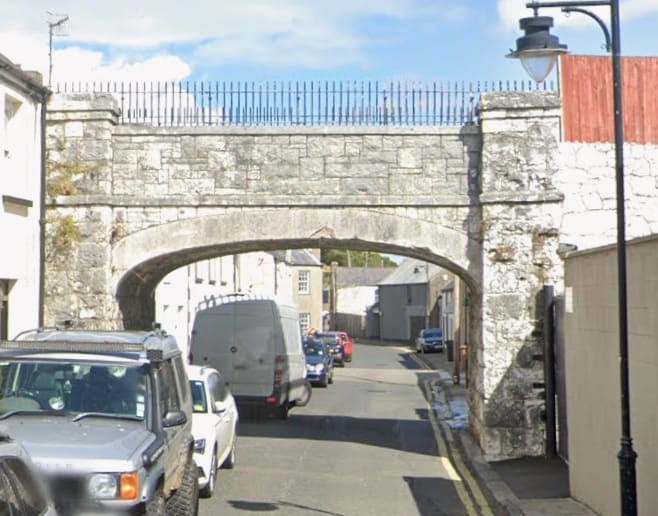
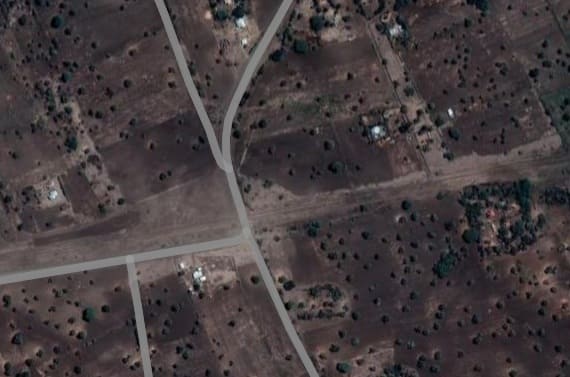
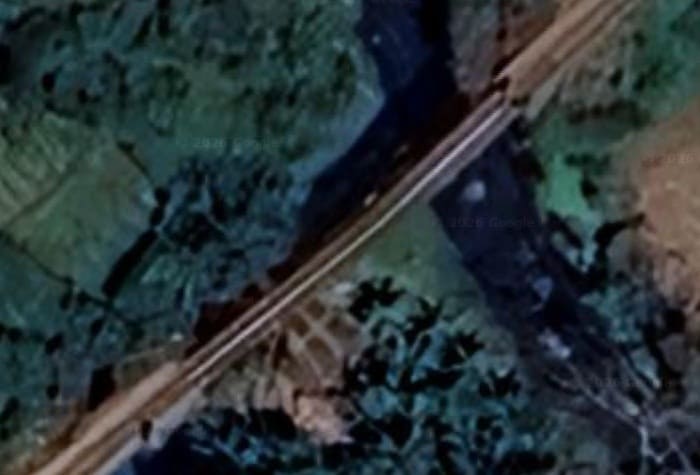
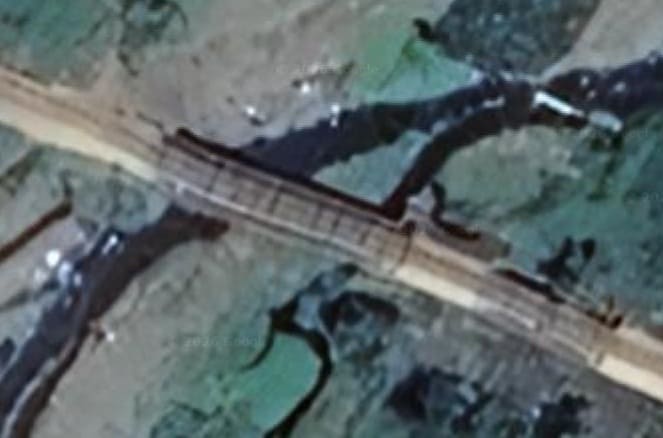
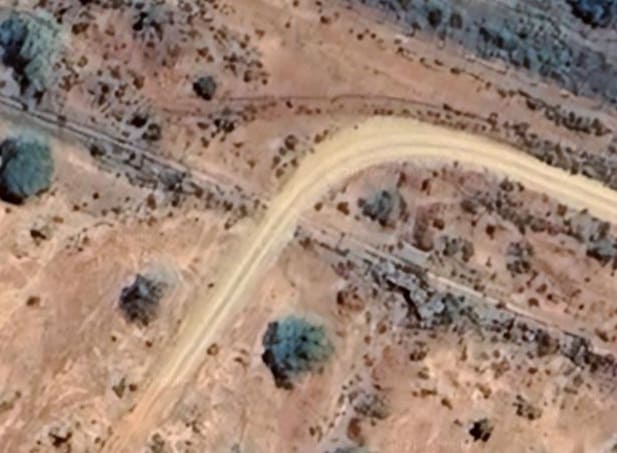
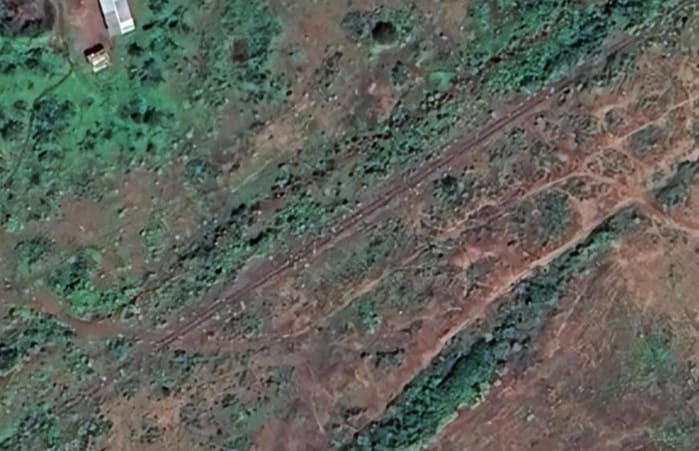
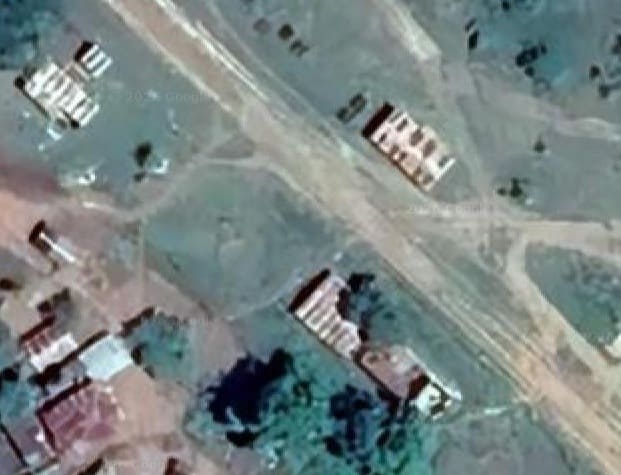
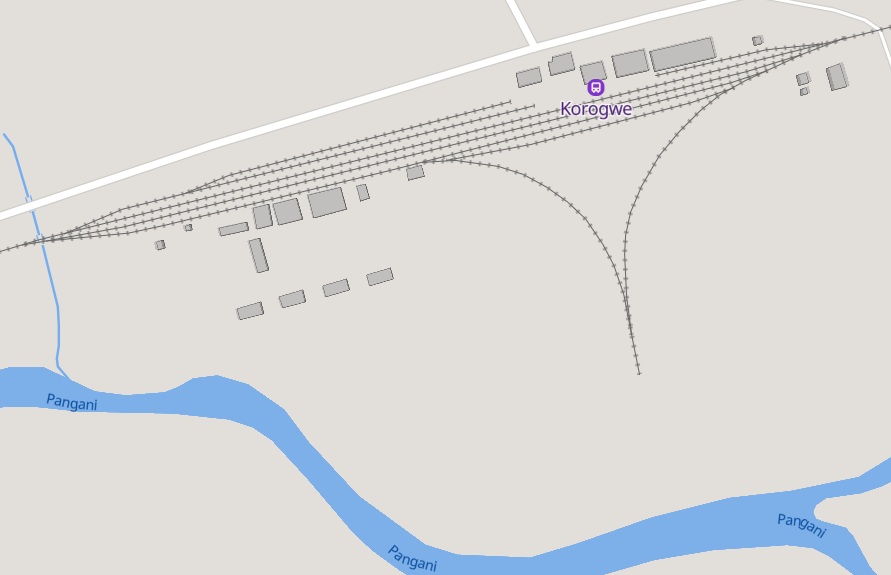
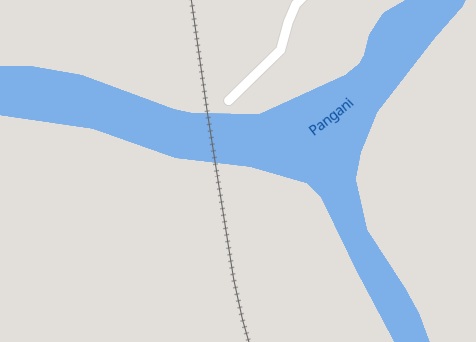
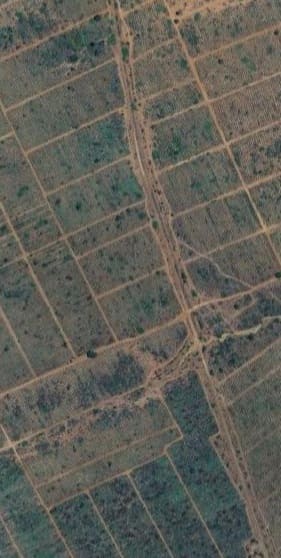
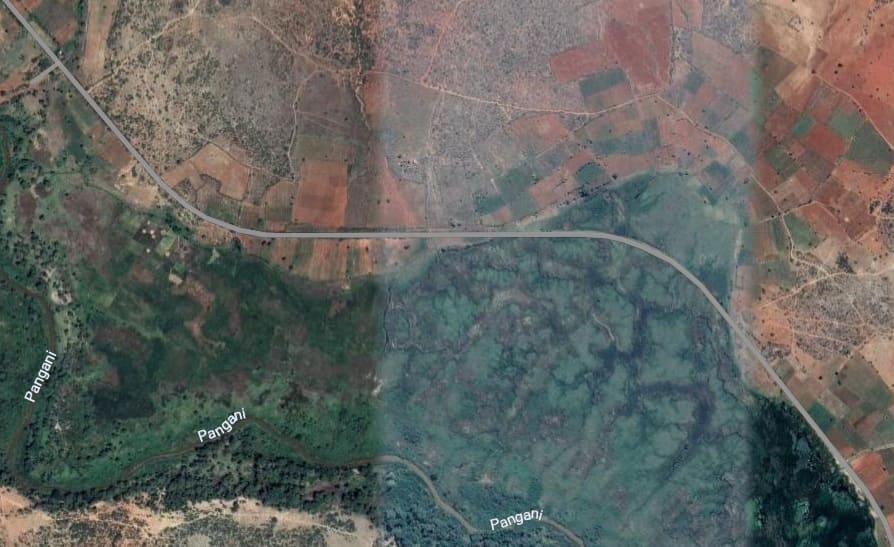
Just a short distance Southeast of the railway junction, a minor road (more like a track) bridges the line.
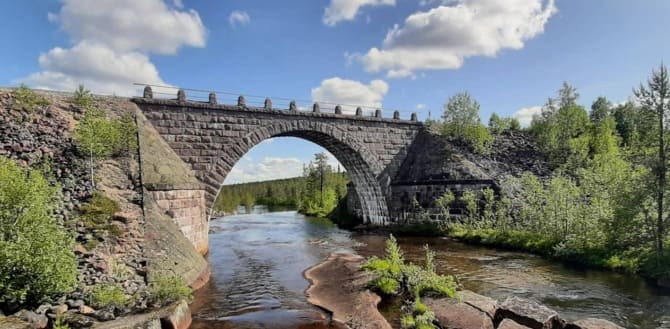
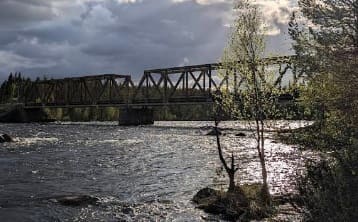
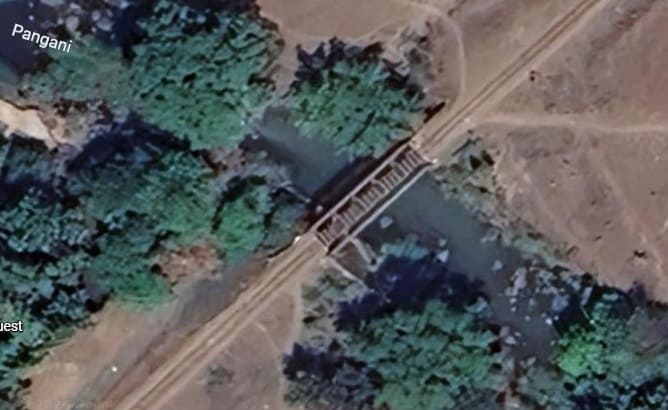
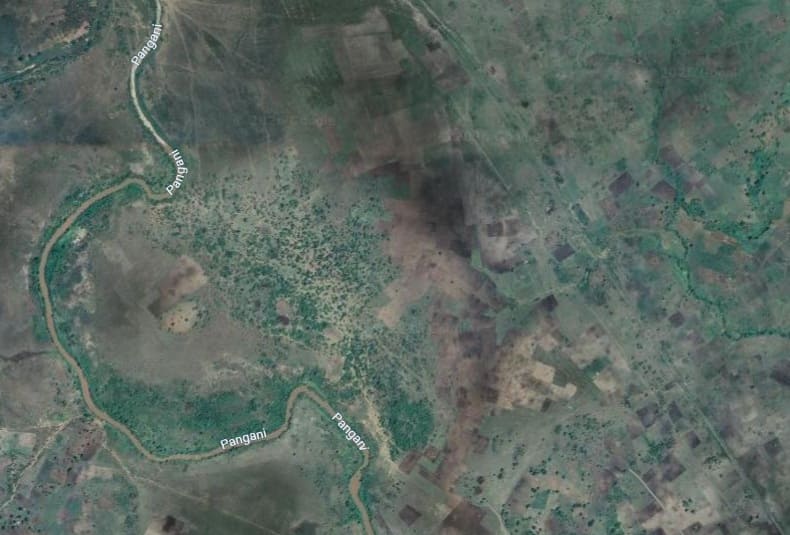
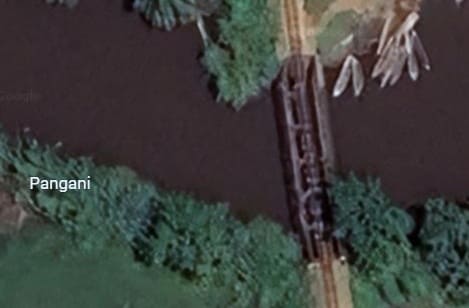
The Pangani River Bridge: this bridge is probably of the same type as that over the Wami River. That bridge appears in an article by K. Rahmani which is in Appendix 1 below. That bridge is a multi-span girder bridge (4 No. 60ft spans) [Google Maps, April 2026]

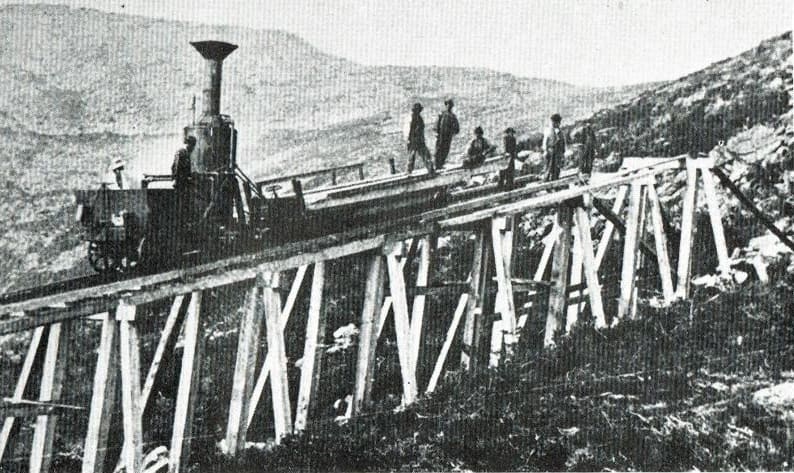
This image shows work being undertaken as part of the planning for the construction of the railway. Depth readings are being taken along the line of the railway at the location of the future Pangani River bridge. [12: p58]
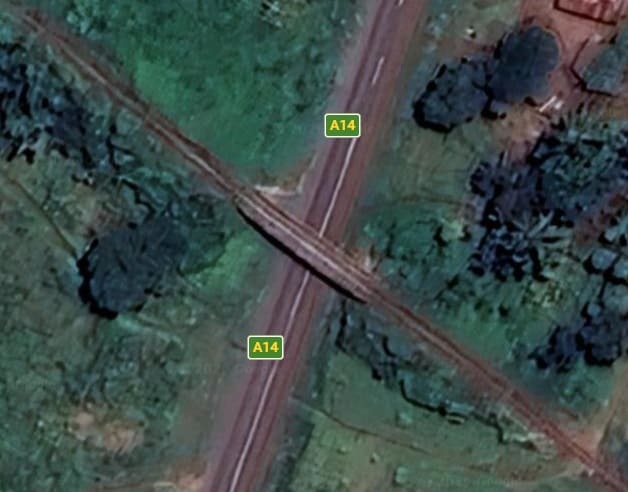
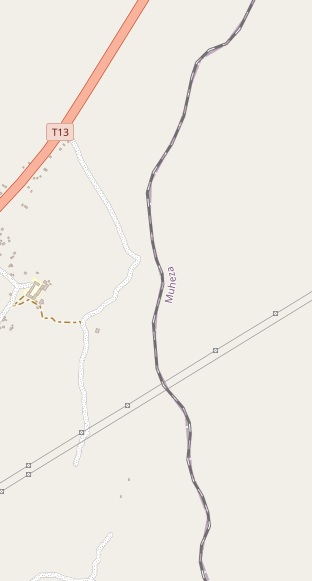
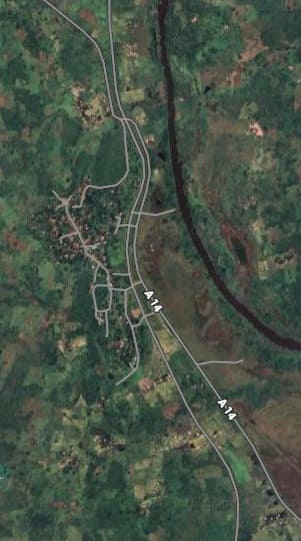
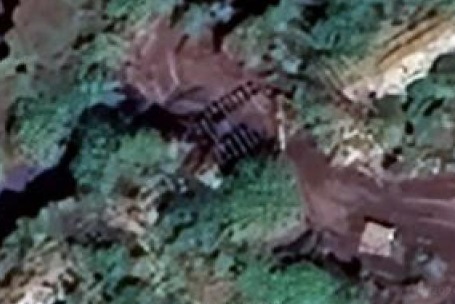
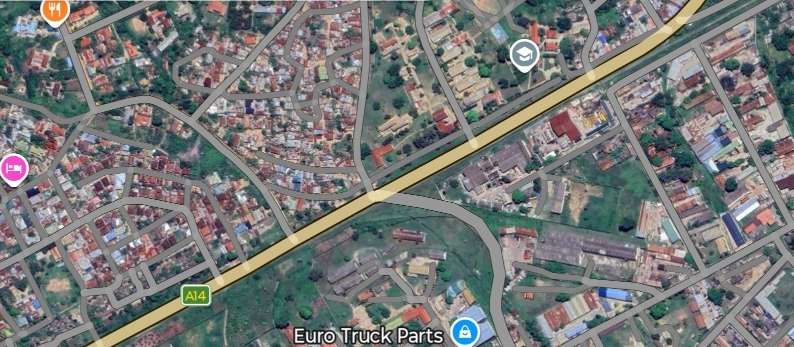
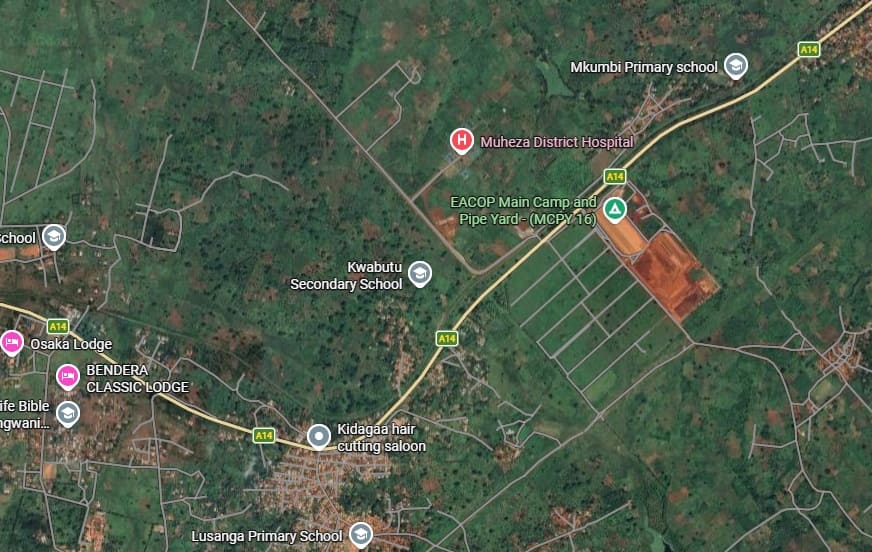
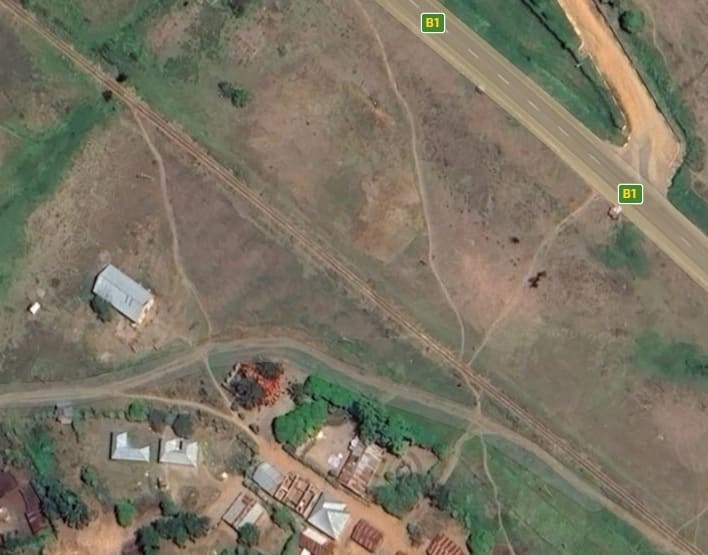
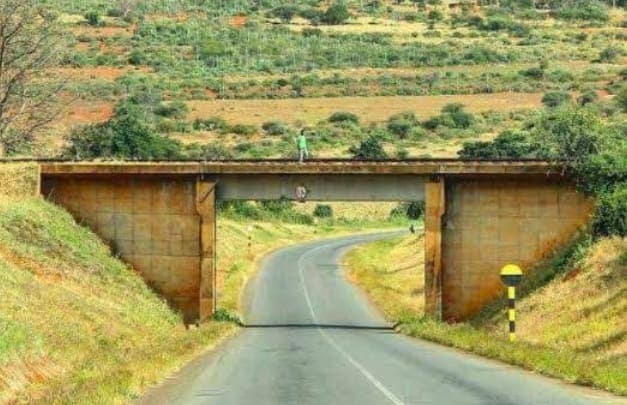
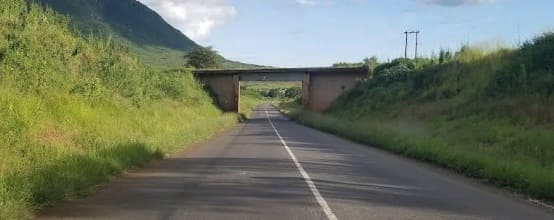
The next significant structure on the line is this bridge over the A14 (Google)/T13 (OpenStreetMap)
“About 600 culverts, in both Armco and Precast concrete, totalling some 11 miles if laid end to end, were laid. The largest size was 12 ft 6 in diameter in Armco. Eleven major bridges were built over the Mnyusi. Pangani, Mbuzi, Msangasi, Mligaji, Mvavi, Wami, Usigwa, Mkombezi, Mbiki and Msua rivers. One 30 ft span bridge was built over Mililengwa river and two 60 ft span bridges were built over Tanga-Korogwe and Dar es Salaam-Morogoro main roads. All the bridges, except Pangani bridge which is a 116 ft span of the Callender-Hamilton type, are plate girders with reinforced concrete deck slabs. Although only two of the rivers – Pangani and Wami – flow all the year round, the other rivers have a heavy flow during the two rainy seasons, short and long. Four of the rivers including the Wami which has a bridge of four 60 ft spans, were diverted from their original courses.” [12: p58]
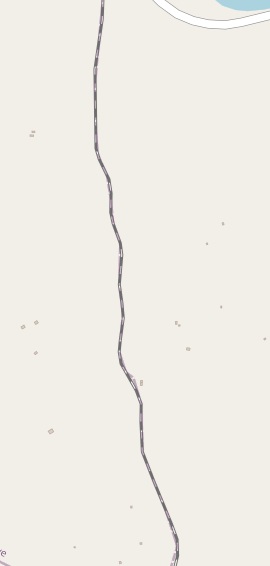
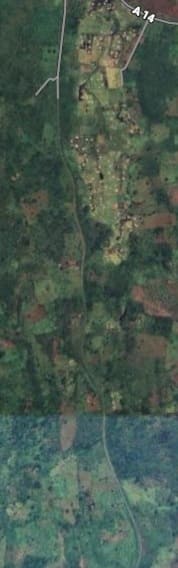
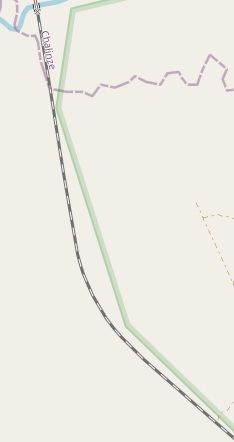
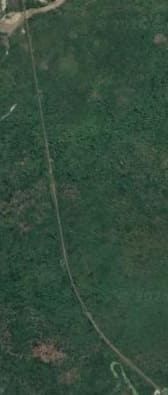
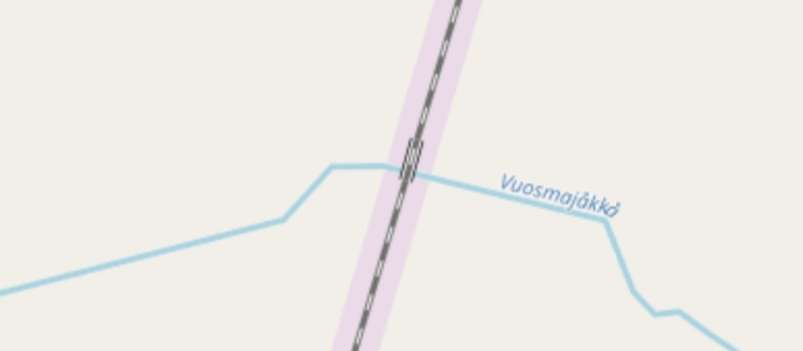
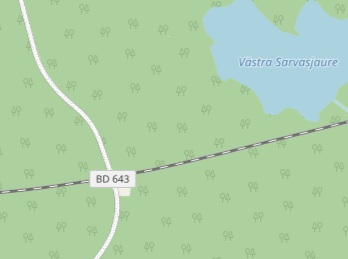
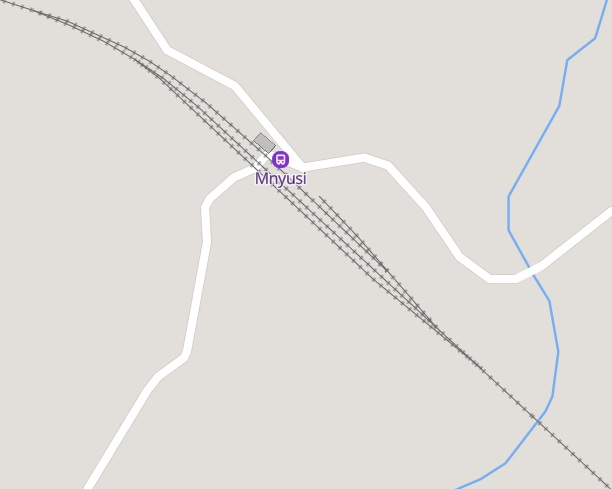
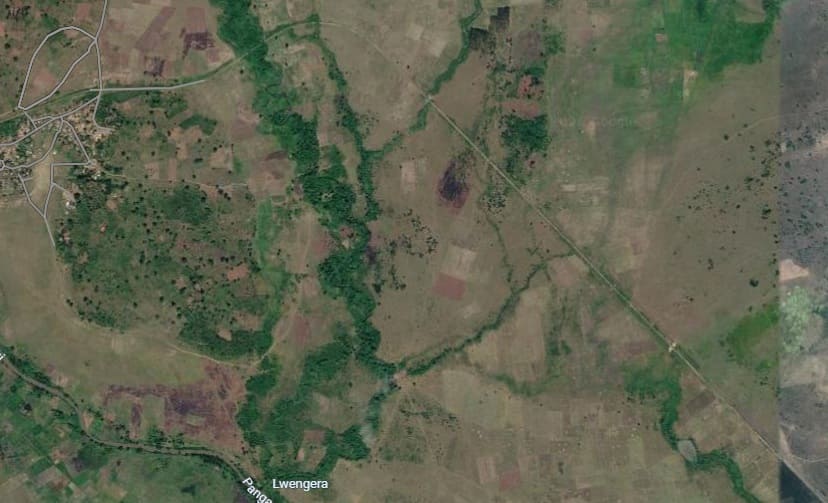
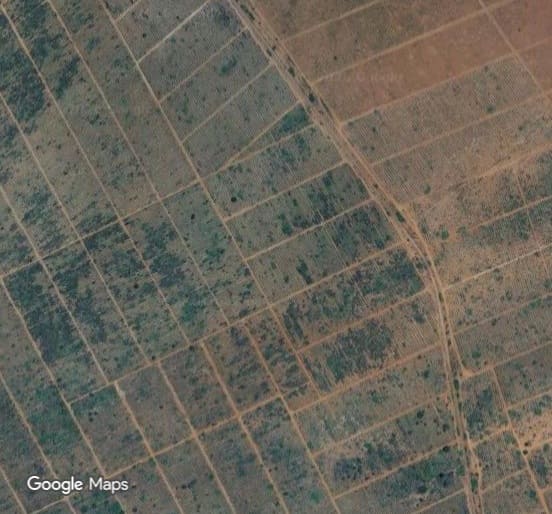
The next length of the line on OpenStreetMap [16] and on satellite imagery [Google Maps, April 2026]
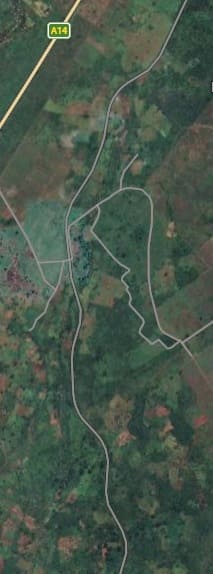
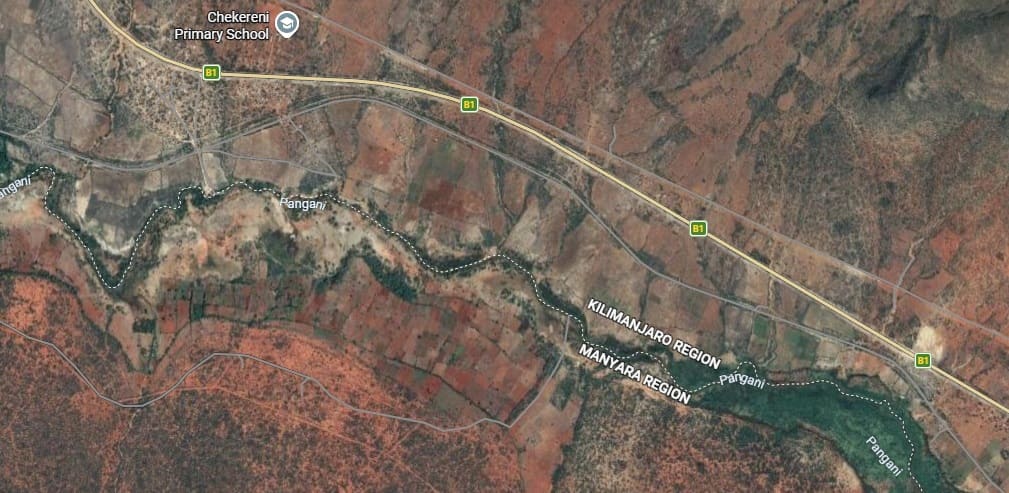
Over some distance the railway follows the shared boundary between Muheza and Korogwe districts.
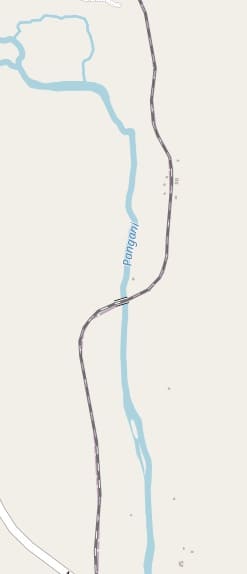
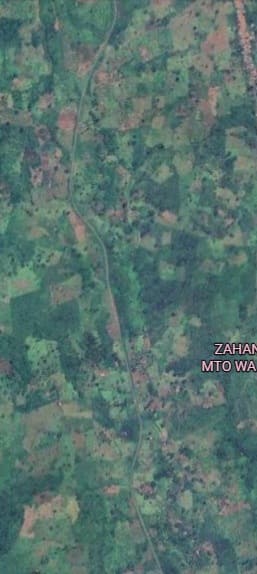
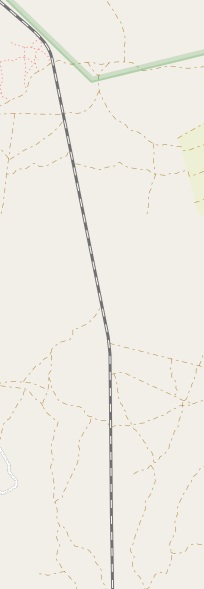
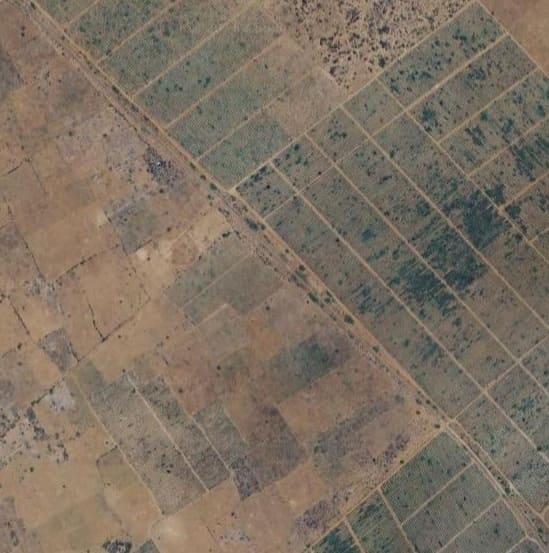
The next length of the line on OpenStreetMap [17] and on satellite imagery. [Google Maps, April 2026]

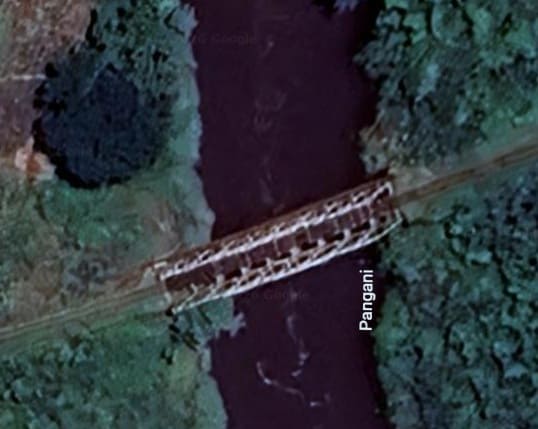
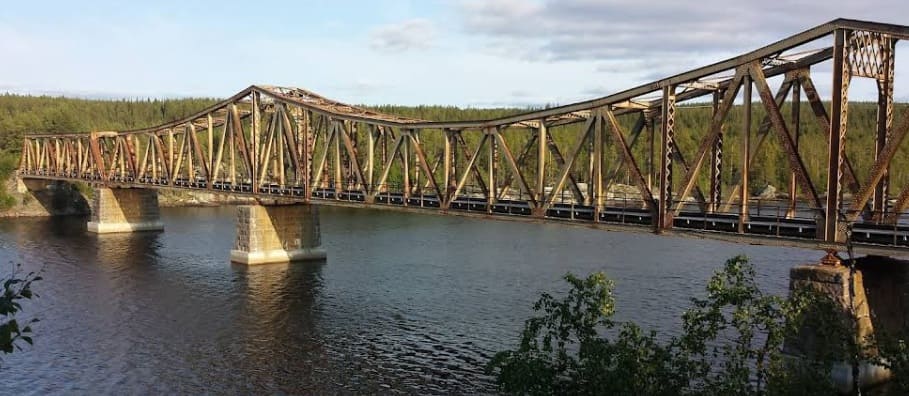
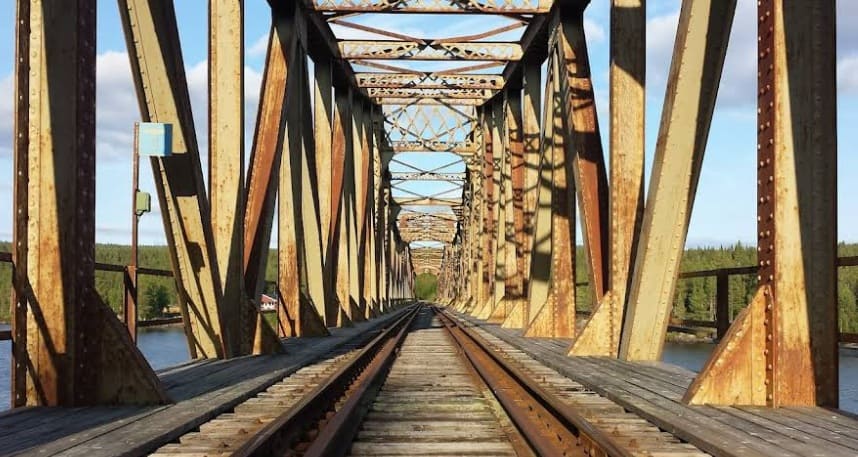
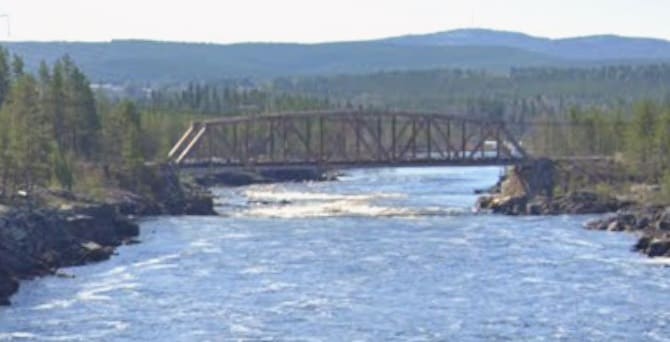
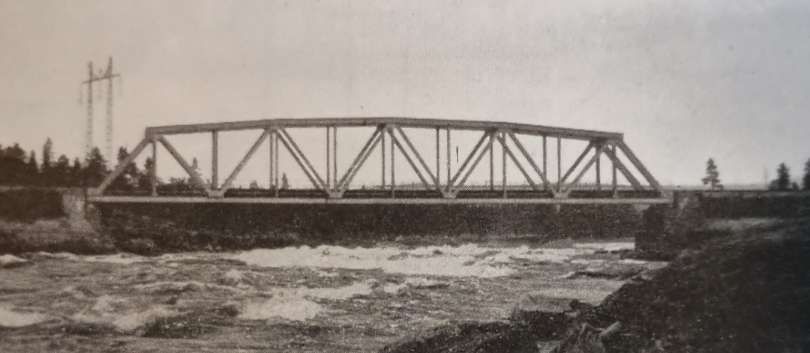
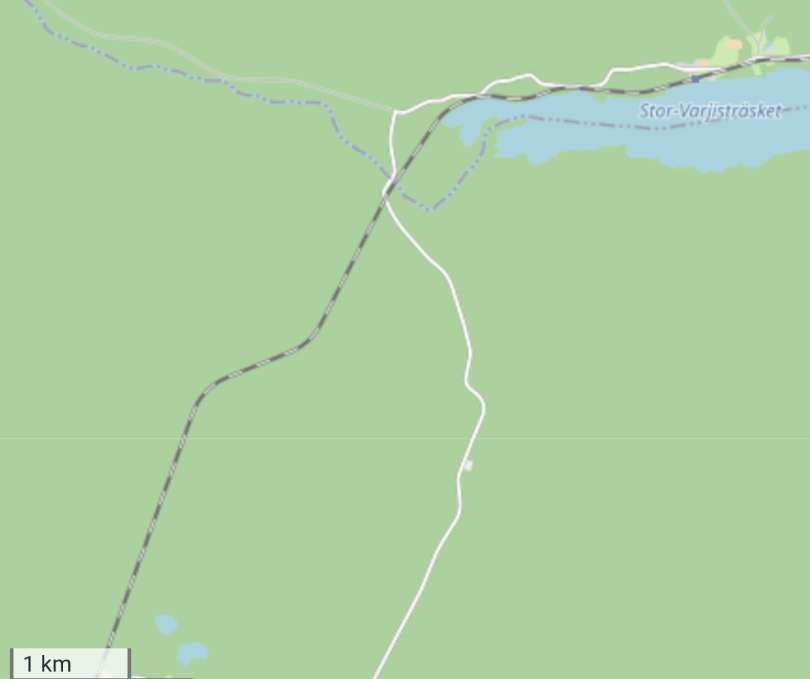
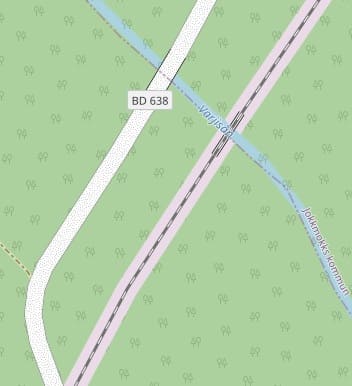
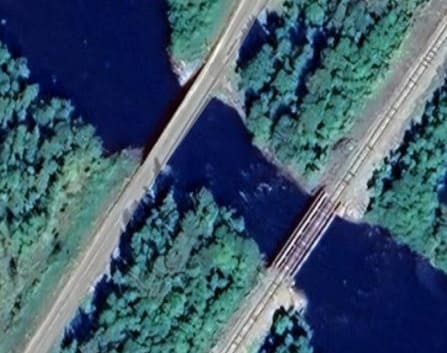
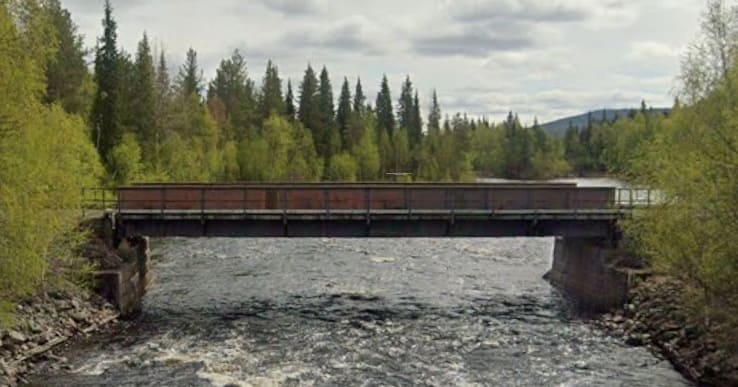
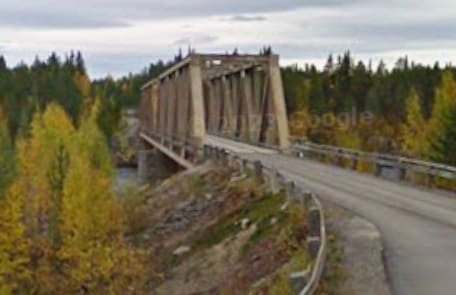
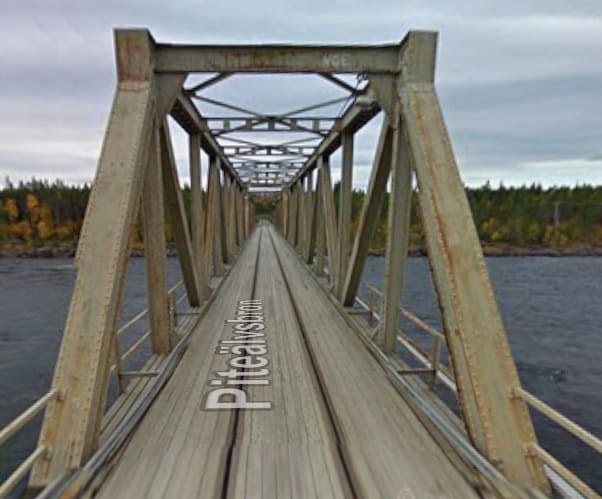
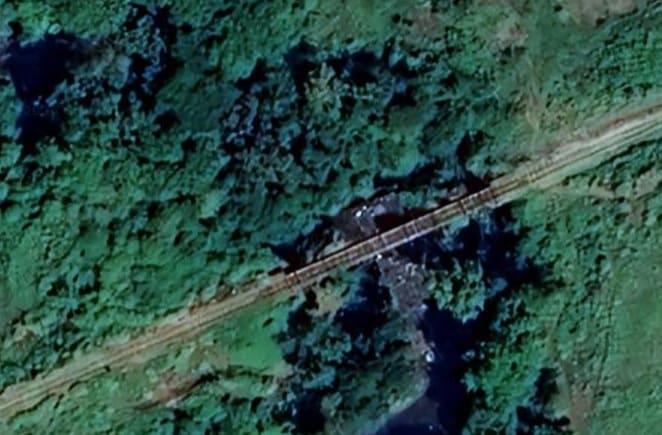
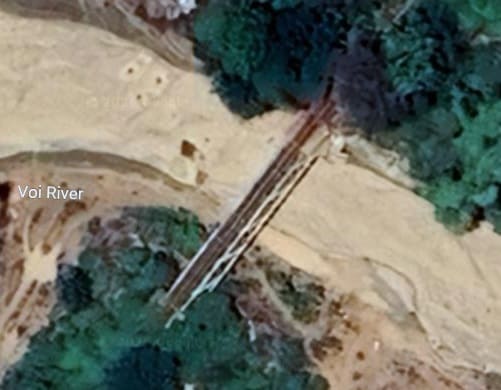
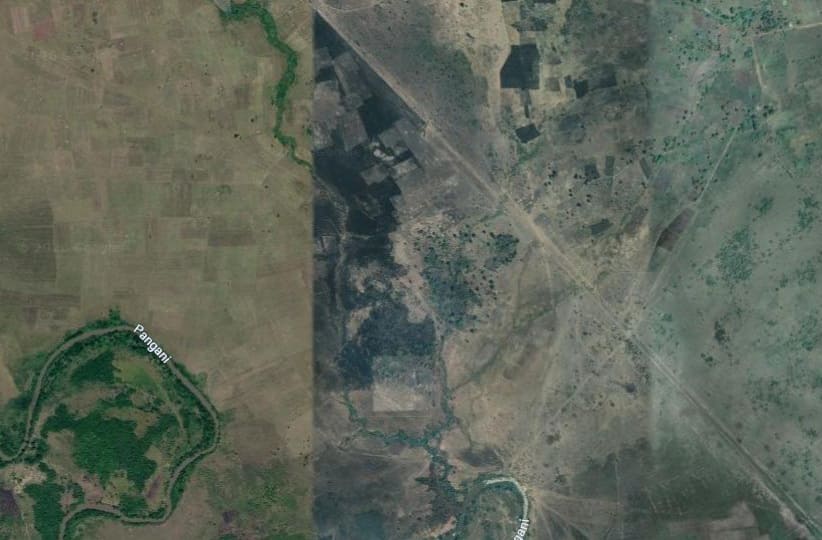
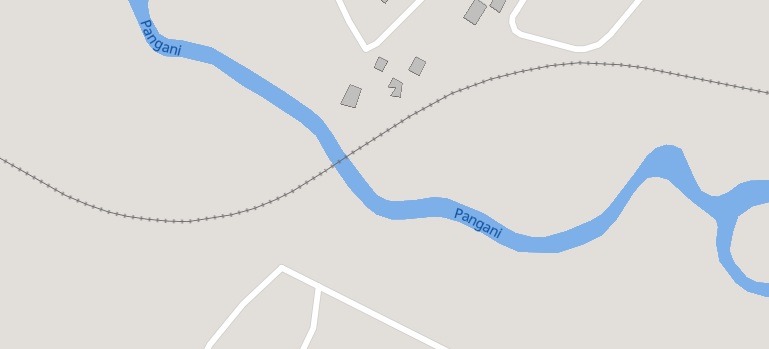
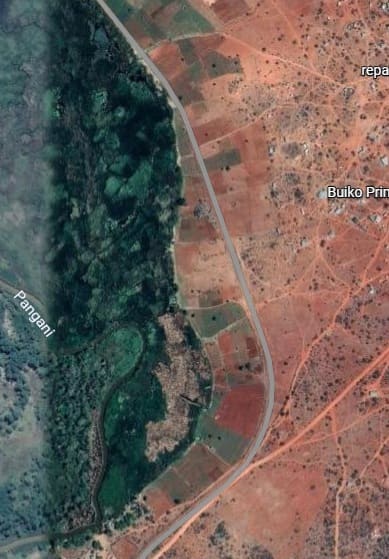
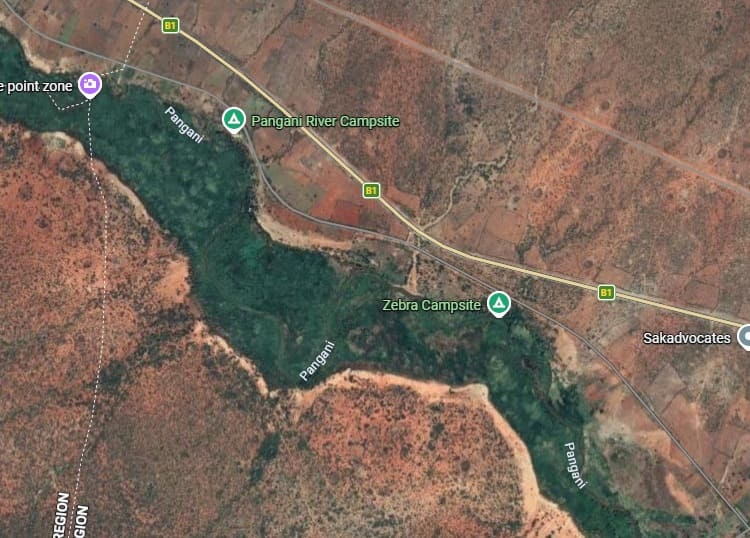
The next bridge over the Pangani River: this appears to be a Warren Truss Girder Bridge. [Google Maps, April 2026]
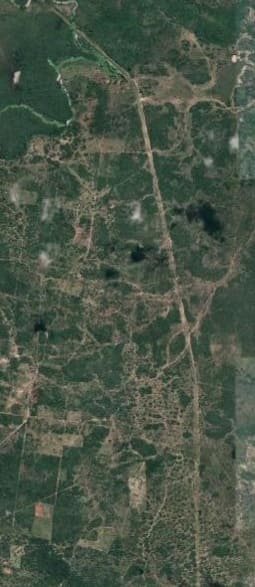
The next length of the line on OpenStreetMap [18] and on satellite imagery. [Google Maps, April 2026]
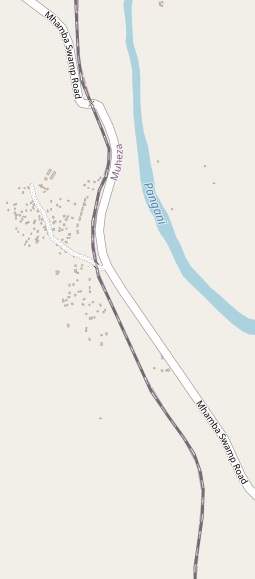
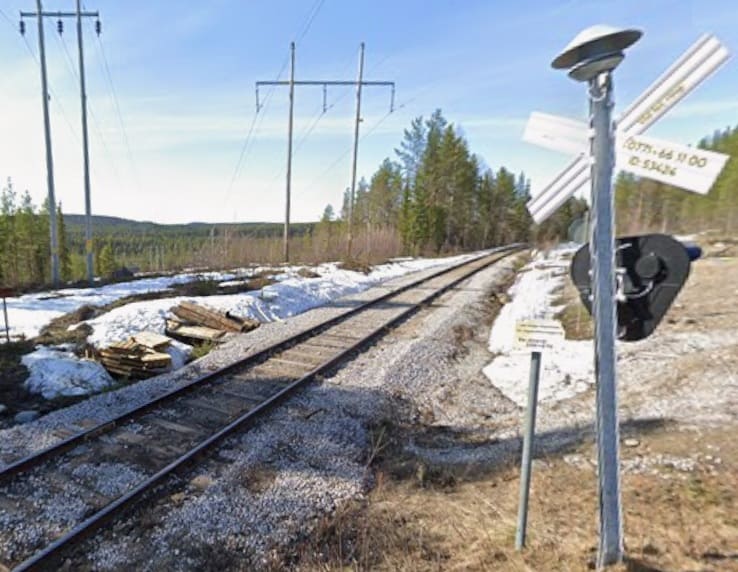
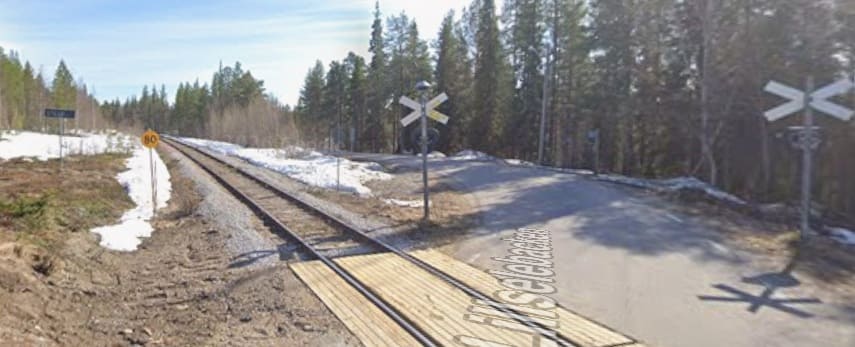
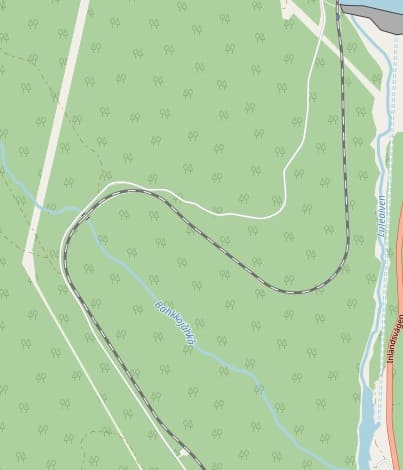
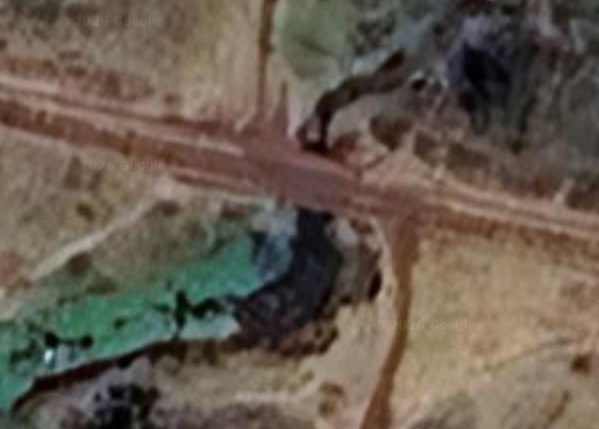
To the South of the bridge over the Pangani River, the Mhamba Swamp Road crosses the railway.
The Mhamba Swamp Road Level Crossing. [Google Maps, April 2026]
The next length of the line on OpenStreetMap [19] and on satellite imagery. [Google Maps, April 2026]
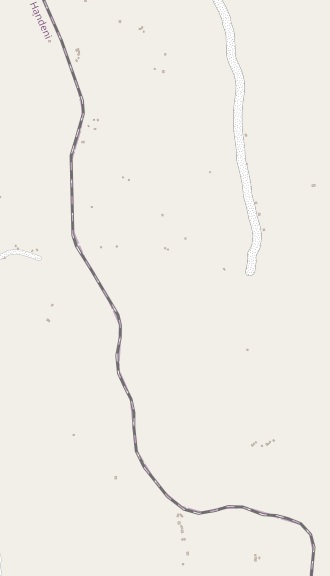
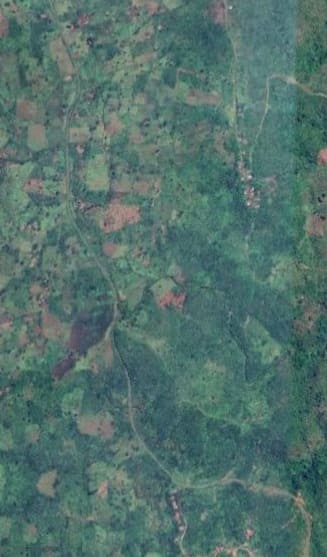
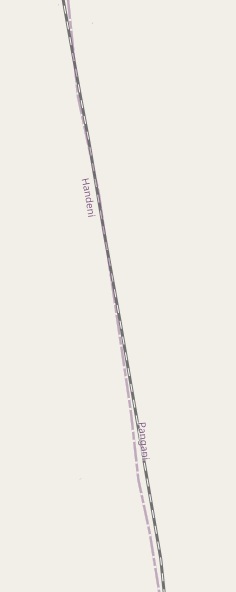
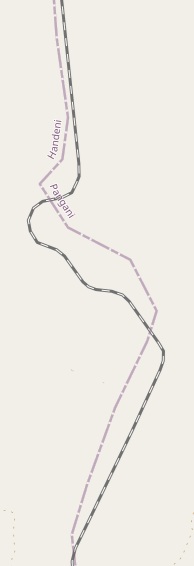
Continuing to run South the line continues to follow district boundaries, by the bottom of the next OpenStreetMap extract it is the mutual boundary between Muheza and Handeni districts. …
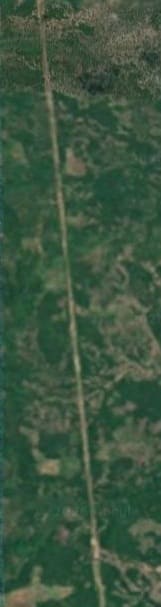
The next length of the line on OpenStreetMap [20] and on satellite imagery. [Google Maps, April 2026]
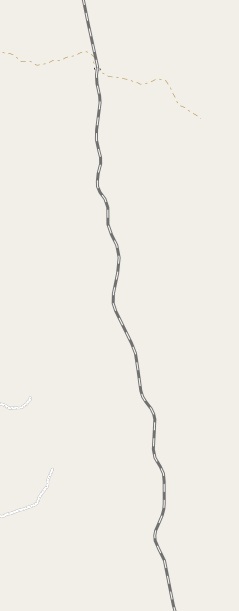
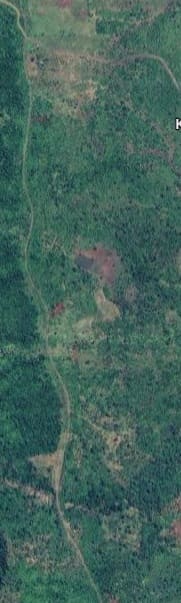
The next length of the line on OpenStreetMap [21] and on satellite imagery. [Google Maps, April 2026]
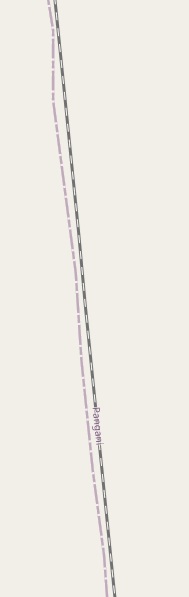
The line continues South although it takes a more significant turn to the East to follow the contours of the land. [21][Google Maps, April 2026]

The next length of the line on OpenStreetMap [22] and on satellite imagery. [Google Maps, April 2026]

The line continues South. [22][Google Maps, April 2026]

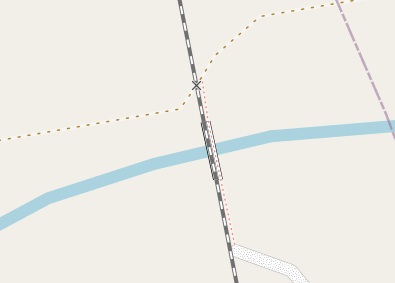
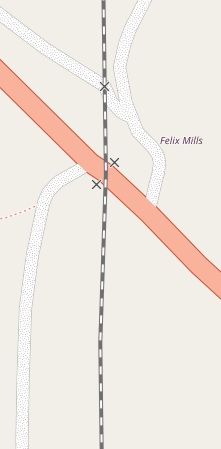
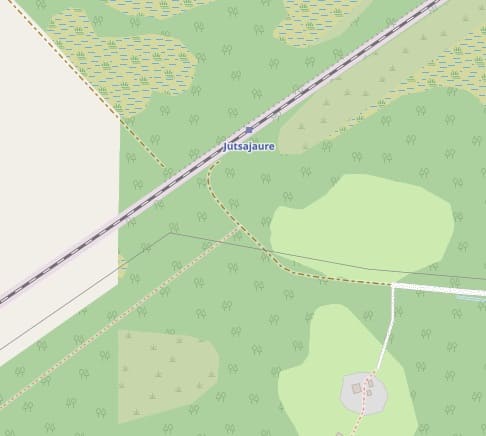
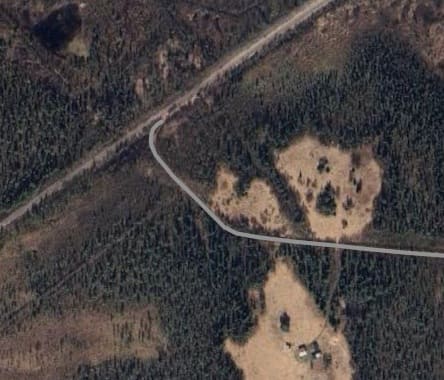
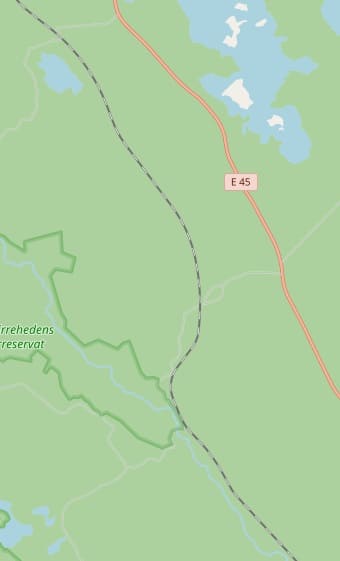
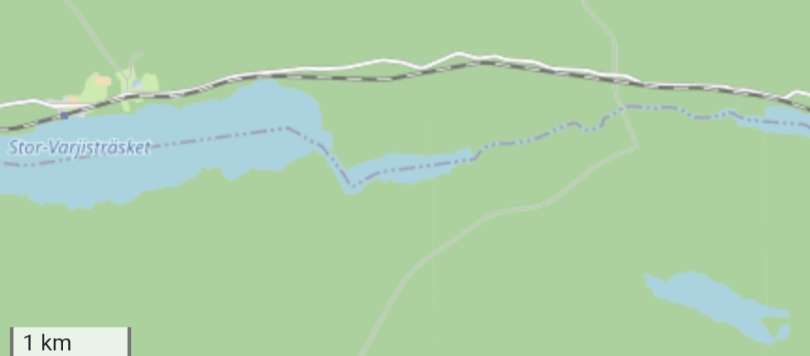
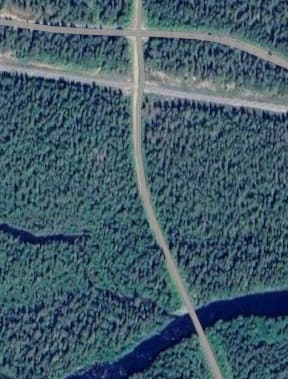
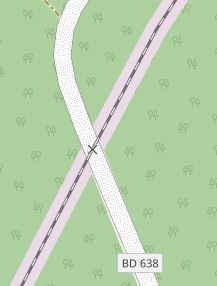
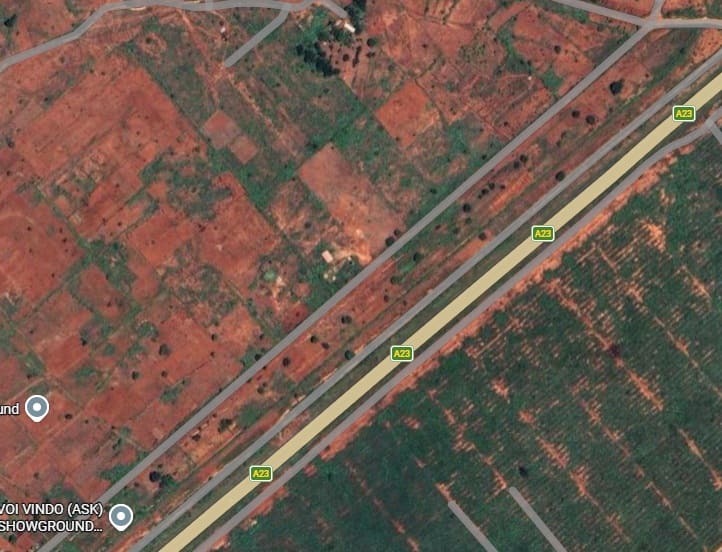
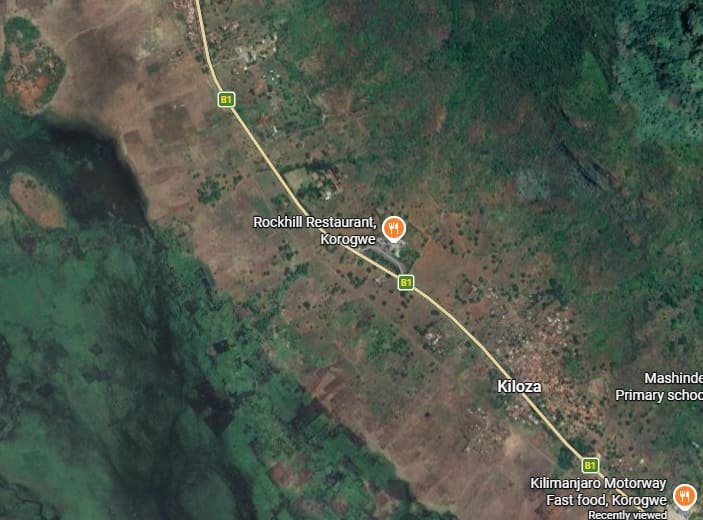
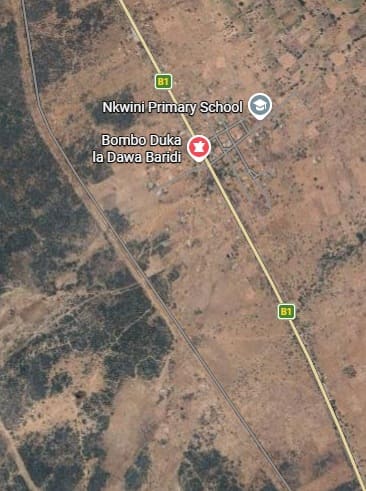
The next length of the line. [25] [Google Maps, April 2026]
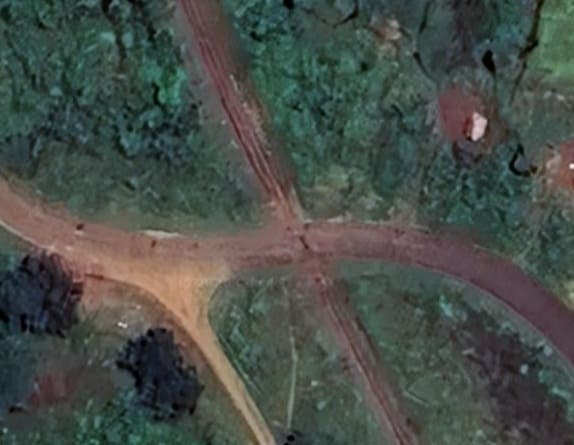
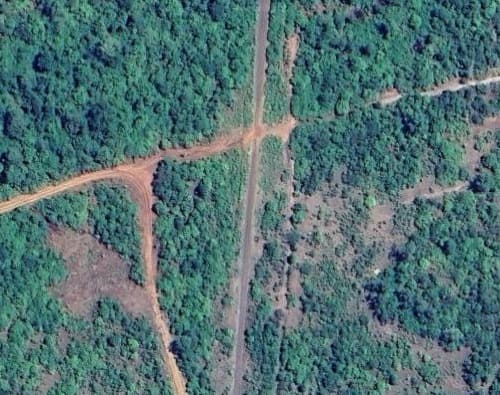
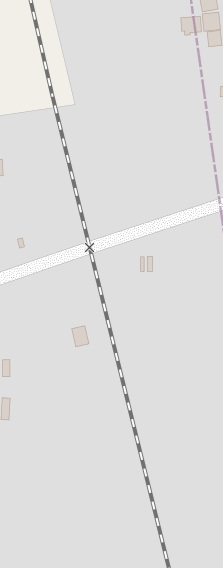
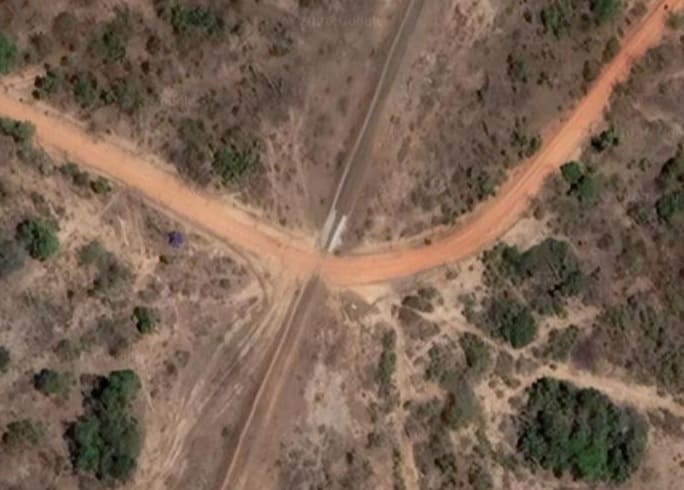
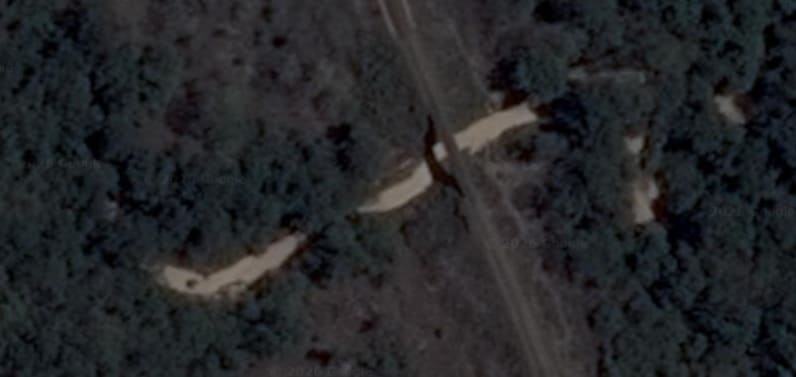
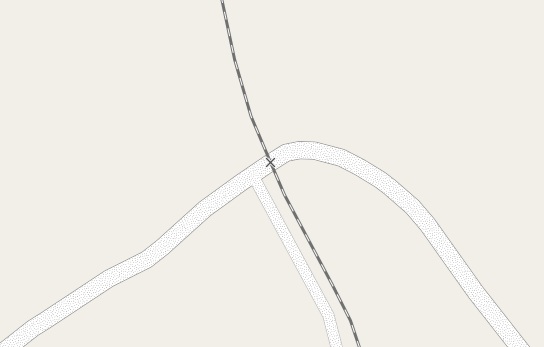
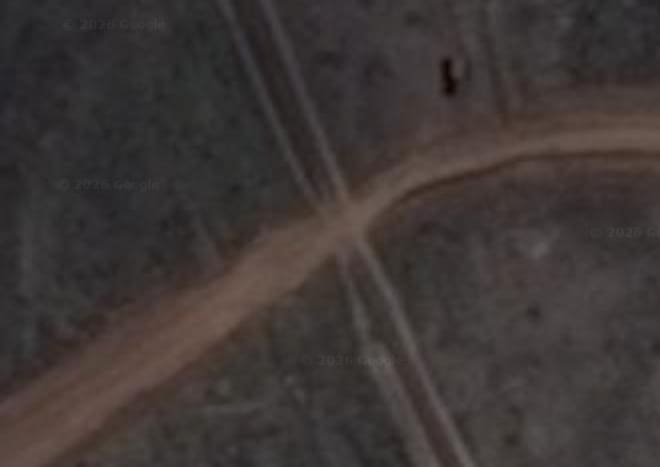
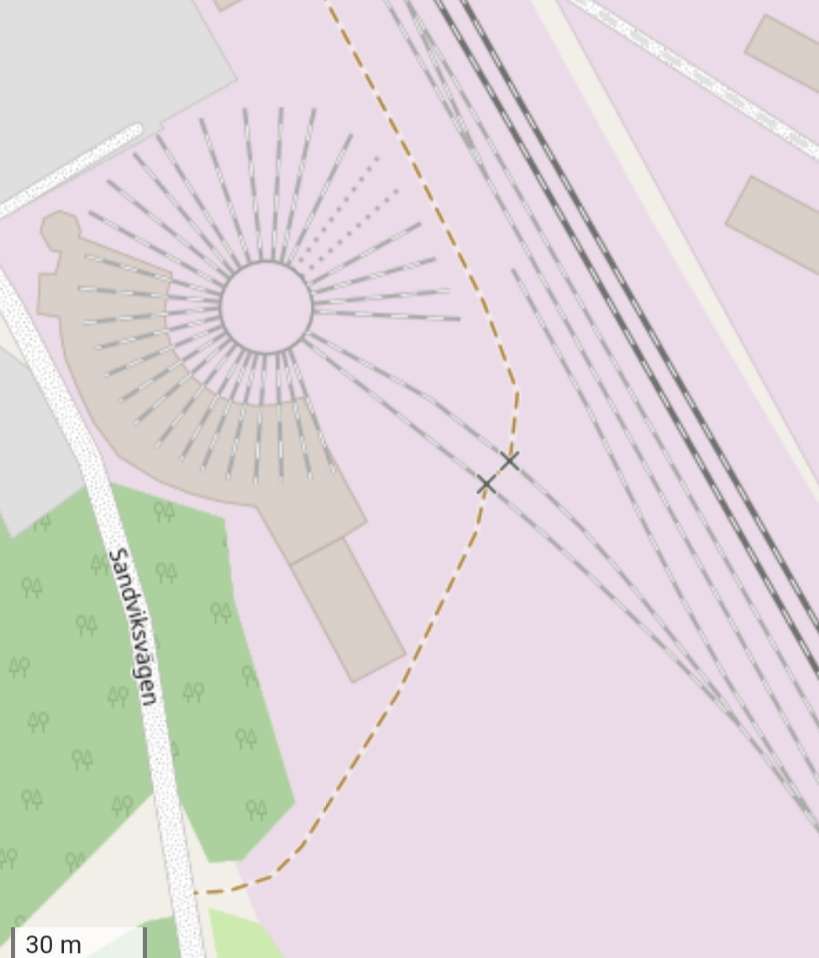
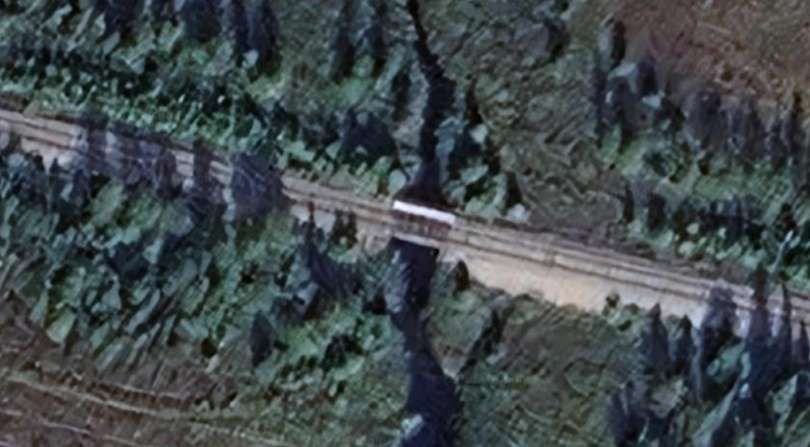
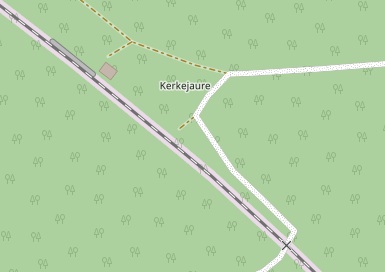
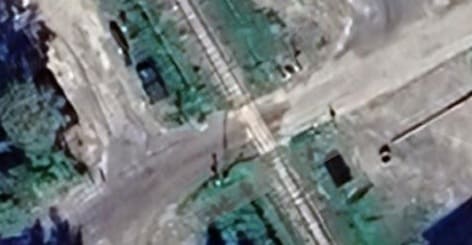
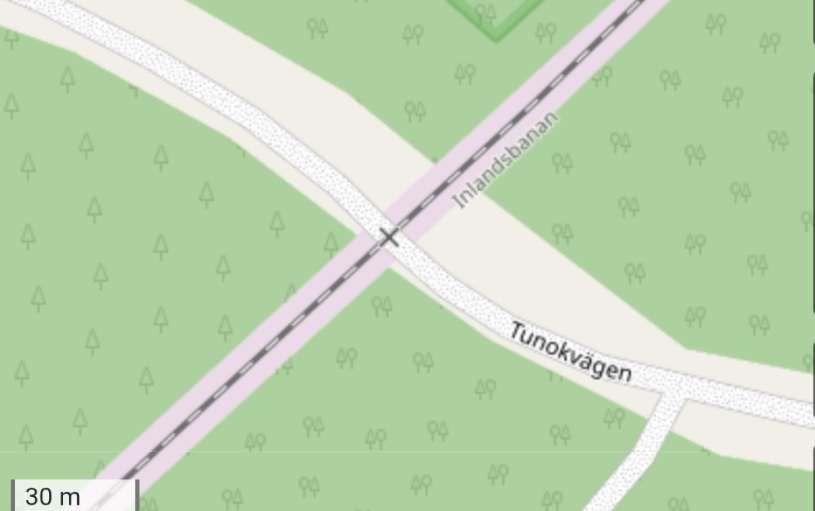
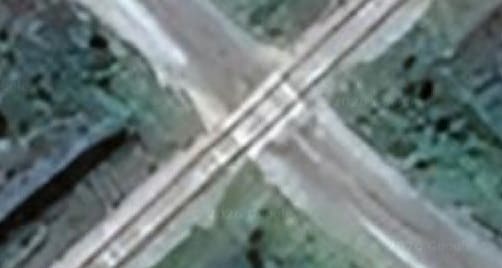
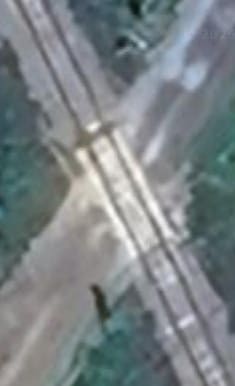
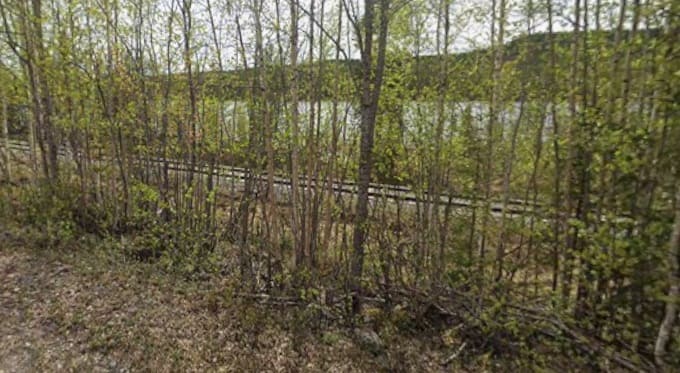
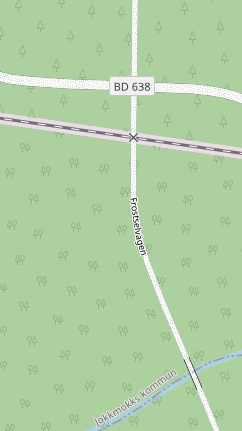
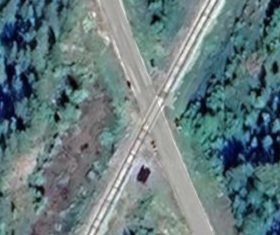
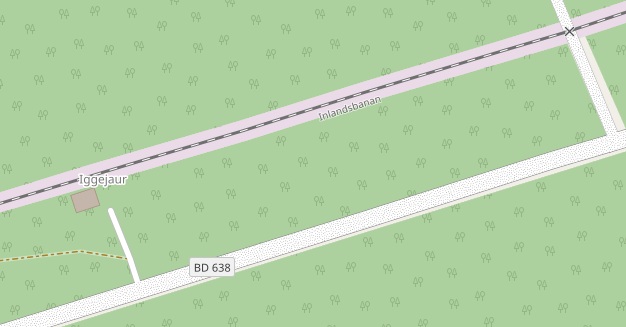
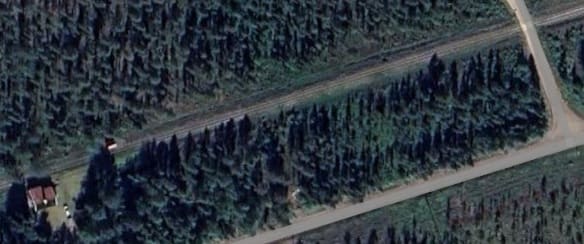
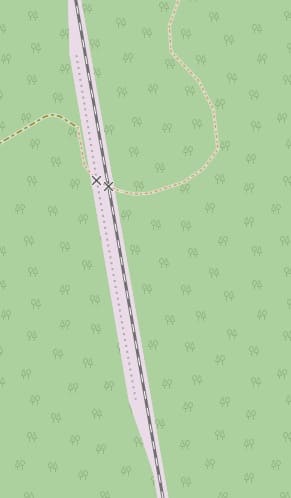
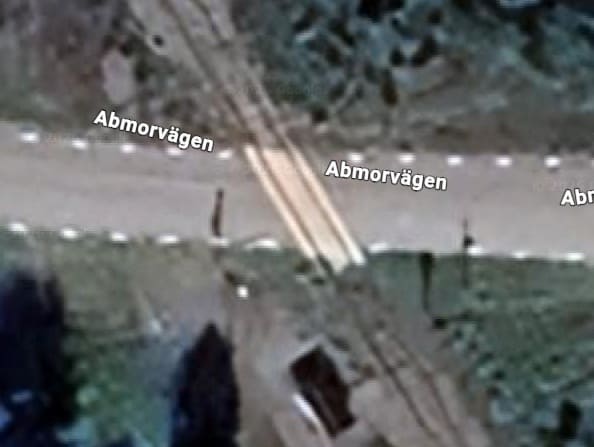
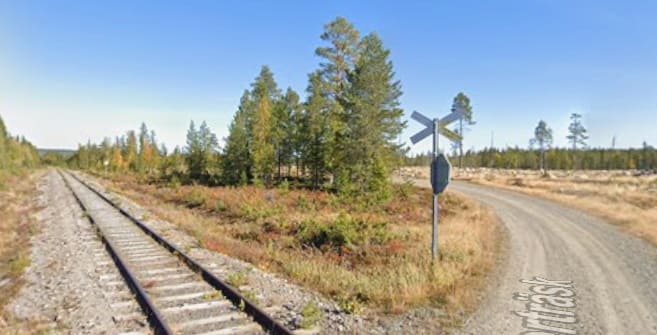
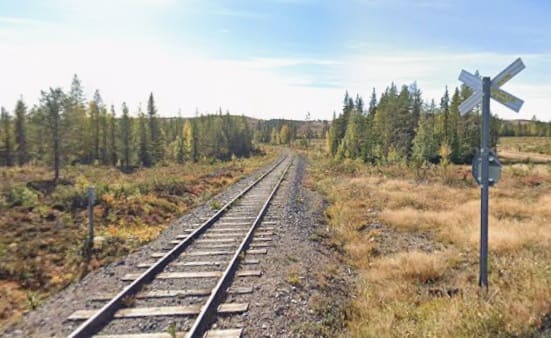
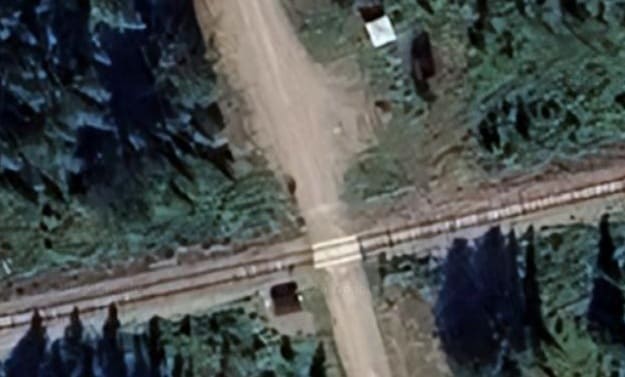
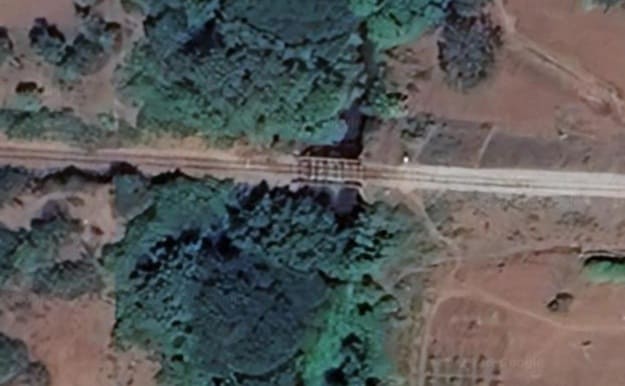
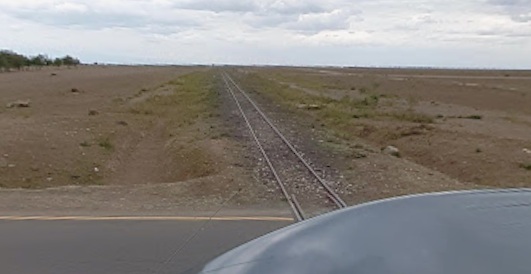
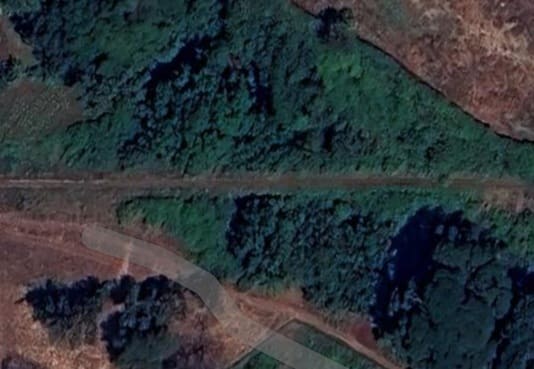
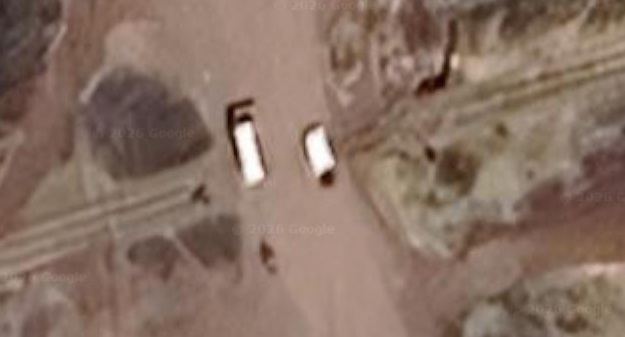
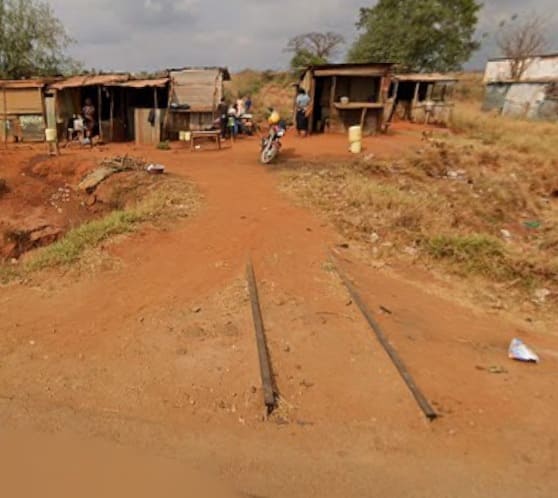
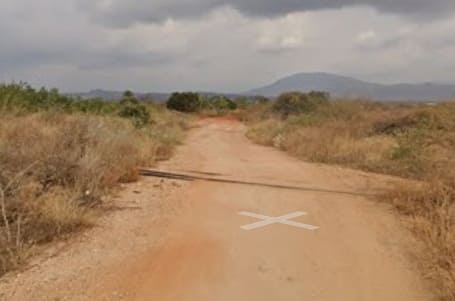
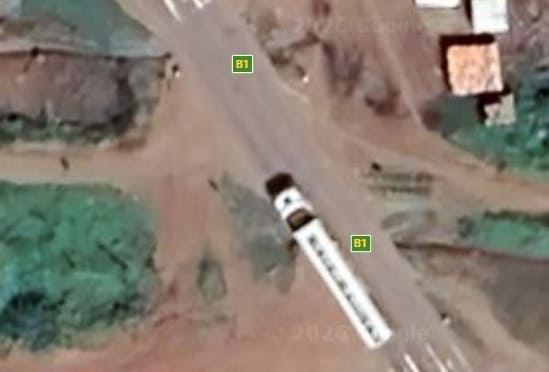
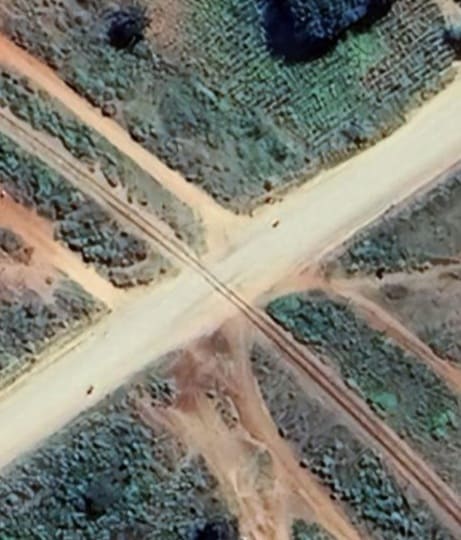
The image immediately below shows the road crossing marked by the ‘X’ on OpenStreetMap. [Google Maps, April 2026]
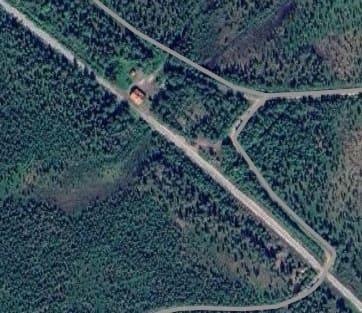
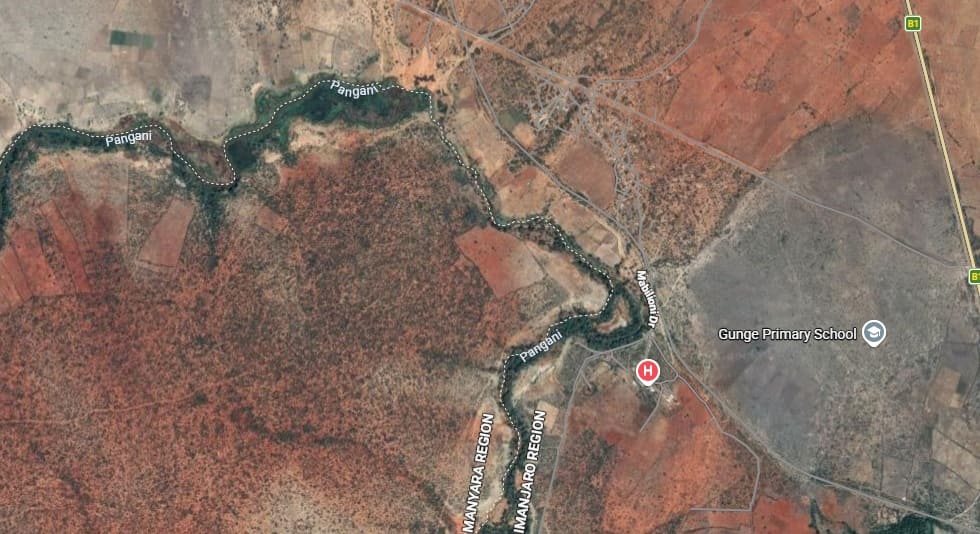
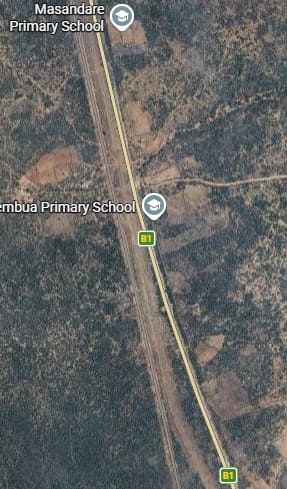
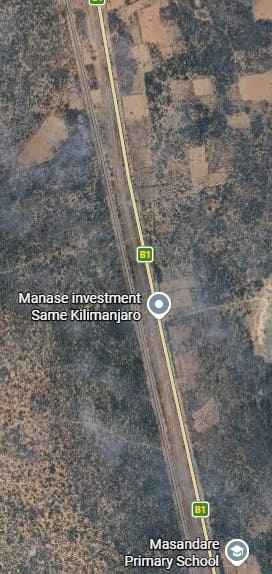
The line continues South. [26][Google Maps, April 2026]
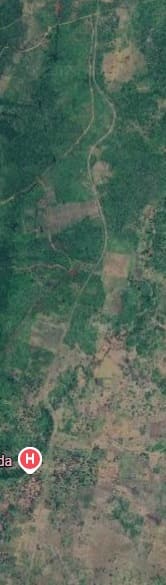
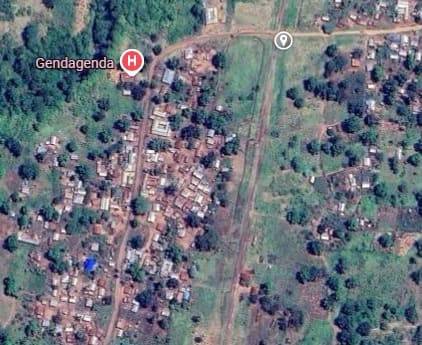
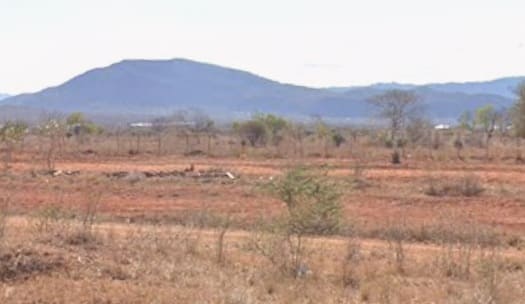
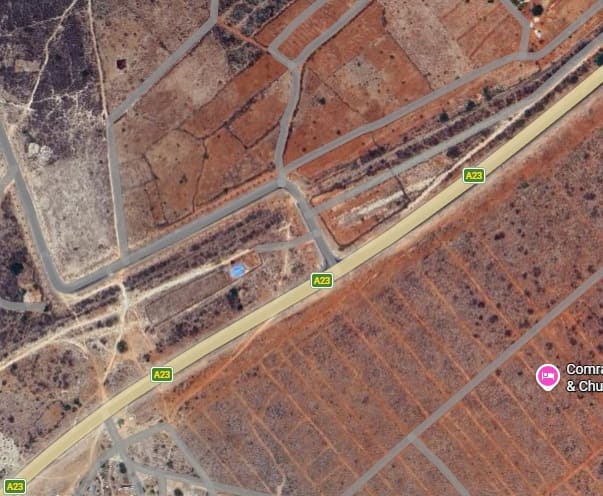
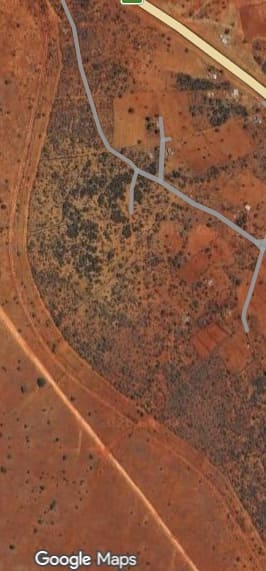
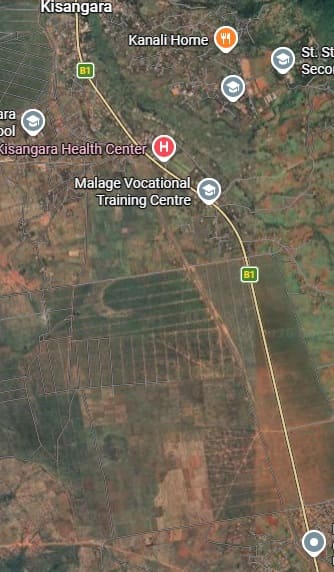
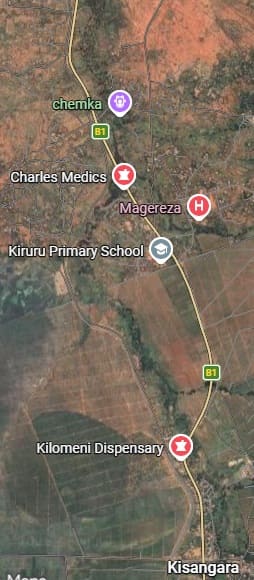
The hospital flagged on the image above is Gendagenda Hospital. The area around it is shown on the next image below. [Google Maps, April 2026]
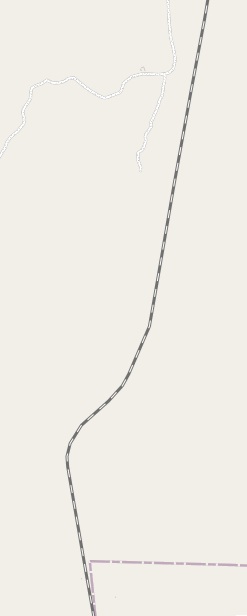
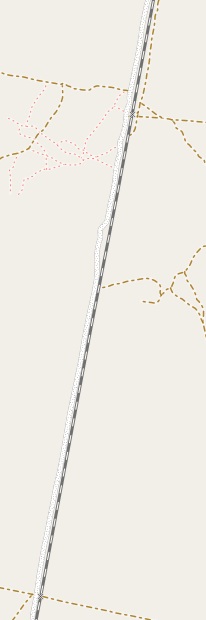
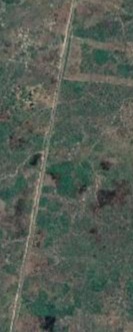
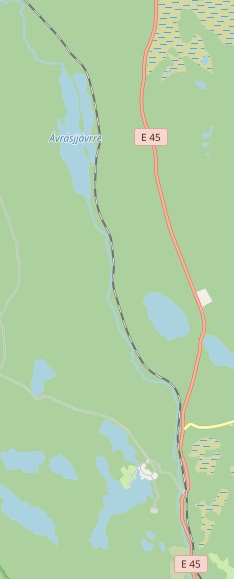
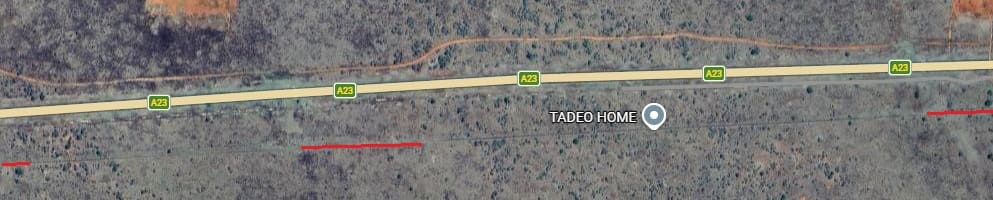
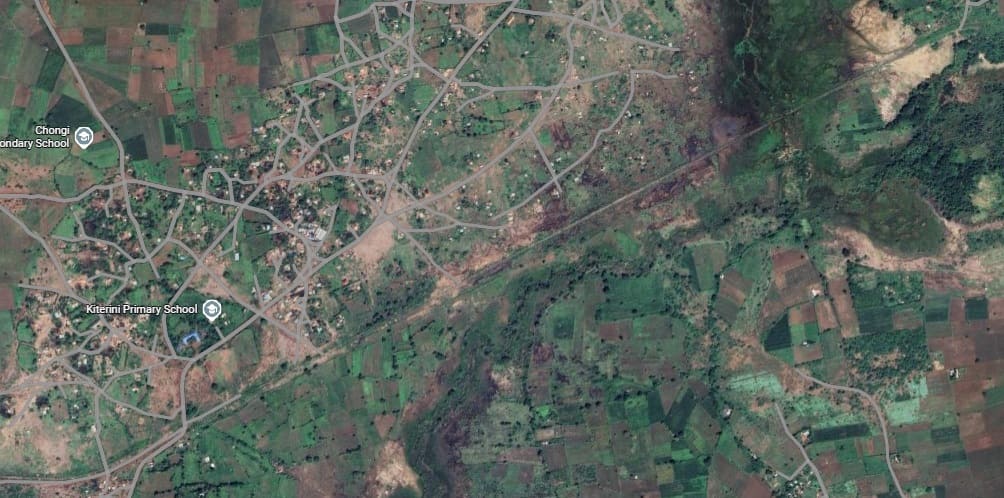
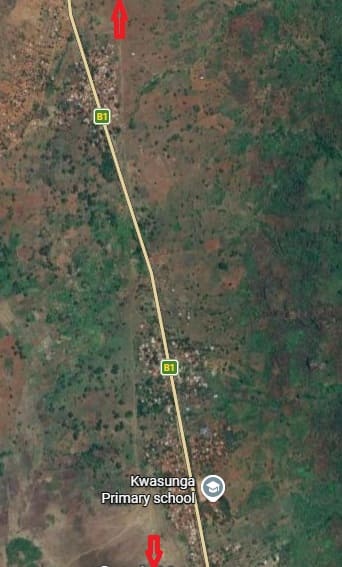
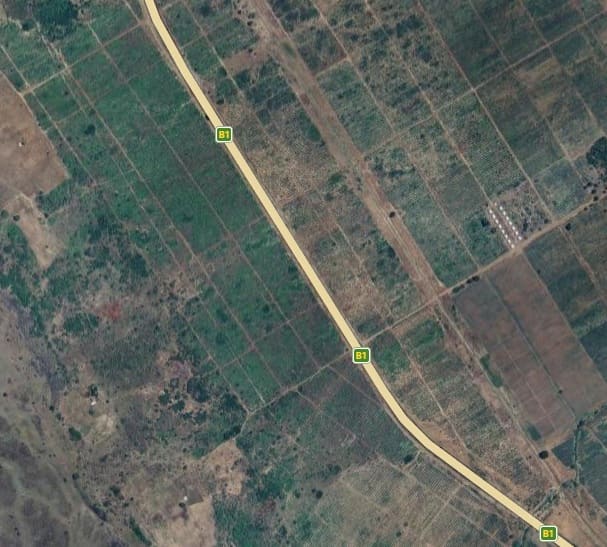
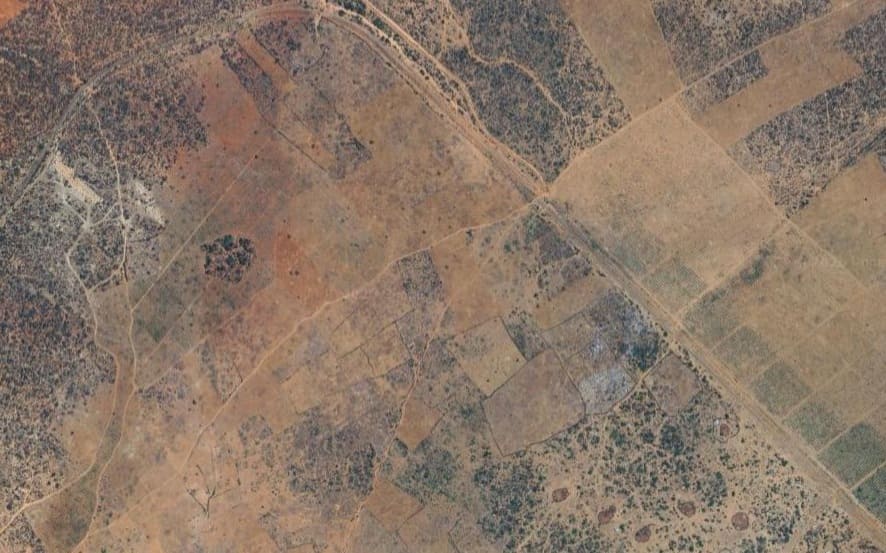
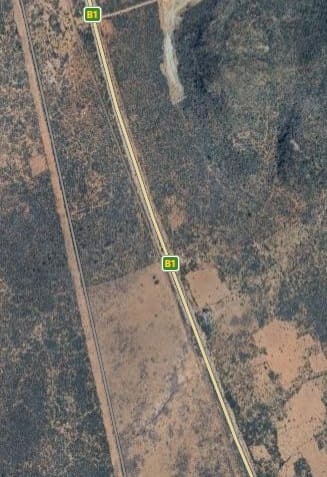
There is little to say about each length of the line as we head South. [27][Google Maps, April 2026]
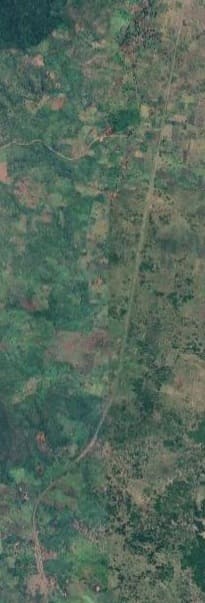
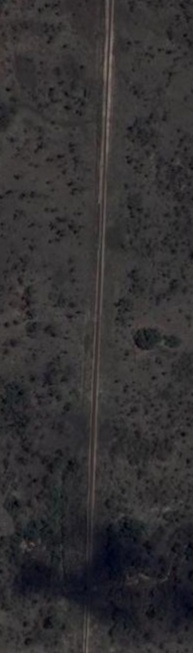
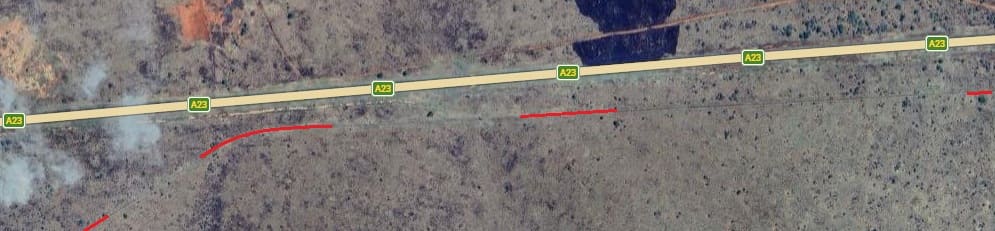
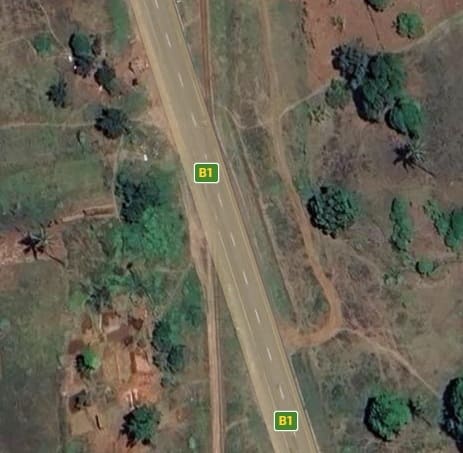
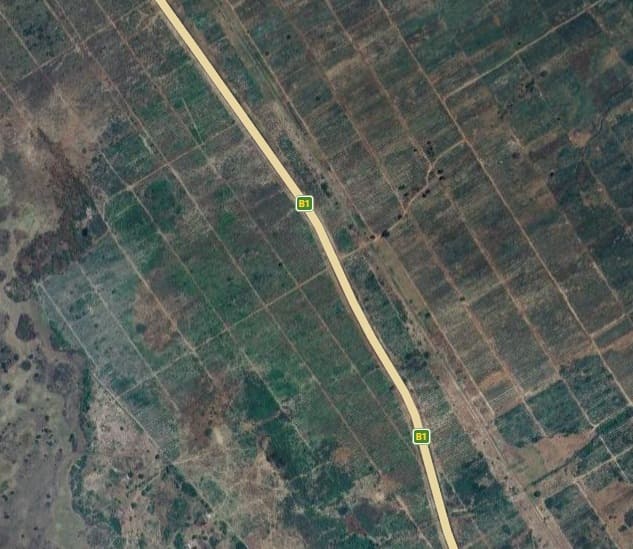
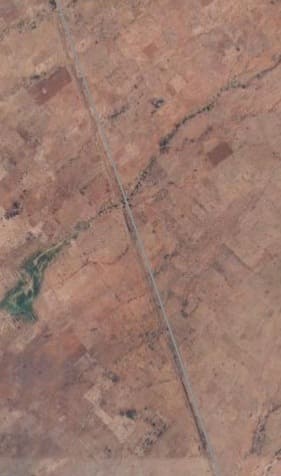
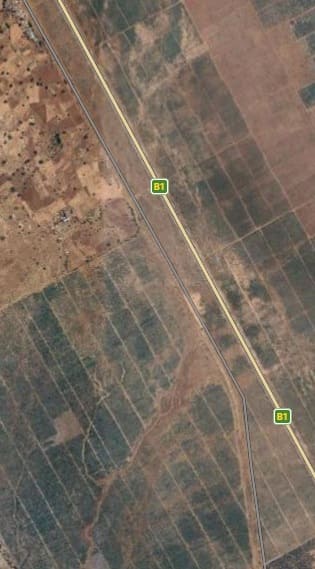
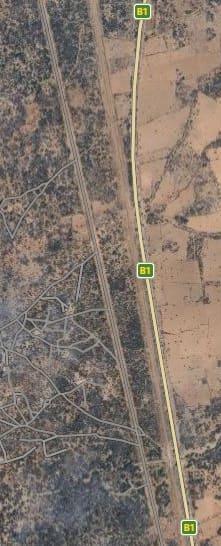
The relatively flat land over the next sections of the route of the line means that its path can be straight. [28][Google Maps, April 2026]

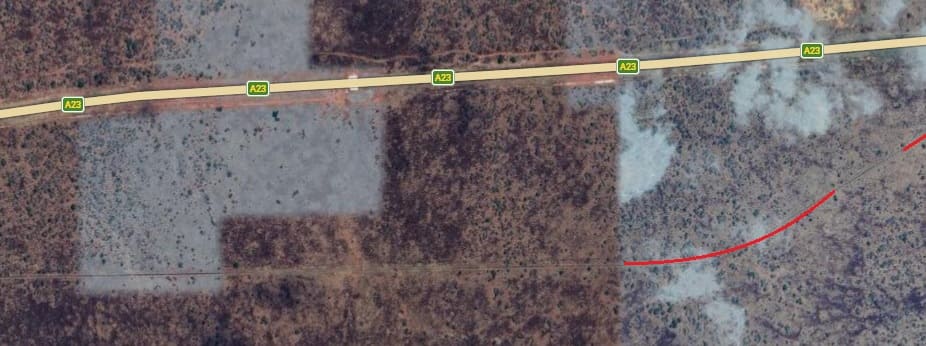
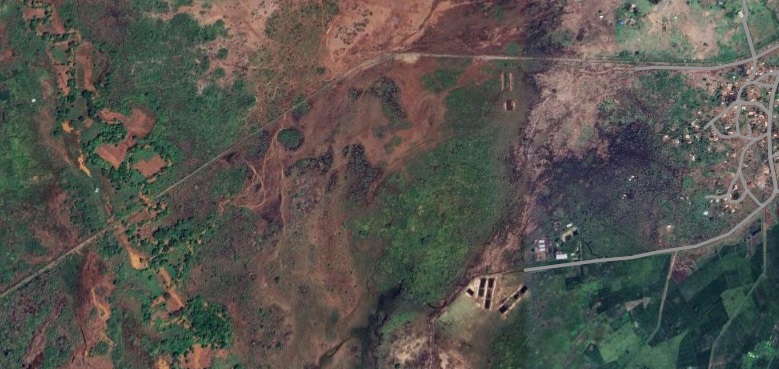
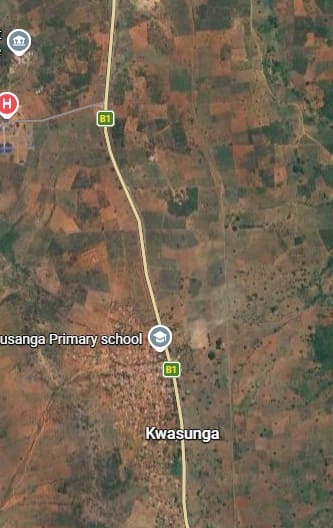
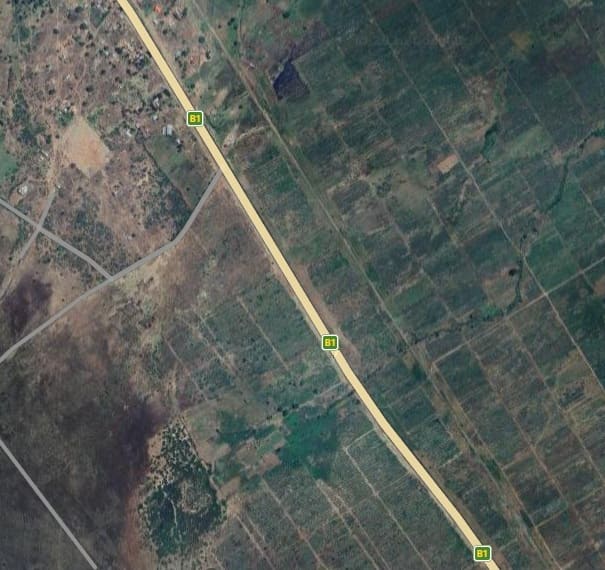
Another straight length of the line. [29][Google Maps, April 2026.
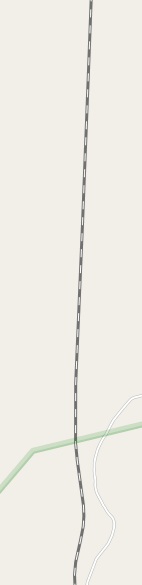
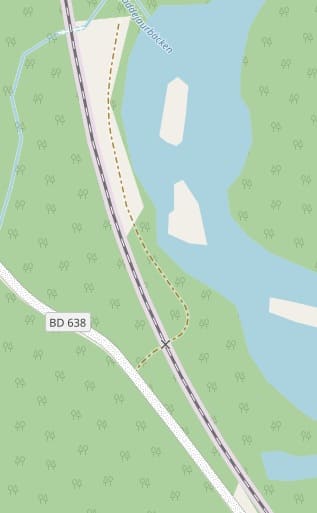
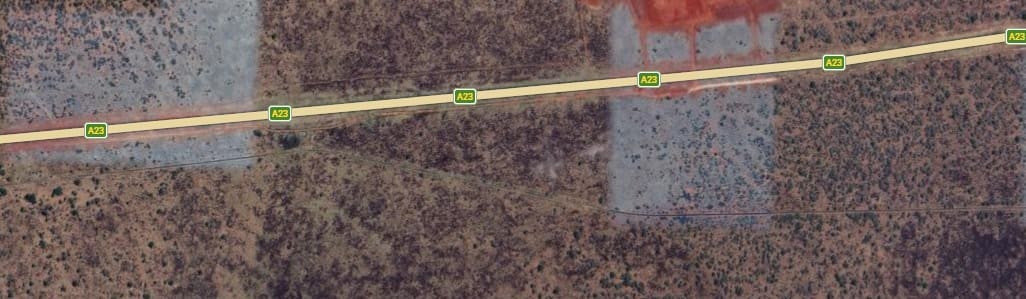
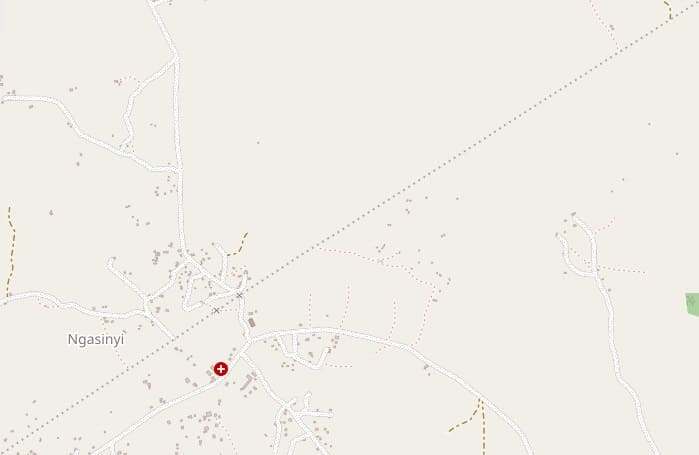
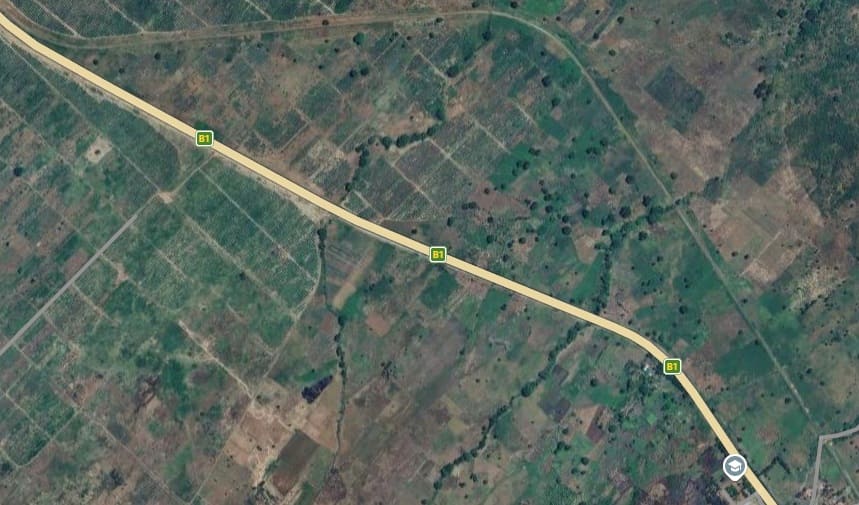
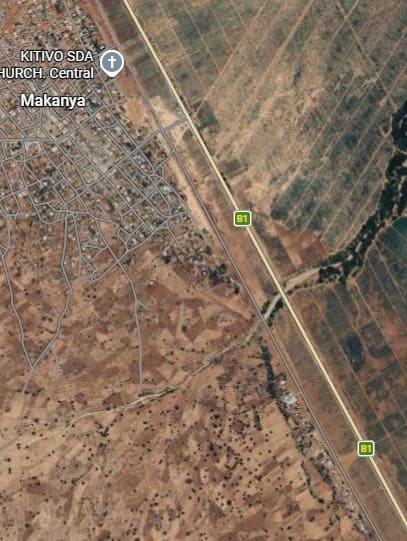
As the topography changes the line seeks the easiest gradients. [30] [Google Maps, April 2026]
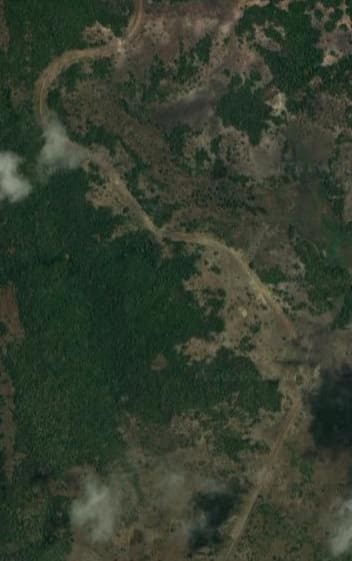
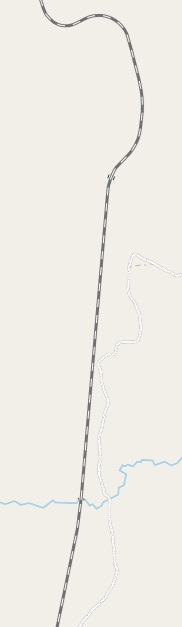
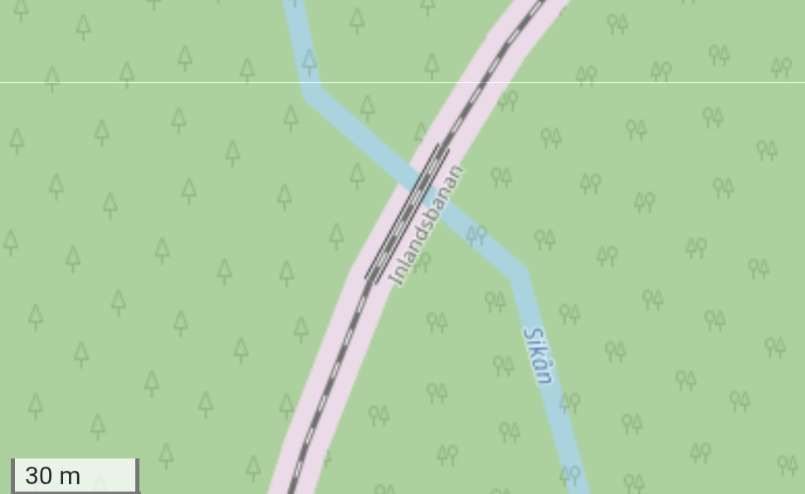
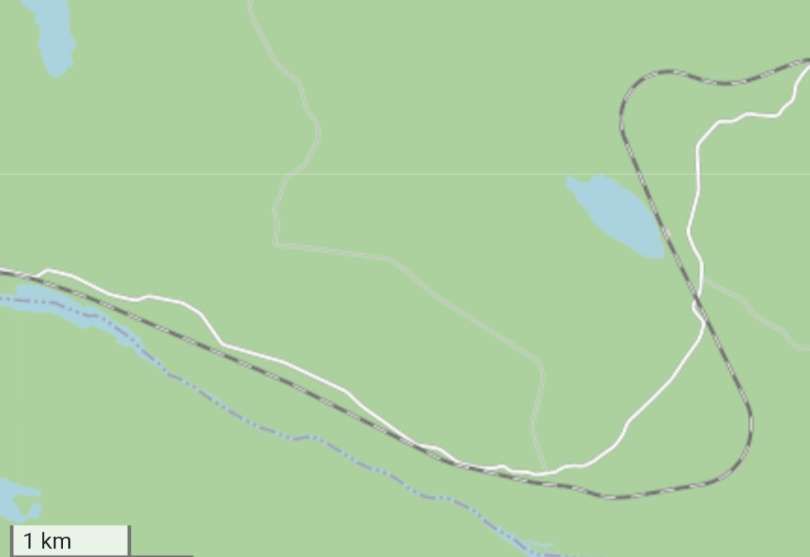
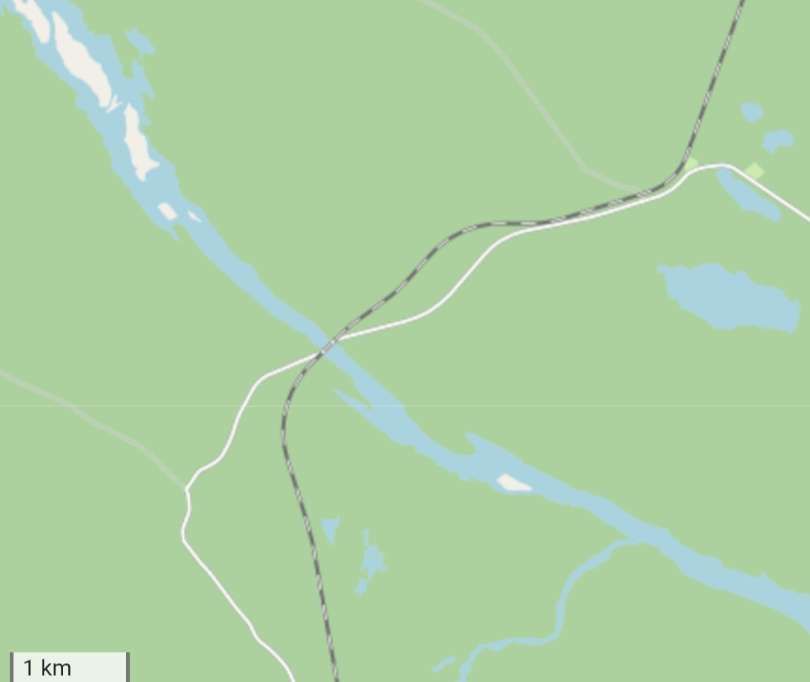
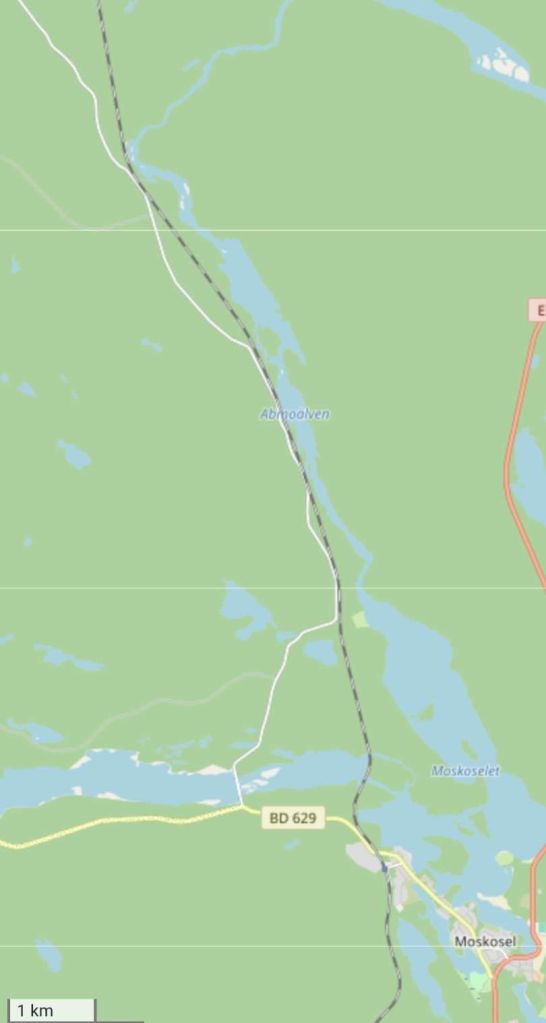
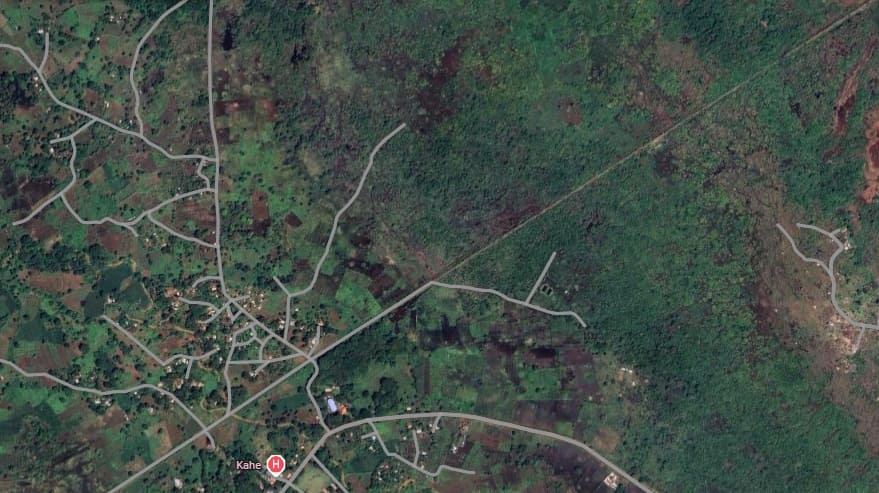
Two satellite images allow us to see the line following the course indicated by OpenStreetMaps. [Google Maps, April 2026]
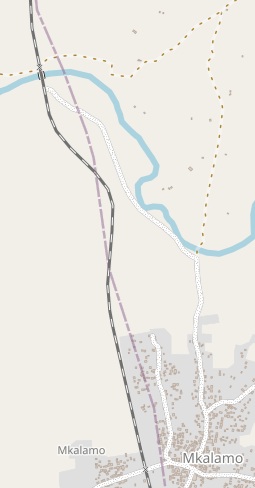
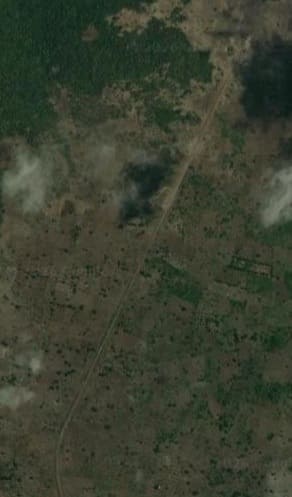
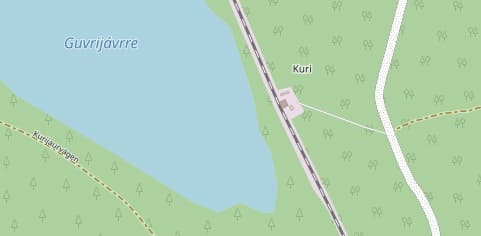
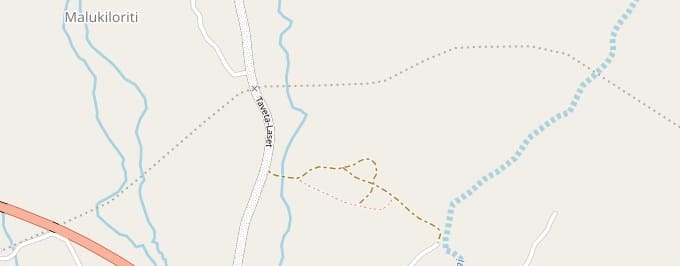
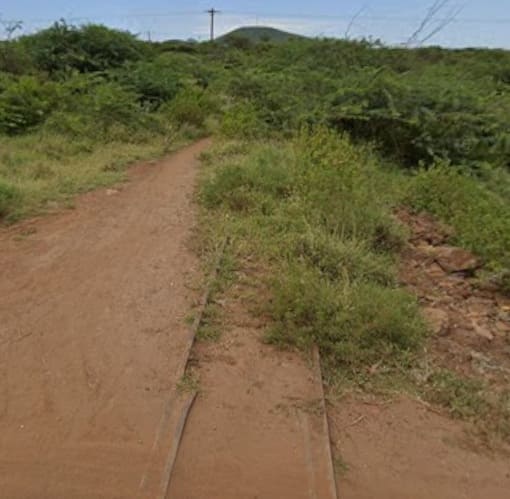
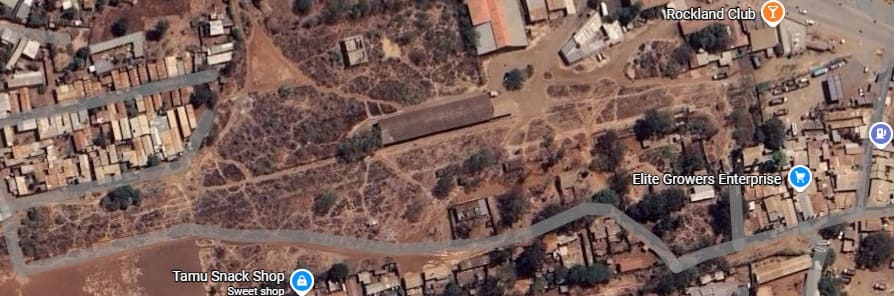
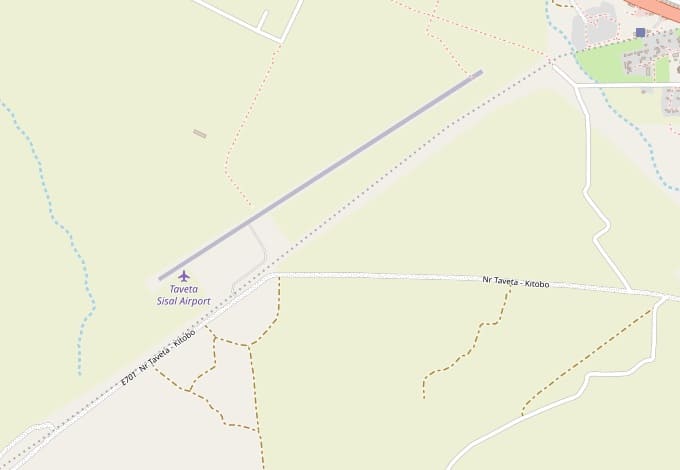
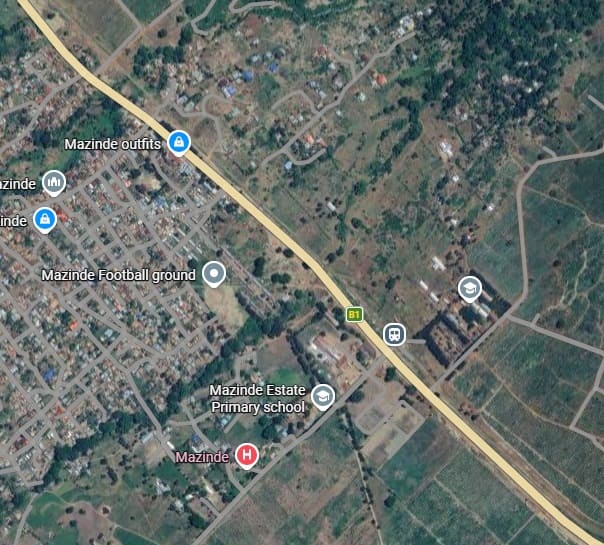
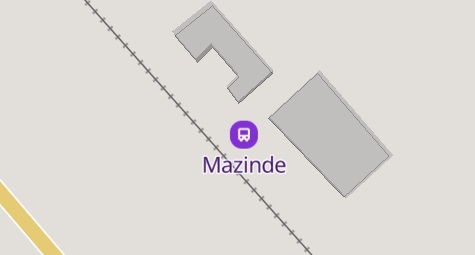
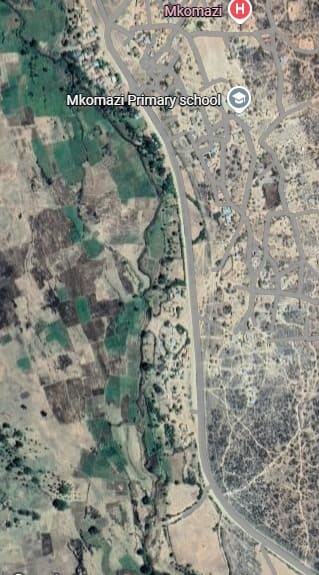
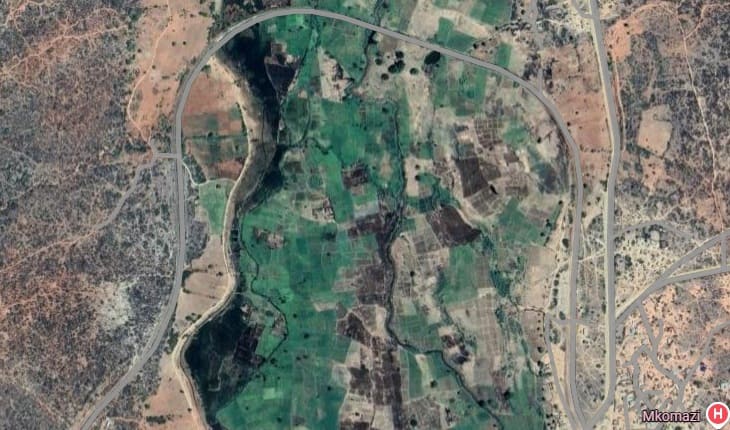
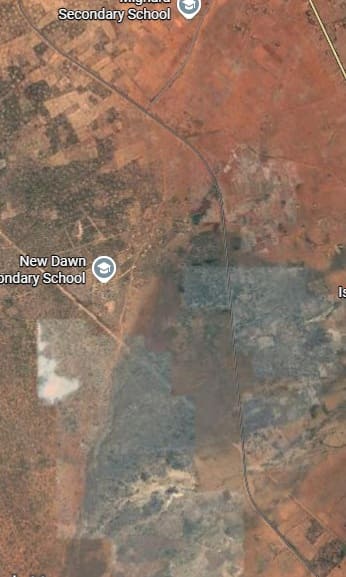
After bridging the river the line runs into Mkalamo. [31][Google Maps, April 2026]
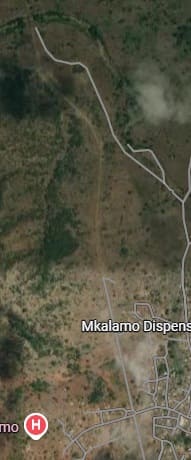

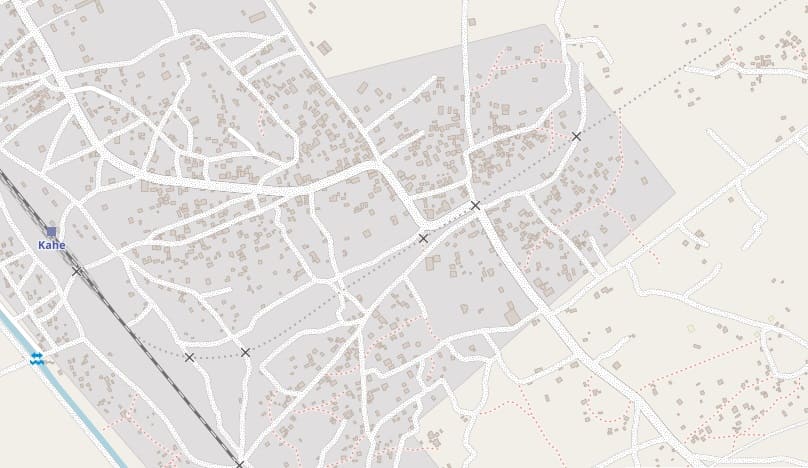
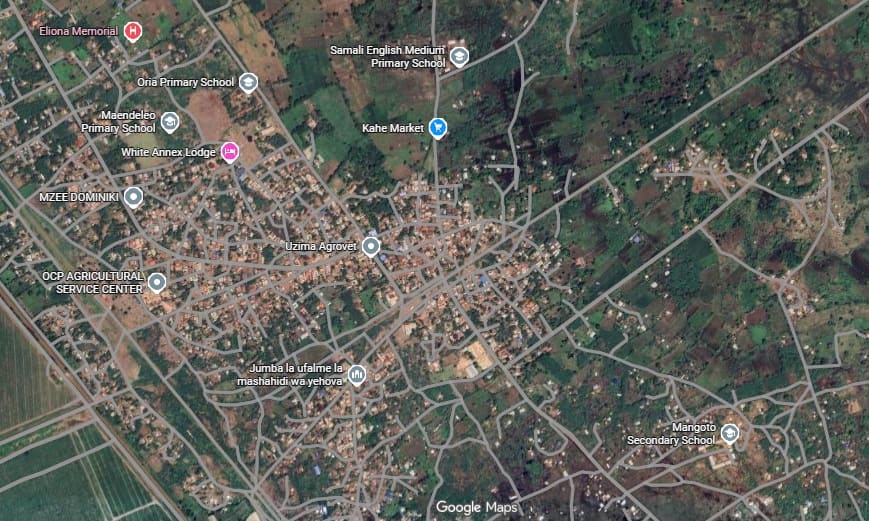
The most likely locations for a halt at Mkalamo are immediately North or South of the road which crosses the line. [31]
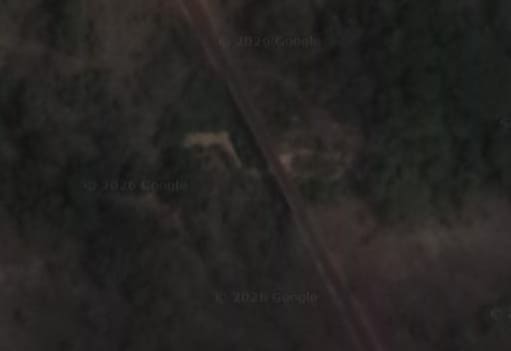
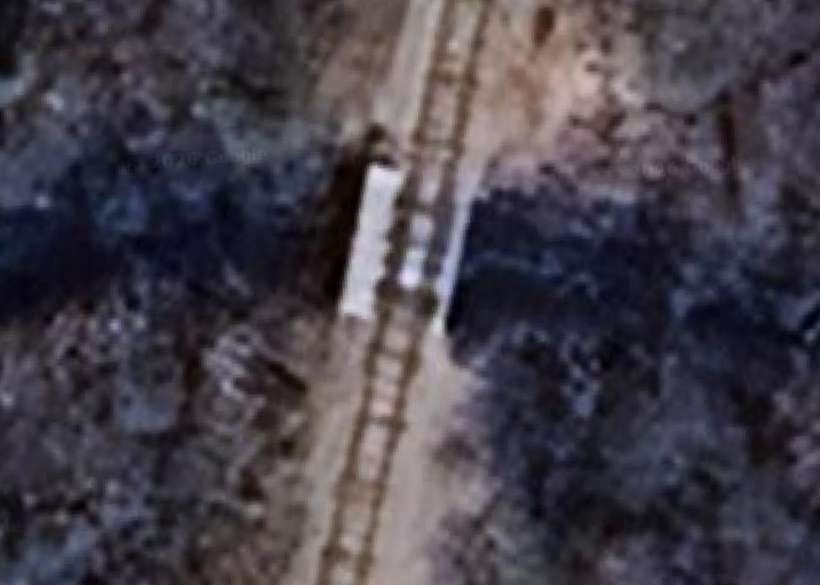
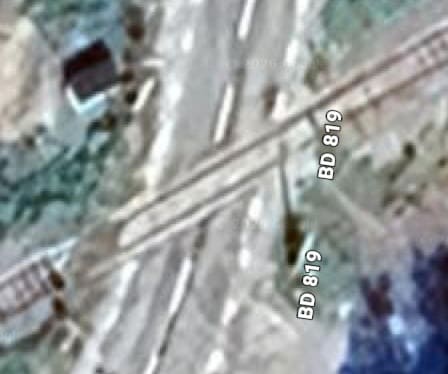
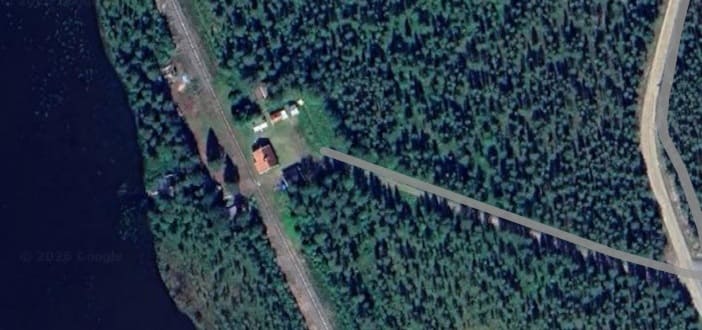
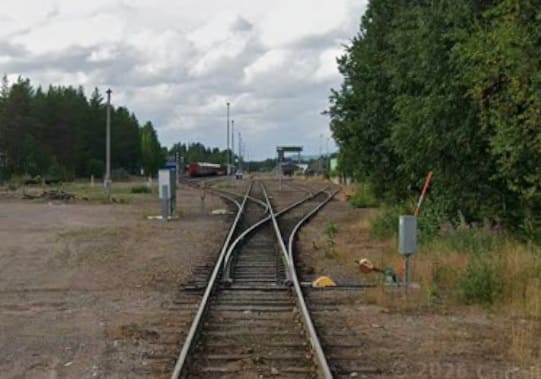
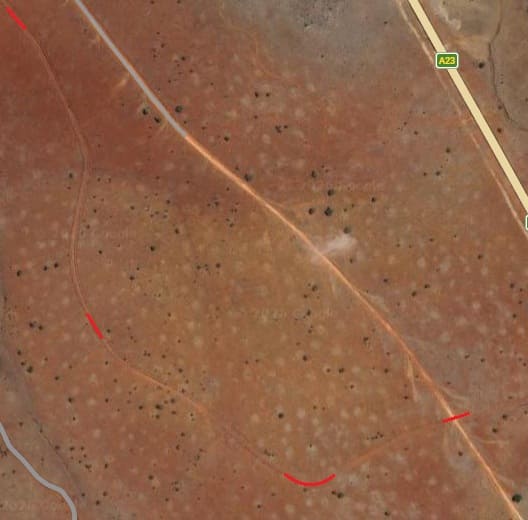
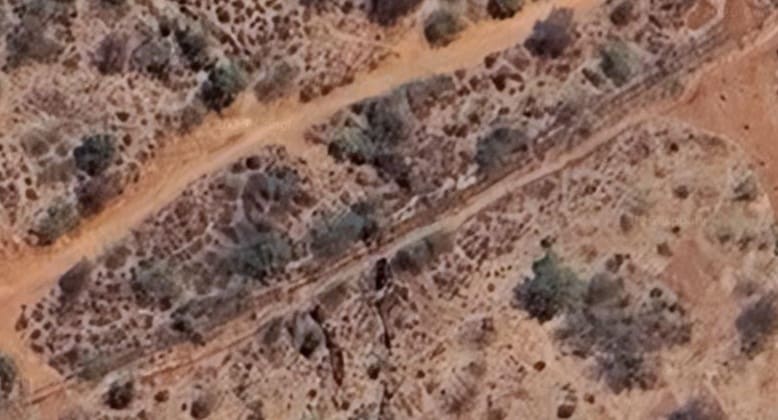
A close inspection of the satellite imagery shows a passing loop to the straddling the road-crossing. [Google Maps, April 2026]
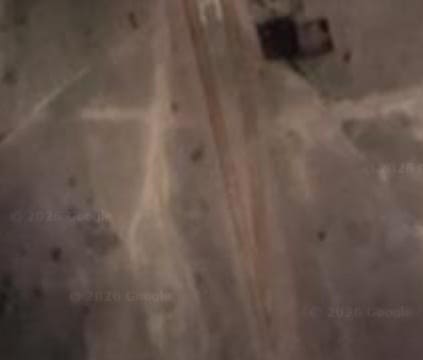

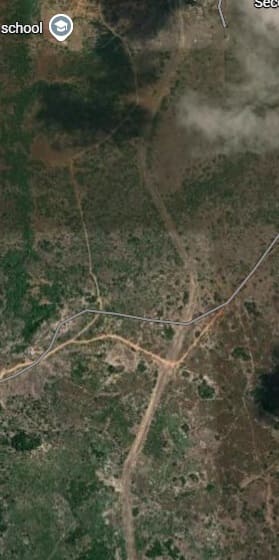
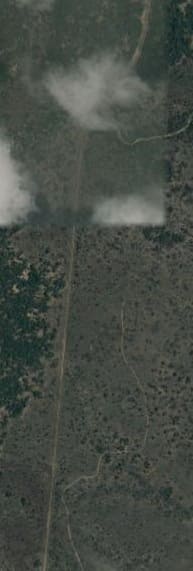
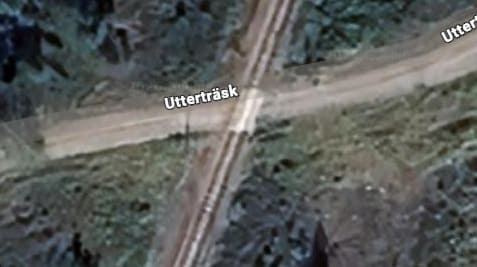
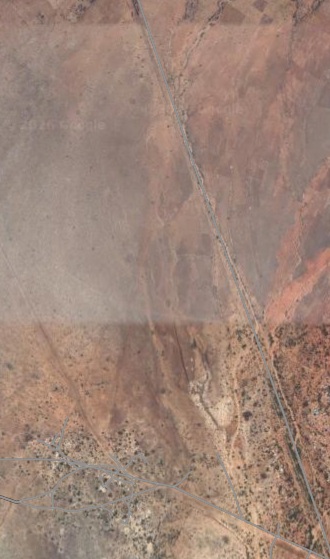
The location of the road-crossing at Mkalamo is slightly obscured by cloud. In addition the satellite images in this area of Tanzania are not of a particularly high resolution. [Google Maps, April 2026]
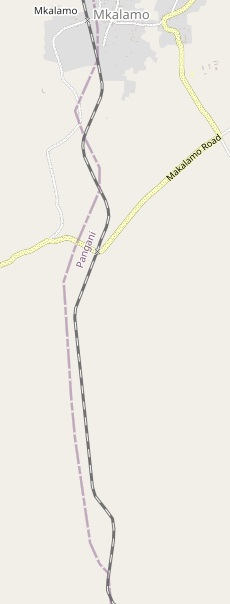
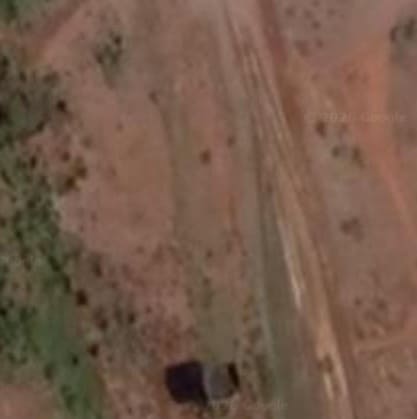
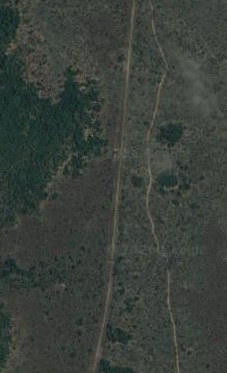
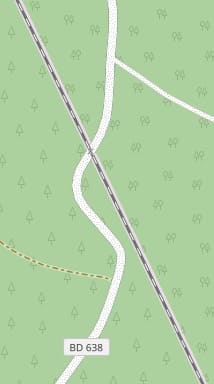
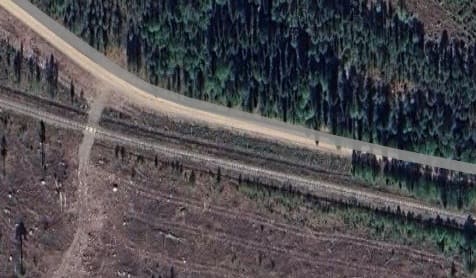
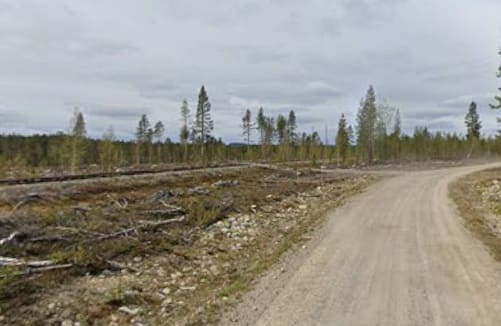
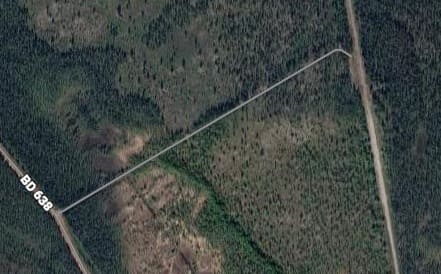
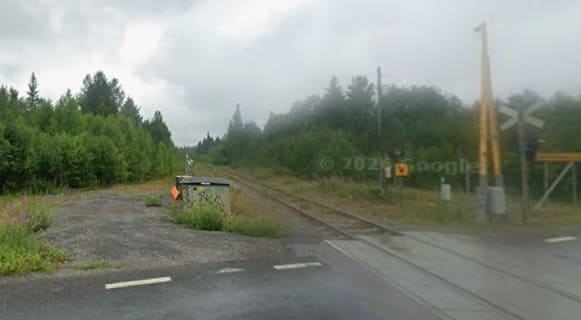
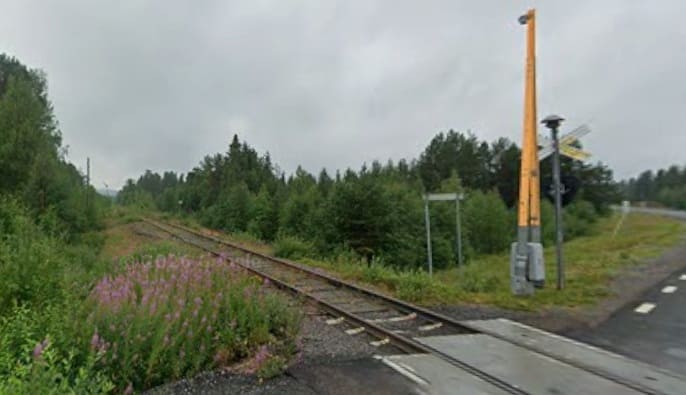
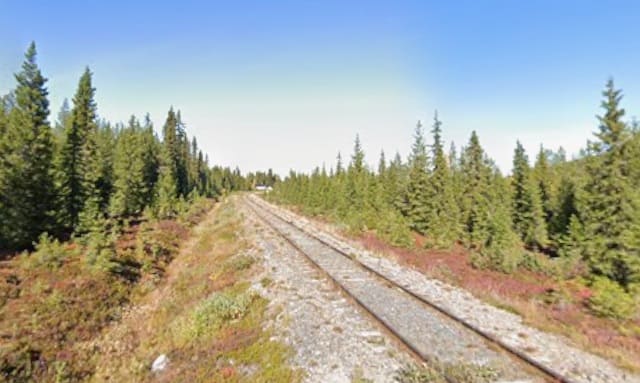
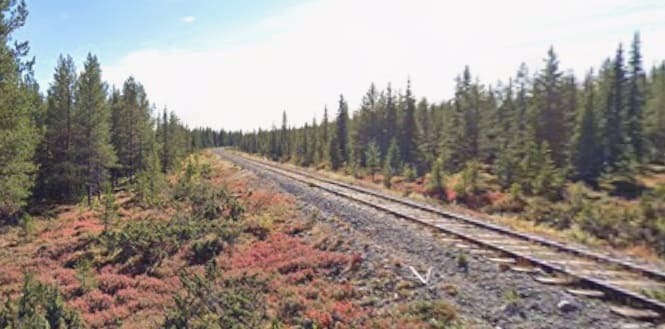
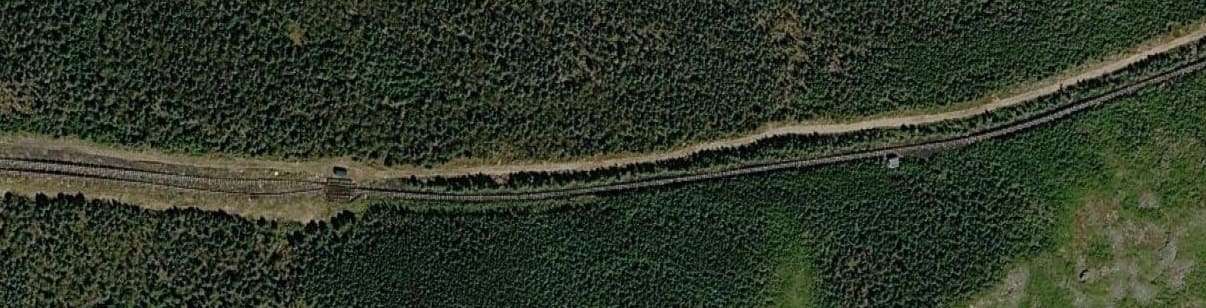
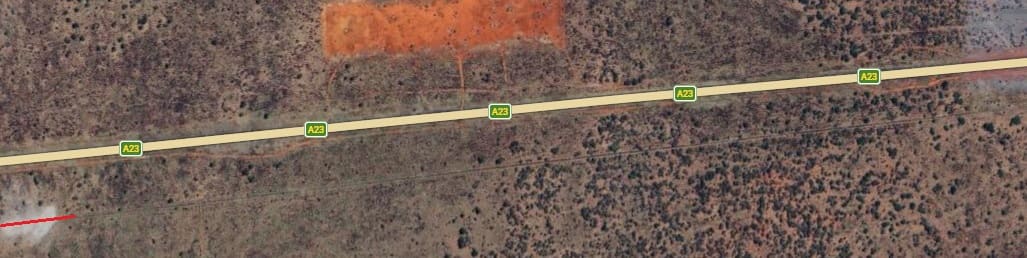
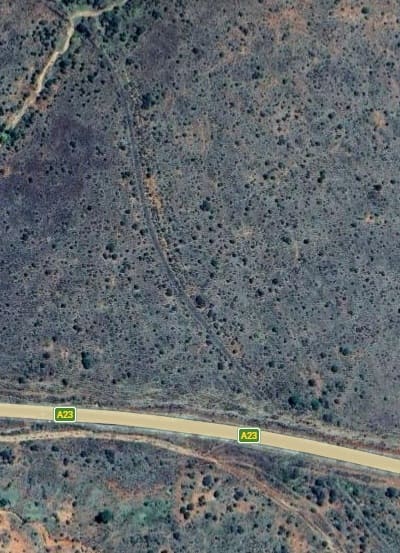
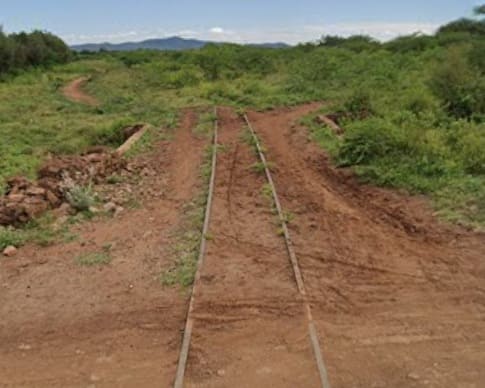
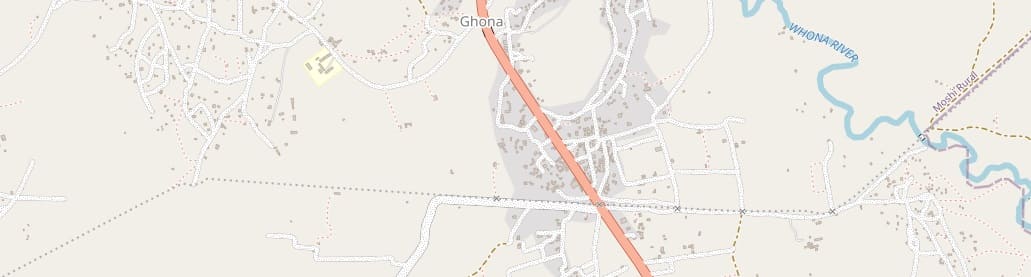
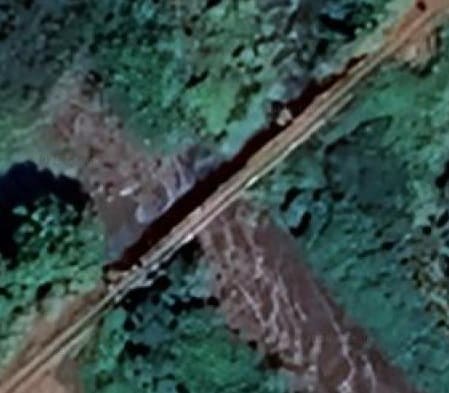
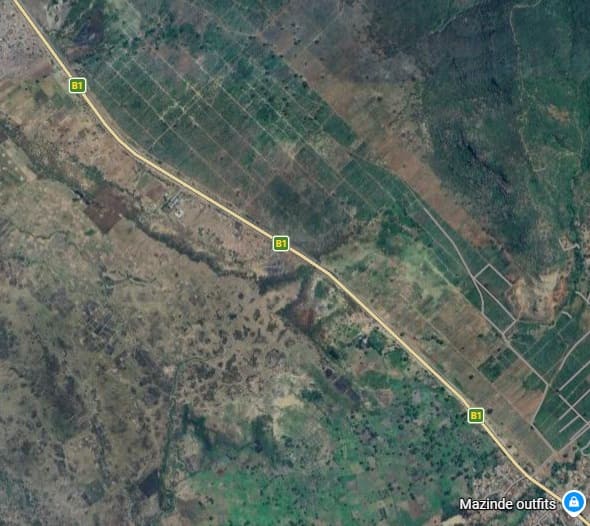
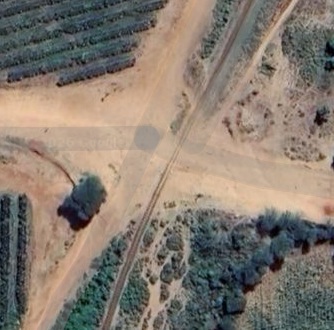
South of Mkalamo, the line crosses the Makalamo Road. [32][Google Maps, April 2026]
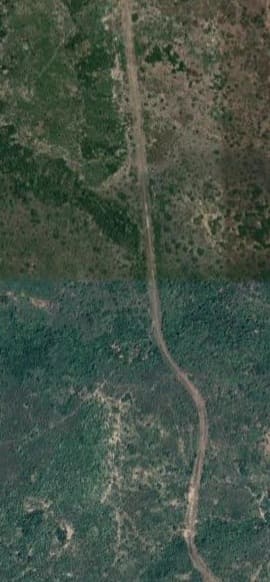
South of Mkalamo, the railway line continues running South. [33][Google Maps, April 2026]
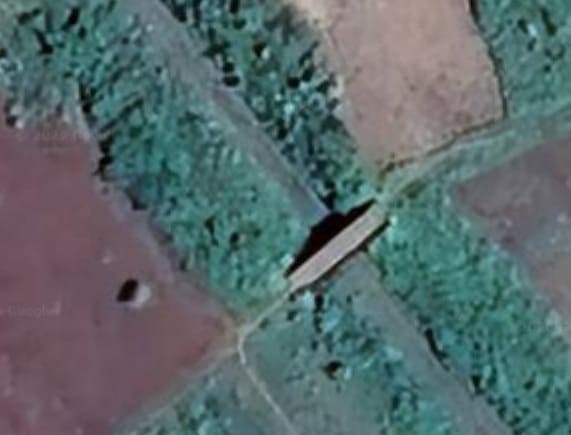
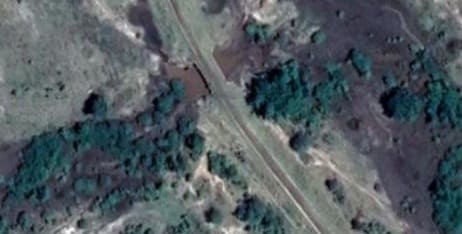
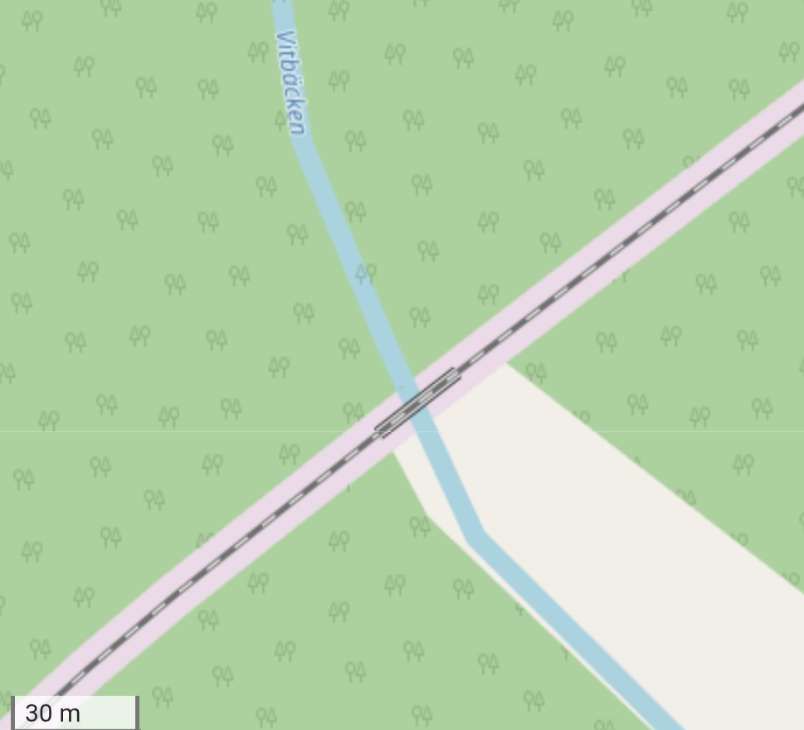
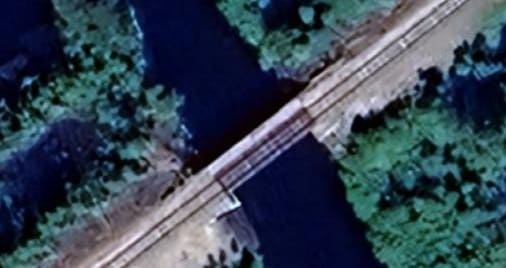
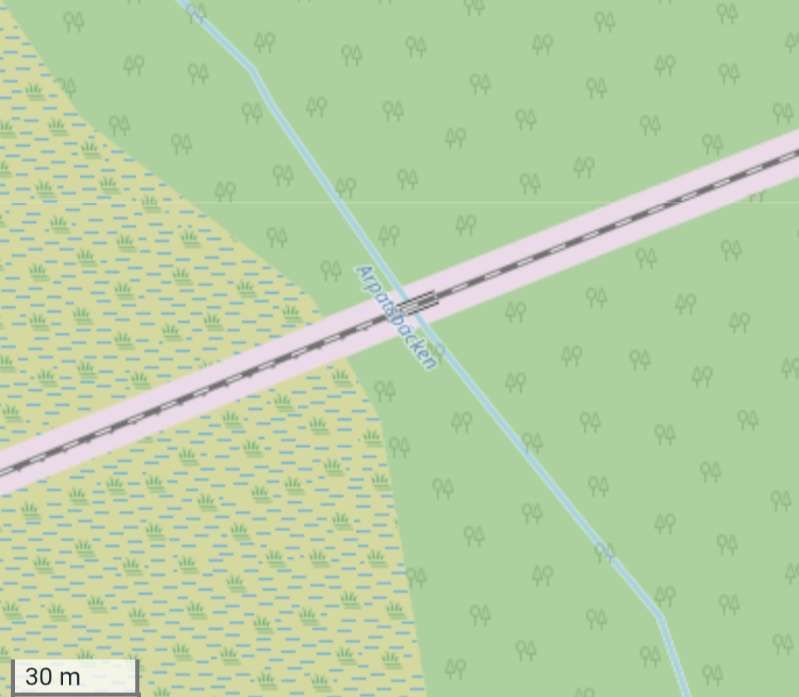
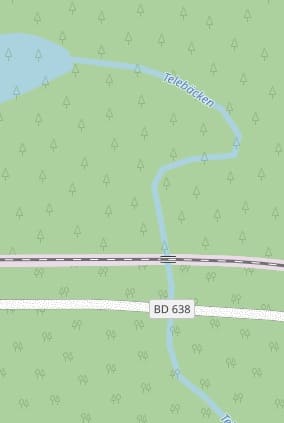
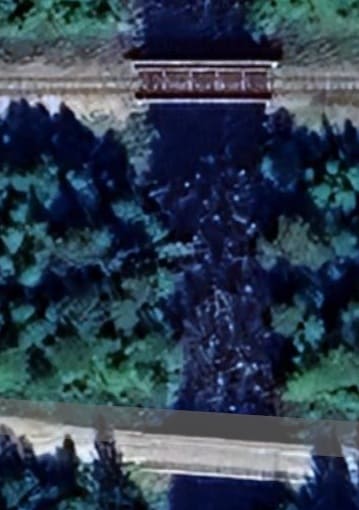
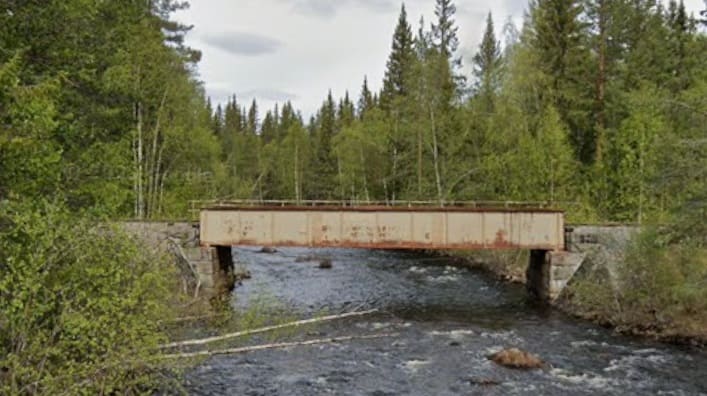
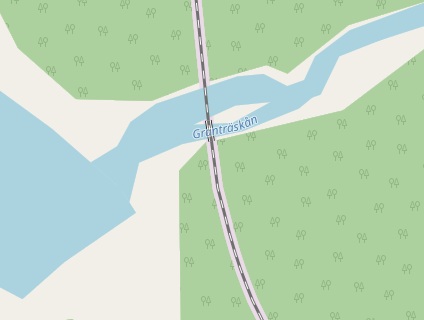
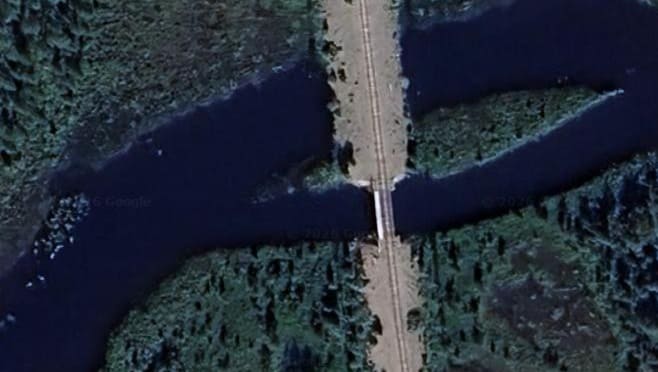
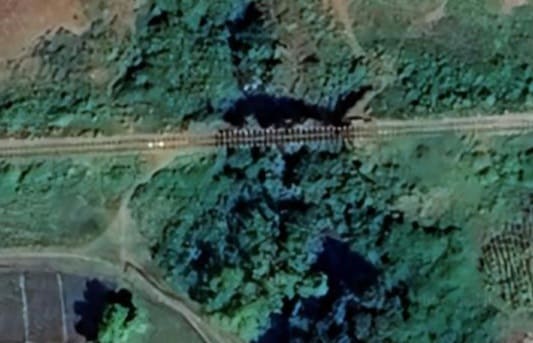
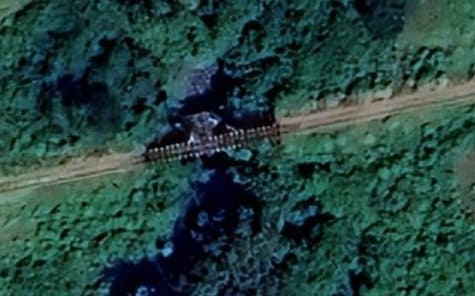
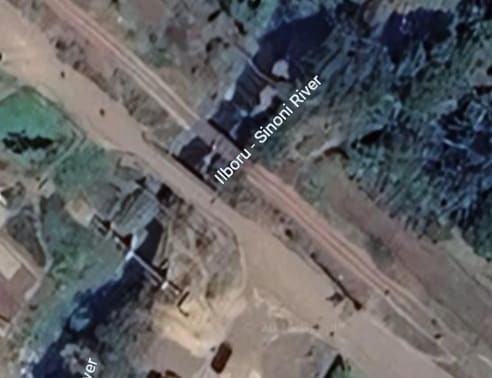
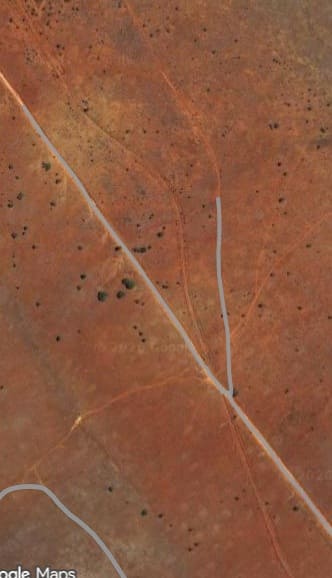
Two obvious watercourses can be seen on the satellite images above. The first appears to be culverted under the line as no bridge is visible. The second is spanned by a small girder-bridge.
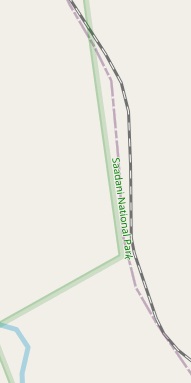
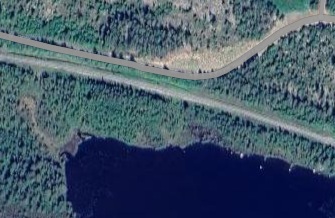
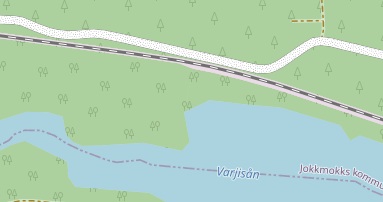
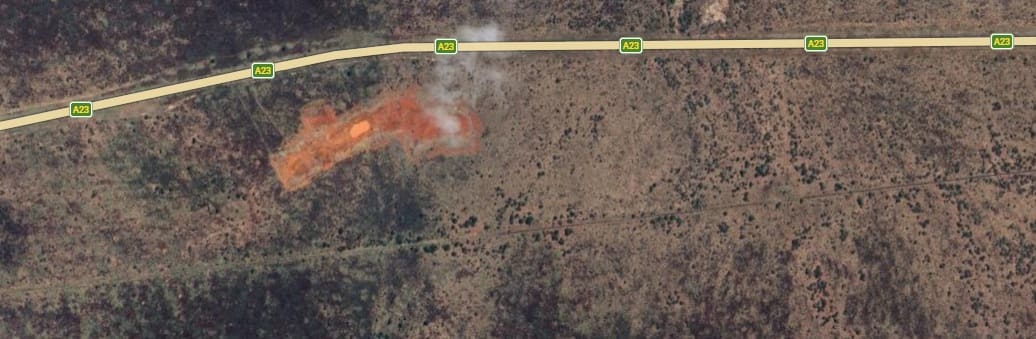
Here the line turns away from the boundary of the Saadani National Park. [34][Google Maps, April 2026]
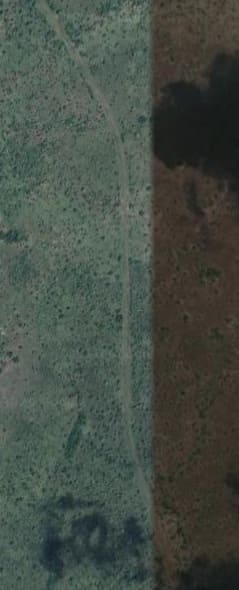
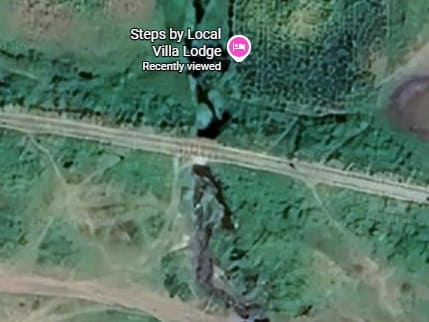
Cloud cover on the satellite imagery from Google means that it is difficult to follow the line on the satellite imagery.
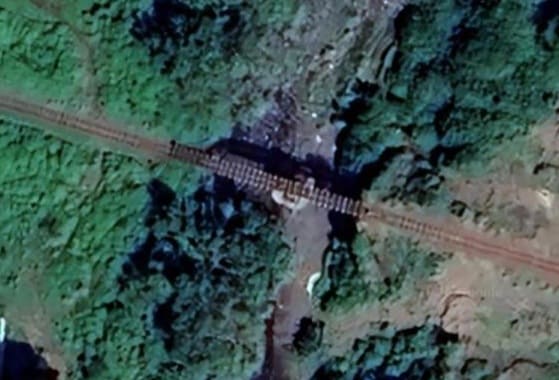
A much closer focus on the bridge location. The low resolution of the satellite imagery means that we can only just perceive the straight lines of the bridge parapets. [Google Maps, April 2026]

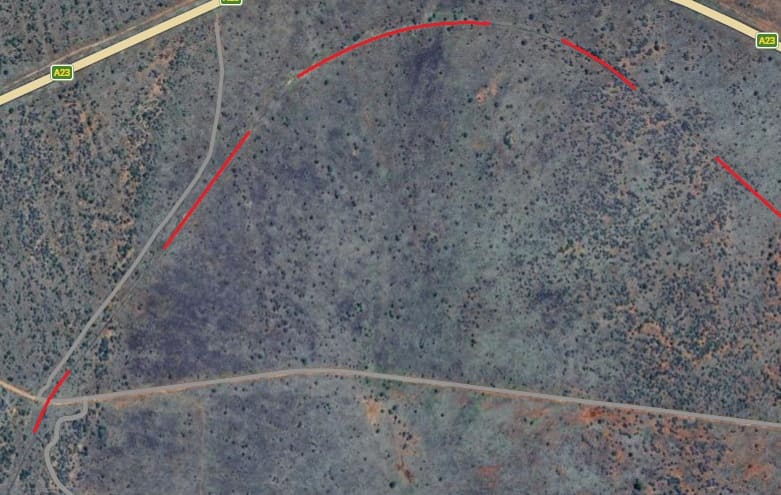
On this next extract from the satellite imagery the line can just be made out at the top-left corner. Hidden by cloud cover, it curves round to the East before turning South once again. It can be seen curving to the Southeast and leaving the extract at the bottom-right corner in shadow. [Google Maps, April 2026]
Covered by cloud, the line heads Southeast before curving East and then South. The changes of direction appear bottom-right of the OpenStreetMap extract above and at the top of that below.
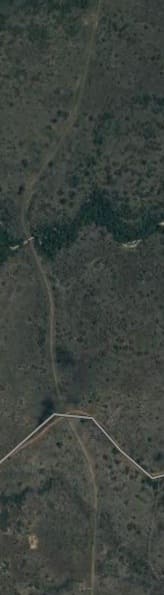
The line tuns South and continues in a southerly direction. [36]
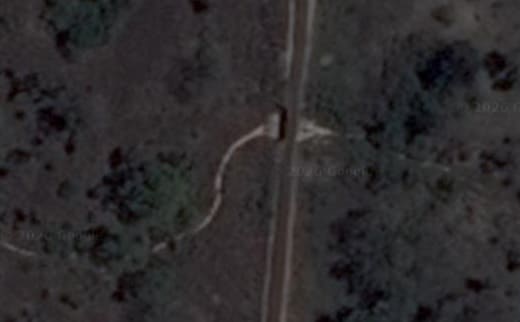
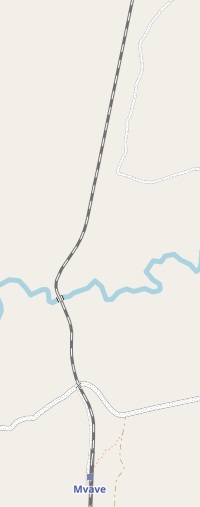
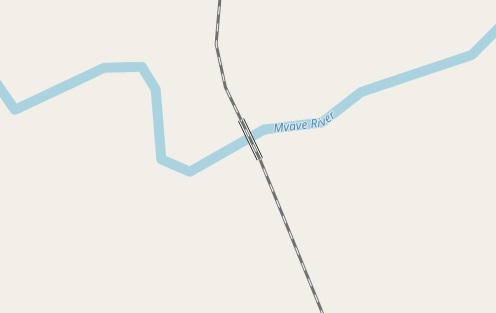
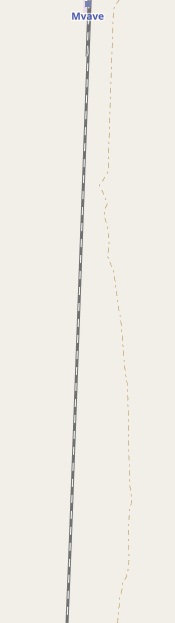
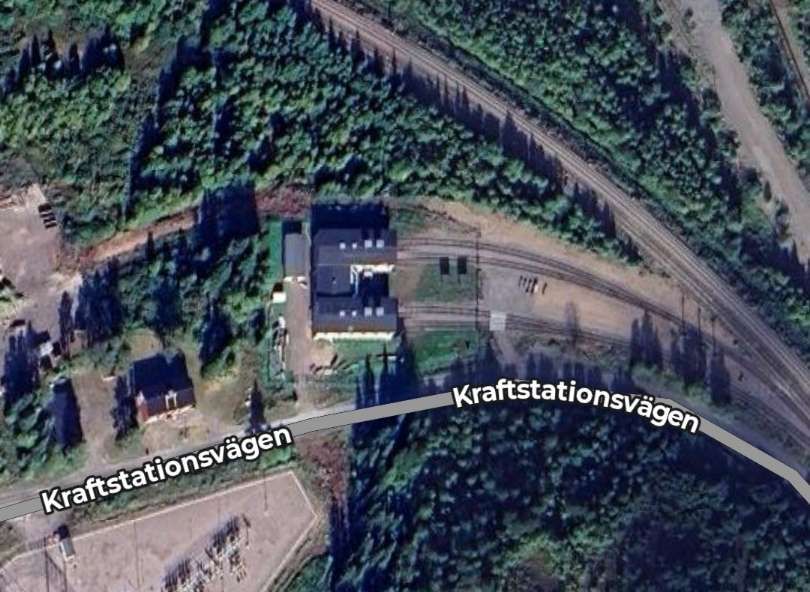
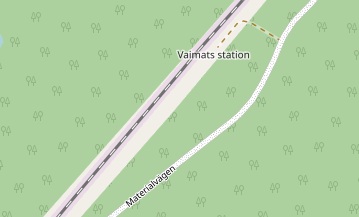
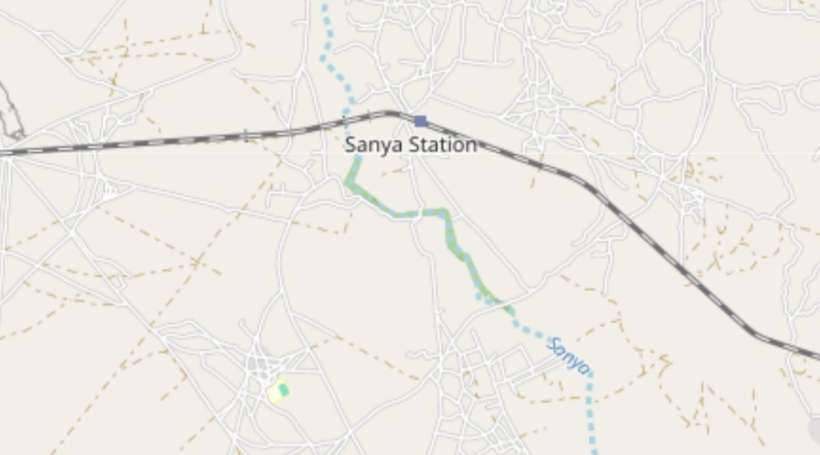
The Mvave River is crossed before Mvave Railway Station is reached. [37][Google Maps, April 2026]
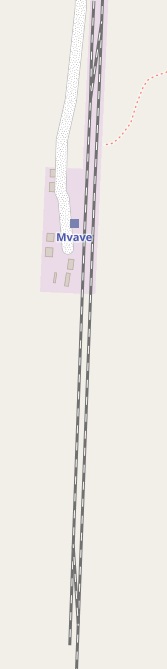
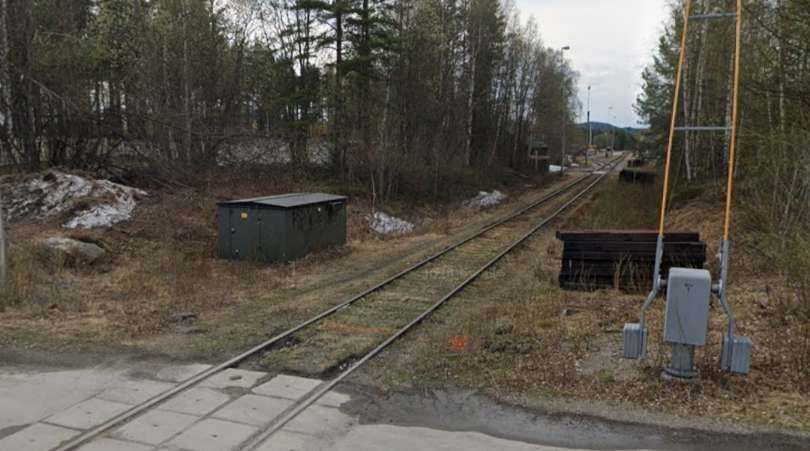
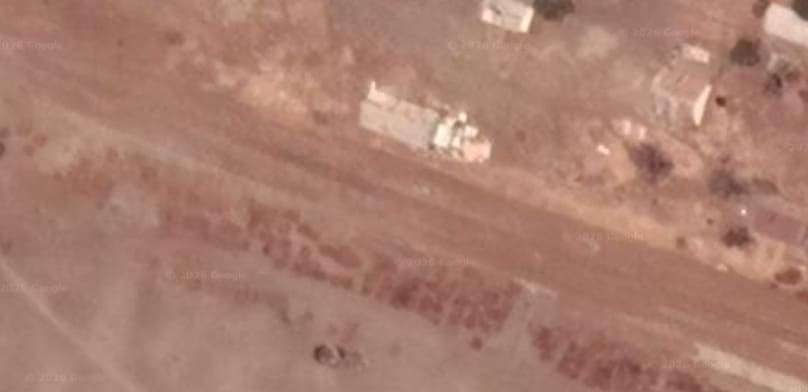
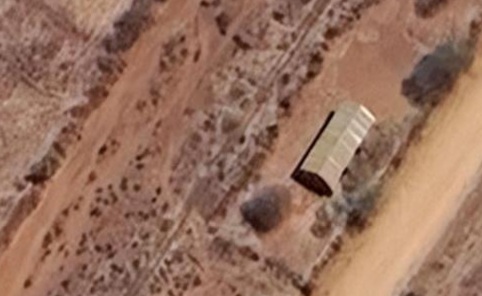
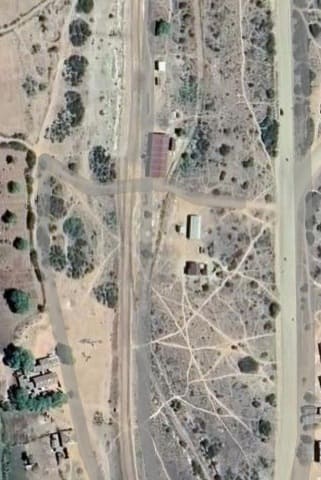
Mvave Railway Sation. [37][Google Maps, April 2026]
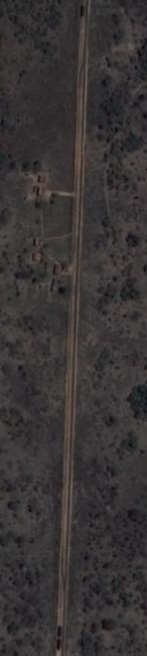
Mvave Railway Station is relatively remote and the topography to the South of the station is flat.
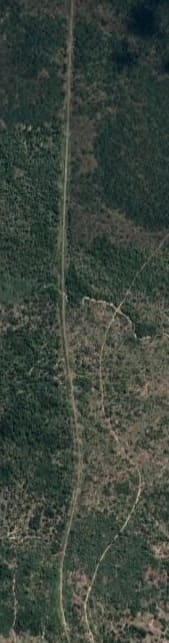
The line runs almost due South from Mvave. [38][Google Maps, April 2026]
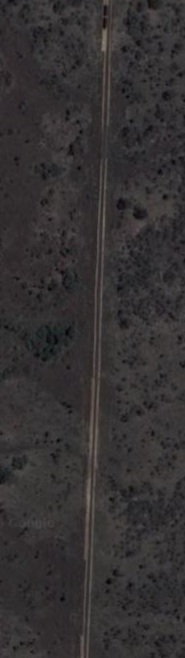
The same trajectory is followed on these next extracts.
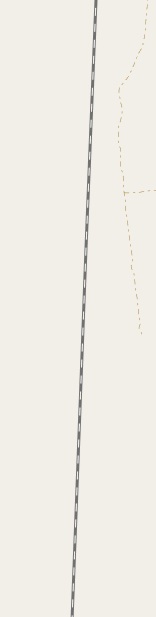
Almost due South again. [39][Google Maps, April 2026]
The trajectory remains the same down the upper part of these next extracts. [40][Google Maps, April 2026]
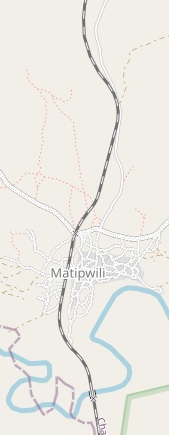
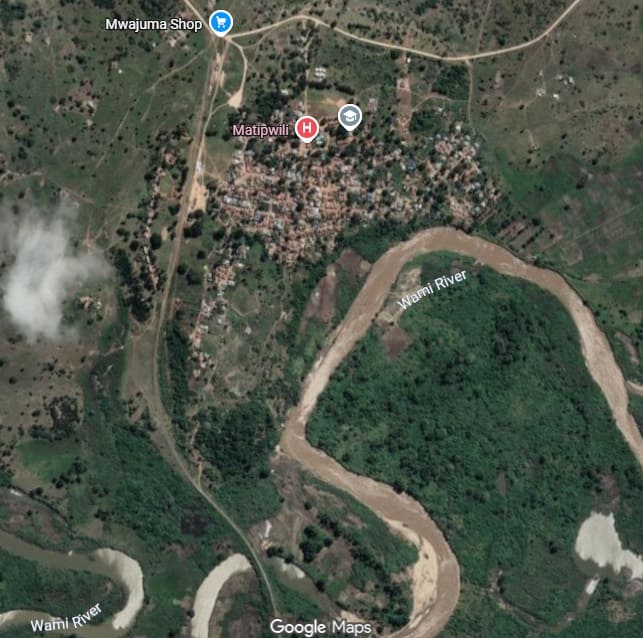
The line continues South through Matipwili and across the Wami River. [41][Google Maps, April 2026]
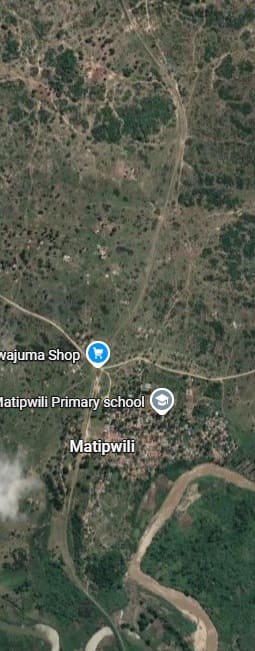
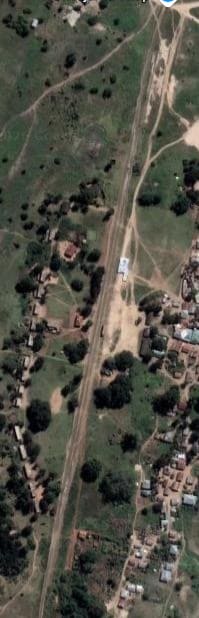
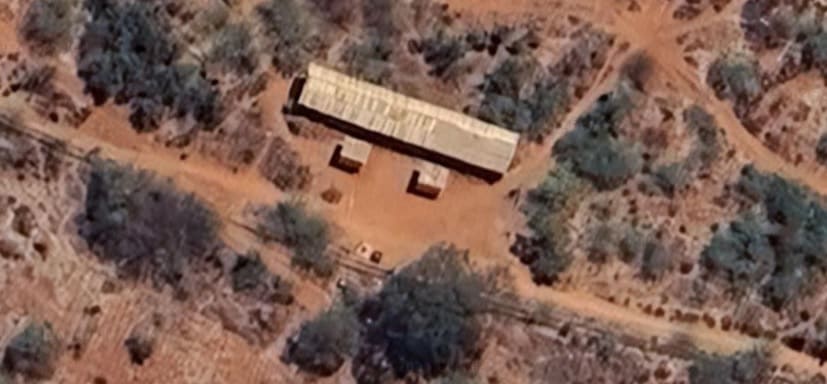
Matipwili Village Railway Station. [Google Maps, April 2026]
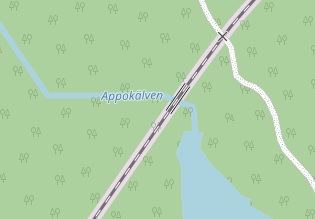
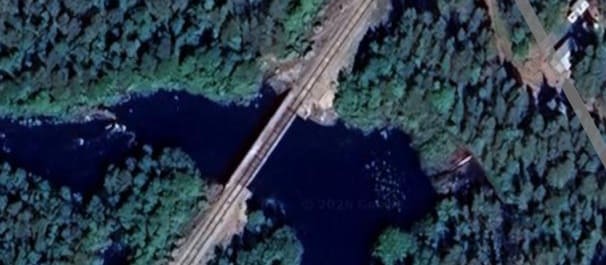
The line South from Matipwili station curves to the Southeast and back towards the South before crossing the Wami River.
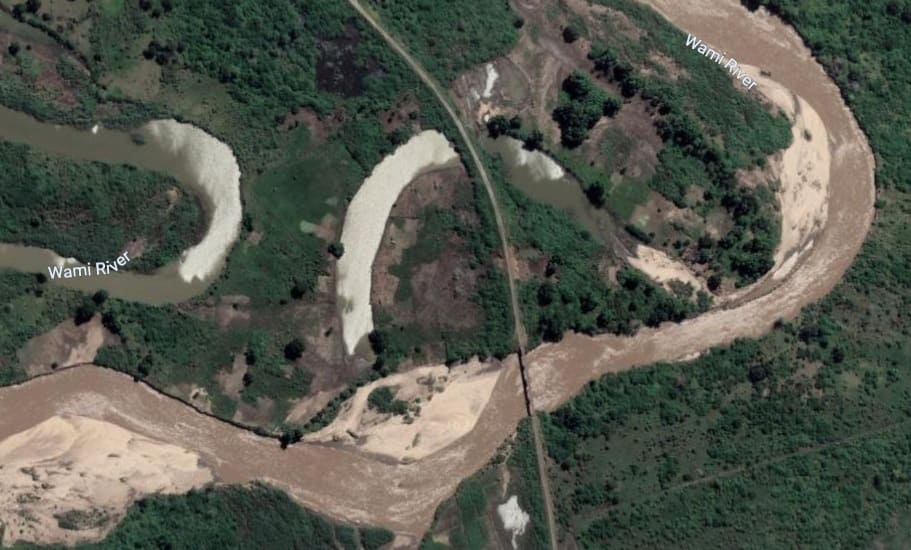
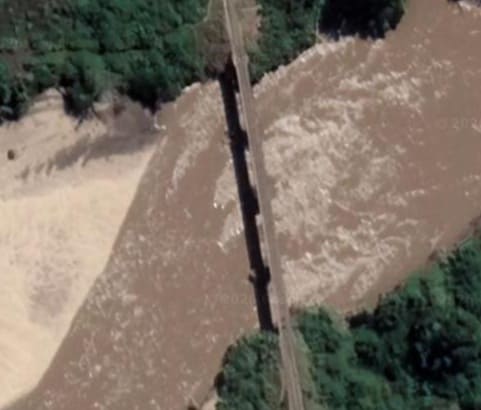
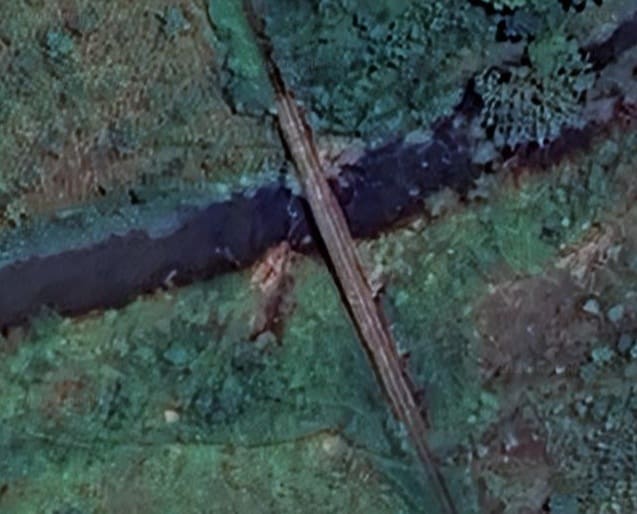
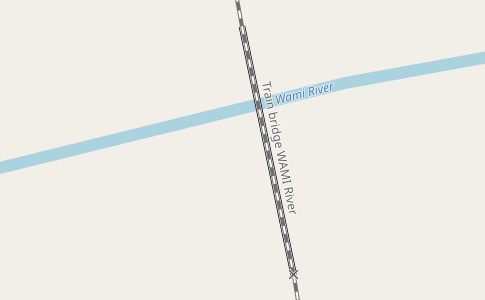
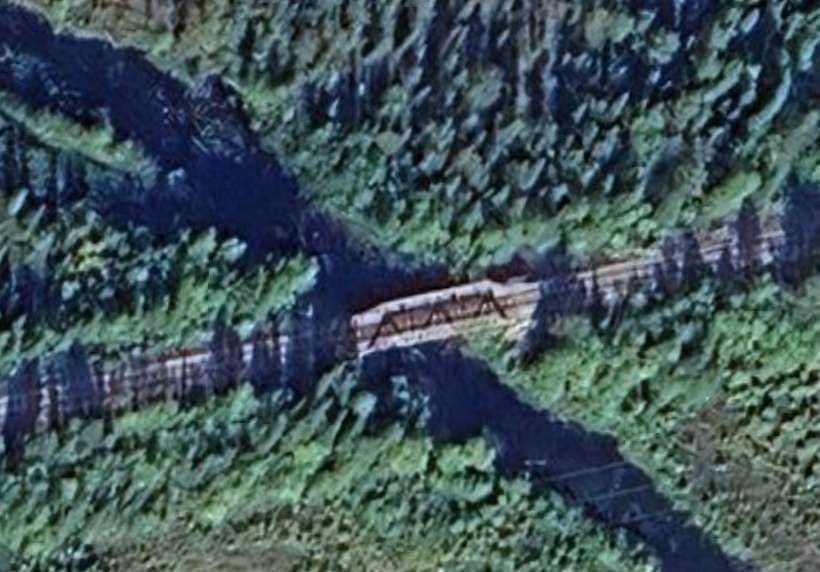
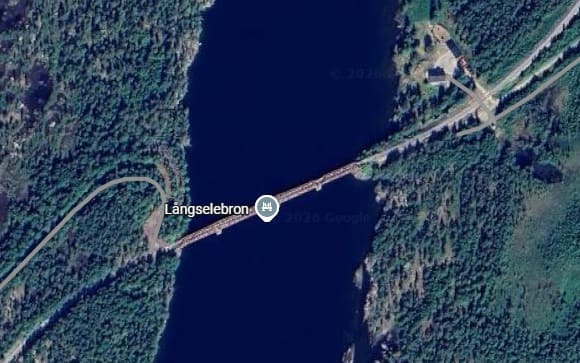
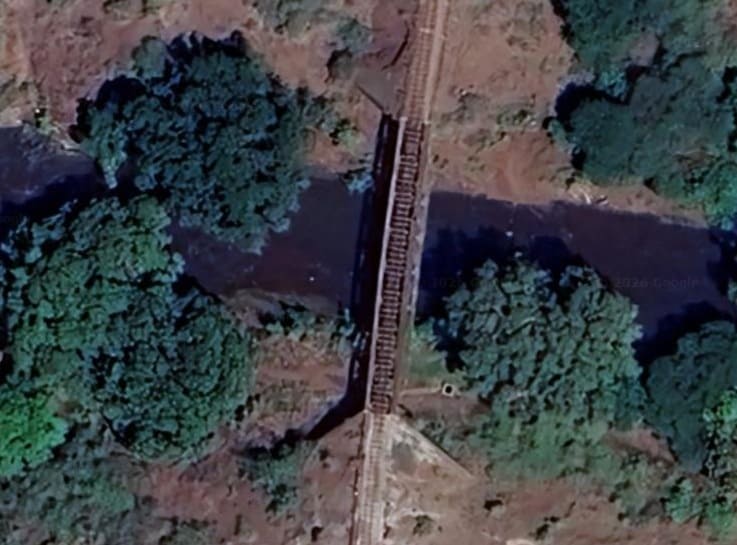
A enlarged view of the bridge over the Wami River. [Google Maps, April 2026]
South of the Wami River the lines curves to the Southeast. [42][Google Maps, April 2026]
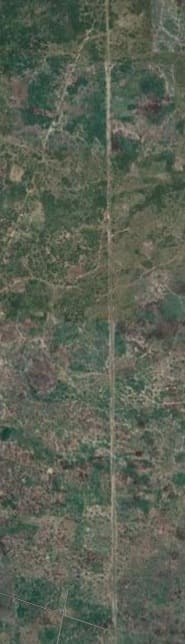
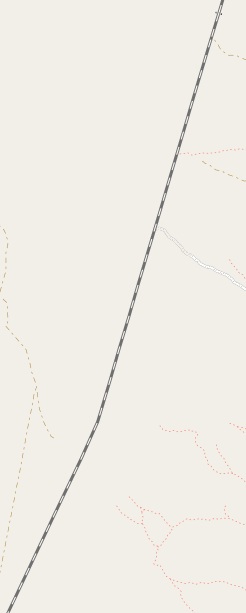
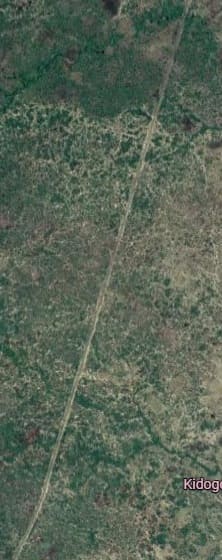
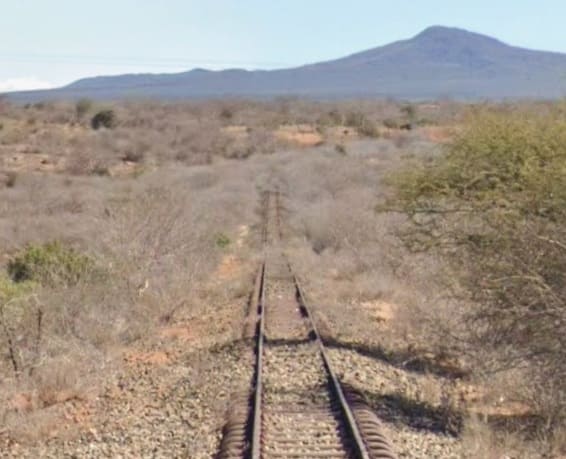
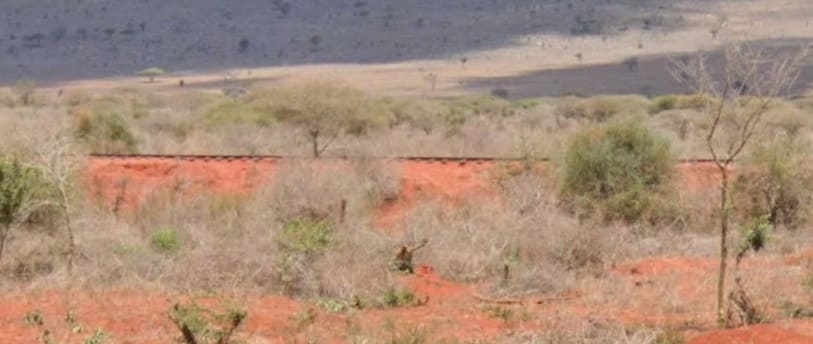
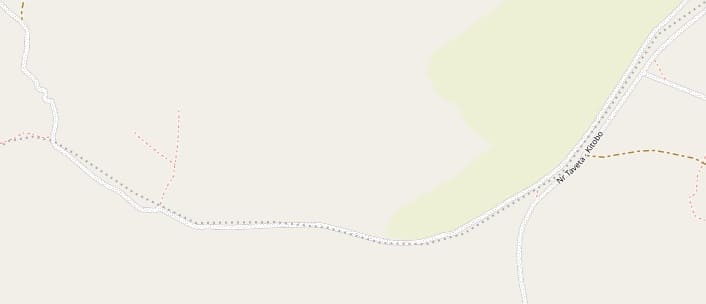
The line then reverts to its southerly course and maintains this bearing across open scrubland through to Kidomole Railway Station and beyond. [43][Google Maps, April 2026]
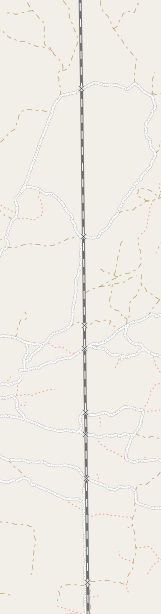
The railway continues on the same bearing. [44][Google Maps, April 2026]
And continues on the same bearing over this next length. [45][Google Maps, April 2026]
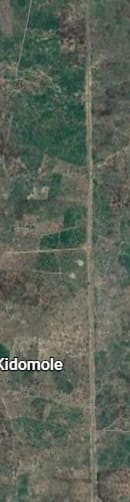
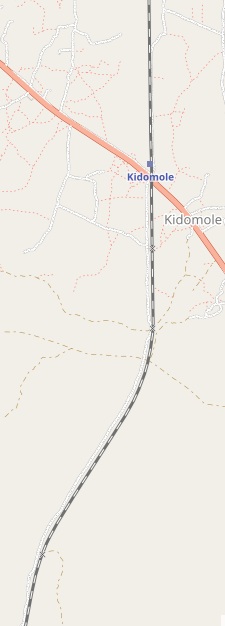
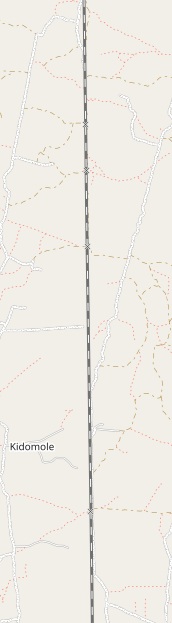
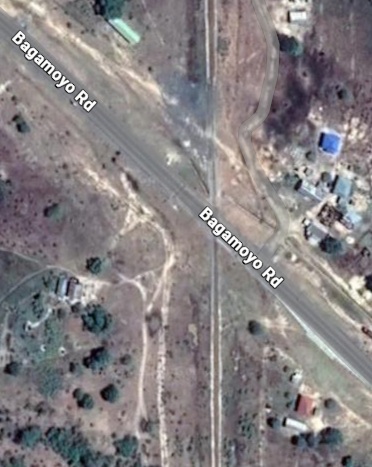
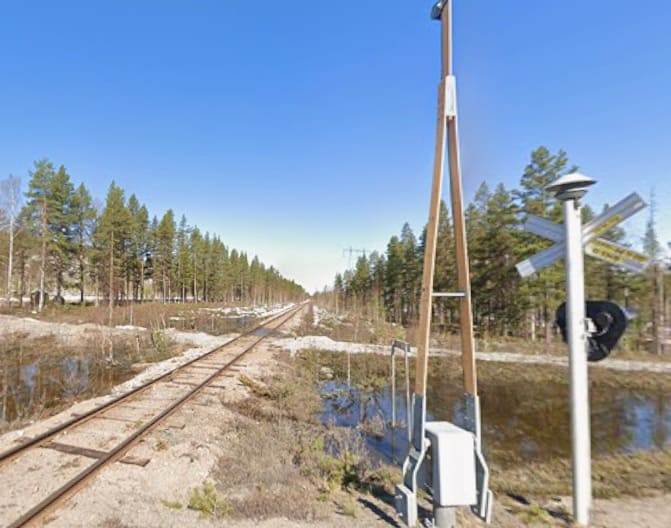
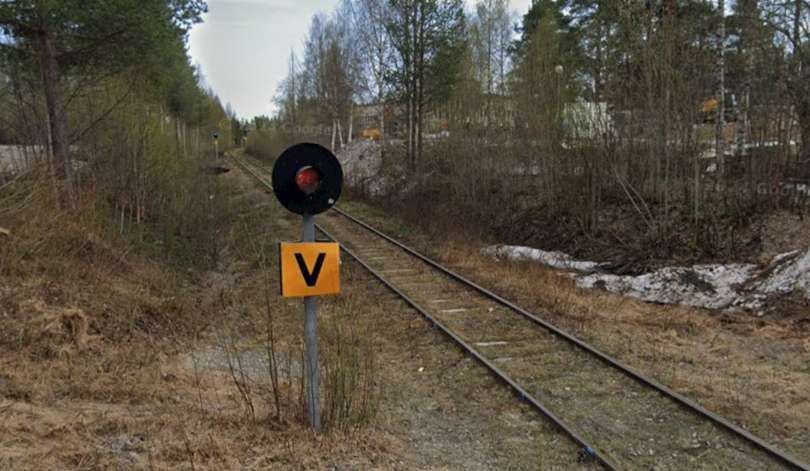
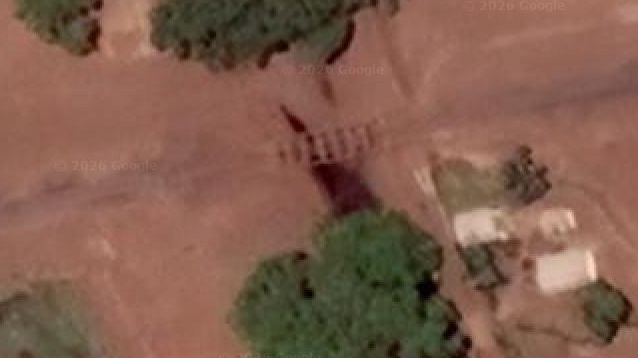
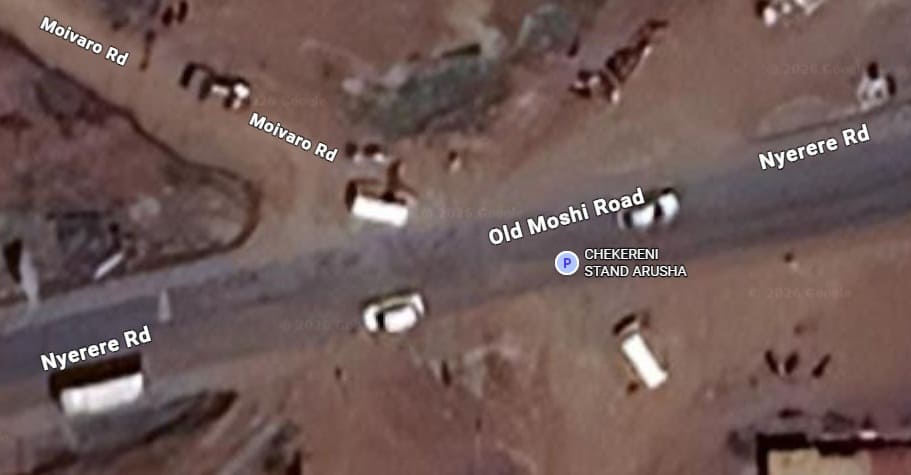
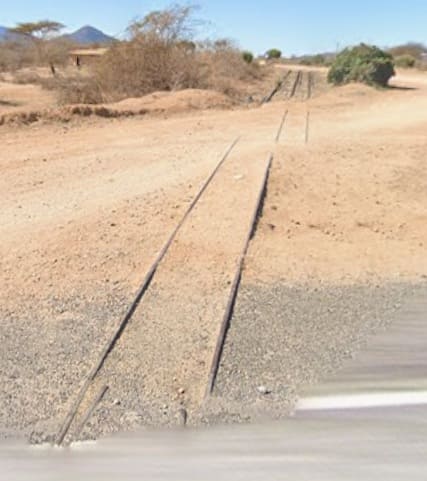
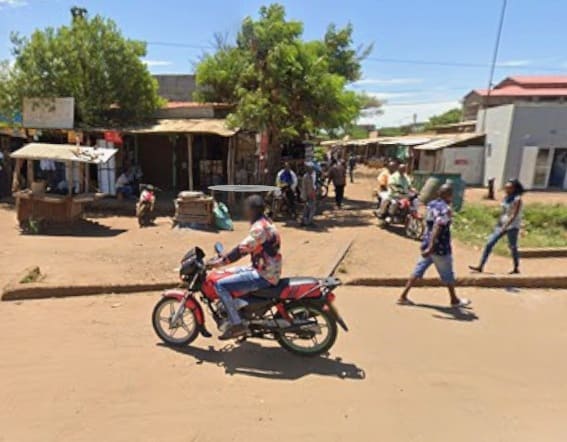
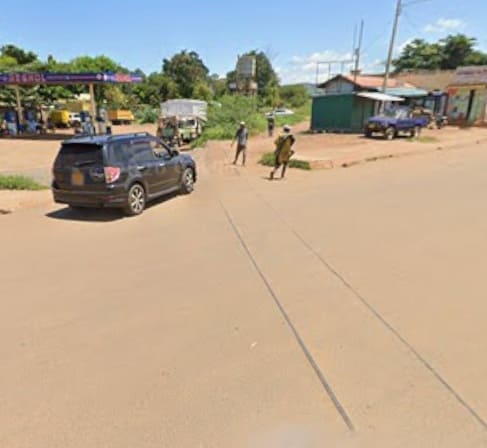
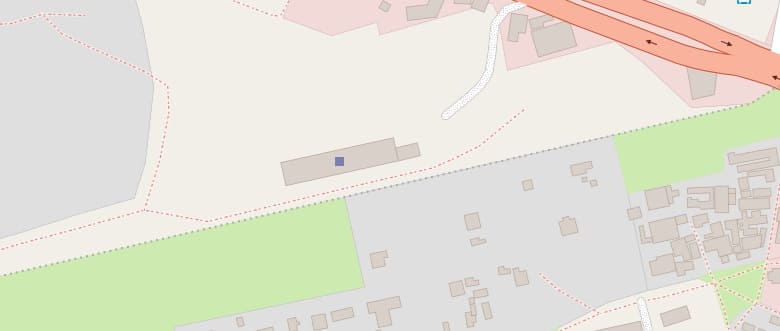
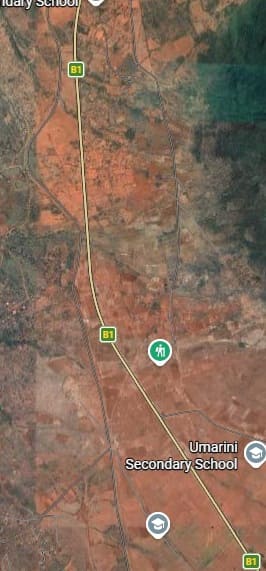
The railway crosses the T35 at Kidomole. [46][Google Maps, April 2026]
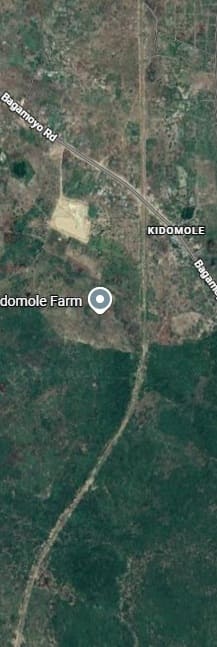
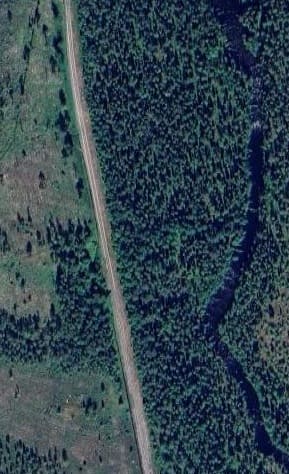
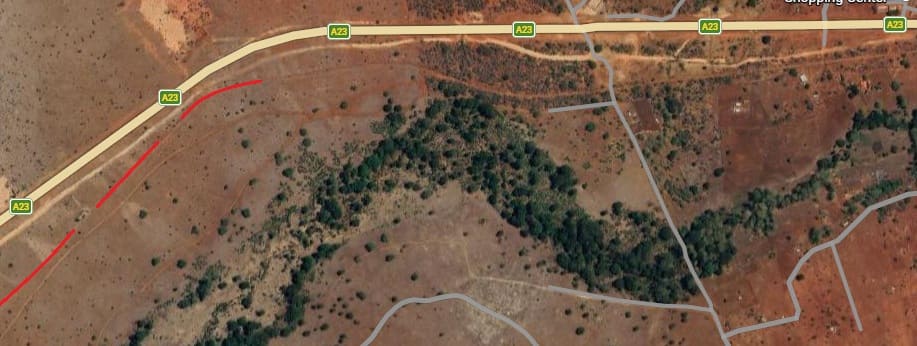
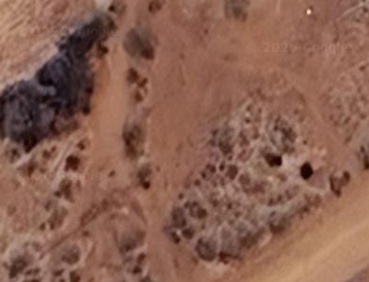
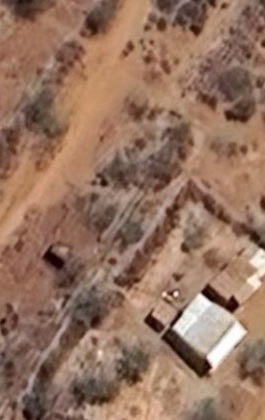
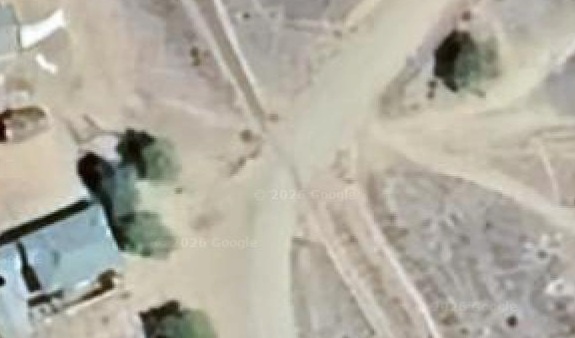
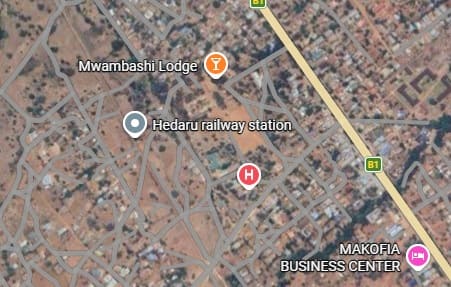
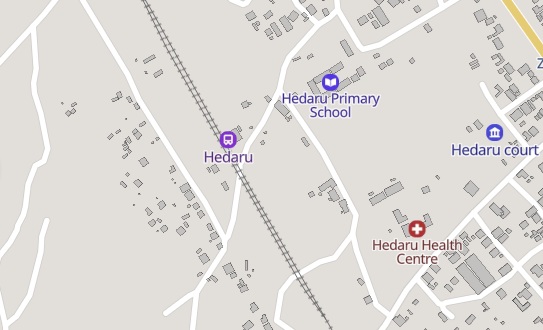
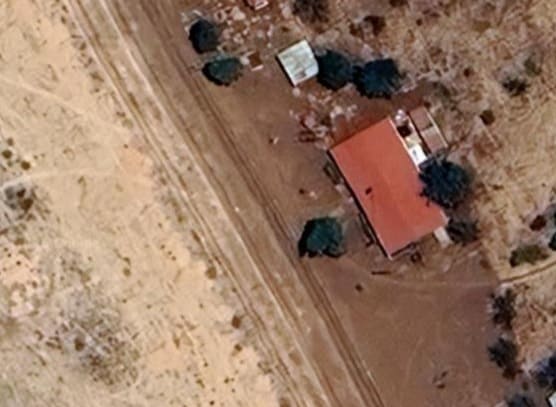
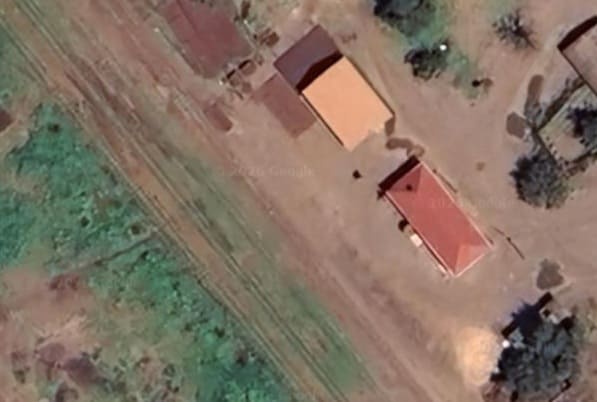
A closer view of the ‘station’ at Kidomole. Neither of these images shows any station facilities at Kidomole. It would appear that it was little if anything more than a location to hold the train. or perhaps a request stop? [46][Google Maps, April 2026]
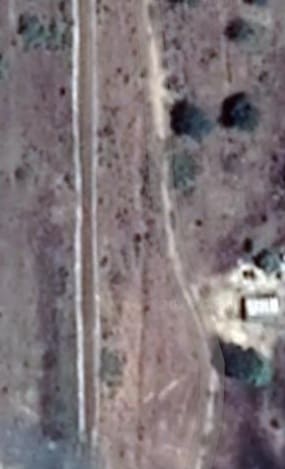
The T35 (Bagamoyo Road) level-crossing at Kidomole. The road is paved. [46][Google Maps, April 2026]
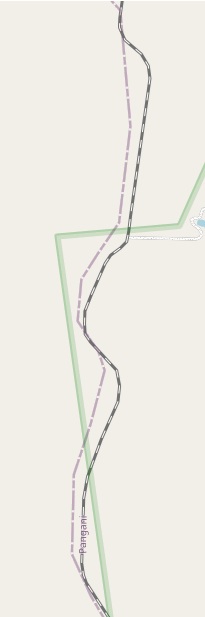
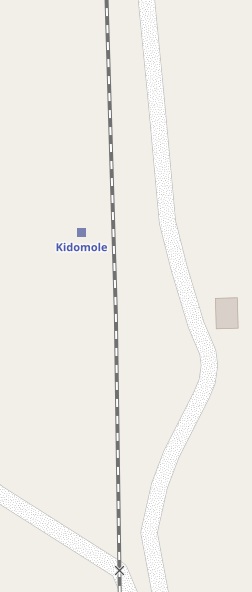
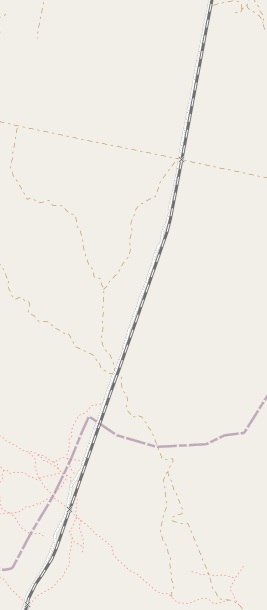
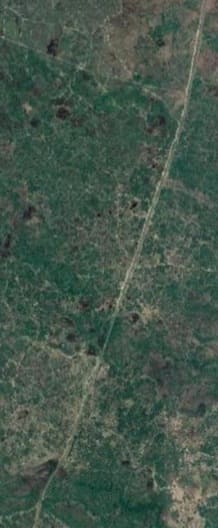
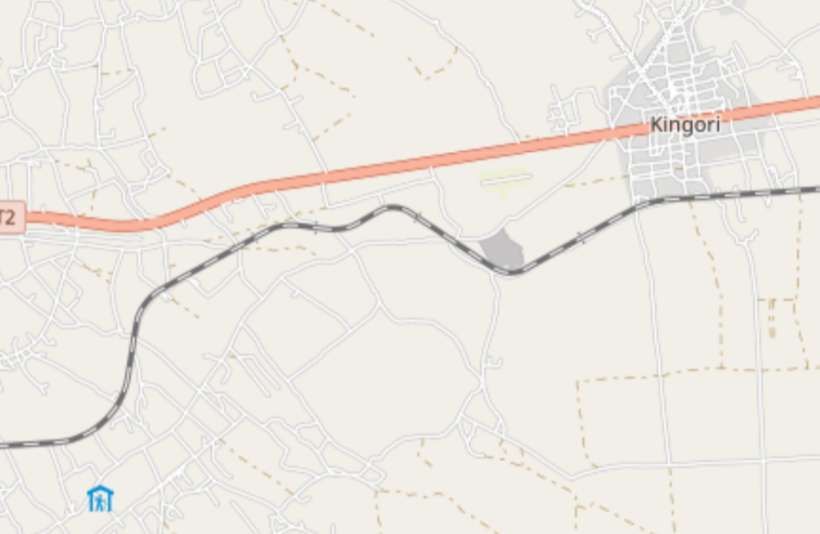
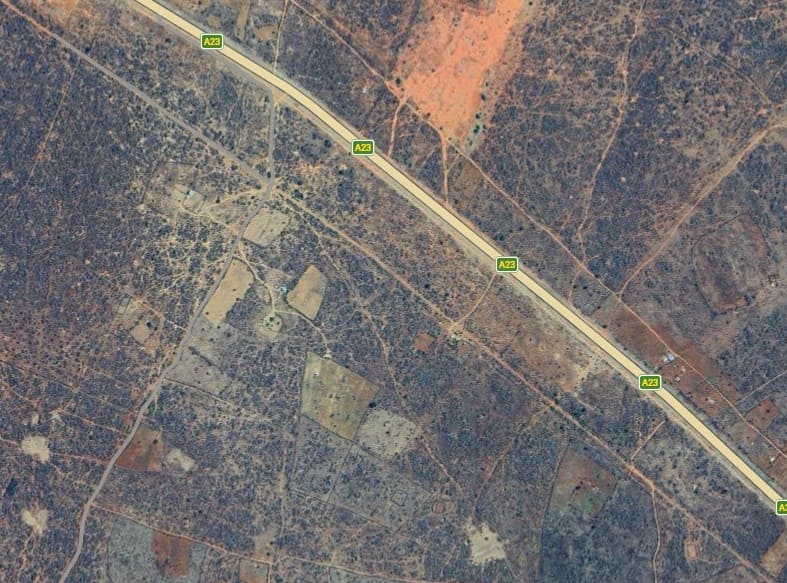
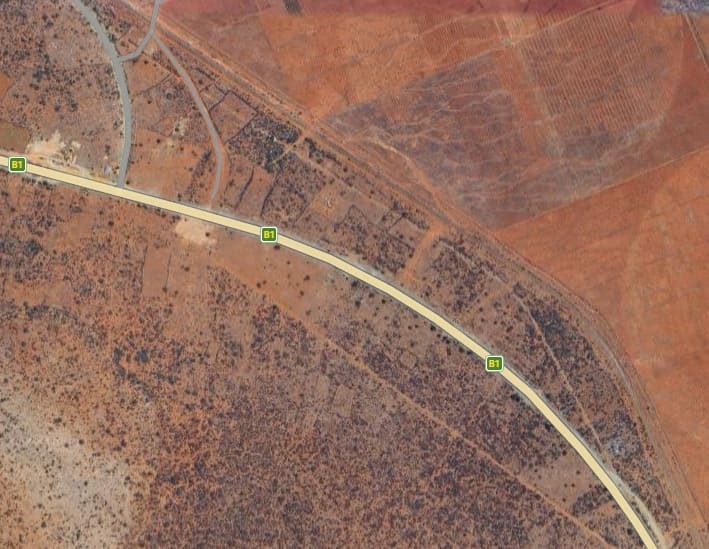
The railway to the South of Kidomole adjusts its alignment a little to the West and runs at a bearing just to the West of South as the OpenStreetMap extract covering the broader length of the line (above) and that below show. [46][47]
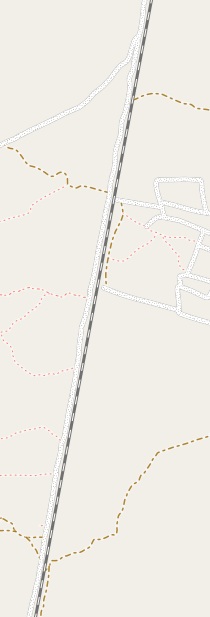
The line is now on a bearing just to the West of South. [47][Google Maps, April 2026]
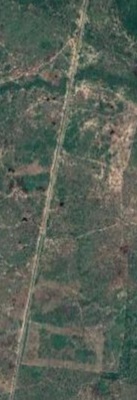
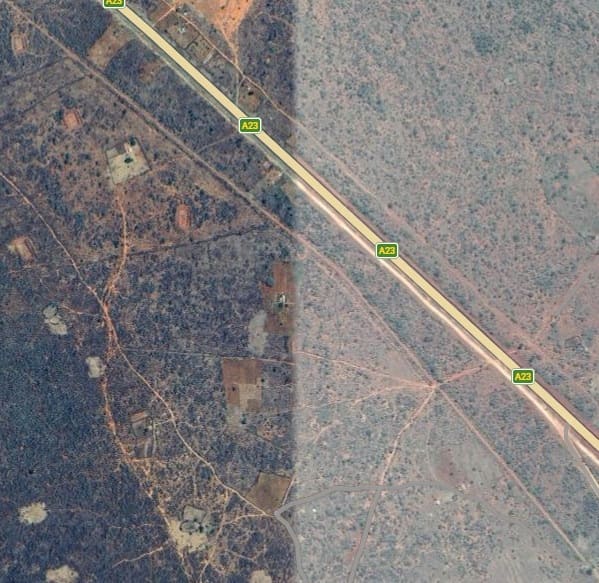
The line continues South on the same bearing. [48][Google Maps, April 2026]
A slight change in direction means that the line travels towards the South-southwest. [49][Google Maps, April 2026]
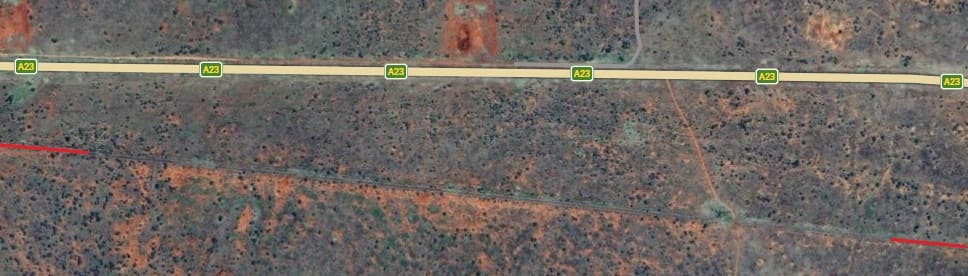
A slight change in direction at the bottom of the last extract means the line reverts to a course closer to South. [50][Google Maps, April 2026]
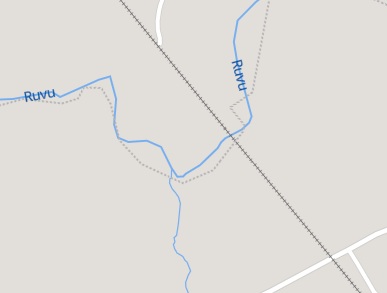
The watercourse is not named on OpenStreetMap but it appears to be a tributary of the Ruvu River. [50][Goog;e Maps, April 2026]
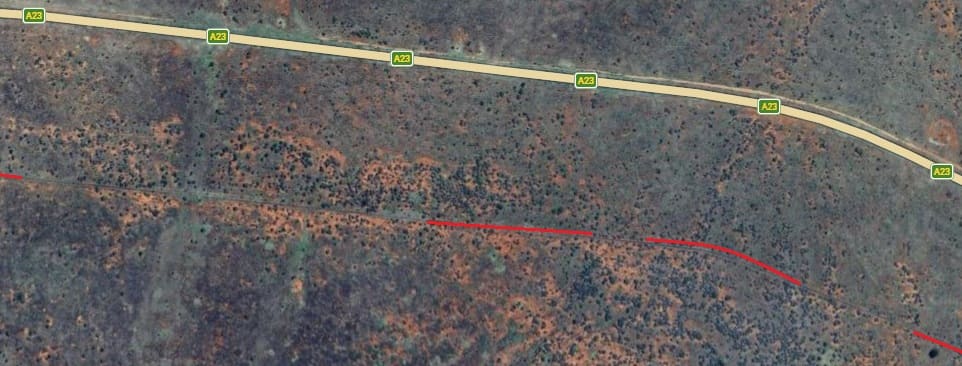
After crossing the river, the line turns a little further to the Southwest and a little more towards the bottom of these extracts. [51][ Google Maps, April 2026]
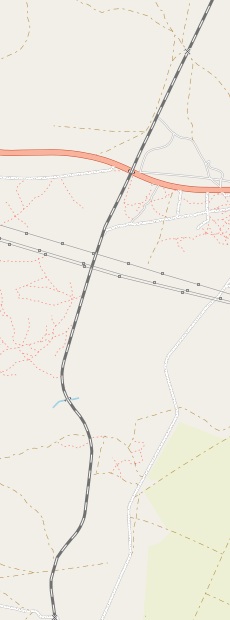
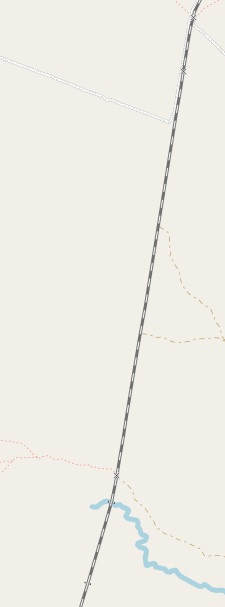
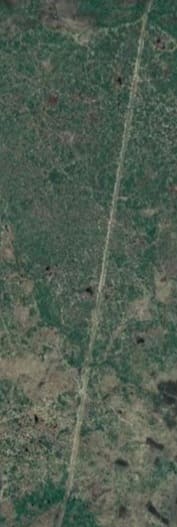
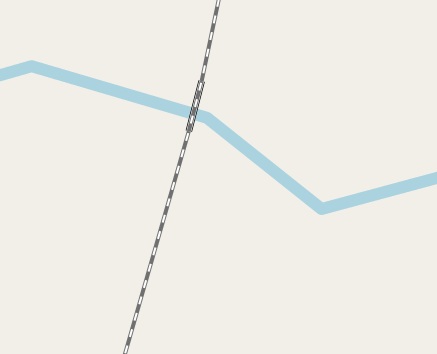
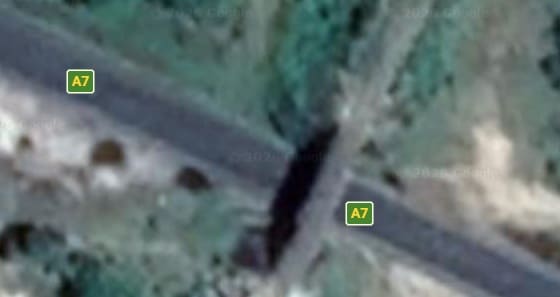
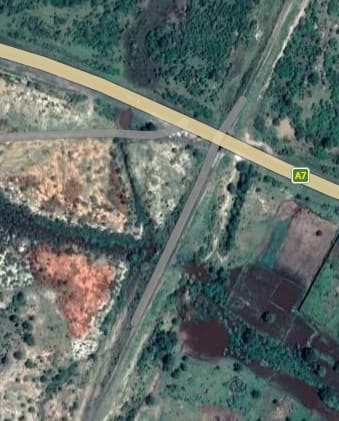
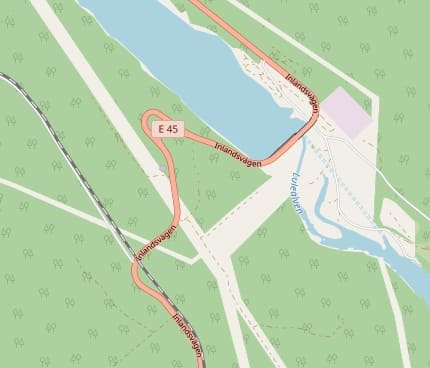
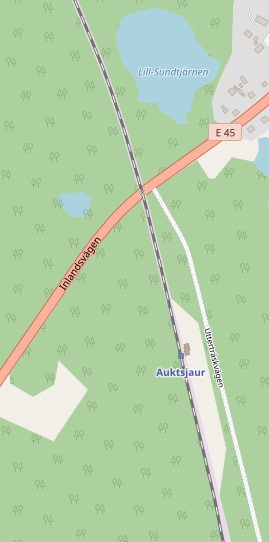
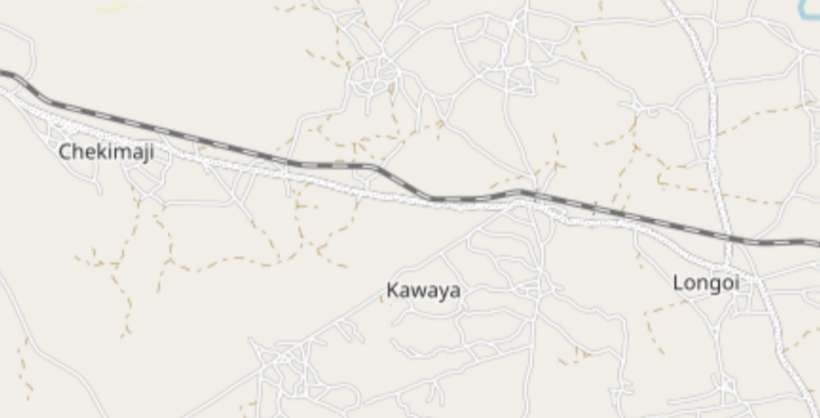
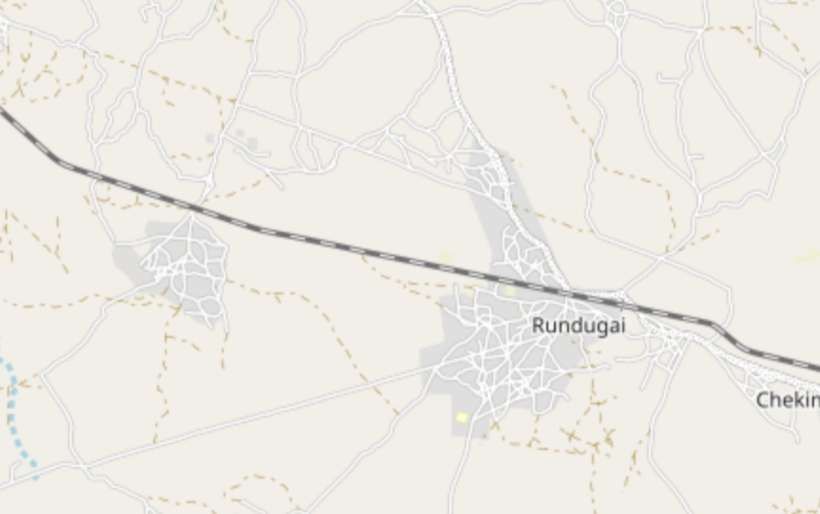
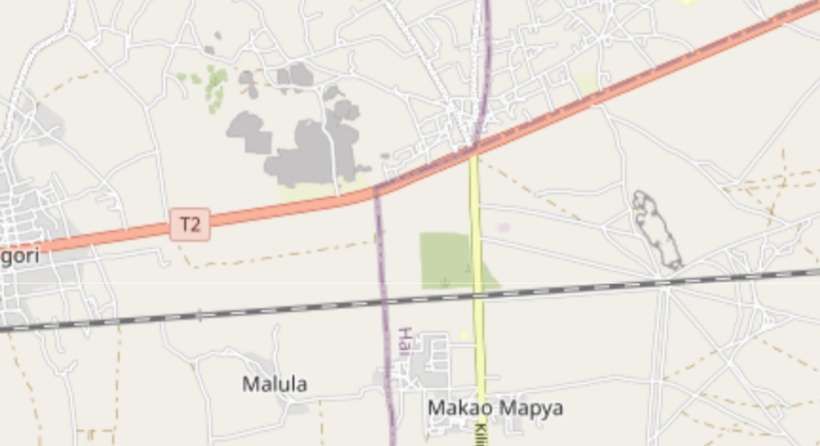
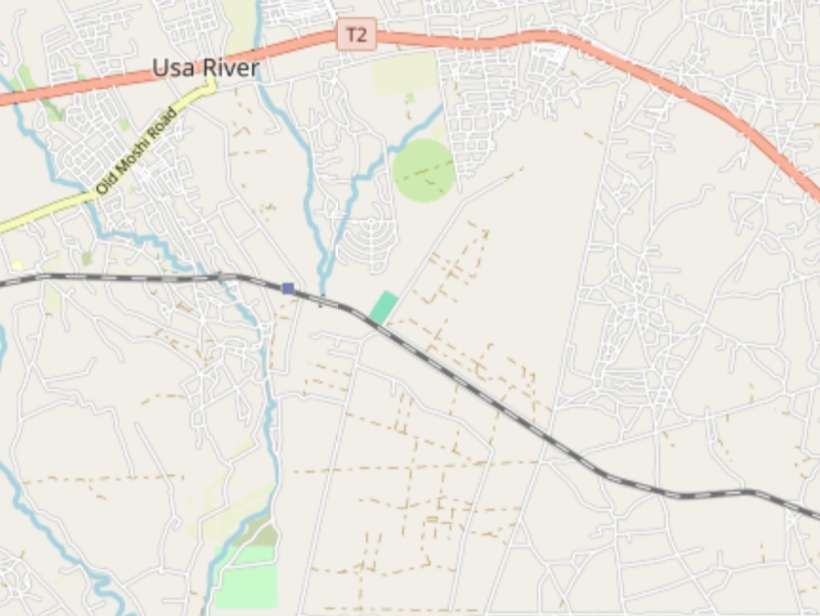
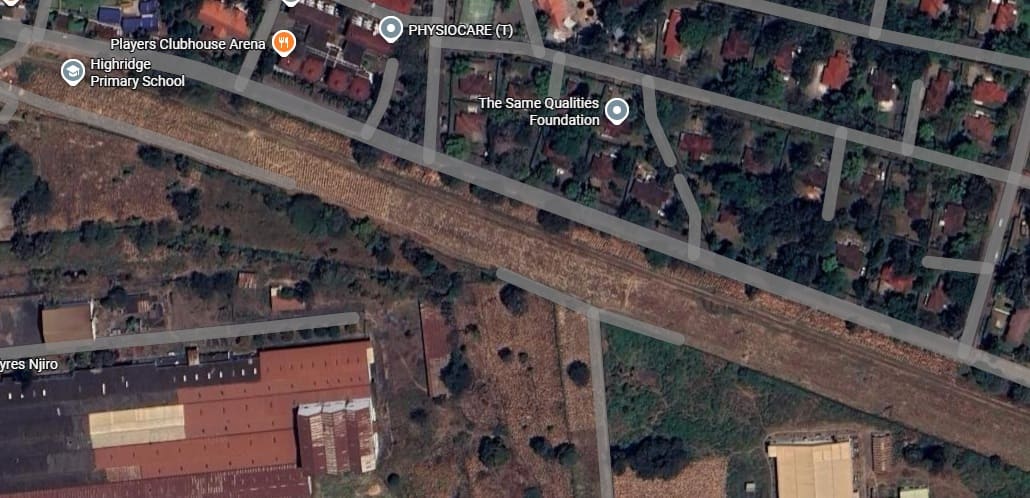
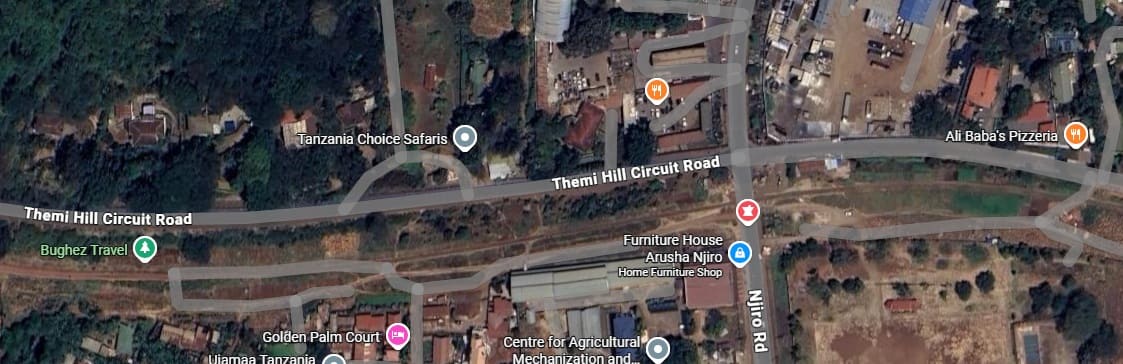
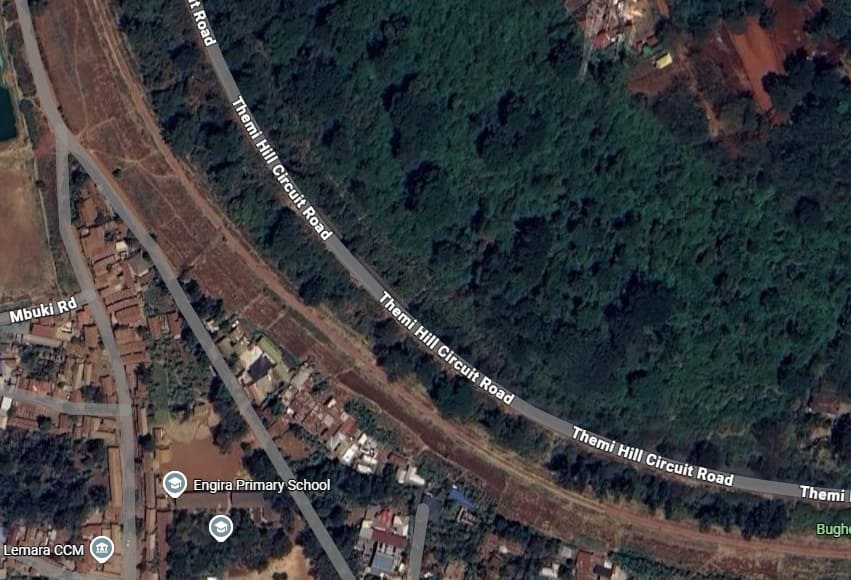
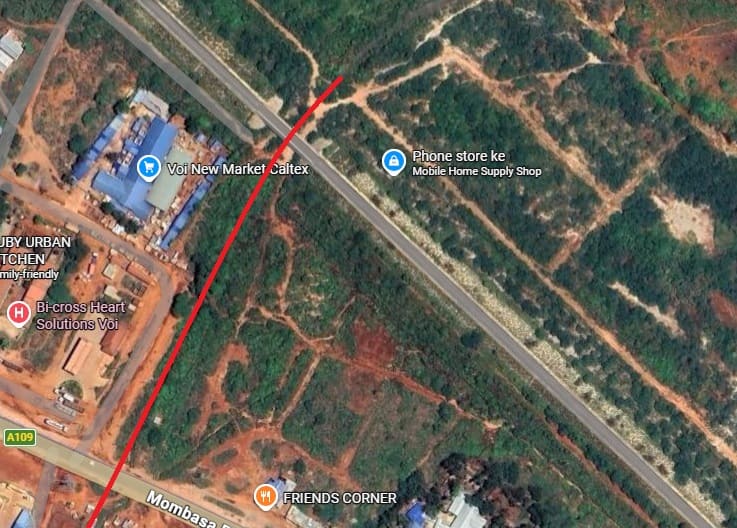
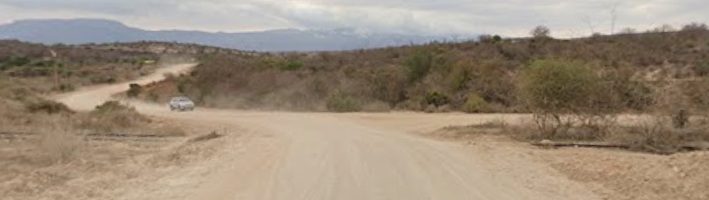
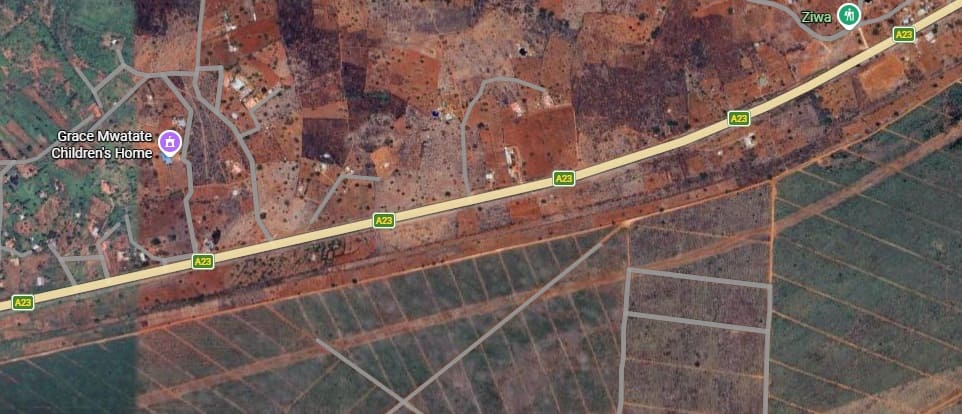
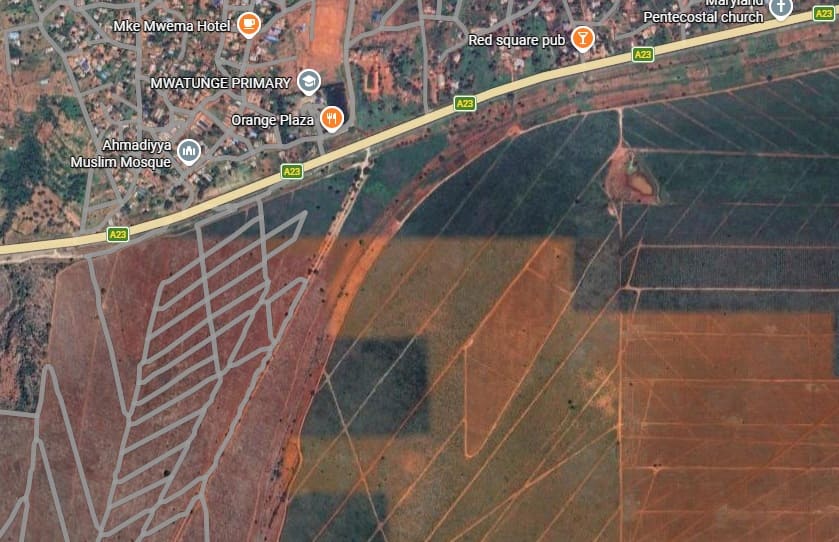
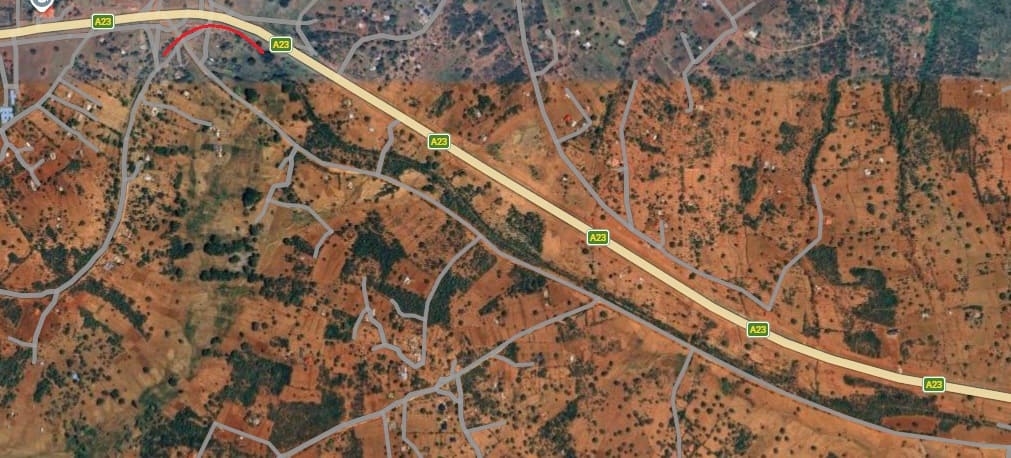
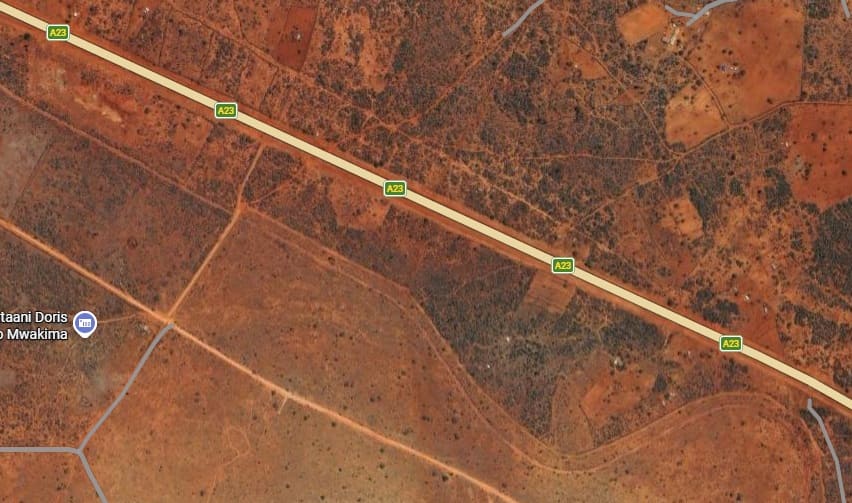
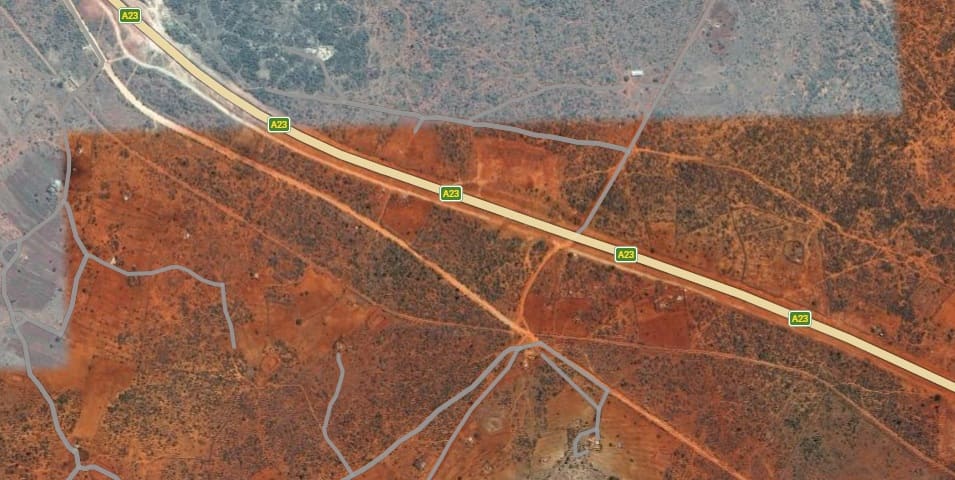
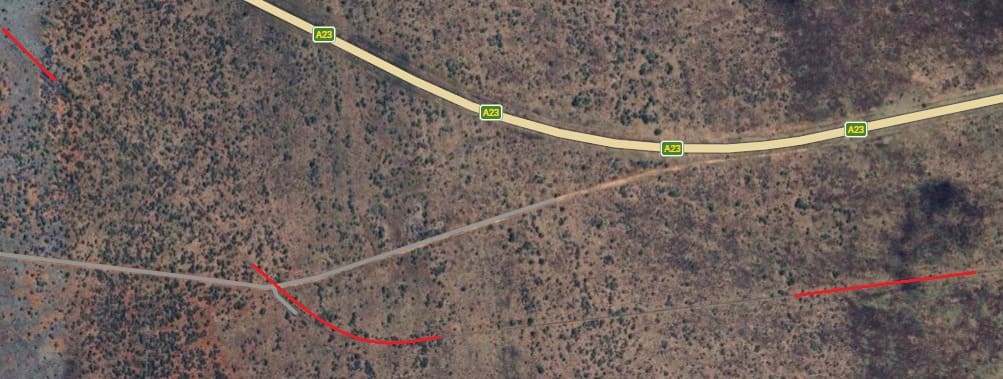
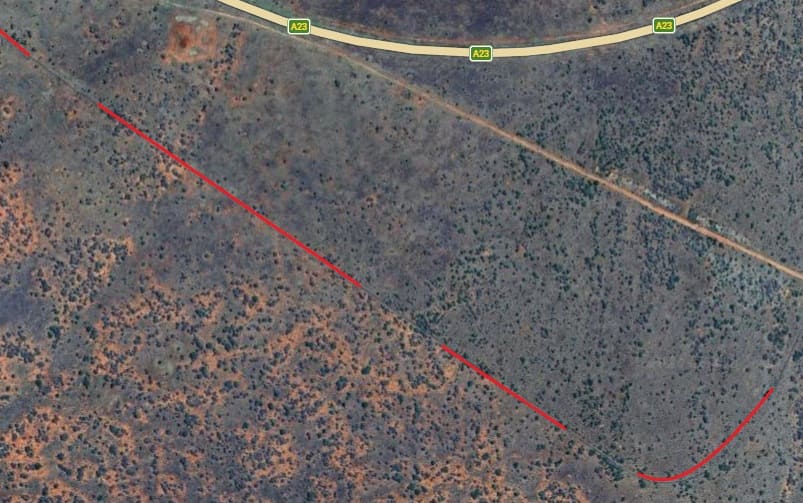
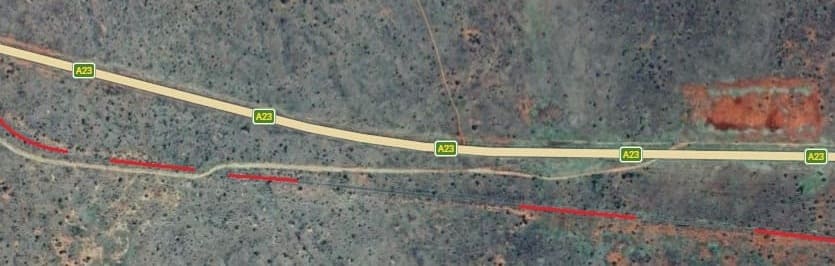
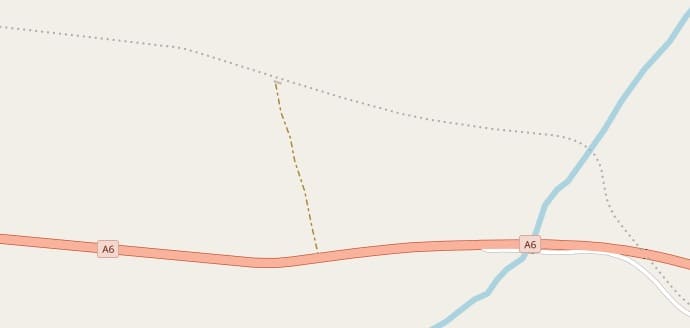
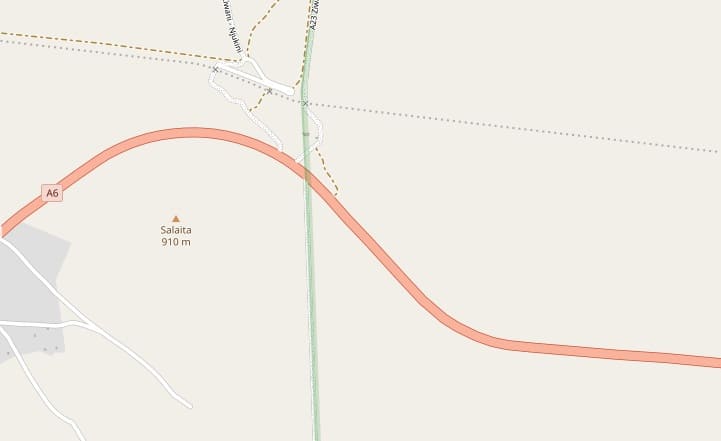
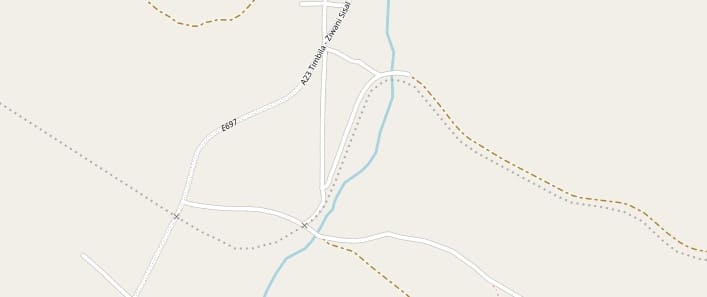
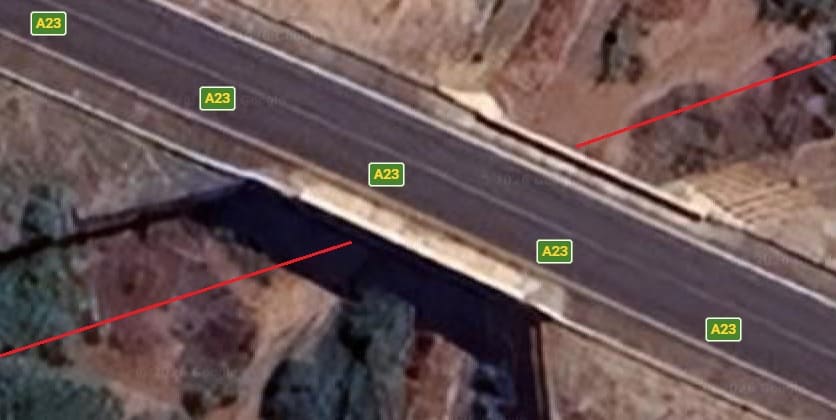
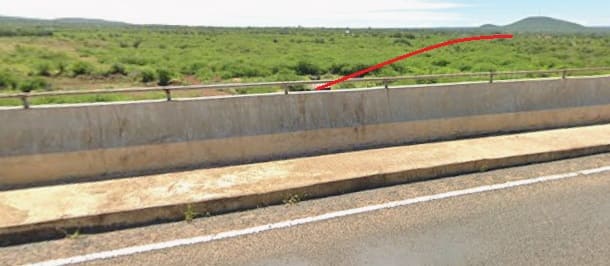
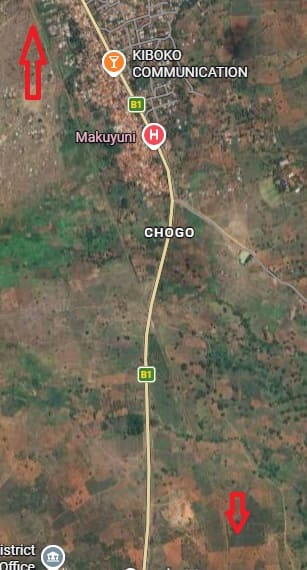
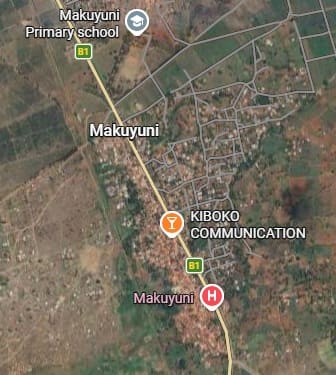
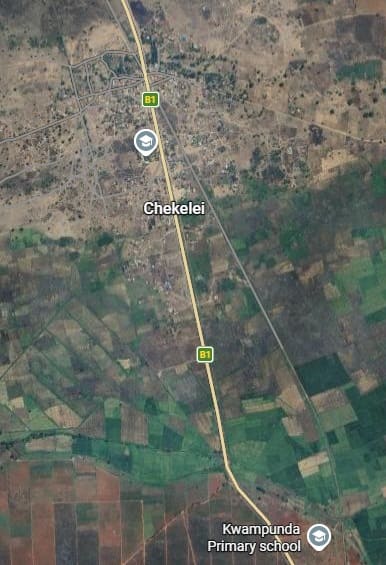
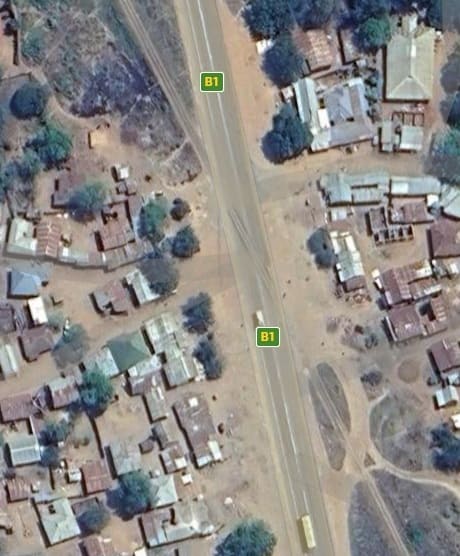
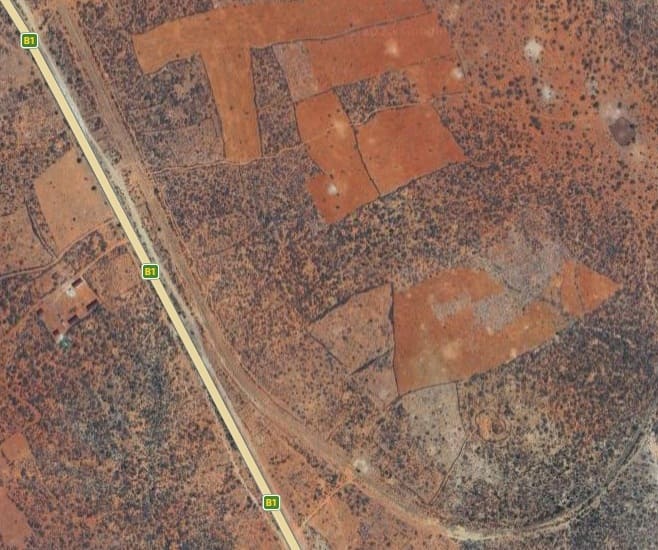
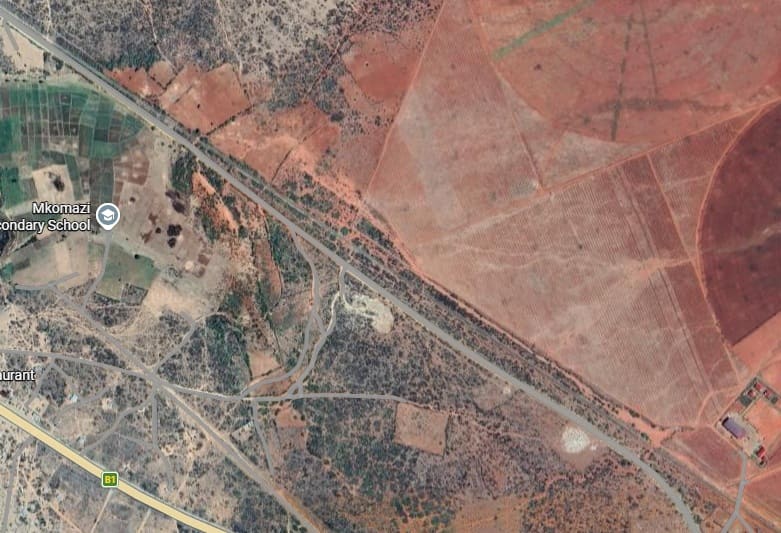
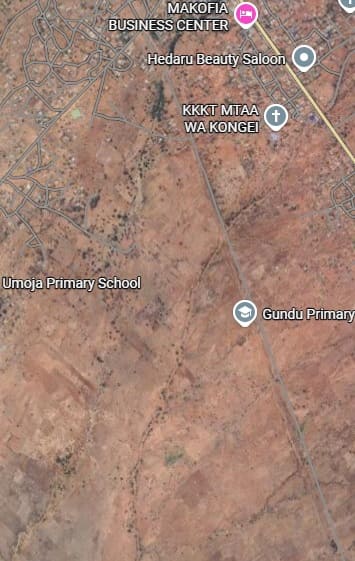
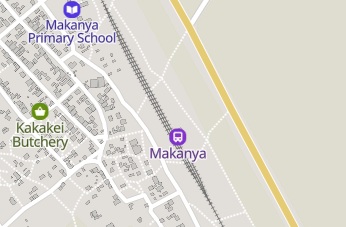
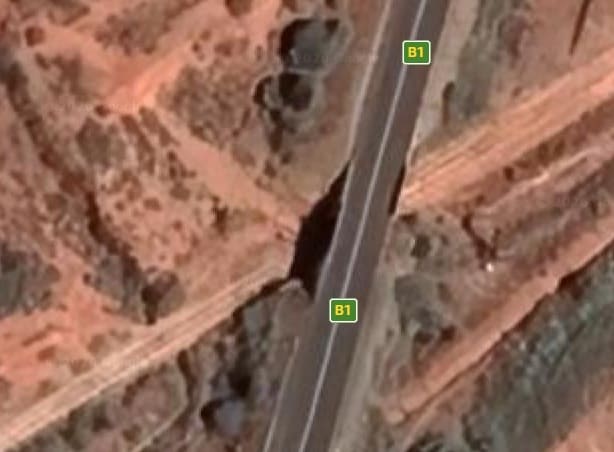
Next we see the line crossing the T1/A7 road before continuing to head South, this time on a meandering course. [52][Google Maps, April 2026]
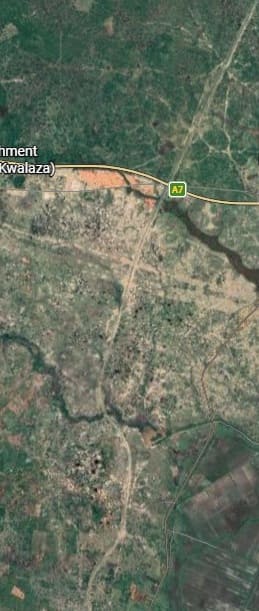

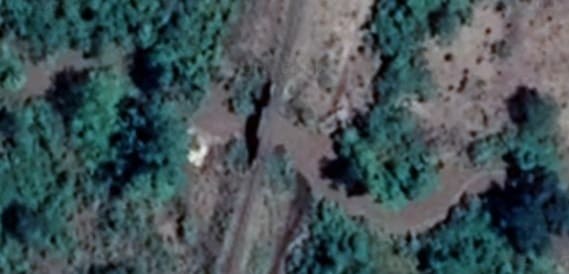
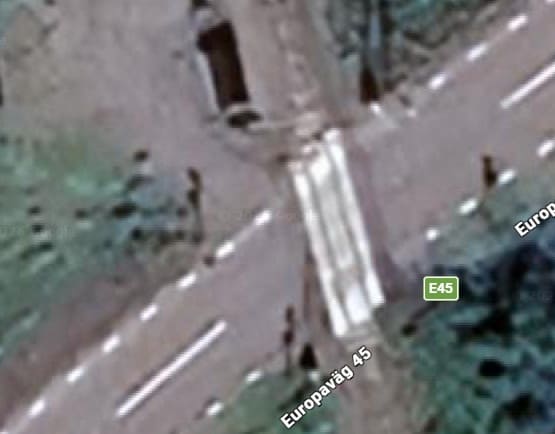
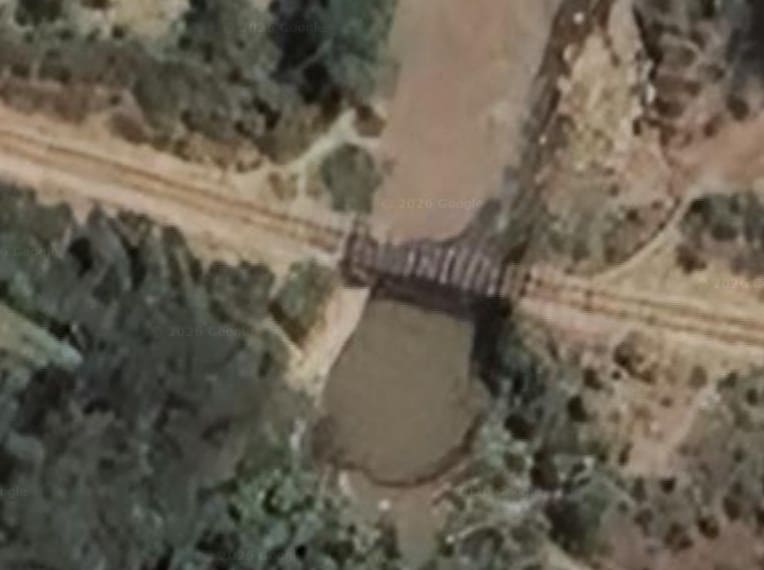
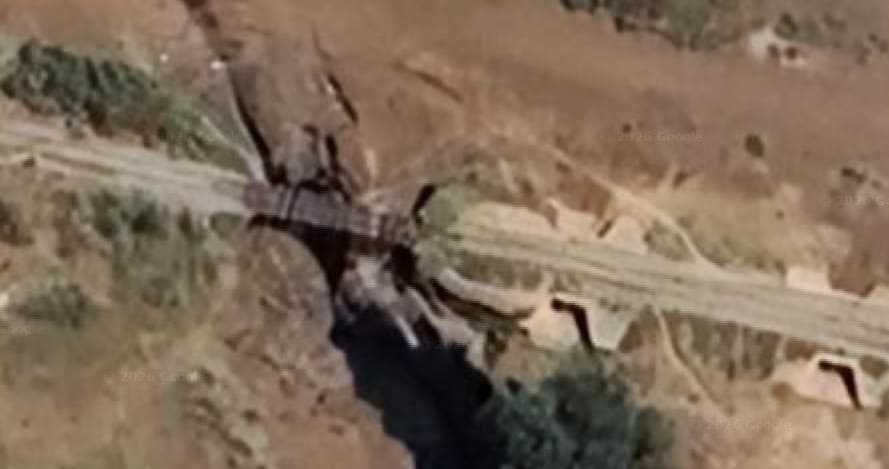
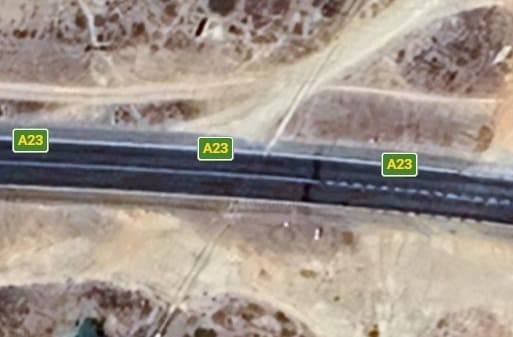
The T1/A7 is crossed by means of one of the few bridges over roads on the line. [52][Google Maps, April 2026]
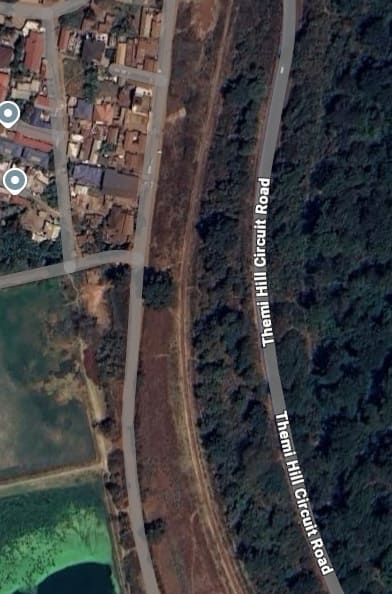
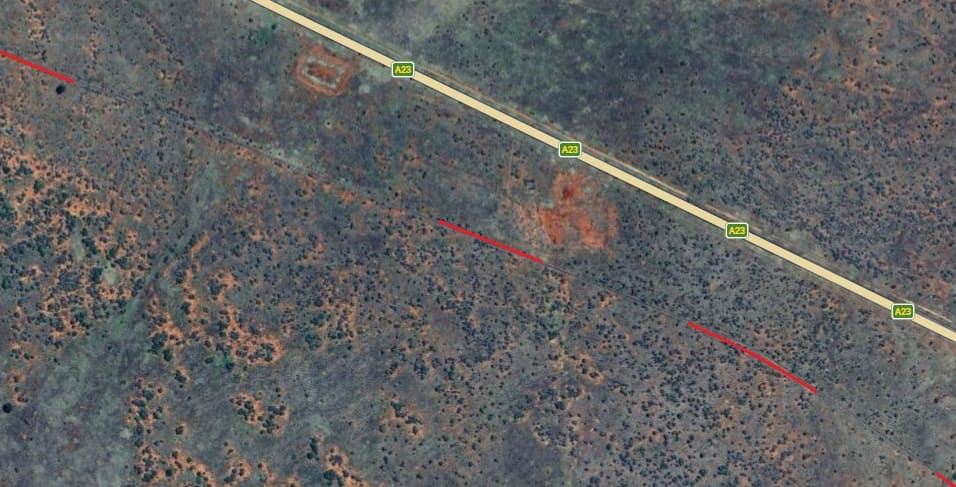
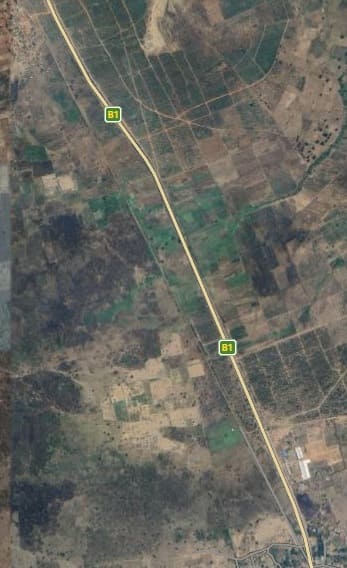
Open StreetMap does not show the watercourse just South of the road – in the Google Maps satellite image it appears to be in flood. [Google Maps, April 2026]
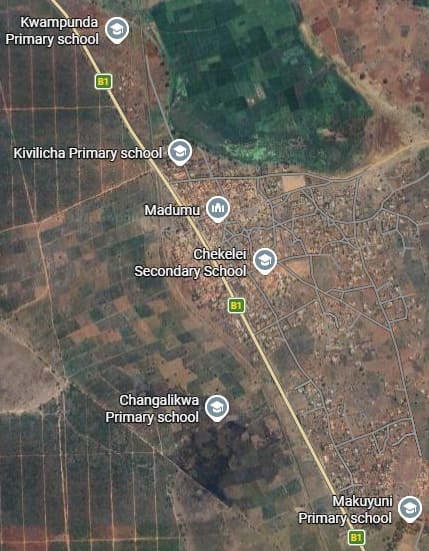
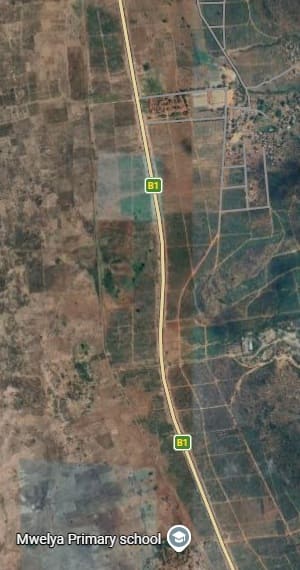
A watercourse is shown on OpenStreetMap and Google’s satellite imagery, some significant distance South of the road. South, too, of the electricity supply cables which cross the line of the railway.
The watercourse is not named. [52][Google Maps, April 2026]
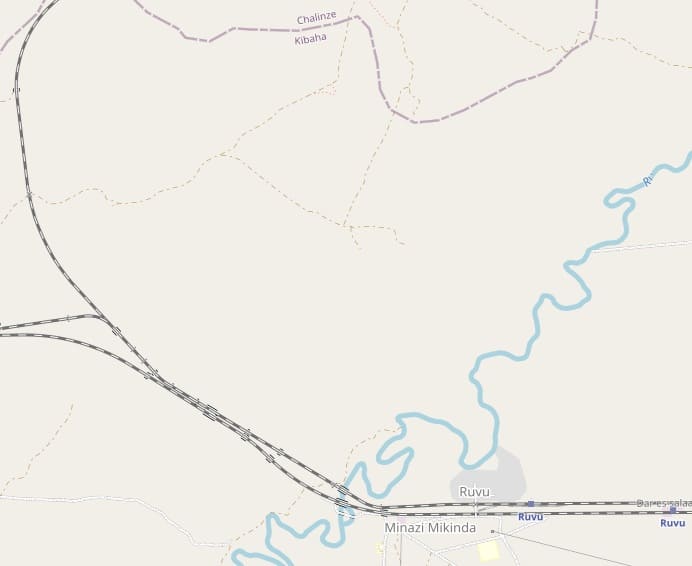

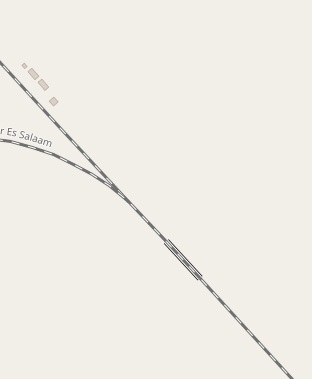
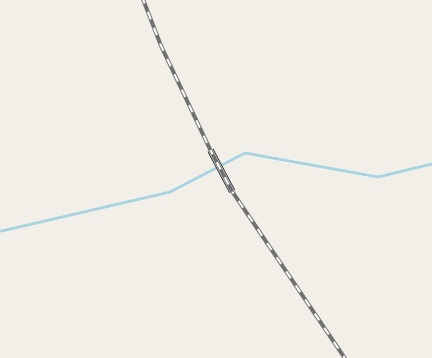
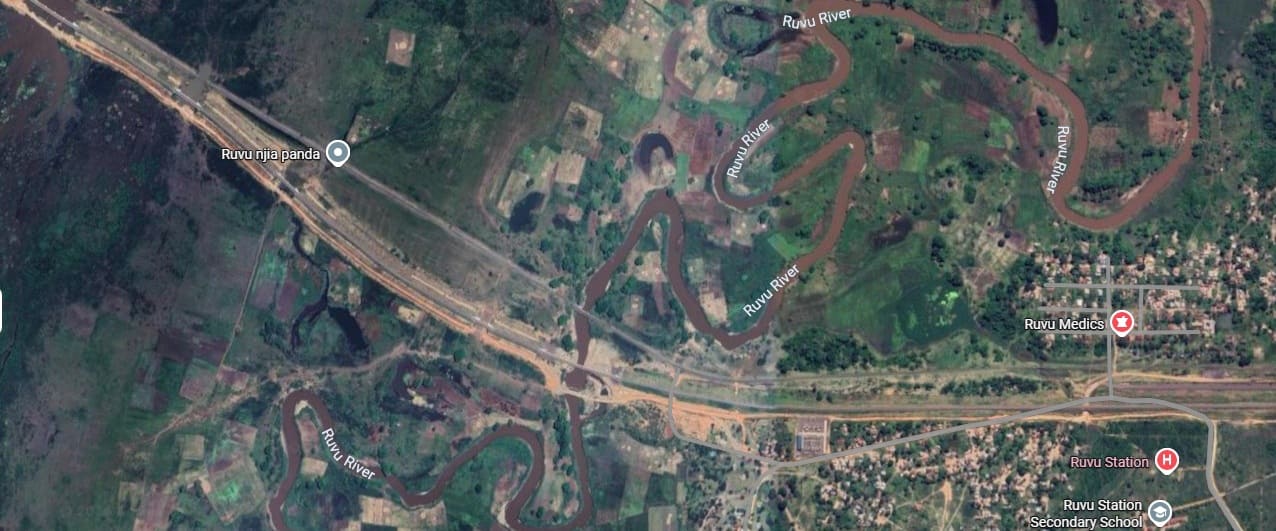
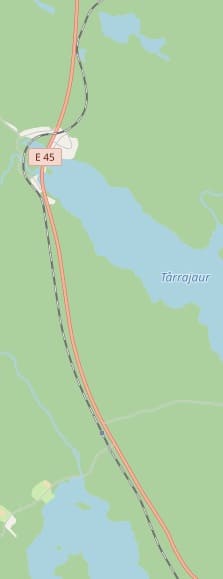
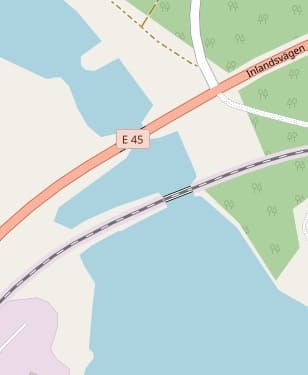
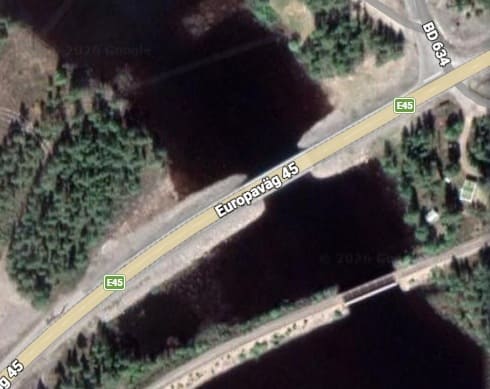
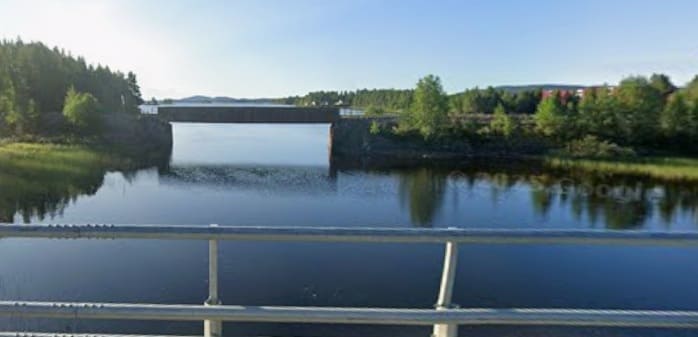
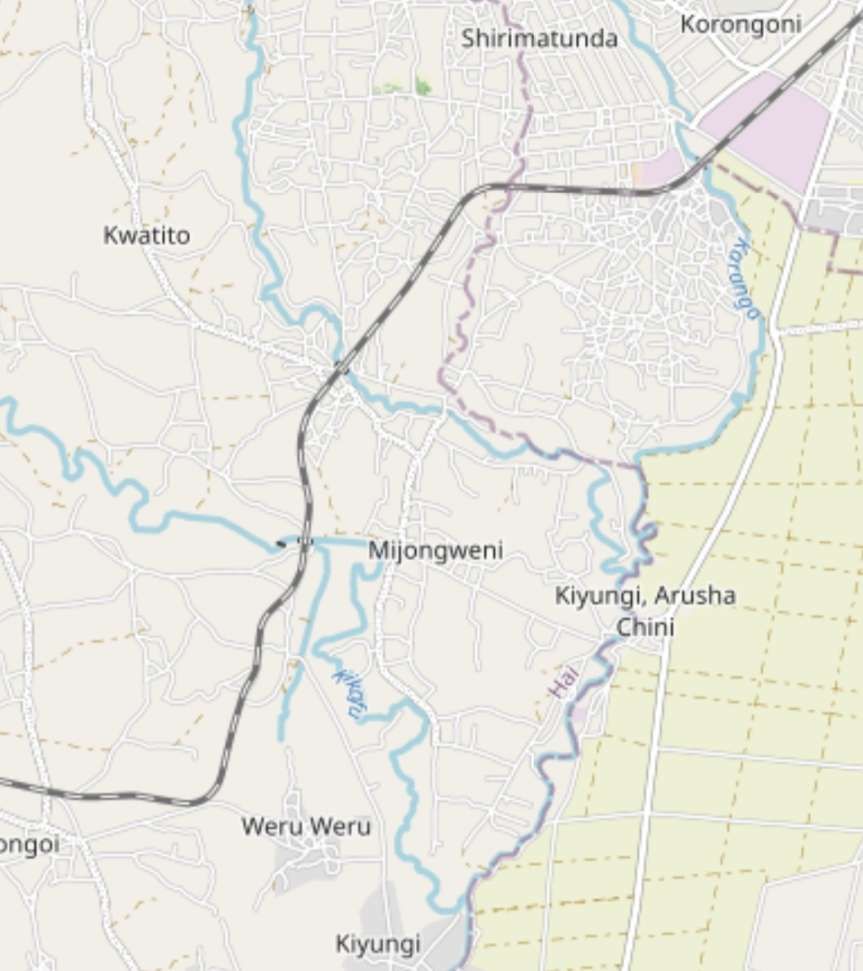
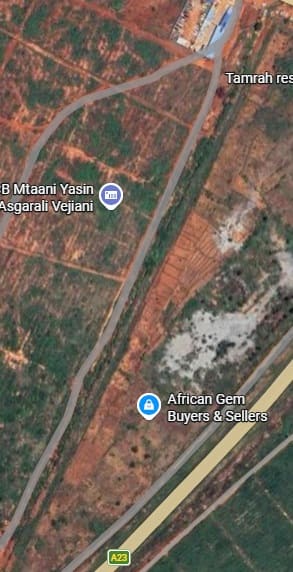
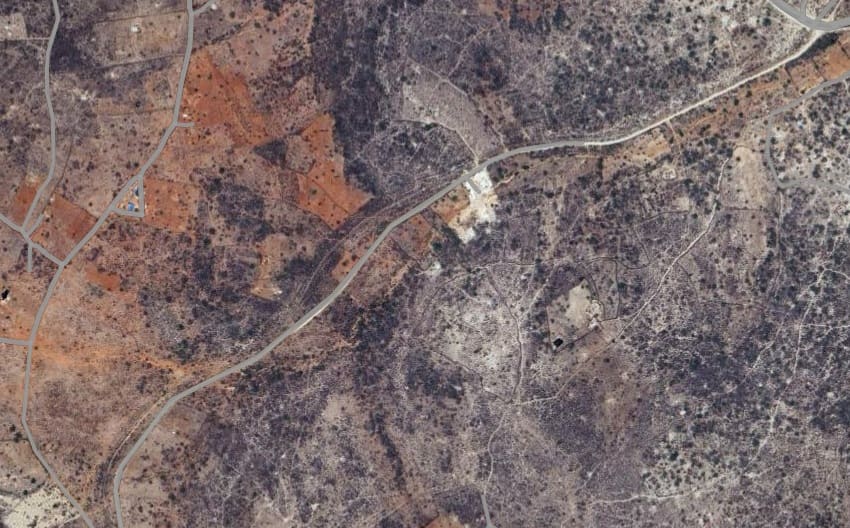
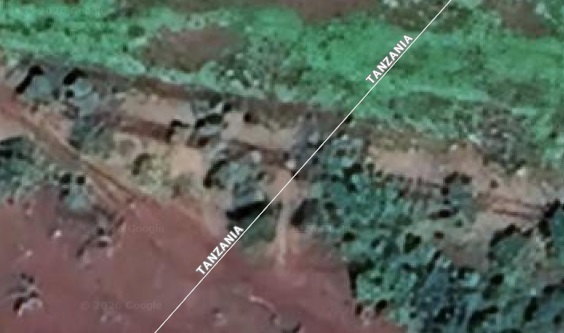
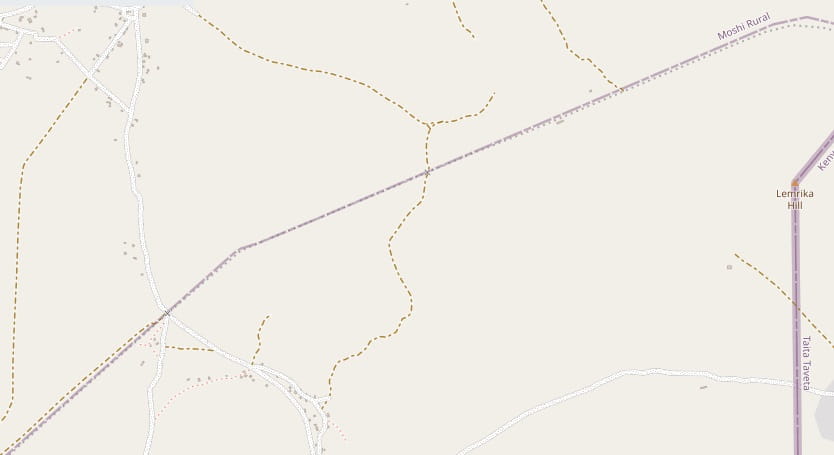
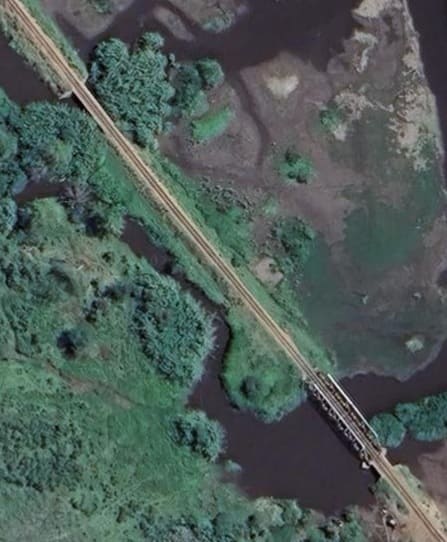
The junction between the Dodoma to Dar-es-Salaam railway and the Mnyusi to Ruvu link line. The Ruvu River was in flood at the time of the Google satellite image was taken. The bridge to the Southeast of the junction would often span a dry watercourse with the bridge over main river much closer to Ruvu. [54][Google Maps, April 2026]
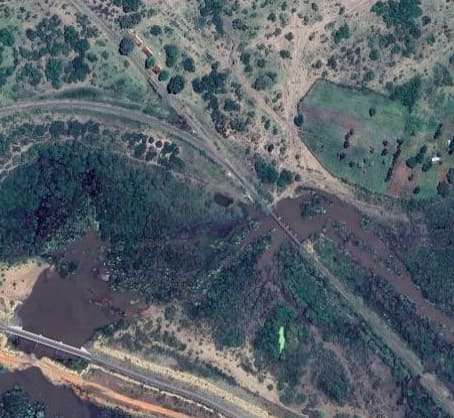
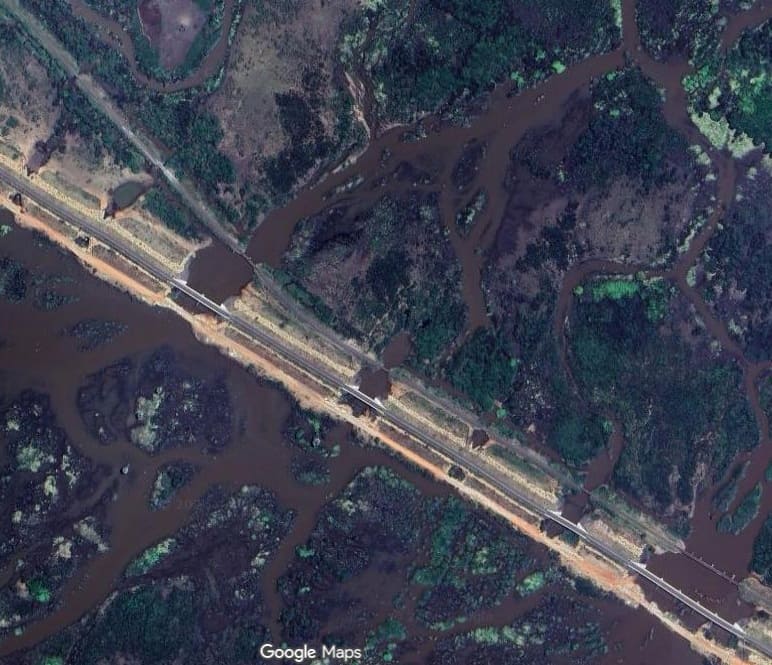
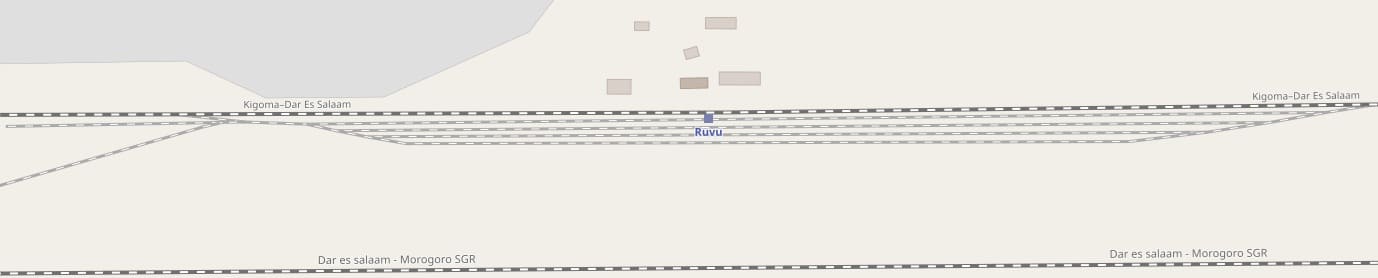
A series of usually dry watercourses are bridged by both the metre-gauge line and the SGR before both cross the main channel of the River Ruvu. [54]
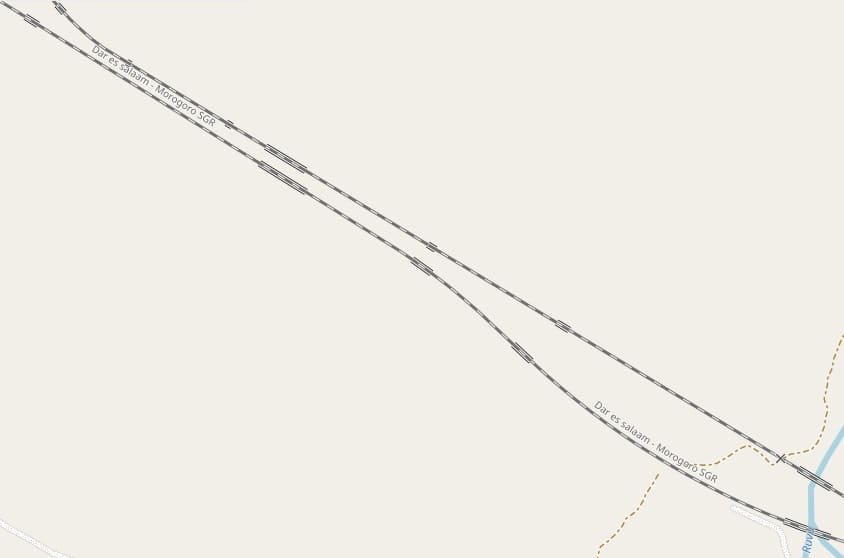
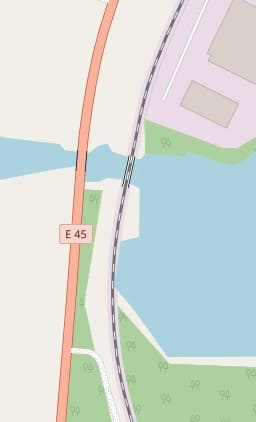
Just short by at bridge from the length of the two railways as are shown on the OpenStreetMap extract above. [Google Maps, April 2026]
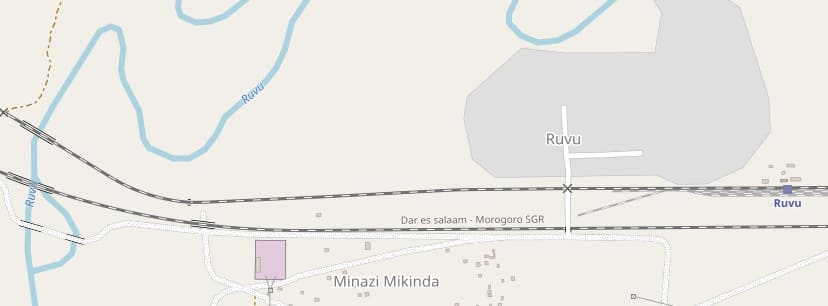
We finish our journey here in Ruvu. The remainder of the journey from Ruvu to Dar-es-Salaam will be covered in reverse in the articles about the Central Line which will follow in due course. Please don’t forget to have a look at the Appendix (which follows the refernces for this article. The Appendix covers the construction of the Mnyusi to Ruvu Line.
References
- https://rogerfarnworth.com/2026/04/01/railways-of-tanzania-part-2-the-route-of-the-usambara-railway-tanga-to-moshi
- M.F. Hill; Permanent Way Volume II: The Story of the Tanganyika Railways; East African Railways and Habours, Nairobi, Kenya; Watson & Viney, Aylesbury & Slough, 1957.
- https://www.facebook.com/share/p/1ALffLxhDg, accessed on 18th March 2026.
- https://www.google.com/search?client=ms-android-motorola-rvo3&hs=AZD&sca_esv=b05c8d9632b51df6&sxsrf=ANbL-n5vLNTMT9J1cn4sS7VDi8IhkG_BNg%3A1773944351007&q=tanga%20railway%20station%20photos&si=AL3DRZGgcPNmWPDVEk81ds4iaXPEjuNcyuY9Q822zd2Q3wgtDLa9VVF_9x9TK7LuOrzAGGVlybqvwgpMRLdjvIPVO6109T3ngqw96Xr3Qzr3BAwZo0lgWOz-pkCpT8YplwOa9Nc8V9yUN8GP7Lus4LLAZVKs0HHFqg%3D%3D&ved=0CBEQy9gMahcKEwj4td_XyayTAxUAAAAAHQAAAAAQCg&ictx=1#ebo=1&lpg=cid:CgIgAQ%3D%3D,ik:CAoSF0NJSE0wb2dLRUlDQWdJREM2Y3IxMmdF, accessed on 19th March 2026.
- https://www.google.com/search?client=ms-android-motorola-rvo3&hs=AZD&sca_esv=b05c8d9632b51df6&sxsrf=ANbL-n5vLNTMT9J1cn4sS7VDi8IhkG_BNg%3A1773944351007&q=tanga%20railway%20station%20photos&si=AL3DRZGgcPNmWPDVEk81ds4iaXPEjuNcyuY9Q822zd2Q3wgtDLa9VVF_9x9TK7LuOrzAGGVlybqvwgpMRLdjvIPVO6109T3ngqw96Xr3Qzr3BAwZo0lgWOz-pkCpT8YplwOa9Nc8V9yUN8GP7Lus4LLAZVKs0HHFqg%3D%3D&ved=0CBEQy9gMahcKEwj4td_XyayTAxUAAAAAHQAAAAAQCg&ictx=1#ebo=1&lpg=cid:CgIgAQ%3D%3D,ik:CAoSF0NJSE0wb2dLRUlDQWdJQ2szYi1Pd2dF, accessed on 19th March 2026.
- https://en.wikipedia.org/wiki/Usambara_Railway, accessed on 13th March 2026.
- https://maps.app.goo.gl/C952JgVPwCuYSAv98, accessed on 20th March 2026.
- https://www.gettyimages.co.uk/photos/usambara-railway, accessed on 21st March 2026.
- https://imagerenderer.com/images/rendered/share/68974575&domainId=12, accessed on 21st March 2026.
- https://en.wikipedia.org/wiki/History_of_rail_transport_in_Tanzania, accessed on 16th April 2026.
- A. M. O’Connor; East African Railway Developments: 1962-1963; in East African Geography Review No. 2, April 1964, p46-47; via https://journals.co.za/doi/pdf/10.10520/AJA19376812_9, accessed on 18th April 2026.
- K. Rahmani; Construction of the Mnyusi-Ruvu line; in the Permanent Way Institution Journal, No. 82, 1964, p55-62..
- https://www.openstreetmap.org/node/8806556432#map=16/-5.24451/38.61205, accessed on 18th April 2026.
- https://www.openstreetmap.org/node/8806556432#map=14/-5.25780/38.62448, accessed on 18th April 2026.
- https://mapcarta.com/N8807059101/Map, accessed on 25th March 2026.
- https://www.openstreetmap.org/search?query=mnyusi&zoom=18&minlon=38.324834704399116&minlat=-5.018608470777954&maxlon=38.32927644252778&maxlat=-5.015108237892018#map=15/-5.29182/38.62553, accessed on 21st April 2026.
- https://www.openstreetmap.org/search?query=mnyusi&zoom=18&minlon=38.324834704399116&minlat=-5.018608470777954&maxlon=38.32927644252778&maxlat=-5.015108237892018#map=15/-5.31447/38.62711, accessed on 21st April 2026.
- https://www.openstreetmap.org/search?query=mnyusi&zoom=18&minlon=38.324834704399116&minlat=-5.018608470777954&maxlon=38.32927644252778&maxlat=-5.015108237892018#map=15/-5.33822/38.63033, accessed on 21st April 2026.
- https://www.openstreetmap.org/search?query=mnyusi&zoom=18&minlon=38.324834704399116&minlat=-5.018608470777954&maxlon=38.32927644252778&maxlat=-5.015108237892018#map=15/-5.35801/38.63480, accessed on 21st April 2026.
- https://www.openstreetmap.org/search?query=mnyusi&zoom=18&minlon=38.324834704399116&minlat=-5.018608470777954&maxlon=38.32927644252778&maxlat=-5.015108237892018#map=15/-5.38334/38.63630, accessed on 21st April 2026.
- https://www.openstreetmap.org/search?query=mnyusi&zoom=18&minlon=38.324834704399116&minlat=-5.018608470777954&maxlon=38.32927644252778&maxlat=-5.015108237892018#map=15/-5.40753/38.64063, accessed on 21st April 2026.
- https://www.openstreetmap.org/search?query=mnyusi&zoom=18&minlon=38.324834704399116&minlat=-5.018608470777954&maxlon=38.32927644252778&maxlat=-5.015108237892018#map=15/-5.43085/38.65029, accessed on 21st April 2026.
- https://unitedrepublicoftanzania.com/economy-of-tanzania/infrastructure-in-tanzania/railway-in-tanzania/ruvu-link-line-unveiling-tanzanias-crucial-railway-intersection, accessed on 24th April 2026.
- https://www.openstreetmap.org/#map=14/-5.51813/38.65128, accessed on 28th April 2026.
- https://www.openstreetmap.org/#map=14/-5.51813/38.65128, accessed on 28th April 2026.
- https://www.openstreetmap.org/#map=14/-5.56759/38.65170, accessed on 28th April 2026.
- https://www.openstreetmap.org/#map=14/-5.61697/38.64767, accessed on 28th April 2026.
- https://www.openstreetmap.org/#map=14/-5.66753/38.64595, accessed on 28th April 2026.
- https://www.openstreetmap.org/#map=14/-5.71750/38.65025, accessed on 28th April 2026.
- https://www.openstreetmap.org/#map=14/-5.76959/38.65514, accessed on 28th April 2026.
- https://www.openstreetmap.org/#map=14/-5.81459/38.65617, accessed on 28th April 2026.
- https://www.openstreetmap.org/#map=14/-5.83201/38.65780, accessed on 28th April 2026.
- https://www.openstreetmap.org/#map=14/-5.88145/38.65909, accessed on 28th April 2026.
- https://www.openstreetmap.org/#map=14/-5.91500/38.66415, accessed on 28th April 2026.
- https://www.openstreetmap.org/#map=14/-5.95000/38.69797, accessed on 28th April 2026.
- https://www.openstreetmap.org/#map=14/-5.99661/38.71925, accessed on 28th April 2026.
- https://www.openstreetmap.org/#map=14/-6.04894/38.71196, accessed on 28th April 2026.
- https://www.openstreetmap.org/#map=14/-6.08717/38.71436, accessed on 28th April 2026.
- https://www.openstreetmap.org/#map=14/-6.13957/38.71282, accessed on 28th April 2026.
- https://www.openstreetmap.org/#map=14/-6.18668/38.70947, accessed on 28th April 2026.
- https://www.openstreetmap.org/#map=14/-6.22994/38.70741, accessed on 28th April 2026.
- https://www.openstreetmap.org/#map=15/-6.25628/38.71294, accessed on 28th April 2026.
- https://www.openstreetmap.org/#map=14/-6.30672/38.72912, accessed on 29th April 2026.
- https://www.openstreetmap.org/#map=14/-6.36294/38.72895, accessed on 29th April 2026.
- https://www.openstreetmap.org/#map=14/-6.39936/38.73556, accessed on 29th April 2026.
- https://www.openstreetmap.org/#map=14/-6.45668/38.72569, accessed on 29th April 2026.
- https://www.openstreetmap.org/#map=15/-6.49649/38.72492, accessed on 29th April 2026.
- https://www.openstreetmap.org/#map=15/-6.51934/38.71994, accessed on 29th April 2026.
- https://www.openstreetmap.org/#map=15/-6.54040/38.71561, accessed on 29th April 2026.
- https://www.openstreetmap.org/#map=15/-6.59357/38.70059, accessed on 29th April 2026.
- https://www.openstreetmap.org/#map=14/-6.63890/38.69282, accessed on 29th April 2026.
- https://www.openstreetmap.org/#map=14/-6.69253/38.66784, accessed on 29th April 2026.
- https://www.openstreetmap.org/#map=14/-6.74589/38.64244, accessed on 29th April 2026.
- https://www.openstreetmap.org/#map=14/-6.79294/38.64226, accessed on 29th April 2026.
- https://en.wikipedia.org/wiki/EAR_30_class, accessed on 29th April 2026.
Appendices
Appendix 1: K. Rahmani; Construction of the Mnyusi-Ruvu line; in the Permanent Way Institution Journal, No. 82, 1964, p55-62.
CONSTRUCTION OF THE MNYUSI-RUVU LINE EAST AFRICAN RAILWAYS AND HARBOURS
CONTRIBUTED BY K. RAHMANI, B.A., B.Sc. (EDIK.), A.M.I.C.E., A.M.A.S.C.E. (Associate Fellow)
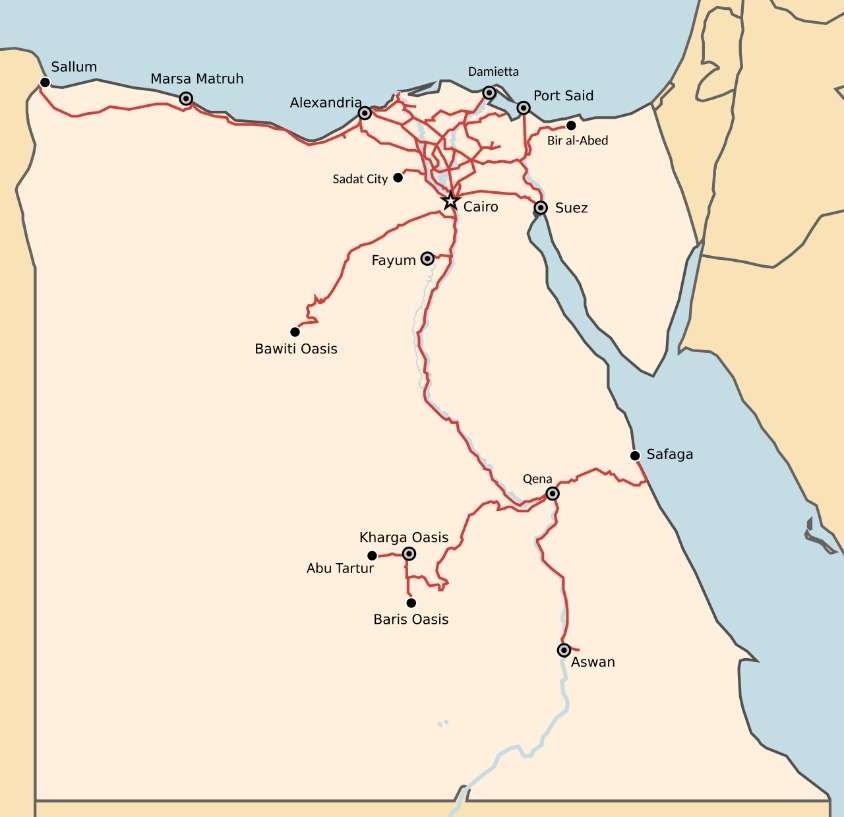
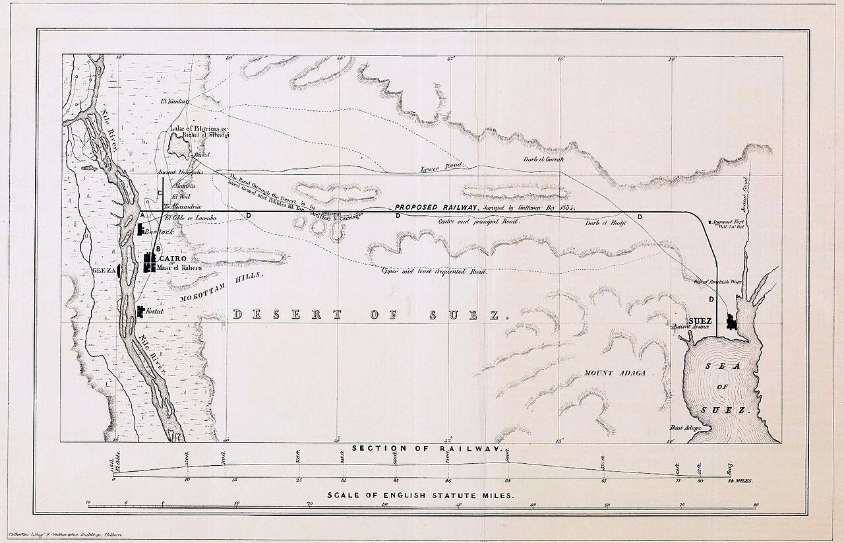
The 117 mile long Mnyusi-Ruvu line which provides a direct railway link between Tanganyika, Kenya and Uganda was opened by Mr. Julius Nyerere, President of Tanganyika on 17th August 1963. (Figure 1). [12: p55]
HISTORY
The necessity of a railway to connect the Central and Tanga lines was felt by the Germans before the 1914-18 War for reasons of railway operating as well as from a general administrative and strategic point of view. [12: p55]

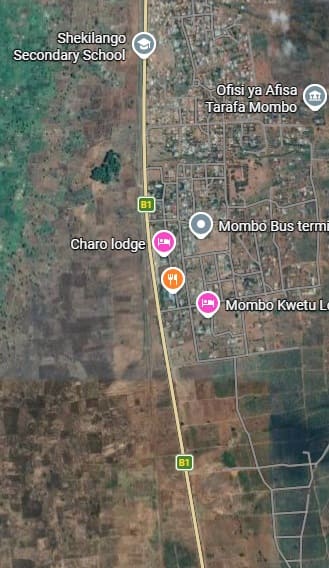
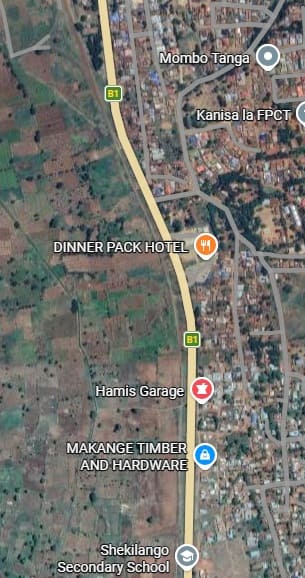
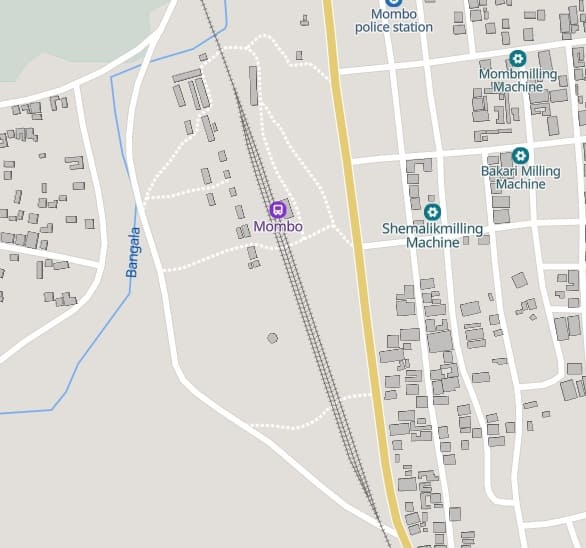
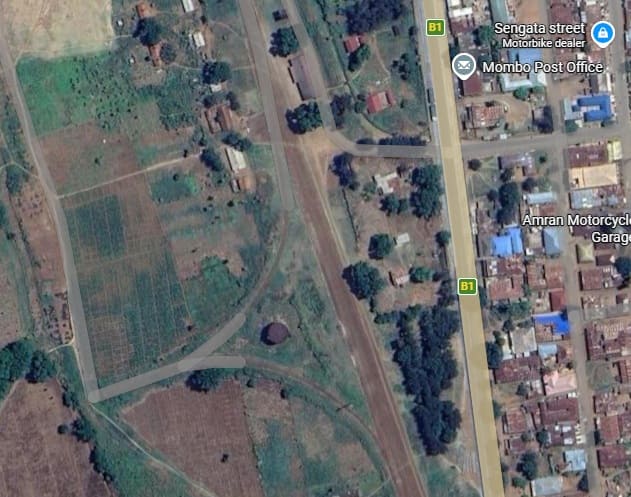
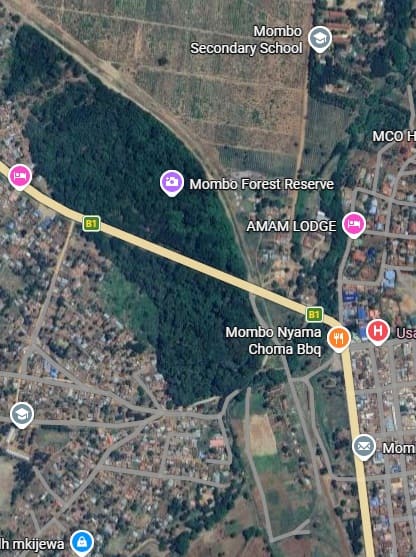
A reconnaissance was made in the neighbourhood of Morogoro for the purpose of finding as short a connection as possible between the Central and Tanga Railways taking into consideration economic development as well, and to determine the choice of a suitable point of junction the sections from Morogoro to Kilosa on the Central Railway and from Korogwe to Mombo on the Tanga Railway were surveyed. Various alignments were considered and are briefly described below: [12: p57]
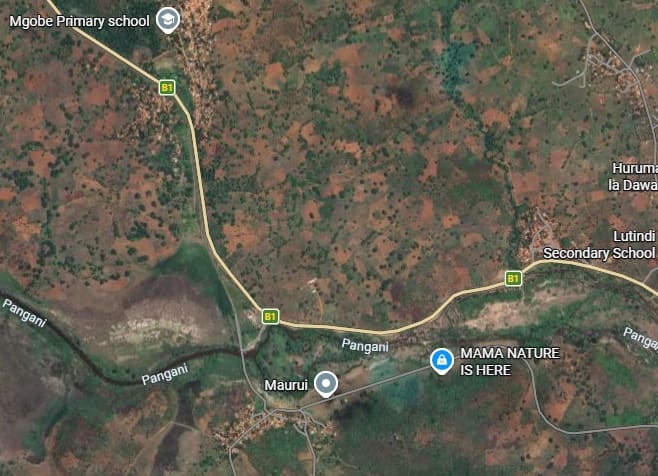
- Ngeregere-Maurai-134 miles; branching from the Central Railway about 12 miles east of Morogoro and continuing towards Maurui. A junction at Ngeregere was considered in view of Ngeregere becoming a possible junction for a future Nyasa Railway.
- Morogoro-Maurui-148 miles; Had its object getting nearer to Ngugu mountains.
- Mkata-Maurui-160 miles. It was considered together with Kimamba to Maurui, 180 miles, to open up best areas and serve Ngugu and Tuliani.
The 1914-18 war put a stop to the construction of the link but the Germans made a temporary connection by a tram line from Kimamba to Mombe using the tracks of sisal estates.
4. Morogoro-Korogwe; Kilosa-Korogwe – After the war in 1921, the Tanganyika Railways made a reconnaissance for those two routes but the first was considered very close to the coast and consideration was given to opening up country more attractive than that lying between Morogoro and Korogwe, i.e. along the route Dodoma-Kondoa-Arusha, a rough reconnaissance of which was made in 1922. The project rested there till 1932 when further reconnaissance was made, but construction could not be started because of the economic depression of the thirties and the Second World War.
In 1948, however, a further survey of the route Morogoro-Korogwe was undertaken but funds could not be made available for the construction due to urgent expenditure elsewhere as a result of the amalgamation of the Tanganyika, Kenya and Uganda Railway Systems.
Its findings were that the link would be 195 miles long and cost about £5 million. In 1951, an engineering survey was made between Morogoro-Korogwe. This was ruled out on economic grounds not only because of the high initial investment but because of poor revenue returns. The project was shelved,
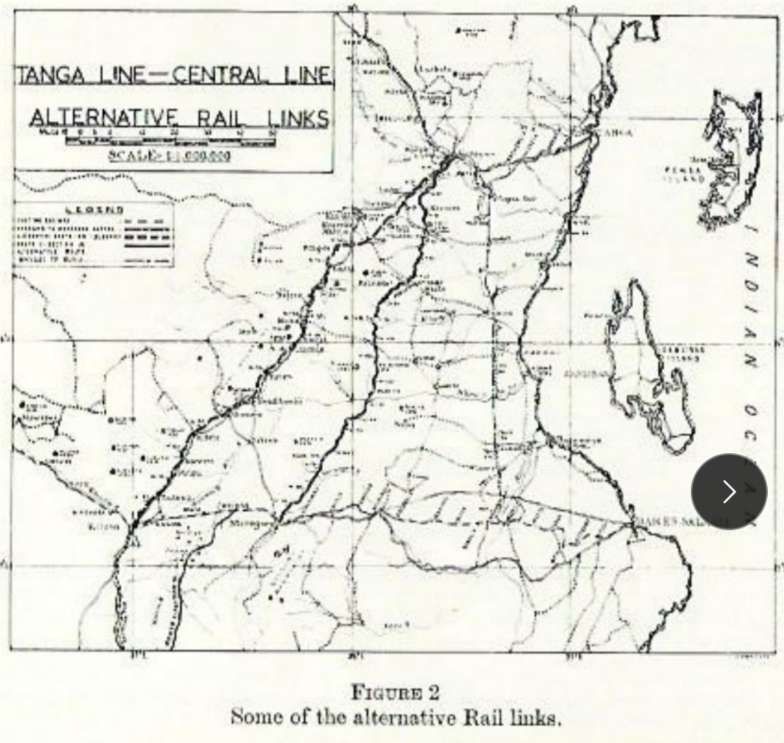
5. Mayusi-Ruvu – The project was reconsidered again in 1958 in the light of the fact that the peak crop seasons of the 3 countries occurred at different times and it was not possible to move the rolling stock throughout the system to meet the demand for it. It was realized that if a facility existed for such movement of the rolling stock, this would not only obviate the provision of more rolling stock but the savings because of the economic use of the rolling stock could be offset against the total cost of the construction. On the basis of this, a decision was taken in 1958 to construct the link. It was considered that if the line was constructed closer to the coast it would decrease the length and the cost. Thus a survey undertaken in 1958 confirmed that the link between Mnyusi and Ruvu would be only 117 miles long and would cost just over £2 million. This scheme was approved. (Figure 2).
CONSTRUCTION
Construction was started in 1960. Headquarters of the whole construction were established at Pangani Falls, about 50 miles from Tanga, in August 1960. The total length of 117 miles was divided into five sections for the purpose of the earthworks to be constructed under contract. Sections I to V were 27.5, 48, 4, 26 and 11 miles long respectively. It was also decided to start the construction from both the north and south ends. The north party was to cover initially sections I and II, ie. up to mile 75.5, and the south party was to cover sections III, IV and V. i.e. from mile 75.5 to mile 117.
Headquarters for the northern section were at Pangani Falls but then moved to Mkalamo when the work proceeded. Headquarters for the southern section were at Kwaraza, about 10 miles along the track from Ruvu, and then moved to Wami during November 1962.
Contract for the earthworks including culverts for section I was awarded to Messrs. Stirling Astaldi Ltd. and the work was started on 1st September 1960. The contractors for the section V at the south end were Messrs. East African Enterprise Ltd. and the work began in October 1960. [12: p57]
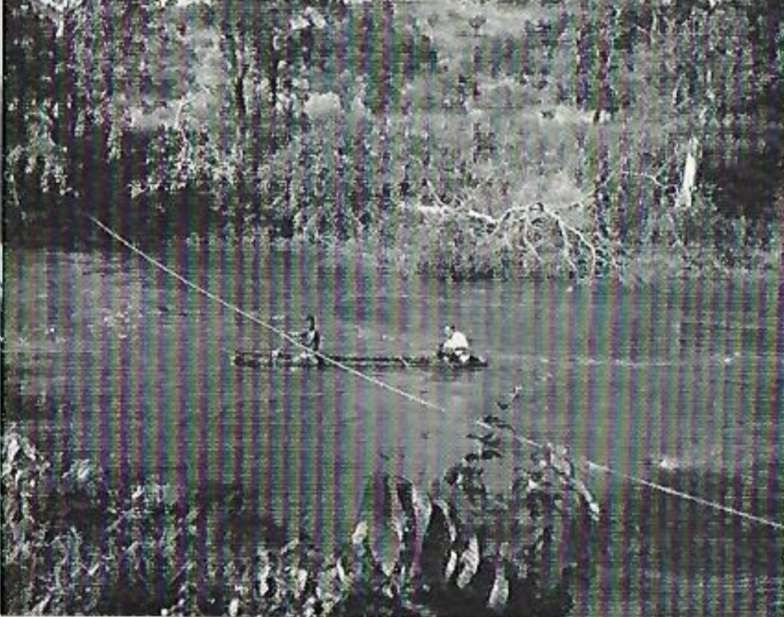
Soundings being taken in Pangani River using a dug-out canoe. During the early stages of the construction of the bridge here, a crocodile would sit on a rock in the river and supervise work. [12: p58]
Contractors for section II were Messrs. Douglas Smith Ltd., and for sections III and IV, Maula, Dad and Rose Ltd. [12: p58]
CLEARING
Clearing for the entire earthworks included 28.5 million square feet of light bush and 52.5 million square feet of thick bush and forest including 4,000 trees of 2 ft to 5 ft diameter and larger. [12: p58]
EARTHWORKS
The earthworks consisted of 850,000 cubic yards of hard and soft rock and 2.5 million cubic yards of earth, the highest bank being 95 ft and the deepest cutting 45 ft in rock. Excavation to catch water and side drains involved 100,000 cubic yards of earth and 15,000 cubic yards of soft rock. [12: p58]
BRIDGES AND CULVERTS
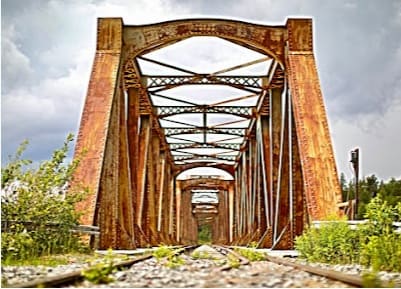
About 600 culverts, in both Armco and Precast concrete, totalling some 11 miles if laid end to end, were laid. The largest size was 12 ft 6 in diameter in Armco. Eleven major bridges were built over the Mnyusi. Pangani. (Figure 3), Mbuzi, Msangasi, Mligaji, Mvavi, Wami, Usigwa, Mkombezi, Mbiki and Msua rivers. One 30 ft span bridge was built over Mililengwa river and two 60 ft span bridges were built over Tanga-Korogwe and Dar es Salaam-Morogoro main roads. All the bridges, except Pangani bridge which is a 116 ft span of the Callender-Hamilton type, are plate girders with reinforced concrete deck slabs. Although only two of the rivers – Pangani and Wami – flow all the year round, the other rivers have a heavy flow during the two rainy seasons, short and long. Four of the rivers including the Wami which has a bridge of four 60 ft spans, were diverted from their original courses. (Figure 4). [12: p58]
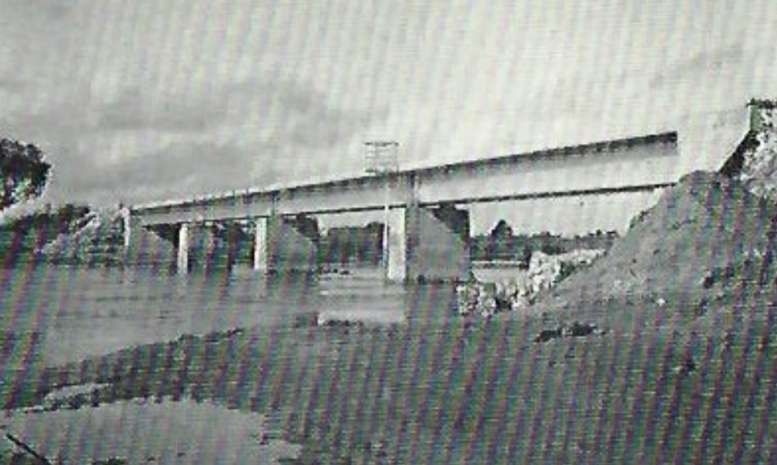
Four 60ft-span plate girder bridge at Wami
In addition, two 11 ft diameter Armco trolley under-passes, three trolley over-passes and various pipe culverts were constructed. The latter were provided as a result of the 1961 floods when the openings provided in the original design proved quite inadequate. [12: p59]
COMPACTION
The earthworks contractors gave the finished formation. Most of the bank compaction was done during the construction of the earthworks by routing heavy machinery over the banks, but the compaction of the top layer was done by using a rotavator and vibratory, pneumatic-tyred and sheepsfoot rollers. A density of 95% was obtained. Soil stabilisation was also necessary at various sandy and clay locations. Black cotton soil, which was used for some banks, compacted very well under slightly wet conditions. [12: p59]
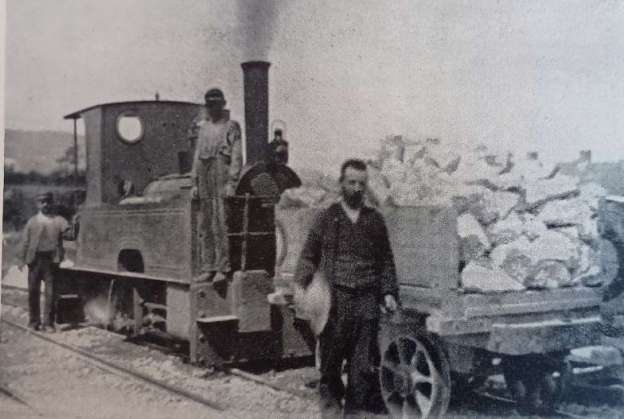
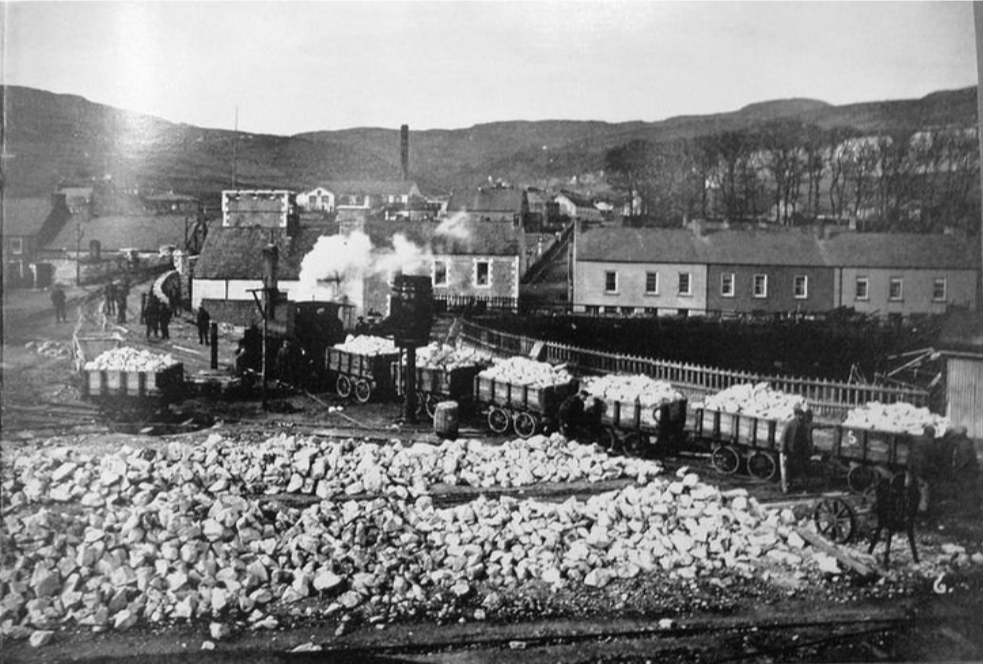
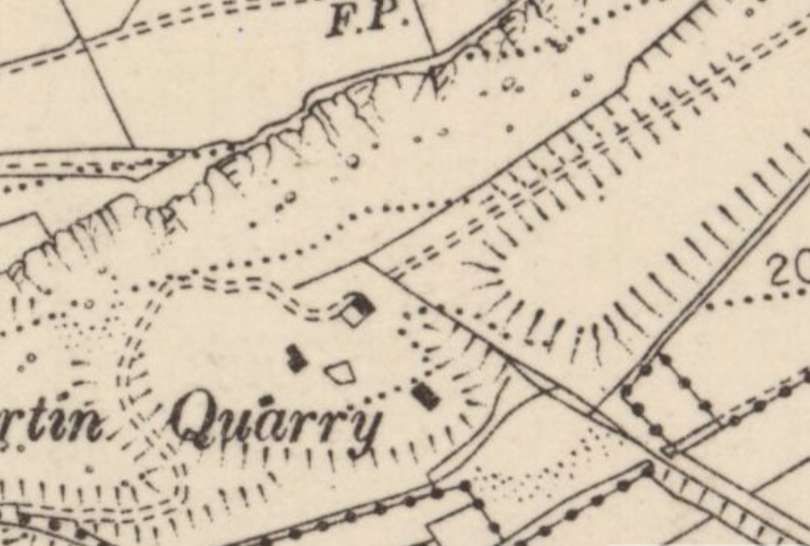
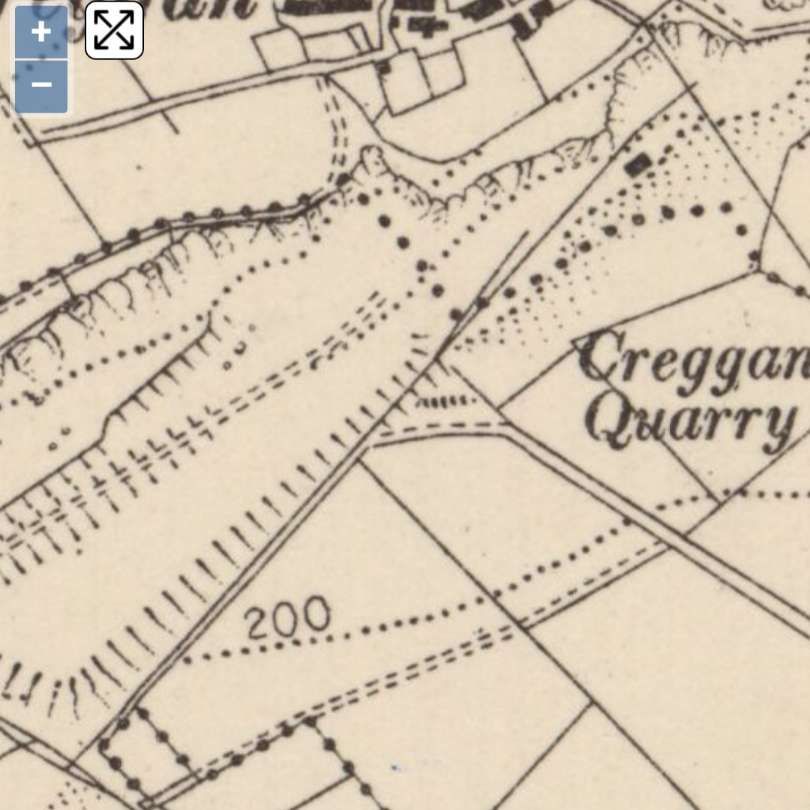
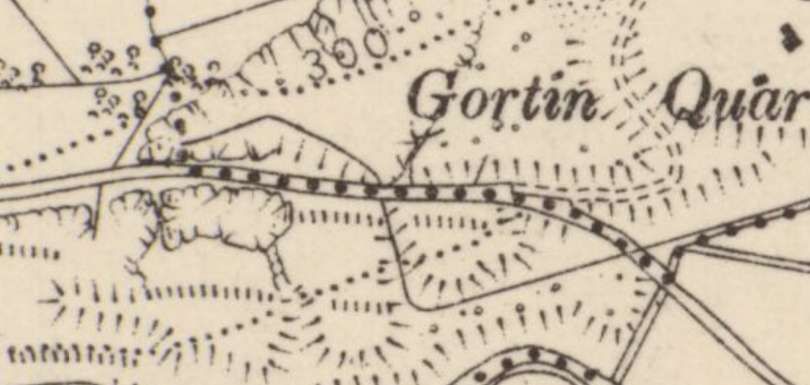
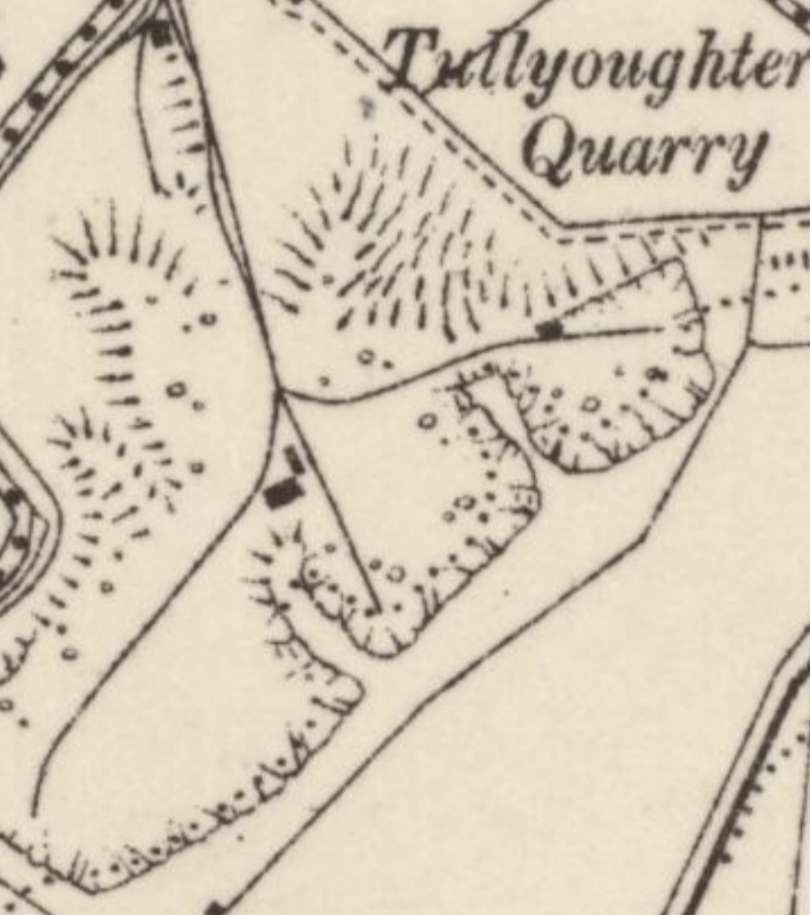
BALLASTING
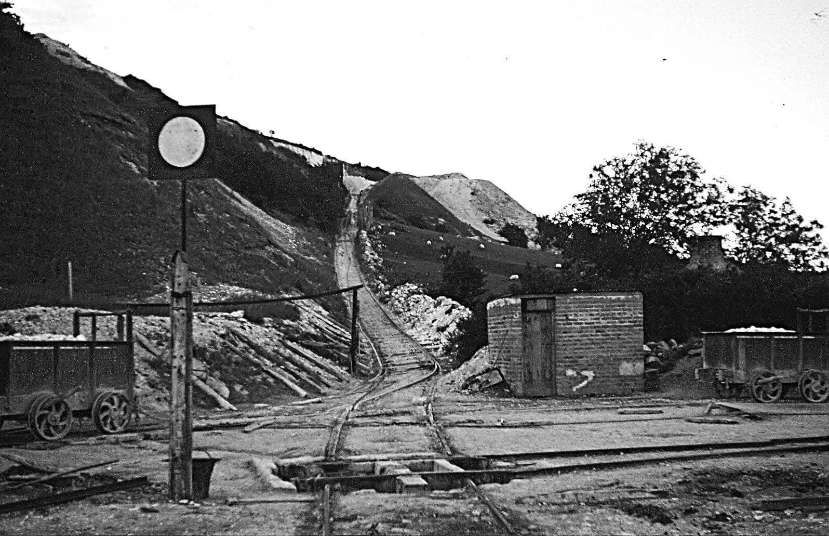
A total of 4.5 million cubic yards of stone ballast was laid. The ballast was railed from two stone quarries at Ngeta near Ruvu and another near Pangani River. The contractors for breaking the stone at both these quarries were Messrs. Tanganyika Engineering Contracting Company Ltd. Some ballast was also obtained from Mweni Prison near Tanga. The ballast was dumped from trains at convenient places near the rail head. Then the formation was pre-ballasted using road transport. A grader was used to level the ballast on the formation. When, however, due to extreme weather conditions, the roads were impassable the track was post-ballasted soon after track-laying. [12: p59]
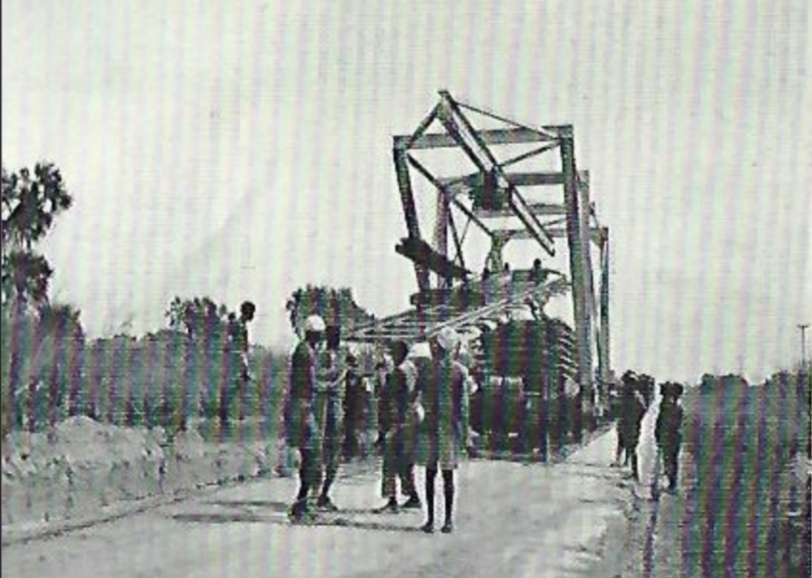
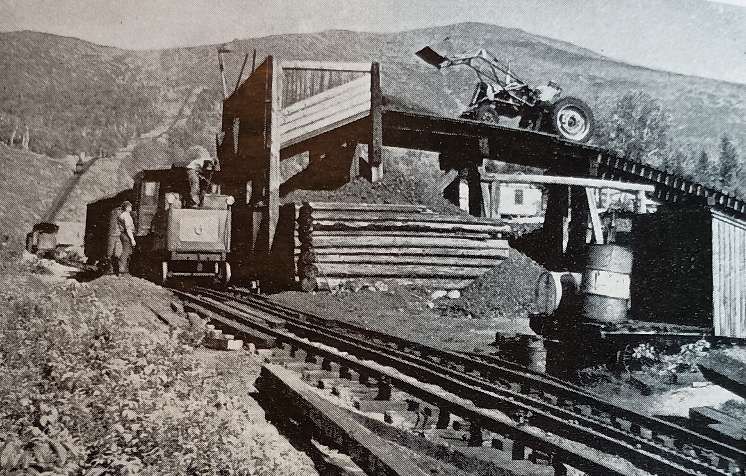
The track-laying gantry at work. [12: p60]
TRACK-LAYING
The new line is laid to metre gauge – the standard for the system. 55 lb and 50 1b second-hand rails with steel trough sleepers were used in the construction. In previous railway construction in the territories, all plate-laying was done by hand, but on this job mechanized track laying was done for the first time. A track-laying gantry was locally manufactured, using an open bogie truck. Track sections … were pre-fabricated in permanent-way depots, loaded on open bogie trucks and transported as a train (with the engine pushing) to the construction site where the track-laying gantry had been left on the last rail length laid the previous day. Sets of nine panels of track were loaded on top of each other in each bogie wagon. Before the start of the day’s work, these panels were jacked up and rollers were placed under the bottom panels which were resting on the track laid on the bogie wagons. At the same time short pieces of rails joined the gaps over the couplings of the wagons to give an uninterrupted track over the entire train length. The set of 9 panels in the wagon next to the track-laying gantry was pulled forward to the gantry by means of a winch. The top panel was then lifted up by means of another winch, slid forward on rollers, lowered and then bolted into position at the end of the track on which the track-laying gantry was standing. The locomotive then pushed the gantry to the next panel and the process was repeated. Up to a mile of track was laid in a matter of four hours by unskilled African labourers. The method proved so successful that it has been adopted on the other construction work being done by the East African Railways. (Figure 5). [12: p59-60]
PACKING AND BOXING
The track-laying was followed by a packing gang who aligned, lifted and packed newly laid track. This was later followed by a gang with a Matisa Tamping chine for the final packing and boxing. [12: p60]
SUPERVISION
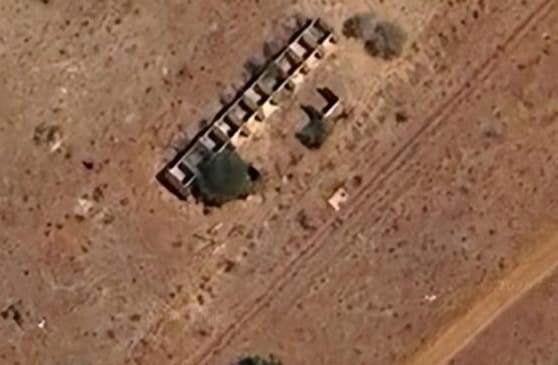
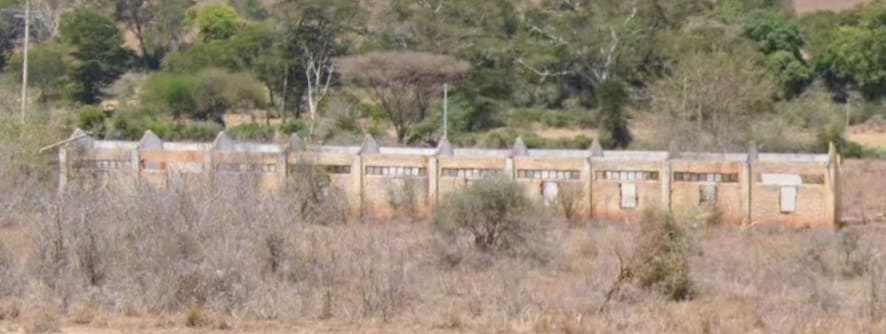
Apart from the various contractors’ own staff, all the supervision was departmental. This comprised a Resident Engineer, two Section Engineers with 2 Assistant Engineers, an Engineer-in-Charge for staking out assisted by an Assistant Engineer, Inspectors of Works, Permanent Way Inspectors, Surveyors, Plant Foremen, Office Staff, and further staff up to a total of 1,000 Artizans and men who were responsible for the construction of all bridges (except the two rail-over-road bridges built by contractors), for the construction of station buildings and staff quarters, ballasting, plate-laying, water supply and other miscellaneous works. There are six stations including the the two end stations and over 150 staff quarters were constructed. [12: p60-61]
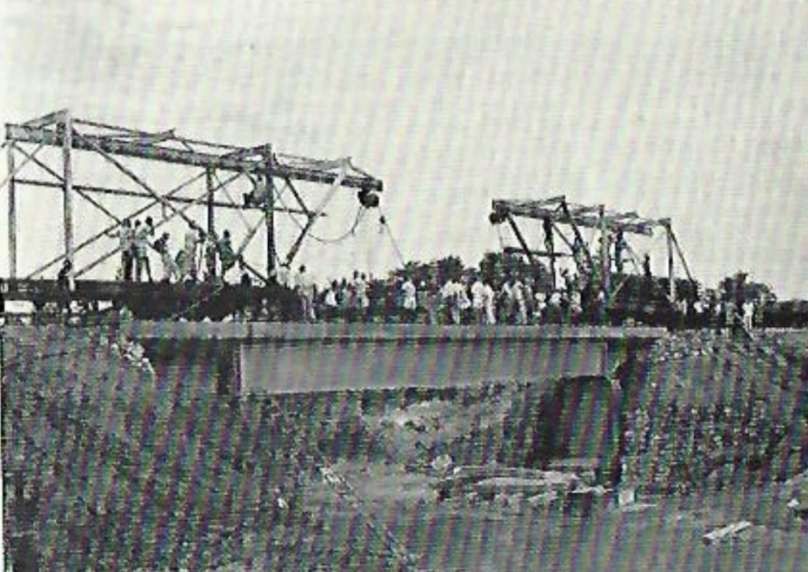
The link-up at Mvavi Bridge, Mile 62, on 4th March 1963. [12: p61]
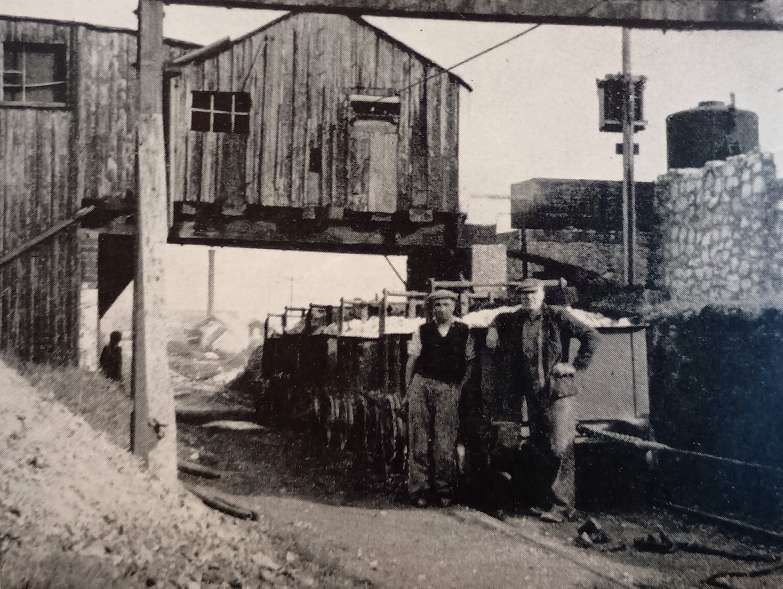
The oil fuel installations at Wami consisting of two tanks of 42,000 gallons capacity, and ancillary works, were constructed by contract. [12: p61]
FLOODS
The unprecedented rains of 1961 put back the work by six months as some of the completed work was washed away. The remedial work caused a 30% increase in the cost of the construction. At one time the flood waters in the 4 mile long Wami flood plain (section III) completely cut off the staff employed on the construction of the bridge and Wami station and food had to be dropped by air; but later, due to the threat of the rising flood, the staff had to be rescued using an Army helicopter. The highest water level of Wami River rose to an all-time record in April 1963. This flooding caused further damage and delay. [12: p61]
COMPLETION
In spite of these set backs, track-laying of the 117 miles was completed and the link-up on 4th March, 1963, at the Mvavi bridge, Mile 62, was a scene of great rejoicing amongst the staff. (Figure 6). The formal opening of the line, however, had to be delayed as the Mvavi and Mligaji (mile 55) bridges were not completed and had been by-passed. Although the terrain through which the railway was constructed was infested with big game e.g. lion, elephant, leopard, buffalo, hippo, giraffe, pythons, no accidents were reported. The biggest nuisances were snakes, mosquitoes, tsetse and horse flies and adverse weather and road conditions. Nevertheless the morale of the staff was very high at all times.
COST
The low cost of construction of £2.9 million is due to three factors:
- The entire land was Crown Land and only £5,000 was paid as compensation for crops and houses.
- Second-hand Permanent Way material ex re-laying on other sections was used throughout.
- Low wages of daily paid staff.


.jpg)