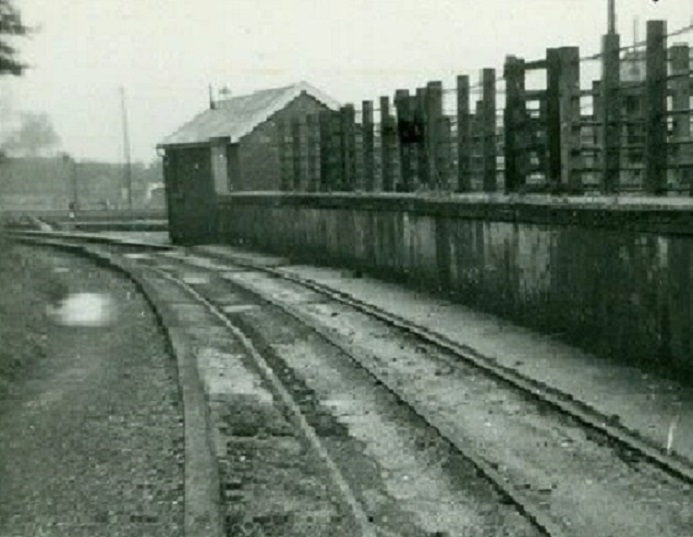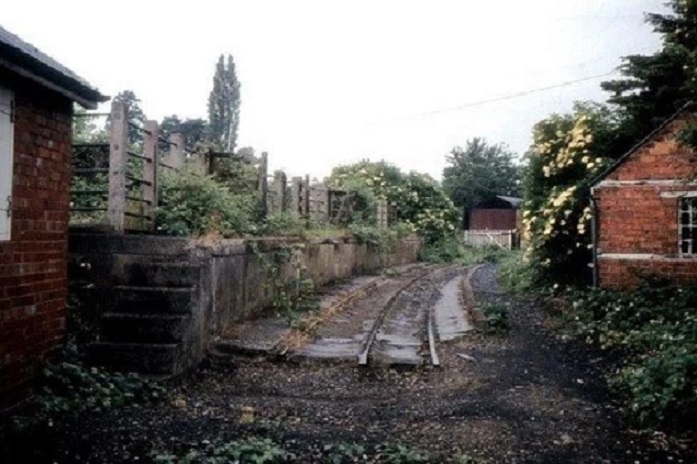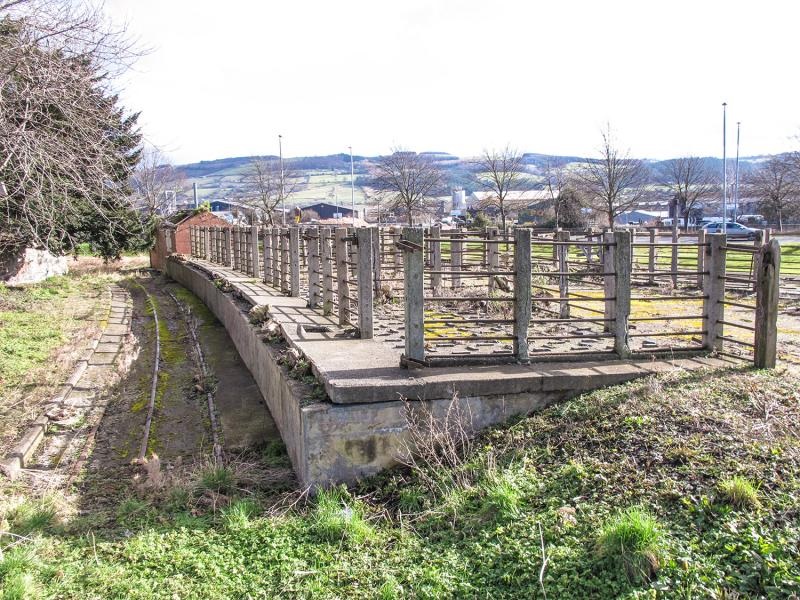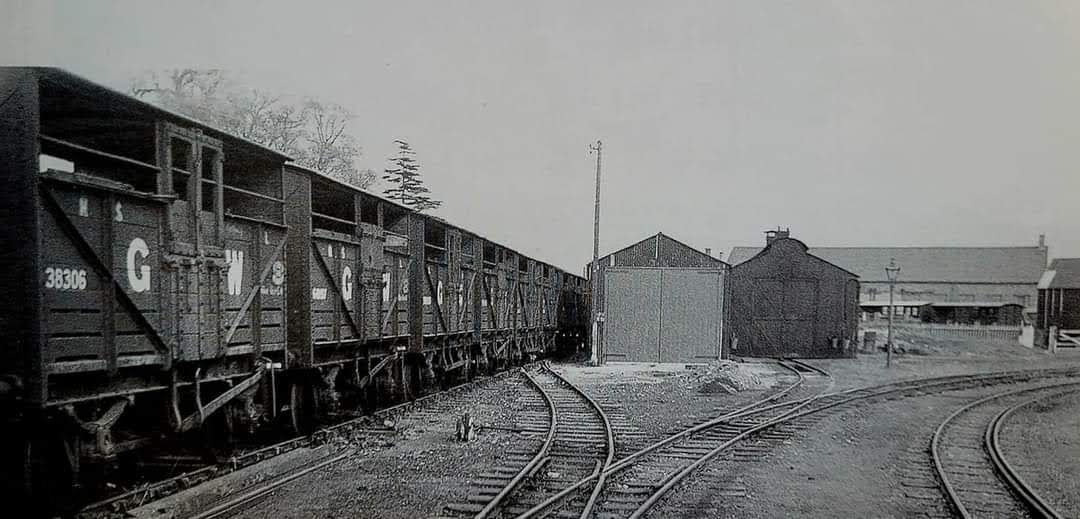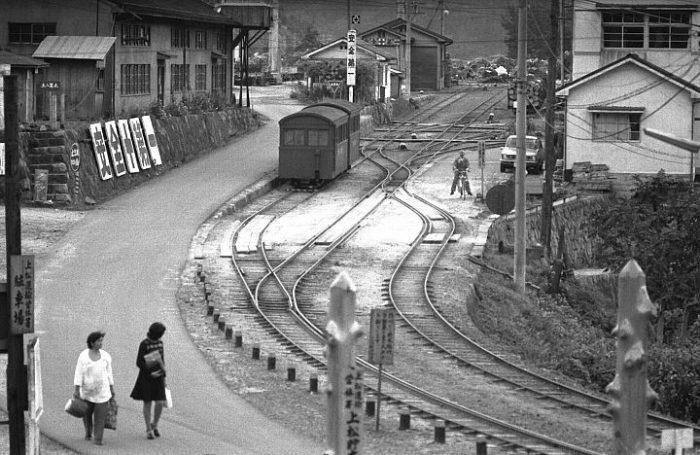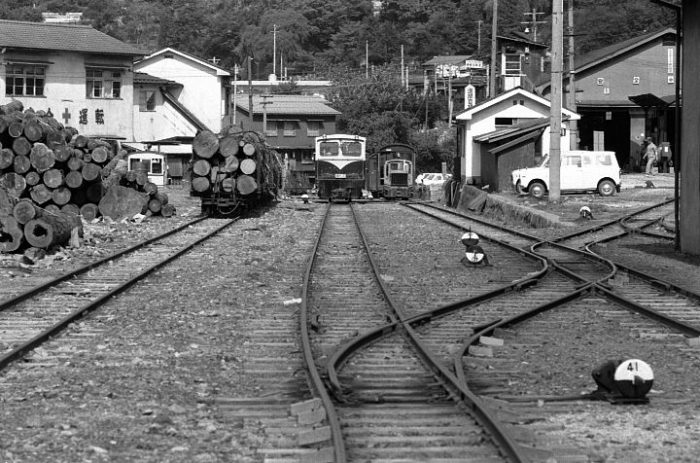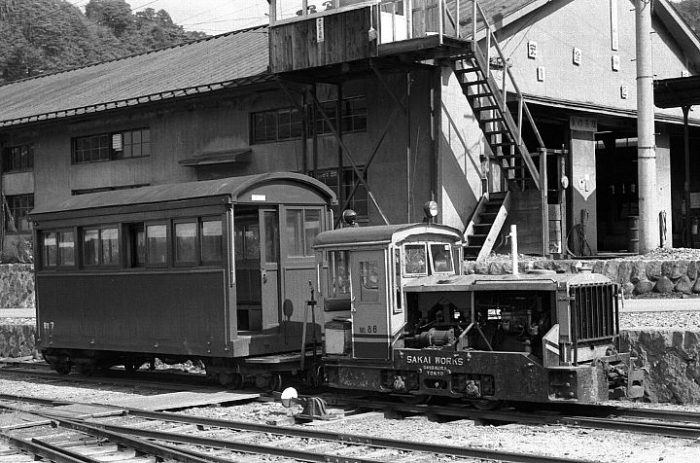
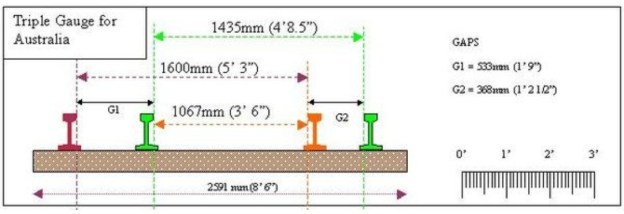
Victoria’s and South Australia’s railways were 5ft 3in broad gauge. New South Wales’ railways were standard-gauge, Queensland’s were 3ft 6in gauge. And, as of 1899, the authorities were in no sense inclined to yield up their gauge to progress. [1: p417]
Perhaps we need a review of the historical context. Wikipedia provides a narrative which aids in understanding why Australia ended up with three different railway gauges.
“In 1845, a Royal Commission on Railway Gauges in the United Kingdom was formed to report on the desirability for a uniform gauge. As a result, the Regulating the Gauge of Railways Act 1846 was passed which prescribed the use of 4 ft 8 1⁄2 in (1,435 mm) in England, Scotland and Wales (with the exception of the Great Western Railway) and 5 ft 3 in (1,600 mm) in Ireland. … In 1846, Australian newspapers discussed the break of gauge problem in the United Kingdom, especially for defence [and] in 1847, South Australia adopted the 4 ft 8 1⁄2 in gauge as law.” [5]
“In 1848, the Governor of New South Wales, Charles Fitzroy, was advised by the Secretary of State for the Colonies in London, Earl Grey, that one uniform gauge should be adopted in Australia, this being the British standard 4 ft 8+1⁄2 in gauge. The recommendation was adopted by the then three colonies.[10][11][12] Grey notes in his letter that South Australia has already adopted this gauge.” [5] As at that time, Victoria and Queensland were part of New South Wales. It would seem as though this instruction should have settled the question of a suitable railway gauge for the Australian continent. However, communication with the UK took anything between 2 1⁄2 and 7 months before the installation of the Australian Overland Telegraph Line and under-sea cable communications in 1872 and debate over matters of consequence could be very protracted. In 1850, the NSW legislature sought a change of gauge to match the Irish standard gauge of 5 ft 3 in (1,600 mm). This was endorsed by the NSW Governor, and Colonial Secretary Earl Grey in London. That agreement was confirmed in 1851. In the meantime, a new engineer, James Wallace, was appointed by the railway company. He preferred the British standard gauge. “The government was persuaded to make the change back to 4 ft 8 1⁄2 in and in January 1853 they advised the company that the Act requiring 5ft 3in (1,600mm) would be repealed.” [5]
In February 1853, the other colonies (Victoria having separated from New South Wales in 1851) were sent a memorandum advising them of the pending change and it was recommended they likewise adopt 4 ft 8 1⁄2 in. IIn Victoria, the colonial government decided that it preferred the 5 ft 3 in (1,600 mm) gauge and an order for locomotives and rolling-stock was and placed.land communicated to suppliers in the UK.
“In July 1853, the Government of Victoria advised New South Wales that it would use the broader gauge and later appealed to the British Government to force a reversal of New South Wales’ decision. Subsequently, the Melbourne and Hobson’s Bay Railway Company opened the first railway in Australia in 1854, as a 5ft 3in (1600mm) a broad gauge line, and the South Australian Railways used the same gauge on its first steam-hauled railway in 1856.” [5]
Despite a request by the Secretary of State for the Colonies to reconsider the alteration to standard-gauge, in 1855, “the NSW Governor William Denison gave the go-ahead for the 4 ft 8 1⁄2 in Sydney to Parramatta railway, which opened in September of that year. … Concerns over the gauge difference began to be raised almost immediately. At a Select Committee called in Victoria in September 1853, a representative of the railway company which had not replied to Charles La Trobe’s earlier memorandum, reported a preference for 5 ft 3 in (1,600 mm), but when asked if Victoria should follow NSW he answered: ‘We must, I conclude of necessity, do so’. In 1857, the NSW railway engineer John Whitton suggested that the short length of railway then operating in New South Wales be altered from 4 ft 8 1⁄2 in gauge to 5 ft 3 in (1,600 mm) to conform with Victoria but, despite being supported by the NSW Railway Administration, he was ignored.” [5] At that time, there were only 23 miles (37 km) of track, four engines and assorted rolling-stock on the railway. “However, by 1889, New South Wales, under engineer Whitton, had built almost 1,950 miles (3,500 km) of standard gauge line.” [5][6: p186]
The problem was exacerbated when Queensland Railways opened their first line in 1865. They chose a narrow gauge, 3 ft 6 in (1,067 mm), on the supposition that it would be constructed more cheaply, faster and on tighter curves than the wider gauges. This line, between Ipswich and Grandchester, was the first narrow gauge main line in the world.
“South Australia first adopted this gauge in 1867 with its line from Port Wakefield to Hoyleton. The main reasons for choosing this were reduced cost, and the expectation that the narrow gauge would never connect to broad gauge lines. ‘Overbuilt’ English railways were criticised. The Wakefield line was also envisaged as a horse-drawn tramway. … Later narrow gauge lines went towards Broken Hill and to Oodnadatta and from Mount Gambier.” [5]
The Western Australian Government Railways adopted the narrow-gauge in 1879 for its first line from Geraldton to Northampton. [6: p186}]
“The Tasmanian Government Railways opened its first railway from Launceston to Deloraine in 1871 using 5 ft 3 in (1,600 mm) broad gauge, but converted to 3 ft 6 in (1,067 mm) narrow gauge in 1888.” [5][6: p186]
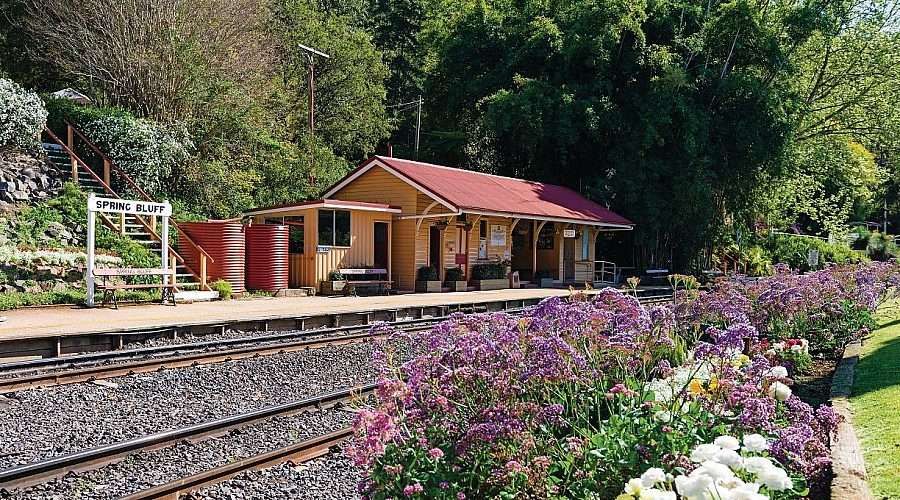
“South Australia first adopted this gauge in 1867 with its line from Port Wakefield to Hoyleton. The main reasons for choosing this were reduced cost, and the expectation that the narrow gauge would never connect to broad gauge lines. ‘Overbuilt’ English railways were criticised. The Wakefield line was also envisaged as a horse-drawn tramway. … Later narrow gauge lines went towards Broken Hill and to Oodnadatta and from Mount Gambier.” [5]
The Western Australian Government Railways adopted the narrow-gauge in 1879 for its first line from Geraldton to Northampton. [6: p186}]
“The Tasmanian Government Railways opened its first railway from Launceston to Deloraine in 1871 using 5 ft 3 in (1,600 mm) broad gauge, but converted to 3 ft 6 in (1,067 mm) narrow gauge in 1888.” [5][6: p186]

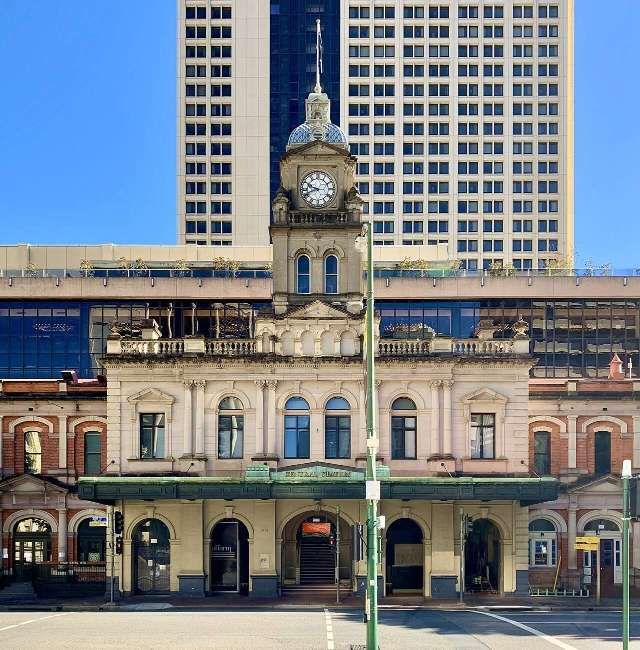
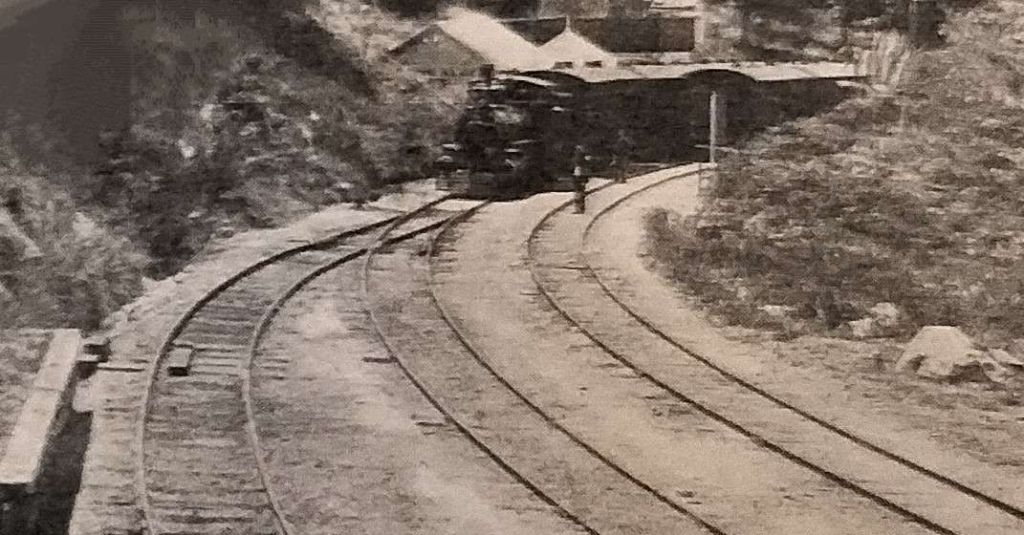
“Until the 1880s, the gauge issue was not a major problem, as there were no connections between the separate systems. The focus of railway traffic was movement from the hinterland to the ports and cities on the coast, so governments were not concerned about the future need for either inter-city passenger or freight services. It was not until 1883 when the broad and standard gauge lines from Melbourne and Sydney met at Albury, and in 1888, narrow and standard gauge from Brisbane and Sydney met at Wallangarra that the break of gauge became an issue.” [5]
“The issue of rail gauge was mentioned in an 1889 military defence report authored by British army officer Major General James Bevan Edwards, who said that the full benefit of the railways would not be attained until a uniform gauge was established. Until the turn of the 20th century, the benefits of a uniform gauge were not immediately apparent, since passengers had to pass through customs and immigration at the intercolonial border, meaning that all goods would have to be removed for customs inspection. It was only with [the anticipation of] Federation in 1901 and its introduction of free trade between the states that the impediment of different gauges became apparent.” [5]
The November 1899 edition of The Railway Magazine engaged in the discussion with the first of a series of three articles on the subject.
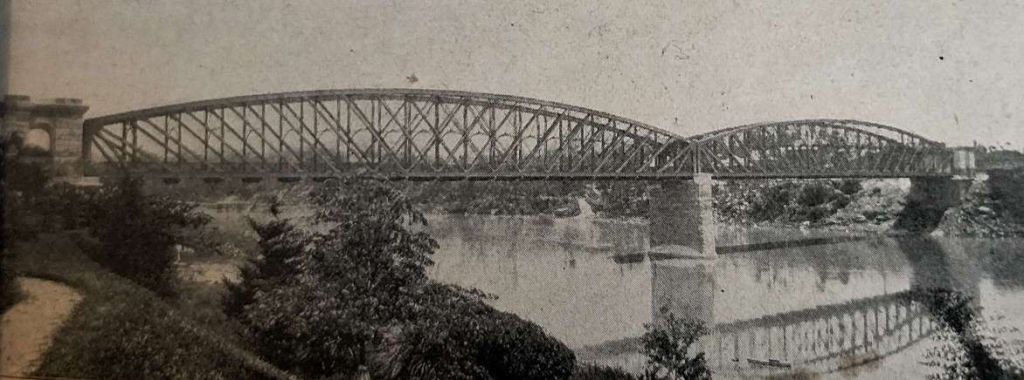
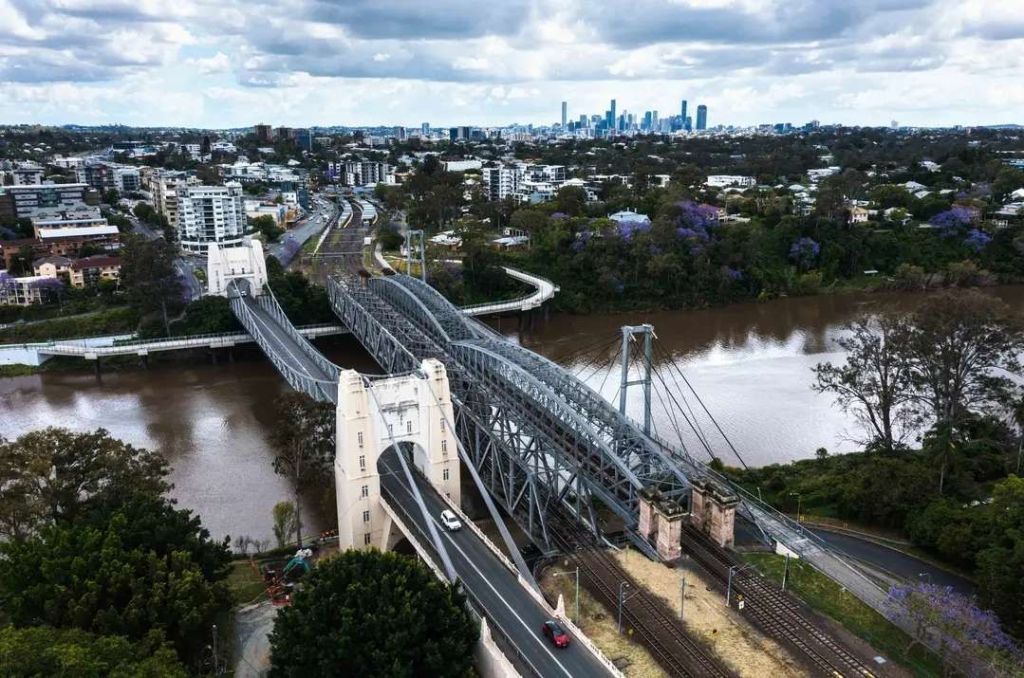
“All the aspirants for State rights and an Australian nationhood not unnaturally contend that the respective gauges now in use within their territorial boundaries are well adapted for their own requirements in the proposed Commonwealth.” [1: p417] So starts the first in a series of articles in The Railway Magazine (November 1899).
Despite the evidence tendered to those debating the formation of the new Commonwealth of Australia by accredited railway experts, the unification of railway gauges was “ultimately dropped as being beyond the grasp of Conventional solution.” [1: p418]
By 1897, the deliberations of the working group set up to address the difficulties brought about by the different gauges, resulted in a recommendation to their respective governments that the New South Wales standard-gauge be adopted at a probable cost of £2,400,000 to bring all of the colonies into line. (A better estimate of the cost, according to The Railway Magazine would be a minimum of £8,000,000). [1: p418]
Perhaps in the light of the expenditure involved in unifying the different gauges, the same working group met again in late 1898 to look at “several ingenious mechanical contrivances to overcome the break of gauge difficulties … [but these proposals] were deemed inadequate to the requirements of the proposed Commonwealth’s railway system.” [1: p418] The meeting endorsed the decision of 1897 with one dissenting voice, that of the Queensland representative, Mr R.J. Gray who reaffirmed his commitment to the 3ft 6in gauge.
In an article written in 1897, Gray’s deputy, Mr J.F. Thallon had indicated that no common gauge would, at that time, be agreed between the different jurisdictions. He proved “most clearly that the narrow gauge [had] been more cheaply constructed, worked and maintained than either the 4 ft. 8 1⁄2in. or 5 ft. 3 in., and that in Queensland, where the 3 it. 6 in. gauge [had] been adopted, the people [had] lower fares and freights than in New South Wales or Victoria; also, that the narrow gauge [was] capable of earning a revenue four times as great as the [then] present revenue of the Victorian railways and [was] therefore the best and cheapest gauge for a progressive Queensland.” [1: p418-419]
‘Rebus’ commented that “it will be readily admitted by all … that a uniform gauge throughout Australia would be a decided advantage. That need not be discussed, but a very pertinent question, if an alteration is to be made, is ‘Which is the best gauge for Australia?’ It is not the cost of conversion only we have to consider, but the extension of railways in the future, and the annual expenditure that will fall upon the generations yet to come. It is not a question of having one gauge from Brisbane to Sydney, or from Sydney to Melbourne, leaving the other lines in Queensland the same gauge as at present. Such a scheme would only perpetuate and intensify the evil, seeing that the traffic between Darling Downs and Gymple, Bundaberg, would all have to be transhipped in Brisbane. If a break of gauge is to remain anywhere, it could not be better placed than at Wallangarra, where there is little traffic. If a change of gauge is to be made it must … be complete, and include one and the same gauge for all Australia. Some have suggested a third rail between certain points, but the proposal cannot be treated seriously. To lay down a third rail in Queensland would cost more than to alter the gauge, and it would be much less satisfactory to all concerned.” [1: p419]
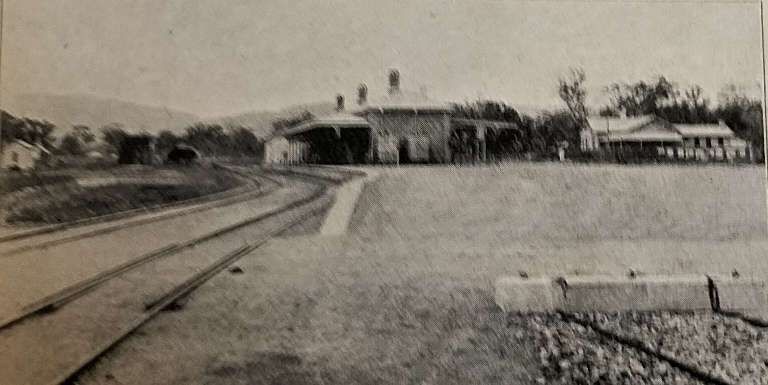
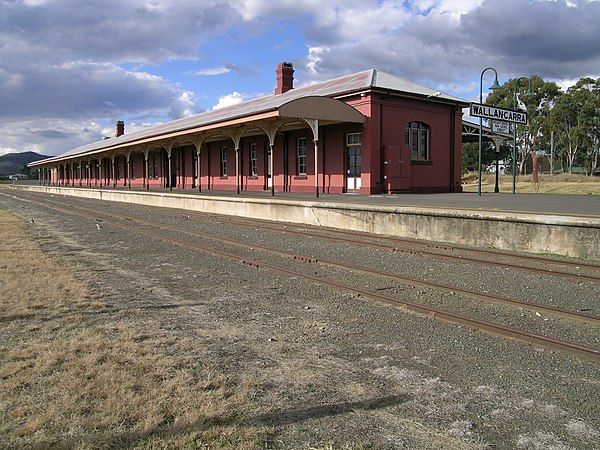
He continues: “The cost of converting the Australian railways to one uniform gauge, whichever be adopted, would be stupendous, involving, as it would, the absolute necessity of discarding and replacing enormous quantities. of rolling-stock, as well as the reconstruction of the permanent way of the converted lines. So far as mileage is concerned, the 3 ft. 6 in. gauge already almost equals (and adding extensions now in progress in Queensland and Western Australia, will quite equal) the other two put together.” [1: p419-420]
By 1899, the lengths of each gauge open to public traffic were: 3ft 6in gauge, 5,280 miles; 5ft 3in gauge, 3,615 miles; and 4 f. 8 1⁄2in gauge, 2,531 miles. It was obvious to ‘Rebus’ that “to convert all lines to the 3 ft. 6 in. gauge would cost the community less in money, in time, and in public inconvenience than to adopt either of the other two. To alter the 4 ft. 8 1⁄2in. to 5 ft. 3 in. (which is the next important as regards mileage) would not be attended with insuperable difficulties, and it would have one substantial advantage, viz., that the rolling-stock of the 4 ft. 8 1⁄2in. gauge could be readily disposed of, whereas the 5 ft. 3 in. rolling-stock, if discarded would be a comparative drug on the market; but 5 ft. 3 in. as the uniform gauge would be decidedly objectionable, seeing it [was] all but obsolete. The question, so far as Australia [was] concerned, therefore reduces itself to 4 ft. 8 1⁄2in. or 3 ft. 6 in.” [1: p420]
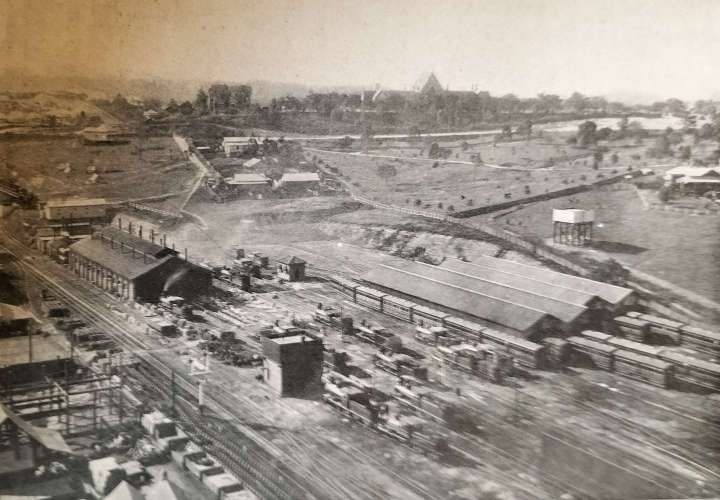
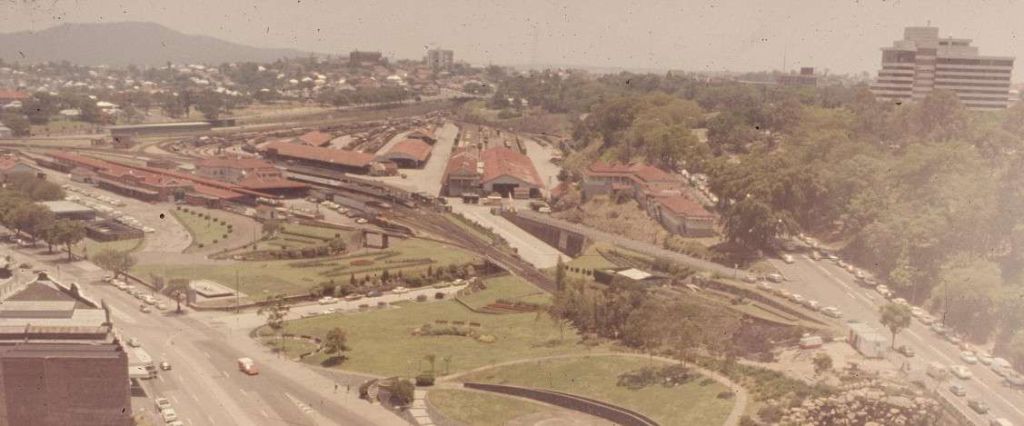
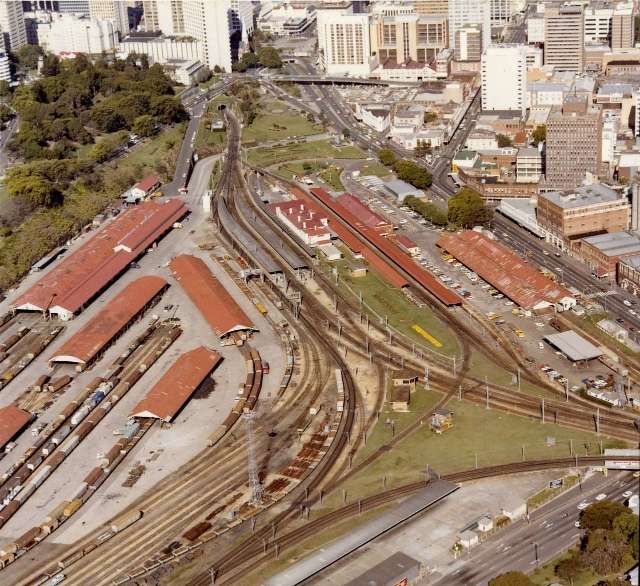

‘Rebus’ goes on to review how the different gauges compared with each other in regard to cost of construction, revenue and expenditure, rates, fares, etc. He used the average expenditure of previous years to estimate the cost of construction and equipment: New South Wales had by that time spent £37 million on its railways, an average cost of £14,560/mile; Victoria had spent over £38 million on its railways, an average cost of £12,206/mile; Queensland had spent over £17 million on the miles of its network, £6,947/mile. He argued that it was vital to minimise cost of construction as the interest burden on each of the colonies was at about 50% of all expenditure!
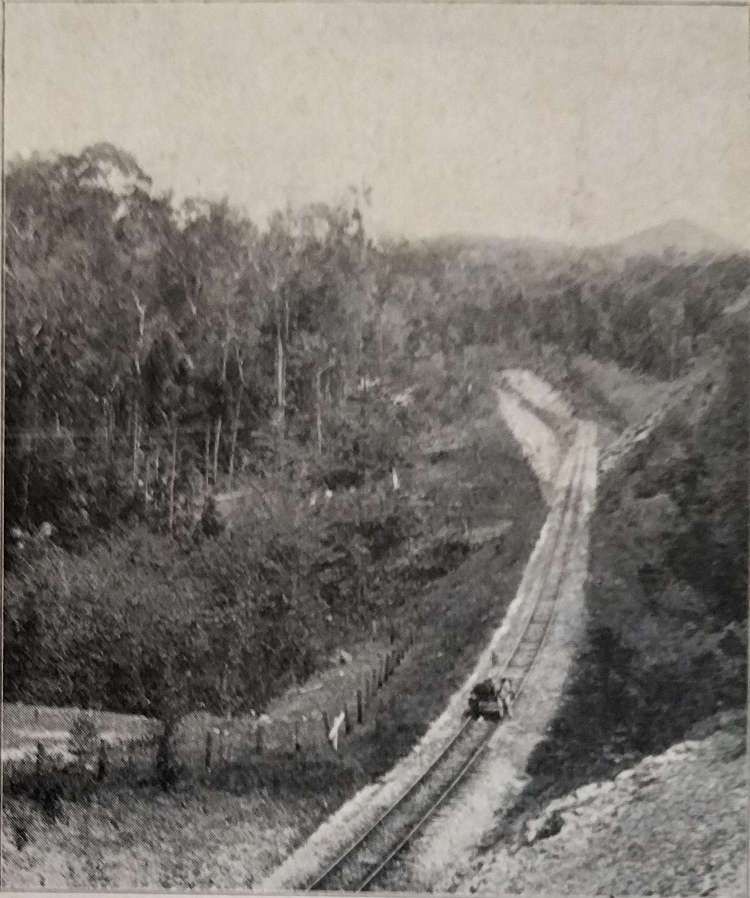
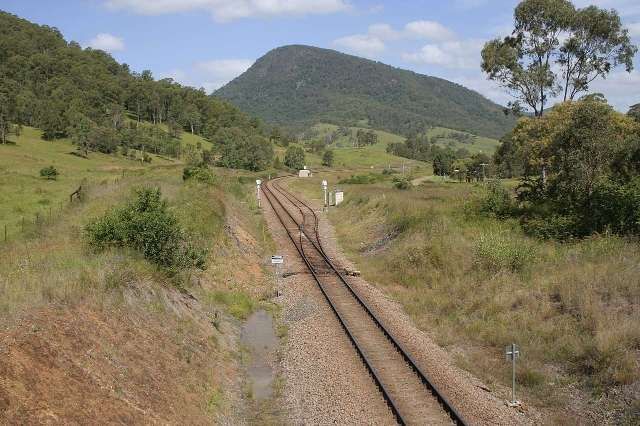
Whilst, the cost burden of government borrowing was a significant argument. ‘Rebus’ seems to ignore the great advantages of increased speed and loading capacity available to networks of the wider gauges. Perhaps this was not so apparent at the end of the 19th century as it would become in later generations. It is clear that, in ‘Rebus” world, speed is of little value, cost is seemingly far more significant, perhaps this is indicative of the predominant concern being the transport of imperishable goods, rather than passengers or perishable goods.
‘Rebus’ goes on to argue that the cost per head of population was not particularly relevant but it was “very much the same in all three colonies, ranging from £29 in New South Wales to£36 in Queensland.” [1: p421-422] The length of railway per head of population was perhaps of greater significance – close to 28 ft in Queensland; 10 1⁄2ft in New South Wales; and 14 ft in Victoria! ‘Rebus’ argues that it was important to keep this disparity in mind when comparing the relative merits of different gauges, “because it is length of railway, not width, which is required to open up and develop the resources of Australia.” [1: p422]
He further argued that if the cost of servicing loans, the cost of maintenance and working expenses were aggregated, then “the New South Wales railways must earn a gross revenue of about £1,200 per mile in order to pay their way, Victoria £984, and Queensland £563. Taking the latest published returns, New South Wales earned £1,114 per mile, Victoria £769, and Queensland £483. In this respect,” he said, “the colonies of Australia [were] far behind other colonies where a uniform gauge of 3ft 6in is in operation.” [1: p422]
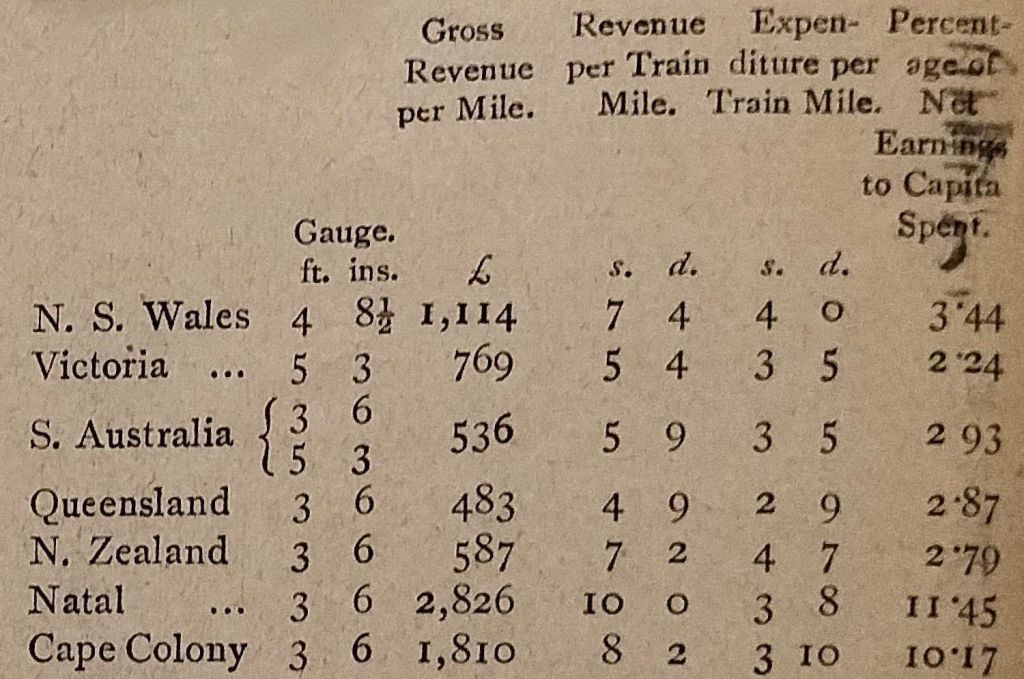
In the table above it can be seen that the return on investment in the two colonies in South Africa was significantly higher than all the networks in Australia and New Zealand. ‘Rebus’ pointed out that narrow-gauge lines could live with much lower traffic levels than the wider gauges of New South Wales and Victoria.
Of some interest may be the comparative figures ‘Rebus’ provides for revenue per head of population. The figures in Australia were:
New South Wales: £2 3s 10d
Victoria: £2 0s 10d
Queensland: £2 9s 4d
He compares this with revenue per head of population in the UK:
England & Wales: £1 18s 4d
Scotland: £1 16s 9d
He suggests that it would be unwise to assume an annual revenue higher than £2 10s per head of population.
He accepts that “gross receipts per mile of railway and per head of population may not prove a very reliable criterion of the practical advan-tage of one gauge over another, and it can without doubt be contended that the wider gauges, having more powerful locomotives and a larger population settled alongside, can carry at a much cheaper rate, and thus the residents of New South Wales and Victoria should gain indirectly a counterpoise to the very apparent disadvantage of the greatly increased initial cost in those colonies.” [1: p423]
He, therefore, compares a few rates and fares taken from the then latest published lists and in operation in 1899.
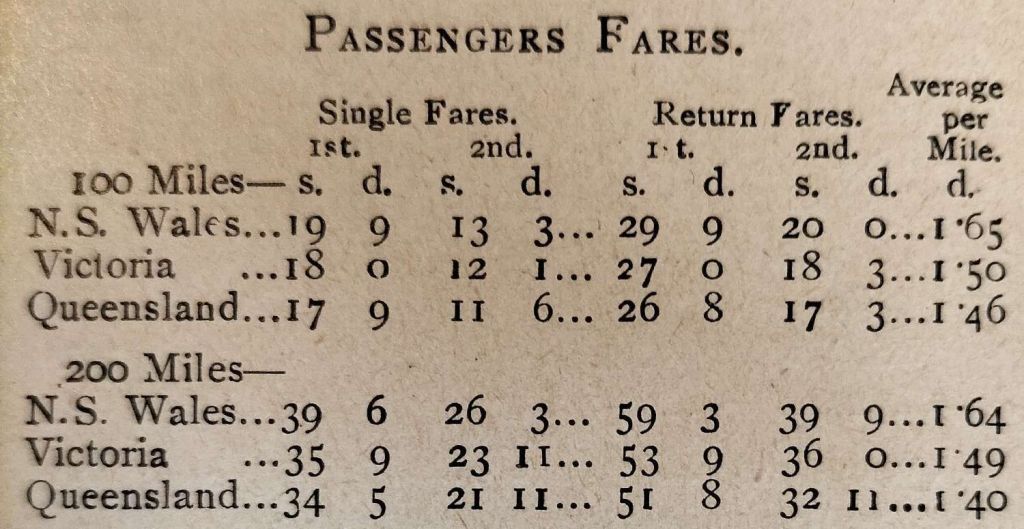
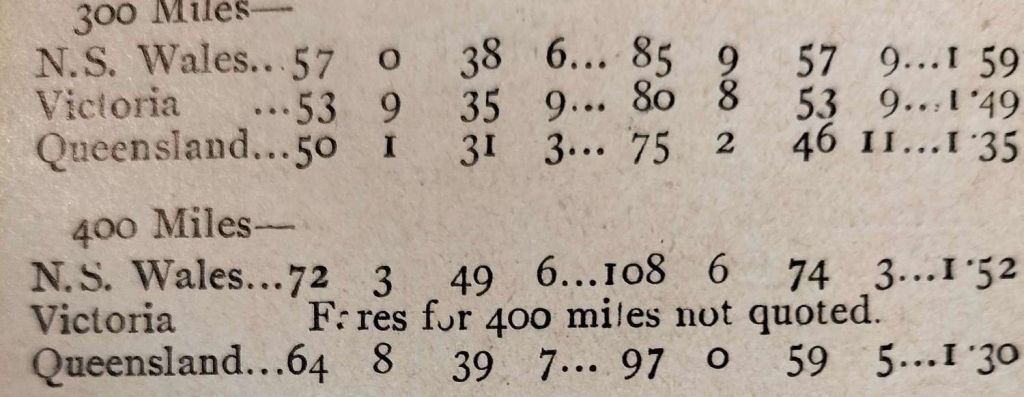
‘Rebus’ says that, “it will be observed that the ordinary fares in Queensland are very much lower per mile than in either of the other two colonies. In the case of holiday excursion fares the difference is even more favourable to Queensland, the figures being:” [1: p424]
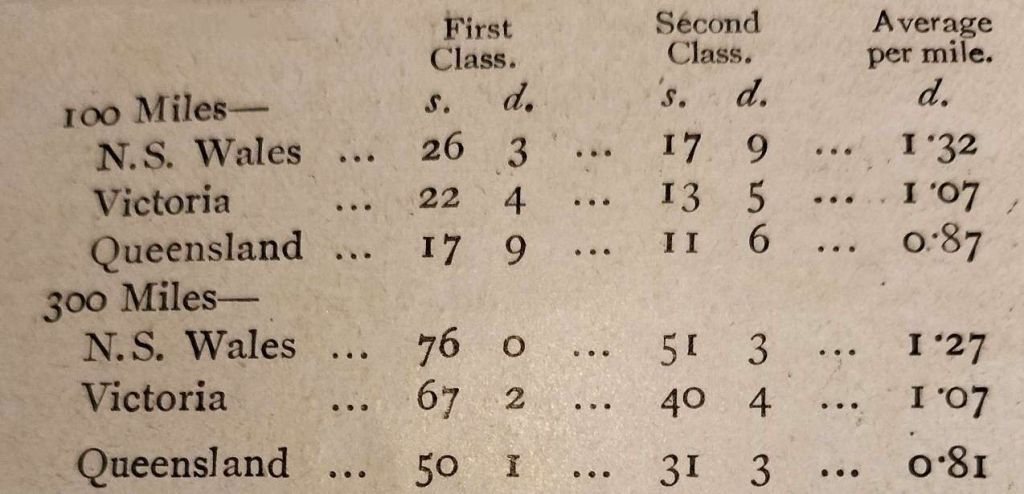
‘Rebus’ also provides a fare comparison for shorter distances based on the price of season tickets:
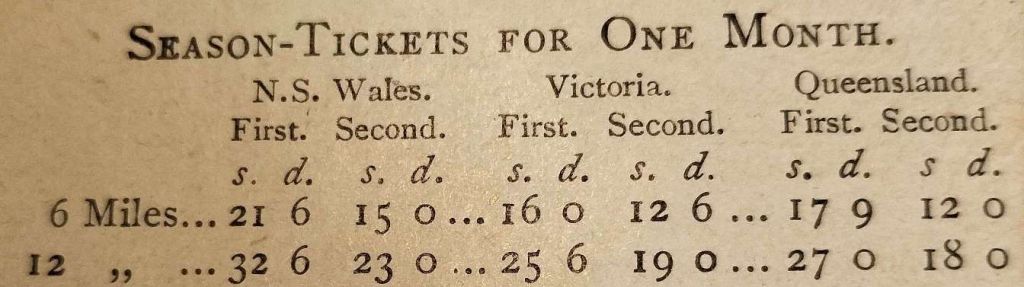
‘Rebus’ continues to look at livestock transport costs and he demonstrates that the narrow-gauge of Queensland achieved cattle transport at about 75% of the cost in the other network areas. Sheep were again transported at lower rates/mile than on the other two networks. However, he seems to avoid drawing attention to the fact that cost per animal rather than per mile would not be as advantageous to his argument as the distances involved were much larger in Queensland.
This seems to be a weakness in each of the comparisons made by ‘Rebus’ for dairy products and grain as well.
Unfortunately, I don’t have access to the later articles which seek to put the case for the other two gauges. There are weaknesses in the arguments made by ‘Rebus’ and we have noted them in the text above. Possibly, however, as time went by and the 20th century unfolded, it increasingly became clear in many parts of the world that narrow gauge lines struggled with road competition and were handicapped by the longer transit times than possible on the larger gauges.
“With Federation in 1901 and the removal of trade barriers, the short sightedness of three gauges became apparent, [but] it would be 94 years before all mainland state capitals were joined by one standard gauge!” [2]
In those 94 years it became clear that the 3ft 6in gauge would, if chosen as the national gauge, have needed replacement with a wider gauge.
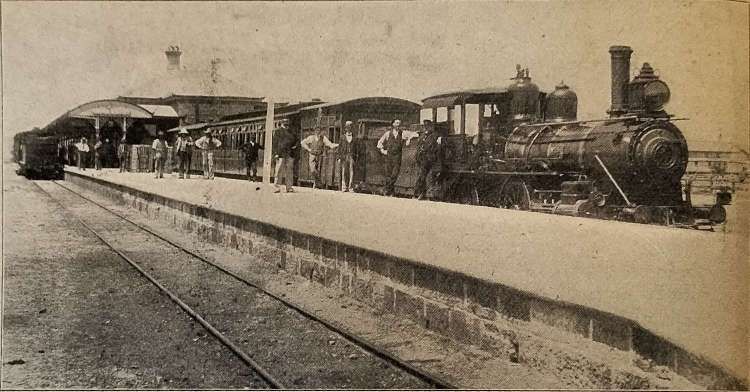
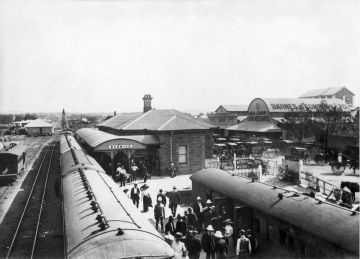
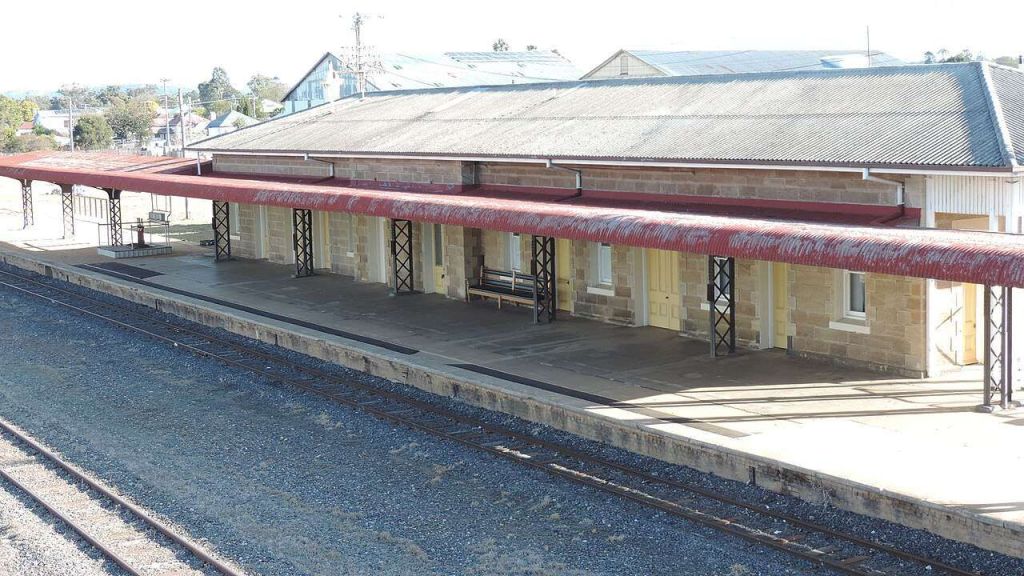
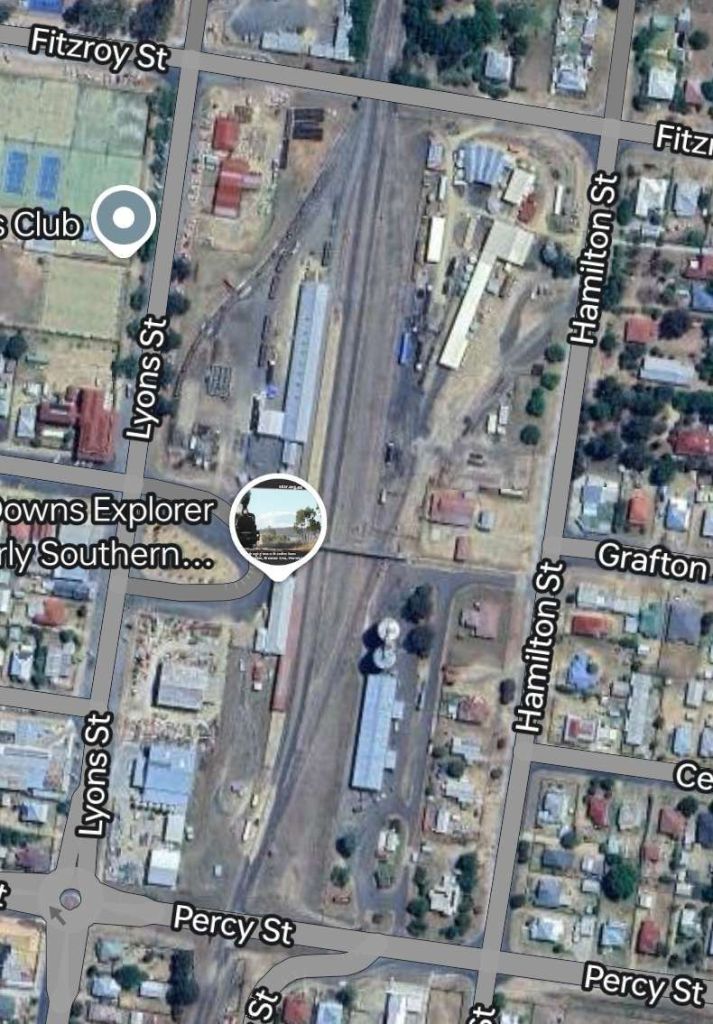
“At the time of Federation, standard gauge was used only in NSW, but was favoured for future construction. Work on gauge conversion was assisted by section 51 (xxxiii) of the Constitution of Australia, which made specific provisions for the Commonwealth Parliament to make laws with respect to railway acquisition and construction. An agreement was made with the South Australian and Western Australian state governments for the Trans-Australian Railway from Port Augusta to Kalgoorlie, with work started in 1911 and completed in 1917. However, with the different gauges, to transport goods from Queensland to Perth required four transshipments!” [2]
The Wikipedia article continues: “In October 1921, a royal commission into uniform rail gauge recommended gauge conversion of large areas of the country and that:
- the gauge of 4 feet 8 1⁄2 inches be adopted as the standard
- no mechanical, third rail, or other device would meet the situation
- uniformity could be secured by one means only, viz., by conversion of the gauges other than 4 ft 8 1⁄2 in.” [5][7]
“The subject was discussed at a conference of the Prime Minister with the Premiers in November 1921, when it was decided to adopt 4 ft 8 1⁄2 in as the standard gauge for Australia and it was resolved that adoption of a uniform gauge was essential to the development and safety of the nation.” [5] [8]
“By the outbreak of World War II in 1939, there were still 14 break-of-gauge locations, with upwards of 1600 service personnel and many more civilians employed to transfer 1.8 million tons of freight during the conflict.” [5]
Strikingly, in 1922, 273 inventions to solve the break-of-gauge were proposed, and none adopted. [9]
In 1933, as many as 140 devices were proposed by inventors to solve the break-of-gauge problem, none of which was adopted. [10]
Even dual gauge with a third rail for combining Irish gauge and standard gauge was rejected as too reckless, as the gap between these gauges of 6.5 inches (165 mm) was considered to be too small. [11] Dual gauge combining Irish gauge and narrow gauge where the gap was 21 in (530 mm) was also rejected. [12]
“After the Second World War a report on uniformity of railway gauges was commissioned from former Victorian Railways Chief Commissioner Harold Clapp for the Commonwealth Land Transport Board. The report produced three main recommendations:
- Gauge standardisation from Fremantle and Perth to Kalgoorlie, all of South Australian and Victorian broad gauge lines, all of the South Australian south east and Peterborough division narrow gauge lines, and acquisition and conversion of the Silverton Tramway. Costed at £44.3 million.
- A new standard gauge “strategic and developmental railway” from Bourke, New South Wales to Townsville, Queensland and Dajarra (near Mount Isa) with new branch lines from Bourke via Barringun, Cunnamulla, Charleville, Blackall to Longreach. Existing narrow gauge lines in Queensland would be gauge converted, including Longreach – Linton – Hughenden – Townsville Dajarra and associated branches. Costed at £21.6 million.
- A new standard gauge line to Darwin, including a new line from Dajarra, Queensland to Birdum, Northern Territory, and a gauge conversion of the Birdum to Darwin narrow gauge line. Costed at £10.9 million.
The report wrote that if only main trunk lines were converted, it would introduce a multitude of break of gauge terminals and result in greatly increased costs. It also recommended abandoning part of the existing Perth to Kalgoorlie narrow gauge line, and build a flatter and straighter route using third rail dual gauge, as modernisation was just as important as standardisation.” [5]
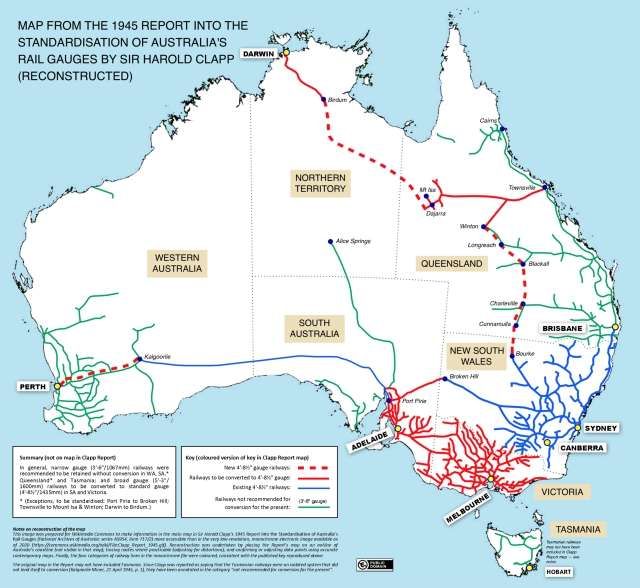
None of the states in Australia were happy with the report. It seems to have been shelved, but “gauge conversion continued, with the South Australian Railways’ Mount Gambier line from Wolseley to Mount Gambier and associated branches converted to broad gauge in the 1950s, on the understanding it would change again to standard gauge at a later date, which would have made it the first and only railway in Australia to have successfully been converted to all three gauges.” [2] But it closed in 1995. Standard gauge lines were also built, with the line between Stirling North and Marree opened in July 1957. [2][6: p188]
“In 1956, a Government Members Rail Standardisation Committee was established, chaired by William Wentworth MP. It found that while there was still considerable doubt as to the justification for large scale gauge conversion, there was no doubt that work on some main trunk lines was long overdue. Both the committee and the government strongly supported three standardisation projects at a cost of £41.5 million:
- Albury to Melbourne (priority 1)
- Broken Hill to Adelaide via Port Pirie (priority 2, built third)
- Kalgoorlie to Perth and Fremantle (priority 3, built second).” [2]
The Wikipedia article continues to describe individual projects in the 1960s, 1970s, 1980s, 1990s and on into the 21st century as late as 2018. [2]
As of 2022, there were 11,914 kilometres (7,403 miles) of narrow-gauge railways, 18,007 kilometres (11,189 miles) of standard gauge railways and 2,685 kilometres (1,668 miles) of broad gauge railways. [13]
References
- ‘Rebus’; Uniformity of Gauge in Australia – The Case for 3ft 6in Gauge; in The Railway Magazine, November 1899, London, 1899, p417-425.
- https://en.m.wikipedia.org/wiki/Rail_gauge_in_Australia, accessed on 8th September 2024.
- https://en.m.wikipedia.org/wiki/Central_railway_station,_Brisbane, accessed on 8th September 2024.
- https://commons.m.wikimedia.org/wiki/File:Wallangarra_Railway.JPG, accessed on 8th September 2024.
- https://en.m.wikipedia.org/wiki/Rail_gauge_in_Australia, accessed on 9th September 2024.
- Philip Laird; Back on track: rethinking transport policy in Australia and New Zealand; UNSW Press, Sydney, 2001.
- Railways – Break of Gauge Problem – Report of Royal Commission, Parliament of Australia. 12th October 1921, accessed on 9th September 2024.
- “Standardisation of Railway Gauges“. Year Book Australia, 1967. Australian Bureau of Statistics. 25th January 1967, accessed on 9th September 2024.
- “Break of Gauge“. The Daily News. Perth. 12th January 1922. p. 2. Retrieved 26th October 2013 – via National Library of Australia, accessed again, 9th September 2024.
- “Break of Gauge”. The Brisbane Courier. Brisbane. 14th August 1933. p. 15. Retrieved 27th August 2011 – via National Library of Australia, accessed again, 9th September 2024.
- “Great Western Railway”. The Argus. Melbourne. 11th March 1926. p. 7. Retrieved 26th August 2011 – via National Library of Australia, accessed again, 9th September 2024.
- “Standard Gauge Plan Postponed”. The Argus. Melbourne. 17 February 1941. p. 5. Retrieved 26 August 2011 – via National Library of Australia, accessed again, 9th September 2024.
- “Trainline 9” (PDF). Bureau of Infrastructure, Transport and Regional Economics. Department of Infrastructure, Transport, Regional Development and Communications. 26 May 2022. Retrieved 27 May 2022, accessed again on 9th September 2024.
- https://www.southernqueenslandcountry.com.au/destinations/spring-bluff, accessed on 9th September 2024.
- https://www.facebook.com/100064423009995/posts/pfbid0hqKLHE2Ah6EQs8oJ3YfAJGtoEvGtU6VhQC5VtxEZEys3axQS1Ns15DepgfcP1YyMl/?app=fbl, accessed on 9th September 2024.
- https://queenslandplaces.com.au/node/7774, accessed on 9th September 2024.
- https://commons.m.wikimedia.org/wiki/File:Roma_Street_Station,_Brisbane,_1983.jpg, accessed on 9th September 2024.
- https://architectus.com.au/projects/roma-street-station, accessed on 10th September 2024.
- https://commons.m.wikimedia.org/wiki/File:Queensland_State_Archives_3078_Passengers_on_the_platform_at_Warwick_Railway_Station_c_1905.png, accessed on 10th September 2024.
- https://commons.m.wikimedia.org/wiki/File:North_Coast_Line_at_Bundook.jpg, accessed on 10th September 2024.
- https://en.m.wikipedia.org/wiki/Warwick_railway_station,_Queensland#/media/File%3APassenger_platform%2C_Warwick_railway_station%2C_2015.JPG, accessed on 10th September 2024.