
In the previous article in this series, we looked at the Humber Arm, the tramway which ran from Lubstree Wharf on the Arm to Old Lodge Furnaces and the later mineral railway which operated from 1870 which ran from Lubstree Wharf via the Midland Ironworks (Walkers) to Muxton Bridge Colliery. That article can be found on this link:
The Humber Arm Canal, Tramway and Railway – East Shropshire.
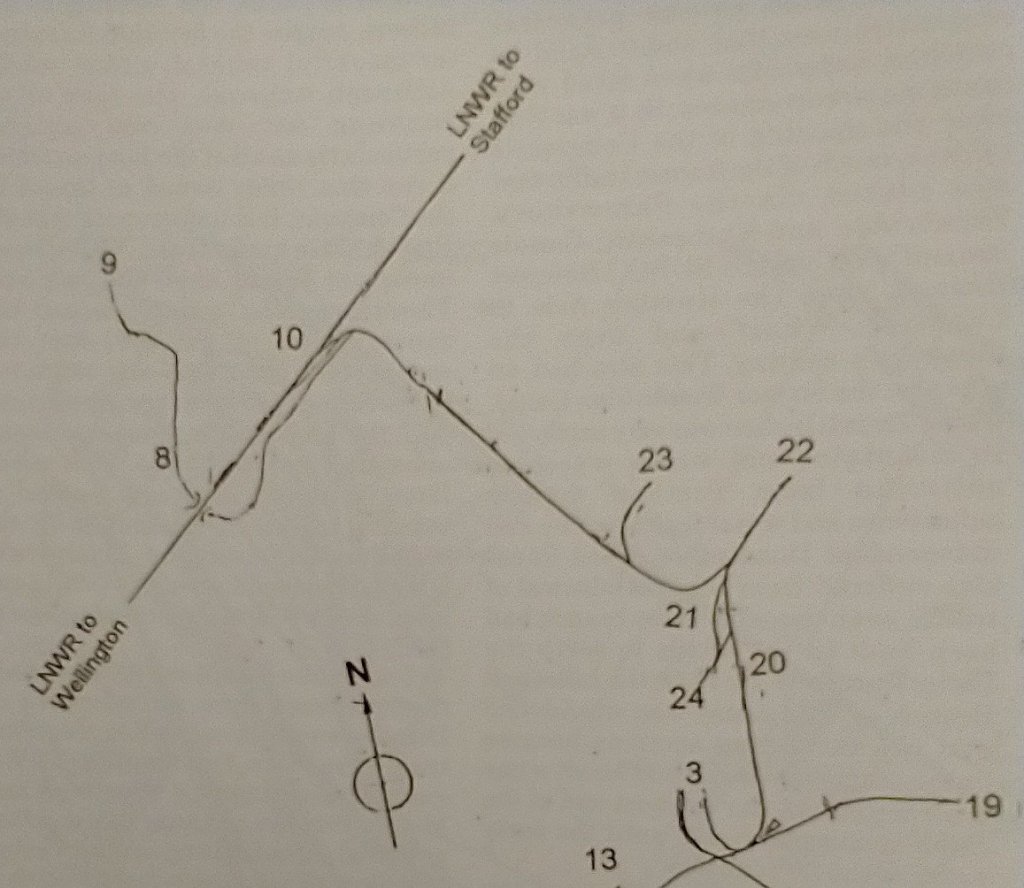
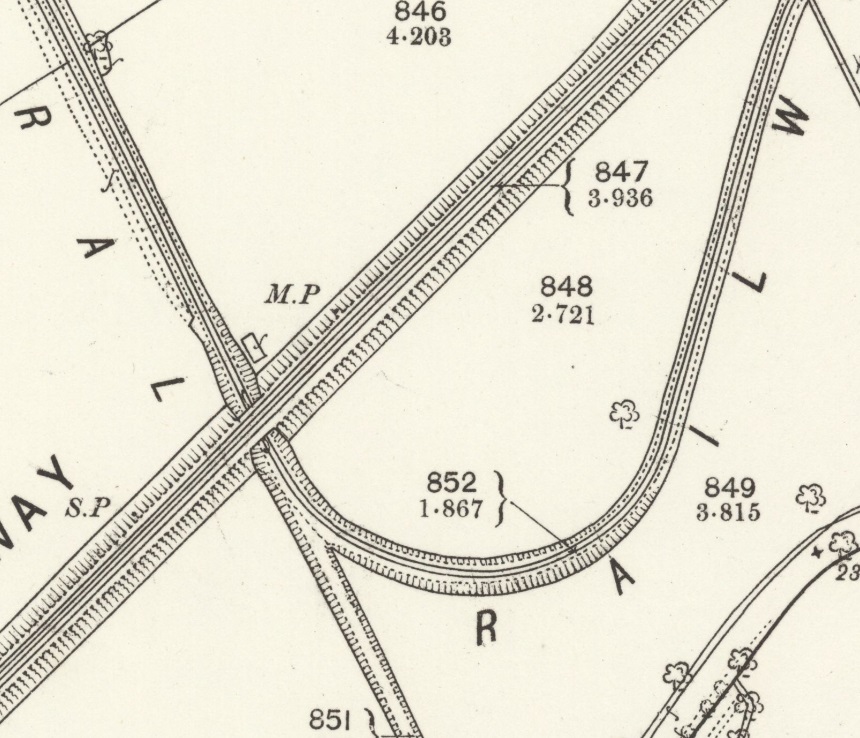
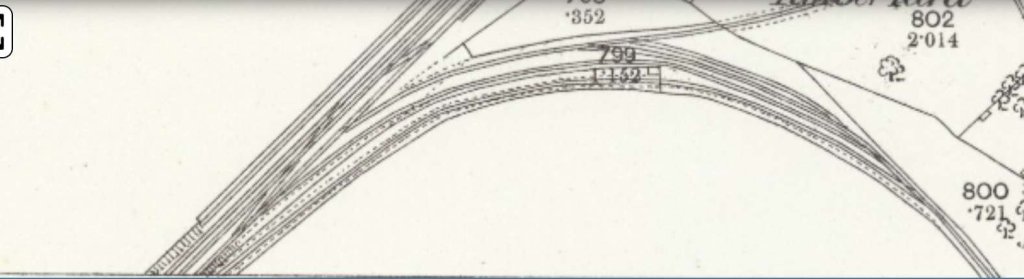
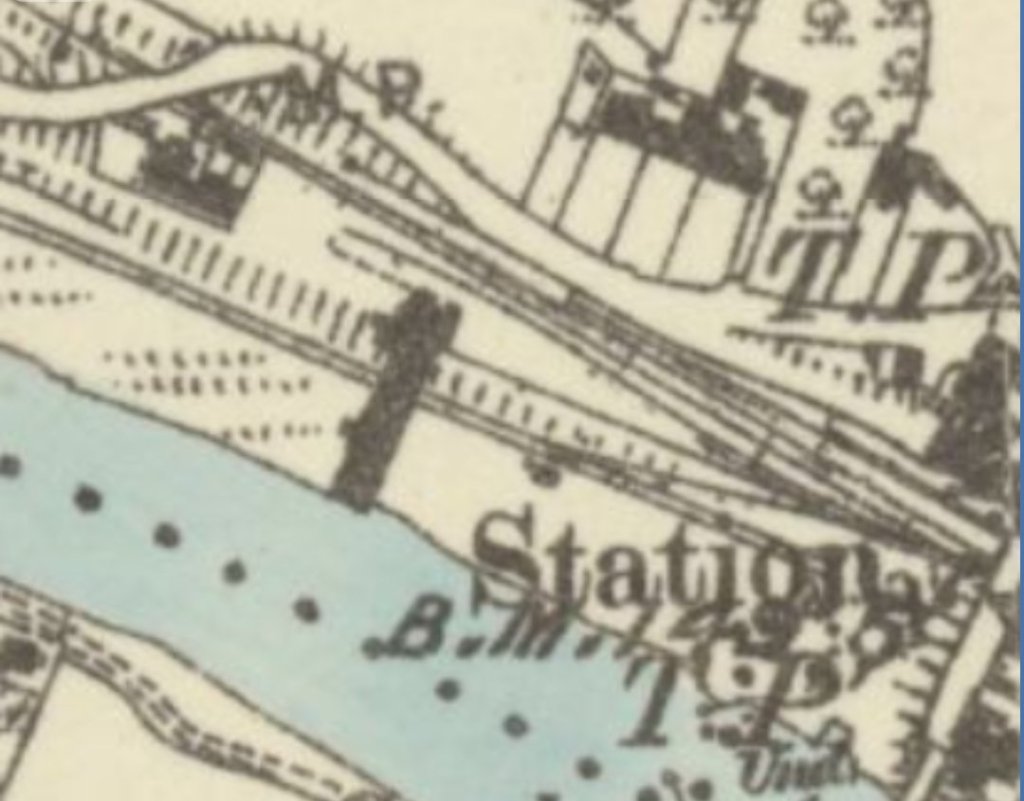
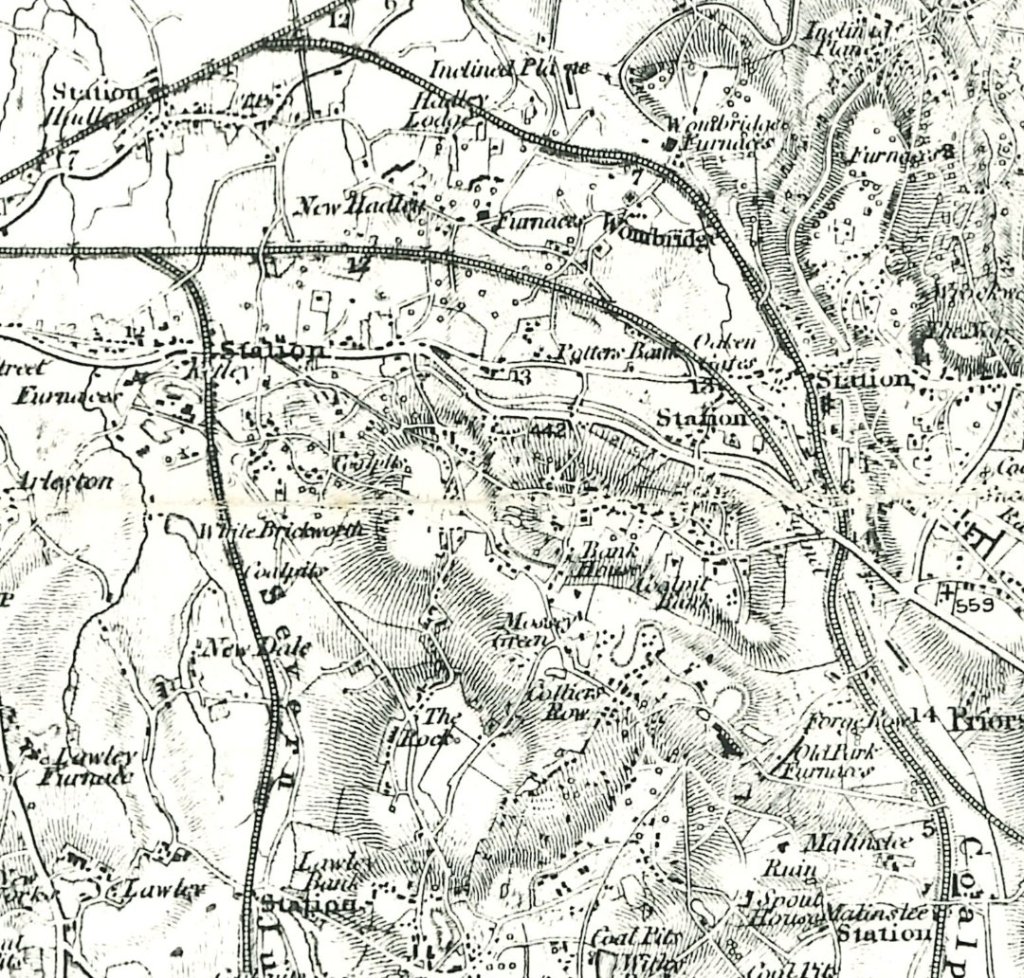
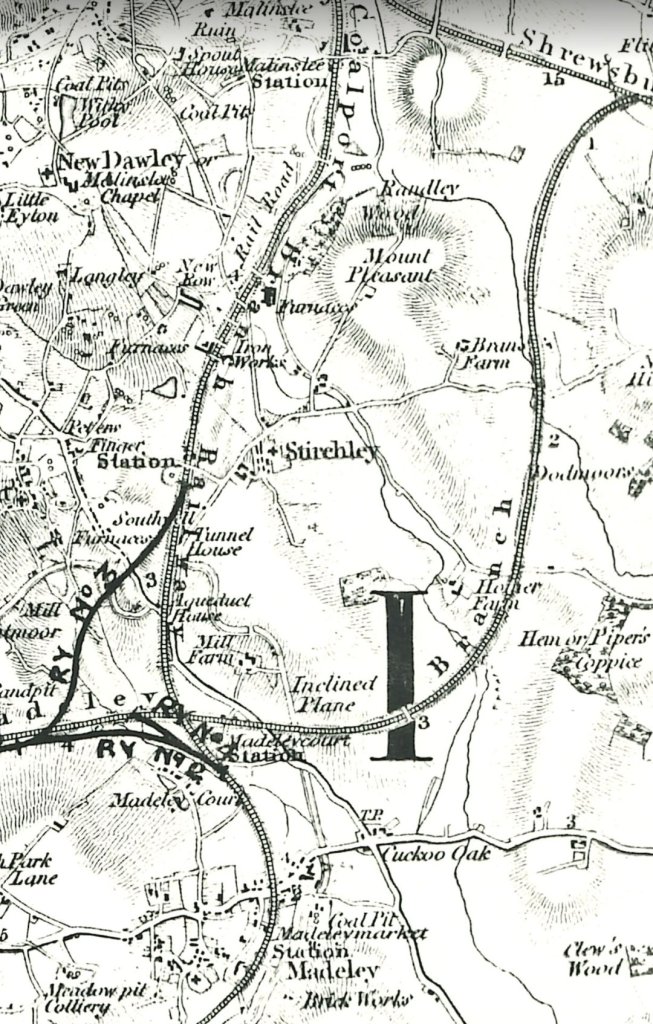
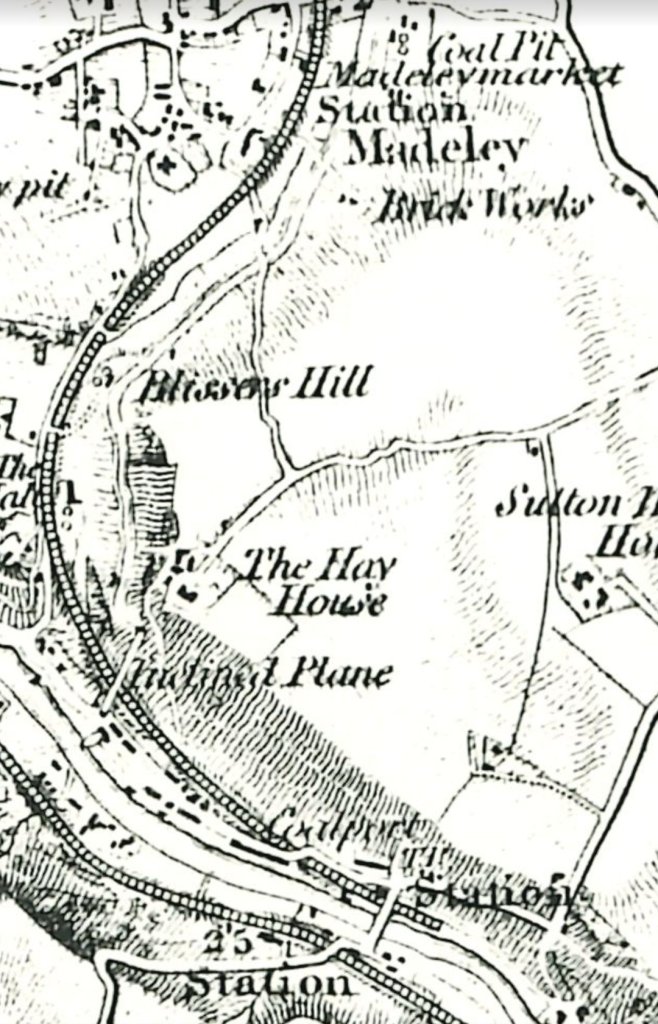
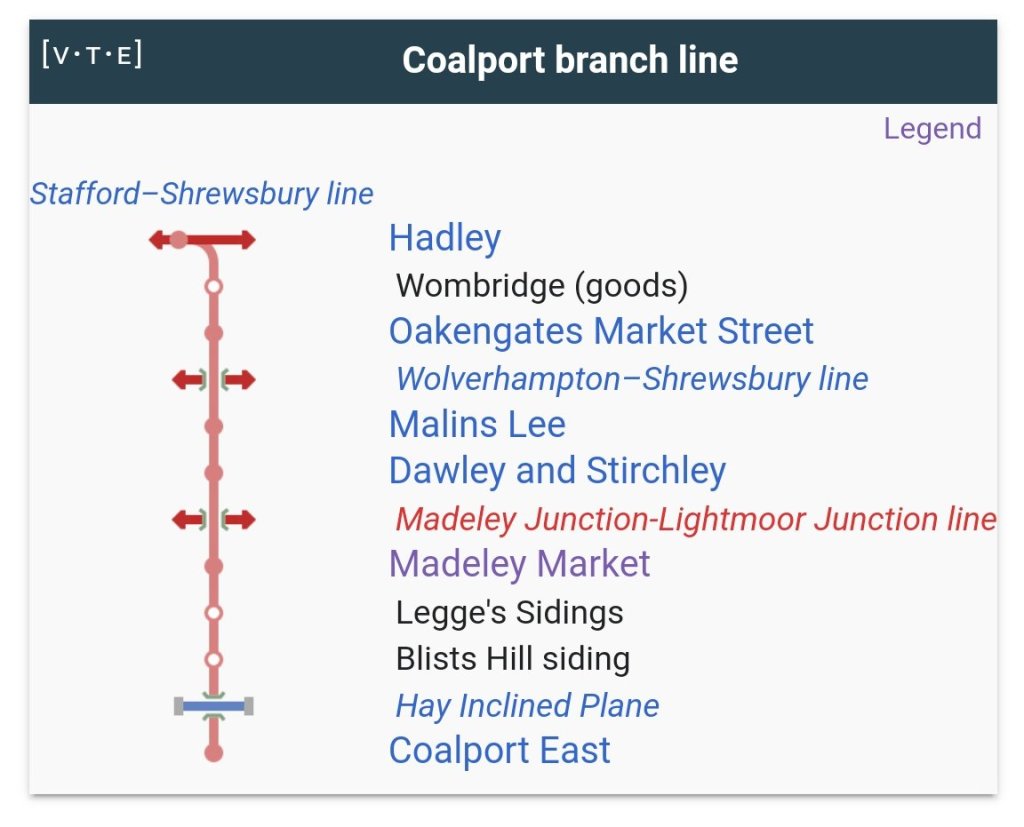
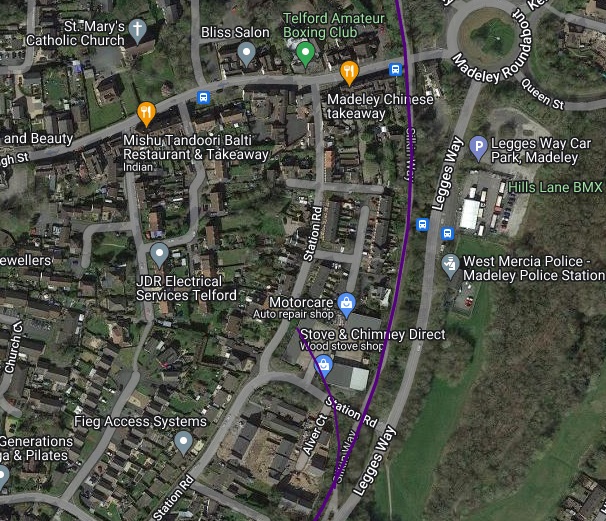
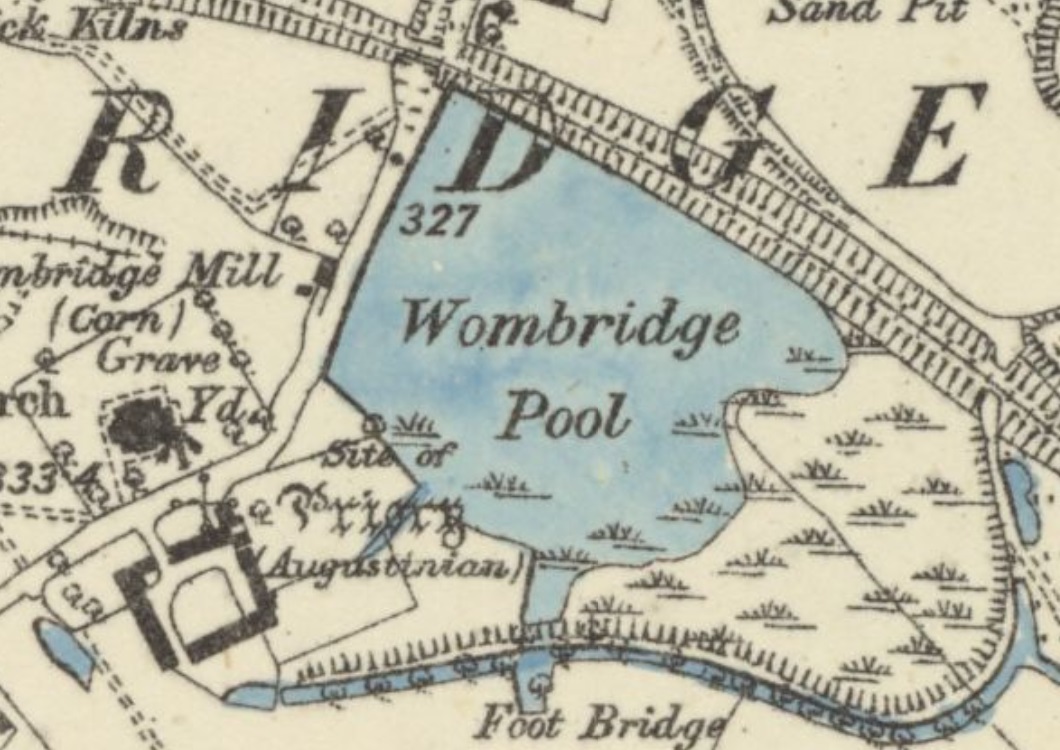
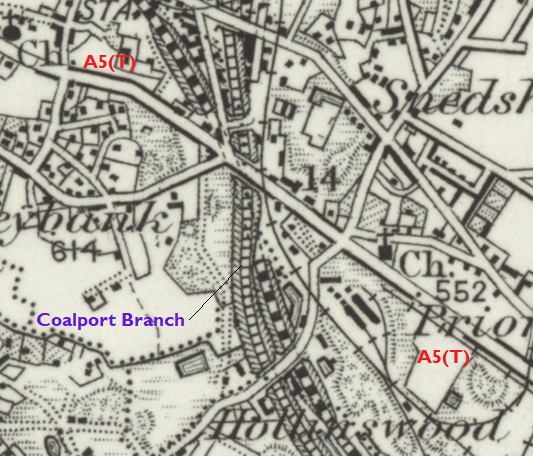
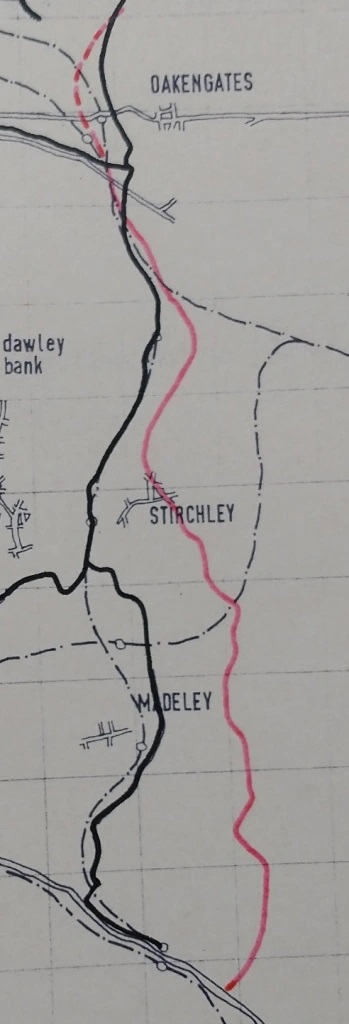
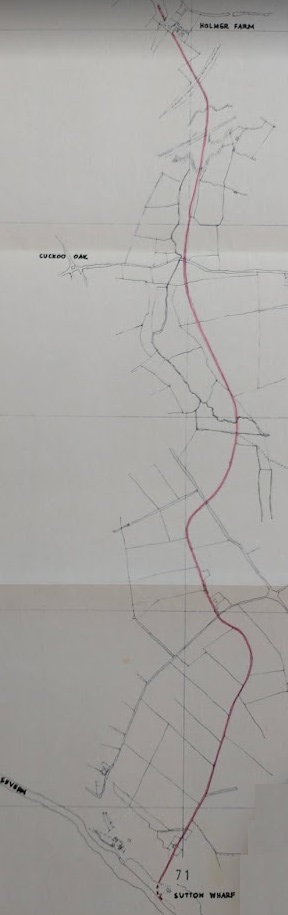
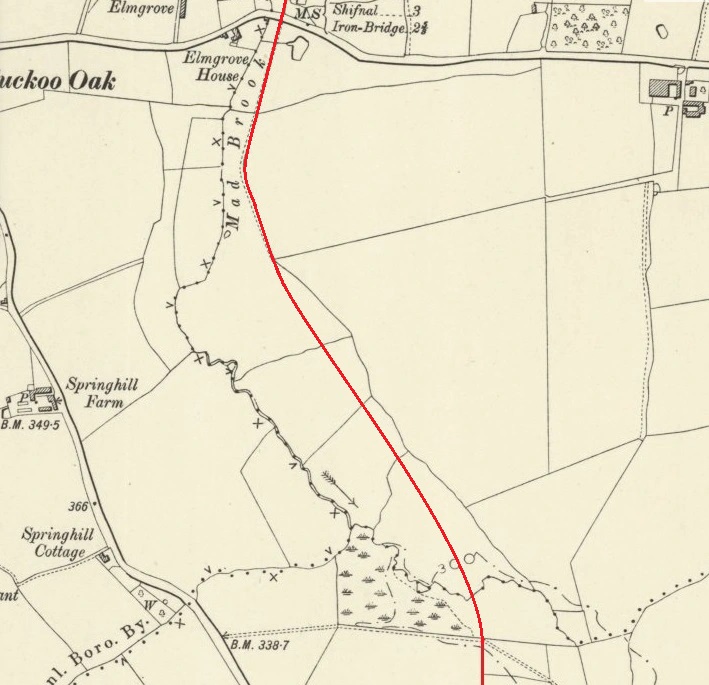
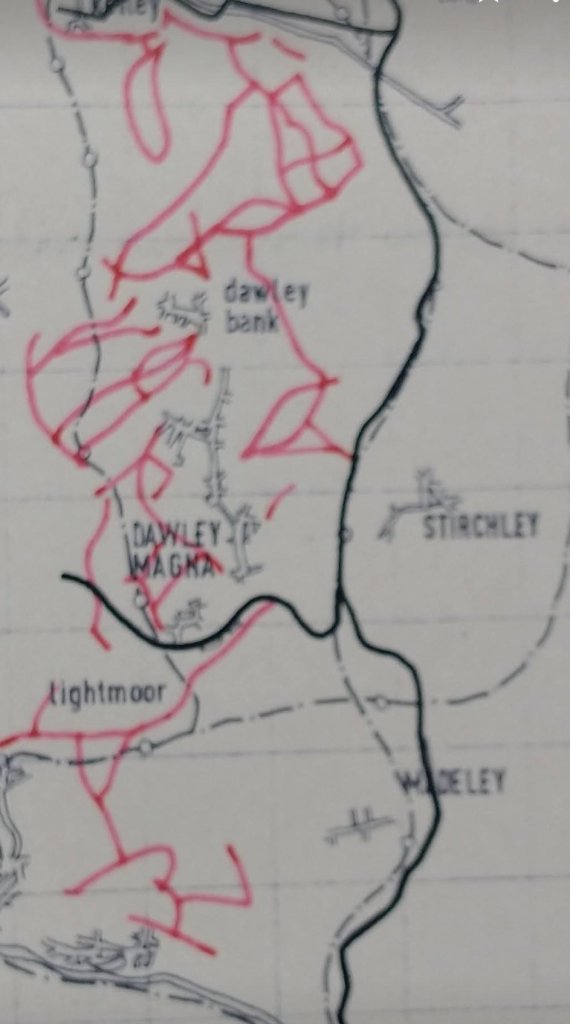
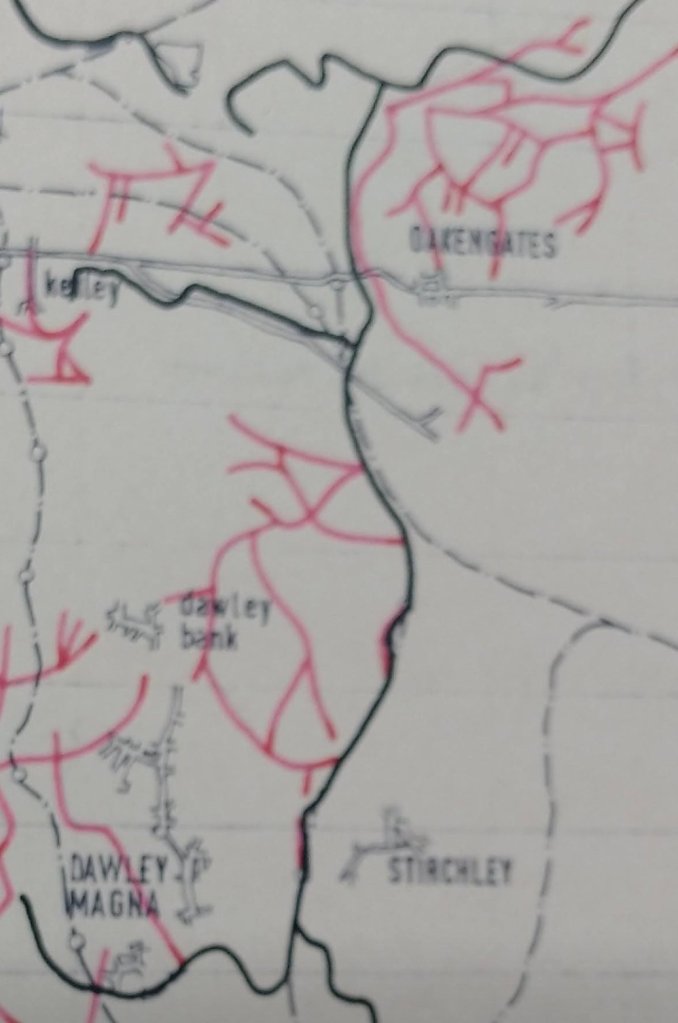
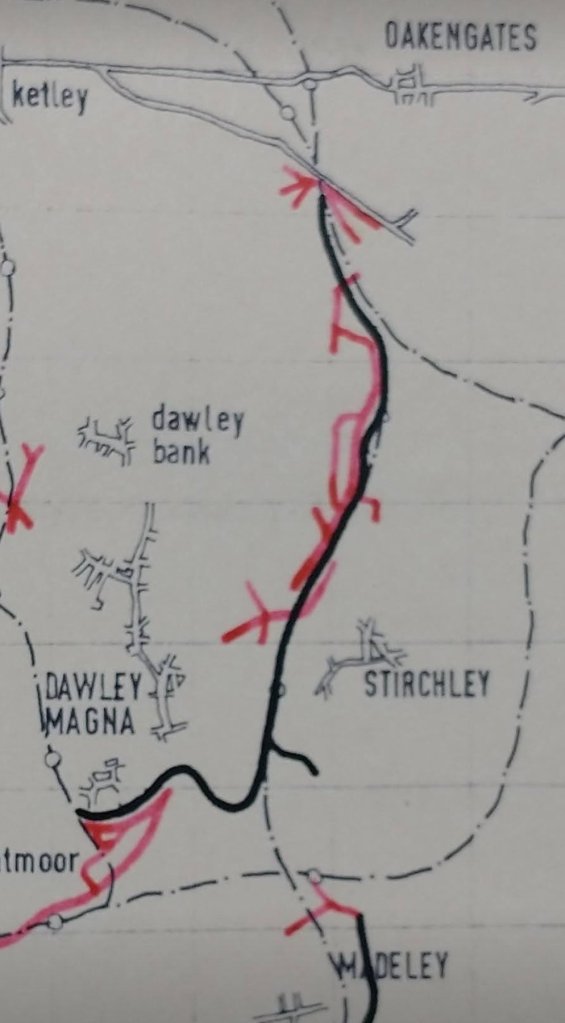
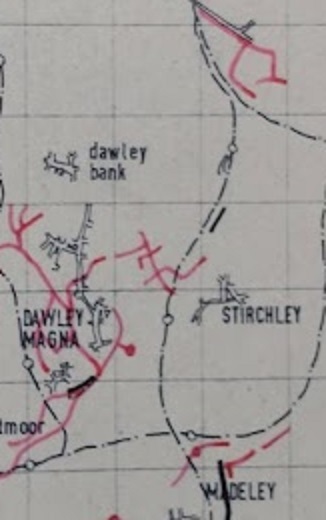
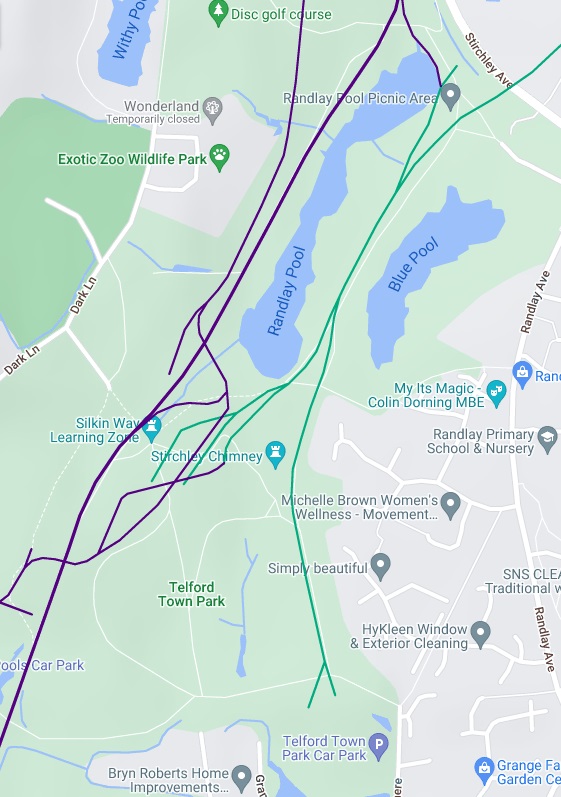
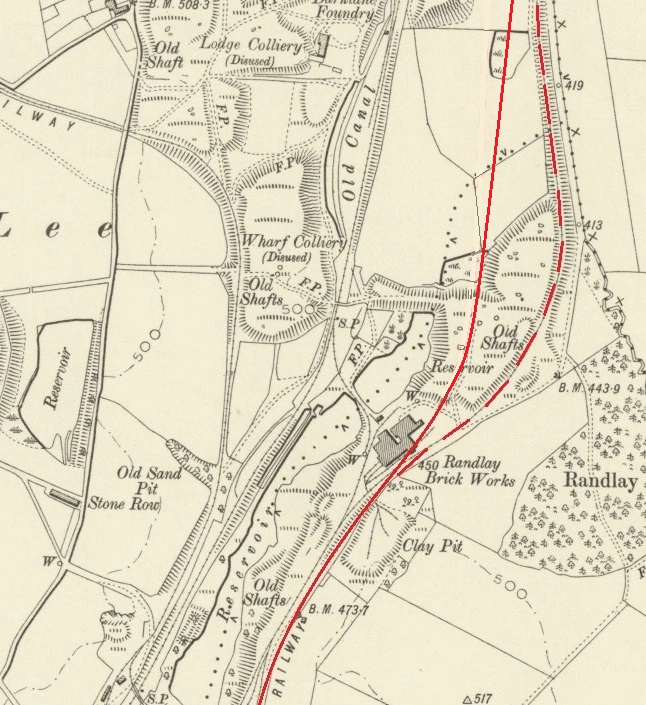
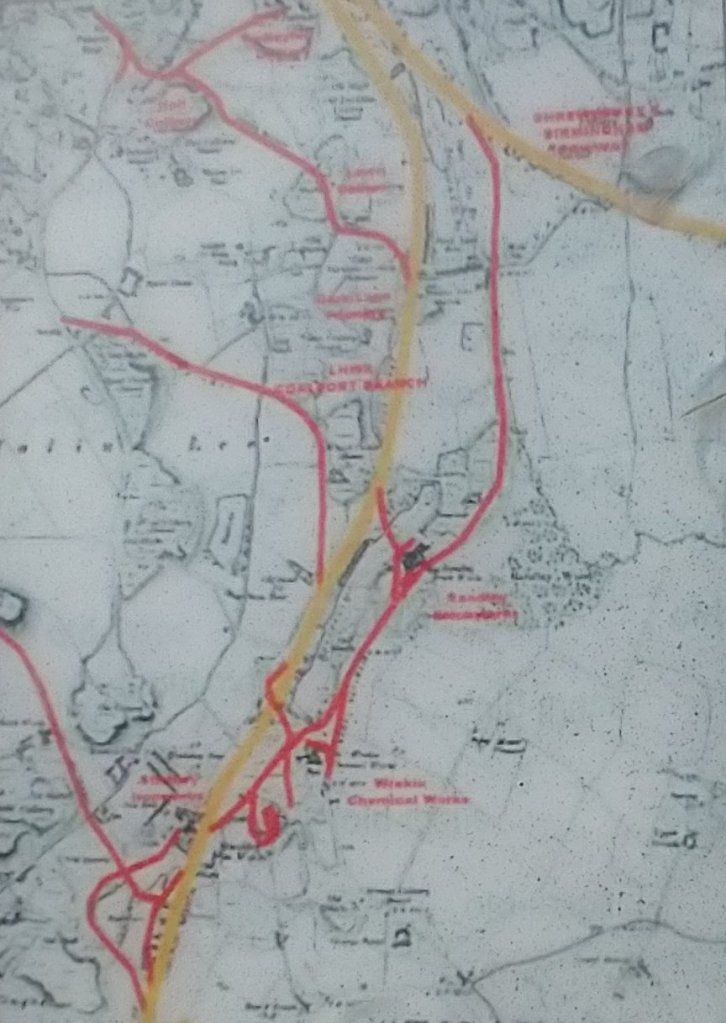
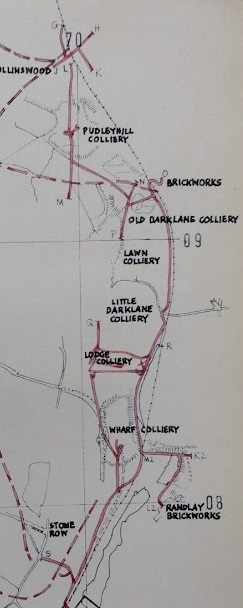
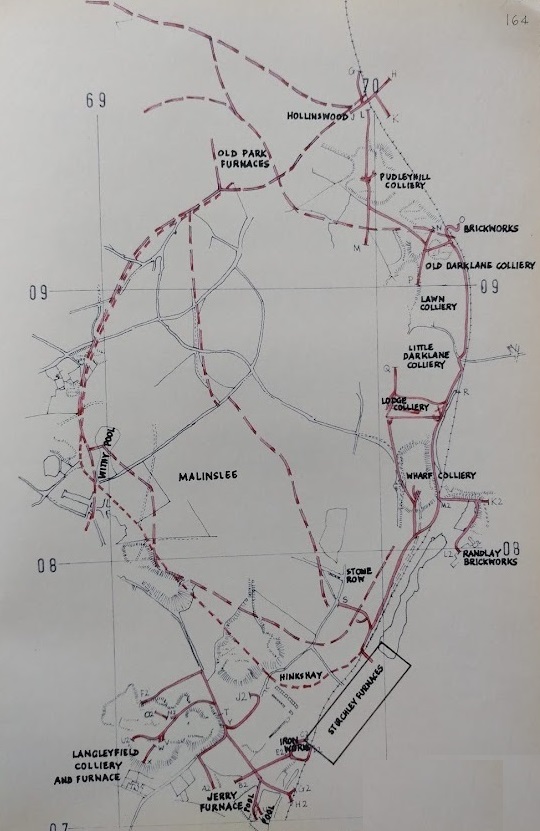
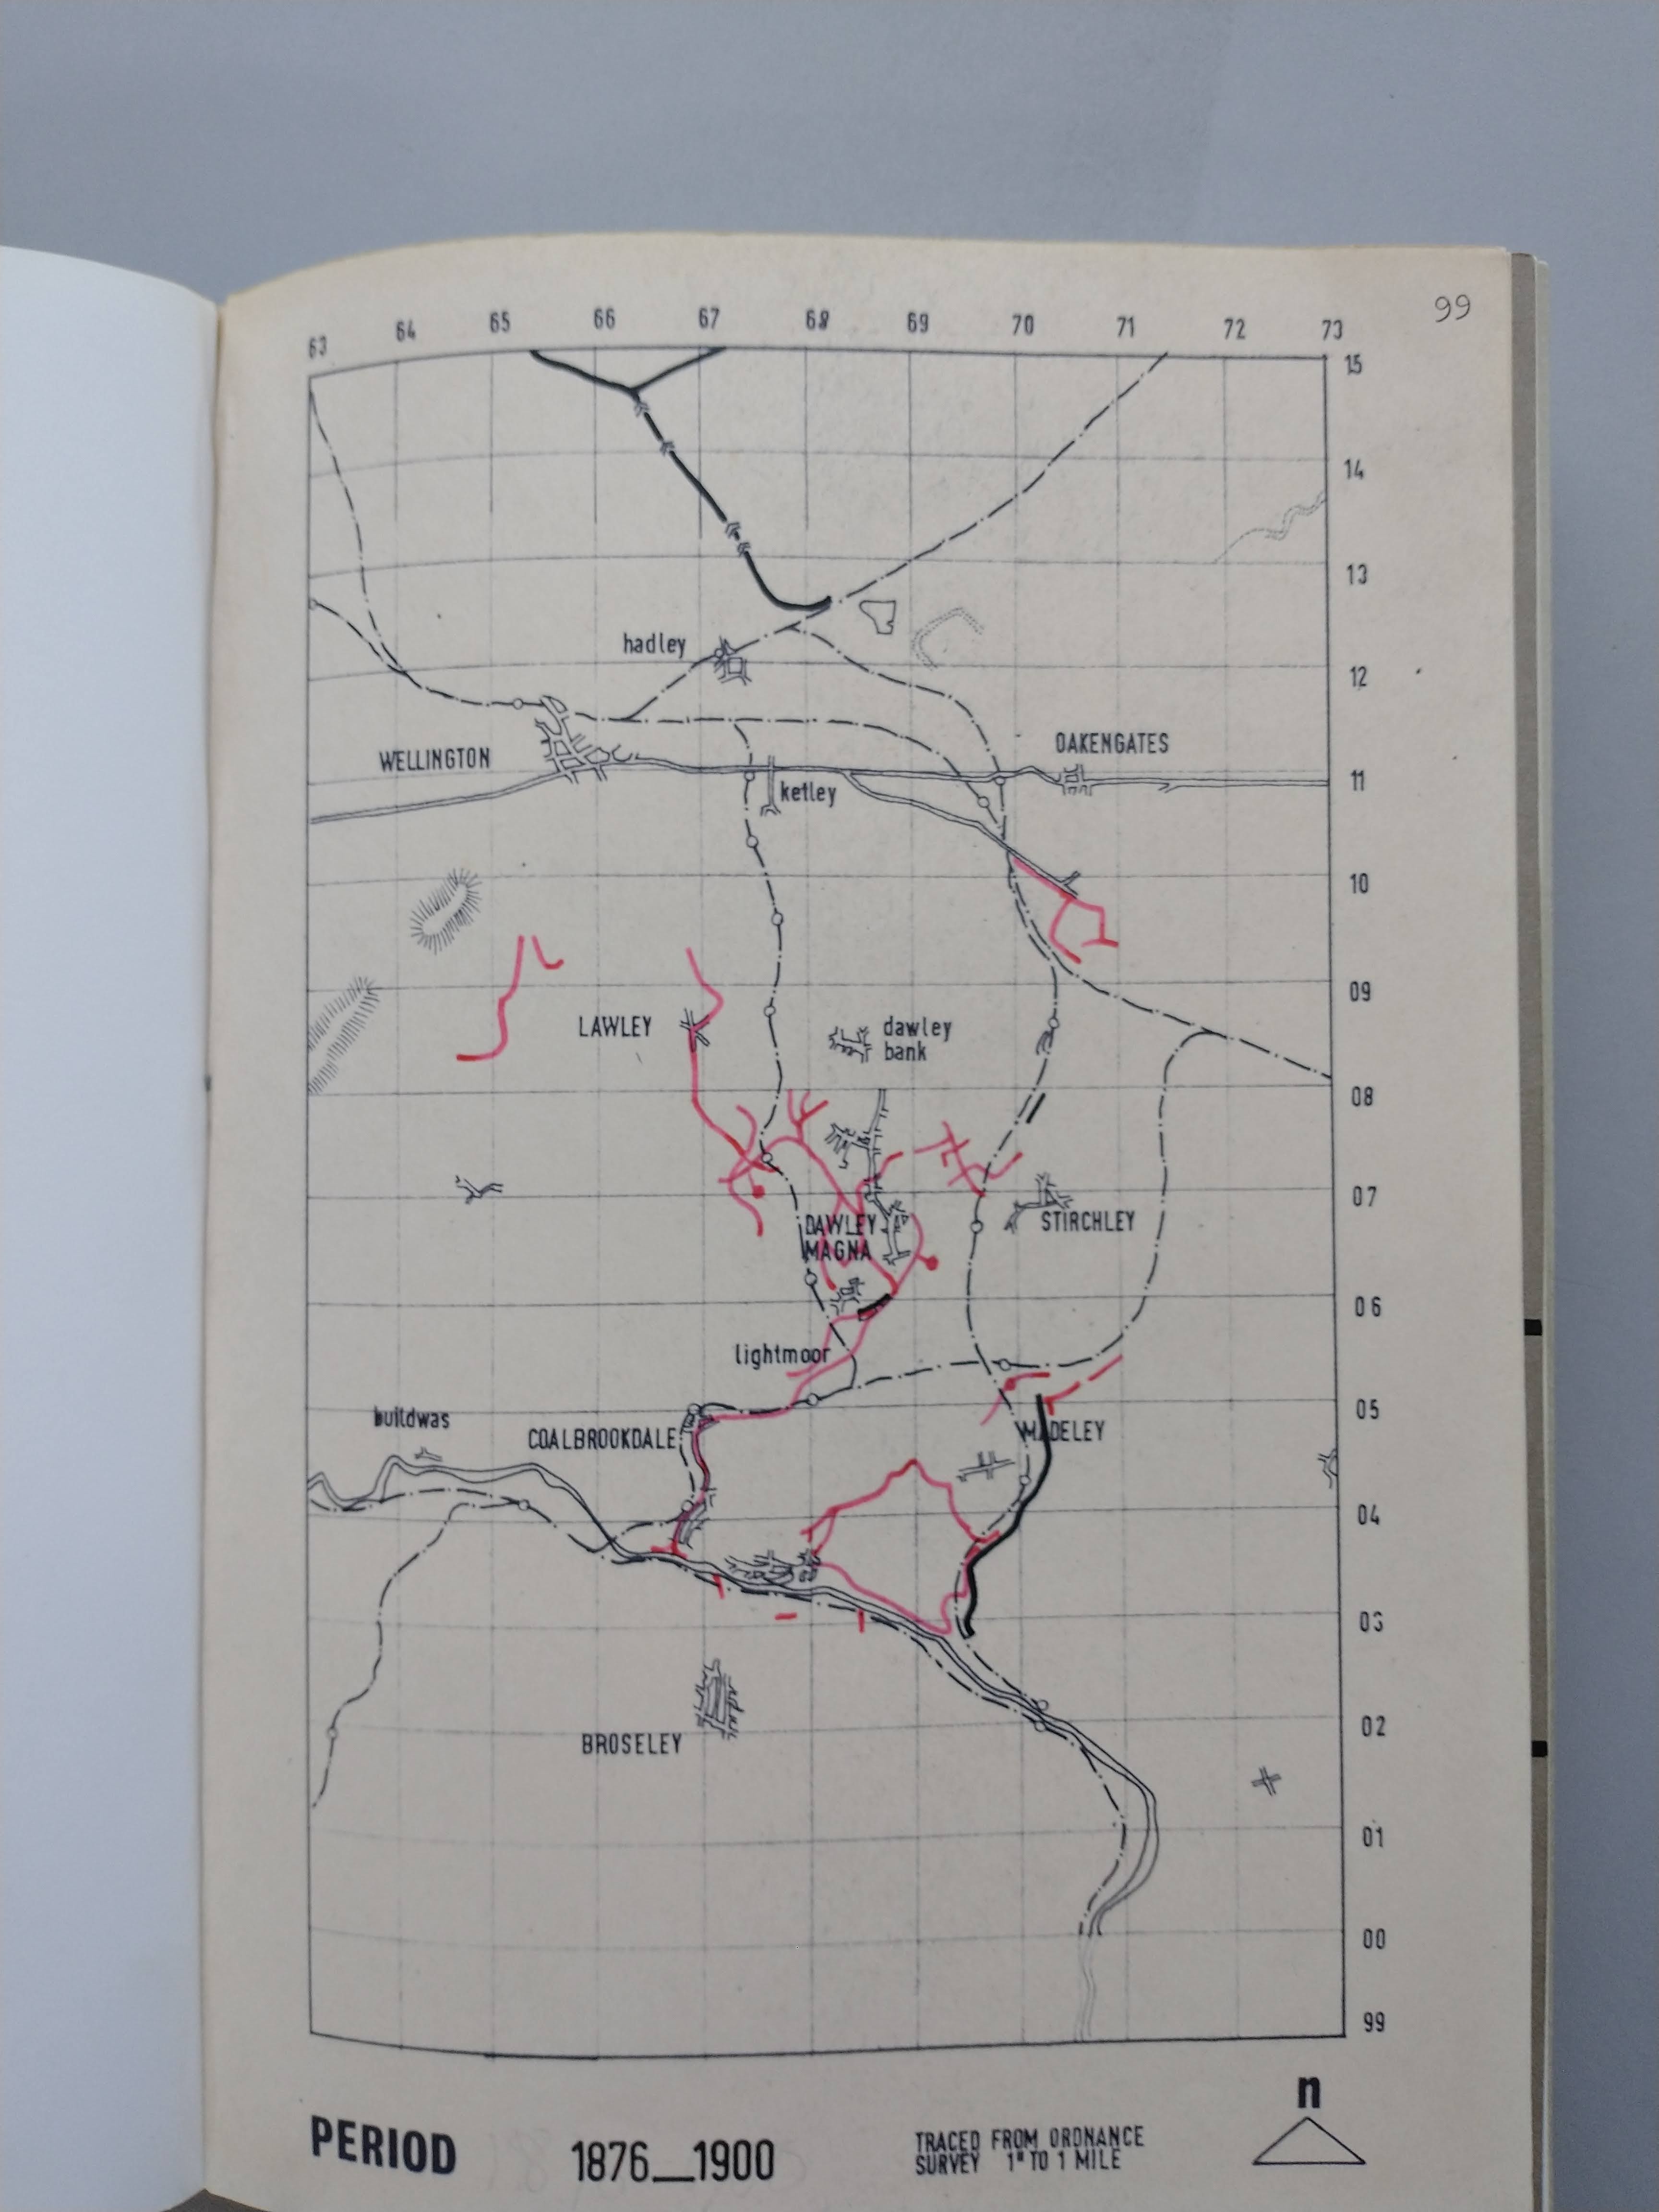
Bob Yate has written an excellent book about the railways and locomotives of the Lilleshall Company. [2] In that book, he provides a sketch map of the Lilleshall Company’s private railways, an extract from that sketch map is shown below. We covered the most northerly elements of these railways in the article above.
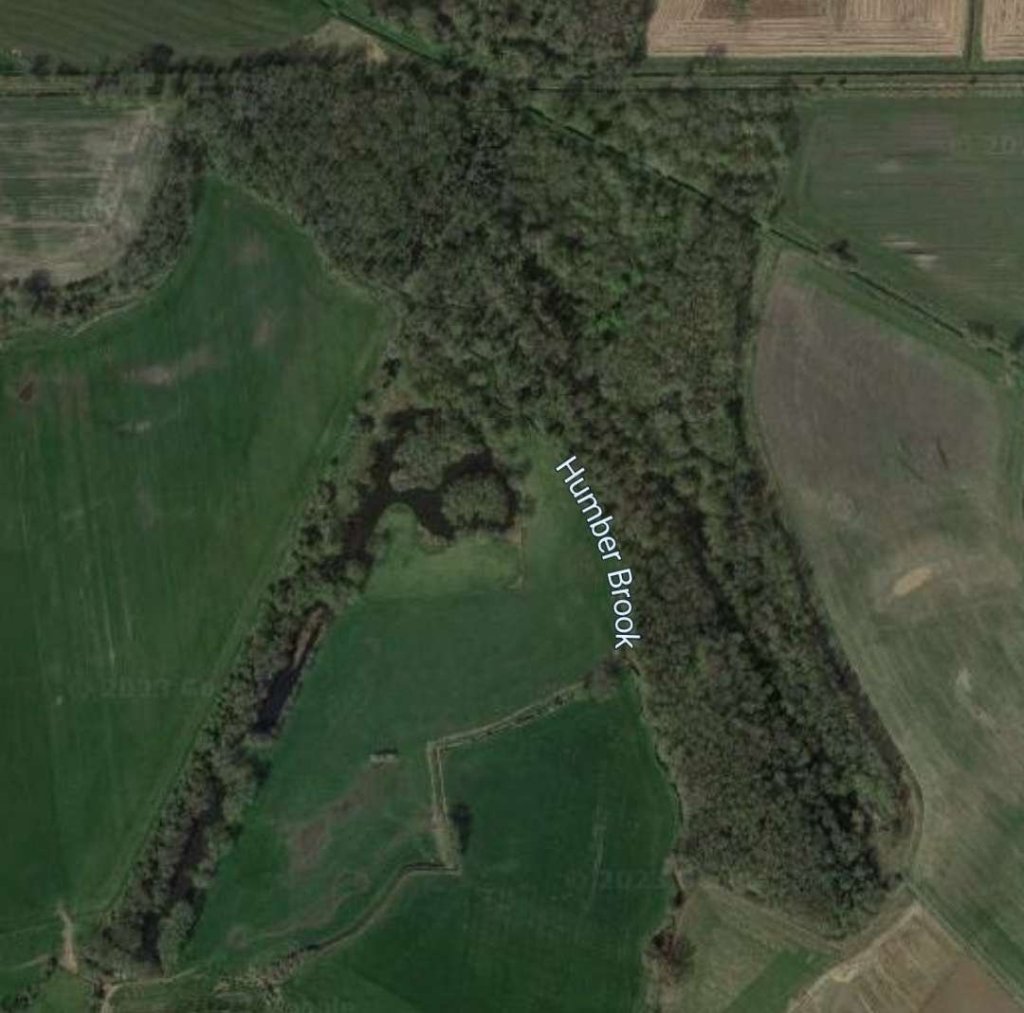
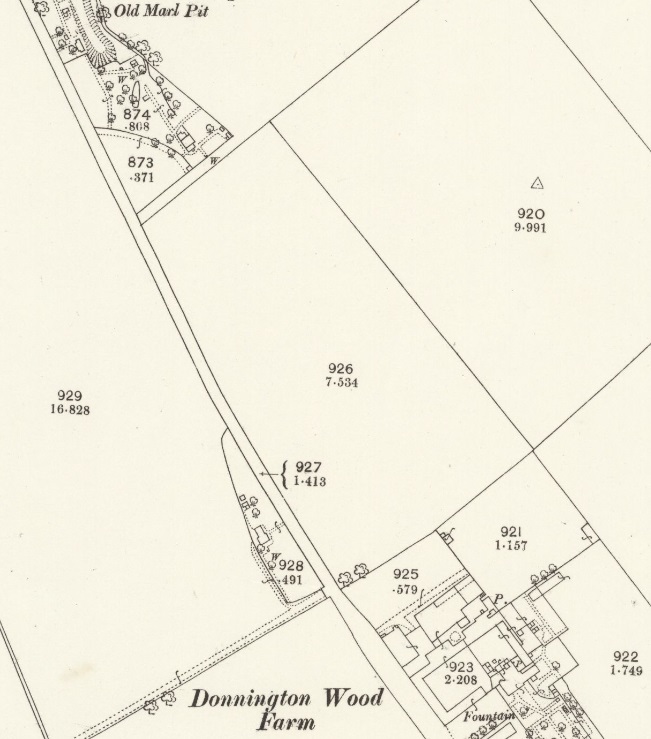
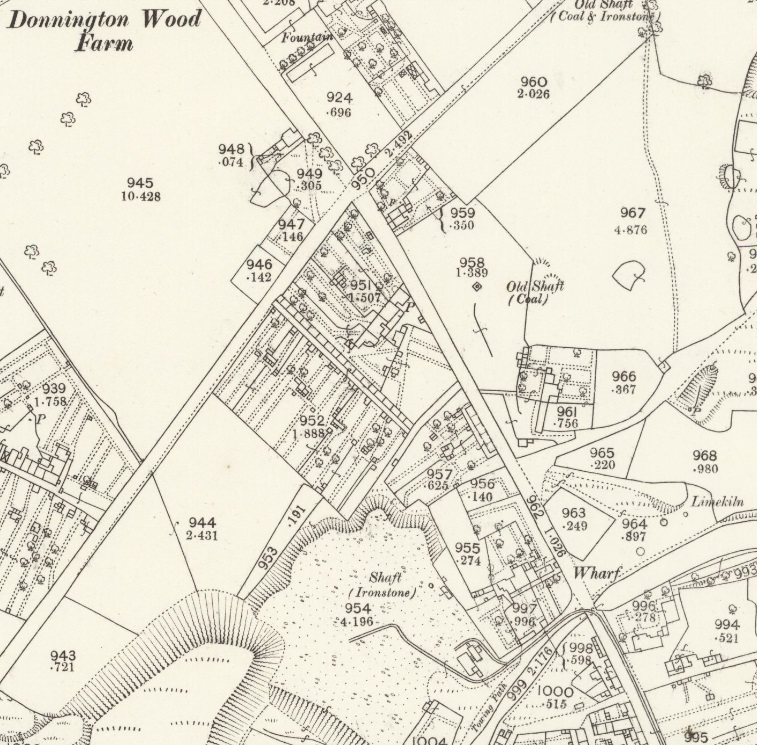
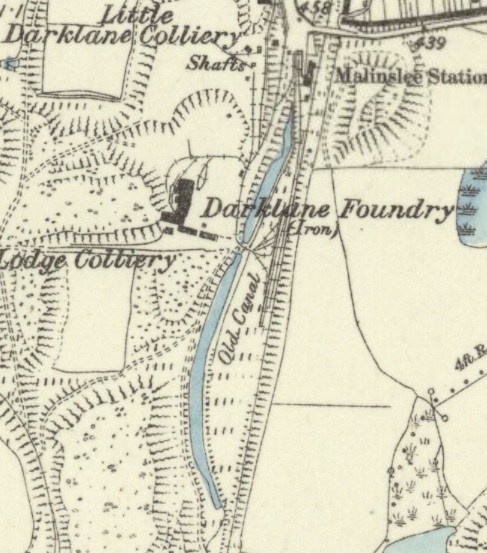
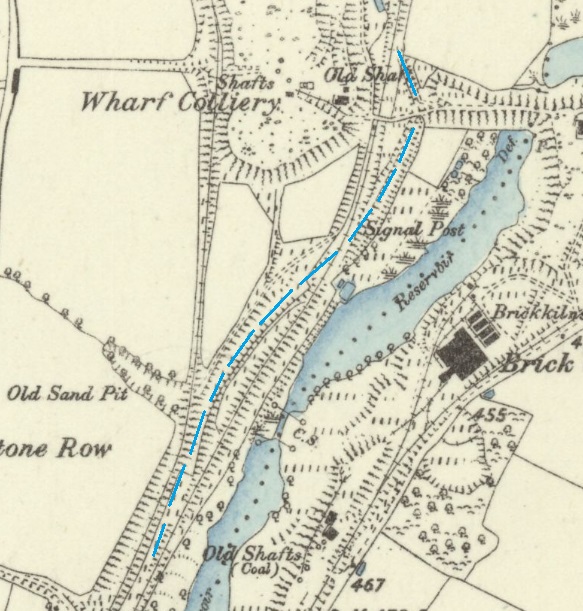
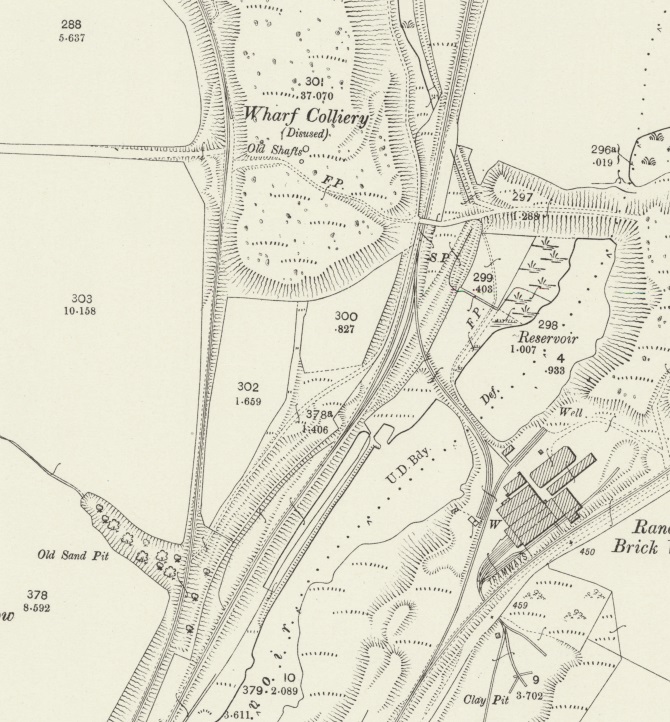
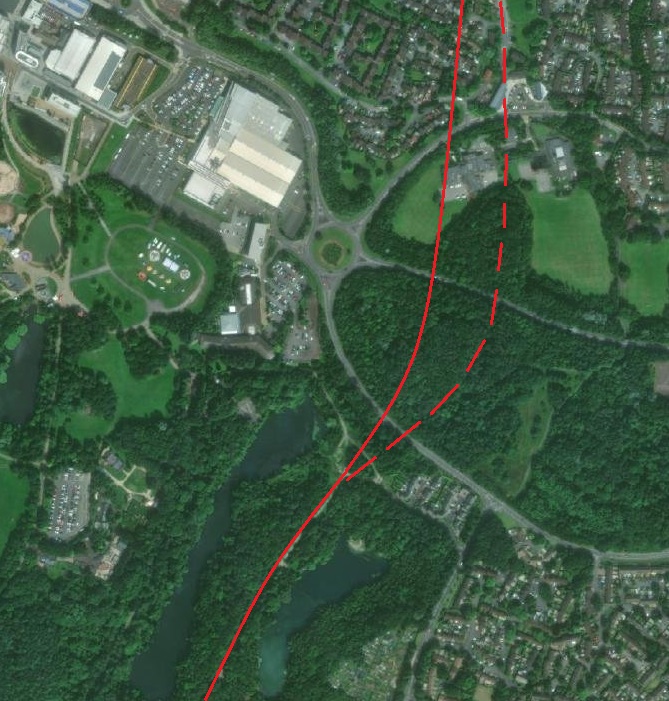
This article focuses on the immediate area of Old Lodge Furnaces and the later Granville Colliery. It shows a length of the Donnington Wood Canal alongside the tramways and mineral railways in the area. Other articles will follow the Lilleshall Company’s railway network further to the South.
First a general history of the Lilleshall Company before we then look at the two main industrial sites:
The Lilleshall Company
The Levenson-Gower family made their fortune serving the wool trade in Wolverhampton in the 15th and 16th centuries and purchased the Lilleshall estates from Henry VIII in 1539. These estates were once owned by Lilleshall Abbey. Yate tells us that:
“The 1st Baron Gower (1675-1709) and his son, the 1st Earl Gower (1694-1754), enlarged their properties through acquisition and marriage. Granville Leveson-Gower, the 2nd Earl Gower (1721-1803), continued this tradition in 1748 by marrying Lady Louisa Egerton, the daughter of the Duke of Bridgwater.
The 2nd Earl Gower was an astute businessman, always looking to make the best use of his considerable properties. Looking at the various new industries prospering nearby, it was a logical step to join these and to similarly profit by them. However, lacking the necessary technical knowledge and industrial experience, he wisely formed a partnership on 8th September 1764 with two brothers, John Gilbert and Thomas Gilbert, to develop the minerals on the Earl’s estate. John Gilbert had initially been apprenticed to Matthew Boulton before joining his father’s metalworking firm in Birmingham. However, he moved on to become agent to the Duke of Bridgwater and thus gained valuable knowledge of canal construction and operation. His brother Thomas had been educated more formally and qualified as a barrister. This partnership, trading as Earl Gower and Company … [and later] as Marquis of Stafford and Company, until 1802. During this 38 year period, the coal, iron and limestone deposits were developed, and canals built. … One of the earliest examples was the Donnington Wood Canal. …” [2: p7]
Yate goes on to relate how the 2nd Earl Gower passed the mantle to his eldest son who, eventually, became the Duke of Sutherland by marriage. Although it was actually his second son who became active in the business. He dissolved the original partnership and on 24th June 1802 formed the Lilleshall Company. A series of new partners joined the Company bringing with them their capital in the form of existing local mines and ironworks at Snedshill, Wrokwardine Wood and Donnington Wood. A further expansion in 1807 brought further Snedshill businesses into the Company and it soon became necessary to broaden the Company’s land rights to permit further mining and manufacturing work.
Yate continues to relate how the chairmanship of the Company passed down from the second son, (incidentally called Granville Leveson-Gower after his father) who became the 1st Earl Granville in 1833, to his son of the same name who became the 2nd Earl Granville in 1846 and to the 3rd Earl Granville in 1891. Yate gives some details of the various establishments associated with the Lilleshall Company: [2: p11-18]
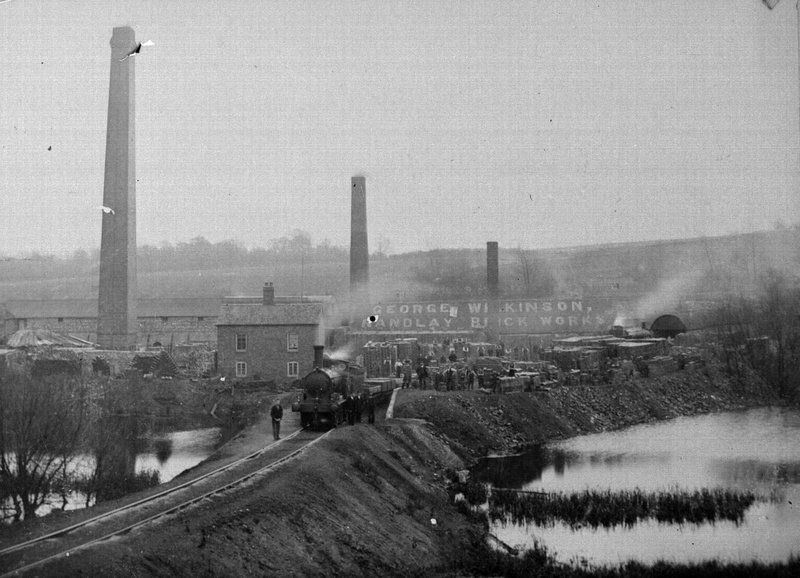
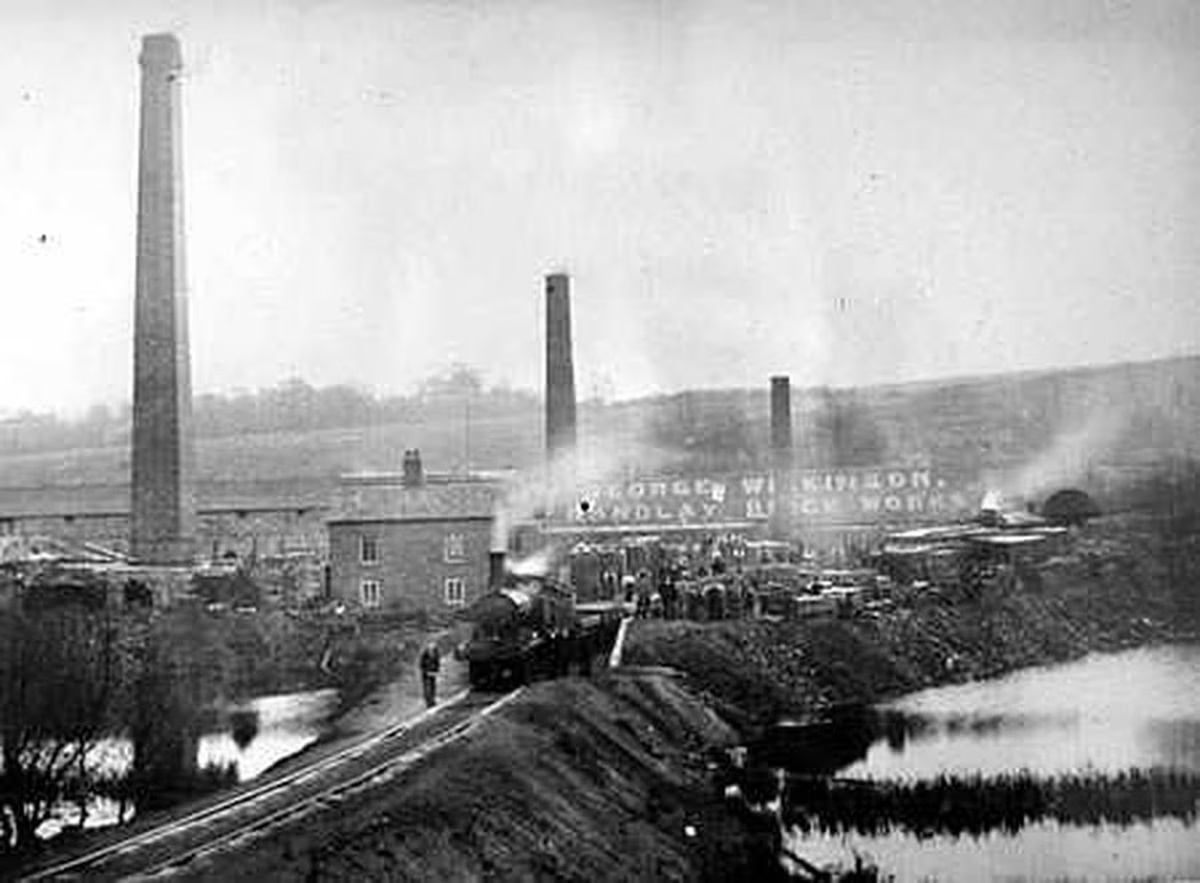
Wrokwardine Wood Brickworks and Donnington Wood Brickworks: two early brickworks which were probably both out of use by 1850s when a new Donnington Wood Brickworks was opened.
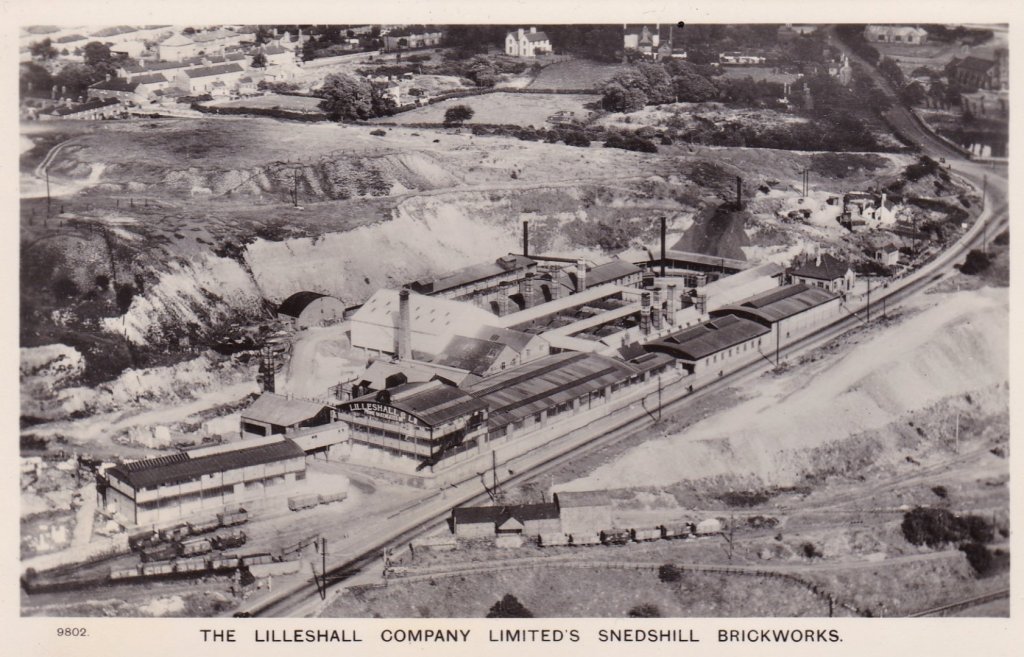
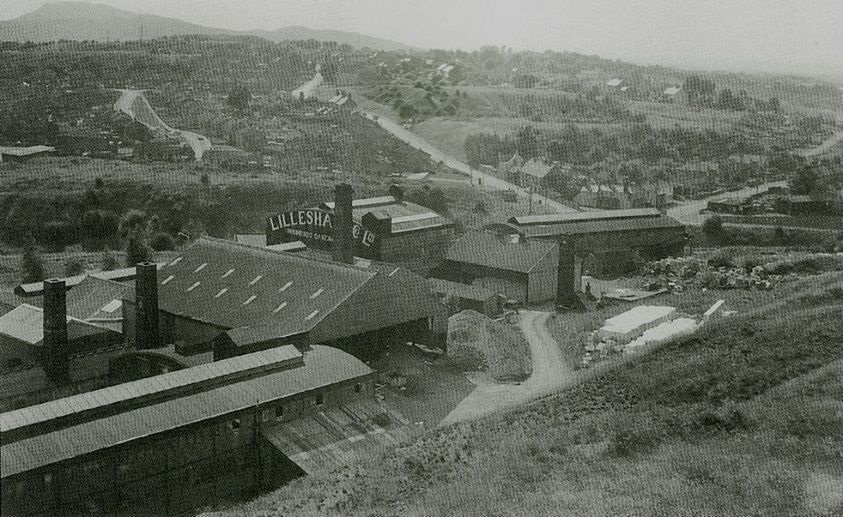
Snedshill Brickworks: it is not clear when this opened but it certainly was active by 1850. It was the last of the Lilleshall brickworks to continue in production, closing in 1977.
Donnington Wood Brickworks: the new works opened in 1850 and closed in 1971.
Wrokwardine Wood Furnaces: Active from 1801 to 1824.
Donnington Wood Furnaces: three blast furnaces, two dated from 1783 and one from 1802. Two were blown out in 1843 and one in 1859.
Lodge Bank Coke Ovens: were opened at the Lodge Furnaces site in 1842 with 42 beehive ovens. 10 ovens were added in 1901. Coal came from Freehold, Muxton Bridge, Meadow and Cockshutts mines. Screening and washing was undertaken at the coke ovens site. The Coke ovens survived the closure of the Old Lodge Furnaces, closing themselves in 1908, although screening and washing of coal continued until 1910.
Old Yard (Donnington Wood): a general engineering works that built boats for canals. It closed in 1861.
Sndeshill Furnaces, Priorslee Furnaces, Priorslee Steelworks, New Yard Engineering Work (Phoenix Foundry) Snedshill Concrete Works, Priorslee Distillation Plant, and Priorslee Asphalt Plant are covered later in this series of articles.
Yate also covers the collieries that we have already encountered in this and the previous article: [2: p15-18]
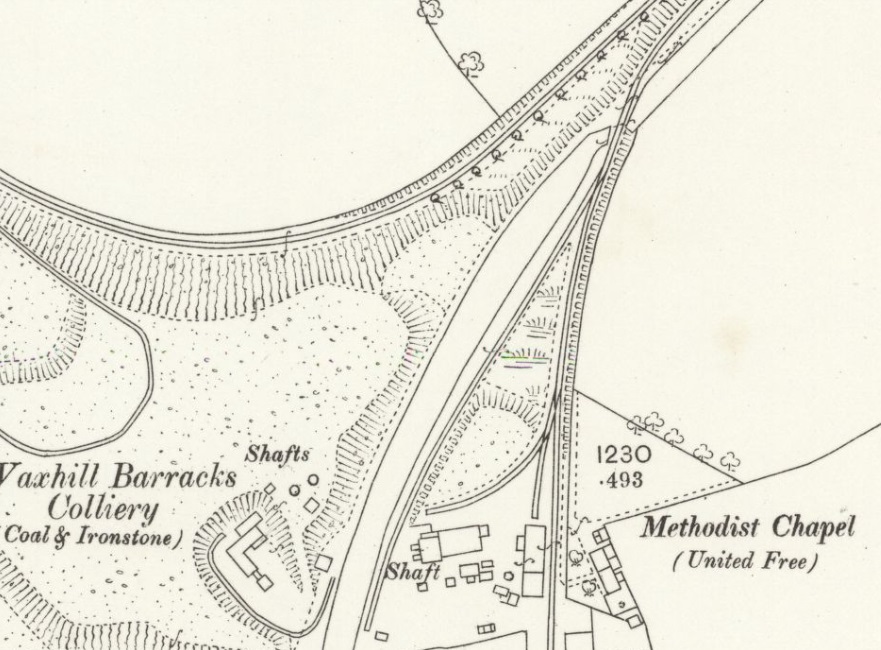
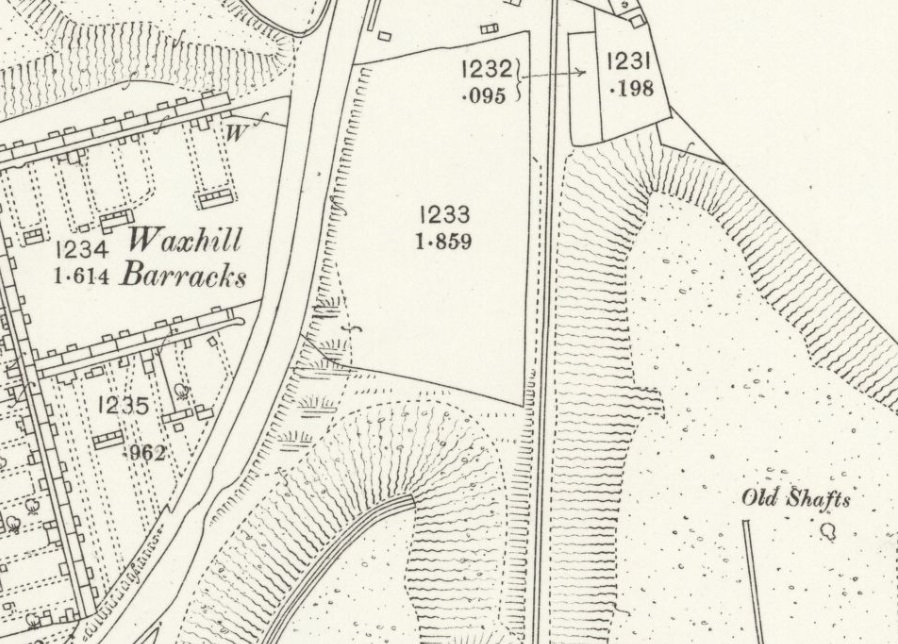
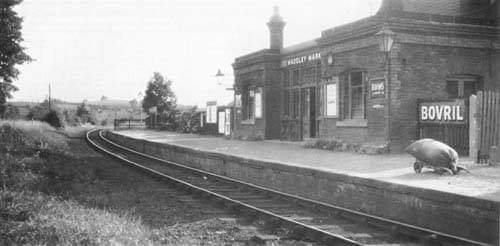
Waxhill Barracks Colliery: Sinking of the shaft was begun in 1818 and eventually exceeded a depth of 300 yards, but the pit did not open until 1828, and was named after the nearby company housing scheme. In 1896, there were 40 underground and 25 surface workers. The pit closed in 1900, although pumping continued until 1930. [2: p16]
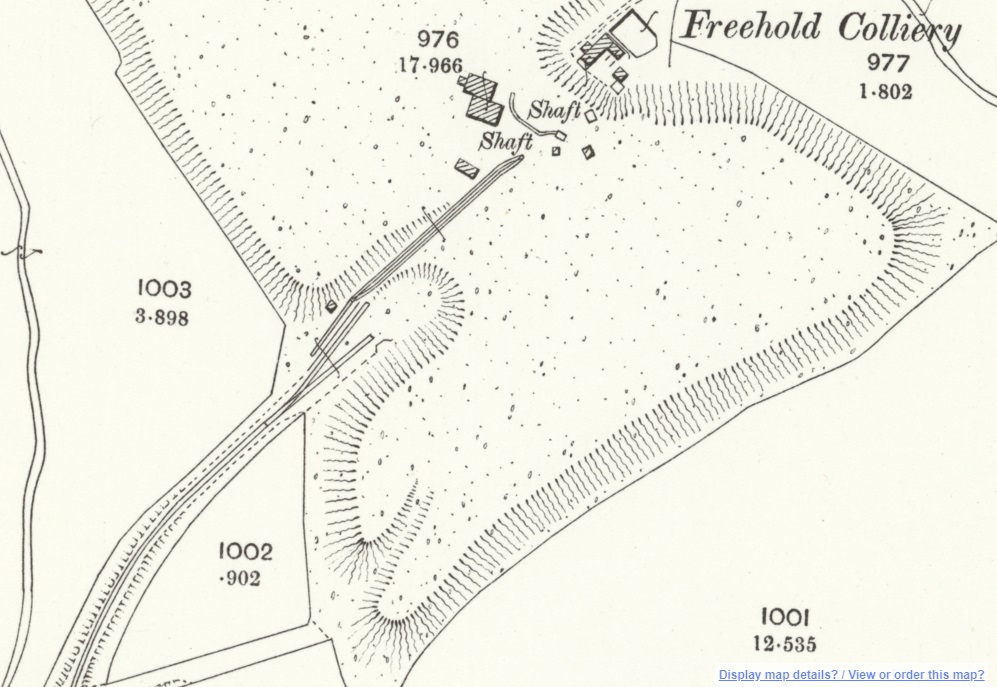
Freehold Colliery: Opened around 1840, there were two 7.5ft diameter shafts initially of 147 yards depth, that eventually reached 245 yards. In 1896 there were 29 underground and 11 surface workers. However, by 1905 this had increased to a total of 205 men, which by 1927 had further increased to 314 at which it remained steady until closure in 1928. [2: p16]
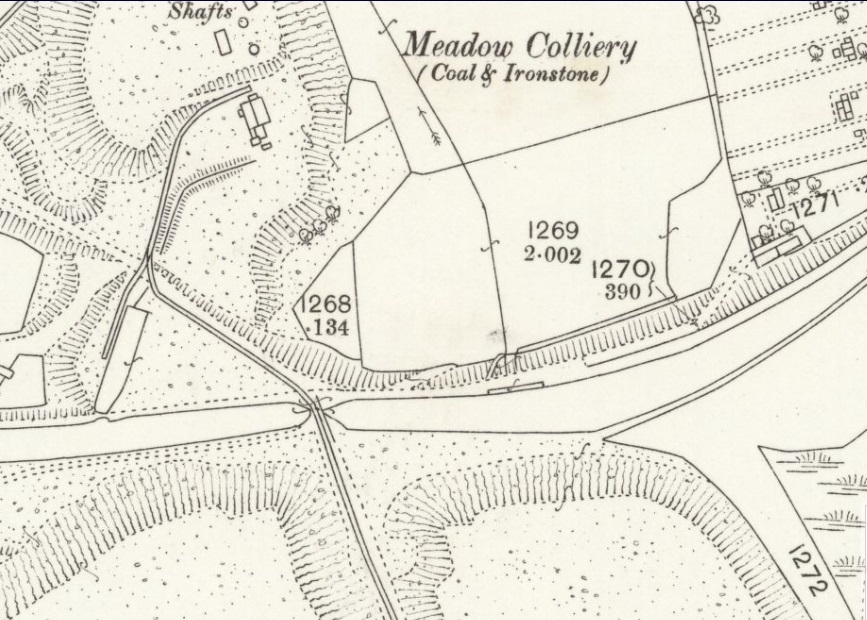
Meadow Colliery: Opened prior to 1840, the horse tramway system connected this pit to the Lodge Furnaces and to the Donnington Wood Canal. It was closed in 1894. [2: p16]
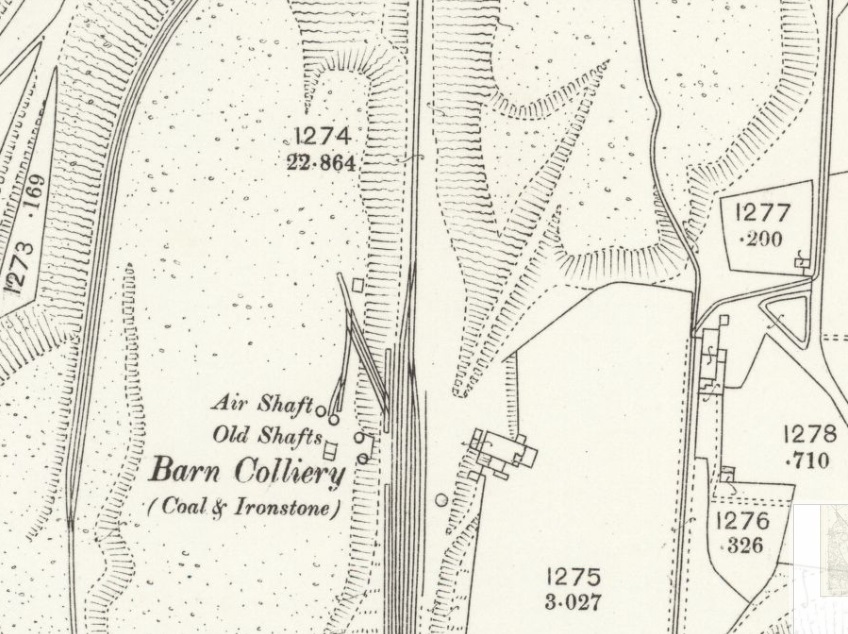
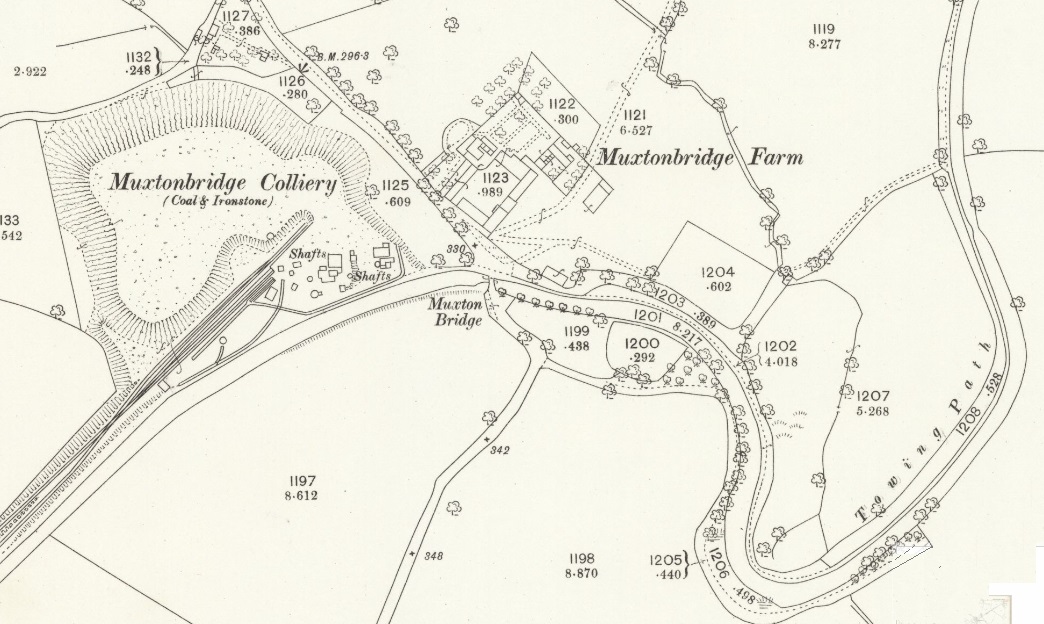
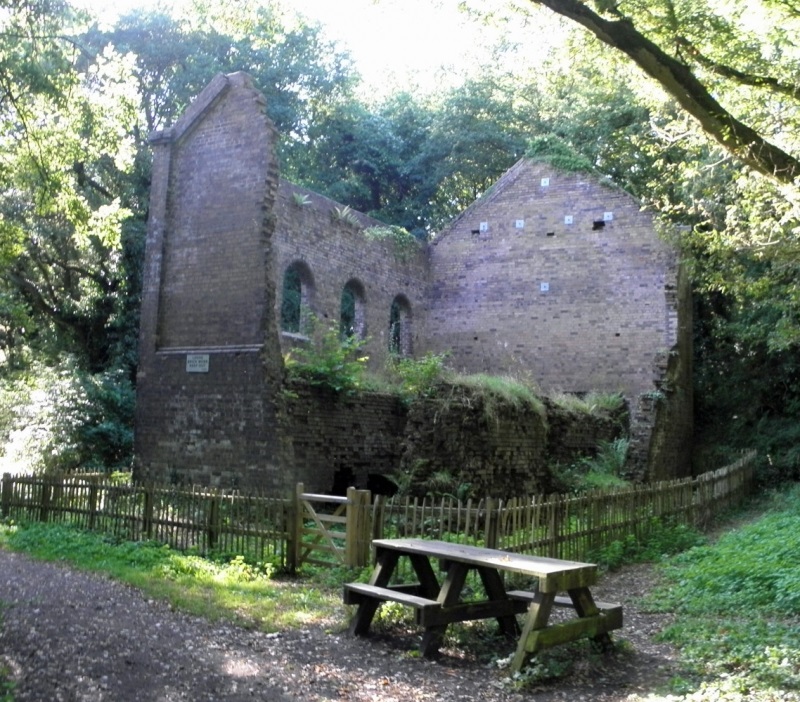
Muxton Bridge Colliery: The exact date of opening is not known, but it was in operation by 1837 and closed in 1912. In 1896, there were 68 underground and 30 surface workers. The remains of the former engine house (built in 1844), which once contained a horizontal steam winding engine, are extant in the Granville Country Park which now covers this site. [2: p16]
Granville Colliery: see the notes later in this article.
Other collieries covered by Yate will be addressed when they are encountered as we continue to follow the Lilleshall Company’s tramways and railways in later articles in this series.
A comprehensive account of the rise and consolidation of the Lilleshall Company was written by W.K.V Gale & C.R. Nicholls in 1979. [7]
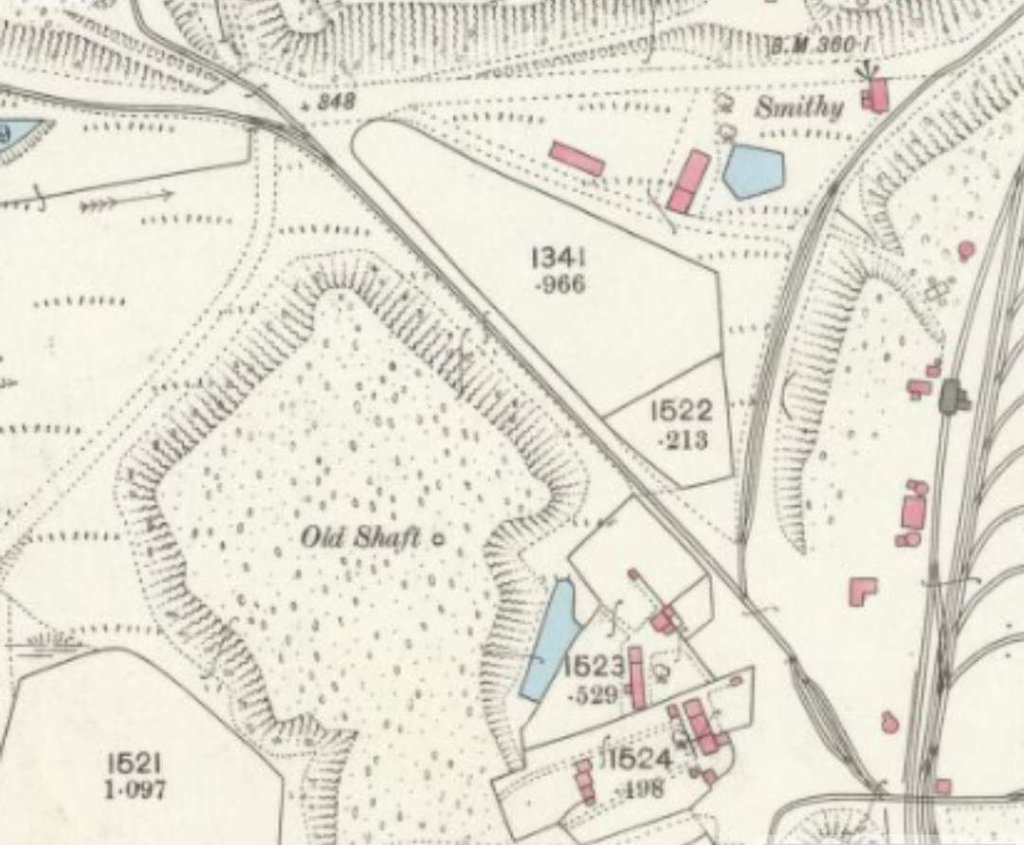
Old Lodge Furnaces and their vicinity


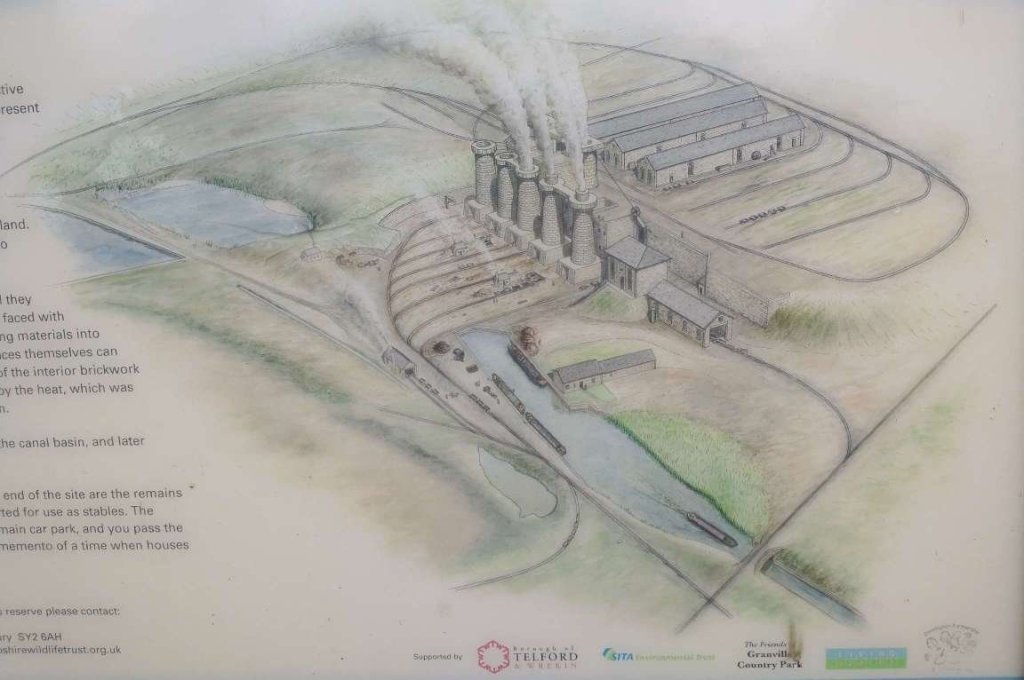
The Friends of Granville Country Park’s website provides a general introduction to the history of the Old Lodge Furnaces: … [6]
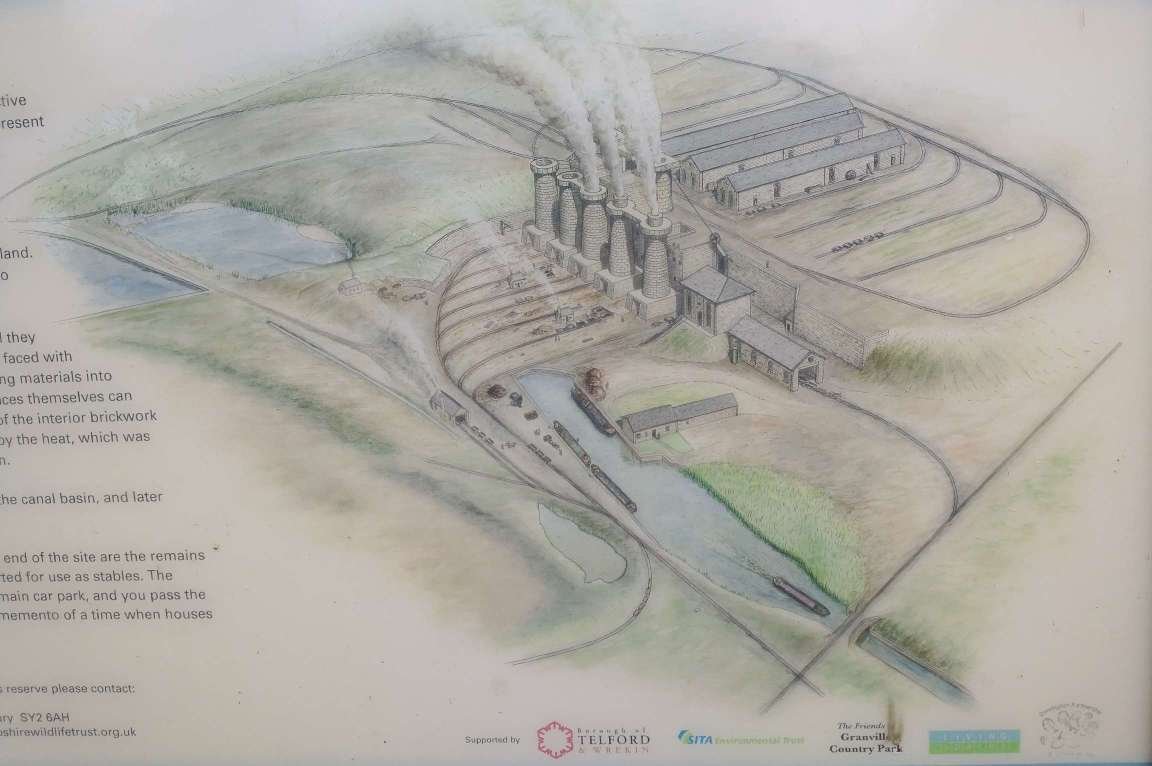
In 1824 the [Lilleshall] Company brought into blast two new furnaces near the site of the Old Lodge. They were named the Old Lodge furnaces because of their proximity to the site of an old hunting lodge which was demolished in 1820. In March 1825 the Lilleshall Company paid the Coalbrookdale Company £2392 for (presumably) a Blast Engine. George Roden, a stonemason from the Nabb, was paid £425 in 1825 and £777 and 5 shillings in 1826 for erecting loading ramps and the retaining walls. In 1830 the Donnington Wood and the Old Lodge ironworks together produced 15,110 tons. A third furnace was added in 1846 and two more in 1859.
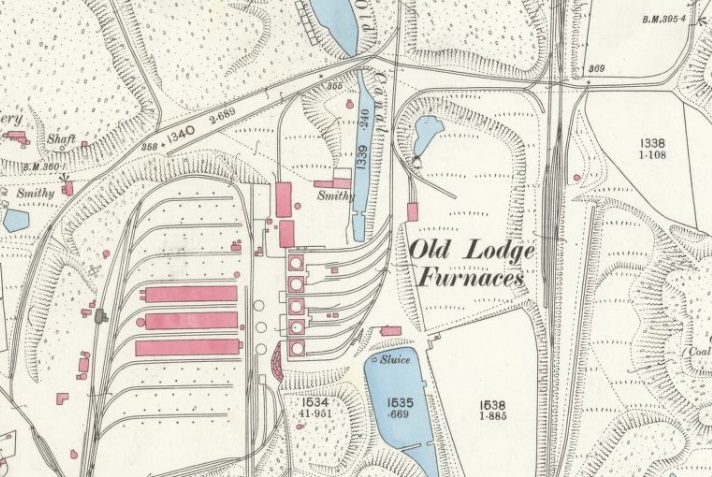
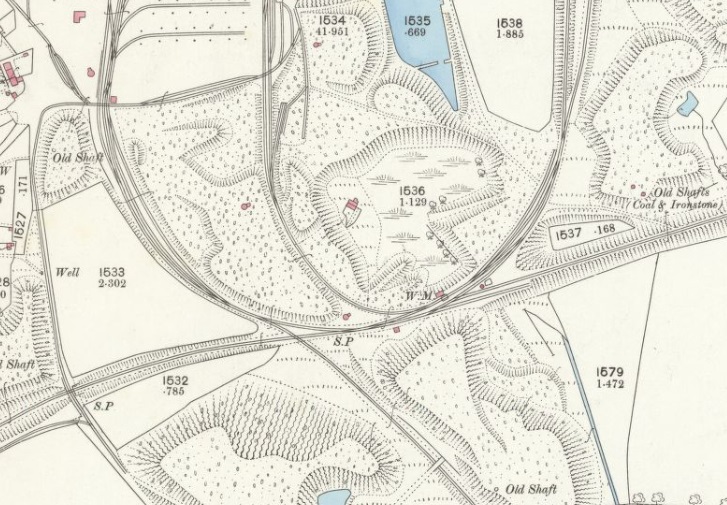
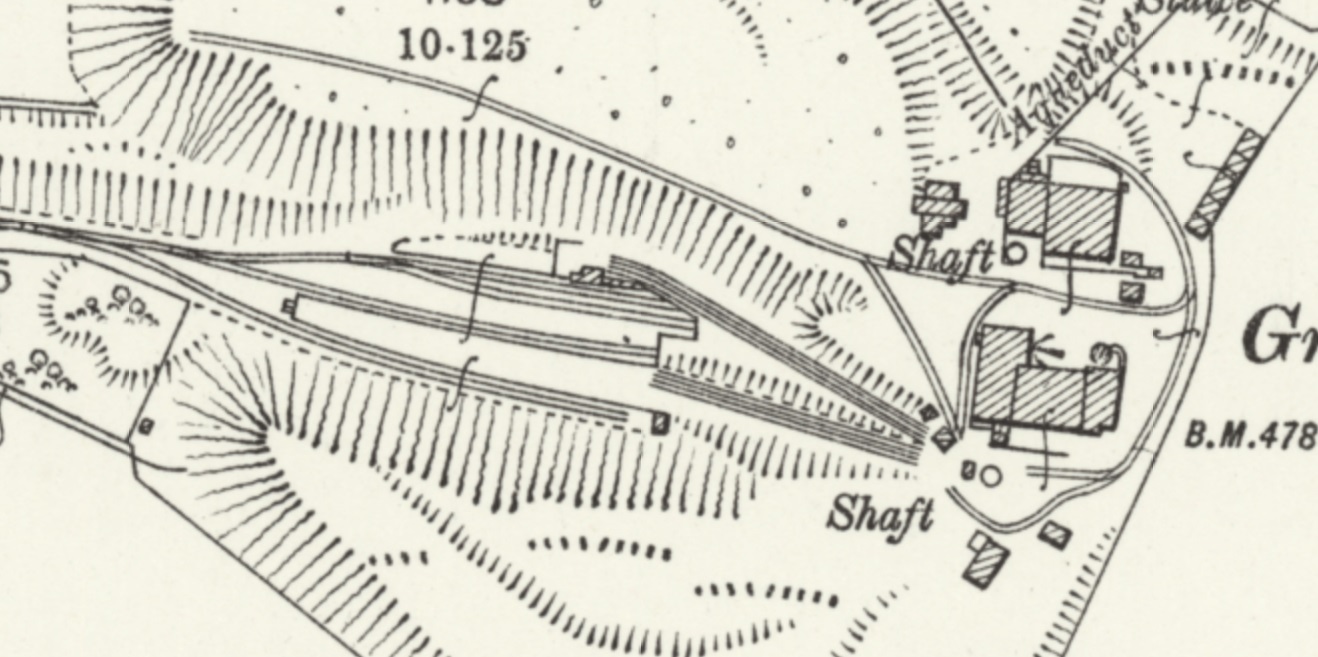
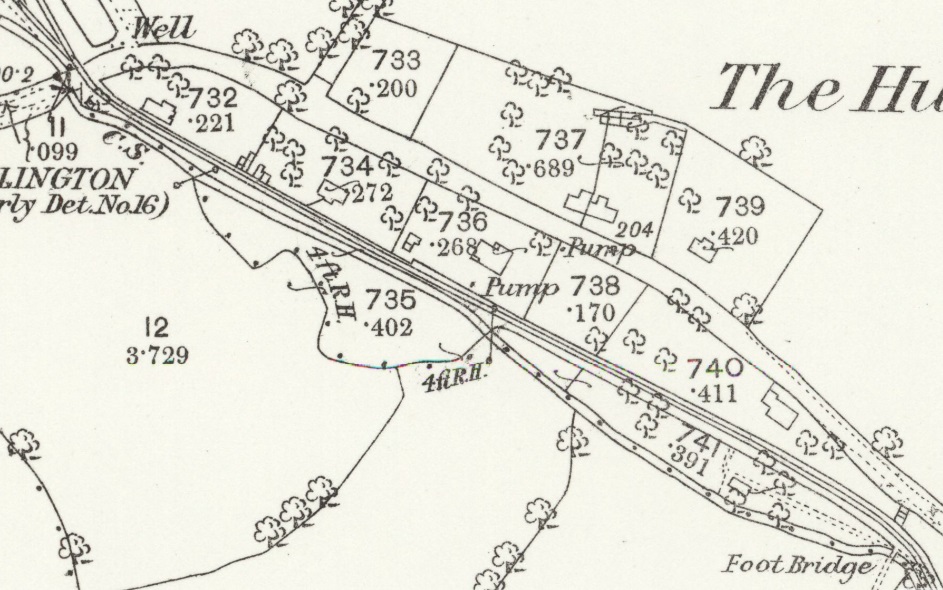
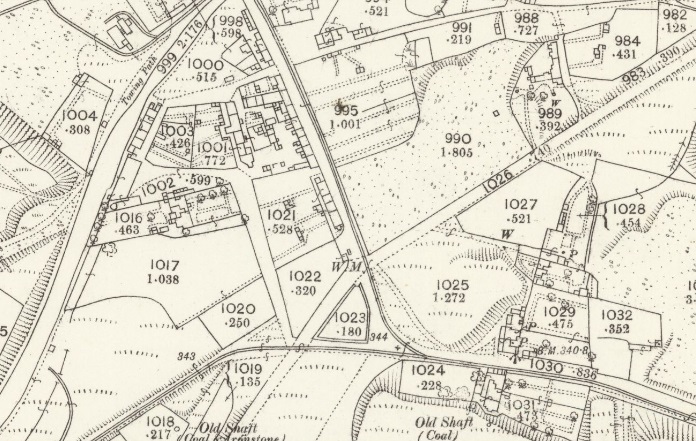
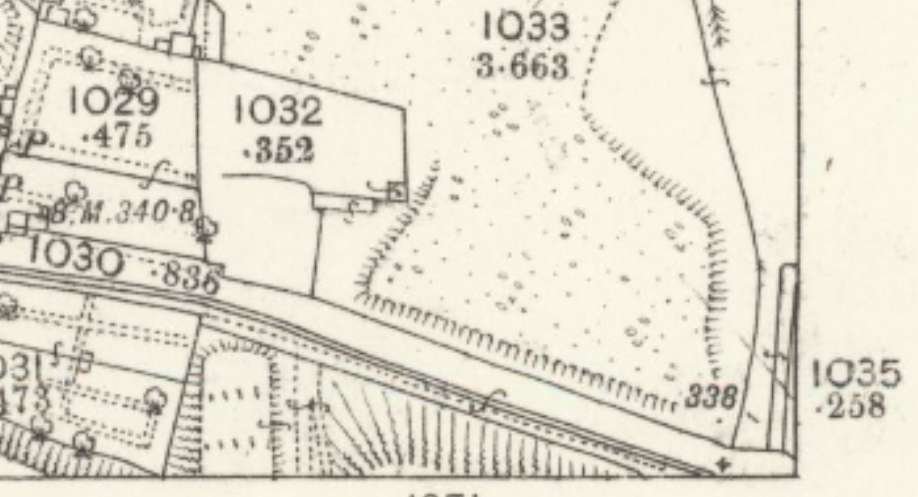
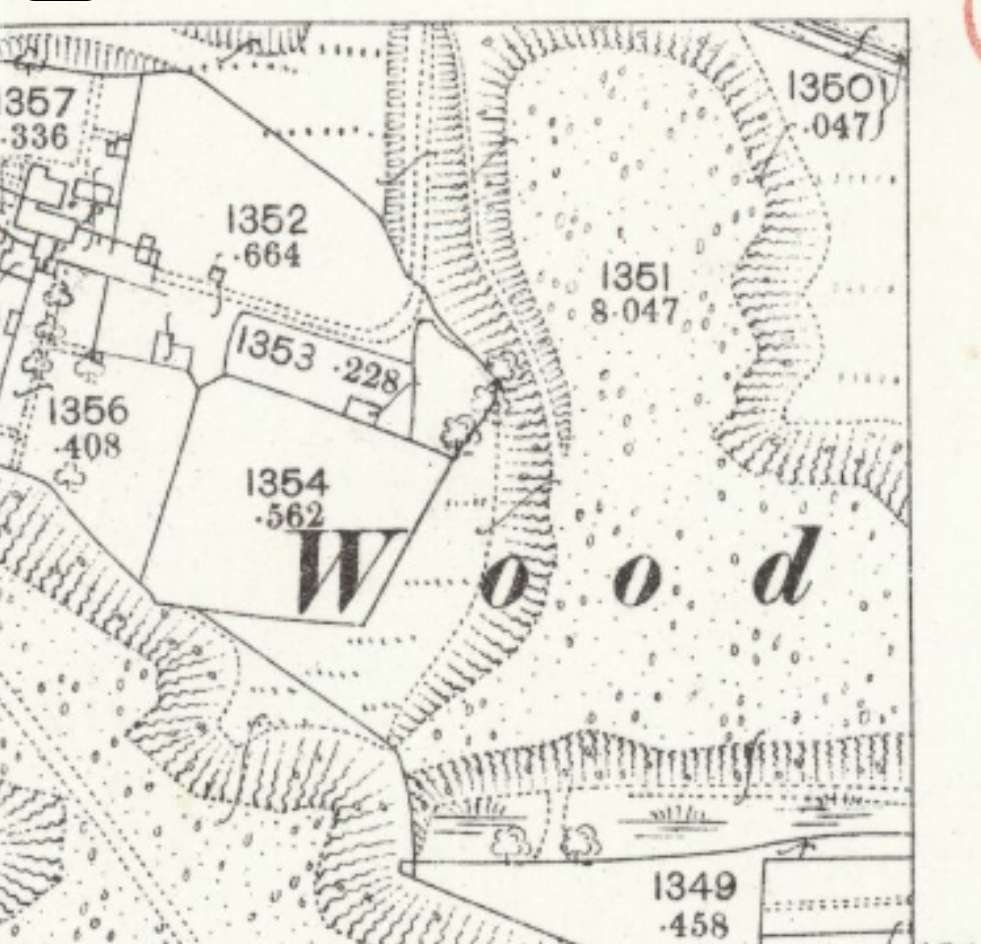
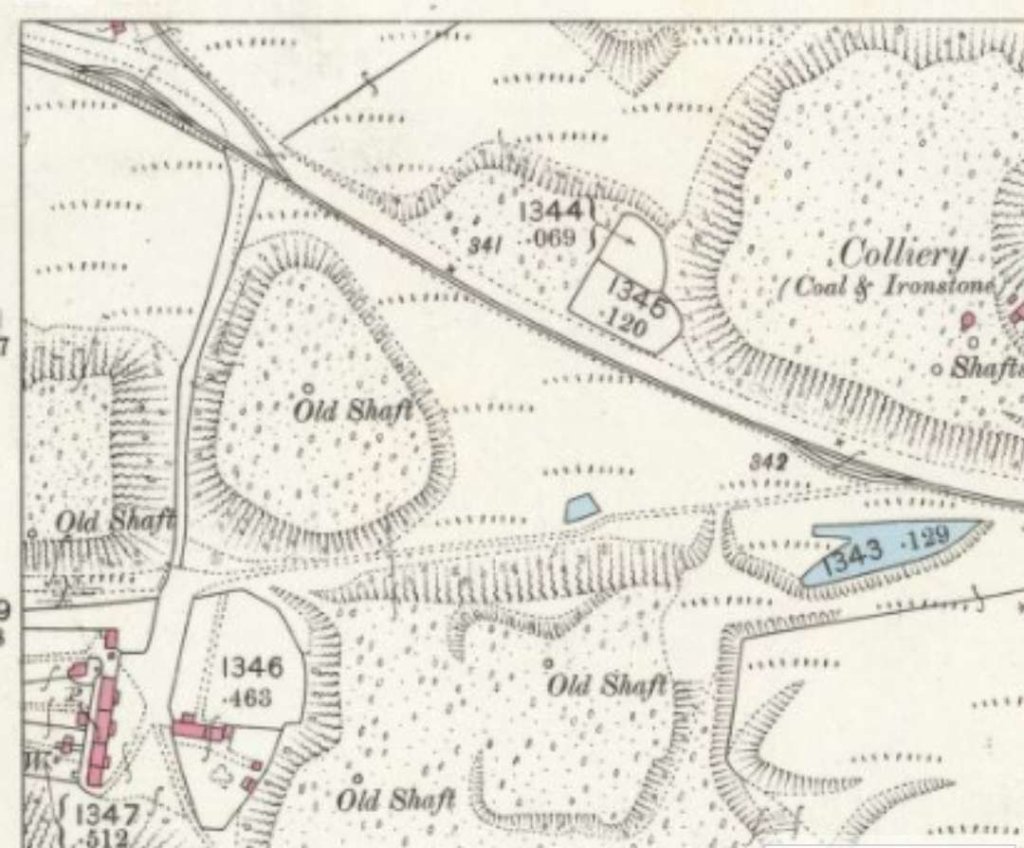
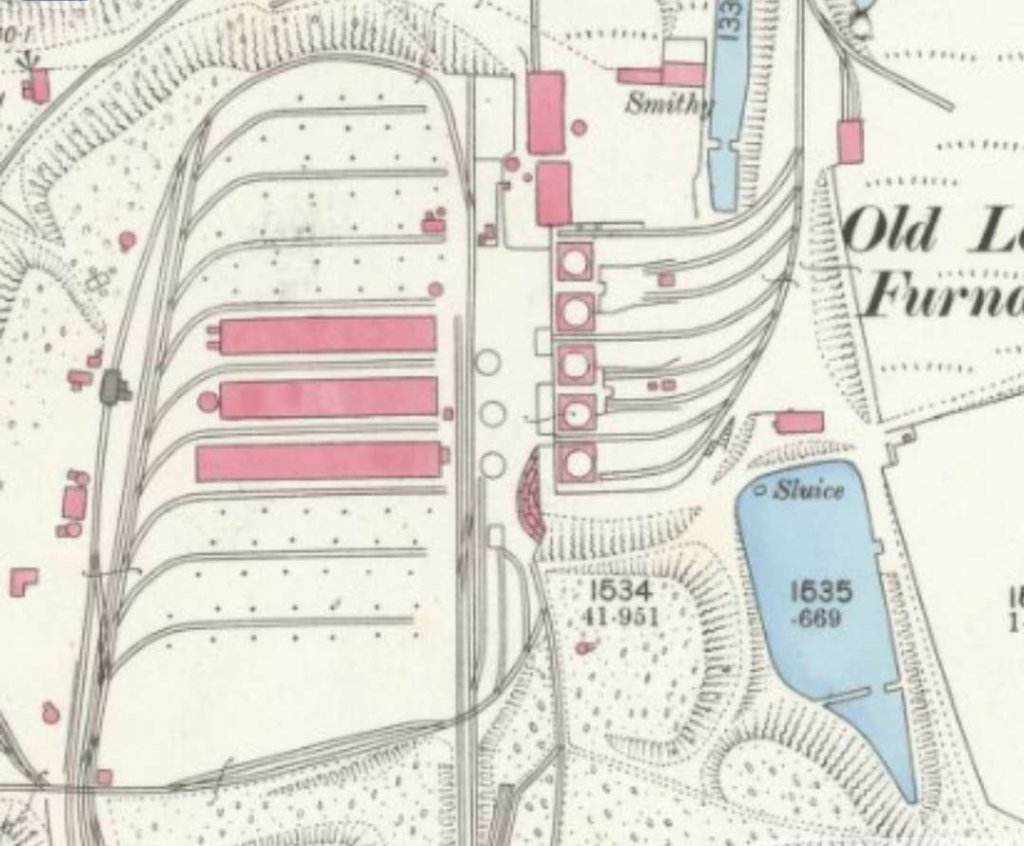
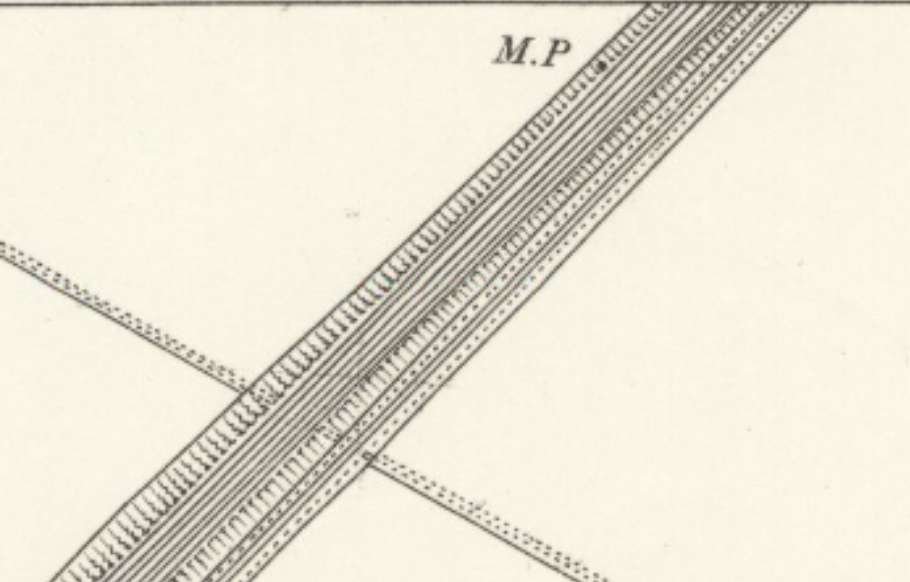
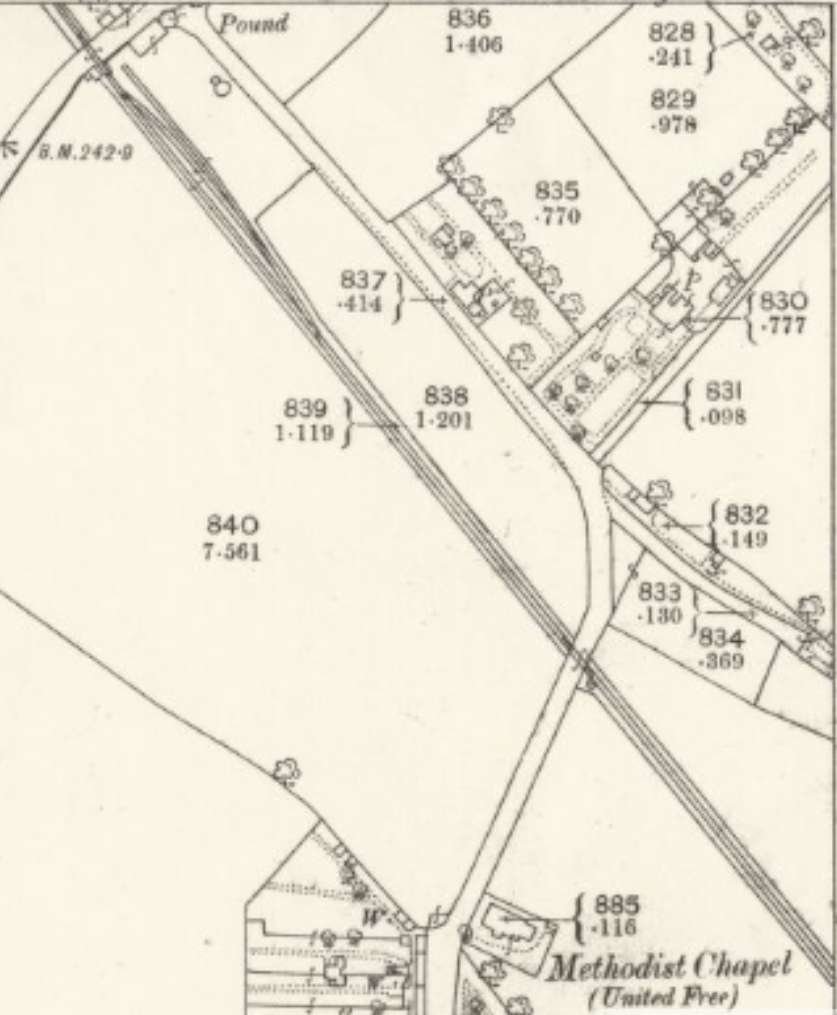
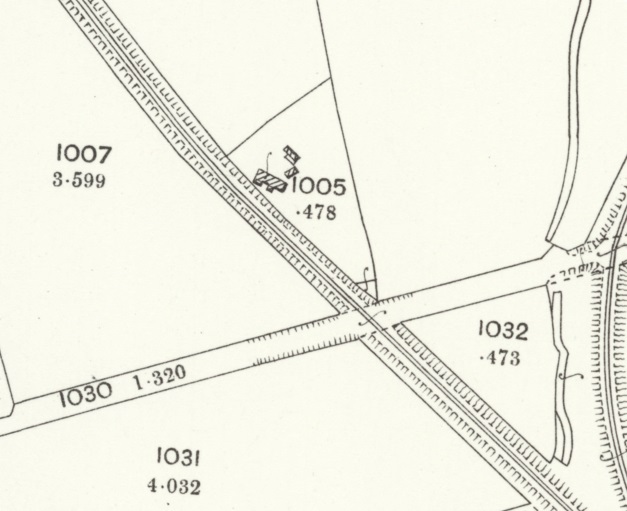
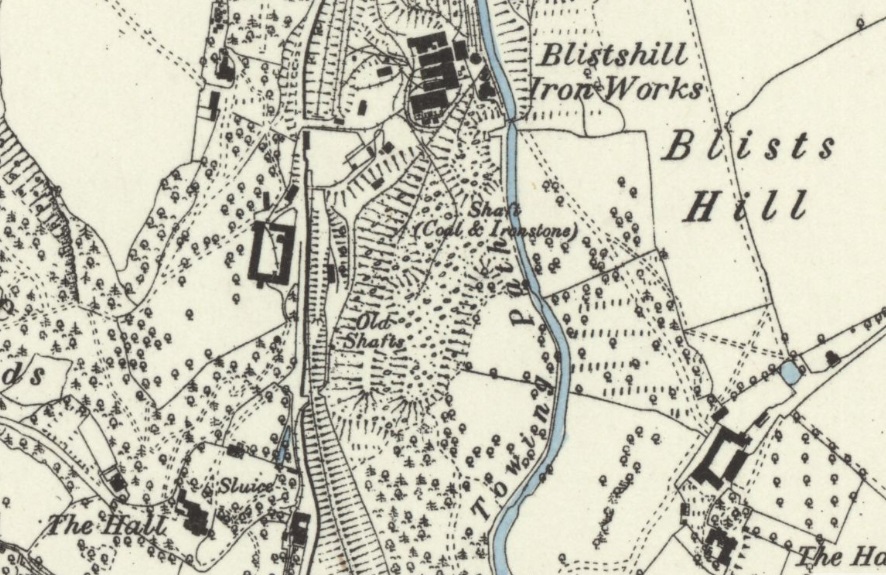
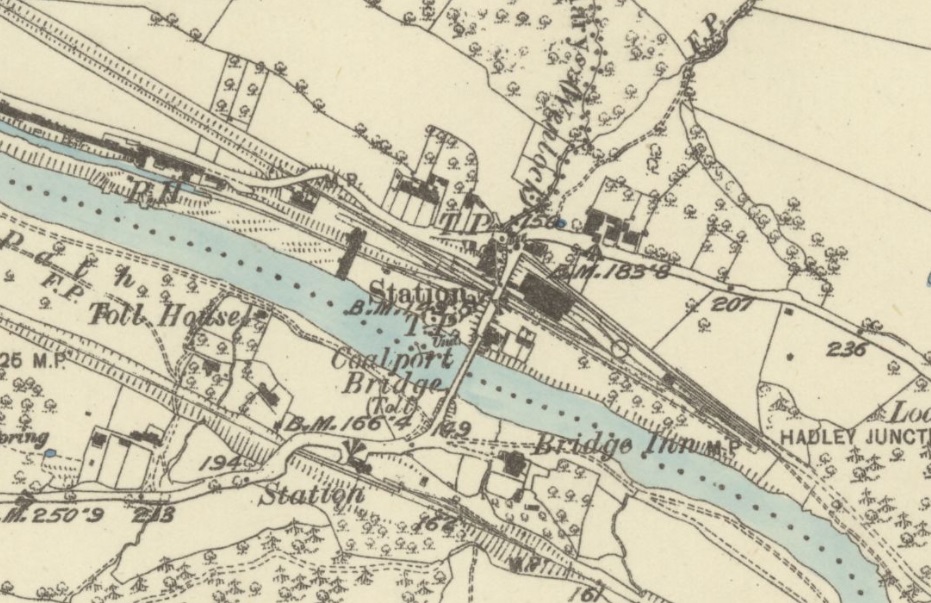
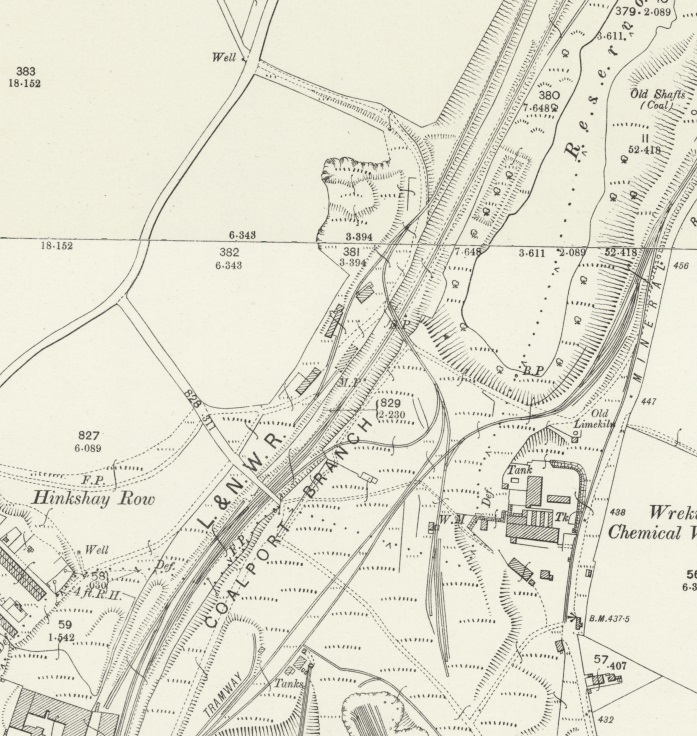
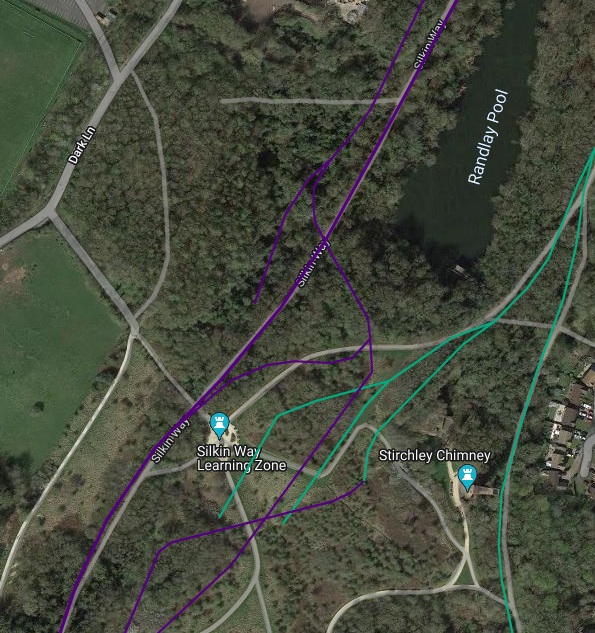
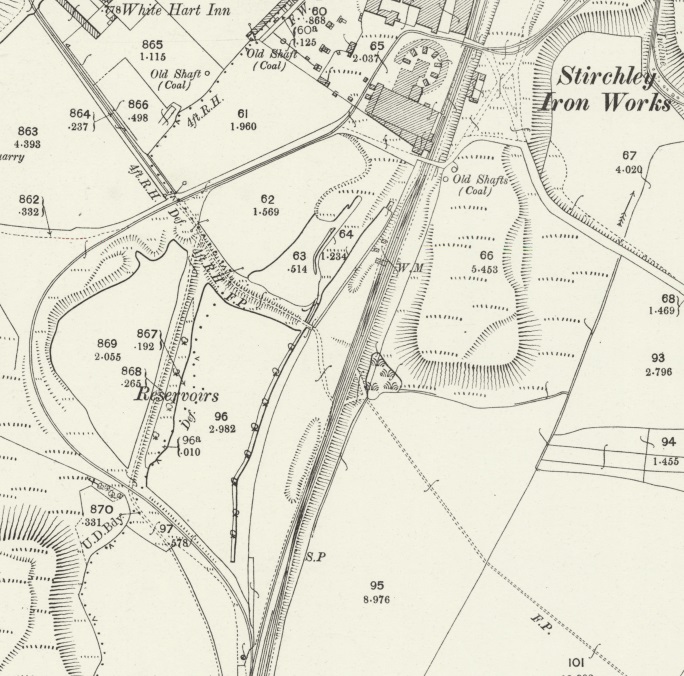
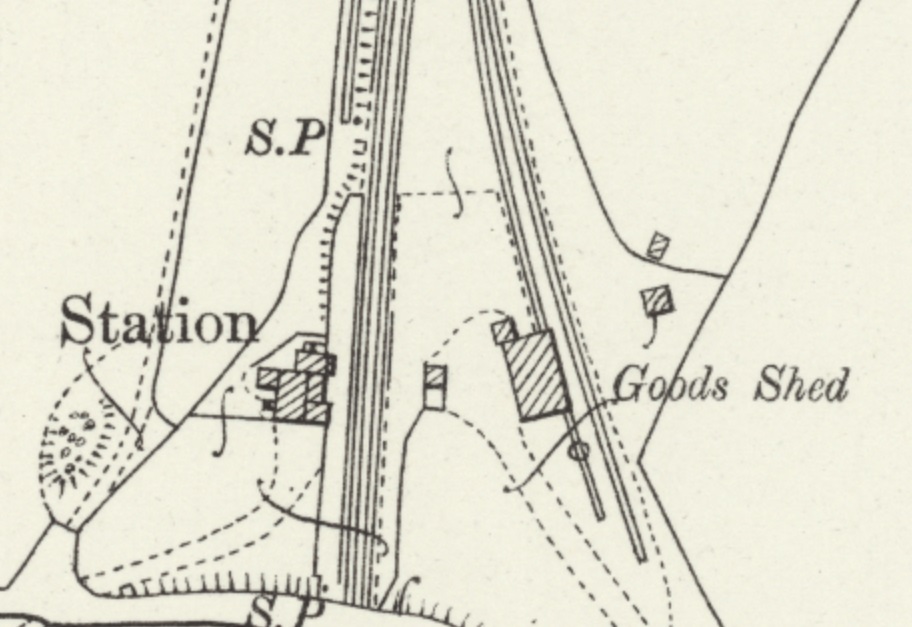
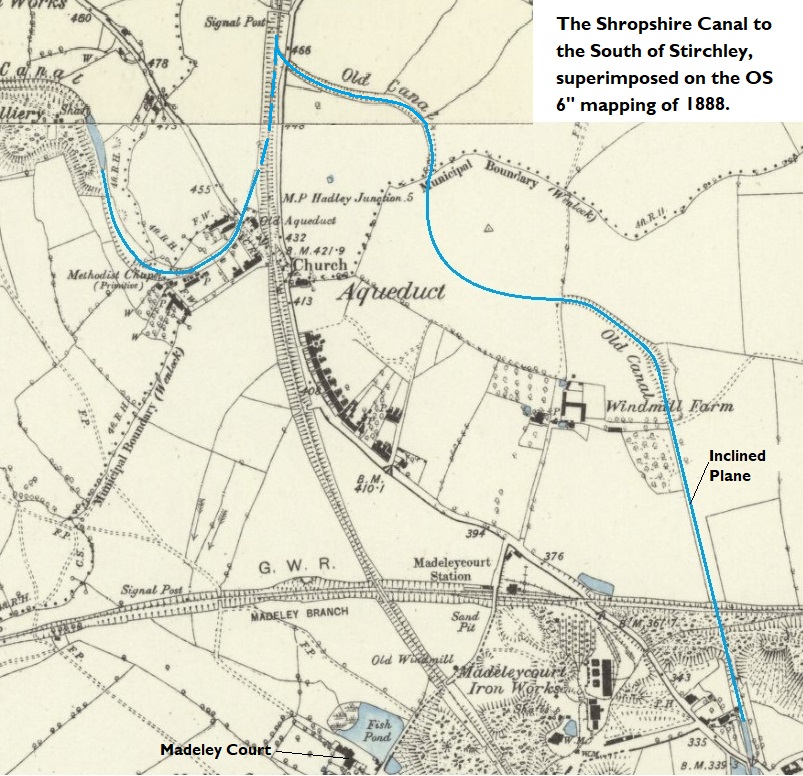
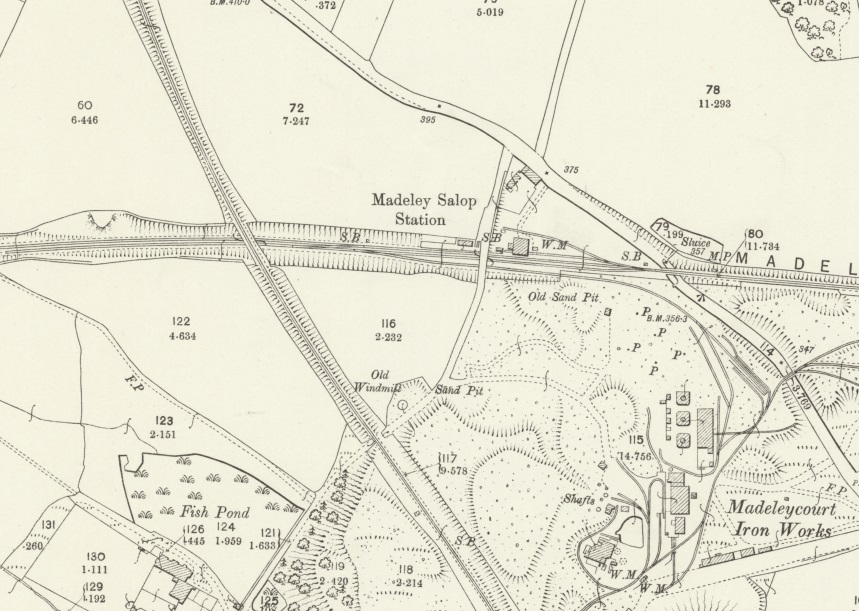
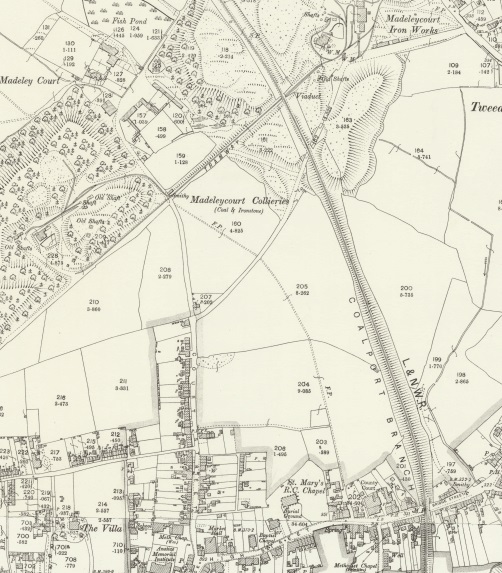
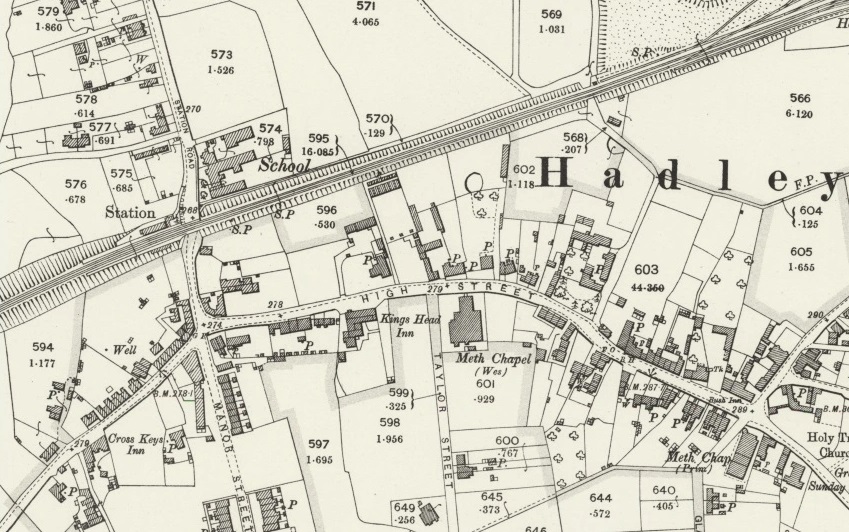
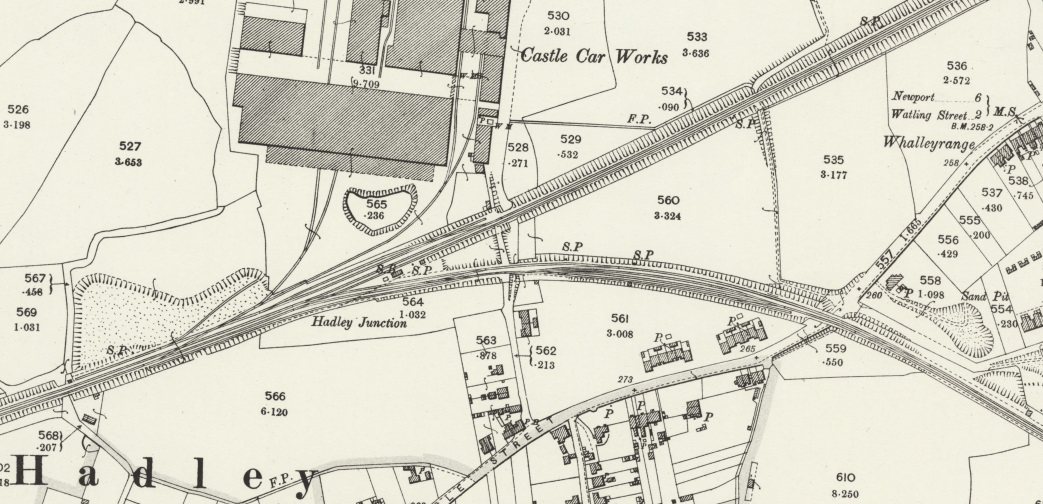
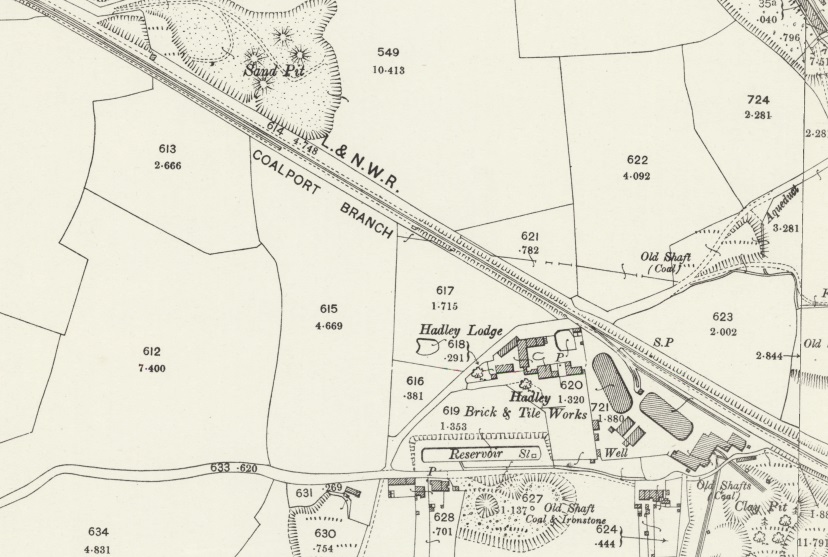
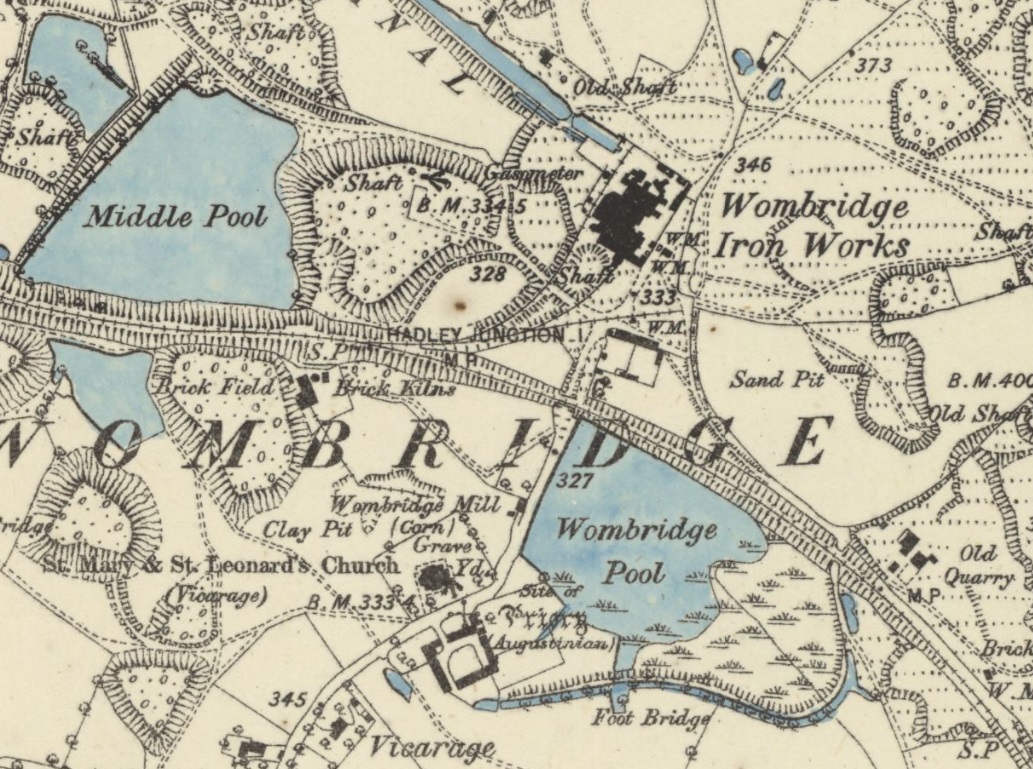
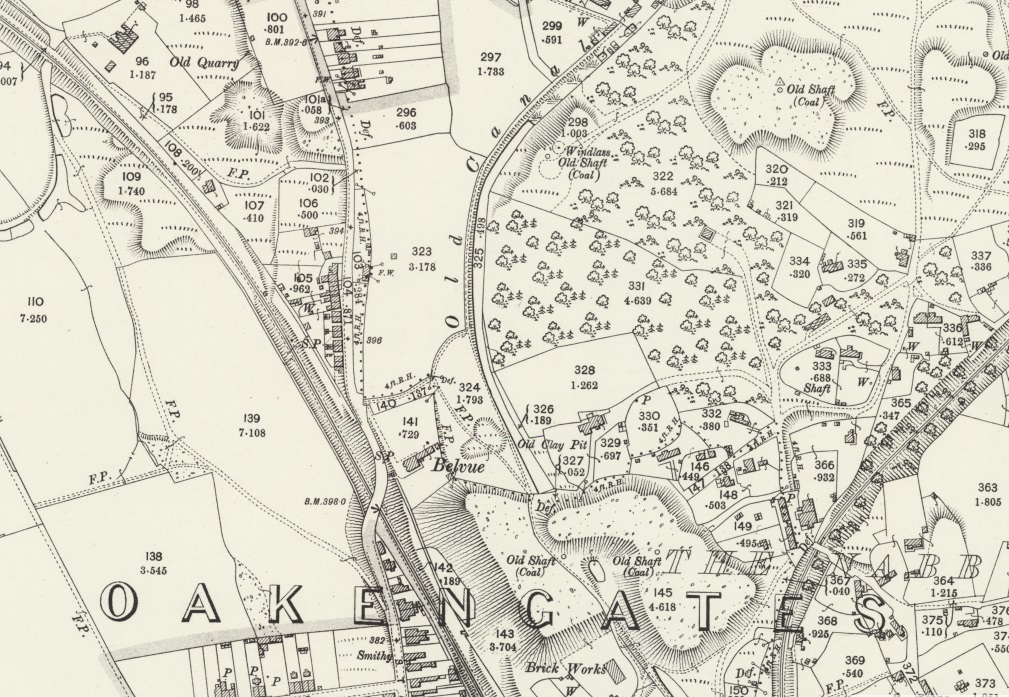
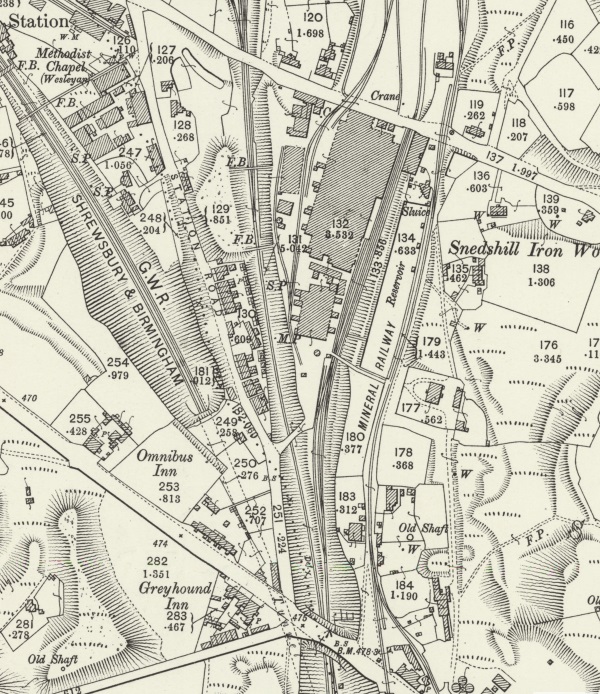
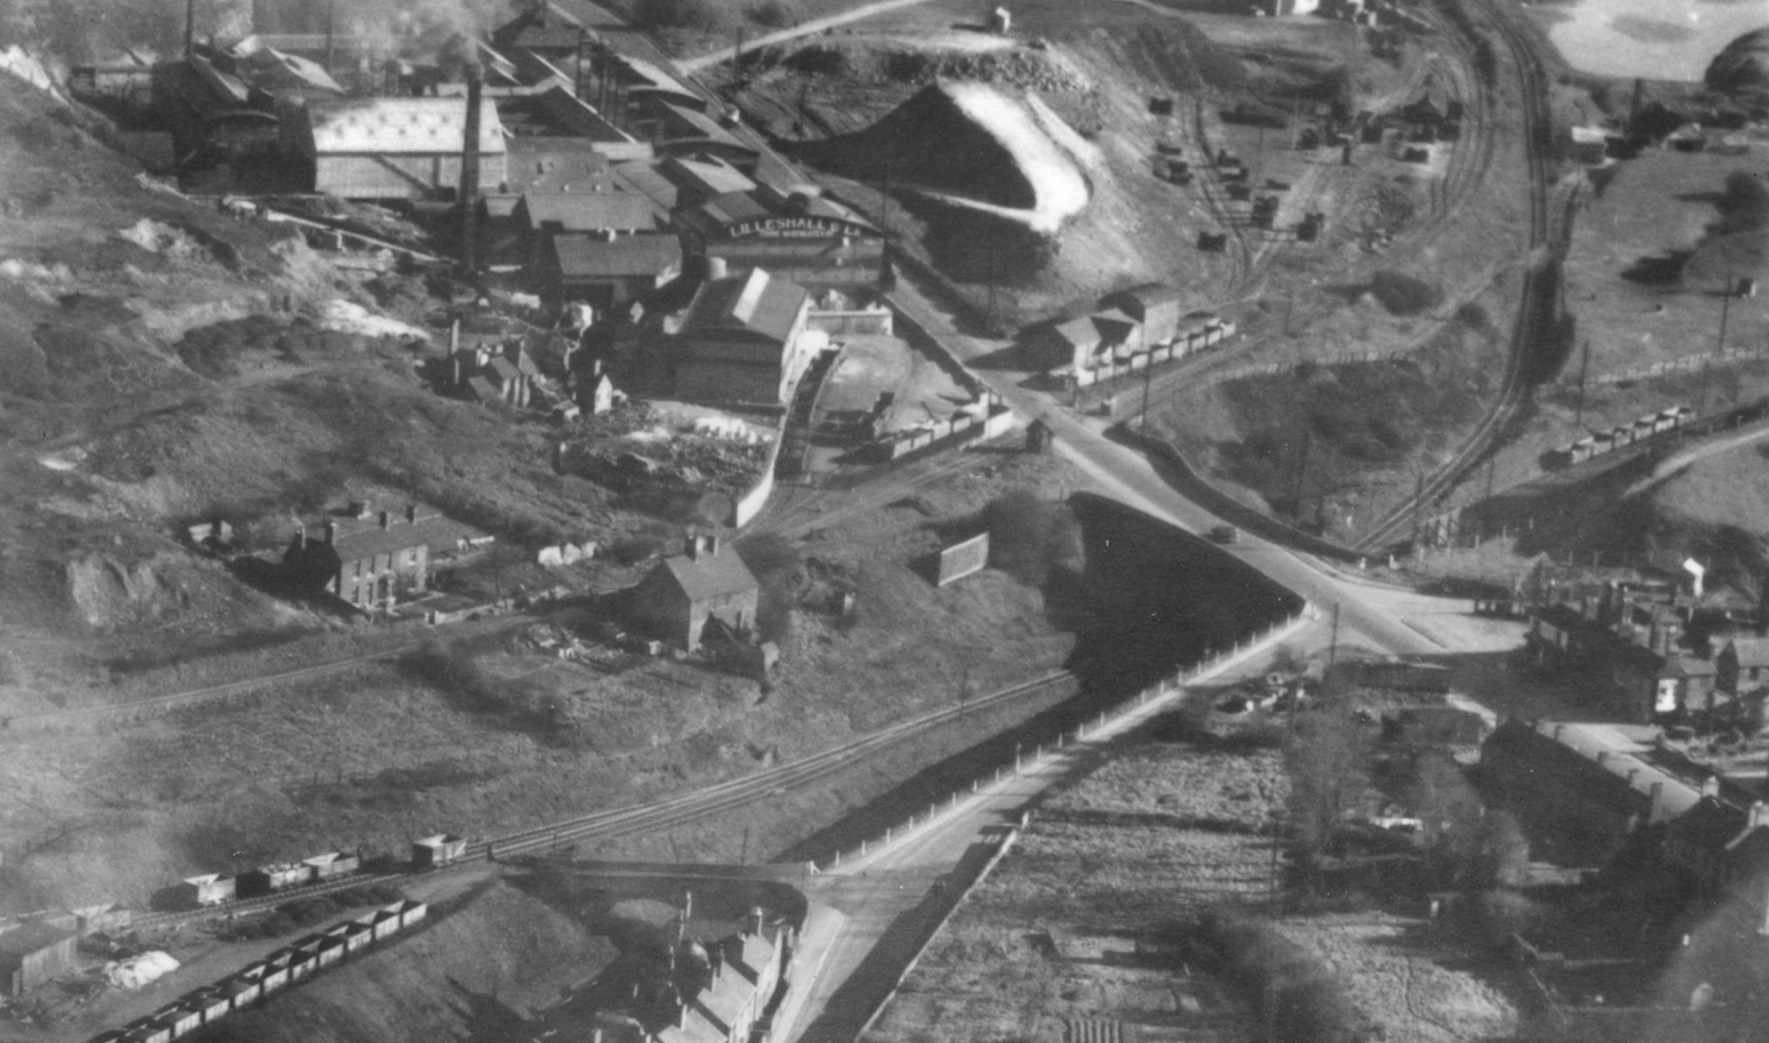
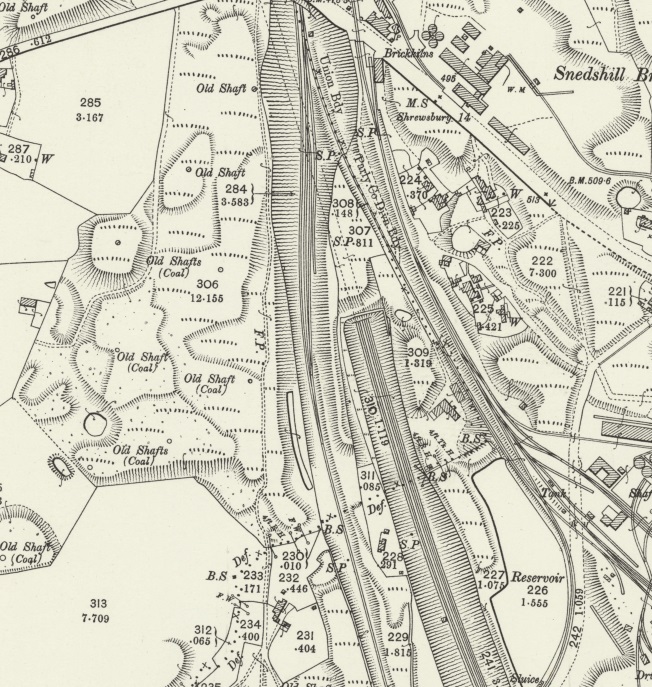
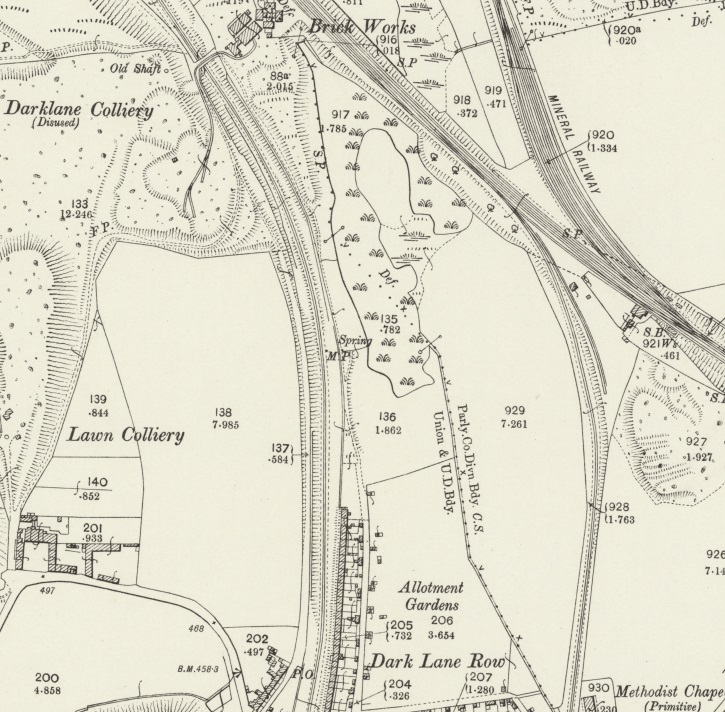
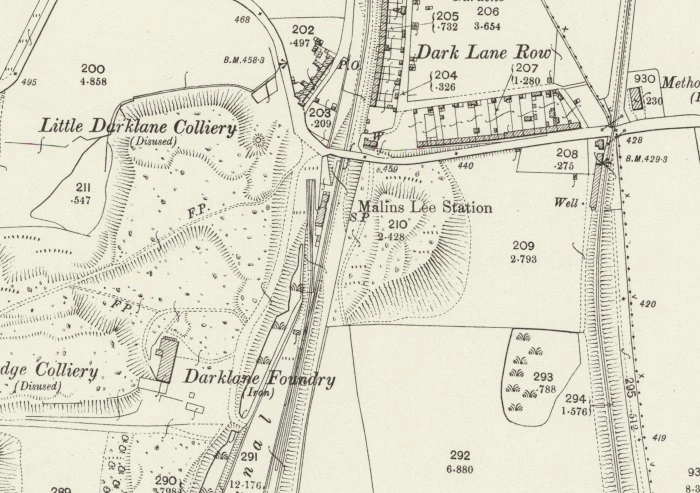
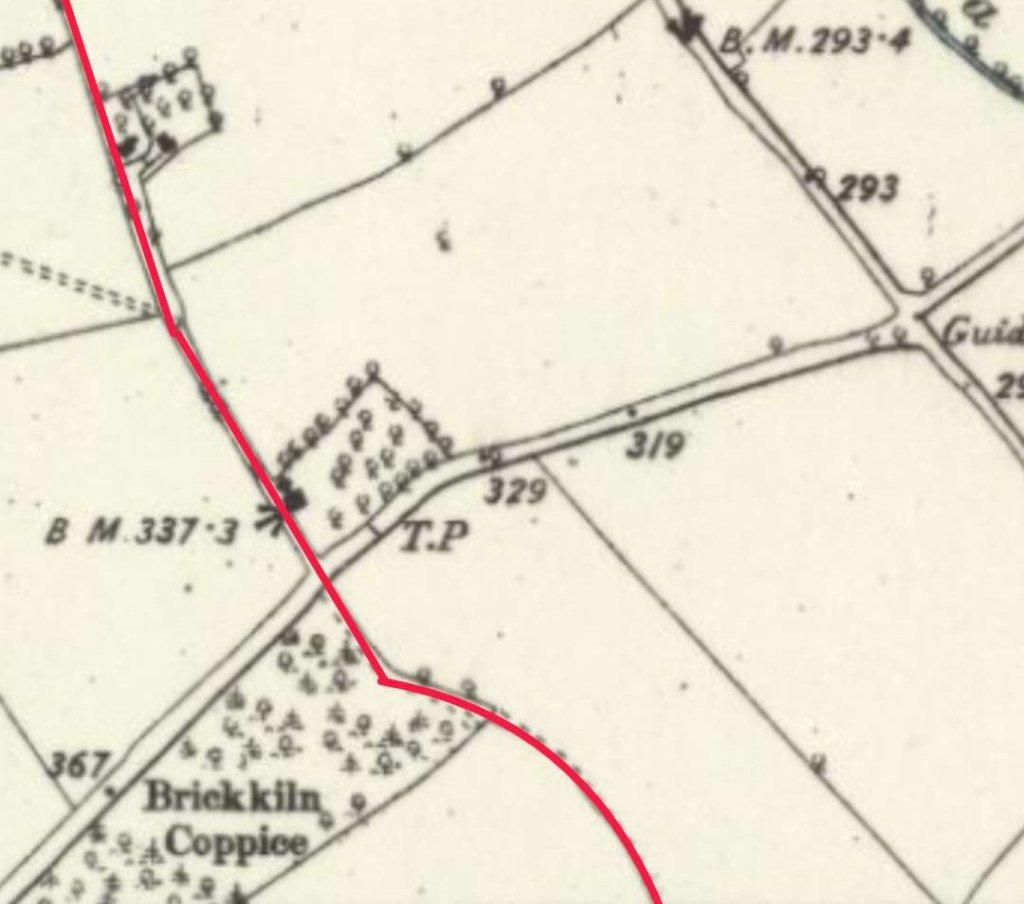
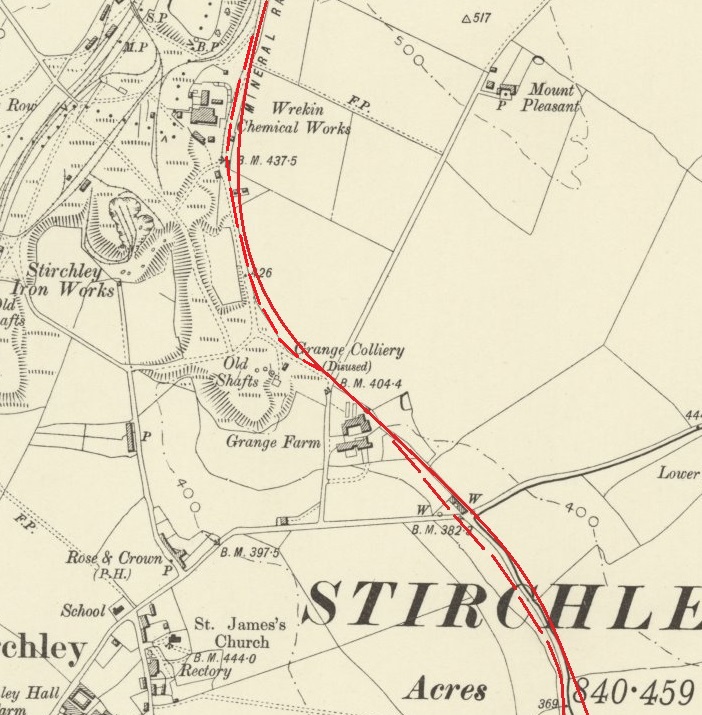
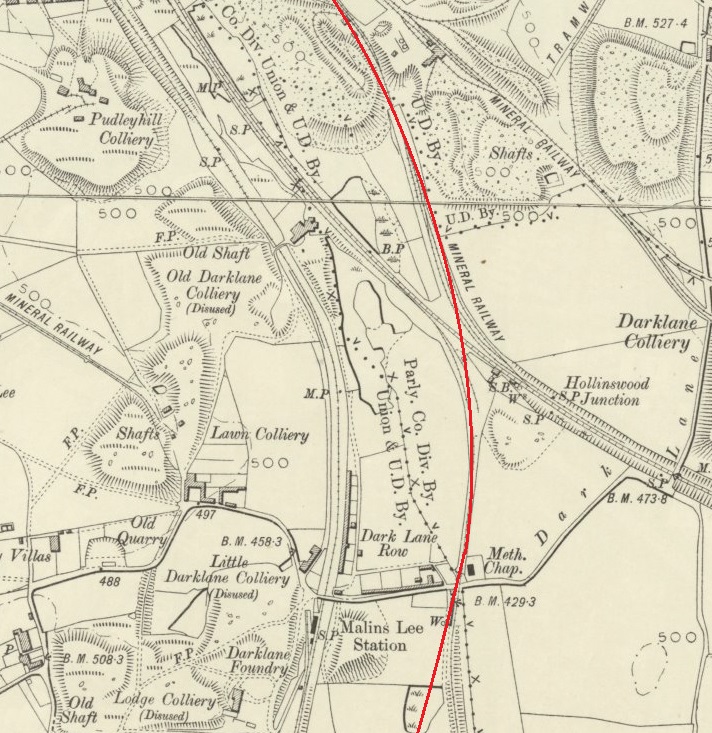
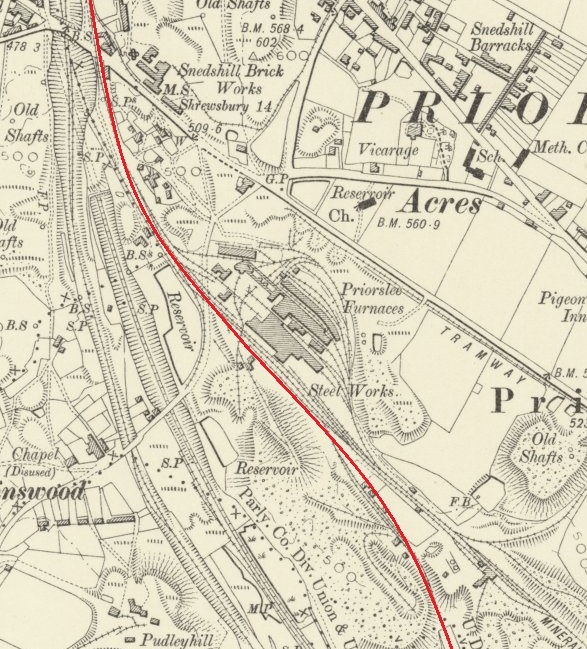
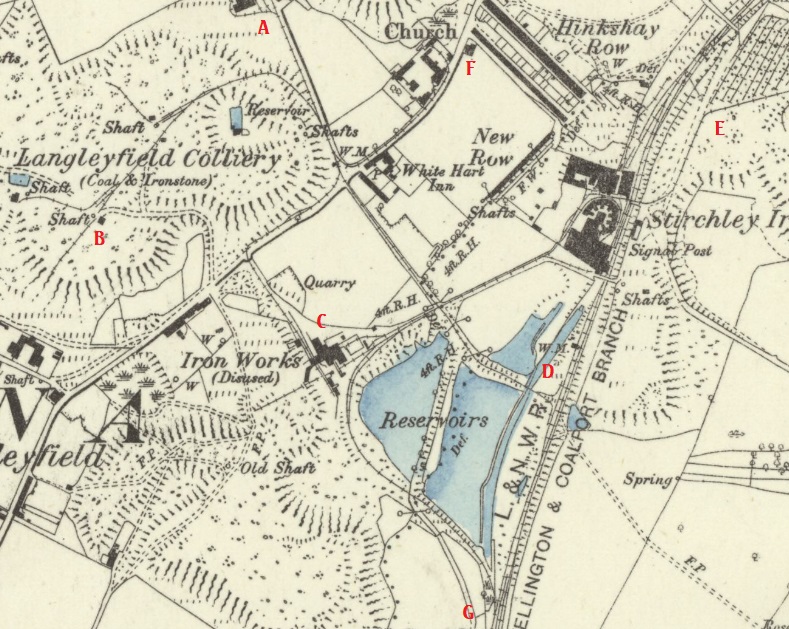
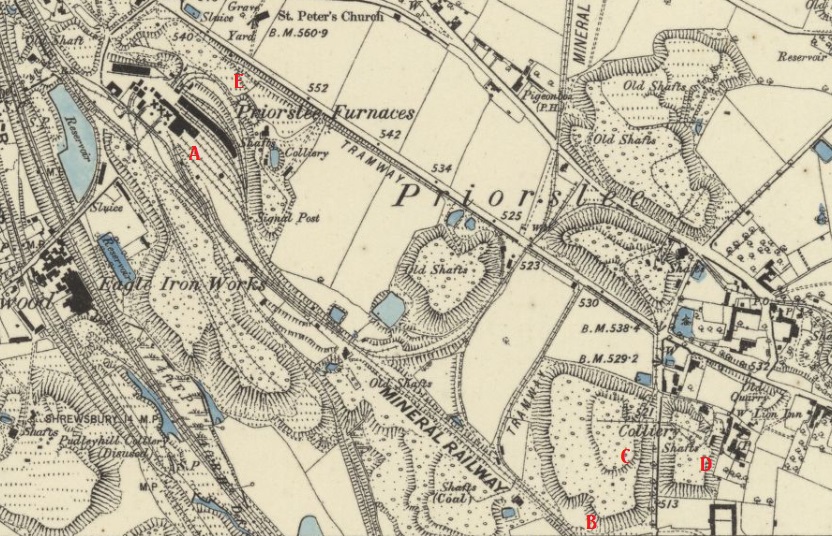
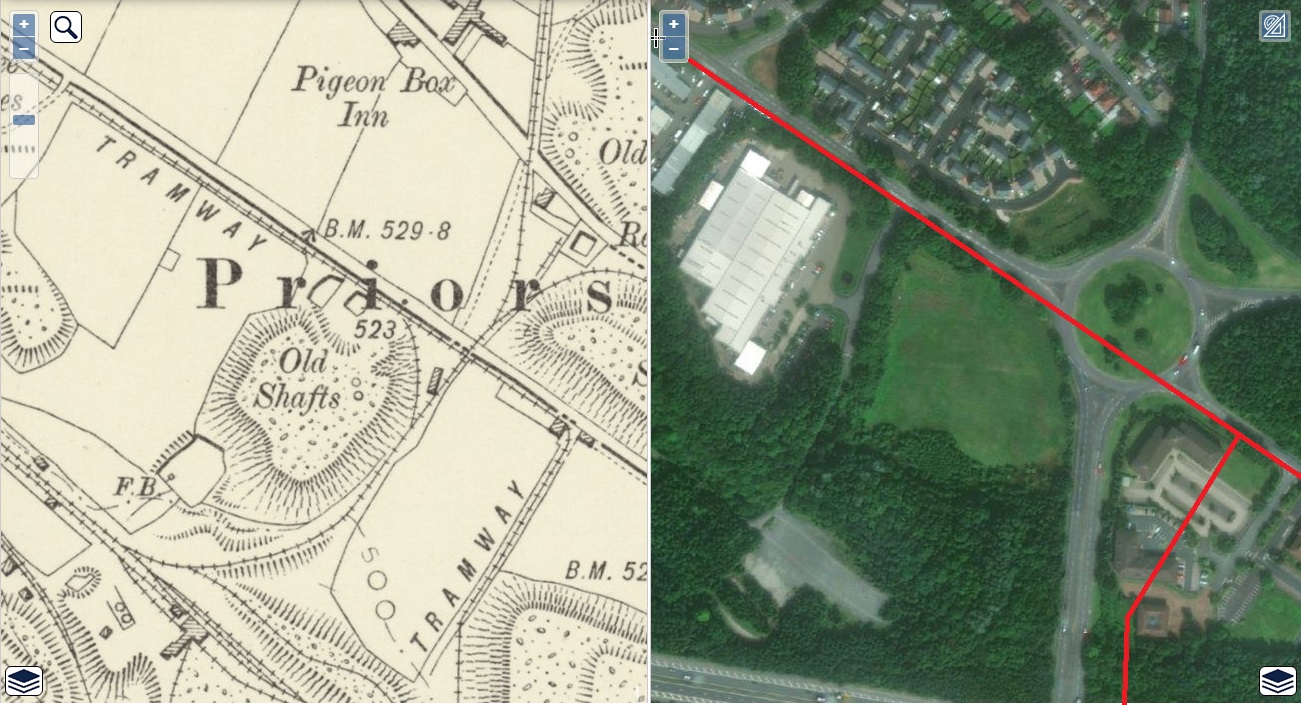
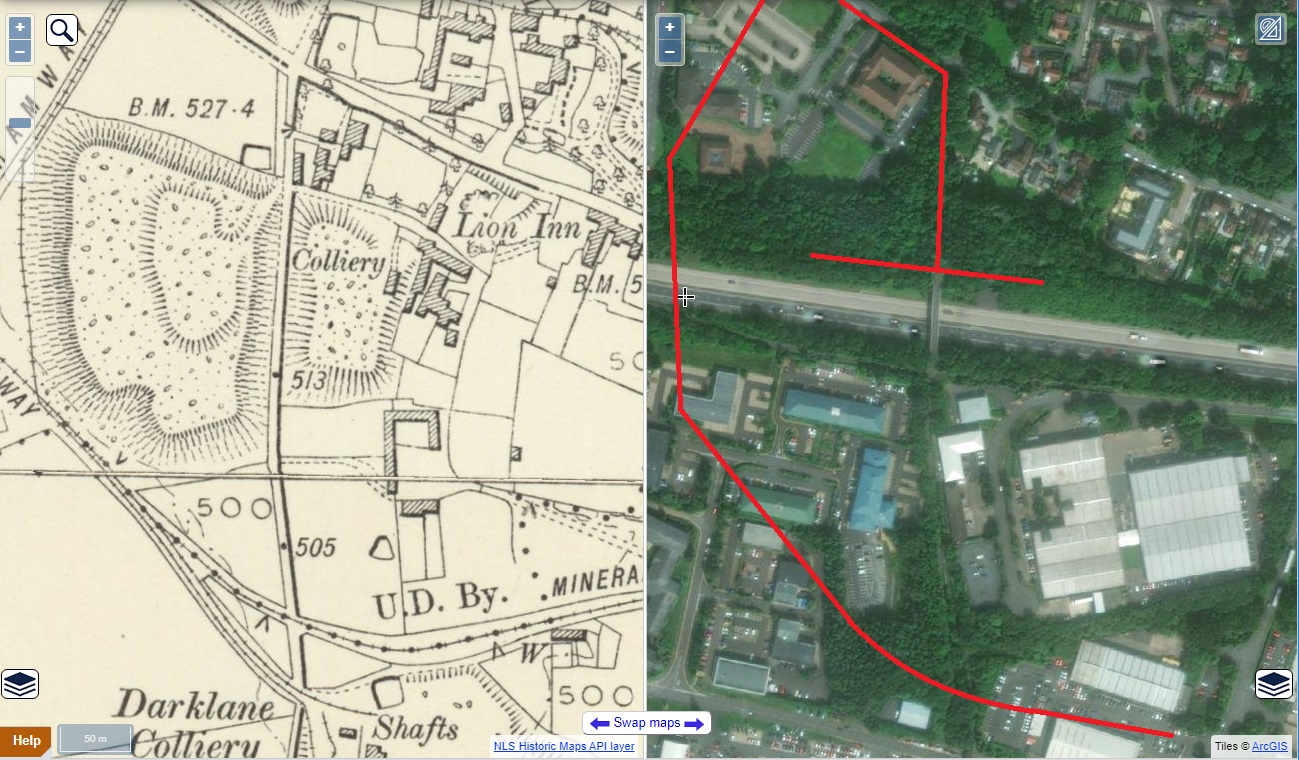
New blast beam engines, manufactured by the Lilleshall Company, were installed in 1862 and the height of the furnaces was increased from 50 to 71 feet at about the same time. Limestone came, via the canal, from the Lilleshall quarries and the coal (coke) and iron stone from the local pits via an extensive system of tramways, some of which, were later converted to standard gauge railways. The 1882 map show this series of transport plateways to transport the materials to the top of the furnace, and remove pig iron the furnace bottom.
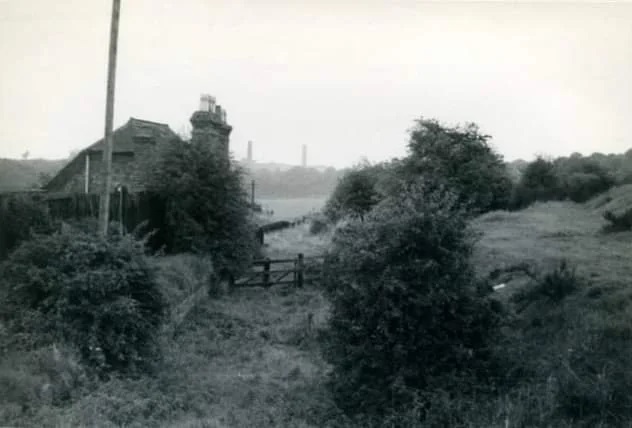
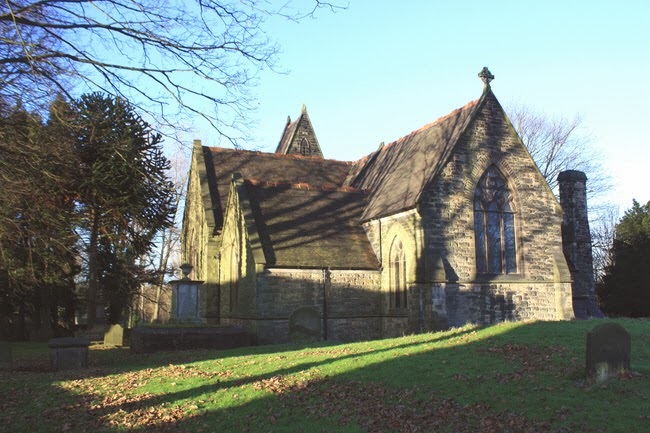
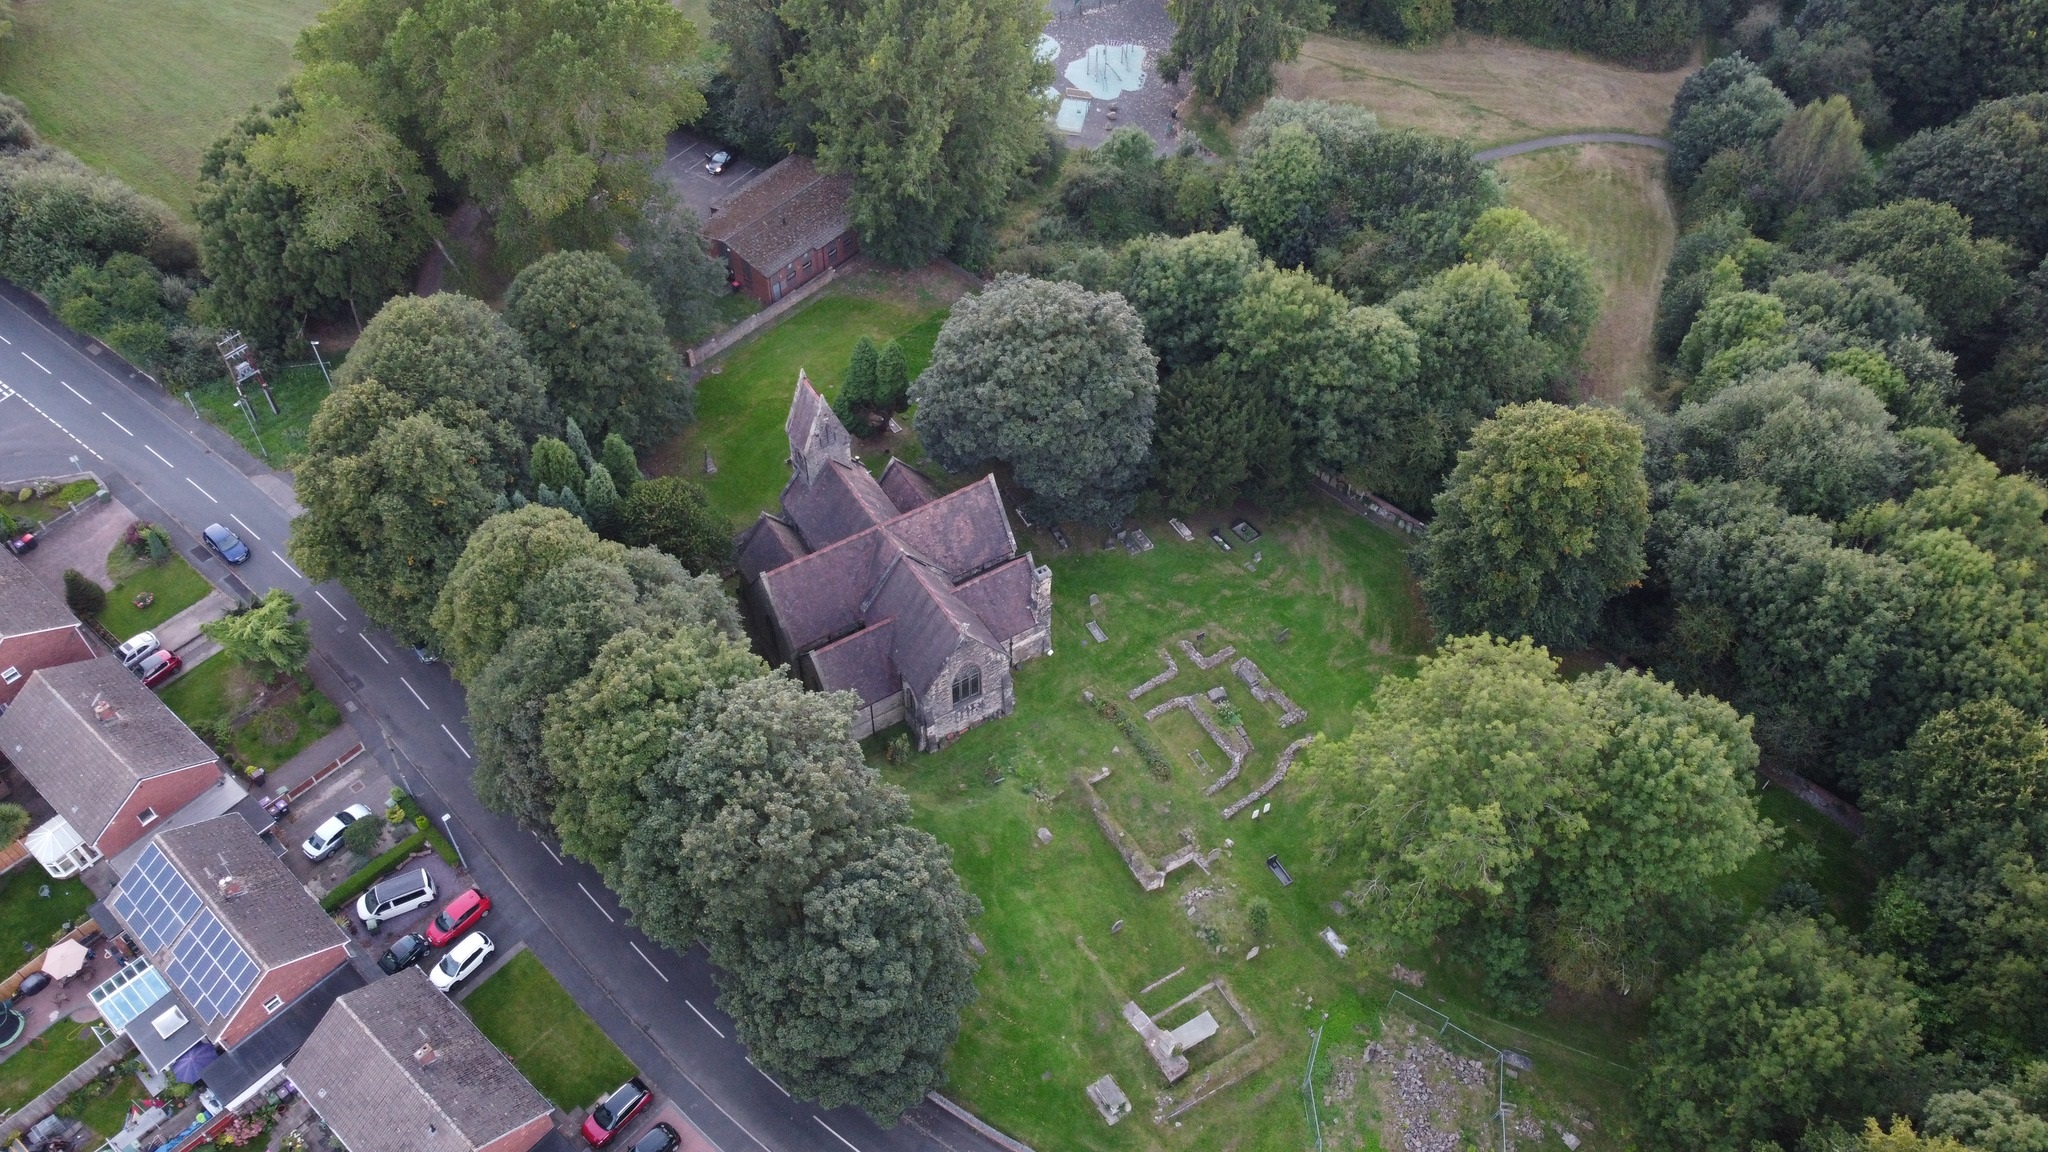
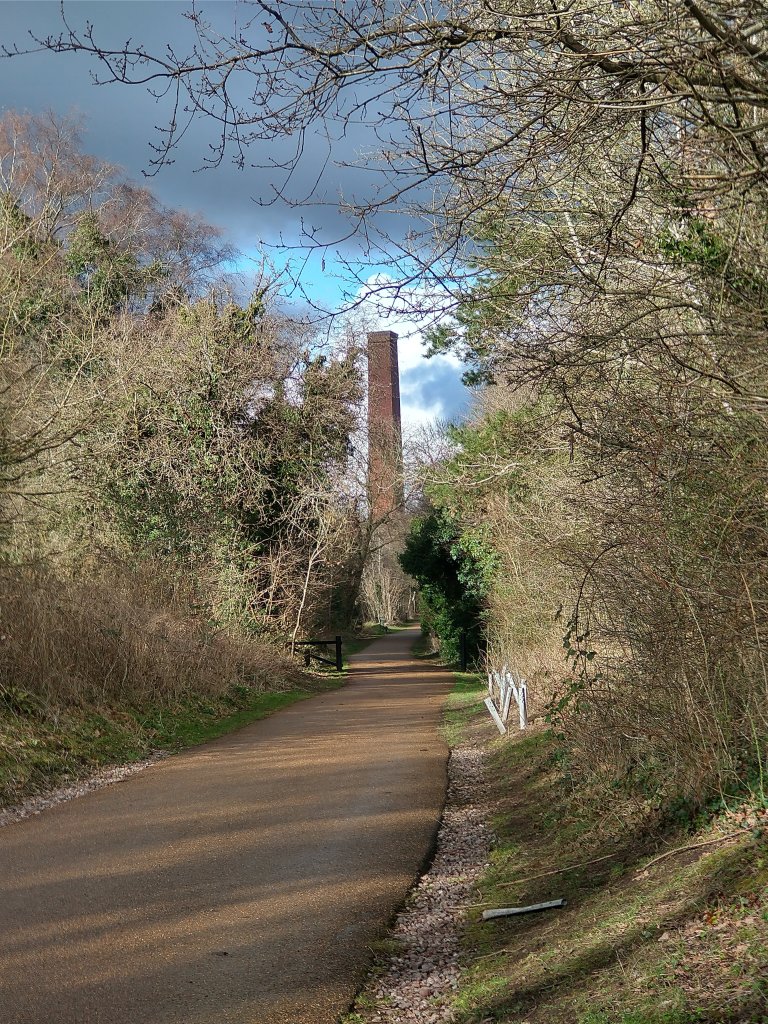
The Old Lodge Furnaces produced cold-blast pig iron of the finest quality, but eventually it could not compete with cheaper iron made elsewhere and in 1888 the last of the Old Lodge furnaces was blown out 1888. The furnaces were demolished in 1905 by Thomas Molineaux Jnr, including a tall chimney 140 feet high by 13 feet diameter, known locally as “The Lodge Stack”. In 1956 the stone was reused for St Mathew’s Church. Thereafter the company concentrated all its iron and steel making at Priorslee. [6]
As we have already noted, the Lilleshall Company was formed in 1802. [7: p21] The world was catching up with the Company by the 1960s and 1970s. The Company’s railways were closed in 1959 and the Company itself was showing some signs of strain in the 1960s. [8] However, in 1979, it still seemed, to those involved with the Company, to be ‘soundly based’, “aware and proud of its distinguished past; … living and prospering in the present; … planning with confidence for the future.” [7: p118]
The closure of the Lilleshall Company in Shropshire occurred in the 1980s. The company still exists at a much smaller scale today in Newbury, manufacturing plastic building components. [9]
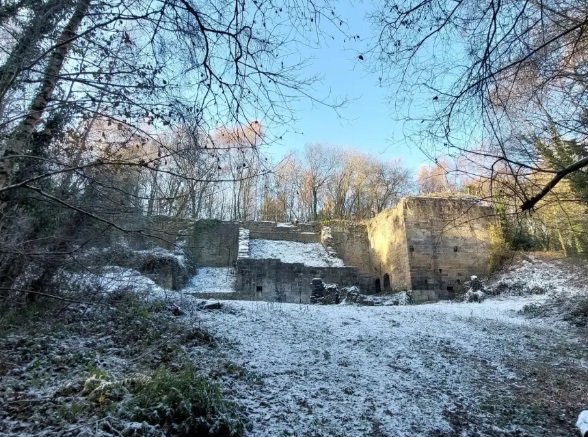
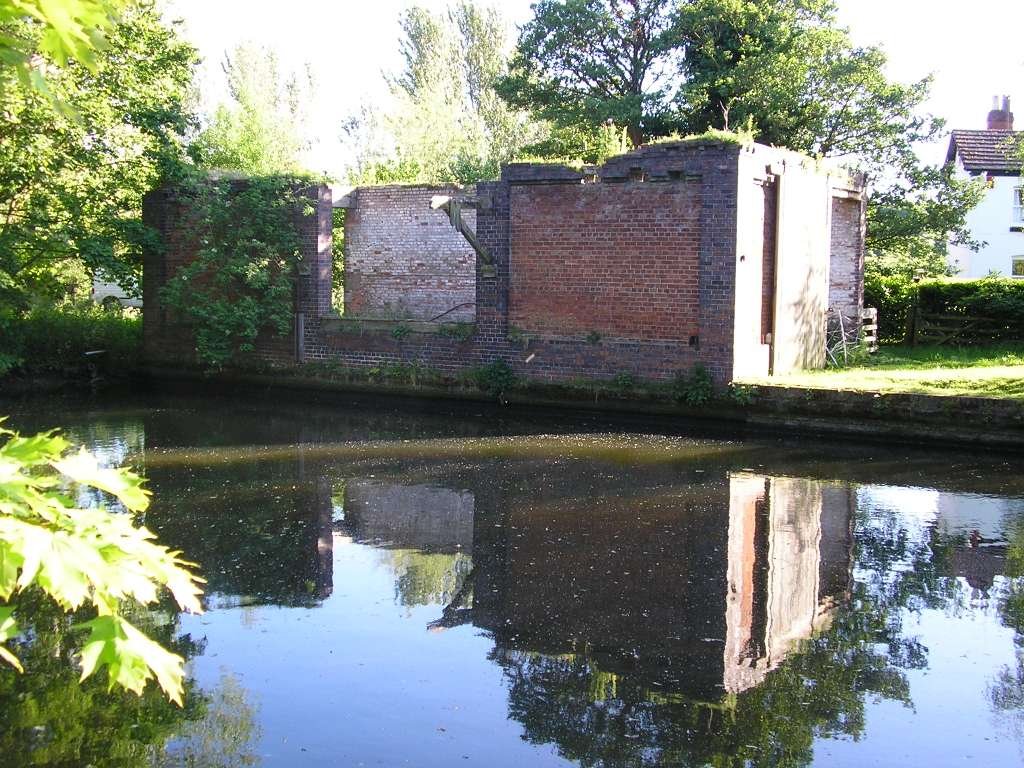
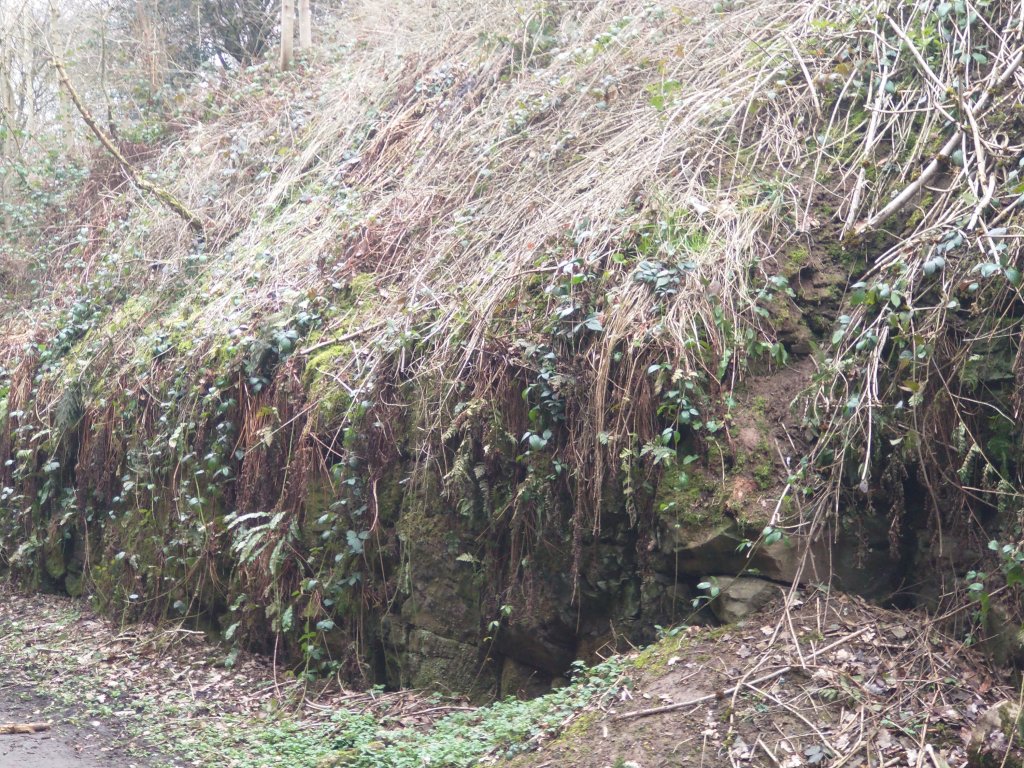
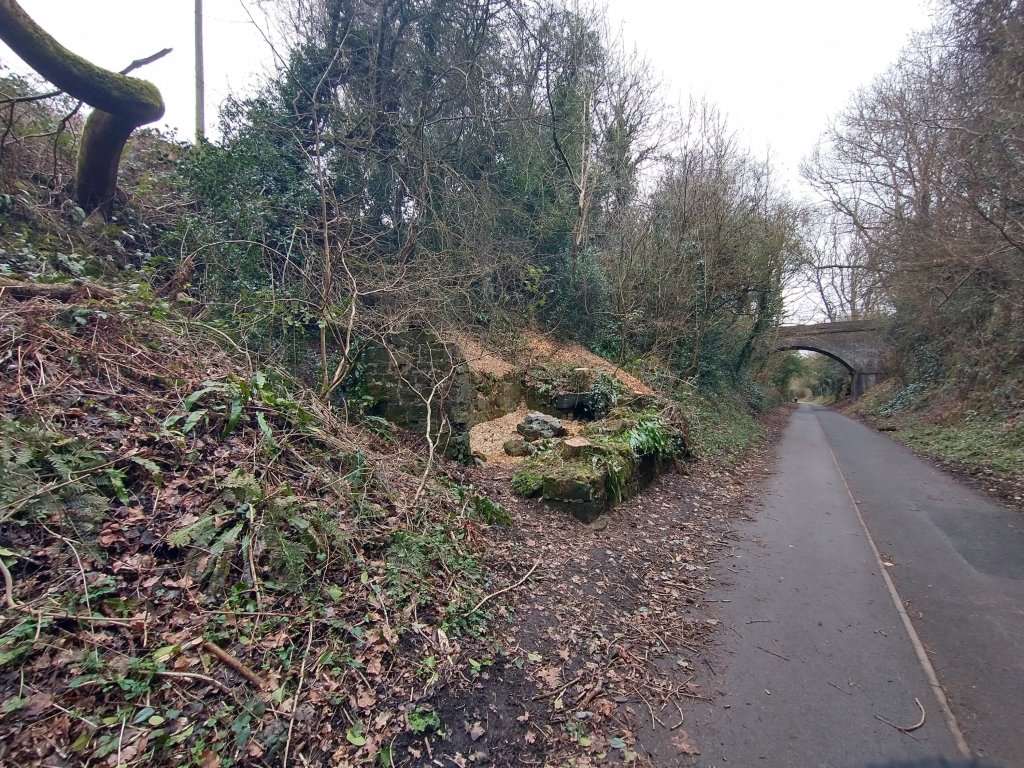
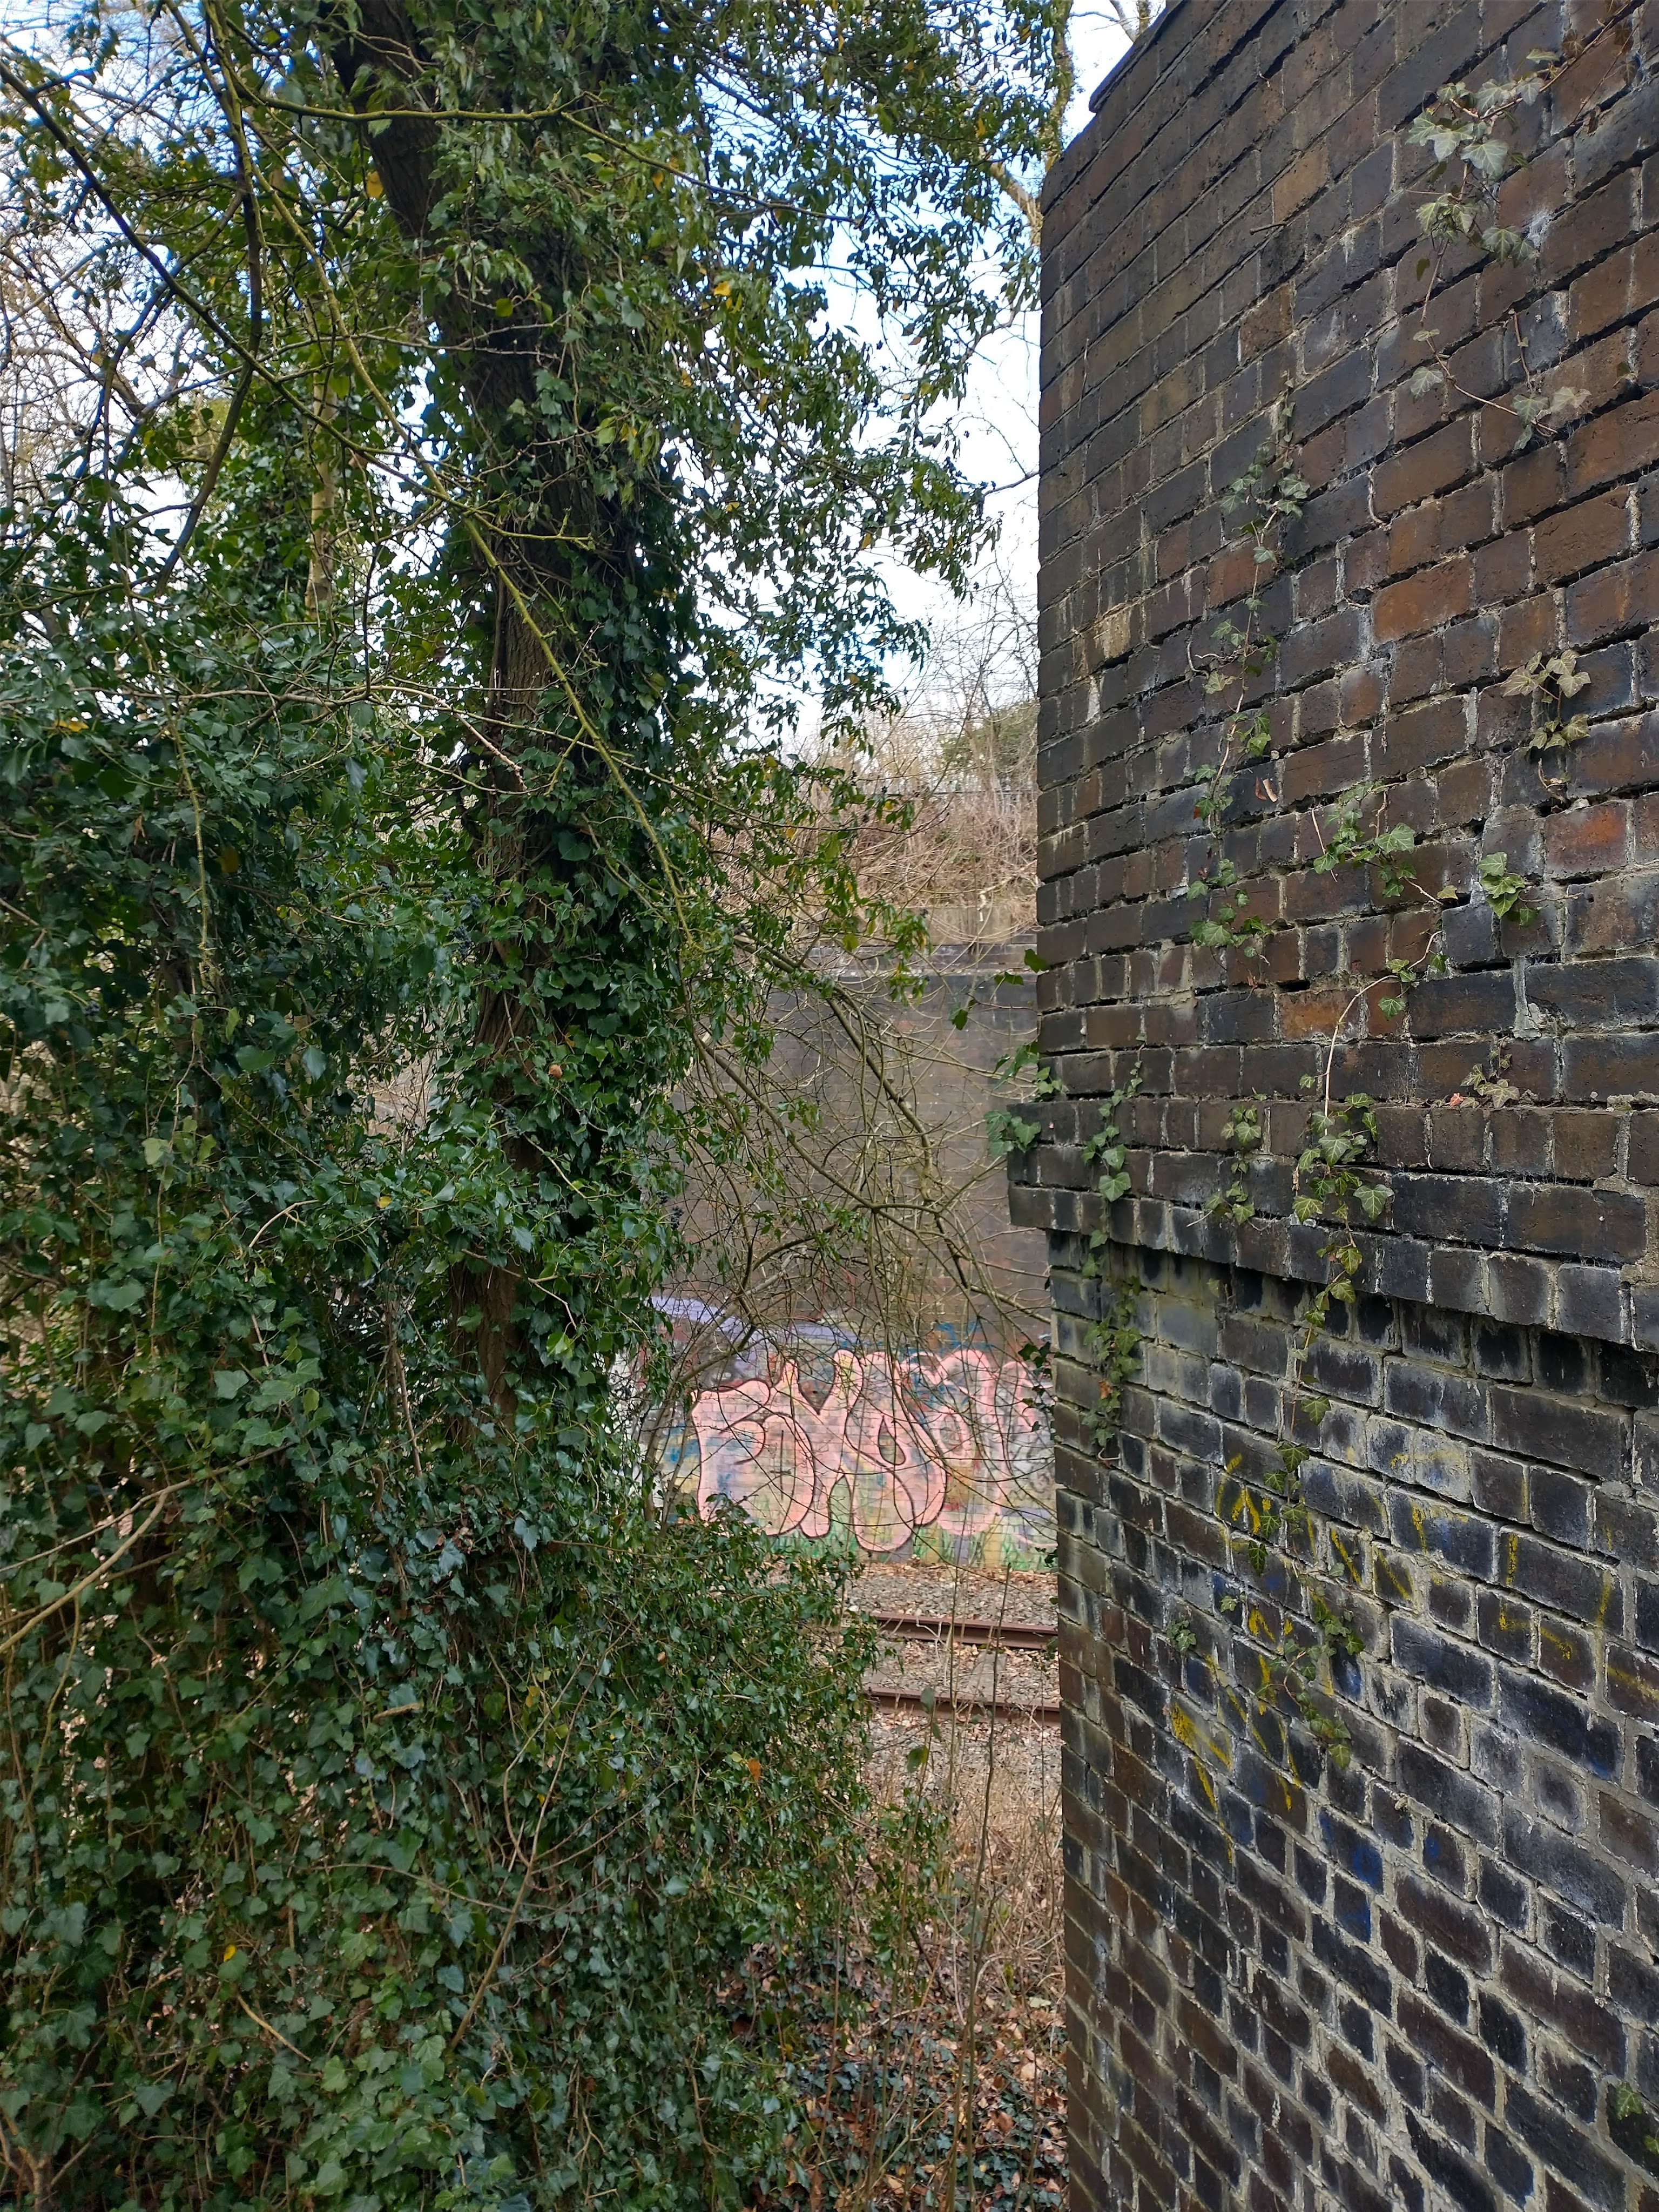
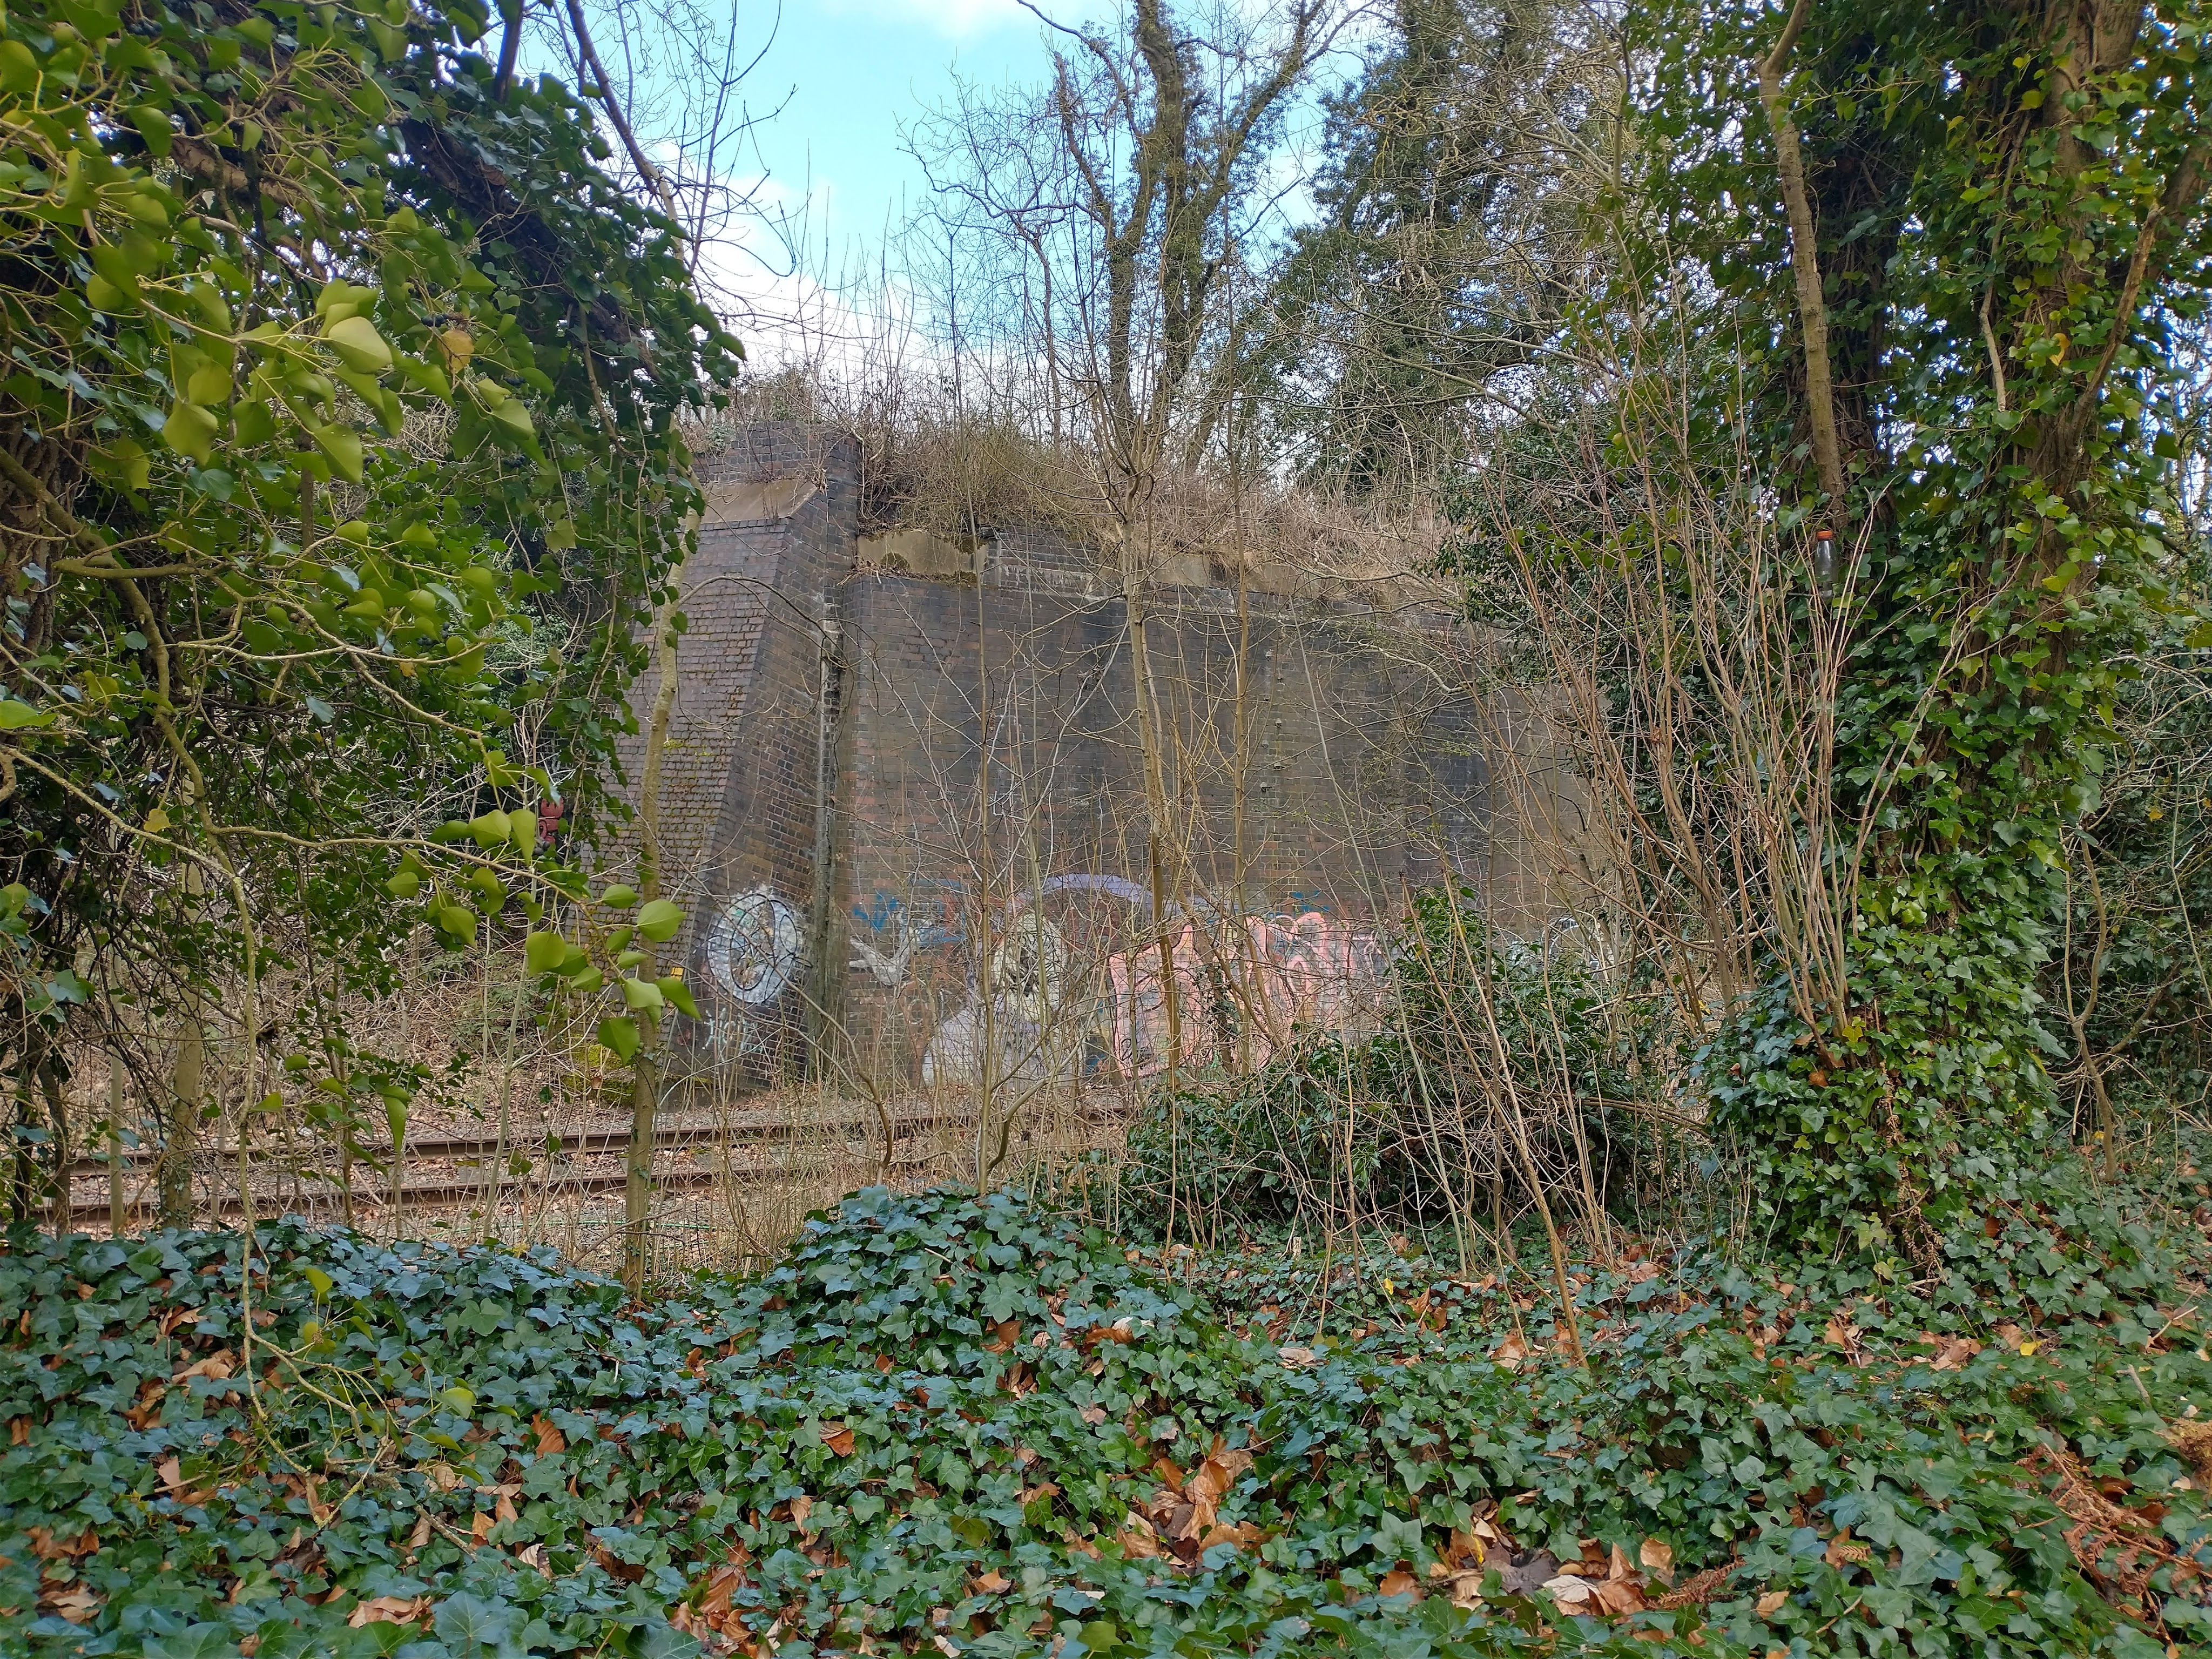
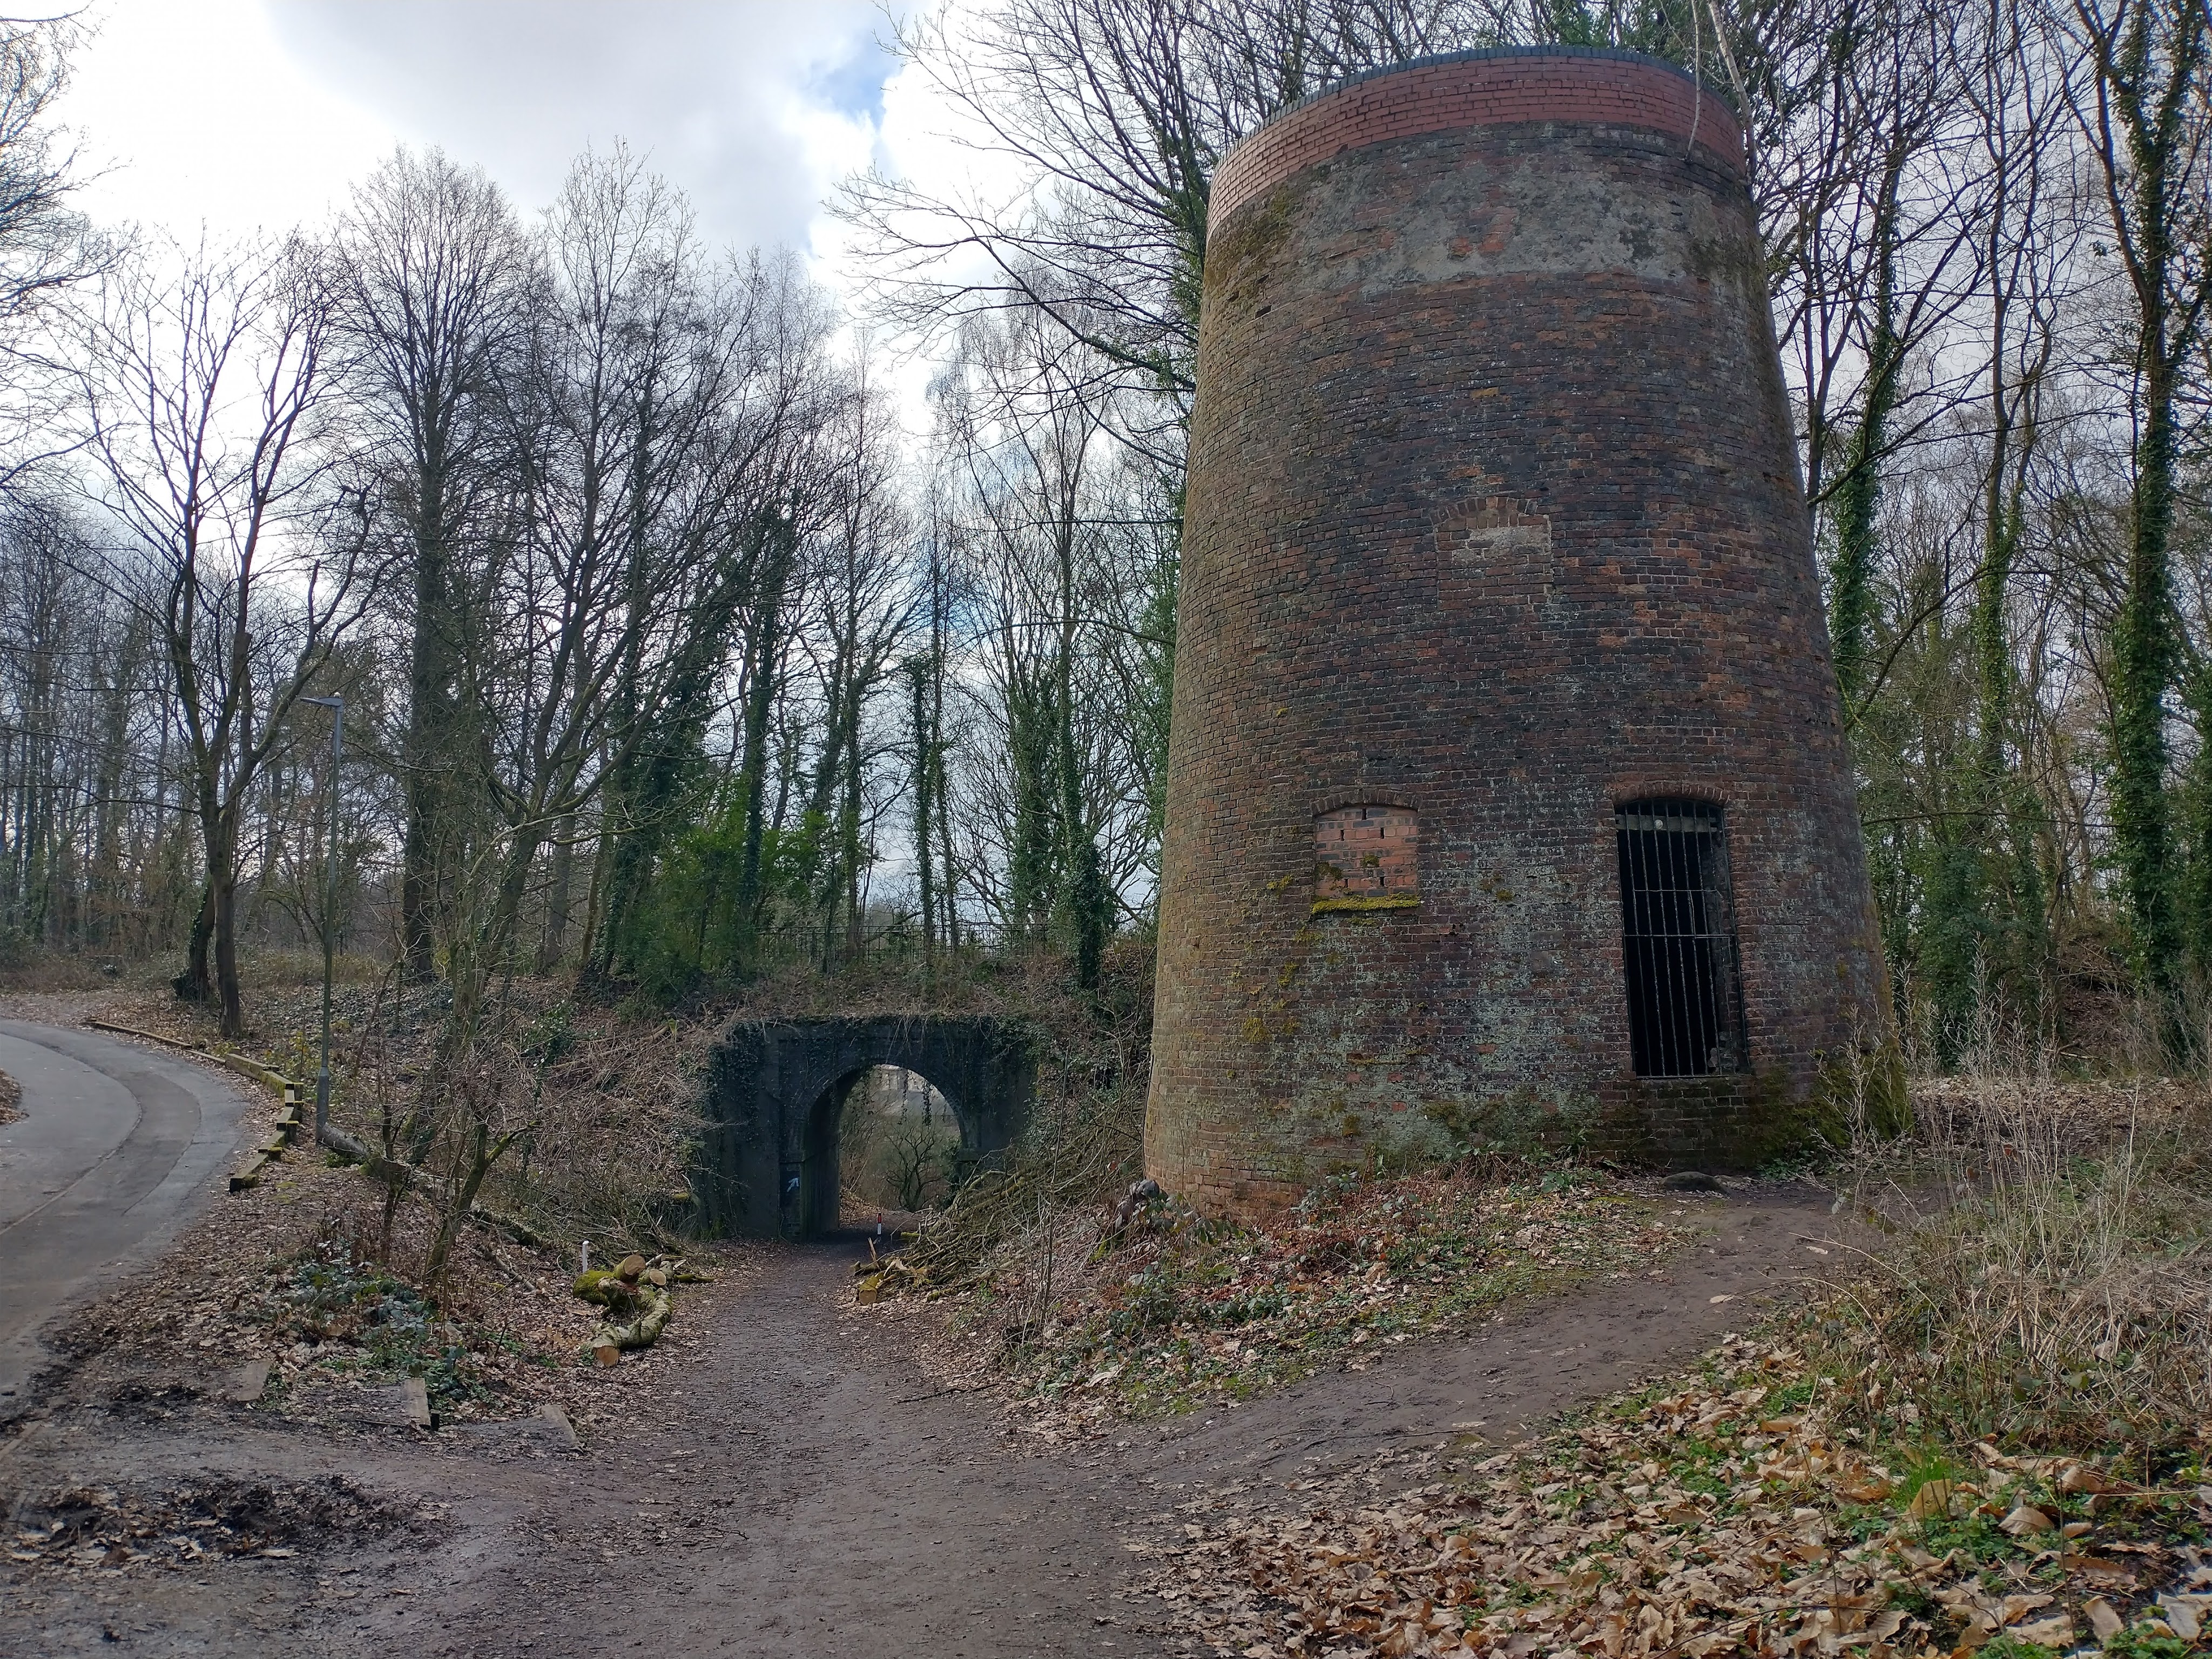
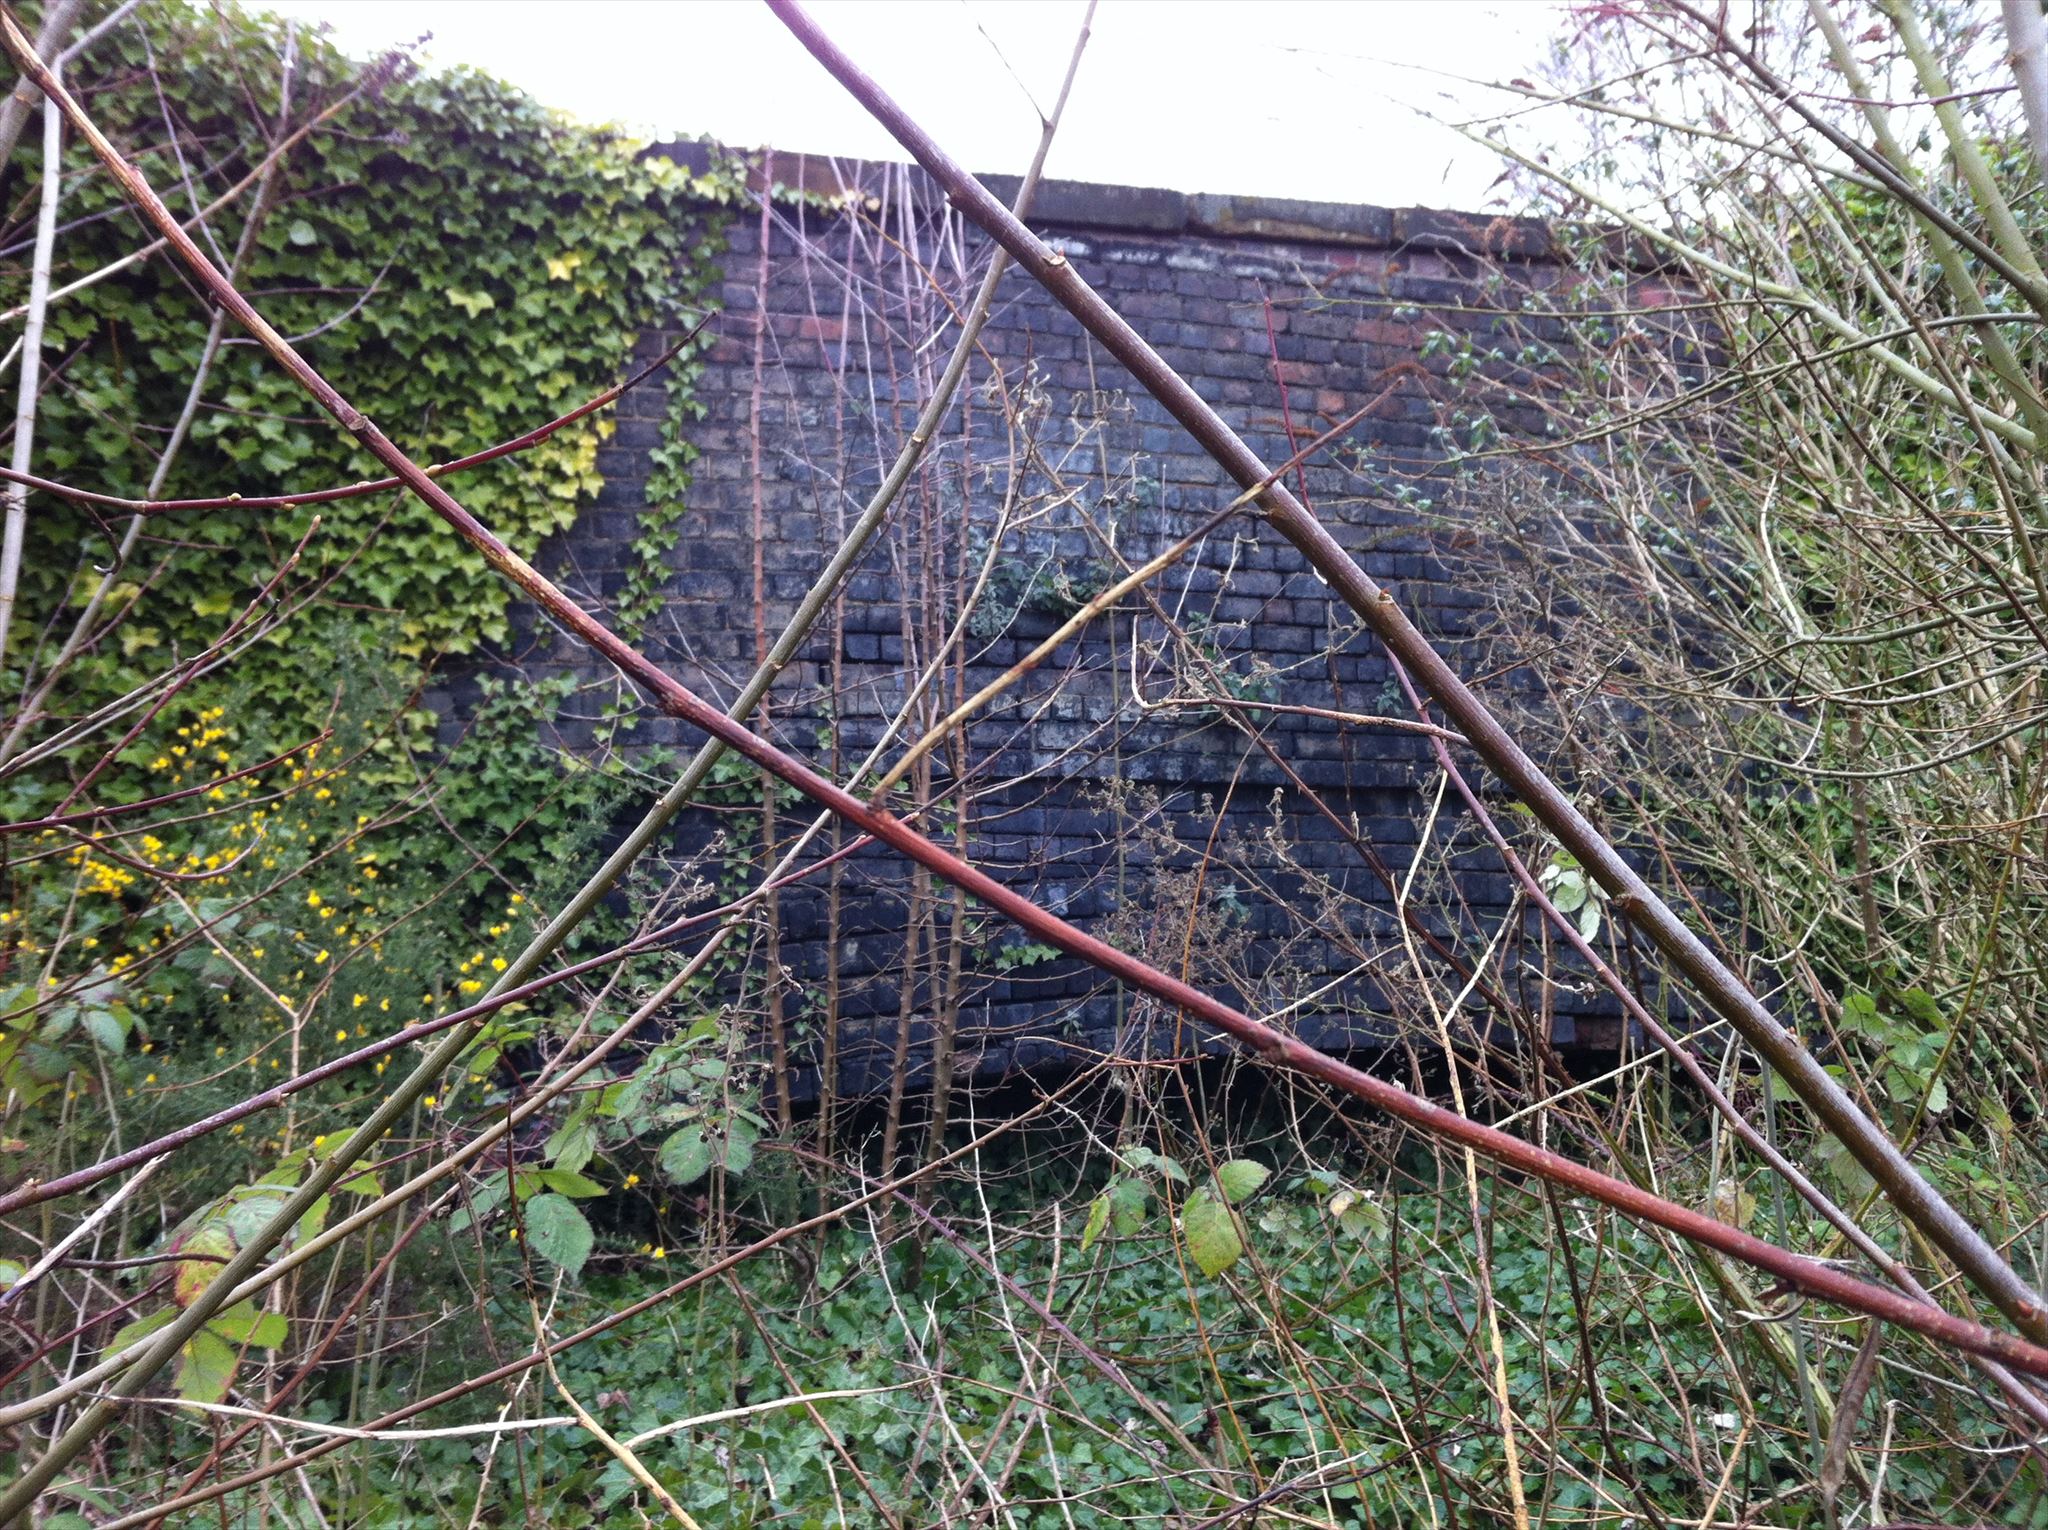
The Friends of Granville Country Park continue: “All that remains of the furnace after extensive dismantling and site restoration involving raising of the ground levels are parts of the brickwork of the first three furnaces. … The high walls behind the furnaces are the remains of the furnace loading ramps. On the right of the ramp walls hidden in the trees is a retaining wall in front which was the blowing house. Behind the loading ramps were calcining kilns which were added in 1870 to improve the quality of the iron ore.” [6]
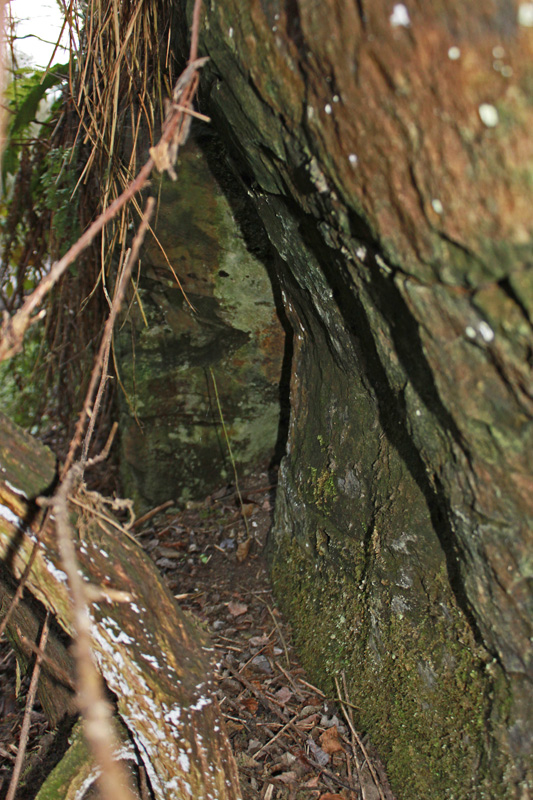
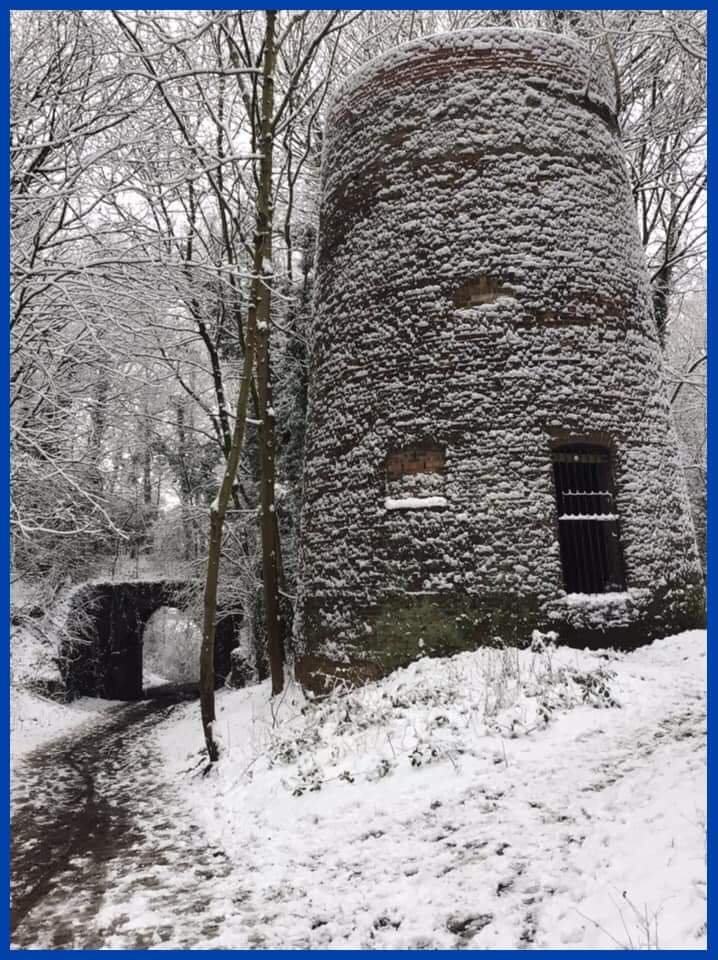
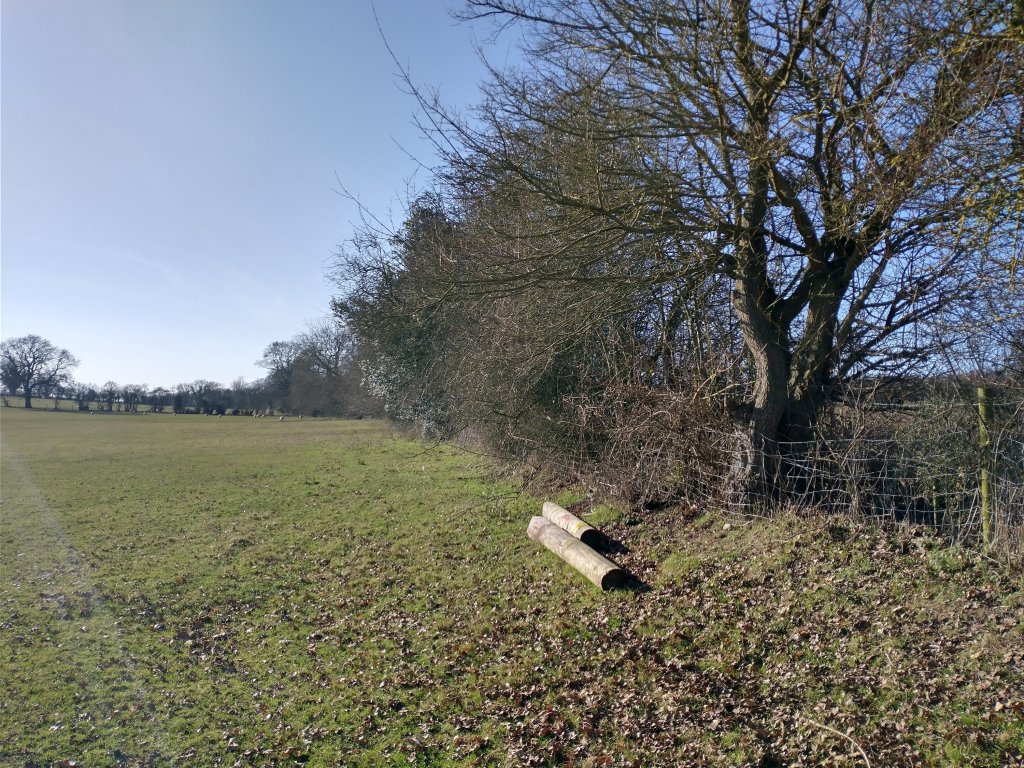
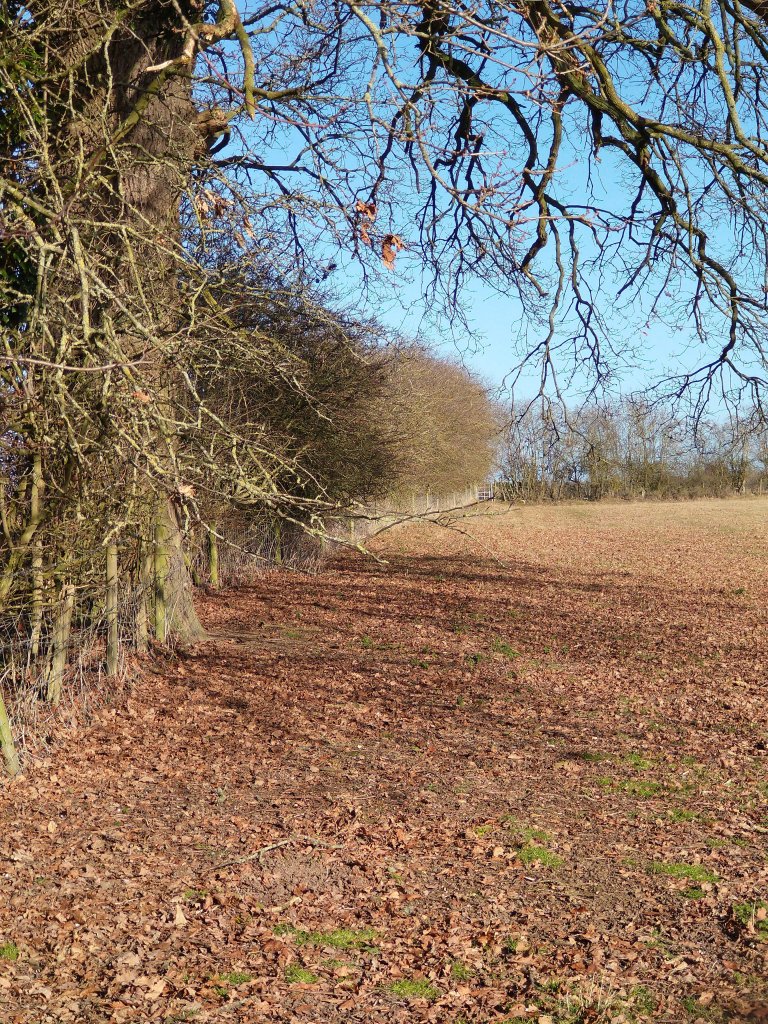
Dr. Mike Nevill now works with the Ironbridge Gorge Museum Trust, he also writes a blog about Industrial Archaeology. One of his relatively recent articles is entitled ‘Seasonal Archaeology: the Old Lodge Ironworks in the Snow‘ [16] and, in it, he highlights the remains of the Old Lodge Furnaces. They are a superb example of the way in which old industrial sites can become considerably more visible when the leaves are not on the trees. He writes:
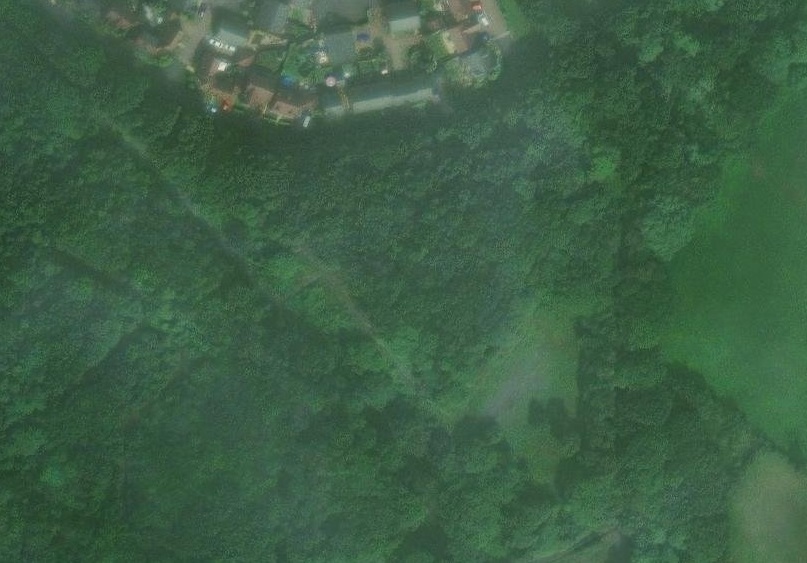
“The large stone and brick ruins, in place 10m high, were the remains of the Old Lodge Furnaces on the north-eastern outskirts of modern Telford in Shropshire. These furnaces were built by the Lilleshall Company in 1825-8 and form part of a wider 18th and 19th century industrial landscape encompassing two collieries and accessed via a late 18th century canal. The complex now sits within Granville Country Park and is managed by the Shropshire Wildlife Trust. The park itself was designed as one of the green open spaces for the new town of Telford in the mid- to late 20th century. Now, this industrial landscape has reverted to semi-natural woodland and parkland, the industrial archaeology of the area appearing suddenly out of the overgrowth.” [16]
Nevill wrote this article on 19th December 2022. He goes on to say:
“In the 21st century, the circular brick bases of three of the five furnaces run in front of the high stone walls, this stone terracing, which formed the furnace loading ramps, framing these features. Standing within the ruins of a once hot and noisy furnace complex on one of the coldest mornings of the year had a certain irony. Instead of the sound of men working the furnaces and tapping the pig iron, sweating in the heat, there was only the chirp of robins defending their woodland territory and the crunch of frozen snow under foot.” [16]
Granville Colliery
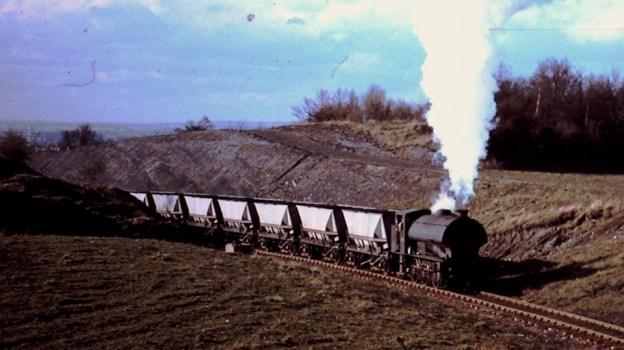
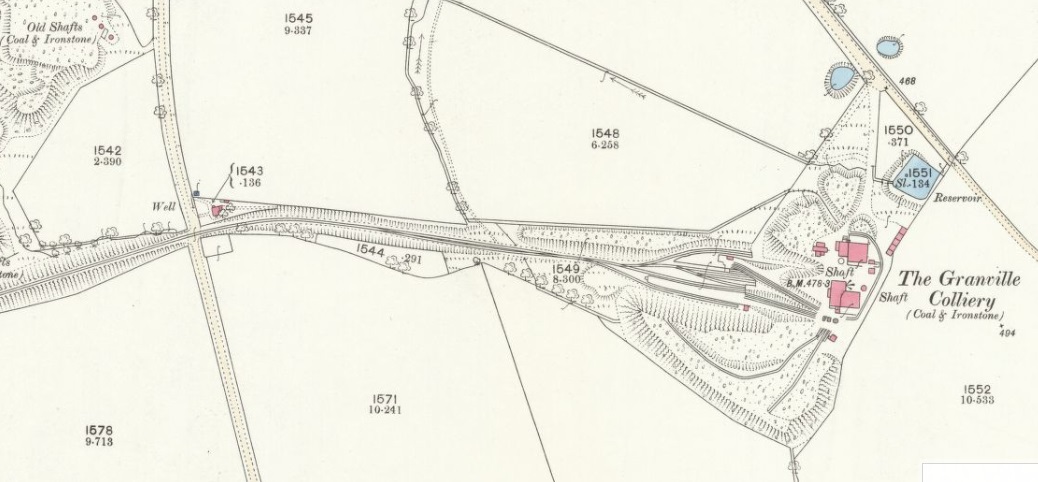
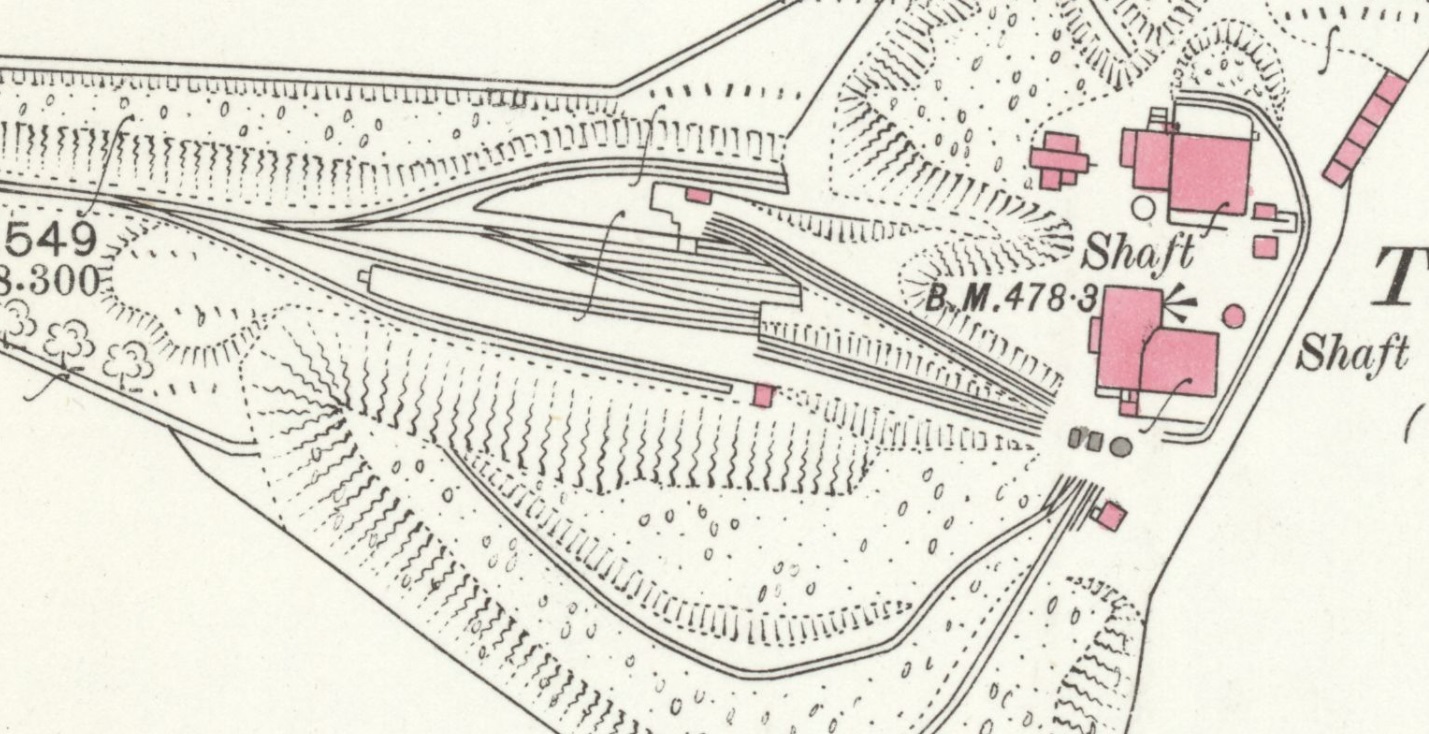
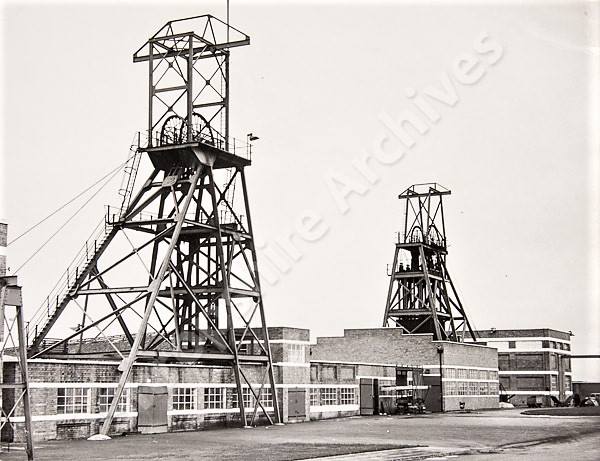
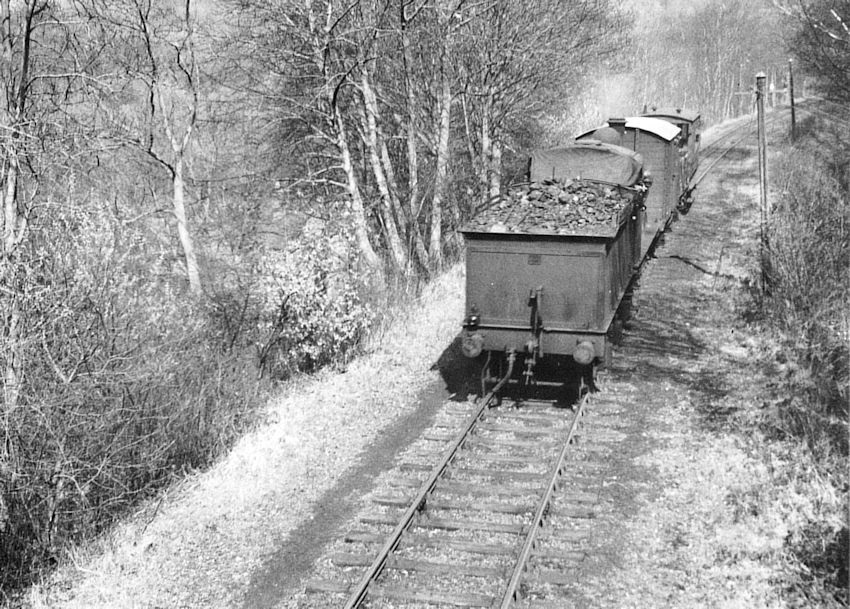
Yate tells us that the sinking of the main shaft started in 1860, to a depth of 409 yards. By 1950, this had reached 444 yards. It was linked to Grange Colliery underground in 1952 and finally closed in 1979. He continues: “The most prolific of the collieries, [Granville Colliery] supplied the LNWR, GWR and Cambrian Railways with locomotive coal, and latterly also to Ironbridge ‘B’ Power Station. In 1896, there were 177 underground and 67 surface workers. Later the pit had a fairly consistent workforce of around 300 men, but after the closure of the nearby Kemberton colliery in 1967, this grew to 900 men, but shrank again to around 600 in the early 1970s. Meanwhile, the annual output had grown from around 300-350,000 tons to 600,000 tons in the late 1960s.” [2: p16]


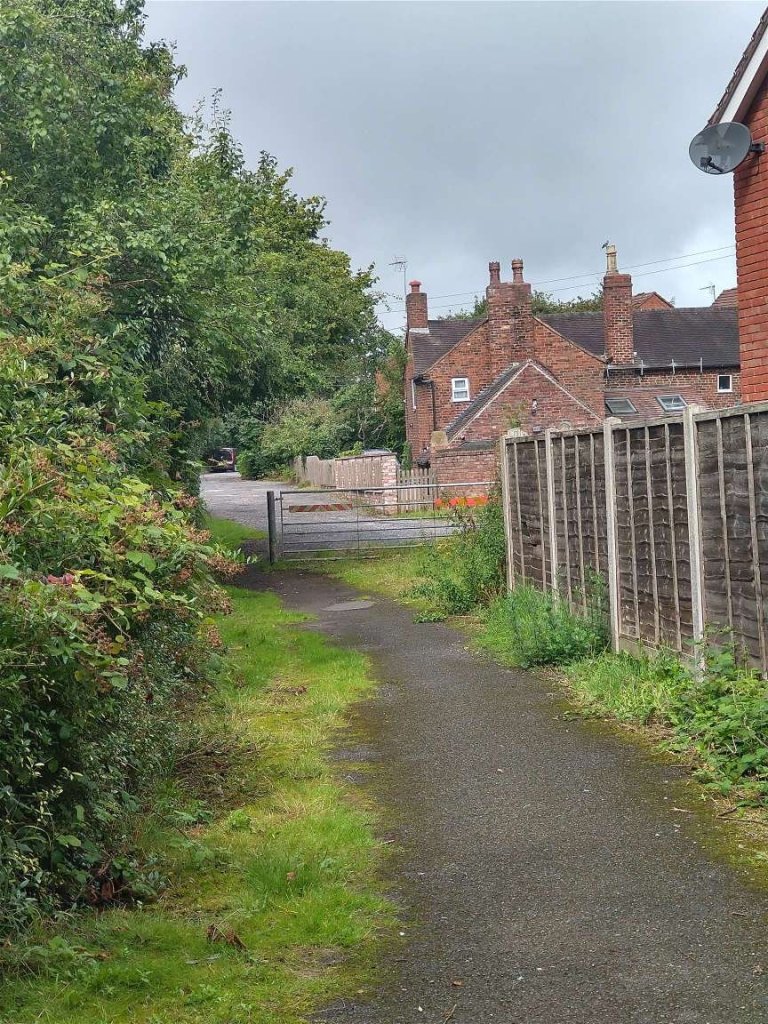
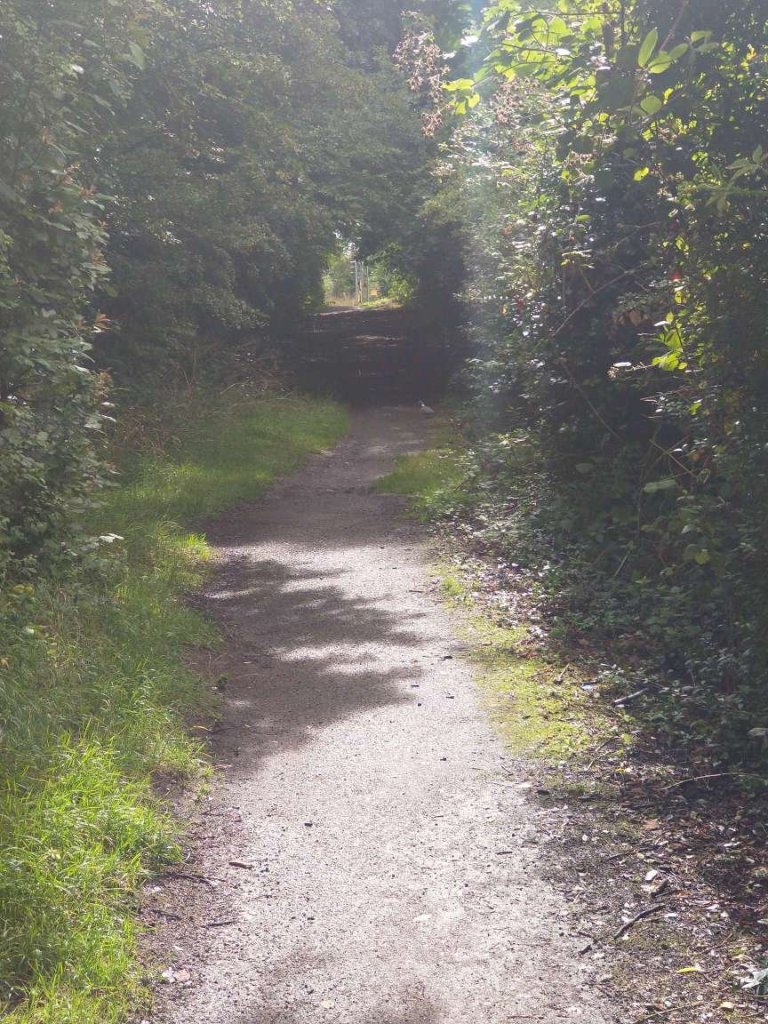
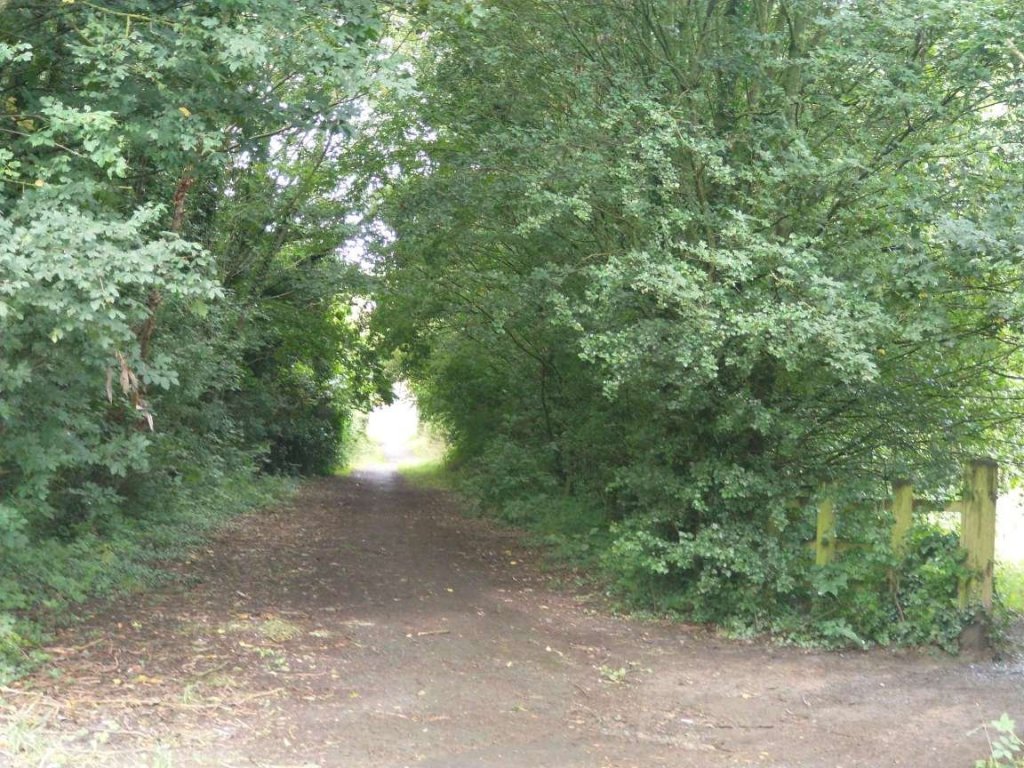
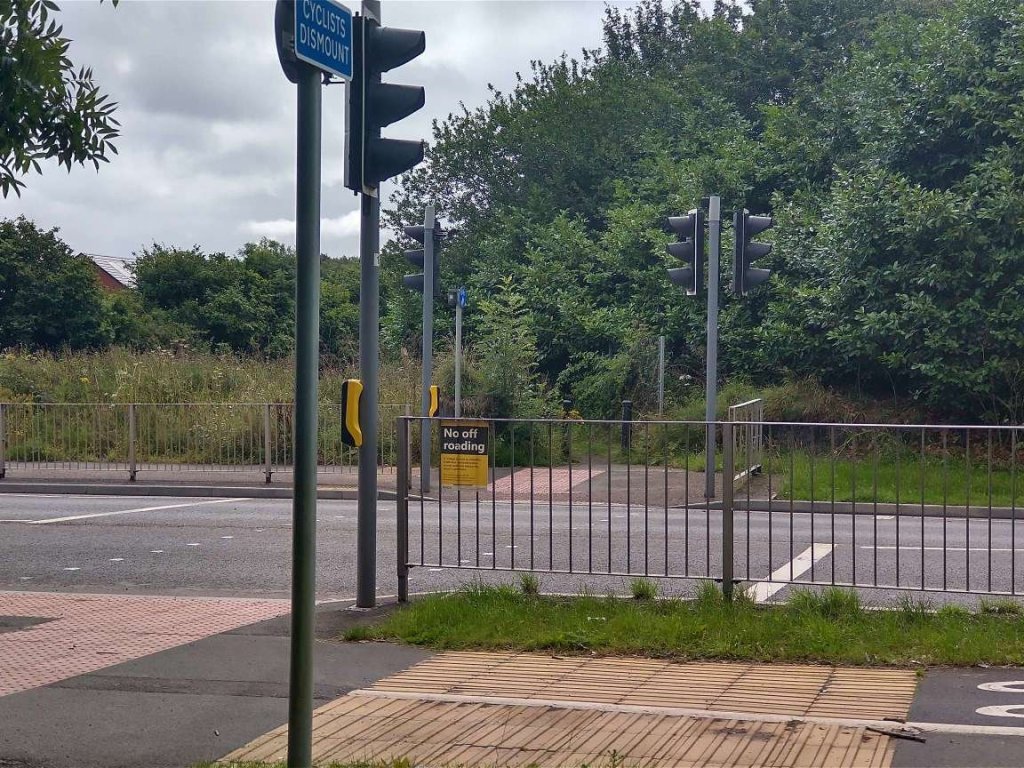
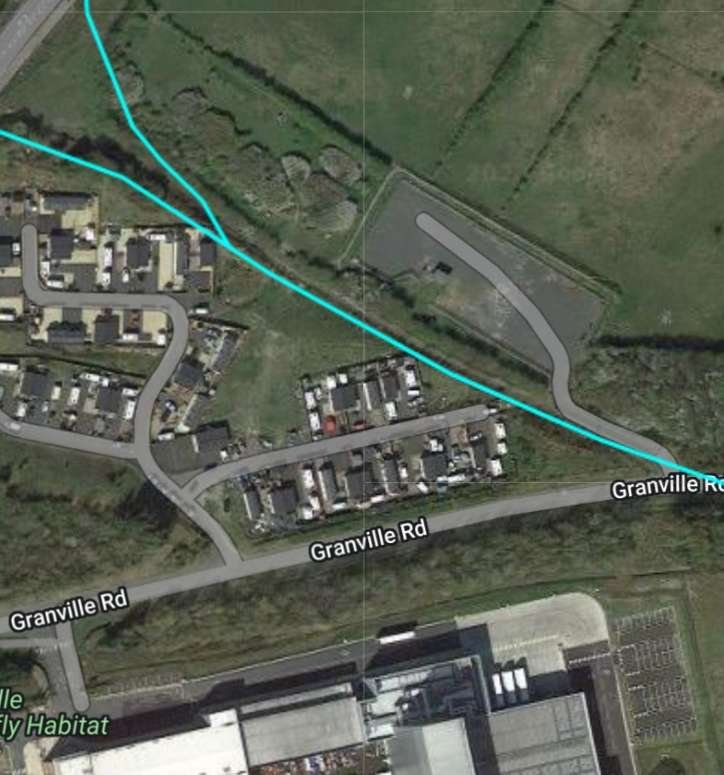
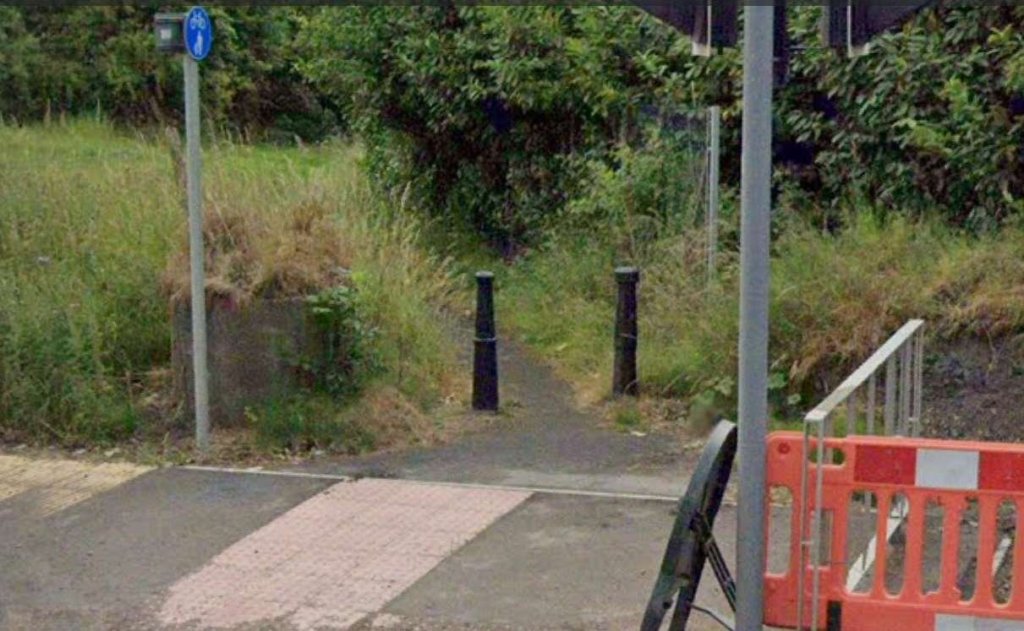
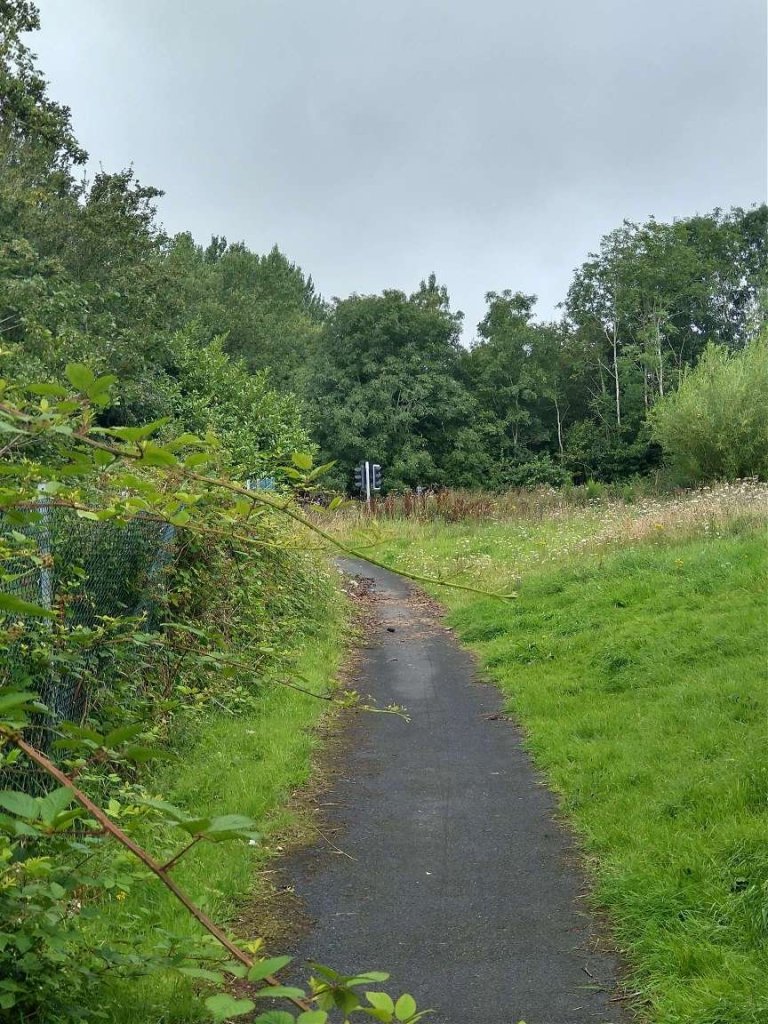
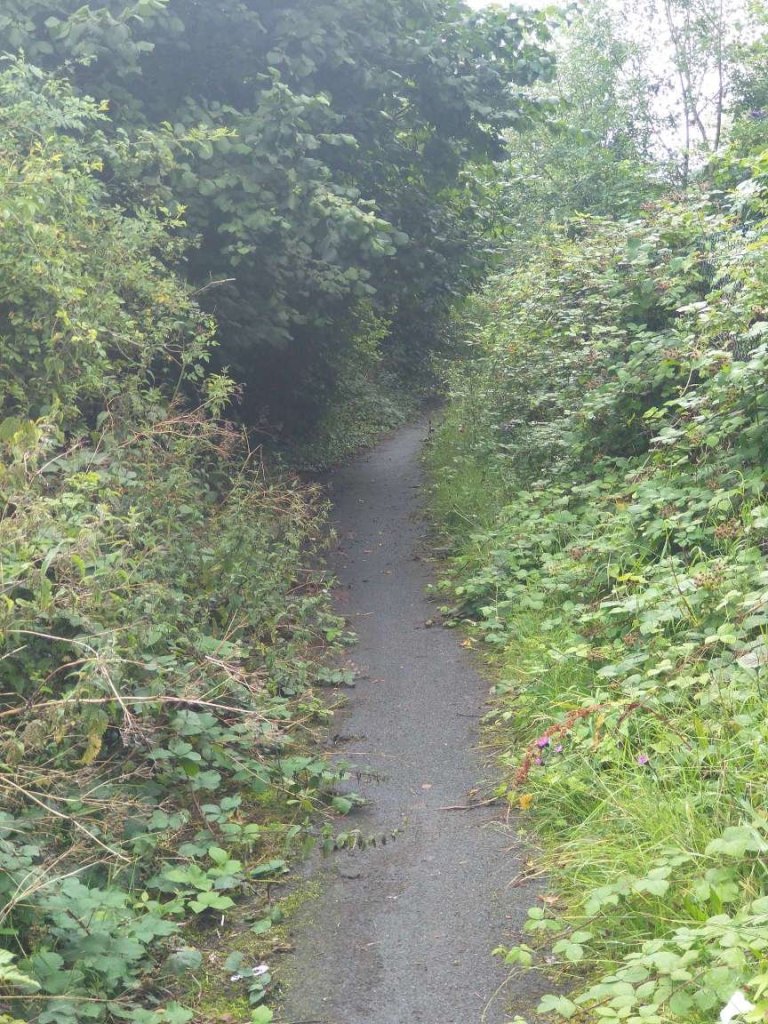
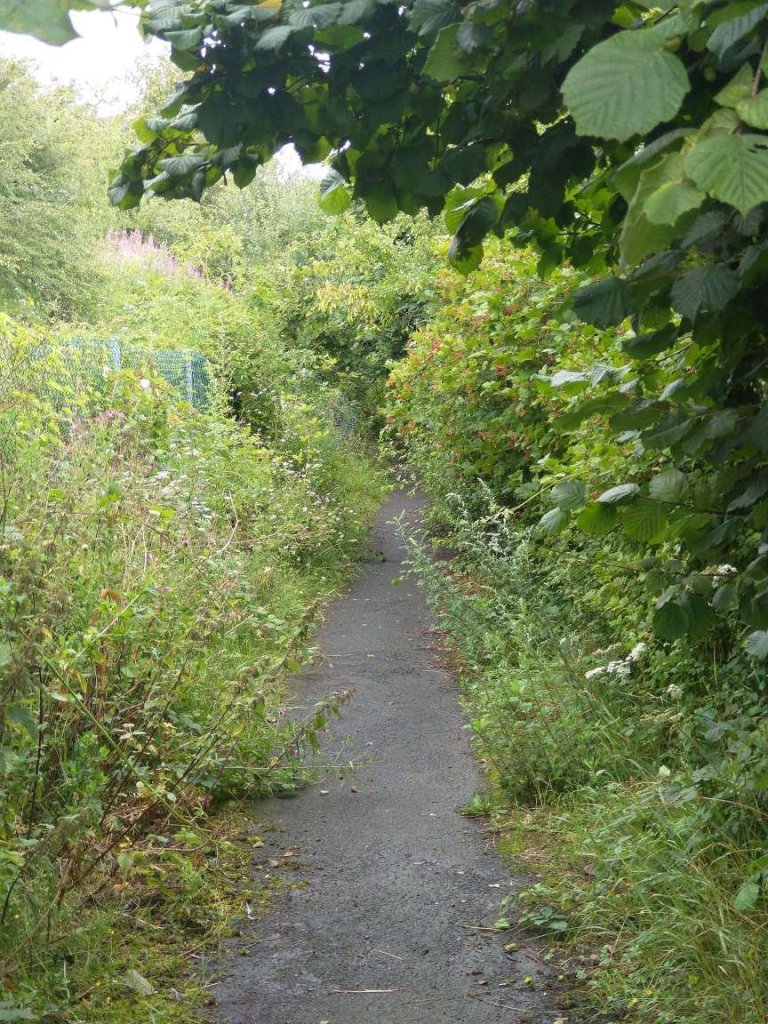
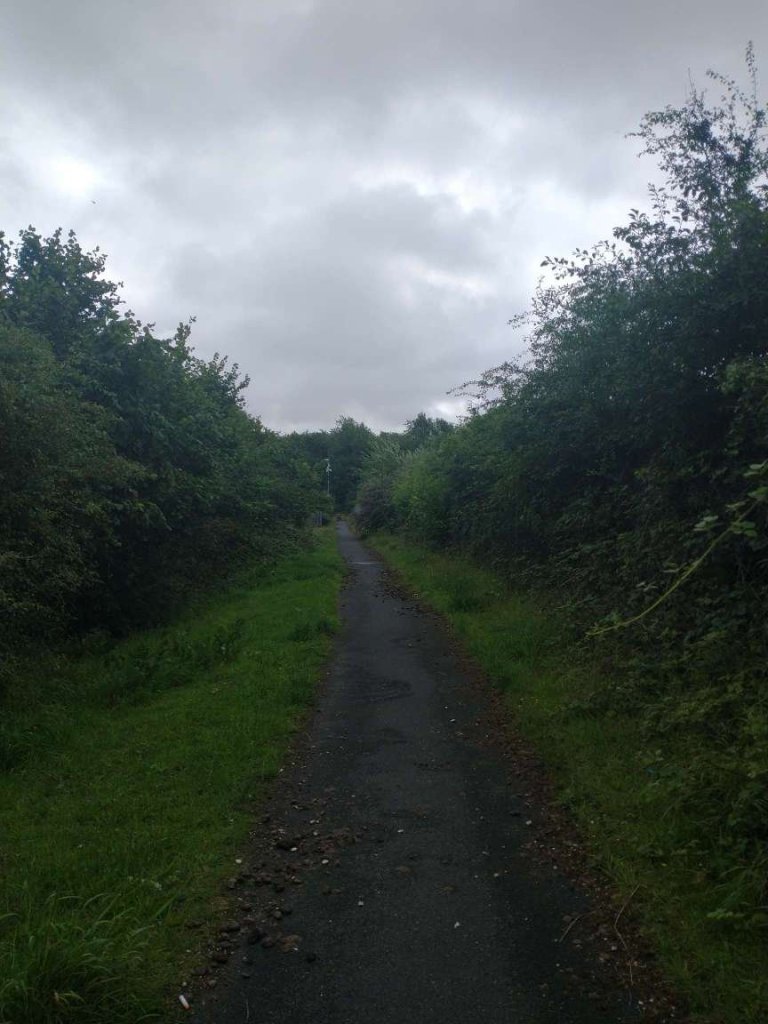
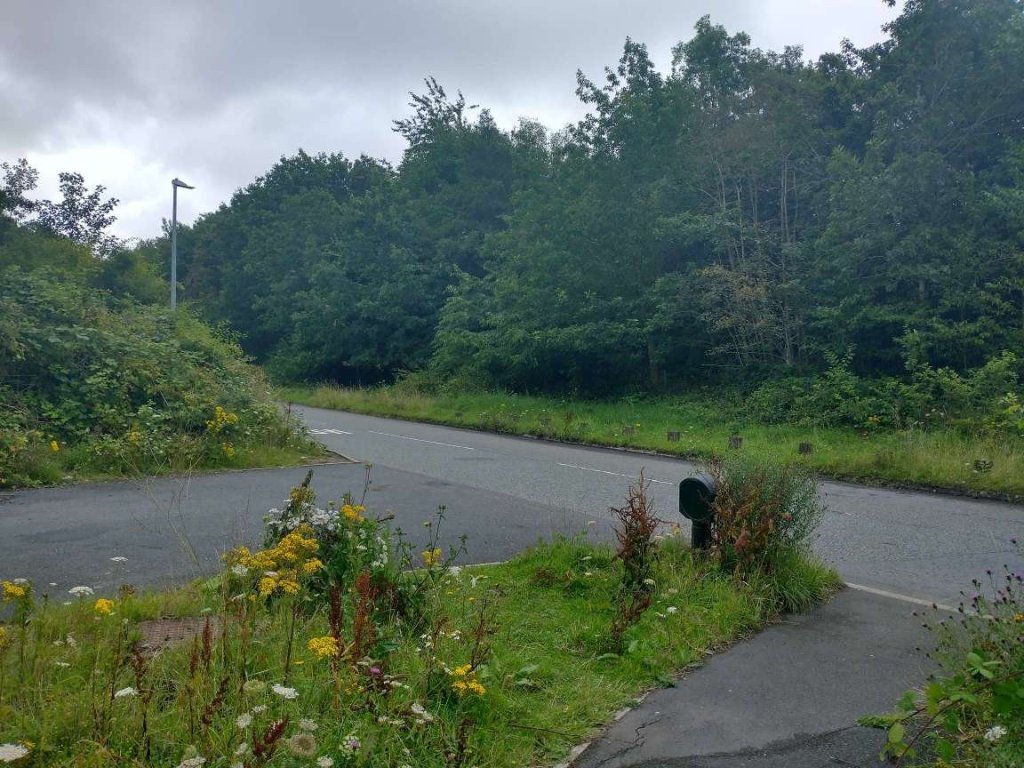
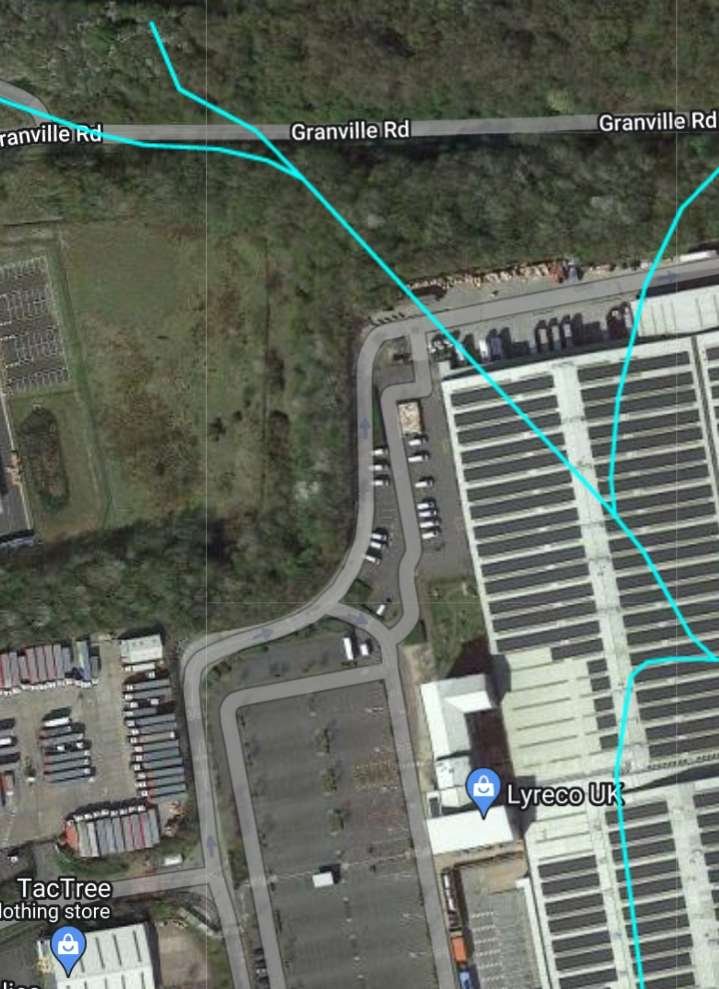
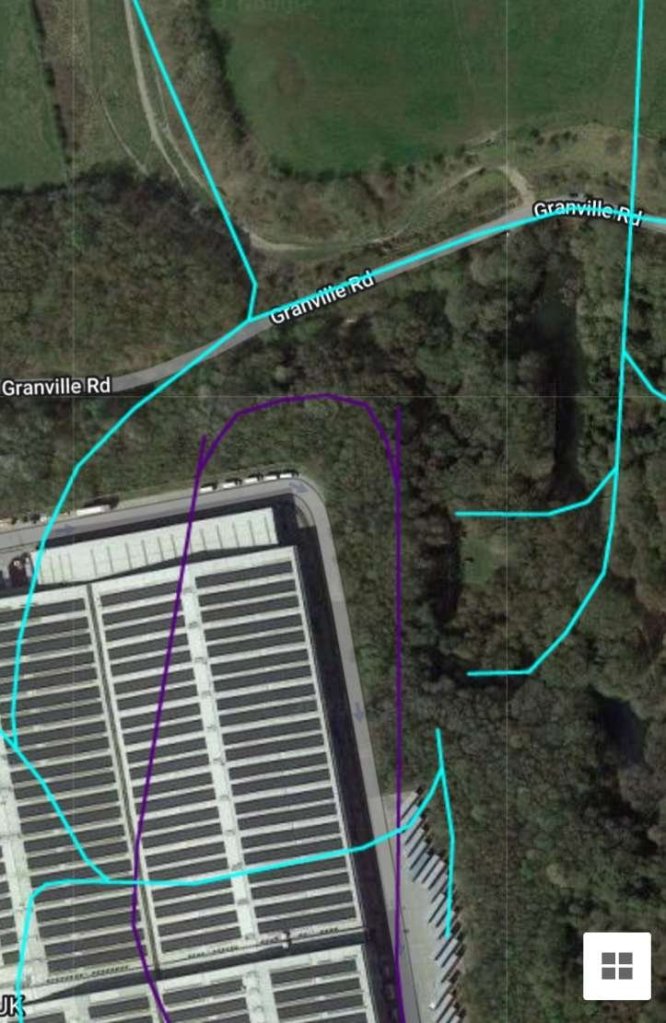
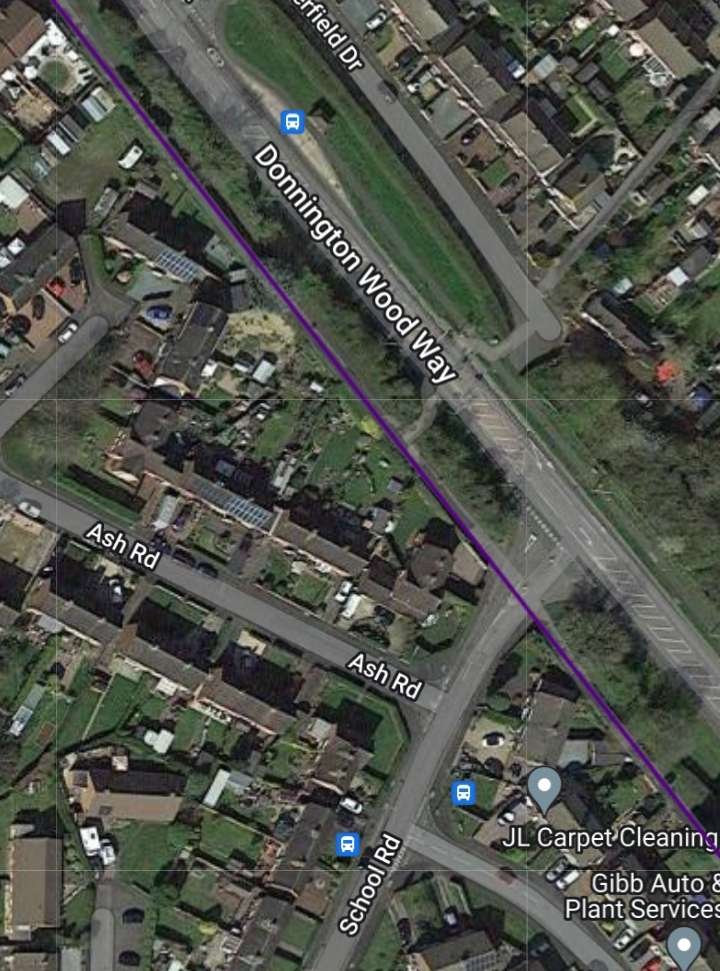
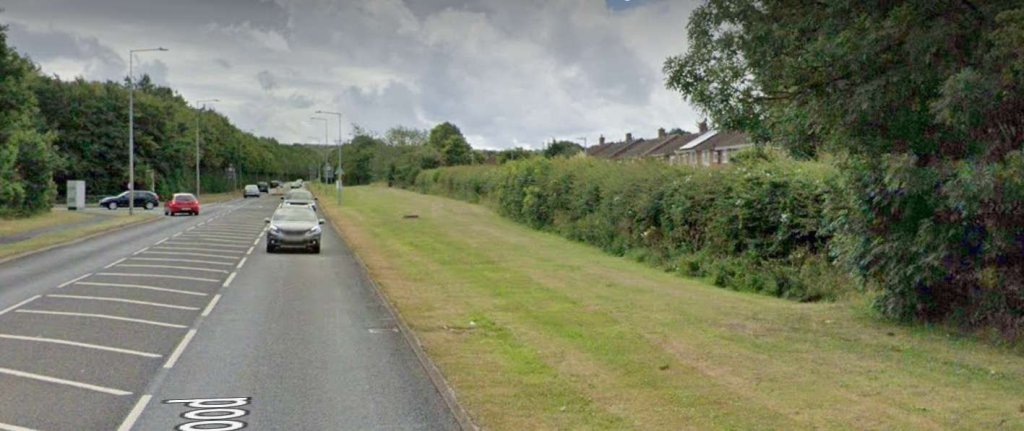
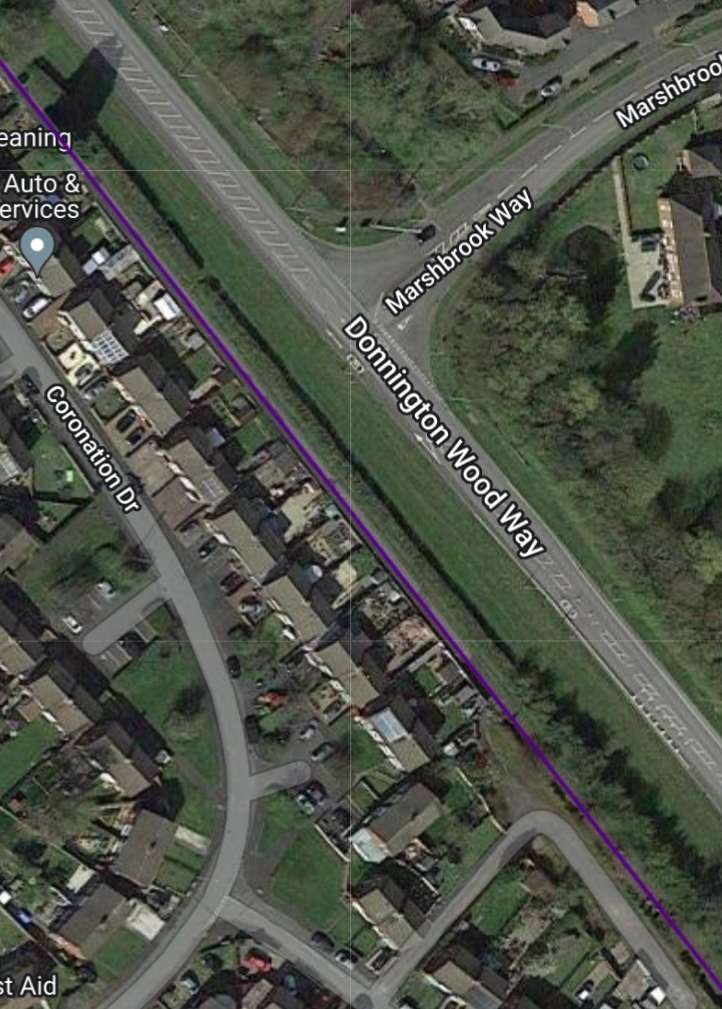
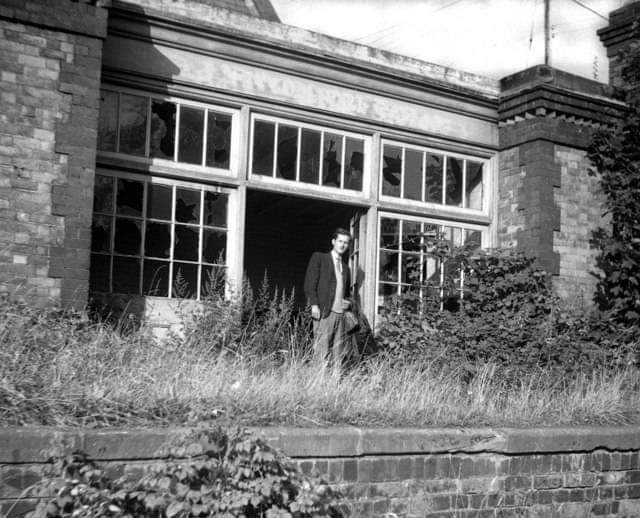
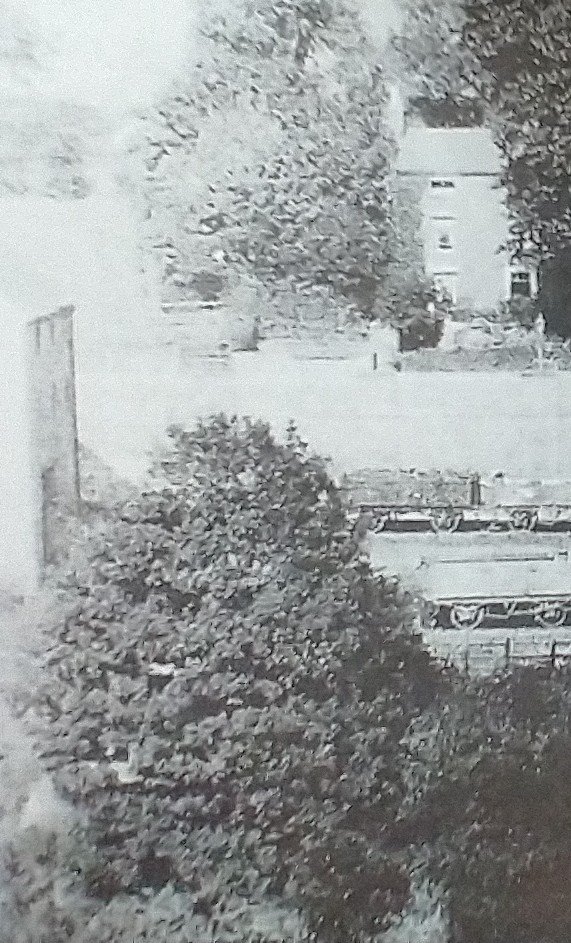
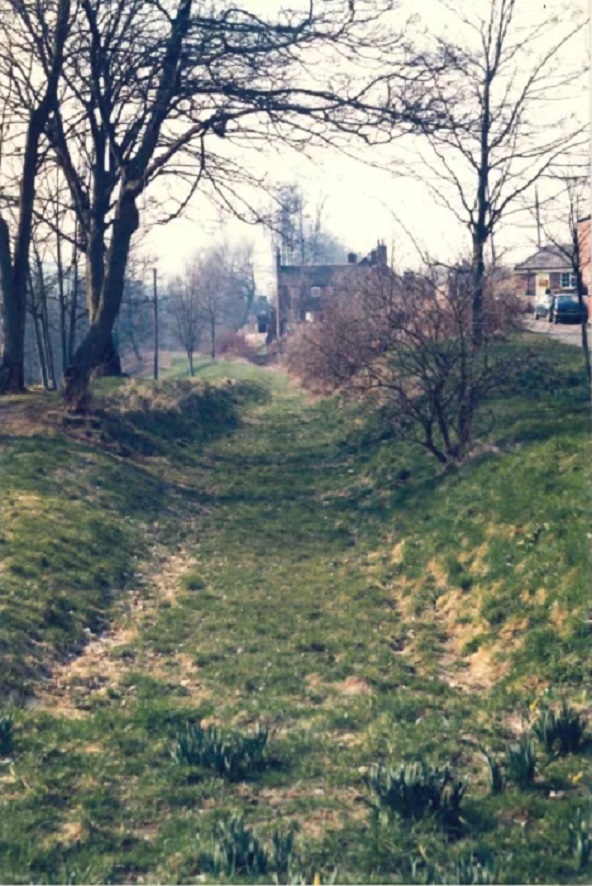
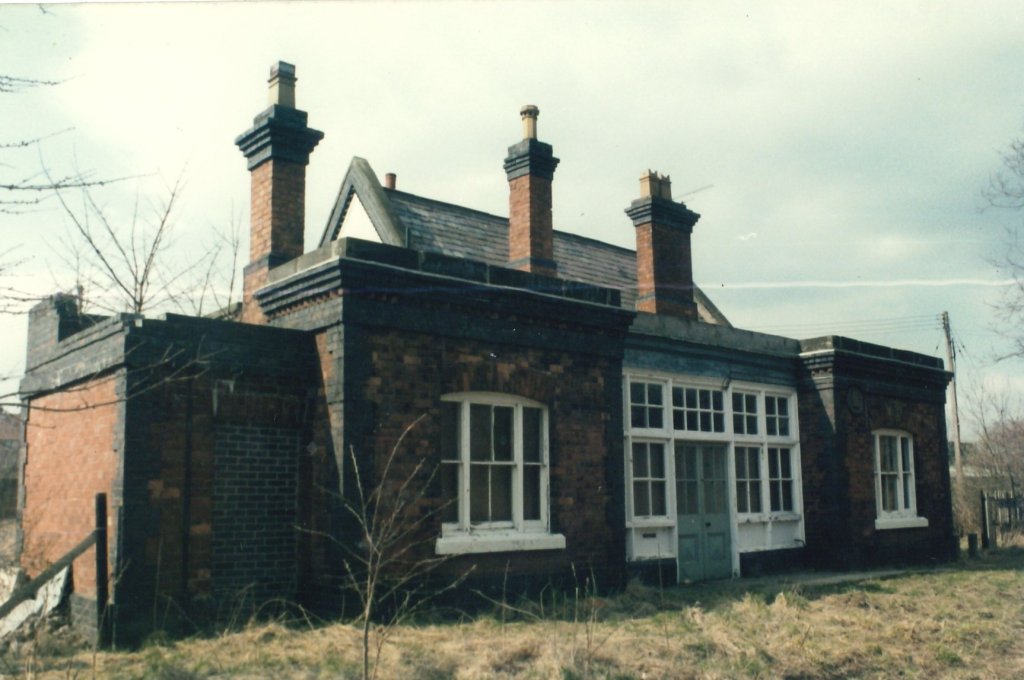
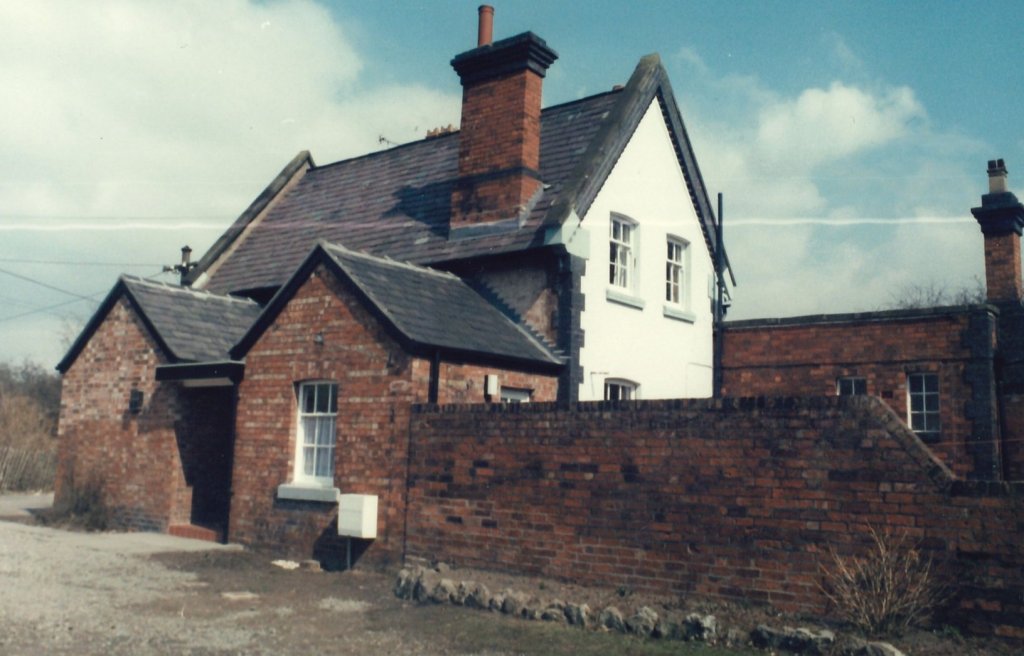
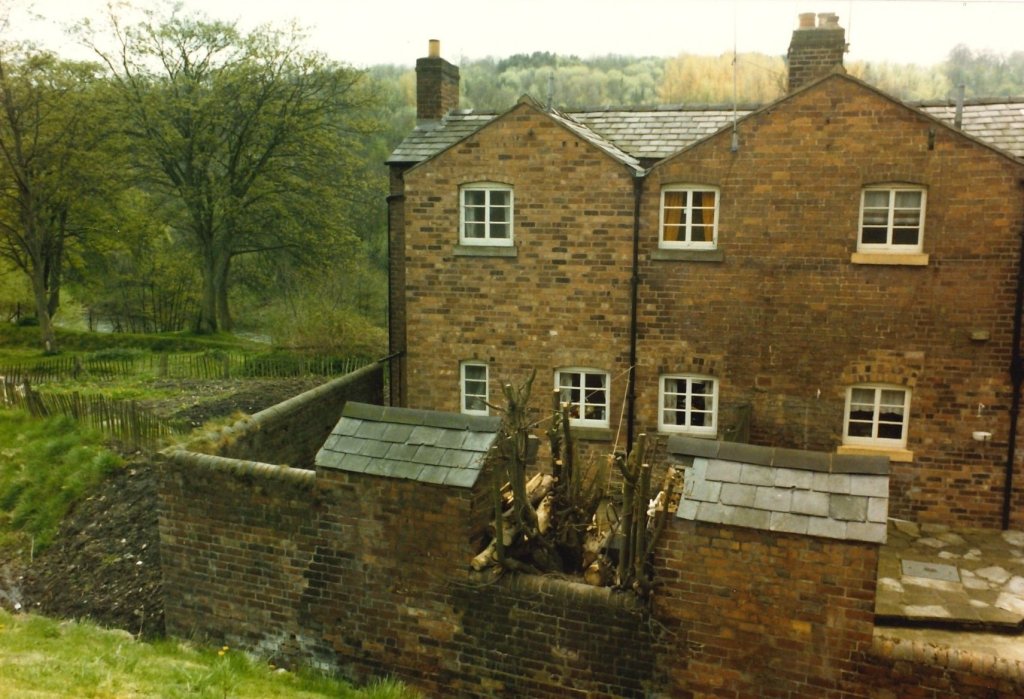
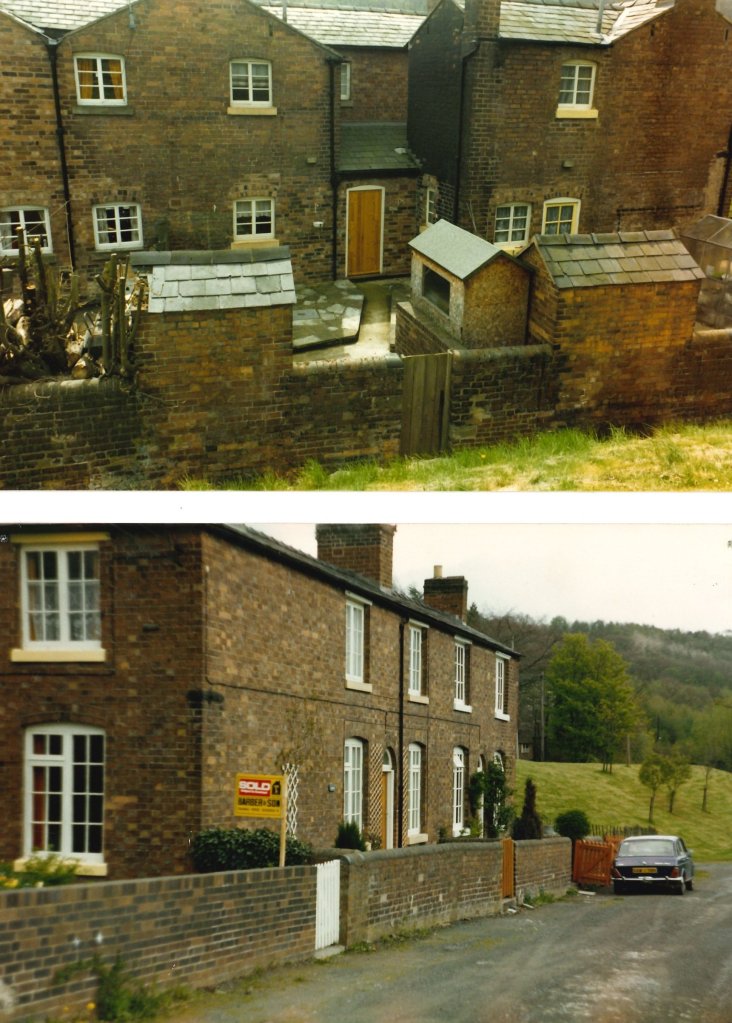
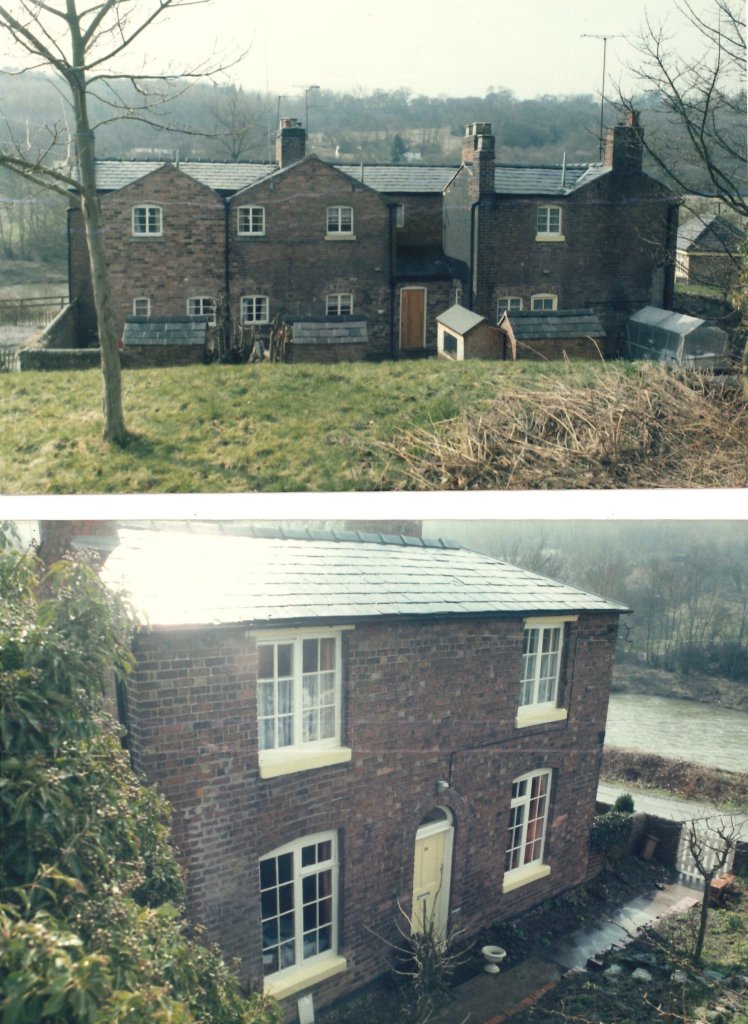
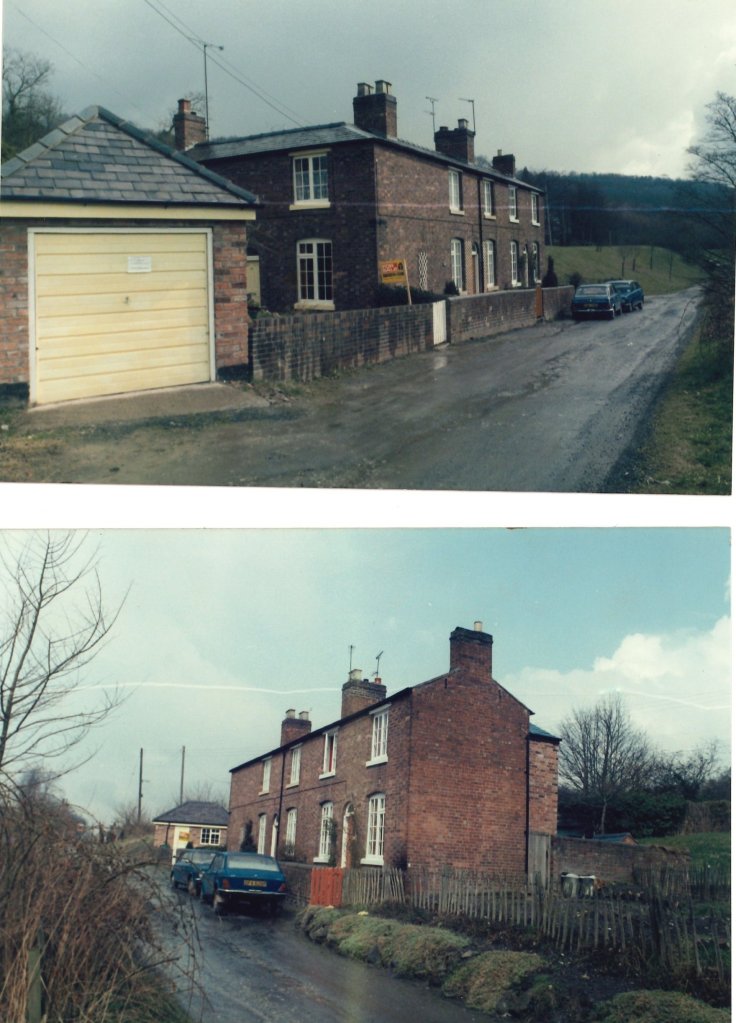
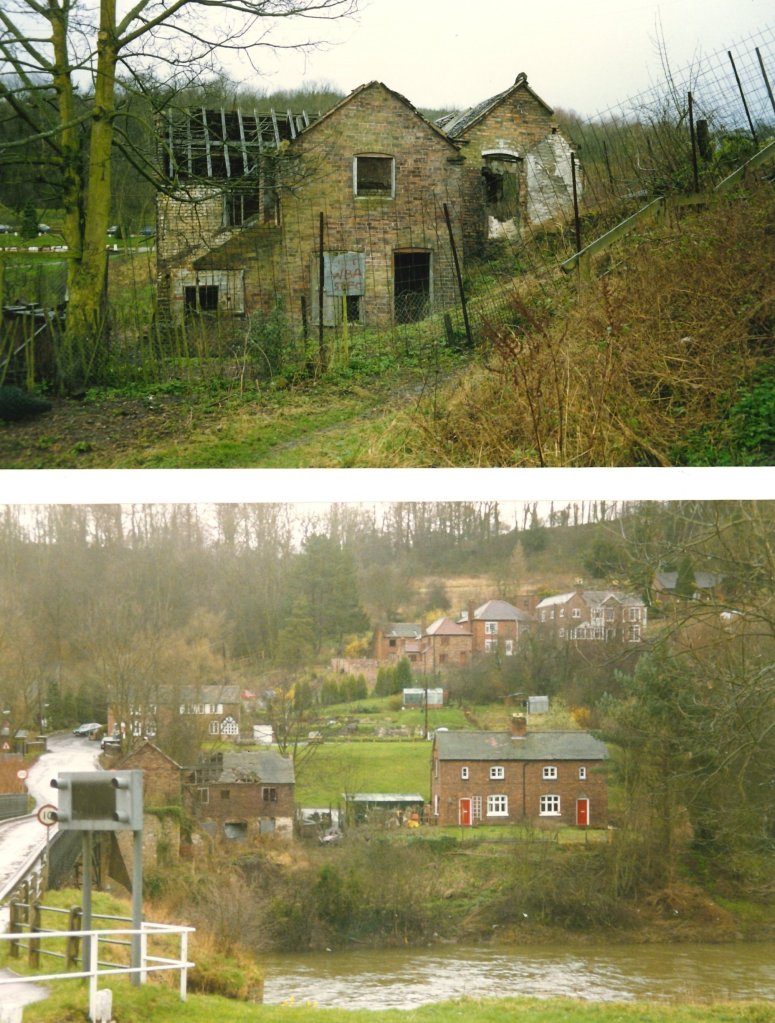
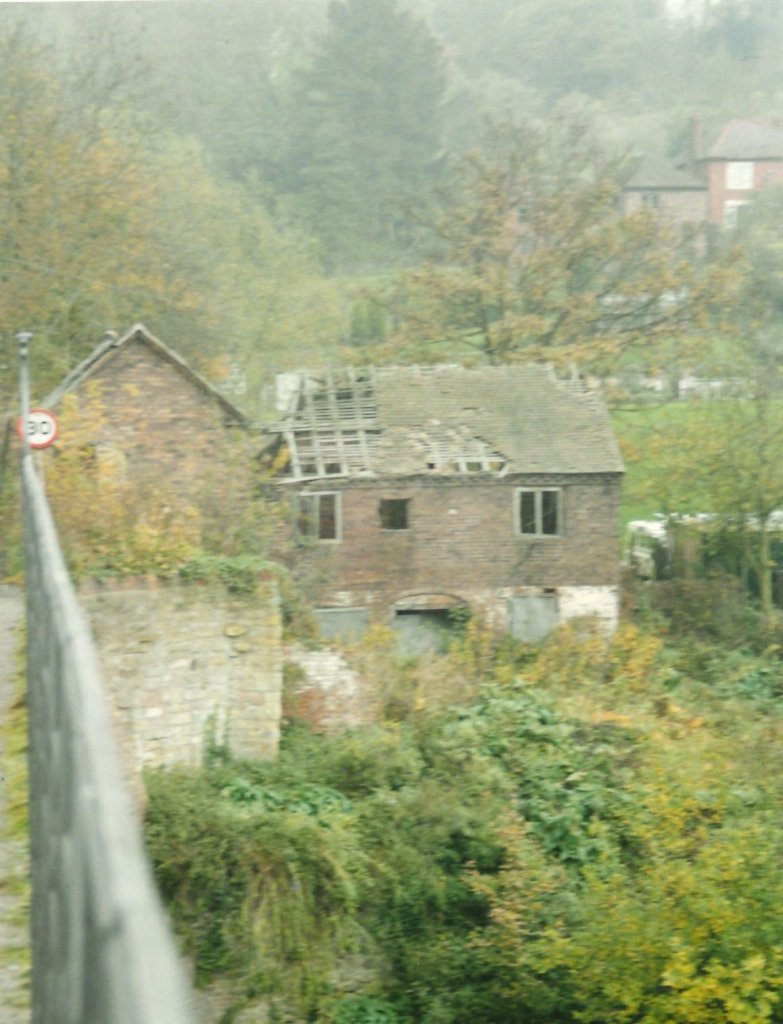
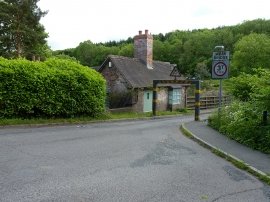
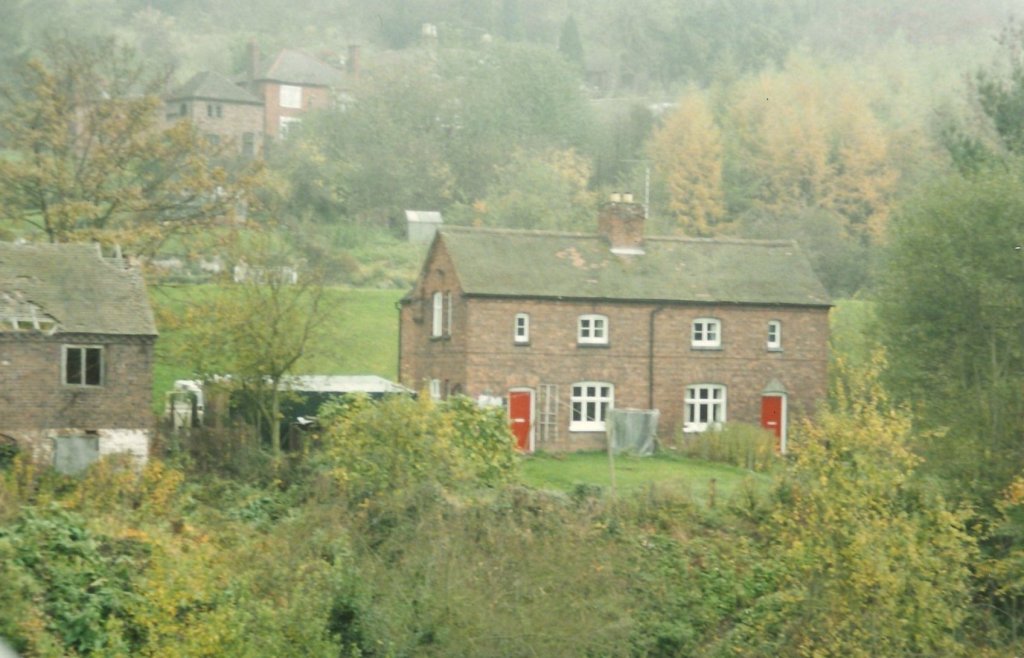
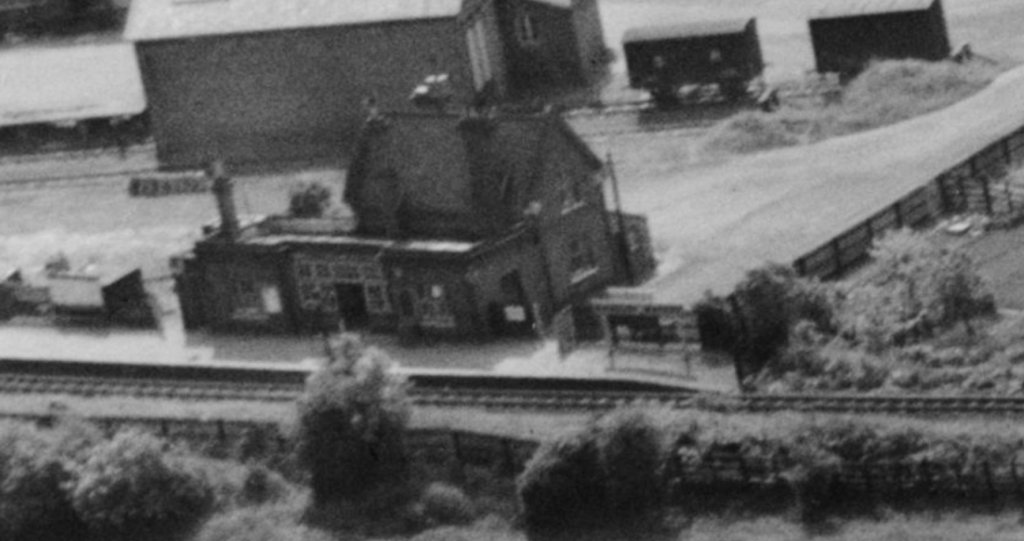
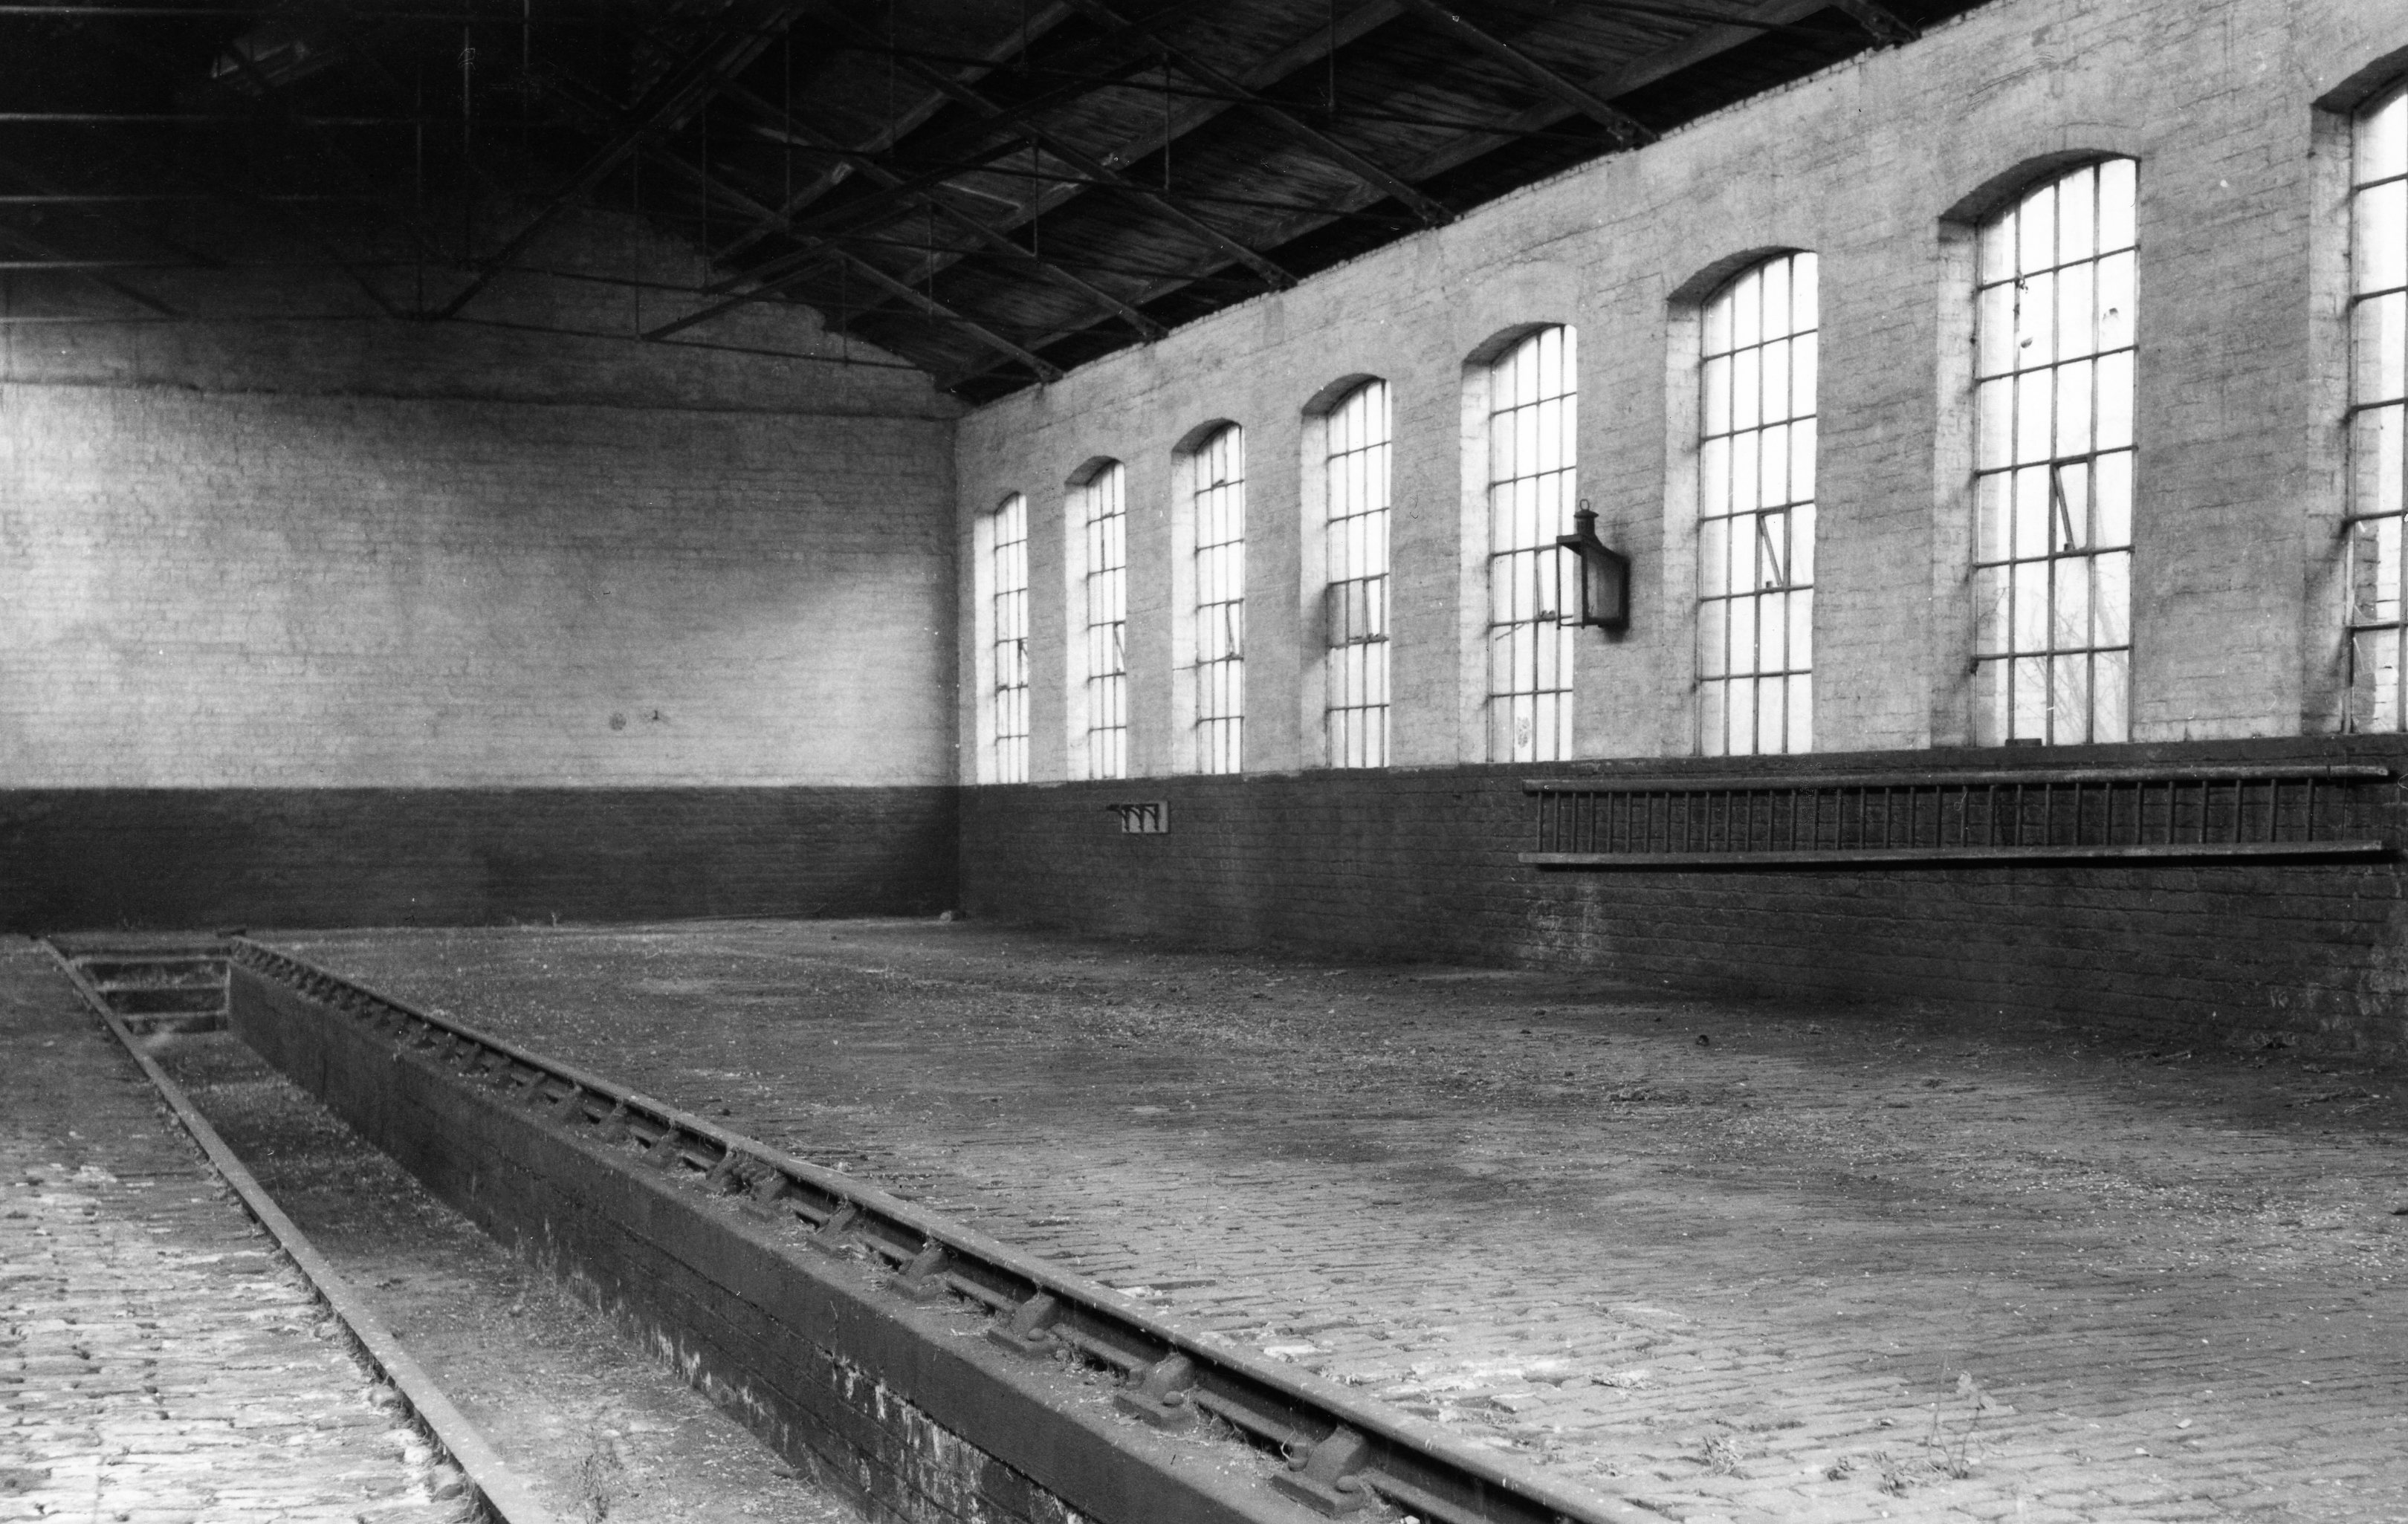
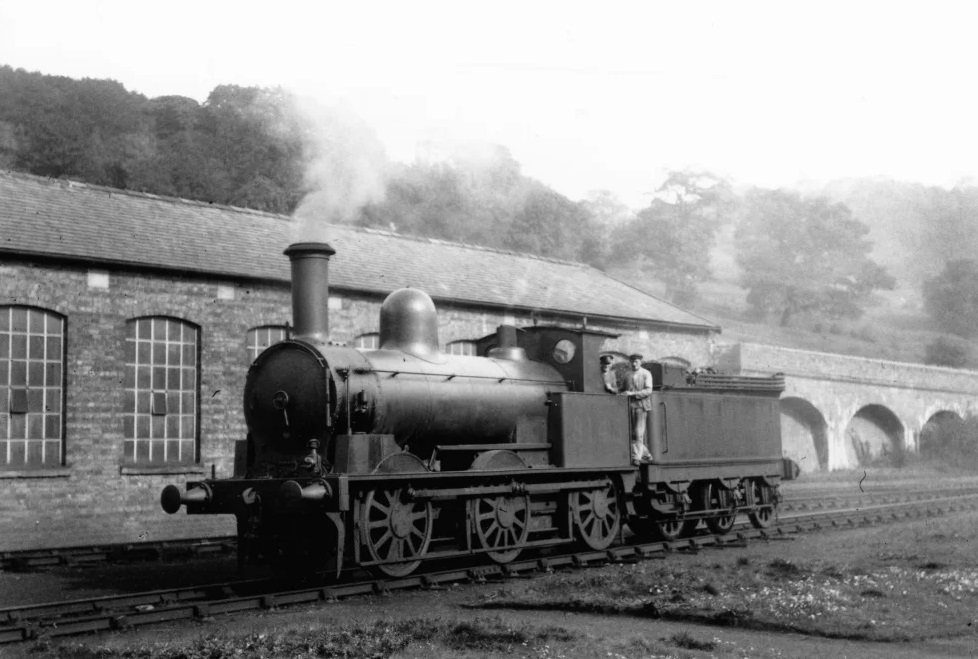
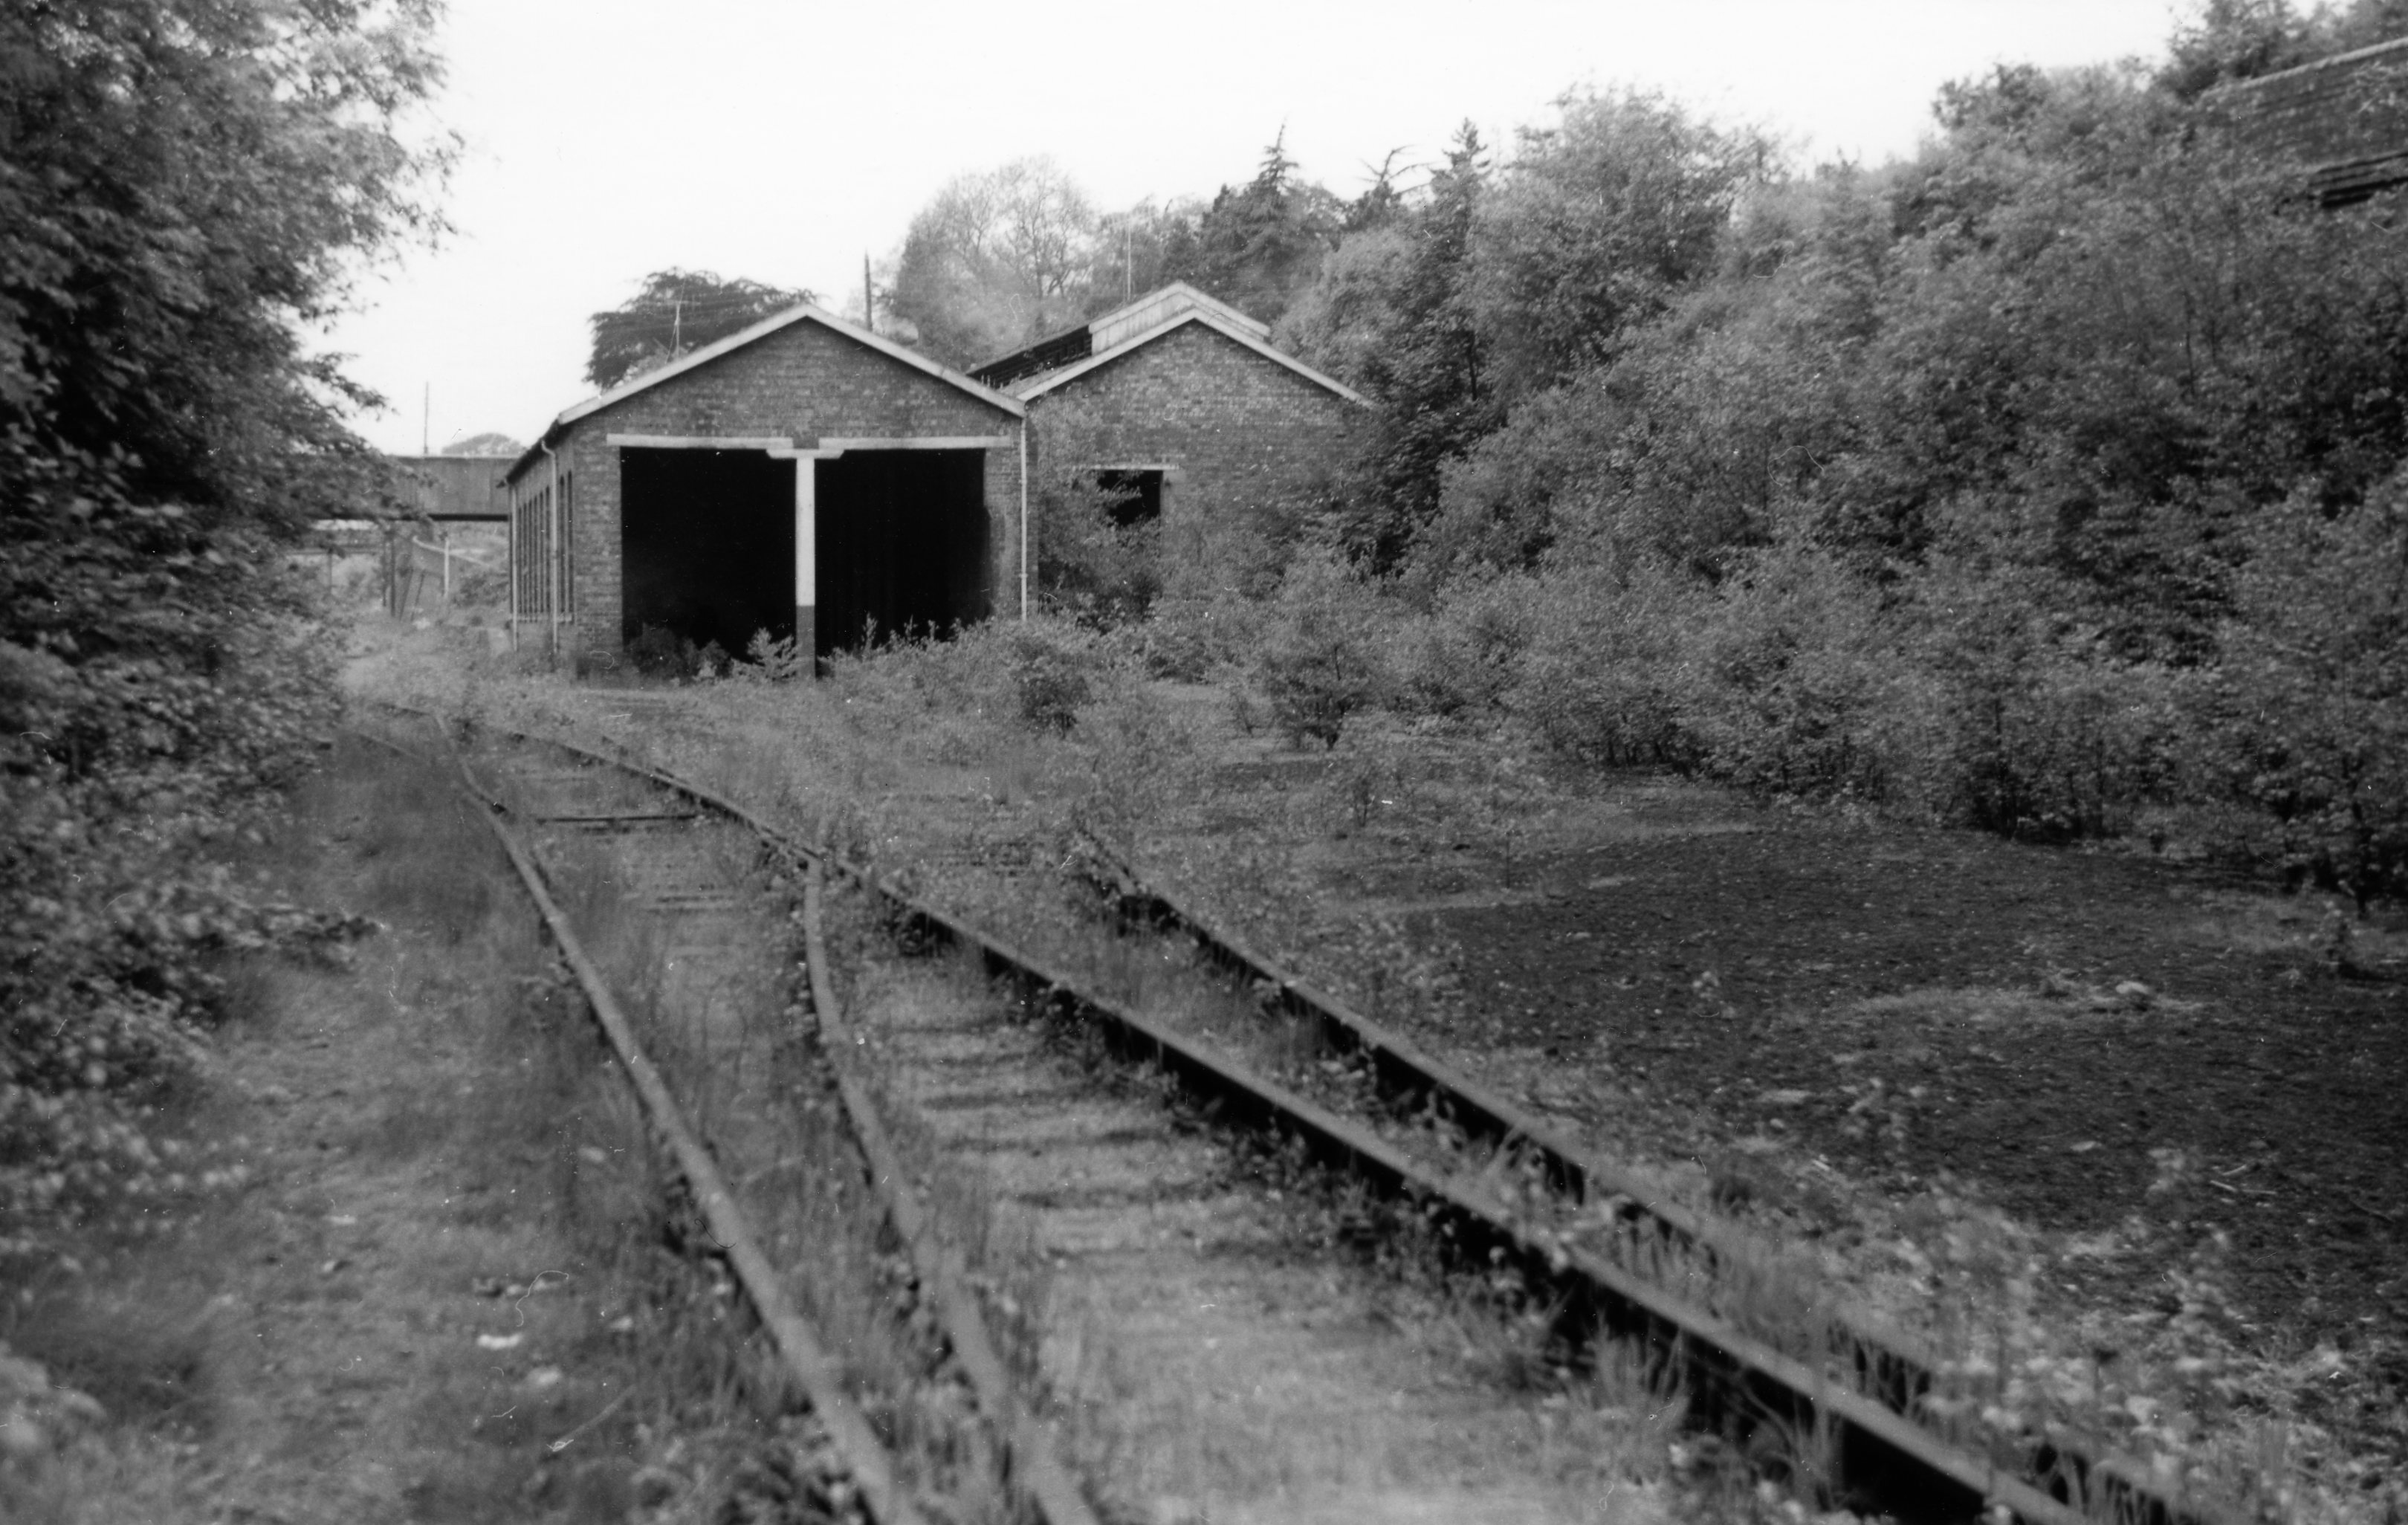
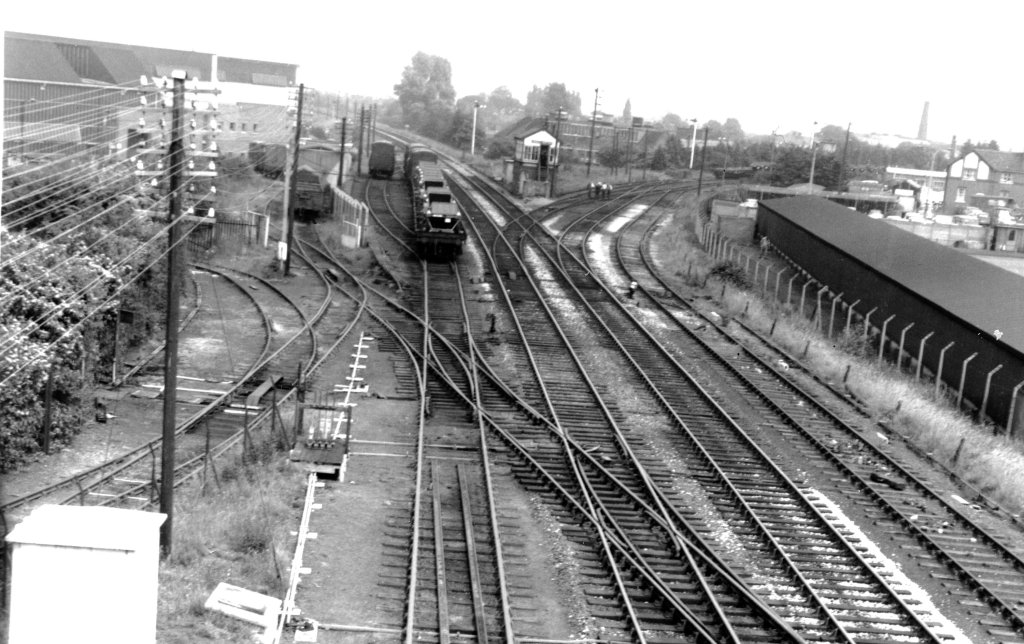
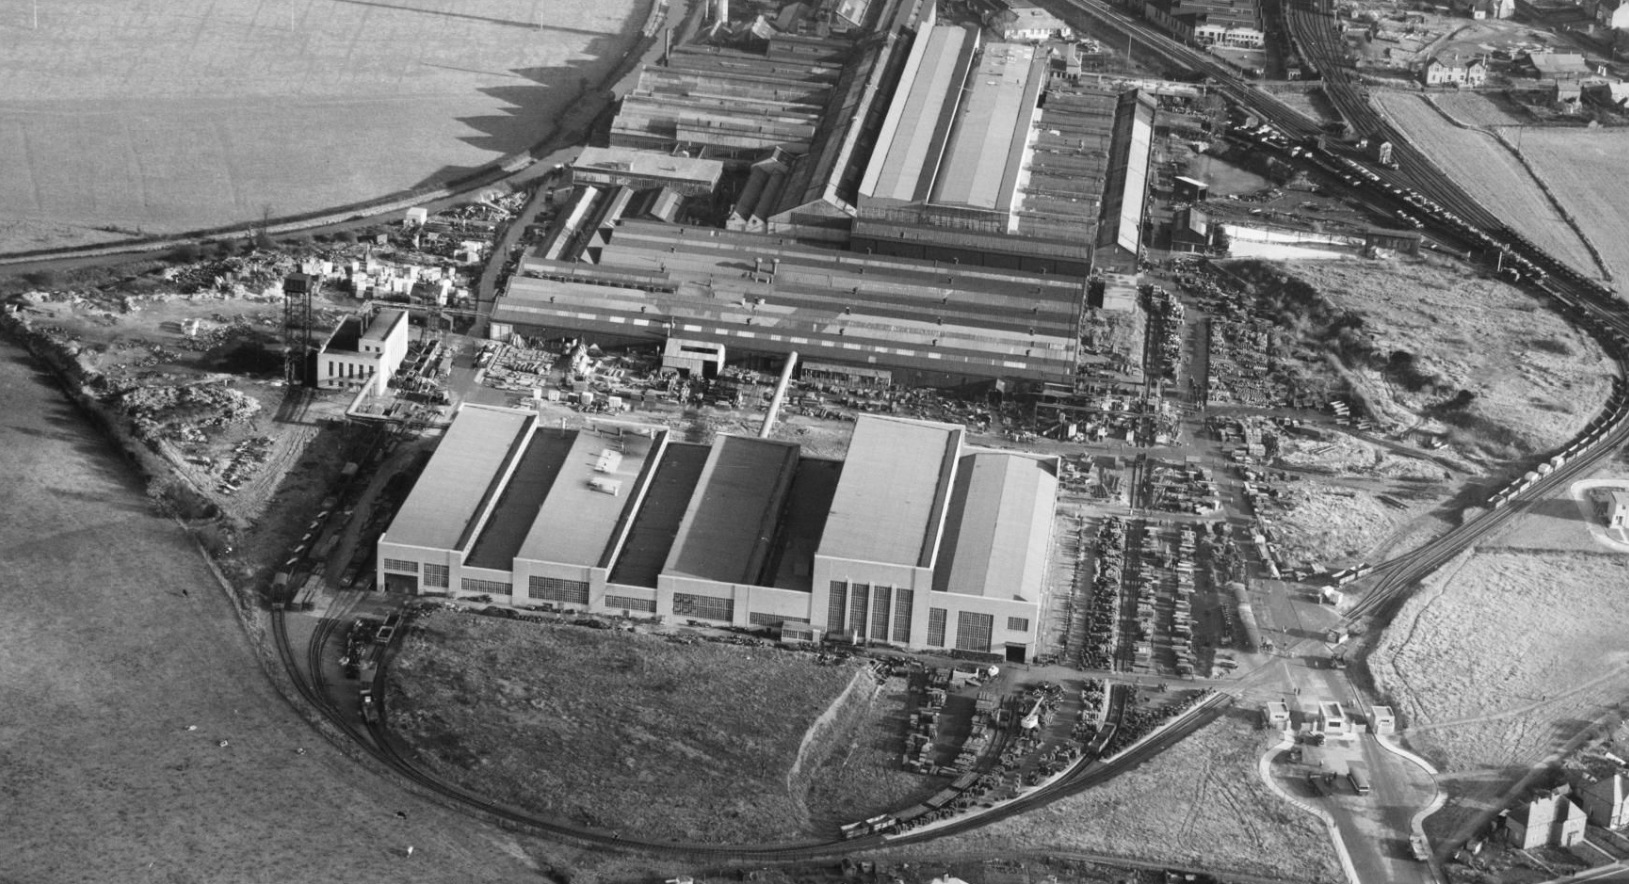
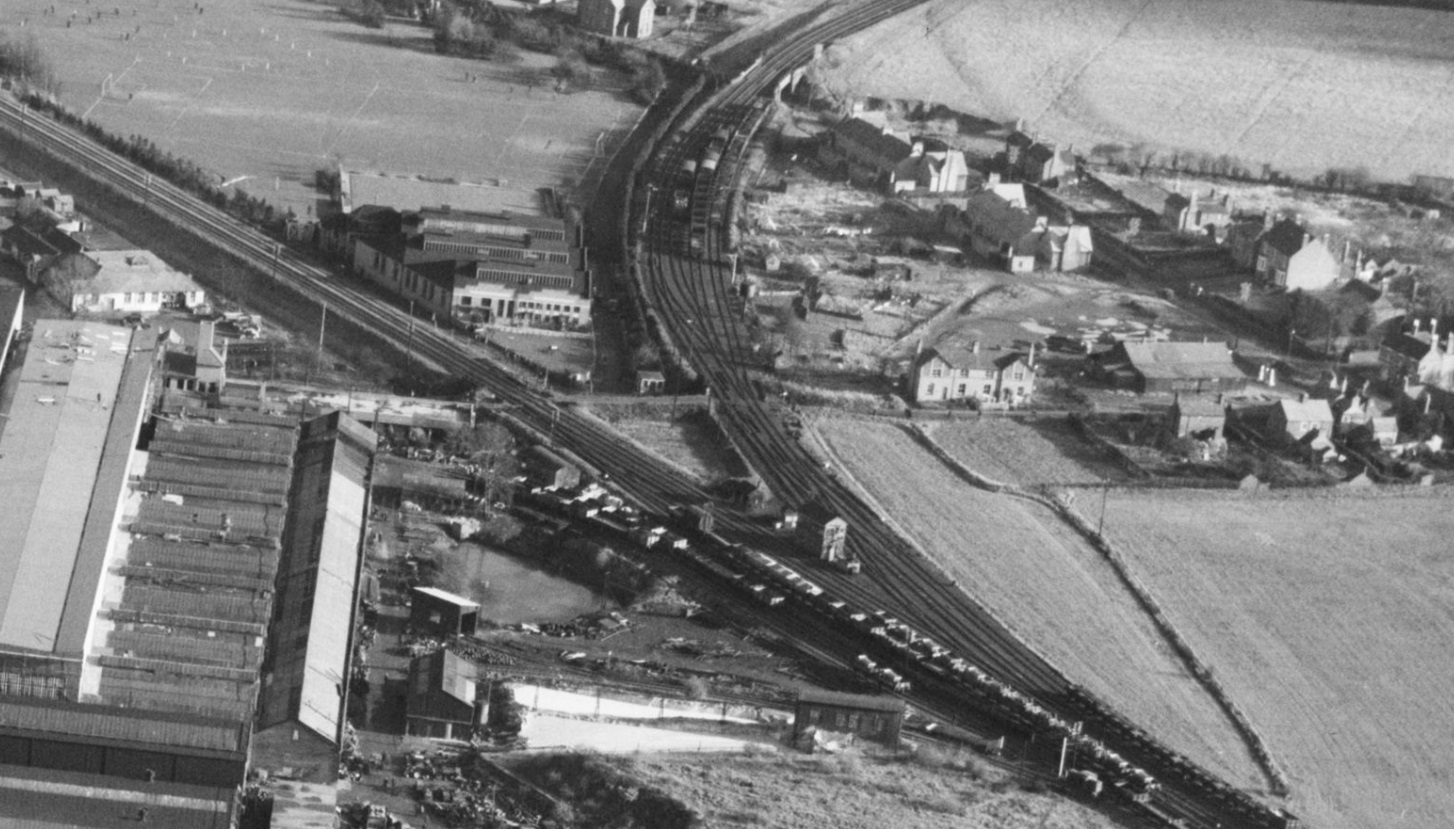
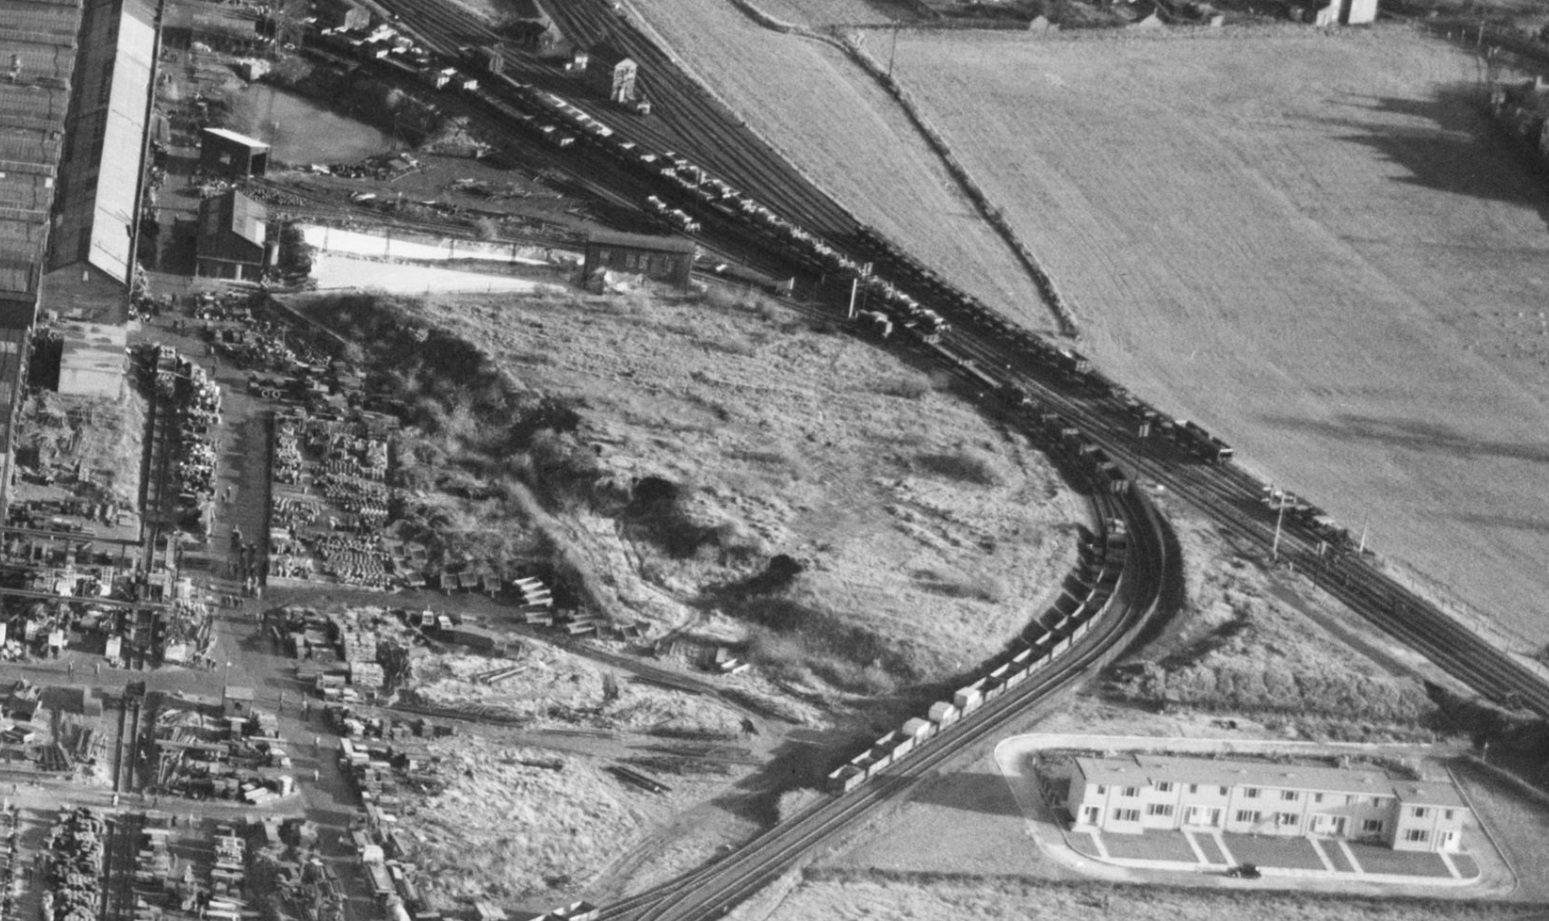
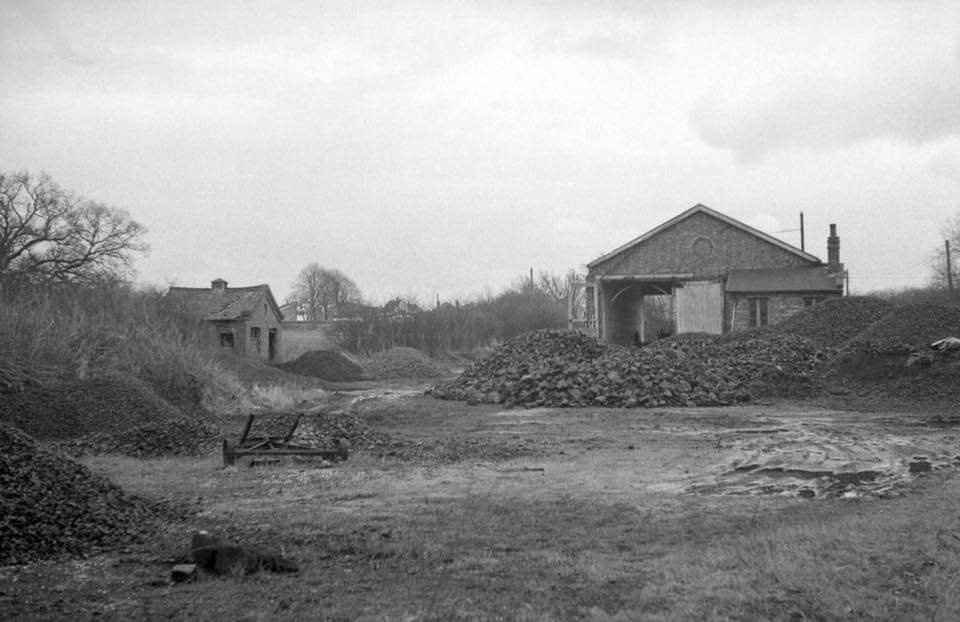
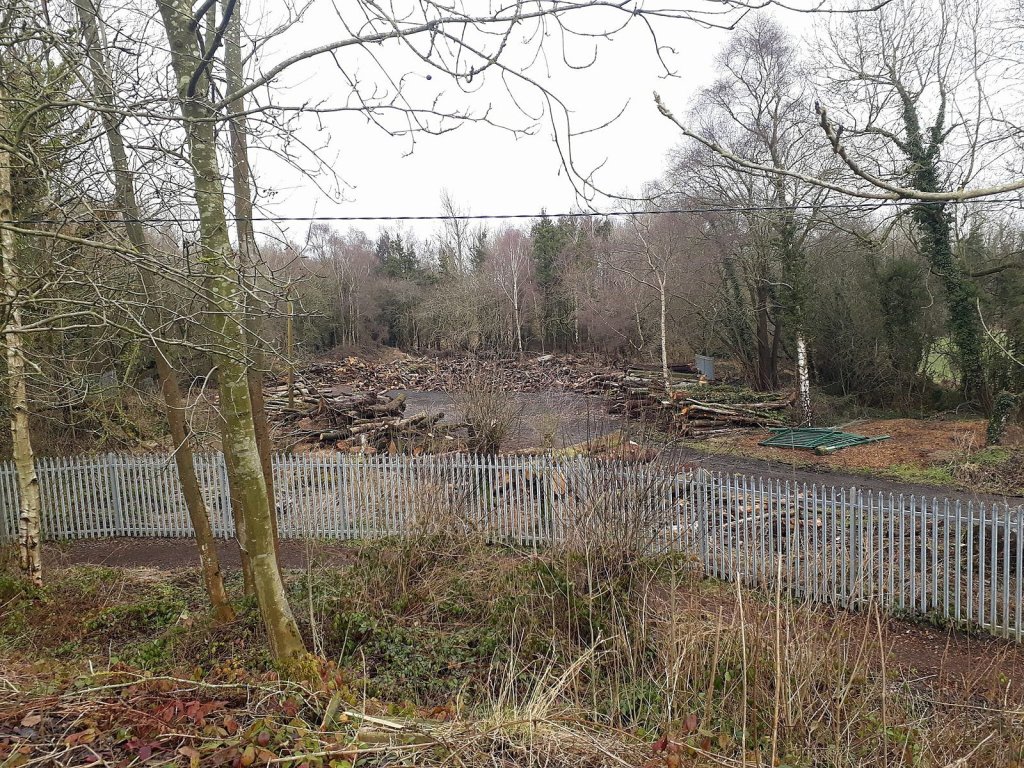
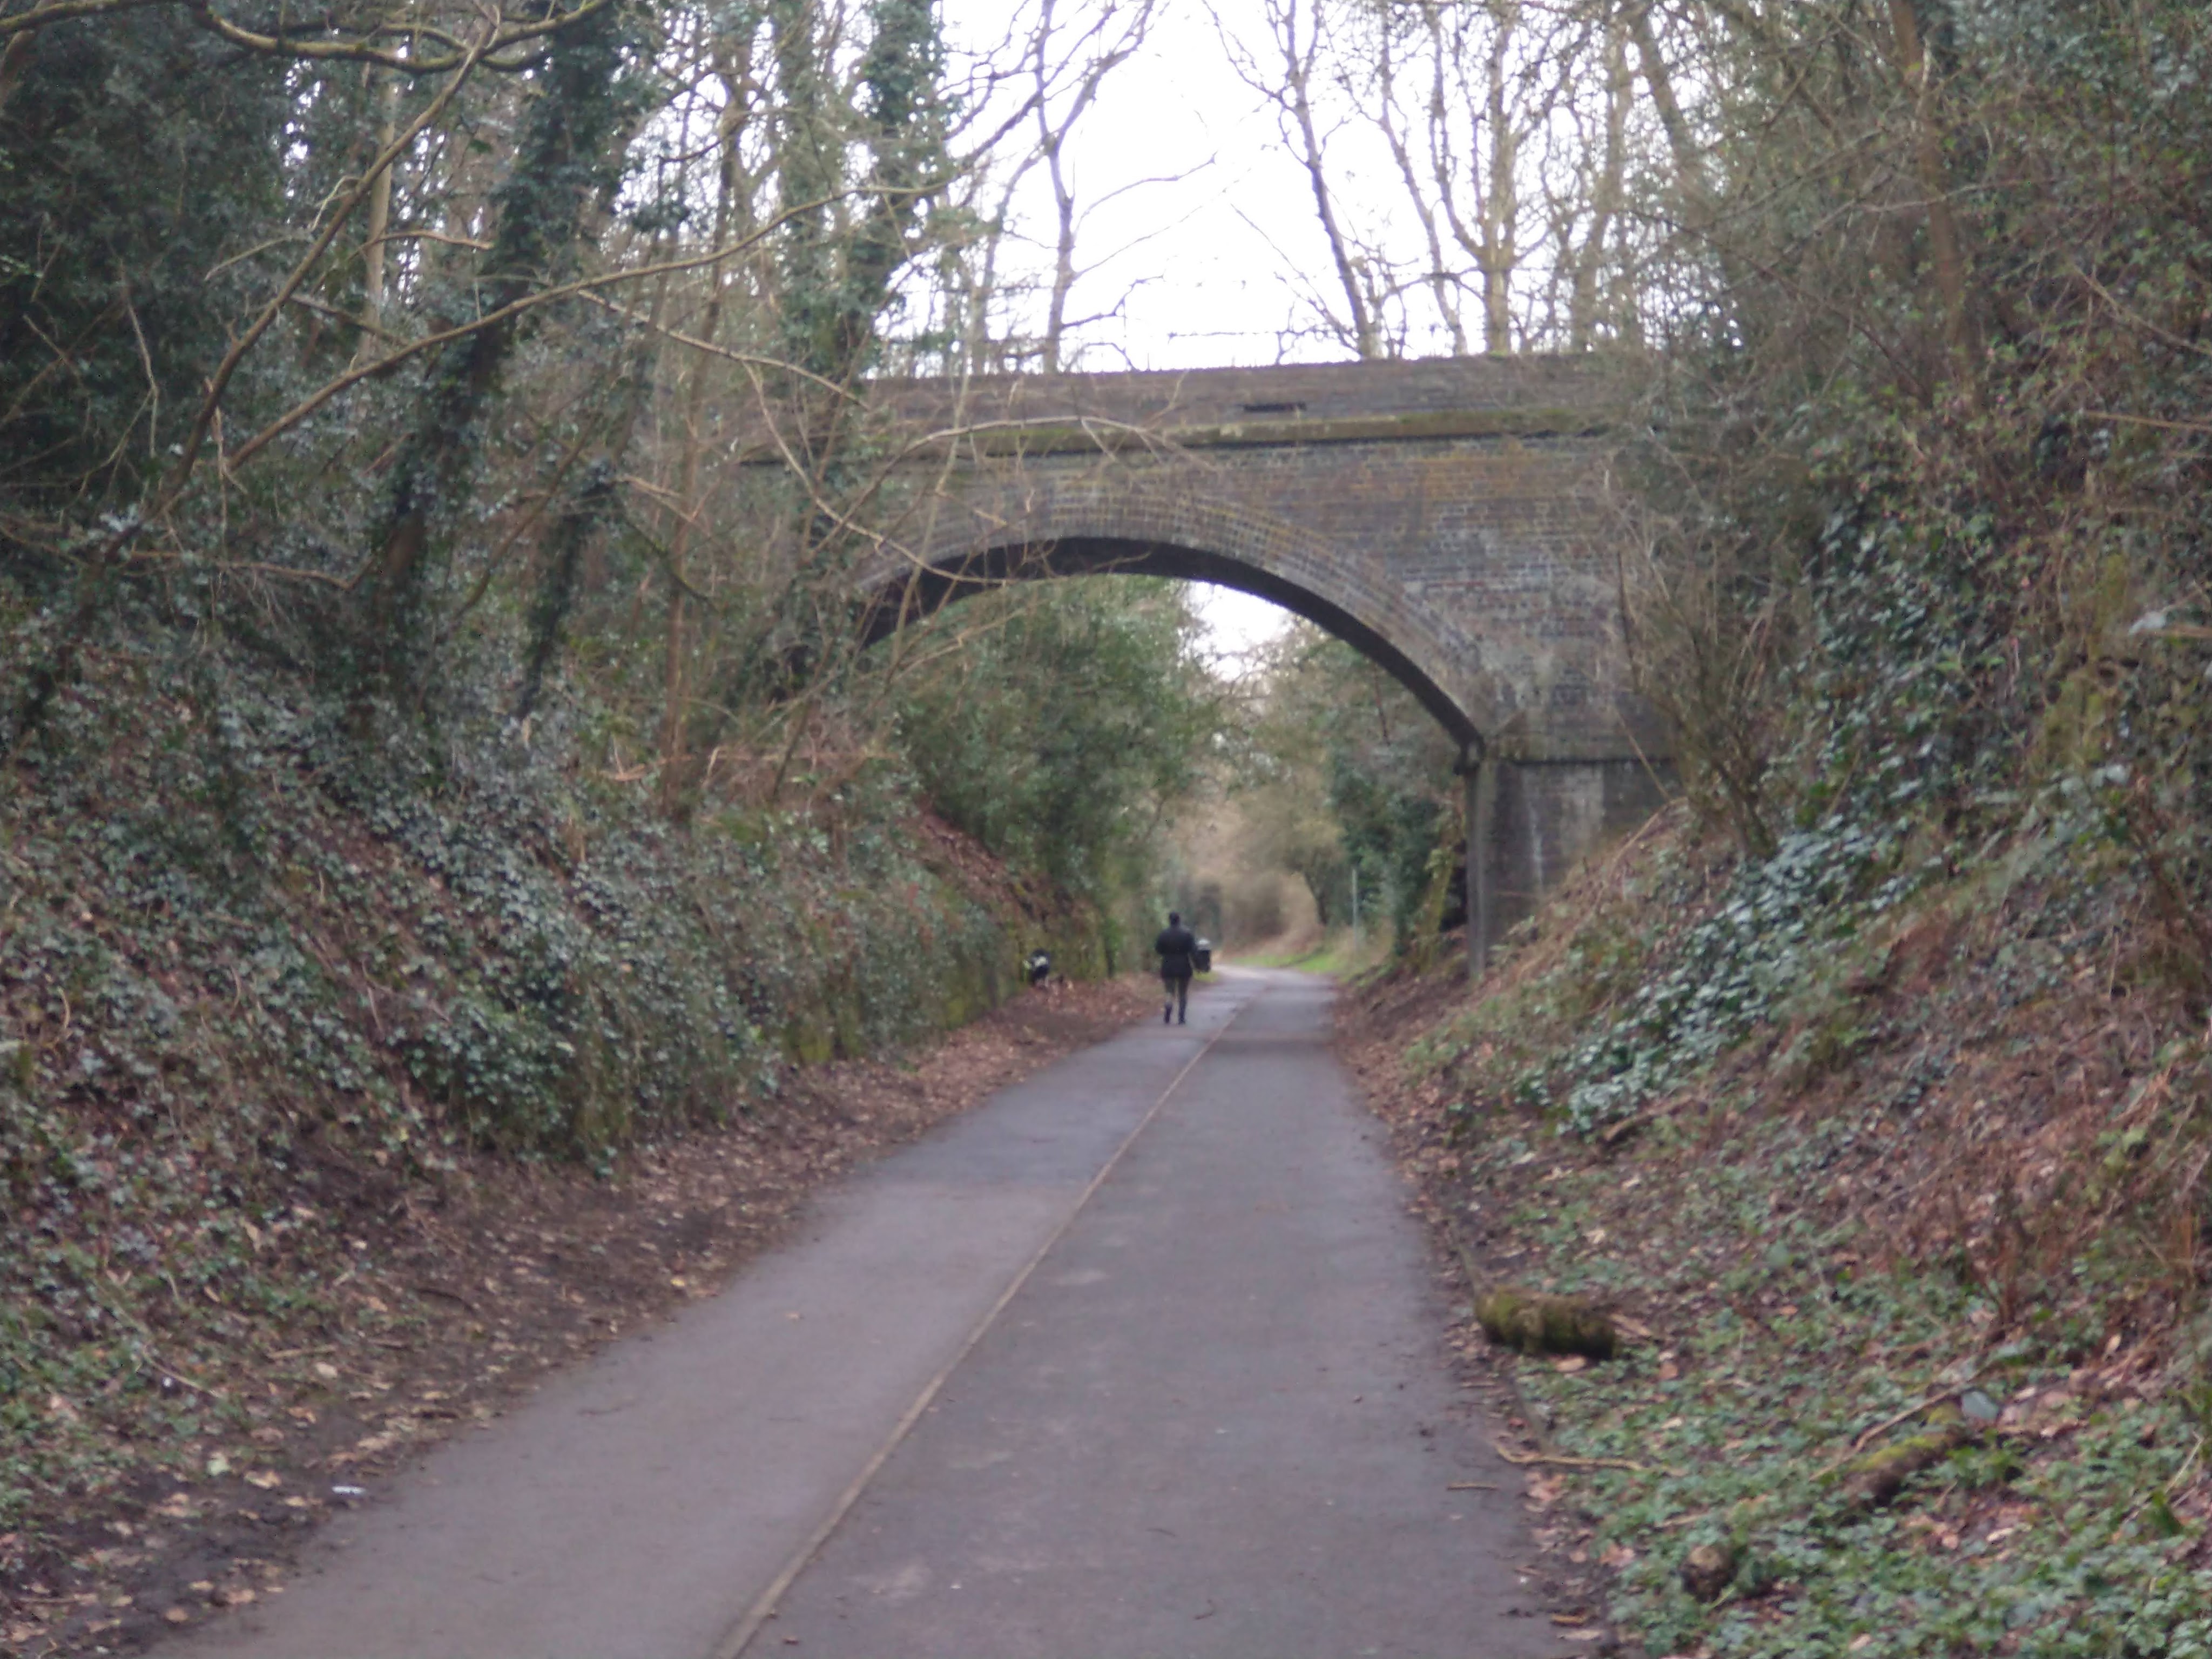
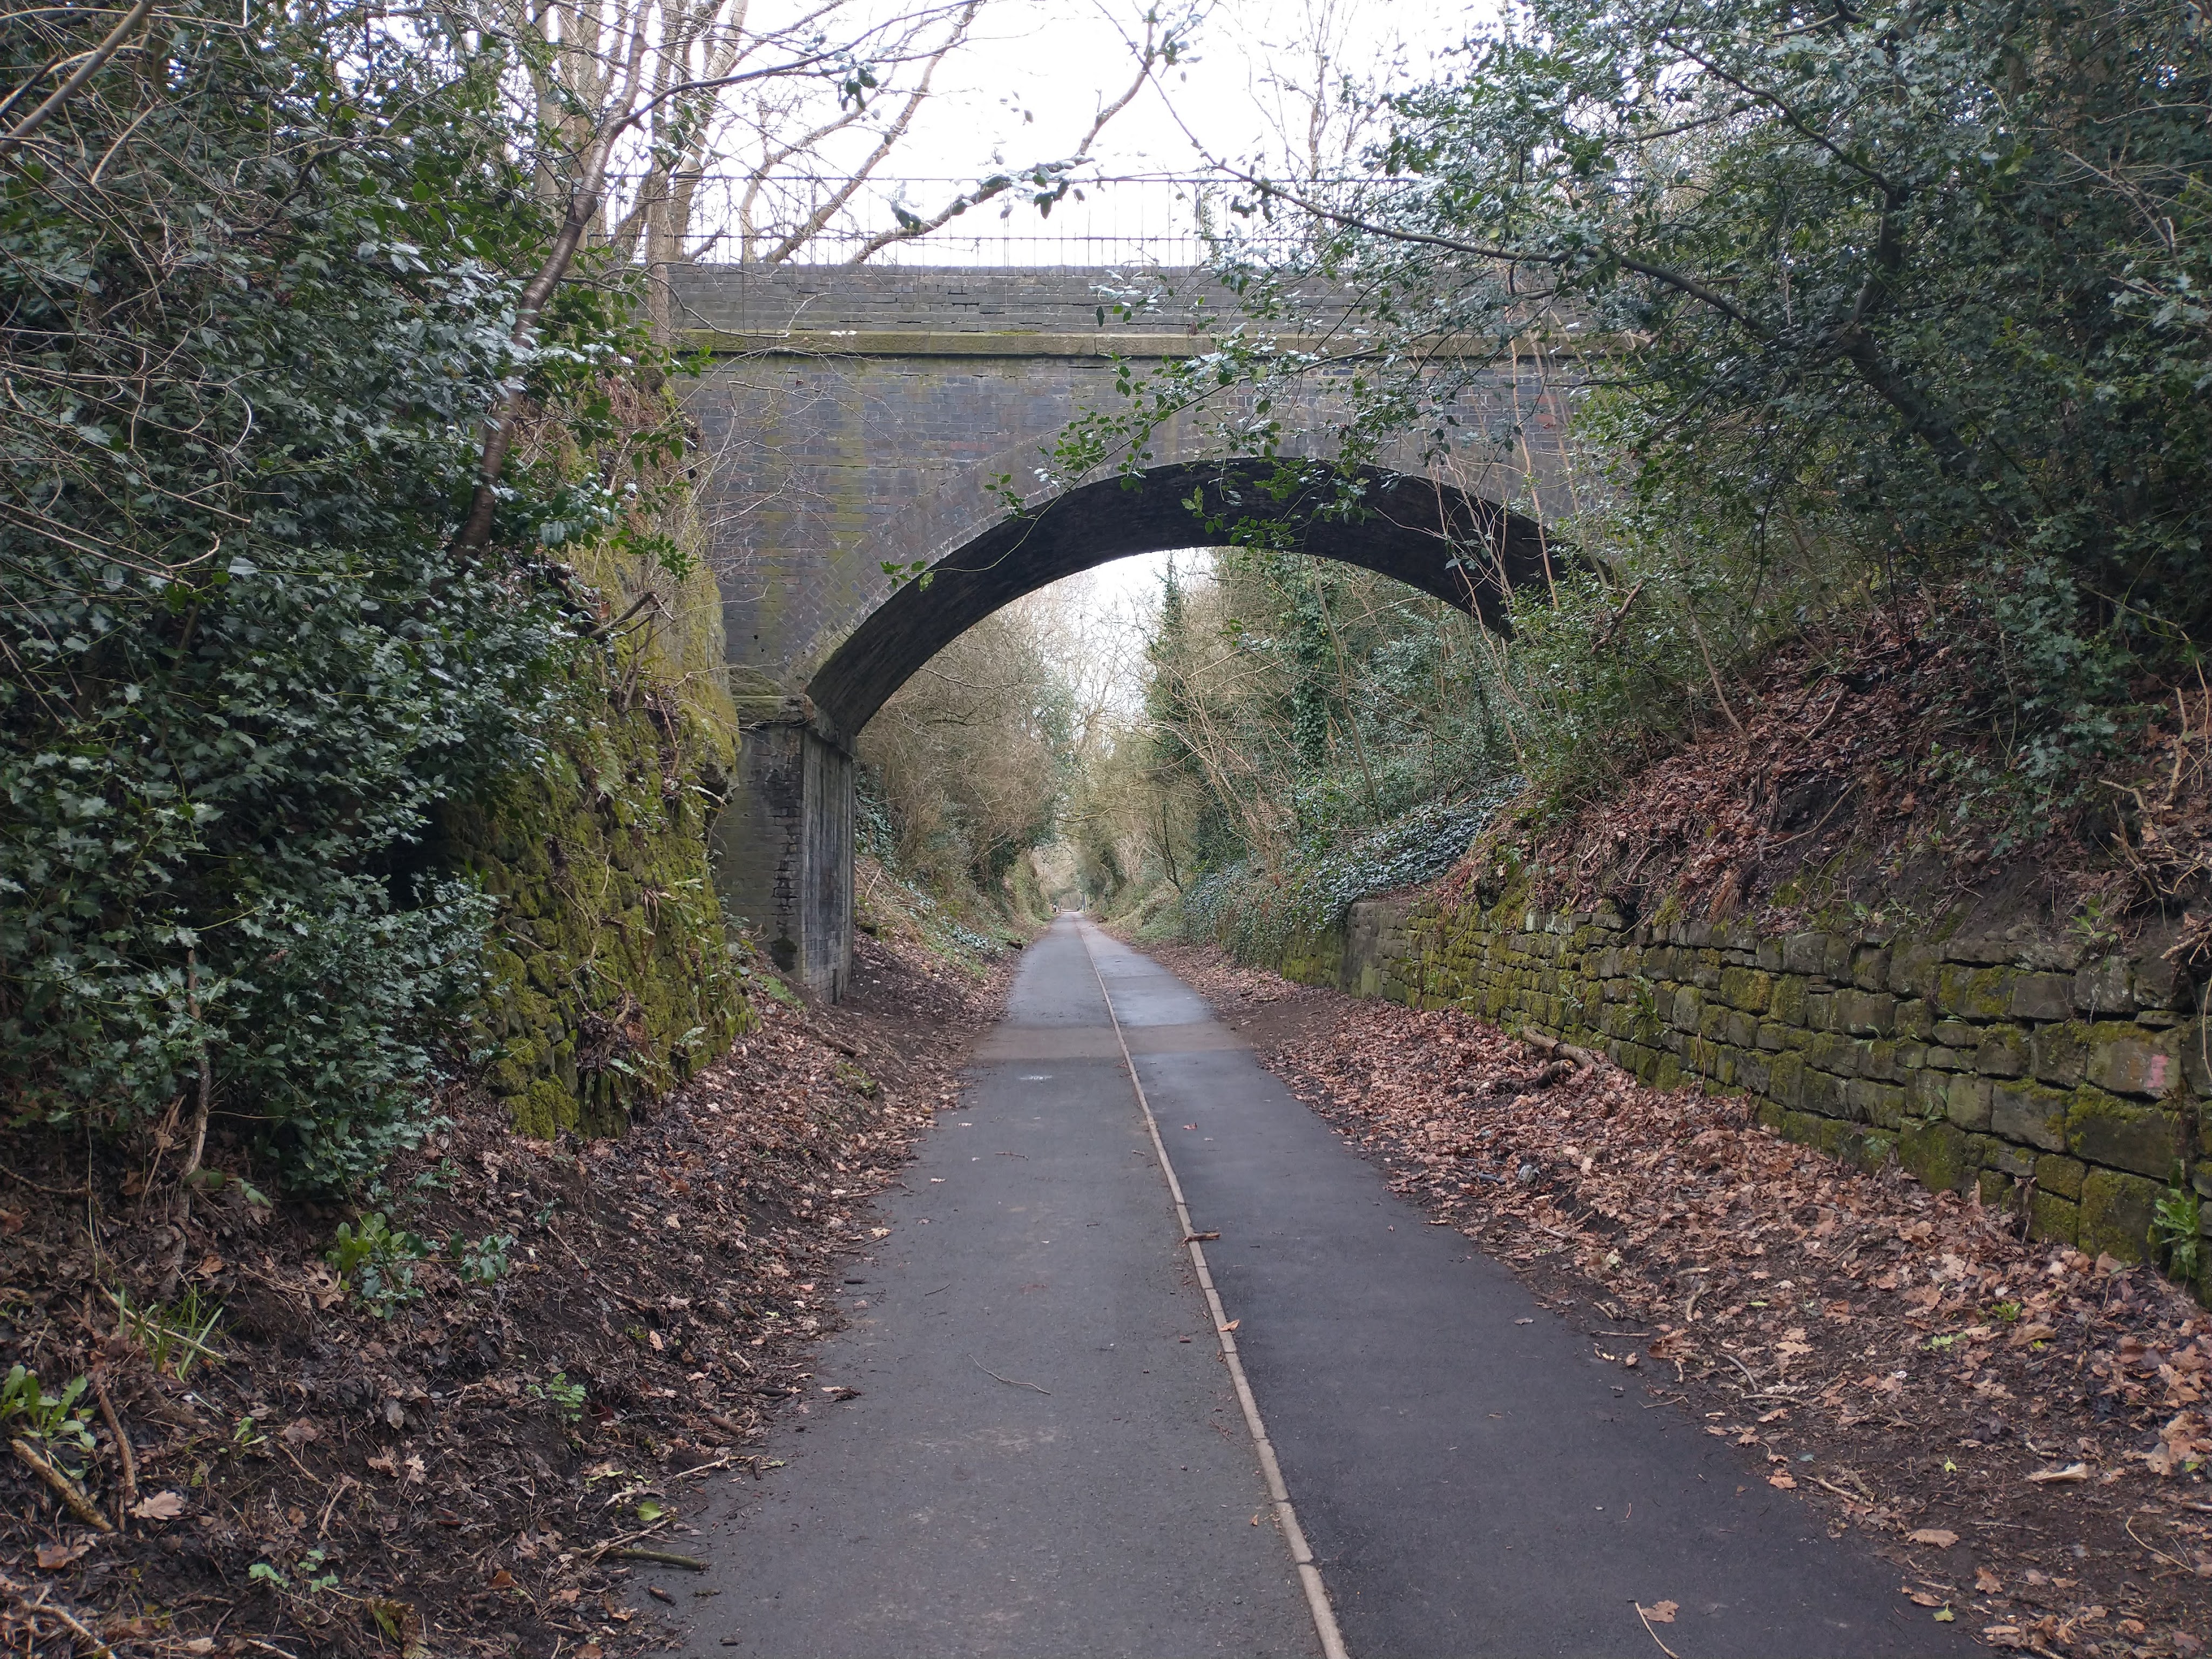
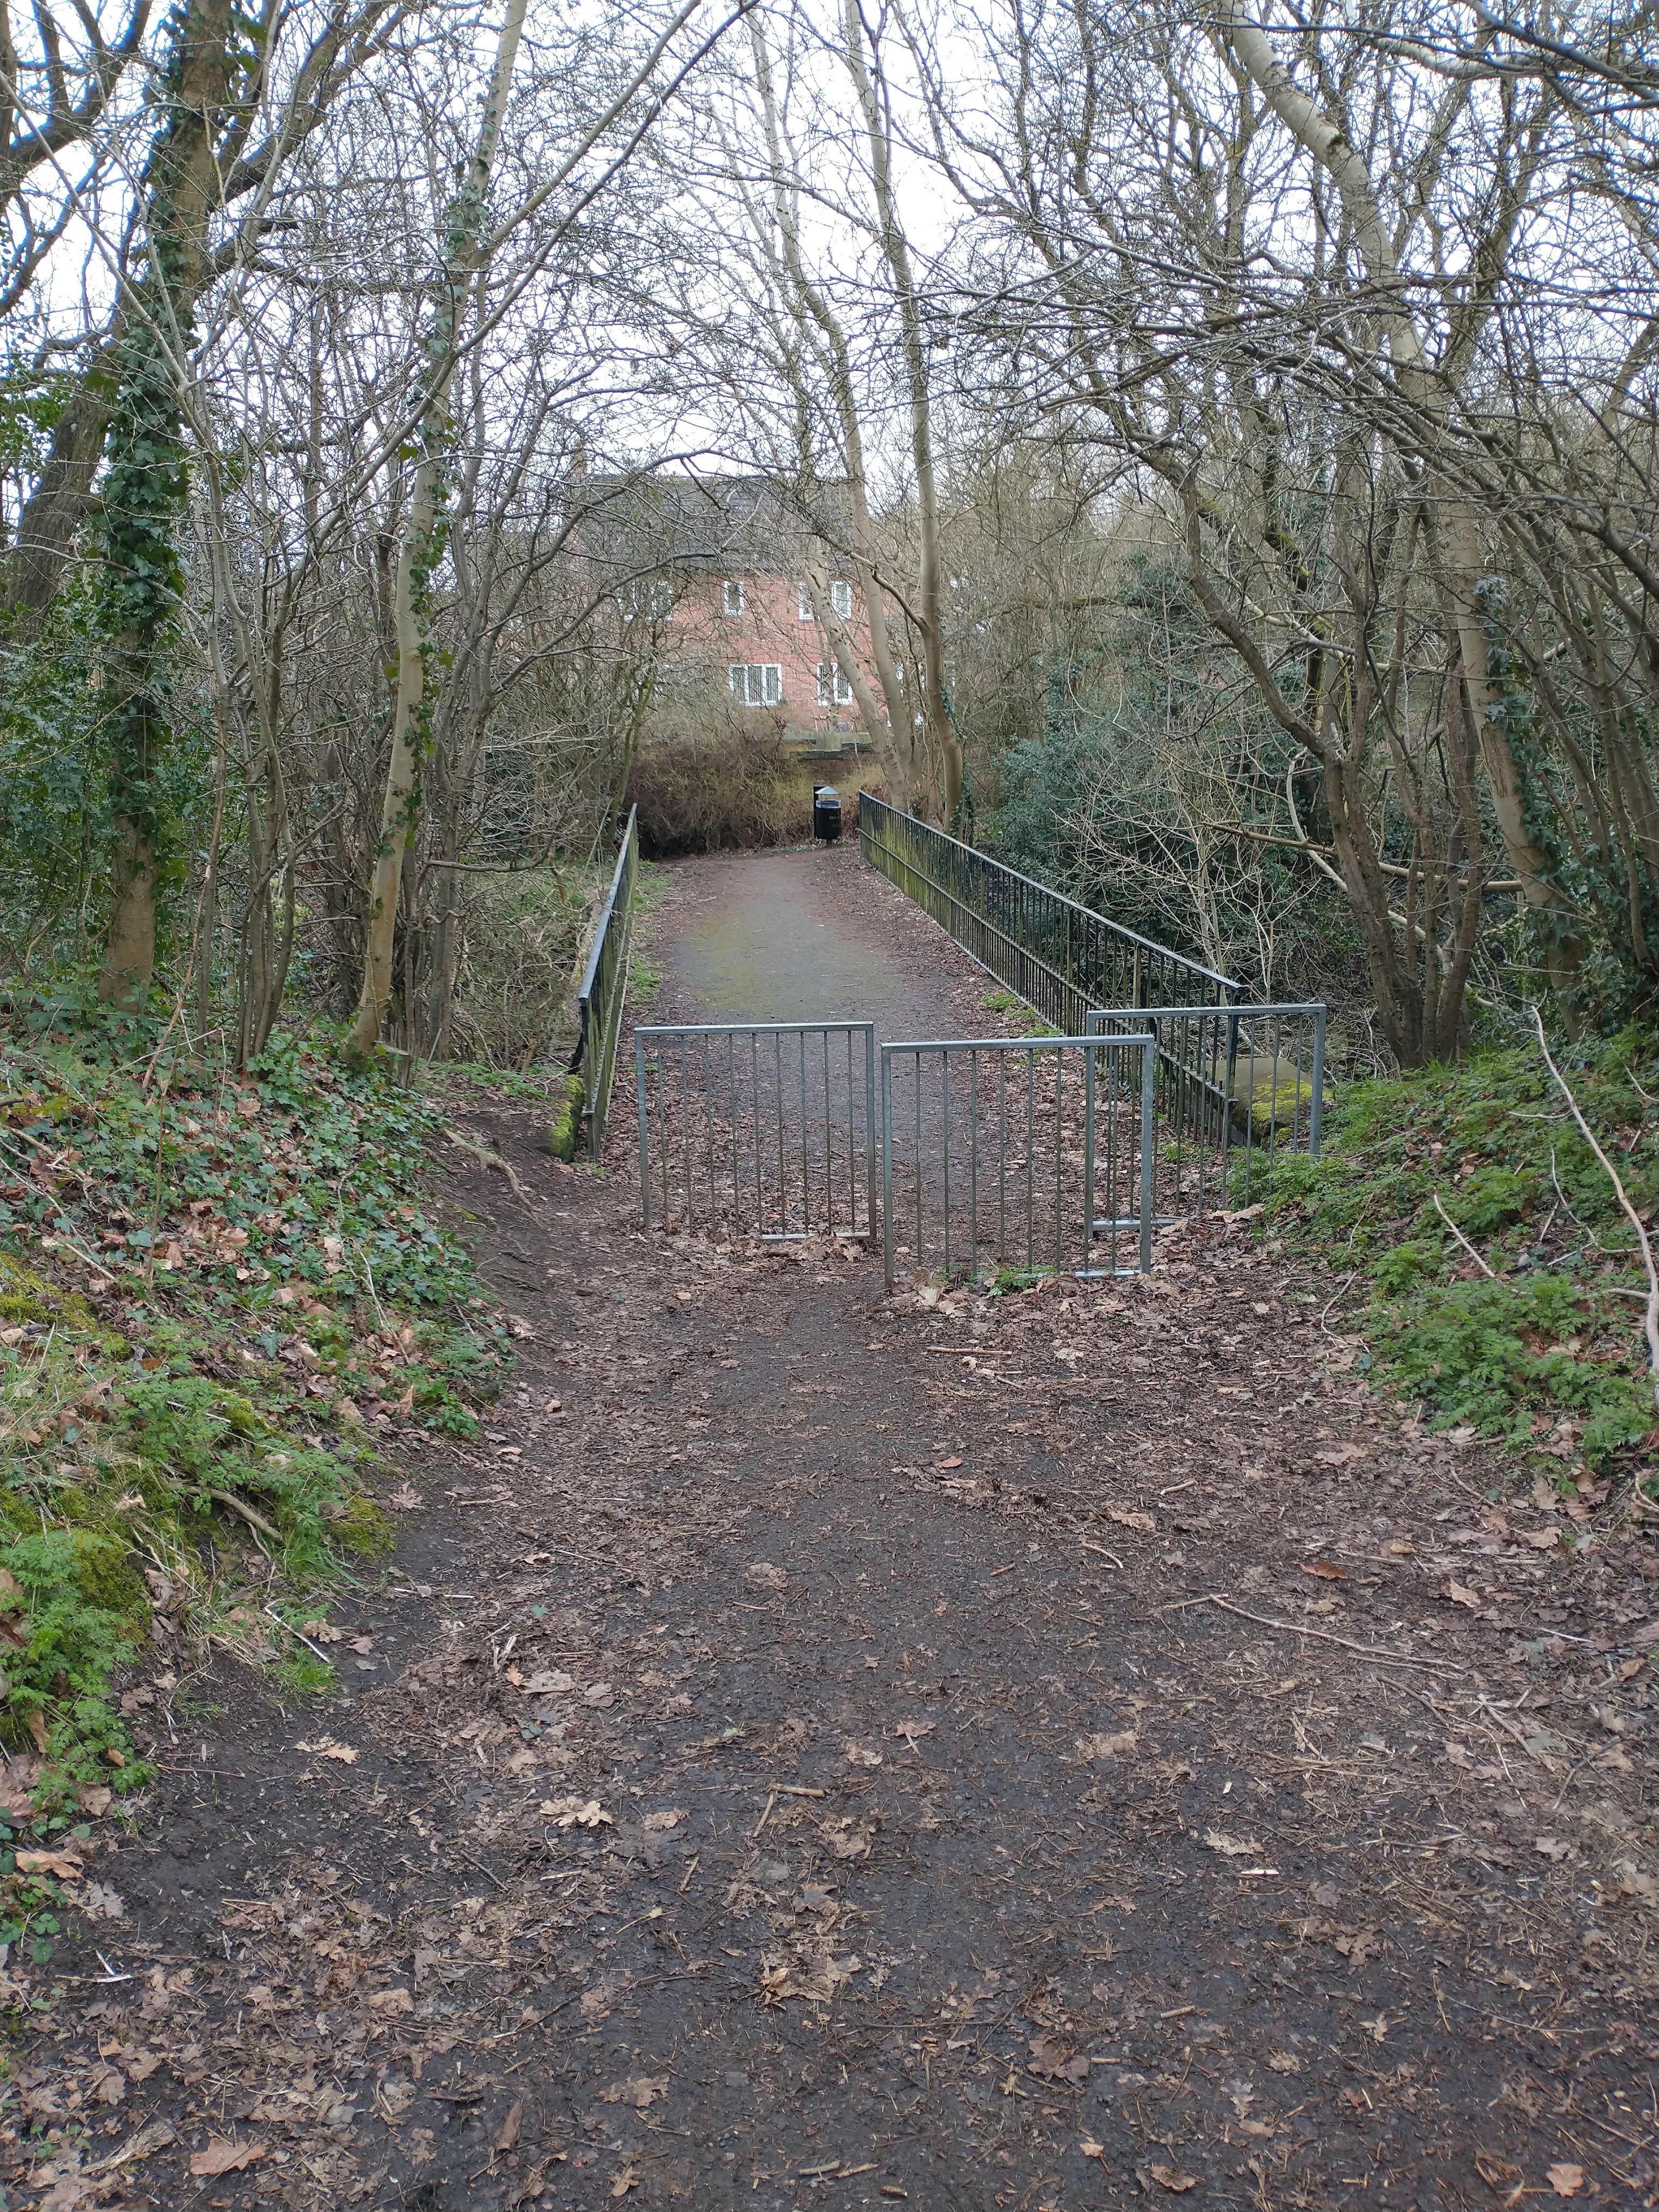
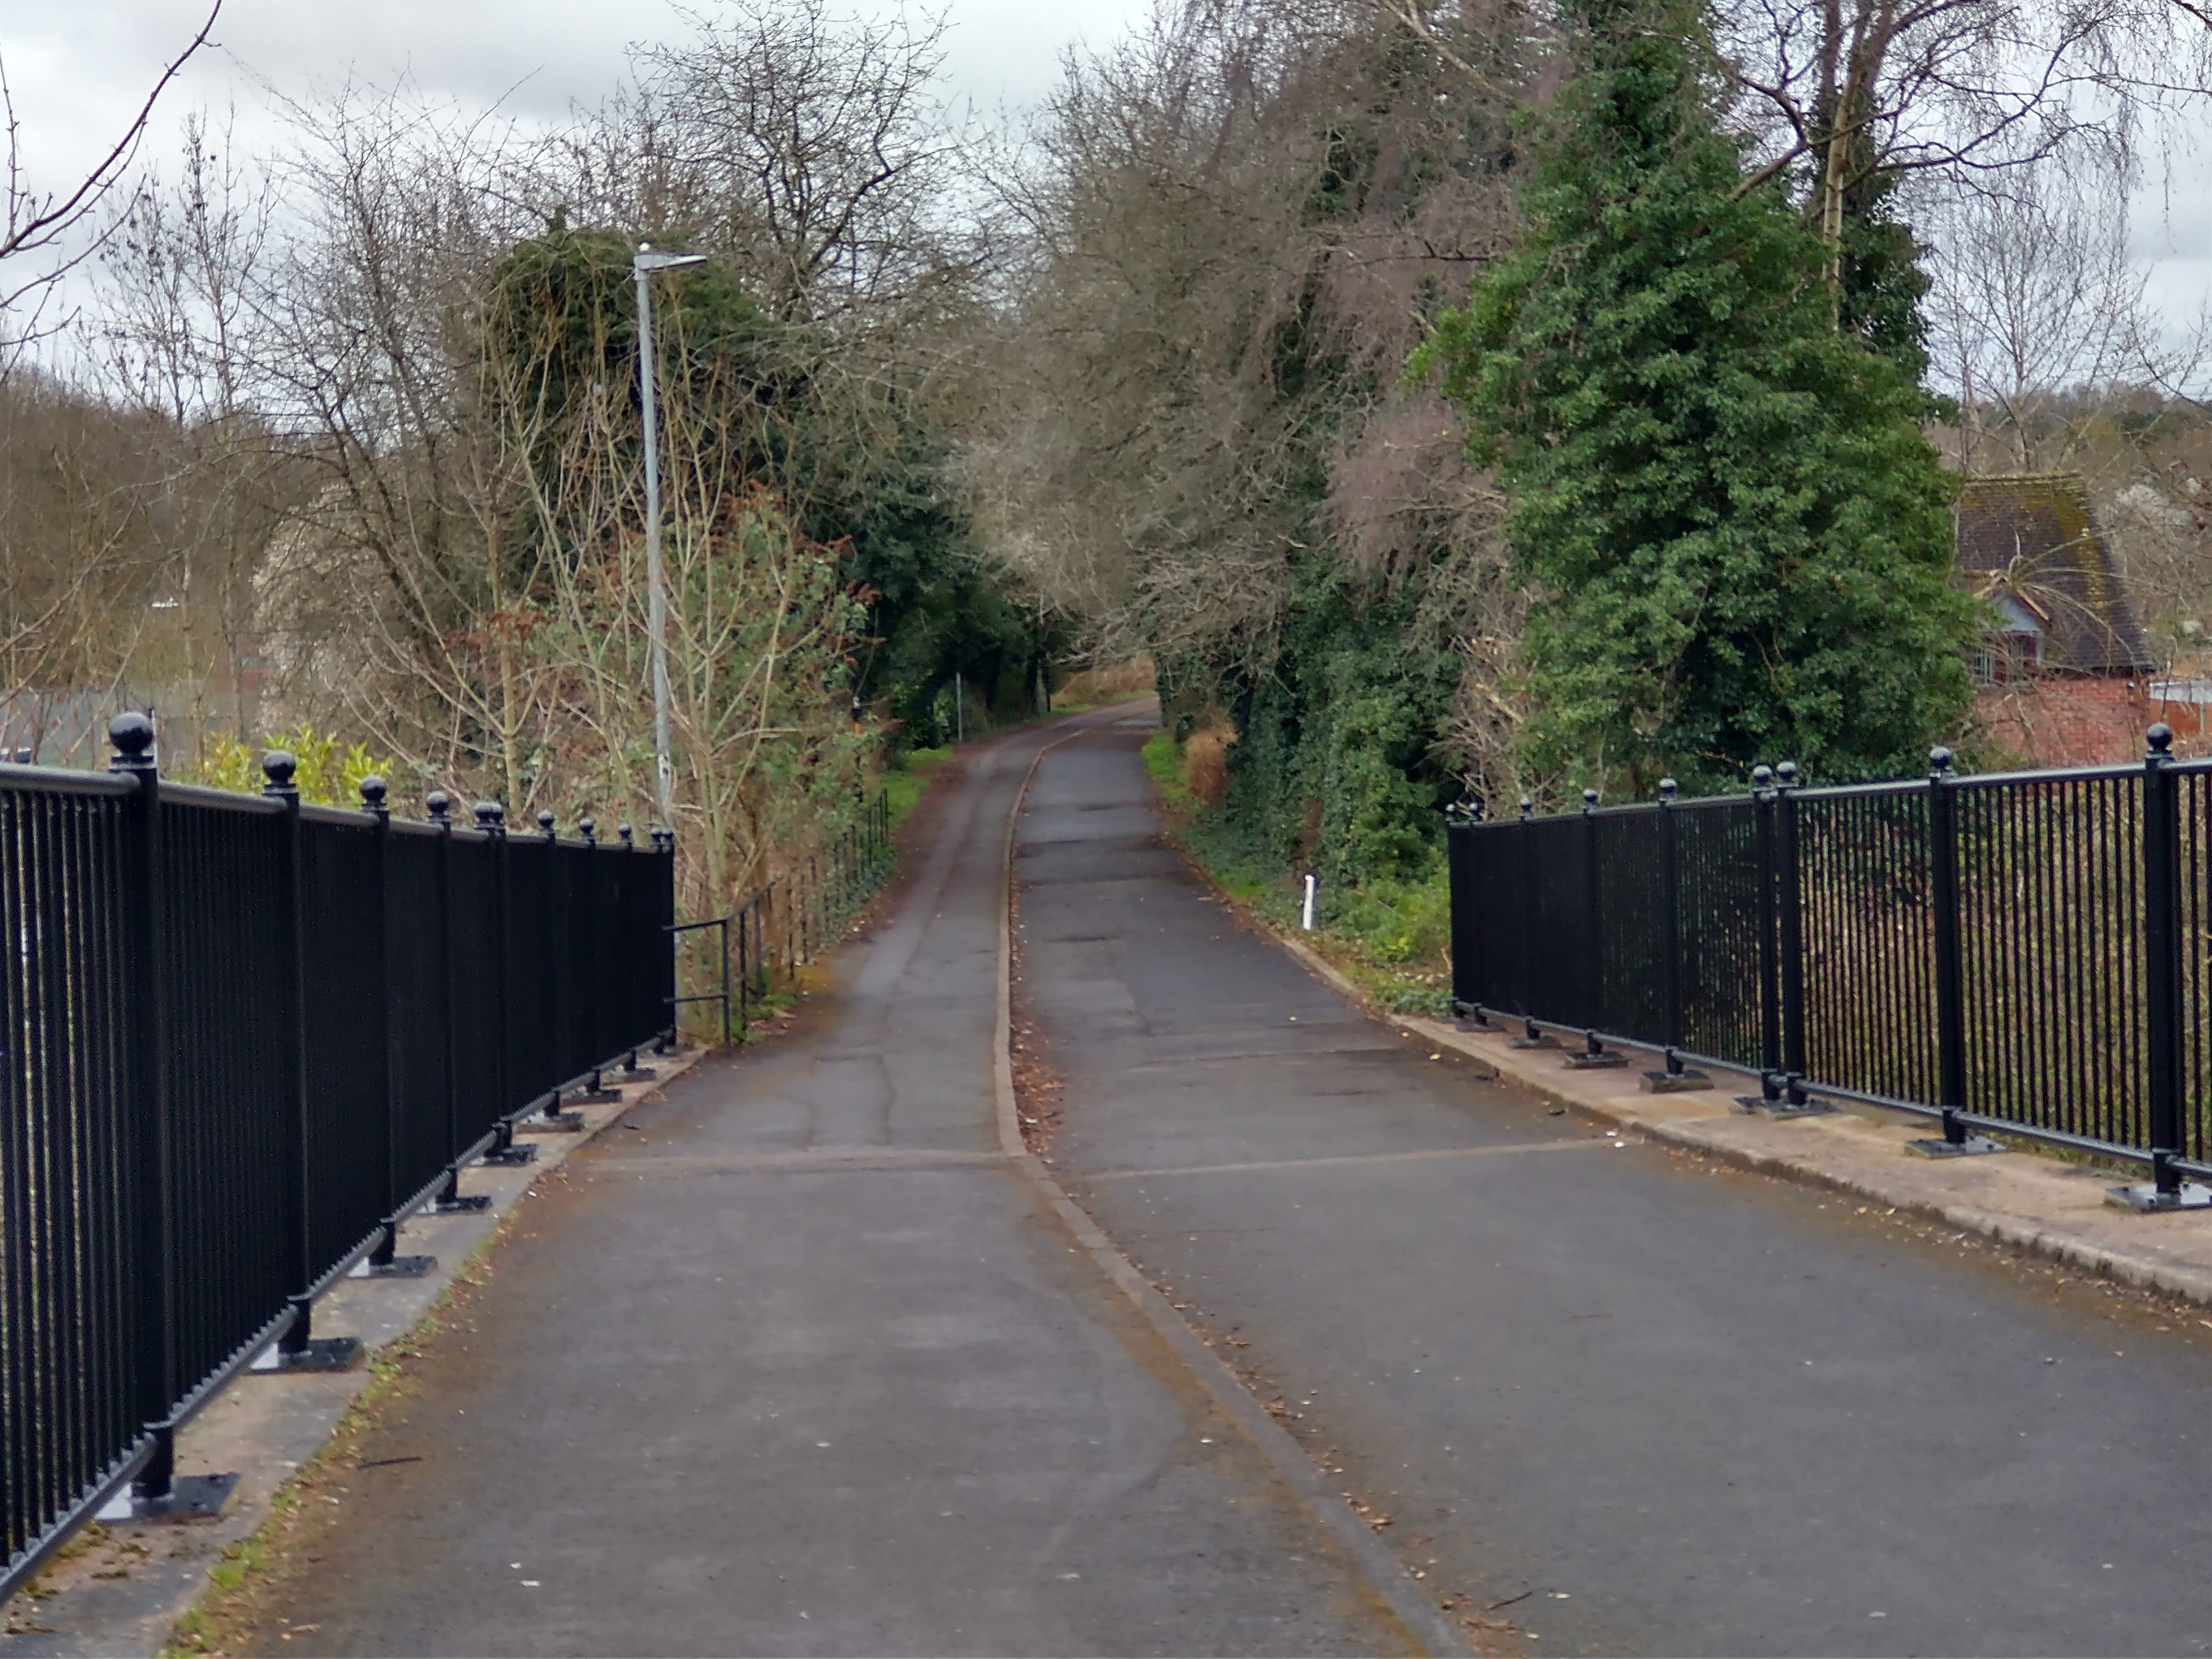
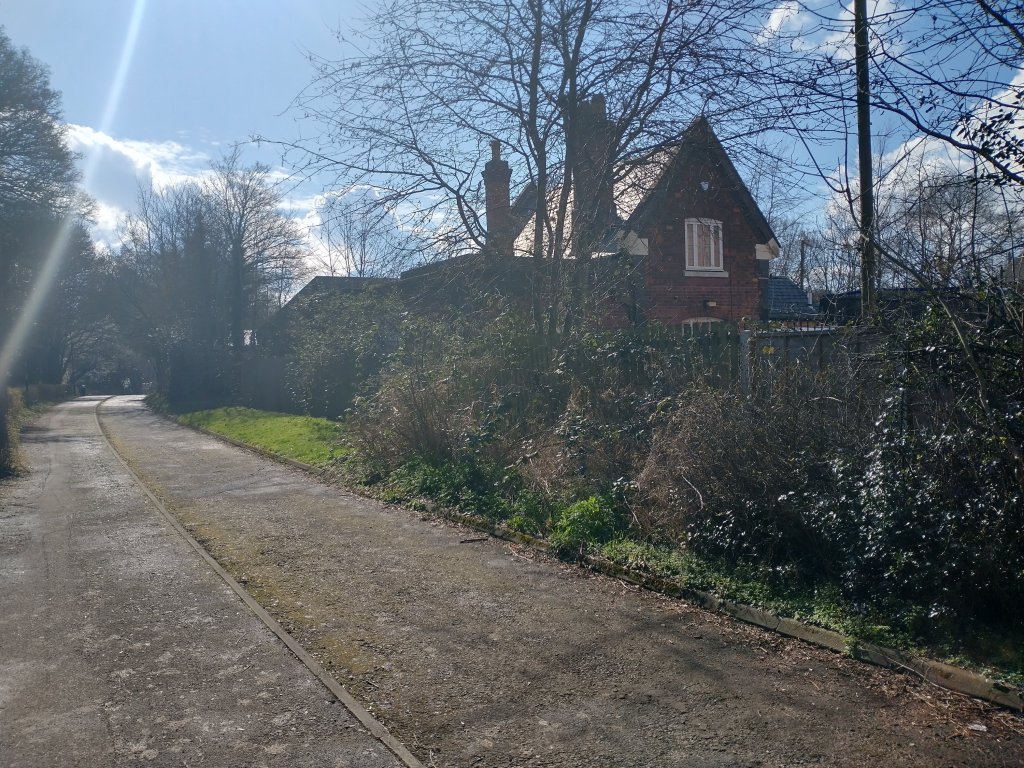
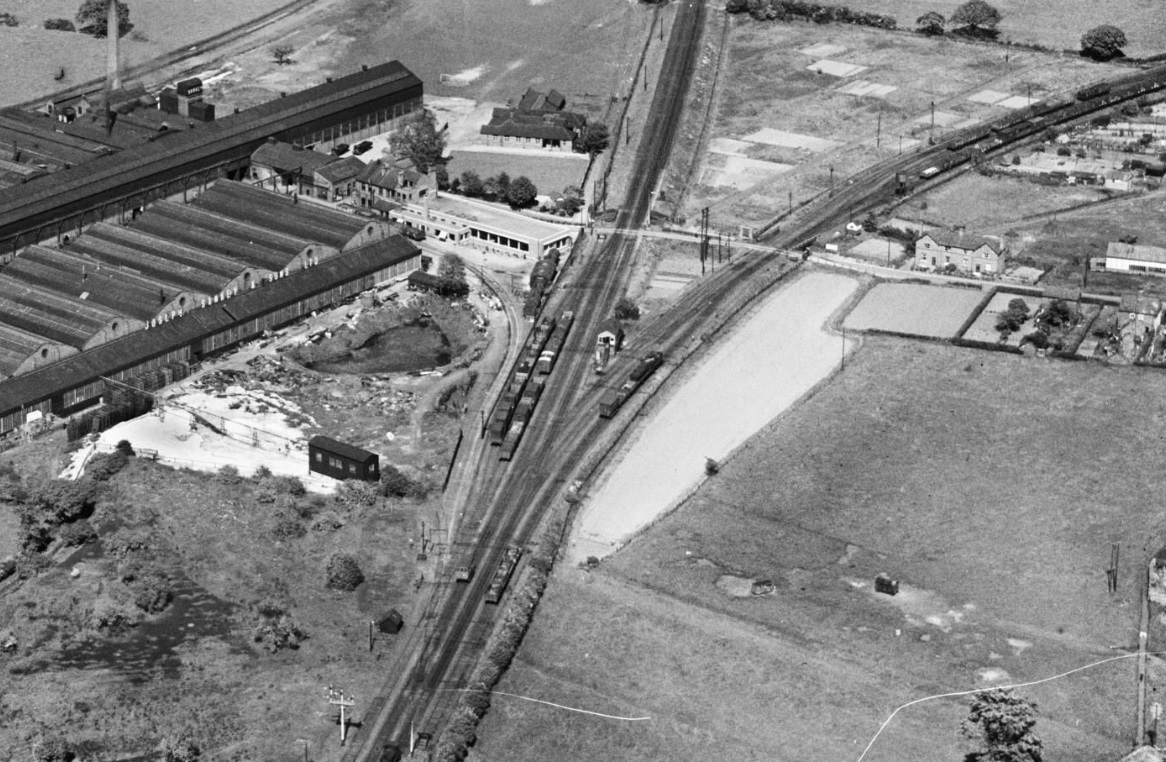
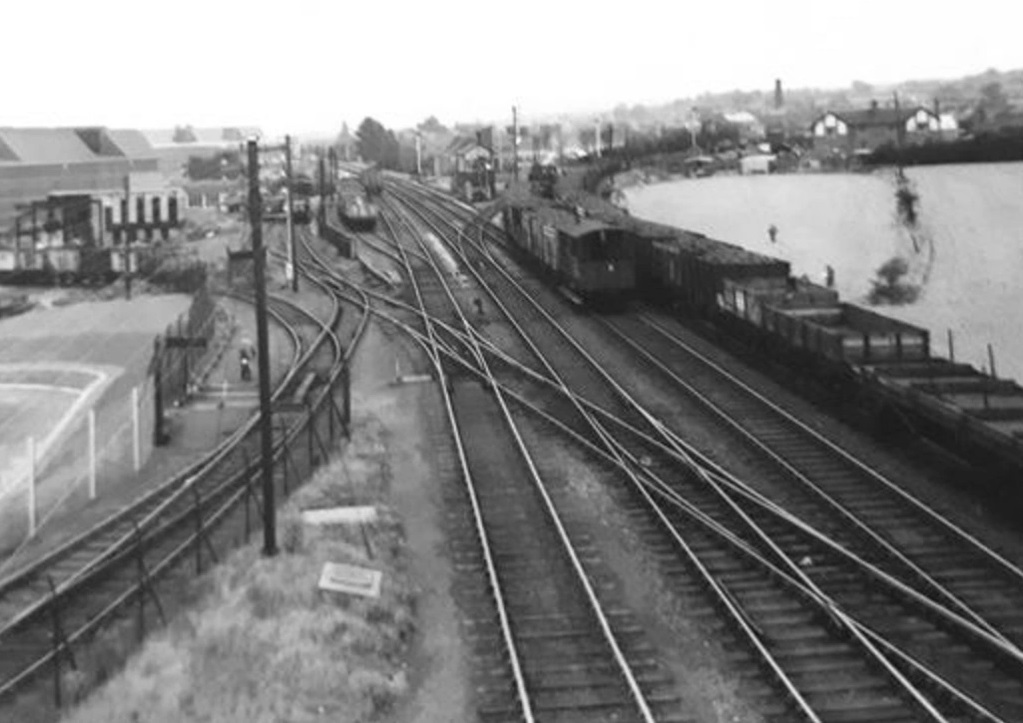
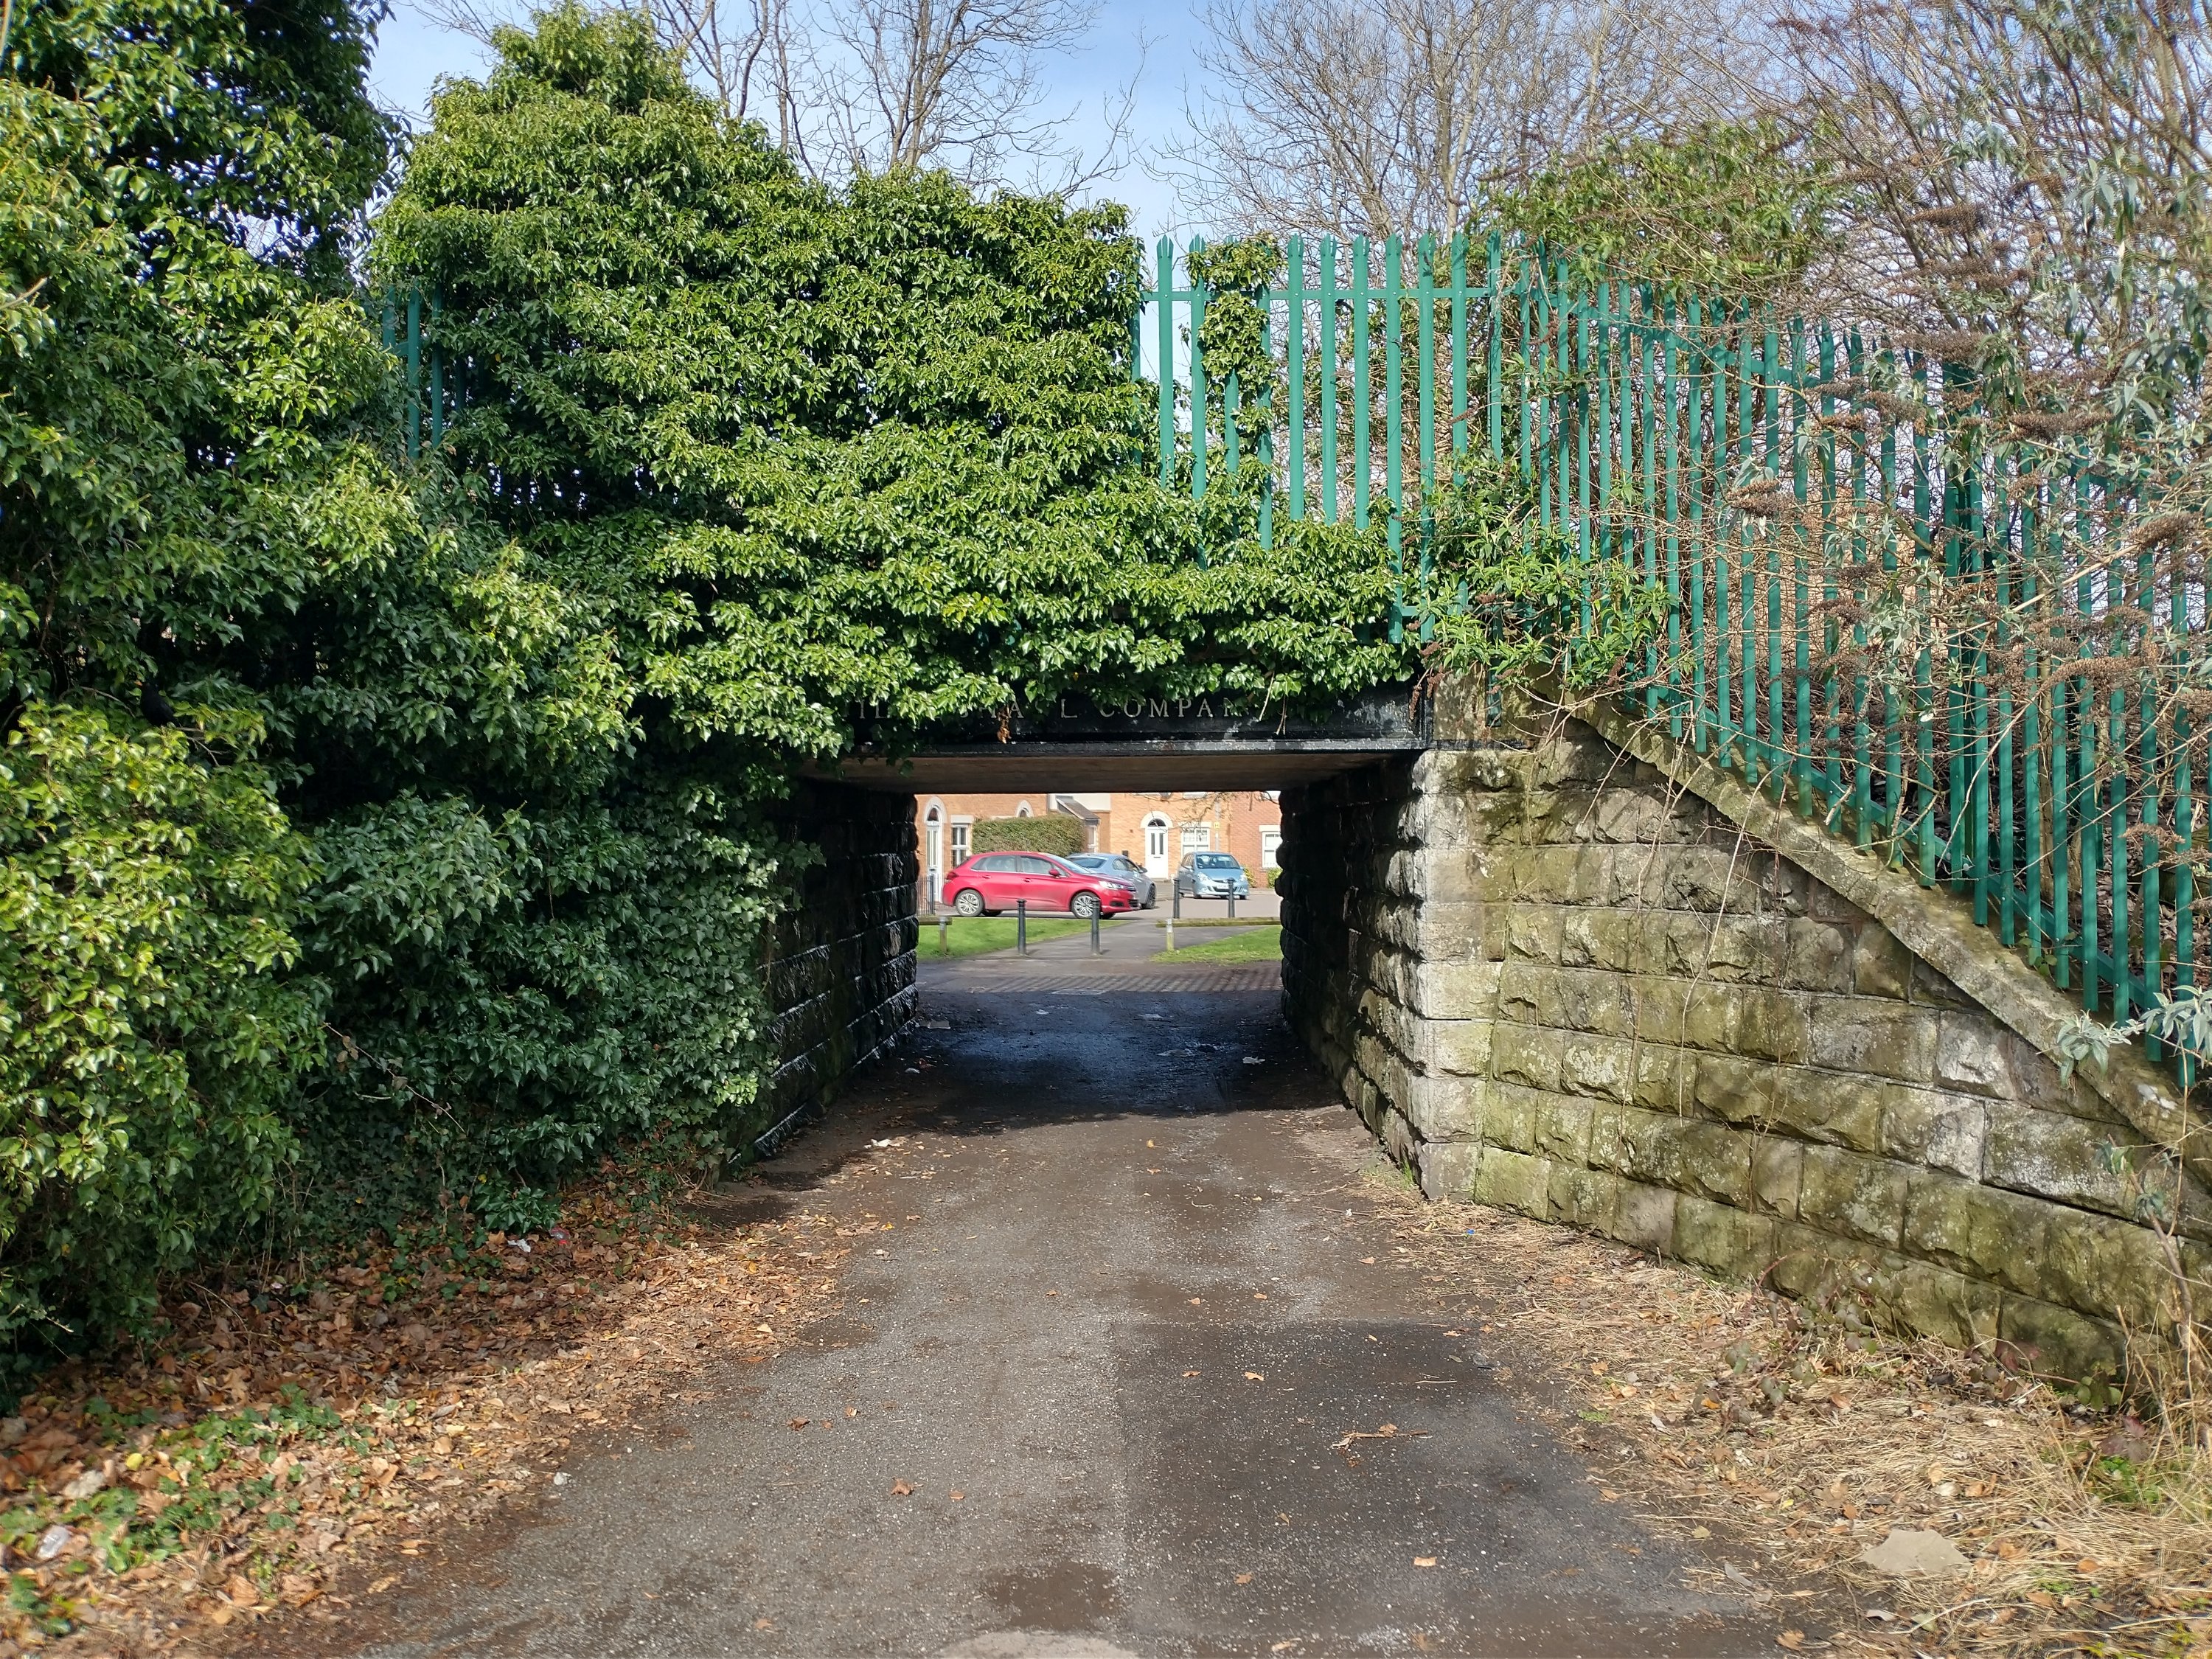
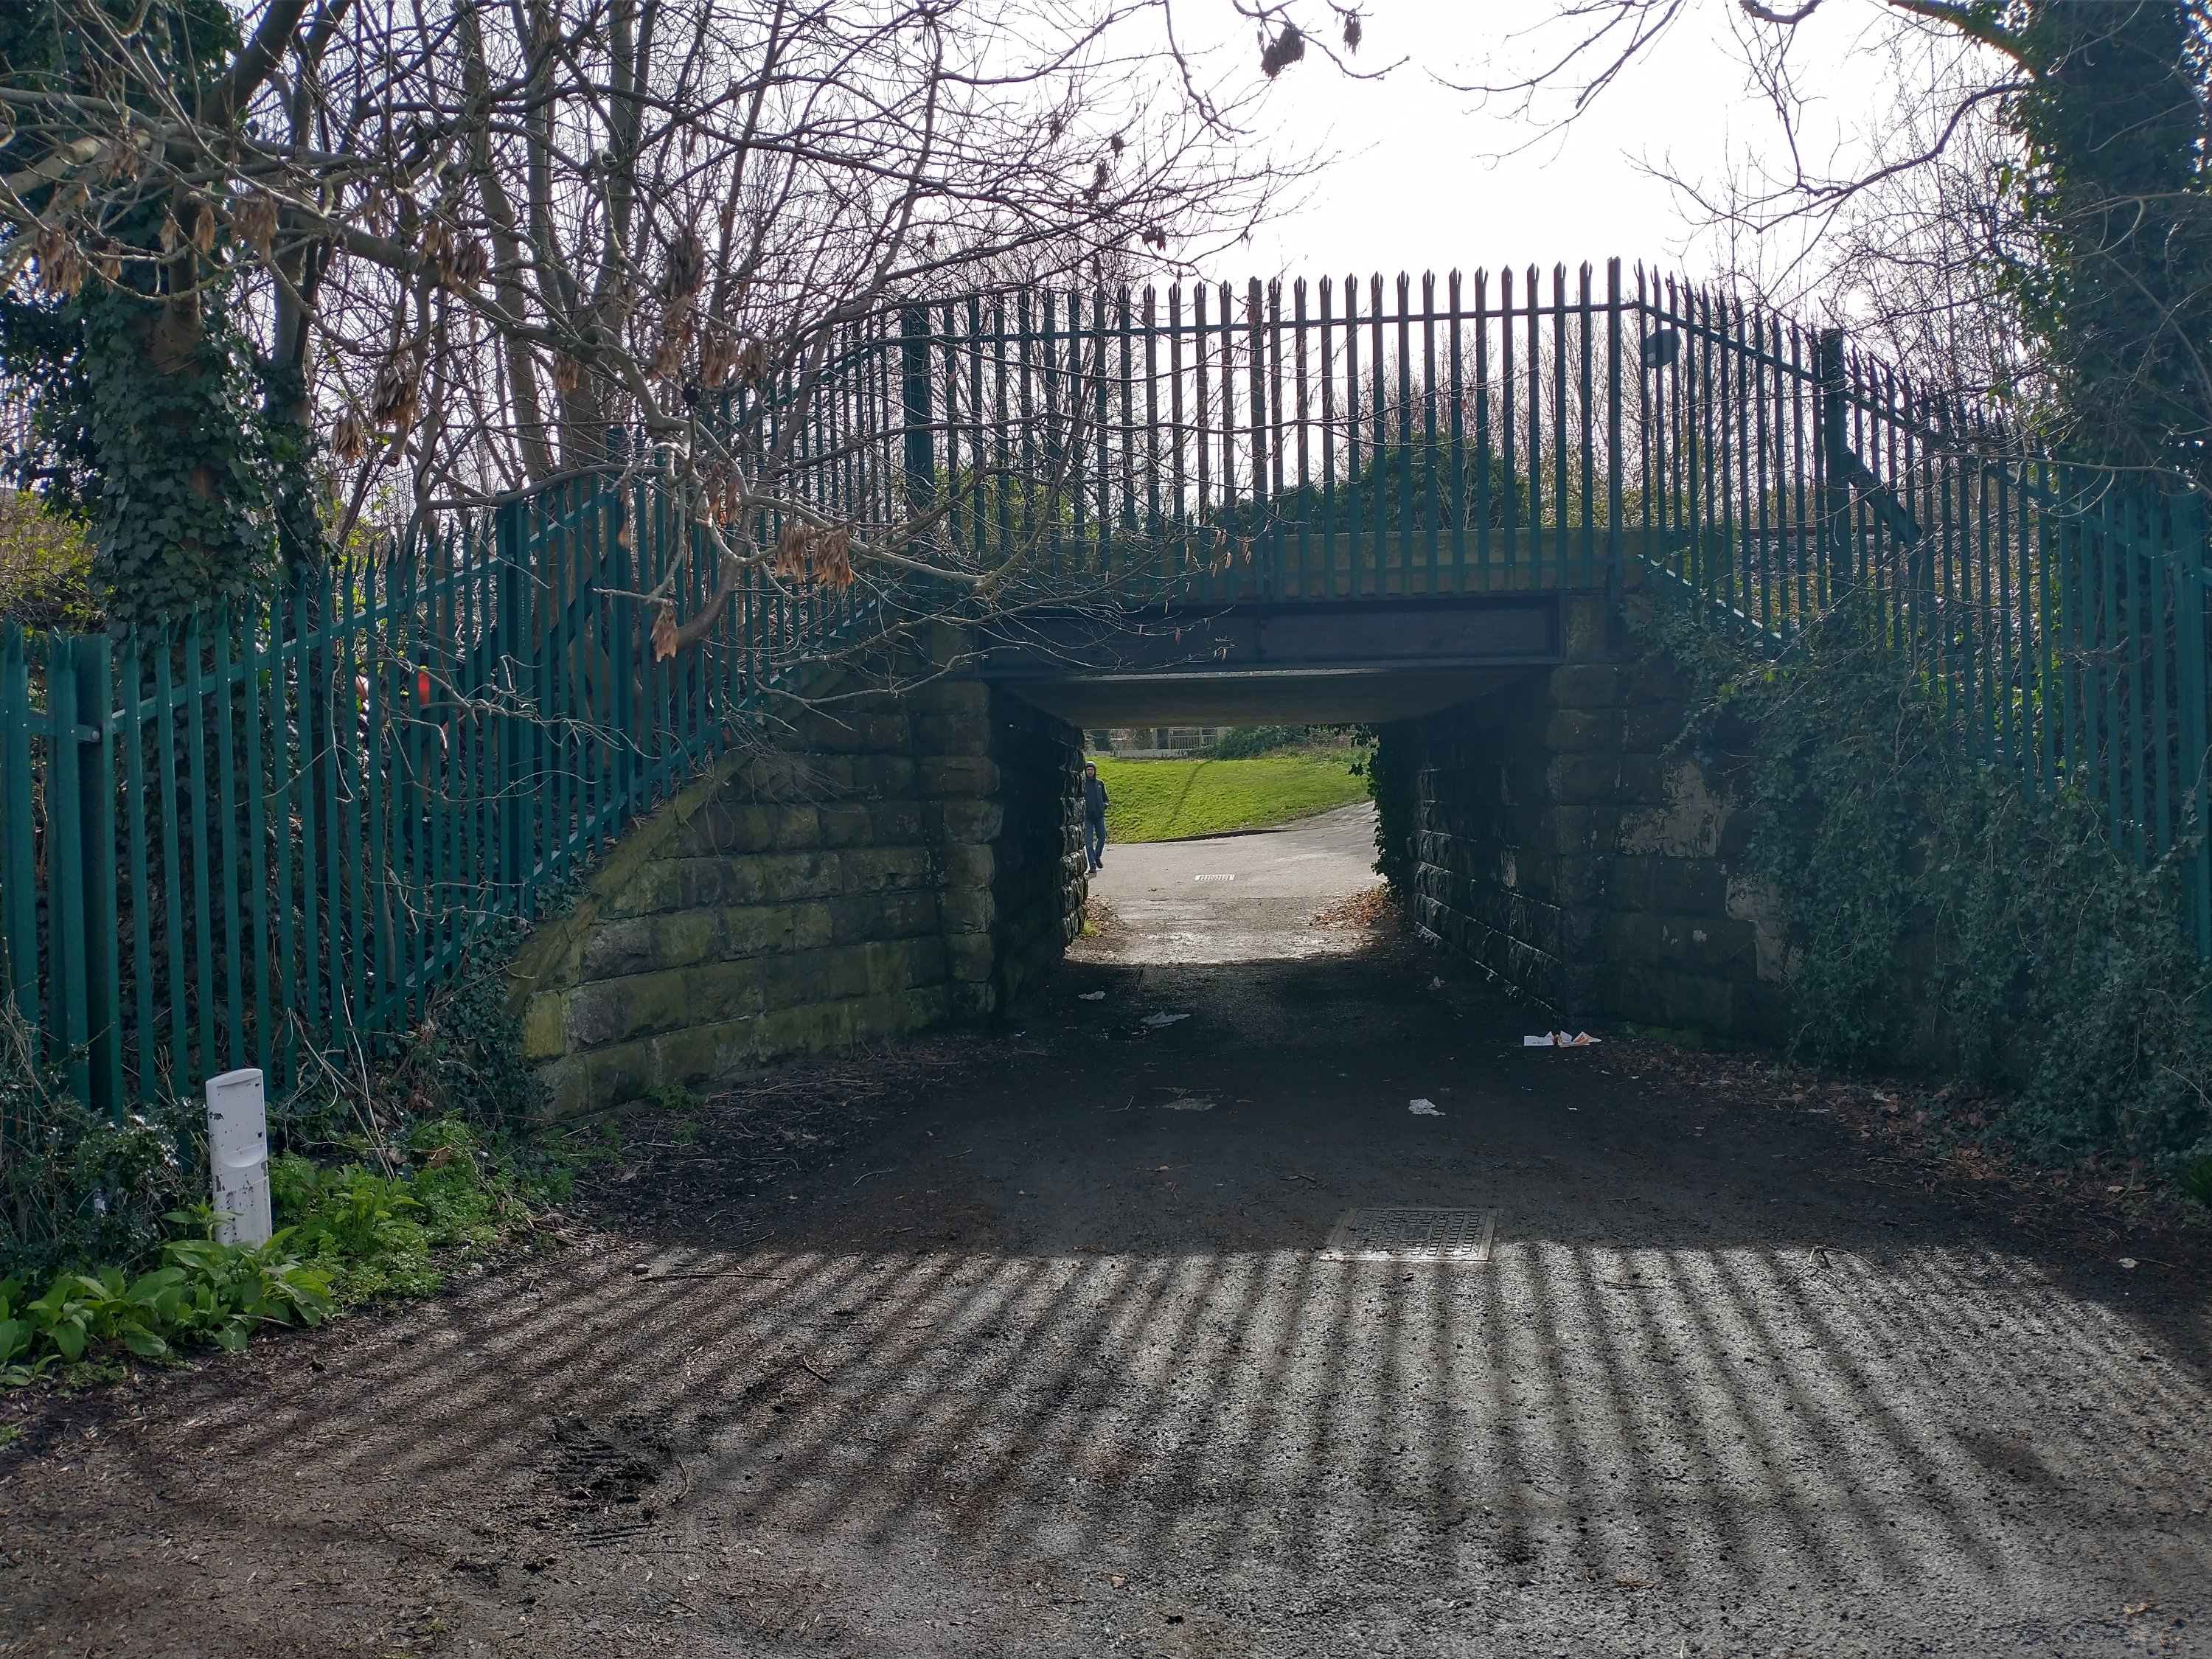
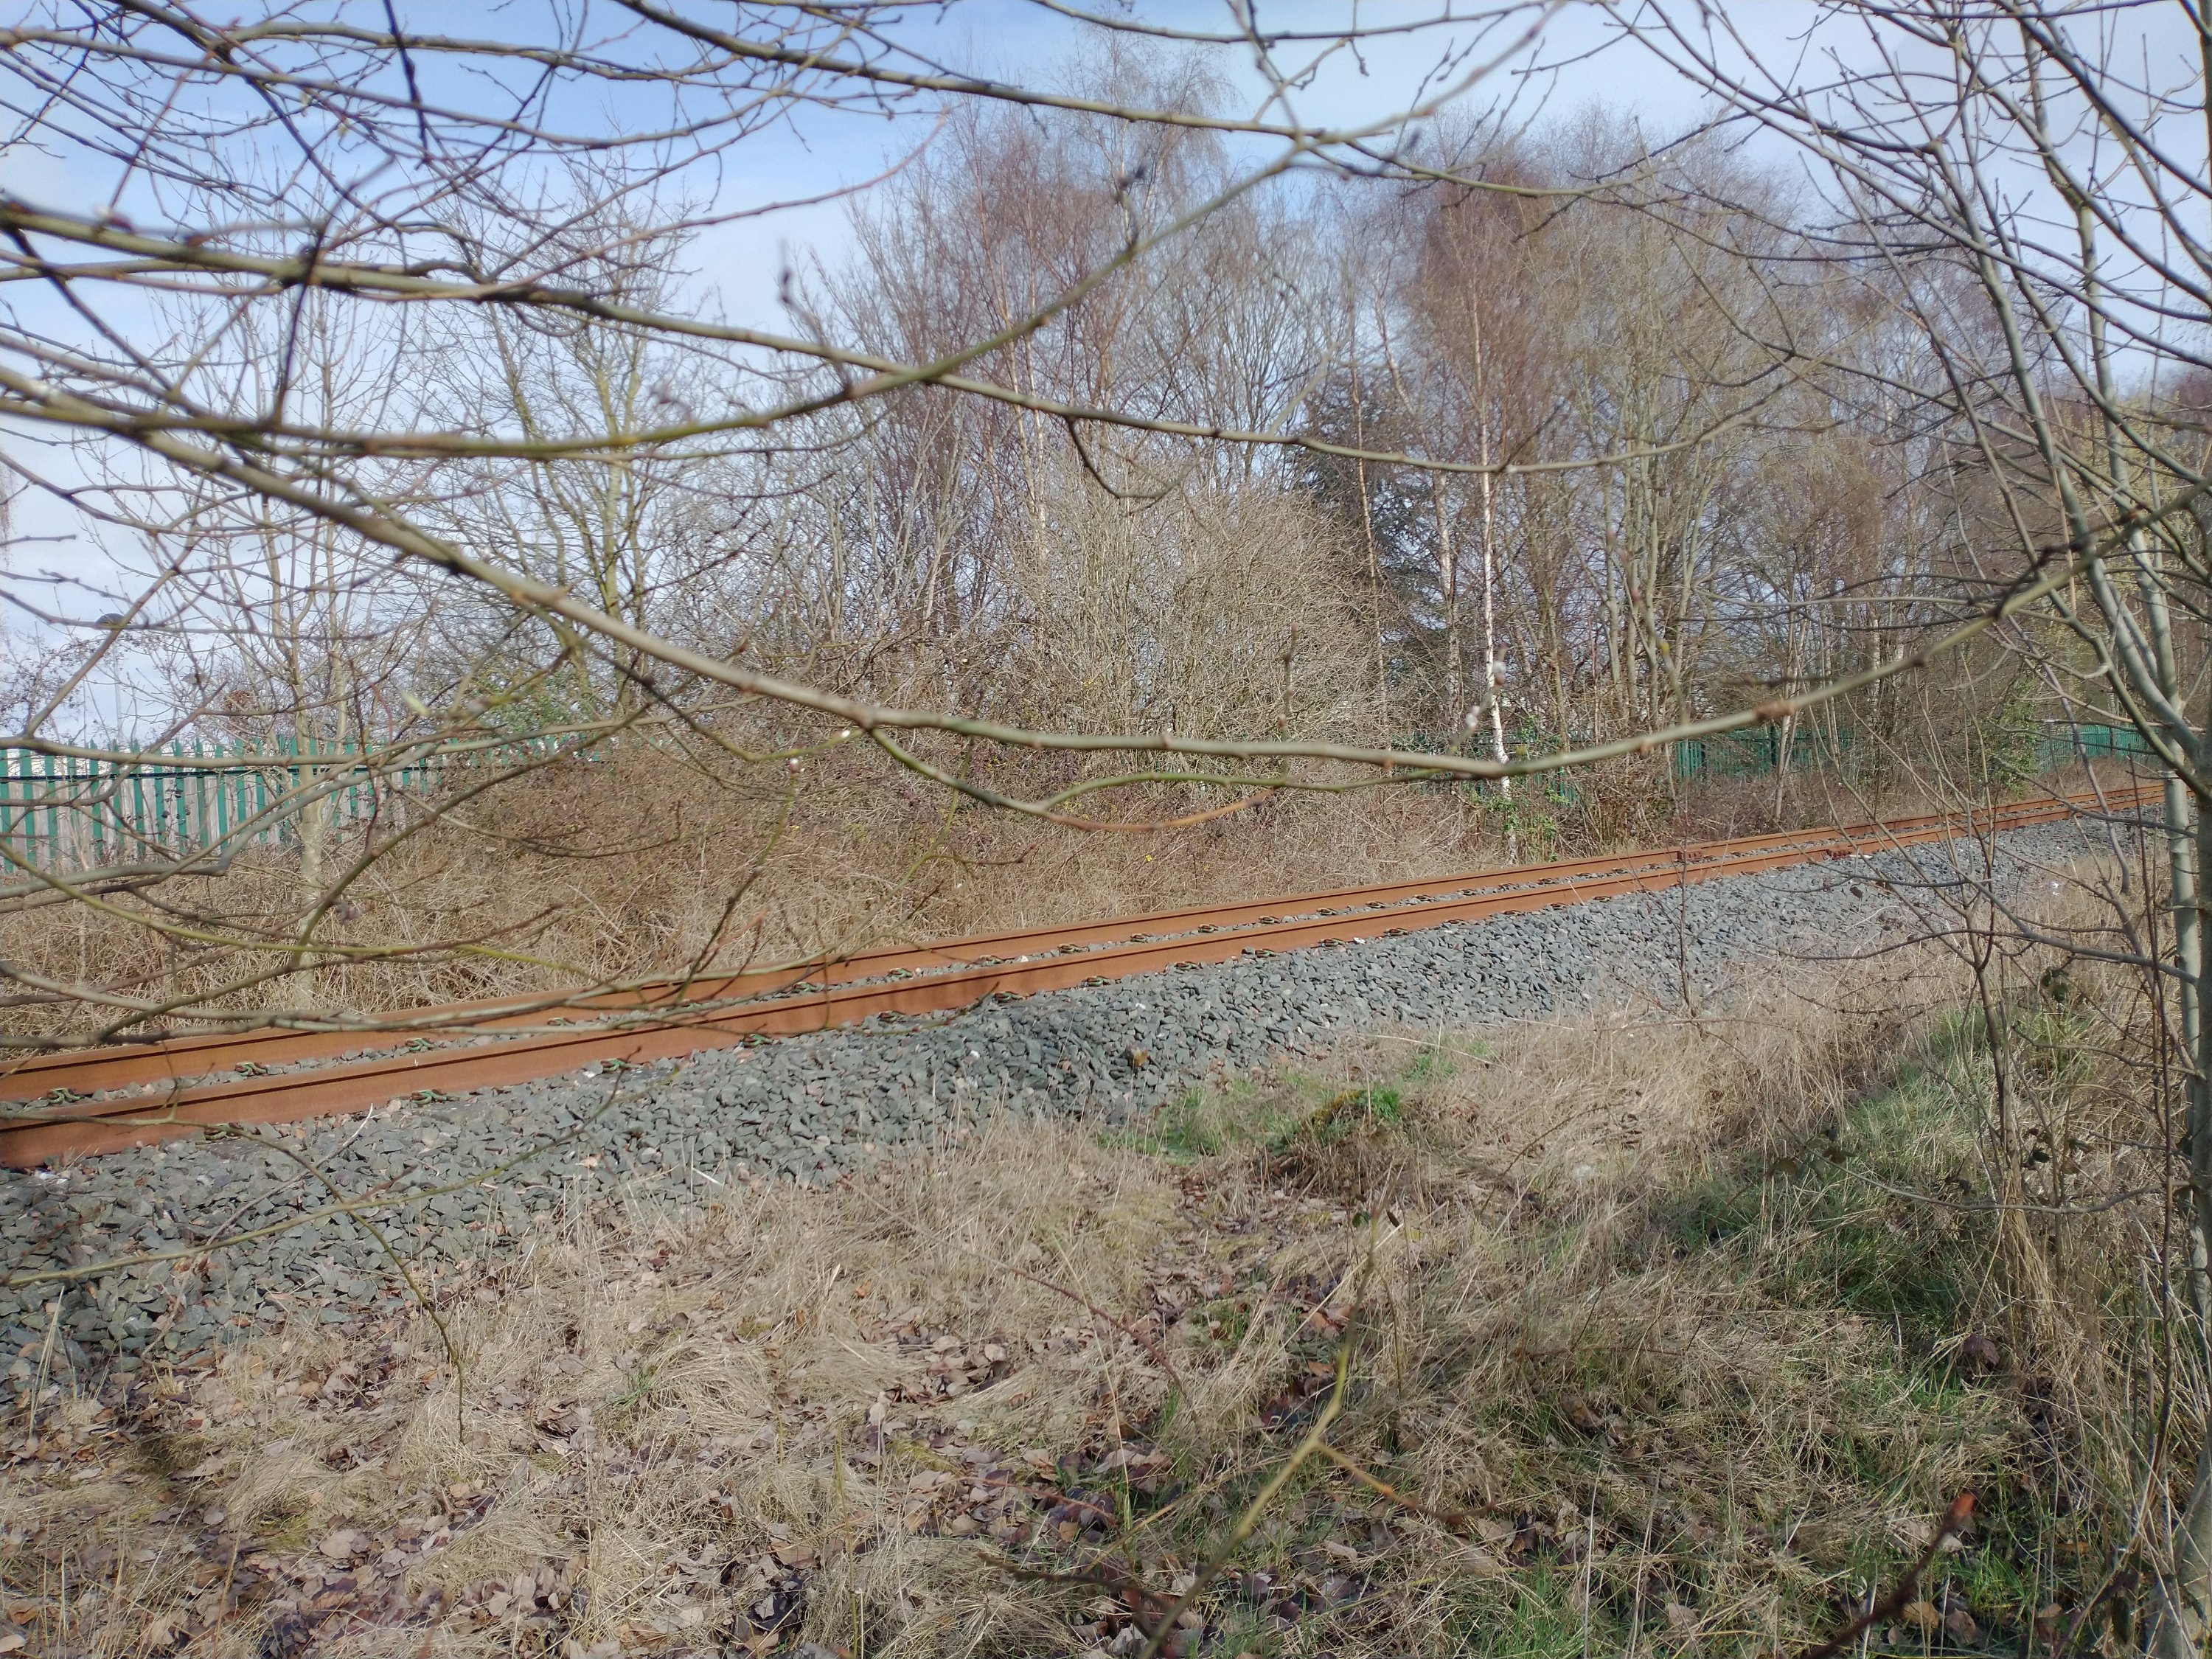
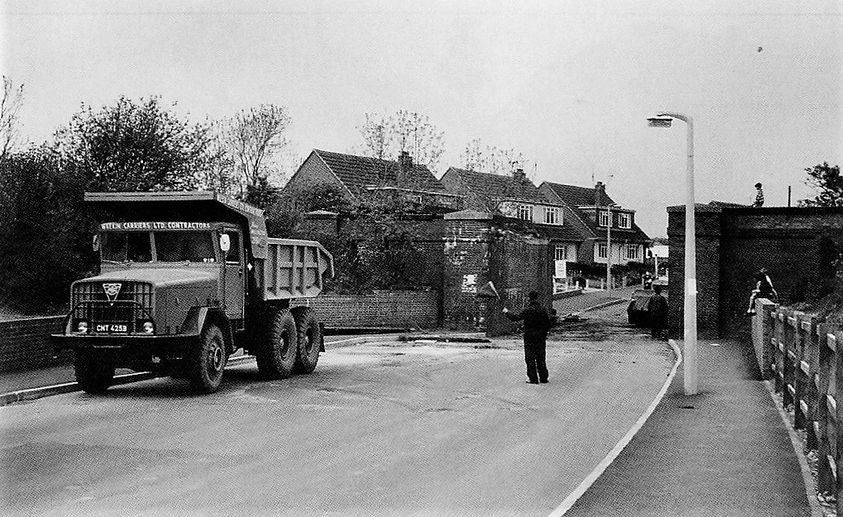
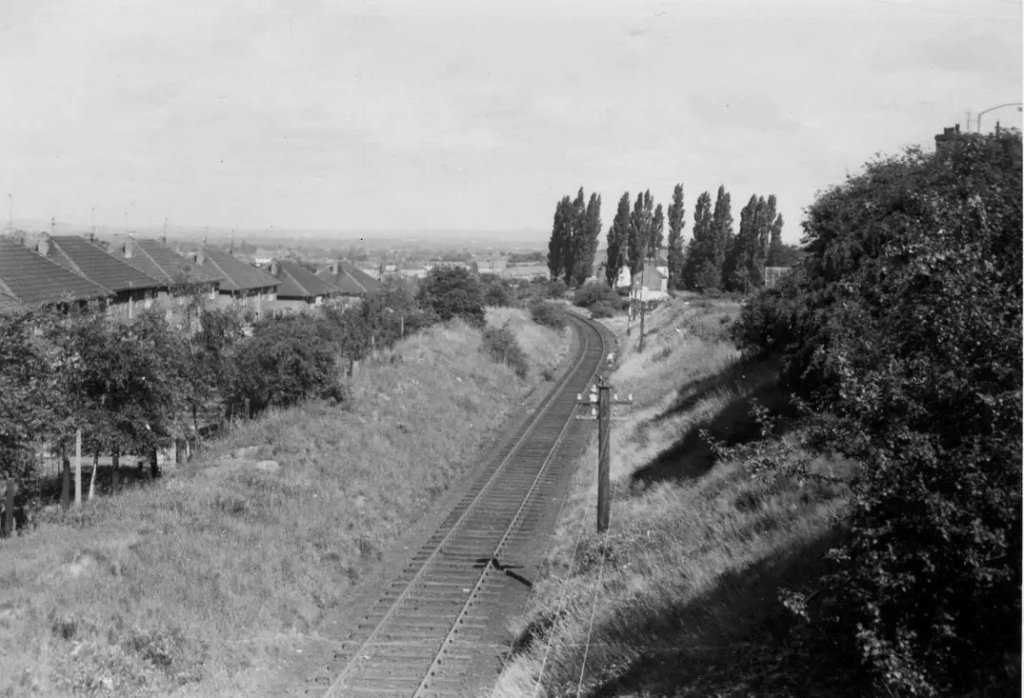
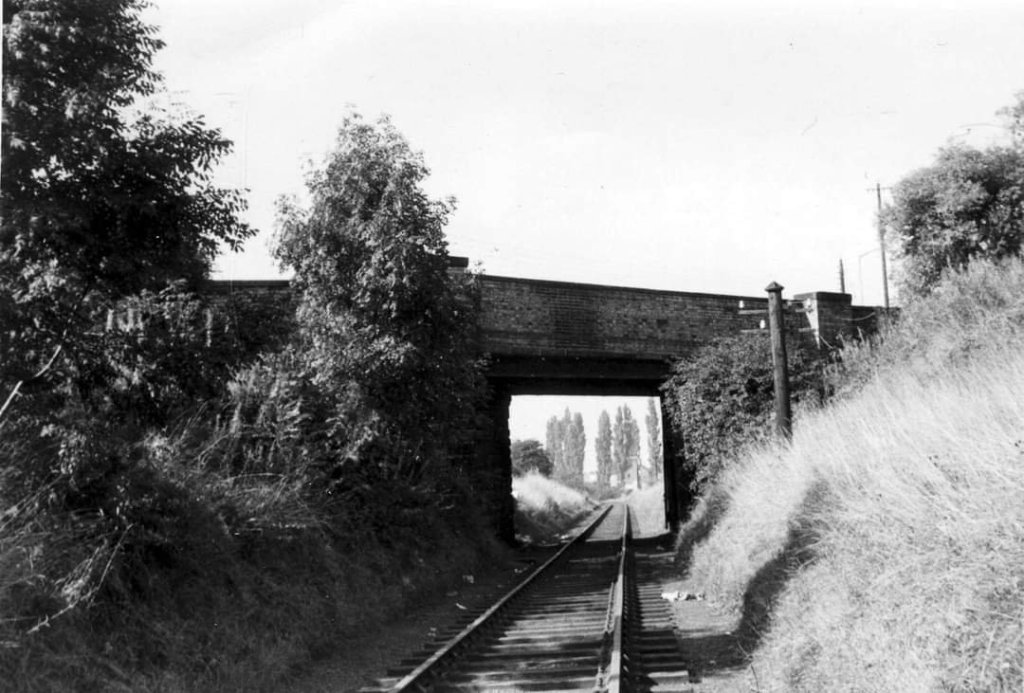
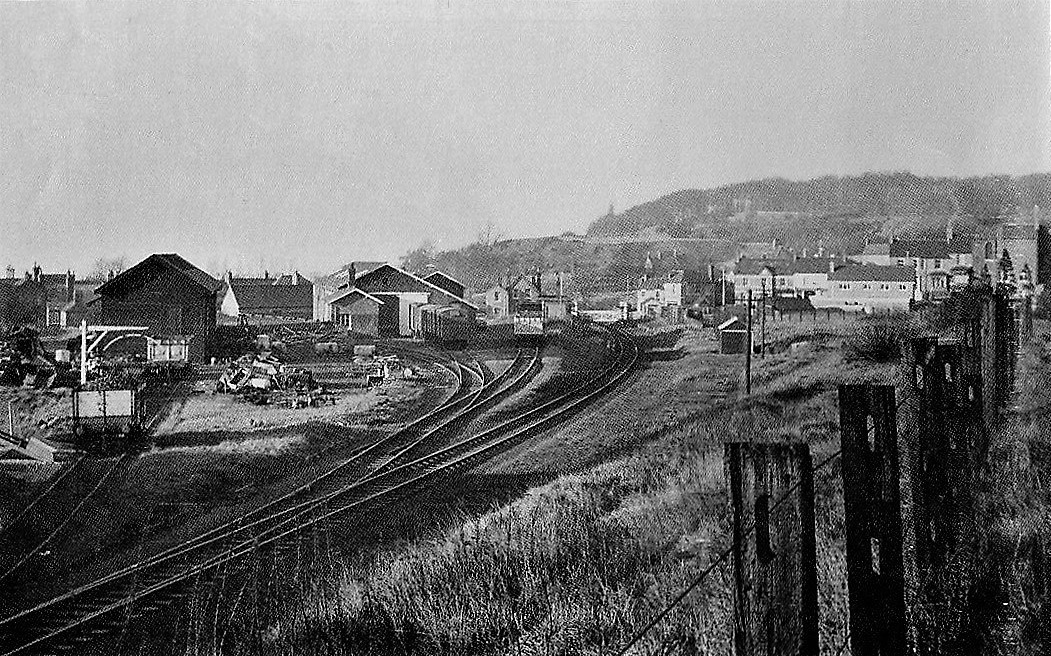
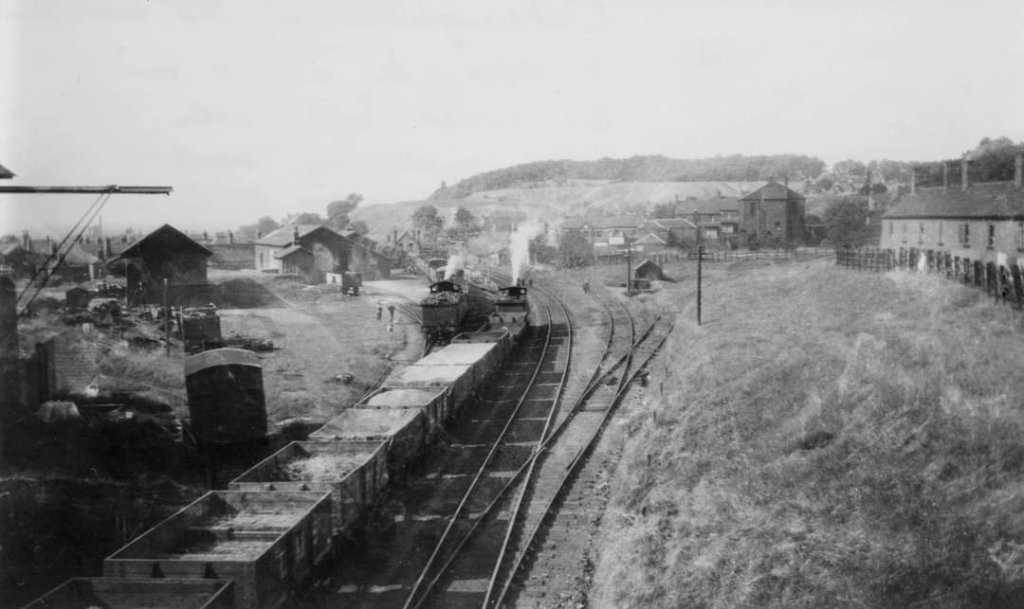
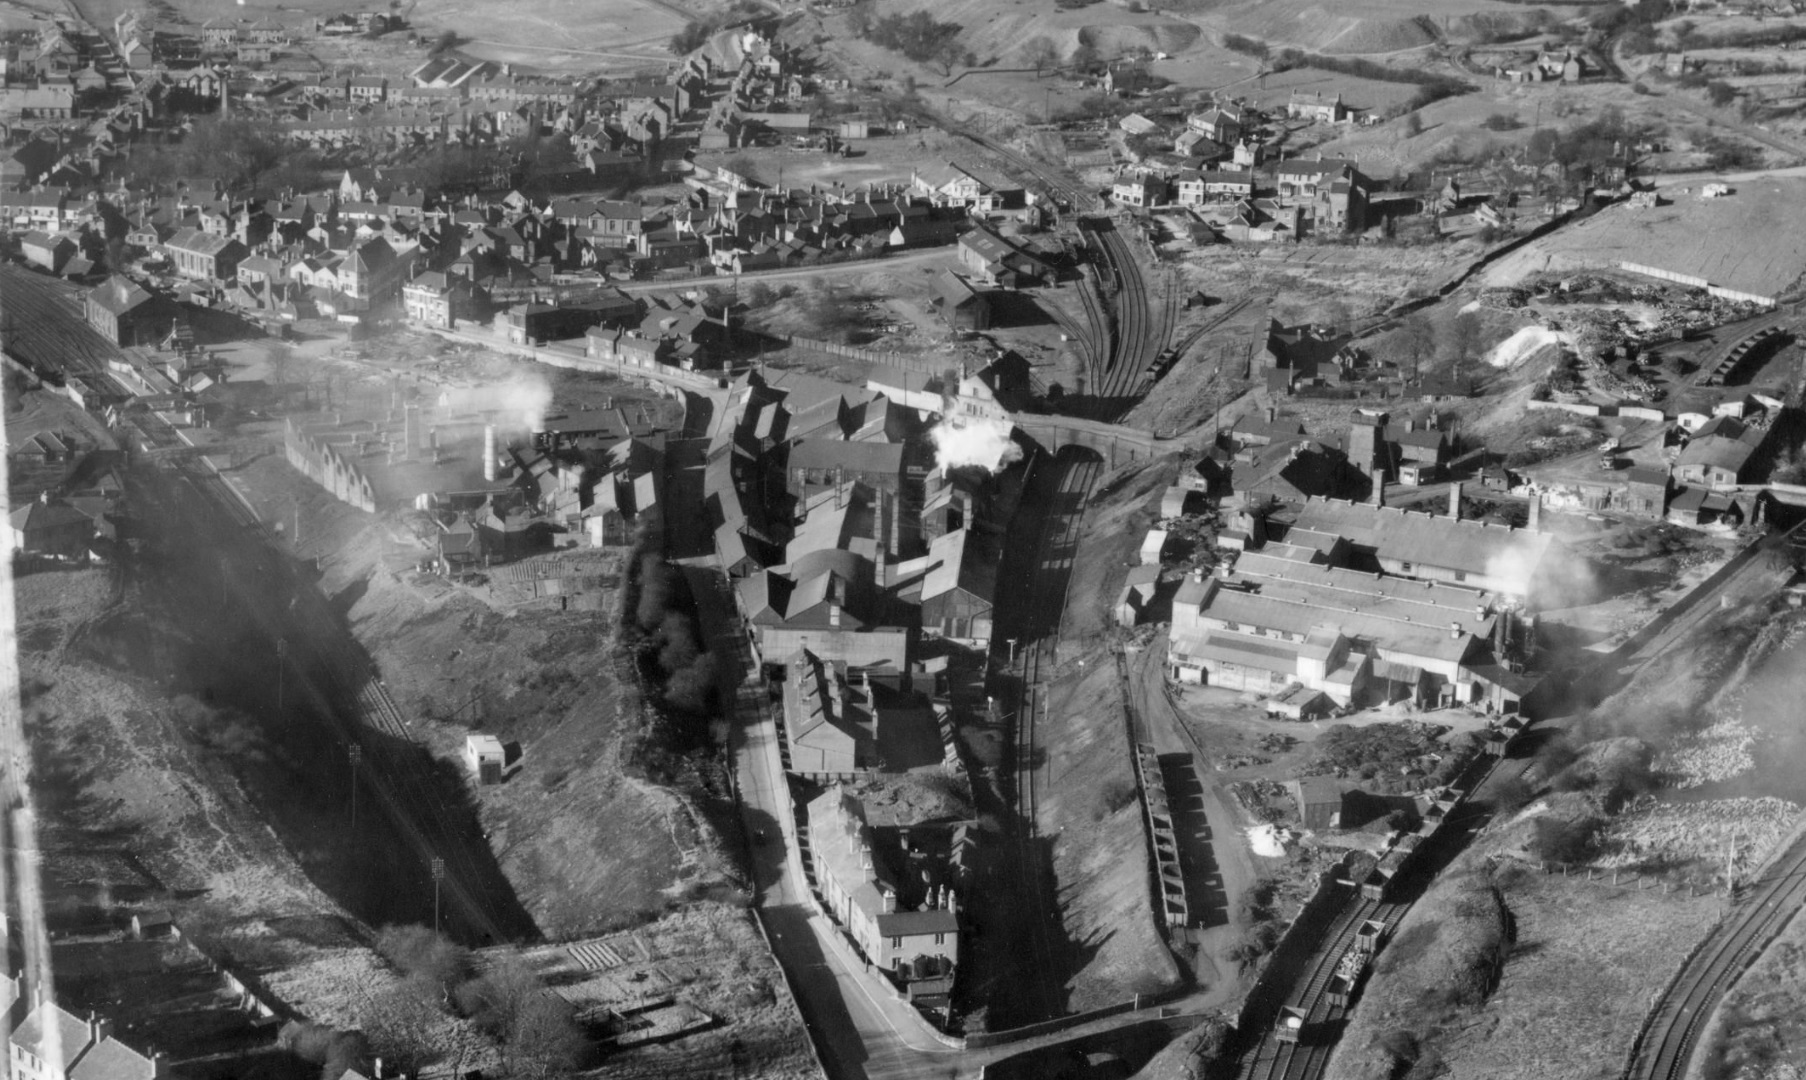
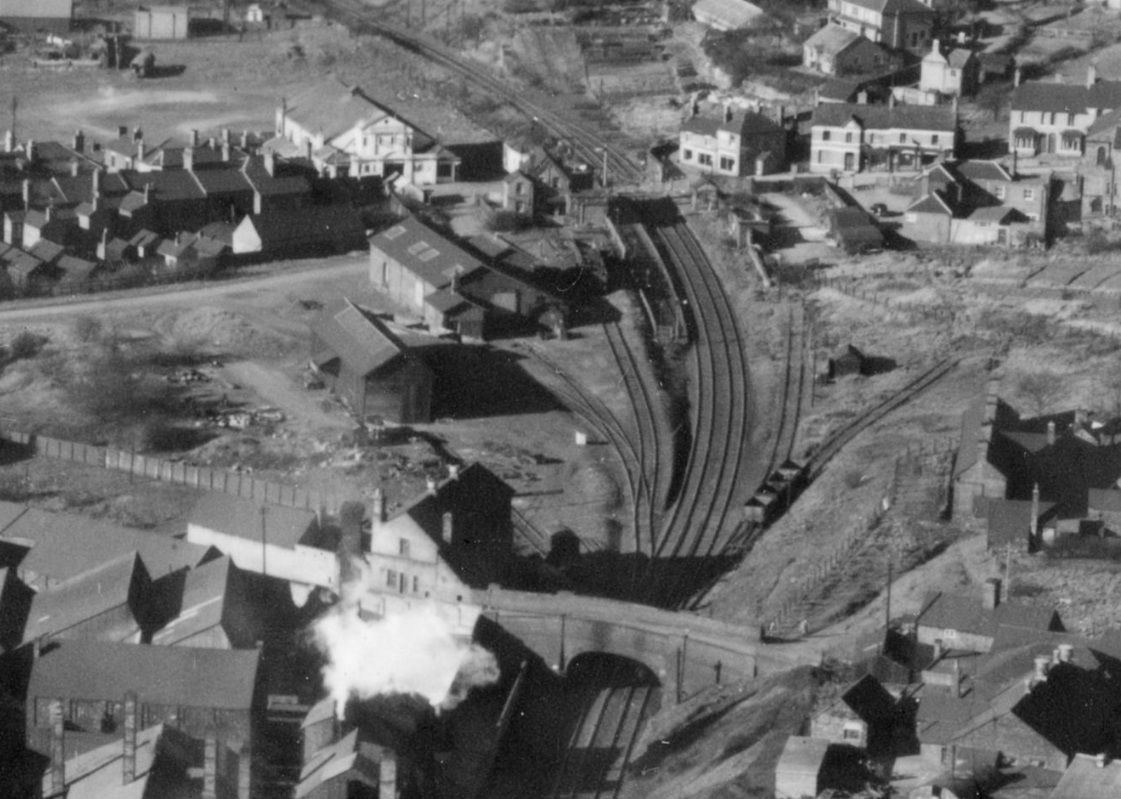
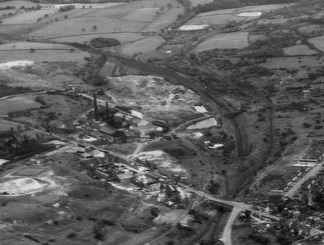
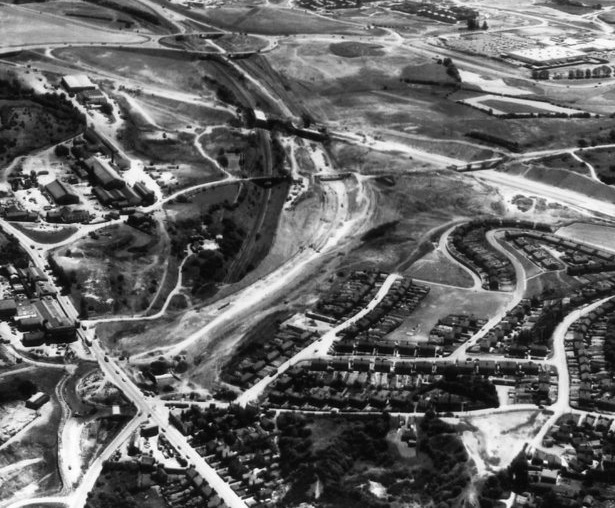
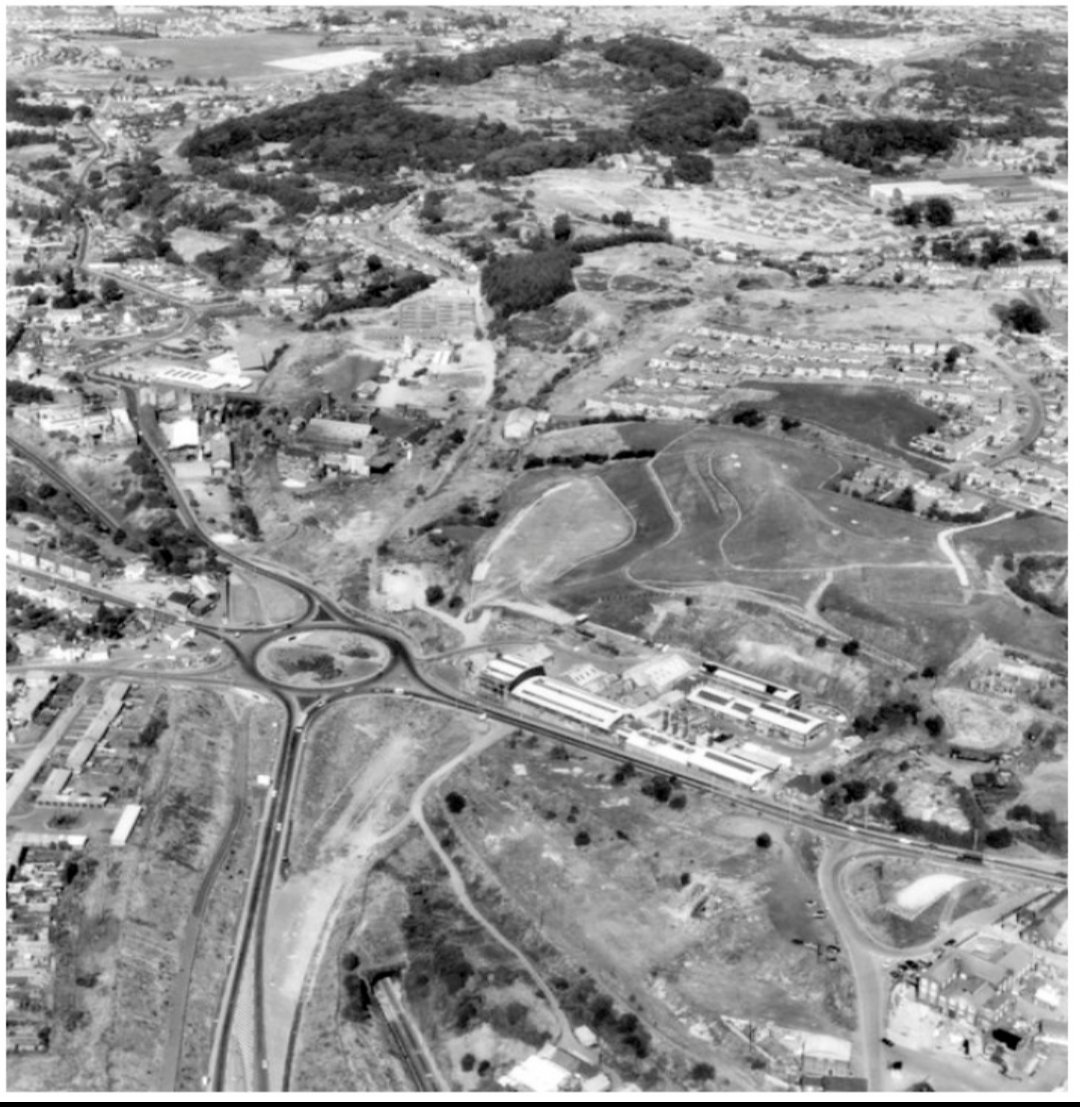
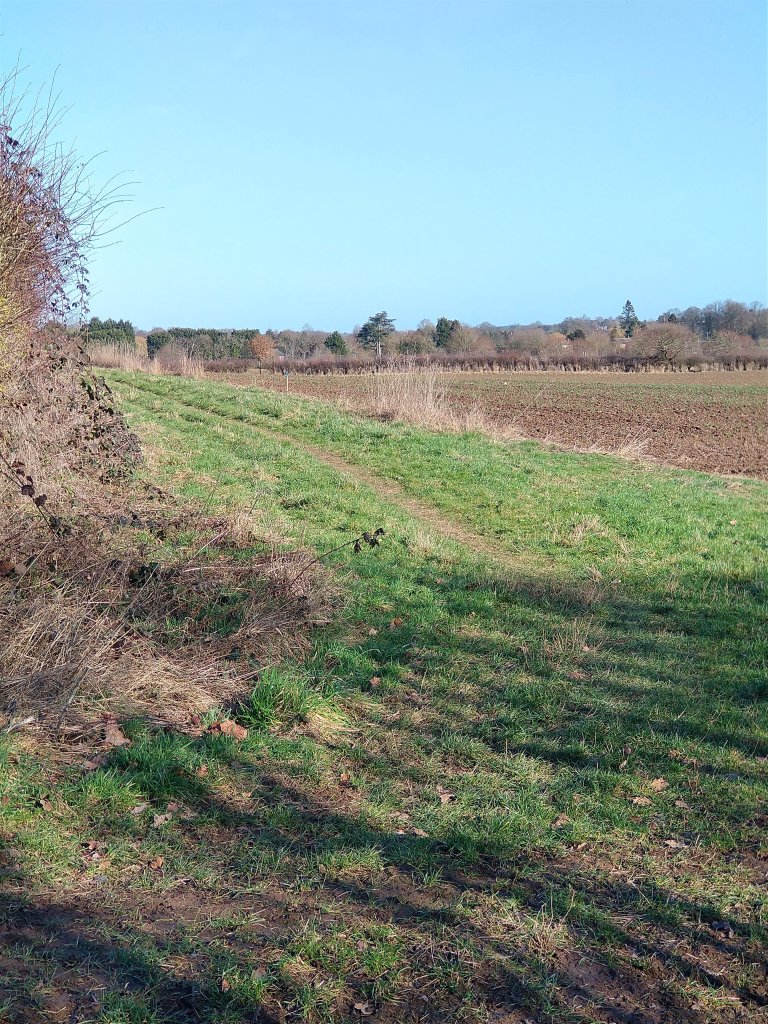
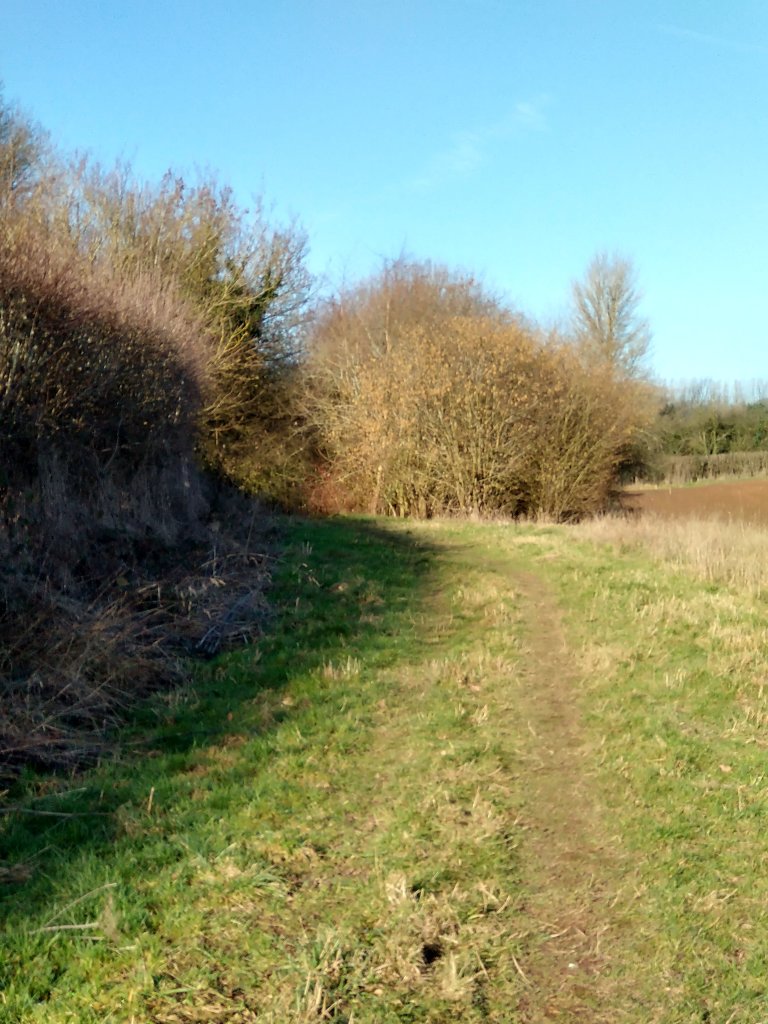
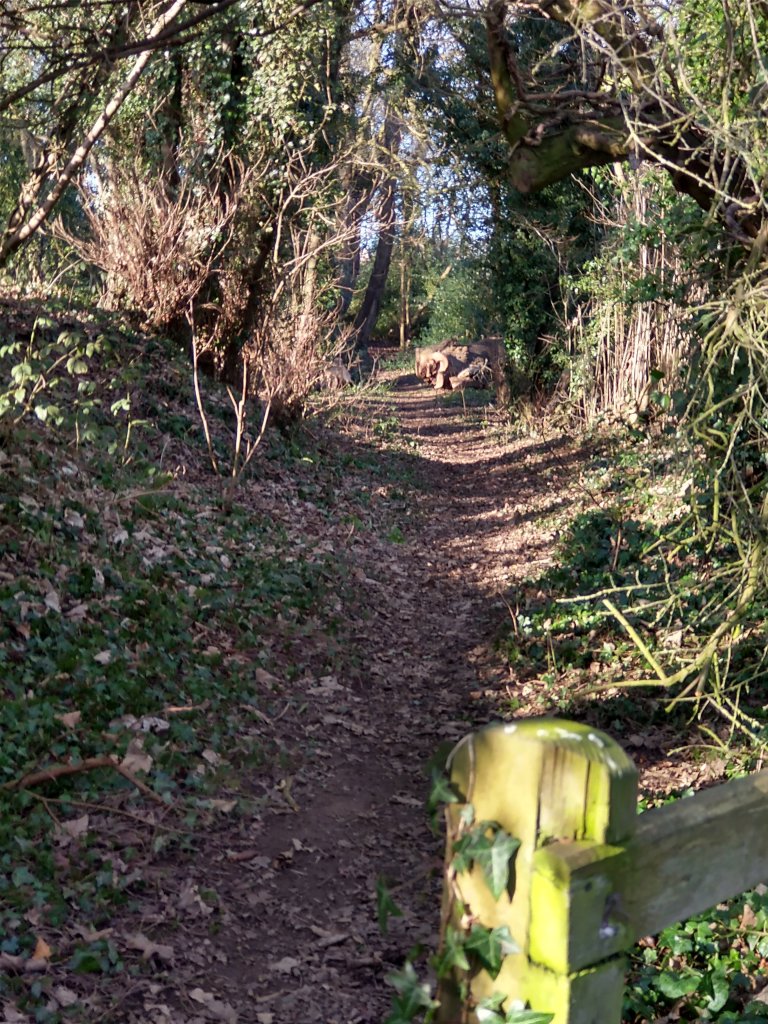
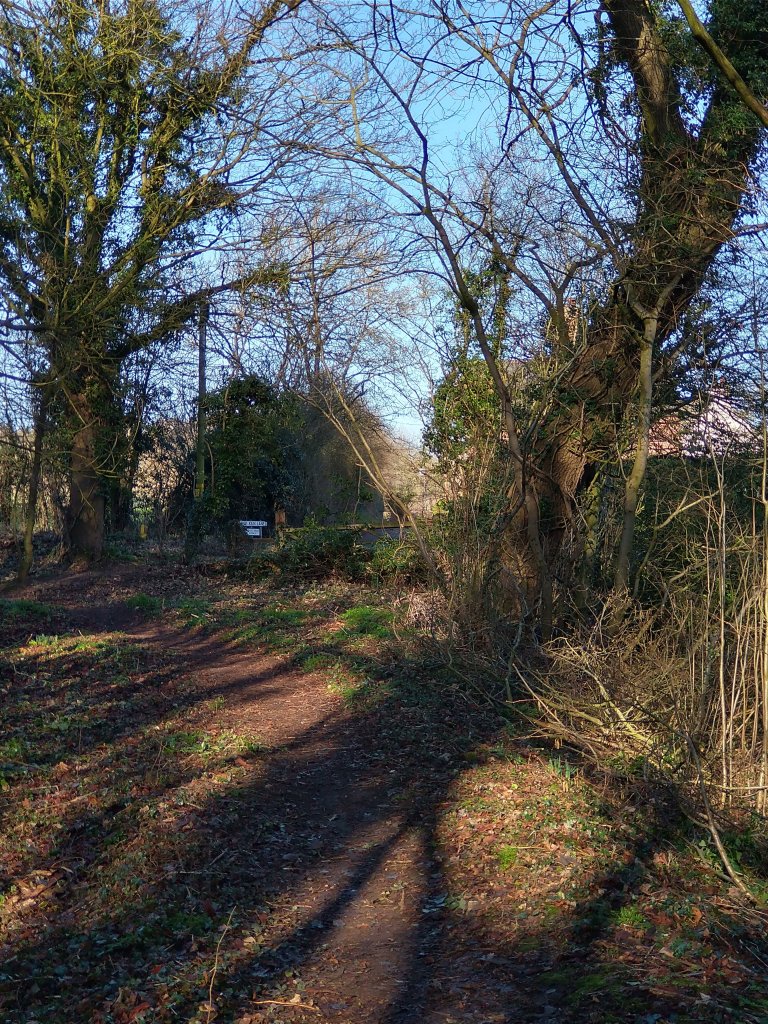
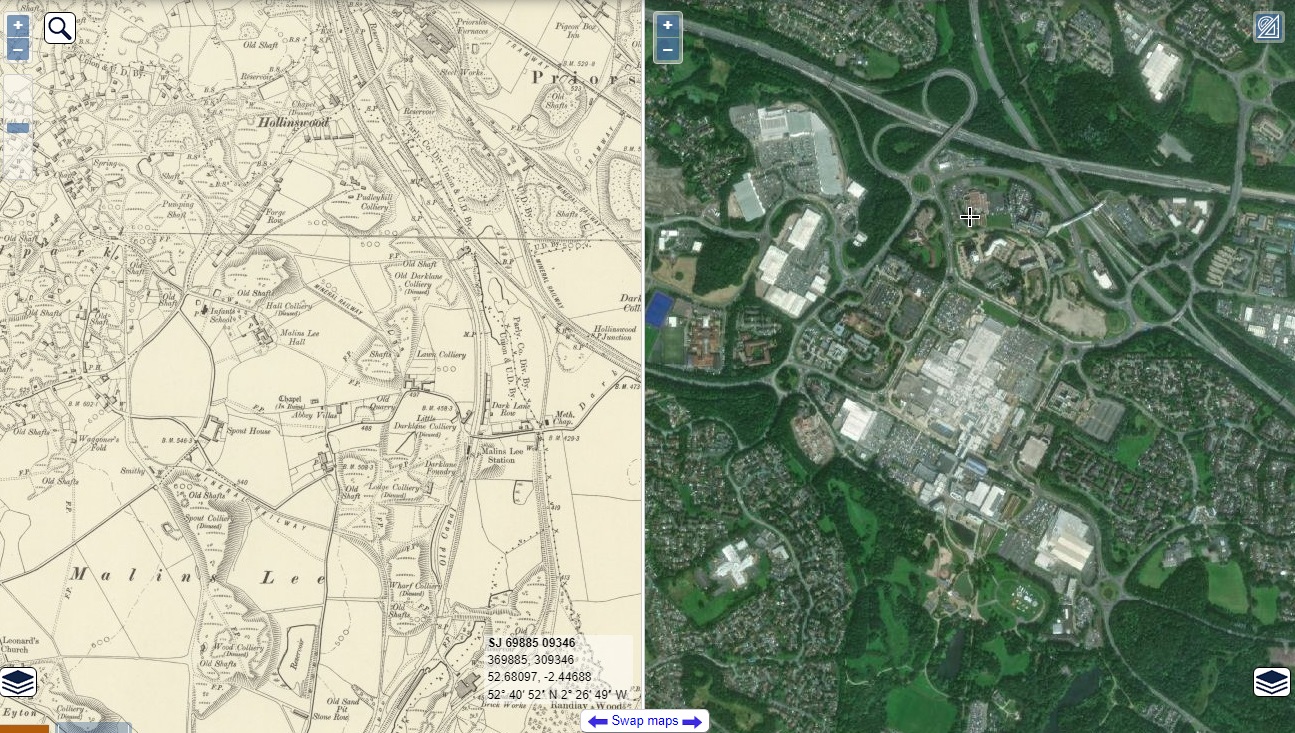
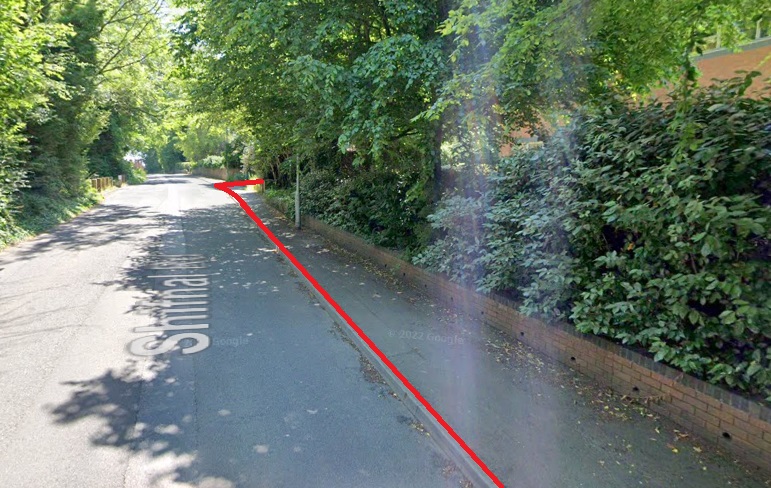
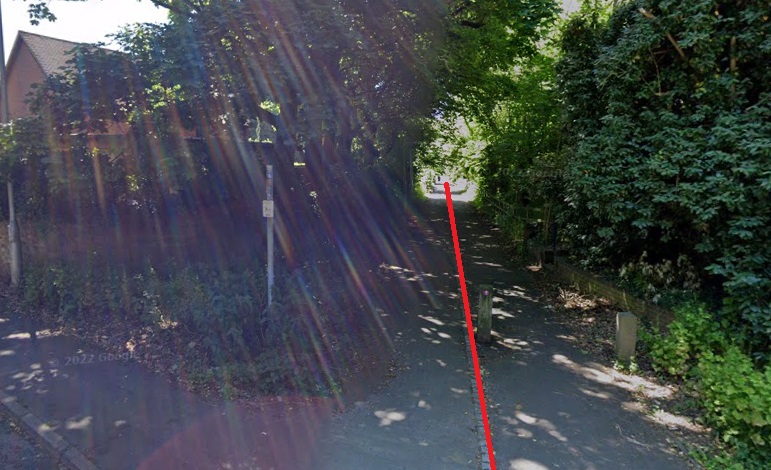
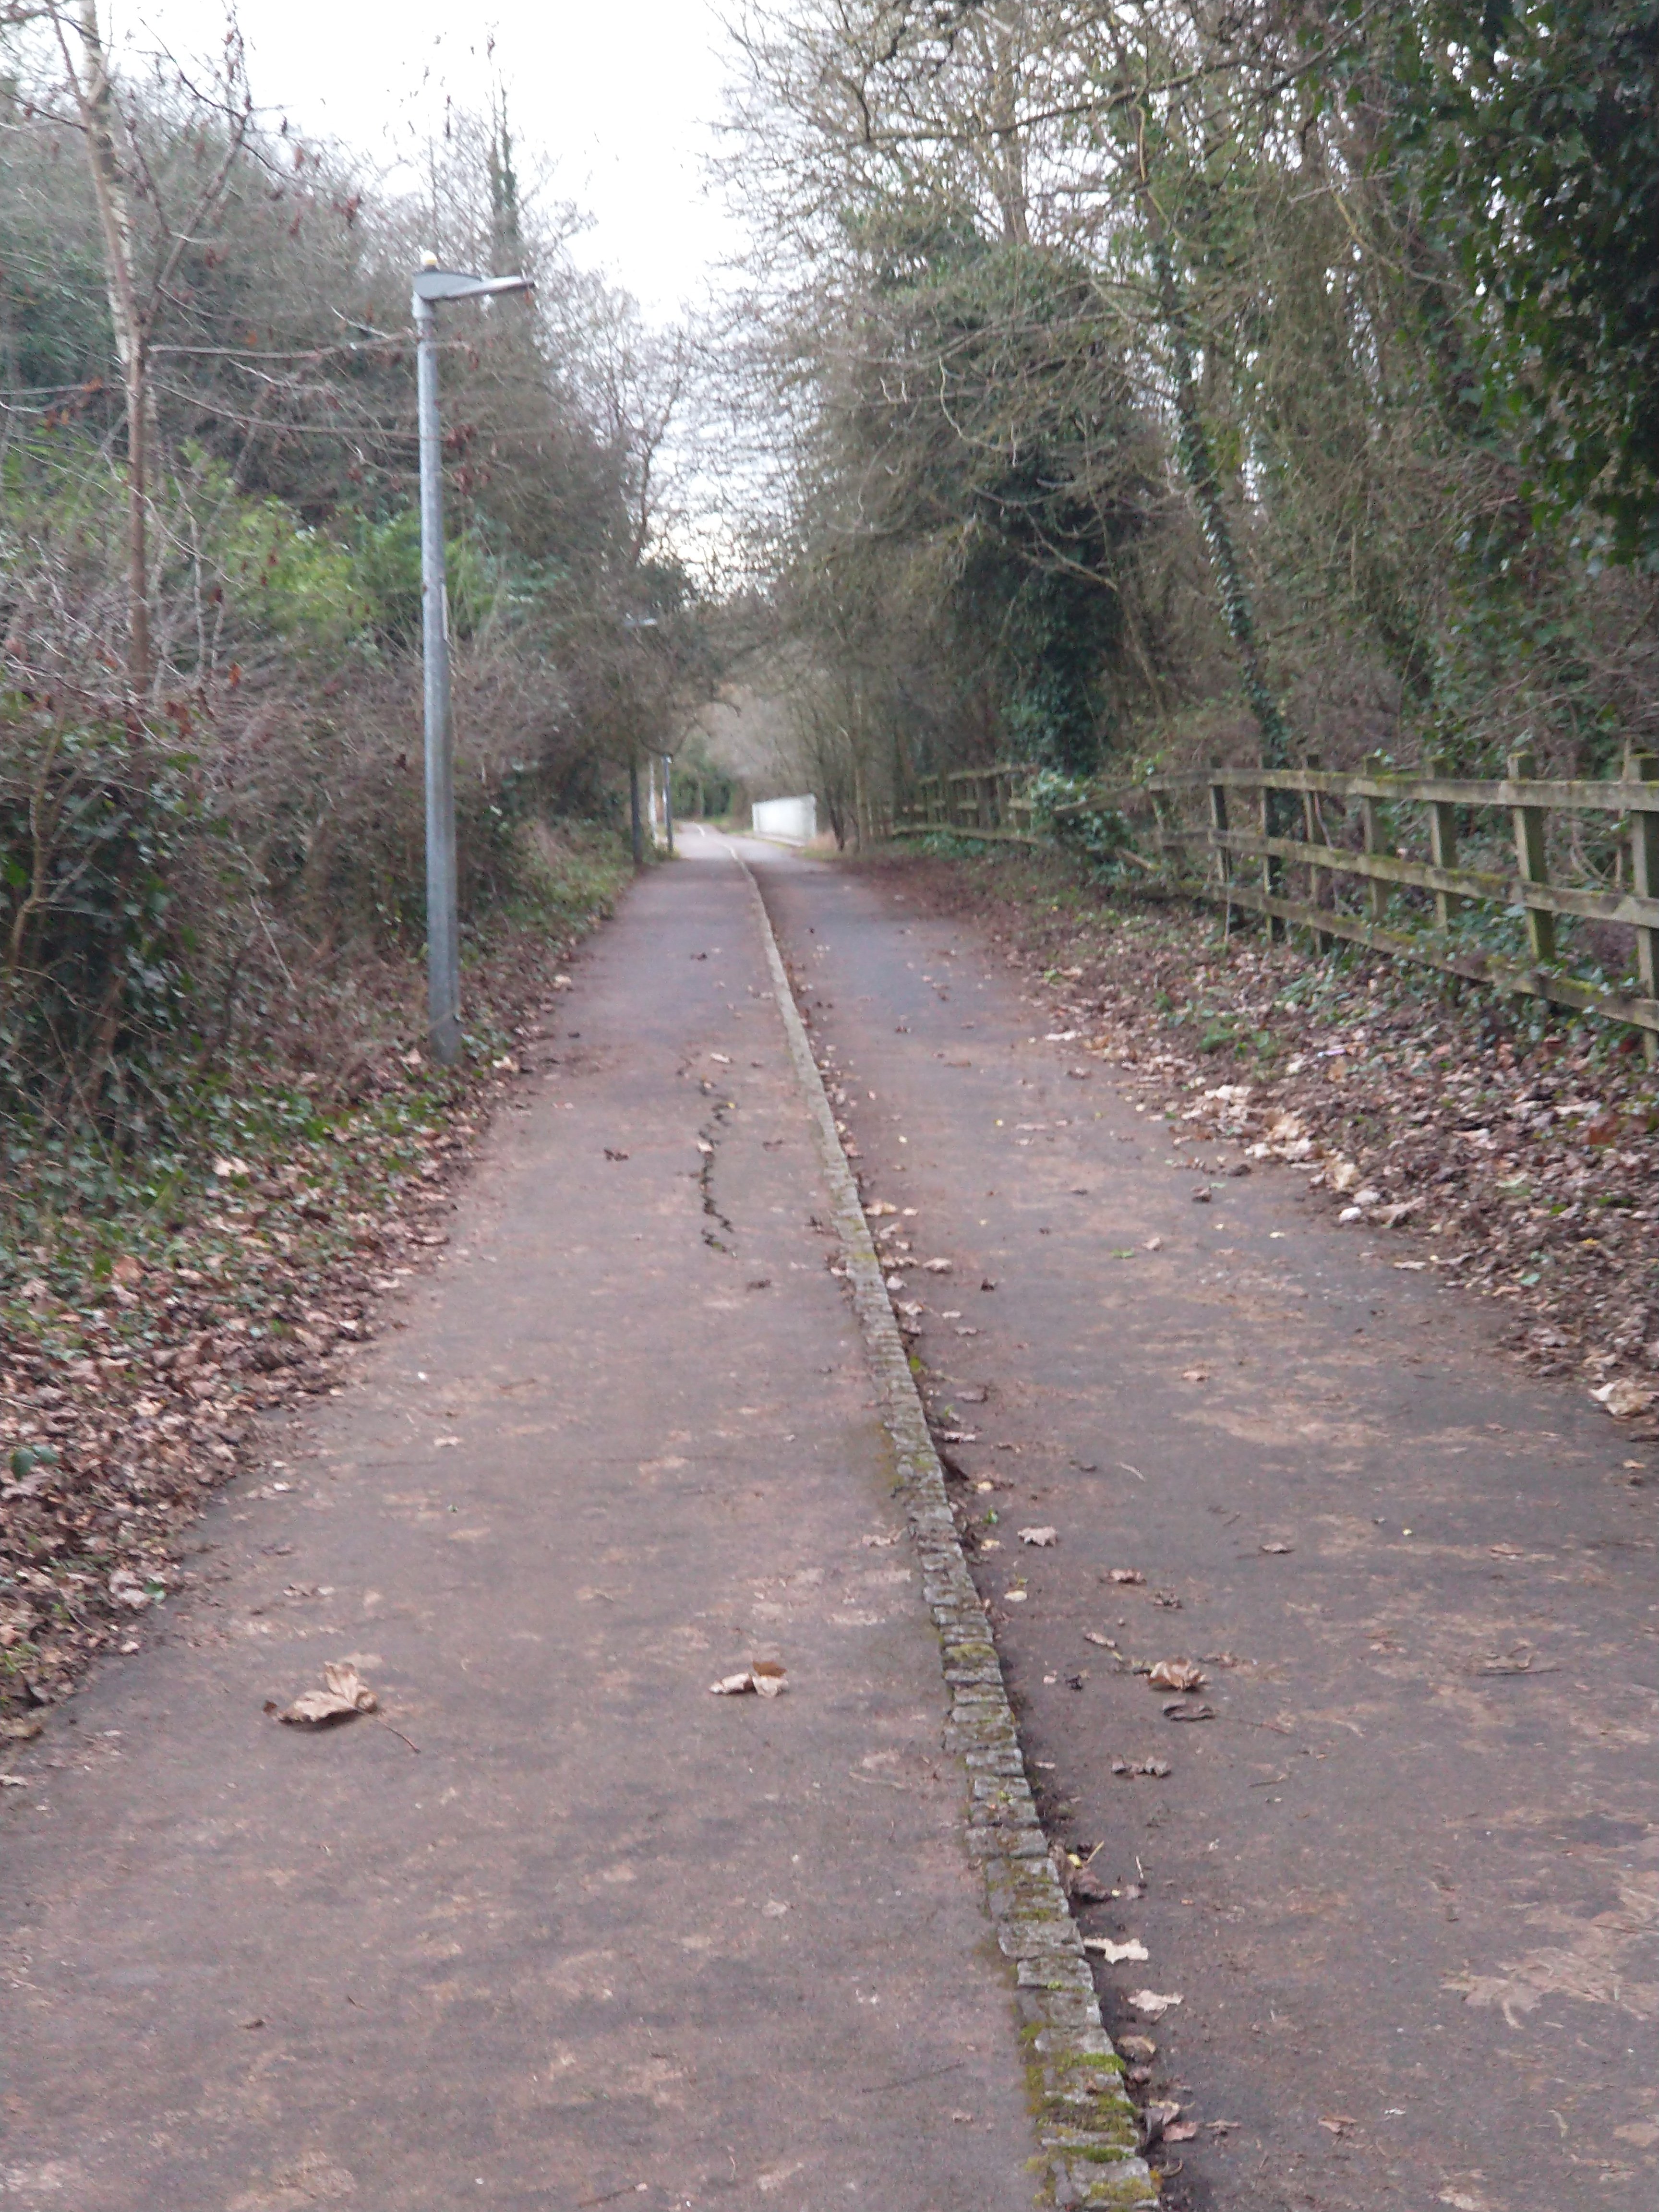
Having looked at maps showing the Granville Colliery site at different points in its history, some photographs will help us better to envisage the site.

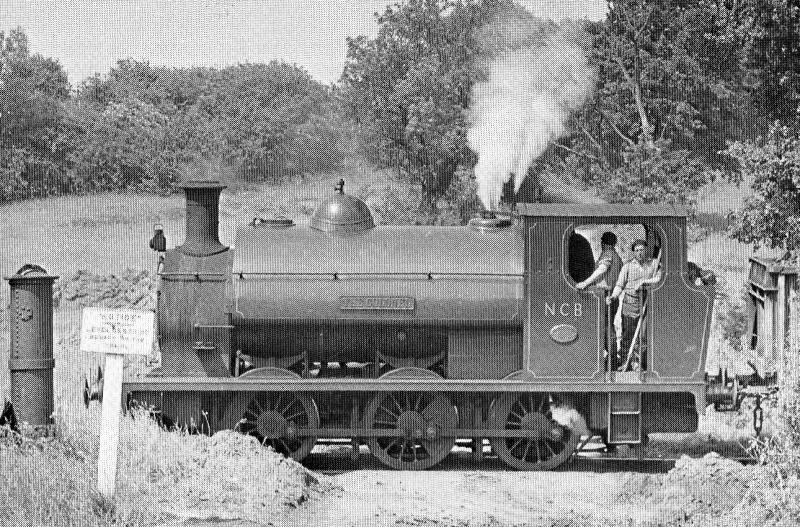

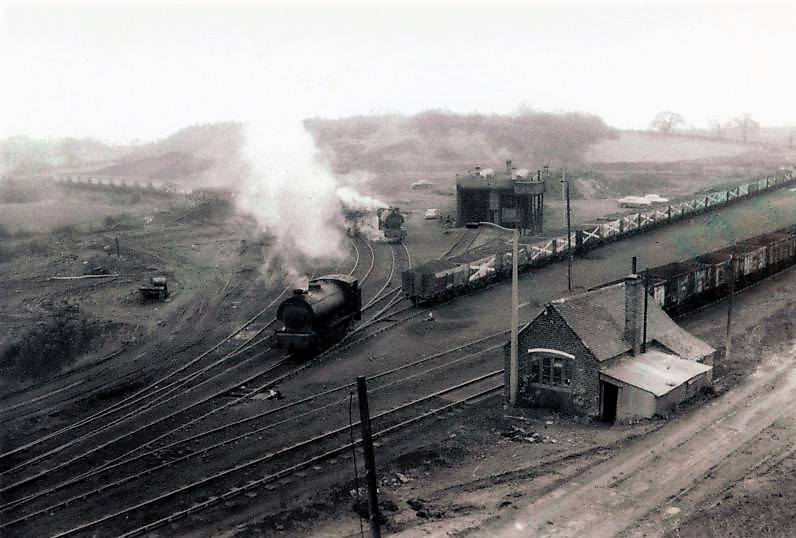


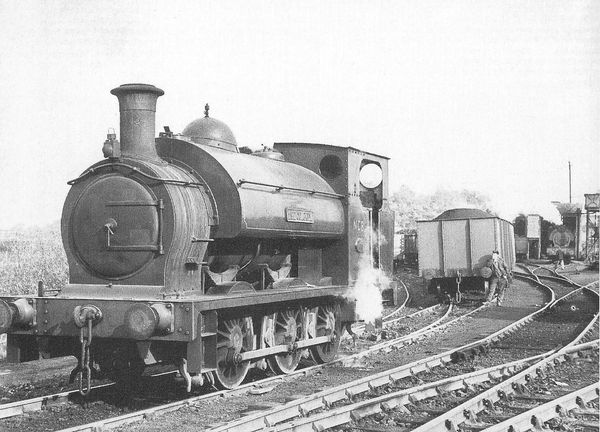
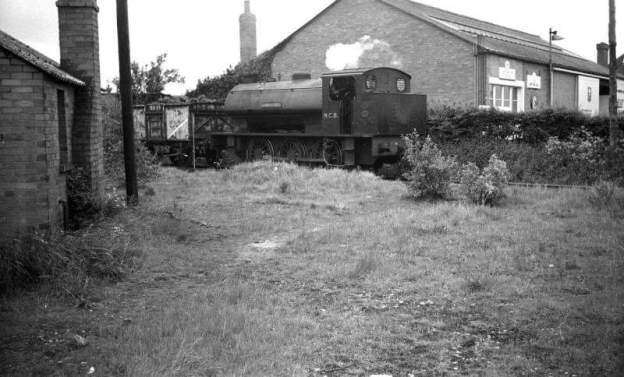
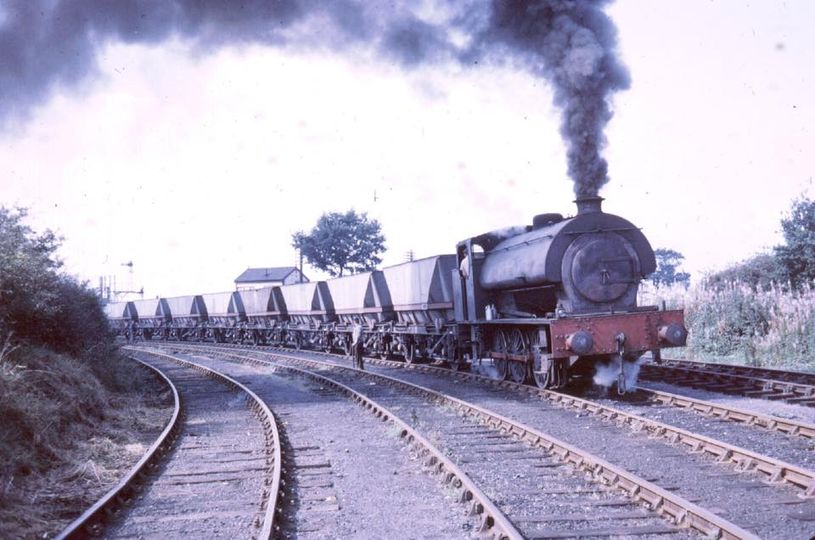
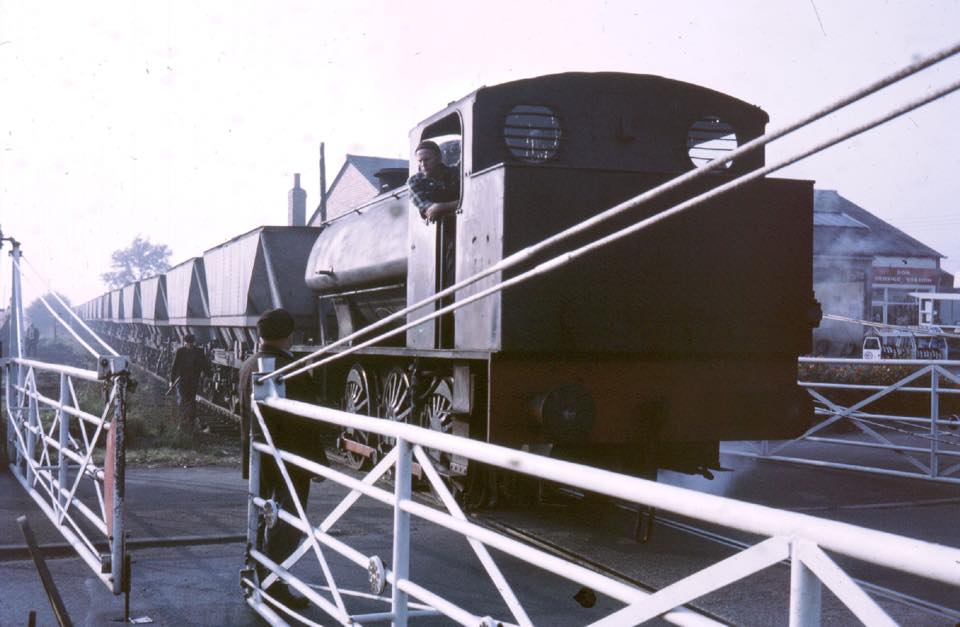
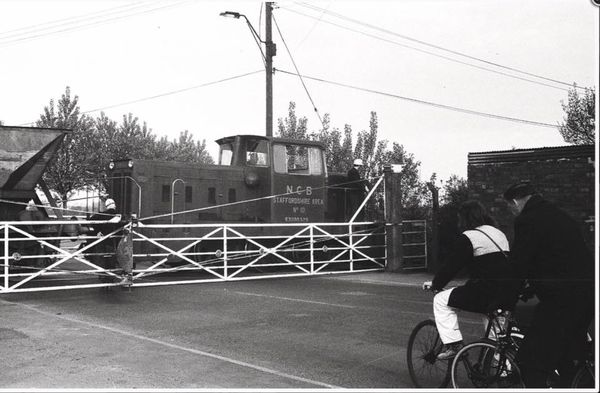
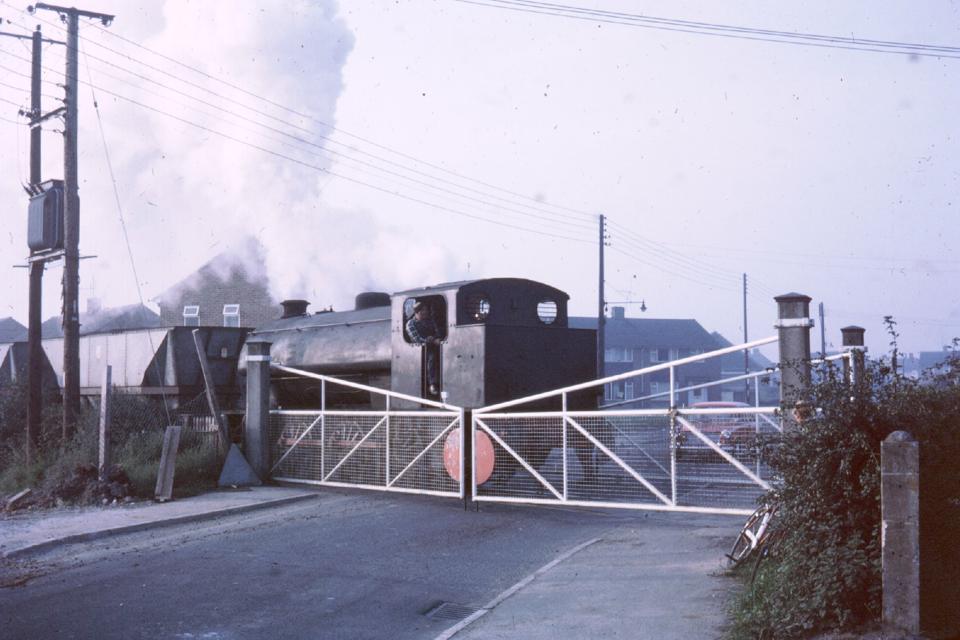
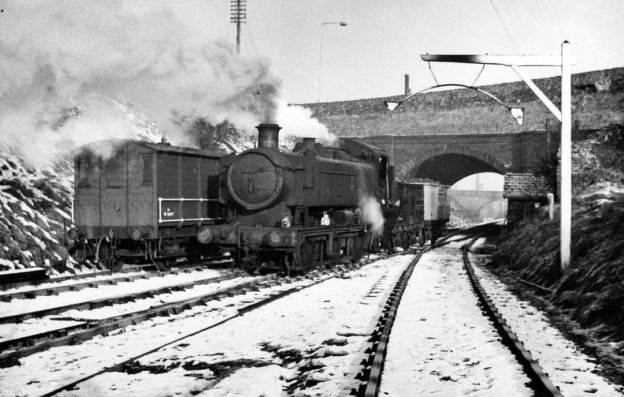
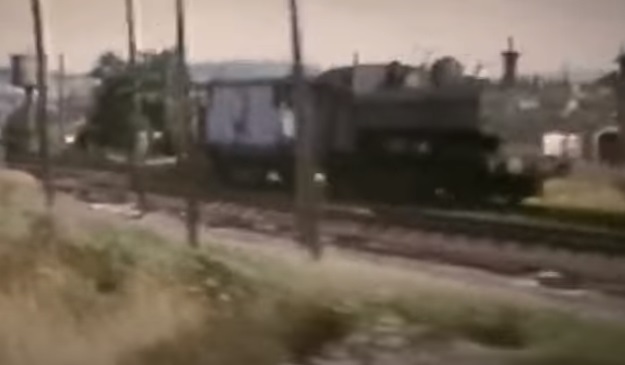
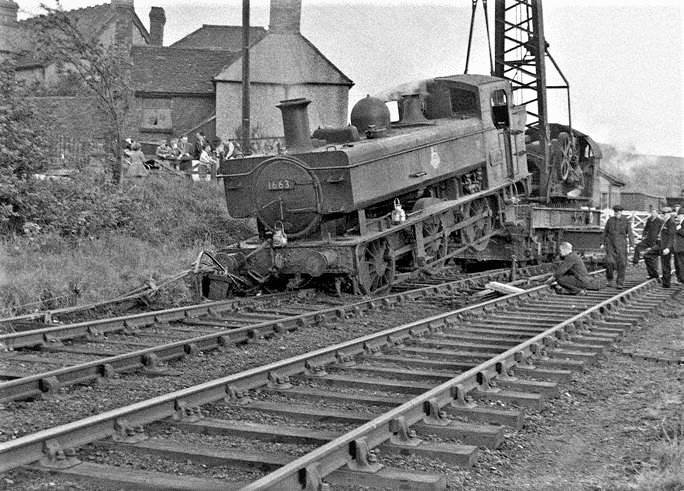
After a spell at Area Central Workshops – May 1960 to June 1961, ‘The Colonel‘ went back to Grove Colliery then to Coppice Colliery at Heath Hayes for a few months in 1963 before transfer to Granville Colliery in November 1963. This image was shared on the Telford memories Facebook Group by Metsa Vaim EdOrg on 24th October 2020. [26]

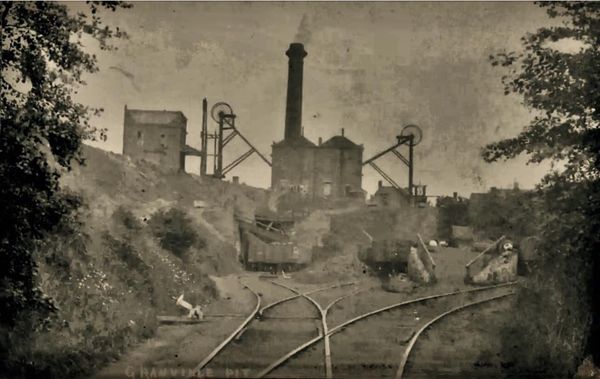
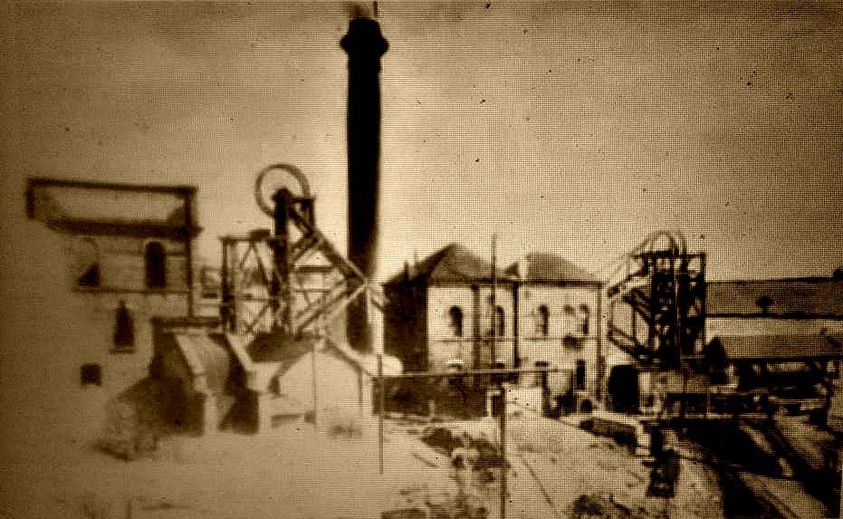

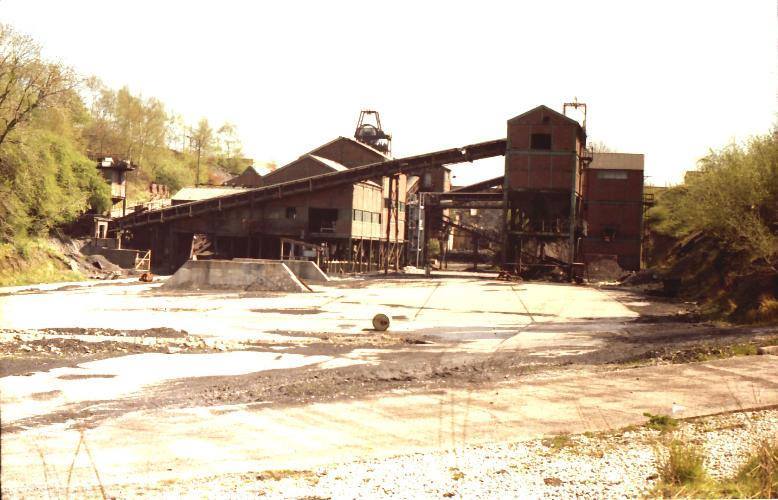
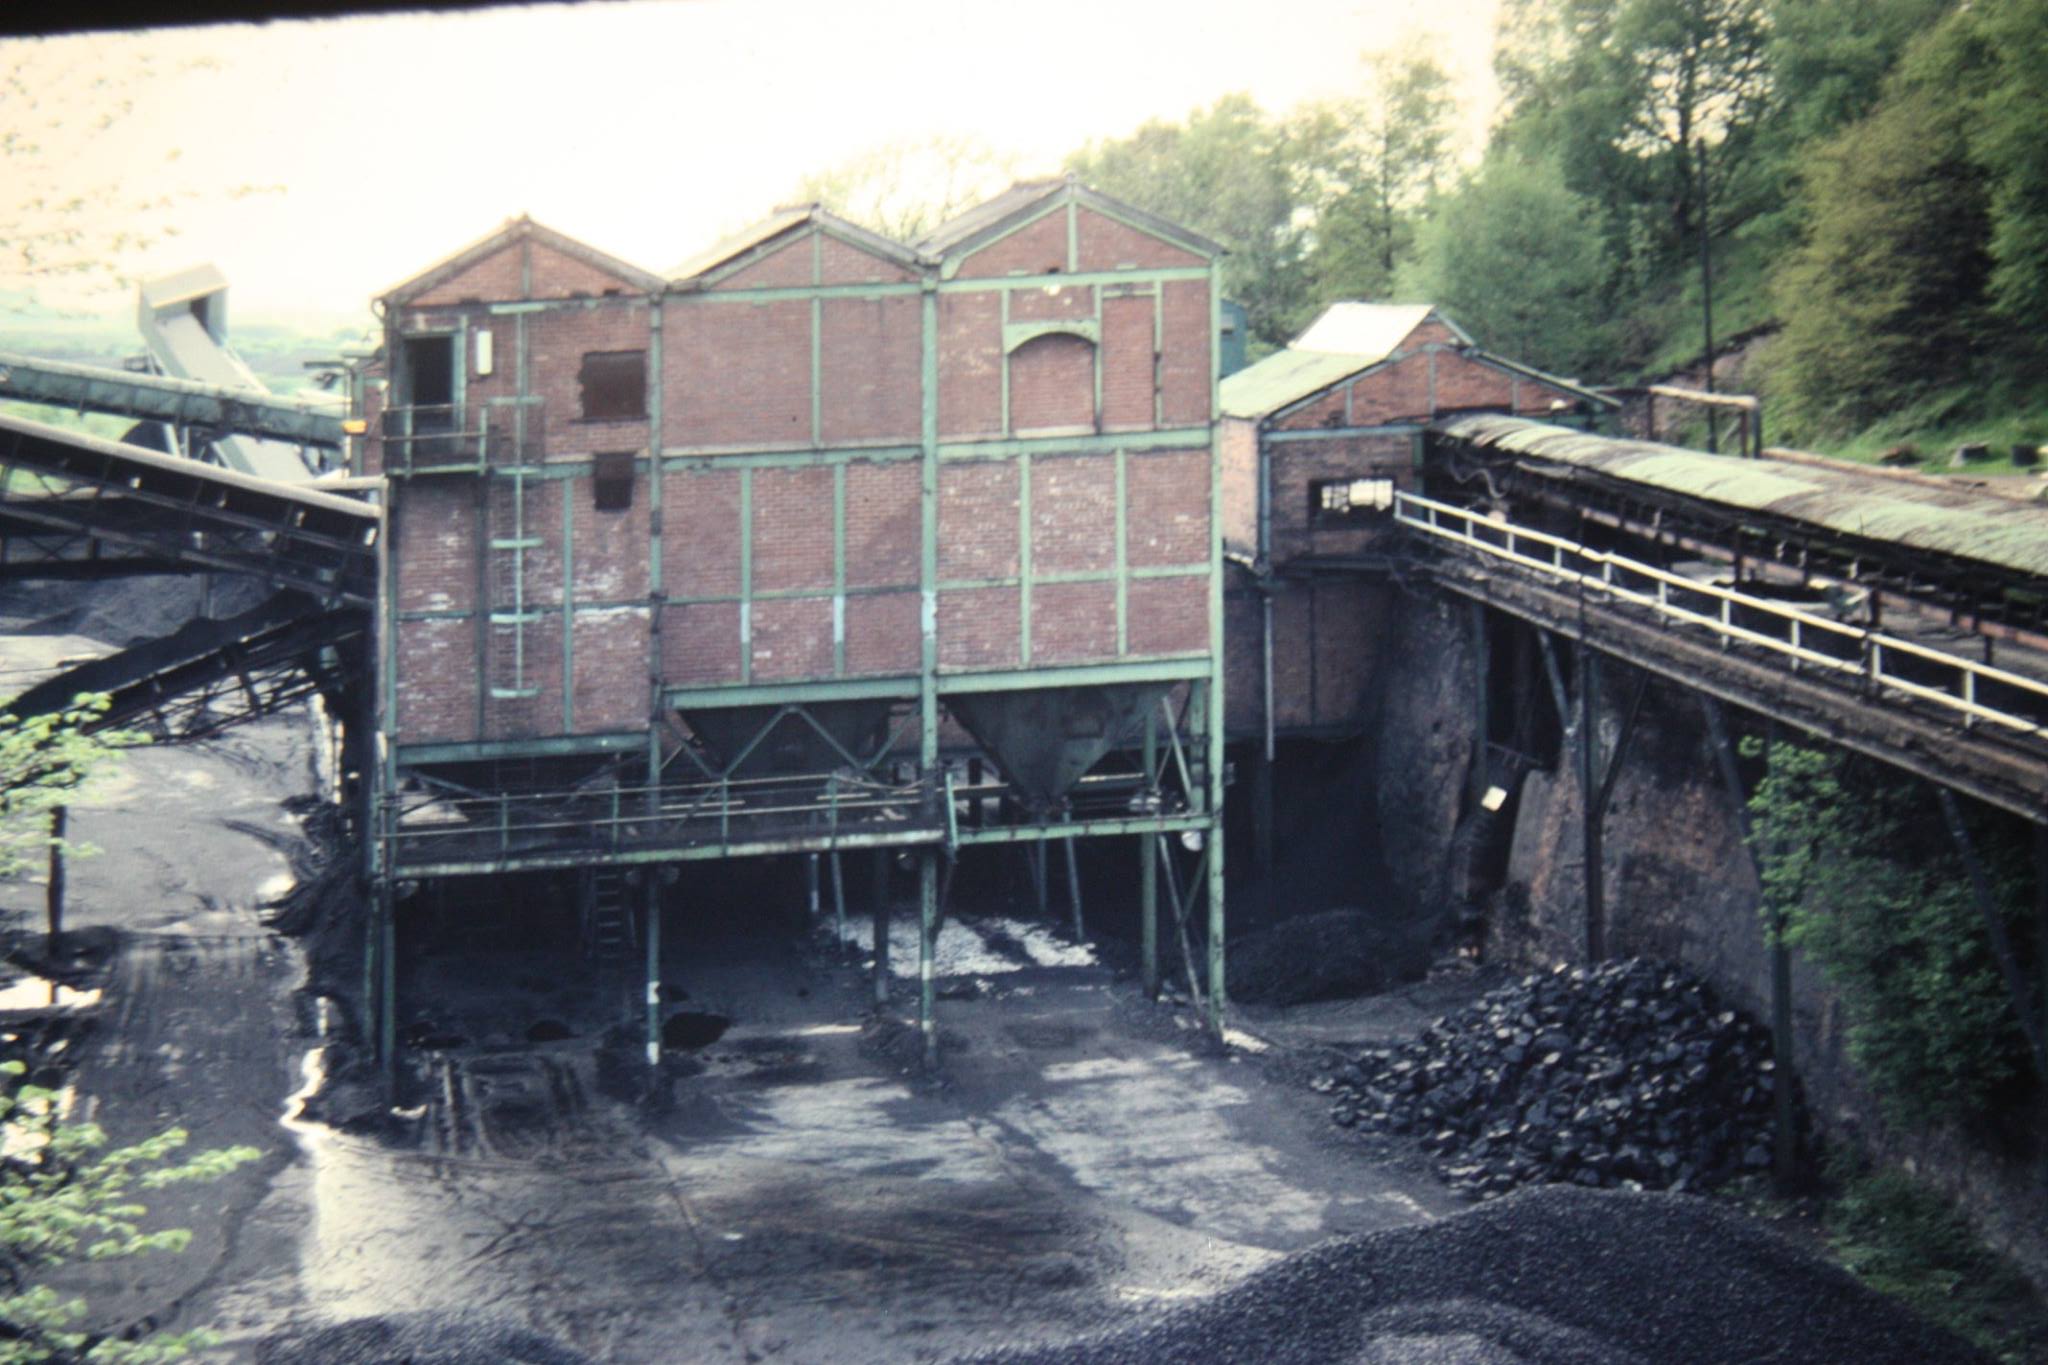


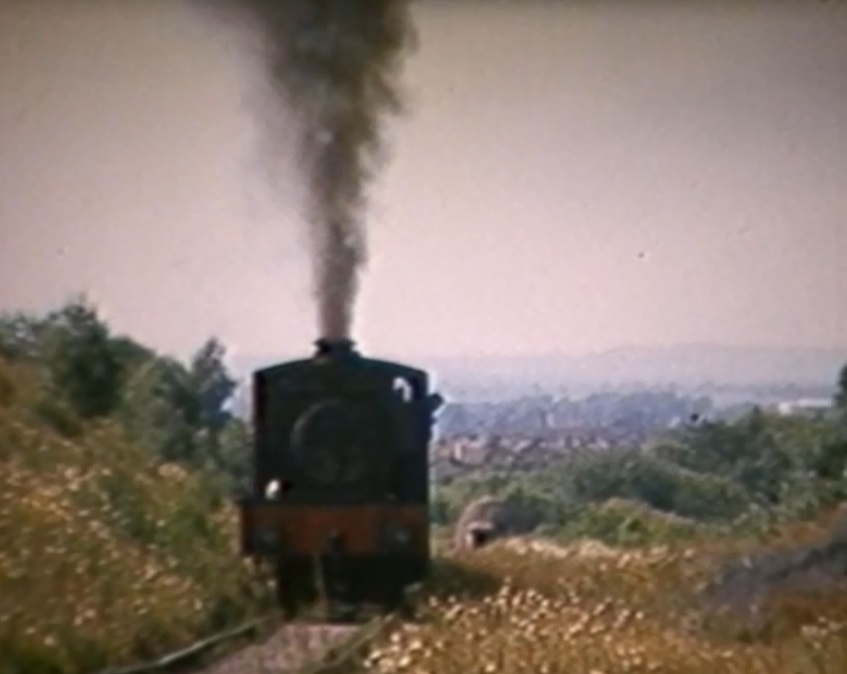
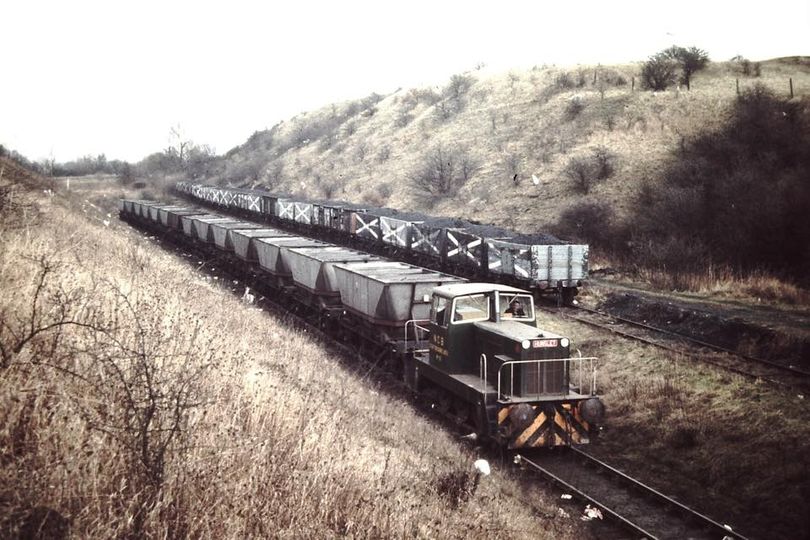
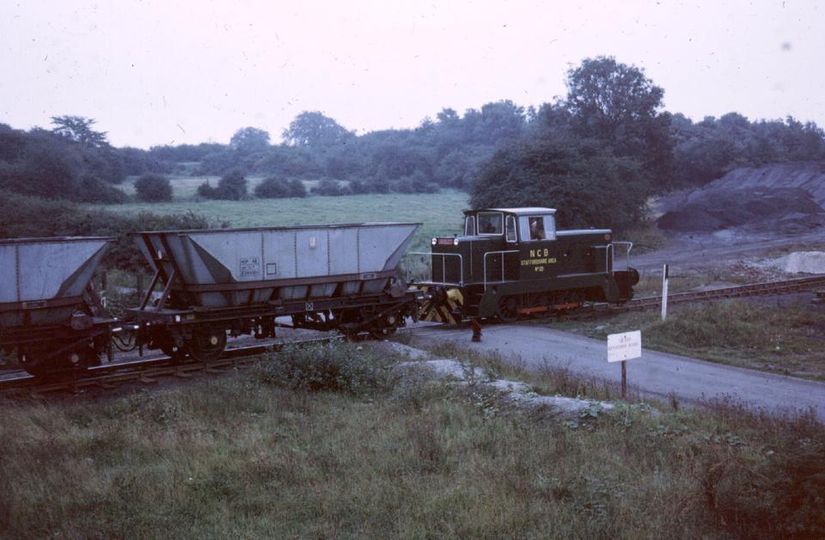
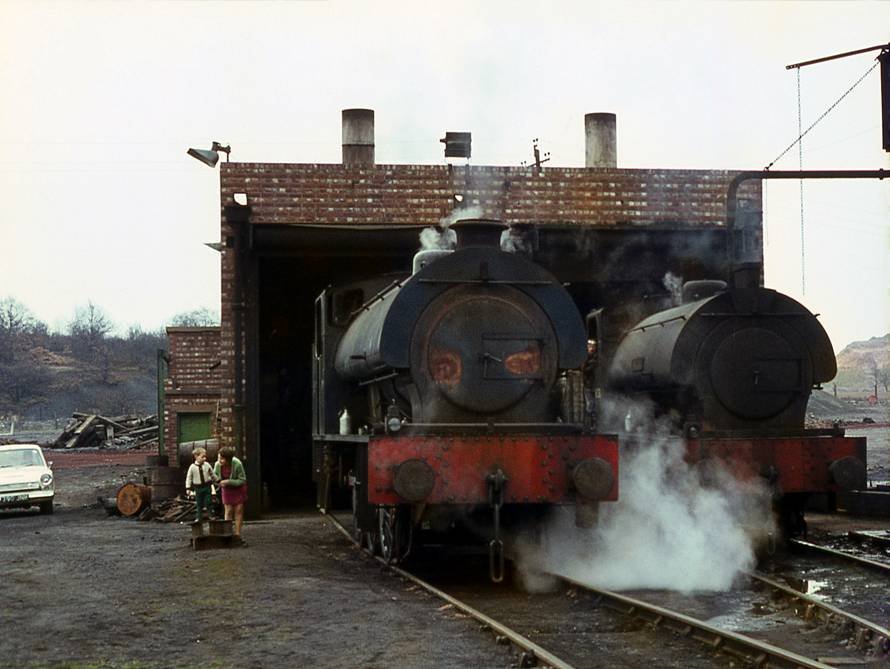
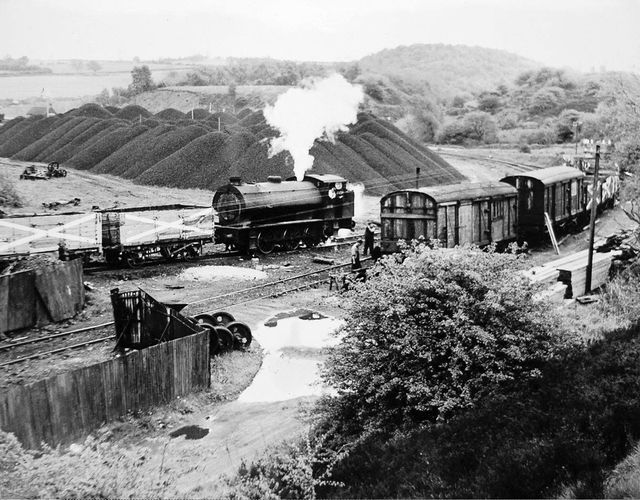
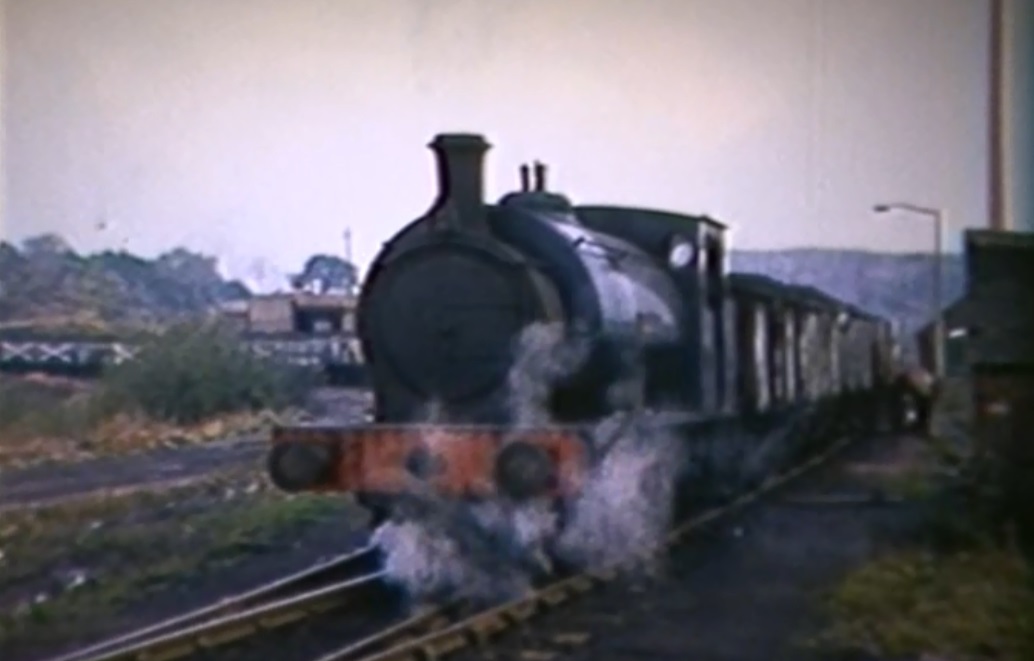
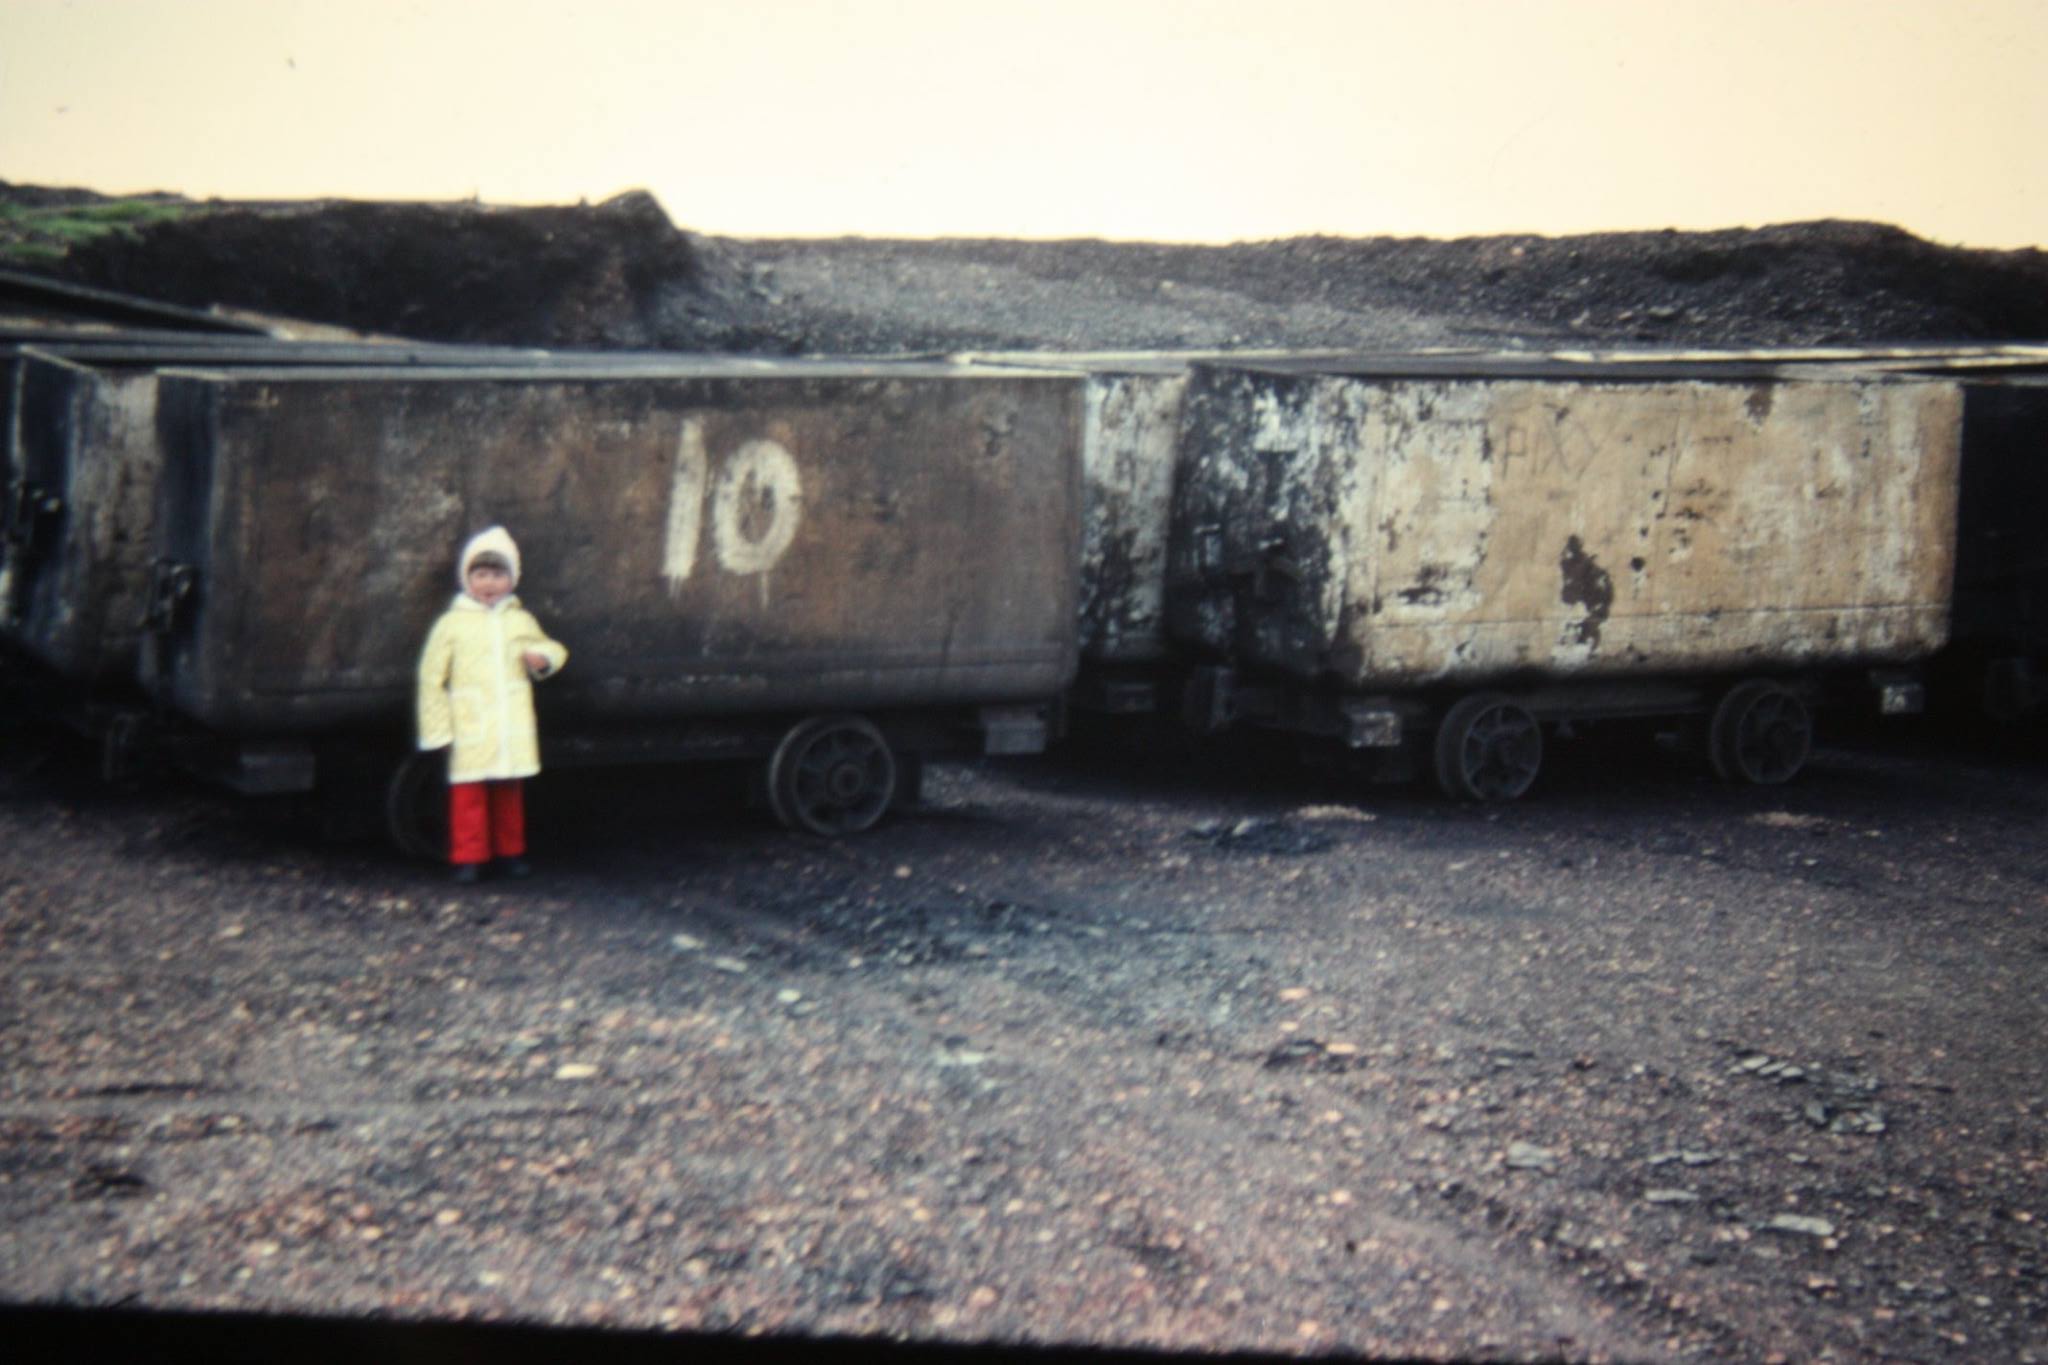
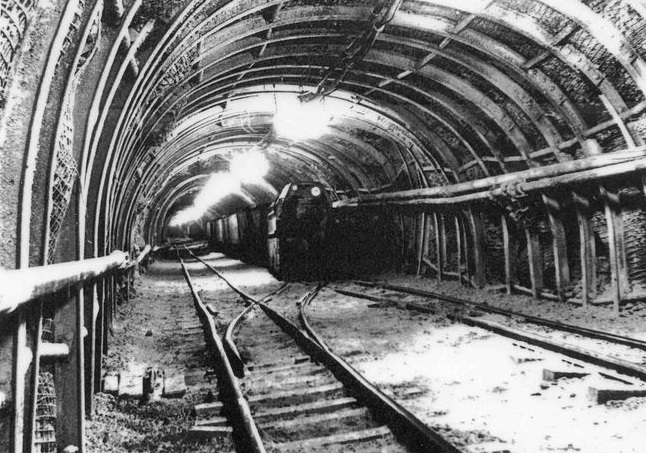
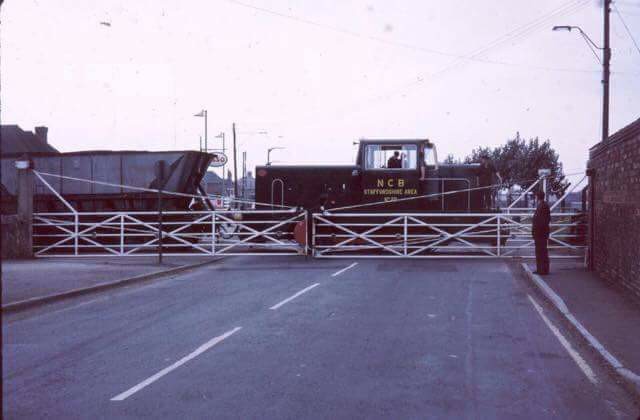
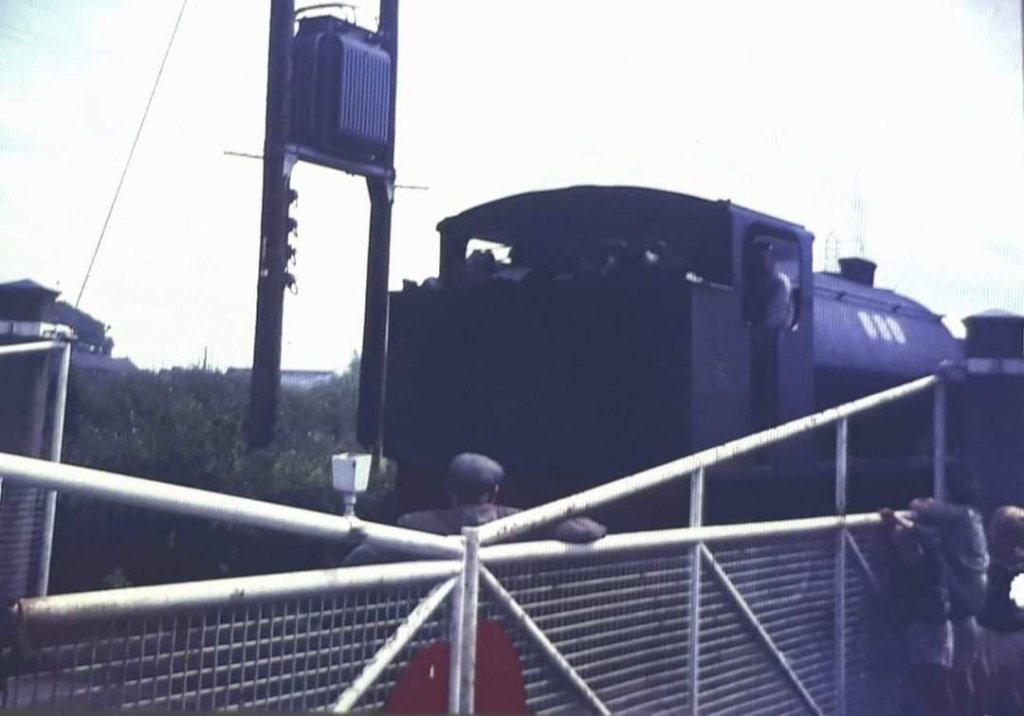
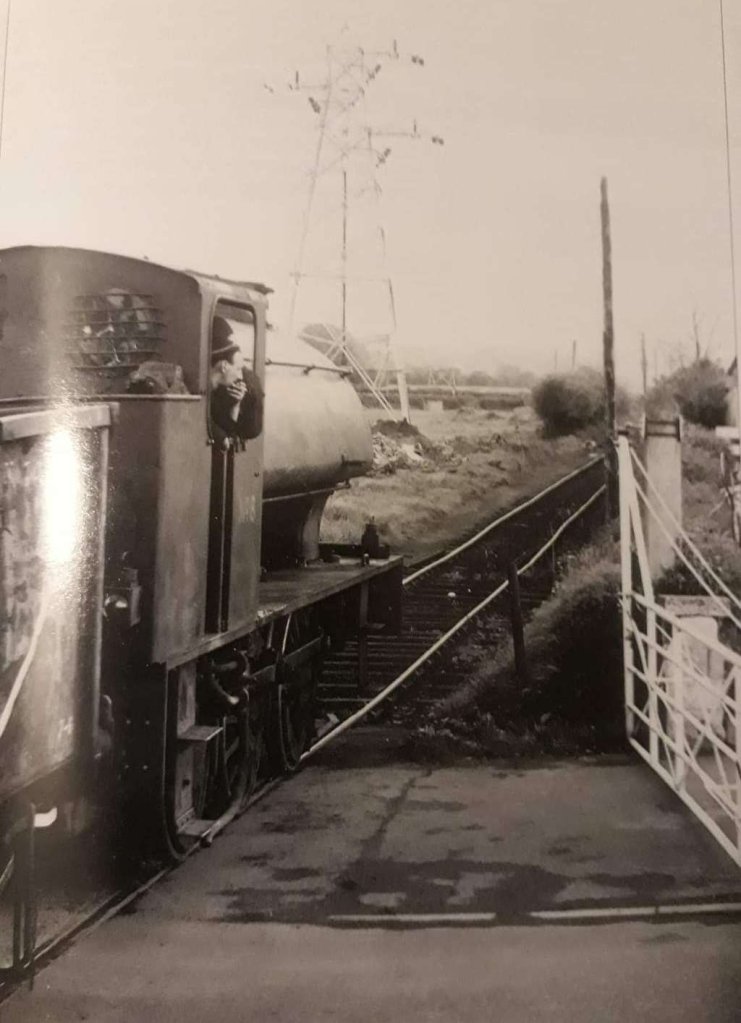
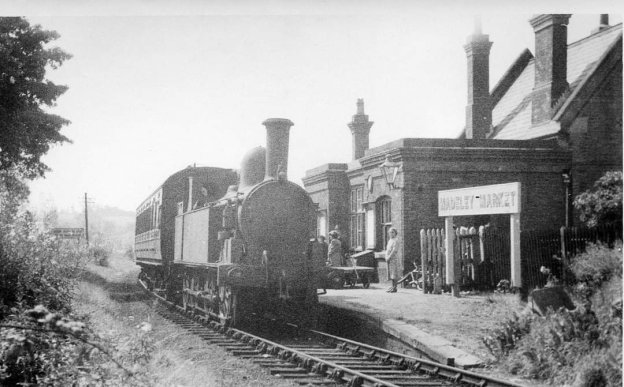
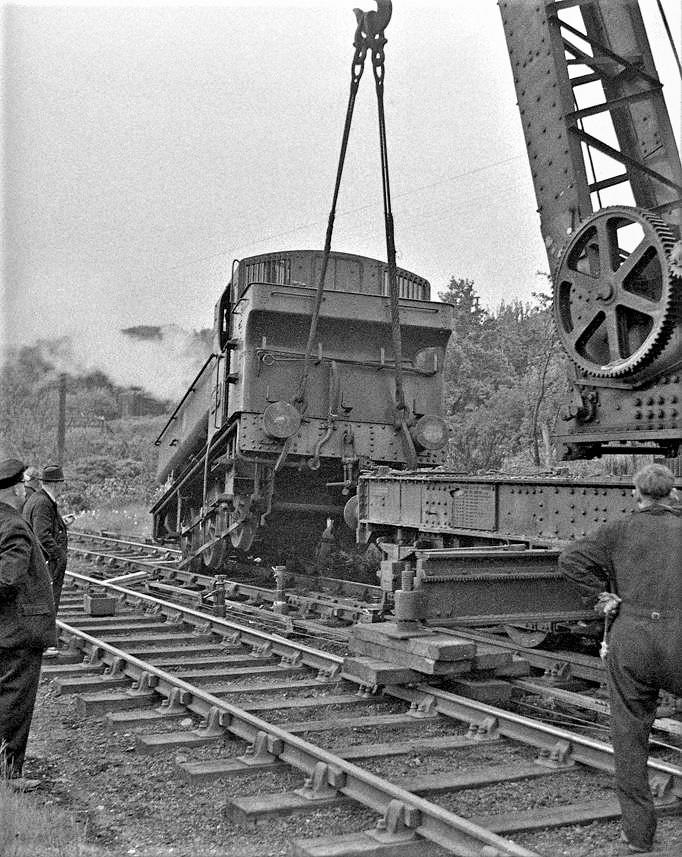
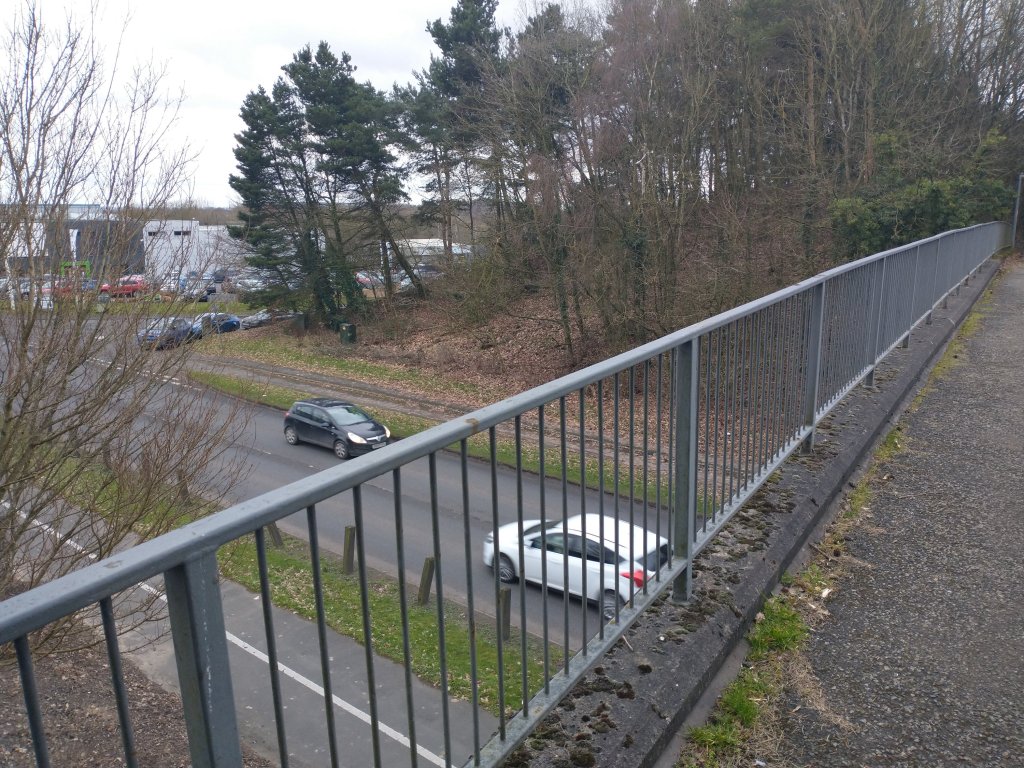
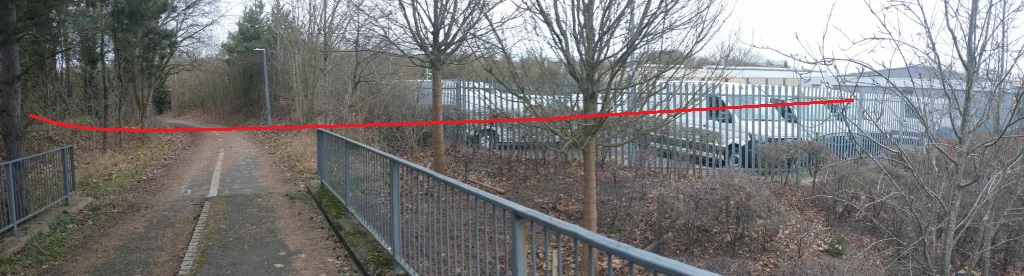
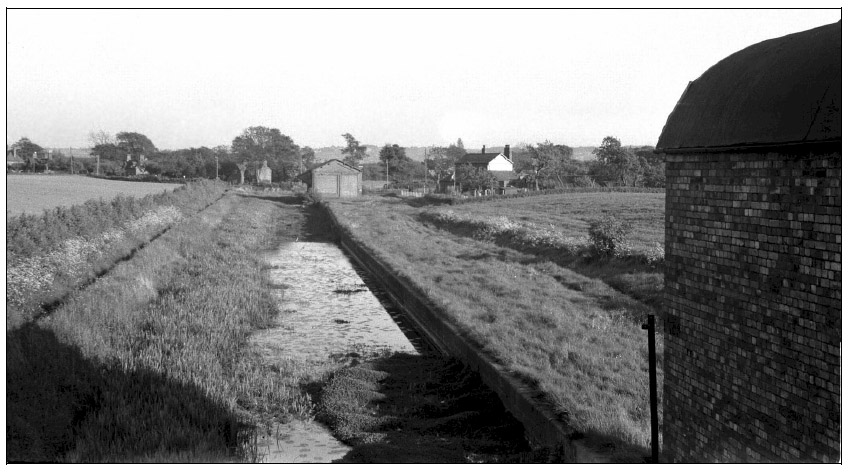
The colliery had its own narrow-gauge railway/tramway system under ground and close to the main shafts. Some pictures of this system. The first four are above ground.

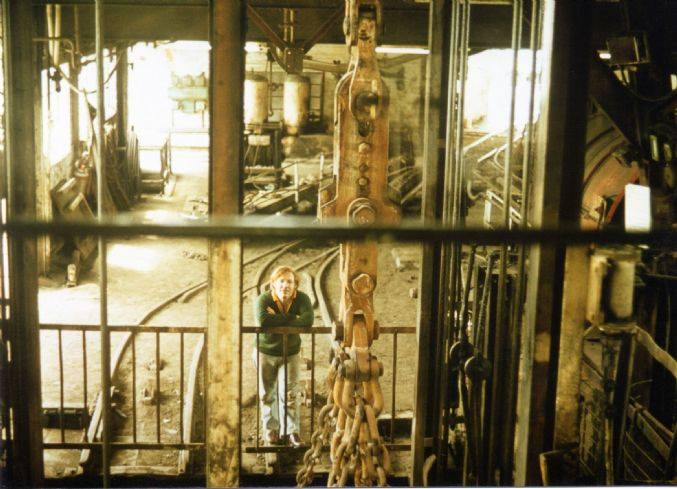

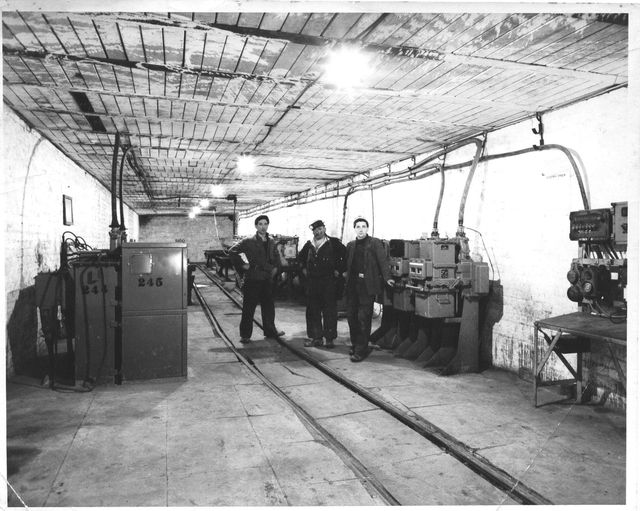
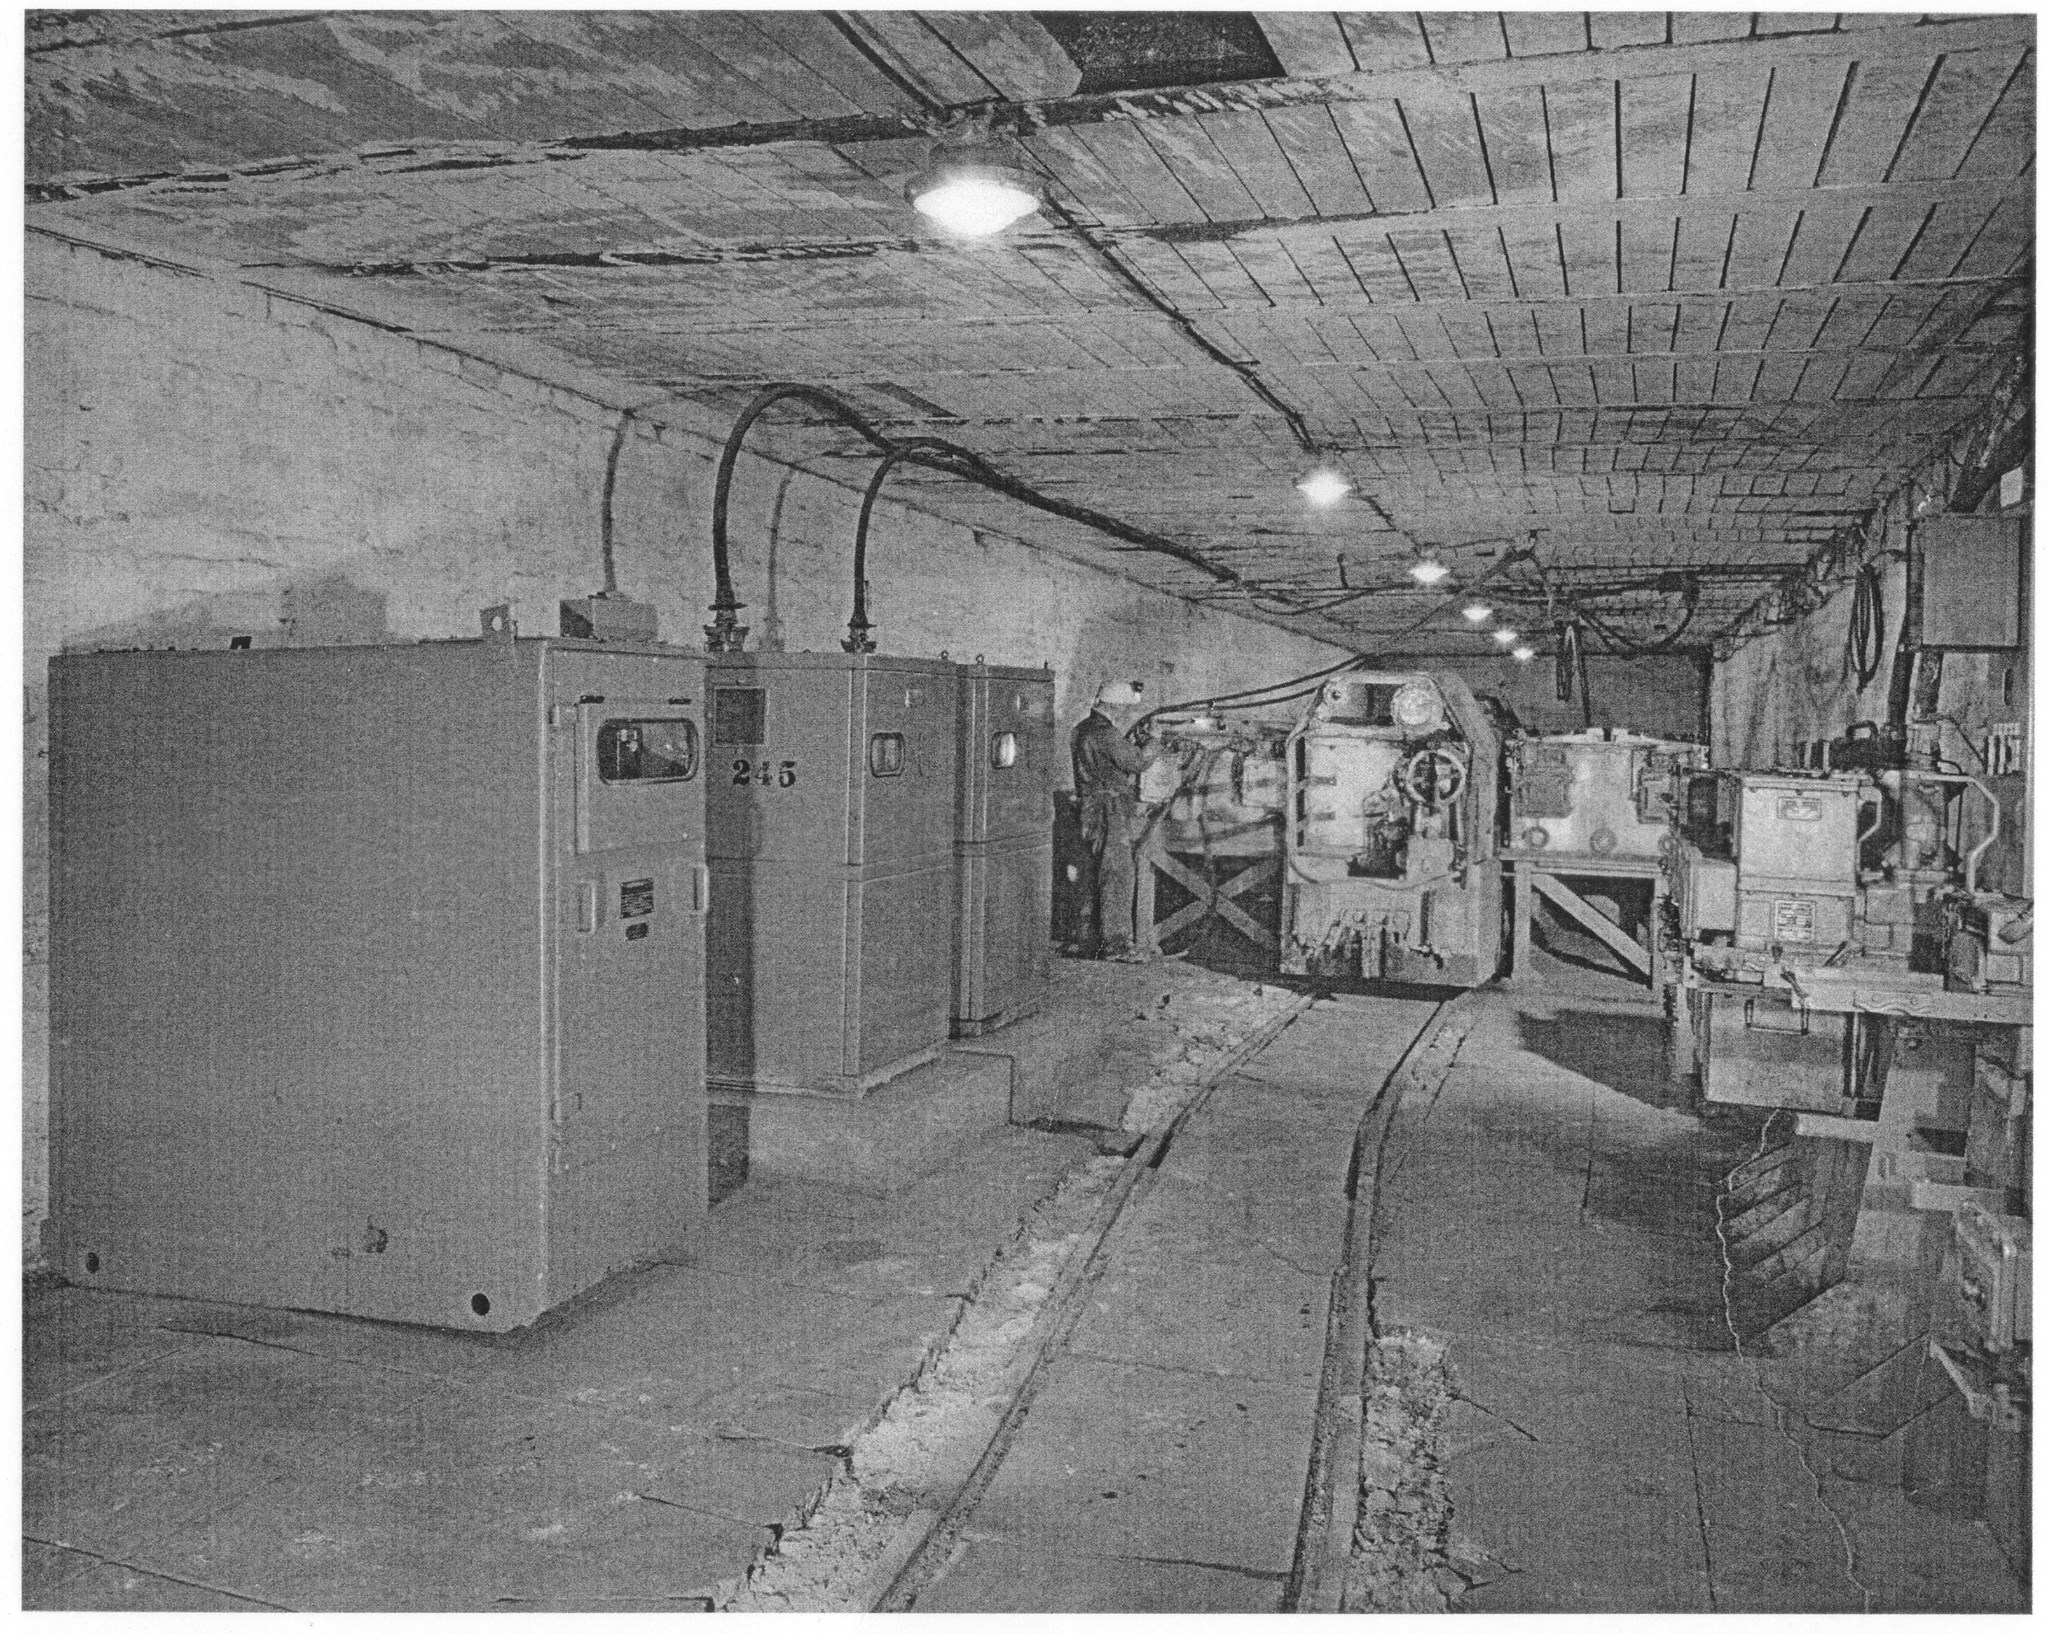
Underground, there was an extensive network of lines which were initially served by horse power but which were later to see a number of dedicated locomotives in use.

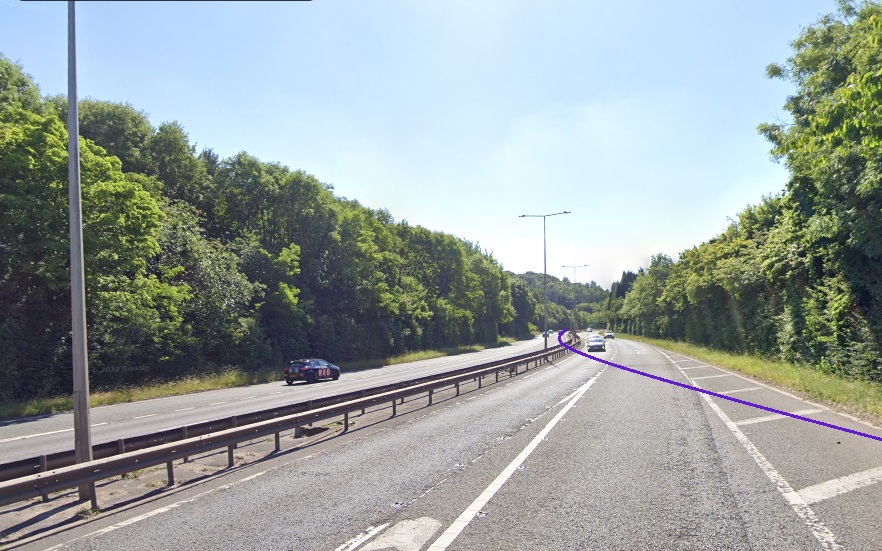
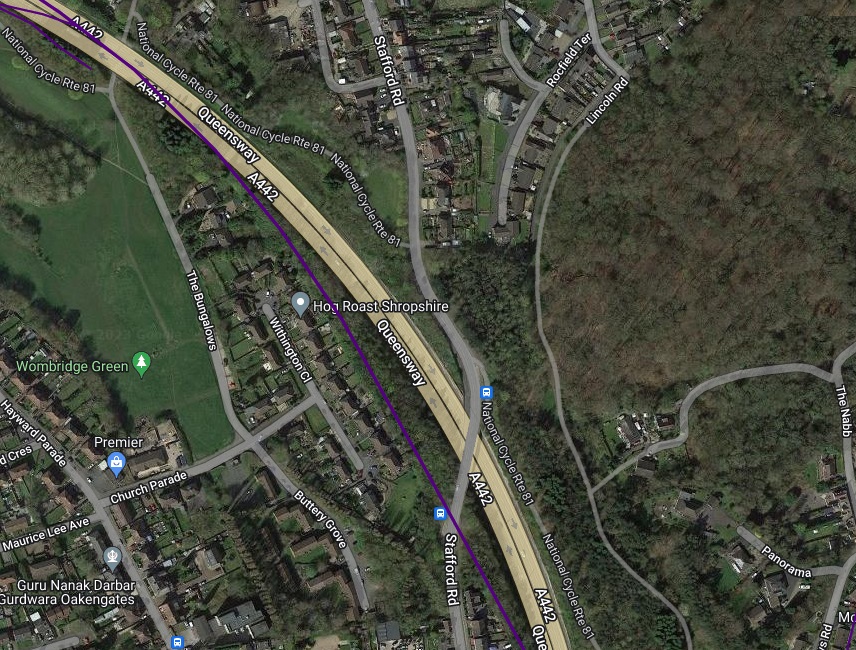
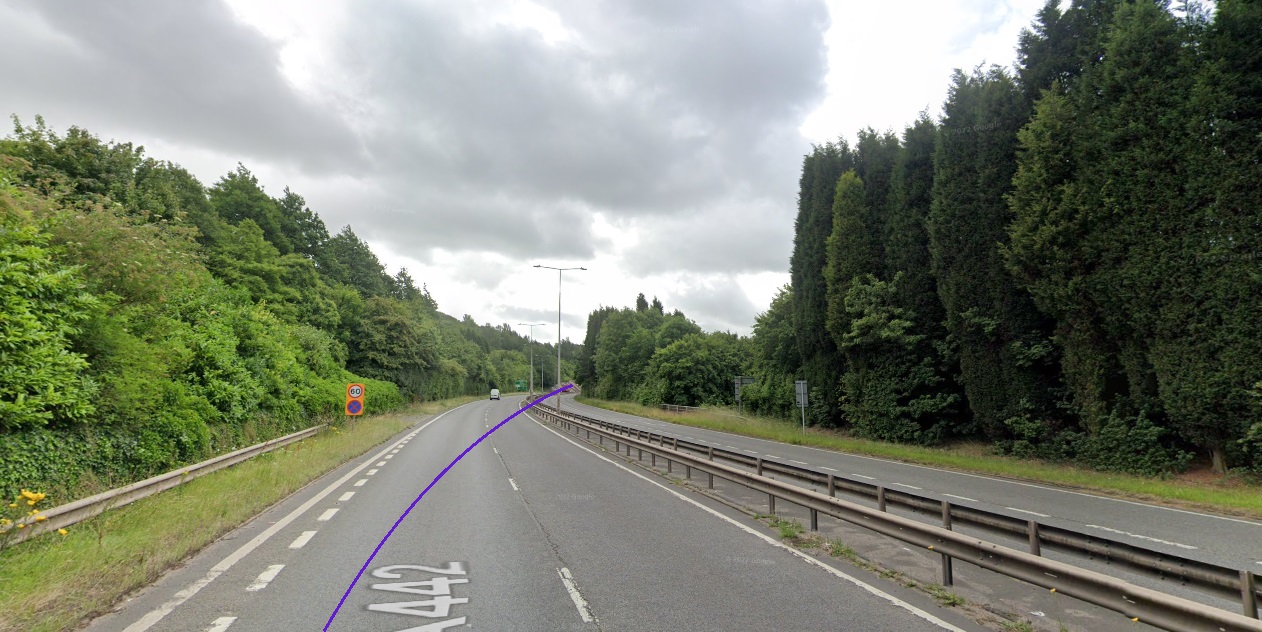
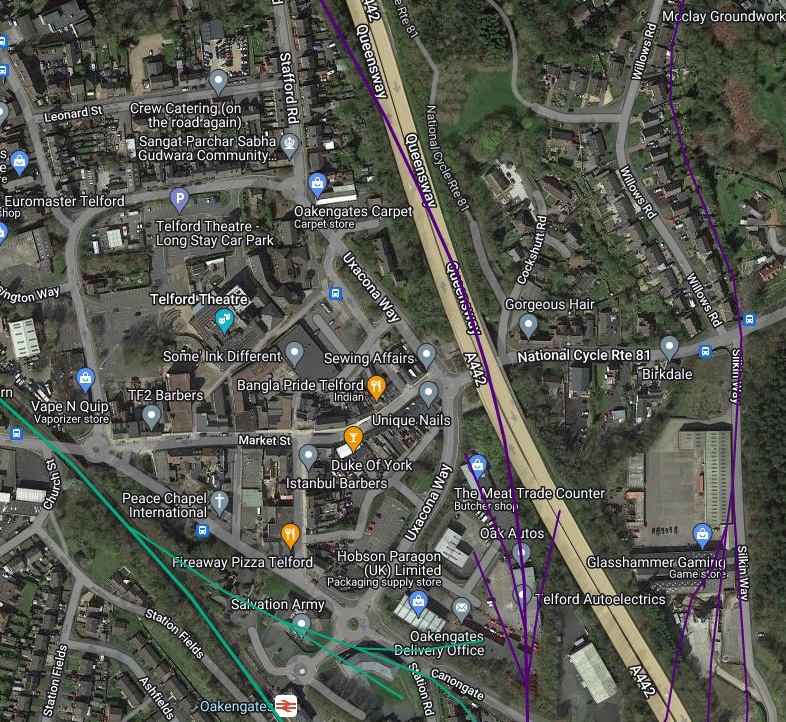
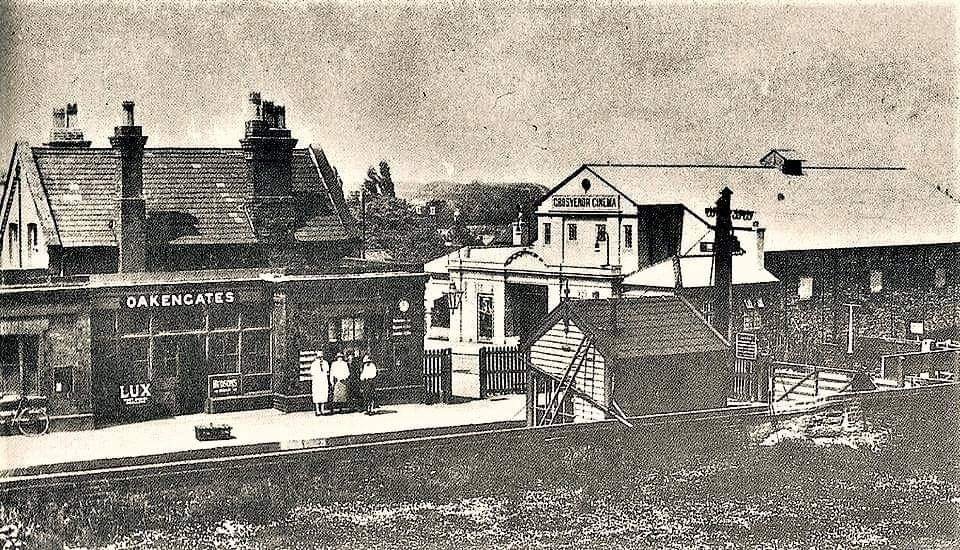
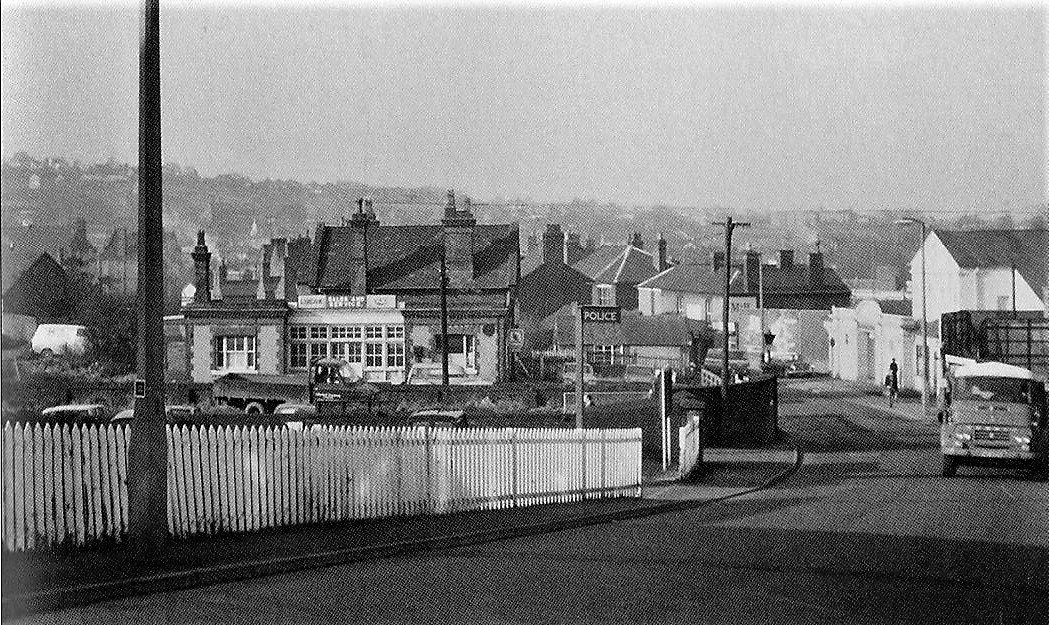
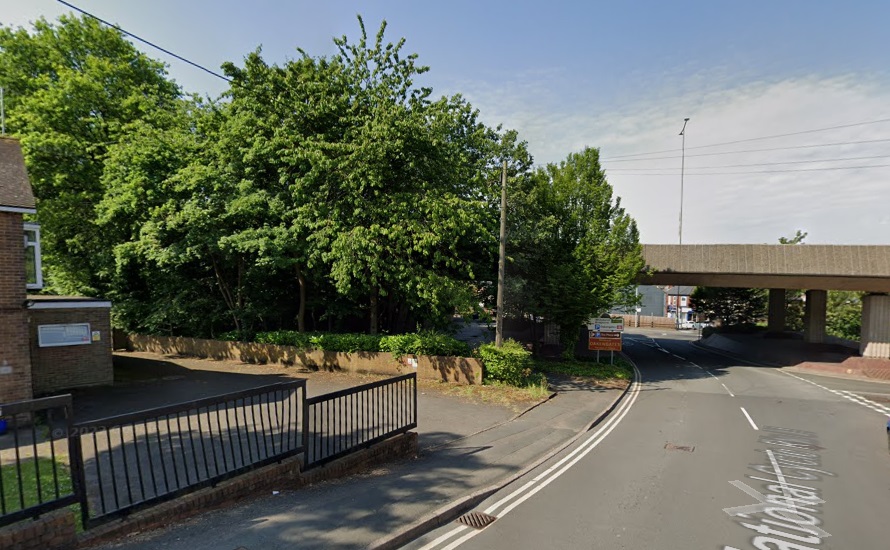
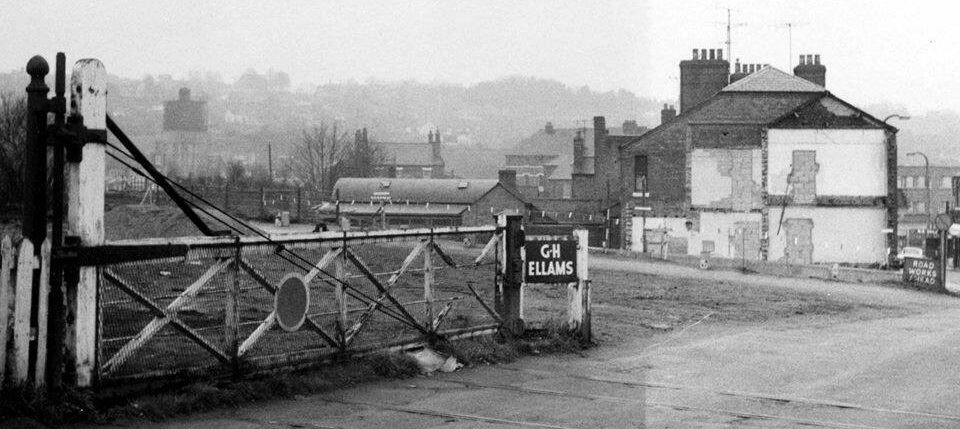
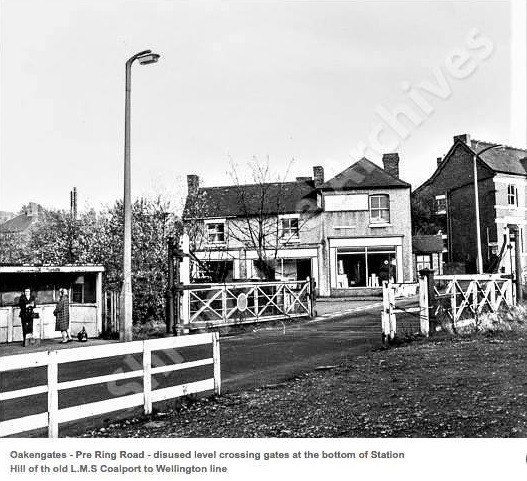
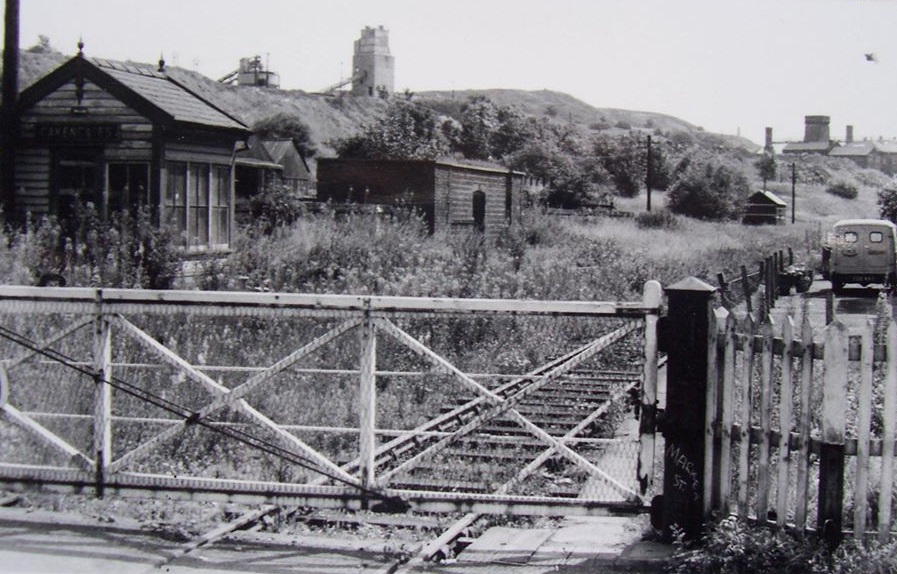
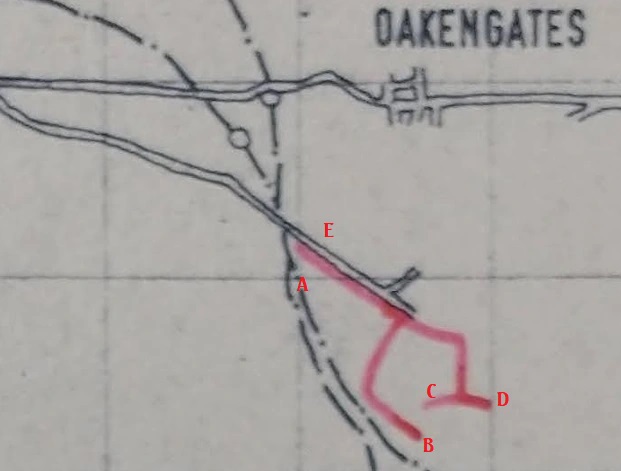
The next article in this series will continue West from the area of Granville Colliery, taking in Grange Colliery and the area around Oakengates.
References
- https://maps.nls.uk/view/121150280, accessed on 24th July 2023.
- Bob Yate; The Railways and Locomotives of the Lilleshall Company; Irwell Press, Clophill, Bedfordshire, 2008.
- https://www.railmaponline.com/UKIEMap.php, accessed on 21st July 2023.
- https://maps.nls.uk/view/121150244, accessed on 7th August 2023.
- https://friendsofgranvillecountrypark.com/lodge-furnaces, accessed on 29th July 2023.
- https://friendsofgranvillecountrypark.com/industrial-history, accessed on 30th July 2023.
- W.K.V. Gale & C.R. Nicholls; The Lilleshall Company Limited: a history 1764-1964; Moorland, Ashbourne, Derbyshire, 1979.
- https://en.m.wikipedia.org/wiki/Lilleshall_Company, accessed on 27th July 2023.
- https://collection.sciencemuseumgroup.org.uk/people/cp6249/lilleshall-company, accessed on 7th August 2023.
- https://maps.nls.uk/geo/explore/#zoom=16.6&lat=52.71084&lon=-2.42251&layers=168&b=1, accessed on 11th August 2023.
- https://maps.nls.uk/geo/explore/#zoom=16.6&lat=52.71712&lon=-2.41280&layers=168&b=1, accessed on 11th August 2023.
- https://maps.nls.uk/geo/explore/#zoom=18.0&lat=52.71515&lon=-2.41514&layers=168&b=1, accessed on 12th August 2023.
- https://maps.nls.uk/geo/explore/#zoom=18.0&lat=52.71366&lon=-2.41806&layers=168&b=1, accessed on 12th August 2023.
- https://maps.nls.uk/geo/explore/#zoom=18.0&lat=52.71199&lon=-2.41834&layers=168&b=1, accessed on 12th August 2023.
- https://maps.nls.uk/geo/explore/#zoom=18.0&lat=52.71015&lon=-2.41793&layers=168&b=1, accessed on 12th August 2023.
- https://archaeologytea.wordpress.com/2022/12/19/seasonal-archaeology-the-old-lodge-ironworks-in-the-snow, accessed on 12th August 2023.
- https://maps.nls.uk/geo/explore/#zoom=17.0&lat=52.70540&lon=-2.41272&layers=168&b=1, accessed on 12th August 2023.
- https://maps.nls.uk/geo/explore/#zoom=19.0&lat=52.70538&lon=-2.40858&layers=168&b=1, accessed on 12th August 2023.
- https://maps.nls.uk/view/121150286, accessed on 12th August 2023.
- https://maps.nls.uk/view/189188889, accessed on 15th August 2023.
- https://maps.nls.uk/view/189188886, accessed on 15th August 2023.
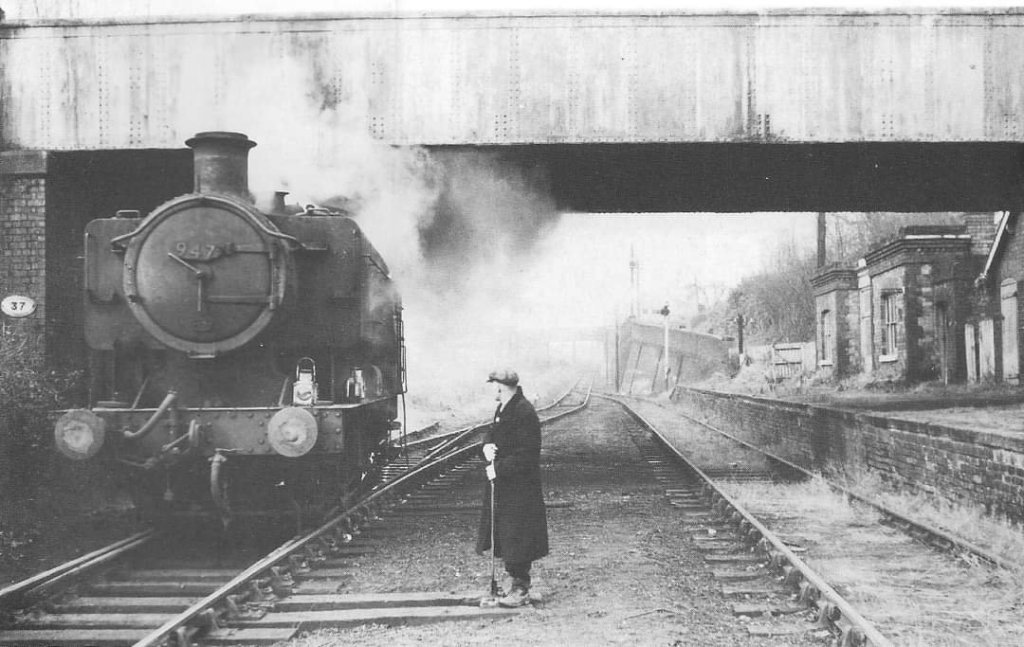
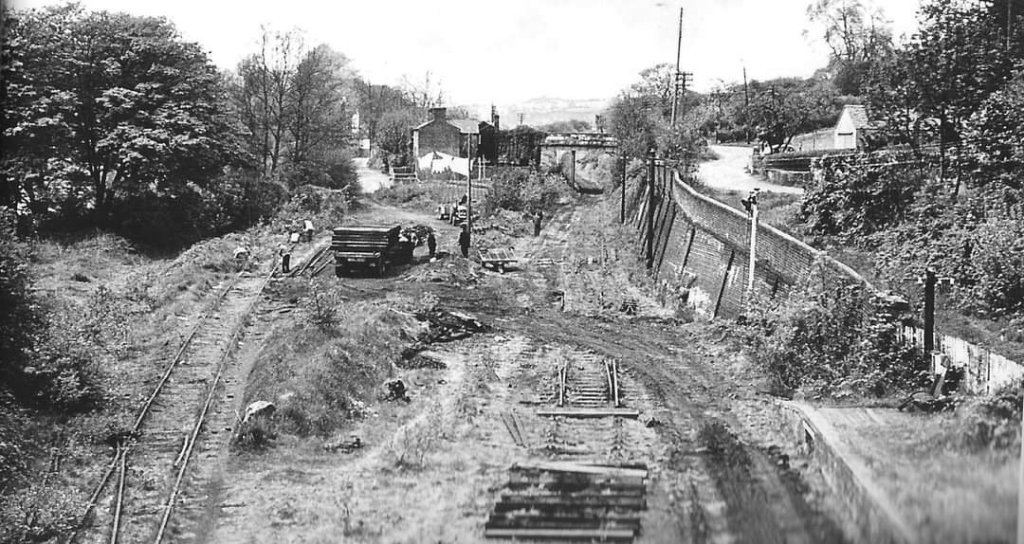
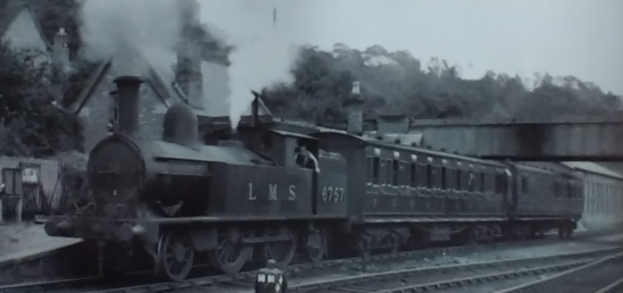
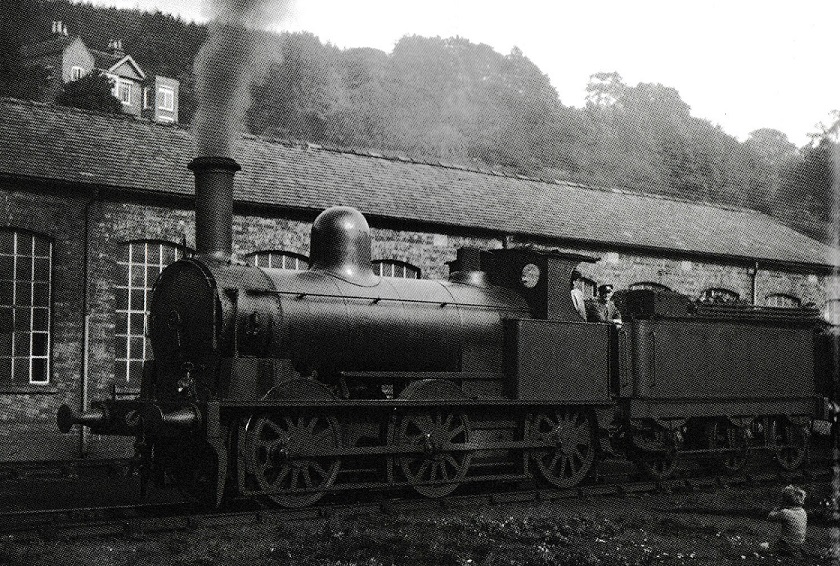
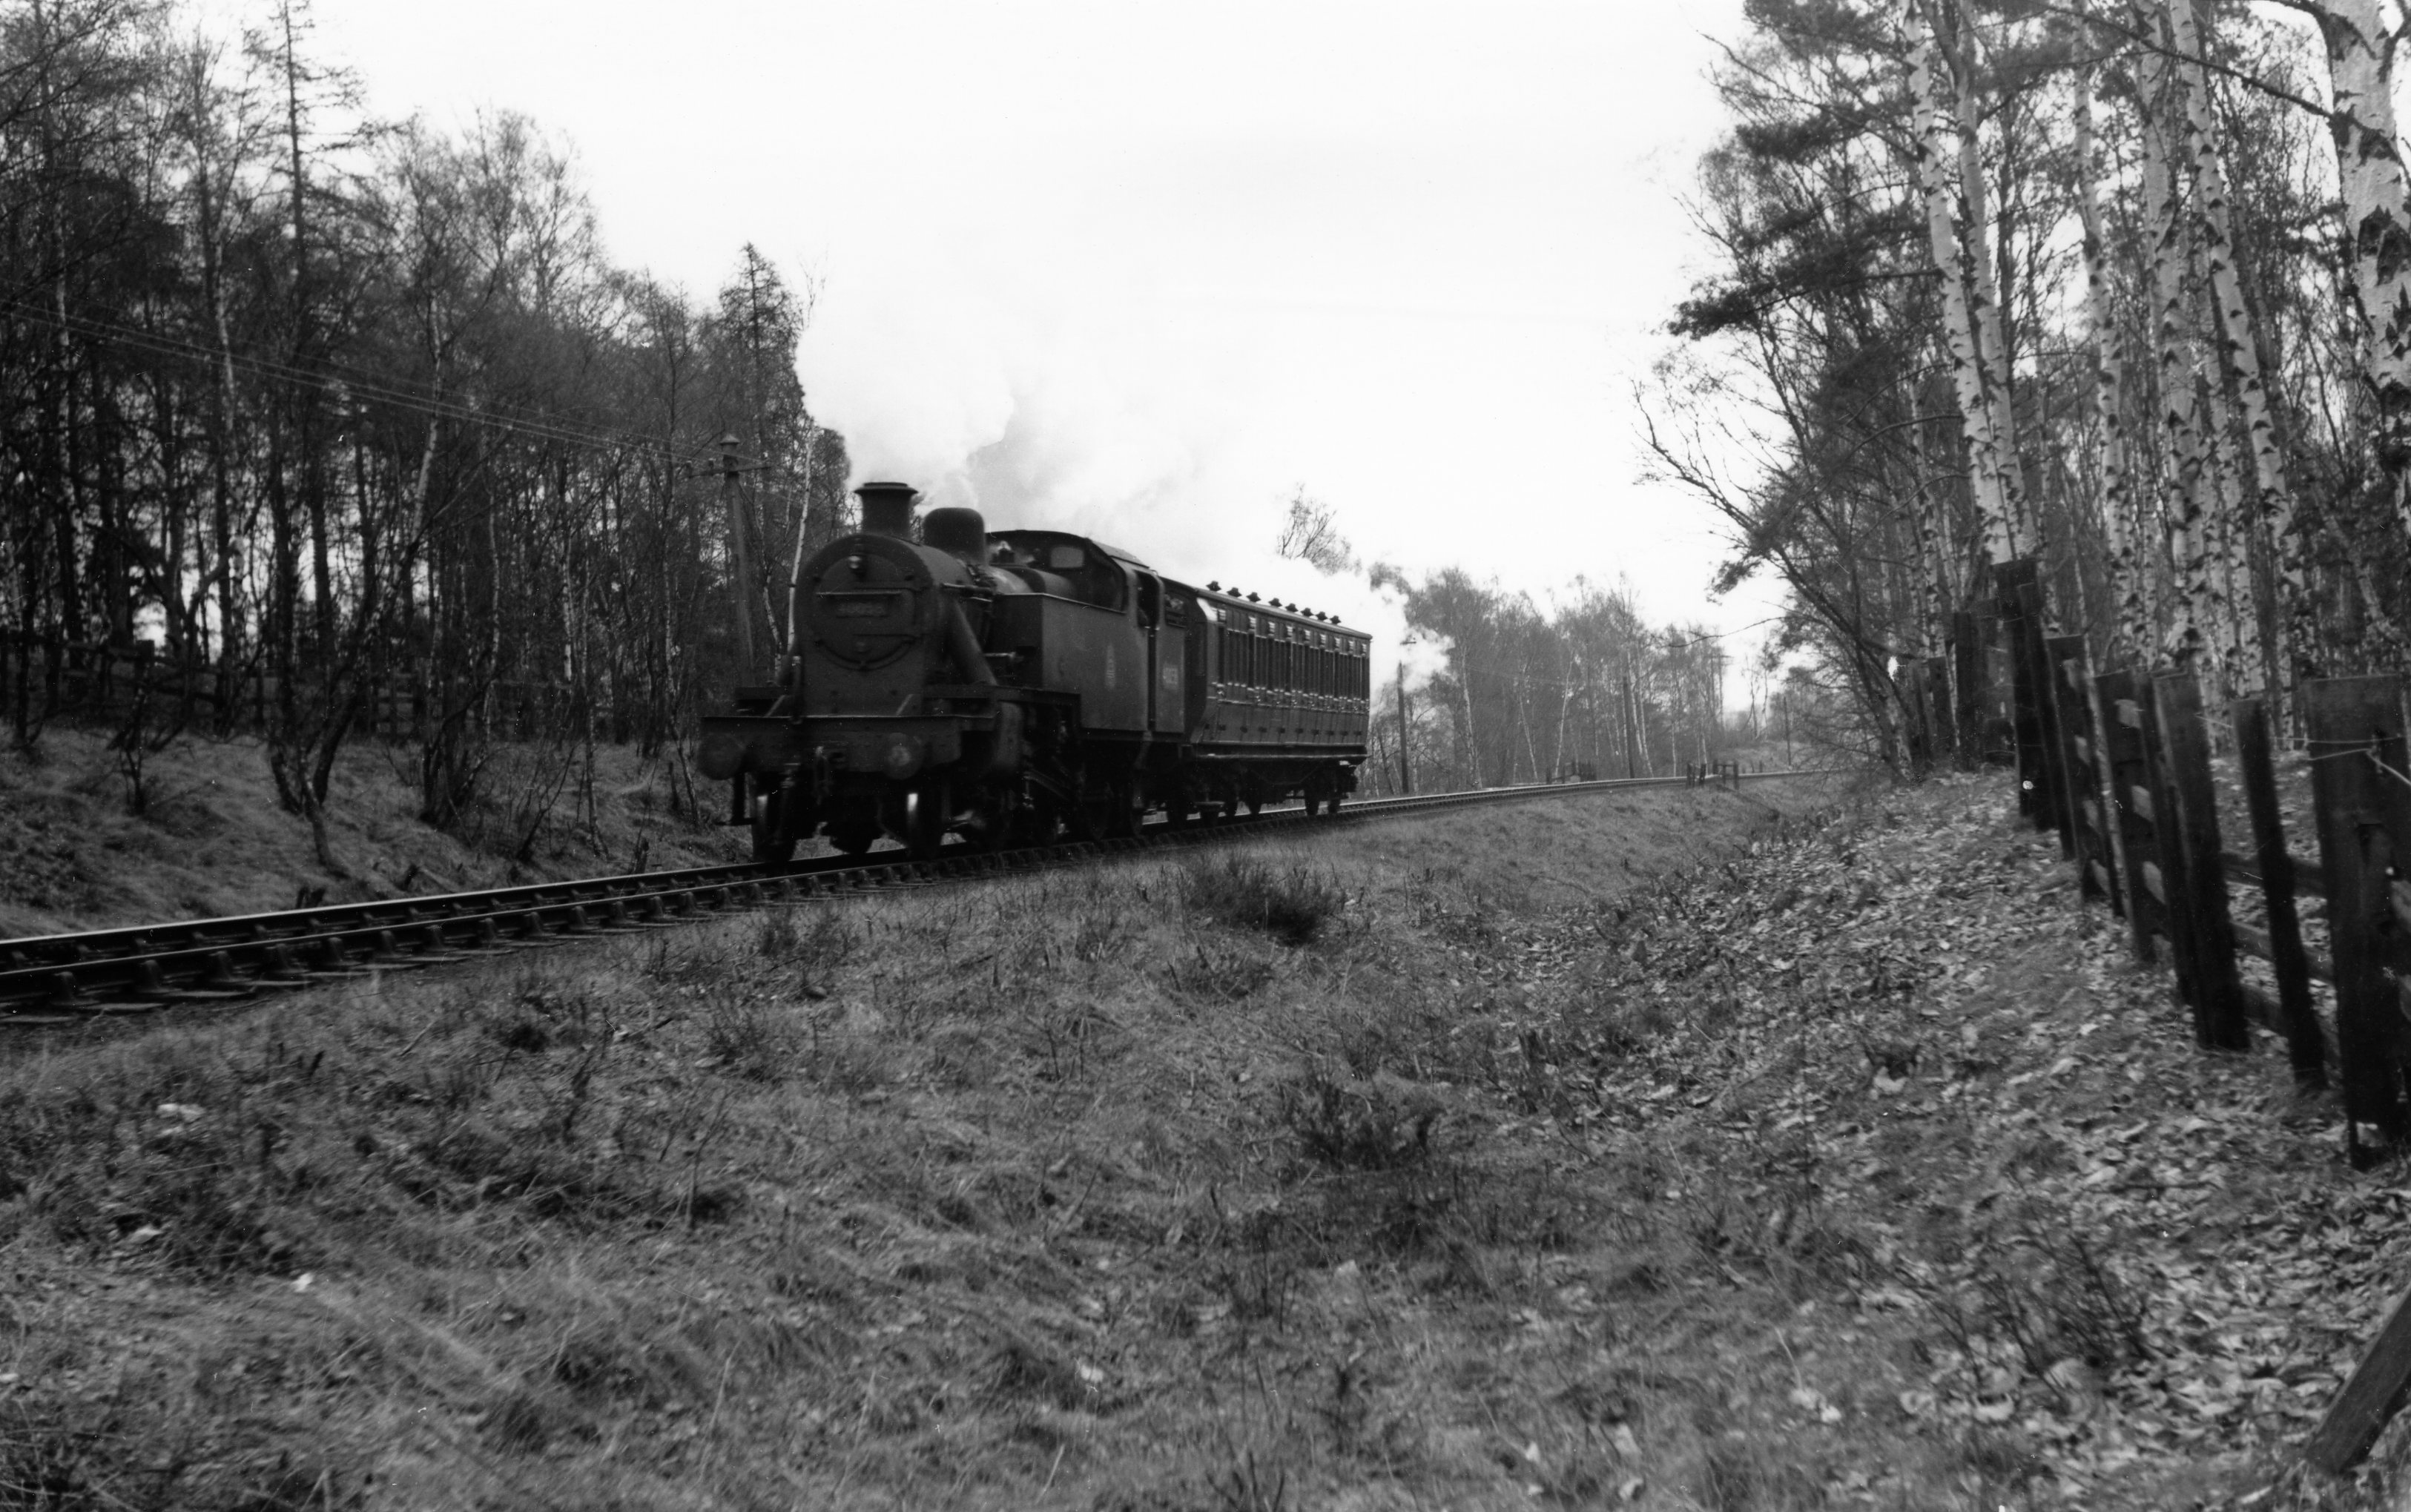
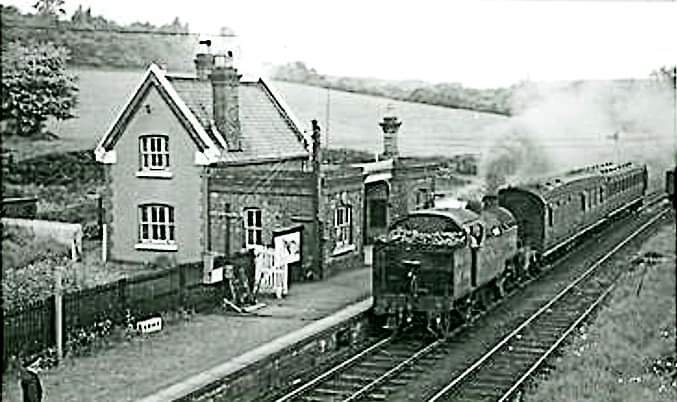
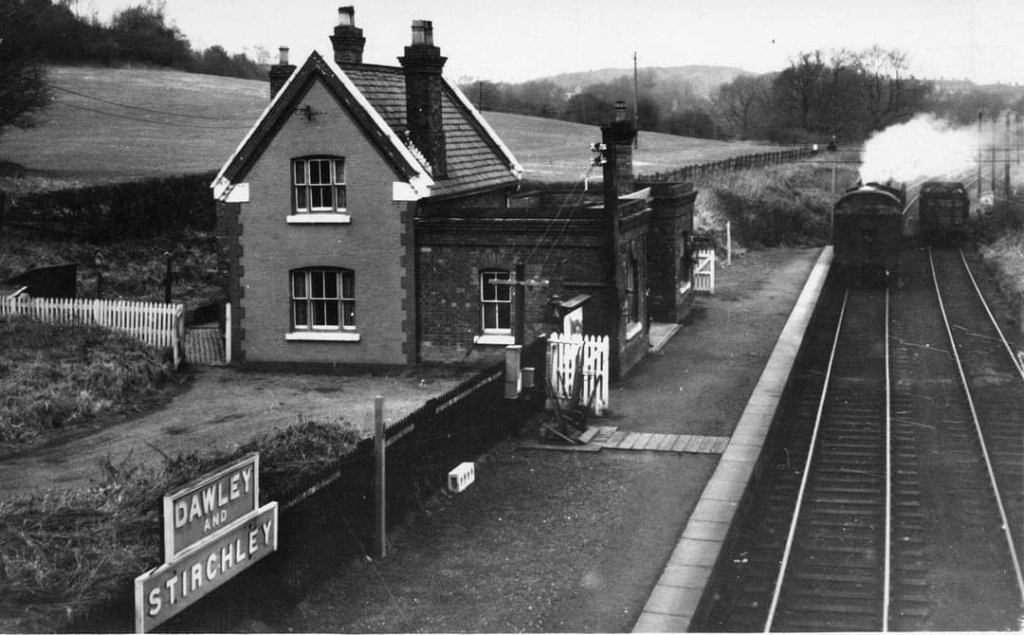
- B & R Video Productions produce a series of DVDs which have primarily been created by converting cine-film. One part of their library is the Jim Clemens Collection. These stills from the video are shared here with permission from Michael Clemens who holds the copyright on his father’s work. Michael is an author in his own right and maintains a website: https://www.michaelclemensrailways.co.uk. On that website there are details of all of the books he as published together with quite a bit of downloadable material including working timetables. His most relevant publication to this current article is: Michael Clemens; The Last Years of Steam in Shropshire and the Severn Valley; Fonthill Media Ltd, Stroud, Gloucestershire, 2017. That book contains two photographs which are similar to two of the images shown above (p67).
- https://scontent.fbhx4-2.fna.fbcdn.net/v/t1.6435-9/33498907_2064140837243249_3582868989702832128_n.jpg?_nc_cat=108&ccb=1-7&_nc_sid=825194&_nc_ohc=wSw5EVKxUyMAX8qskYR&_nc_ht=scontent.fbhx4-2.fna&oh=00_AfCSF31tNH6WIKLxXWfvuVw838LfrhemIIyqBXv-DanmNg&oe=65040196, accessed on 16th August 2023.
- https://scontent.fbhx4-2.fna.fbcdn.net/v/t1.18169-9/12003317_10201024425808382_8593076314682892494_n.jpg?_nc_cat=103&ccb=1-7&_nc_sid=825194&_nc_ohc=79roHzvVxmgAX9c28mg&_nc_ht=scontent.fbhx4-2.fna&oh=00_AfDbCRsXlWhcbkz6I3Hfylg6ZXes4sfaKhIQFg-AzcyKuA&oe=650431FA, accessed on 16th August 2023.
- https://www.facebook.com/photo/?fbid=1396454793732287&set=pcb.1536206876397310, accessed on 16th August 2023.
- https://www.facebook.com/photo/?fbid=415854582741549&set=pcb.4828097803874851&locale=en_GB, accessed on 17th August 2023.
- https://www.facebook.com/photo/?fbid=199914067979251&set=gm.3885749764776331&locale=en_GB, accessed on 17th August 2023.
- https://www.facebook.com/photo?fbid=1479677292076703&set=pcb.1638614642823199, accessed on 17th August 2023.
- https://www.facebook.com/photo/?fbid=358725490972160&set=gm.857122790972392&locale=en_GB, accessed on 17th August 2023.
- https://www.facebook.com/photo/?fbid=350909495087093&set=gm.846879645330040, accessed on 17th August 2023.
- https://www.facebook.com/photo?fbid=10201766294034624&set=gm.1216465698371431, accessed on 17th August 2023.
- https://www.facebook.com/photo/?fbid=780955851917249&set=g.265906436919058&locale=en_GB, accessed on 17th August 2023.
- https://www.facebook.com/photo?fbid=768810473137503&set=gm.763555453662460, accessed on 17th August 2023.
- https://www.facebook.com/photo/?fbid=780955721917262&set=g.265906436919058, accessed on 17th August 2023.
- https://www.facebook.com/photo/?fbid=1930020190655315&set=gm.1835369933147668, accessed on 17th August 2023.
- https://www.facebook.com/photo.php?fbid=1630154737041775&set=p.1630154737041775&type=3, accessed on 17th August 2023.
- https://www.facebook.com/photo/?fbid=3993423409539&set=g.265906436919058&locale=en_GB, accessed on 17th August 2023.
- https://www.facebook.com/photo/?fbid=3993651215234&set=g.265906436919058&locale=en_GB, accessed on 17th August 2023.
- https://www.facebook.com/photo/?fbid=10153034973449890&set=pcb.396942657148768, accessed on 18th August 2023.
- https://www.facebook.com/photo?fbid=10153034971844890&set=pcb.396942657148768, accessed on 18th August 2023.
- https://www.facebook.com/photo?fbid=10153034972544890&set=pcb.396942657148768, accessed on 18th August 2023.
- https://www.facebook.com/photo?fbid=10153034973339890&set=pcb.396942657148768, accessed on 18th August 2023.
- https://www.facebook.com/photo?fbid=10157888689539890&set=pcb.1477973989045624&locale=en_GB, accessed on 18th August 2023.
- https://www.facebook.com/photo?fbid=10155399978029890&set=pcb.795212197321810, accessed on 18th August 2023.
- https://www.facebook.com/groups/265906436919058/search?q=loco, accessed on 18th August 2023.
- https://www.facebook.com/groups/265906436919058/search/?q=under&locale=en_GB, accessed on 18th August 2023.
- https://www.facebook.com/photo.php?fbid=967532196637369&set=p.967532196637369&type=3&locale=en_GB, accessed on 18th August 2023.
- https://www.facebook.com/photo.php?fbid=967582559965666&set=p.967582559965666&type=3&locale=en_GB, accessed on 18th August 2023.
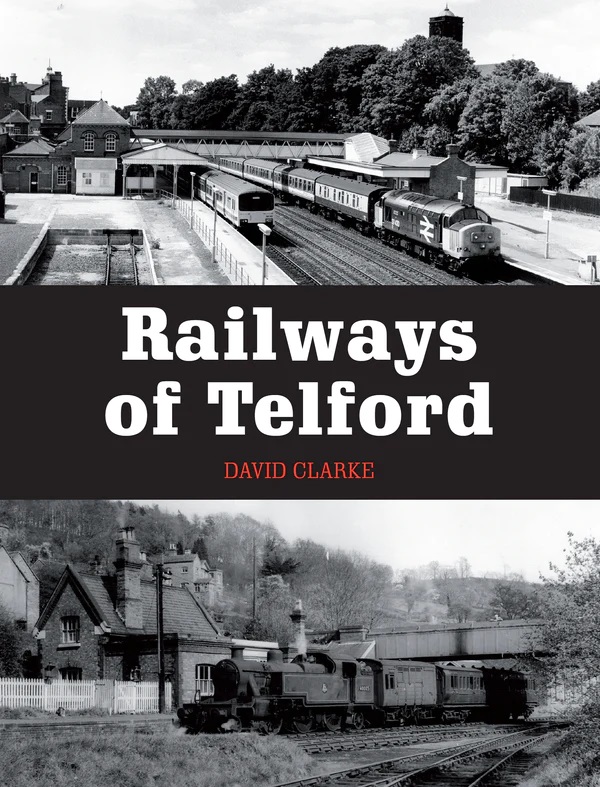
- David Clarke; The Railways of Telford; Crowood Press, Ramsbury, Wlitshire, 2016.


