
Just a few days after I completed addendum 1A about the first length of The Micklehurst Loop and particularly about Staley and Millbrook Station and Goods Yard, I heard from James Ward who recollected some photographs taken by his father of the demolition of the Spring Grove Viaduct. On 11th February 2021, he sent me copies of those photographs along with permission to share them here.
My first article on the Micklehurst Loop can be found using this link:
and the first addendum, on this link:
In his emails, James Ward also provided links to some photographs on the ‘Timepix’ website. These, at present, are predominantly photographs of the Greater Manchester Revision Point Collection undertaken by/on-behalf-of the Ordnance Survey in the early 1950s and are held by Manchester Libraries. The introduction to the ‘Timepix’ website makes it clear that all of their watermarked images are free to download and share. [3]
Some of these pictures show locations close to the Staley and Millbrook Station and Goods yard. These are shared on this page below those taken by Stephen Ward, James’ father.
The Demolition of Spring Grove Viaduct.
The pictures below are taken from Grove Road/Spring Bank Lane in 1991 by Stephen Ward. I have maintained the numbering of the photographs as they were given in the email attachments from James Ward. It was only possible to take pictures of the work from public land and the highway. No trespass over the demolition site was possible. There are signs in these pictures of the growth of vegetation around the line of the Micklehurst Loop, growth, which in the 2020s has swamped the remains of the railway.

Key to photographs taken by Stephen Ward in 1991, imposed on the 25″ OS Map from the turn of the 20th century. [1]
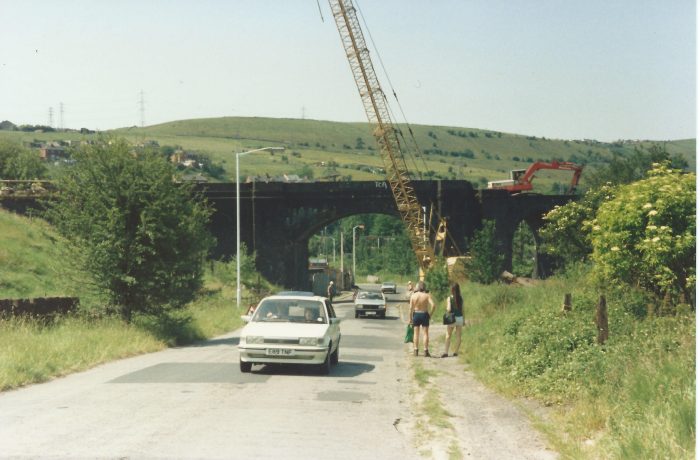
Photograph GRV1; Spring Grove Viaduct Demolition in 1991, this photograph is taken from the East along Grove Road (c) Stephen Ward [2]
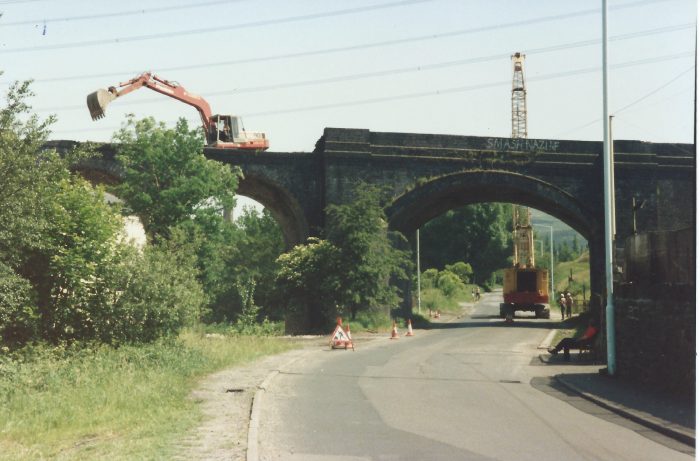
Photograph GRV2; Spring Grove Viaduct Demolition in 1991, this photograph is taken from the West from close to the Huddersfield Narrow Canal. The larger road span is visible and the first two arched spans of the viaduct to the North, (c) Stephen Ward . [2]
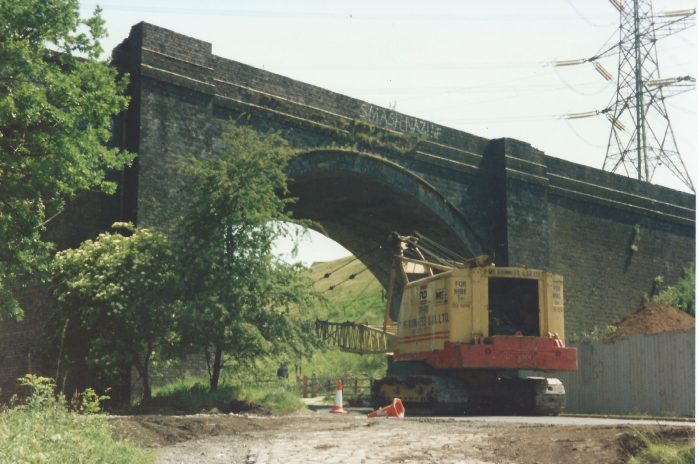
Photograph GRV3; Spring Grove Viaduct Demolition in 1991, this photograph is taken from the Northwest from the Old Spring Mill access road between the railway and the Canal, (c) Stephen Ward . [2]
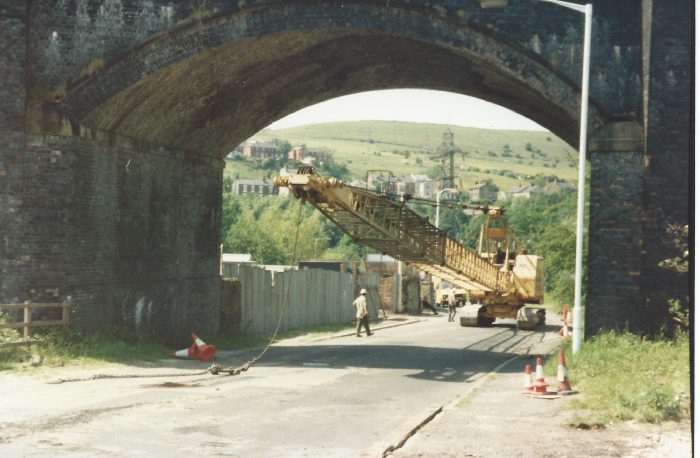
Photograph GRV4; Spring Grove Viaduct Demolition in 1991, this photograph is taken from the East on Grove Road. Had the old station building still been standing it would have just been visible on the left of the image, right next to the abutment wall, (c) Stephen Ward . [2]
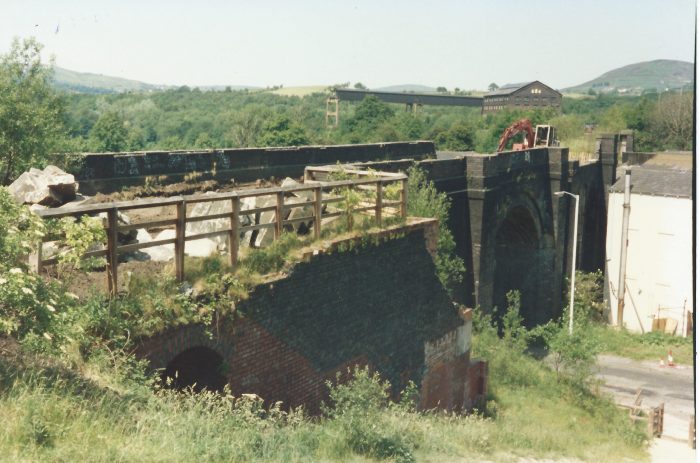
Photograph GRV5; Spring Grove Viaduct Demolition in 1991, this photograph is taken from above the location of the old Station House on the East side of the viaduct abutment in the foreground. Part of the Spring Grove Mill is visible on the right of the picture. The Goods Shed and the remains of the coal conveyor can be seen on the horizon, The top of the arch which provided pedestrian access to the platform closer to the Canal can be seen in the left foreground, (c) Stephen Ward . [2]
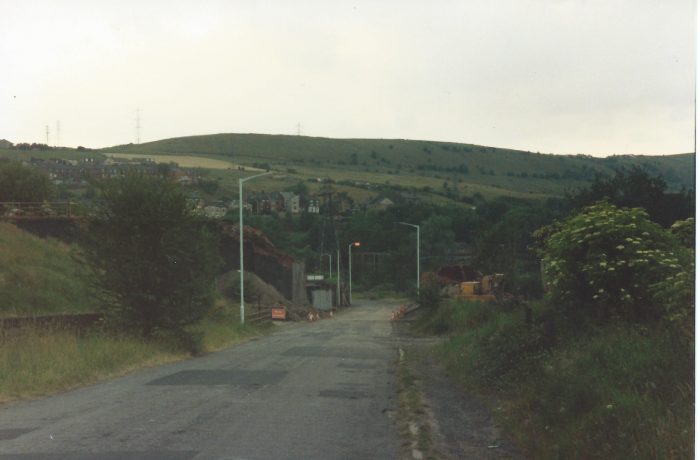
Photograph GRV7; Spring Grove Viaduct Demolition in 1991, this photograph is taken in the early evening from the East on Grove Road. One street light has just come on. The over-road skew-arch bridge is now gone and the view West down Grove Road to the hills behind is no longer interrupted by the railway structure, (c) Stephen Ward . [2]
Photograph GRV8; Spring Grove Viaduct Demolition in 1991, this photograph is taken from the West, close to the Canal. Both the road-span and the adjacent arch have been demolished and much of the brickwork has been cleared, (c) Stephen Ward . [2]
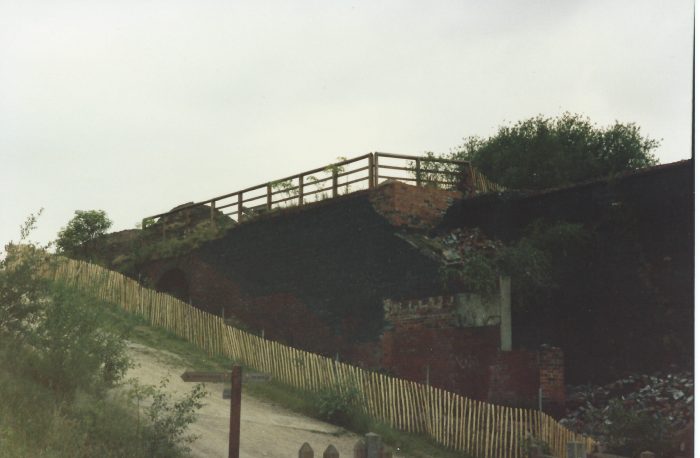
Photograph GRV9; Spring Grove Viaduct Demolition in 1991, this photograph is taken from Grove Road. Had the old station building still been standing, it would have filled the image. We are looking Southwest across the location of the building at the remaining length of surviving viaduct abutment in the gloom of early evening. The pedestrian access to the West side of the line can be seen above the chestnut-paling fencing, (c) Stephen Ward . [2]

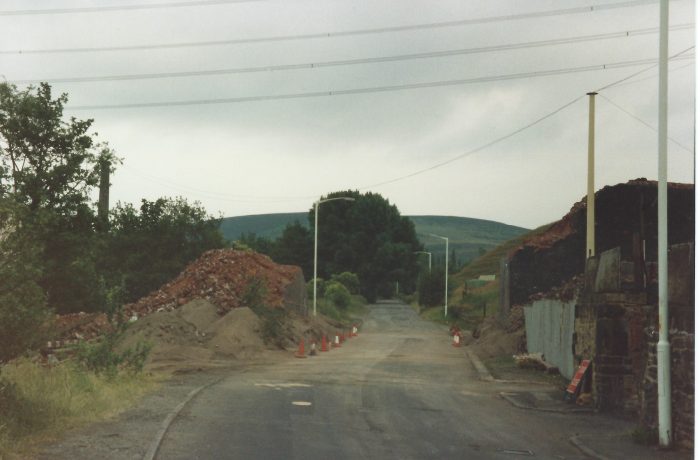
Photograph GRV10; Spring Grove Viaduct Demolition in 1991, this photograph is taken from the East on Grove Road, also late in the evening. The white painted wall is the end of the surviving buildings of the old Spring Grove Mill, (c) Stephen Ward. [2]
The Ordnance Survey Greater Manchester Revision Point Collection from the early 1950s.
The following pictures were taken to record Ordnance Survey work and have the incidental benefit of being within the landscape we are interested in.

Key to the Manchester Libraries Ordnance Survey Photographs below.
The first picture can be precisely located as being at the North end of Spring Grove Viaduct above the buildings of Spring Grove Mill which can be seen in the photograph.
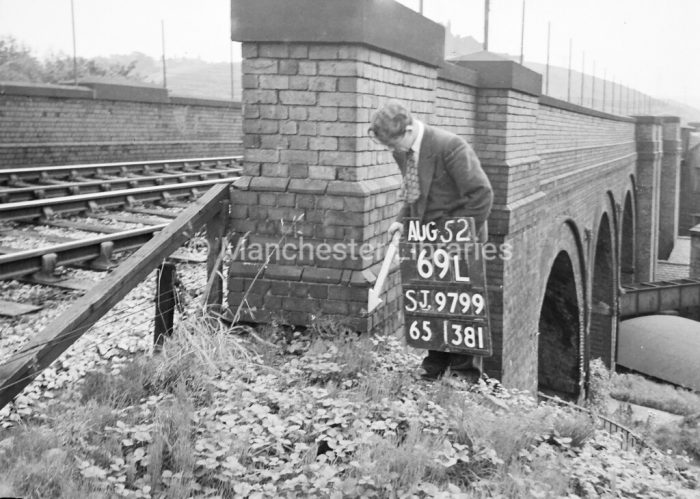
Photograph ML2: North end of Spring Grove Viaduct showing the East face of the structure which flew over the Spring Grove Mill, buildings of which can be seen in the image. Map Square SJ9799, © Manchester Libraries. [3]
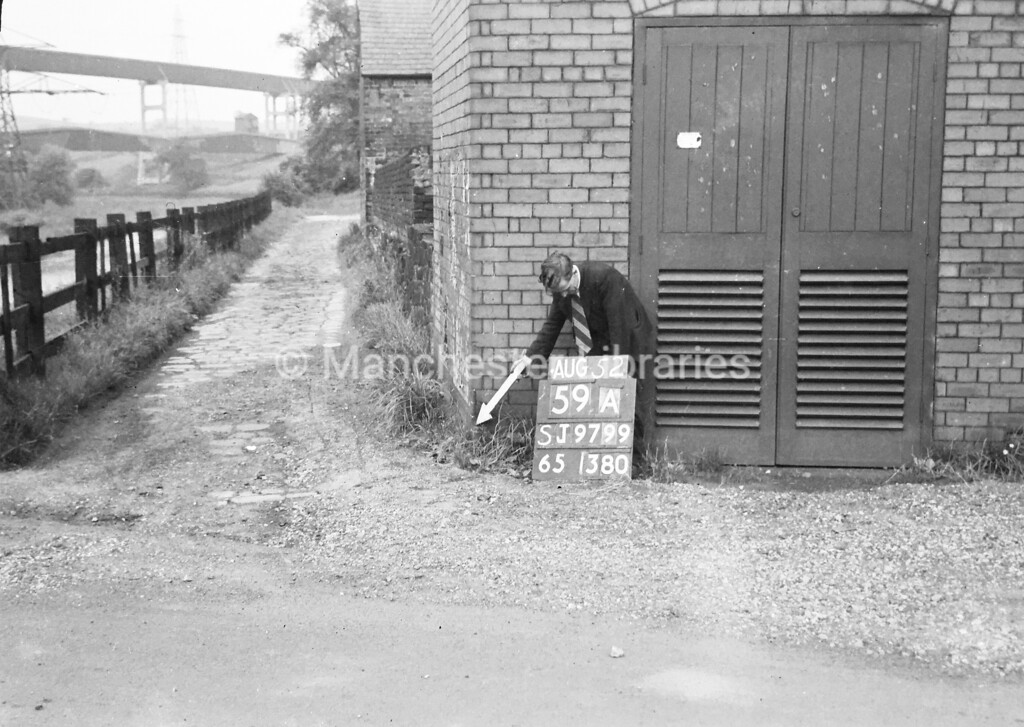
Photograph ML3: Electricity sub-station, east side of the Huddersfield Narrow Canal and North of Grove Road. The coal conveyor for the Hartshead Power Station is also visible. The railway, the station and the Mill are about a hundred metres off to the right of the picture. Map Square SJ9799, © Manchester Libraries. [3]

Photograph ML4: Opposite Electricity sub-station, east side of Huddersfield Narrow Canal, South side of Grove Road. This view looks back towards Stalybridge. The railway, the station and the Mill are about a hundred metres off to the left of the picture. Map Square SJ9799, © Manchester Libraries. [3]
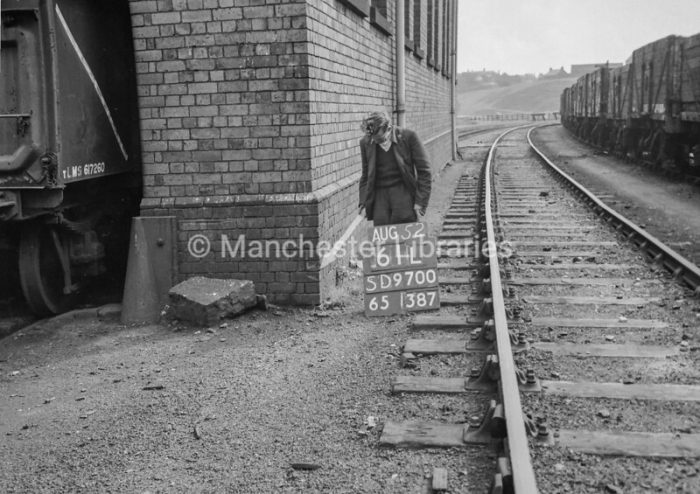
Photograph ML5: Man marking Ordnance Survey minor control revision point on the corner of the Good Shed at Staley and Millbrook Yard. Staley Hall can be seen on the horizon, (c) Manchester Libraries. [3]
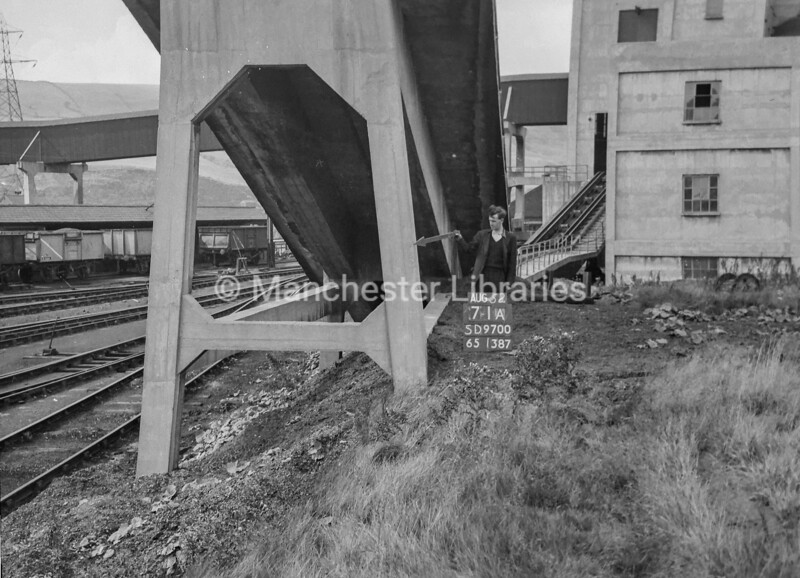
Photograph ML6: Man marking Ordnance Survey minor control revision point on the coal handling facilities in Staley and Millbrook Goods Yard. The conveyor which transported coal across the Micklehurst Loop, The Huddersfield Narrow Canal and the River Tame can be seen in the background, (c) Manchester Libraries. [3]
- https://maps.nls.uk, accessed on 2nd February 2021.
- Photographs taken by Stephen Ward. They are supplied by his son James Ward and reproduced here with their kind permission.
- https://www.timepix.uk/PAGES/Top-Line-navigation-pages/n-5PX4Wc/About, accessed on 11th February 2021.

Pingback: The Micklehurst Loop – Part 1C – Including Hartshead Power Station | Roger Farnworth
Pingback: The Micklehurst Loop – Part 2 | Roger Farnworth
Pingback: The Micklehurst Loop – Part 3 | Roger Farnworth
Pingback: The Micklehurst Loop – Part 1D – Some Miscellaneous Items relating to the area around the Staley and Millbrook Goods Yard. | Roger Farnworth
Pingback: The Micklehurst Loop – Part 4 | Roger Farnworth
Pingback: The Micklehurst Loop again … | Roger Farnworth