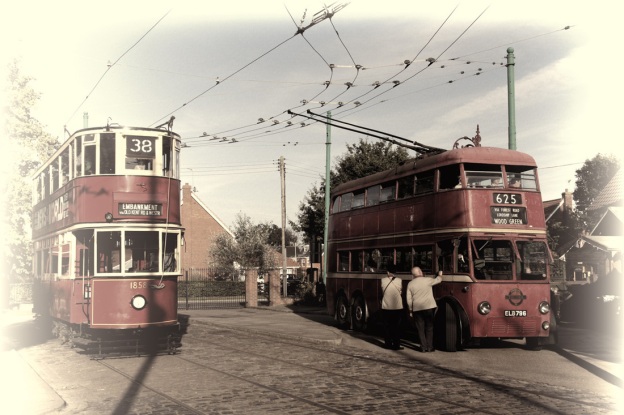
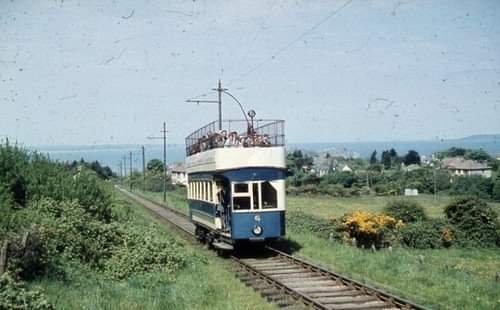
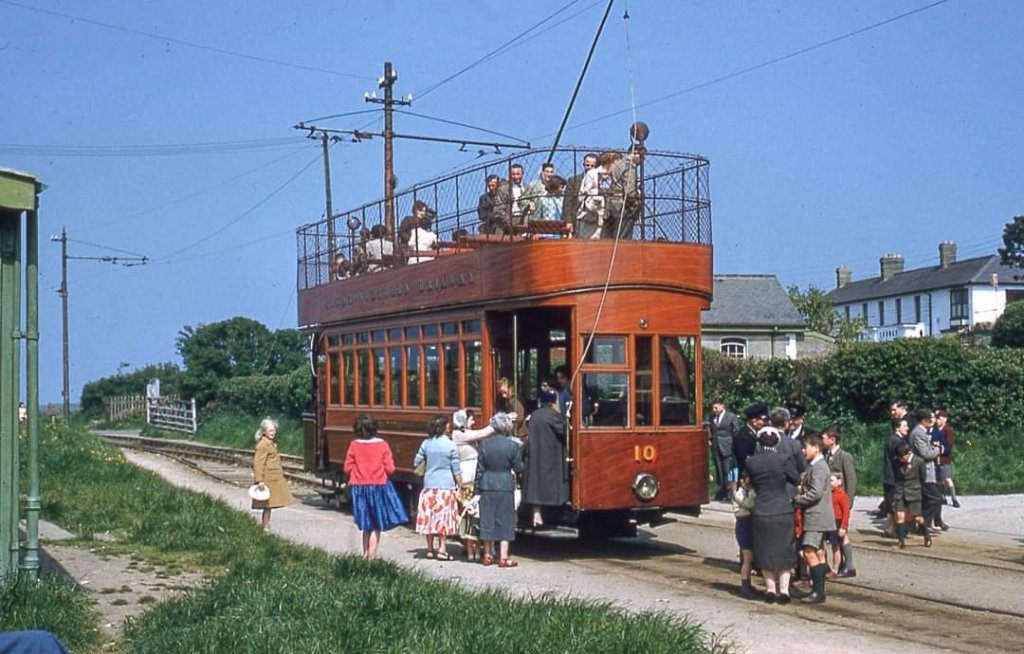
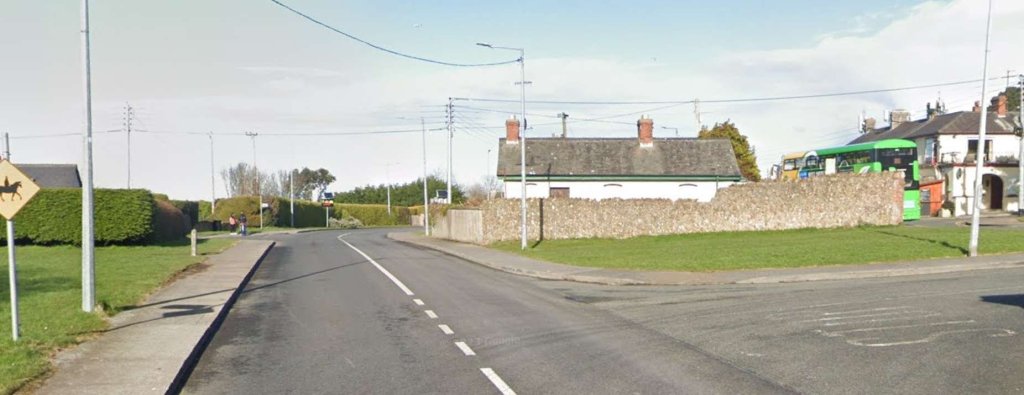
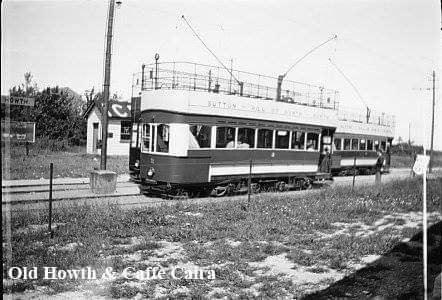
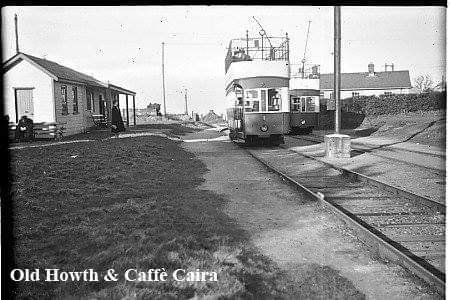
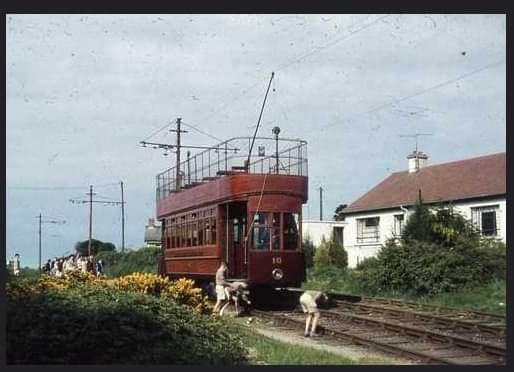
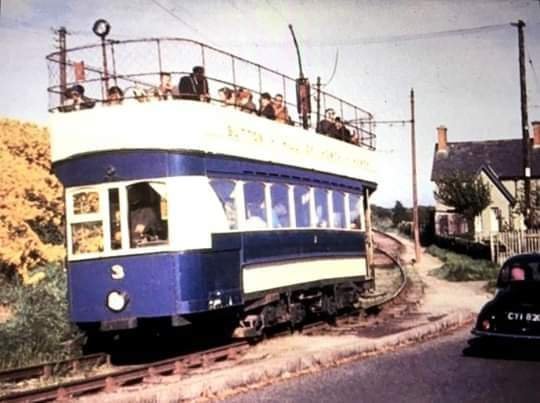
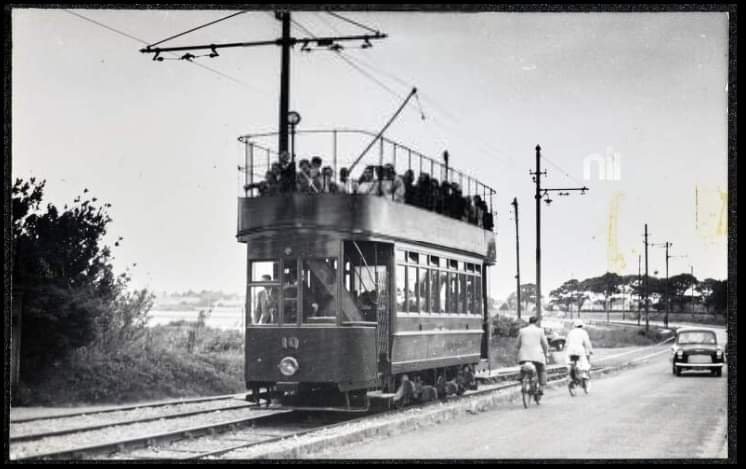
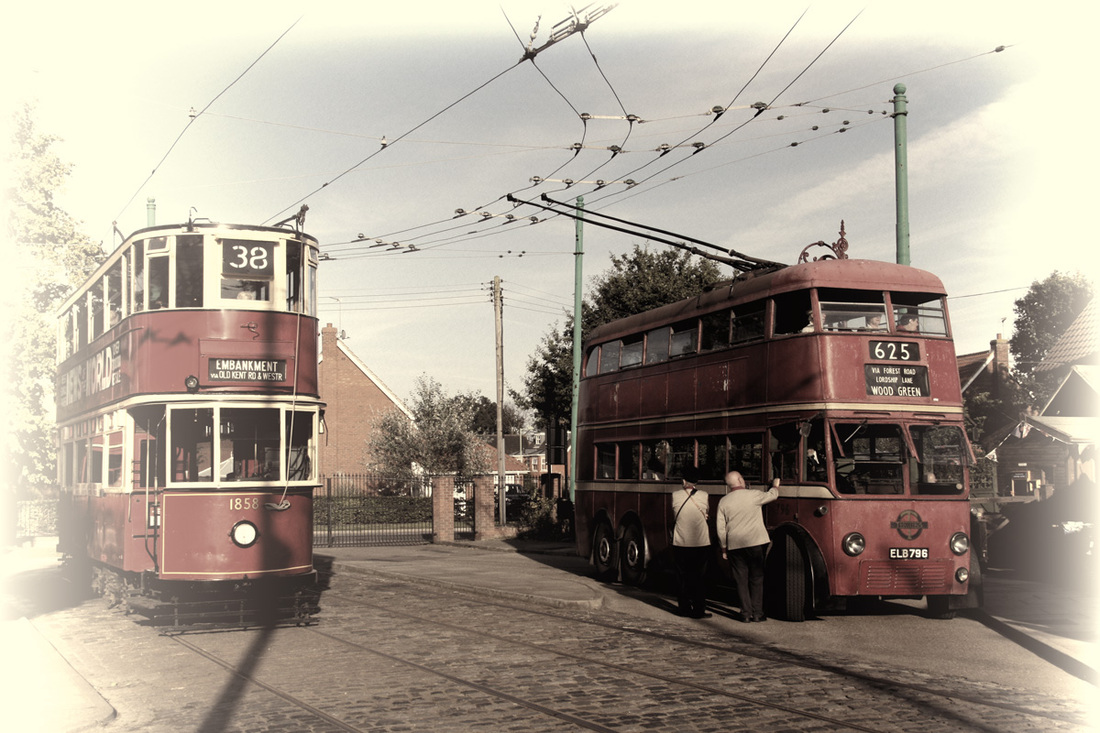
The featured image above comes from the London Day at the East Anglian Transport Museum it shows a London trams running alongside one of the trolleybuses that ran alongside them and along with RT buses replaced them. [6]
‘TheModern Tramway‘ was the title of the journal of the Light Railway Transport League.
I picked up a small batch of copies of The Modern Tramway Journal which included volumes from the 1950s, 1960s and 1980s and have begun reading through them. The first Journal that I have is dated 15th July 1953. At the time of writing it is 70 years old.
Volume 16 No. 187 of July 1953 starts with an item entitled, “Tramways and the Press.” Starting with a specific instance of dubious reporting by the national dailies about tram parts being sent to Egypt, the article bemoans the way that tramways were increasingly being seen by the public, led by the press, as an outmoded form of transport.
It concludes with these words:
“In working for the retention and extension of tramways, The Modern Tramway has to cope, not only with ignorance, which is to some extent forgivable, but with interests far more difficult and involved; vested interests which care not for the economy of the country or the pocket of the citizen. We believe that tramways can not only give a better, cheaper, healthier service to the public than any other form of road passenger transport, but that they will materially contribute to the economic wellbeing of the nation as a whole. We believe this is worth striving for.” [1: p132]
In the intervening years, the UK saw the removal of almost every tramway network in favour of trolley buses and ultimately in favour of bus networks which were, at the time, seen both as a more modern and a more flexible solution to local transport needs.
There are a good number of examples on the continent of places which did not chose to follow a similar path.
In the light of development at the end of the 20th century and on into the 21st century, it is interesting, if not salutary, to consider the wisdom of the quote from July 1953, particularly in the light of the approaching 70th anniversary of that particular edition of the Journal.
“Tramways can not only give a better, cheaper, healthier service to the public than any other form of road passenger transport, but that they will materially contribute to the economic wellbeing of the nation as a whole. We believe this is worth striving for.” [1: p132]
We have discovered how valuable Light Rapid Transit options are within our larger conurbations and perhaps it is worth reflecting on, and appreciating, some of the prophet voices of the past!
Where would we be now if the debate which saw the removal of most of our trams had included more clearly the environmental benefits associated with those and future trams?
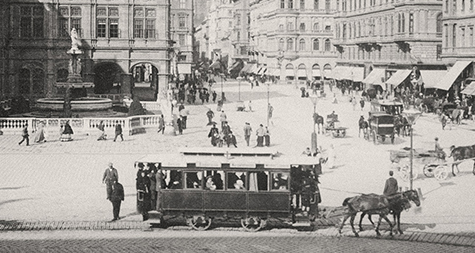
Also of interest on the same page of the Journal is an item about a visit by Councillor Hayward, a member of the London County Council, to Vienna for an international local government conference. Councillor Hayward praised Vienna’s local government, “with the exception of the city’s antiquated tramway system.”
‘Better left unsaid‘ was the title given to the editorial comment on the conference comments by the Councillor:
“We wonder how a Viennese visitor to London, standing in a rush-hour queue, would describe our inefficient bus service? The Vienna tramways, although not among the most wealthy, do their job well and efficiently; the tracks are in good condition, and if ancient open-ended trailers do appear on the streets in rush hours, this is at least the sign of an honest attempt to cater for the rush hour passenger who receives such a raw deal in London. Vienna received no new tramcars between 1930 and 1944, but a start has now been made on new construction; apart from 42 modern bogie cars from the Third Avenue Transit System of New York, post-war fleet additions include 50 4-wheel motor trams and 90 trailers, and the 1953 plan envisaged 36 modern bogie cars (18 motors and 18 trailers.). In addition, 217 older cars are to be completely reconstructed and modernised.” [1: p132]
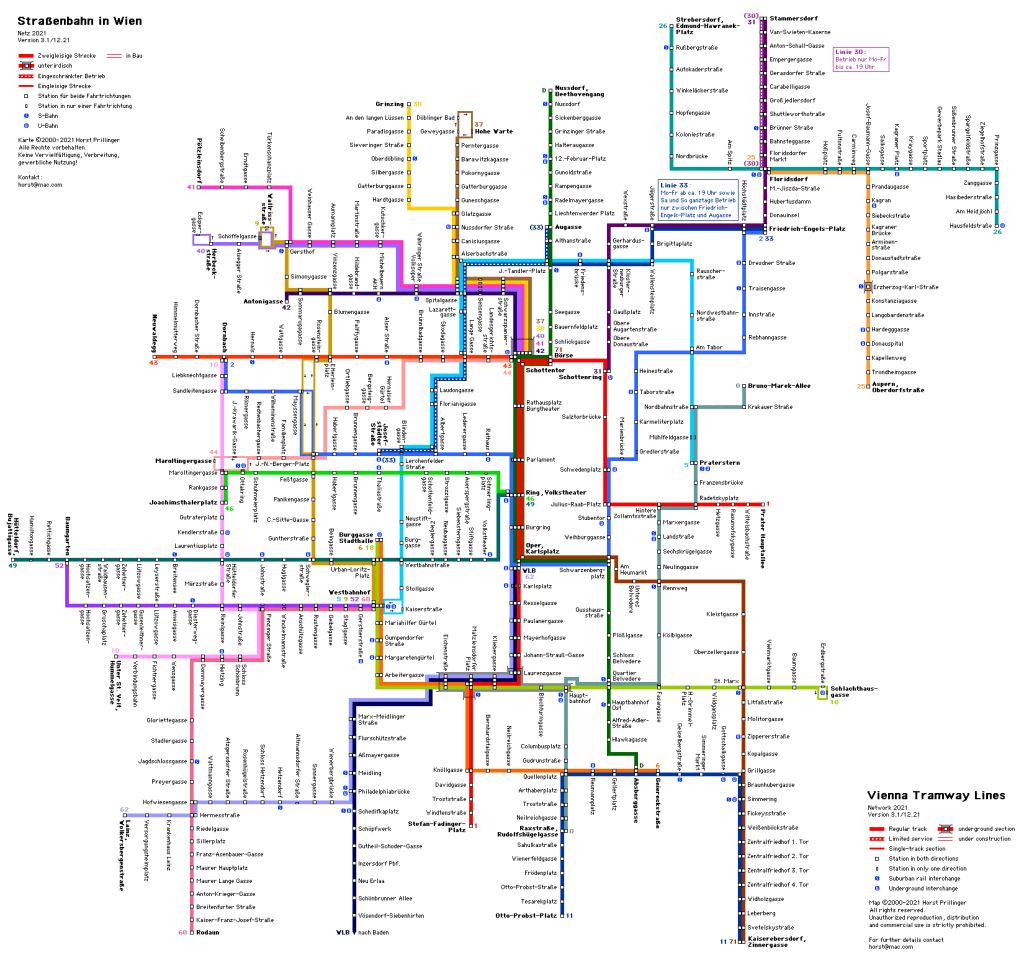
A quick look at the tramway network which still serves Vienna, illustrates how valuable the historic network has become.
The trams in Vienna “are a vital part of the public transport system in Vienna. … In operation since 1865, with the completion of a 2 km (1.2 mi) route to industrial estates near Simmering, it reached its maximum extent of 292 km (181.4 mi) in 1942. In February 2015, … it was the fifth largest tram network in the world, at about 176.9 kilometres (109.9 mi) in total length and 1,071 stations.” [3]
References
Tramways and the Press; in The Modern Tramway, Volume 16 No. 187, July 1953.
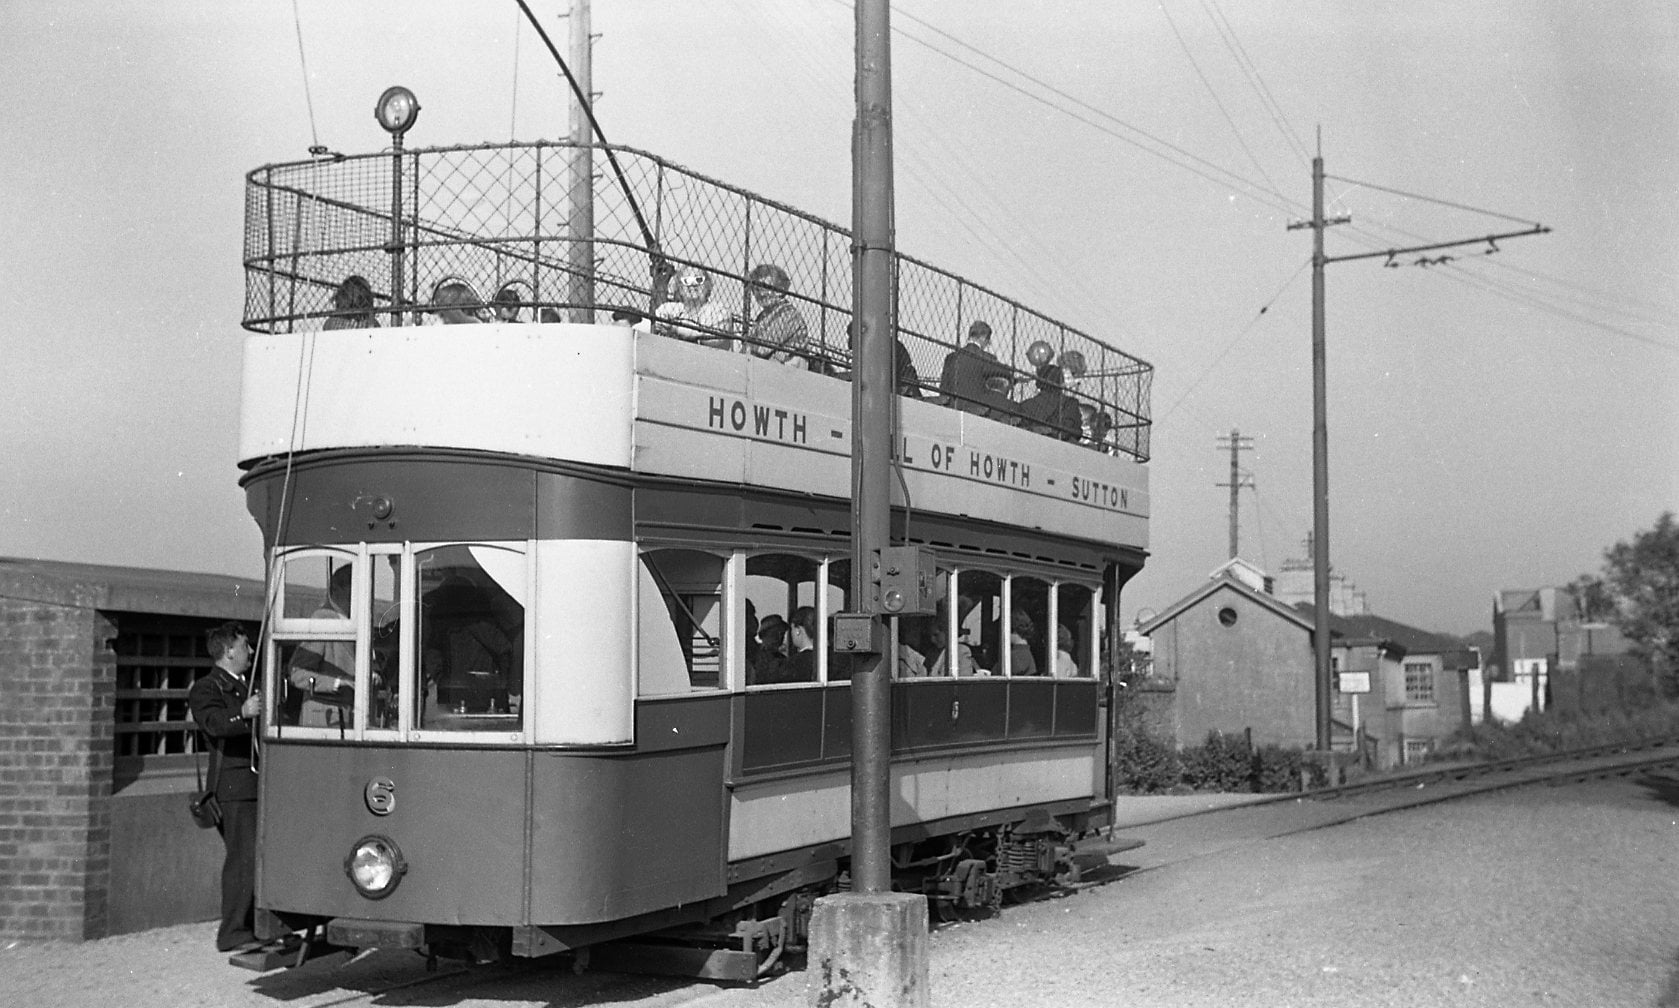
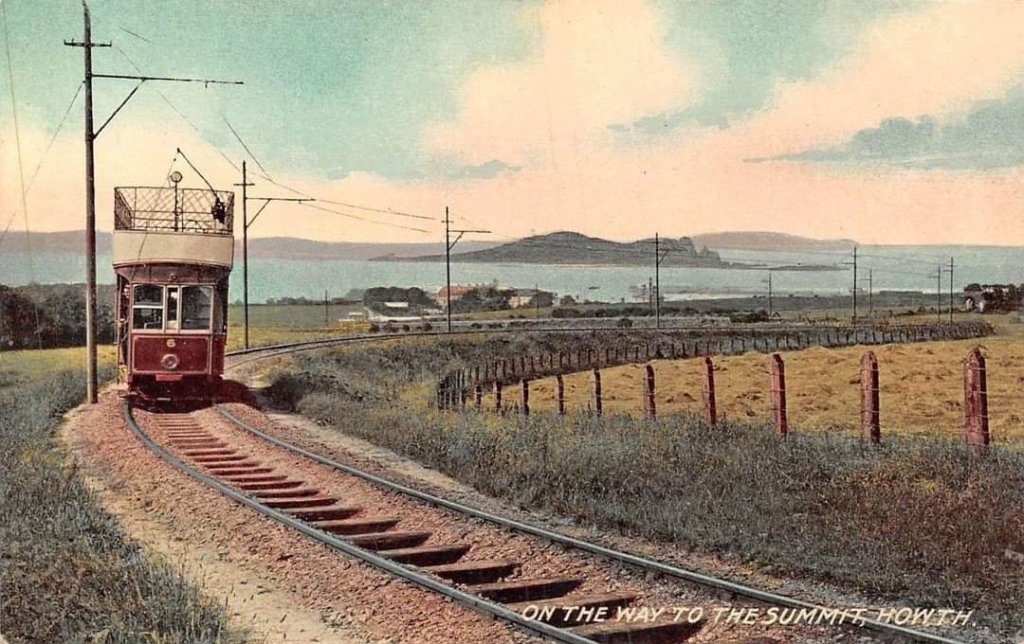
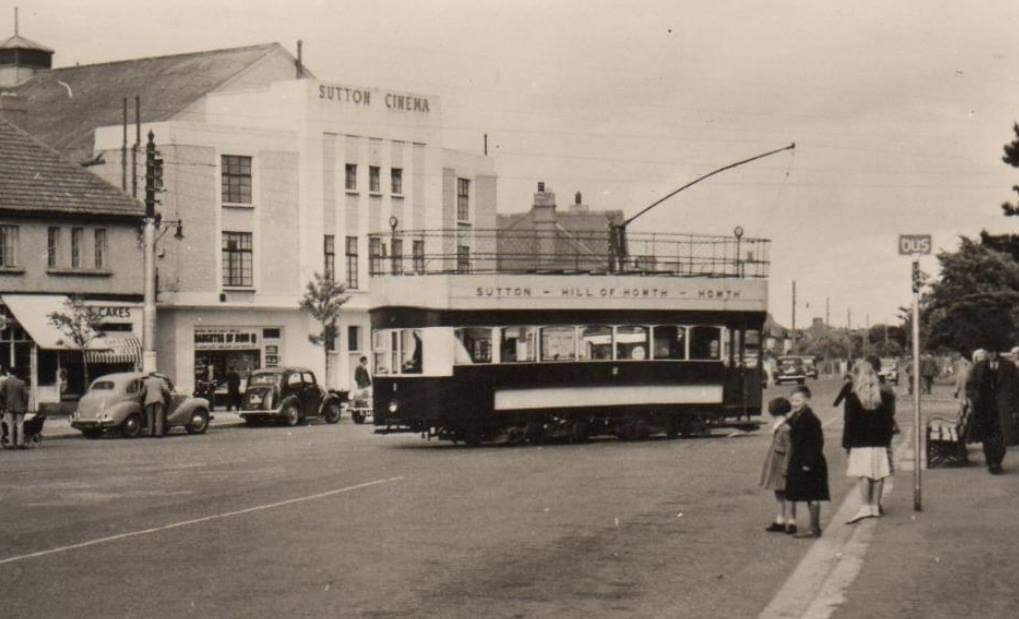
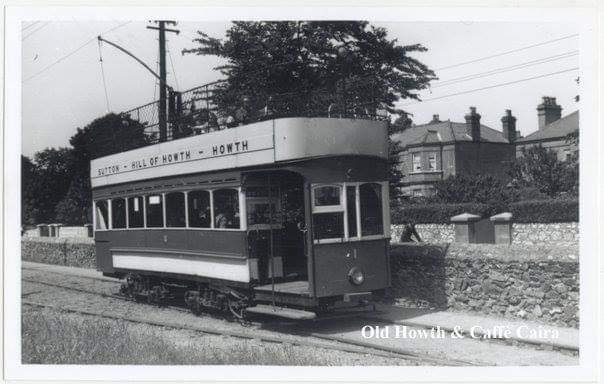
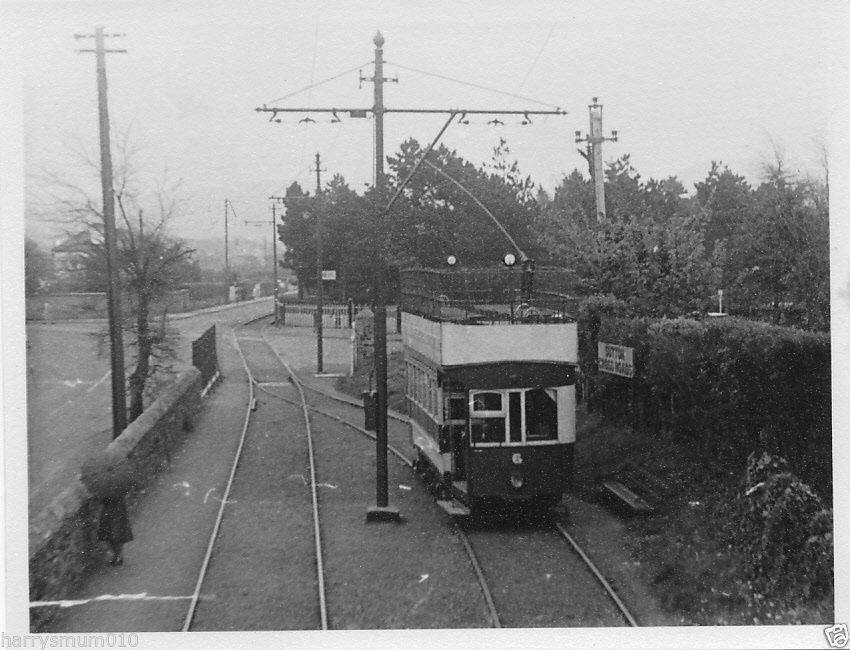
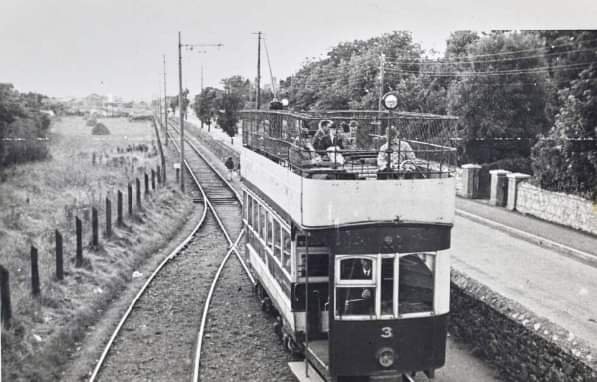
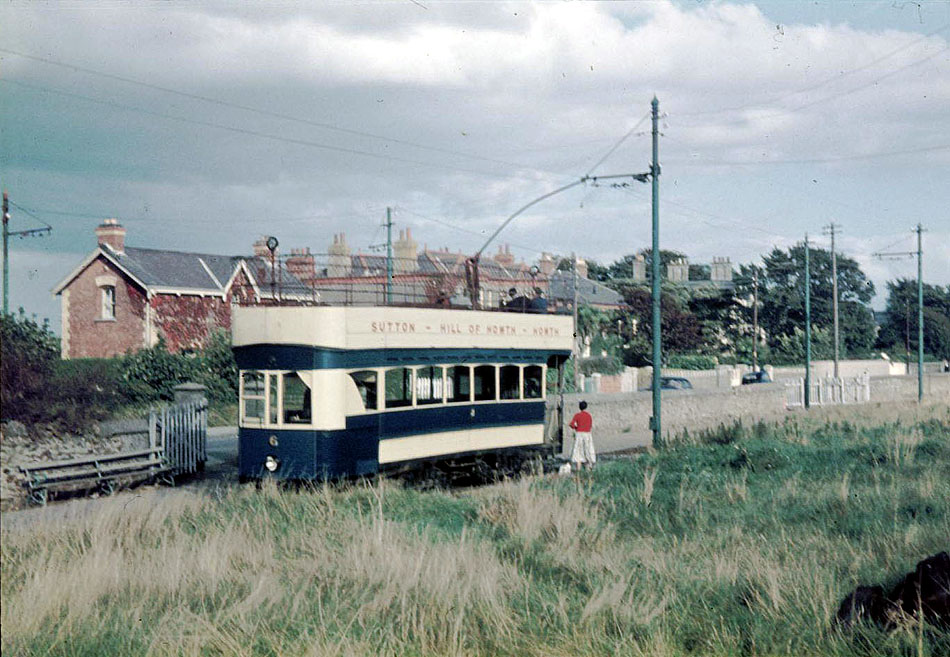
At the end of a fortnight’s holiday in Co. Donegal my wife and I had 3 nights staying close to Dublin. We chose to stay in Howth as it was at the Northern end of the DART, but perhaps also because of its history and particularly for the Hill of Howth Tramway, or to give it it’s formal title, “The Sutton and Howth Electric Tramway.” The tramway should not be confused with the Clontaff and Hill of Howth Tramroad.
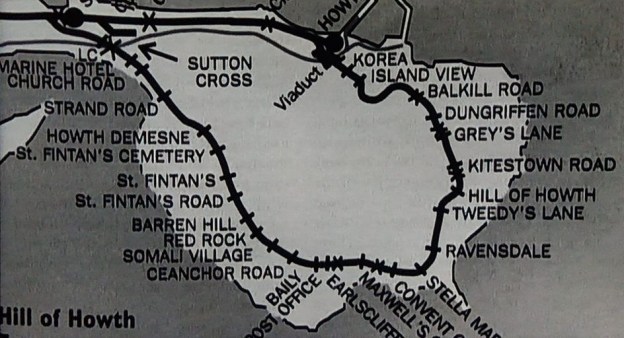
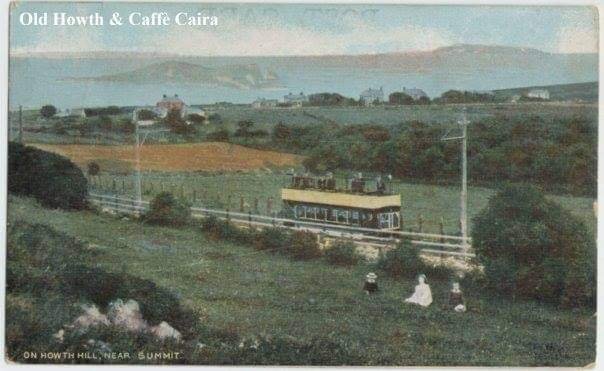
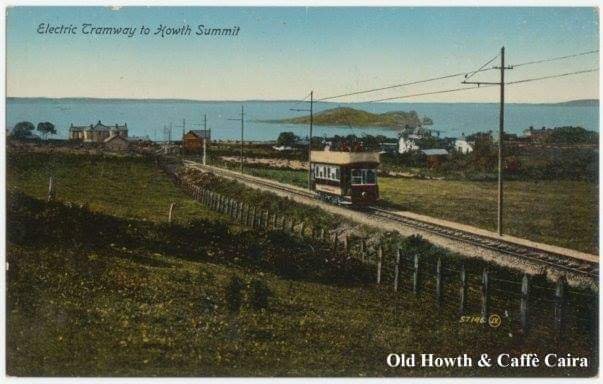
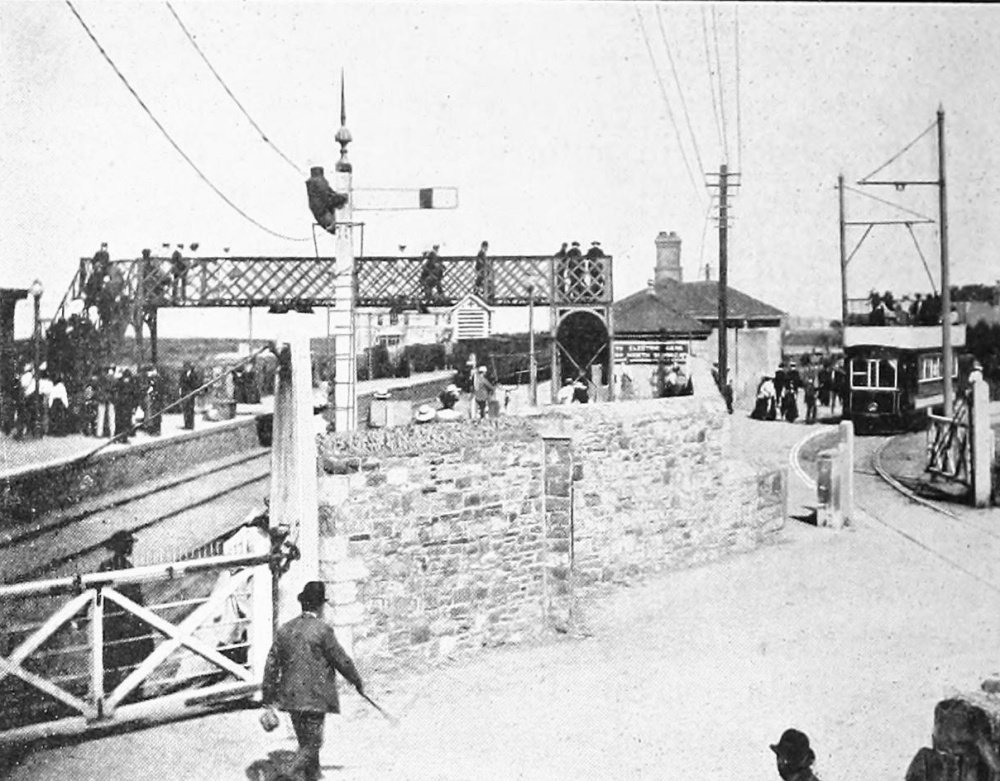
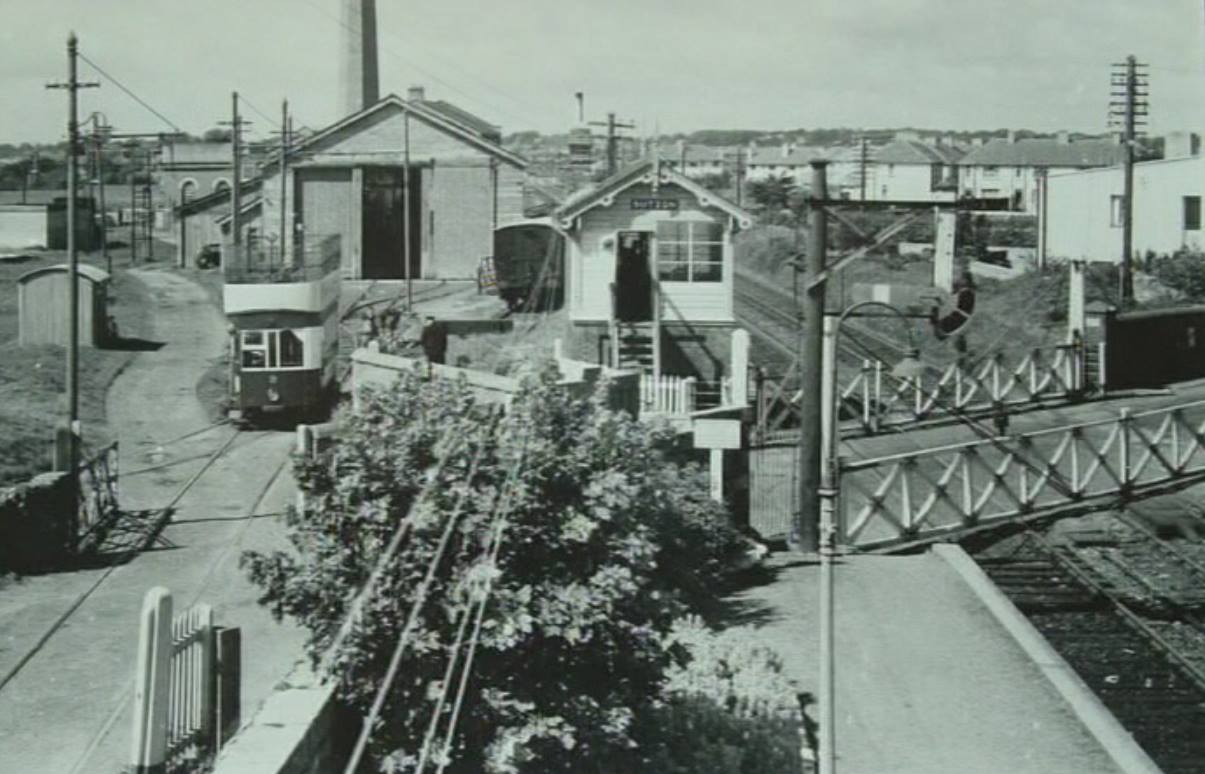
The Tramway served Howth Head, near Dublin. The termini were at Sutton railway station, by the entrance to the peninsula, and Howth railway station by the village and harbour of Howth.
The tramway operated from 17th June 1901 to 31st May 1959 and was run by the Great Northern Railway (Ireland) (GNR(I)), which viewed it as a way to bring more customers to its railway stations at Sutton and Howth. The tramway replaced a horse bus service, which had run since 1867. [1][2]
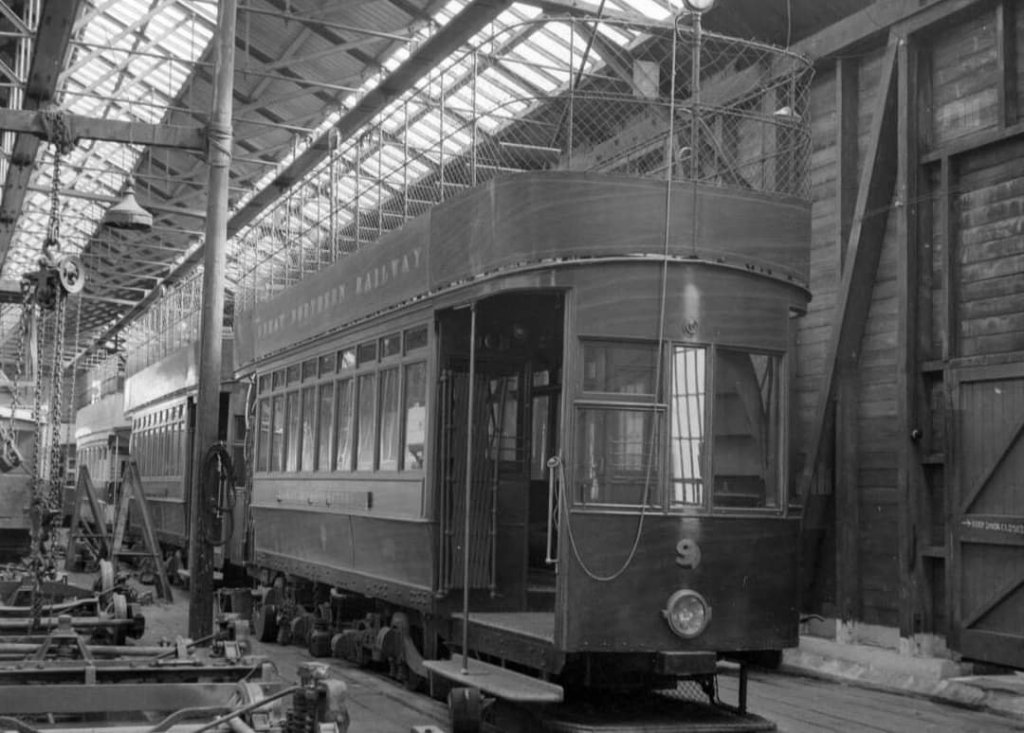
When it opened, “the Hill of Howth Tramway had eight trams, open-top 67-seaters built by Brush of Loughborough. … Traction current at 550 volts dc was drawn from the overhead wires by conventional trolleypoles. … In 1902, two further trams … were obtained. Nos. 9 and 10 were 73 seaters built by Milnes, the firm which also supplied Dublin’s first electric trams in 1896. There were 41 seats upstairs and 32 inside seats.” [9]
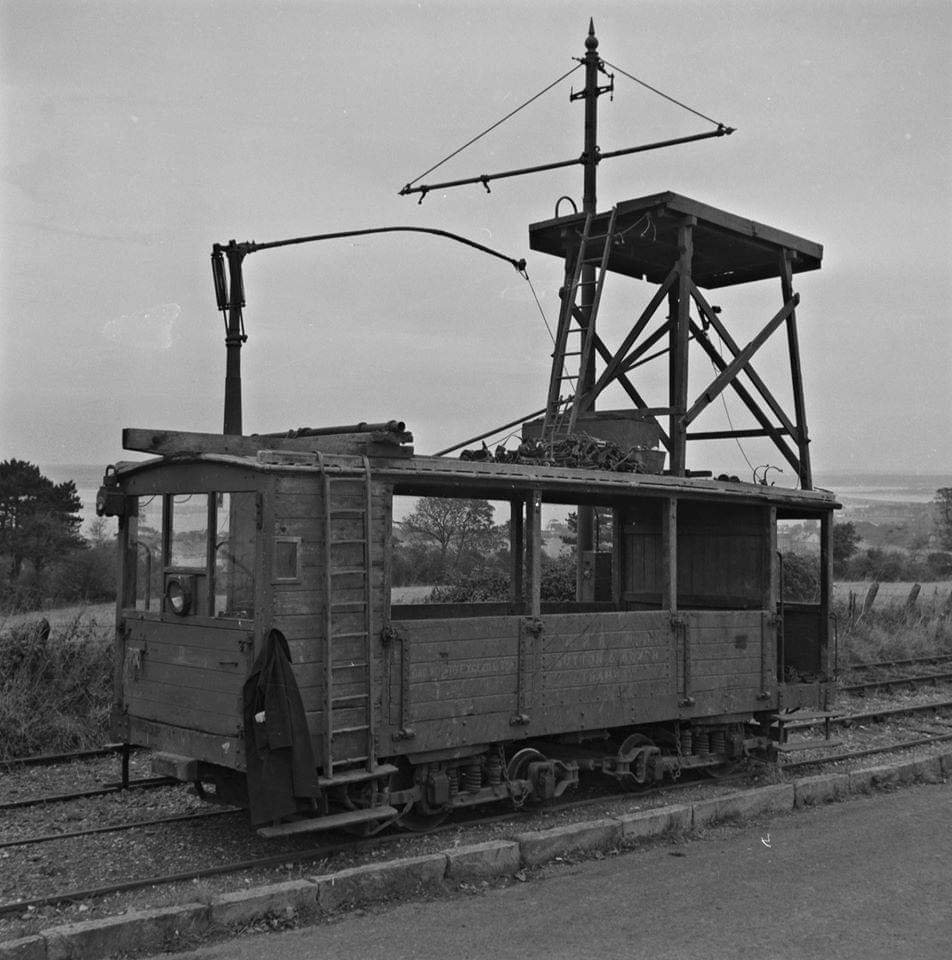
“The tramway also had a freight and engineering car, No. 11, built in 1903. This … had a cab at each end, with a wagon body between. No. 11 also had a maintenance tower and at least in its later years was fitted with a telephone which could be connected into the wires along the line.” [9]
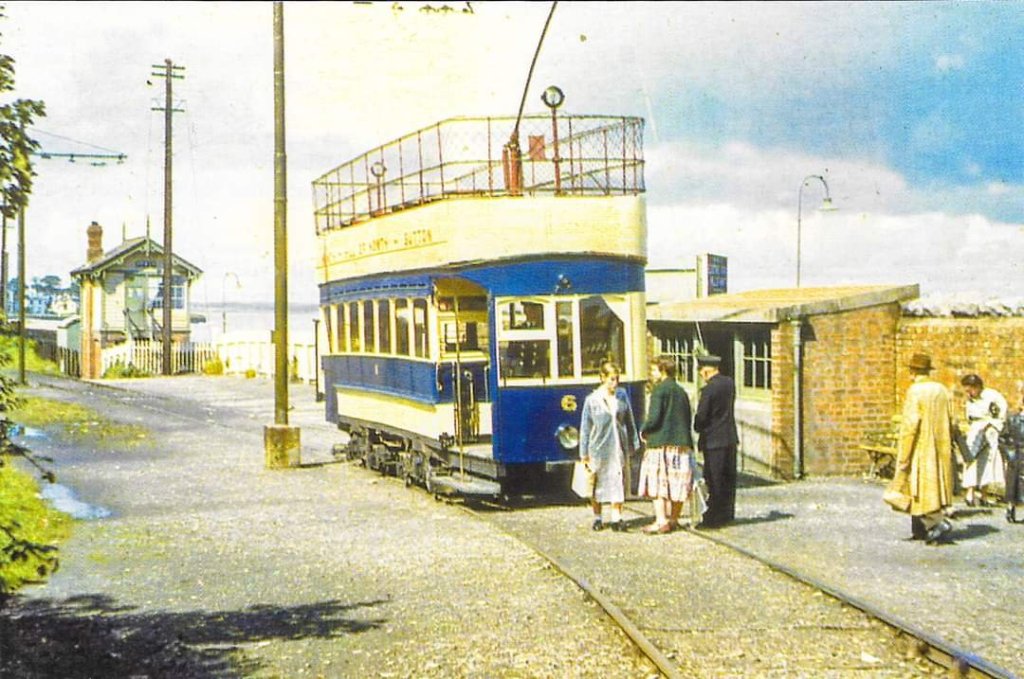
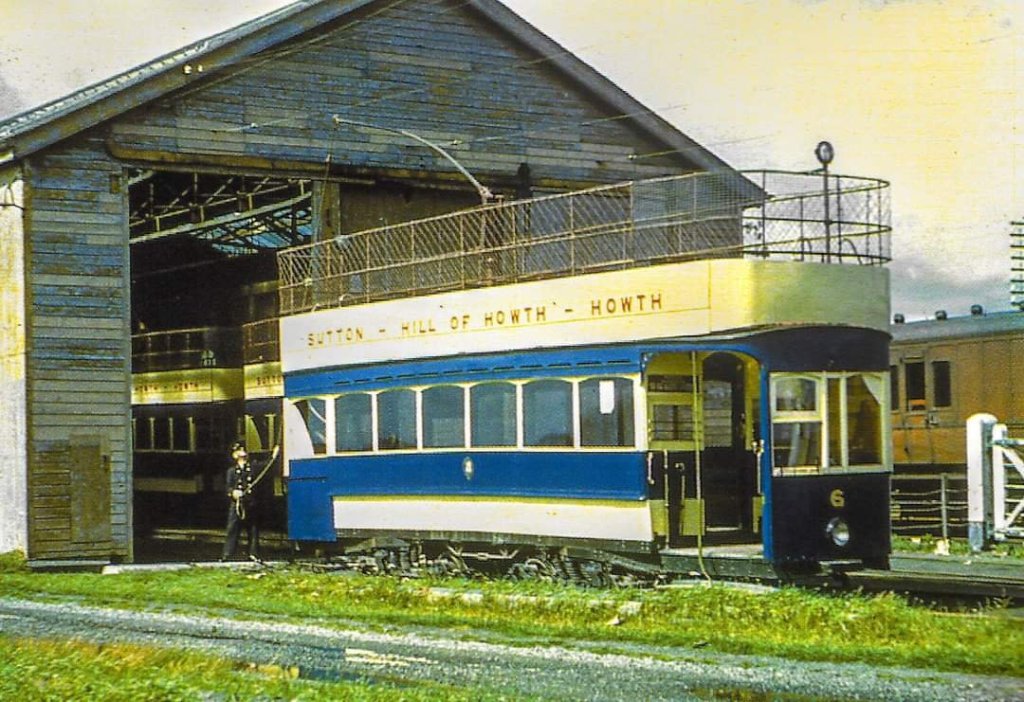
“Around 1918, the original crimson lake and ivory livery gave way to varnished grained teak. When the colours changed again around 1930 to blue and cream, Nos. 9 and 10, being used so seldom, remained in teak. Reasons for their lack of use included [an] awkward seating layout and a tendency to derail because the motors were outside the wheelbase. Furthermore, cross springs were not fitted between the bogies: when these were added in the fifties, their performance improved. By then these two cars were in constant demand and the invariable choice of the many enthusiast groups visiting the line in its twilight years.” [9]
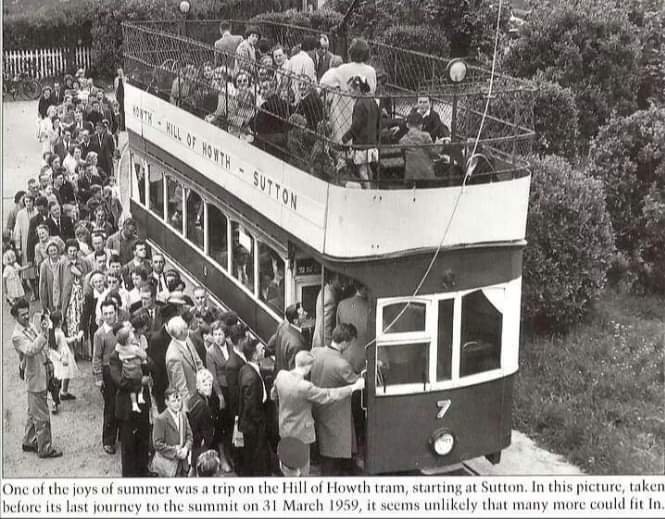
“No. 9 was the last tram to run in public service on the Hill of Howth on 31st May 1959, and thus the last to operate anywhere in Ireland. Following the closure, No. 10 was sent to Britain’s National Tramway Museum at Crich in Derbyshire, while No. 2 went to California and No. 4 to Belfast. Due to vandalism and apathy, No. 9 was the only survivor of three cars set aside for inclusion in a future museum” [9] at the National Transport Museum at Howth Desmesne.
“On 1 October 1958, Córas Iompair Éireann (CIÉ) took over GNR(I)’s operations in the Republic of Ireland, including the Howth Tram. [7: p32] A year later, the tramway was closed down. It was initially replaced by two CIÉ bus routes – numbers 87 (Sutton to Ceanchor Road) and 88 (Howth to Windgate Road). [8] Two routes were necessary, as several narrow hill curves were not passable by the buses used. Eventually, sections of the disused tram route between the Baily post office and the Summit were expanded to form an extension of Carrickbrack Road; this enabled a single bus route (number 88) to be used.” [1]
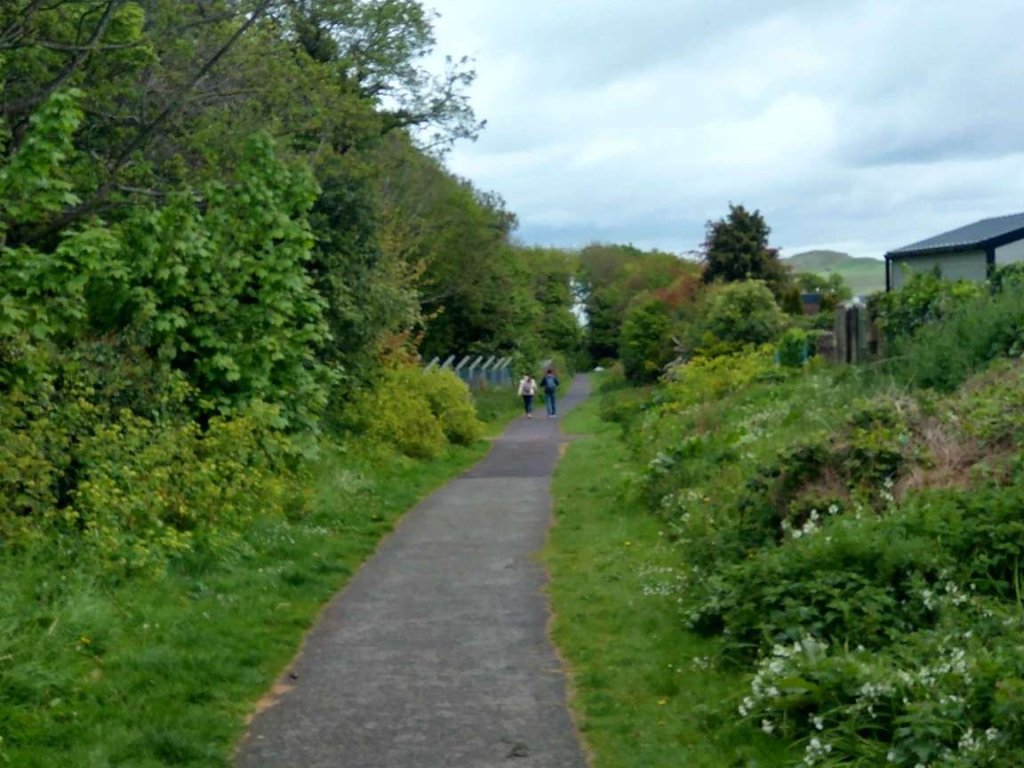
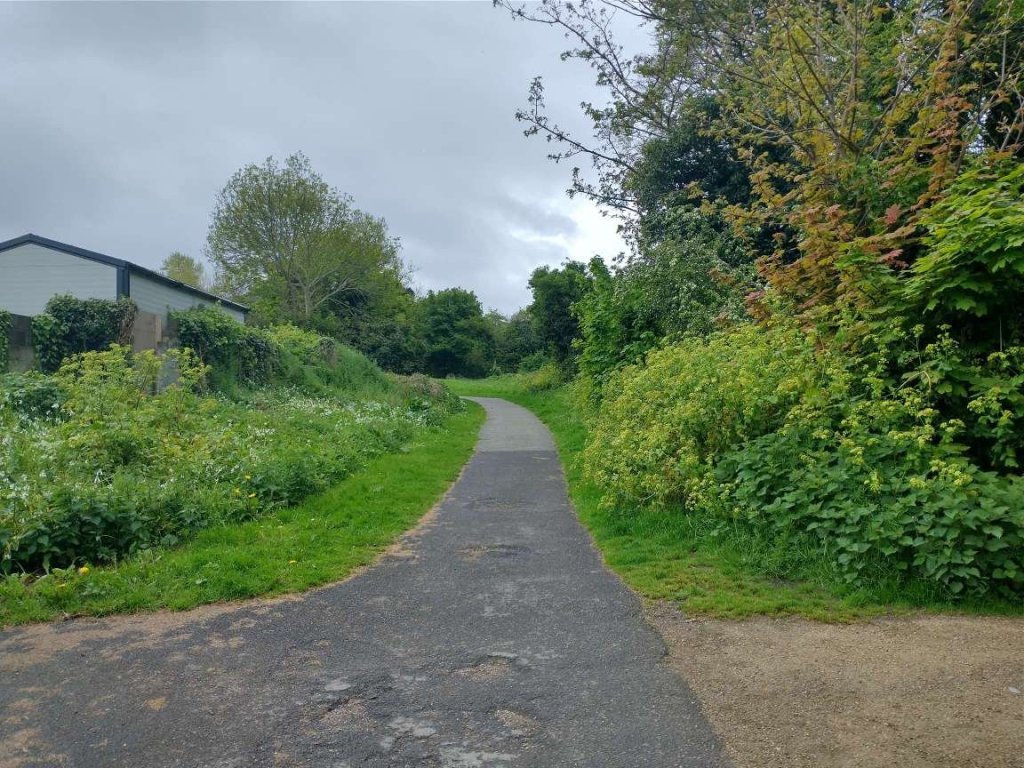
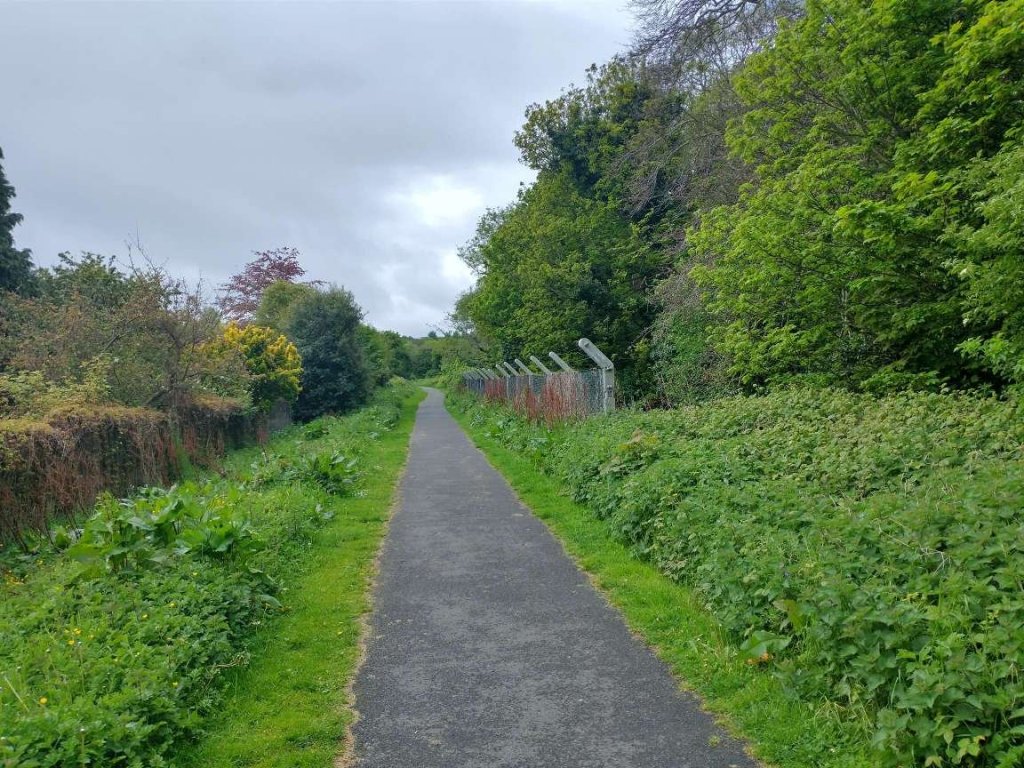
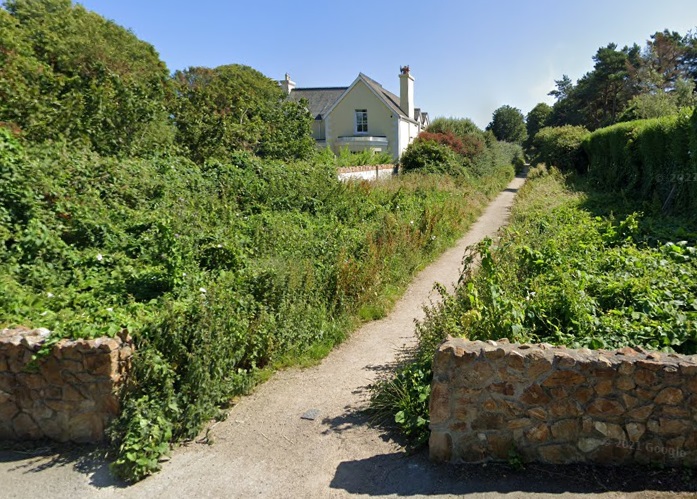
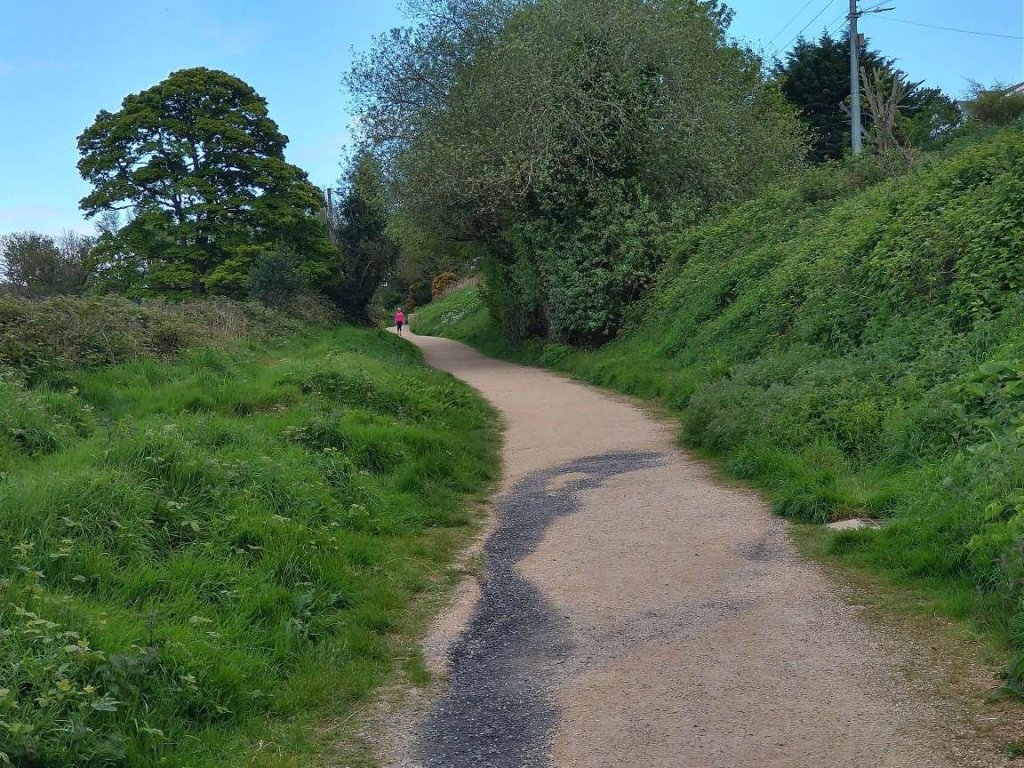
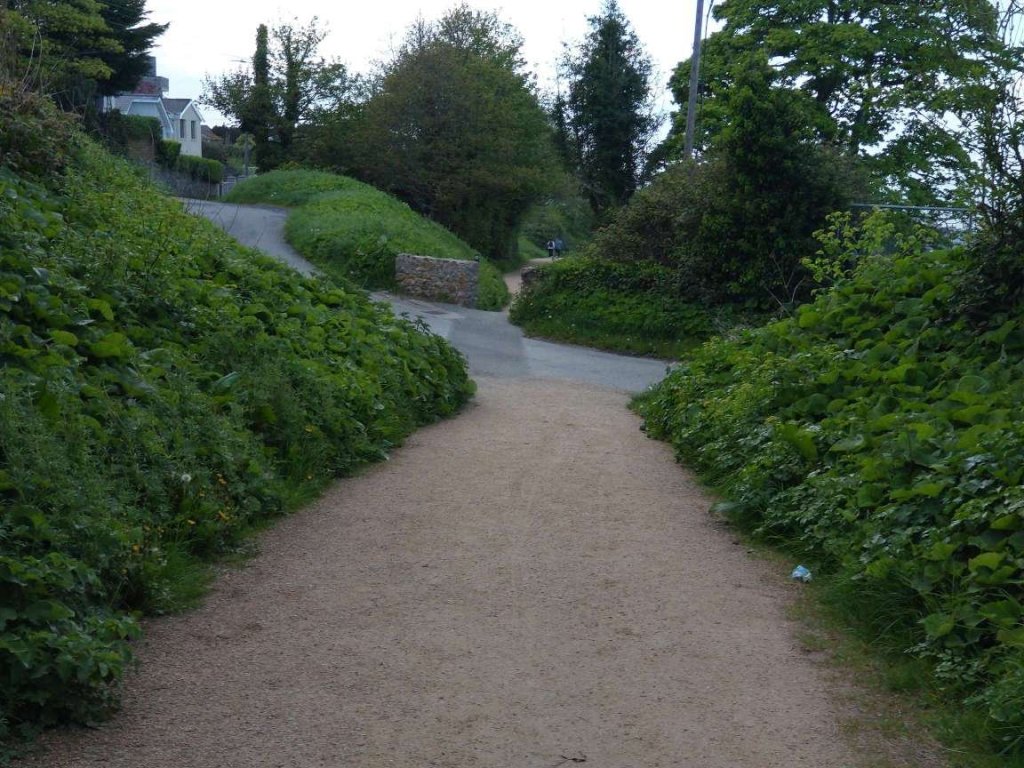
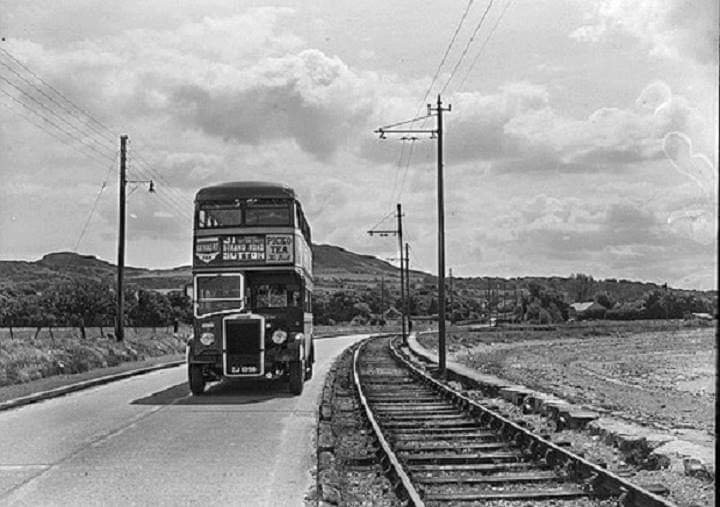
The area was then served by the 31, 31a and 31b bus routes, which operated from Abbey Street in the city centre. In winter, icy roads on the hill occasionally cause the bus service to be suspended, unlike the tram, which ran in all weather conditions. A public footpath now follows the tram route between Howth station and the Summit.
It is important not to confuse the Hill of Howth Tramway with the Clontarf and Hill of Howth Tramroad, a completely different company which ran trams from Dublin to Howth.
The Clontarf and Hill of Howth Tramroad Company (C&HoHT) “operated a tram service from central Dublin via Dollymount in Clontarf to Howth Harbour in the Dublin area of Ireland from 1900 to 1941. Formed in the 1880s, it was a separate entity from the other Dublin tramways, notably the Dublin United Tramways Company (DUTC), but worked closely with the latter, who owned the line as far as Dollymount, for most of its operating existence.” [5]
A horse-drawn or steam tram service for the Howth area was first proposed in 1883, by the Great Northern Railway (Ireland) (GNR), to bring more passengers to Howth and/or Sutton railway stations. The Clontarf and Hill of Howth Tramroad Company (C&HofHT) raised the idea of a circular line around Howth Hill. “Neither idea progressed, not least because the slopes of the hill were too steep to be safe for horses, or practical for steam power, though a line may have been considered using a viaduct over Balscadden Bay, just beyond Howth village, to keep gradients within the range of steam propulsion.” [5]
In 1890, the C&HofHT sought an Order in Council to allow it to build a tram line from Howth Harbour to Dublin’s fish market. It was intended that the line should have “a gauge of 3 feet, with lines running from Mary’s Lane past Halston Street to Capel Street, and then along Parnell Street and Summerhill, through Ballybough, Fairview, Killester and Raheny, then along the coast through the fields of Kilbarrack to Sutton and Howth. While this matter did not proceed, the company developed two new proposals after the DUTC received permission to electrify its lines. The proposed lines, at a gauge of 5 feet 3 inches, were from the DUTC’s terminus in the Clontarf area, via the hamlet of Raheny-on-the-Strand and Sutton, to Howth Harbour, and from the Summit on Howth Hill down past Howth Station and the Howth Estate to the gates of Claremont. The GNR made a two-part counter proposal, seeking to electrify their railway line from Amiens Street Station to either Sutton or Howth, and to provide a circular tram line, with connections at Sutton Cross and Howth, and with the trams able to move all the way to Dublin’s centre. The C&HofHT added a third element to their proposal, for a tram line from Sutton Cross to the Summit, and the GNR then objected to the whole package, and won. The GNR then received permission for its proposed circular line, which became the Hill of Howth Tramway, and dropped the idea of electrification from the peninsula to Amiens St., and so of trams through-running around Howth and to the city centre.”
The C&HofHT eventually received “permission for a line from the DUTC’s depot at what had become Dollymount in Clontarf to Howth Harbour, and this was enshrined in a Private Local Act of 1898, The Clontarf and Hill of Howth Tramroad Bill, 61 & 62 Victoria I, cap. clxxxii. This Act had its Second Reading on 3 March, and on 18 July was the subject of debate about the possible insertion of a clause requiring the purchase of rolling stock from England, the promoters having expressed a preference for buying from the DUTC, or failing that, from the United States. The bill was returned to the House of Lords on 26 July, and later completed its passage.” [5][6]
Construction costs ultimately came to £71,624. Much of the work was “straightforward, allowing for the challenges of building at the water’s edge, but there were difficulties with Lord Ardilaun, the Guinness heir, whose estate of St. Anne’s ran to the coast where the line was to be laid. At the time, there was no coastal road, and Lord Ardilaun sought multiple conditions in return for removing objections to the project. He received most of what he sought, including the provision that the trams would not stop along the margin of his property, and line construction proceeded. The line opened on 26 July 1900.” [5]
The company purchased twelve large tram cars (larger than those of the DUTC) “for its operations, each seating 74 passengers, 29 inside and 45 on the upper deck. The enclosed lower deck had a driver’s cab, and separate areas for each of First, Second and Third Class. The journey from Nelson’s Pillar to Howth took 45 minutes, and the price for much of the operating period was 2 shillings and 6 pence.” [5]
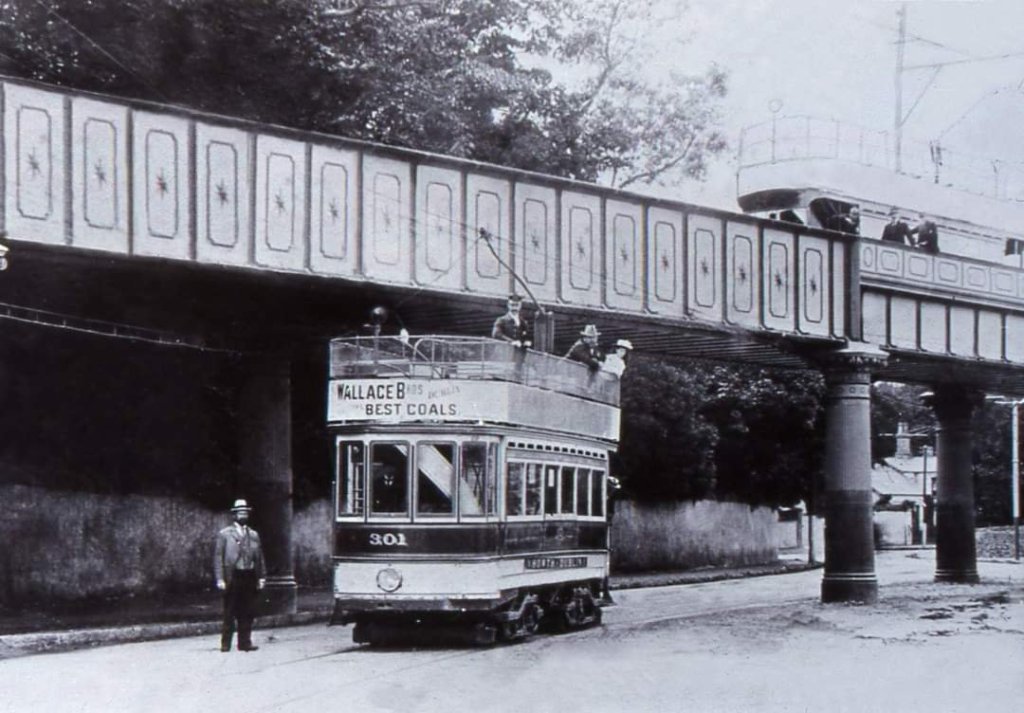
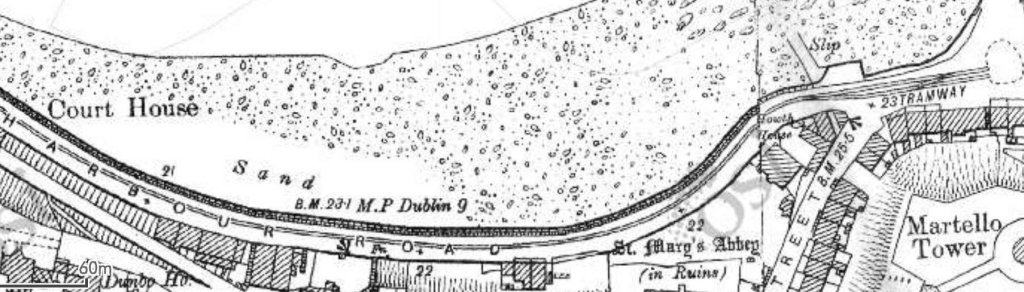
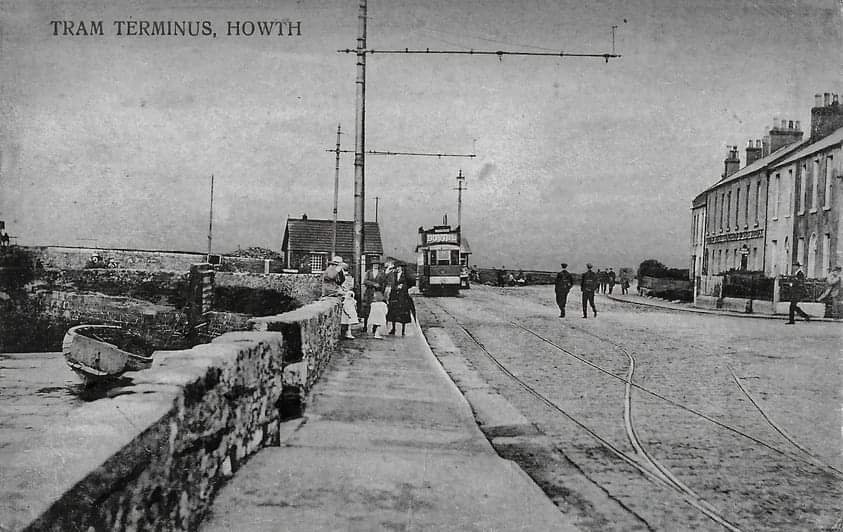
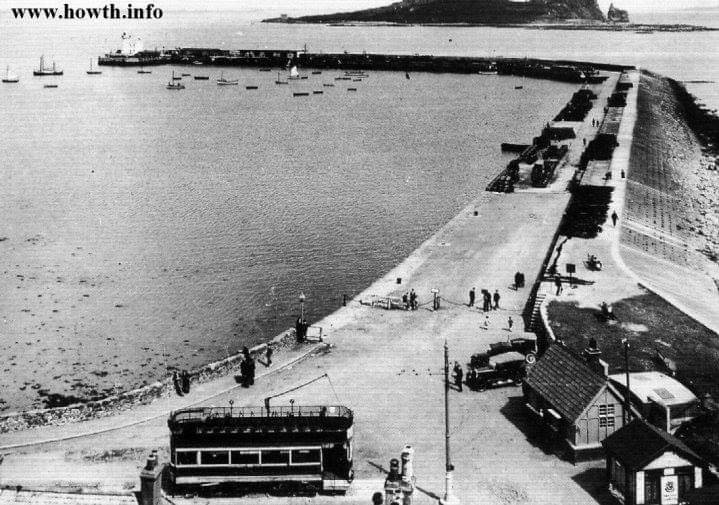
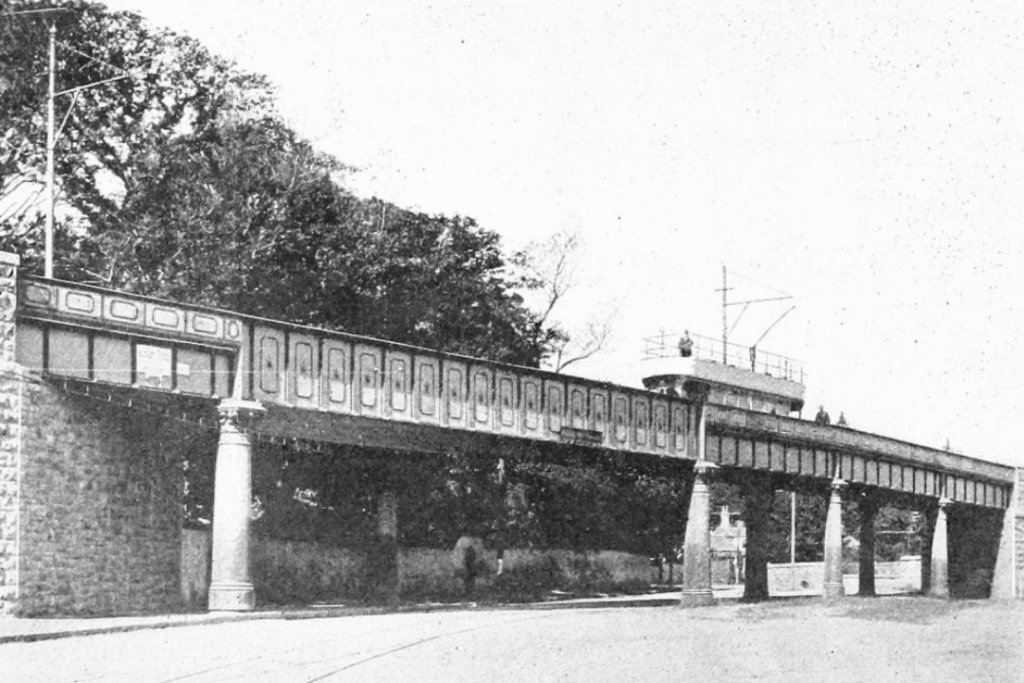
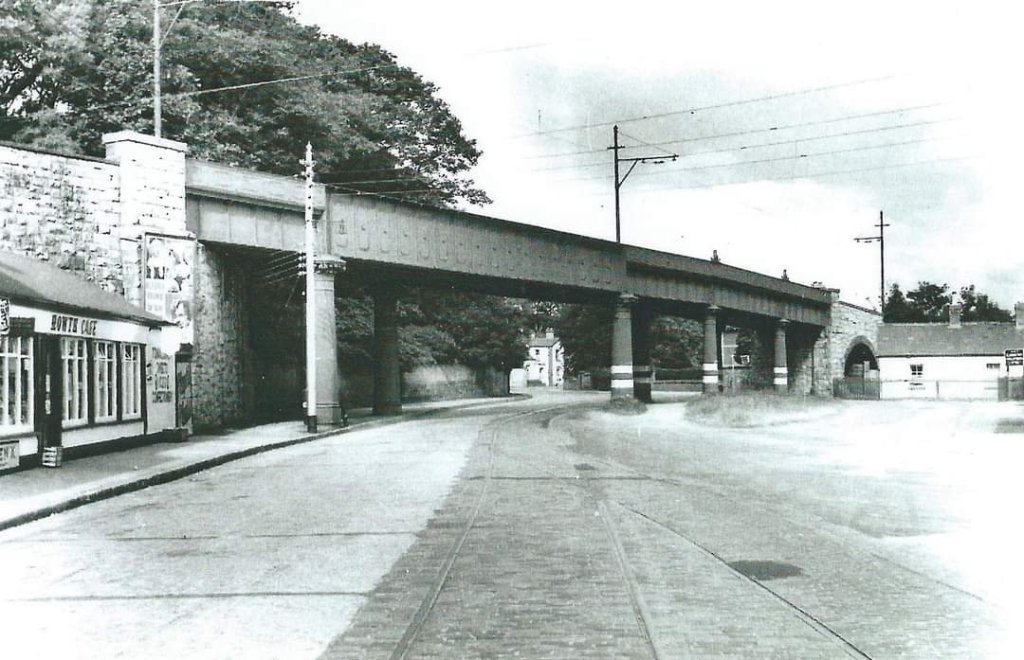
The C&HofHT approached Howth on the main road across the isthmus, ran close to St. Mary’s Church and to the railway station, under the viaduct which carried the actual Hill of Howth Tramway, before running along the Harbour wall. [10]A C&HofHT approaching the terminus at Howth on the main road and passing under the viaduct carrying the Sutton and Howth Electric Tramway just as a tram is crossing that viaduct. This photograph was shared on the Old Howth Photos Facebook Group on 7th March 2021 by Liam McLoughlin. [28]The terminus of the C&HofHT was at the East end of Harbour Road close to the Martello Tower at the landward end of the East Pier. [10]Looking East along the harbour wall towards the terminus of the C&HofHT. This image was shared by Hugh Walsh on the Old Howth Photos Facebook Group on 22nd February 2023. [14]A C&HofHT tram standing at the terminus at the landward end of the East Pier at Howth. This photograph was shared on the Old Howth Photos Facebook Group on 12th October 2020 by Liam McLoughlin. [31]Another C&HofHT tram standing at the terminus. This photograph was shared on the Old Howth Photos Facebook Group on 13th March 2020 by Liam McLoughlin. [33]
“During the 1930s, the line became unprofitable, and when the GNR put forward a proposal to run a competing bus service on the Howth Road, and launch a bus to Malahide, the Board of the C&HofHT offered to end their service if the GNR agreed not to run a bus to Malahide. The line ceased operation on 29th March 1941, with the last tram to Howth, No. 294, departing Nelson’s Pillar at 11.45 pm, driven by Dick Ward. The company was wound-up on 1st July 1941, and the remaining tram cars were transferred to the DUTC’s Dalkey route, where they served until that line closed in 1949.” [5]
As we have noted already the Hill of Howth Tramway was more correctly called the ‘Sutton and Howth Electric Tramway‘. It was GNR(I) owned but made little or no profit for the Company. When Córas Iompair Éireann (CIÉ) took over GNR(I)’s operations in the Republic of Ireland, it reviewed all of the lines (including this tramway) over which it took control and the Howth Tram was replaced by buses within 8 months. It’s removal opened the way for the construction of a housing estate over a length of the route from Howth to the Summit Station. As we will see, this makes it difficult to be precise about the course of the line over that length. Much of the rest of the line can be followed relatively easily, either on foot or in a car.
The Routeof the Hill of Howth Tramway
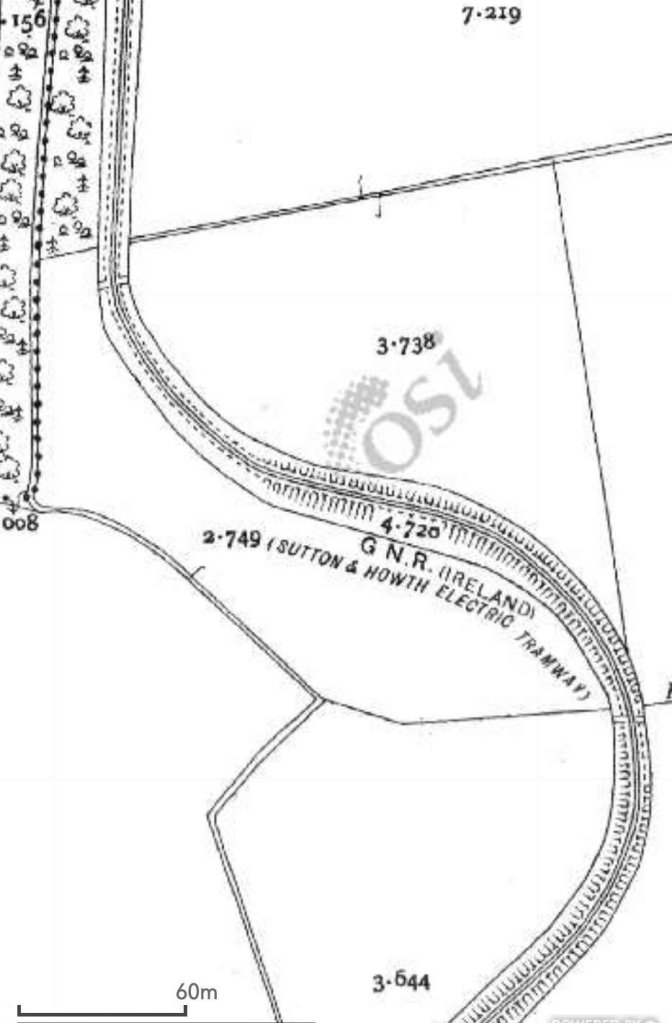
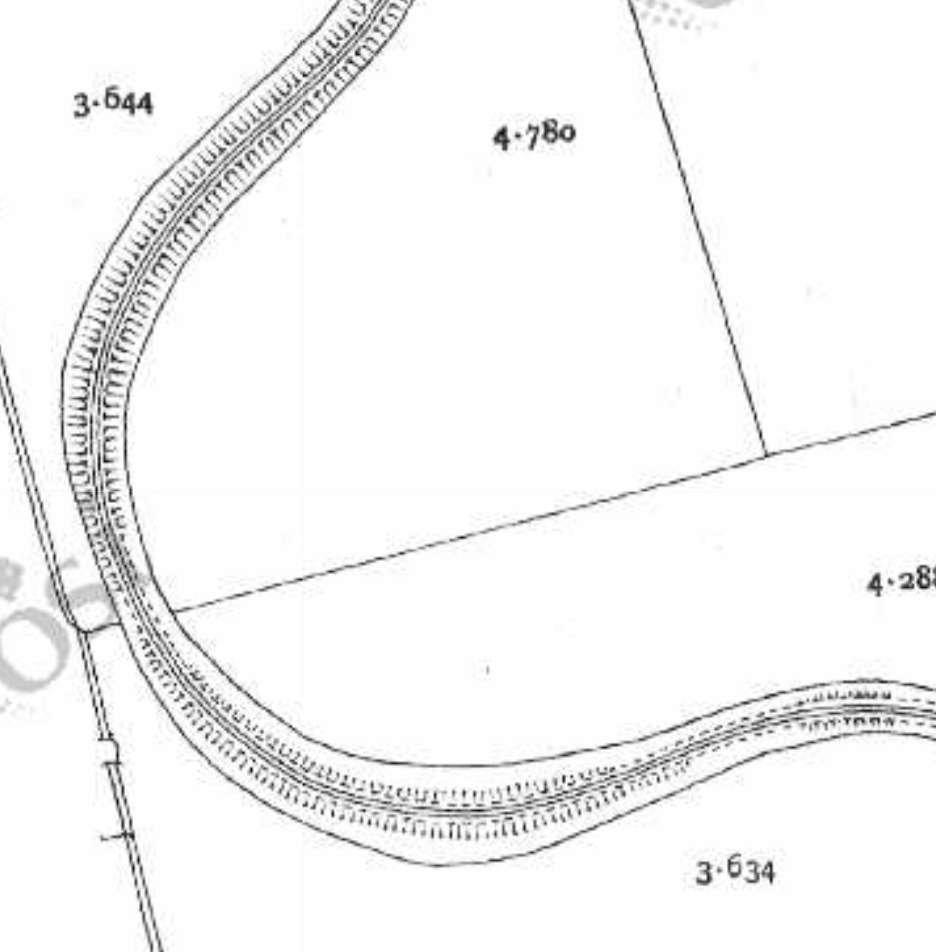
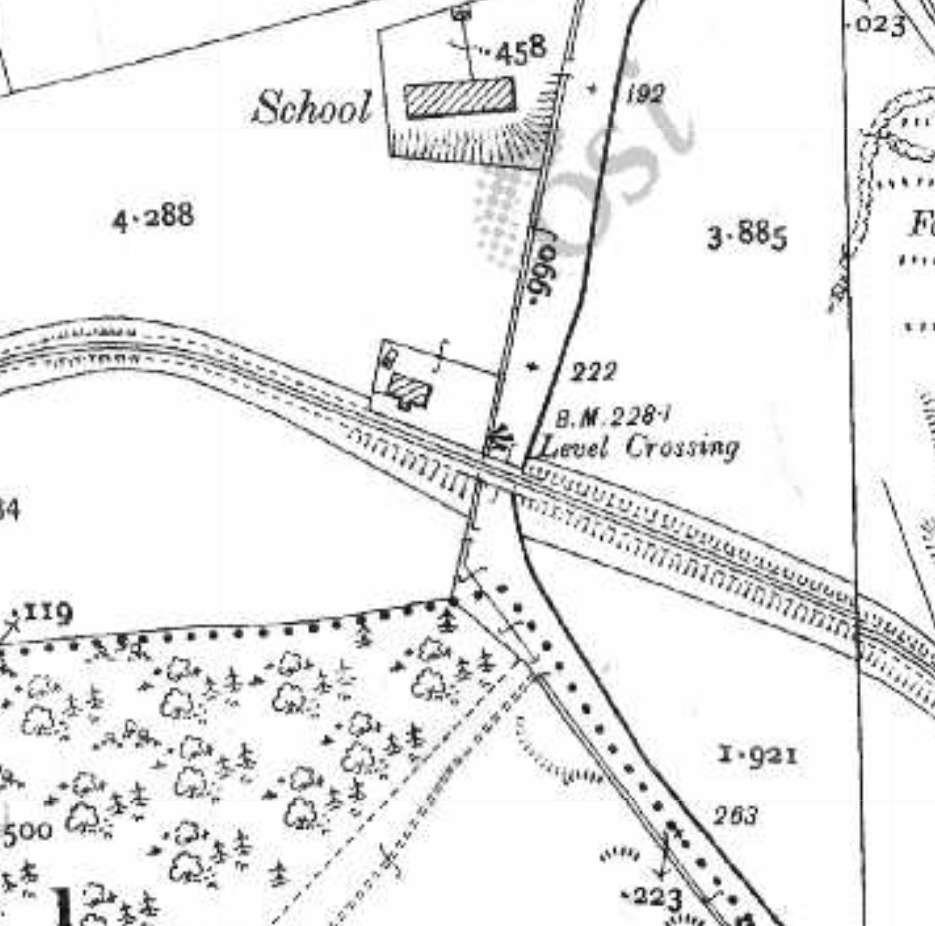
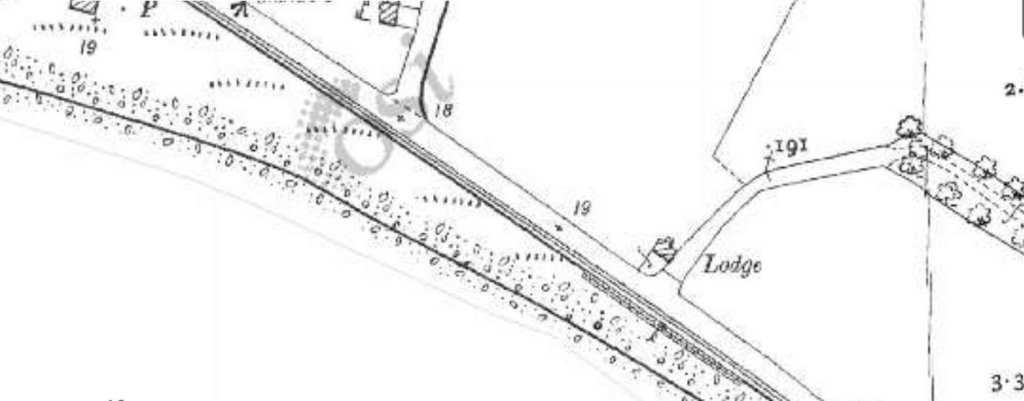
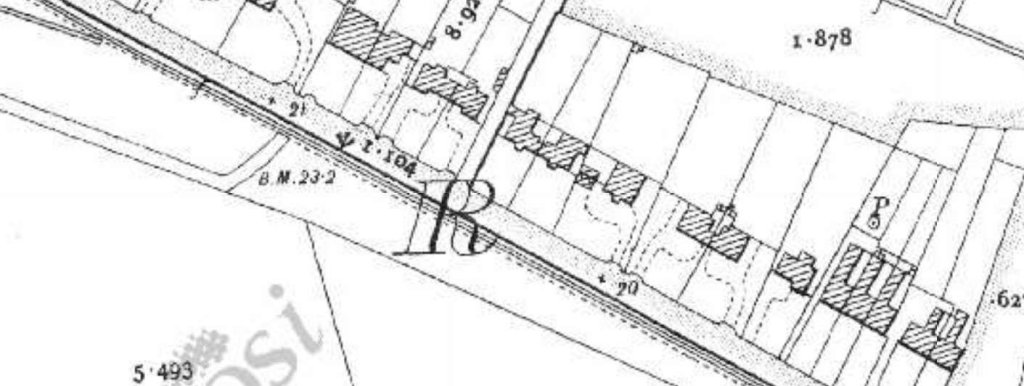
The Ordnance Survey of Ireland (OSi) have relatively recently released both a 6″ and a 25″ national survey from the early 20th century. We will follow the route of the tramway as shown on the 25″ beginning at Howth and finishing at Sutton.
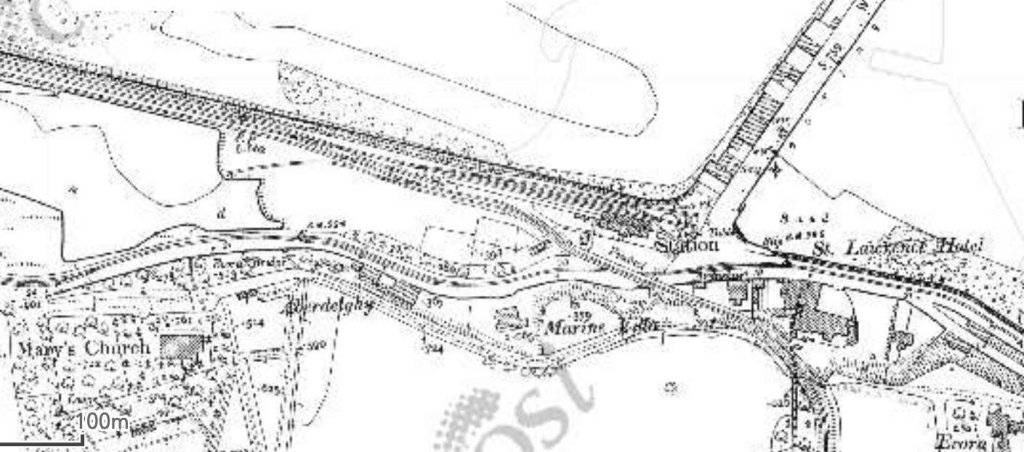
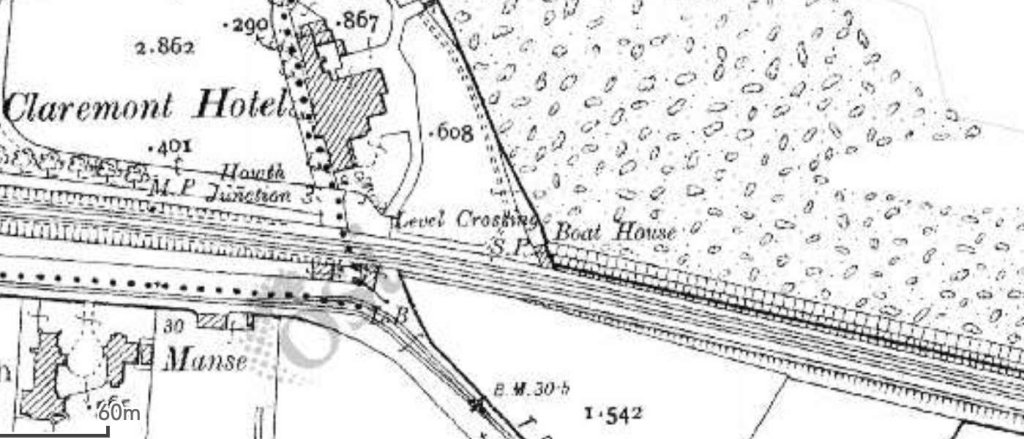
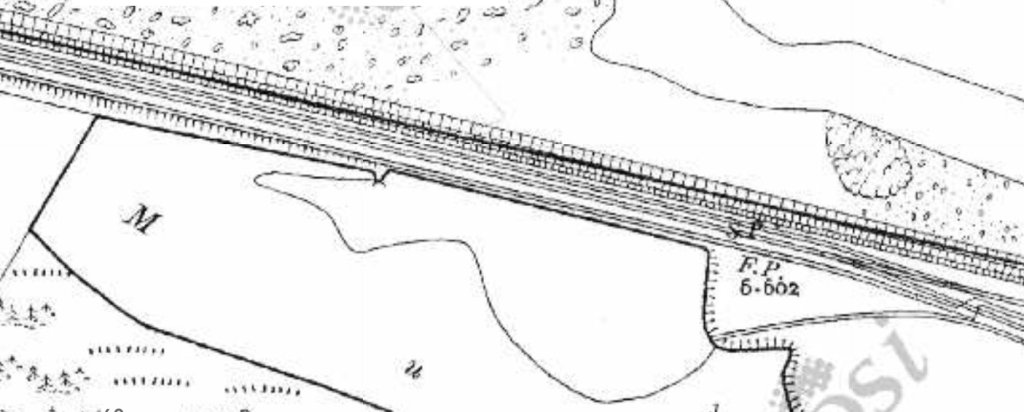
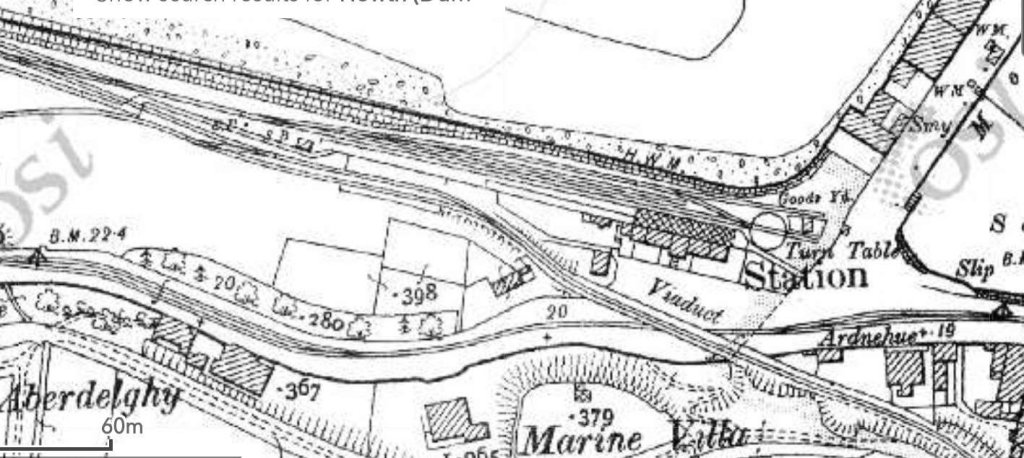
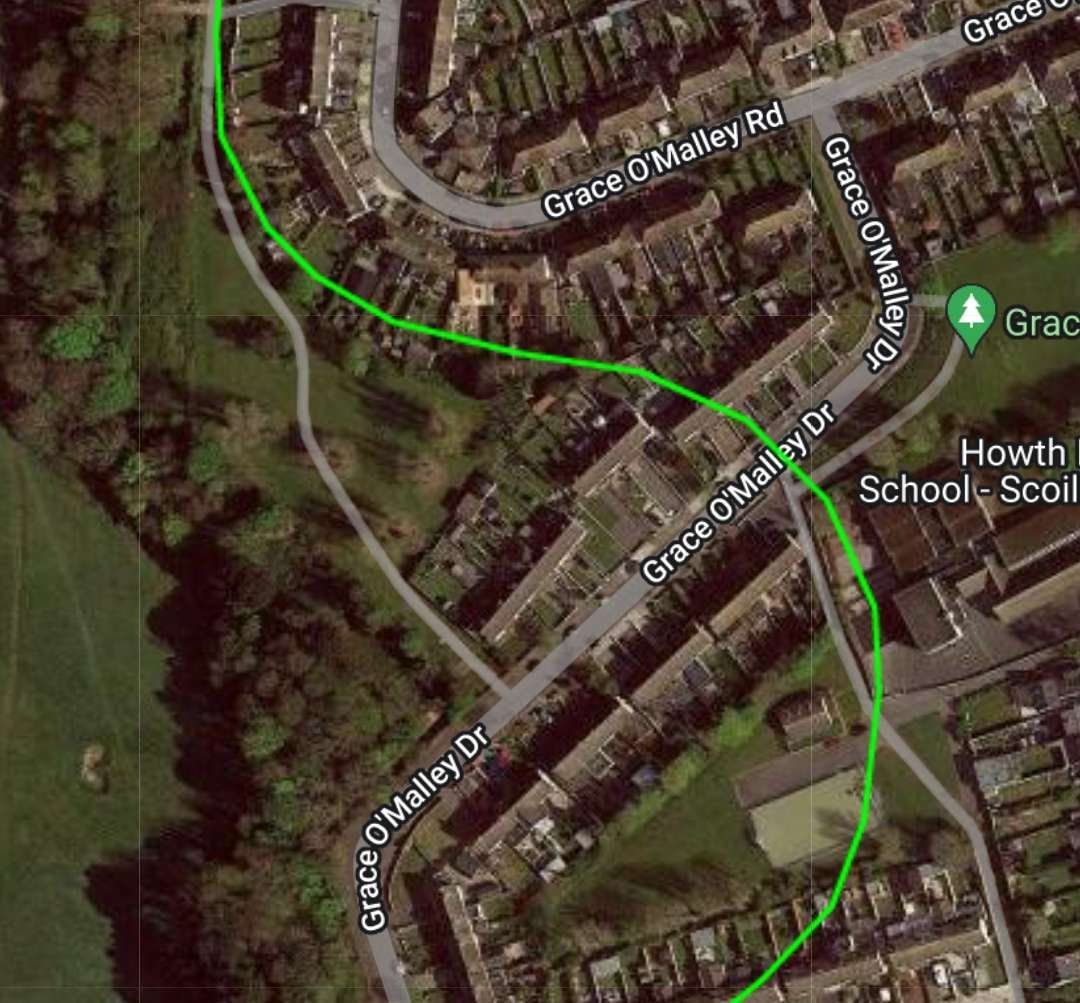
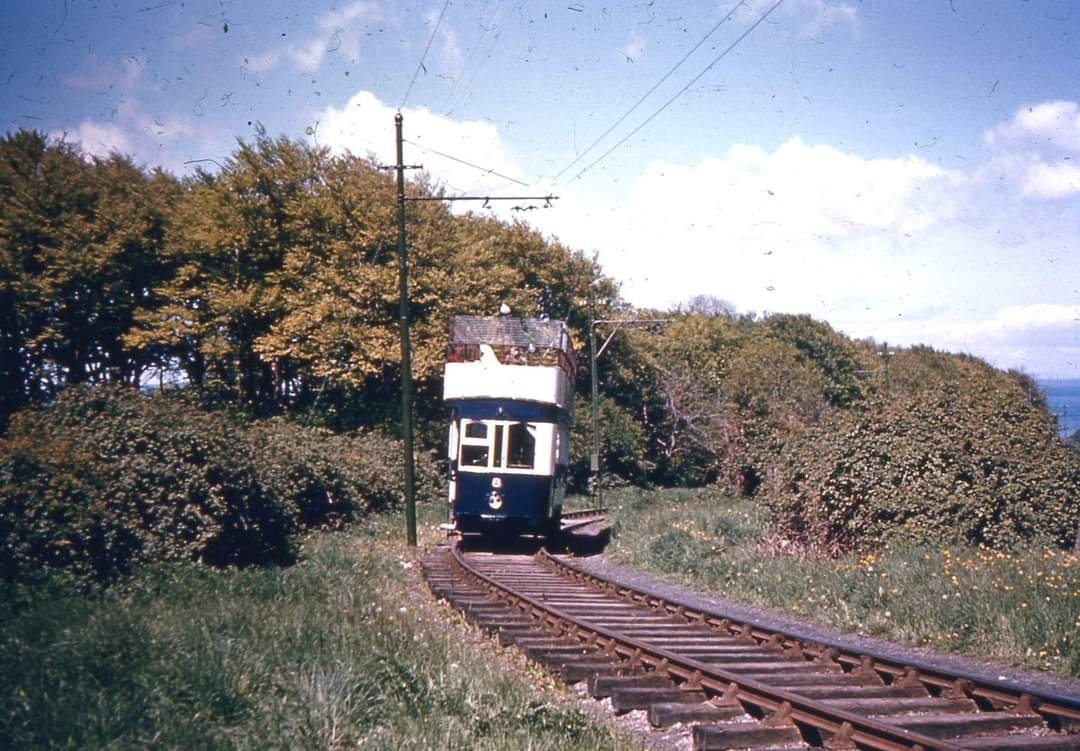
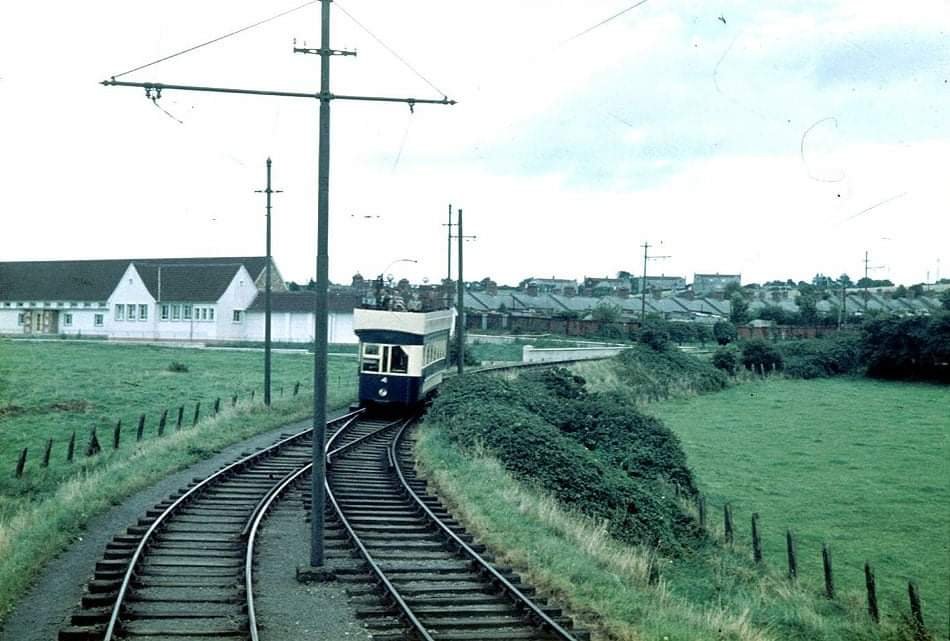
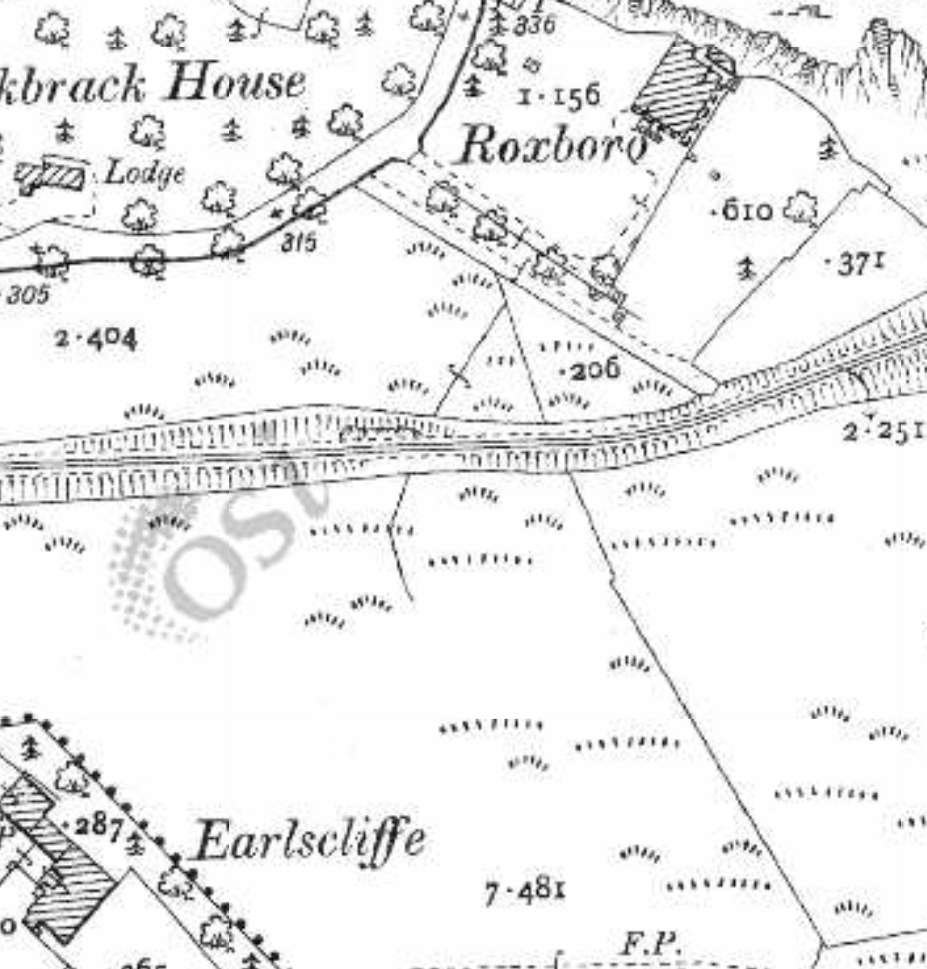
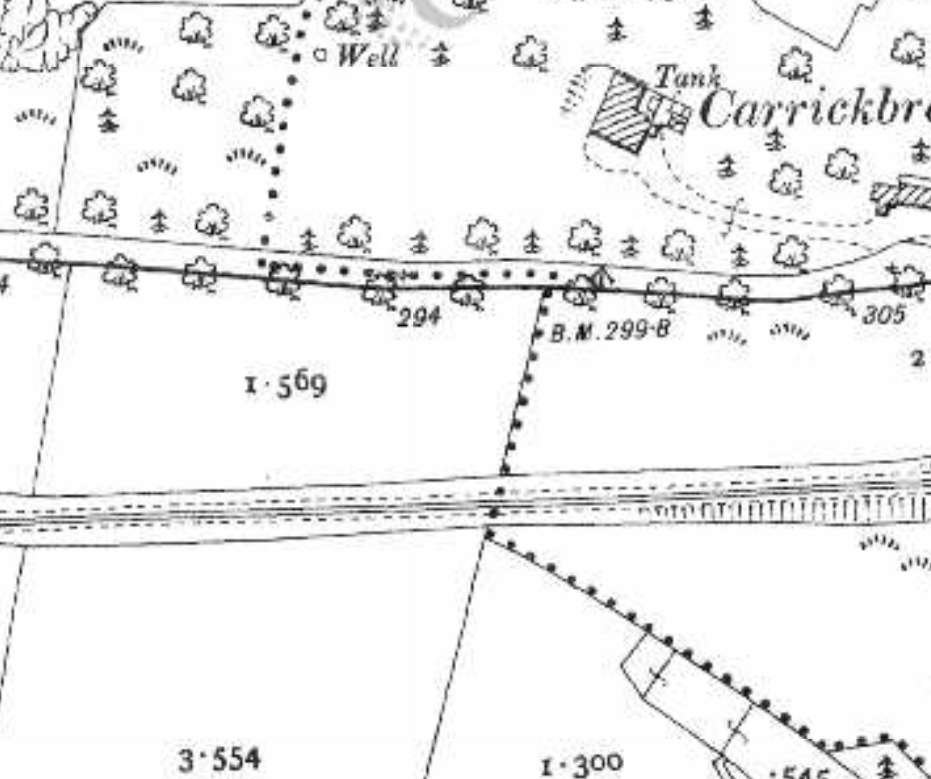
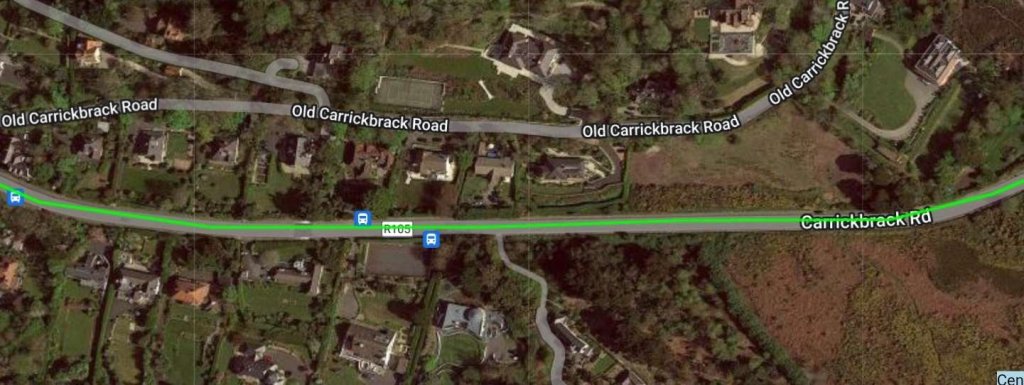
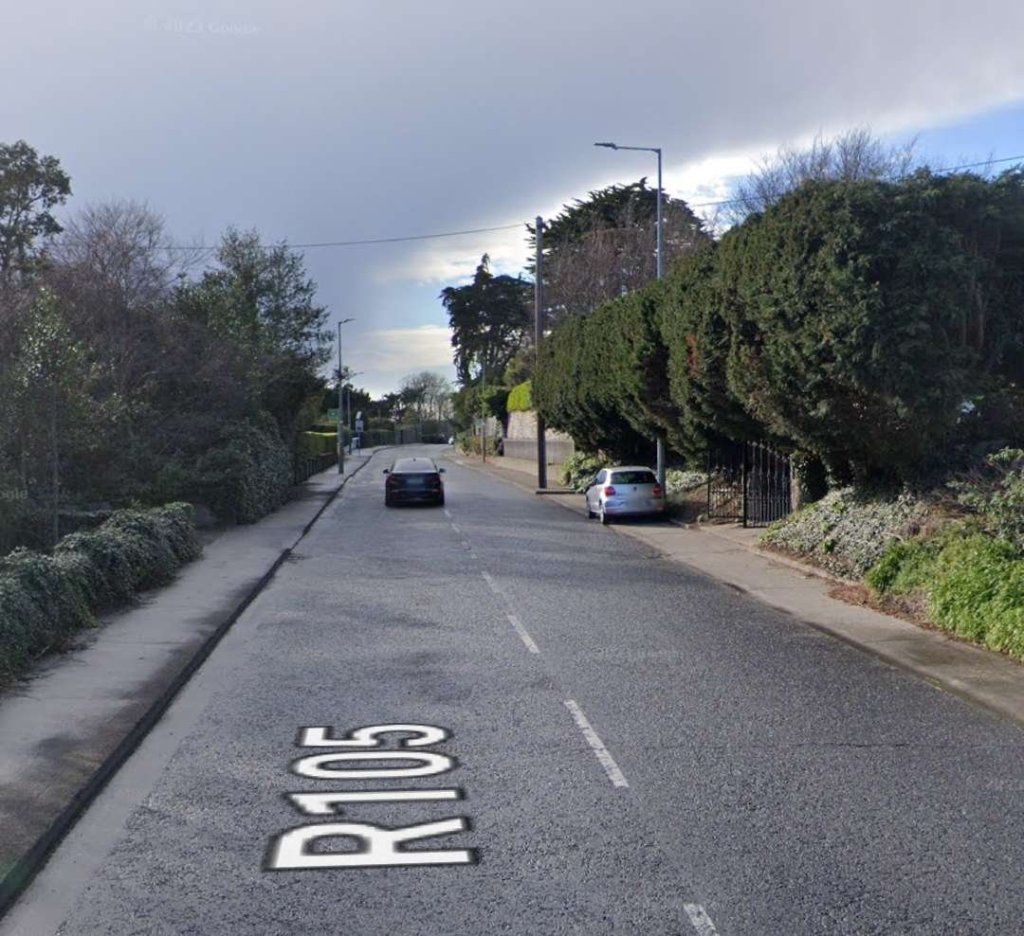
On this 25″ OSi map extract the ‘headshunt’ of the Hill of Howth Tramway can be seen running alongside the GNR(I) lines from the Claremont Hotel into Howth Railway Station. The C&HofHT can be seen as a single track tramway with a passing loop on the bed to the East of the Manse. [10]That headshunt was long, seemingly much longer than necessary. It certainly provided some storage space for the trams owned by the Tramway. This is a second extract showing the Tramway from the 25″ OSi mapping. [10]This next extract from the 25″ OSi mapping shows the terminus of the GNR(I) line. The Hill of Howth Tramway can be seen running to the rear of the railway station platform and then turning away onto the viaduct which took it over the Harbour Road. [10]A very similar area as shown on Google Maps satellite imagery in 2023. [Google Maps, 8th May 2023]
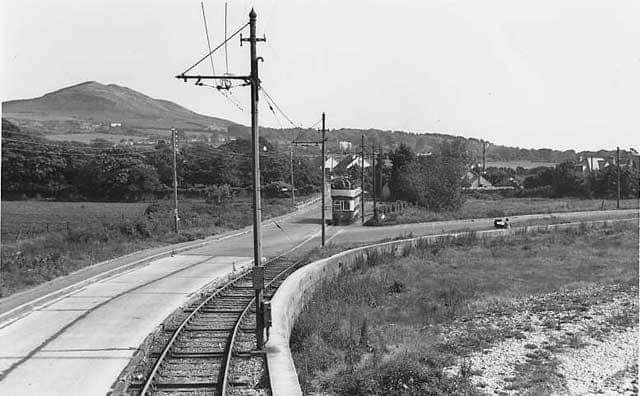
The photograph above shows Tram No. 3 about to leave Howth Station for Sutton via Summit Halt. This image is embedded here from David Bradley’s webpages with his kind permission. [13]
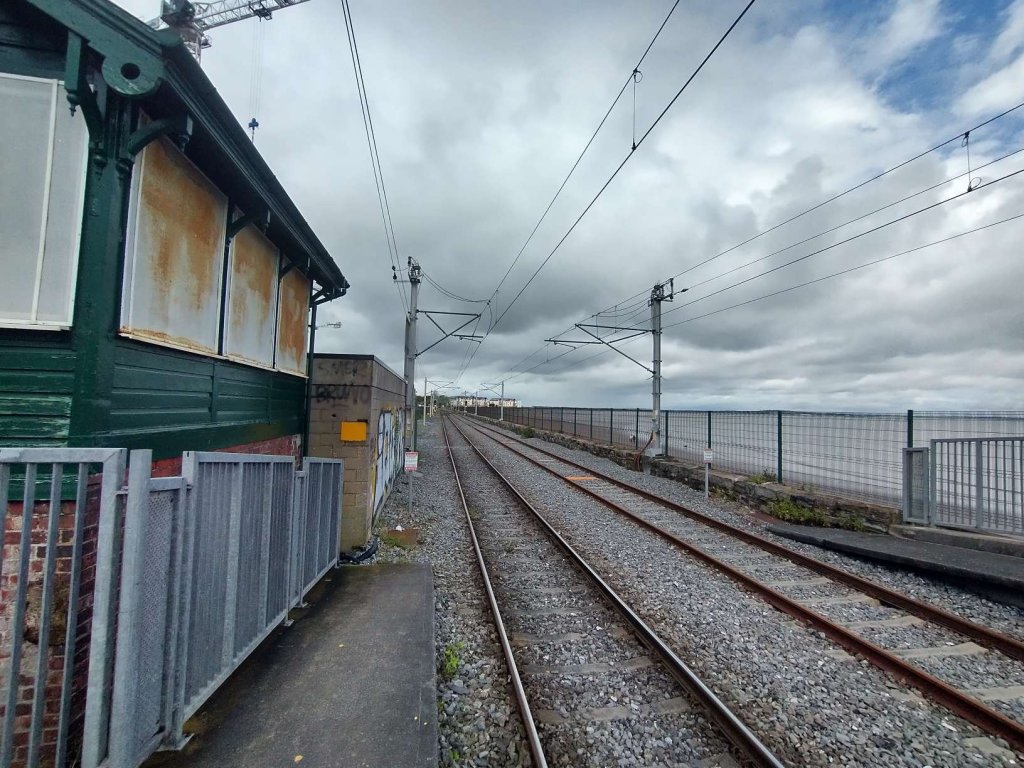
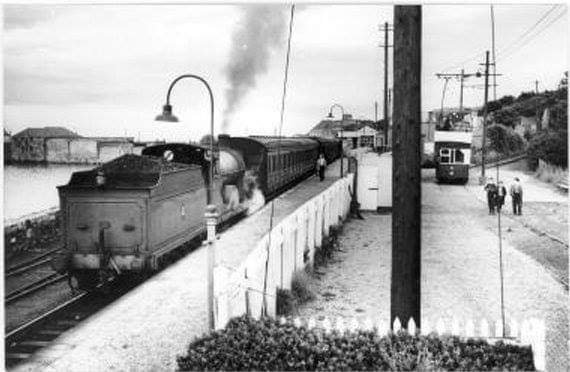
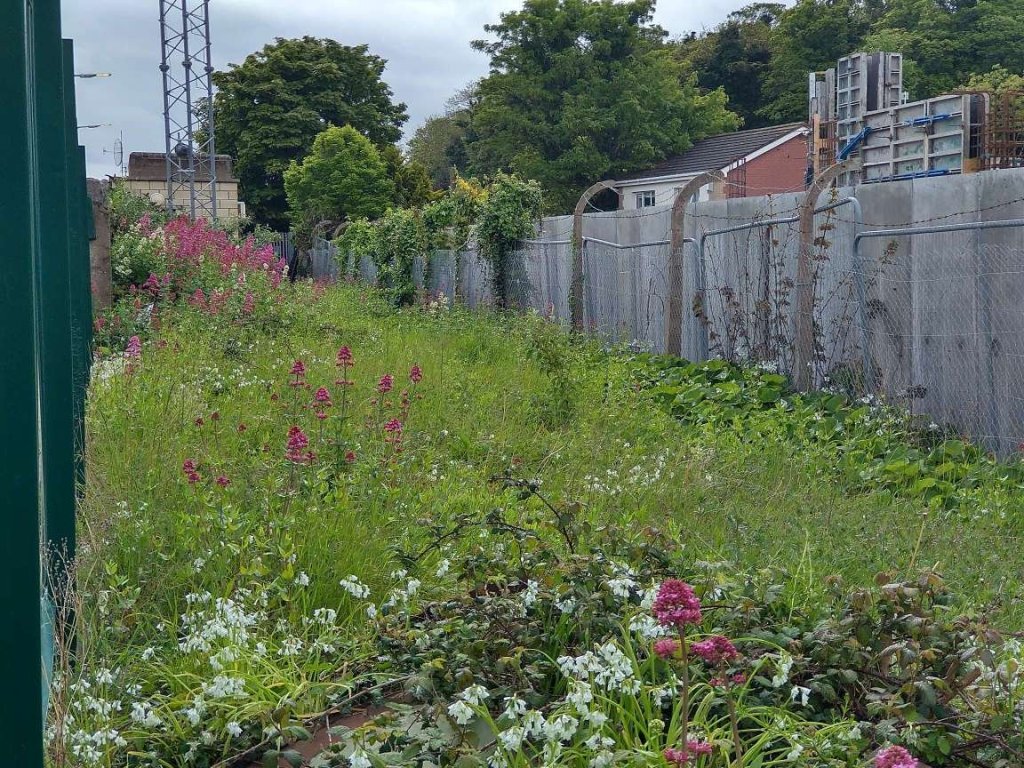
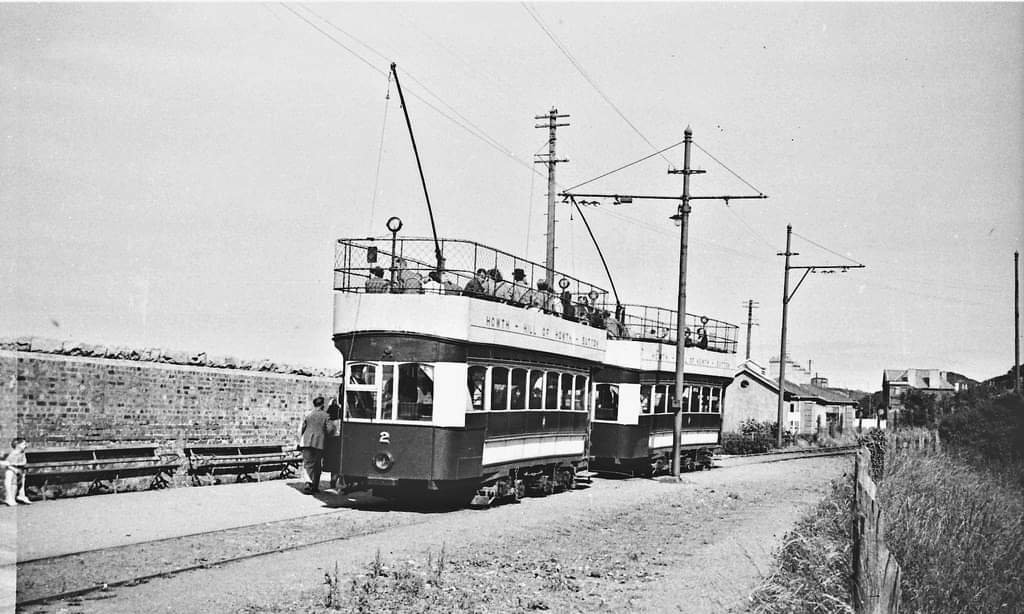
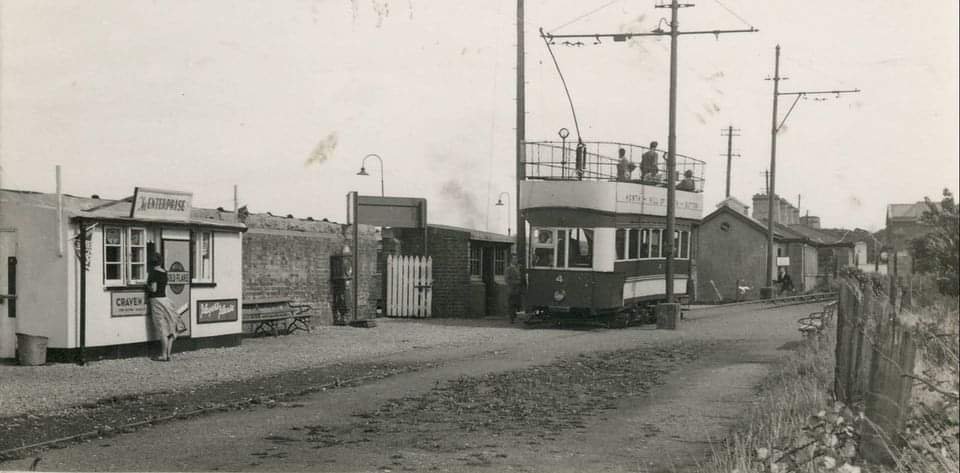
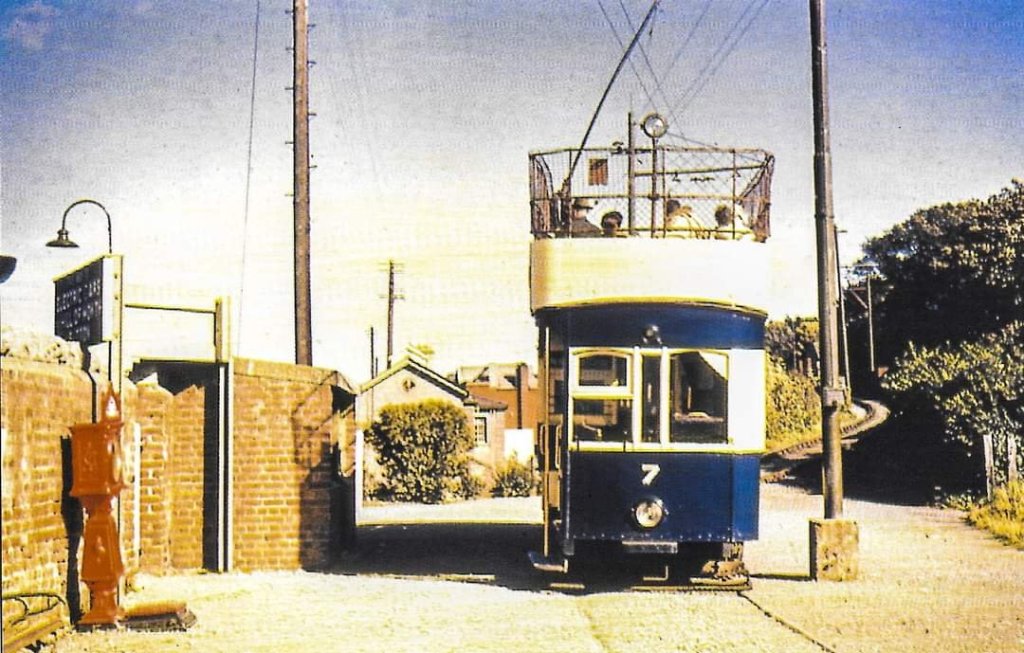
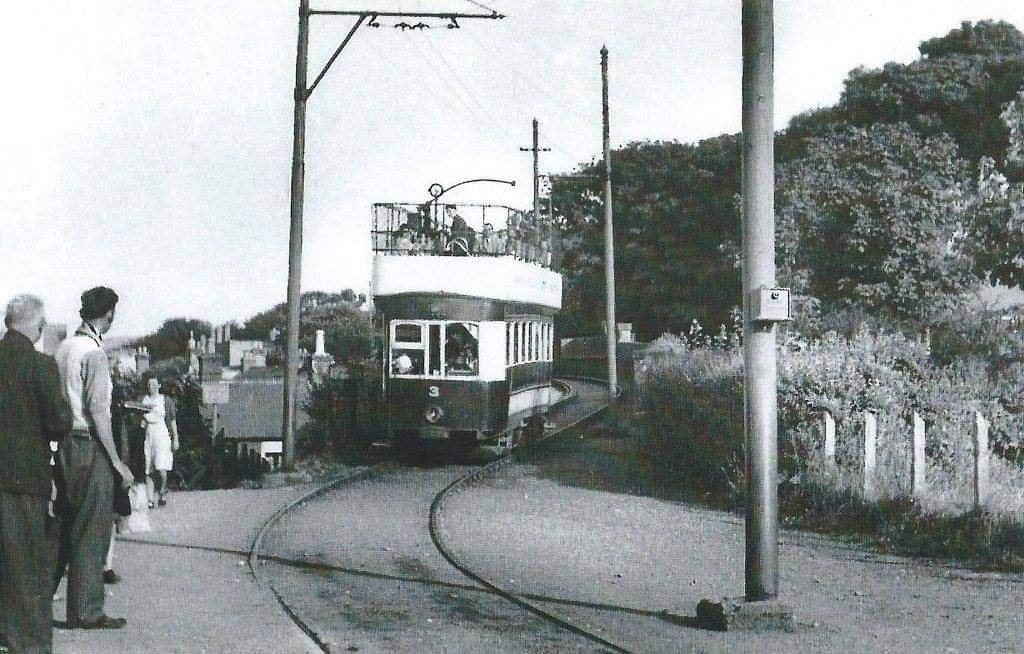
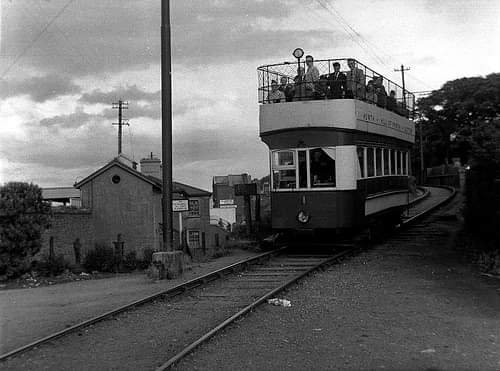
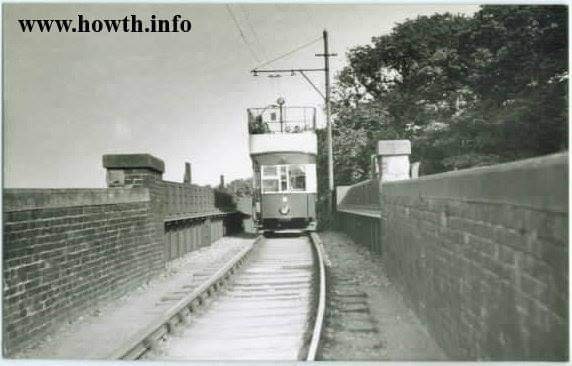
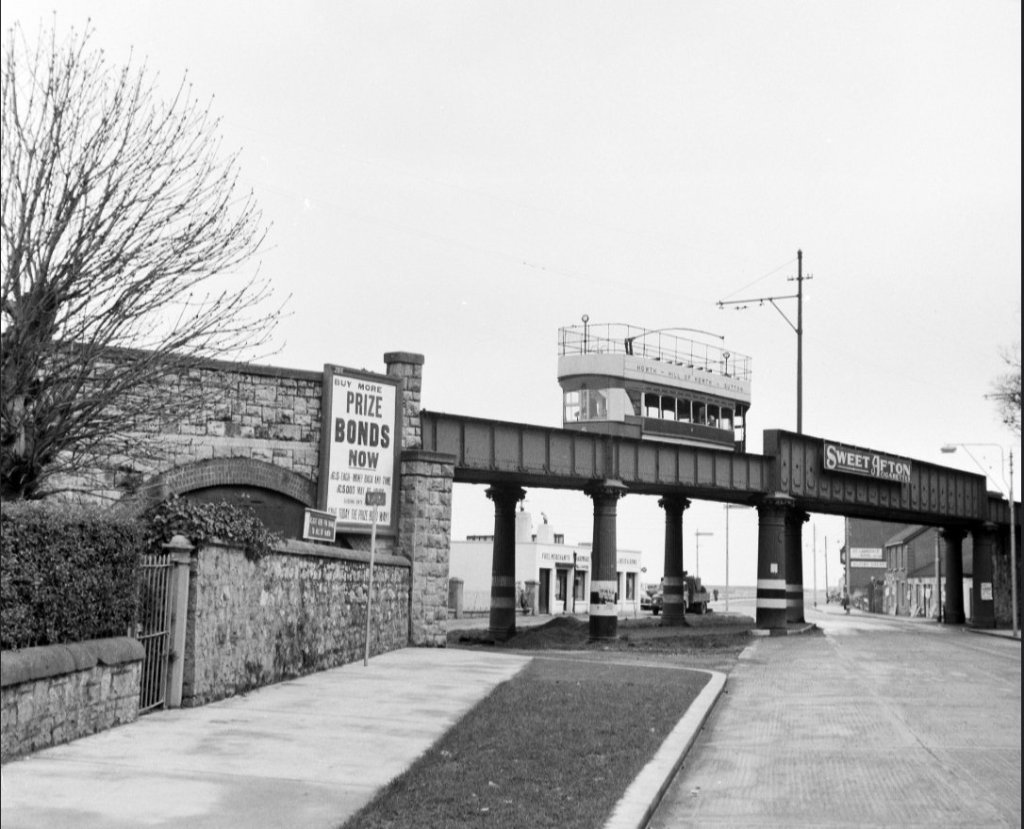
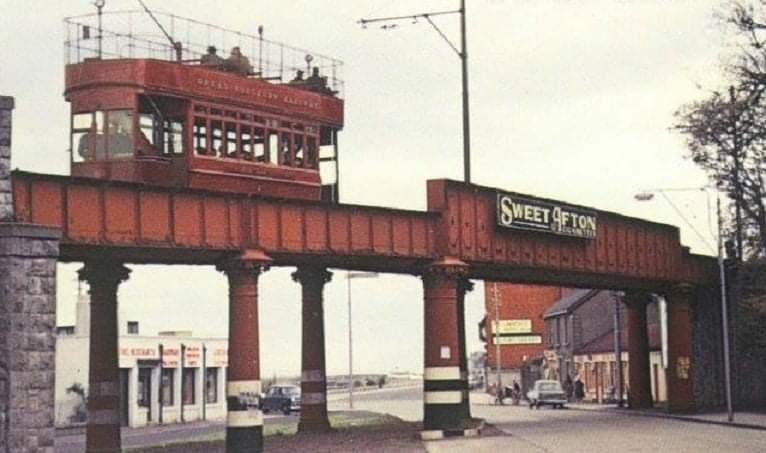
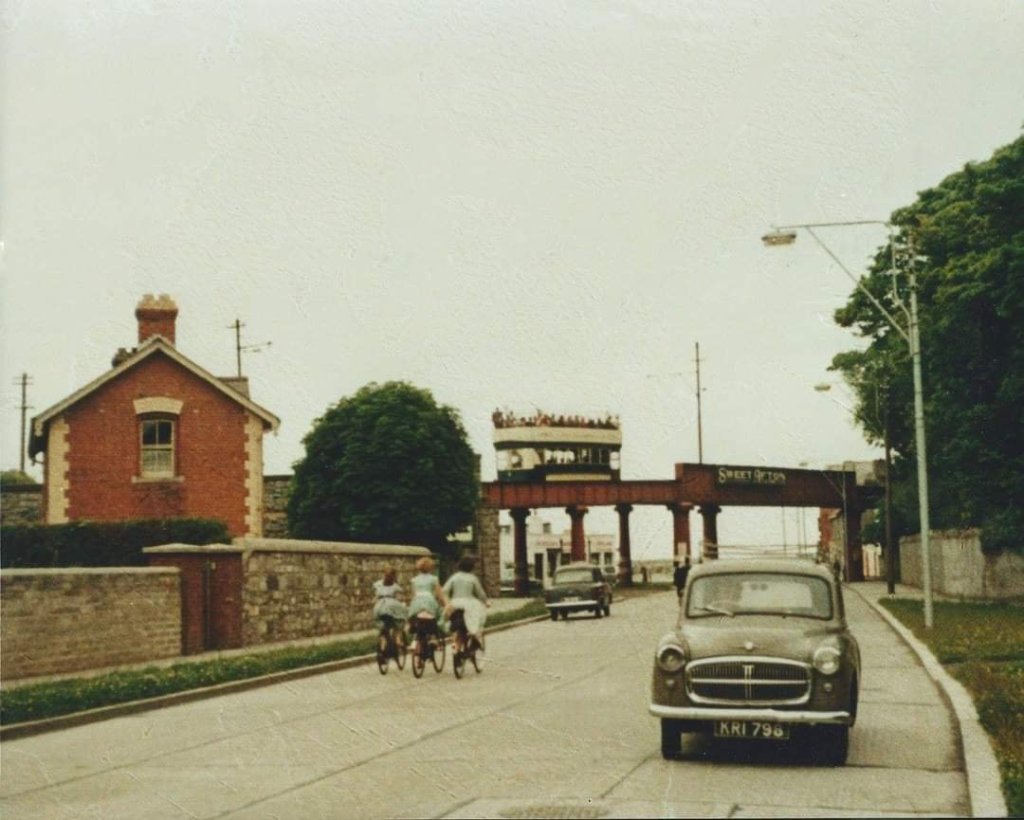
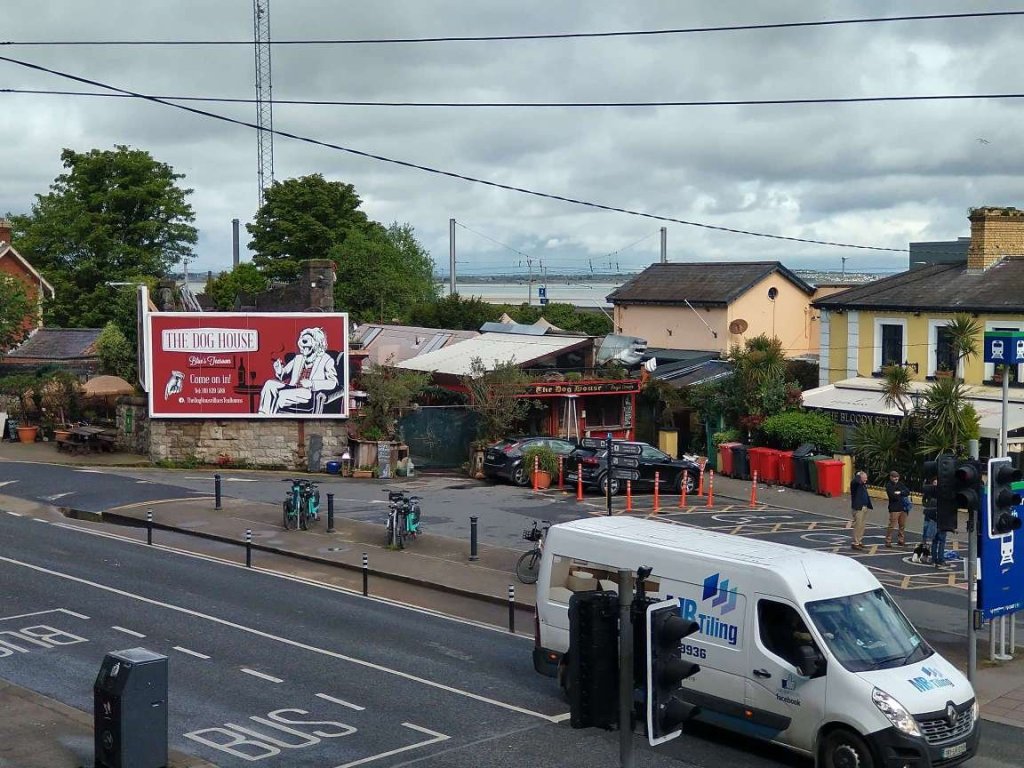
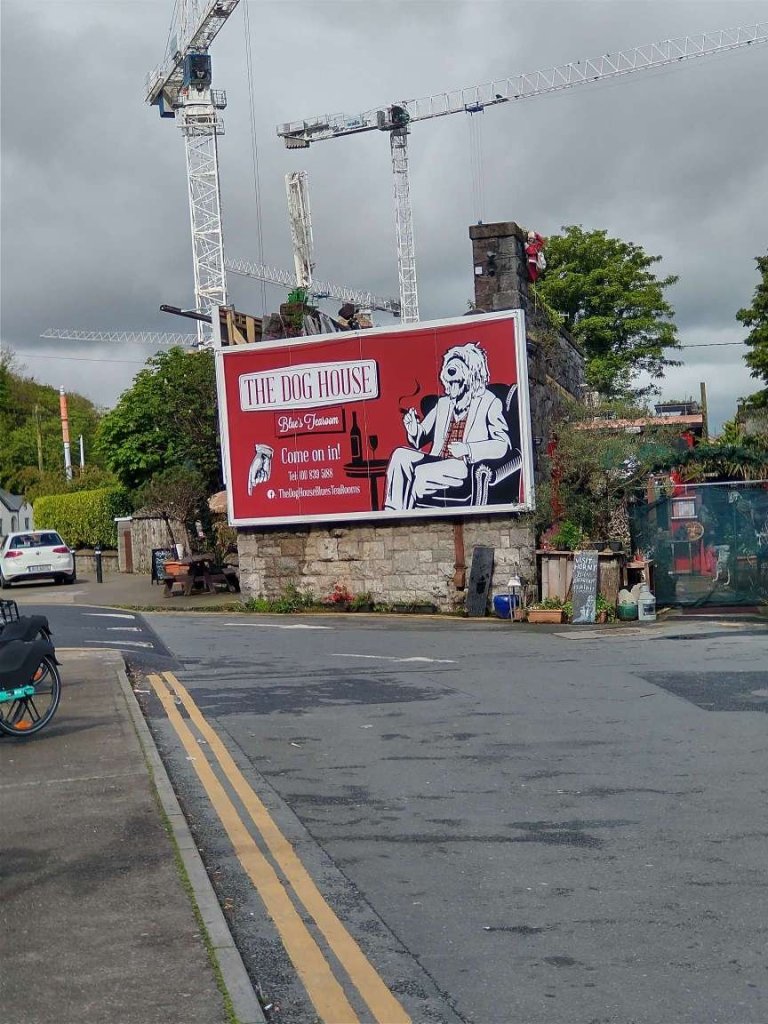
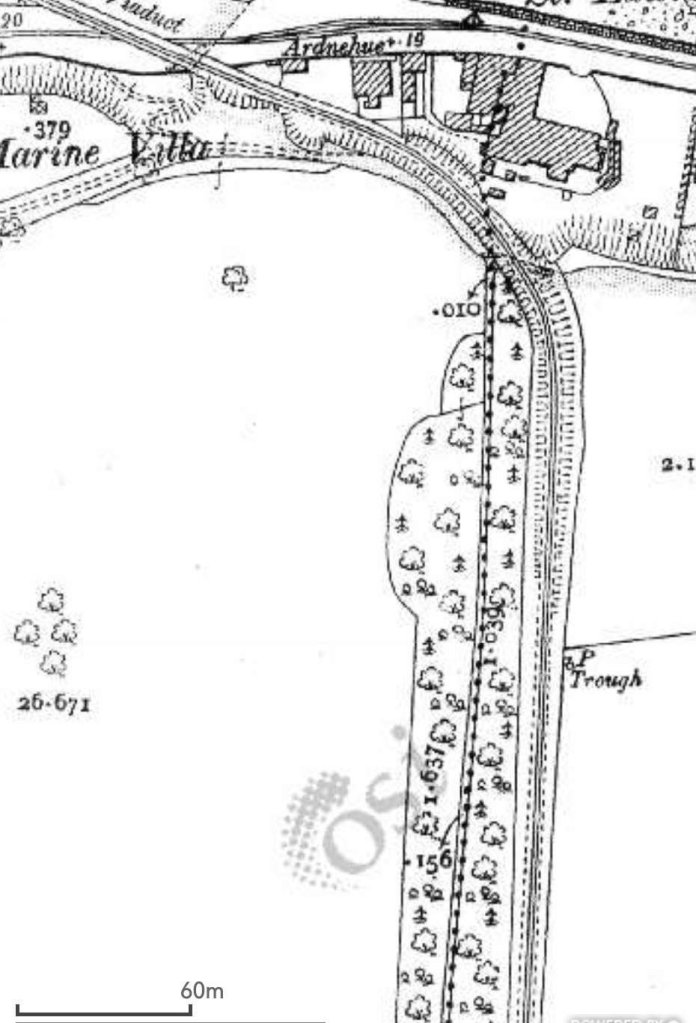
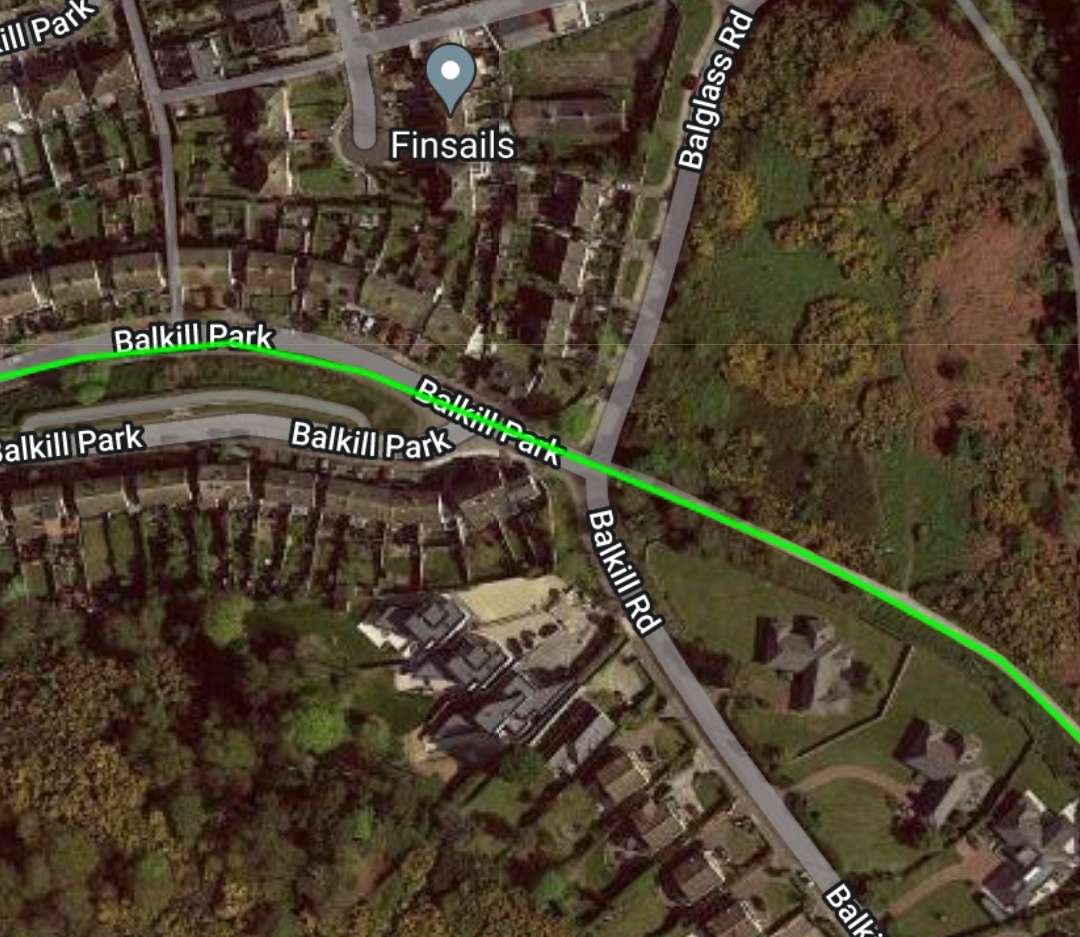
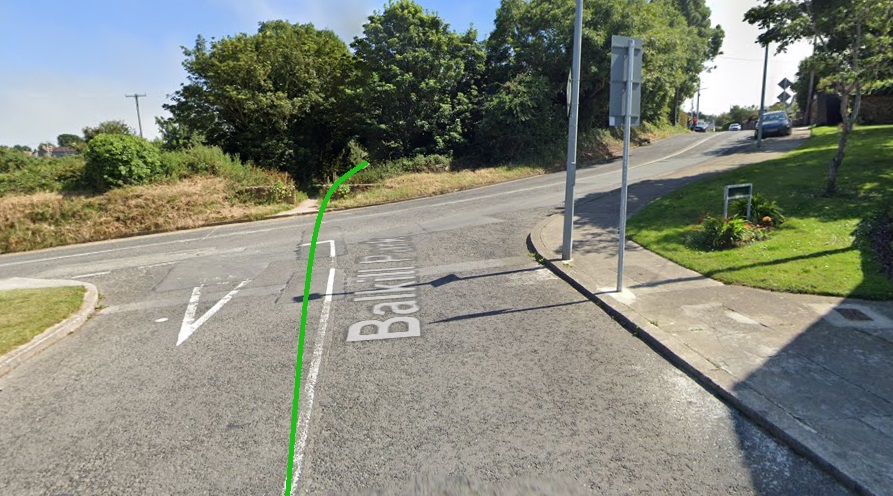
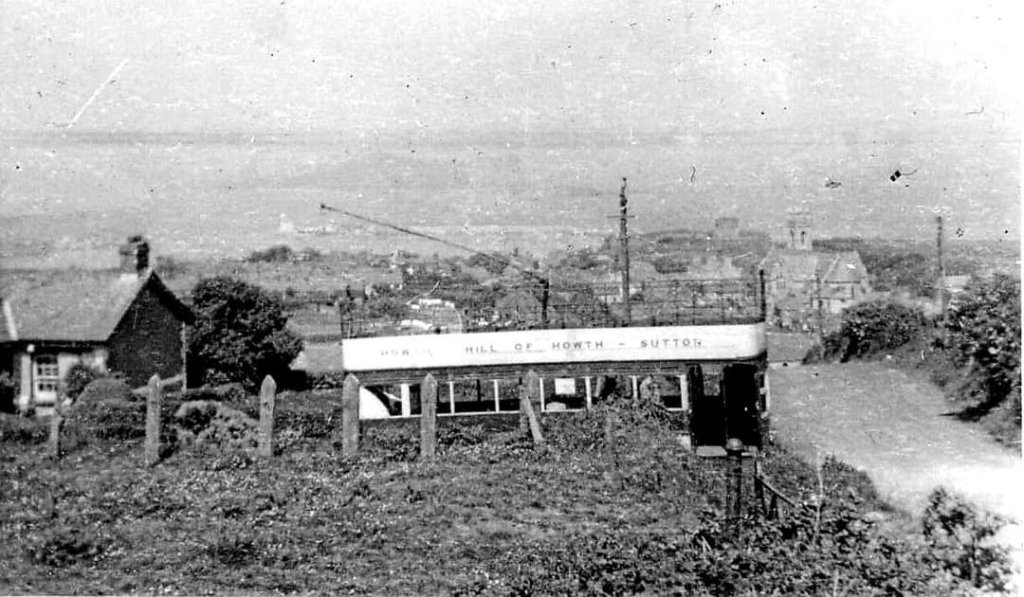
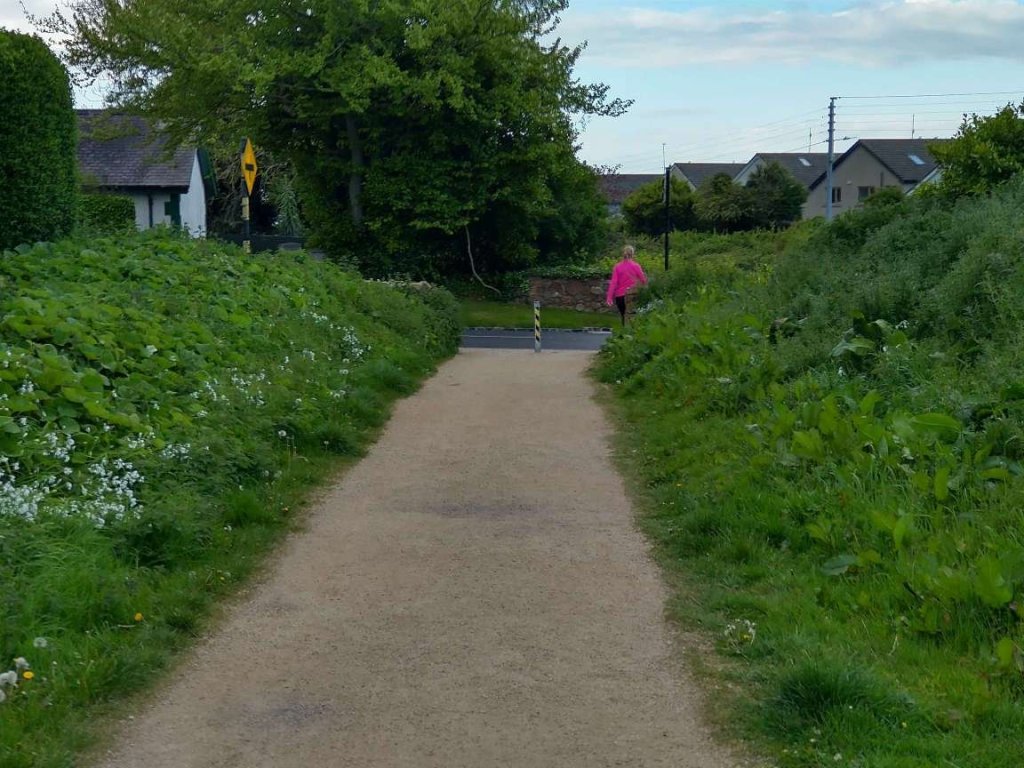
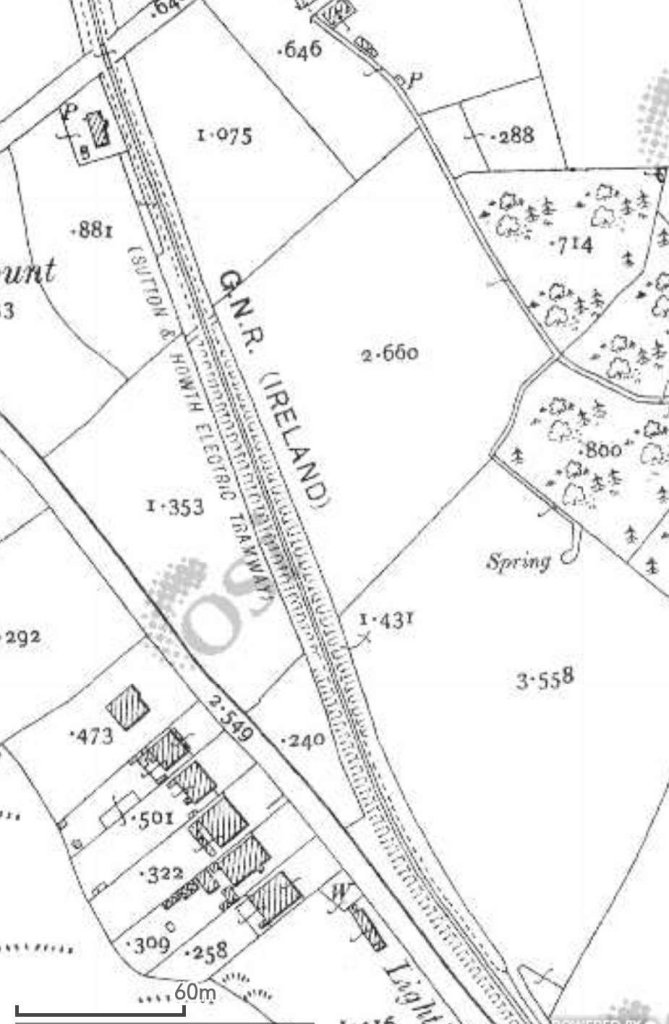
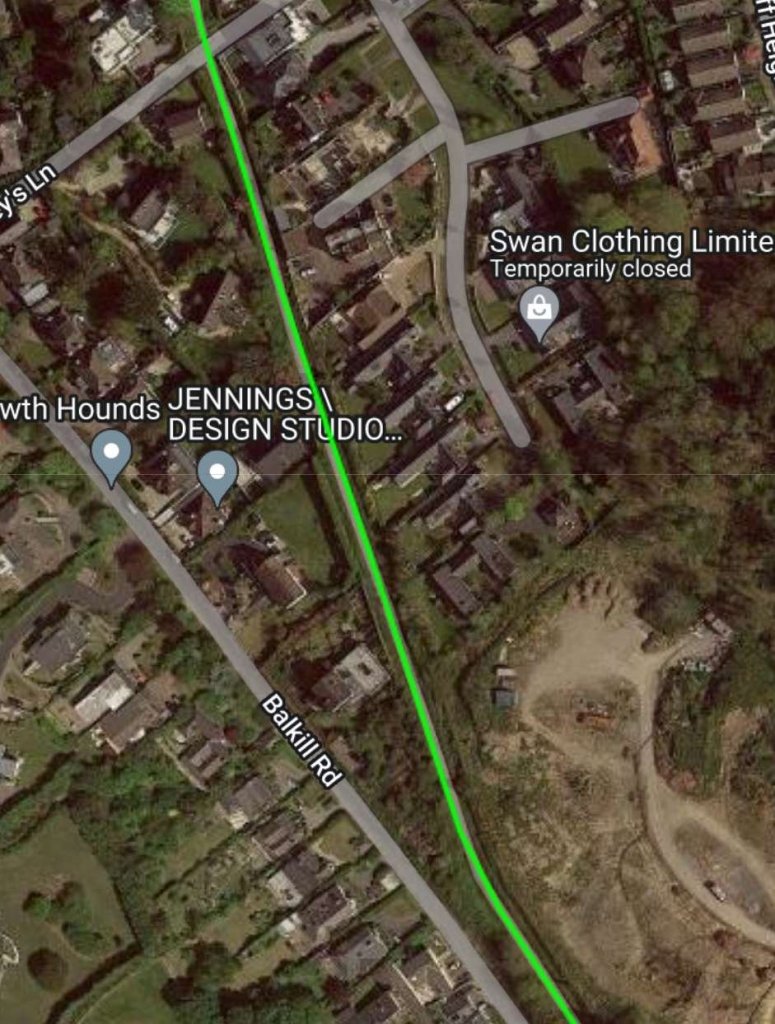
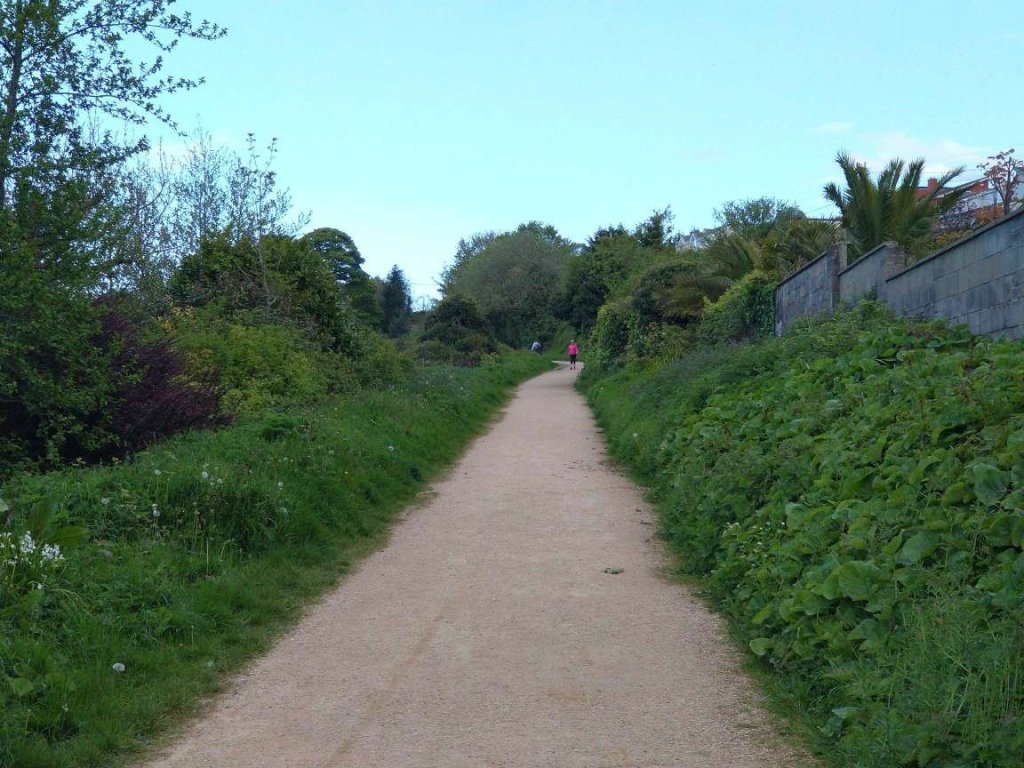
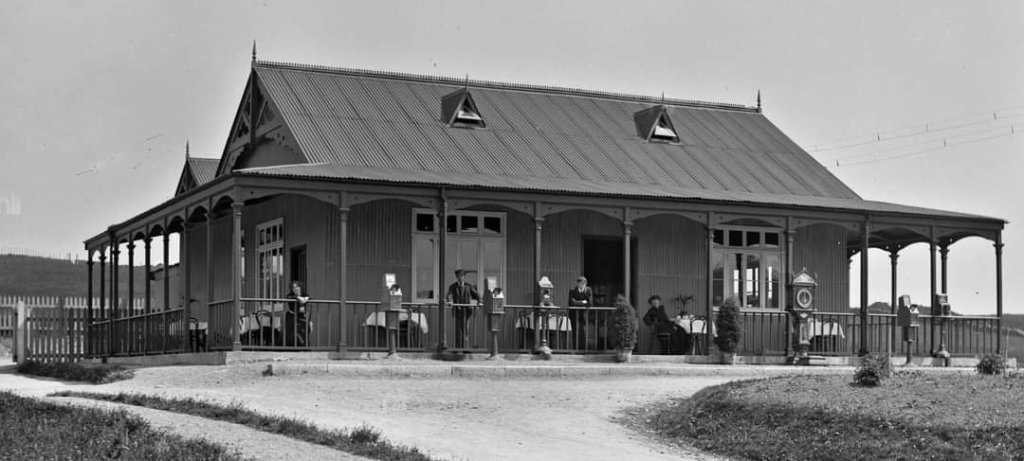
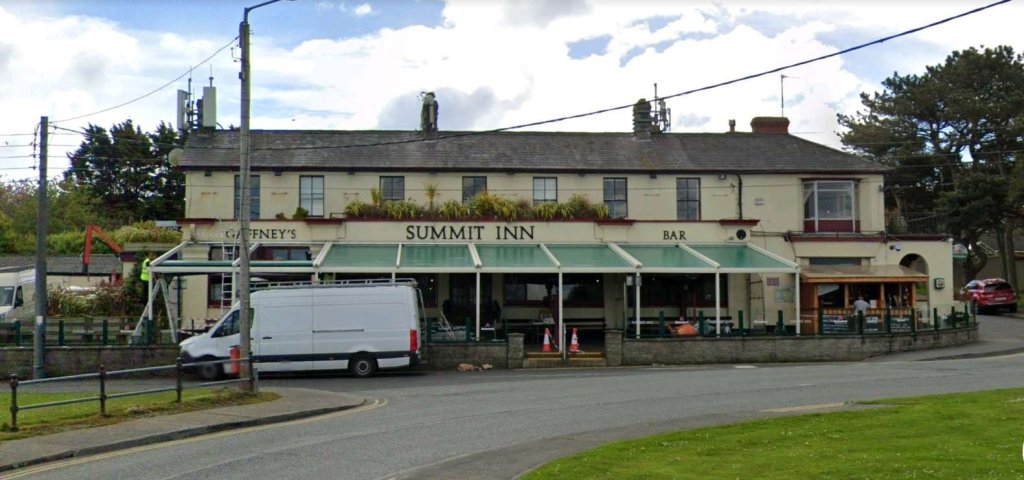
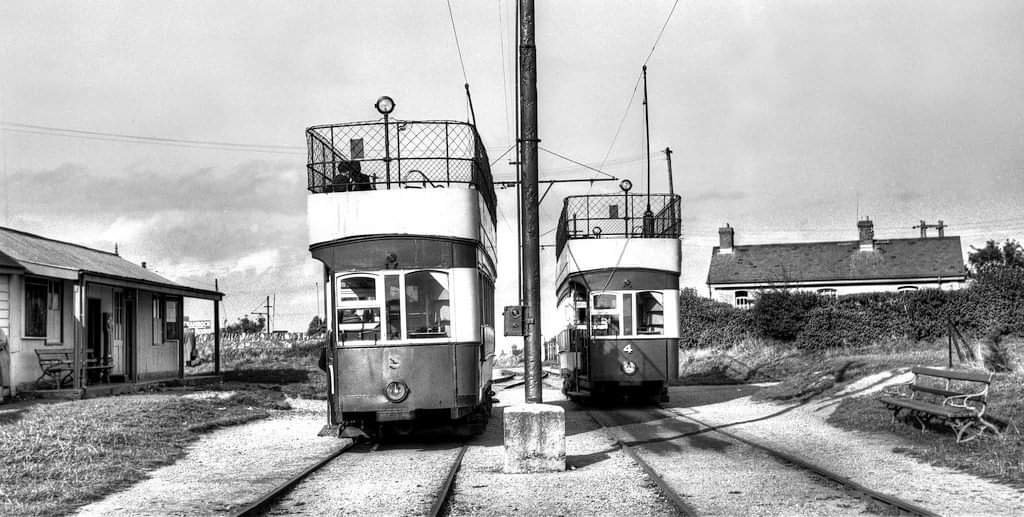
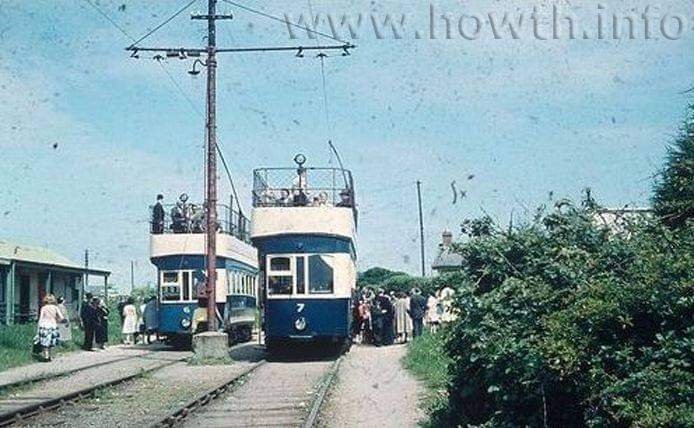
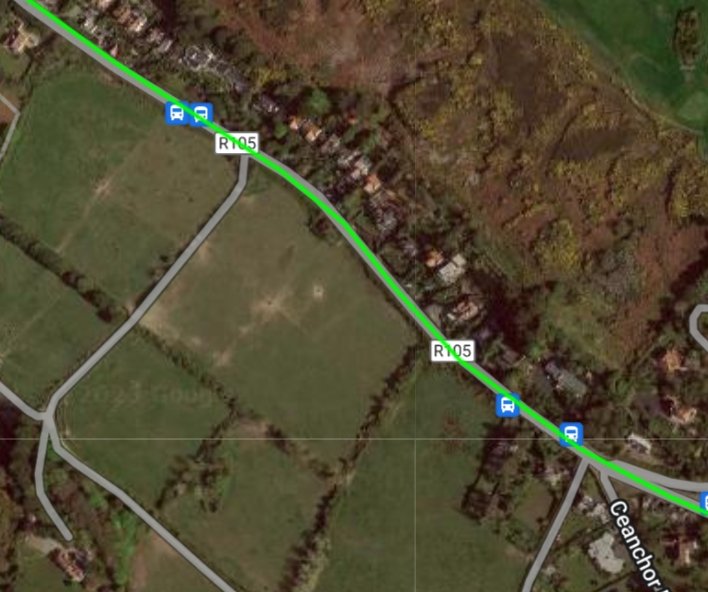
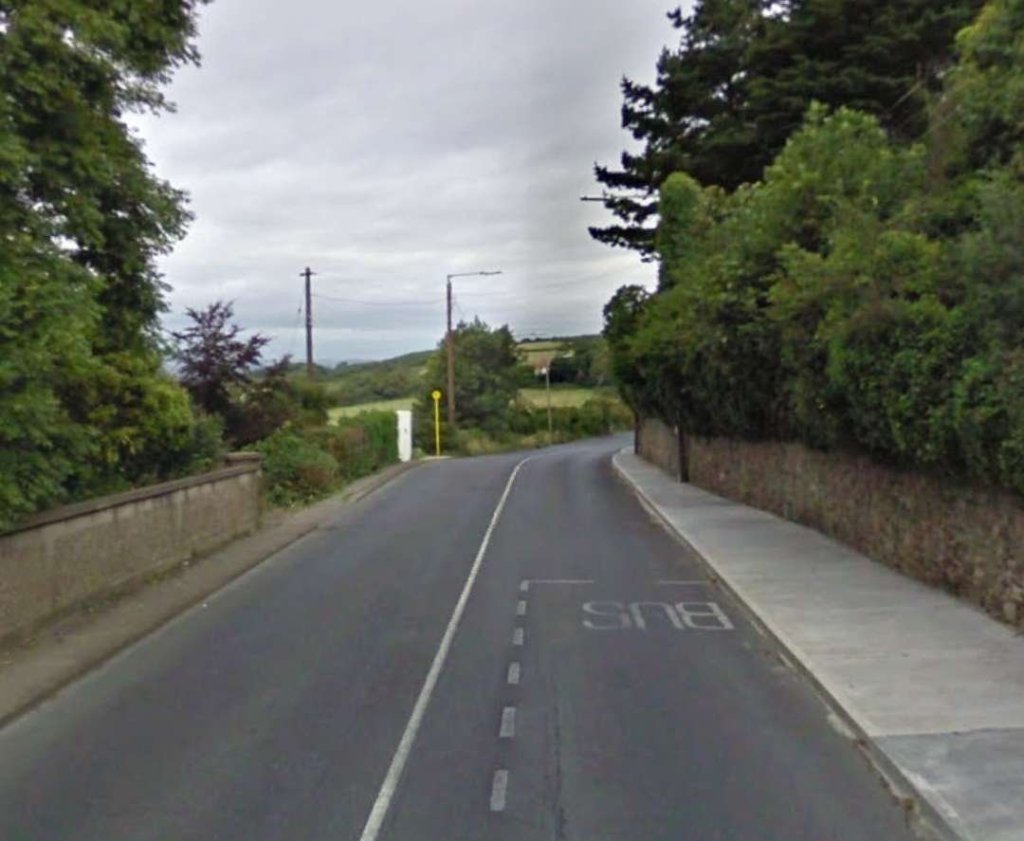
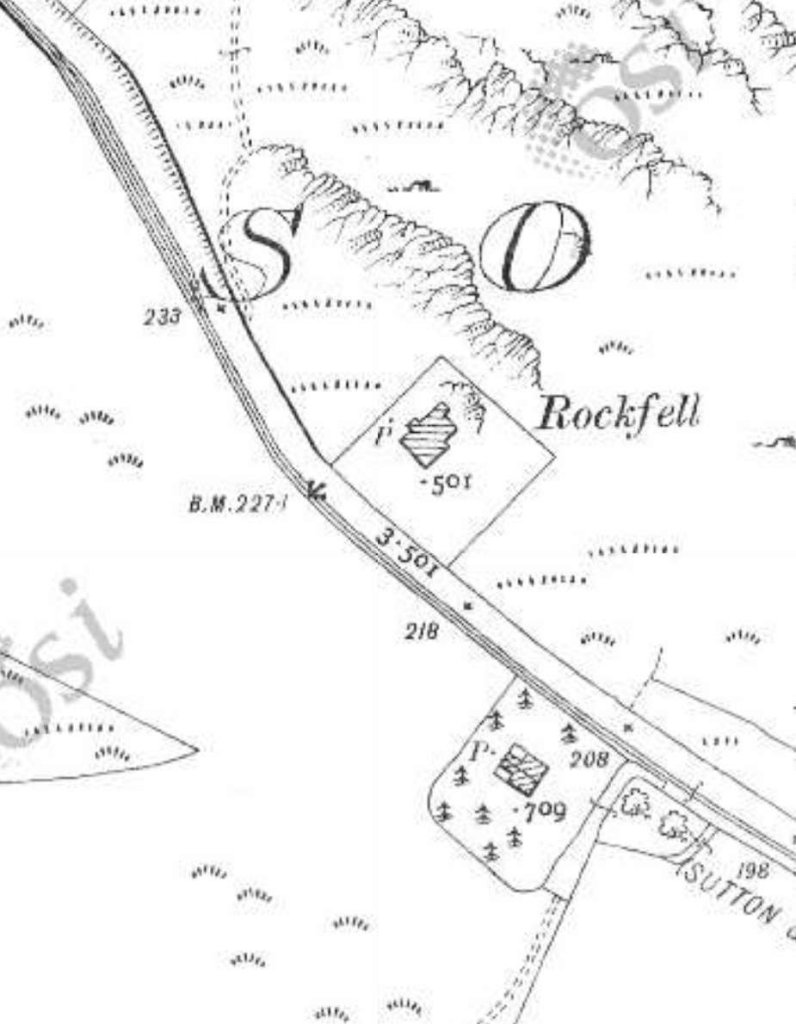
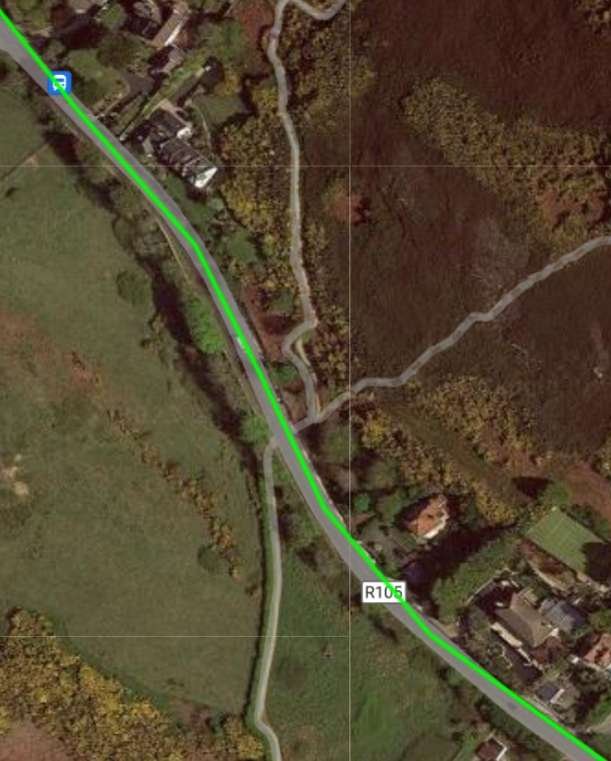
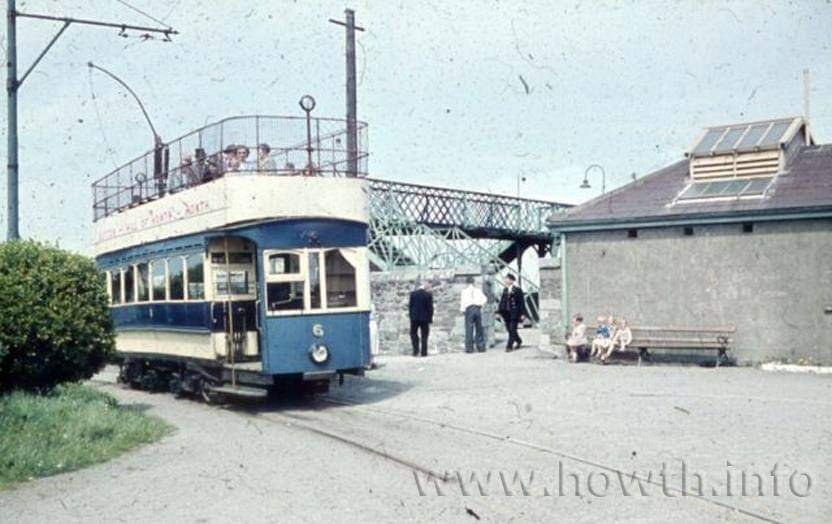
Looking West from the end of the platform at Howth Station. a single tramway line ran parallel to the main GNR(I) lines for some distance beyond the Signal Box before it was lifted with the rest of the tramway tracks. [My photograph, 8th May 2023]This view of the GNR(I) station at Howth from close to the signal Box, looking East, shows the tram stop backing onto the platform. This photograph was shared on the Old Howth Photos Facebook Group on 22nd December 2020 by Shay Larkin. [27]A view from adjacent to the Signal Box in 2023, looking East along what was once the tram line. [My photograph, 8th May 2023]Tram No. 2 and a sister tram at Howth Station. This image was shared by Liam McLoughlin on the Old Howth Photos Facebook Group on 6th October 2015. [18]Tram No. 4 at Howth Station. This image was shared by Hugh Walsh on the Old Howth Photos Facebook Group on 22nd February 2023. [19]A particularly crisp image of Tram No. 6 at Howth (c) Eamon J. Martin and shared by him on the Old Howth photos Facebook Group on 28th December 2021 [20]Howth Station with the tram stop backing onto the GNR(I) platform. This photo was shared by Liam McLoughlin in the Old Howth Photos Facebook Group on 22nd August 2020. [24]A similar view of Howth Station, this time in colour. This picture was shared by Liam McLoughlin on the Old Howth Photos Facebook Group on 4th October 2015. [25]Tram No. 6 at Howth Station. The Signal Box beyond the tram faces out onto the platform of the GNR(I) Station at Howth. This photo was shared by Liam McLoughlin on the Old Howth Photos Facebook Group on 8th April 2020. [26]Tram No. 7 leaving Howth Station with a service for Sutton via the Summit of the Hill of Howth. This photo was shared by Liam McLoughlin on the Old Howth Photos Facebook Group on 4th October 2015. [25]Tram No. 3 arriving at Howth Station just having crossed the viaduct. This photo was shared by Lorenzo Caira on the Old Howth Photos Facebook Group on 4th October 2015. [36]Tram No. 1 comes off the viaduct on its way to the terminus at Howth Station. This picture was shared on the Old Howth Photos Facebook Group by Liam McLoughlin on 25th August 2020. [34]Looking along the viaduct at Howth from the GNR(I) Railway Station. This photo was shared by Lorenzo Caira on the Old Howth Photos Facebook Group on 4th October 2015. [35]The Hill of Howth Tramway Viaduct facing West towards Sutton. This photograph was taken in 1902 early in the life of the tramway. [11]The Hill and of Howth Tramway Viaduct facing East towards the Harbour. This photograph was taken in March 1959 shortly before the closure of the line. It is in the public domain and is held by the National Library of Ireland and shared by them on Flickr [12]Given the vehicle visble under the viaduct this photo dates from the era when only trams No. 9 and No. 10 remained in the teak livery mentioned above. This probably means that the tram on the viaduct is No. 9 or No. 10. This photo was shared by Liam McLoughlin on the Old Howth Photos Facebook Group on 17th June 2021. It was also shared by Gary Hitchcock on the same Group on 1st March 2019, he dates the photo as being taken sometime in 1959. [37]Looking East under the viaduct in the 1950s. This photograph was shared by Liam McLoughlin on the old Howth Photos Facebook Group on 7th January 2016. [38]The viaduct, looking West. This must have been taken very early in a morning as there is no sign of any road or tramway users/vehicles. This photo was shared by Liam McLoughlin on the Old Howth Photos Facebook Group on 17th June 2021. [39]Looking across the R105 along the line of the old viaduct (from the South). [My photograph, 8th May 2023]The abutment of the viaduct hidden by the advertising hoarding. [My photograph, 8th May 2023]This extract from the 25″ OSi mapping shows the old tramway running away to the South after crossing the Viaduct. [10]Google Maps staellite imagery for the same area shows a footpath on the alignment of the old tramway. The length of the footpath which follows this length of the tramway is shown in photographs below. [Google Maps, 8th May 2023]After a short steep length of footpath from the R105 the footpath joins the formation of the old tramway which curves away to the South.[My photograph, 8th May 2023]These two photographs show that curve which brings the tramway onto a southerly path. [My photographs, 8th May 2023]The old tramway route heading South, viewed from the North. [My photograph, 8th May 2023] The footpath continues South. [My photograph, 8th May 2023]And again, looking South. [My photograph, 8th May 2023]A view back along the tramway looking North. The fencing is the boundary of Howth Deer Park. [My photograph, 8th May 2023]Looking South once again, with the Deer Park on the right. [My photograph, 8th May 2023]And again, further South and looking South. [My photograph, 8th May 2023]This view looks Southeast alongside the line of the tramway which at this point has begun to curve to the East through the back gardens of properties built after its demise which are on the left of this image behind the trees. The footpath leaves the tramway at this point. A housing estate has been built over the line of the old tramway from this point. [My photograph, 8th May 2023]Looking back along the old tramway route as it begins to curve to the East. Behind the camera, the footpath heads South away from the tramway, which at this point is approximately under the hedging to the right of the photograph. [My photograph, 8th May 2023]The 25″ OSI mapping shows the tramway curving first to the East and then back to the Southwest. [10]The satellite imagery from RialMapOnline.com becomes very useful from this point on as it maps the old tramway over the satellite image of the 1960s estate. The footpath, in grey, can be seen diverting away South from the line of the tramway as it turns East. [4]Tram No. 6 heads North towards the Howth terminus. The deer park is behind the trees to the left. The tram is just about to enter the straight length of line which bordered the deer park. This image was shared by Liam McLoughlin on the Old Howth Photos Facebook Group on 6th October 2015. [21]Tram No. 4 in the final livery version is heading North towards the camera and Howth Station. The passing loop seen here is not shown on the early OSi 25″ mapping that is available. The school in this image also postdates the mapping. This image was shared by Liam McLoughlin on the Old Howth Photos Facebook Group on 8th April 2020. [16]Looking Northeast on Grace O’Malley Drive with the school on the right. The green line superimposed on the photograph illustrates the line of the tramway. [Google Streetview, July 2019]This photo is taken looking down the line towards Howth. The low white wall prominent in this image can be seen beyond Tram No. 4 in the photograph of that tram in the last but one image. This image was shared by Liam McLoughlin on the Old Howth Photos Facebook Group on 22nd August 2020. [22]The 25″ OSi mapping then shows another sharp curve which swept the old line back again towards the East. [10]The same area in the 21st century. The Deer Park is to the left of the image. [4}Looking Northeast on another length of Grace O’Malley Drive. The green line superimposed on the photograph illustrates the line of the tramway. [Google Streetview, July 2019]Tram No. 6 in its earliest livery climbing through the curves on its way to the Summit. It is probably travelling along what became Balkill Park. This image was shared by Liam McLoughlin on the Old Howth Photos Facebook Group on 8th April 2020. [17]Looking North on Balkill Park. The old tramway route seems to skirt the left side of the end of terrace above, continuing to bear right through its garden and the properties on Grace O’Malley Drive behind. [Google Streetview, July 2019]Turning through 180° to look South, Balkill Park follows the line of the old tramway. [Google Streetview, July 2019]This next extract from the 25″ OSi mapping shows the tramway crossing Balglass Road at a level crossing. [10]The same area as shown on the map extract above as it appears on RailMapOnline.com. [4]Looking East-southeast from Balkill Park across Balglass Road/Balkill Road. at the junction the route of the old tramway heads East-southeast. [Google Streetview, July 2019]An unidentified tram crossing Basglass on 31st May 1959, (c) Barry Lacy. This image was shared on the Old Howth Photos Facebook Group by Kevin Rickard on 27th September 2020. [15]Very approximately the same view as the monochrome image above but in the 21st century. The route of the old tramway is indicated by the green line. [Google Streetview, July 2019]Looking ahead to the Southeast along the route of the old tramway from the junction of Balkill Park with Balglass Road/Balkill Road. [My photograph, 7th May 2023]Looking back towards Howth along the line of the old tramway with Balkill Park ahead. [My photograph, 7th May 2023]The 25″ OSi mapping shows that the next passing point on the line was Dungriffan Halt which was situated to the North of Dungriffin Road between Cliff House and Boggeen Lane. [10]The same area in the 21st century shows a similar road layout and the footpath following the route of the old tramway. [4]Looking Southwest towards what was the location of Dungriffan Road Halt. [My photograph, 7th May 2023]Trams passing each other at the next halt on the route, Dungriffan Road Halt. This photo was shared on the Old Howth Photos Facebook Group by Lorenzo Caira on 9th January 2022. [23]Tram No. 7 seems to be leaving Dungriffan Road Halt heading South towards the Summit Inn. This photo was shared on the Old Howth Photos Facebook Group on 6th October 2015 by Liam McLoughlin. [43]Looking Southeast into the site of what was Dungriffan Road Halt. [My photograph, 7th May 2023]The location of Dungriffan Road Halt as it appears in the 21st century. This view looks Southeast from the centre of the Halt towards Dungriffin Road. [My photograph, 7th May 2023]Looking South across Dungriffin Road. [My photograph, 7th May 2023]Looking back North across Dungriffin Road. [My photograph, 7th May 2023]The view South from Dungriffin Road in 2019. [Google Streetview, July 2019]This image shows an unidentified tram heading South towards the Summit Inn from Howth. It was shared on the Old Howth Photos Facebook Group by Lorenzo Caira on 4th October 2015. [44]This view looks back towards Howth. Another unidentified tram heads towards the Summit Inn. This photo was shared on the Old Howth Photos Facebook Group by Lorenzo Caira on 4th October 2015. [40]This view looks North down this length of tramway and appears to show Tram No. 6 heading South towards the Summit of Howth Hill. This photo was shared on the Old Howth Photos Facebook Group by Liam McLoughlin on 6th October 2015. [41]The view South along the line of the old tramway between Dungriffin Road and Grey’s Lane. [My photograph, 7th May 2023]Looking South across Grey’s Lane. [My photograph, 7th May 2023]The view Northwest along Grey’s Lane across the line of the old tramway. [Google Streetview, July 2019]Looking North across Grey’s Lane. [My photograph, 7th May 2023]The next length of the tramway Southeast from Grey’s Lane as shown on the 25″ OSi mapping. [10]The same area as shown by RailMapOnline.com. [4]Looking South along the line of the old tramway a 100 metres or so from Grey’s Lane. [My photograph, 7th May 2023]Looking South along the line of the old tramway a 100 metres or so further from Grey’s Lane. [My photograph, 7th May 2023]In this extract from the OSi mapping the old tramway first crosses Kitestown Road and then turns to cross what was Lighthouse Road and in the 21st century is called Balkill Road. The Summit was reached after crossing Lighthouse Road. [10]The same area as shown on the map extract above as it appears on RailMapOnline.com. The new road is the route of the R105, Carrickbrack Road, which from this point follows the line of the old tramway. [4]Looking North along the line of the old tramway across Kitestown Road. [My photograph, 7th May 2023]Looking Southeast along Kitestown Road across the line of the old tramway. [Google Streetview, July 2019]Looking Southeast from Kitestown Road along the line of the old tramway. [Google Streetview, July 2019]Looking North along the line of the old tramway from the junction of Balkill Road and Carrickbrack Road. [My photograph, 7th May 2023]The view Southwest along Carrickbrack Road (R105). The green line marks the route of the old tramway. [Google Streetview, July 2019]The Summit Cafe. This photo was shared on the Old Howth Photos Facebook Group by Liam McLoughlin on 6th October 2015. [42]The Summit Inn in the 21st century. [Google Streetview, July 2019]Two trams pass at the Summit. Tram No. 3 is heading for Howth and Tram No. 4 for Sutton. This picture was shared on the Old Howth Photos Facebook Group on 7th September 2016 by Liam McLoughlin. [49]In this image it is trams Nos. 6 and 7 passing at Summit Station with No. 6 heading for Howth and No. 7 for Sutton. This photo was shared on the Old Howth Photos Facebook Group on 4th October 2015 by Lorenzo Caira. [47]Tram No. 10 at the Summit Station. This picture was shared by Dermot Kane on the Old Howth Photos Facebook Group on 2nd June 2020. It looks Northeast along Carrickbrack Road. The Summit Inn is visible on the right of the picture. (R105). [50]A similar view at the Summit in the 2020s. The Summit Inn is visible on the right of both this and the colour photograph above. The single storey building near the centre of this image can be seen behind the tram in the last image. [Google Streetview, March 2023]What looks like Tram No. 6 at the Summit Station heading for Sutton with two unidentifiable trams behind. This image was shared on the Old Howth Photos Facebook Group on 4th October 2015 by Lorenzo Caira. [46]Looking Northeast again at the Summit with Tram No. 1 in the foreground, heading for Howth and an unidentifiable sister tram beyond, heading for Sutton. This photo was shared on the Old Howth Photos Facebook Group by Lorenzo Caira on 4th October 2015. [45]Looking Northeast at the Summit Station with Tram No. 10 waiting to set off for Howth. This photograph was shared on the Old Howth Photos Facebook Group on 6th October 2015 by Liam McLoughlin. [48]
The Summit was the usual tourist stop and was accessed either from Howth or from Sutton. Having reached the Summit from Howth, we now start the journey down to Sutton.
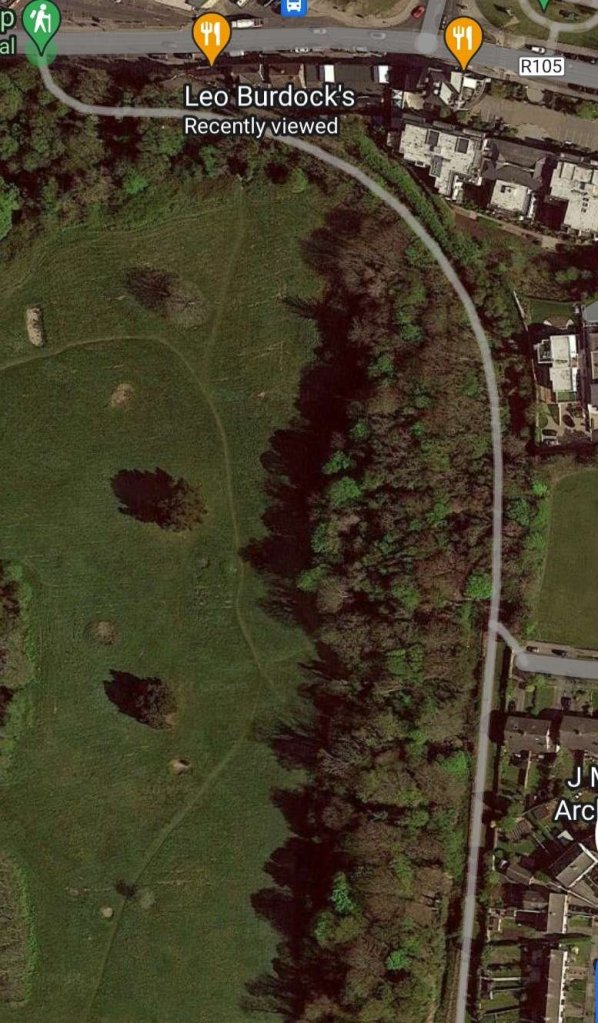
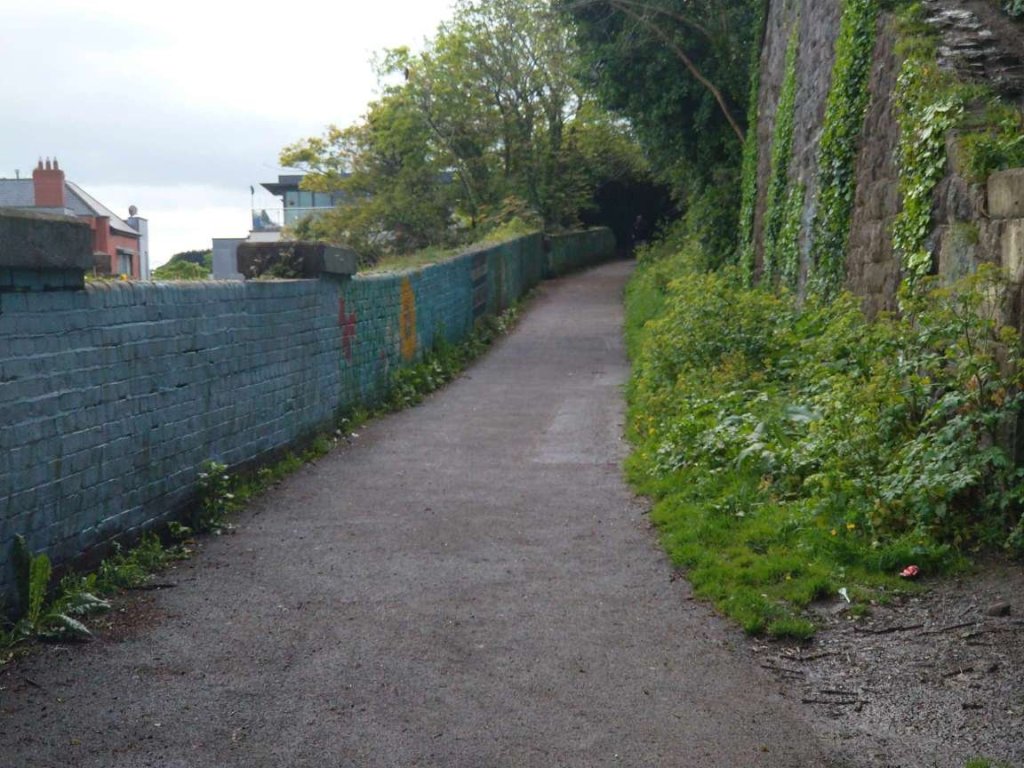
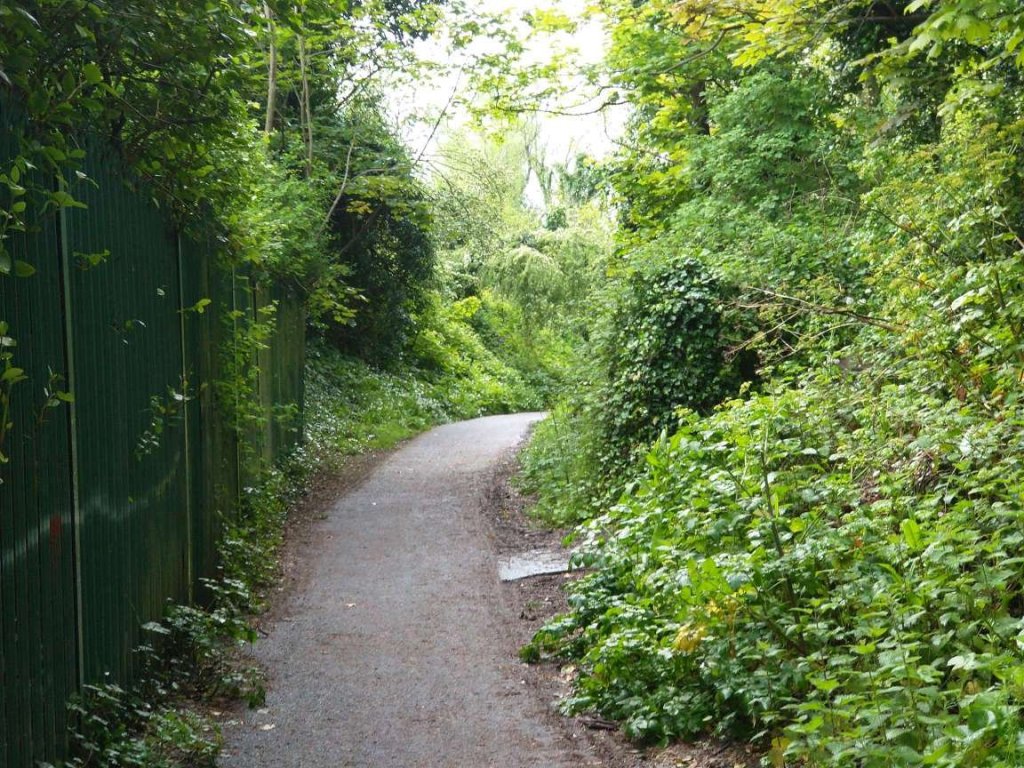
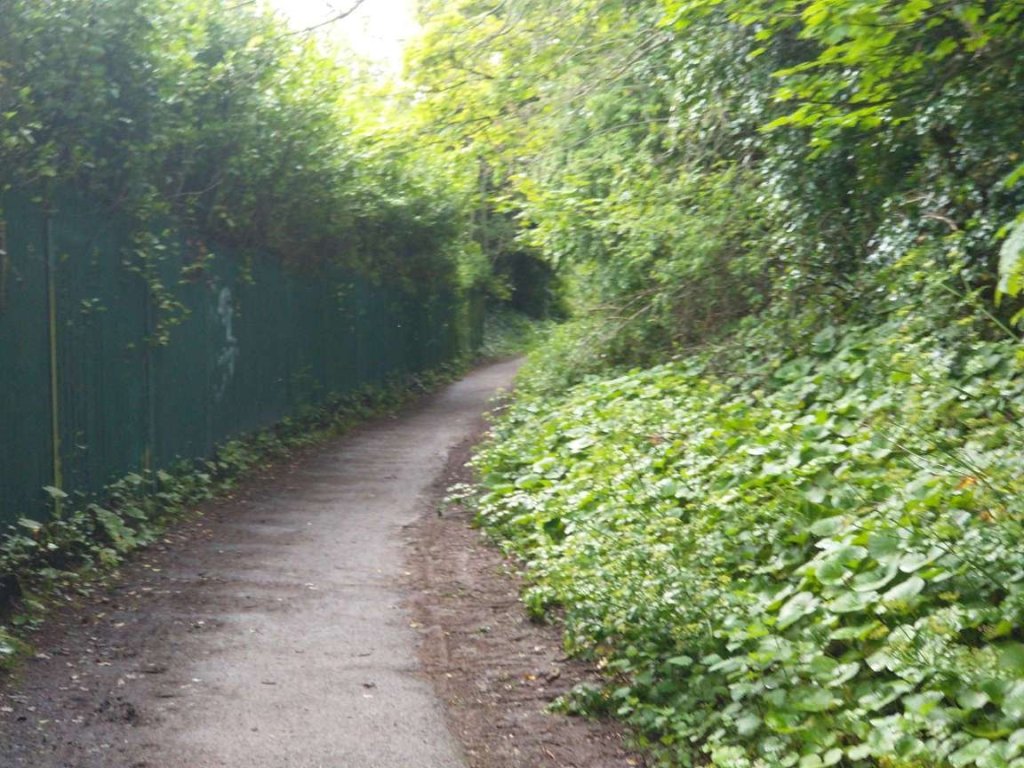
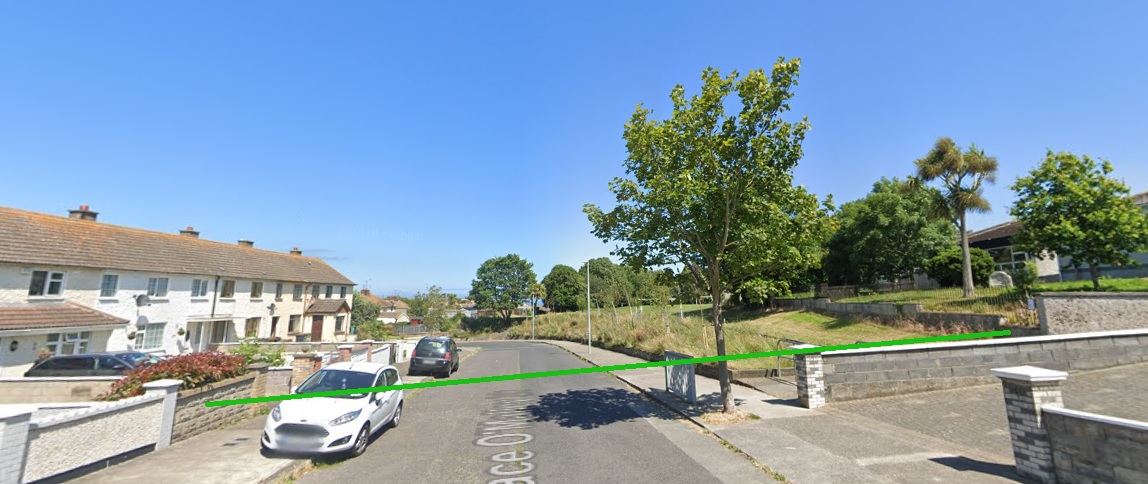
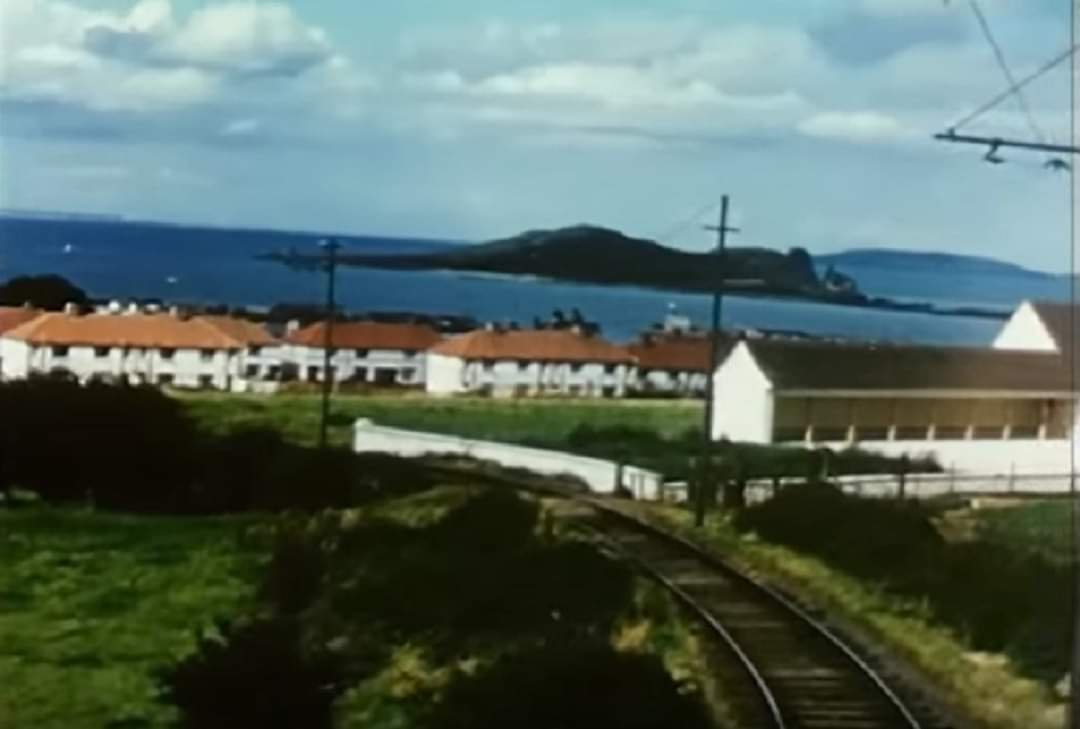
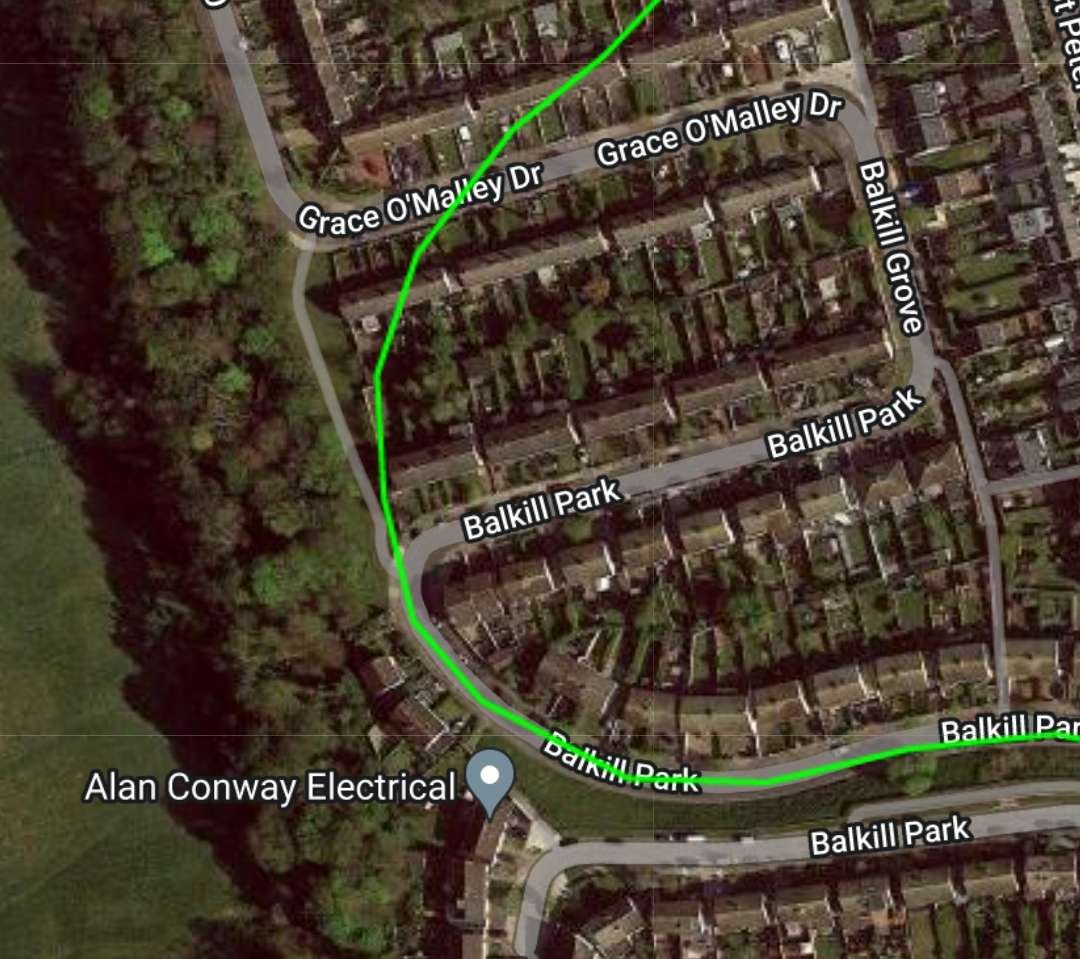
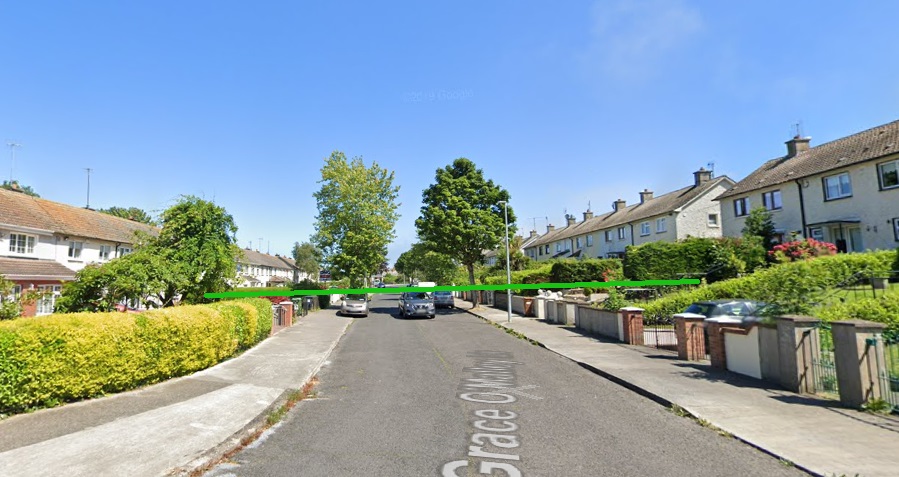
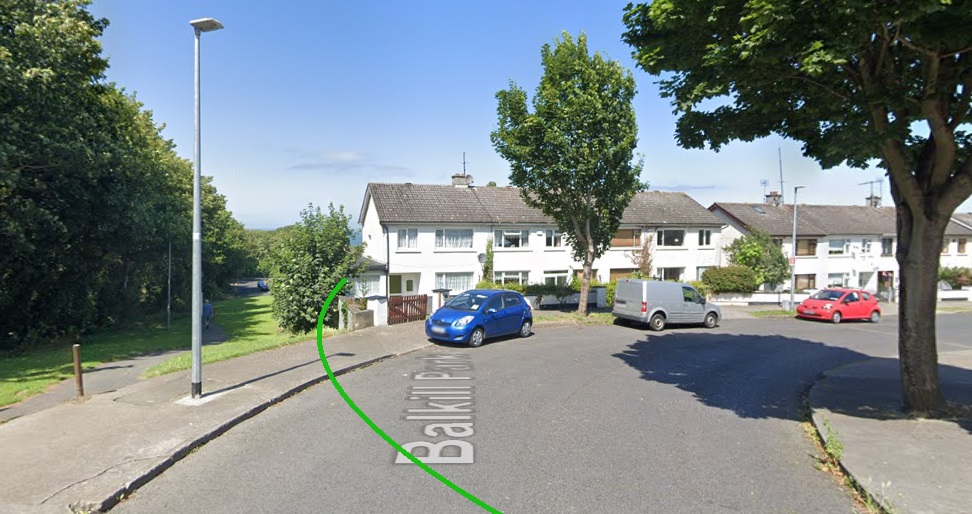
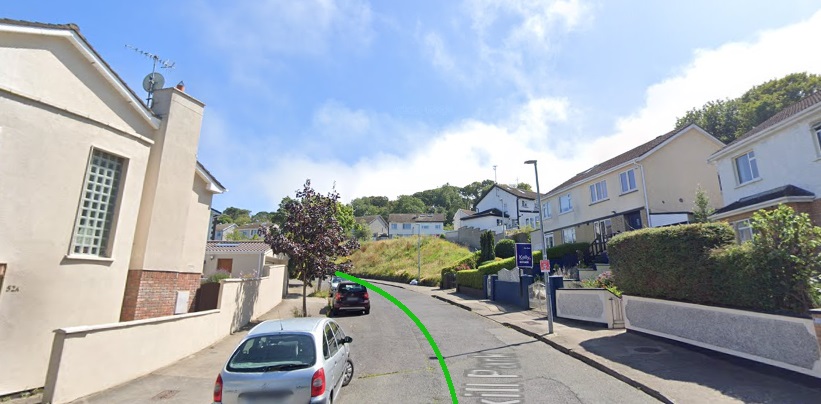
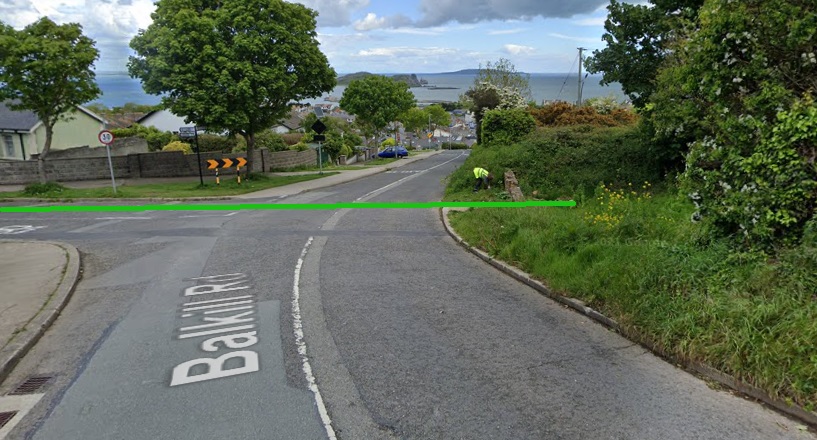
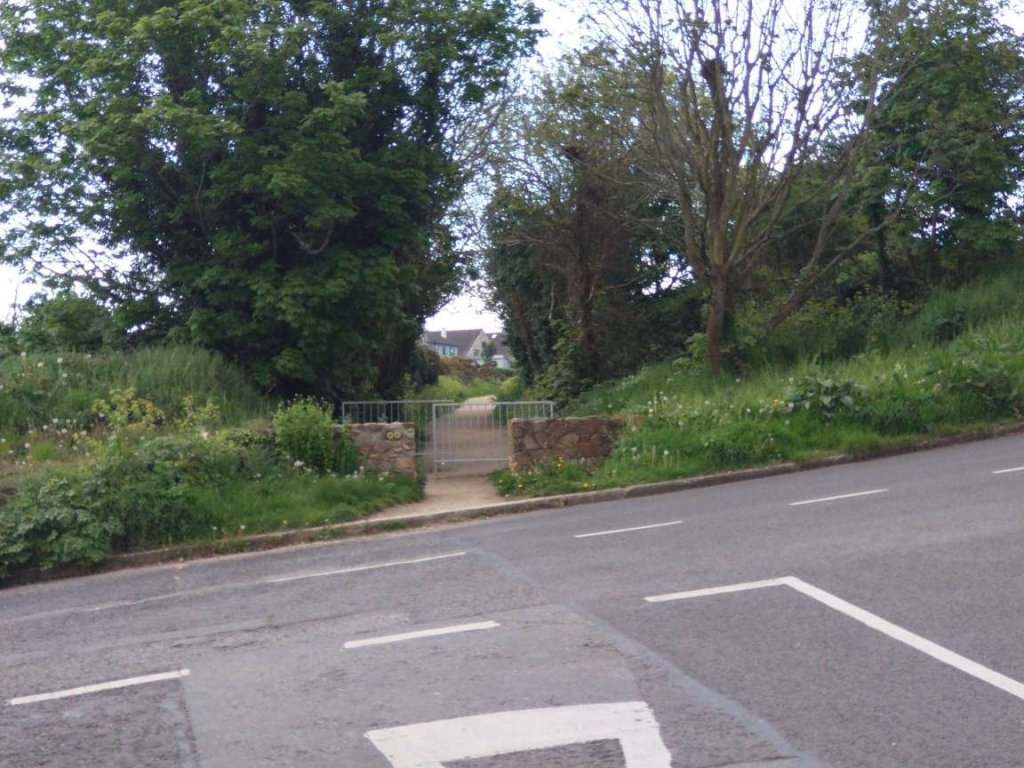
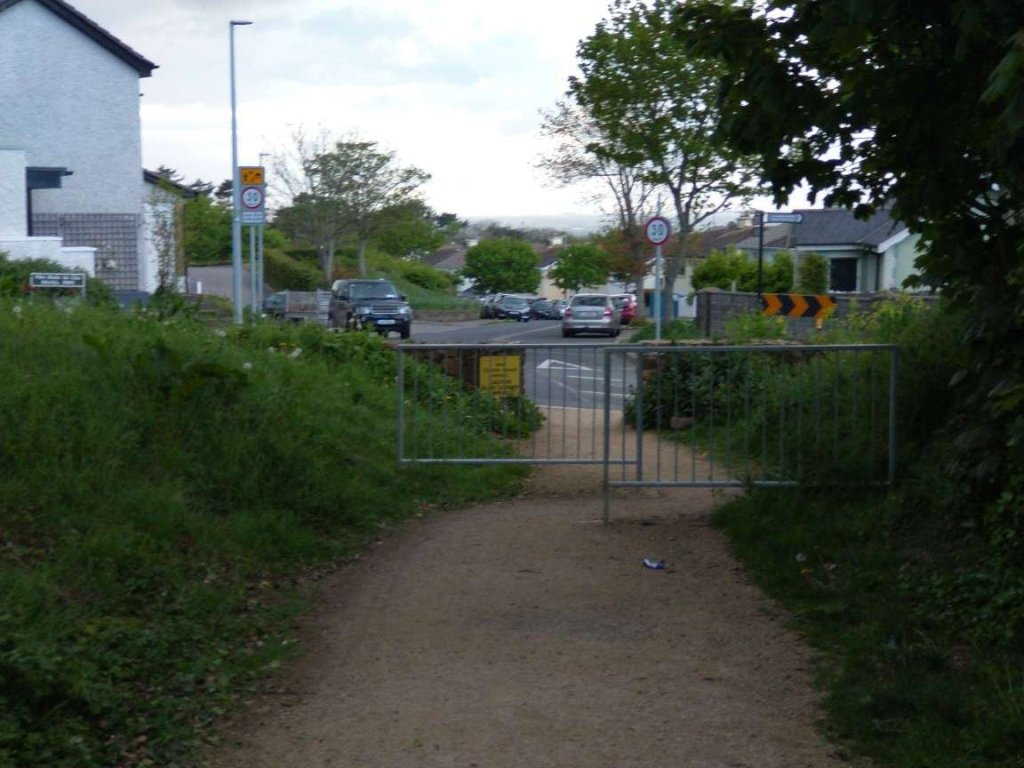
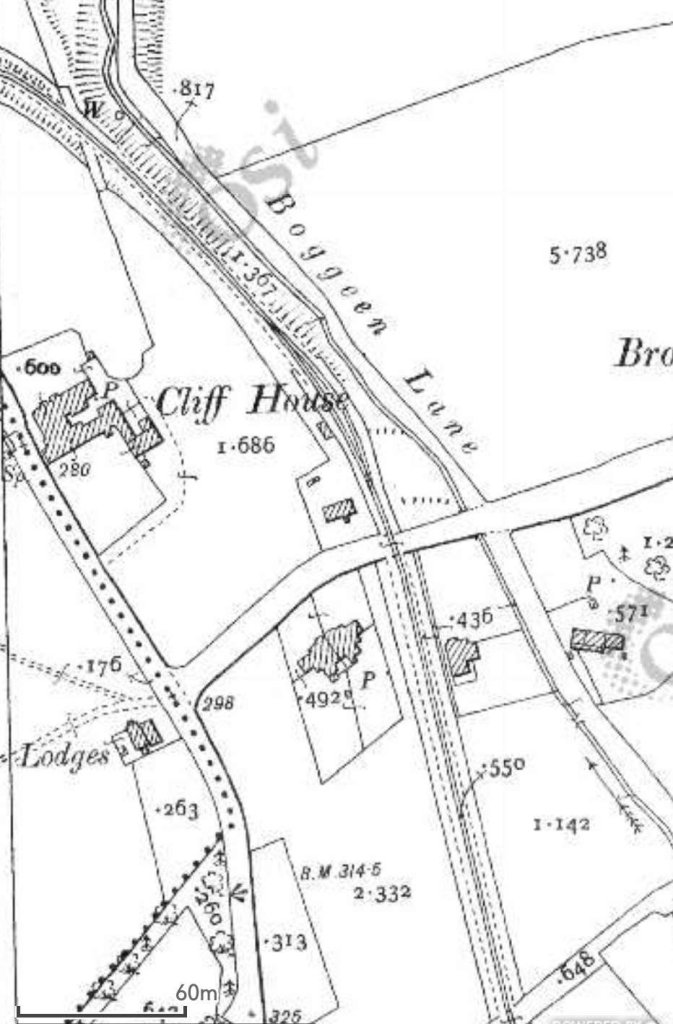
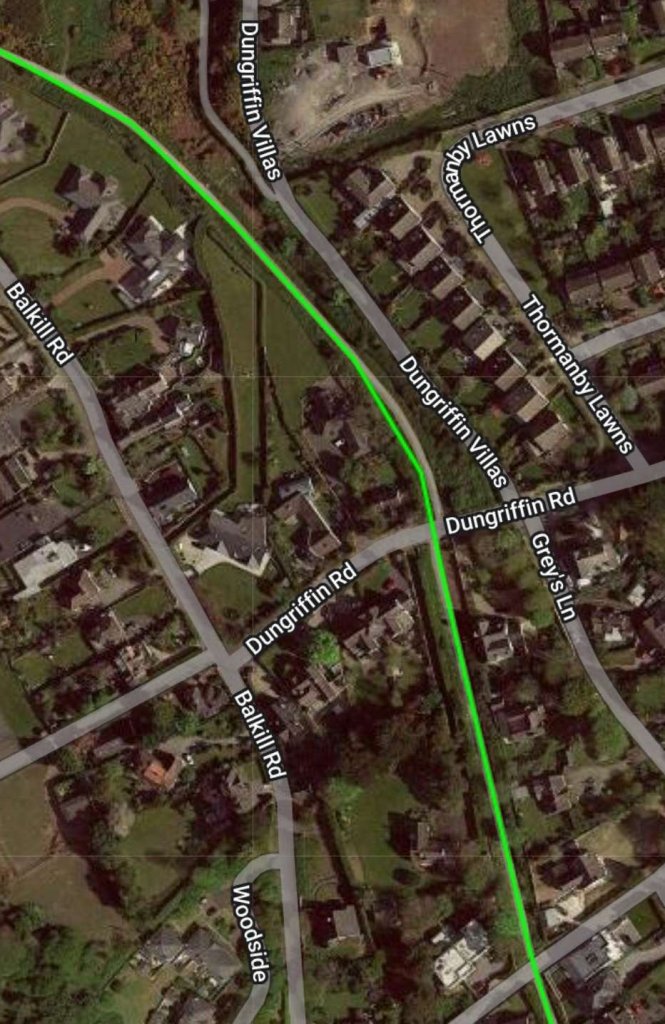
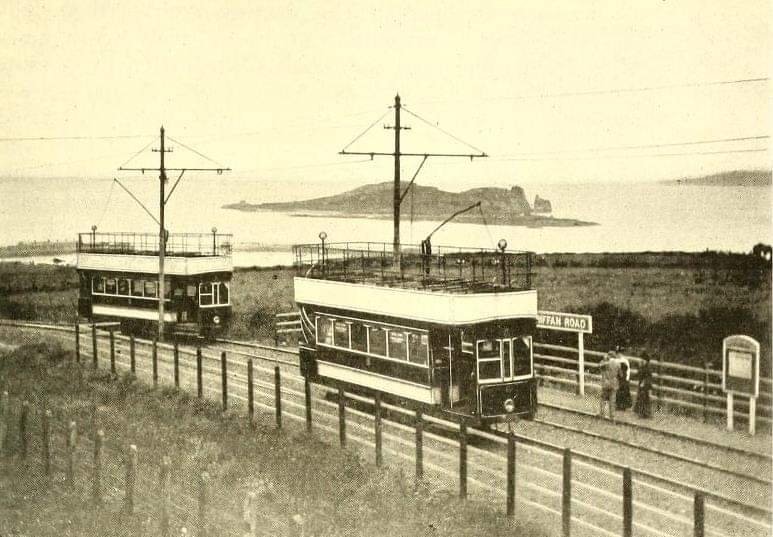
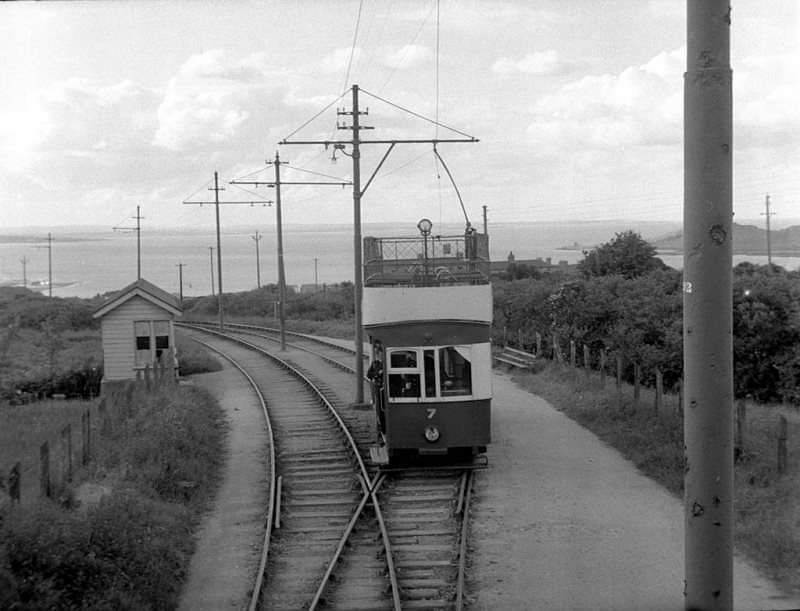
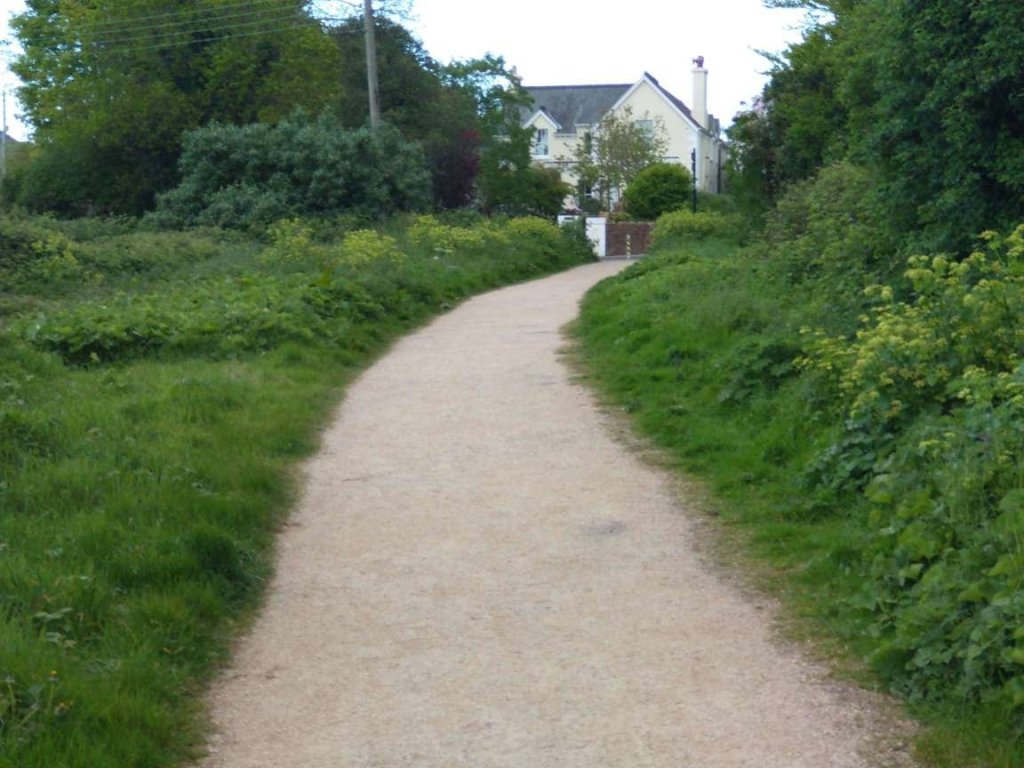
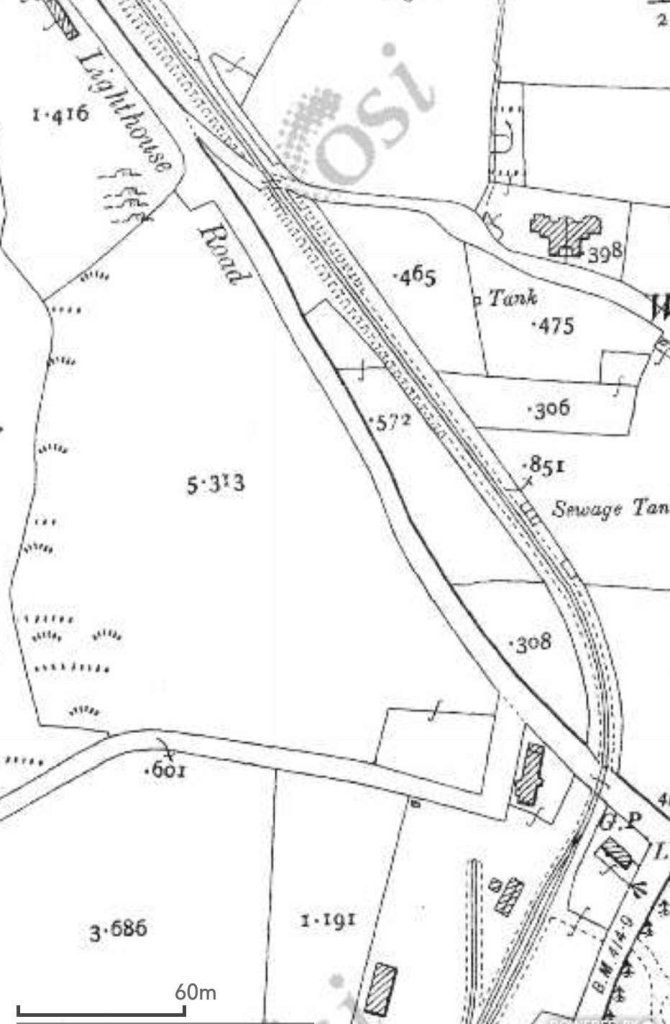
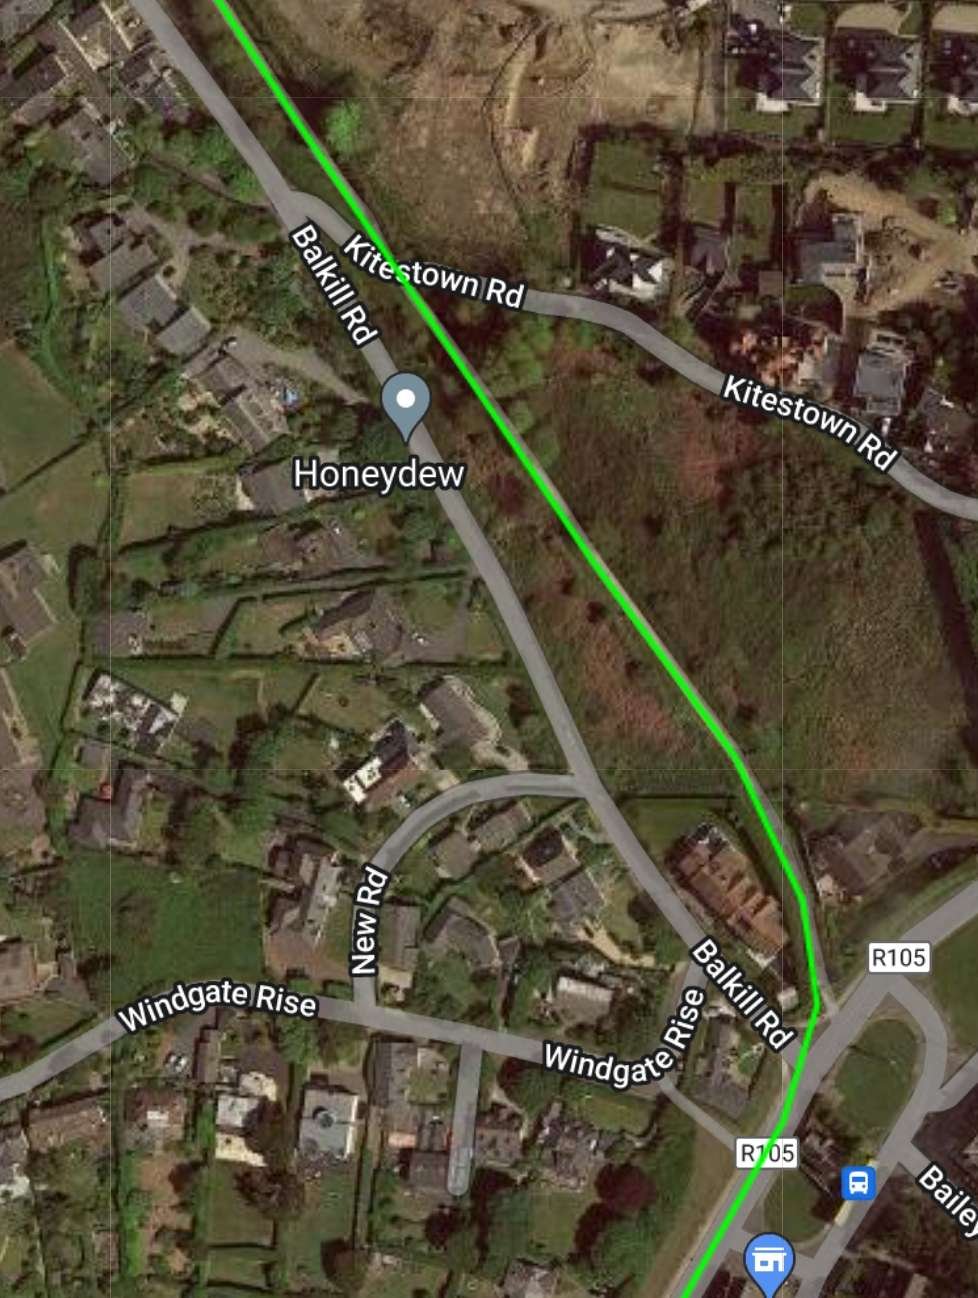
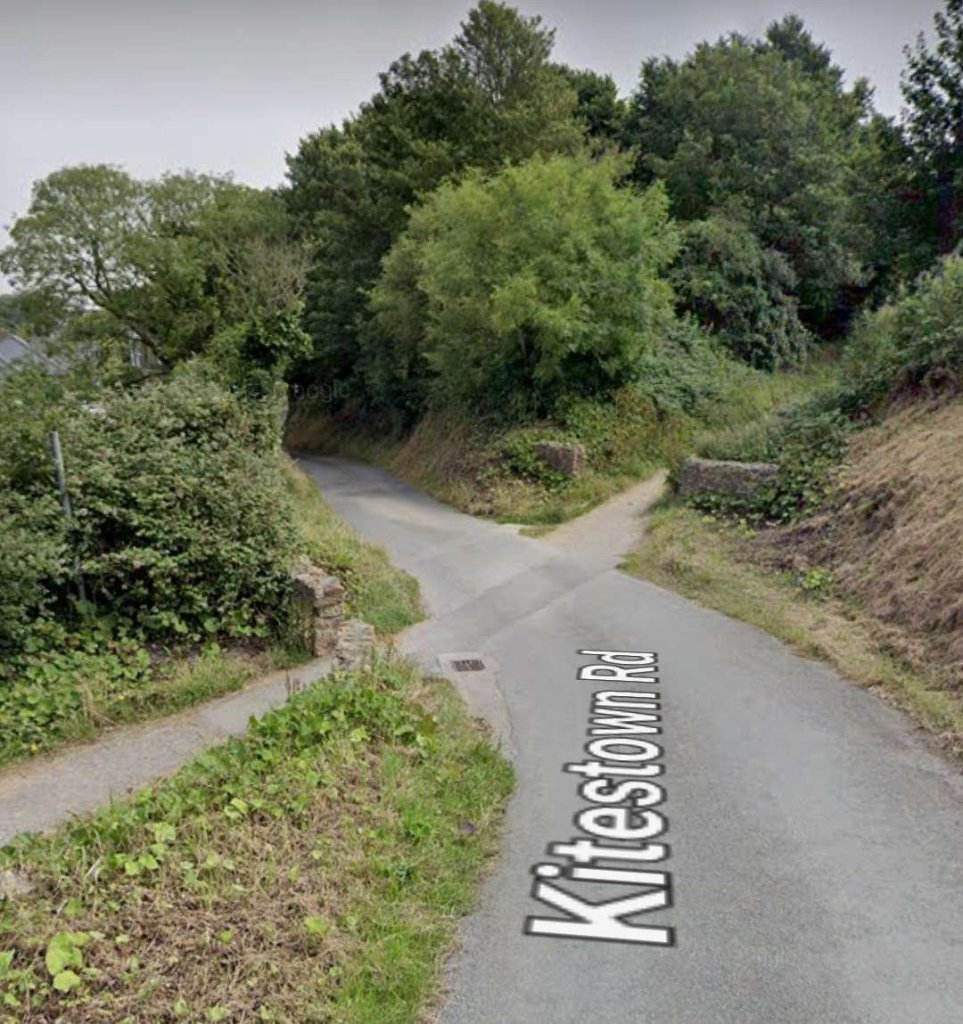
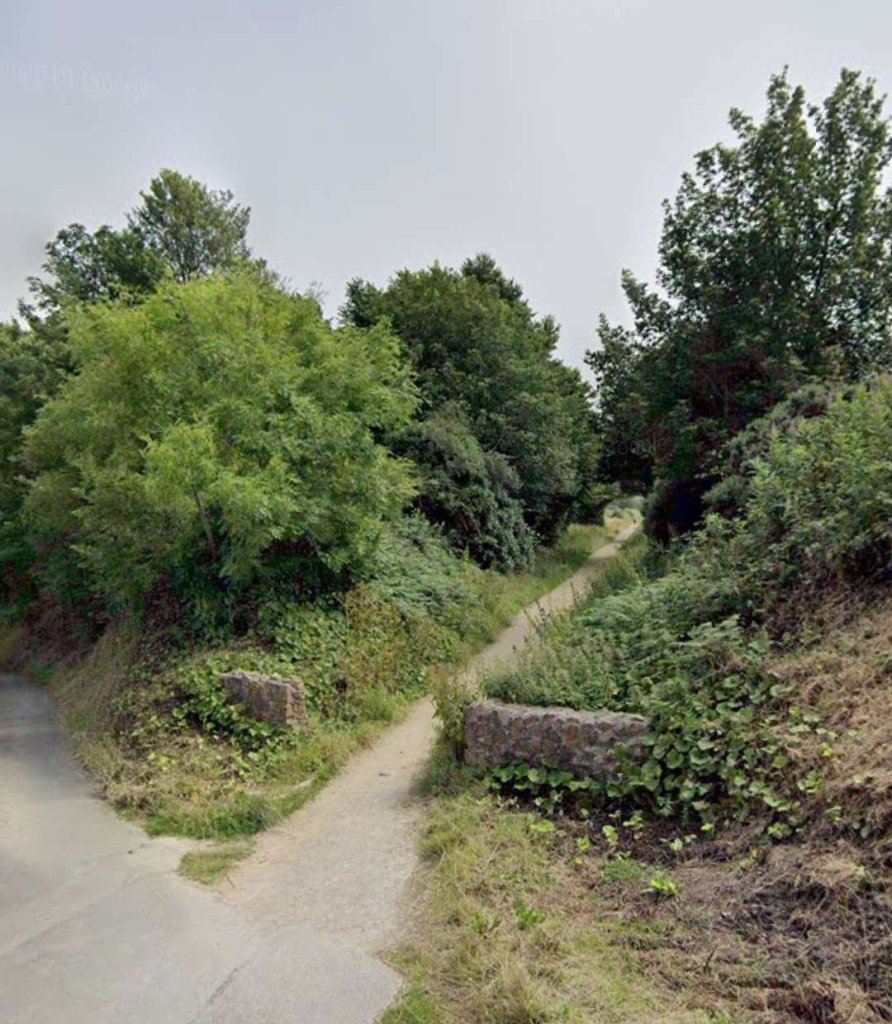
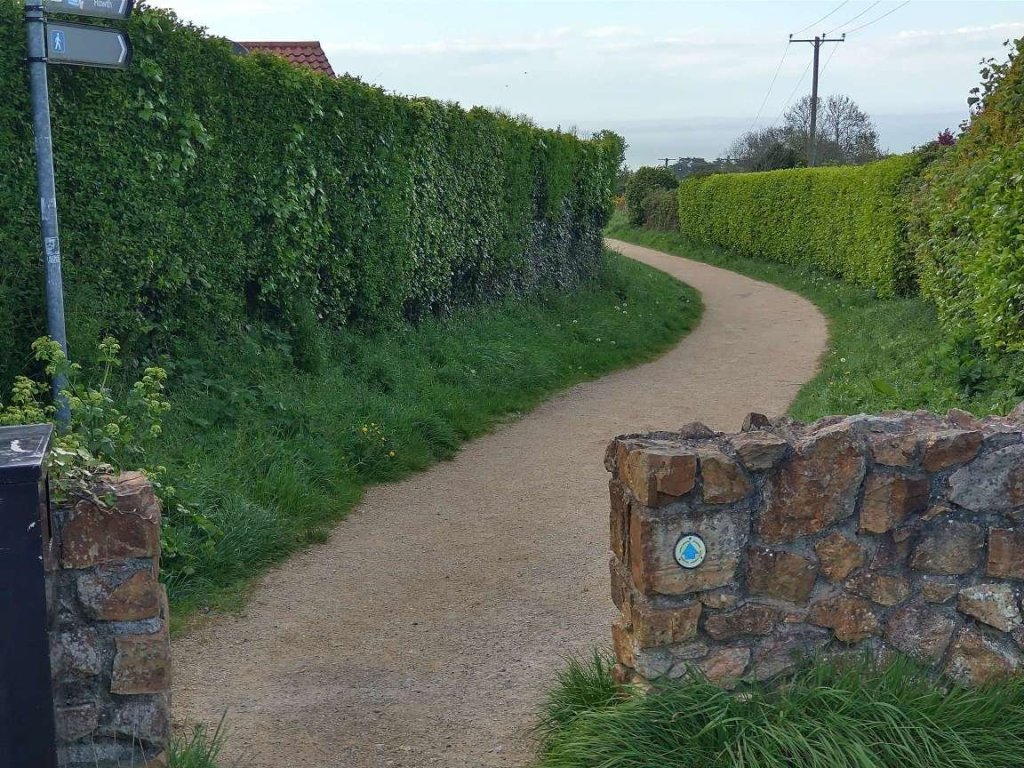
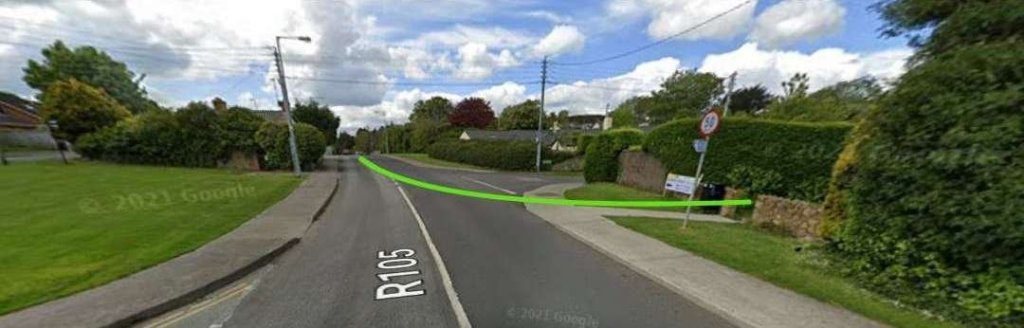
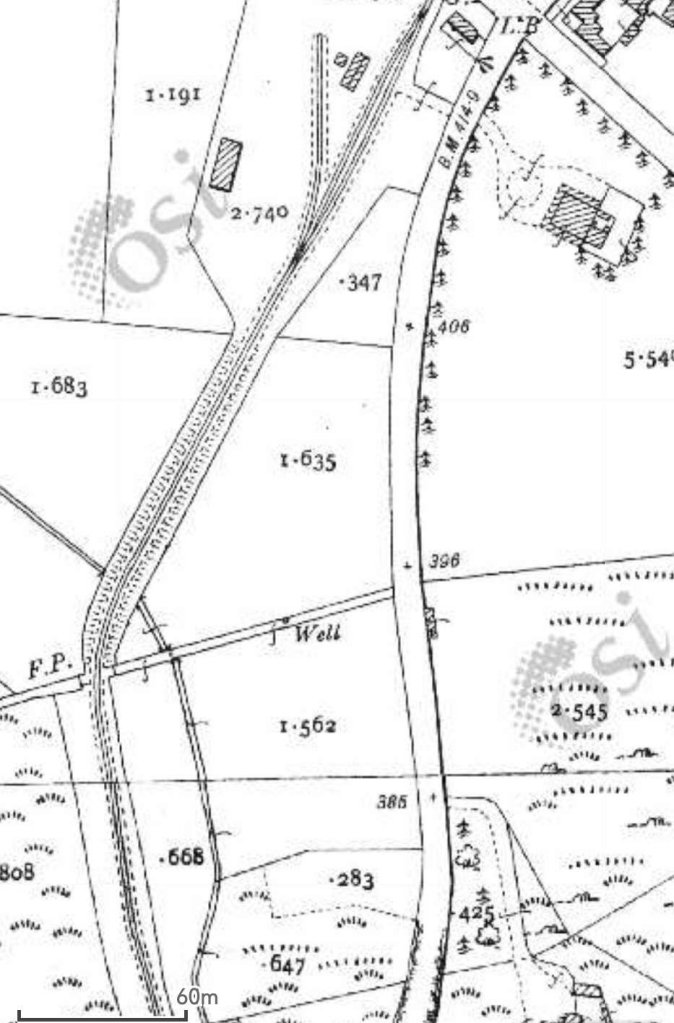
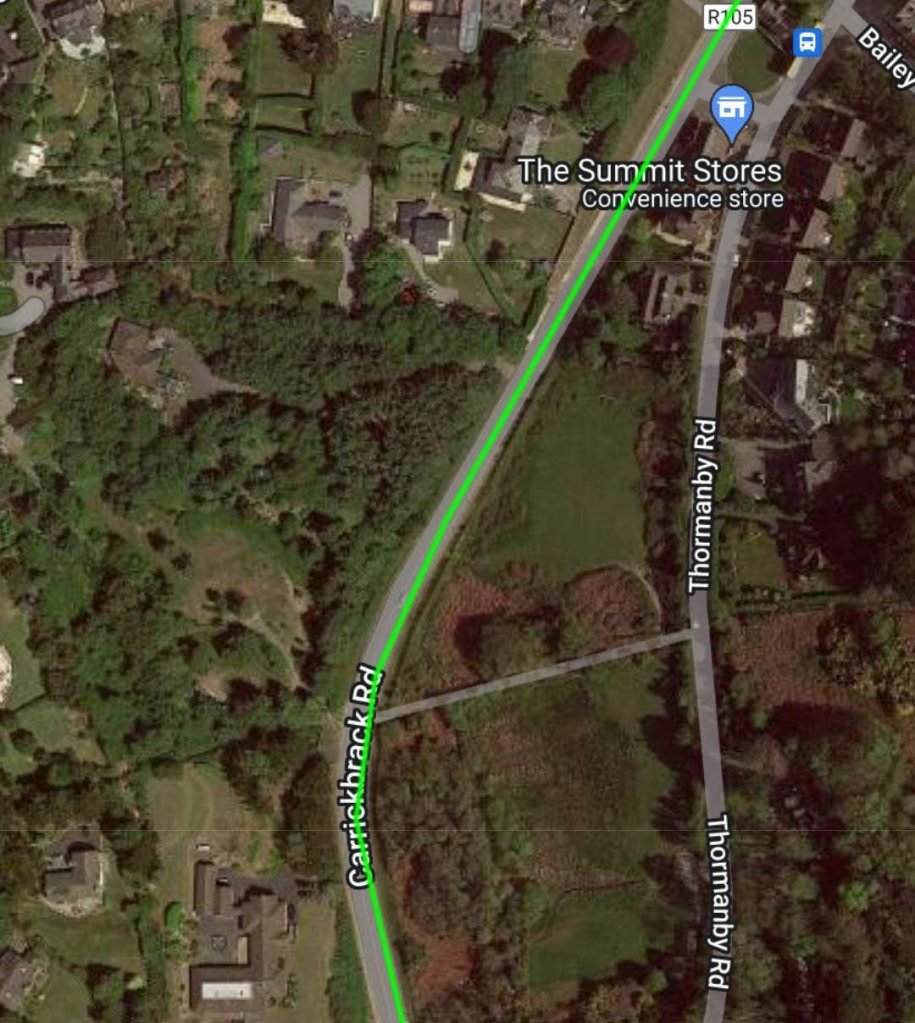
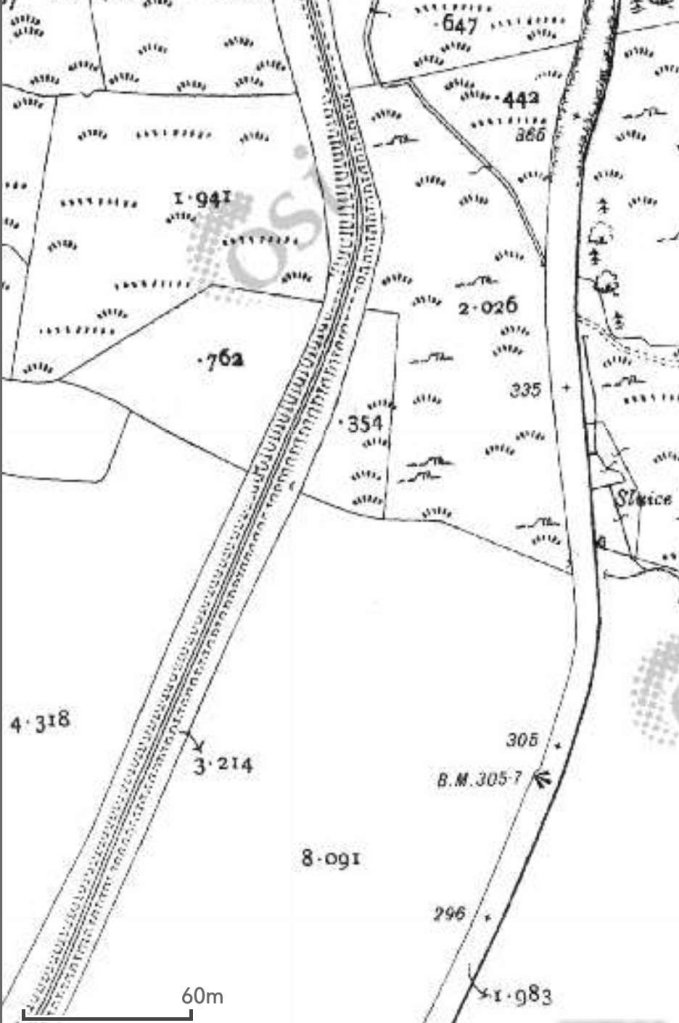
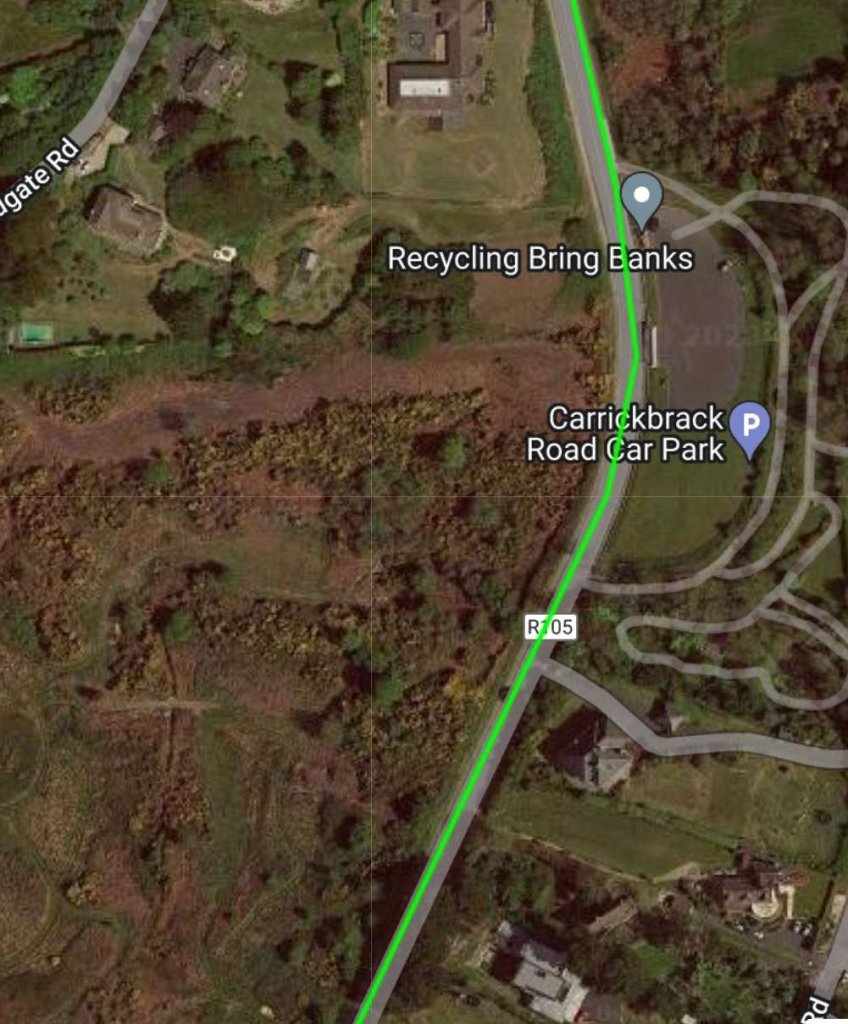
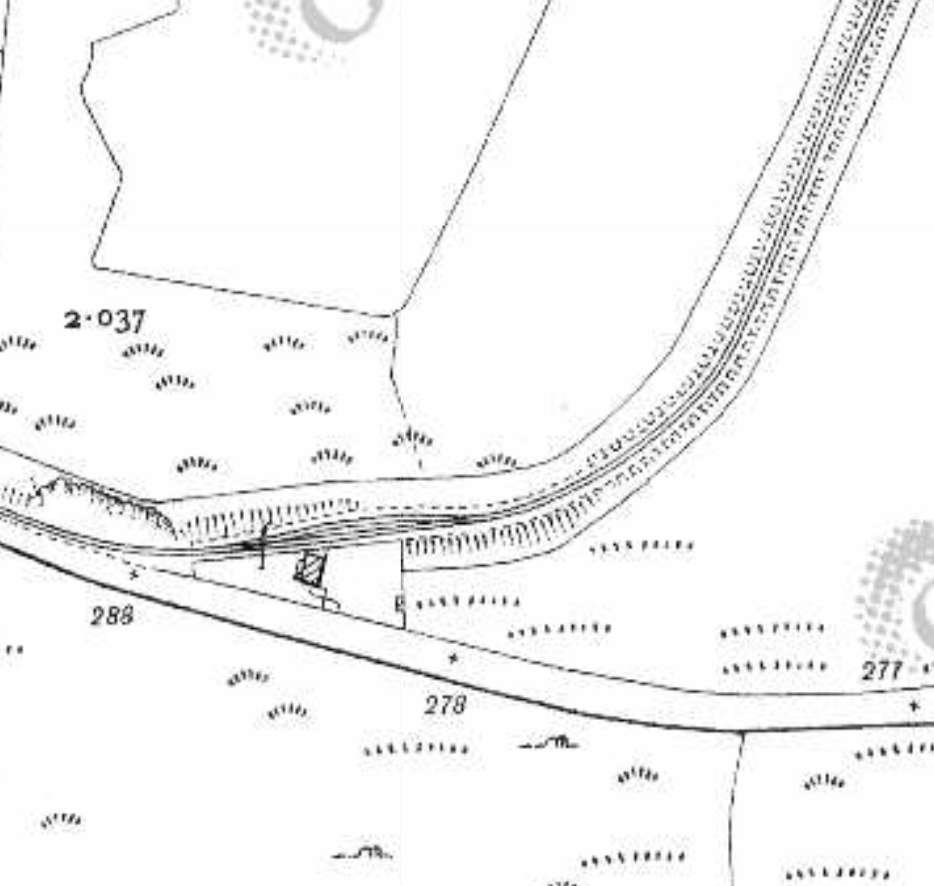
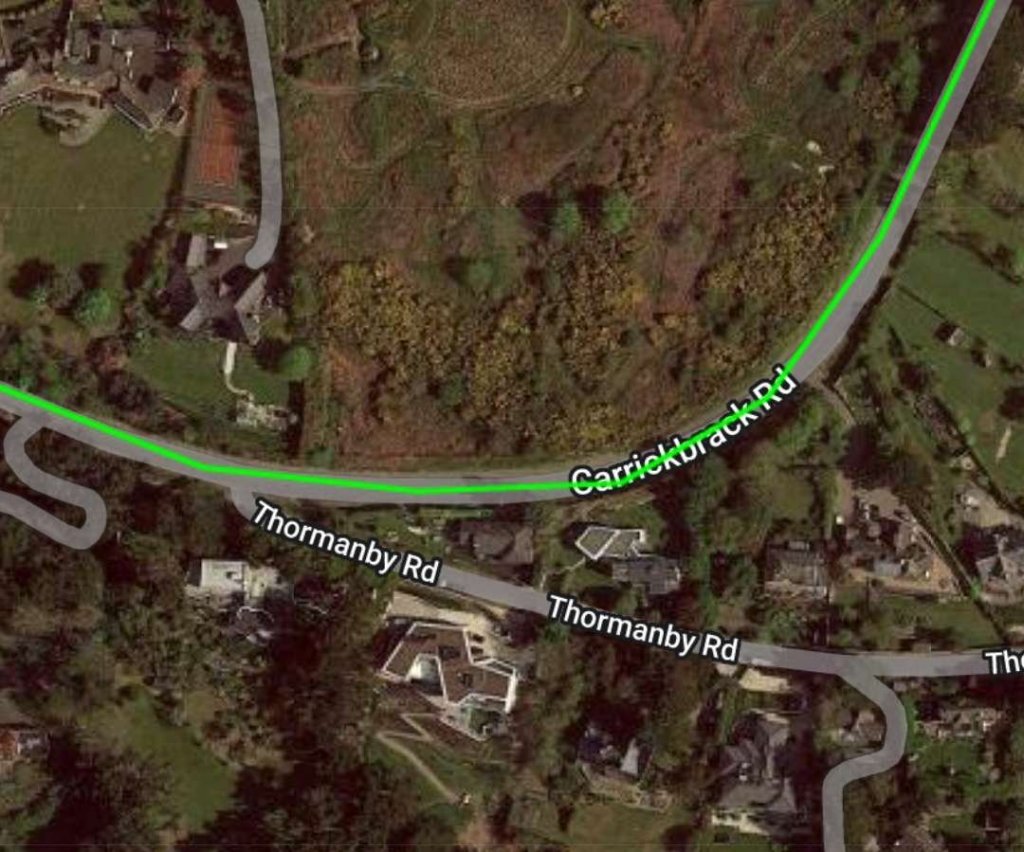
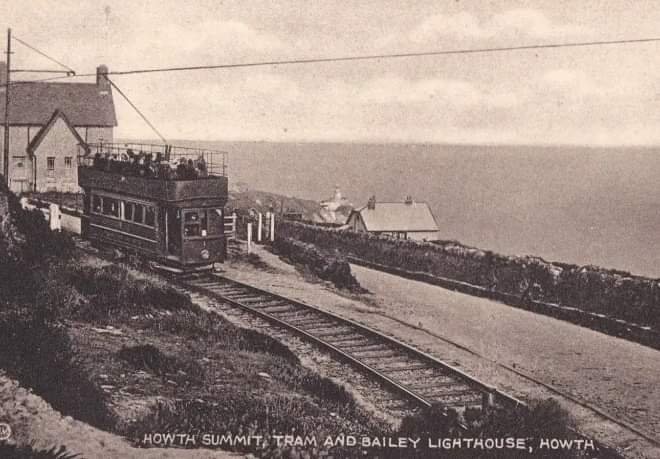
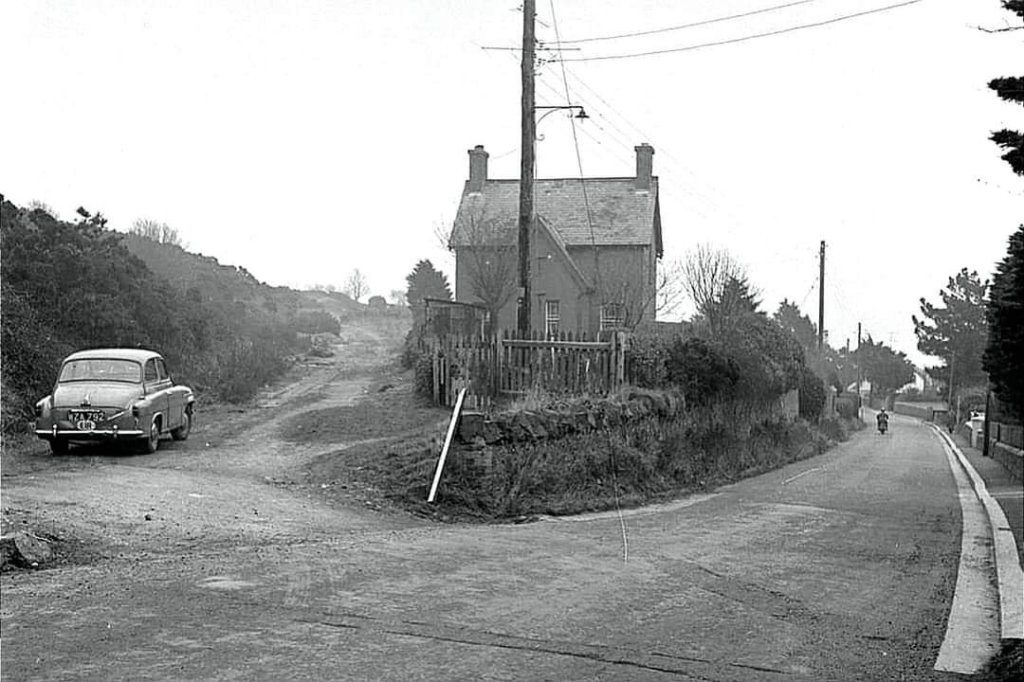
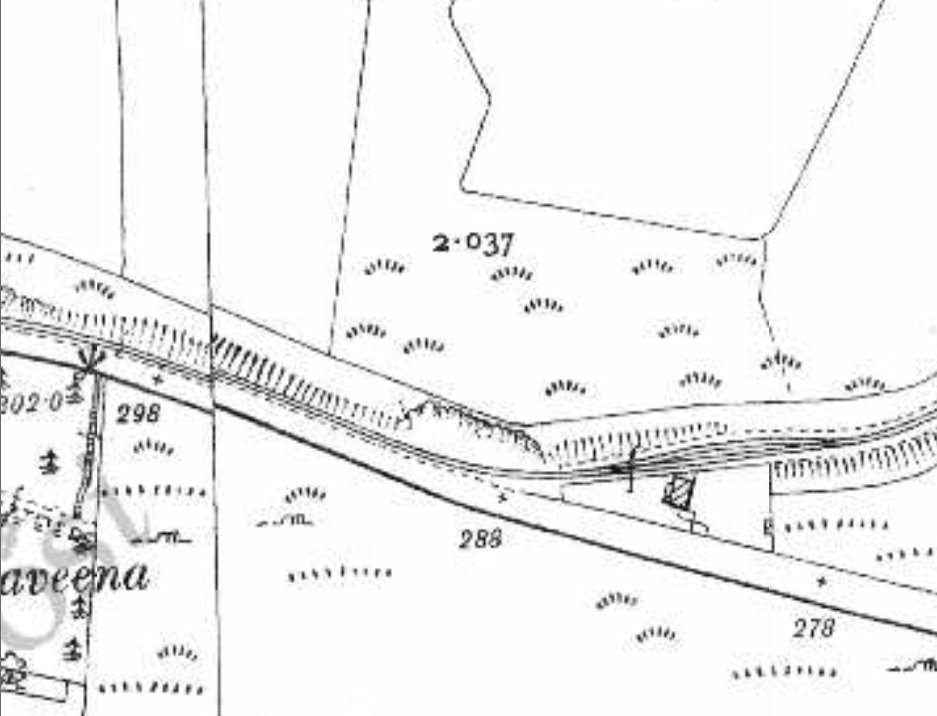
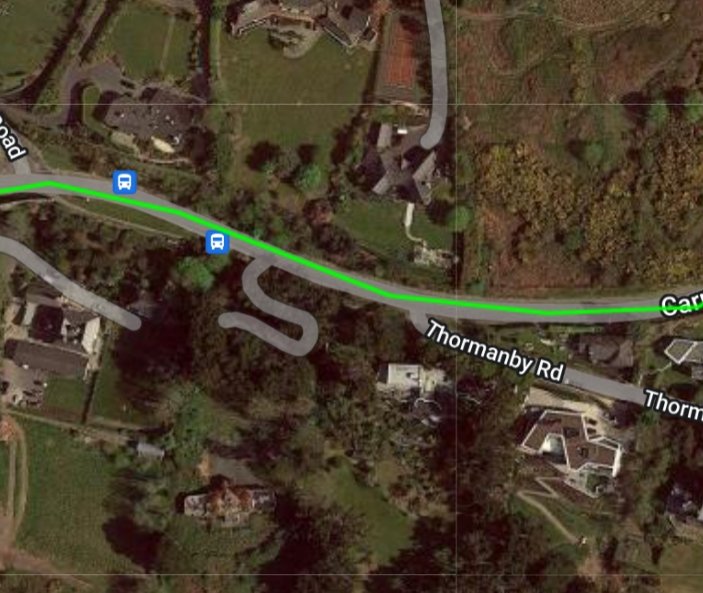
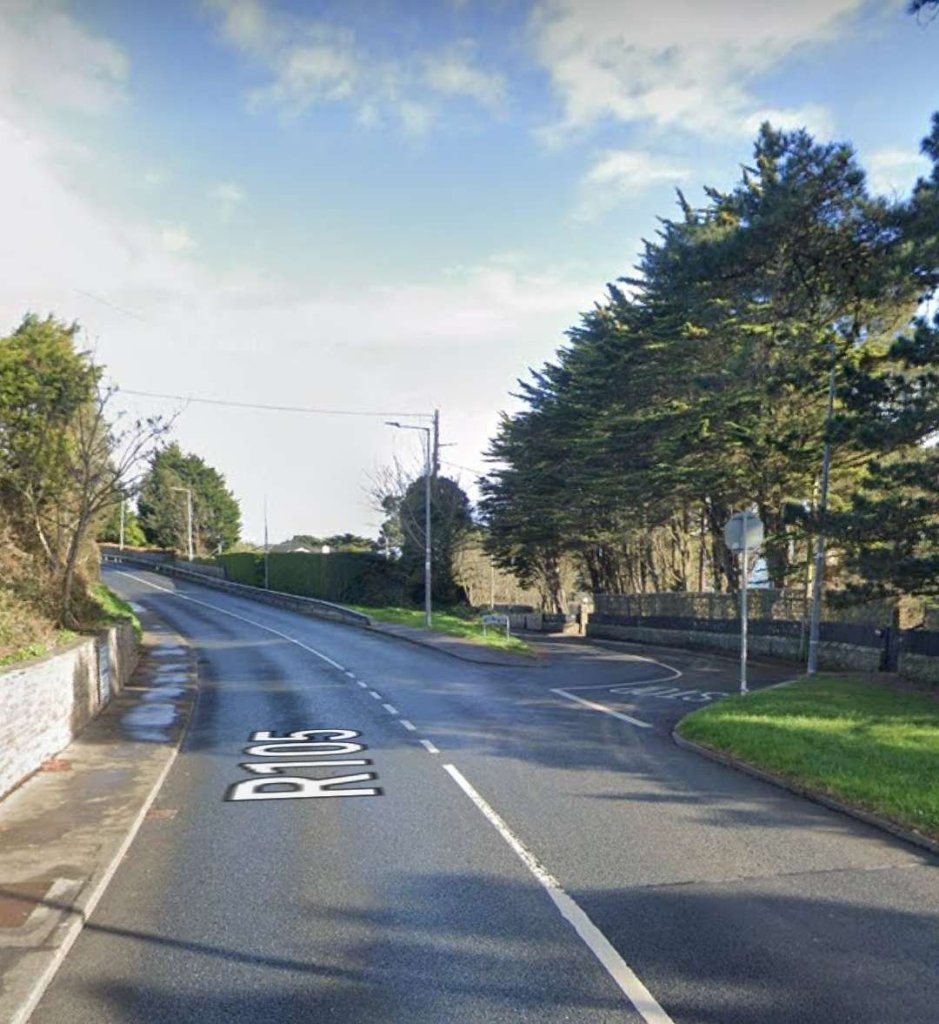
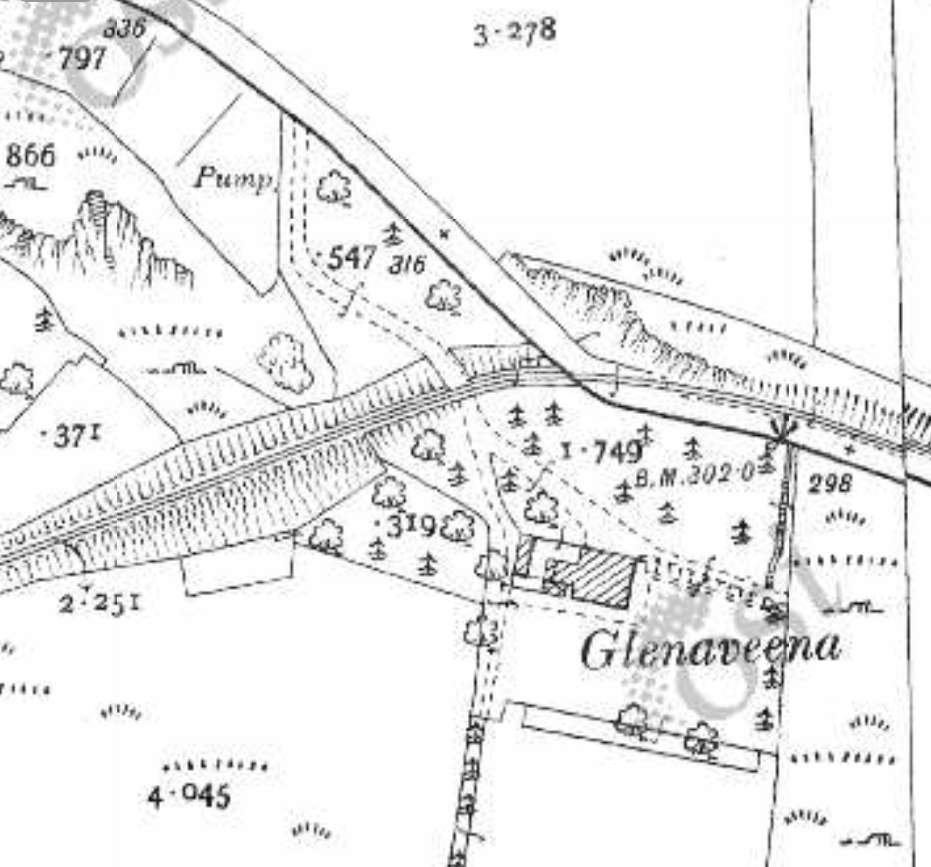
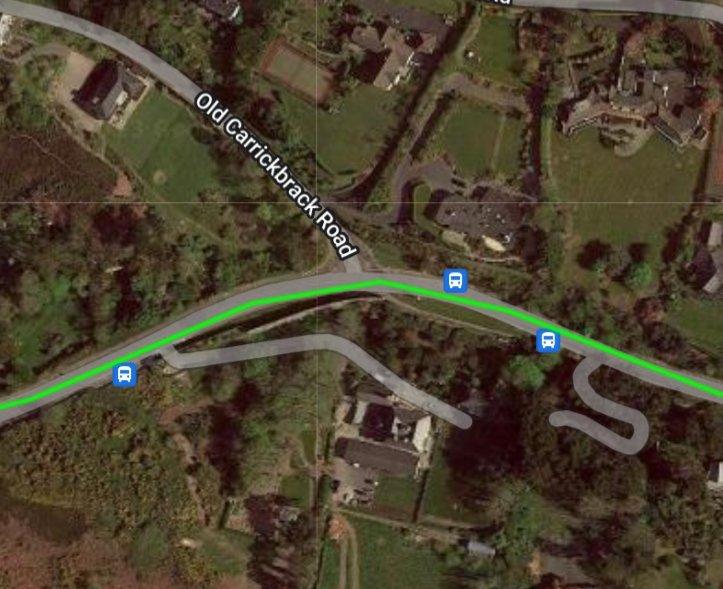
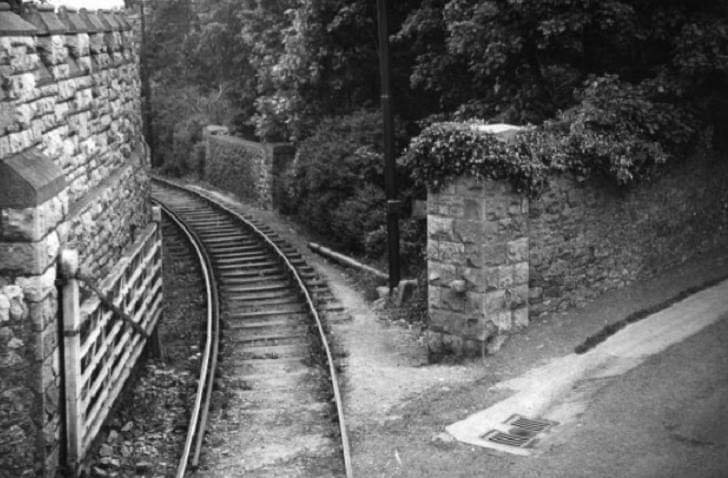
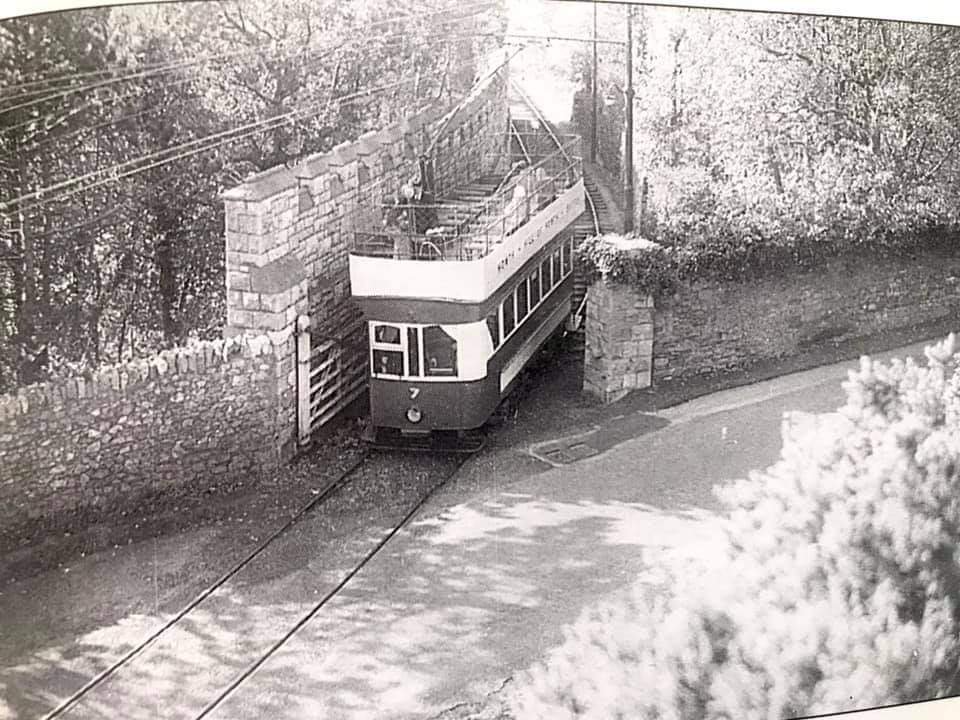
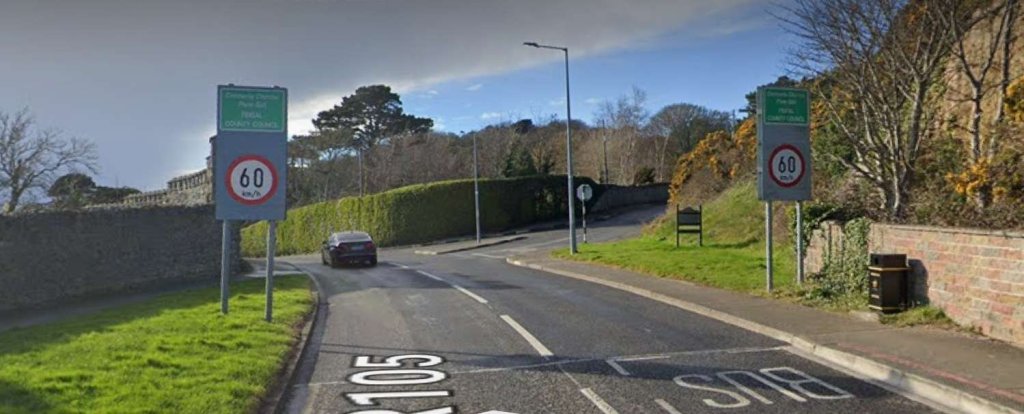
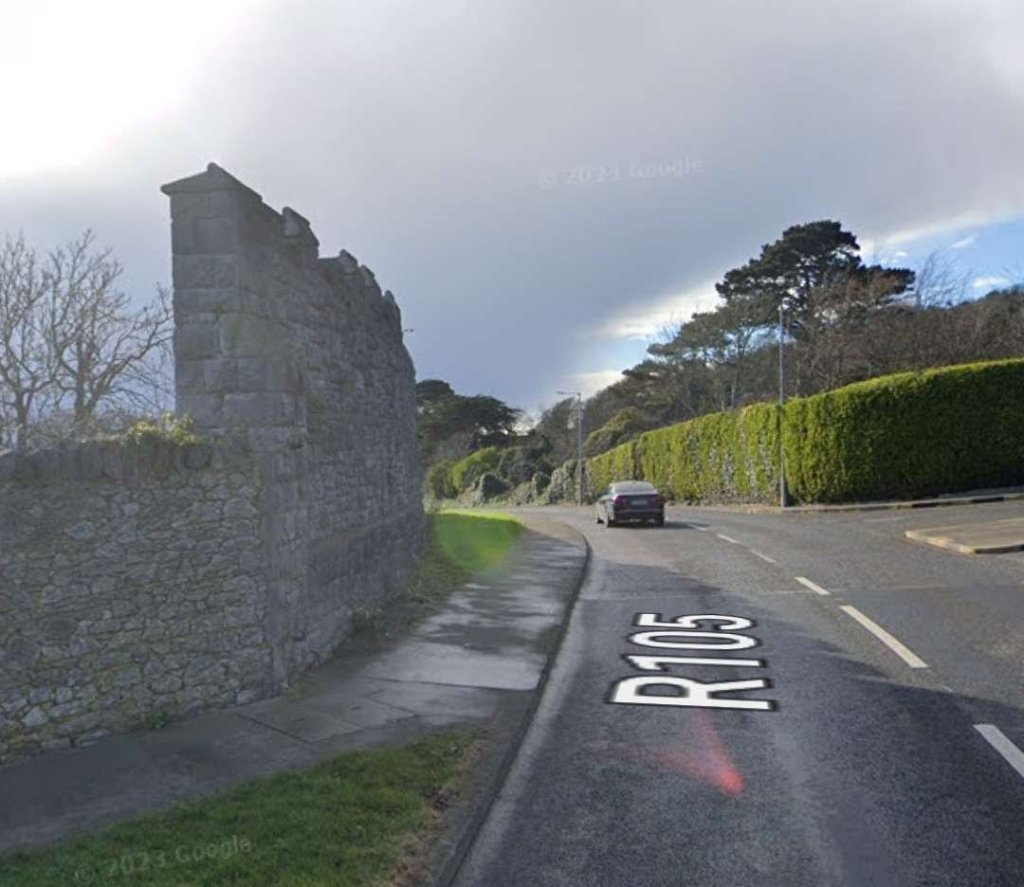
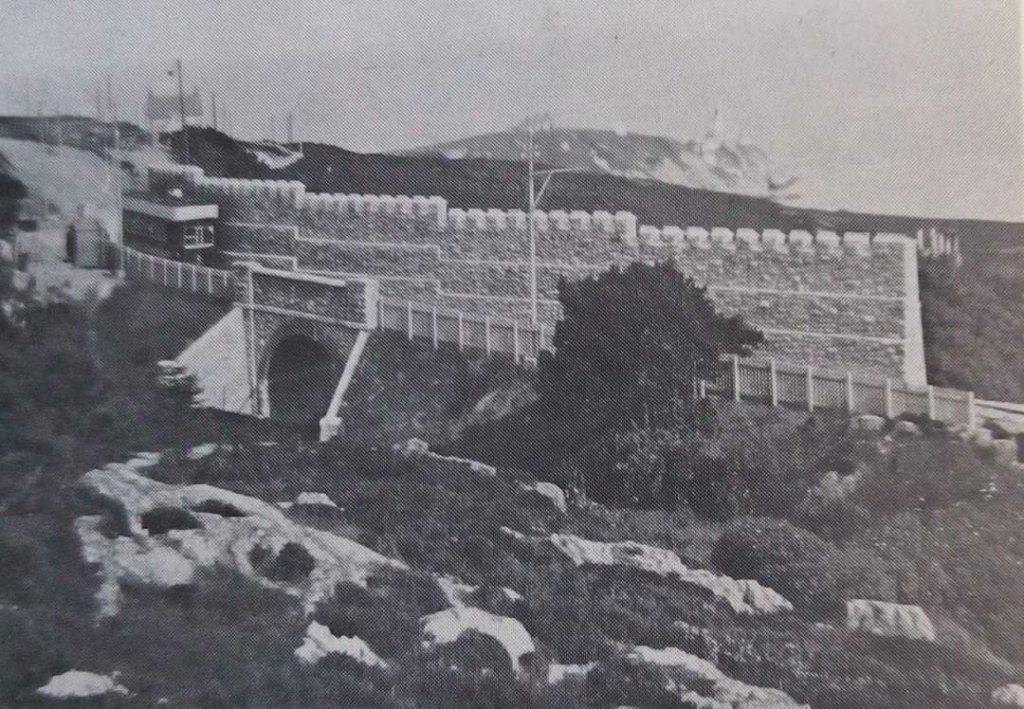
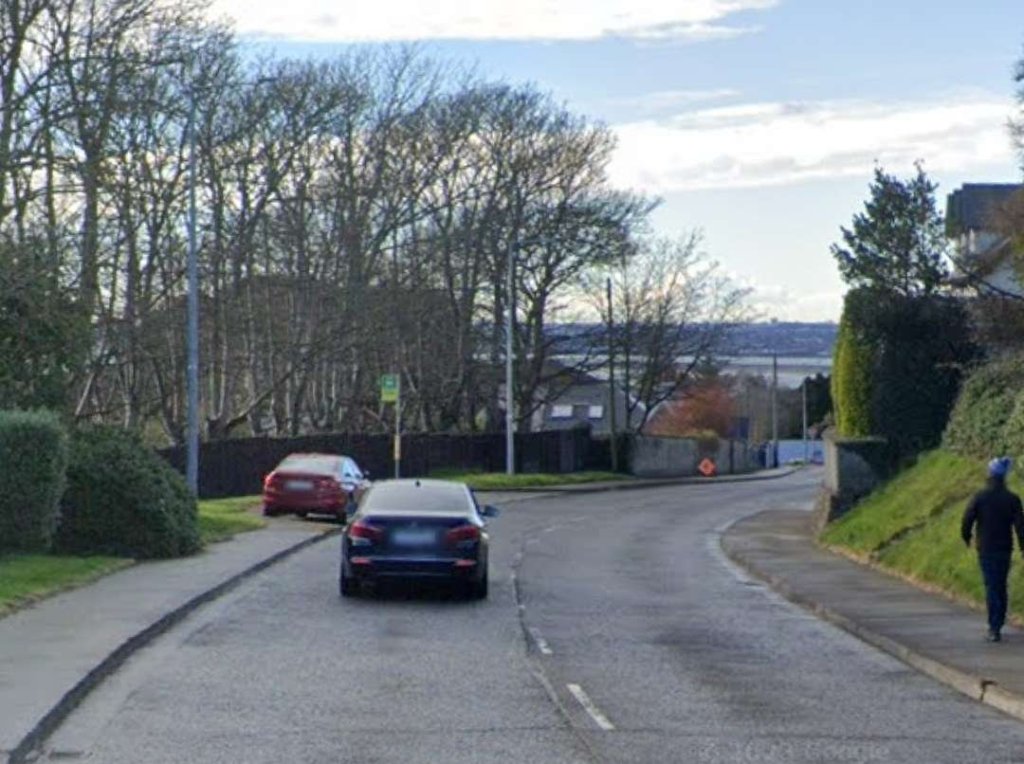
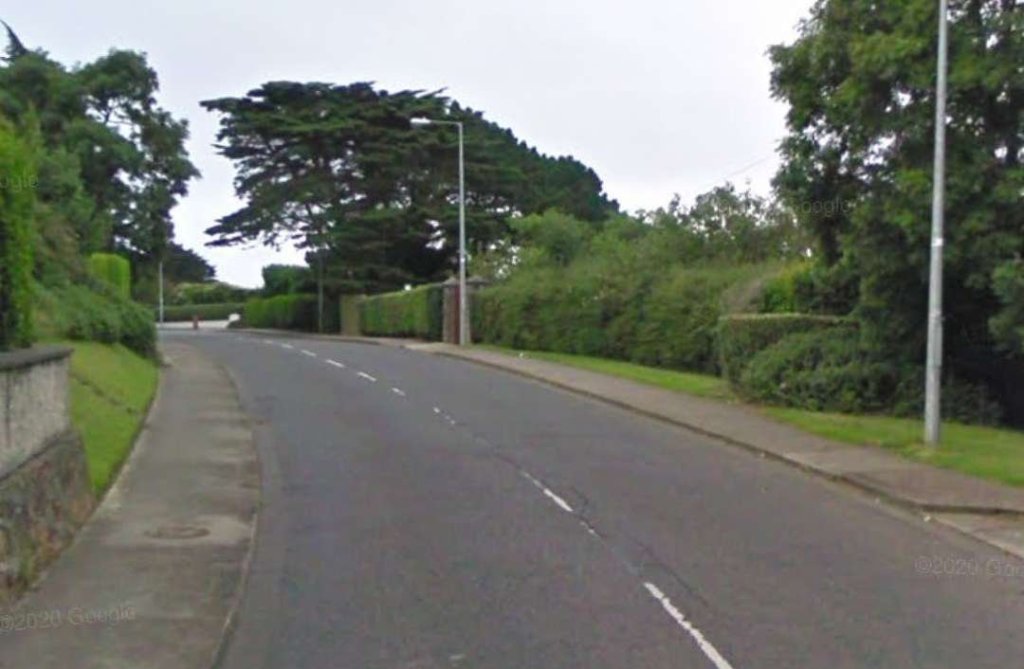
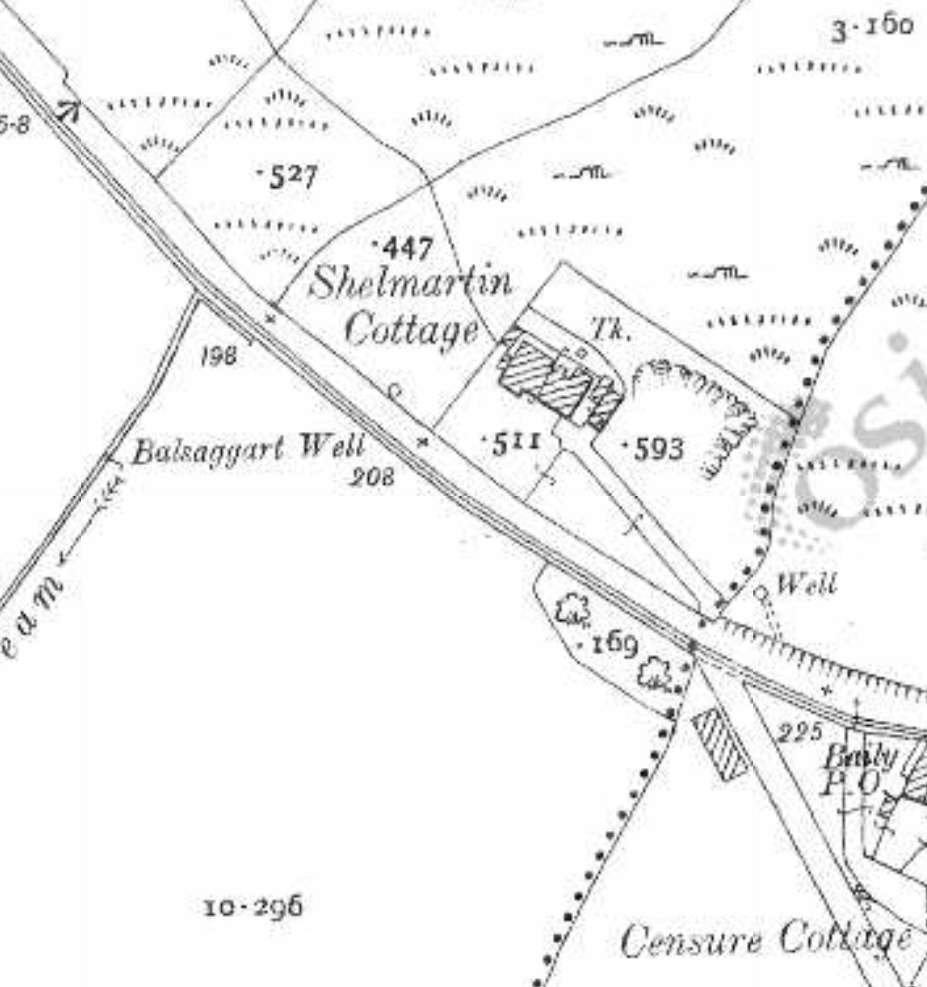
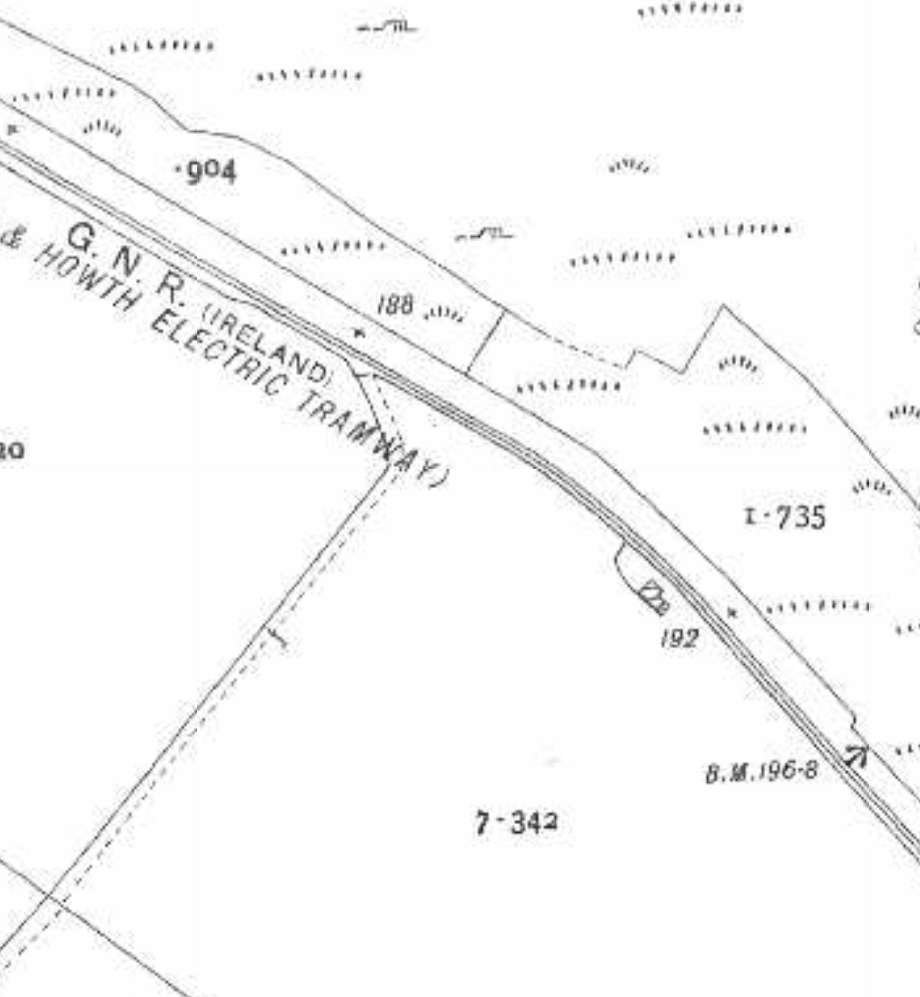
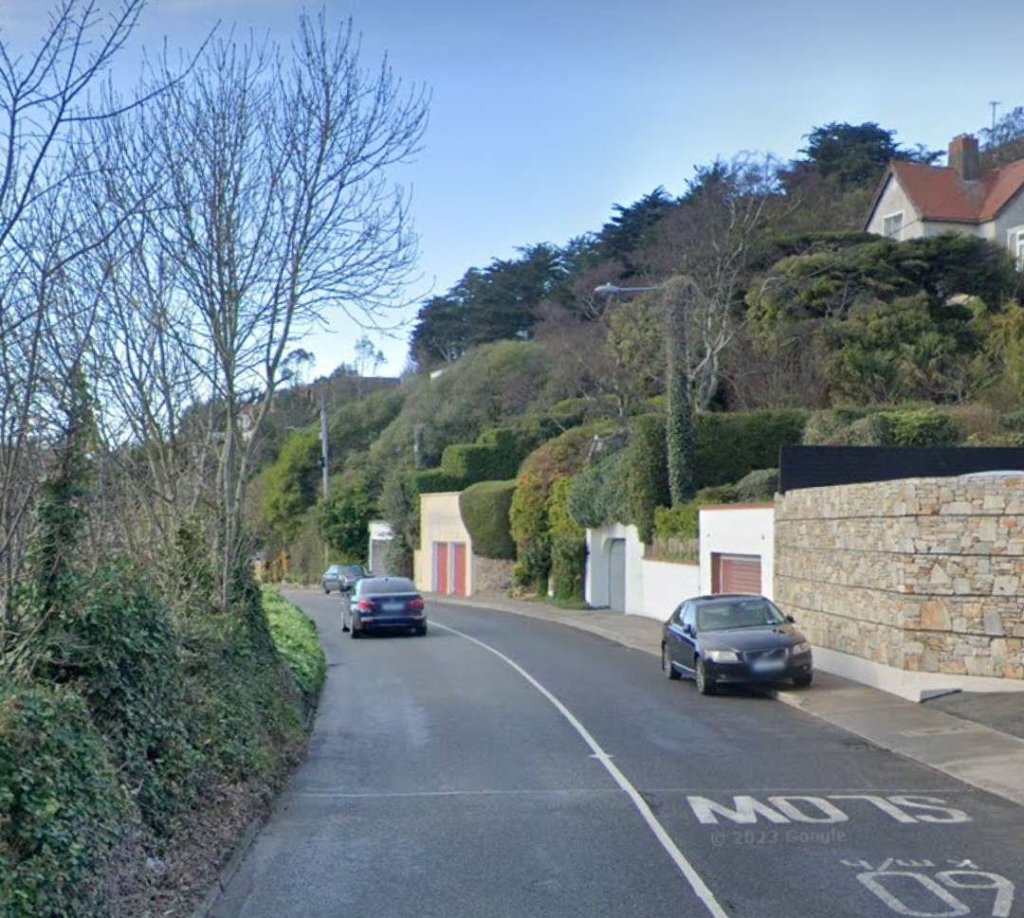
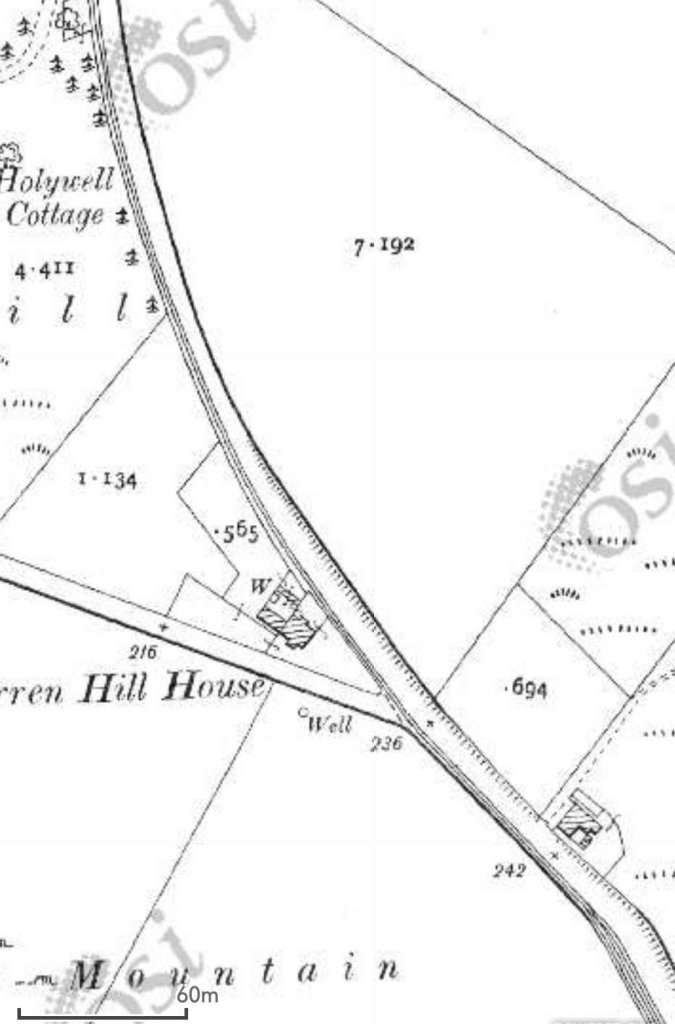
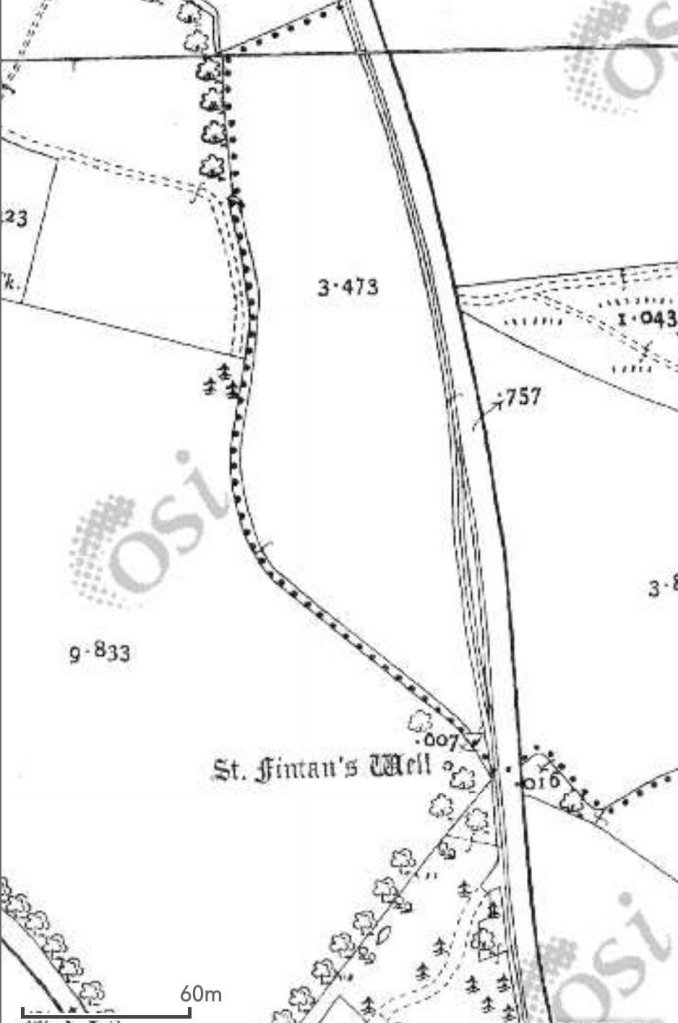
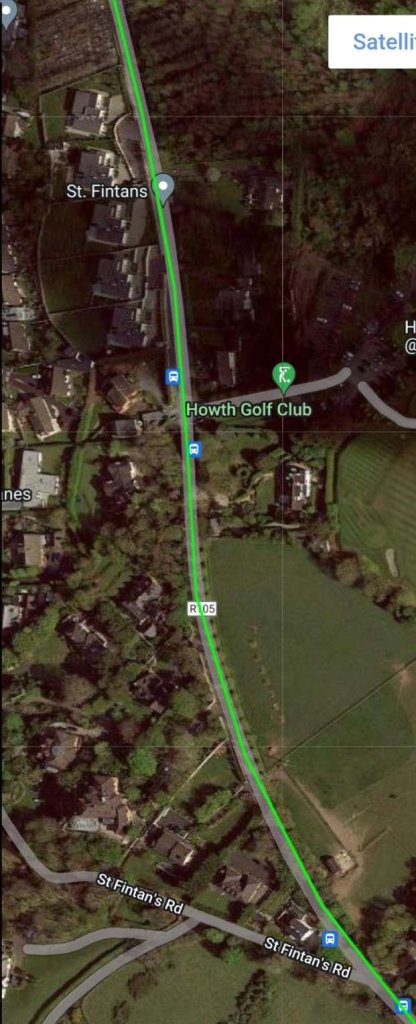
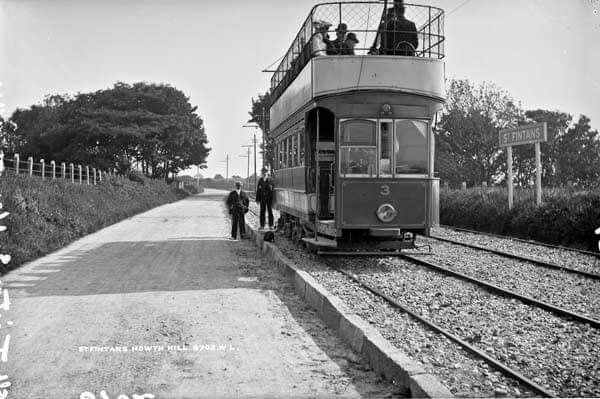
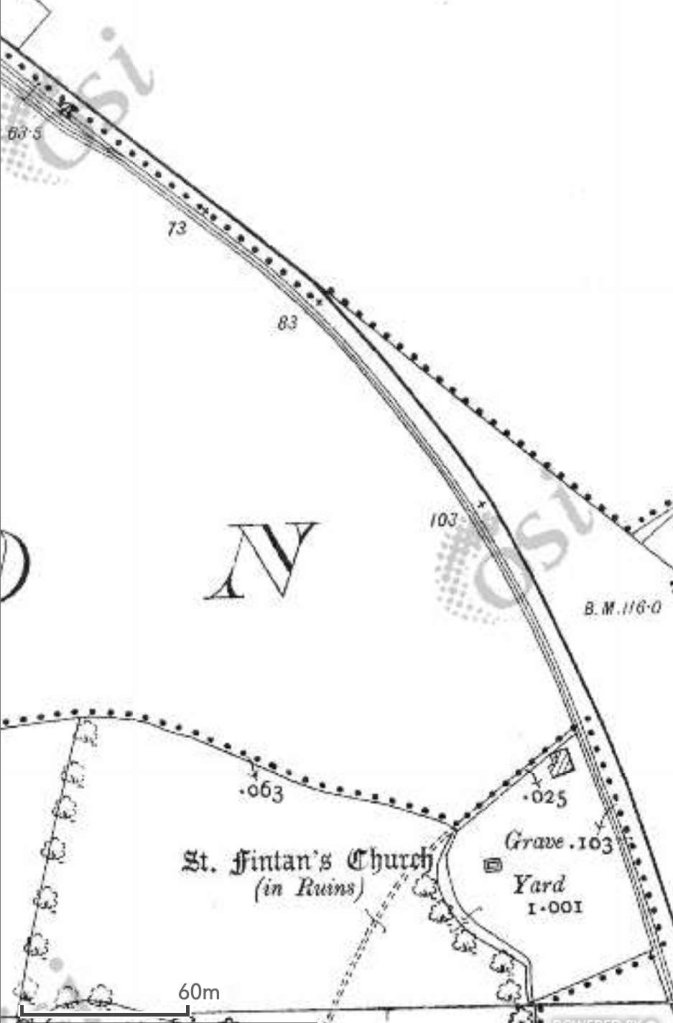
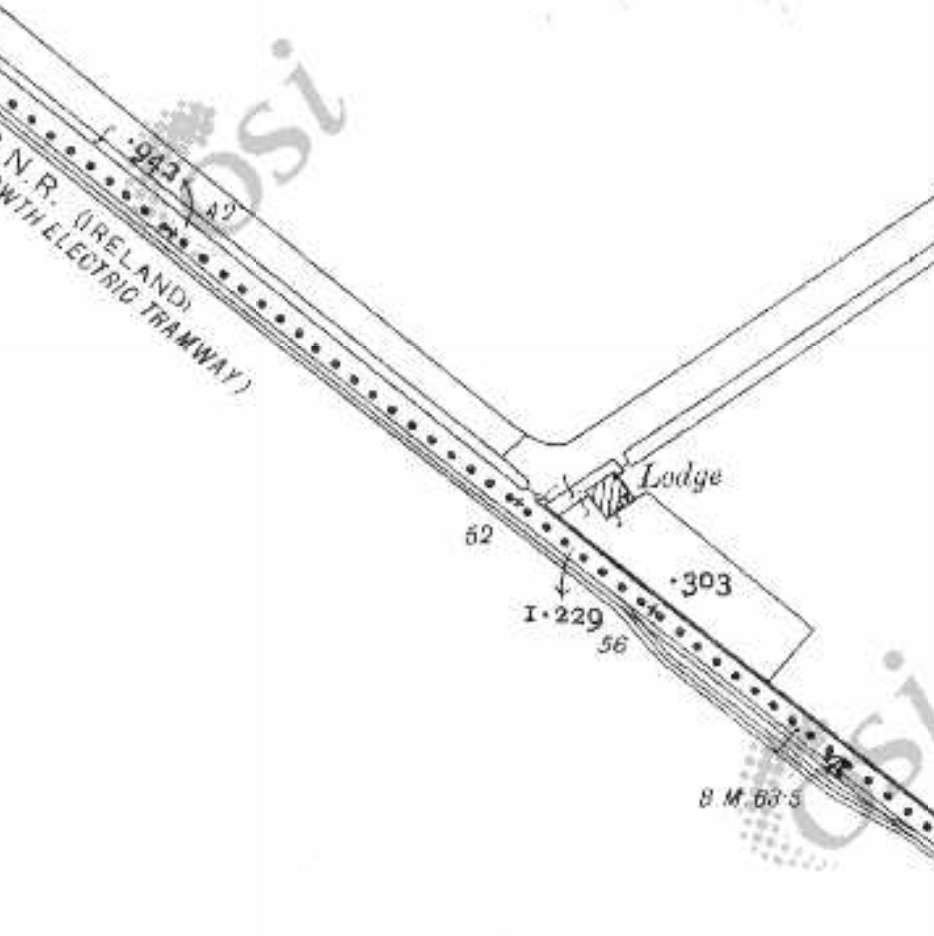
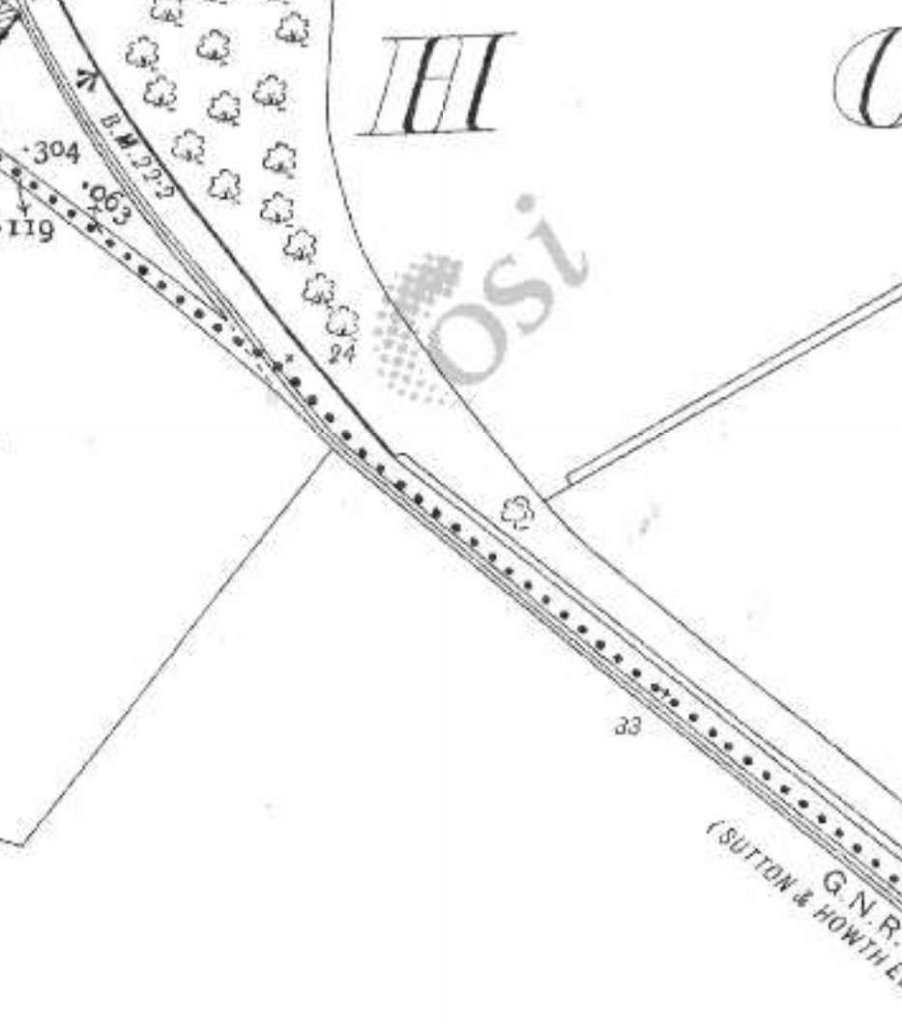
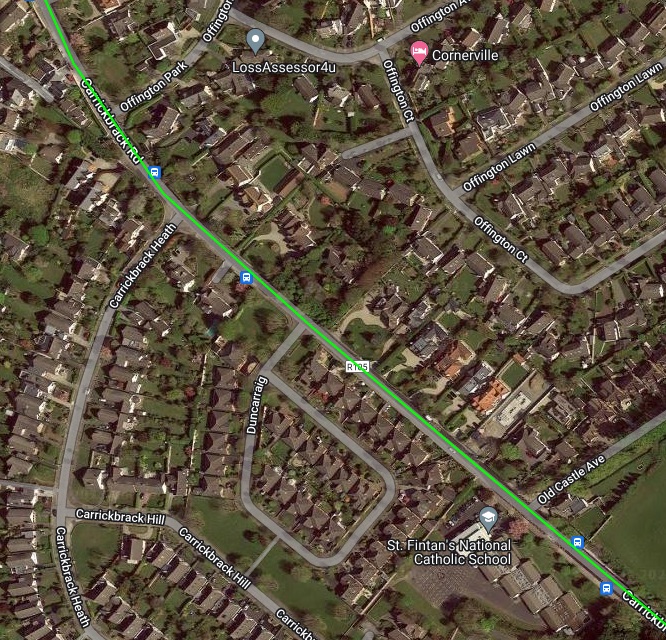
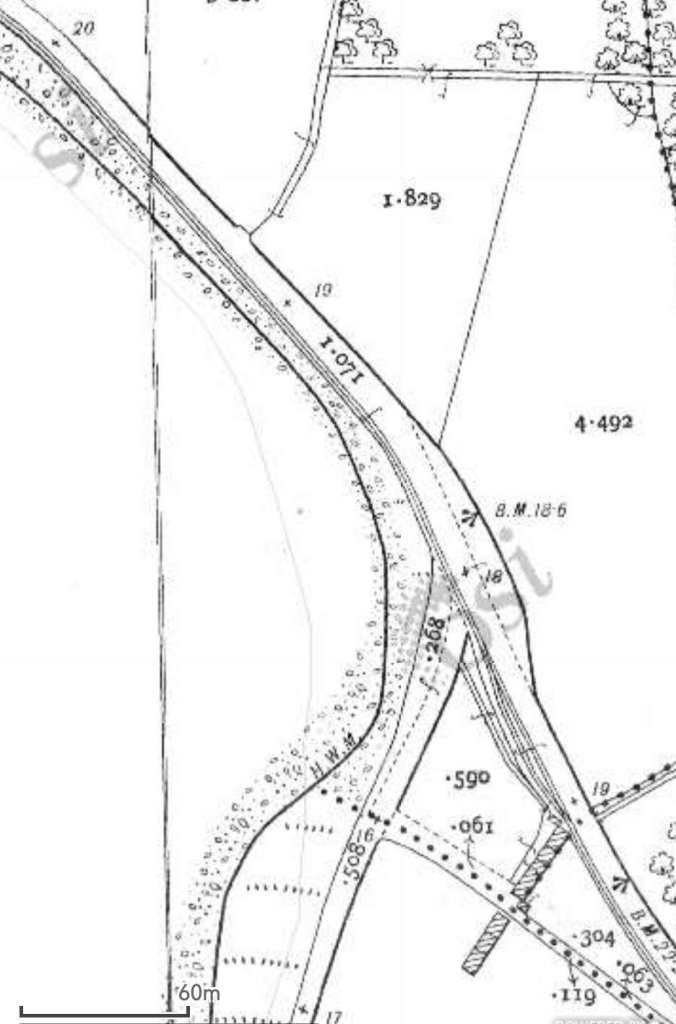
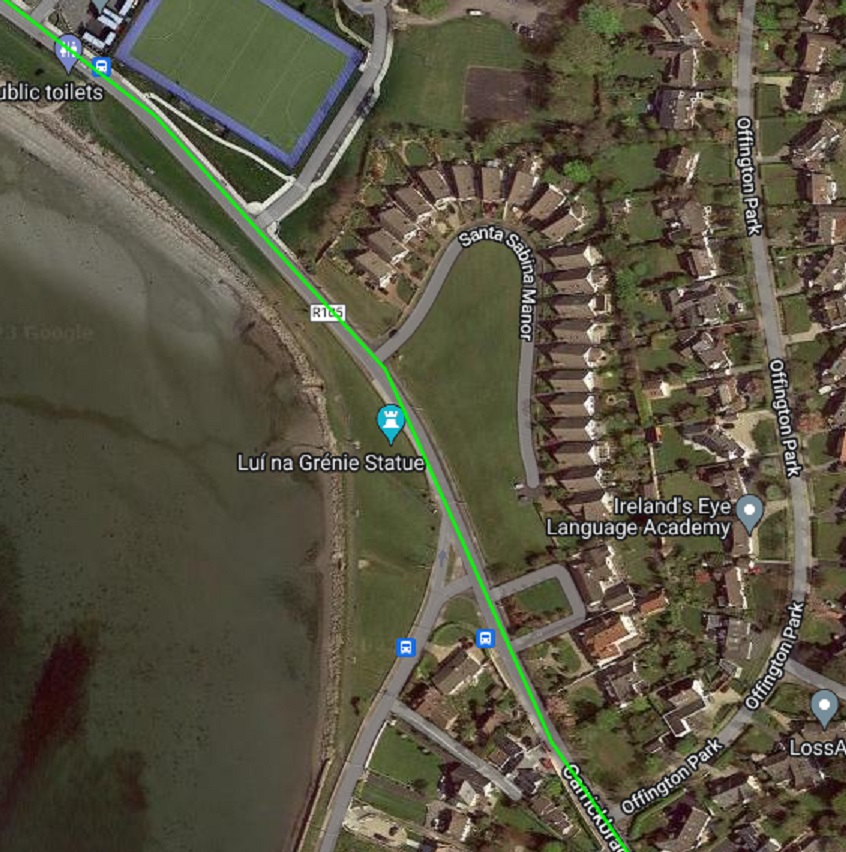
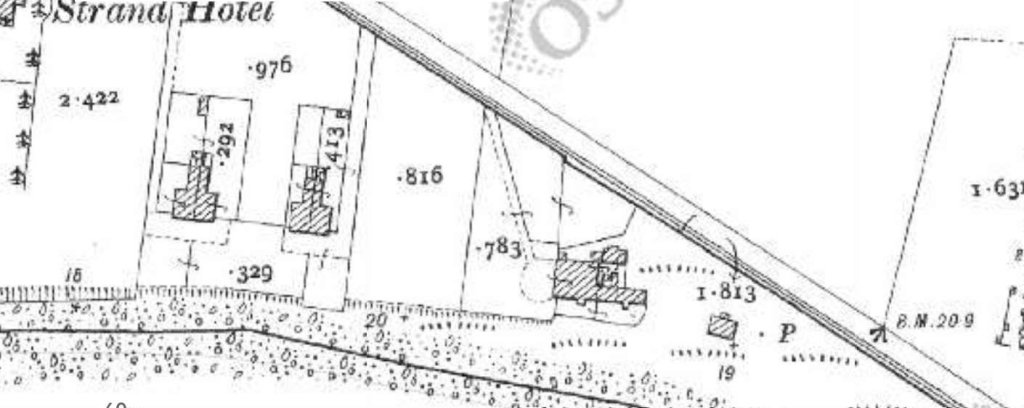
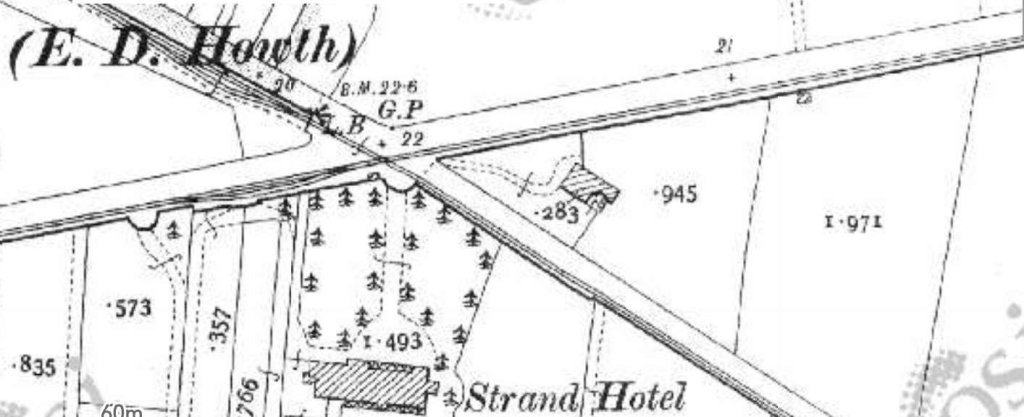
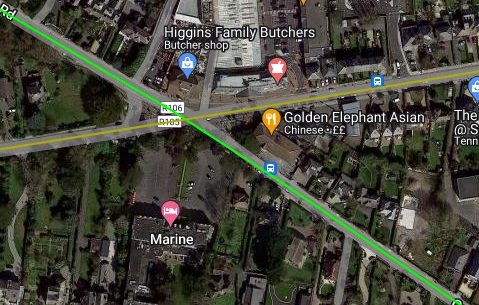
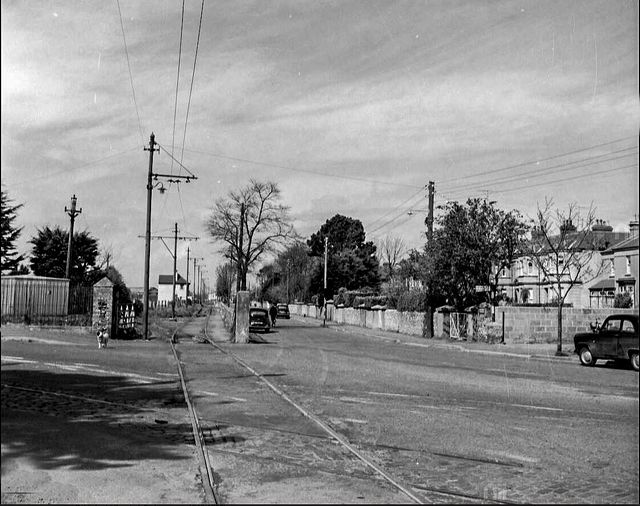
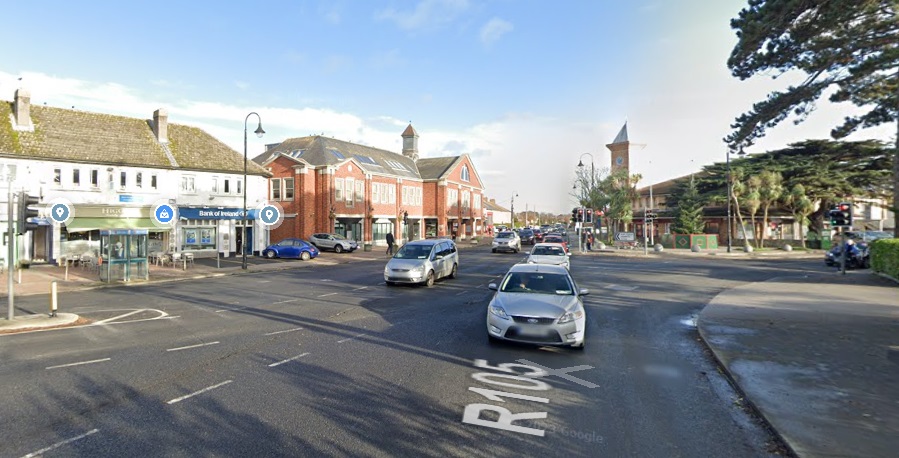
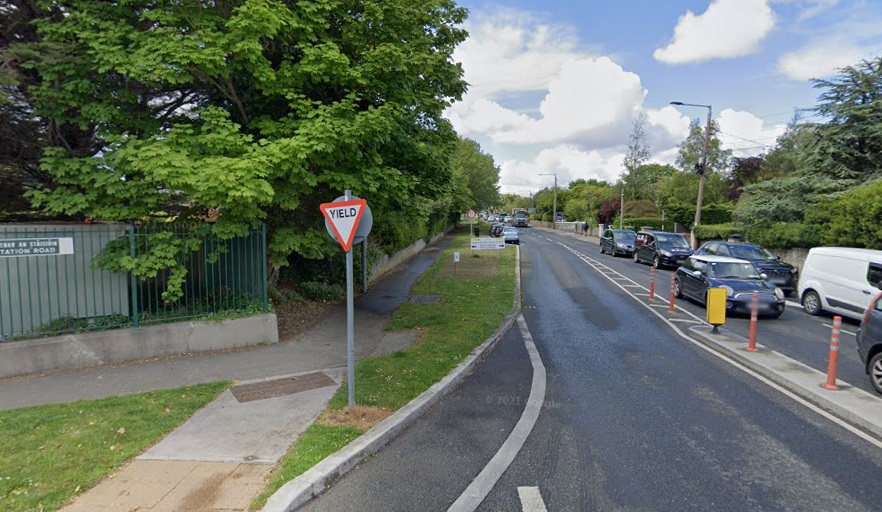
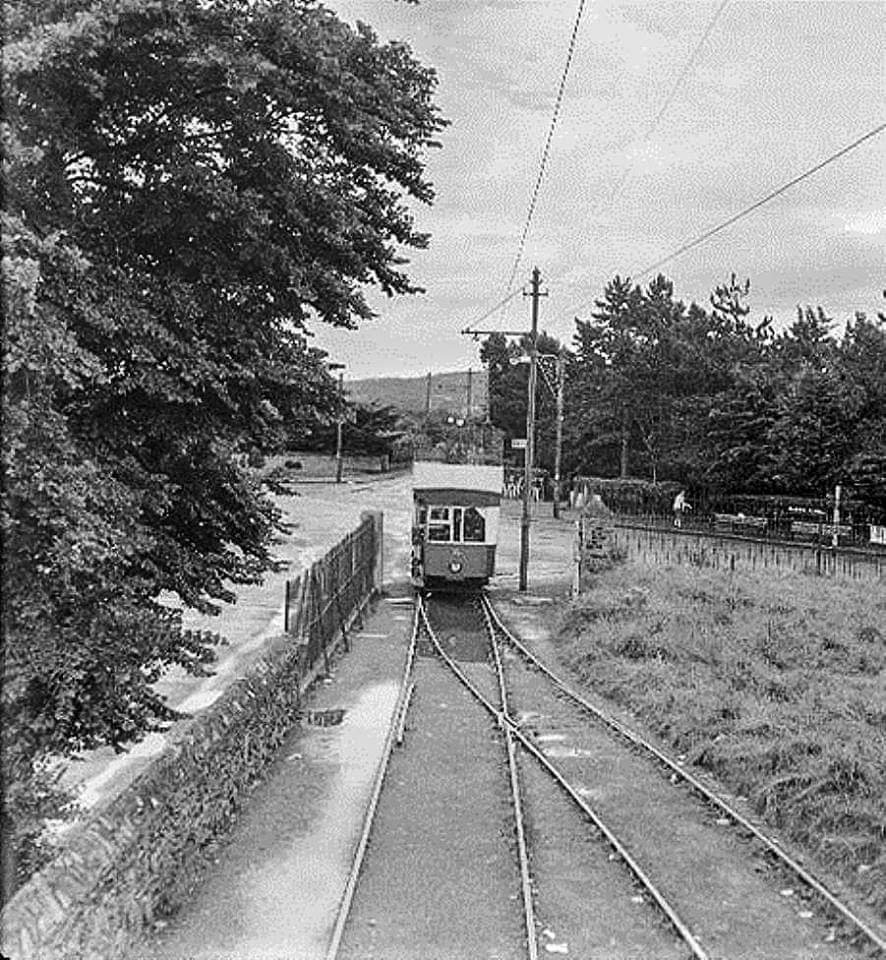
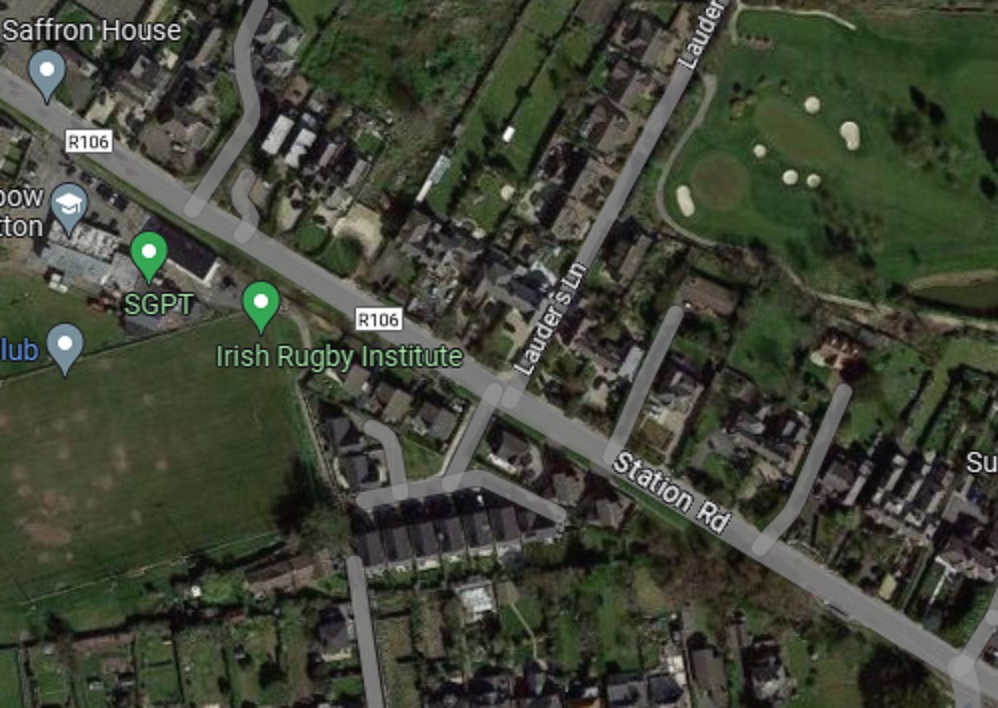
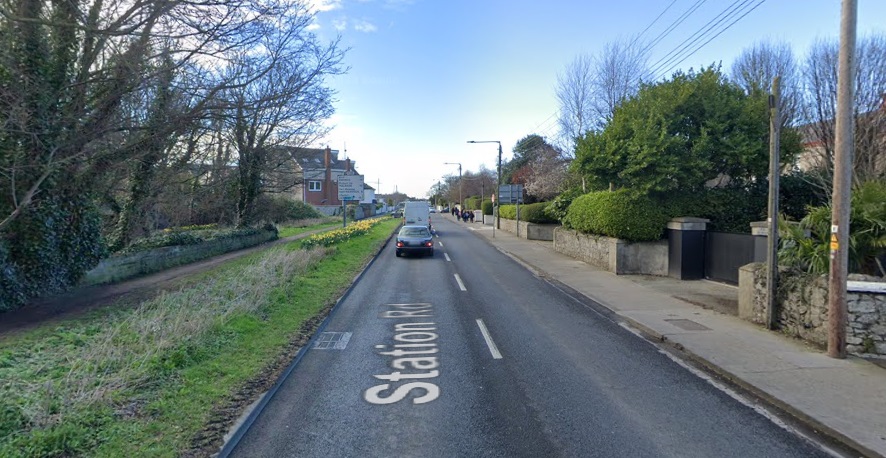
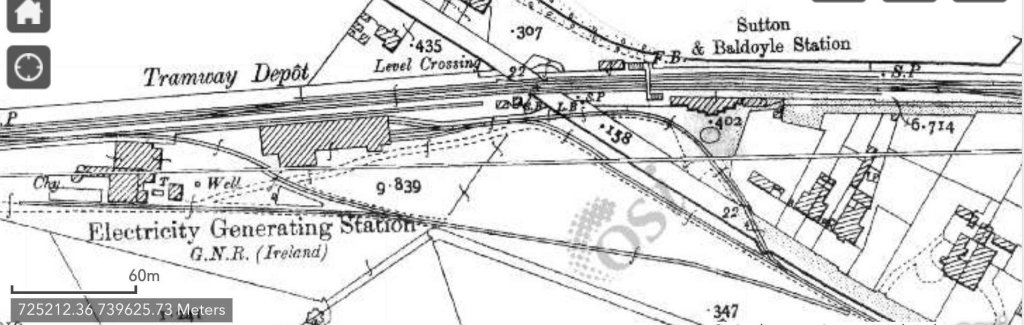
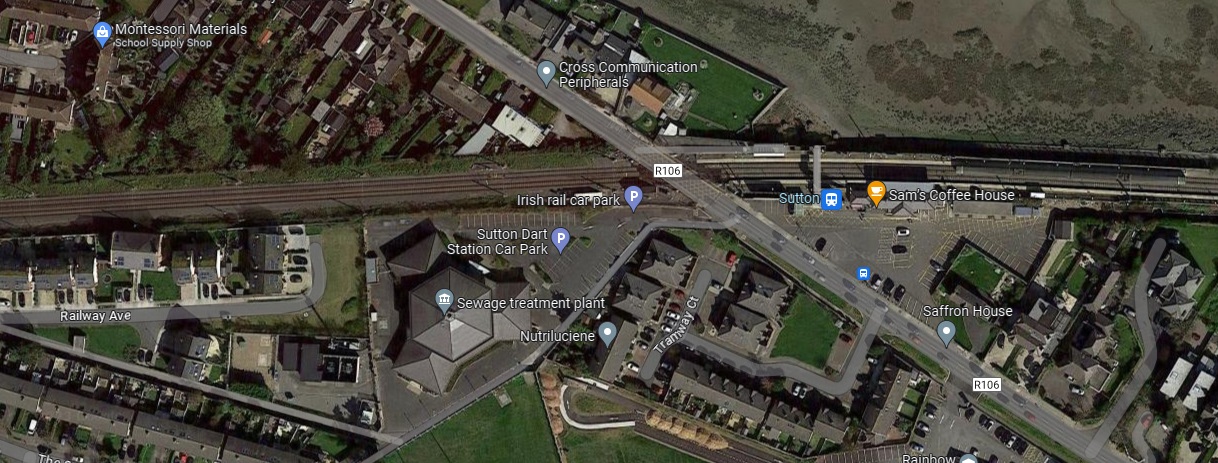
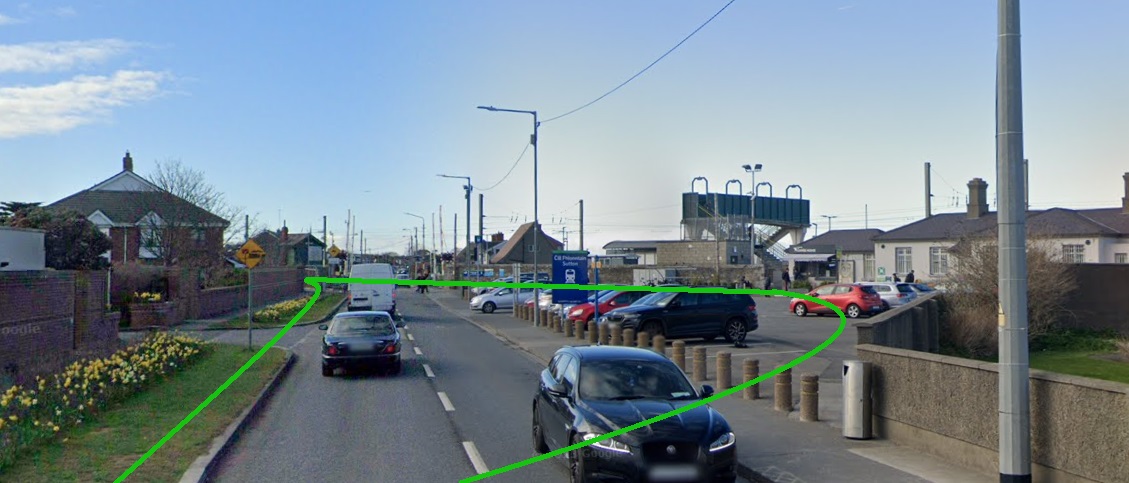
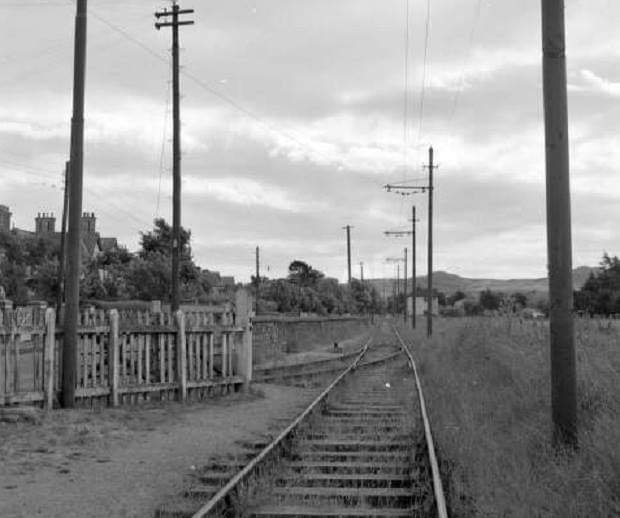
Trams left Summit Station in a Southerly direction. The road to the East of the line is Thormanby Road which was not suitable for the bus service which replaced the trams on the closure of the line. [10]The same area as that covered on the map extract above. This time as it appears on the satellite imagery on RailMapOnline.com. This length of Carrickbrack Road was constructed after the closure of the line. [4]This next extract from the 25″ OSi mapping shows the line continuing South. [10]The same area in 21st century. Carrickbrack Road continues to follow the route of the old tramway. [4]This next extract from the 25″ OSi mapping shows the next passing point on the line which was at the point the line met Thormanby Road. [10]The same area as it appears on RailMapOnline.com’s satellite imagery. [4]The confluence of the old tramway and Thormanby Road. The passing point on the OSi mapping is just off the image to the left. The picture was shared on the Old Howth Photos Facebook Group by Lorenzo Caira on 4th October 2015. [56]Tram No. 3 at the same location. The passing loop is just visible beyond the tram. The building on the right appears on the postcard image above. This image was shared on the Old Howth Photos Facebook Group on 9th October 2019 by Padraig Druimeanach. [55]The same location again, after the lifting of the tramway tracks and before the construction of Carrickbrack Road. This image was shared on the Old Howth Photos Facebook Group on 25th February 2020. [53]The Tramroad continues in a westerly direction towards the Stella Maris Convent, as shown on the 25″ OSi mapping. [10]The same area on RailMapOnline.com. [4]The same location in the 21st century, Carrickbrack Road (R105) eventually replaced the old tramway. [Google Streetview, March 2023]Stella Maris Convent (Glenavena) owned land on both sides of the old tramway. The tramway was carried over the driveway on a stone arch bridge with retaining walls extending upwards on each side. [10]Approximately the same area as portrayed in the map extract above. [4]The tramway leaving Thormanby Road/Carrickbrack Road and crossing the stone arch bridge over the driveway.Tram No. 7 travelling to the Summit from Sutton is about to cross Thormanby Road/Old Carrickbrack Road. This image was shared by John Maguire on the Old Howth Photos Facebook Group on 22nd January 2021. John tells me that the wall still has the hinges in place for the gate that can be seen in this image. [82]Looking West on Carrickbrack Road, the high wall on the left behind the speed limit sign is the same wall as shown in the monochrome images above. [Google Streetview, March 2023]About 100 metres West of the last photograph, this is the route the tramway was followed, alongside the high wall. [Google Streetview, March 2023]The full height wall and bridge carrying the tramway. The tram in this image is in almost exactly the same position as the one in the monochrome image above. This image was shared on the Old Howth Photos Facebook Group by Shay Larkin on 3rd March 2017. [51]The next length of the tramway on the 25″ OSi mapping. [10]And a further length of the tramway on the 25″ OSi mapping. [10]RailMapOnline.com shows the area covered by the two map extracts above. [4]Looking West along Carrickbrack Road towards the location of Baily’s Post Office Halt which was sited just beyond the location of the bend ahead. [Google Streetview, March 2023]The next passing loop at Baily Post Office Halt. [10]The new Carrickbrack Road somewhat smooths out the tramway alignment through the site of Baily’s Post Office Halt. [4]Tram No. 9 at the Baily Post Office Halt. This image was taken facing Southeast and was shared on the Old Howth Photos Facebook Group by Liam McLoughlin on 23rd October 2018. [52]Tram No. 1 at Baily’s Post Office Halt. This picture is taken facing West through the location of the Halt and was shared on the Old Howth Photos Facebook Group on 3rd March 2017 by Shay Larkin. [54]Looking West through the location of Baily’s Post Office Halt in 2023. [Google Streetview, March 2023]Looking East through the location of Baily’s Post Office Halt in 2010. [Google Streetview, July 2010]The tramway continued Northwest from Baily’s Post Office Halt. The 25″OSi map extract shows that from this point the old Carrickbrack Road ran alongside the old tramway, with the tramway on its South side. [10]The tramway continues Northwest on its way towards Sutton. [10]This RailMapOnline.com satellite image shows the length of the old Tramroad covered by the two map extracts above. [4]Looking Northwest from the location of Baily’s Post Office Halt along Carrickbrack Road in 2010. [Google Streetview, July 2010]And again, further to the Northwest. A passing loop can be seen to the Northwest of Rockfell. This was the Barren Hill Halt. [10]This extract from RailMapOnline.com’s satellite imagery shows much the same area as that in the map extract above. [4]Two trams pass at Barren Hill Halt. The nearest tram appears to be No. 6, the tram heading towards the camera is either No. 9 or No. 10 ( both of which retained the teak livery through to the closure of the line. The picture was shared on the Old Howth Photos Facebook Group on 15th October 2020 by Phil Hanlon. [57]The view Northwest through the site of Barren Hill Halt in the 21st century. [Google Streetview, March 2023]The 25″ OSi mapping continues to show the tramway heading Northwest for Sutton, at this point, before curving round to a northerly trajectory. [10]The next passing loop was just to the North of St. Fintan’s Well. [10]This extract from RailMapOnline.com covers the combined length of the two map extracts above, from Barren Hill Halt to the location of St. Fintan’s Halt. [4]Tram No. 3 at St. Fintan’s Halt, looking South. This photo was shared on the Old Howth Photos Facebook Group on 6th October 2015 by Liam McLoughlin. [58]The tramway continued Northwest running alongside St. Fintan’s Graveyard. Another passing loop can be seen at the top of this extract from the 25″ OSi mapping. [10]Tram No. 4 in the passing loop mentioned in the notes to the OSi map extract above, heading for Howth. This photo was shared on the Old Howth Photos Facebook Group on 9th October 2015 by Liam McLoughlin. [59]The tramway continues heading Northwest. [10]And again, the tramway runs on towards Sutton in a northwesterly direction. [10]This extract from RailMapOnline.com covers the same length of the old line as the two map extracts above. [4]This next extract from the 25″OSi mapping shows the passing loop adjacent to Strand Road. [10]This RailMapOnline image shows the ame area as the 25″ OSi map extract above. The Strand Halt is in the bottomright corner of each image. [4]Tram No. 10 sits at the Strand Road Halt on its way Southeast towards the Summit of the Hill of Howth. This image was shared on the Old Howth Photos Facebook Group on 22nd February 2023 by Hugh Walsh [61]The tram in this picture is just to the Northwest of the Strand Road Halt. It is difficult to make out whether it is travelling towards Howth (ahead via the Summit of the Hill of Howth) or Sutton (behind the camera). The photo was shared on the Old Howth Photos Facebook Group on 6th October 2015 by Liam McLoughlin. [62]This image is not clear enough to be able to give the tram number. The tram pictured has just left the Strand Halt heading for Sutton. The image was shared on the Old Howth Photos Facebook Group on 18th December 2015 by Liam McLoughlin. [60]Bus No. 31 heading for Sutton at a similar location after the closure of the tramway. This image was shared on the Old Howth Photos Facebook Group on 9th April 2017 by Liam McLoughlin. [63]The tramway ran Northwest along the South side of Carrickbrack Road with the water on its left. [10]it continued alongside the road heading towards the Strand Hotel. Both these map extracts are from the 25″ OSi mapping. [10]This extract from the satellite imagery on RailMapOnline.com shows the length of the tramway route covered in the two map extracts above. [4]Sutton Cross as shown on the 15″ OSi mapping. Its tramway halt was immediately to the Northwest of the junction. It can be seen on the top-left of this extract. [10]A similar area on RailMapOnline.com. As throughout this article the green line represents the Hill of Howth Tramway, the yellow line indicates the route of the Clontaff and Hill of Howth Tramroad. [4]Looking through Sutton Cross junction from the Southeast. The halt can be seen ahead. This image was shared on the Old Howth Photos Facebook Group on 18th December 2015 by Liam McLoughlin. [64]A tram crosses the main road at Sutton Cross. The road to Howth is ahead of the camera. This photo was shared on the Old Howth Photos Facebook Group by Liam McLoughlin on 12th October 2016. [67]The view along the R105 towards Howth taken from a similar location to the photograph above. [Google Streetview, November 2022]Tram No. 3 just setting off from the Sutton Cross Halt. It appears to have just met and passed another tram heading towards Sutton Railway Station. That tram can be seen in the distance on its way to the terminus. This photo was shared on the Old Howth Photos Facebook Group by Liam McLoughlin on 28th August 2017. [65]The site of Sutton Cross Halt in the 21st century. This view looks along Station Road from the junction at Sutton Cross. [Google Streetview, May 2021]A tram has just crossed the main road at Sutton Cross and is entering the Halt on its way to Sutton Railway Station. This photo was shared on the Old Howth Photos Facebook Group by Liam McLoughlin on 3rd December 2018. [69]Tram No. 1 is just leaving Suttion Cross Halt and will cross the main raod before heading for the Hill of Howth. This photo was shared on the Old Howth Photos Facebook Group by Lorenzo Caira on 4th October 2015 [70]Tram No. 5 sits in the loop at Sutton Cross Halt. Given the height of the photographer it is likely that they are at the front of the top deck of another tram which has left Sutton Railway Station on its way to the Hill of Howth and eventually to the Howth terminus of the line. This photo was shared on the Old Howth Photos Facebook Group by Liam McLoughlin on 21st March 2018. [66]Tram No. 3 at Sutton Cross Halt heading towards Howth via the Hill of Howth. This image looks to have been taken from the top deck of another tram waiting in the loop at Sutton Cross, looking toward the terminus at Sutton Railway Station. It was shared on the Old Howth Photos Facebook Group by Hugh Walsh on 22nd February 2023. [68]This extract from the 25″ OSI mapping shows the final approach to the terminus at Sutton Railway Station. [10]A similar length of Station Road Sutton as it is shown on Google Maps in 21st century. The tramway ran along the South side of the road. [Google Maps, May 2023]The view Northwest on Station Road in 2023. [Google Streetview, March 2023]The end of the line, or the beginning of the line, depending on your perspective! This last extract from the 25″ OSi mapping shows the GNR(I) railway station at Sutton, the Tramway Depot and the Electricity Generating Station built for the Tramway. [10] The same area in the 21st century. [Google Streetview, May 2023]Thye approach to Sutton Station from the Southeast on Station Road (R106). The tramway lines are represented by the green line superimposed onto the photo. The station building is much as it was when trams were running. The road is probably a little wider. The signal box is still present (in dark green on the left of this image). [Google Streetview, March 2023]
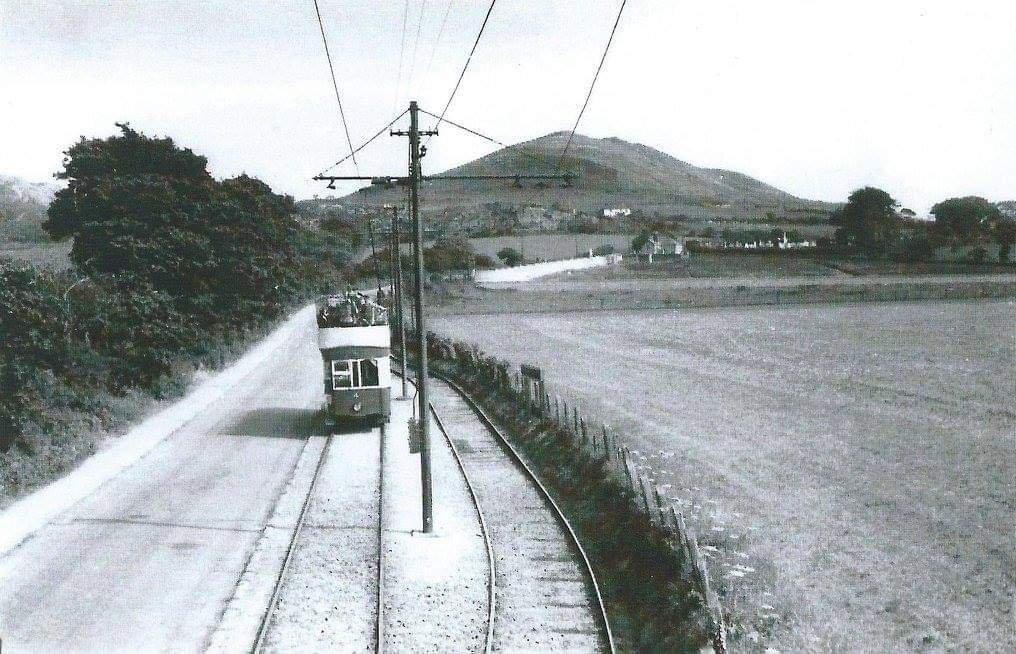
The photograph above shows a tram running parallel to Station Road with Sutton Cross 200 yards to the right and Sutton Station 25 yards to the left on the opposite side of the road. This photo is embedded here from David Bradley’s webpageswith his kind permission. [29]
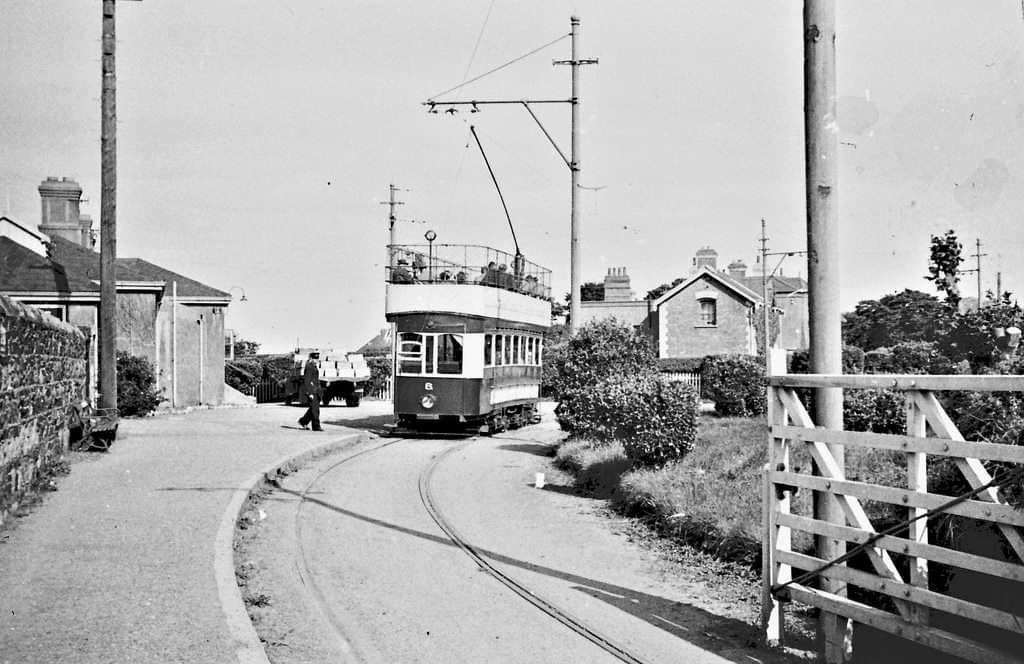
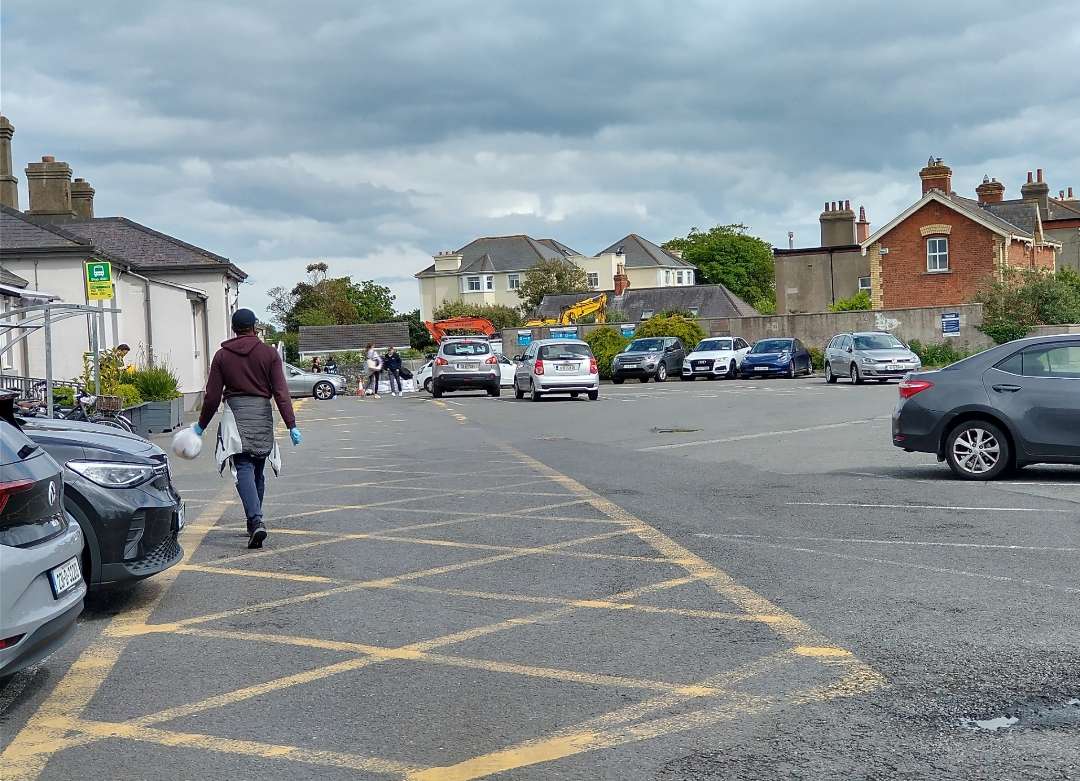
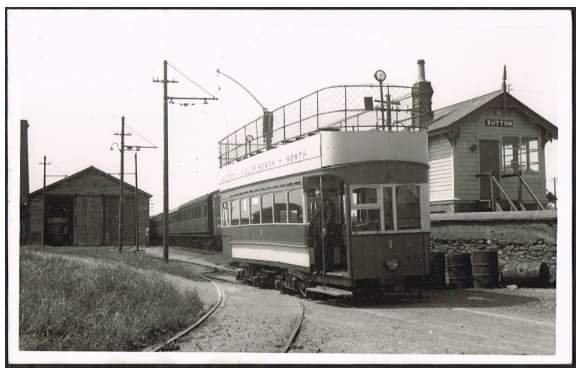
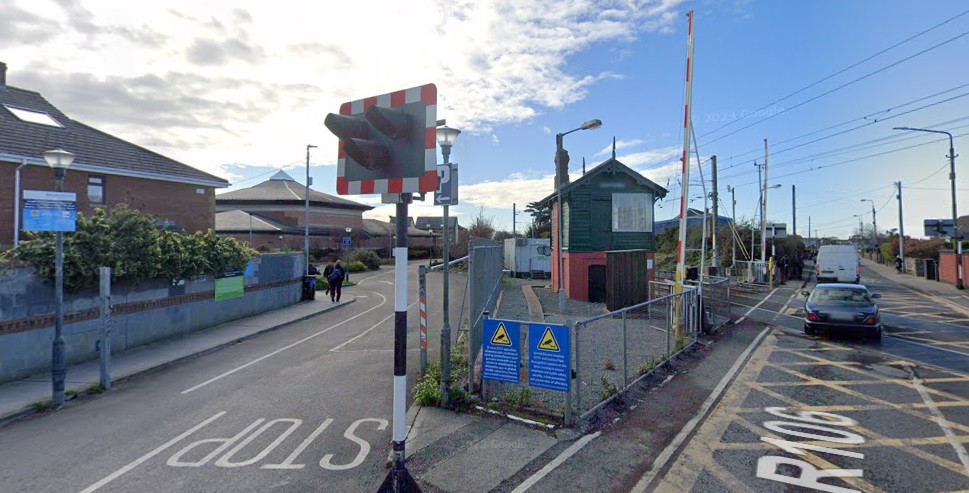
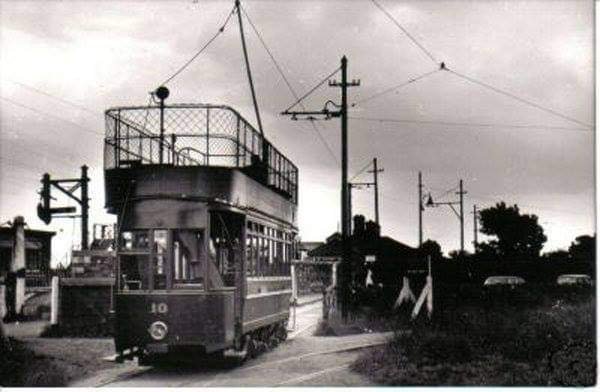
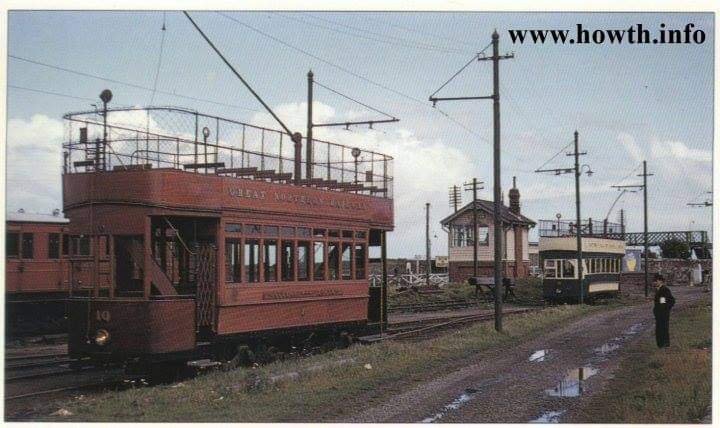
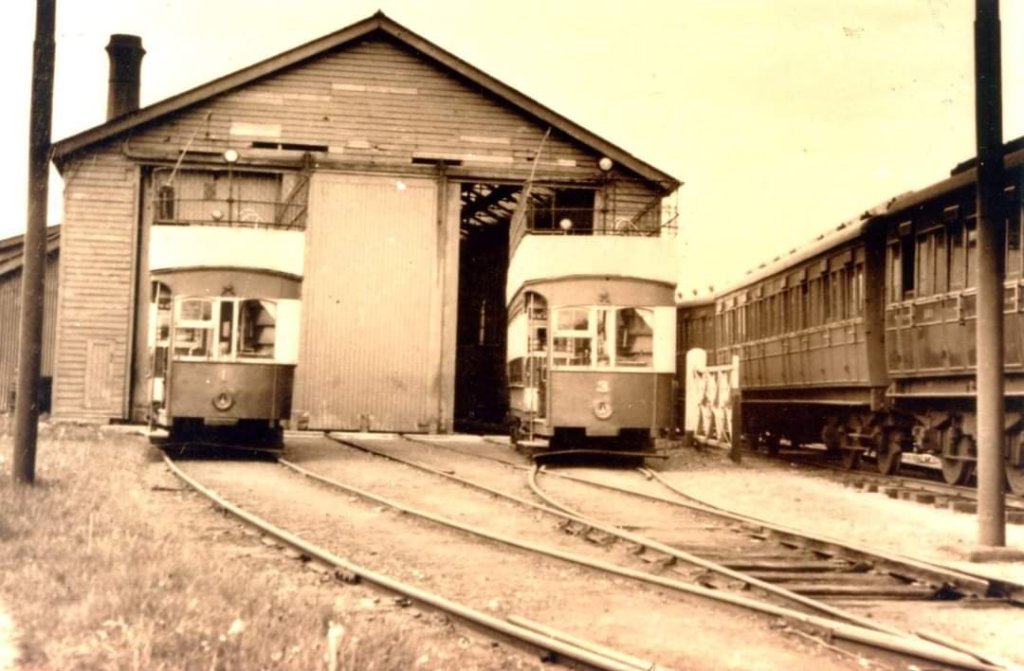
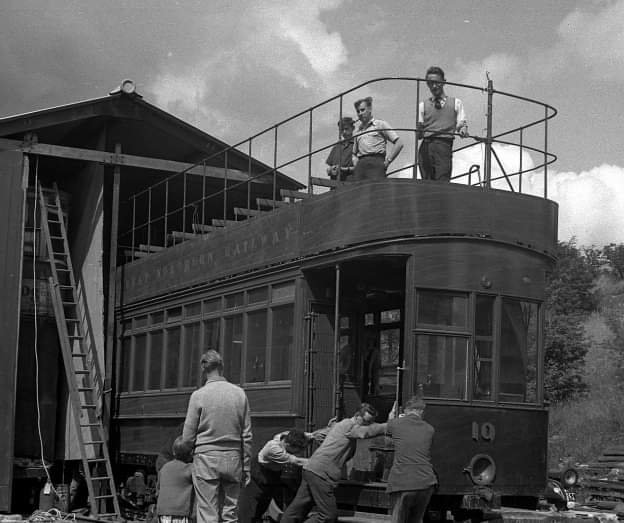
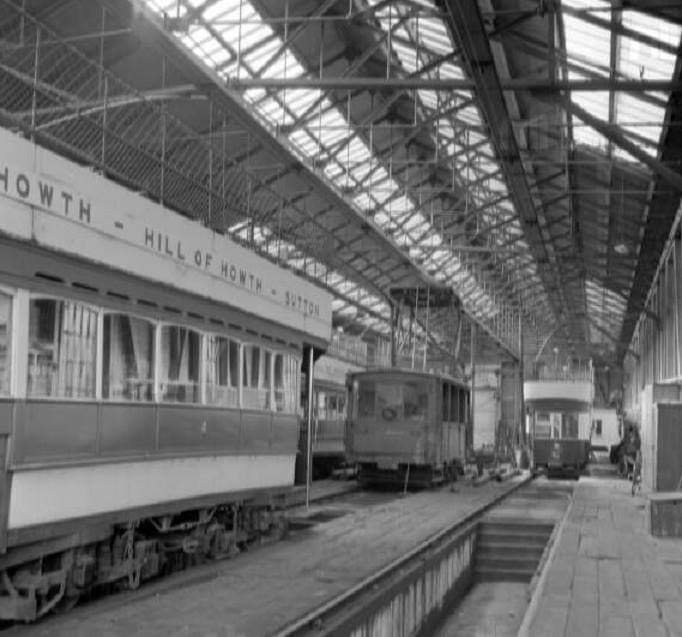
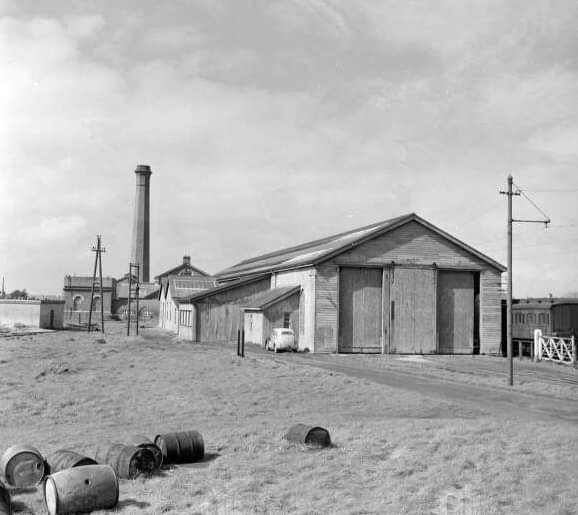
Looking Southeast from close to the point where trams would swing to their right to cross Station Road and enter the tram terminus which sat directly alongside the GNR(I) Railway Station at Sutton. Sutton Cross is some distance ahead of the camera. The photo was shared on the Old Howth Photos Facebook Group by Phil Hanlon on 15th December 2020. [76]Tram No. 6 or No.8 is just setting off from the Sutton terminus towards Sutton Cross. This photo was shared on the Old Howth Photos Facebook Group by Liam McLoughlin on 5th August 2019. [75]Sutton Railway Station with a tram approaching on the Sutton and Howth Electric Tramway. This photograph looks East from what is now the R106. The photo was taken in 1902. [30]The view of the station approach from adjacent to the level crossing gates in 2023. While the tram tracks are long gone, the station building is very similar in appearance to that shown on the 1902 image above. [My photograph, 8th May 2023]Tram No. 6 waits at the Sutton Terminus before setting off towards Sutton Cross. This photo was shared on the Old Howth Photos Facebook Group by Lorenzo Caira on 4th October 2015. [79]Sutton terminus once again, this time on the final day of the service. There is a suggestion in the notes under the photo that this is the final tram on that day. It may have been, although the numbers waiting toclimb aboard suggest that there may be other trams in the depot waiting to move forward to take a full load of passengers. This photo was shared on the Old Howth Photos Facebook Group by by Hugh Walsh on 22nd February 2023. [71]Tram No. 1 leaves the depot and prepares to cross Station Road as it heads for the terminus at the railway station. This photo was shared on the Old Howth Photos Facebook Group by Hugh Walsh on 22nd February 2023. [71]The 21st century view alongside the signal box looking to where the Tram depot was sited. [Google Streetview, March 2023]Tram No. 10 leaves the depot and is about to cross Station Road to enter service at the tram terminus at Sutton Railway Station. This photo was shared on the Old Howth Photos Facebook Group by Lorenzo Caira on 4th October 2015. [74]Tram No 10 retained its teak livery until the end of the network’s life, as did Tram No. 9. Tram No. 10 is waiting for the tram to the right of the picture to clear the road from the terminus, before setting off from the depot to collect passengers. This photo was shared on the Old Howth Photos Facebook Group by Lorenzo Caira on 4th October 2015. [78]The road crossing at the West end of Sutton Station. The tram depot was immediately West of the Station. This image was shared by Liam McLoughlin on the Old Howth Photos Facebook Group on 3rd July 2017. [32]Tram No. 6 sits outside the shed in the tram depot waiting to go out on service. This photo was shared on the Old Howth Photos Facebook Group by Liam McLoughlin on 13th December 2020. [73]Two other trams (no. 1 and No. 3) sit outside the shed in the tramway depot. GNR(I) main line carriages sit in the siding adjacent to the shed. This image was shared on the Old Howth Photos Facebook Group by Liam McLoughlin on16th June 2019. [72]Tram No 10 is being wheeled out of the shed by hand. This photo was taken after closure and after the removal of overhead power lines. It was shared on the Old Howth Photos Facebook Group by by Hugh Walsh on 22nd February 2023. [71]Tram No. 9 in its teak livery sits in front of sister trams inside the shed at the Tramway depot. This photo was shared on the Old Howth Photos Facebook Group by Liam McLoughlin on 10th January 2016. [81]Another view of the interior of the shed at the tramway depot. The rather odd looking tram on what seems to be the central road is Tram No. 11 which was used for maintenance work on the network. This photo was shared on the Old Howth Photos Facebook Group by Padraig Druimeanach on 15th October 2019. [77]Tram No. 11 out at work on the network at St. Fintan’s. This photo was shared on the Old Howth Photos Facebook Group by Liam McLoughlin on 9th October 2015. [80]The Tramway Depot seen from the East with the Electricity Generating Station behind. This image was probably taken after the closure of the network. It was shared by Liam McLoughlin on the Old Howth Photos Facebook Group on 7th March 2021. [31]
As we have noted already the Hill of Howth Tramway was GNR(I) owned but made little or no profit for the Company. When the nationalised compnay, Córas Iompair Éireann (CIÉ) took over GNR(I)’s operations in the Republic of Ireland on 1st October 1958, it reviewed all of the lines (including this tramway) over which it took control and the Howth Tram was replaced by buses within 8 months!
London: Hansard, vol. 62, c. 1291 – 26 July 1898, House of Lords Sitting, Private Bill Business, “Returned from the Commons agreed to, with Amendments, ‘Clontarf and Hill of Howth Tramroad Bill'”
Michael Corcoran; Through Streets Broad and Narrow — Dublin’s Trams; The Sir John T. Gilbert Commemorative Lecture, Dublin City Public Libraries, 2008.
Hill Of Howth Tramway Closure; in Irish Railfans’ News. Railway Preservation Society of Ireland. Volume 5 No. 3; 6th July 1959.
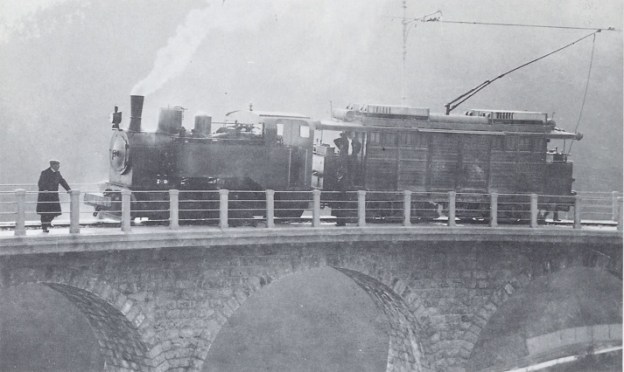
The headline image above shows a steam engine on the Viaduc du Caramel – in steam. [3]
My wife purchased two books for me as a birthday present a while back. They are written in French by Jose Banaudo. They cover the tramway network of the TNL, the Tramways de Nice et du Littoral. In the first volume there is a section about the tramways which meandered into the hills behind the Coast, one of which was the tramway from Menton to Sospel.
Among a whole series of different pictures, mainly old postcards, were some pictures of the line showing the operation of steam locomotives on the line and others of goods wagons in use between Menton and Sospel, particularly to deliver material to the construction work on the PLM Nice-Cuneo line..
One shows a small 0-4-0T No. 212. The manufacturer and the owner are not known. The locomotive is pulling a bogie truck and a wagon. Another photograph shows one of several locomotives destined for the construction sites of the PLM Nice-Cuneo line which were transported by tram to Sospel. It shows a German-built 0-6-0T which was partly deconstructed to be transported on a TNL wagon in September 1912.
A further photograph was taken in 1914. In this image the 0-6-0T Orenstein & Koppel steam locomotive No. 6871 of the Francois Mercier Company is about to leave the goods station at Carei in Menton, coupled with the shunter No. 13 of the TNL. This loco was photographed on a number of occasions by Engineer Jacques Schopfer coupled with the shunter No. 13 of the TNL on numerous occasions in 1914 – on the Viaduc de Monti, on the approaches to the Viaduc du Caramel, and stationary on the viaduct.
The Menton-Sospel tramway was used for the transport of material for the construction of the PLM line from Nice to Cuneo. In other pictures in Banaudo’s book we can see shunter No. 7 with a load of tubes on a flat wagon at the goods station at Carel in Menton and shunter No. 13 with a load of rails on two wagons before the stop at Villa Caserta.
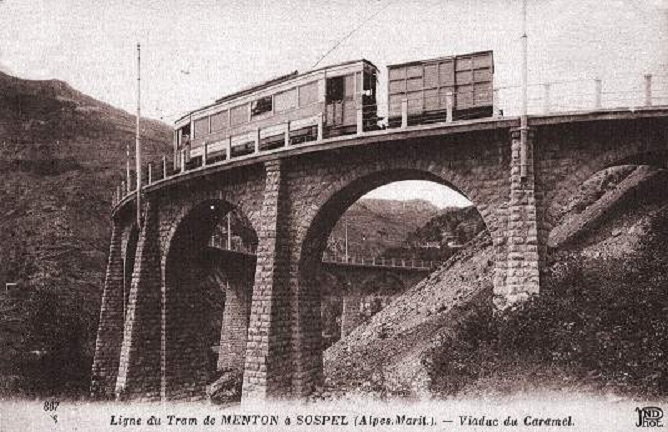
The bogie motor-trams of the 213-216 sub-series with more powerful engines and braking systems were also used for goods traffic on the Sospel line: two pictures in the book show: one with a wagon loaded with a small steam locomotive at Castillan; and another with a load of long poles on the Caramel viaduct, from the collections of André Arutur & Jean-Jacques Stefanazzi.
This postcard dates from around 1914 and shows the Caramel Viaduct, with one of the bogie trams pulling a goods van. [2]
Goods trains were a feature of the line from the start, but there was a serious runaway of a goods service at Monti on 12th September 1912 which destroyed tractor 4 and killed its two crewmen. From 16th June 1913 a new service was started with two tractors 6, 7 (and 13 added in 1914) in the form of motorised box cars (known as fourgons in French), which were fitted with the same powerful equipment and brakes as the bogie passenger cars, and which pulled a variety of goods wagons.
Banaudo also tells us that in 1914, four passenger trips and three or four goods trips were made on the line each day, but like the rest of the T.N.L. network traffic fell off in the 1920s. During the building of the P.L.M. main line railway from Nice to Breil via Sospel, the line had a boost of goods traffic carrying many construction materials, but once complete in 1928 there was a huge drop in traffic.