In Part 1, we looked at the railways in the North of Namibia, that article can be found here. [4] This article covers lines which left Windhoek and covered the South of the country.
After the aerial image immediately below, the next three images form a kind of ‘tryptic’ which shows the TransNamib train yard and station at Windhoek. Taken together they show the full site. …
The railway line from Windhoek to Nakop is 869 kilometres (540 miles) long. The section between Karasburg and Keetmanshoop was completed in 1909. In 1912, the 500 kilometres (310 miles) connection between Karasburg and Windhoek was completed, and the extension to Upinhton (South Africa) was built in 1915.
Windhoek
Aris
Rehoboth
Tses
Keetmanshoop
Karasburg
Nakop (border)
Upington
We start our look at the main line to the South, in Windhoek at the South end of the Railway Station site. …
The southern end of Windhoek Railway Station, seen from John Meinert Street. [Google Streetview, 2023]The line South, from John Meinert Street. [Google Streetview, 2023]A satellite image showing the railway South of John Meinert Street. [Google Maps, June 2025]The next length of the line to the South, to a point South of the B6. [Google Maps, June 2025]The bridge carrying the railway across the B6. [Google Streetview, 2024]
Although it does not look like it as yet, the line South of Windhoek Railway Station climbed relatively steeply as it meandered South. … As we will soon see, the landscape South of Windhoek is different to that to the North of the city.
The line to the South of the B6 curves round the residential area of Schmerenbeck Street. [Google Maps, June 2025]The line then crosses the Gammams River and under David Hosea Meroro Road. [Google Maps, June 2025]The triangular junction visible in this image gives access to the branch line to Gobabis. [Google Maps, June 2025]The line then passes under the B1. [Google Maps, June 2025]Looking South from the B1. [Google Streetview, 2024]Then the line(s) cross the Arebbusch River. [Google Maps, June 2025]The next road to bridge the line is the C26. [Google Maps, June 2025]The view from Mandume Ndemufayo Avenue (C26) back towards Windhoek Railway Station. [Google Streetview, 2024]The view South from Mandume Ndemufayo Avenue towards the hills. [Google Streetview, 2024]The line passes under the city’s Western Bypass. [Google Maps, June 2025]This view looks North-northeast under the Western Bypass towards Windhoek Railway Station. [Google Streetview, 2024]Looking South from the Western Bypass. [Google Streetview, 2024]The line passes once again under the B1 as the hills draw closer. [Google Maps, June 2025]The view South-southeast along the line from the bridge carrying the B1. [Google Streetview, 2022]
The line continues to wind its way into the hills passing under the B1 once again.
The line has deviated away from Birmingham as it finds its own way into the hills. It returns to pass under the modern road again. [Google Maps, June 2025]The view South from the bridge carrying the B1. The line enters a very short tunnel just to the South of the modern road. [Google Streetview, 2022]The B1 continues to climb as it heads South. The railway takes a different path as it gains height. It crosses over the B1 by means of this bridge. [Google Streetview, 2022]
Some kilometres further along the line it again crosses the B1. This time the road bridges the line. …
Both road and railway continue their journey South. Here their paths cross once again close to Aris Railway Station. [Google Maps, June 2025]Looking back along the line to the North from the bridge carrying the ,B1 over the line. [Google Streetview, 2022]And from the same bridge looking Southwest into Aris Railway Station. [Google Streetview, 2022]
The community of Aris and its railway station are shown in a YouTube video. …
Aria Railway Station. [9]
South of Aris Railway Station,two tracks run in parallel as far as Aris Quarry.
Part of Aris Quarry appears at the bottom left of this satellite image. The other significant part of the Quarry sits to the Southeast on the East side of the B1. [Google Maps, June 2025]At Aris Quarry Google Maps shows three bogie hopper wagons at a short wharf. [Google Maps, June 2025]T
The line continues South towards Rehoboth. …
Quarry land sits on the East side of the line at the top of this next satellite image. A dry water ourselves can be seen across the image. It is bridged by the line. [Google Streetview, June 2025]A closer image of the truss girder bridge crossing the dry river bed. [Google Maps, June 2025]
The next two satellite images show the line heading further South. …
For a short distance the B2 runs close to the railway. The railway then crosses two more dry watercourses. [Google Maps, June 2025]The view from the B1 at the top of the satellite image immediately above looking West. The railway line can be seen between the road and the mountain. [Google Streetview, January 2024]The bridge over the first dry river. [Google Maps, June 2025]The bridge over the second of the two watercourses. [Google Maps, June 2025]
The next three satellite images take the line further South, running on its own course with the B1 away to the East. …
Close to the bottom of this image the railway crosses the Oanob River’s watercourse on a causeway with a short trestle bridgeThe truss girder bridge over the dry watercourse of the Oanab River. [Google Maps, June 2025]
More satellite images take us further South. The first two of these extracts from Google’s satellite imagery shows the line running past the Omeya Golf and Residential Oasis. More about this relatively recent development can be found here [6] and here. [7]. The second of these is a sales video produced to attract investors and house sales.
Four satellite images take the line South to a point where it once again runs alongside the B!. [Google Maps, June 2025]Looking Southwest from the B1 just to the North of its junction with the D1427. The railway can be seen in the background behind the closest trees. [Google Streetview, 2022]
Over the next 3 or 4 kilometres the line and the road run in parallel, with little worthy of note, Before the railway moves away to the West of the road once again. …
The line crosses four dry watercourses before turning towards the East. [Google Maps, June 2025]Running Southeast the line follows the fourth of the watercourses and passes under the B1. [Google Maps, June 2025]Looking North-northwest along the line from the bridge carrying the B1. [Google Streetview, November 2023]Looking Southeast from the same bridge towards Rehoboth. [Google Streetview, November 2023]
The line wanders its way through the hills to the East of the B1 passing from the Khomas Region of Namibia into the Hardap Region. It runs through a number of small townships close to the Usip River before entering Vogelpan where Rehoboth Railway Station was sited.
Just a short distance to the South of Vogelpan, the railway turns East to cross the Usip River. ….
Looking East from the C25, the line can be seen curving away to the East and crossing the channel of the Usio River. [Google Streetview, August 2024]
Just to the South of the location of the photograph immediately above, the C25 itself turns East and crosses both the Usip River watercourse and then the railway.
Looking North-northwest from the ungated crossing on the C25, along the railway back towards Vogelpan. [Google Streetview, August 2024]Looking Southwest from the same crossing on the C25, along the railway. [Google Streetview, August 2024]
The railway runs down the East side of the River Usip passed its confluence with the Oanob River. It then continues alongside the Oanob (less than 1 kilometre to the East of the river).
The railway then crossed the Oanob River and a tributary in quick succession. [Google Maps, June 2025]
The first bridge (on the left) crosses the Oanob, the second (on the right, crosses the tributary). [Google Maps, June 2025]
The line then continues, pretty much in a South-southeast direction for some considerable distance with little to remark on. It passes close to Duinevelde on its way South before reaching Kalkrand.
The railway is seen here (from a minor road to the West of the line) approaching Kalkrand from the North. [Google Streetview, August 2024]Kalkrand and its railway Station. [Google Maps, June 2025]Kalkrand Station and passing loop. [Google Maps, June 2025]
Southeast of Kalkrand the line and the B1 run in parallel. …
Road and rail together head Southeast. [Google Maps, June 2025]Looking East from the B1, the railway can be seen on a parallel course. [Google Streetview, December 2023]The dunes of the Kalahari desert appear in the top right of this satellite image. [Google Maps, June 2025]The railway flirts with the edge of the dunes. [Google Maps, June 2025]
The line continues in a generally Southeasterly direction along the edge of the Kalahari Desert before beginning to swing round to the South and heading into rougher terrain where its route is dictated by the contours. …
Sidings some distance to the South of Kalkrand. [Google Maps, June 2025]These two structures carry the line over watercourses in the hills [Google Maps, June 2025]
Further South and again on flatter terrain the line passes under the C20. …
Looking North-northwest along the line from the bridge carrying the C20. [Google Streetview January 2018]Looking Southeast along the line from the same bridge. The various storage tanks on the horizon are associated with Agrimark, an agricultural and retail store, part of the Agrimark, Namibia network. Adjacent to it, between the Fish River and the B1 and on the West side of the Fish River is an area of irrigated fields. [Google Streetview, January 2028]Agrimark’s storage facility heralds the arrival of Southbound strains in the town of Mariental. [Google Maps, June 2025]Looking North from an ungated crossing on a minor road North of Mariental. [Google Streetview, December 2023]Looking South from the same crossing. [Google Streetview, December 2023]Further South, the line bridges a dry watercourse which is a tributary of the Fish River. [Google Maps, June 2025]The bridge in the above satellite image as seen from the B1. [Google Streetview, December 2023]Immediately North of Mariental, the crosses another minor road at an ungated crossing. This view looks North along the line. [Google Streetview, December 2023]Looking South towards Mariental from the same crossing. [Google Streetview, December 2023]Mariental Township with the Railway Station at the centre of the satellite image. [Google Maps, June 2025]
The next two extracts from Google Maps satellite imagery cover the length of the railway station site. …
These two images show the station site at Mariental. [Google Maps, June 2025]Mariental Station building. [Google Streetview, December 2023]The station building at Mariental seen fromt he Southwest. [Google Streetview, December 2023]Immediately South of Mariental, the B1 and the railway run South side by side. [Google Maps, June 2025]The railway seen from the B1 to the South of Mariental. [Google Streetview, January 2018]A series of different culverts and bridges support the line over historic channels most of which are dry. [Google Streetview, December 2023]The next road crossing is that for the C18. It is another ungated crossing and this is the view looking North along the line. [Google Streetview, August 2024]And this is the view South along the line at the same crossing. [Google Streetview, August 2024]Looking Northwest from the ungated crossing over the D1068 at Asab. [Google Streetview, December 2023]Looking Southeast from the D1068 into the station at Asab. [Google Streetview, December 2023]Asab Trading CentreSidings/Station and River. [Google Maps, June 2025]Looking North from the B1 along the Asab River watercourse with the railway bridge close to the centre of the image. [Google Streetview, December 2023]
The line continues Southeast from Asab. …
Looking North from the D3919Looking Southeast from the D3919The line continues Southeast towards Tses on a shallow embankment with bridge openings for run-off water over dry watercourses. [Google Streetview, December 2023]Tses Township, the B1 and the railway. [Google Maps, June 2025]Tses Station and Sidings. [Google Earth, June 2025]Tses River Bridge. [Google Earth, June 2025]Looking Northeast from the bridge carrying the B1 along the line, back towards Tses. {Google Streetview, December 2023]Looking ahead to the Southwest from the same bridge. [Google Streetview, December 2023]
The line continues in a generally Southwards direction. Again, when hills are encountered it curves its way along the contours to limit gradients. …
Another glimpse of the line from the bridge carrying the B1 across the outfall channel from the Van Rym Dam on the approaches to Keetmanshoop. [Google Streetview, December 2023]
Keetmanshoop is the next significant settlement on the line. …
4-8-0 Locomotive Class 7A, No. 1011 was built by Neilson & Co, of Glasgow, Scotland, as works no 4930 in 1896, it was brought to Keepmanshoop in 1980 to be plinthed. The first Class 7 locomotives were commissioned by the Cape Government Railways and delivered by Dübs & Co of England in 1892. Follow-up batches were built by Sharp, Stewart & Co, Neilson, Reid & Co, and North British Locomotive Company. They had a wheel arrangement of 4-8-0, coupled wheels of 3’6 3/4″ (1086mm diameter) and Stephenson link valve gear. The engines were originally powered by saturated steam, but many were later reboilered and converted to use superheated steam. Modifications such as larger boilers, increases in cylinder diameters and larger cabs resulted in the reclassification of the locomotives as Class 7A, 7B, 7C, 7D, 7E and 7F. More information and photographs can be seen here. [16]
More modern facilities at Keetmanshoop Railway Station. [Google Maps, June 2025]A view of these modern facilties from the Southwest on Darn Viljoen. [Google Streetview, December 2023]The yard and turning triangle at Keetmanshoop Station. [Google Maps, June 2025]The view of the yard from the corner of 3rd Street and 12th Avenue. [Google Streetview, December 2023]
While Keetmanshoop railway Station sits approximately on an East-West alignment is is approached bey means of a sharp curve from the North and trains leaving to the South take a sharp curve to the South within the township.
The line continues to the South. … First five images following the line South and Southwest as far the point where the B4 bridges the line.
A series of five images following the line, first along Railway Street and then at an ungated crossing, all photographs are taken looking Southwest. [Google Streetview, December 2023]The length of line covered by the images above. The B4 crosses the line at the bottom of the image. [Google Maps, June 2025]
Two pictures now taken from the bridge carrying the B4 over the line.
Looking North from the B$ towards Keetmanshoop. [Google Streetview, December 2023]Looking South along the line ahead. [Google Streetview, December 2023]Looking Southwest along the line from an ungated crossing to the South side of the B4. [Google Streetview, December 2023]Looking Southwest along the line from another ungated crossing to the South side of the B4. [Google Streetview, December 2023]The B4 and the railway run parallel, perhaps around 100 metres apart. This photograph shows the line running parallel to the road. Google Streetview, December 2023]Another view looking Southwest, this time from the ungated crossing which takes the C12 dirt road over the line. [Google Streetview, January 2018]The last image showed a passing loop to the Southwest of the C12. This satellite image shows the full length of the loop. [Google Maps, June 2025]
The railway turns to the West as it approaches the junction at Seeheim.
The railway continues to run parallel to the C12/M28 for some considerable distance. Close to Grunau the C12/M28 meets the B1 which crosses the line at 90°.
Looking East-southeast from the bridge carrying the B1 over the railway, the passing loop at Grunau is just ahead. [Google Streetview, 2024]The railway station/passing loop at Grunau to the East of the B1. [Google Maps, June 2025]Grunau Railway Station, (c) Pgallert (2010) and licenced for reuse under a Creative Commons Licence (CC BY-SA 3.0). [17]
East of Grunau, the line runs parallel to the B3 in a southeasterly direction. …
The line bridges the dry watercourse of the Hom River and other watercourses as it head Southeast. [Google Maps, June, 2025]The Hom River Railway Bridge, seen from the B3 Bridge over the same watercourse. [Google Streetview, 2022]Two further structures carry the Railway over dry watercourses on the run into Karasburg. [Google Streetview, The railway enters Karasburg from the North West, curving round to close to a North-South alignment through the railway Station and then sharply curving round to the Northeast as it leaves the town. [Google Maps, June 2025]The view South towards Karasburg Railway Station from the ungated crossing at Hendrik Snyman Street. [Google Streetview, January 2024]Karasburg Railway Station. [Google Maps, June 2025]The turning triangle at Karasburg. [Google Maps, June 2025]
Karasburg Railway Station: passenger platform/building (note the painted edge of the platform) and goods shed. The pictures below come from 1914/1915 and show different aspects of Karasburg Railway Station at that time.
Karasburg Railway Station in 1914/1915. [18]The engine shed in 1914/1915. [18]Pointwork at Karasburg Railway Station. [18]
As we have already noted the line South of Karasburg Station curves sharply to the Northeast and passing under the M21.
Looking West from the bridge carrying the M21 over the railway at Karasburg. [Google Streetview, September 2024]Looking East from the bridge carrying the M21 over the railway at Karasburg. The curve shown on the last image continues as the railway turns to the Northeast. [Google Streetview, September 2024]East of Karasburg the line runs Northeast alongside the B3 before head East on the South side of the road. [Google Maps, June 2025]
For some distance the line runs along the South side of the B3. separating from it close to Nuwefontein. The B3 crosses to the East side of the Ham River, with the railway remaining on the West side of the river, before crossing it close to De Villiersputs. Near Grondorner, the line crosses the D237 and bridges a tributary of the Ham River before running alongside the D237 in a Southeasterly direction. After a number of kilometres, the D237 turns away to the South and the line continues in a generally easterly direction.
Meandering to the north and then again to the East the line of the B3 once again and runs on its South side towards Ariamsvlei, the border with South Africa and Nakop, beyond the border in South Africa.
Ariamsvlei Railway Station and marshalling yard. [Google Maps, June 2025]The view East into the site from the B3. Google Streetview, January 2024]Ariamsvlei turning triangle and border post which is just about 10 kilometers from the border with South Africa. Nakop is beyond the border. [Google Maps, June 2025]
Beyond Ariamsvlei is the border crossing at Nakop and the South African town of Upington.
Windhoek-Gobabis
Next we look at a line which ran East from Winhoek. … The railway line from Windhoek to Gobabis is 228 kilometres (142 miles) long and was completed in 1930. [10]
Windhoek (capital – junction)
Neudamm
Omitara
Gobabis (branch railhead)
The line to Gobabis leaves the Windhoek-Nakop line at a triangular junction and headed East.
The Windhoek-Gobabis line leaves the line to Nakop in the Southern suburbs of Windhoek. [Google Maps, June 2025]
These next fourteen satellite images show the line wandering back and forth through the Windhoek suburbs. …
These fourteen extracts from Google’s satellite imagery take the Gobabis line to a point to the East of Sam Nujoma Drive. [Google Maps, June 2025]Looking South-southwest from Andries de Wet Street along the line of the railway towards Windhoek Railway Station, showing the substantial bridge under construction in 2024. [Google Streetview, 2024]
The journey beyond Andries de Wet Street continues, the next satellite images cover larger areas than the ones above. ….
This sequence of three images takes the line out into open country beyond the Avis River. [Google Maps, June 2025][The truss girder bridge which carries the railway over the B6 and the channel of the Avis River. [Google Streetview, January 2024]
The line continues in a generally easterly direction, although the contours of the terrain mean that the railway has to meander back and forth to find the most advantageous route. These next extracts from Google’s satellite imagery show the way that the line picks its way through the landscape. …
This sequence of four extracts from Google’s satellite imagery takes the line as far as Finkenstein. [Google Maps, June 2025]The railway station close to Finkenstein Estate/Village. [Google Maps, June 2025]The view Southwest from the D1527 along the railway towards Windhoek. Google Streetview, January 2024]Looking Northeast into the railway station site from the D1527. [Google Streetview, January 2025]A little further to the Northwest on the D1527, this is the view looking Northeast into the goods yard at the station. [Google Streetview, January 2024]
These two images indicate the area of the Finkenstein Estate/Village and current proposals for new housing and a new major road.The location of the railway Station can be seen at the top-left of the satellite image. The lighter swathe of ground curving across the top half of the satellite image is the construction site for the new road. [5][Google Maps, June 2025]
The line continues East from Finkenstein. At the right side of this satellite image the railway passes under the B6. [Google Maps, June 2025]Looking Northwest from the B6 along the line towards Finkenstein Station and Windhoek. [Google Streetview, January 2024]Looking Southeast from the B6 the line is curving to the South. The older road bridge is visible alongside the B6. Not too far ahead, out of shot are the construction works for the road that will replace the B6 as a main artery. [Google Streetview, January 2024.
Almost immediately after passing under the B6, the line begins to swing round from a Southwestern trajectory to the Northeast and then the East before passingunder the B6 again.
Looking Northeast from the bridge carrying the B6 over the line. The line can be seen curving round to the East. [Google Streetview, January 2018]
The line heads generally in an easterly direction and after some kilometeres runs alongside the Seeis River. …
The railway bridges the Seeis River and then runs alongside both the river and the B6. [Google Maps, June 2025]
Stocking close to the South bank of the Seeis River, the line passes to the North of Sonnleiton Village before rejoining the B6 close to Windhoek Airport, and passing to the South of the airport and then running immediately alongside the B6.
The railway seen looking North from the B6. [Google Streetview, January 2024]
Both road and rail pass just to the North of the settlement of Seeis where an old railway station was sited, and then over the River Seeis.
The Seeis River Railway Bridge seen looking North from the B6. [Google Streetview, January 2024]
The video below shows the settlement, its station and its bridge. ….
YouTube video of Seeis and its station and railway bridge. [19]
Beyond Seeis the railway continues alongside the B6 in a Northeasterly direction. The railway then turns further Northwest and leaves the B6, finding its own path towards Gobabis. It crossed the D1535 at an ungated crossing. The D1535 then runs alongside the railway heading Northeast before crossing the railway again at another ungated crossing. Both road and railway cross the Wit Nossob River and run along its North bank, crossing tributaries enroute before passing to the North of the Otjivero Reservoir and Dam.
The Otjivero Reservoir and Dam. The railway runs on the North side of the D1535. [Google Maps, June 2025]
Beyond the Dam, the railway follows the C29 heading East. it pulls away a little to the North to create room for Omitara Railway Station.
Omitara Railway Station. [Google Maps, June 2025]Omitara Railway Station, (c) Arche-foto, Burkhart Rüchel, and licenced for reuse under a Creative Commons Licence, (CC BY-SA 3.0). [20]
Northeast of the station the railway passes under the C29, continuing to run East-northeast and then East, and then Southeast, before returning to run alongside the B6 once again. Following the line on satellite images has become increasingly difficult.
This photograph looks along the line to the East from the ungated crossing over the D1658 at Grunental. As can be seen the line is significantly over grown by grasses. [Google Maps, June 2025]Looking East at the ungated crossing over the D1663, the line seems to be disappearing into the sand. {Google Streetview, January 2024]Looking West at the old station site at Witvlei. [Google Streetview, January 2024]Looking East at the old station site at Witvlei. [Google Streetview, January 2024]Witvlei Railway Station in 2018, (c) Hp.Baumeler and licenced for reuse under a Creative Commons licence, (CC BY-SA 4.0). [21]Looking back West along the apparently little used line towards Windhoek from the bridge carrying the B6 across the line. [Google Streetview, January 2024]Looking East from the same bridge, the line is almost indistinguishable from the surrounding grassland. [Google Streetview, January 2024]
The railway continues to the East, with the B6 running parallel to it on the North side.
Looking East along the line at an ungated crossing on a minor road.The B6 can be seen over to the left. [Google Streetview, January 2024]
The line begins to turn to the Southeast before crossing the Black Nossob River. …
Looking Southeast from the C30 along the line towards the Black Nossob River. [Google Streetview, January 2024]The railway bridge over the Black Nossob River close to Gobabis. [Google Maps, June 2025]Gobabis: the Black Nossob River, Reservoir and Dams are on the left side of the satellite image. The railway bridge over the Black Nossob can just be picked out in the extreme top left of the image. The railway flanks the reservoir and lake before passing under the B6 and then, after the B6 has turned through 90, under the B6 (Gobabis Bypass).Looking West from the B6 bridgeLooking East from the B6 BridgeLooking Northwest from the Gobabis Bypass (B6).Looking Southeast from the Gobabis Bypass (B6).Looking Northwest from Heroes Lane/Creamery Lane, GobabisLooking Southeast from Heroes Lane/Creamery Lane, Gobabis
The 6 images immediately above show the railways approach to Gobabis Railway Station.
Gobabis Railway Station. Its turning triangle can be seen at the right side of this satellite image. A series of sidings are the end of the line, these are just Southeast of the turning triangle. [Google Maps, June 2025]Gobabis Railway Station Buildings. [Google Maps, June 2025]Gobabis Railway Station Building, (c) Hp. Baumeler and licenced for reuse under a Creative Commons Licence (CC BY-SA 4.0). [22]Plinthed at Gobabis Railway station is this 5 man railway inspection car (c) Hp. Baumeler and licenced for reuse under a Creative Commons Licence (CC BY-SA 4.0). [23]Also plinthed at Gobabis Railway station is this small flatbed wagon, (c) Hp. Baumeler and licenced for reuse under a Creative Commons Licence (CC BY-SA 4.0). [24]
Gobabis is the end of the line. There are plans on the drawing board for a Trans-Kalahari Railway Line which would extend East from the current livestock railhead at Gobabis and may well be electrified. [25][26][27]
Seeheim-Lüderitz
The final length of line to be looked at is that from Seeheim to Lüderitz. The railway line from Seeheim to Lüderitz is 318 kilometres (198 miles) long. The connection between Lüderitz and Aus was completed in 1906, and the extension to Seeheim was completed in 1908. [1] The service between Aus and Lüderitz was decommissioned in 1997, due to poor track condition, and there is no regular passenger service between Seeheim and Aus. … The line to Lüderitz was rehabilitated in the 2010s and was scheduled for reopening in 2017. Test trains ran to Lüderitz in 2014 and Lüderitz Harbour in 2018. [2]
We begin this journey from Seeheim Railway Junction. …
Seeheim Railway Junction. [Google Maps, June 2025]
Just a short distance Northwest along the line from the junction is Seeheim Railway Station.
Seeheim Railway Station in very early days. [30]The train yard at Seeheim in the 21st century. The Skaap River is just to the South of the Yard. [Google Maps, June 2025]A short distance beyond the limits of the old railway station the line crosses the Fish River close to its confluence with the Skaap River. This is a very early postcard image of the railway bridge over the river. A modern image of the bridge in the distance on this postcard can be seen here. [29] [30]The bridges over the Fish River in the 21st century. [Google Maps, June 2025]After crossing the Fish River the railway follows its North bank. [Google Streetview, June 2025]It crosses a couple of tributaries before heading away from the river into the hills. [Google Streetview, June 2025]
After some distance winding through the hills, the railway line crosses the D463, bridges a dry watercourse and crosses an open area of sand before again winding its way through more hills, heading Northwest. The next image shows the location of Sandverhaar Railway Station and Bridge.
Sandverhaar Railway Station and Bridge. [Google Maps, June 2025]Sandverhaar Railway Station, (c) Matthias Bruhin & Hp.Baumeler and licenced for reuse under a Creative Commons Licence (CC BY-SA 4.0). [28]
A little further West the line crosses the dry watercourse of the Gurib River and close to Alte Kalkofen Lodge passes through the site of what was Simplon Railway Station.
Immediately to the West of Simplon Station, the line crosses the D462 and then, for a short while runs alongside the B4.
At Goageb, the line passes under the B4 before entering the Railway Station.
Looking Northwest from the first bridge at Goageb carrying the B4 over the line. [Google Streetview, December 2023]
Goageb Railway Station. [Google Maps, June 2025]
The Station building and water tower at Goageb, seen from the Southwest. [Google Streetview, December 2023]The platform, station building and water tower at Goageb, seen from the Northwest. [Google Streetview, December 2023]
The bridge carrying the railway over the Konkiep River, seen from the bridge carrying the B4 over the river. [Google Streetview, December 2023]Looking back towards the railway’s bridge over the river. [Google Streetview, January 2018]Looking Northwest from the bridge carrying the B4, along the line of the railway. [Google Streetview, January 2018]
After passing under the B4 the railway turns North-northwest and runs alongside the B4 for a few kilometres before the road turned away toward the North. The railway then turns to the Southwest.
A relatively short passing loop is provided seemingly in the middle of nowhere! [Google Maps, June 2025]
These next few pictures give a sequence of satellite images or views in sequence along the line.
An igneous rock intrusion alongside the lineA dramatic S-curve on the line. Another unnamed passing loopThe line running South of and close to the B4Looking South from the B4 along the D446 we can see an ungated crossing . The railway is around 100 metres from the B4 at this location.A memorial has been placed at the site of a prisoner of war camp from the First World War to the East of the town of Aus.The Camp near Aus for German prisoners of war 1915-1919, (c) Public Domain. [31]Immediately to the South of the Kriegsgefangenen Denkmal, the war memorial, there are a series of sidings/passing loop on the railway as shown here. [Google Maps, June 2025]A gantry crane, cabins and water tower are present at this location. [Google Streetview, January 2024]
It is only a short distance from this location to the township of Aus. The railway passes, first, under the C13 and then into Aus.
The view Northwest from the C13 towards Aus. [Google Streetview, January 2024]Aus Railway Station. [Google Maps, June 2025]Looking Southeast, this photograph shows the railway line curving round into Aus Railway Station. [Google Streetview, December 2023]The Southeast end of Aus Railway Station site. [Google Streetview, December 2023]The station approach at Aus. [Google Streetview, December 2023]
Northwest of the railway station, the line crosses the C13 again, this time at an ungated crossing.
Looking Southeast from the ungated crossing on the C13 towards Aus Railway Station. [Google Streetview, December 2023]Looking Northwest along the line from the ungated crossing on the C13 – Aus church is prominent in this photograph. [Google Streetview, December 2023]
West of Aus the railway passes through the hills. The next image looks backthrough those hills towards Aus.
Looking back towards Aus we can see the line meandering through the hills. [Google Streetview, November 2021]Looking ahead along the railway line from the same location. [Google Streetview, November 2021]
The next station on the line was at Garub. The station is no longer in use.
Garub Railway Station: the station hose and water tower remain standing. [Google Maps, June 2025]Garub Railway Station building in the early 1900s, (c) Public Domain. [32]
This image of Garub station house and water tower is embedded here from fineartamerica.com. [33]
To the West of Garub the B4 and the railway run in parallel. The line passes through another abandoned stations at Tsaukaib, Haalenburg, Rotkop and Grasplatz.
The abandoned Railway Station at Haalenburg, looking West. [Google Streetview, December 2023]The abandoned Railway Station at Grasplatz, looking West. [Google Streetview, December 2023]
At Kolmanskop there is an entire derelict mining station which once had its own railway station.
Kolmanskop seen from the B4 with the railway visible in front of the buildings.Kolmanskop mining village. The diamond mine was to the South of the village. [Google Maps, June 2025]
As well as its railway link to Lüderitz, Kolmanskop was “the terminus of two private narrow-gauge electrified railway lines that served the diamond mining industry further south. One ran 119 kilometres (74 mi) via Pomona to Bogenfels. It was completed in 1913 but destroyed during World War I in 1915 by South African troops. The other railway line, 7 kilometres (4.3 mi) long and completed in 1920, led to Charlottental. Both were powered by a 1.5 megawatts (2,000 hp) power station in Lüderitz, then assumed to be the largest in Africa.” [1][34][35]
Kolmanskop is only a short distance from the Atlantic Ocean. The B4 and the railway find their own way down to the coast at Lüderitz.
The railway meanders down to the coast following the contours to keep the gradient to a minimum. On the way it passes through a turning triangle. It not obvious why the turning triangle is located at this point on the railway. However, not far beyond the triangle there are a series of sidings/loops which are shown in the image below.
Goods transfer sidings/loops close to Lüderitz. [Google Maps, June 2025]Just short of Lüderitz, the Atlantic is on the left of this photograph, the railway on the right. [Google Streetview, January 2024]Looking West along the railway towards the centre of Lüderitz. [Google Streetview, January 2024]Further along the line and looking North. [Google Streetview, January 2024]Looking North from the ungated crossing at Bay Street. The platform of the passenger station is just ahead. [Google Streetview, January 2024]
A photograph looking Southwest through the station can be viewed here. [37]
The engine shed and yard in Lüderitz are to the Northeast of the station platforms. [Google Maps, June 2025]The gates to the port at Lüderitz seen from Hafen Street. [Google Streetview, January 2024]The Port of Lüderitz. [Google Maps, June 2025]An aerial view of the port. [36]
The Railway Magazine of February 1952 carried an article by Charles E. Lee about railways in what was German South West Africa. This encouraged me to have a look at the history of Namibia’s railways and their condition and extent in the 21st century. The 1952 article also caught my attention because Manchester Diocese (I was a priest in Manchester Diocese before retirement) is linked with the Diocese of Namibia.
The territory was formally colonized by Germany between 1884-1890. It covered an area of 835,100 sq. km. It was a settler colony and had attracted around 3,000 German settlers by 1903, who primarily settled in the central high grounds. [2]
German South West Africa, now known as Namibia, was a German colony from 1884 to 1915. It was not a province within the German Empire but a separate colonial territory. From 1891, the capital was Windhoek, which also serves as the capital of modern-day Namibia. [2]
The arrival of German settlers disrupted the existing socioeconomic balance and led to conflicts, particularly with the Herero and Nama people.
“In 1883 Franz Adolf Lüderitz, a merchant from Bremen, Germany, established a trading post in southwest Africa at Angra Pequena, which he renamed Lüderitzbucht. He also acquired the adjacent coastal area, which he named Lüderitzland. These areas were constituted the first German colony under German protection on April 24, 1884. The German occupation subsequently extended inland. By the latter 1880s the German Colonial Company for the South realized that it was incapable of administering the territory, and the German government immediately took over the colony’s administration. As a result of the Zanzibar Treaty (1890) between Germany and Great Britain, German South West Africa acquired the Caprivi Strip (named after the German chancellor Graf Leo von Caprivi), a tract of land 280 miles (450 km) long in the extreme northeast of the territory; the colony thus gained access to the Zambezi River.” [3]
German colonial rule was harsh, leading to insurrections and resistance. “Major Theodor Leutwein, governor of the colony in 1894–1904, suppressed insurrections of the Khoekhoe (1894) and of the Hereros (1896). In 1904, however, the Hereros fomented a far more dangerous rebellion. The German force, at first only 750 strong and supported only by one artillery battery, had to face an army of some 8,000 men equipped with modern weapons. Reinforcements increased the German force, ultimately under the command of General Lothar von Trotha, and resulted in a decisive German victory on the Waterberg River. Further Khoekhoe rebellions were put down in 1904–07.” [3]
German South West Africa was occupied by the South African Union Defence Force in 1915 during World War I, and Germany formally ceded the territory under the Treaty of Versailles in 1919. Its administration was taken over by the Union of South Africa (part of the British Empire) and the territory was administered as South West Africa under a League of Nations mandate. It became independent as Namibia on 21st March 1990. [2]
The Railways
The railways in German South West Africa played a crucial role in the colonial administration and the First World War campaign. The German colonial authorities built a railway network between 1897 and 1914 to enable colonial territorialization and facilitate the extraction of resources. [4]
Charles E. Lee tells that “under the German regime, the first railway in South West Africa was the Northern State Railway (NSR), as it was then called, built to a gauge of 60 cm. (1 ft. 11 in.) between Swakopmund and Windhoek, via Jackalswater and Karibib, a distance of 238 miles. This line was begun in 1897 and was built by a German Military Brigade from Europe. It was first intended to be worked by animal power – Argentine mules or Cape donkeys – but steam traction was soon adopted. The first section (15 miles) was opened to traffic from Swakopmund in January 1898. By the end of that year 68 miles were ballasted and 54 open. In July 1900, the line was opened to Karibib, 121 miles, and the whole railway completed to Windhoek, a further 117 miles, in June, 1902. The curves and gradients were very severe, the gradient out of the Khan River gorge, for instance, being 1 in 19 with curves of 180 ft. radius. The rails weighed about 19 lb. a yard and were laid on iron sleepers. There were iron girder bridges at Khan River, Dorst River, and Kubas. The only good and plentiful water supplies were at Swakopmund and Karibib.” [1: p121]
Wikipedia tells us that there was actually an earlier line than the one Lee talks about. It was a small mining rail line at Cape Cross in 1895. [5] “Soon afterwards, the ox-cart transport system totally collapsed, in the wake of a rinderpest epidemic in 1897. As it was necessary to react quickly to the now extremely precarious transport situation, decisions were made: to build a railway line from the German port of Swakopmund to Windhoek (the Staatsbahn); to use existing, 600 mm (1 ft 11 5⁄8 in) gauge military Feldbahn material; and to entrust a railway brigade with the construction work, which began in September 1897.” [5]
Wikipedia continues: “Construction of the railways connecting with the Staatsbahn was aimed partly at military strategic objectives following the uprising of the Herero and Nama, and partly at economic requirements. … By World War I, the following lines had been developed (listed by the first year of full operation):” [5]
1902: Swakopmund–Windhoek line, 600 mm (1 ft 11 5⁄8 in) gauge, Karibib–Windhoek section re-gauged in 1911 to 3 ft 6 in (1,067 mm) gauge. [5]
1906: Otavibahn, 600 mm gauge. [5]
1905: Onguati–Karibib branch. [5]
1908: Otavi–Grootfontein branch. [5]
1907: Lüderitzbahn, 3 ft 6 in (1,067 mm). [5]
1909: Seeheim–Kalkfontein branch. [5]
ca 1911: Kolmannskuppe–Elisabethbucht–Bogenfels, industrial railway of the diamond fields. This 600mm gauge railway was electrified from 1911 (the only electric railway in Namibia’s history). Diamond mining in the region gradually moved south. The northern part of the line as far as Pomona was abandoned in 1931, and some of its materials were used for the extension of the railway towards Oranjemund. The southern section was operated with diesel traction. This line no longer exists. [5]
1912: Windhoek–Keetmanshoop railway, 3 ft 6 in (1,067 mm) gauge. [5]
1912: Rehoboth shuttle, 600 mm (1 ft 11 5⁄8 in) gauge (questionable). [6][7][2][5]
1914: Otjiwarongo–Outjo–Okahakana, 600 mm gauge (project started, but not completed due to the war). [5]
Lee talks of the formation, by the Otavi Mining & Railway Company, an Anglo-German syndicate owning the copper mines at Otavi and Tsumeb, of a railway: “This company was formed in Berlin in 1900, in accordance with an arrangement between the South-West Afrika Company, the Disconto-Gesellschaft of Berlin, and the Exploration Company. The first intention was to build a 3 ft. 6 in. gauge railway from Port Alexander in Portuguese West Africa to run in a south-easterly direction up the Muende River Valley and via Etosha Pan to the Tsumeb Copper Mines, and later to extend this line to Rhodesia to form a trans-African railway. Eventually it was decided to form a 60 cm. gauge line entirely in German territory connecting Swakopmund with Tsumeb, a distance of 351 miles. Construction was undertaken by Arthur Koppel & Co. and was begun in November 1903, but was delayed by the Herero War, and the work completed on 25th August 1906. This undertaking, called the Otavi Railway, had the distinction of being the longest narrow-gauge railway in the world. Branches were laid subsequently from Otavi to Grootfontein (56 miles) and from Onguati to Karibib on the State Railway (9 miles). The cost is stated to have been about £2,400 a mile, or roundly £1,000,000 in total. The railway was bought by the German Imperial Government in 1910 for £1,250,000, but the management was left in the hands of the company under a 30-year lease, terminable after 10 years.” [1: p121]
This line was well constructed, and well ballasted. It had a ruling gradient of 1 in 66 and minimum curvature of 150 metres. The permanent way consisted of steel rails in 30-ft. lengths, 30 lb. a yard, laid on steel sleepers weighing about 26 lb. each. “From Swakopmund, for a distance of 68 miles, the line rises steadily on a grade of 1 in 66 to Ebony Station, where it reaches an altitude of 3,500 ft. (On the down journey, the last 40 miles into Swakop-mund can be run by gravity.) From Ebony there is a regular fall to Usakos, which is 2,640 ft. above sea level. From Usakos it climbs 690 ft. in 13 miles to Onguati, and continues to rise until it attains its greatest elevation near Kalk-feld, where the summit is 5,200 ft.” [1: p121]
“The Otavi Railway, like the State Railway, was built to the 2 ft-gauge, though a difference of 1 centimetre in the wheel gauges is stated to have prevented the free interchange of rolling-stock. The widening to 3 ft. 6 in. of the gauge between Swakopmund and Omaruru had been voted by the German Railway Board, but the work had not been put in hand by the outbreak of the 1914 war. A new branch projected at the same period was the Ovamboland Line, the first aim of which was to provide Ovambo labour for the South. The Landesrat in November 1913, approved a line of 2 ft-gauge, but on earthworks and bridges wide enough for a 3ft. 6in. gauge track, to run from Otjiwarongo (on the Otavi Railways) to Outjo and Okahakana.” [1: p121]
Railways in South West Africa from Swakopmund, mainly German- built, included the 361 miles to Tsumeb, opened in 1906, and the longest narrow-gauge railway in the world. The gauge at the Southern end was widened in 1915. [1: p122]
A sum of £450,000 was allowed for the line from Otjiwarongo to Outjo and Okahakana “in the German Loan Estimates for 1914-15. The first section, including the 55 miles from Otjiwarongo to Amiab Poort, was to cost £250,000. Construction was begun, and the line was laid for 22 miles before the outbreak of hostilities in the first world war.” [1: p123]
“Railway developments south of Windhoek, on the 3 ft. 6 in. gauge, made it desirable to convert the earlier 2ft. lines. During 1911, the section from Karibib to Windhoek was converted to 3 ft. 6 in. gauge at a cost of £550,000, with the Bechstein-Koppel Gesellschaft as contractor. The ruling gradient [was] 1 in 66 with a minimum curvature of 656 ft. This work was completed during 1913. The Swakop River at Okahandja [was] spanned by a bridge 350 ft. long, and there [was] a smaller bridge at Otjihavera. About the same time, the coastward section from Karibib to Swakopmund was practically abandoned in favour of the alternative route provided by the Otavi Railway. In fact, the settlers in the Swakop Valley, who asked for a short railway to link them with Swakopmund, were promised in November 1913, that the material from the disused 92 miles of the State line between Swakopmund and Kubas would be used for this purpose, but it was not done.” [1: p123]
An image showing an armoured train in South West Africa during World War I, 1914-1918, can be found here [29] The South African army invaded the German colony of South West Africa in March 1915 overrunning the much smaller German forces.
Wikipedia tells us that, “With the outbreak of World War I, the German Schutztruppe military unit retreated from the coast, and withdrew into the inland. In the process, the Schutztruppe destroyed the Otavibahn, and the old Staatsbahn towards Karibib, as far as Rössing.” [5]
The Staatsbahn was abandoned but this was not the case with the Otavibahn. In 1914, “British troops … moved forward from the British enclave of Walvis Bay, and by the end of 1914 they had built a 37 km (23 mi) long 3 ft 6 in (1,067 mm) railway to Swakopmund. The Otavibahn was also reconstructed in 3 ft 6 in (1,067 mm) as far as Usakos, and the section between Usakos and Karibib was realigned. The network north of Usakos remained in 600 mm (1 ft 11 5⁄8 in) gauge; the workshop for both gauges was consolidated in Usakos, and the one in Karibib was closed.” [5]
Lee tells us that by 1917 the Staatsbahn line from Karibib to the coast had ceased to exist. “the line between Karibib and Rossing (95 miles), the 10-mile branch from Jakalswater (built to carry water from the Swakop River at Riet), and the Kubas military line (4.5 miles), were lifted and removed to provide material for Tanganyika and the Union of South Africa.” [1: p123]
Lee goes on to confirm that the Union forces, in the course of their invasion of German South West Africa, “laid a 3 ft. 6 in. line for 100 miles inland from Swakopmund to Kranzberg along the original track of the Otavi line, which the Germans had wrecked in their retreat. This was completed in August, 1915. The construction of a new 12.5-mile section, of the same gauge, from Kranzberg to Karibib, was completed in July 1915, and again connected the Otavi Railway with the [NSR]. Thus, in August 1915, there was continuous communication of uniform gauge for the first time from Swakopmund to points south of Windhoek. As strategic railways had meanwhile linked the Union Railways with those of South-West Africa on 25th June 1915, a through railway of 1,635 miles was provided between Walvis Bay and Cape Town.” [1: p123]
Also during the first world war, a new railway from South Africa was constructed – “as an extension of the De Aar-Prieska Railway – to achieve a secure supply route for … South African troops. In 1916, the line was connected to the German network at Kalkfontein (now Karasburg).” [5]
“With the linking of the Kranzberg-Tsumeb 2ft-gauge line to the workshops at Usakos by means of a third rail between Usakos and Kranzberg on the 3-ft. 6-in. gauge track of improved location, the 9-mile section from Karibib to Onguati was no longer of value, and it was uplifted in 1924.” [1: p123]
“The former Otavi Railway system [was] therefore represented [in 1952] by about 100 miles of 3 ft. 6 in. line on the coastward section, part of the main railway system of South-West Africa, and 307 miles of 2ft-gauge farther inland. [In 1952, there were] also various private branch lines (some disused) connected with the 2ft section. [In 1952], the present main line of this gauge [was] from Kranzberg to Tsumeb, some 251 miles, on which one train in each direction [was] run two days a week.” [1: p123]
Wikipedia continues: Under South African/British occupation, the following lines were established (listed by first year of full operation): [5][10]
1914: Walvis Bay–Swakopmund in 3 ft 6 in (1,067 mm). [5]
1915: Swakopmund–Karibib: Reconstruction in 3 ft 6 in (1,067 mm). [5]
1915/1916: (De Aar)–Nakop (border)–Kalkfontein in 3 ft 6 in (1,067 mm). [5]
1921: Otjiwaronge–Outjo 600mm gauge (based on German preparations). [5]
1929: Windhoek–Gobabis railway in 3 ft 6 in (1,067 mm). [5]
From 1958: the Otavibahn north of Usakos was gradually regauged to 3 ft 6 in (1,067 mm), with the new line being laid parallel to the existing line, but largely on new foundations; the new line was in operation from 1961. [5]
“From August 1915 the Namibian railway network was operated de facto by South African Railways, and this arrangement became official in 1922. … From 1959, steam locomotives were gradually replaced by diesel locomotives, for which an engine-house was built in Windhoek. This made operations very much easier, because water is in short supply in Namibia, and the coal needed to heat the water in the steam locomotives also had to be procured from the Transvaal.” [5]
The Namibian Network in the 21st century
In the 21st century, the rail network of Namibia is operated by TransNamib. As of 2017, the Namibian rail network consisted of 2,687 km of tracks. [11]
The railway line from Windhoek to Kranzberg is 210 kilometres (130 miles) long and was completed in 1902. [10]
Windhoek (capital – junction)
Okahandja
Karibib (proposed cement works)
Kranzberg (junction Tsumeb v Windhoek)
After the aerial image immediately below, the next three images form a kind of ‘tryptic’ which shows the TransNamib train yard and station at Windhoek. Taken together they show the full site. …
Wikipedia tells us that “the station was built in a Cape Dutch-style and is located on Bahnhof Street. An additional northern wing was constructed by South African Railways in 1929 to match the existing style of the building. … The station also houses the small Trans-Namib Railroad Museum which outlines Namibian transport history, particularly that of the railway. Opened on 1st July 1993, the exhibition consists of a wide range of railway equipment, maps and related items which date back to German colonial times. Another part of the exhibition is dedicated to Namibian Airways history and Namibian Maritime history. … Across from the entrance [to the station] stands the German locomotive ‘Poor Ole Joe’, one half of a South West African Zwillinge, No 154A, the sole surviving specimen of this type of steam locomotive. It was originally shipped to Swakopmund in 1899 and reassembled for the run to Windhoek” [23][24]
Namibia Scientific Society posted the following on Facebook on 9th June 2020: Poor Ole Joe is a 600mm-gauge steam locomotive “and was manufactured in 1900 by Henschel & Sohn GmbH, Kassel, Germany, under the serial number 5376. It was put into operation in 1904 and operated on the Swakopmund – Windhoek route. The steam locomotive was taken out of service in 1939 after traveling approximately 371,000 miles.” [25]
There is some uncertainty over the date of fabrication of the locomotive. Perhaps the two years mentioned relate to a date when the locomotive was shipped from the factory and the date of completion of the reassembly in Swakopmund?
The railway line from Kranzberg to Walvis Bay is 201 kilometres (125 miles) long. The section between Kranzberg and Swakopmund was completed in 1902. In 1914, an extension to Walvis Bay was commissioned; the rails were laid close to the shore of the Atlantic Ocean. In 1980, this extension was replaced by an alternative route behind the dunes that allowed for higher axle load. [10]
Kranzberg (junction Tsumeb v Windhoek)
Usakos
Arandis (crossing loop)
Swakopmund
Walvis Bay (port)
Looking back Northeast towards Kranzberg Railway Station from the B2. [Google Streetview, 2024]Looking Southwest along the railway towards Usakos’, Arandis and Swakopmund. [Google Streetview, 2024]
Key locations along the line to Swakopmund are illustrated below: …
Before having a look at the Rossing Uranium Mine, it is worth a quick diversion Northwest of the station and marshalling yard shown above. The Namibia Institute of Mining & Technology is host to a plinthed display of a locomotive and carriages from the old 2ft-gauge railways of Namibia.
This image shows a complete (but short) 2ft-gauge train at the Namibia Institute of Mining and Technology. [Google Streetview, 2024],
This train was once on display in Windhoek. It was moved to the Namibia Institute of Mining Technology (NIMT) outside Arandis. and restored with the help of Wesbank Transport and AWH Engineering, Rigging and Rentals. The locomotive, is a Henschel Hb 56. The locomotive and its wagons were in use between Usakos and Tsumeb between 1906 and 1959. The South African Railways then donated it to the National Museum in Windhoek and in 1964 it was placed in front of the Alte Feste, but it was too close to the Reiterdenkmal and was moved in 1974 to the southern side. The train consists of the locomotive, a coal wagon, a closed goods wagon, a passenger coach for first and second class and a wagon in which the conductor travelled with the mailbags, milk and cream cans that were picked up along the route. The passenger coach could transport 16 passengers. The first-class passengers could sit on upholstered seats while the second-class passengers sat on plain wooden benches. The two classes were divided by a small washroom. The conductor’s wagon was destroyed in 2007 when it was set alight by a homeless person who slept in the train and made a fire. The boilermaker and carpentry students at NIMT renovated the train. [35]
“The locomotive is from the class Hb 0-6-2T. Of the 15 locomotives built by Henschel for the Otavi line between 1905 and 1908, six were absorbed into the SAR. The engines had Allan valve gear and often ran with an auxiliary tender attached which contained both coal and water.” [36]
Walvis Bay was a British enclave in German South West Africa. The first narrow gauge railway in the British ruled Cape Colony was in Walvis Bay. Initially projected merely to connect the jetty with the town, the Walvis Bay Railway was opened in 1899 and ran for twelve miles up north to the German border at Plum. [17]
“On 6th March 1899 the Agent General for the Cape of Good Hope ordered a “Sirdar” class locomotive named ‘Hope’ which was almost as long in transit to Walvis Bay – where it arrived on 22nd August 1899 on board the British barque Primera – as it had been in the building. Because of the extremely light nature of the track (12 lb. rail with sleepers spaced three feet apart) HOPE was provided with an additional pair of carrying wheels at both ends. Thus the standard 0-4-0T type was converted to a 2-4-2T type. Even so the maximum axle load of ‘Hope’ in working order would be about 1¾ tons, which is considerably more than today’s suggested figure for this category of track of 1 ton 4 cwt. Within six years the railway was virtually moribund and by 1915, ‘Hope’ had been laid aside and forgotten. That was because the Germans preferred to use their own harbour in Swakopmund.” [17][18]
Two works photographs of ‘Hope’: in the one with the valance (wheel cover) raised, one of the smaller carrying wheels can just be made out on the left of the picture. [17][18]
Kranzberg-Otavi
The railway line from Kranzberg to Otavi is 328 kilometres (204 miles) long and was completed in 1906. [10]
Kranzberg (junction Tsumeb v Windhoek)
Omaruru
Kalkfeld (short siding)
Otjiwarongo (junction for Outjo)
Otavi
Kranzberg Railway Station has already been featured above. The next images show the line from there to Otavi. …
Kranzberg Railway Station. [Google Streetview, June 2025]
The loop allows trains from Windhoek to access the route to Otavi without reversing. That line running towards Otavi sets off from Kranzberg in a Northeasterly direction crossing a series of dry watercourses and gradually taking a more northerly course before encountering the D2315 (a dirt road).
From Kalkfeld the line heads in a generally Northeasterly direction towards Otjiwarongo.
As on the earlier length of the line, we see it crossing a number of dry river beds. [Google Maps , June 2025]
The next five images are a sequence which shows a long passing loop, perhaps halfway towards Otjiwarongo.
A sequence of five images shows a passing loop. The sequence has the Northeast end of the loop in the first of the five images and the Southwest end of the loop in the fifth image, immediately above. [Google Maps, June 2025]
The next five images show a sequence of structures over dry river beds
Five bridges spanning dry watercourses. [Google Maps, June 2025]This photograph is taken from the C33 which has followed the railway Northeast towards Otjiwarongo. [Google Streetview, 2024]Approaching Otjiwarongo, this photograph faces East-northeast from alongside an ungated crossing around 50 metres Southeast of the C33. [Google Streetview, 2024]This photograph faces East-northeast along the approach to Otjiwarongo Railway Station. The road from which it is taken is the C38. [Google Streetview, 2024]Otjiwarongo Railway Station is a junction station with line onward to Otavi and Outjo. [Google Maps, June 2025]Otjiwarongo Railway Station building. [Google Streetview, 2024]Otjiwarongo Goods Shed. [Google Streetview, 2024]In 1912, Henschel built three 2-8-2 tender engines No. 40, No. 41 and No. 42 for the Otavi line for use on the Swakopmund-Karabib section. No. 41 is plinthed outside Otjiwarongo Railway Station. Like many other SWA locos they had dust covers to protect the motion. The carrying wheels were arranged as radial axles. As there were no separate bogie truck, the axle boxes were guided in such a way that the wheels could move radially with respect to the frame. At that time the railway was a 2ft-gauge line [Google Streetview, 2024] More information can be found here. [39]
The line to Otavi continues heading Northeast. …
The line to the Northeast of Otjiwarongo Railway Station. [Google Maps, June 2025]At the bottom-left of the image above the line crosses the C33 at an ungated crossing. [Google Streetview, 2024]A closer satellite view of the length of the line to the Northeast of the C33. A few sidings serve industries to the South of the line. The road at the centre of the image running North-South is Industria Street. [Google Maps, June 2024]Looking West from Industria Street. [Google Streetview, 2024]Looking Northeast from Industria Street. [Google Streetview, 2024]The B1 to the Northeast of Otjiwarongo bridges the line. This view looks Southwest towards the railway station. [Google StrLooking Northeast towards Otavi from the B1. [Google Streetview, 2024]The line runs parallel to the B1 heading Northeast. [Google Streetview, July 2024]Looking Northeast along the line from an ungated crossing at the D2430. The B1 can just be seen on the left of this image. [Google Streetview, July 2024]A little further Northeast this photograph, taken from the B1, shows a minor road crossing the railway at an ungated crossing. [Google Streetview, July 2024]As we travel Northeast, the landscape becomes greener. This another view looking East from the B1 and shows another ungated crossing of a minor road. [Google Streetview, July 2024]The line passing under the B1. The landscape has changed. The line is running through dense shrubs and small trees. [Google Streetview, 2024]In Otavi, this is Phyllis Street. It crosses the line at the Southwest end of the station site. [Google Streetview, 2024]Otavi Railway Station and turning triangle. [Google Maps, June 2025]Otavi Railway Station building. [Google Streetview, 2024]
It is worth noting here that the original gauge of the line from the coast to Otavi and Tsumeb was originally built to 2ft-gauge. Later it was converted to 3ft 6in gauge. The line was built for the Otavi Mining and Railway Company (Otavi Minen- und Eisenbahn-Gesellschaft or OMEG). The company was founded was a railway and mining company in German Son 6th April 1900 in Berlin with the Disconto-Gesellschaft and the South West Africa Company as major shareholders. [41]
The first locomotives designed for regular service were fifteen 22-tonne 0-6-2T locos built by Arn. Jung. [41][42: p45] Henschel & Sohn built twelve locomotives similar to the Jung design and three 0-6-0T locos. [41][42: p45] Twenty 8-wheel auxiliary tenders carrying 8 cubic metres of water and 3.5 tonnes of coal were built to enable these tank locomotives to complete longer runs. [41][42: p45][43: p65] Henschel & Sohn built three HD class 2-8-2 in 1912 with separate 8-wheel tenders for long-distance running. [42: p47] These locomotives weighed 59 tonnes (including the 26-tonne tender) and remained in service for 50 years as the 2-8-2 type became standard for the railway. [41]
By 1913, train service included 4 express trains, 14 mixed trains, and 29 freight trains each week. [42: p39] Express and mixed trains included a baggage car, a car for African passengers, and a coach for first and second class passengers. [42: p39] The passenger coaches carried concrete ballast in a depressed center section to minimize the possibility of wind tipping a lightly loaded car off the rails. [43] Express trains stopped only at designated stations, but other trains would stop at intermediate points when transport was required. [42: p39] Equipment included: 96 low-side ore gondolas; 55 high-side gondolas; 20 limestone gondolas; 20 boxcars; 12 tank cars; 4 stock cars; 3 passenger coaches; and an executive business car with a kitchen, a bathroom, and an office convertible to a bedroom at night. [41][42: p42][43: p65]
There were also some self-powered steam rail cars with a coal bunker, a mail compartment, 2 compartments for Europeans, and 4 for Africans. [41][42: p36]
Otavi-Grootfontein
The railway line from Otavi to Grootfontein is 91 kilometres (57 miles) long and was completed in 1908. [10]
Otavi (junction for Grootfontein)
Grootfontein (branch terminus)
Otavi Railway Station, seen from the C39 at the Northeast end of the station site. [Google Streetview, 2024]From the same location on the C39 a wider view shows the sidings at Otavi Railway Station [Google Streetview, 2024]Turning through approximately 180° and looking Northeast, the line to Tsumeb runs towards the hills at the left of the image. The line to Grootfontein curves away to the right. [Google Streetview, 2024]Looking back towards Otavi Railway Station from the ungated crossing on Josef Buchholz Avenue. [Google Streetview, 2024]Turning through 180°, this is the view Sputheast from Josef Buchholz Avenue towards Grootfontein. [Google Streetview, 2024]Heading Southeast out of Otavi the line to Grootfontein passes under the B1. This is the view along the line from the road and bridge. [Google Streetview, 2024]Out of Otavi, the line soon starts to accompany the B8 in its journey East. This photograph is taken from the B8 and shows an ungated crossing on a minor road. [Google Streetview, 2024]An ungated crossing provides access from the B8 into Kombat. The road is the D2863. This is the view East at the crossing. [Google Streetview, 2024]
The line turns away from the B8, to the North. As it does so it crosses the D2860 at an ungated crossing.
The line to Grootfontein crosses the D2860 at an ungated crossing. [Google Streetview, 2024]
The line follows the D2860 and then the D2905 before passing under the B8, as it heads for Grootfontein.
An ungated crossing to the South of the D2905. [Google Streetview, 2024]The view ahead along the line towards Grootfontein from the B8. [Google Streetview, 2024]The view towards Grootfontein from a minor road ungated crossing. [Google Streetview, 2024]Much closer to Grootfontein, another view East along the railway. [Google Streetview, 2024]The fuel depot at Grootfontein. [Google Maps, June 2025]Grootfontein Railway Station. [Google Maps, June 2025]Grootfontein Railway Station in 2007. This image was shared on the African Railway Station Stopping Places Facebook Page In 2012. [46]Grootfontein Railway Station goods depot in 2007. This image was shared on the African Railway Station Stopping Places Facebook Page In 2012. [47]
Grootfontein railway station is being converted into a logistics hub for business with the DRC and Zambia.
At the moment, trucks from the DRC, Zambia or Namibia travel about 2,500 kilometres from Walvis Bay harbour to Lubumbashi. With the introduction of the Grootfontein hub, these trucks will travel a distance of about 1,400 kilometres. TransNamib is prepared to dedicate four trains a week for this business idea. [44]
Immediately to the East of the railway station the line turns to the South and is clearly not well used and significantly overgrown in places. [Google Maps, June 2025]After a few hundred metres the line turns to the East. It can clearly be made out towards the bottom of this satellite image. [Google Maps, June 2025]The line continues East and passes under the D2830. [Google Maps, June 2025]Looking West from the D2830, a short length of the line can be seen just to the right of the centre of this image. [Google Streetview, 2024]To the East of the D2380 a series of sidings still exist. [Google Maps, June 2025]It is harder to make out the sidings in this view. The photograph looks East from the D2380. [Google Streetview, 2024]These last two satellite images show the extent of the tracks in the industrial area to the East of the D2380. [Google Maps, June 2025]
Otjiwarongo-Outjo
Otjiwarongo (junction for Outjo)
Outjo (railhead)
Otjiwarongo Railway Station is illustrated above. The railway line from Otjiwarongo to Outjo is 69 kilometres (43 mi) long. The first 26 kilometres (16 mi) were completed under the German colonial administration in 1914/1915; the railway line was named Amboland Railway in reference to the territory of the Ovambo people. The link to Outjo was completed in 1921 under South African rule. [10]
The branch line to Outjo can be seen turning away North from the line to Otavi. [Google Maps, June 2025]The branch line crossed the C33 at an ungated crossing. This photograph looks South from the C33 towards Otjiwarongo Railway Station. [Google Streetview, 2024]Turning through 120°, or perhaps more, standing on the C33, the rails of the line to Outjo disappear into the vegetation. The line has clearly not been used for some time. However, we will see that much of the line to Outjo remains in place and perhaps could be renovated should the need arise. [Google Streetview, 2024]The line curves round towards the West. On the way it appears often out of the undergrowth. Here, this minor road crosses the old railway and the signs still stand proudly either side of the line, either side of the railway. [Google Streetview, 2924]The road shown above appears bottom-right of this image. [Google Maps, June 2025]The line then heads Southwest for a while before gradually turning through the West to the Northwest. [Google Maps, June 2025]The line appears out of the brush quite often and sometimes for significant distances, as these two. [Google Maps, June 2025]These two images are typical of what can be seen on satellite imagery. The line appears out of the brush quite often and sometimes for significant distances. [Google Maps, June 2025]The line turns through West to Northwest. [Google Maps, June 2025]It continues, Northwest. [Google Maps, June 2025]One passing loop appears out of the undergrowth. [Google Maps, June 2025]Here it can be seen crossing another minor road. [Google Maps, June 2025]And then a tarmac road. All crossings are ungated. [Google Maps, June 2025]
The next series of six photographs show sidings parallel to the running line. This location is more than just a passing loop but I have not been able to establish whether a specific local industry was the reason for the sidings. The photographs run in sequence Southeast to Northwest. …
The last of six photographs of sidings adjacent to the line to Outjo. [Google Maps, June 2025]
The next sequence of four photographs shows a passing loop on the line. In sequence, these photographs run from the Southeast to the Northwest. …
In 2005, a new 89 km section of Northern Railway from Tsumeb to Oshivelo was opened by President Sam Nujoma, as part of the “Northern Extension” of the railway link from Kranzberg to Otavi. Construction on the project’s second phase, a 59 km stretch from Ondangwa to Oshikango on the Angolan border at a cost of about N$329m, was scheduled to be completed by December 2007. Ondangwa Station opened in 2006 for freight.
In phase 3, a 58 km branch from Ondangwa to Oshakati was constructed at an estimated cost of N$220m, for completion in December 2008. For the future a connection from Oshikango to a point near Cassinga is planned on Angola’s southern railway system. [11][13][14]
The Ondangwa-Oshikango line was officially opened by President Hifikepunye Pohamba in July 2012. In order to keep the system operational and safe, provincial governor Usko Nghaamwa implored local residents to stop stealing railroad ties and sections of the wire fence. [11][15]
Otavi (junction for Grootfontein)
Tsumeb
Ondangwa (junction)
Oniipa (road bridge)
Onjdiva [11][14]
Namacunde [11][16]
Oshakati
Oshikango (Angolan border)
The C39 crossed the railway immediately to the North of Otavi Railway Station. as we have already noted, this view from the ungated crossing shows the branch to Grootfontein heading away to the right and the line North-northeast to Tsumeb heading for the distant hills. [Google Streetview, 2024]
The journey towards Tsumeb runs uneventfully over flat ground surrounded by shrub and small trees, heading North-northeast, until it reaches Ohorongo Cement Works.
An aerial view of the works can be found here. [48] That view looks North across the Works and shows the railway and a dedicated branch to the Works in the background.
Ohorongo Cement Works. [Google Maps, June 2025]The passing loop and access to the cement works’ private sidings. [Google Maps, June 2025]The dedicated siding can be seen leaving the main line at the Southwest end of the passing loop. [Google Maps, June 2025]The siding curves round along the Northeast side of the Works. [Google Maps, June 2025]The siding ends towards the Northeast corner of thecsite
The railway continues Northeast over largely unremarkable flat terrain, before turning East, encountering one arm of the B1 and then a triangular junction.
Encyclopedia Britannica tells us that “In 1851 Sir Francis Galton, a British explorer, made note of copper ore deposits in the vicinity of what later became the town of Tsumeb. An Anglo-German company acquired mining rights for the Tsumeb area in 1903. Southwest of Tsumeb is the site of the final German troop surrender to South African forces in World War I. The town remained a small copper-mining centre until the Tsumeb mine was purchased in 1947 by a largely U.S.-based corporation. It has since been developed as a planned company town (although ownership of the mine has changed hands several times), exploiting mineral deposits that include significant amounts of lead and copper as well as zinc, cadmium, silver, and germanium (a metalloid element used as a semiconductor). An integrated copper and lead smelter treats concentrates from Tsumeb and other mines. Owambo labourers are the chief contract workers.” [50]
The mine, owned by Dundee Precious Metals sits to the East of the B1.
The line to the North of Tsumeb left the triangular junction to the West of the town heading first to the West and then to the Northwest and then directly North alongside the D3007, before turning West-northwest again.
Looking Southeast from the B1 towards Tsumeb. [Google Streetview, 2022]Looking Northwest from the B1 along the line towards Omuthiya. [Google Streetview, 2022]The ungated crossing at the D3007. [Google Maps, June 2025]
After a few kilometres on a West-northwest heading, the line then turns to the North-northwest and runs parallel to the B1 for some considerable distance.
The B1 and the railway converge and head North-northwest. [Google Maps, June 2025]The line seen from the B1. [Google Streetview, 2022]The ungated crossing on the D3004. [Google Streetview, 2022]The view North-northwest along the line from the ungated crossing on the D3001. [Google Streetview, 2022]The line diverges from the B1 just to the South of the River Owambo. Both the railway and the road cross the river in this satellite image. [Google Maps, June 2025]Triangle on the South side of the D3610 at Oshivelo. [Google Maps, June 2025]Oshivelo Railway Station on the North side of the D3610. [Google Maps, June 2025]Looking South East from an ungated crossing just to the Southeast of Omuthiya Railway Station. [Google Streetview, 2022]Looking Northwest from the same ungated crossing into the site of Omuthiya Railway Station. [Google Streetview, 2022]Omuthiya Railway Station. [Google Maps, June 2025]The line to the Northwest of the station, seen from the South. [Google Streetview, 2024]A short distance further up the line looking back towards Omuthiya. [Google Streetview, 2024]A little further Northwest again, this time looking North towards Ondangwa. [Google Streetview, 2024]Looking back towards Omuthiya from the ungated crossing on the D3603. [Google Streetview, 2024]At the same ungated crossing, this photograph is taken looking forward towards Ondangwa. [Google Streetview, 2024]Two culverts then take the line over the dry channel of the River Gwashigam. [Google Maps, June 2025]Looking back Southeast from the bridge carrying the D3622 over the line on the approach to 0ndangwa. [Google Streetview, 2024]Looking Northwest from the same bridge towards Ondangwa. [Google Streetview, June 2025]Looking South-southeast from an ungated minor dirt road crossing closer to Ondangwa Railway Station. [Google Streetview, 2024]Looking West-northwest towards Ondangwa. [Google Streetview, 2024]Ondangwa Railway Station and turning triangle. [Google Maps, June 2025]Looking South East from the B1 overbridge into the site of Ondangwa Railway Station. [Google Streetview, 2024]The view West from the same bridge across the turning triangle, the arm on the right leads to the line heading North towards the Angolan border. [Google Maps, June 2025]Fuel depots sit alongside the line as it heads North. [Google Maps, June 2025]Looking North from the bridge carrying the C45 over the railway which is now closing in on the railhead on the Angolan border. [Google Streetview, 2024]
The next three images are a sequence of North-facing photogra
The last photograph on the northern line is a satellite image showing the railhead
The railhead in Oshikango at the Namibia/Angola border. [Google Maps, June 2025]
References
Charles E. Lee; The Longest Narrow-Gauge Railway; in The Railway Magazine, February 1952, Tothill Press, Westminster, London, p121-123.
Helmut Schroeter; Die Eisenbahnen der ehemaligen deutschen Schutzgebiete Afrikas und ihre Fahrzeuge = Die Fahrzeuge der deutschen Eisenbahnen 7 [The Railways of the former German Protectorates in Africa and their Rolling Stock = the Rolling Stock of the German Railways 7]. (in German); Verkehrswissenschaftliche Lehrmittelgesellschaft, Frankfurt am Main, 1961.
Helmut Schroeter and Roel Ramaer; Die Eisenbahnen in den einst deutschen Schutzgebieten: Ostafrika, Südwestafrika, Kamerun, Togo und die Schantung-Eisenbahn: damals und heute [German colonial railways: East Africa, Southwest Africa, Cameroon, Togo and the Shantung Railway: then and now] (in German and in English); Röhr-Verlag, Krefeld, 1993.
Brenda Bravenboer and Walter Rusch; The First 100 Years of State Railways in Namibia; TransNamib Museum, Windhoek, 1997.
According to Schroeter; Bravenboer does not mention this line.
Frederic J. Shaw; Little Railways of the World; Howell-North, Berkeley, California, 1958.
Dick Andrews; Extra Narrow Gauge Junction: Otavi Ry., State Northern Ry. in South Africa [sic]; in Narrow Gauge and Short Line Gazette, Volume 16 No. 1, 1991, p63–66.
In January 1950, G. Charles published a short (2 page) article about the Duke of Sutherland’s railway interests. [1]
It was only the nationalisation of the British railways which brought to an end the Duke of Sutherland’s hobby of owning and running his own train with running powers over LMS lines.
Charles noted in 1950, that the Duke of Sutherland was the only individual owner of a private railway carriage in the UK. He notes that wealthy men in the USA owned private carriages until the 1930s.
We perhaps ought to remind ourselves that the royal family had access to a number of sets of rolling stock on different railway company lines. A tradition which remained in place once the UK railways were nationalised.
We should perhaps also note that the Duke of Sutherland was not alone in owning his own locomotive which ventured onto the main line railways of the UK. The story of the diminutive ‘Gazelle’ includes its first ownership by a wealthy businessman who took it out onto the main line. Its story can be found here. [2]
Since Charles article of 1950, we have become used to private owners being able to run stock (locomotives, carriages and wagons) on lines which belong to the nation in some guise or other. Indeed, the whole railway network began to operate in this way with privatisation in the 1990s.
Charles continues to tell the story of the Duke of Sutherland’s railway involvement. … “The railway through Sutherland, from Golspie to Helmsdale (17.25 miles), was projected by the third Duke, and built at his own expense, after a local undertaking, the Sutherland Railway, had succeeded only in completing its line from Bonar Bridge to Golspie, 6 miles short of Brora, the intended terminus. The line was authorised on 20th June 1870, but construction already had been begun, and the railway was completed on 19th June 1871. A private station was provided, 2 miles north of Golspie, to serve Dunrobin Castle, the seat of the Duke. The railway from Golspie to Helmsdale was worked by the Highland Railway, but it was not until 28th July 1884, that the Duke sold his undertaking to that company, of which he was already a director. He was also a director of the London & North Western Railway.” [1: p9] Some notes about the Sutherland Railway are included below.
“To enable his railway to be opened before the connection with the Sutherland Railway, at Golspie, was completed, the Duke had purchased a locomotive and some coaches. After the Highland Railway took over the working of the line, the engine was used to haul the Duke’s private saloon between Inverness and Dunrobin, but south of Inverness, the saloon was attached to main-line trains. These arrangements were continued after the railways north of Inverness were amalgamated with the Highland Railway, and persisted after the grouping, in 1923.” [1: p9]
“The locomotive was a small 2-4-0 tank engine, built by Kitson & Company Leeds, and named Dunrobin. It had outside cylinders 10 in. diameter x 18 in. stroke, and coupled wheels 4 ft. diameter. The weight in working order was 21 tons.” [1: p9]
The first ‘Dunrobin‘ was a small 2-4-0 tank engine, built by Kitson & Company, Leeds. It was used to pull the two daily passenger trains on the line. When the Duke of Sutherland’s Railway reached Golspie in June 1871, the railway operations were transferred to the Highland Railway and the locomotive was used exclusively for the Duke of Sutherland’s private train. [4: p35-36] Dunrobin was sold to the Highland Railway in 1895. It was rebuilt in 1896 with a larger boiler and cylinders. The Highland Railway numbered it 118 and named it Gordon Castle for use on the Fochabers branch. Later it was renamed Invergordon and used as a shunter in that town, where it survived until just after the Grouping. [14]
“The original Dunrobin was acquired by the Highland Railway, and rebuilt at the Atlas Works, with a larger boiler, and new cylinders. It was numbered 118, named Gordon Castle, and put to work on the branch from Orbliston Junction to Fochabers. Some years later, it was renamed Invergordon, and used for shunting at Invergordon Harbour. During the first world war, it was loaned to the Great North of Scotland Railway, and was scrapped in 1923. The second Dunrobin performed shunting duties at Invergordon, and at Rosyth, during the [second world] war.” [1: p9]
The Duke of Sutherland’s locomotive Dunrobin designed by David Jones and built in 1892. [1: p18]
The second Dunrobin survived into preservation. Along with the four-wheel saloon it was sold to Captain Howey and initially preserved as static exhibits at New Romney on the Romney, Hythe and Dymchurch Railway in Kent.
Dunrobin and its carriage at New Romney. [19]
Following Howey’s death in 1963, the locomotive and carriage were sold to Harold Foster, who had them transported to Canada. Foster was declared bankrupt in 1965, [15] and the locomotive and carriage were bought for $15,000 by the Government of British Columbia. Dunrobin was then overhauled at the British Columbia Hydro workshops, to enable it to take part in the Canadian railway centennial celebrations in 1966. [20] Dunrobin and its carriage (58A) became exhibits at Fort Steele heritage village, where Dunrobin was steamed occasionally. It was last steamed at Fort Steele in 2005. [16]
This image is embedded from the Beamish Museum website. It shows Dunrobin and 58A being tested on 27th June 1966, on the BC Hydro sidings at New Westminster, British Colombia. This photo is one of an extensive set (plus a scrapbook) recording Dunrobin’s life in British Columbia. [20][21]
In 2010, both were declared surplus to requirements [15] and in January 2011, Beamish Museum announced that it had purchased both the locomotive and carriage which arrived back in the UK in May 2011. Dunrobin was taken to Bridgnorth on the Severn Valley Railway, where restoration work was undertaken. [17] Progress on restoration was slow as the condition of the locomotive was worse than had been anticipated. By 2020 work had made good progress but was halted by the pandemic. In 2021, Beamish Museum, received a grant of £150,000 to allow work to be completed. At that time, the Museum was anticipating that the project would be completed within 2 or 3 years. [20]
Heritage Railway Magazine No. 181 contains a feature article on Dunrobin which can be found here. [18] At present Beamish Museum is still expecting Dunrobin to be in steam at the Museum in 2025. [22]
The Two Carriages
“In 1899, a large saloon was built for the Duke at Wolverton Carriage Works, London & North Western Railway. It was designed by Mr. C. A. Park, Carriage & Wagon Superintendent, L.N.W.R., who used it as the prototype for the royal train built in 1903 for King Edward VII and Queen Alexandra, an example of railway coachbuilding, decoration, and furnishing unequalled during the [first half of the 20th century]. This train was used subsequently by King George V and Queen Mary, and George VI and Queen Elizabeth, until 1941. King Edward VIII never used it, as he preferred the late Lord Stamp’s “President’s Car,” which also [was] used by the Princess Elizabeth and Princess Margaret.” [1: p9-10]
“After the death of the third Duke, in 1892, his son decided to have a more powerful engine, and David Jones, Locomotive Superintendent, Highland Railway, designed a 0-4-4 side tank engine, with 13 in. x 18 in. inside cylinders, and a boiler carrying a working pressure of 120 lb. per sq. in. The diameter of the coupled wheels was 4 ft. 6 in., and of the trailing wheels 2 ft. 6 in. This engine was built at the Atlas Works, Glasgow, in 1895. Like its predecessor, it was named Dunrobin, and was painted dark green, with black bands, and yellow lining. A seat with leather cushions, extending the full width of the cab, was provided over the coal bunker for passengers riding on the footplate. The front weather board was autographed by several illustrious travellers, who inspected the engine while they were guests of the Duke.” [1: p9][14]
The large saloon in the paint shop at Wolverton in June 1949. [1: p19]
“In February, 1949, the Duke of Sutherland advertised his saloon for sale, for conversion into a bungalow; but a Lincolnshire firm of coachbuilders recognised the vehicle from its description, and purchased it. The new owner, the Lincolnshire Trailer Company, Scunthorpe, intend[ed] to preserve the saloon as an example of the finest British coach work in existence. It … also acquired the Duke’s locomotive and smaller saloon, Arrangements [were] made with Capt. J. E. P. Howey, Chairman of the Romney, Hythe & Dymchurch Railway, for the engine and the saloons to be exhibited at New Romney.” [1: p10]
“The large saloon [was] 57 ft. long over headstocks, and 61 ft. over the buffers. The width [was] 8 ft. 6 in., and height from rail level to the top of the roof 12 ft. 7 in., and to the side cornices 10 ft. 9.5 in. The saloon [was] carried on four-wheel bogies with a wheelbase of 8 ft., and spaced at 39 ft. centres. It [was] fitted with the vacuum and Westinghouse brakes. …. The saloon [was] divided into a large lounge (13 ft. 10 in. long, and extending over the full width of the vehicle), a smoking room (7 ft. long) three single berth sleeping compartments, a pantry, and a luggage and attendant’s compartment. Two of the sleeping berths [had] separate toilets, and a third toilet adjoin[ed] the smoking room. The lounge [was] furnished with two movable settees, a round table, and four dining chairs; and the smoking room [had] four fixed armchair seats, convertible into two beds, and two folding tables. The vestibules at each end of the saloon [had] end observation windows, but no gangways to connect with other vehicles on the train. Complete privacy for the occupants [was] thus assured.” [1: p10]
The smoking compartment of the Duke of Sutherland’s large Saloon. [1: p19]
“Stone’s system of electric lighting [was] installed, and there [were] electric bells to the attendant’s compartment, and electric fans for ventilation in hot weather. The fittings of the pantry include[ed] an oil cooker, a sink and a dresser. Steam heating apparatus, and a self-contained high-pressure hot-water system, [were] provided for warming the vehicle. … The interior decorations of the saloons and berths [were] of Spanish mahogany, white enamelled, and picked out in gold leaf, with solid silver lighting fittings. The ceilings [were] in figured lincrusta, finished in white and gold leaf. The couches and easy chairs [were] upholstered in green figured tapestry, with loose chintz covers, and the pelmets and curtains [were] of green silk and chintz to match. Turkey carpets [were] laid in the lounge and the smoking room, but elsewhere, Wilton pile carpets, underlaid with thick grey felt, [were] used. The external finishings of the saloon [were] dark Sutherland green, on the lower panels, and white, picked out with gold leaf, on the upper panels. The roof and the tyres [were] painted white.” [1: p10]
The bogie saloon is now part of the National Railway Museum’s collection. As of January 2011 it was under the care of the Scottish Railway Preservation Society at the Bo’ness and Kinneil Railway. [14] It remains on display in Museum Hall No. 2 in the Museum of Scottish Railways at the Bo’ness and Kinneil Railway. Further details can be found here. [23]
This photograph of the bogie saloon (57A) is embedded here from the Museum of Scottish Railways website. Please click on the image to go to their website. [23]
“The smaller saloon [ran] on four wheels, and [was] 25 ft. long and 8 ft. 6 in. wide. It [was] divided into a saloon, 14 ft. 3 in, long, with side and end windows, and a brake van, 10 ft. long. The saloon [was] furnished with six armchairs and a table, and there [were] three fixed seats in the brake van. The interior decorations [were] of mahogany and maple, and the external finish resemble[d] that of the larger saloon. When the Duke was travelling by special train, north of Inverness, the large saloon was steadied by having the smaller vehicle attached behind it.” [1: p10]
The Duke of Sutherland’s small four-wheel saloon, used for local journeys, and for steadying the large saloon. [1: p18]
The smaller saloon is now at Beamish Museum. It travelled there in 2011 and underwent limited refurbishment to allow it to be placed in service at the Museum. In 2018 it saw its first use at the Museum. [20]
This photograph of coach 58A is embedded her from Heritage Railways Magazine’s website from 2018. Please click on the image to be taken to the report on their website. [24] Should image-link fail, please click here. [25]
The Sutherland Railway and the 3rd Duke of Sutherland
“The Sutherland Railway had opened in 1868, terminating at Golspie. The Duke continued the line to Helmsdale from his own resources. It opened from a Dunrobin Castle station to West Helmsdale in 1870, and for some months the Duke had it operated as a private railway. In 1871 the line was completed from Golspie to Helmsdale, and operated as a part of the Highland Railway. … It was absorbed into the Highland Railway in 1884 and continues in use today as part of the Far North Line.” [3]
Various interests in Inverness and in Sutherland sought to extend railways to the North of Inverness. The first step in this was the Inverness and Ross-shire Railway which opened as far as a Bonar Bridge station on 1st October 1864. [4: p30]
“Next came the Sutherland Railway which obtained Parliamentary powers to build a line from Bonar Bridge to Brora in 1865. [5] This was assisted by the commercial drive and financial resources of The Duke of Sutherland.” [3]
The Sutherland Railway ran out of money when it reached Golspie. It was “unable to continue to Brora as authorised. By now the Inverness and Ross-shire Railway had been absorbed into the Inverness and Aberdeen Junction Railway, and it was only by the negotiating pressure of the Duke of Sutherland that the line reached Golspie. The Duke of Sutherland had a seat at Dunrobin Castle, which would have been on the Brora line, but was now not railway connected. … The Duke of Sutherland decided to build a line himself, and this became the Duke of Sutherland’s Railway. It obtained its authorising act of Parliament, the Duke of Sutherland’s Railway Act 1870 … on 20th June 1870. [4: p33-36] The act authorised a 17-mile line along the coast from Golspie to Helmsdale, on the borders of Caithness, taking over the Golspie to Brora powers of the Sutherland Railway.” [3][5]
“Engineering difficulties at both ends of the line delayed the completion of the line throughout, but the section from Dunrobin to a point just short of Helmsdale was finished by the autumn of 1870. The Duke decided that the railway should be opened forthwith, and a temporary station, known as West Helmsdale, was built at Gartymore. An engine and some coaches were purchased for working the line, but since there was as yet no physical connection with the Sutherland Railway at Golspie, the stock had to be placed on wagons and hauled along the road by a traction engine.” [3][4: p33-36]
“The opening ceremony was performed on 17th September 1870 by Princess Christian of Schleswig-Holstein. … From the date of the opening ceremony, the railway was privately operated, but after a Board of Trade inspection it was opened to the public on 1st November 1870.” [3][7]
“After the public opening, a service of two trains a day in each direction was run. On 19th June 1871 the works were completed and the railway was opened throughout, and the Highland Railway took over the working. [4: p33-36] The temporary terminus at Dunrobin became a private station serving the castle, at which trains called by request to pick up or set down passengers. In 1902 the buildings were reconstructed to the designs of the estate architect.” [3]
On 28th July 1884 the Duke of Sutherland’s Railway was absorbed into the Highland Railway. [3][4: p40]
It is worth noting that the Duke of Sutherland made a significant loss in undertaking all this work. He later commented in 1870 that it might have been possible to have turned a small profit if he had chosen to undertake the work as a narrow gauge line. …
“The Duke of Sutherland said he wished he had known more of the Festiniog Railway six years ago. ‘I have expended’, said His Grace, ‘about £200,000 in promoting and making railways in the North. Had these lines been constructed on the narrow gauge, and had they in consequence cost only two-thirds of the sum that has been expended on them, I should have obtained a direct return on this large sum which I have laid out for the benefit of my estates and of the people in those remote districts. As it is I shall suffer considerable loss.” [8]
The expenditure in the 1860s of £200,000 is the equivalent of close to £31,077,000 in 2025! [9] It is astounding that the Duke’s holdings meant that expenditure of that sum of money did not bring about bankruptcy. “The pound had an average inflation rate of 3.11% per year between 1860 and 2025, producing a cumulative price increase of 15,438.46%! … A pound today only buys 0.644% of what it could buy back then.” [9]
George Granville William Sutherland-Leveson-Gower, 3rd Duke of Sutherland (1828-1882) had interests around the country but of particular interest to me is his involvement with developments in East Shropshire which became the Lilleshall Company. He also held shares in other industrial ventures, including coal and ironstone mines.
The 3rd Duke of Sutherland inherited significant wealth and estates, including those in West Midlands, which included the estate of Lilleshall. He was also known for his interest in industrial projects, like the Shelton Iron & Steel Co. where he was a principal shareholder. The Duke’s involvement with the Lilleshall estate and his other industrial interests demonstrate a broader pattern of wealth accumulation and investment within his family. The family’s influence extended beyond the specific “Lilleshall” company to include other industrial and land ownership ventures, particularly within the West Midlands region. [10][11][12]
In 1892, the 3rd Duke of Sutherland’s obituary included these words: “…The late Duke was keenly devoted to science as employed for the promotion of the prosperity and material comfort of the tenants on his vast estates. He did more than, perhaps, any other man in the world to utilise cultivation by steam, and at one period he used all the resources and talent of the firm of John Fowler and Co., of Leeds, in this direction. He constructed at his own expense a railway in Sutherlandshire. It is said that an admiring navvy, seeing him start from Dunrobin Station one day, exclaimed to his mate, ‘There, that’s what I calls a real Dook. Why? There he is a driving of his own engine on his own railroad and burning of his own blessed coals!’ One who knew him well has said of him: ‘He was ever ready to assist in the development of ingenious ideas in machinery, mechanical appliances, and the like’...” [12][13]
References
G. Charles; The Duke of Sutherland’s Saloons and Locomotives; in The Railway Magazine, January 1950, Volume 96, No. 585, Transport (1910) Ltd., Westminster, London, p9-10.
Tony Streeter; Dunrobin: Overlooked, outcast and unwanted – until now!; in Steam Railway No. 384; Bauer Media, Peterborough, (7 January – 3 February 2011), p7–8.
Robin Jones; Steam comes home… twice; in Heritage Railway No. 151; Mortons Media Ltd., Horncastle, p24–25.
Will Marsh; Steam Locomotive Notes; in Severn Valley Railway News. No. 220; Winter 2022, p18.
There was a 19th century proposal for a public railway to Dunvegan and Portree which never came to fruition. A later proposal was the Hebridean Light Railway which was promulgated by the Hebridean Light Railway Company. It intended to operate on the Scottish islands of Skye and Lewis. [8] The Skye line was to have connected the port of Isleornsay (for ferries from Mallaig on the Scottish mainland) and the port of Uig on the north-west coast of the island, from where ferries would have sailed to Stornoway on Lewis. Another line was then proposed to link Stornoway to Carloway, the second settlement of Lewis. Branch lines were also proposed to Breasclete [9] and Dunvegan. [10]
The line was proposed in 1898, but was never completed. Records of the proposals are held in the National Archives at Kew. [11]
Although these schemes never came to fruition, at least six industrial railways have existed on Skye and adjacent islands at one time or another. These include:
TheLoch Cuithir to LealtDiatomite Railway – Details of this line can be found here. [5]
The Talisker Distillery Tramway – This short 23″-gauge tramway opened in 1900 and closed in 1948. Details can be found here. [6]
The Skye Marble Railway – Soon after the turn of the 20th century a line was opened between the Kichrist Quarries in Strath Suardal and Broadford Pier/Quay. Different sources say that this was initially either and aerial ropeway or a horse-worked tramway. Whatever form the initial arrangements took, by the end of the first decade of the 20th century, it was operating as a steam-hauled 3ft-gauge railway which for a short while (certainly no more than 4 years) employed a Hunslet 0-4-0ST, originally built in 1892 and previously used on the construction of the County Donegal Railway and various other contractors projects. This line is covered in more detail in the article which can be found here. [7]
The Raasay Iron Ore Mines and Their Railway – the railway operated from 1913 to 1919. [1][2]
More can be discovered about Raasay’s railway here. [12]
The Quartzite Quarry at Ord (opened in 1945) was equipped with a 3ft-gauge railway along which wagons were pushed by hand to a loading embankment. A short article can be found here. [13]
Storr Lochs Hydroelectric Power Station (opened in 1952) which included a standard gauge electric cable railway which still routinely carries spares and supplies down a 1 in 2 gradient. Another short article can be found here. [14]
Other railways on Skye or on adjacent islands? One source commented that Skye had thirteen different railways/tramways open at one time or another. I have only been able, so far, to identify the ones listed here. Should others be aware of more historic rail sites on Skye, I would be interested to hear. Maybe that source intended their list to include the abortive schemes mentioned at the head of this article? One particular proposal, which never came to fruition, has imaginatively been taken as the basis for the story of the fictitious Highland Light Railway Company. [15]
Storr Lochs hydro-electric power station was commissioned in 1952. It was built by the North of Scotland Hydro-Electric Board, and used water from Lochs Leathan and Fada, to provide the first general supply of electricity to the island. The power station has a total output of 2.40 MW. Because the location of the turbine house was not easily accessible, it was (and continues to be) served by a standard-gauge electric funicular railway. [1]
The location of Storr Lochs Hydroelectric Power Station in the Northeast of the Isle of Skye. [1]
The funicular is the only working railway on the Isle of Skye. It is below the spectacular stacks and landslips of The Storr on the Trotternish Peninsula, a few kilometres north of Portree.
The cable railway was built early in construction of the power scheme, and used to carry materials and equipment to the shores of Loch Bearreraig. In the concrete foundation of the railway over 600 rough steps were built. The first pipeline was constructed for the 1952 opening, and the second pipeline, running parallel added in 1956. [7] The maximum gradient on the railway is 1 in 2. [9]
Photographs of the construction of the scheme can be found here. [10]
Other pictures of this site can be seen here. [11]
There was a short tramway in the quartzite quarry close to Ord which was operational in the mid-20th century. …
The small village of Ord sits on the Northwest side of the Sleat Peninsula. [1]The small building shown on this map near to Coille a’ Chuaraidh is the approximate location of the quarry. [6]A road from the village runs Southeast across the Sleat Peninsula. The quartzite quarry was on the North side of the road at Coille a’ Chuaraidh. [1]
J.G. Stein & Co. of Bonnybridge commenced quarrying at Ord, Sleat Peninsula, Isle of Skye in 1944 and this continued until 1960. Silica was extracted from the quartzite ore and used as a heat resistant substance in industrial furnaces, fire bricks, cements, boilers etc. Only the explosives store and a storage building, now used as a bothy, survive. [1]
Ore was removed from the quarry in trucks that ran on a very short rail track to the road where it was loaded onto lorries and taken to the pier at Armadale. The ore was then loaded into a waiting puffer (coastal trading boat). [1]
The high cost of transport away from Skye meant that the quarry was uneconomic and it closed in 1960. [2]
The tramway/railway was very short – only 110 metres in length. [4]
The tramway was operated by manpower, no mechanical propulsion was employed. Rolling stock consisted of a number of wooden-framed tipper wagons, allegedly used on the Skye Marble Railway. [3]
This image is a postcard view of the Skye Marble Quarry.At the centre of the image is one of the tipper wagons used at Kilchrist and which may well have been bought for use at Ord Quarry. [5]
Until the 1970s, there were a number of these wagons gradually deteriorating on the beach at Ord, although there is no longer any sign of them. [4]
The featured image for this article is the only photograph I have been able to find of ‘Skylark’, the locomotive which for a matter of only a few years operated on the Skye Marble Railway. Further notes about the locomotive can be found in this article.This information board across the road from Kilchrist Church, features Skylark at the head of a train of wagons. [5]
Some sources say that in 1904, an aerial ropeway was constructed to transport marble to Broadford Pier from Kilchrist Quarries (alternatively known as Kilbride Quarries or Strath Suardal). The quarries were used to excavate marble. [1][2] Other sources talk of the line being worked first by horses. [14] There was an incline between the upper and lower Quarries at Kilchrist which appears to have been rope-worked. It is most likely, given the length of line from Kilchrist to the quay at Broadford and the relatively shallow gradients, that the line from the marble works down to Broadford was worked by horses, but it is entirely possible that an aerial ropeway was employed. Nothing remains of the line beyond the formation which now carries a footpath once South of Broadford, and, as will be seen below, some rails in the surface of the pier at Broadford.
The main length of the line was converted to a tramway/railway in 1910. It was, in total, over 6 km in length. [4] Some sources quote 3.5km [viz. 2] and probably take that length from the length of the footpath which follows the route of the old railway. The Skye Marble Railway was a 3 ft (914 mm) narrow gauge [5] line which only operated from circa. 1910 to 1912/1913. [6][7]
The Northern half of the Skye Marble Railway as shown on railmaponline.com’s satellite imagery. [8]The Southern half of the Skye Marble Railway as shown on railmaponline.com’s satellite imagery. [8]
It seems appropriate at this point to take a break from our journey along the line to find out as much as possible about the locomotive which was used on the Skye Marble Railway for a short time in the early 20th century. The website of the Industrial Railway Society (IRS) has some more information about this locomotive which the Skye Marble Company knew as ‘Skylark’. … The engine was first known as ‘Bruckless’, the notes which follow come from the IRS archives and were pulled together by D. Cole in 1965, in part from work undertaken by Dr. Iain D. O. Frew: “Delivered to T.S. Dixon in May 1892 through the agency of Josiah Buggins as ‘Bruckless’ for the Donegal-Killybegs contract of the County Donegal Railways, it was sold in 1894 after the completion of the contract and later worked for the Preston Corporation Waterworks Department on the construction of the Spade Mill No.1 Reservoir at Longridge. There it was named ‘Skylark’. Subsequently, in 1907, it went … to the Skye Marble Company and was used firstly by a contractor in building the Company’s railway from Torrin to Broadford, and then, from 1909, to work the railway itself. In 1913, following the failure of the quarries, the line was lifted and the locomotive sold to W.N. Jackson, a Glasgow metal merchant. He in turn sold it to J. Mackay, contractor for the Roundwood Reservoir in County Wicklow. This contract passed to H. & J. Martin Ltd. in 1915, and after its completion in 1925 the locomotive was scrapped.” [15]
D. Cole undertook further research into Hunslett’s records and was able to ascertain that “from July 1897 – the date from which the earliest detailed Hunslet spares records have survived – to March 1905 spares were sent to the Newcastle & Gateshead Waterworks. Delivery was sometimes to Otterburn, and the name of the locomotive was frequently quoted as ‘Bruckless’. No name was quoted by Preston Corporation when ordering spares between March 1907 and March 1910.” [15]
Cole was also able to confirm that:
from November 1910, spares were sent to W.R. Herring with the locomotives name quoted as ‘Dilworth’; [15]
in January 1911 and May 1911, spares were sent to Skye Marble Ltd. but no name was quoted; [15]
in August 1913, spares were ordered for the locomotive named ‘Skylark’ by W.H. Jackson, Glasgow, but sent to Mr. Easter, Skye Marble Cottages, Broadford, Isle of Skye; [15]
from May 1914 to May 1916, spares were sent to John Mackay, Dublin Waterworks, Roundwood, Co. Wicklow; [15] and
the last spares of all were sent out in January 1921 to H. & J. Martin Ltd., Roundwood Reservoir. – K.P.P. [15]
We now continue the journey along the old railway route. …
This view looking South towards the village of Broadford shows the footpath below the road (to the left beyond the dwarf wall) which probably follows the line of the old railway. [Google Streetview, December 2021]
The alignment of the railway which I have proposed here is supported by Railscot. On their page about the railway the alignment is shown adjacent to the shore rather on the higher ground to the West. [7]
The yellow-brick abutment on the Northside of the river is original, the modern footbridge sits on that abutment but is on a different alignment to the old railway. There is no remaining abutment on the South side of the river, so a new smaller abutment was constructed to support the footbridge. A comparison is made and pictures are provided, on this site. [5] The photographs towards the bottom of that webpage give an idea of the alignment of the old railway bridge. Which crossed from the North abutment to a point on the South bank of the River Broadford marked by the young tree in the image below.
The modern footbridge sits on one of the abutments of the old railway bridge beyond the river in this picture. The old railway bridge spanned the river on a line between the North abutment and the young tree, in leaf, at the centre of this image which looks North from the A87. [Google Streetview, May 2022]
From the South bank of the river and running South the line shown on railmaponline.com’s satellite imagery seems to be realistic, following, as it does, a curved route to the East of the location pictured above. …
Crossing the modern A87, the old railway ran Southeast crossing the modern Glen Road (which did not exist at the time the railway was operating) close to Broadford (Church of Scotland) Church and then curved round to the East of Strath Suardal Way (which also did not exist when the railway was working). [8]
The next two images show the formation of the old railway on a low embankment on the East side of Strath Suardal Way.
This photograph was taken at the roundabout looking South-southwest along Strath Suardal Way. The low embankment runs behind the street lighting. [Google Streetview, December 2021]Further along Strath Suardal Way and looking Southwest, the low embankment is again visible blue beyond the street lighting columns. [Google Streetview, December 2021]Towards the end of Strath Suardal Way the line of the old railway turned away to the Southwest. [8]The old Railway’s route runs through the evergreen trees on the left side of this West-southwest facing photograph. [Google Streetview, December 2021]The line then ran over open moorland to the East of the road to Elgol (the modern B8083). [8]Initially the route of the old railway and the modern B8083 converge as they head South-southwest. [8]The footpath access to the line of the old railway can be seen just as the old railway route and the B8083 begin to diverge. [8]The footpath access to the line of the old railway as seen from the B8083. Just beyond the second gate the footpath turns to the right and follows the old railway formation. The first length of the footpath runs through a protected plantation of young trees. [Google Streetview, December 2021]
The four photographs immediately below show the first few hundred metres of the footpath along the old railway – as far as the plantation boundary fence which can be seen beyond the two low gateposts in the fourth photograph.
When marble was discovered near Kilchrist in Strath Suardal on the slopes of Ben Suardal about 3 miles (5 kilometres) Southwest of Broadford, a large factory was built near the quarry for cutting and polishing the quarried blocks. The Marble was formed by the heating of limestone by igneous intrusions in the Tertiary Era. It appears that small scale workings were active as early as the 18th century, developing throughout the 19th century. [14]
“On level ground by the South side of the Broadford to Torrin road are the remains of an industrial complex belonging to the old marble quarries. The remains consist of a ruinous concrete shed/warehouse 60m long, a railway platform, traces of the railway line and sidings, and four brick-built circular bases 2.4m in diameter.” [17]
From adjacent to the lower quarry, with its own branch, spoil heaps and concrete bases, [22] the line continued South but as a rope-worked incline.
Looking South up the incline towards the upper quarry. [My photograph, 5th May 2025]
The view South up the incline to the upper quarry. This image is embedded from here. [19]. Clicking on the image takes you directly to the original image which is one of a series of photographs of the route of the old railway can be found here. [5]
In a rocky cleft immediately to the East of the track to Boreraig, are the remains of two former dynamite stores, one within the other. The older, larger building with walls of rubble construction, envelopes a smaller concrete blockhouse. Close to these are the remains of the ot for the winding wheel for the rope-worked incline.
Also located at the upper quarry (but of which I did not get photographs) are two machinery stands:
2m square with 11 bolts protruding
6.5m by 5.2m with 4 stanchions protruding.
The Demise of the Line
The operation was not a commercial success. The railway line was abandoned by 1914 when the operating company became bankrupt. The line was offered for sale as part of the liquidation of the business. The sale comprised a 9½-in, 4-wheeled locomotive, 500 tons of 35 pounds (16 kg) and 56 pounds (25 kg) flat-bottomed rail and 9,000 6-foot creosoted sleepers. [4][20]
Extracting the marble proved difficult and expensive and quarrying finally ended here in 1939. [21]
During this week the church celebrated Ascension Day. The day when Jesus returned to heaven after his death and resurrection. The Ascension begs a question:
What exactly is happening as Jesus goes into heaven?
Is this the triumphant finale, the final victory parade? When at last Jesus goes home to the Father, to be paraded through the streets of heaven in victory – much like a Roman general would be feted after a battlefield victory, or a triumphant football team parades through its home town or city.
Is the Ascension the final triumphant seal on Christ’s work on earth? Or is it the time when Jesus is welcomed into that indescribable unity which is the Trinity of the Godhead – back home at last?
Or is it a moment of desertion. The disciples have only just received Christ back among them after his death and now cruelly he is taken from them into heaven. A renewed relationship is abruptly ended!!
A commission is given and then the bombshell is dropped. “Listen!” says Jesus, “I have a job for you to do – to be my witnesses throughout the known world.” … “Great, Lord, when do we get down to business, when do we work out the strategy, when do you provide the plan of action?” … “Not us, not me!” says Jesus, “You! I’m going away and you’ll never see me again this side of heaven!”
Or is this, actually, rather than desertion, the point at which followers become leaders, children become adults? Is this primarily the point where Jesus followers can no longer hide behind a leader and have to begin to make choices themselves?
For all the participants in the Ascension story, this must have been a confusing moment. A time which carried so much emotion – parting from friends, losing a friend and leader, going home … All sorts of mixed emotions.
Ultimately this is all true. … Christ goes home in victory. A job well done. … He leaves behind a ragged group of followers who must have felt deserted. … And perhaps most crucially for the church today, Jesus is asking this ragged group to stand up for themselves. To be what he knows that they can be with the Spirit’s strength – a missionary band that will turn the known world upside down within a century.
You may well recognise this prayer of St. Teresa of Avila. … In summary:
Christ has no body now but yours. No hands, no feet on earth but yours. Yours are the eyes through which He looks compassion on this world. Christ has no body now on earth but yours.
The Ascension story reminds us that we are the ones that count – between now and eternity God has left his concerns, his mission in our hands. And as a result of Ascension Day, it behoves us to commit ourselves again to serving to God – to discovering his way and walking in it, to being his hands, eyes and feet in our local communities.
Our Gospel reading reminds us that in this endeavour, we need to give the highest priority to just one thing …. Working together with a common purpose – being united.
Jesus makes one thing his priority in his final long prayer in John 17 – God’s call to his church to be ‘one’, to be united. ….. We have not done so well with this! Have we?! It is, I believe, our greatest failure.
Rather than unity being the high priority that Jesus makes it in our gospel reading. The church down the ages has always set Jesus’ prayer for unity aside in favour of other things. … Often these other things have been so very important to us. Doctrinal purity comes high up the list, perhaps the role of women in ministry, perhaps issues of human sexuality, perhaps inclusive church, perhaps ….. the list could go on. One of the most significant lessons from church history is that the Church has played fast and loose with Jesus’ call to be one.
‘Being one’ does not mean that we all agree about everything. ‘Being one’ is about recognising just one thing and one thing alone. ‘Being one’ is about recognising that we are family, God’s family. However much we wish it was not true, however much we wish we could choose our Christin sisters and brothers we must not. Our failure to be one, gives the lie to all that we claim as Christians. We cannot claim to love others if we don’t love each other, in our churches, in our communities, in the national church and in the international church.
God’s call is that we work together for a common aim. For the church that aim, that purpose, is the Good News, the Gospel of Jesus.
Just as Jesus, at his Ascension, leaves his disciples to do his work, so God gives us the freedom to choose to build hope, joy and peace in our world and in our church. Each of us, each one of us, sits in the midst of a stream of the overflowing love of God. … We have a choice, over whether we share that love with each other. And so very often we have chosen not to do so.
The national church makes this period between Ascension and Pentecost a time of prayer, it calls it a “Novena” (that just means 9 days – 9 days of prayer). Our prayer needs to be that we will be one just as Jesus desires that we be one. Nothing for God, for Jesus, has a higher priority, not getting things doctrinally correct, not our own priorities, not the state of our buildings, not even the future of our churches. One thing matters above all else to Jesus, that we are united. We are one family under God.
This is Jesus’ prayer for us. Listen again to what he prays:
(John 17:20-23) “I do not ask for these only, but also for those who will believe in me through their word, that they may all be one, just as you, Father, are in me, and I in you, that they also may be in us, so that the world may believe that you have sent me. The glory that you have given me I have given to them, that they may be one even as we are one, I in them and you in me, that they may become perfectly one, so that the world may know that you sent me and loved them even as you loved me.”
An article in the magazine Railway Bylines, in the September 2002 edition written by Orson Carter prompted a look at the railway system in Dereham Norfolk. [1]
These three extracts from the 25″ Ordnance Survey of 1905, published in 1906, show the railway running North to South through Dereham. Southbound trains on the Wymondham & Wells Branch ran between the town’s Malthouses, crossed Norwich Street and entered the Railway Station. Goods facilities were close alongside the passenger station with the Goods Shed east of the main running lines. Further sidings sat to the West of the line before a triangular junction (including Motive Power Depot and turntable) gave access to lines running Southeast to Wymondham and Norwich and West to King’s Lynn. [2]
Carter’s article primarily reflected on the changes experienced in Dereham as the 1950s and 1960s developed. The line through Dereham remained open as a goods only line into the later part of the 20th century. This made it a prime candidate for preservation. The Mid-Norfolk Railway was formed in 1974 as preservation efforts began. The line re-opened in the mid-1990s. The MNR owns and operates most of the former Wymondham-Fakenham branch line of the Norfolk Railway! [3]
These three extracts from Google Maps show a similar length of the line as that covered by the extracts from the 25″ 1905 Ordnance Survey above. [Google Maps, February 2024]
Carter’s article gives only a limited account of the railway history of East Dereham’s rail network: ” In railway terms the small town of East Dereham in Norfolk belied its size as until the early 1950s it was, in effect, a three-way railway junction which enjoyed a status lofty enough to warrant a ‘Class 1’ grade station master. The ‘main line’ though the term is comparative – was used by trains between Norwich and Wymondham and Wells-next-the-Sea; there was also a branch from East Dereham to Kings Lynn, and until September 1952 the trains on the semi-circular route to/from Norwich via Wroxham and County School also started and terminated at East Dereham. But if one looked in the public timetables for this apparently important junction station, one would not have found an East Dereham the station was invariably listed simply as Dereham.” [1: p522]
Dereham Station was built by The Norfolk Railway. “The Norfolk Railway was an early railway company that controlled a network of 94 miles around Norwich, England. It was formed in 1845 by the amalgamation of the Yarmouth and Norwich Railway opened in 1844, and the Norwich and Brandon Railway, not yet opened. These lines were built out of frustration that the Eastern Counties Railway line that was expected to connect Norwich to London failed to be completed. The Norfolk Railway also leased the Lowestoft Railway and Harbour Company, and built a branch to Dereham and Fakenham, opened in 1846 and 1849 respectively.” [5]
The Mid-Norfolk Railway dates the opening of the station to 1847: “Three years later an agreement was made to allow the Lynn & Dereham Railway to start to use the Norfolk Railway’s station, meaning that they could close their own terminus in the town. In 1857, the line northwards to Well-next-the-Sea was completed – with all the lines becoming part of the Great Eastern Railway in 1862. The station grew and evolved over the decades, with the Great Eastern Railway expanding the original Norfolk Railway ‘Tudoresque’ buildings as traffic grew, and the platforms being raised and extended to accommodate longer and more modern trains. Eventually, the station boasted a licensed buffet and four platforms with extensive canopies. Platform 1 is on the up line, with platforms 2 and 3 being set back to back (making one long platform face) and platform 4 being a short bay originally connected only to the King’s Lynn line.” [6]
The uncertainty over the date of opening of Dereham Station is resolved by Wikipedia quoting D. I. Gordon: A branch from Wymondham to Dereham “opened from Wymondham to Dereham on 7th December 1846 for goods trains and on 15th February 1847 for passengers. [7] … During construction, the Norfolk Railway sought an Act of Parliament to extend the Dereham line to Wells and Blakeney. … The Wells and Blakeney extensions were not built, and the new work was confined to building to Fakenham only. The construction contract [for the Fakenham line] was let to Peto in the Spring of 1847.” [5]
Soon, “The Eastern Counties Railway (ECR) … engaged in talks and … agreement for acquisition of the Norfolk Railway was finalised on 2nd May 1848, and the ECR took over the entire Norfolk Railway system, rolling stock included, on 8th May 1848. It sacked the Norfolk Railway staff and substituted its own. [7] Gordon says that the ECR ‘took the Norfolk on lease, so saving it from financial ‘perdition’.” [7: p164][5]
The Lynn and Dereham Railway also obtained an Act of Parliament to build a line to Dereham in 1845. It did not open its station (Lynn Hill) until 11th September 1848. [8: p41] [13] very close to The Norfolk Railway and formed a junction with it. This station was closed in 1850, when trains were extended to The Norfolk’s Railway station.
The King’s Lynn line was originally operated by the Lynn & Dereham Railway but, in 1848, the ECR leased The Norfolk Railway and absorbed the line to King’s Lynn.
In 1857, the line between Dereham and Wells opened. The Railways in this area became part of the Great Eastern Railway (GER) in 1862.
“In addition to the passenger facilities, Dereham had extensive goods facilities. Three goods sheds were provided (the surviving shed, one north of Norwich Road and another on the Lynn line), a large cattle yard, a coal yard, sidings for the town’s maltings trade, the Hobbies’ works, gas works and, during the Second World War, additional War Department sidings were provided on a new site to the east of the line. A triangle was provided for the Lynn line, allowing some trains (including the Royal Train) to avoid having to reverse in the station and a locomotive depot was built inside this triangle – where the town swimming pool now stands. This complex site was controlled by four signal boxes and stables were provided to house the horses used to operate delivery carts and shunt the yards.” [6]
“With an 1841 population of 3,837, Dereham already had several brewers and maltsters, two iron foundries and various small industries geared to the needs and produce of what was described as the ‘Garden of Norfolk’. But by 1855 it had grown to nearly 4,500 and had added a steam saw-mill, two further foundries, and a greatly expanded interest in the making of agricultural implements. In that year White recorded how the town trade had ‘considerably increased’ since the opening of the railways, and described the extensive granaries which had been built near the station and through which extremely large quantities of corn were despatched by rail. East Dereham in fact well illustrated the power of the nineteenth century railways to develop a small town when not too near a major centre and when conditions, in this instance the high fertility of the local soil, were right.” [7]
Derehamhistory.co.uk tells us that, “Along with the railways came the electric telegraph. The Norfolk Railway was a pioneer in the use of this instrument in railway operating and its spare capacity was made available to the public. It provided a nationwide accurate time check, replacing the often erratic local time with ‘Railway Time’. It gave the latest Stock Exchange prices and racing results in advance of the arrival of the newspapers.” [10]
“In the early 1880s, the railway line between Dereham and Wymondham was expanded to a double-tracked line, which was completed shortly after 1882. Yakham, Thuxton, Hardingham, and Kimberley Park all had new platforms constructed on the new up line, while the down line platforms underwent alterations, including the addition of new canopies. In 1886, an avoiding double track line was constructed to the south of the Dereham station. This allowed the Wymondham to King’s Lynn line to be used as a cross-country route. The avoiding line was utilised by freight, excursion, and diverted main-line trains.” [11]
Diesels were introduced in the mid-1950s but rapidly increasing road transport competition meant that rain services in rural Norfolk became increasingly uneconomic. “In 1963, Richard Beeching recommended that the line from Dereham to Fakenham and Wells be closed and, in 1964, the last passenger train ran over this section. He also recommended that the railway from Norwich to Dereham and then to King’s Lynn be retained for express trains and freight. However, in 1968, the connection to King’s Lynn was cut, as part of the formation was wanted for improvements to the A47, and the remaining passenger services between Dereham and Norwich ended in 1969. Concerns had been [raised] in Parliament about the local roads being inadequate for local business needs, specifically the large maltings at Great Ryburgh, so tracks through the station remained in regular use as a goods-only line until the 1980s.” [6]
Sadly the main station building at Dereham suffered a significant fire in 1988. The interior and roof were lost. The station master’s house survived in a near derelict condition. After the line was purchased by the Mid-Norfolk Railway it was carefully restored and it re-opened to passengers in 1997. [6]
The Mid-Norfolk Railway also reports that “two of the station’s signal boxes have been replaced. The original Dereham Central site is occupied by the former Stratford Southern box, which controls the station site and the line southwards. Dereham North is occupied by the former Laundry Lane box from Lowestoft, and controls the level crossing and line northwards. The original Dereham North box also survives, as holiday accommodation near Melton Constable. With the original locomotive depot site being lost, [their] new maintenance shed has been built in the former goods yard.” [6]
The surviving goods shed, stables and one of the station’s original LNER yard cranes feature in future plans for a heritage attraction at Dereham Station.
The Mid-Norfolk Railway Preservation Trust also plans to restore another section of track. It intends to bring back into use another mile and a half of the line from North Elmham, near Dereham, up to the former County School station. The Trust will restore the station to an operational standard and make it the line’s northern terminal. “County School once served a nearby boarding school set up in the 19th century, which later became a naval training school and a Dr Barnardo’s home until its closure in 1953.” [12]
Currently, The Mid-Norfolk Railway, at 17.5 miles, is already one of the UK’s longest heritage railways. Once the latest extension is completed, it would be the third longest. [12]
County School Station on the Mid-Norfolk Railway. [12]
References
Orson Carter; Dereham – a Time of Transition; in Railway Bylines, Volume 7, Issue 10; Irwell Press, Clophill, Bedfordshire, September 2022, p522-527.
There is an excellent book by Laurence & Pamela Draper, which they self-published in 1990, entitled “The Raasay Iron Mine: Where Enemies Became Friends.” I picked up a copy second-hand from an online sales site. That book covers the operation on Raasay in some detail. This article looks at the railways involved.
An extract from the Ordnance Survey 1″ Mapping of 1930 (Sheet 25) shows the line of the railway running North-northeast from the pier at Suisnish to Mine No. 1. A dotted line represents the line to Mine No. 2. [8]
Raasay Iron Mine
L. & P. Draper tell us that “Just before the First World War the Scottish coal and iron-ore mining, and iron-smelting, firm of William Baird and Company opened up an iron-ore mine on the Island of Raasay in the Inner Hebrides. … In association with the mine, Baird’s built several kilometres of narrow-gauge railway, a crusher, five calcining kilns, a huge ore hopper and a reinforced concrete pier. Many aspects of the installation, such as this pier, diesel-electric power generation and the provision of powerful external electric lighting, were very advanced for their time.” [1: pV][3: p146]
The BBC tells us that “William Baird and Co. Ltd … owned the Raasay estate and initiated the mine’s operations. The mine was developed just before the war and was crucial in providing iron ore for the British war effort, with the ore being transported to Ravenscraig for smelting.” [2]
Because most of the local men had been called up, Baird’s arranged for German Prisoners of War to work the installation from 1916 onwards. In permitting this, the British Government probably “contravened the Hague Convention which specifically banned the employment of Prisoners of War on munitions production; in 1920 the British Government attempted to destroy all relevant records, and was largely, but not entirely, successful. To enable prisoners to be used, the project was effectively nationalised (although that word was not actually used), with Baird’s operating it as agents for the Government; this was a standard system of management in the First World War. … Prisoners and local people worked in harmony together as colleagues, but relationships between Baird’s and the Ministry of Munitions were at times hostile. At the end of 1917 the local men, who were badly paid compared with men doing similar work elsewhere, went on strike, and there were allegations in Parliament that German Prisoners of War were being used as strike breakers, with a result that Winston Churchill himself made statements in response; these allegations were at best only half truths.” [1: pV][3: p146]
This map was reproduced in an article written by the Drapers for Der Anschnitt in 1999. It shows Baird’s initial plans for a railway were altered to move the kilns away from Suishnish House (modern spelling Suishnish). [1: p2]]3: p150]
A probable total of almost 200,000 tons of raw iron ore was produced over the life of the mines, which in the first instance ran until six months after the end of the First World War. “Everything was maintained in full working order, [but] almost the only further iron to be yielded, in the Second World War, came out as scrap from the dismantled installation itself.” [1: pV][3: p146]
L. & P. Draper tell us that, “After hostilities ceased on 11th November 1918 there was a rapid fall in demand for iron, and on 21st December 1918 the Government stated that it wished to terminate its agreement with Baird’s, asking: … do you want the prisoners after about the end of January 1919? … Baird’s said that it did, for a while, if the Ministry could take the output; otherwise the prisoners were not needed. … The Ministry was anxious that the whole installation should be shut down by 31st March 1919.” [1: p30]
It appears that there was probably no resolution between Baird’s and the government over ownership of remaining stocks of iron ore at the mine when it closed but L. & P. Draper note that in the years after the war, whenever a full load of coal was delivered to Raasay, the steamers involved left Raasay with a full hold of iron ore. [1: p31-32]
“Soon after the war ended there was unrest on the island, partly because the fisheries had failed and partly because many of the veterans returned expecting that their interpretation of promises which had been made to them, that they would be re-located on more fertile ground, would be honoured. Following the example of many other Hebridean islanders since the latter years of the nineteenth century, they forcibly took over the south end of the island and some men served terms of imprisonment as a consequence. However, Baird’s sold the estate to the Scottish Board of Agriculture during the 1921-22 post-war crisis and many islanders were re-settled on land which they had coveted.” [3: p155-156]
“ln the mid nineteen thirties, twenty years after its heyday, the installation was still in good working order as Baird’s had placed the works on a care and maintenance basis and employed a full-time 3-to-5 man crew … who kept the machinery in perfect working order. They painted the ironwork, including the large expanse of the end of the calcined-ore hopper, with red Iead, and ran the installation once each week. lt was capable of being started at relatively short notice at a time of national emergency. However, this was not to be, probably because of the cost of winning the relatively low grade ore, and after the onset of the Second World War the only iron to come from the site was the installation itself as scrap. lt is not clear whether the formal abandonment on 15th May 1941 was the beginning of dismantling, or just the date on which the plan was drawn. … Three, if not all, of the kilns were taken to Lingdale, in Cleveland, Yorkshire where three were re-erected . They continued in intermittent production until about 1962. lt is not known which ones were rebuilt, but it seems likely that they were Nos 3, 4 and 5 which had been unused on Raasay.” [3: p156]
Raasay Iron Ore Mines Railways
“No 1 Mine was connected to the pier at Suishnish by a virtually straight railway. A short steeply-inclined spur to the outcrop site left the main line at the entrance to No 1 Mine; No 2 Mine was connected by a spur from the main line. The railway led directly from the mines to the top of the crusher, on the hill overlooking the pier. Just below the crusher stood the kilns. An inclined railway connected the area just above the crusher down to the pier; this is also the route by which the coal was taken from the pier up to the crusher. Coal and iron ore were mixed in the crusher and taken by conveyor belt to charge the kilns. Below the kilns, more belts took the calcined ore to a hopper, from whence it was ultimately loaded onto ships at the seaward end of the pier.” [1: p33][3: p151]
Prior to the construction of the 4 ft. 6 in. railway the first output from the iron ore mine was transported by horse and cart down the narrow lane through Inverarish. [5: p78] But before the completion of the facilities near East Suishnish Pier, the incline was already bringing iron ore down from Mine No. 1 and the Outcrop Site.
We focus first on the railway infrastructure at the southern end of the line where the processing plant and pier were sited. The drawing below shows the layout of the site.
Two enlarged details from the image immediately above, show parts of the rail infrastructure on the site.
This first enlargement shows the steeply inclined line which ran down the side of the crusher to the pier. [3: p151][British Geological Survey: BGS C 2183]This second enlarged extract shows the rail line running out onto the reinforced concrete pier. A short train of open wagons appears to be sitting on the rail line. [3: p151][British Geological Survey: BGS C 2183]
A third and a fourth extract, this time from photographs provided by the Munro Daughters for L. & P. Draper’s book, show the incline in use while the calcined-ore storage hopper was being constructed. …
Perhaps it is worth noting here that the wagons used on the network were known as ‘hutches’. They were 5ft long overall, the body being 4ft long x 3ft wide and 2ft in height. Wheels were 1ft in diameter (1ft 2in over the flanges) and the axles were centred 1ft 6in apart. The overall height was 3ft 7in above rail height. [1: p65]
The hutches “were assembled from kits in the top of the crusher. They were pushed by hand initially, and were stiff until they were greased. … 4 wheels and 2 axles weighed 1 hundredweight 1 quarter 14 pounds (70kg). 200 sets were ordered on 28.4.13 and a further 100 on 5.6.14, so the mine must have had at least 300 hutches.” [1: p66]
“The Pier Haulage Road was in 3 sections. The lower one, at a gradient of about 1 in 4.5, extended for 67 metres, the middle one at about 1 in 10 for 25 metres, and the upper one at about 1 in 4 for 83 metres. At the bottom of this incline the track was diverted around a huge L-shaped concrete block designed to catch runaways. … The hauler house … was used solely for haulage on the incline above the pier.” [1: p63]
The railway was, apart from the lower section, the Pier Haulage Road, largely double track. It was multi-level in the vicinity of the processing plant and the incline to the Outcrop Site was single track. Rails were 30lbs/yard, spiked into sleepers. Where there was traffic across the rails an inverted U-shaped bridging rail was used. [1: p65]
The track plan of the rails around the processing plant provided by the Drapers shows a complex arrangement with some very tight radius curves. It is not surprising that the ‘hutches’ needed to have a short wheelbase.
Track layout in the vicinity of the Crusher House. [1: p66-67]The same building, the Hauler House, seen from further North on the second incline. The mountains of Skye sit beyond the Sound of Raasay. [My photograph, 7th May 2025]
L. & P. Draper tell us that the extensive system of narrow gauge lines were 2ft 3in gauge. The main line “extended in a straight line … from the pier root up an incline, the ‘Pier Haulage Road’, to a level ore storage area above the crusher and on to the No 1 Mine entrance at a distance of 2.6 kilometres. … At a distance of 1.4 kilometres from the pier a straight spur, 0.9 kilometre in length, left the main line … to No 2 Mine. … The junction layout is shown [below].” [1: p63]
The incline climbs to the North. [My photograph, 7th May 2025]This telephoto shot shows the incline continuing to the North and shortens the distance to the mountain in the distance, which is Dunn Cana (Caan). [My photograph, 7th May 2025]Looking back towards Skye from within the shallow cutting in the previous pictures. [My photograph, 7th May 2025]Further North and looking North, the incline remains relatively clear of vegetation. [My photograph, 7th May 2025]Railmaponline.com shows the line continuing North. [10]Continuing North. [My photograph, 7th May 2025]And again, further North and looking North. Dun Caan has dropped below the horizon as we continue the climb. [My photograph, 7th May 2025]Railmaponline.com shows the location of the junction between the lines toMine No.1 to the North and Mine No. 2 to the Northwest. Just to the South of the junction, the remains of the Hauler House for the line to Mine No. 2 can be seen. [10]Approaching the location of the junction from the South: the remains of the Hauler House sit close to the centre of the image. [My photograph, 7th May 2025]The railway junction between the line to/from Mine No. 2 and the main line which ran between the pier and Mine No. 1. [1: p40]Looking Southeast along the line of the railway built to serve Mine No. 2. The line passed under that serving Mine No. 1. The bridge was between the camera and the Hauler House. [My photograph, 7th May 2025]
Heading North from the junction, the route of line to Mine No. 1 now runs through a protected area where deciduous native trees have been planted among sparce examples of older trees.
The route of the incline is a waymarked path. For the most part it is a relatively easy walk. A section of the line crosses what is now a plantation protected from deer to allow newly planted native trees to mature. [My photograph, 7th May 2025]The route of the old railway continues North through the plantation. [My photograph, 7th May 2025]Railmaponline.com’s satellite imagery shows the line serving Mine No. 1 continuing North-northeast on the same alignment as the line South of the junction. The planted area can be made out at the bottom of this image. It is also possible to make out the line of the stream valley that the line had to cross. It runs diagonally from the bottom-centre of the image to the left side of the picture. [10]The line continued North towards the location of the viaduct. [My photograph, 7th May 2025]The remains of the viaduct come into view as the land begins to drop away. [My photograph, 7th May 2025]The Southern abutment of the three span viaduct which carried the line to Mine No. 1 over the valley of a tributary of the Inverarish Burn.A view North from the top of the Southern side of the valley. The two tall concrete columns remain in place but the bridge deck is long gone. Note the steep, stepped path on the North side of the valley. [My photograph, 7th May 2025]The Northern abutment of the viaduct remains in place but it has lost the westernmost pilaster. [My photograph, 7th May 2025]
Apart from minor cuttings and embankments to maintain the design gradient on the incline and the structures immediately around the junction, there were only two significant structures. Both were viaducts: that on the main line carried it over a ravine formed by a tributary of Inverarish Burn, that on the line to Mine No. 2 carried it over Inverarish Burn and Fearns Road. The Drapers tell us that these viaducts were “of iron girders with a decking of timbers measuring 12in x 6in in section. They had iron railings on each side, and the one to No. 2 Mine had steel-plate sides to prevent ore accidentally falling onto the road below.” [1: p65]
This photograph of the viaduct carrying the line to Mine No. 1 appears in L&P Draper’s book courtesy of John MacLeod. [1: p64]
North of the viaduct on the line serving Mine No. 1, the railway continued in a North-northwest direction towards the mine, continuing to climb towards the mine buildings.
At the northern end of the railway incline, the line from the pier extended into the mine entrance of No. 1 Mine. It first passed under the road to Fearns before also passing under a separate incline which connected the facilities at the mine entrance to the surface workings where the iron bearing strata was exposed at ground level – the outcrop site. L. & P. Draper produced the drawing below which is based on the historic Ordnance Survey mapping.
Mine No. 1 and the Outcrop Site. [1: p46]This extract from the railmaponline.com satellite imagery shows the full length of the single track incline notes above. [10]
The arrangement of the two rail lines is illustrated in the photograph below. …
Having covered the full length of the main line to Mine No. 1, we turn to the branch line serving Mine No. 2.
We did not walk the route of the line which served Mine No. 2: the first part of. its route is shown on this extract from railmaponline.com’s satellite imagery. The purple line on this map extract stops short of Fearns Road and Inverarish Burn. The line continued North-northwest across the road and the burn on a three span viaduct. The abutment of the viaduct remains but the bridge decking was removed for scrap some decades back. The viaduct was of the same design as that on the line to Mine No. 1 with additional steel panels attached to the deck parapets over Fearns Road to prevent accidental spillage onto people using the road. [10]This extract from railmaponline.com’s satellite imagery extends the lilac line across the valley of the Inverarish Burn to a terminus at the location of Mine No. 2. Fearns Road is shown running across the image with the Burn at its North. The Valley was crossed by a three-span viaduct to a very similar design to the viaduct on the line to Mine No. 1. Its location is marked by the three parallel lilac line. [10]
Only the abutments and piers of the viaduct carrying the line serving Mine No. 2 remain. The four images below show this remains.
Mine No. 2 only saw very limited use and closed relatively quickly after it opened. L. & P. Draper are of the opinion that, “because of severefaulting there was virtually no production from No 2 Mine, which must have been an expensive white elephant considering the cost of constructing the high viaduct, hauler house and other mine-head buildings. However, it was not entirely unused, as Baird’s built a sawmill by No 2 Mine, and all timbers used in the mine, for pit props, railway sleepers, power poles and other purposes were sawn there and transported by rail.” [3: p153]
Calcination is a process which involves a controlled burn of crushed ore mixed with imported coal. It is specifically designed to draw off water and unwanted minerals from the iron ore but without heating it to a temperature which would result in the production of metallic iron.
Alexander Nicolson; Handbook to the Isle of Skye andAdjacent Islands; Archibald Sinclair, Celtic Press, Glasgow, 1936.


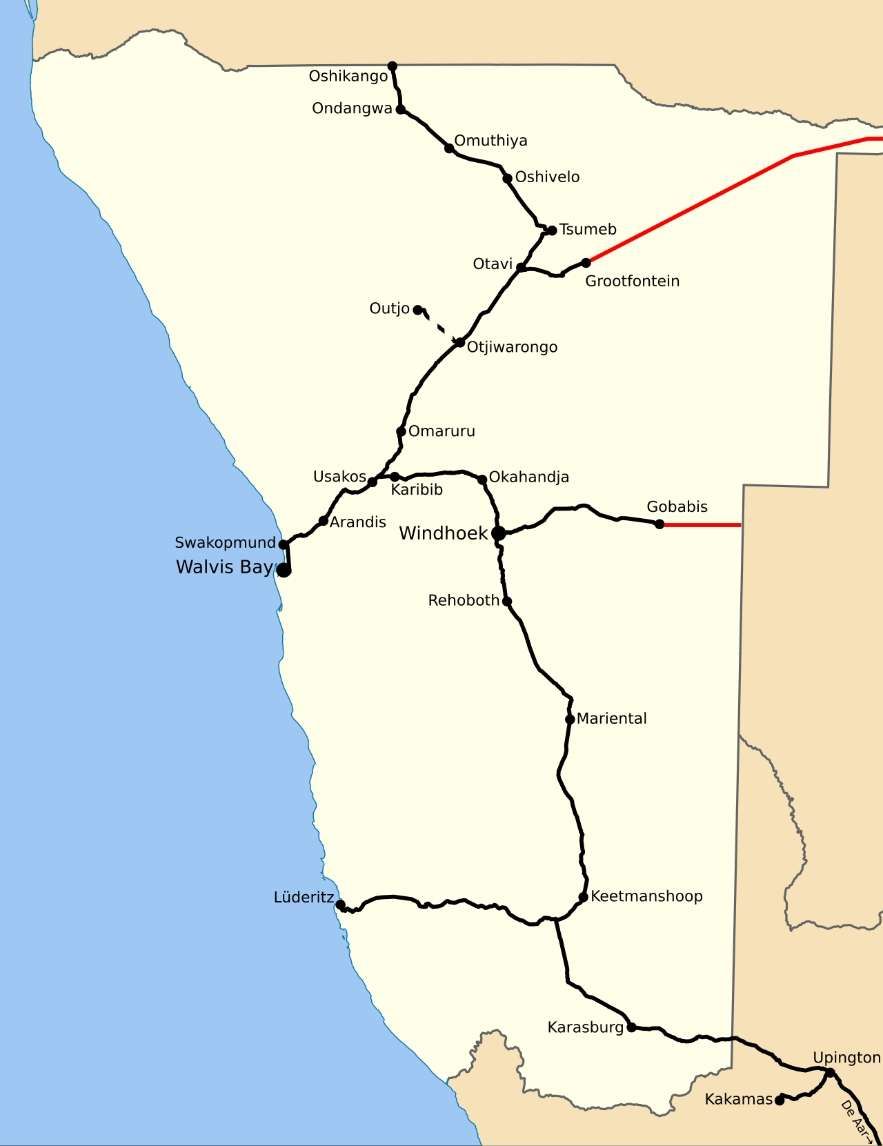
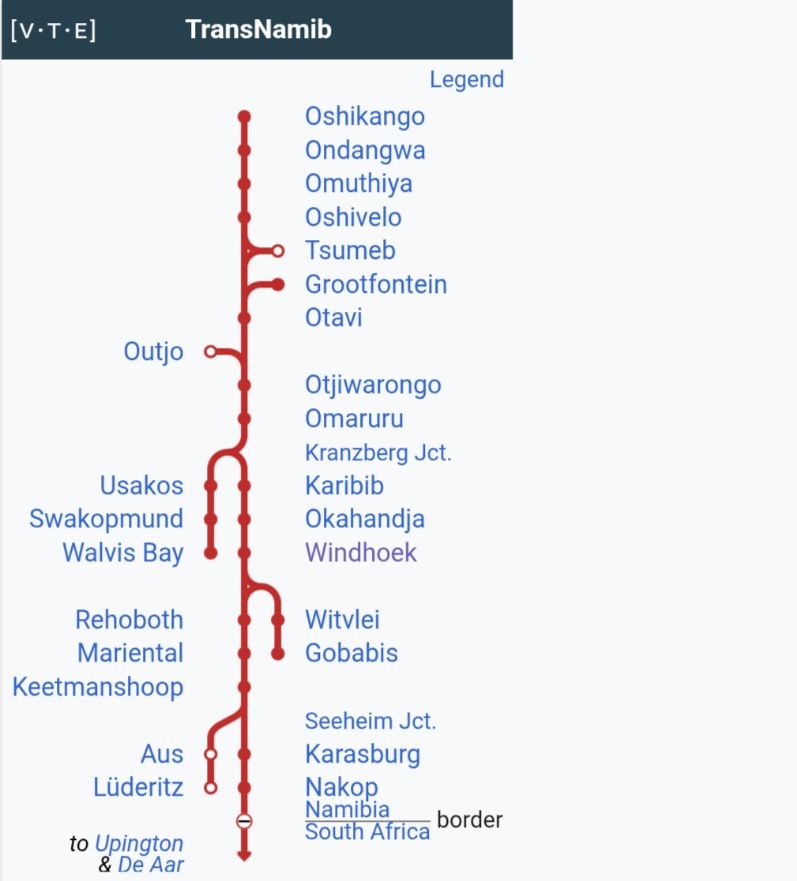

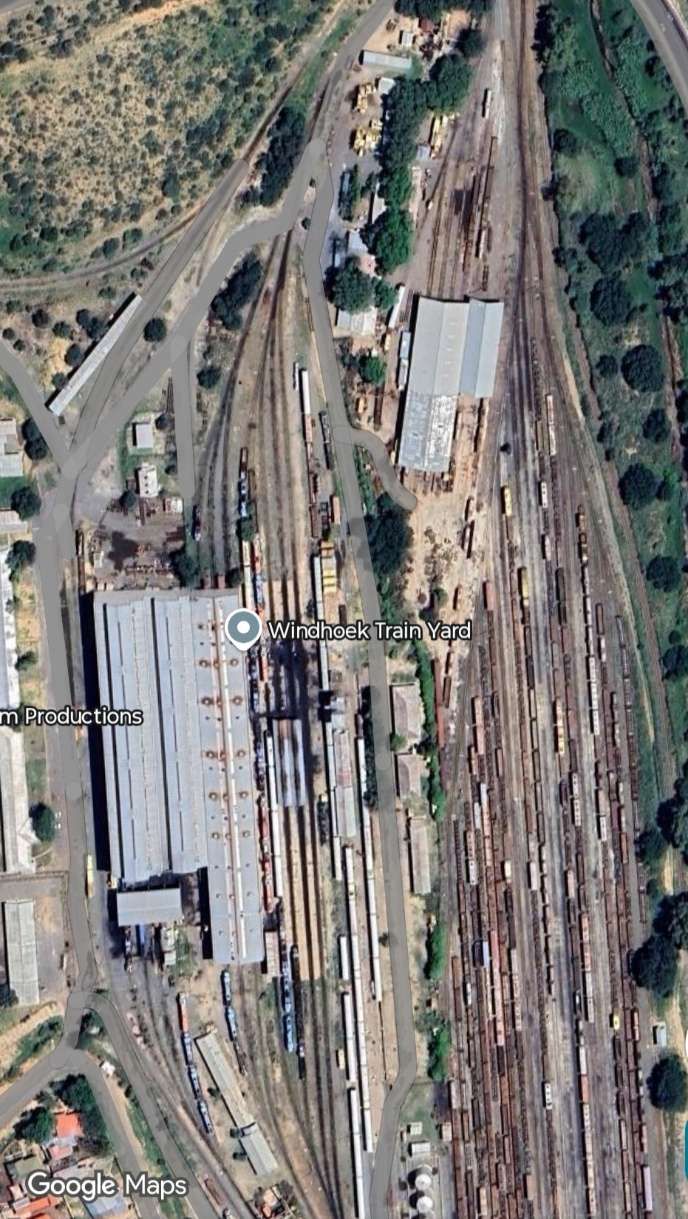

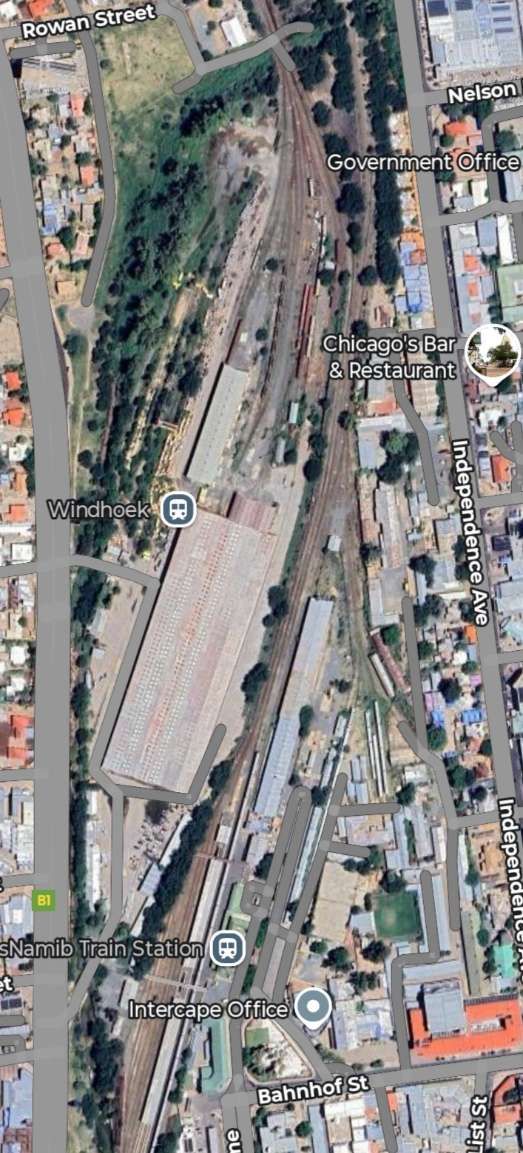
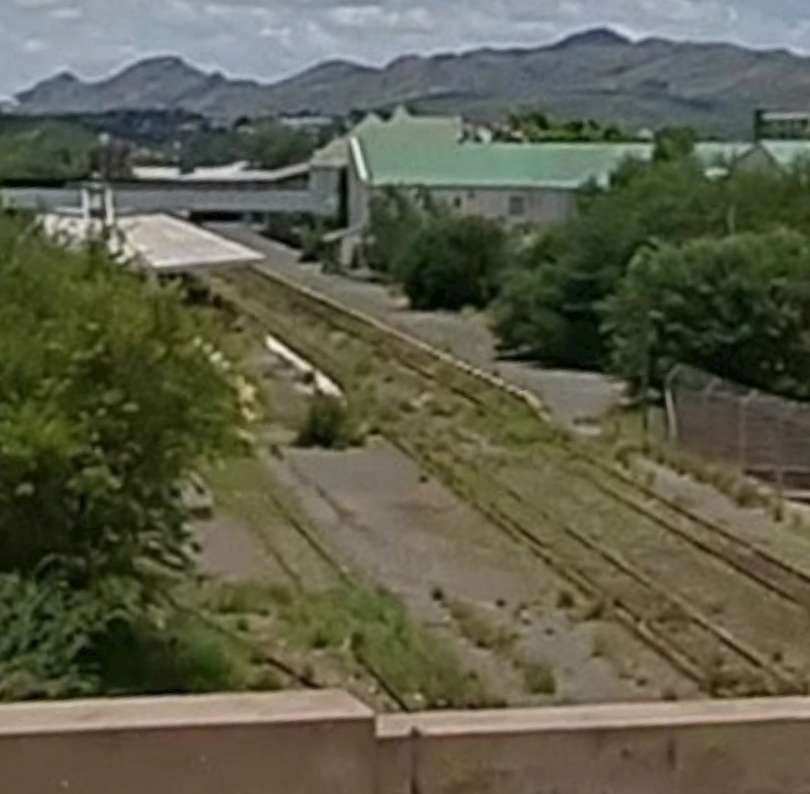
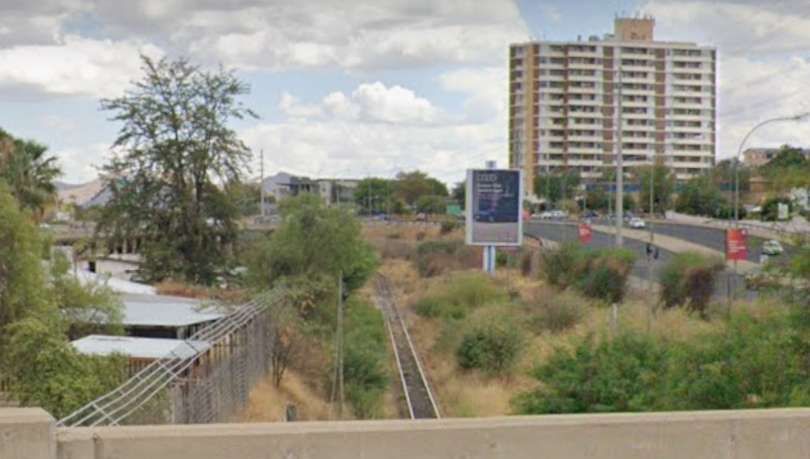
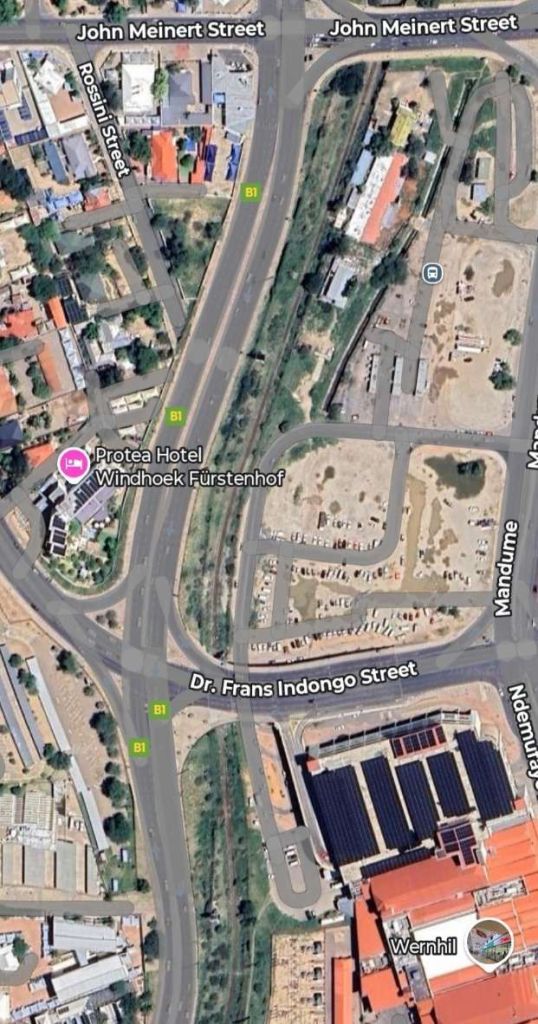
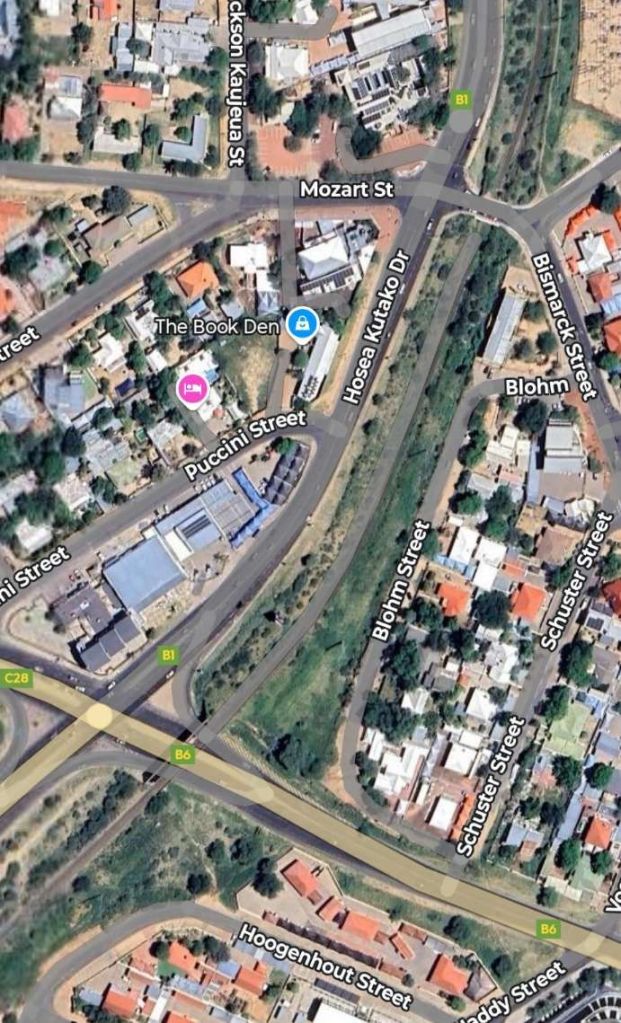
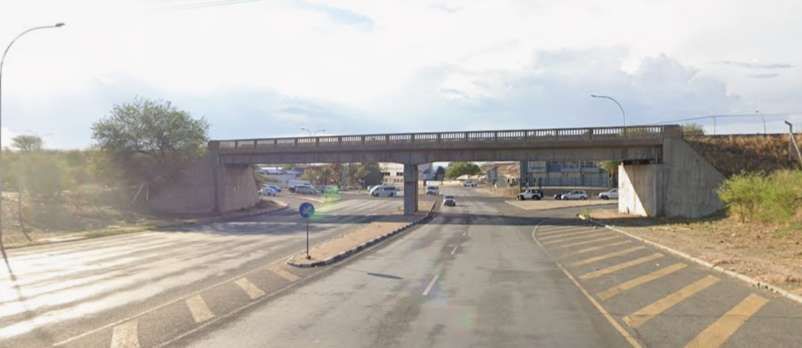
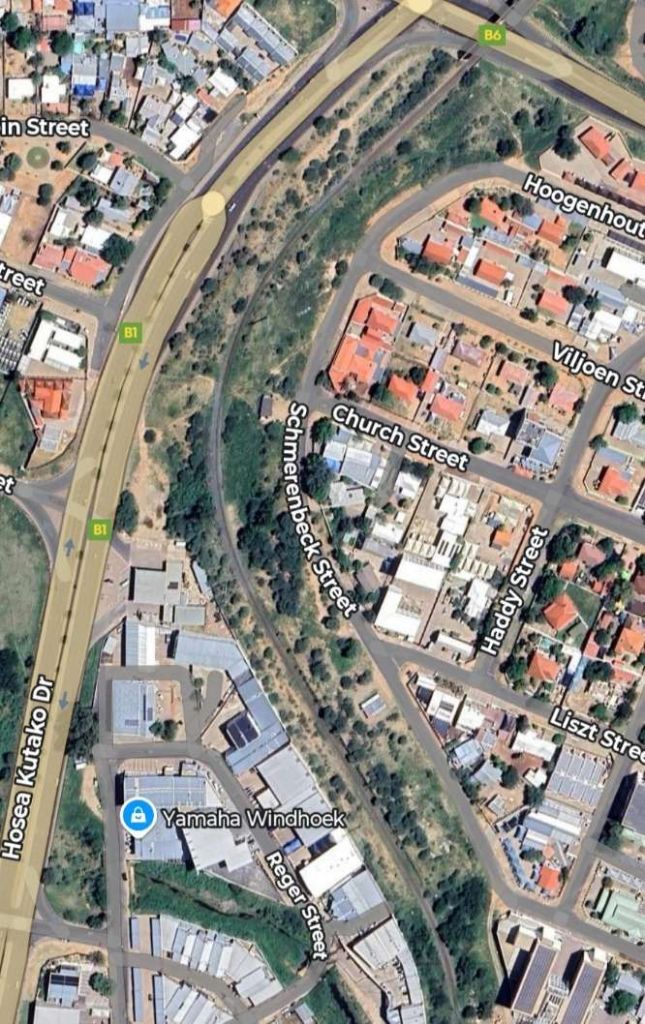
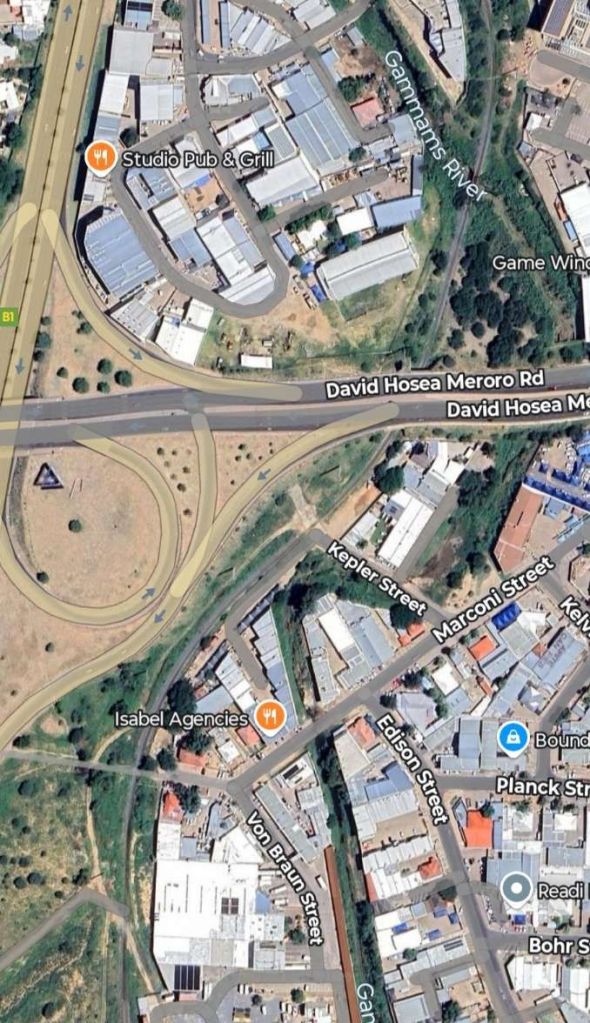
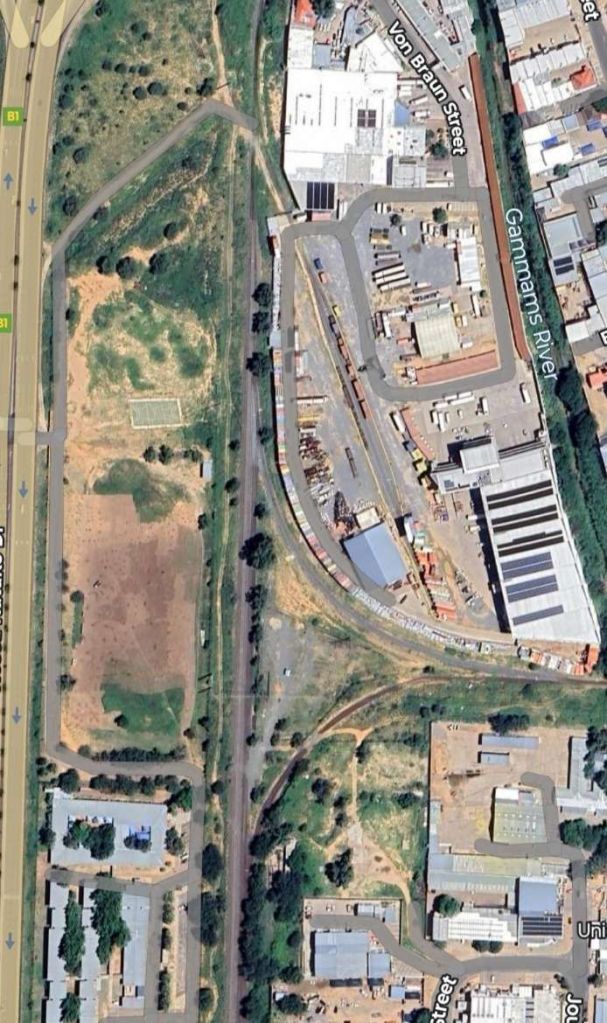
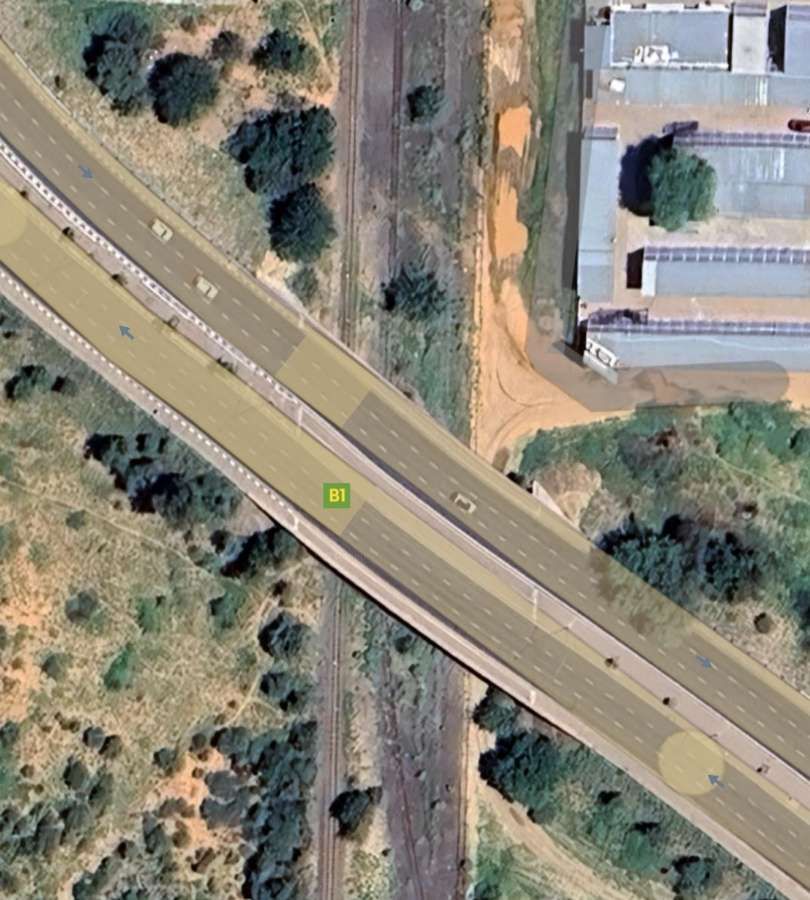
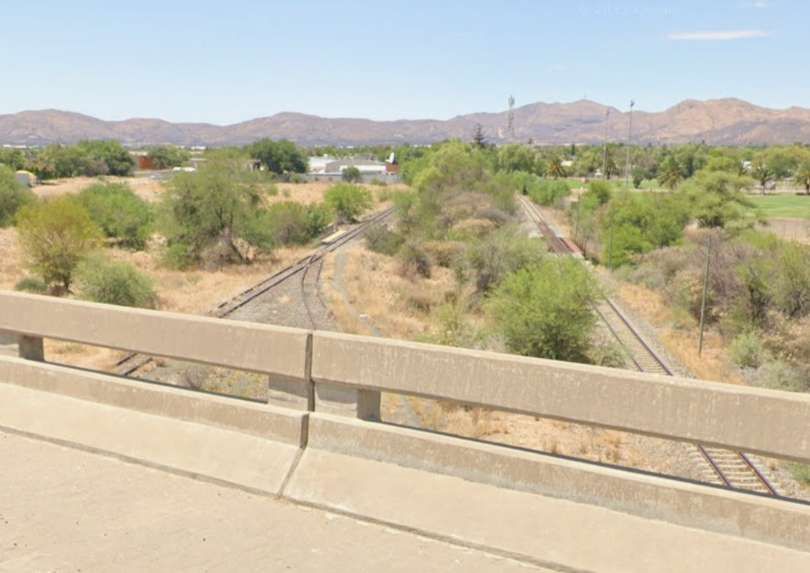

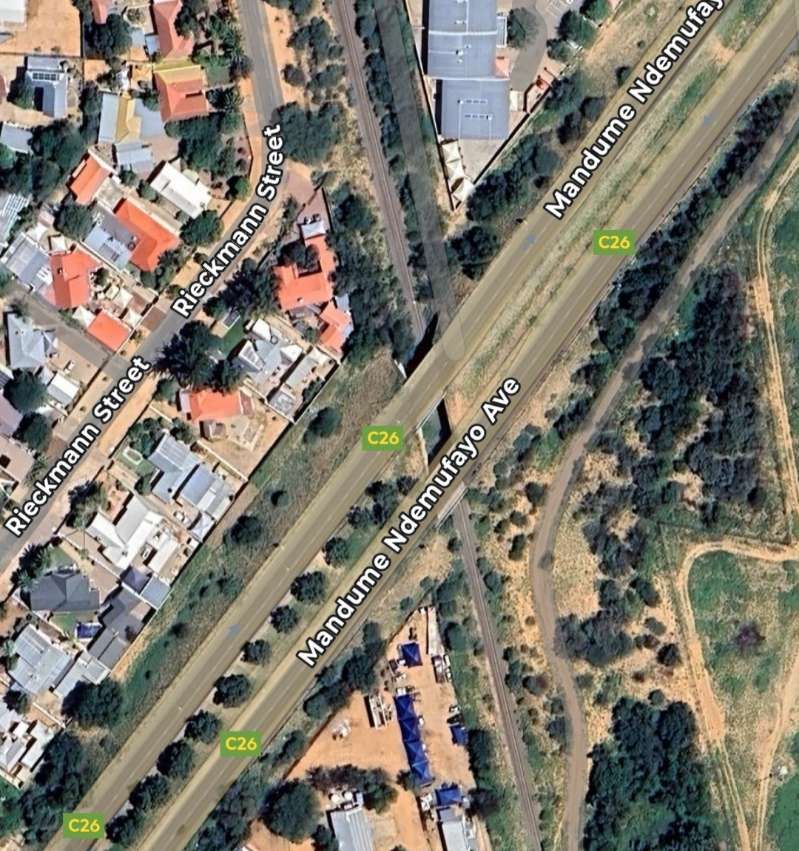
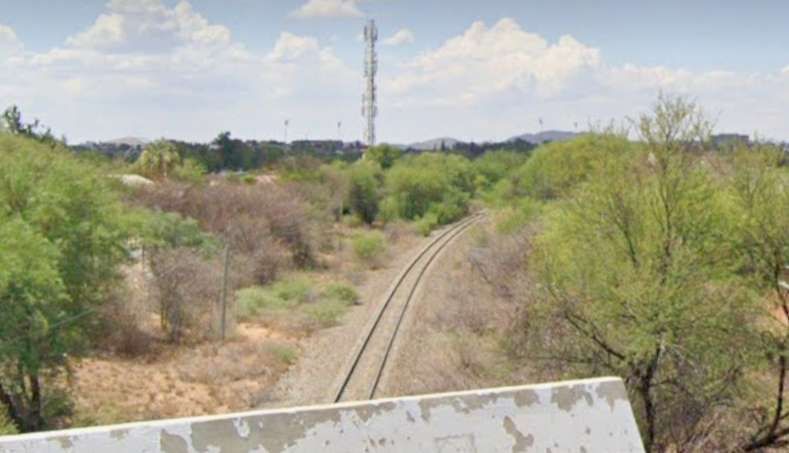
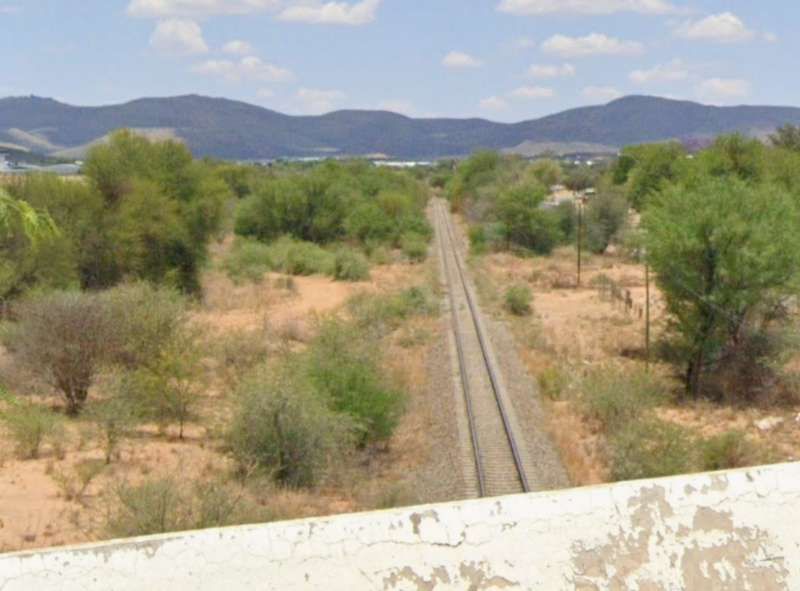
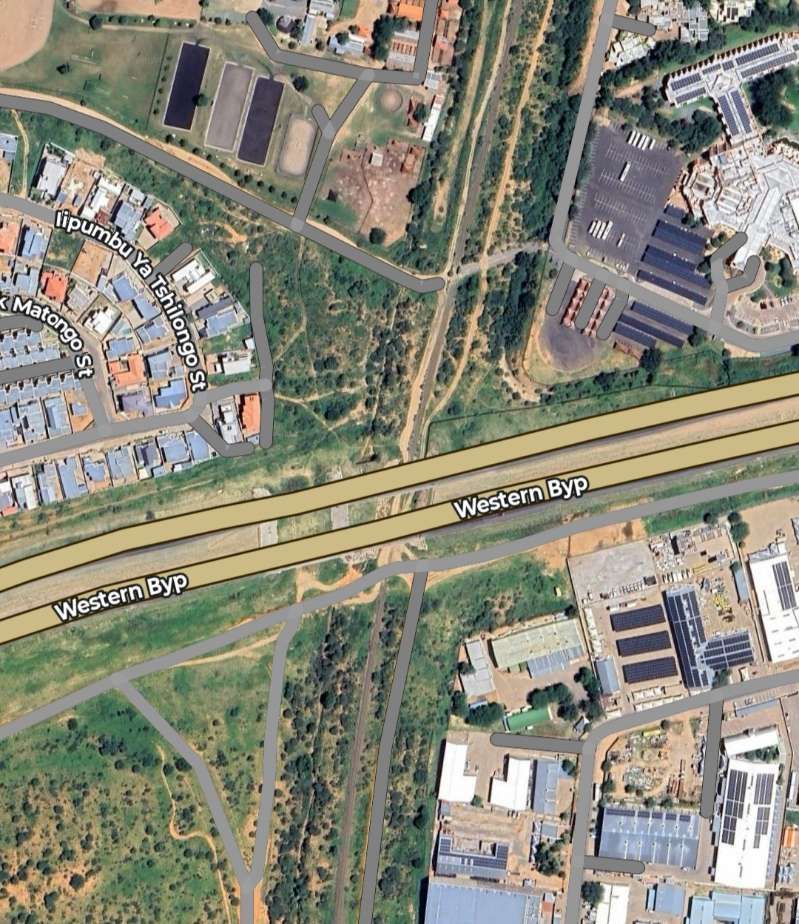
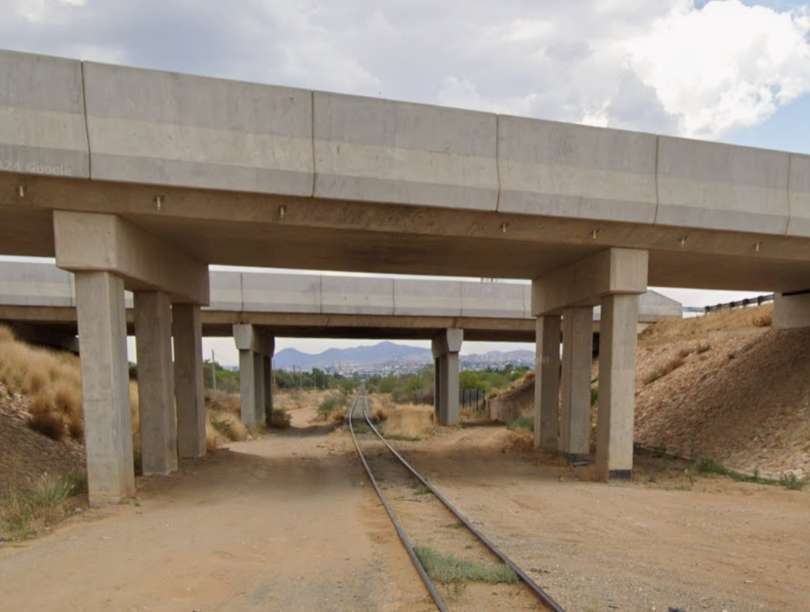

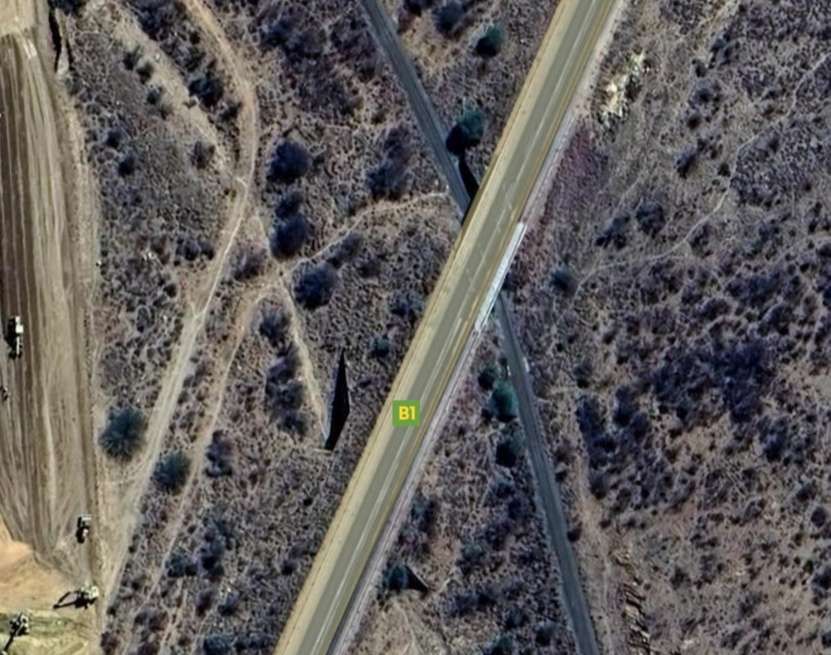
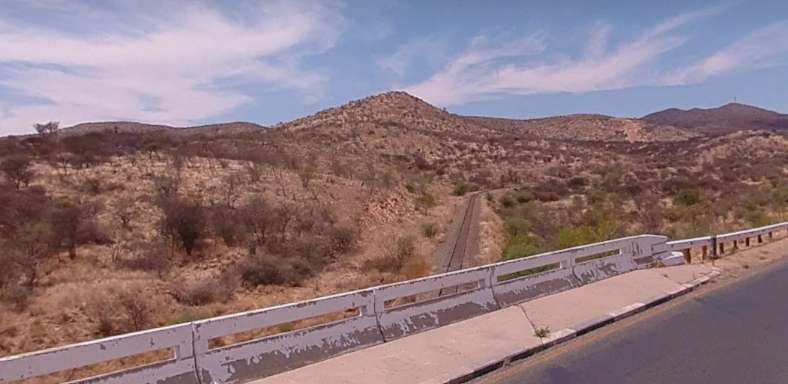
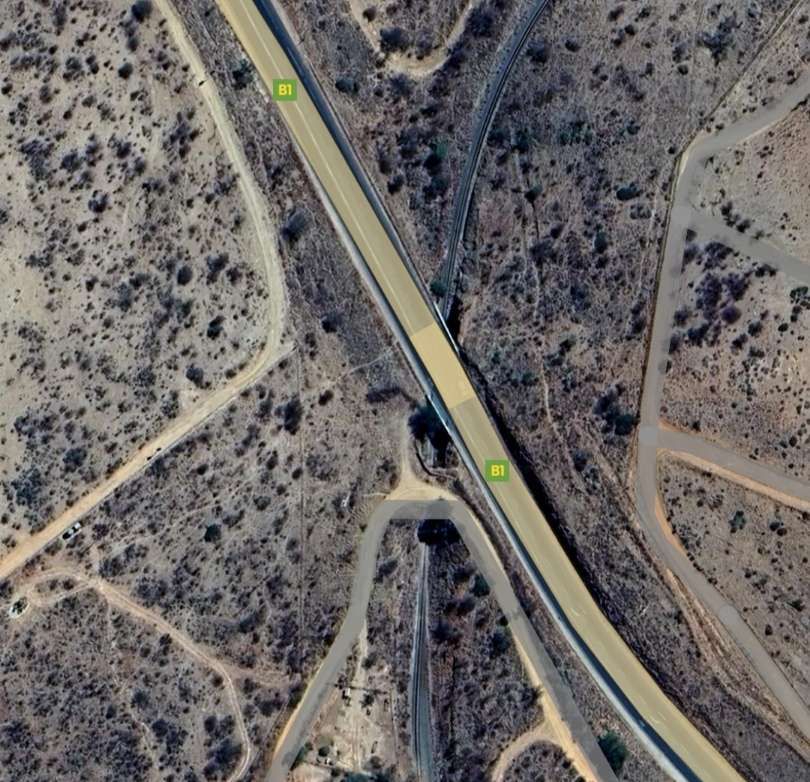
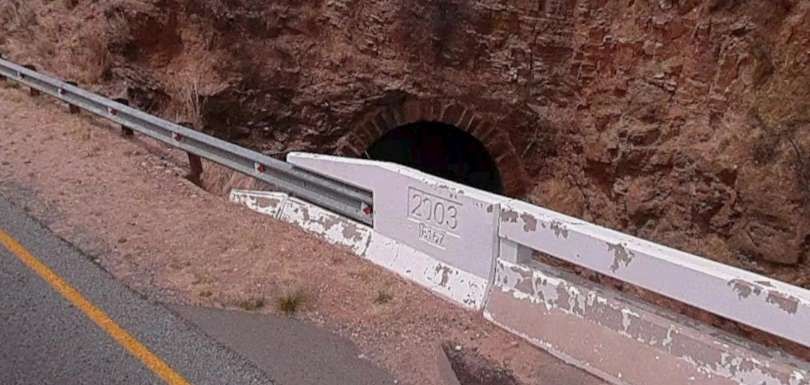
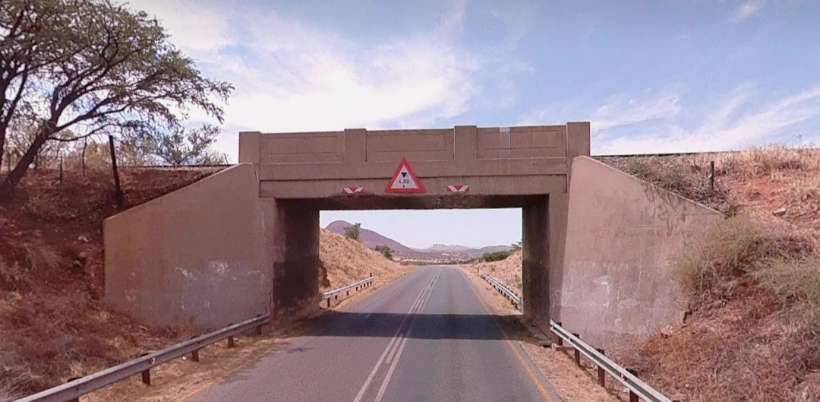

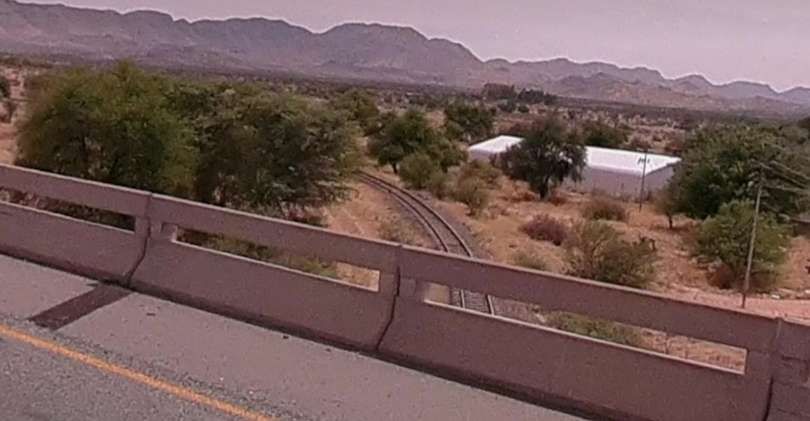
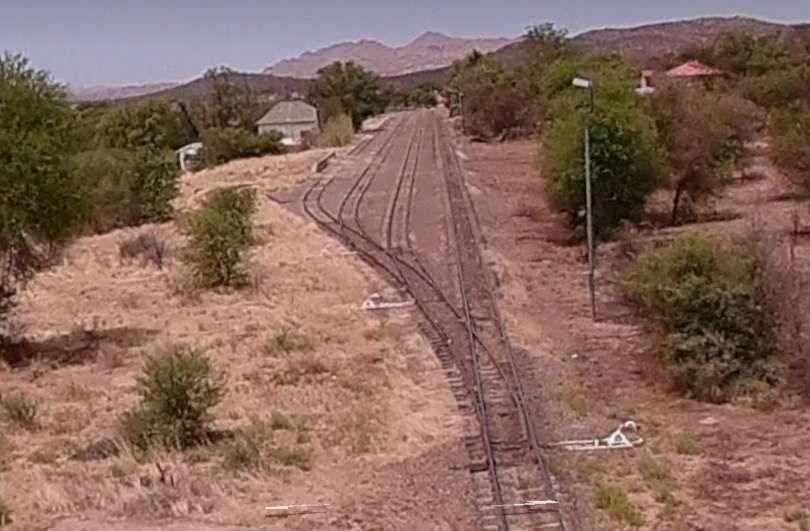
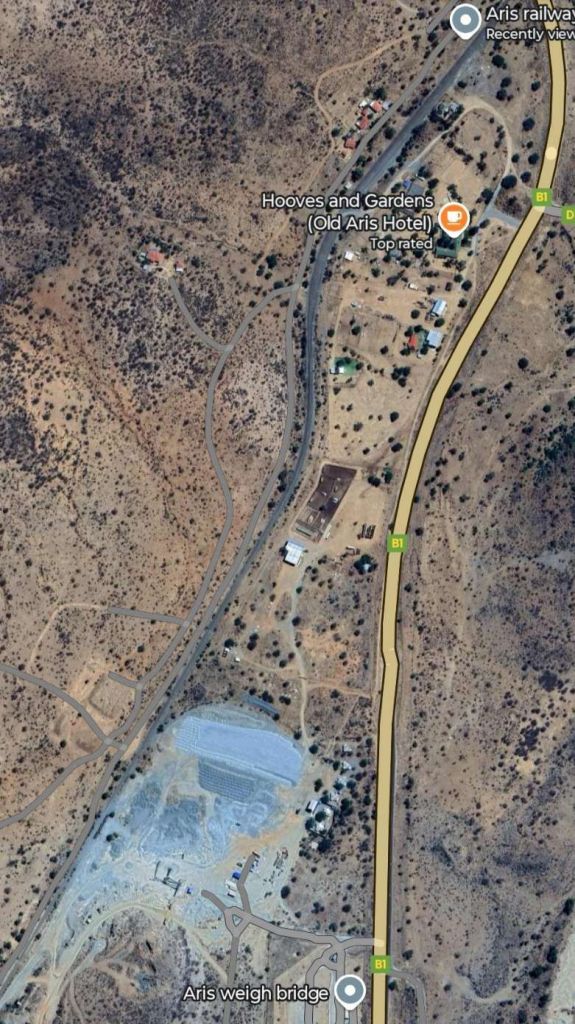
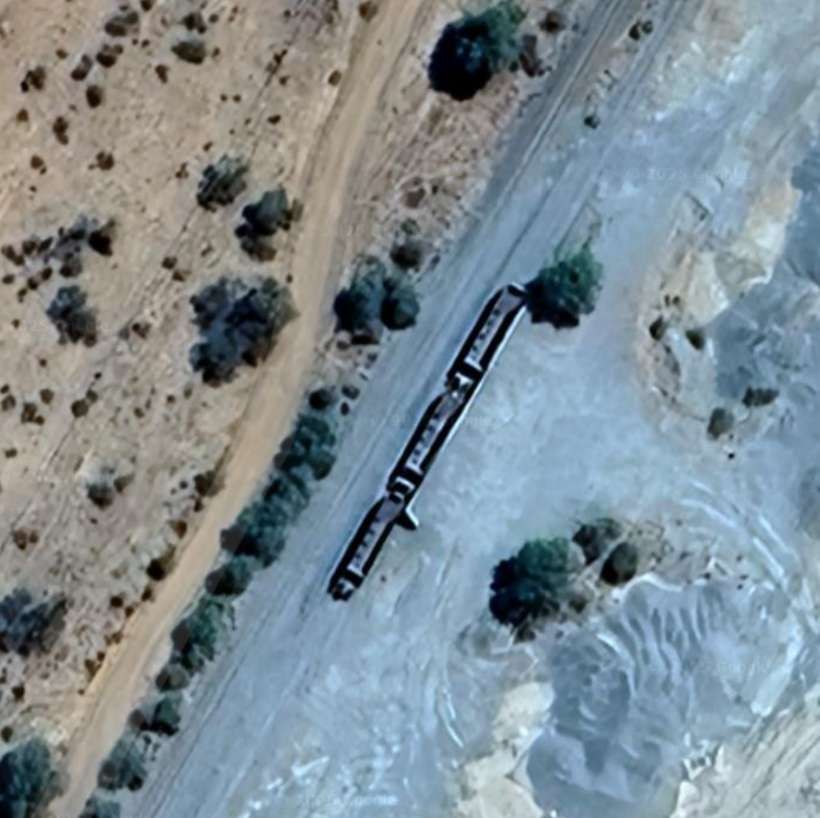
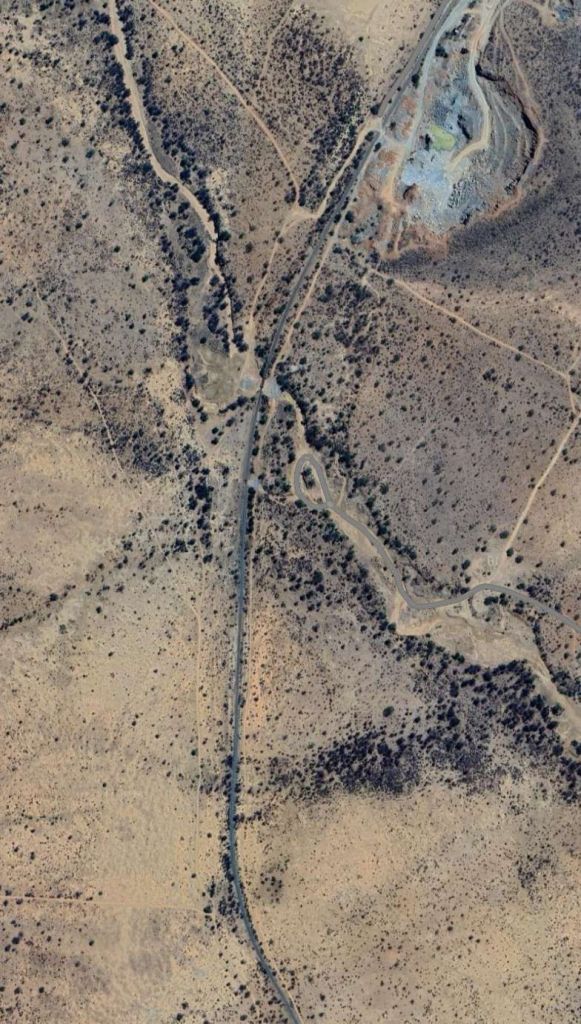
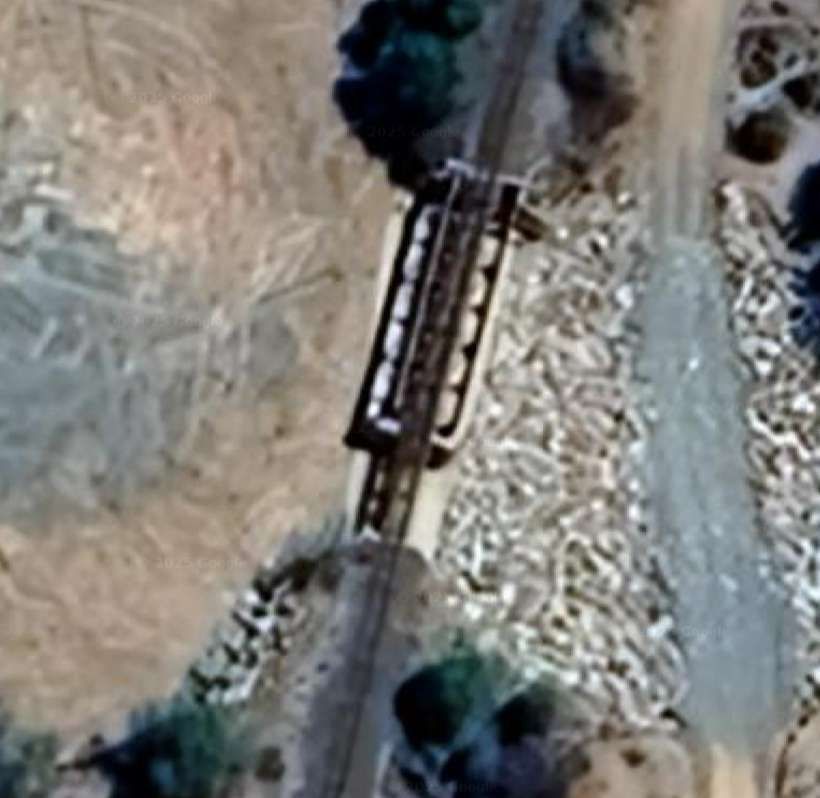
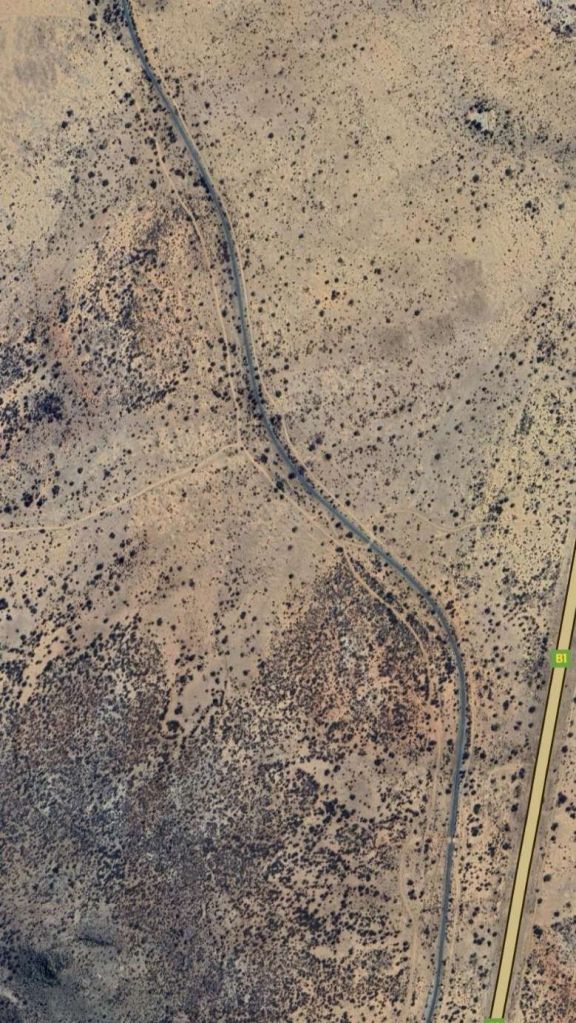
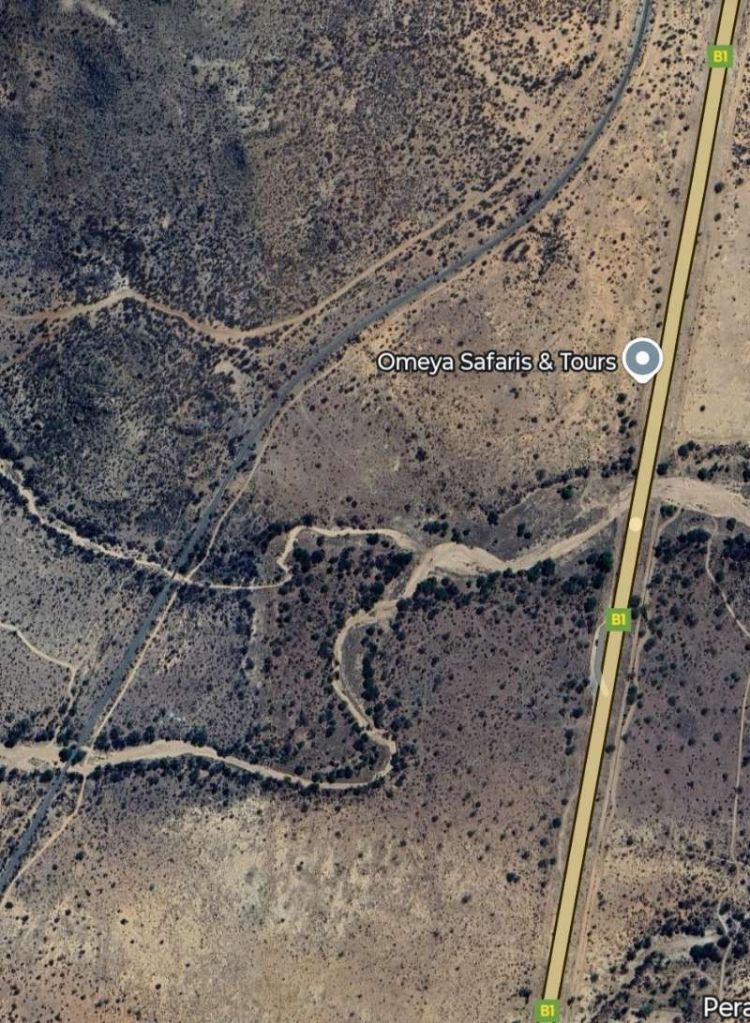
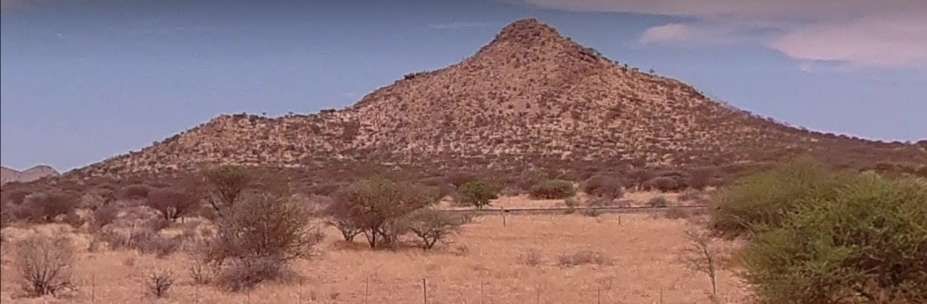
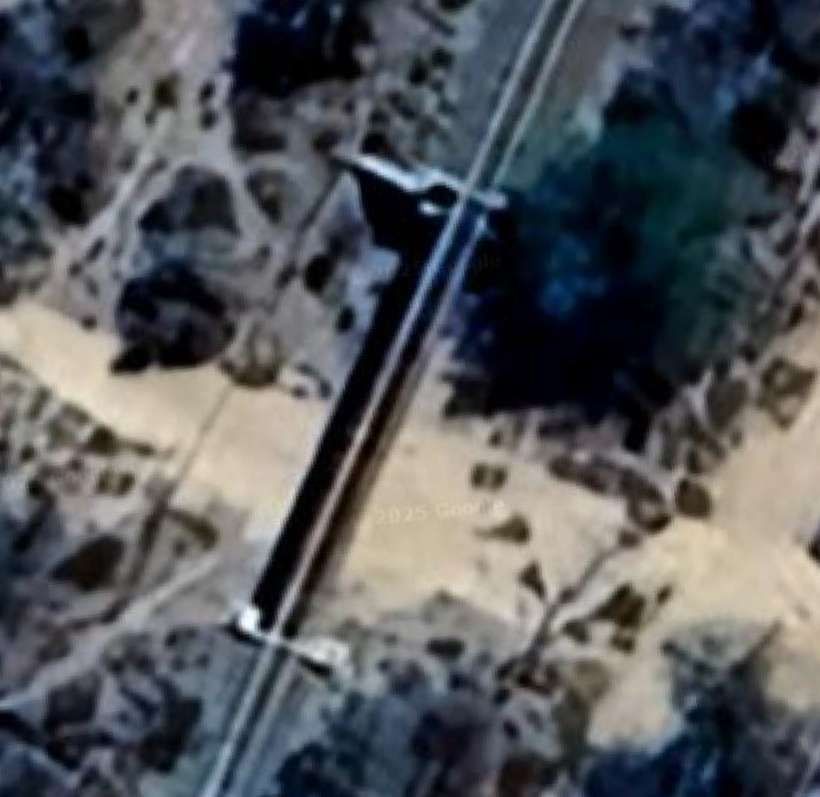
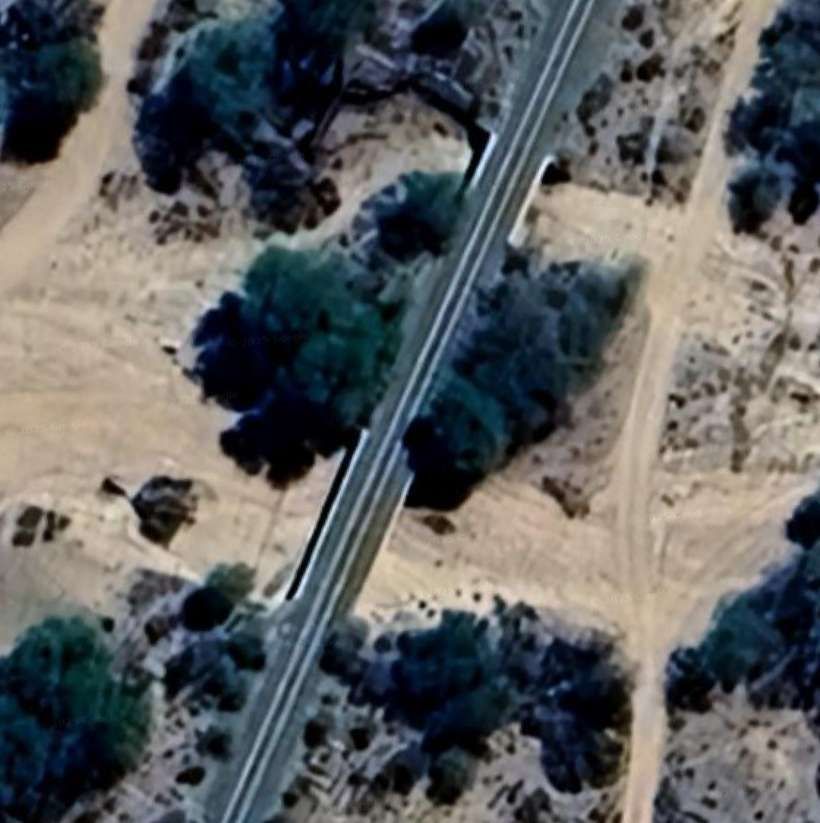
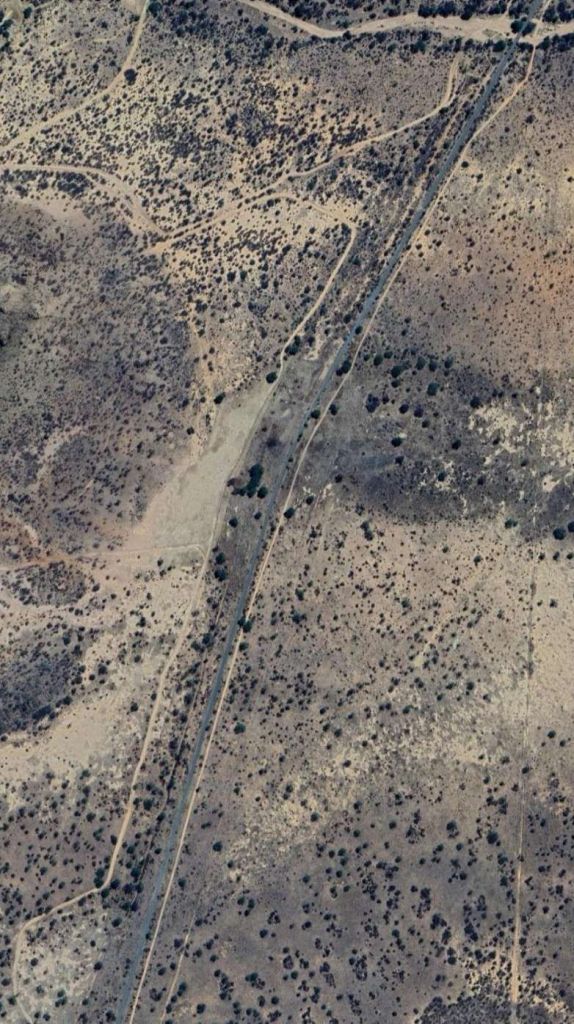

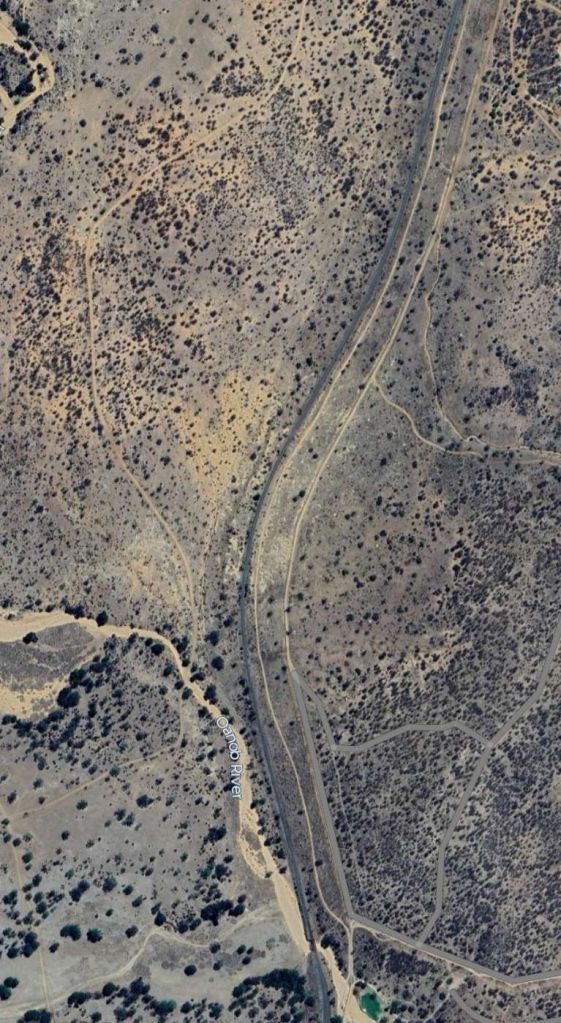
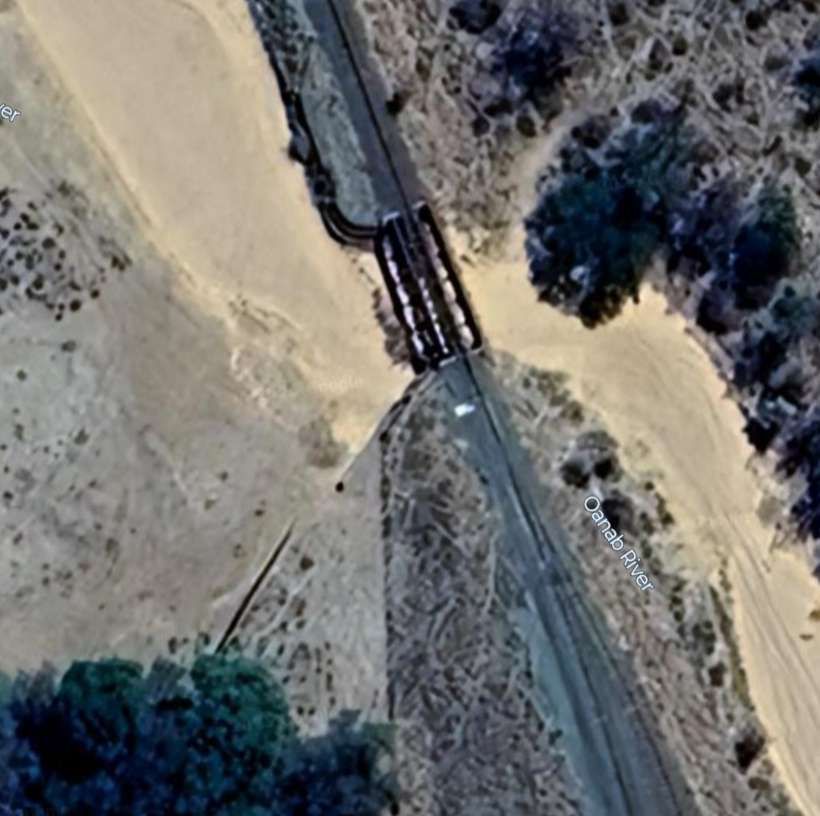
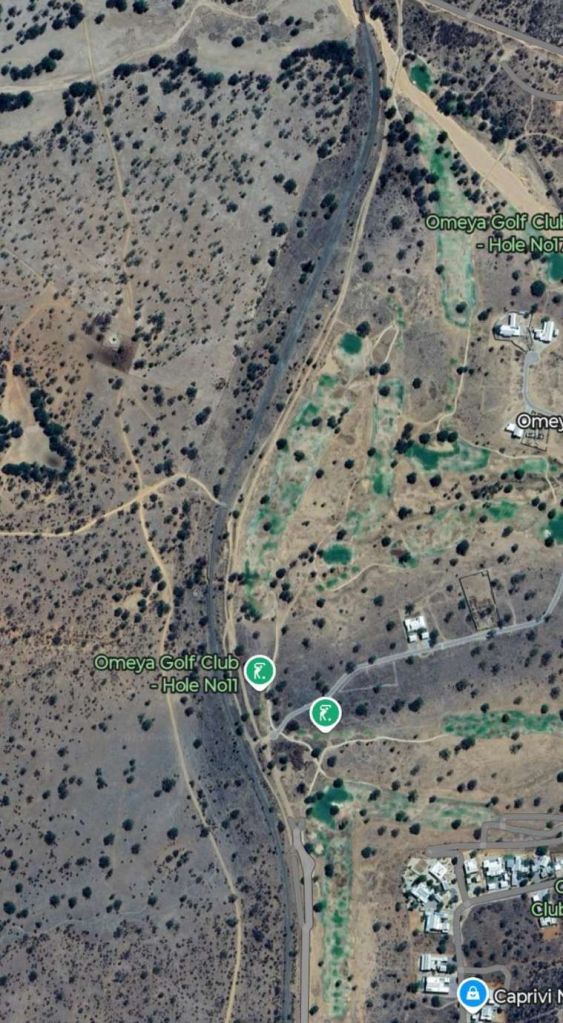
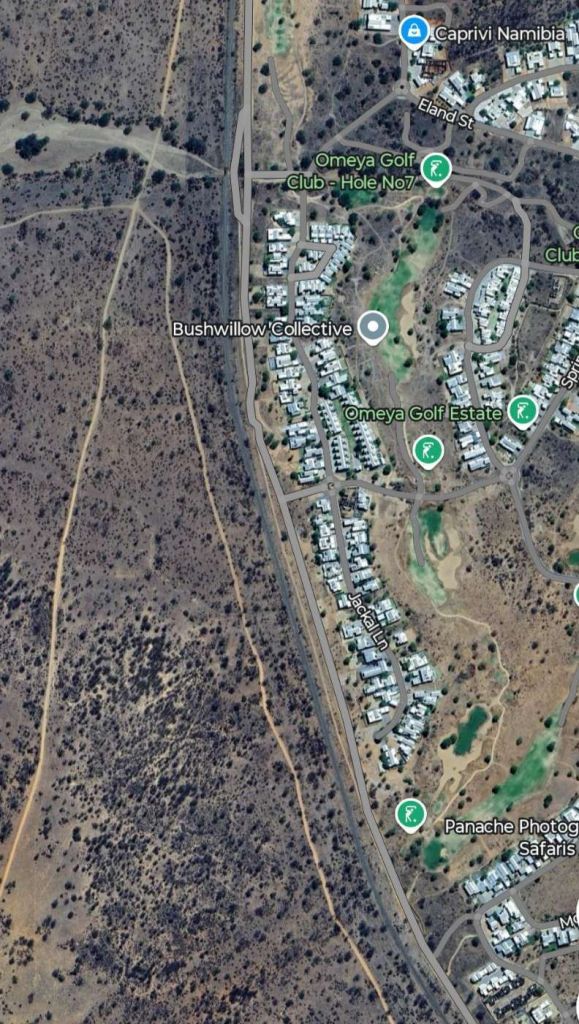
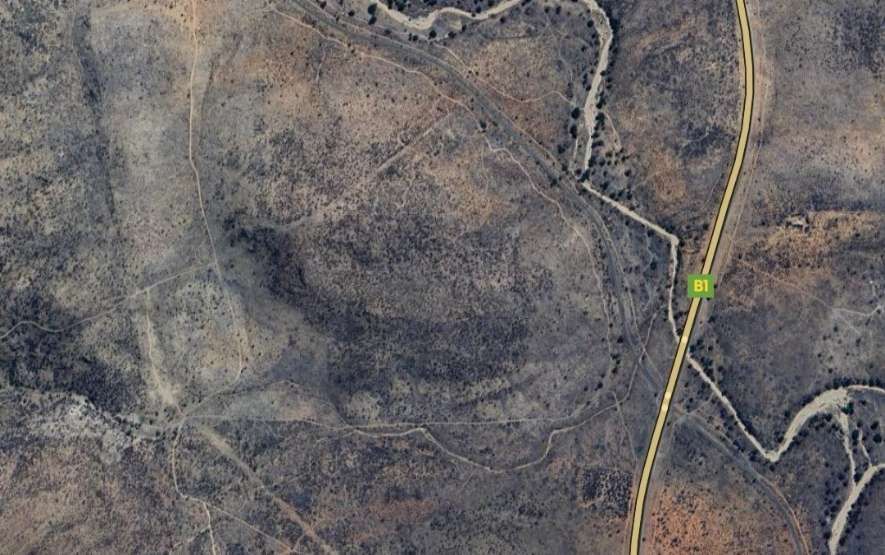
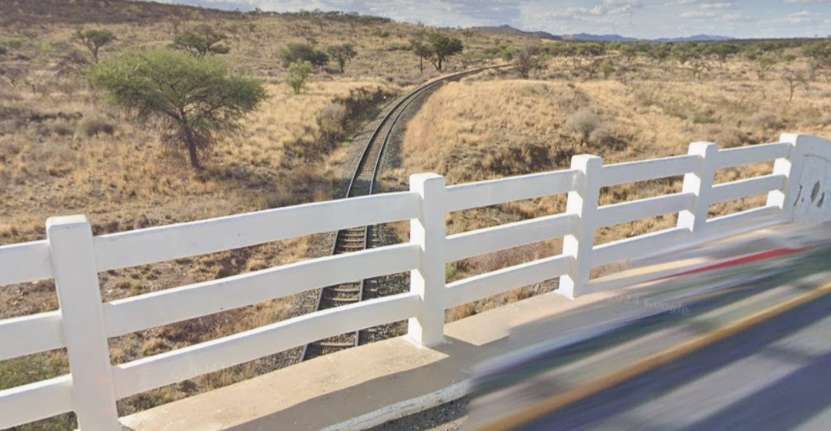
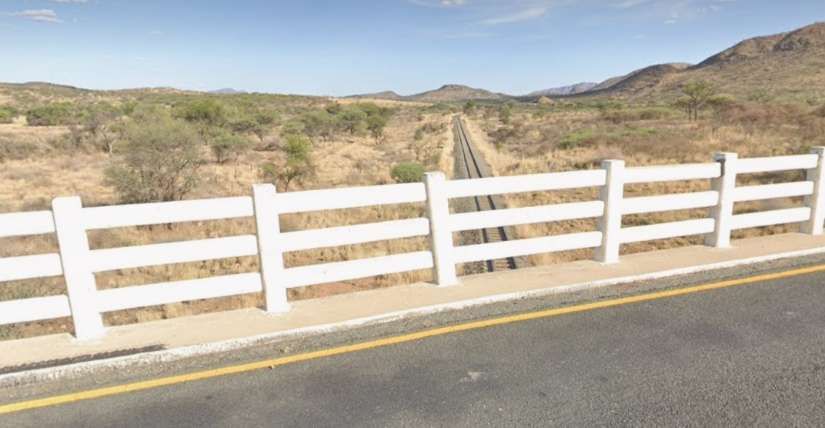
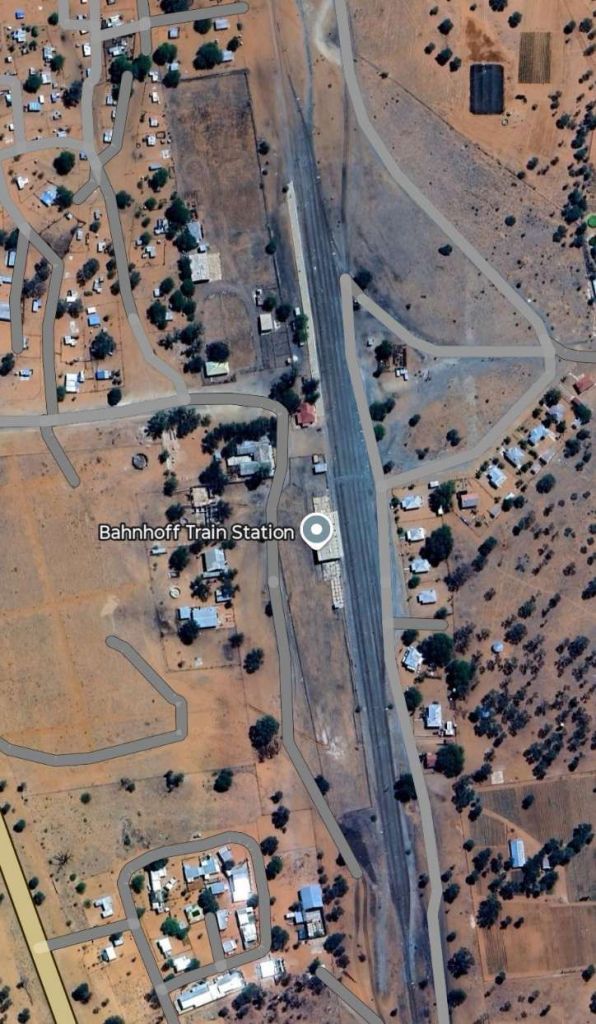
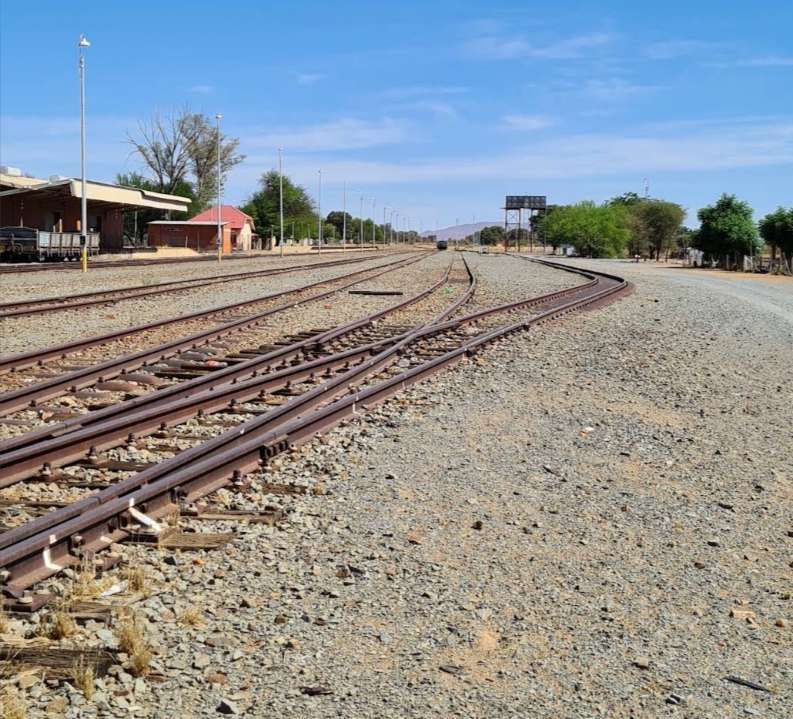
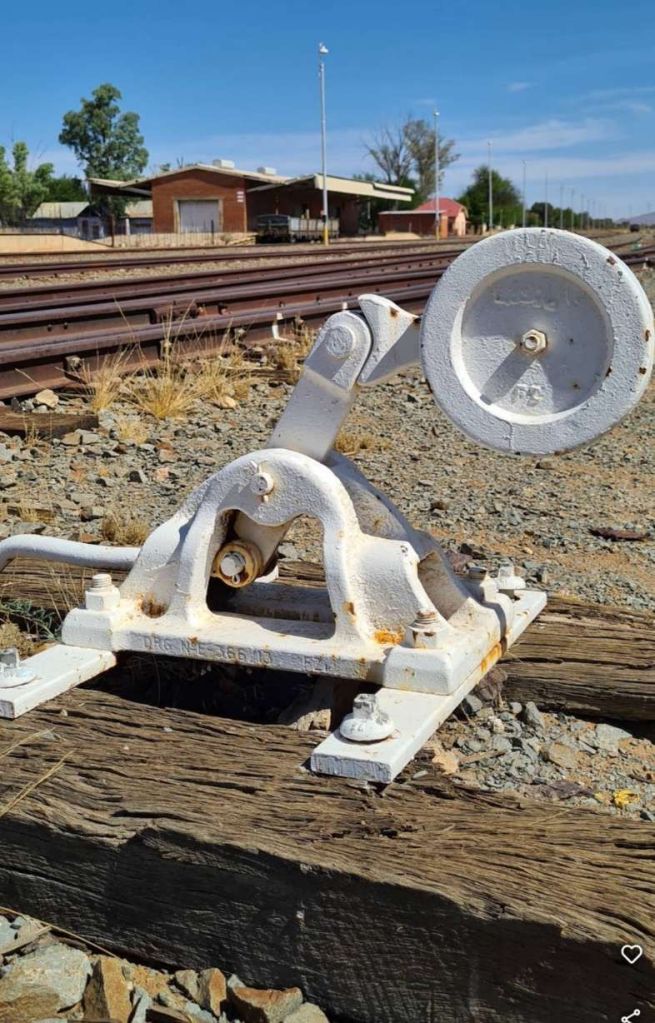
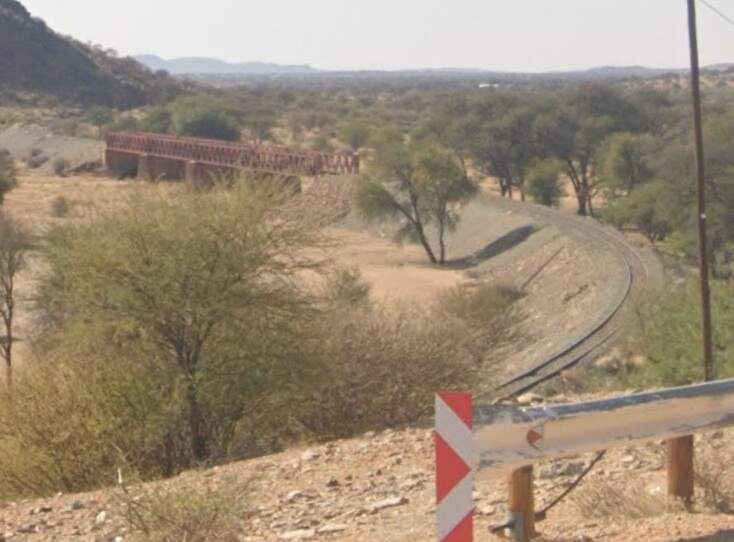
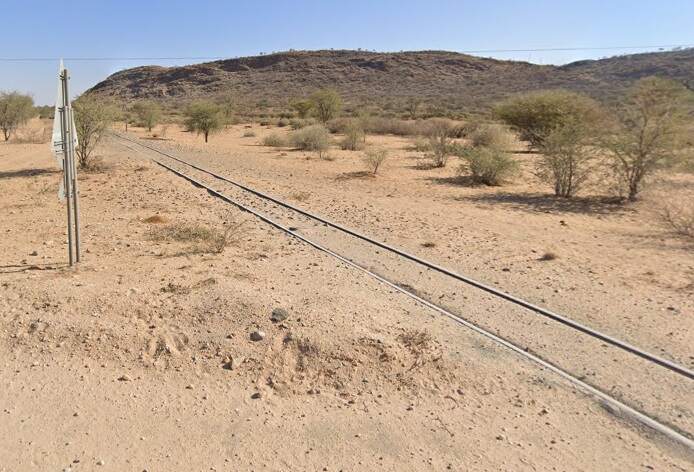

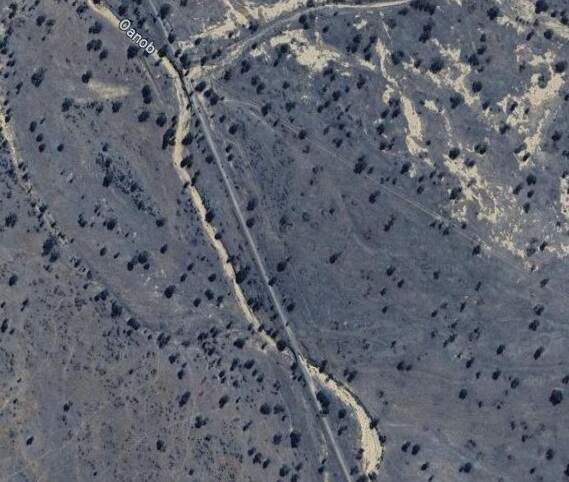
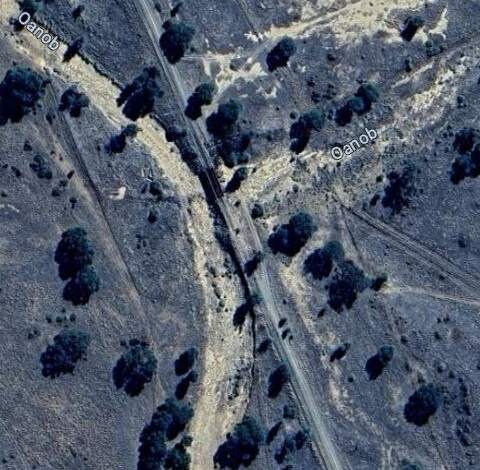
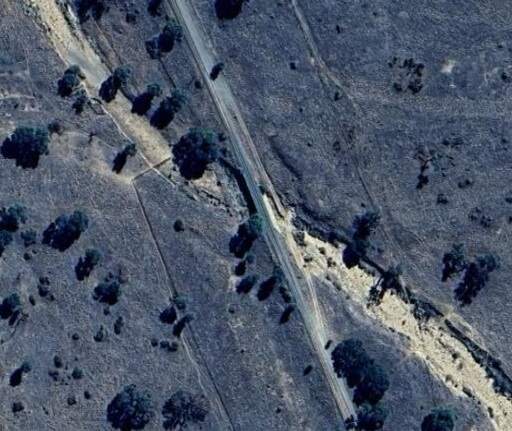
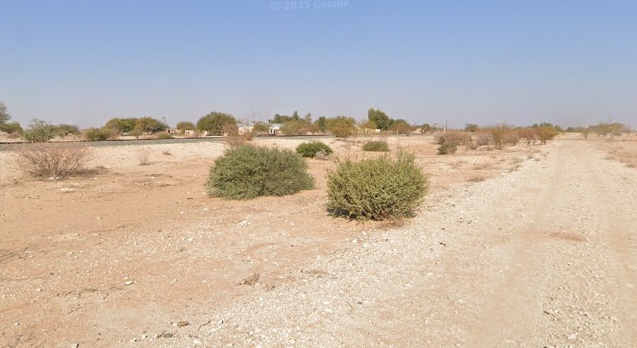
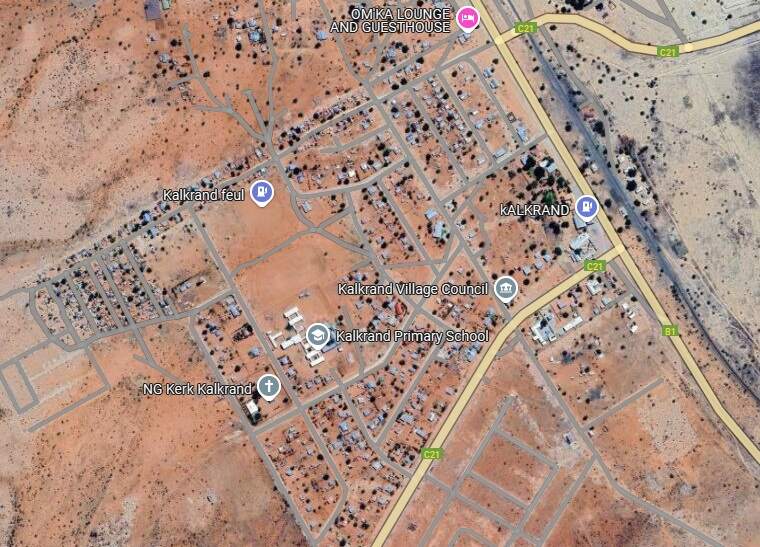
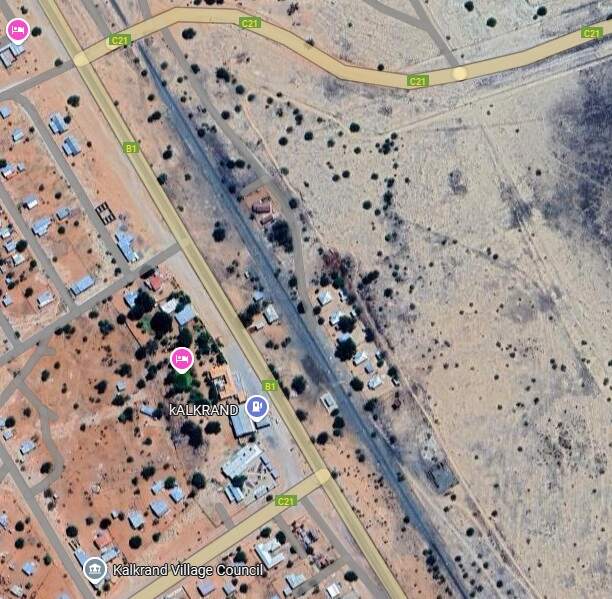
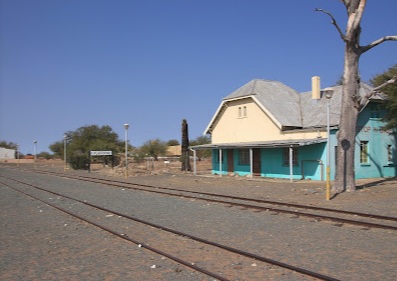
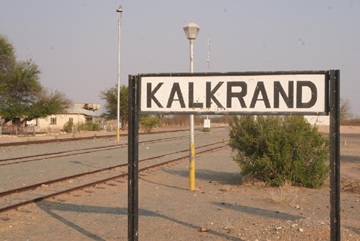
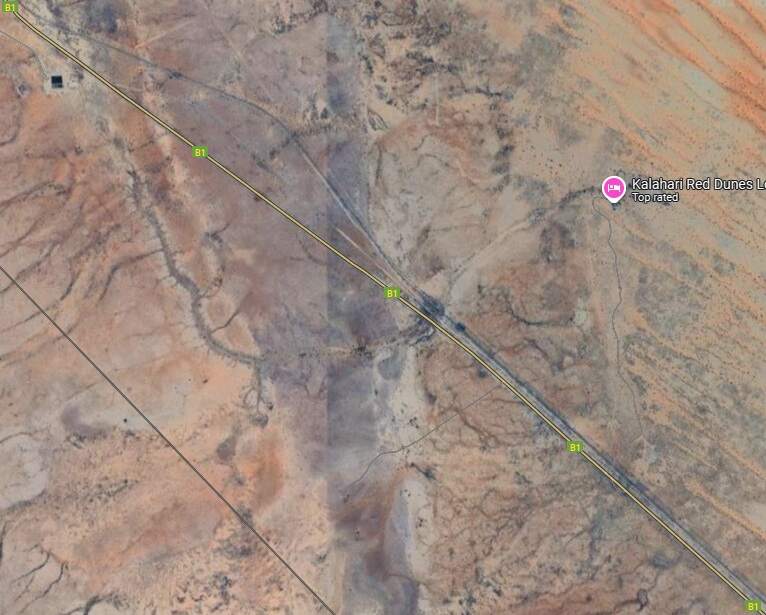
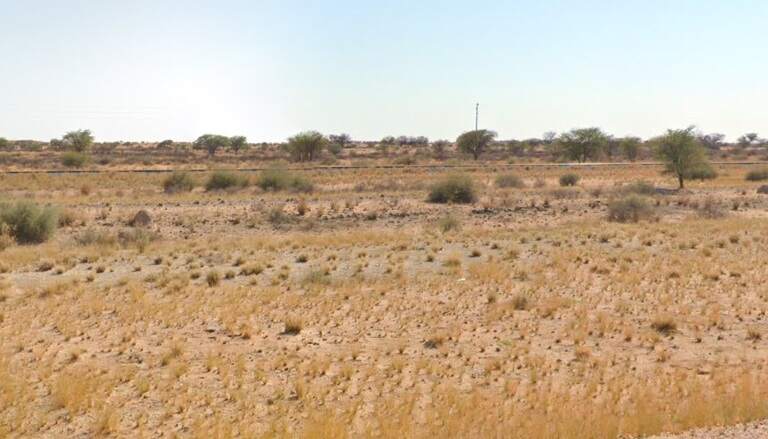
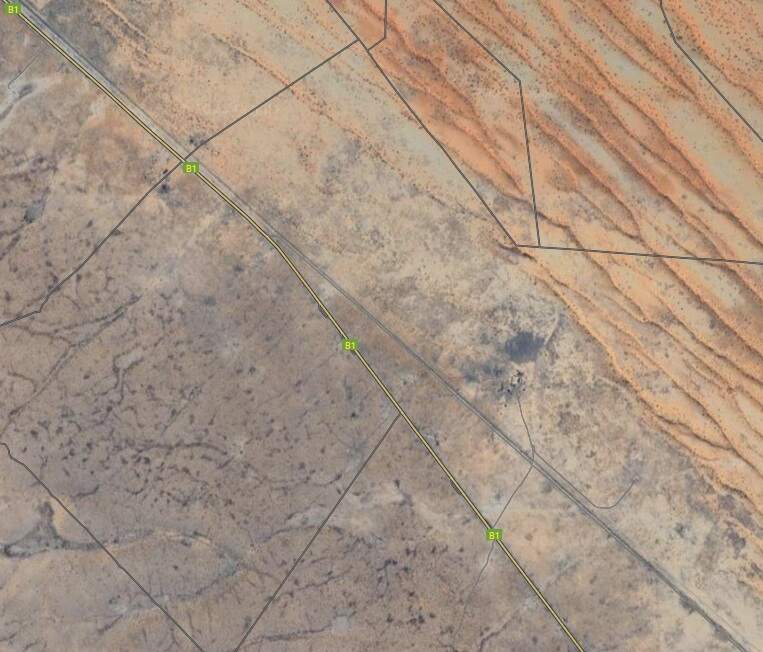
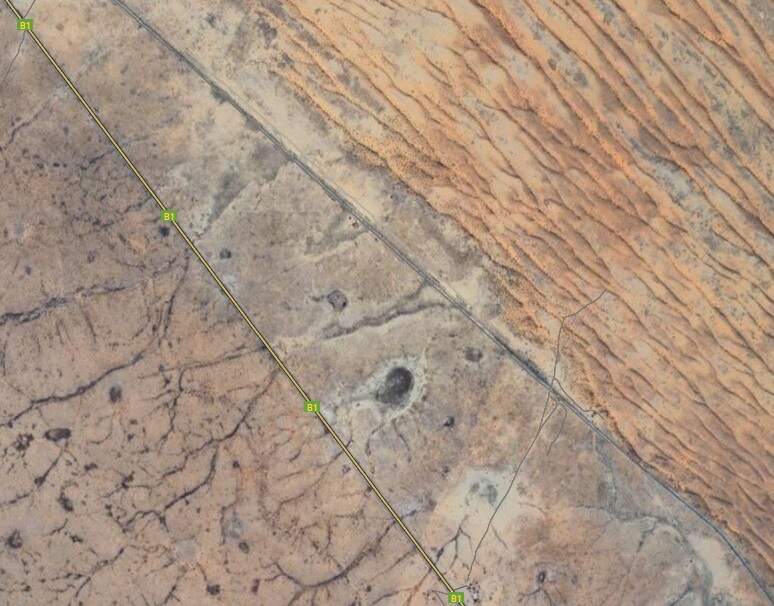

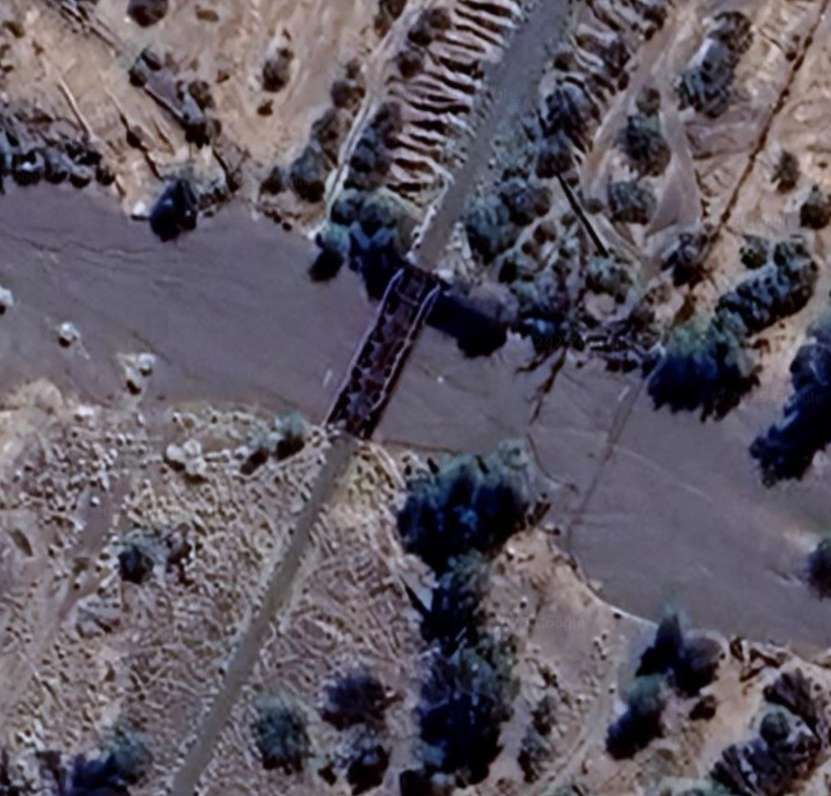
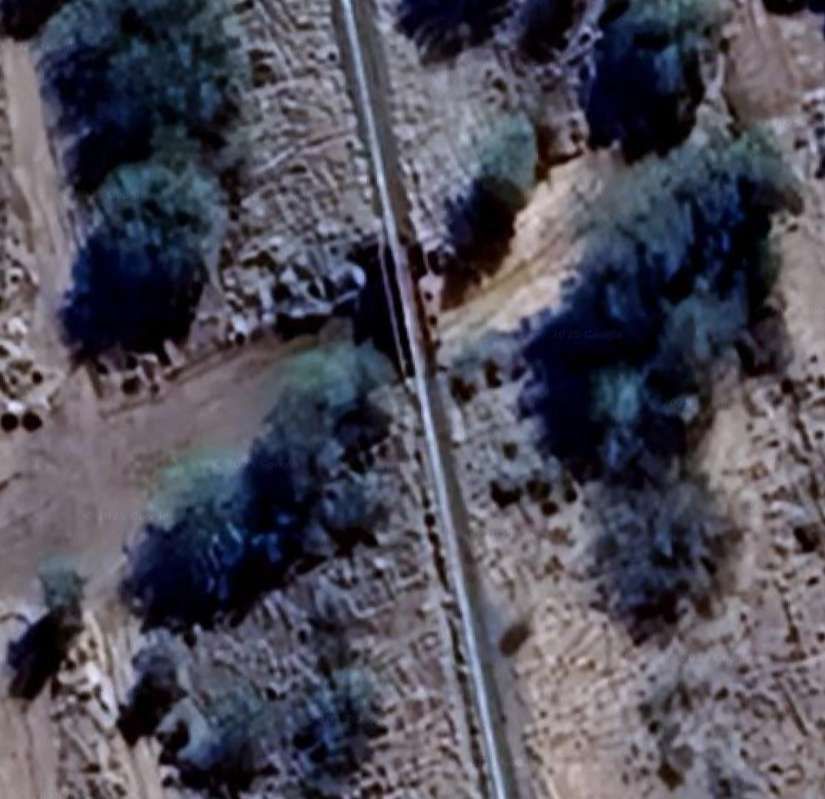
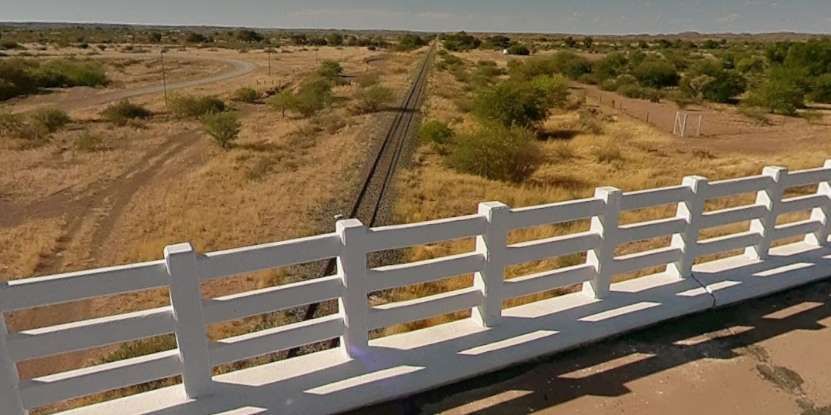
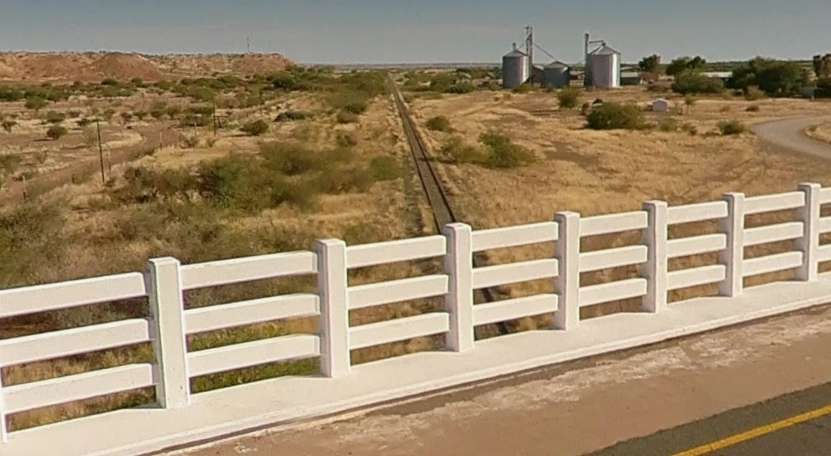
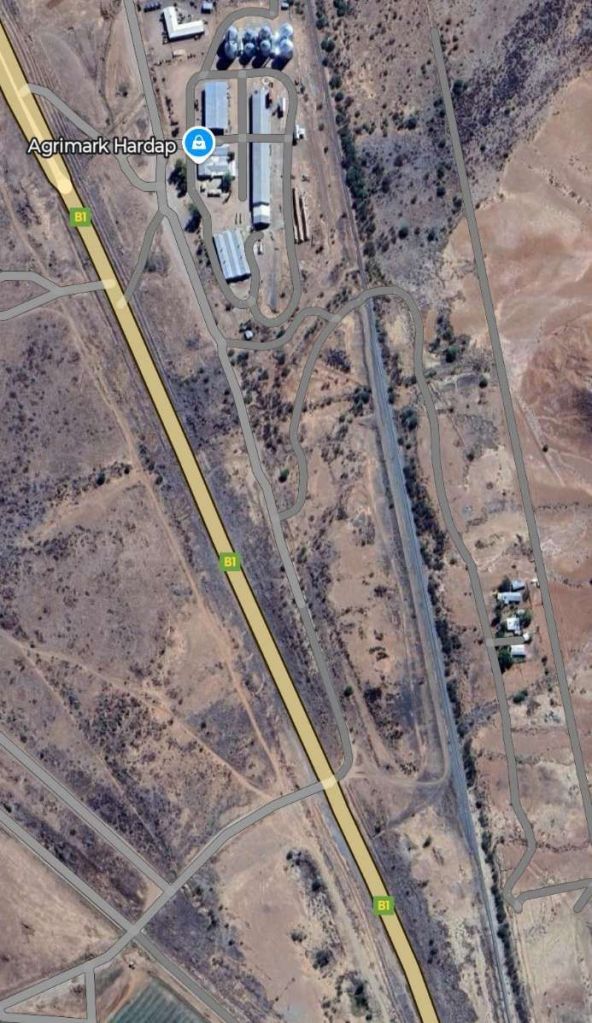
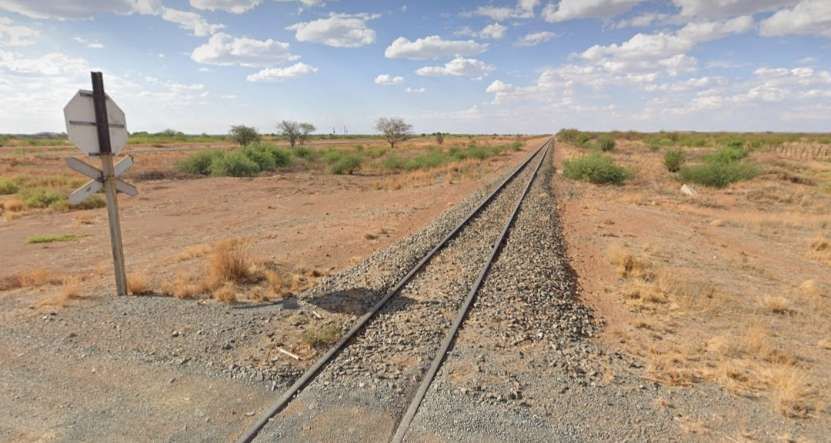
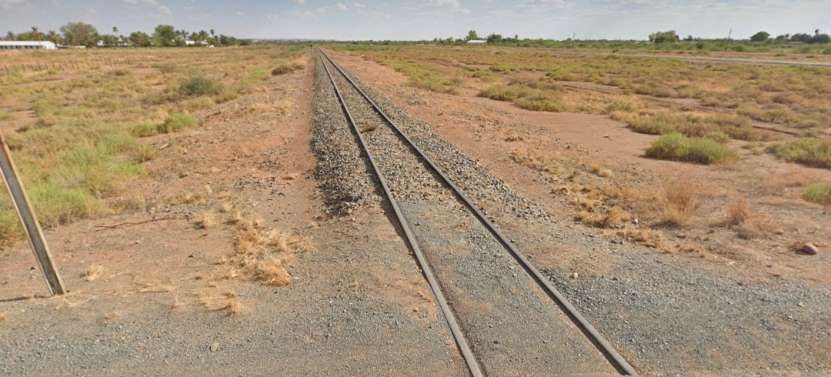
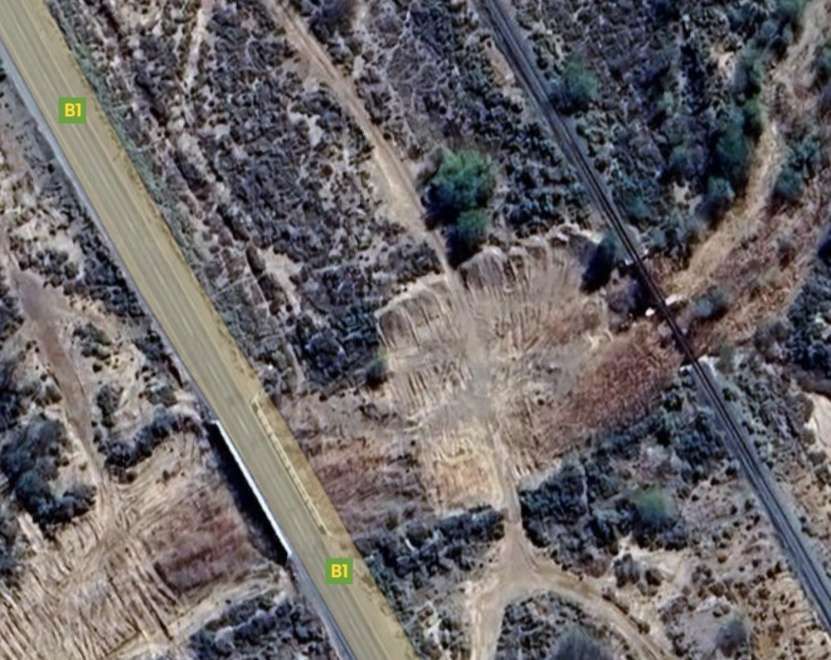
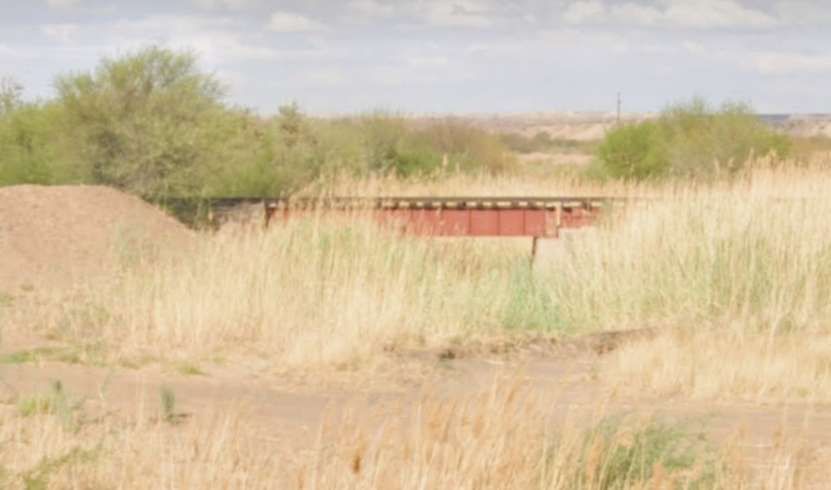
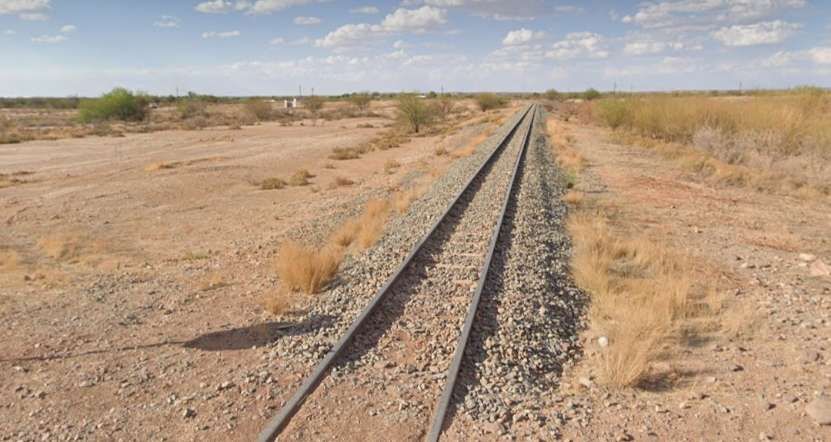


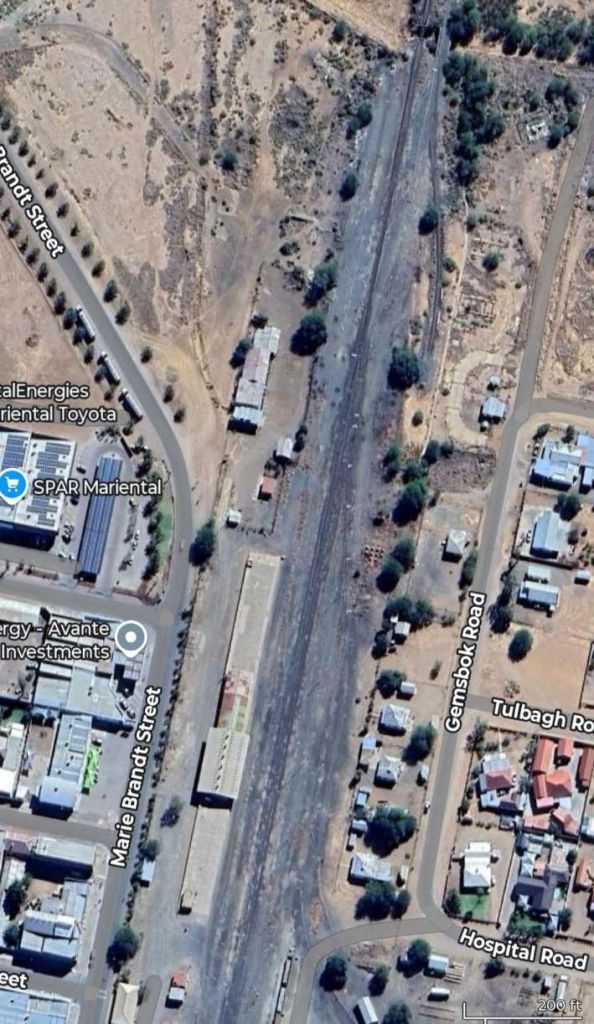
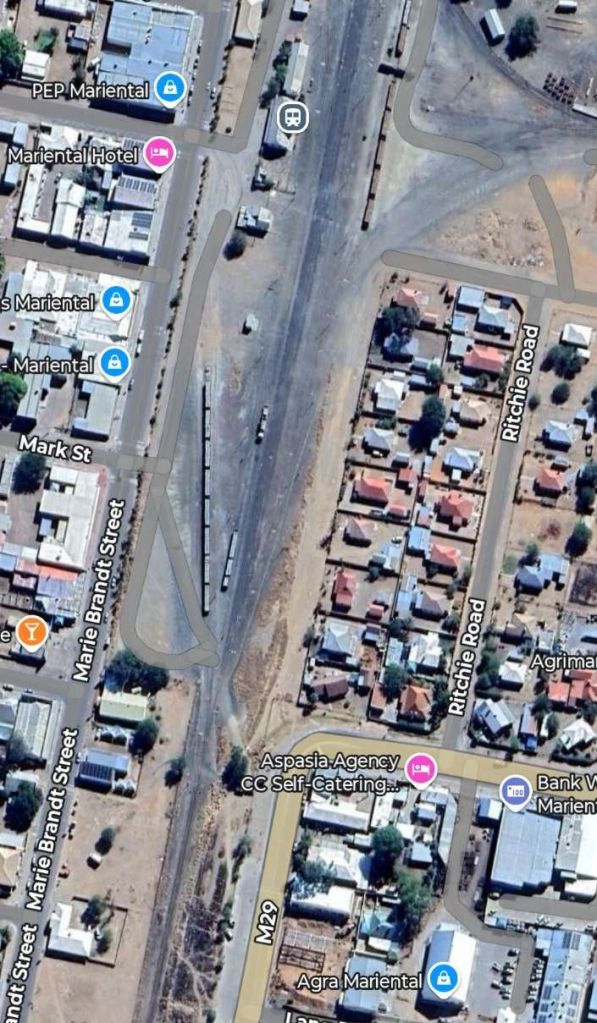
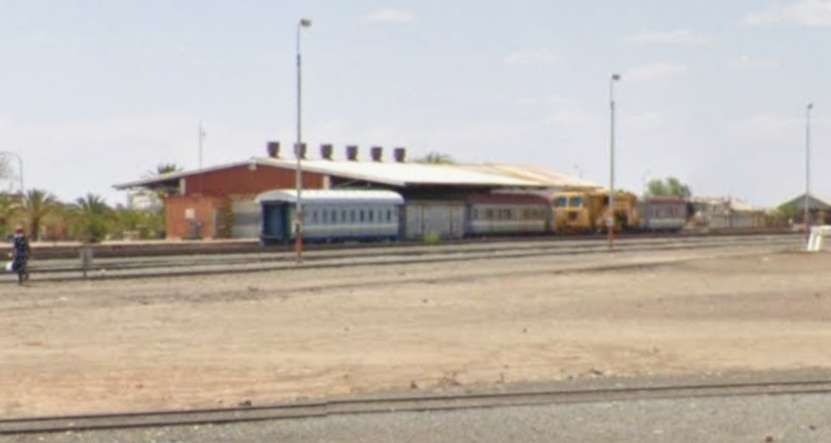
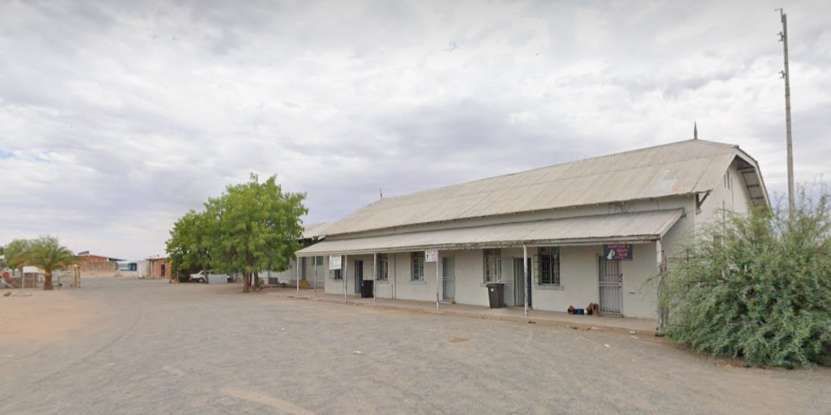
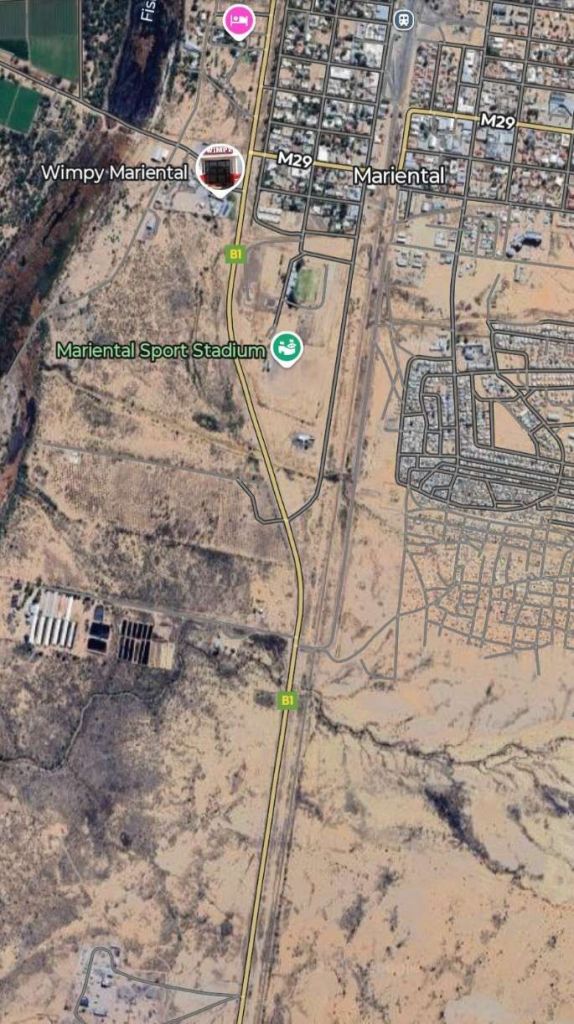
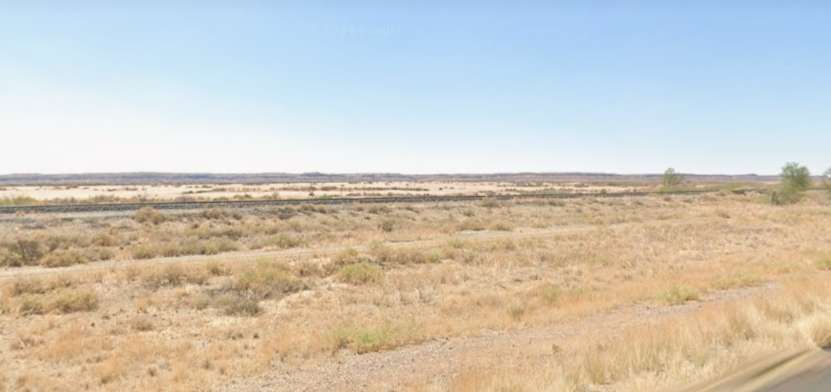
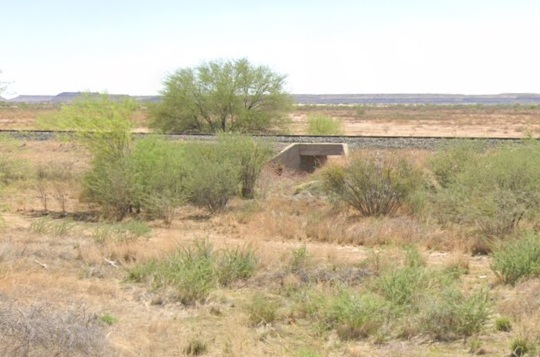
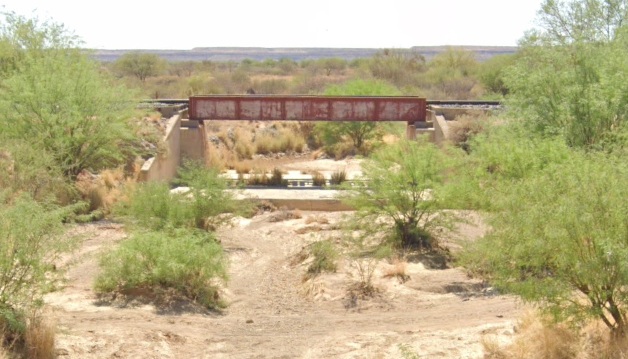
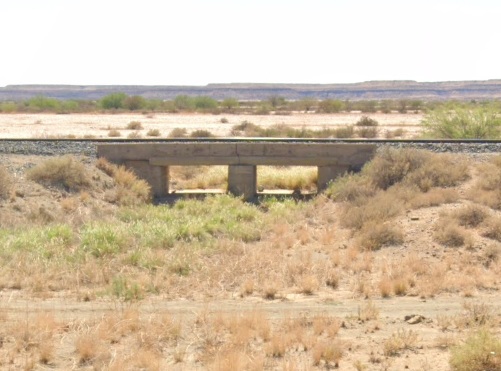
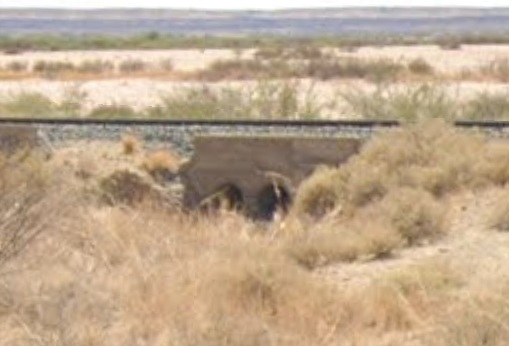

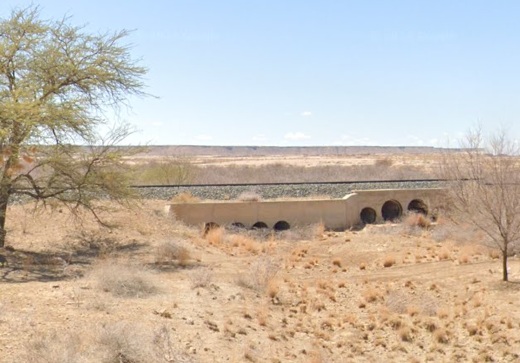
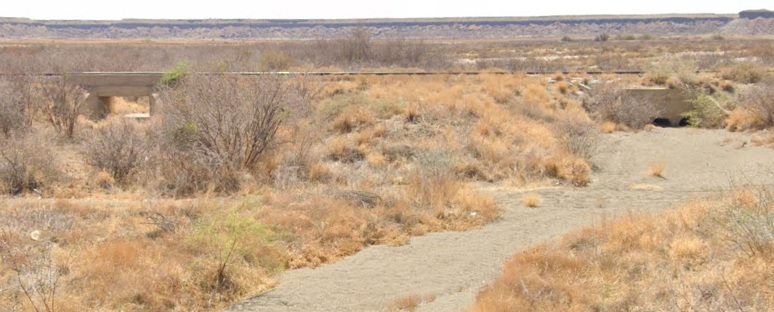
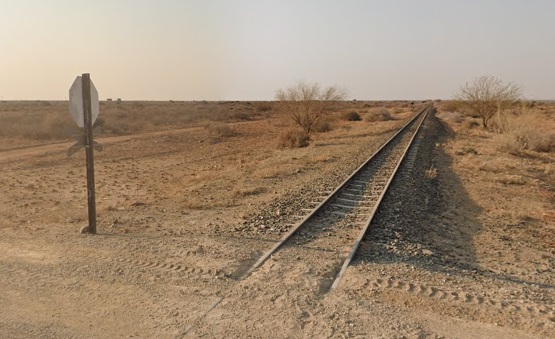
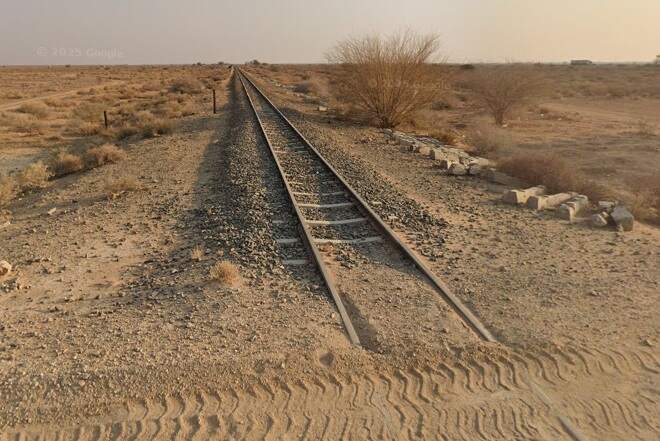
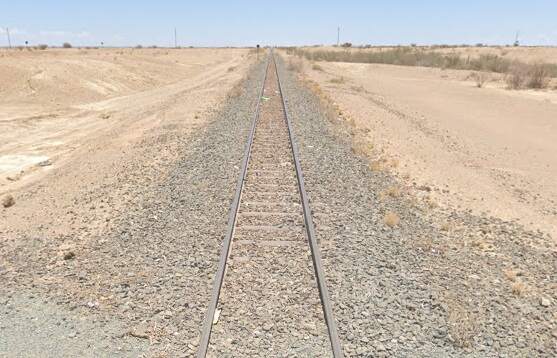
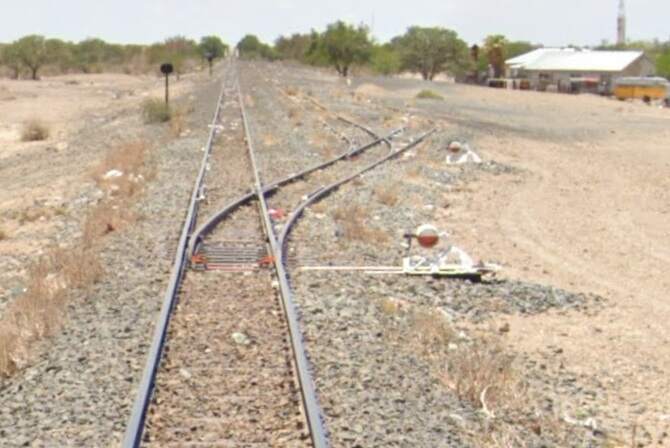
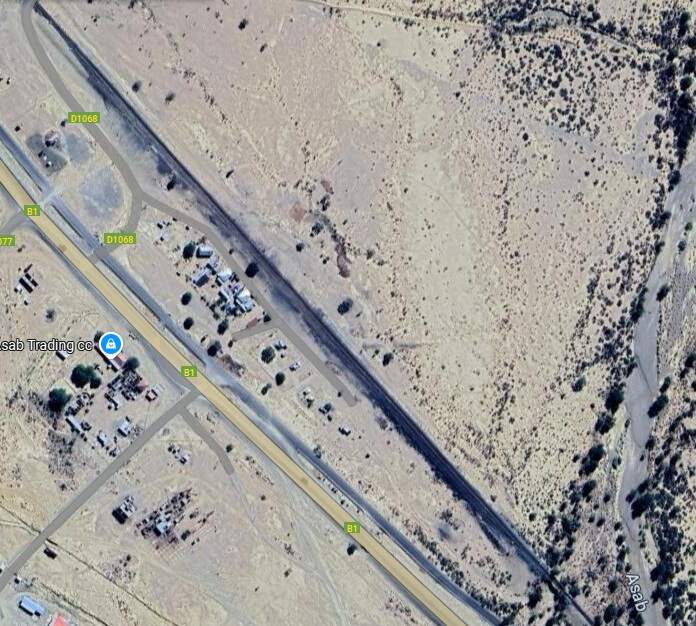
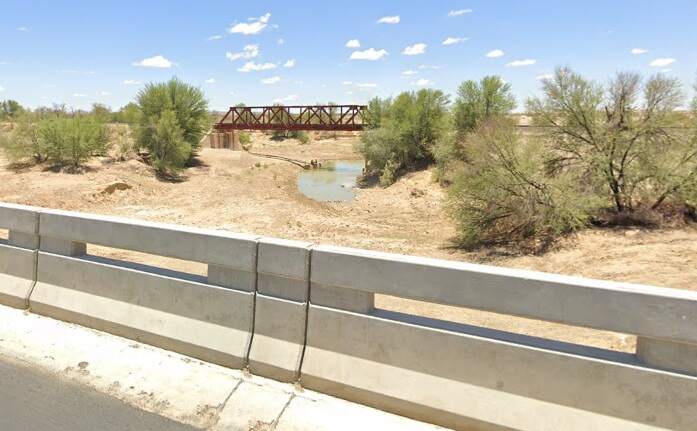
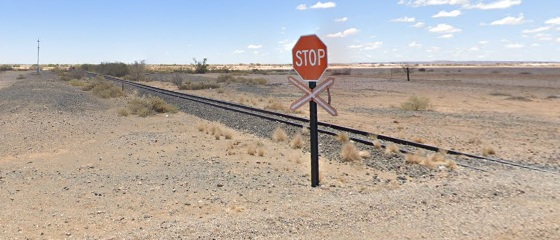
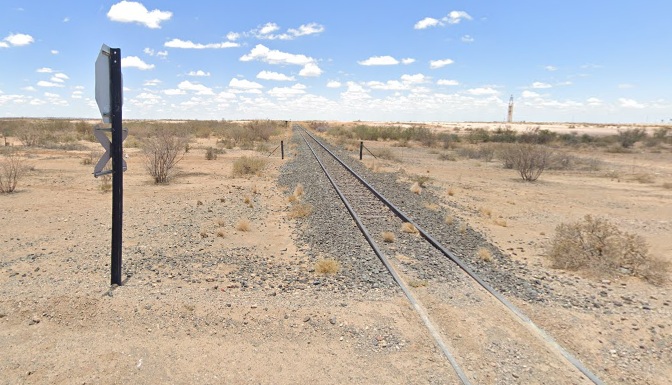
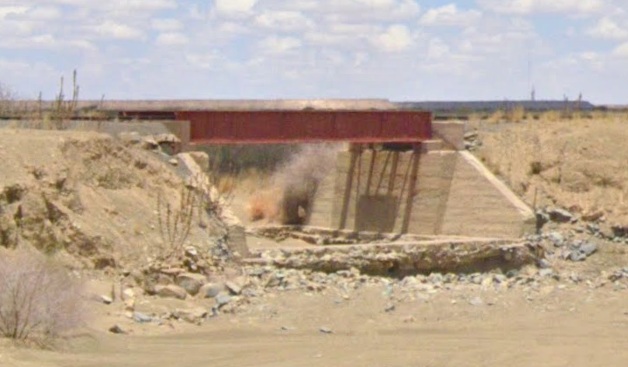


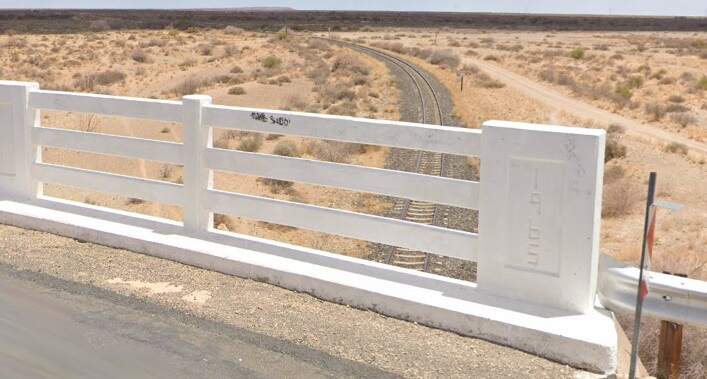
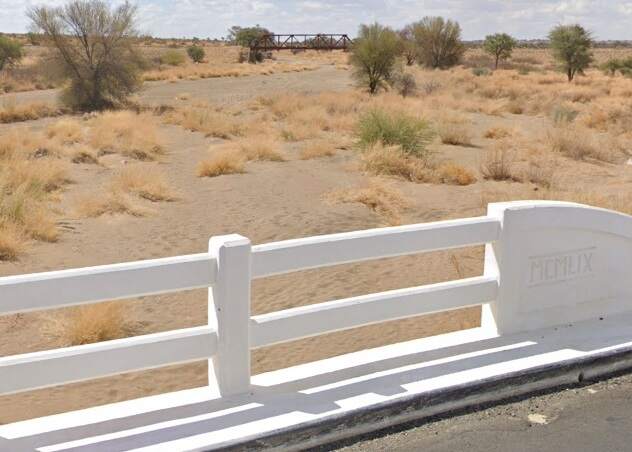
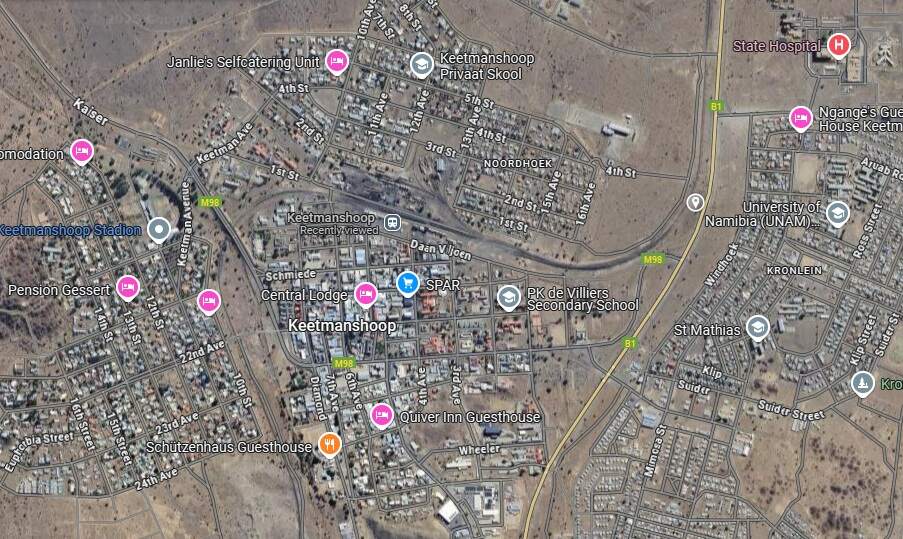
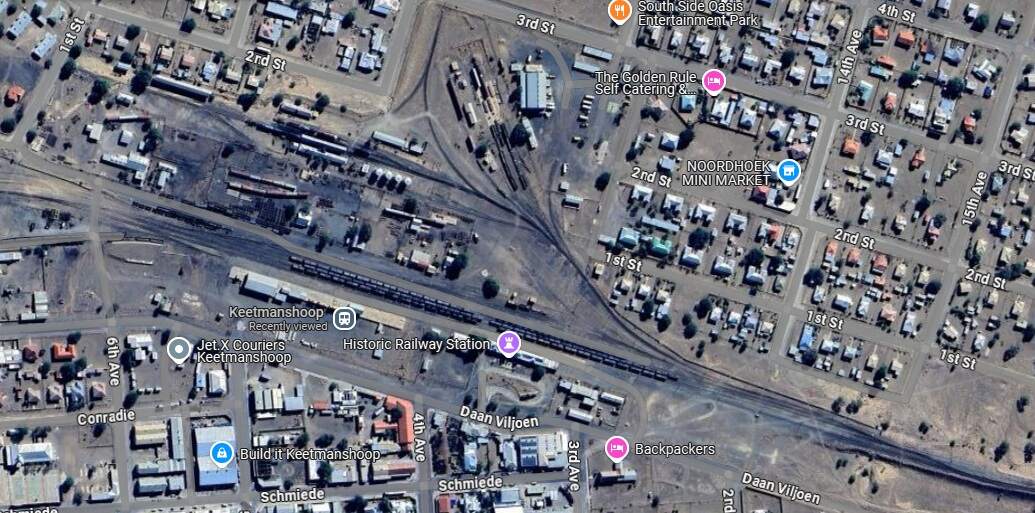
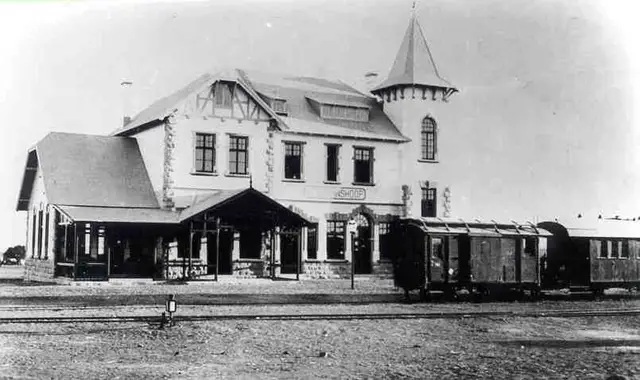
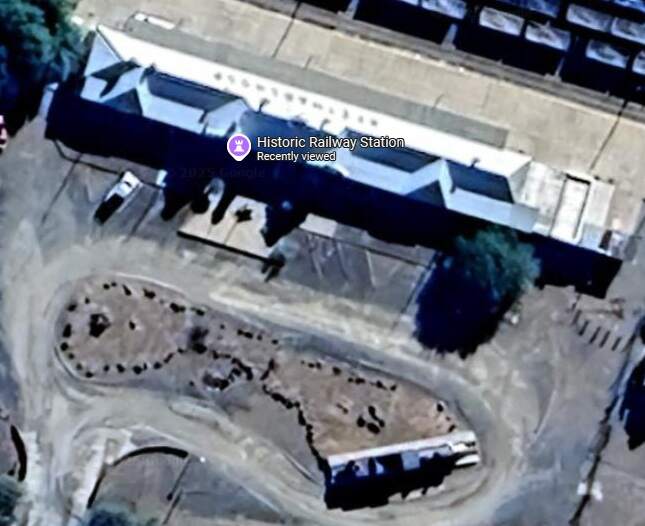
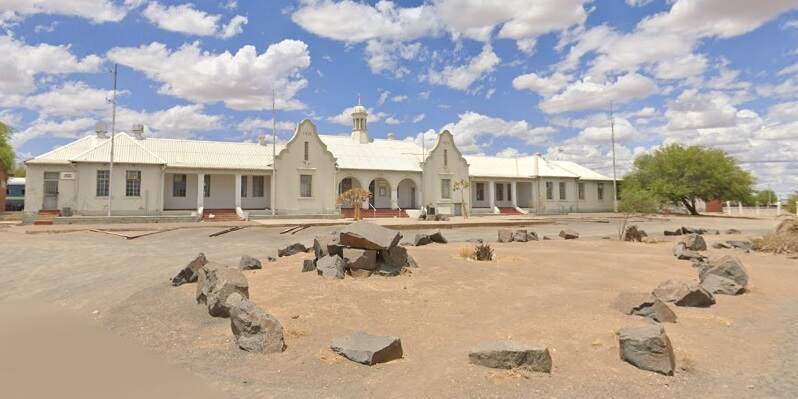
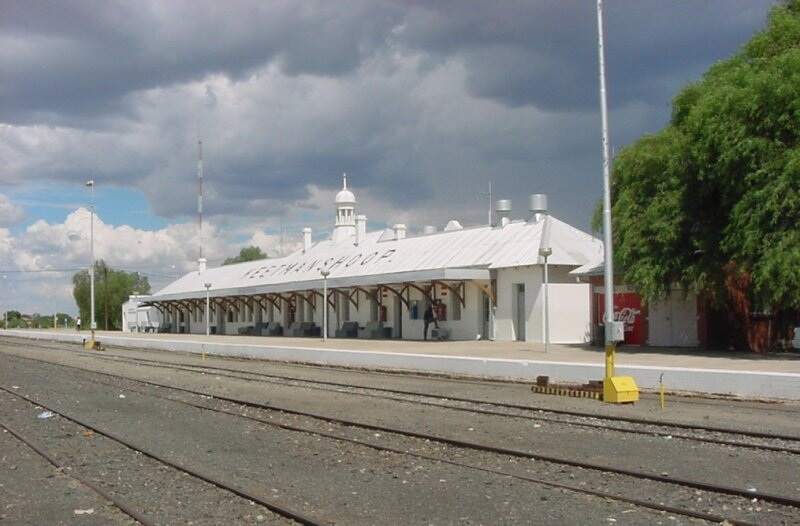
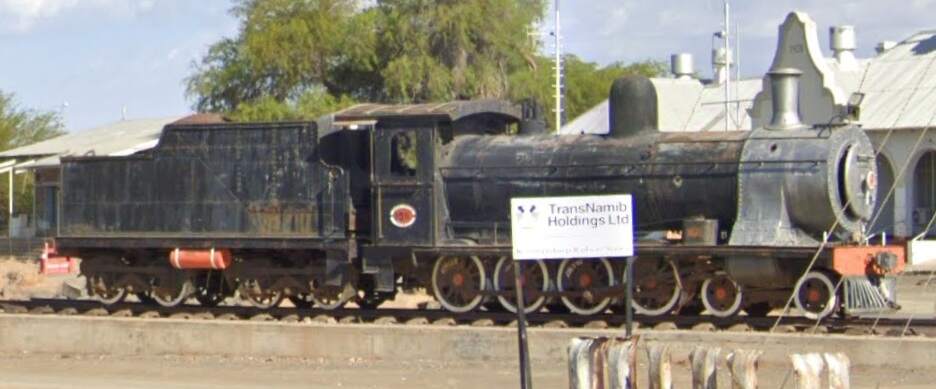
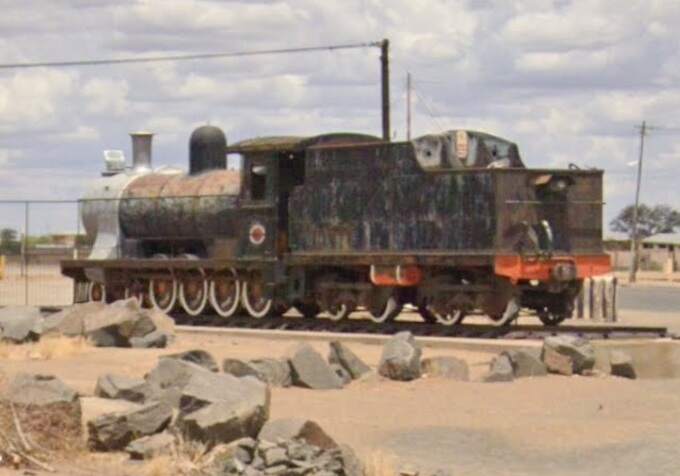
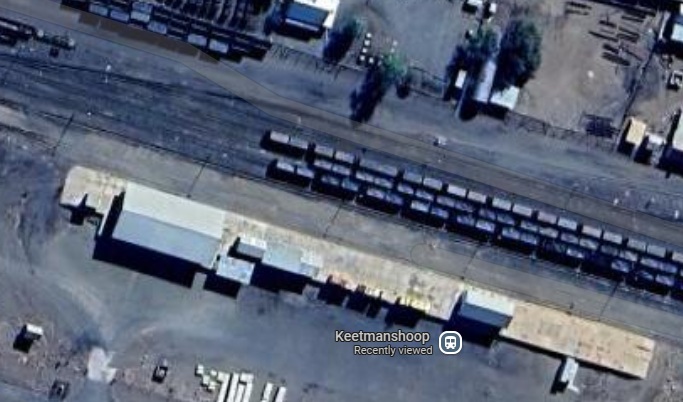
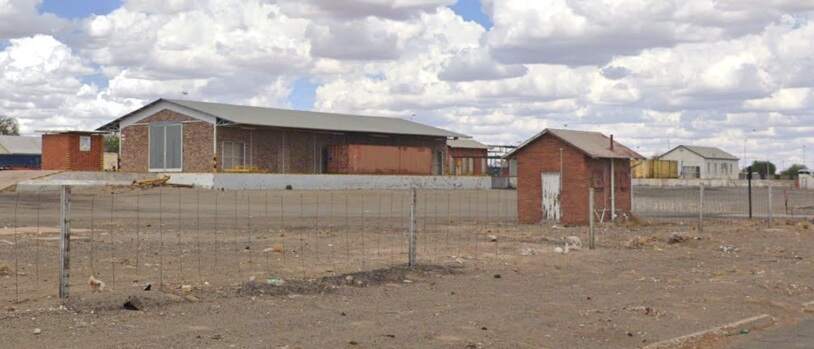
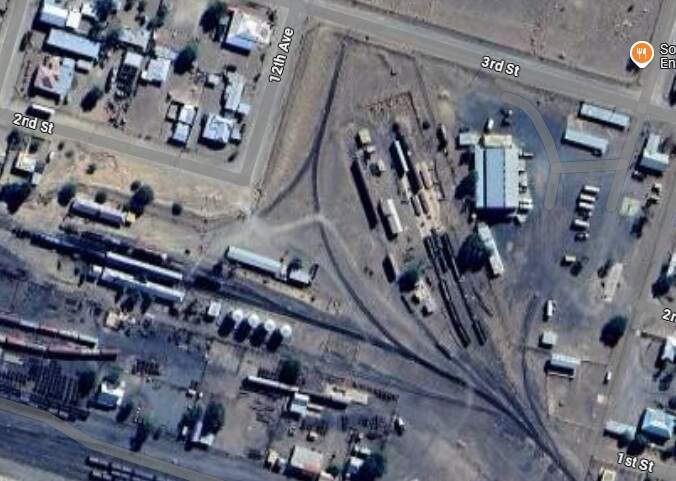
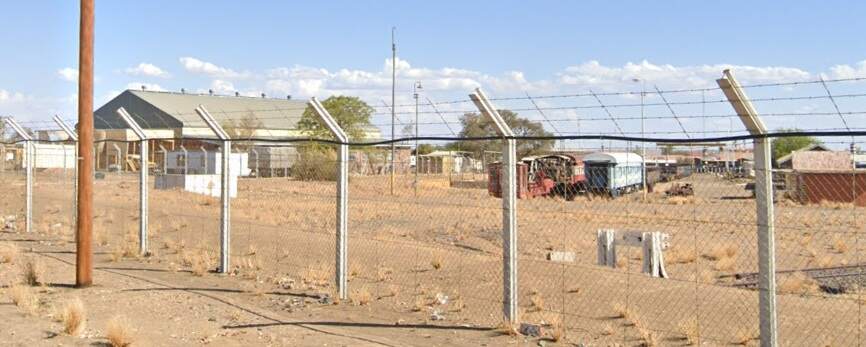
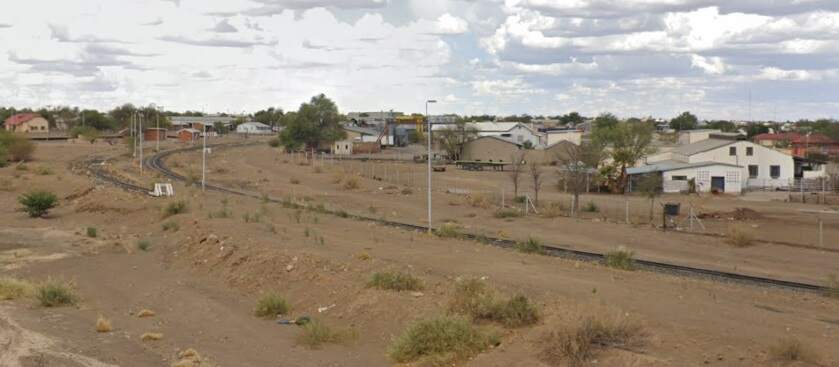
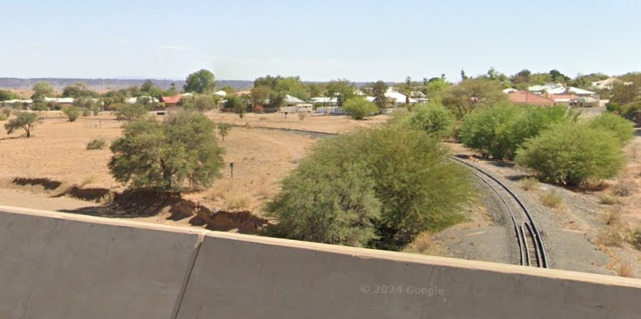
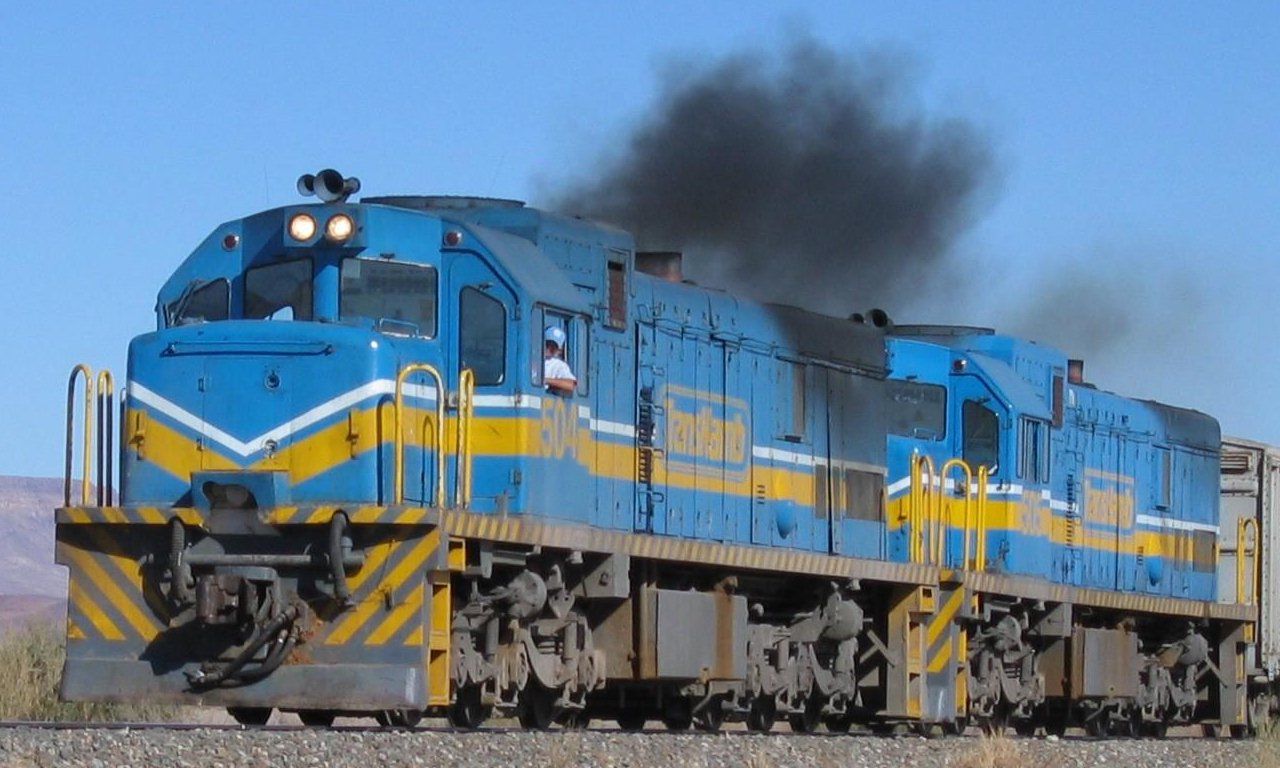
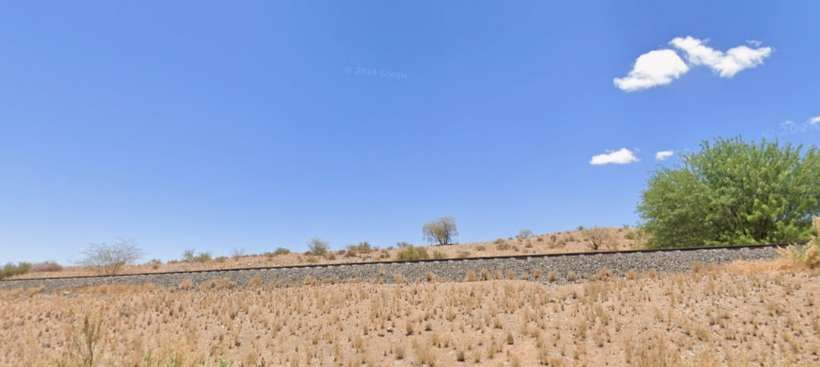
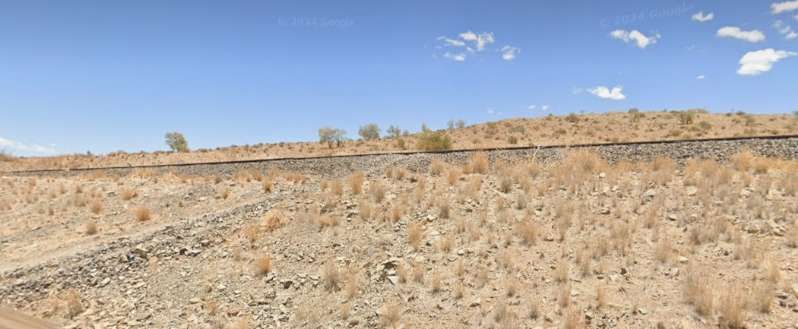
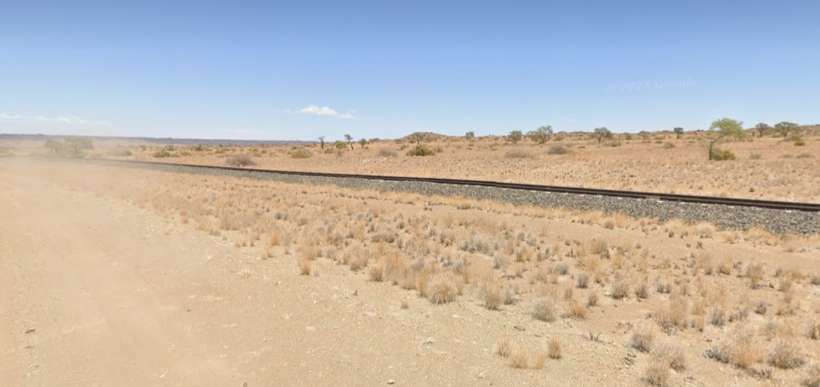
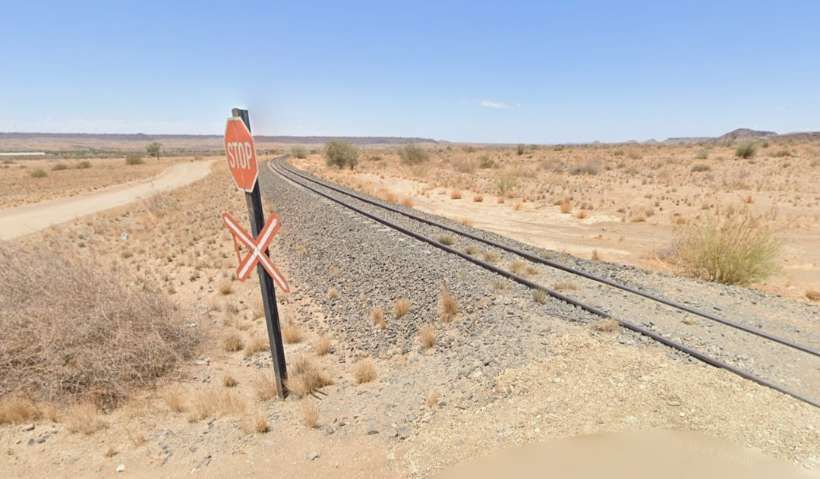
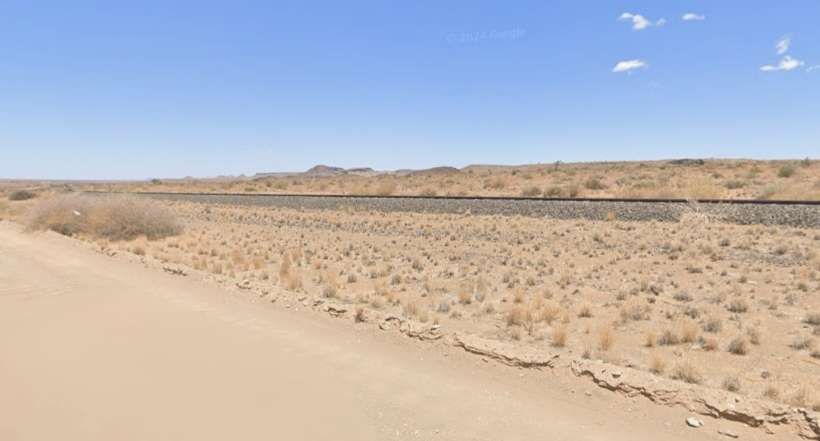
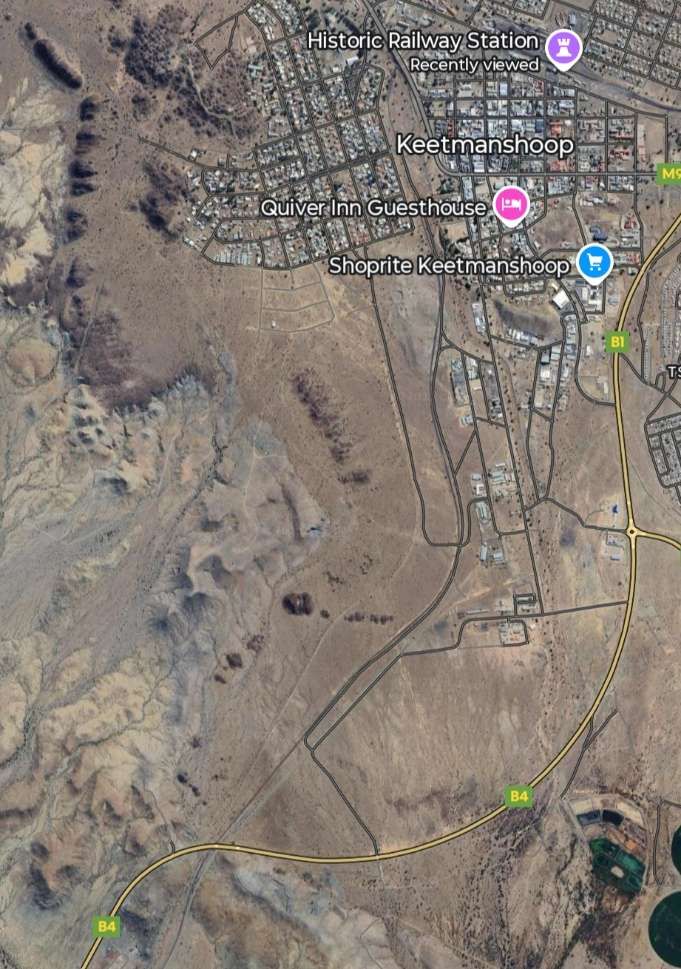
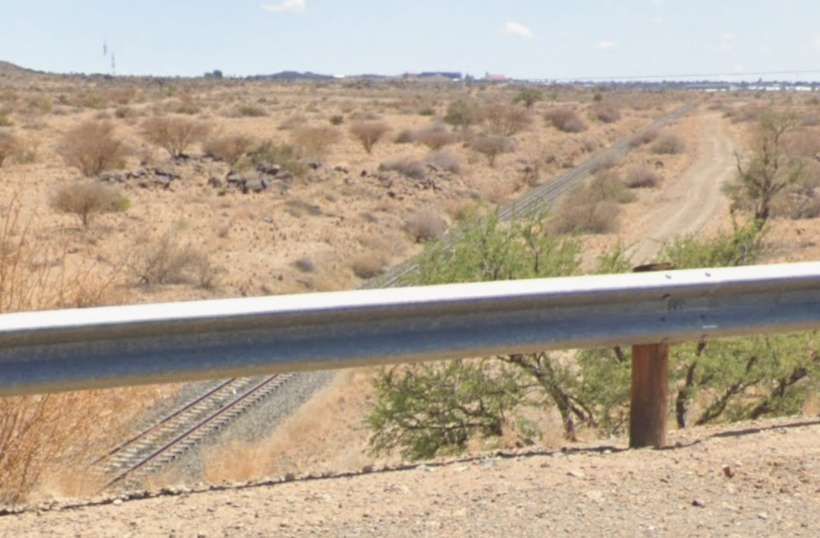
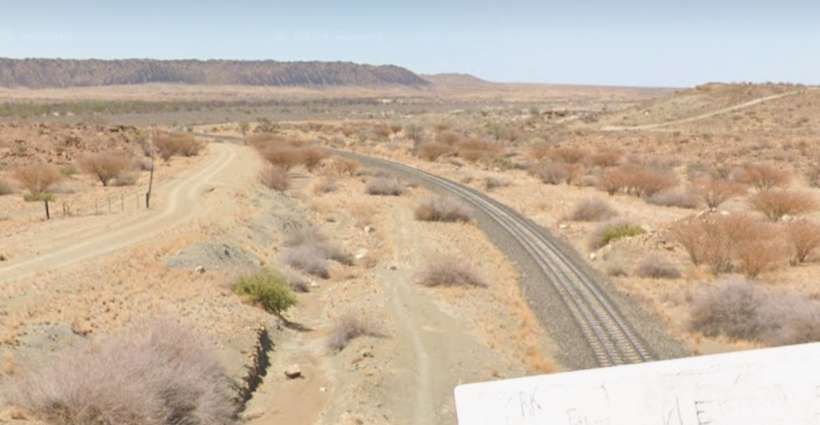
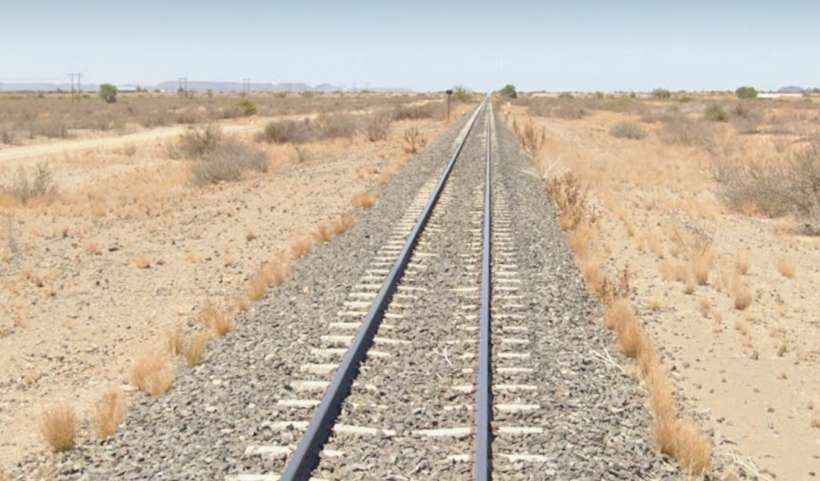

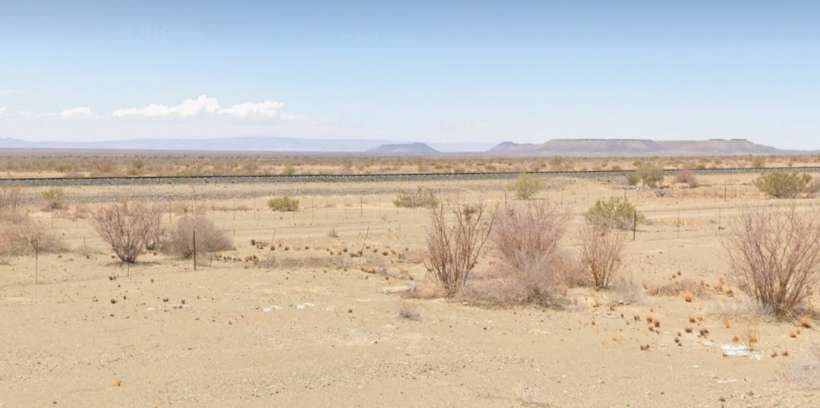
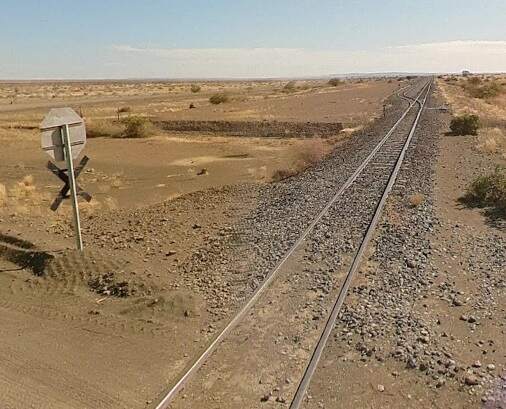
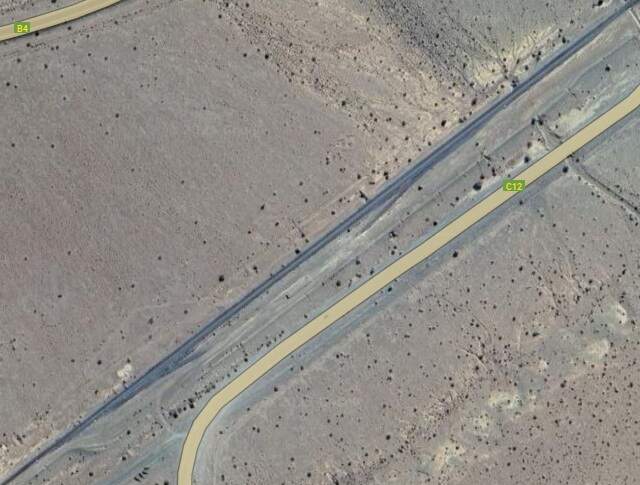

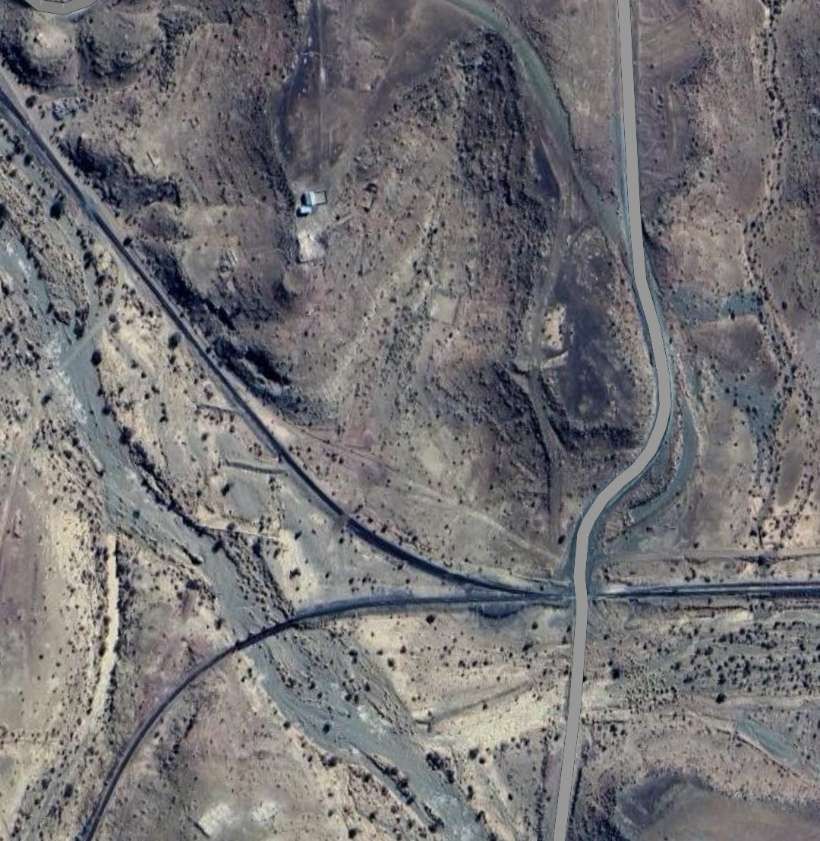
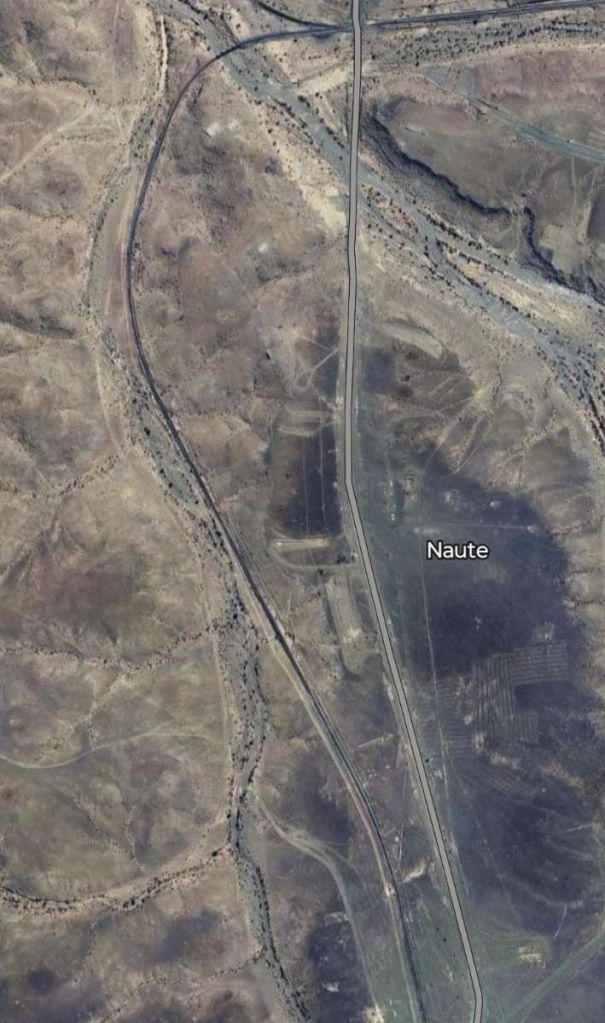
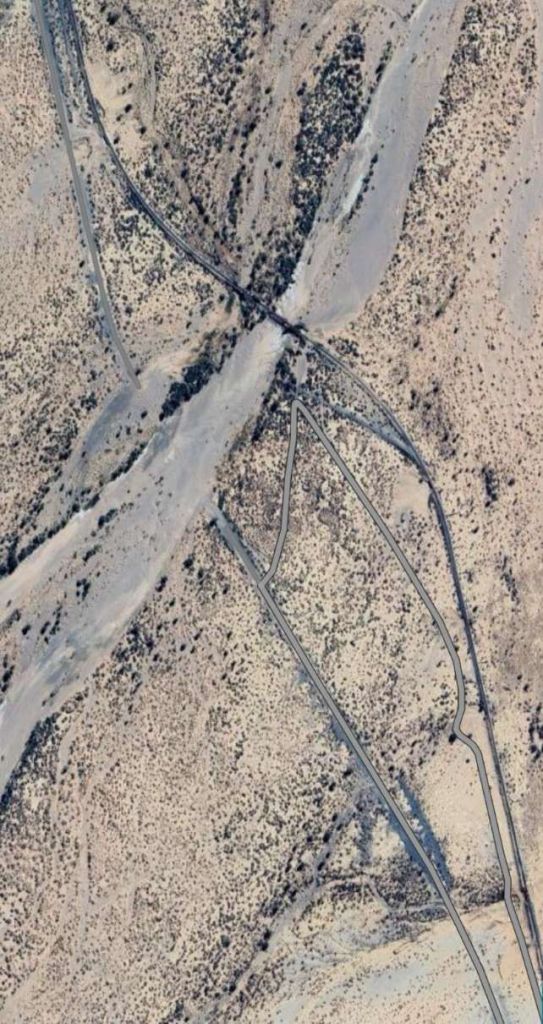
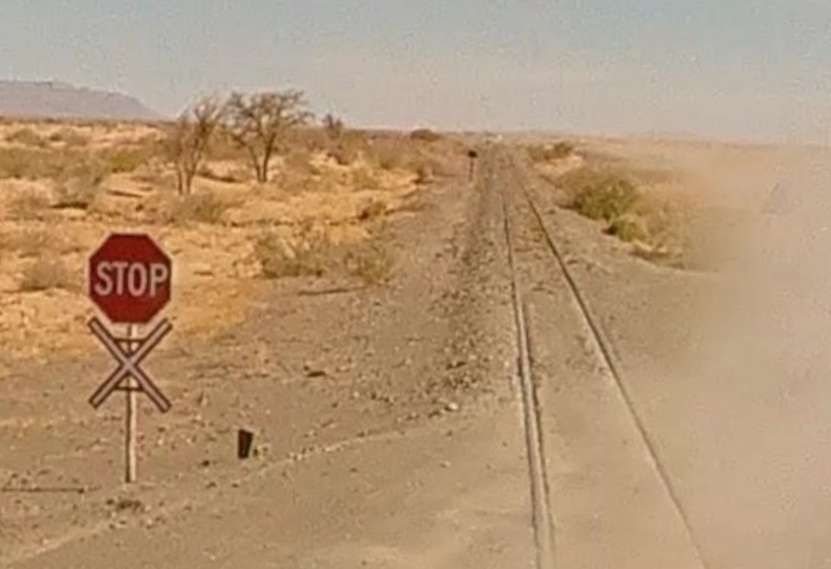
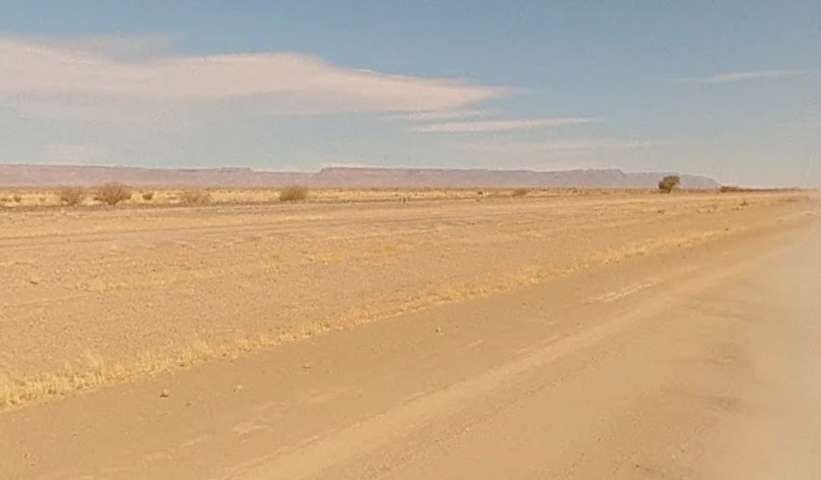
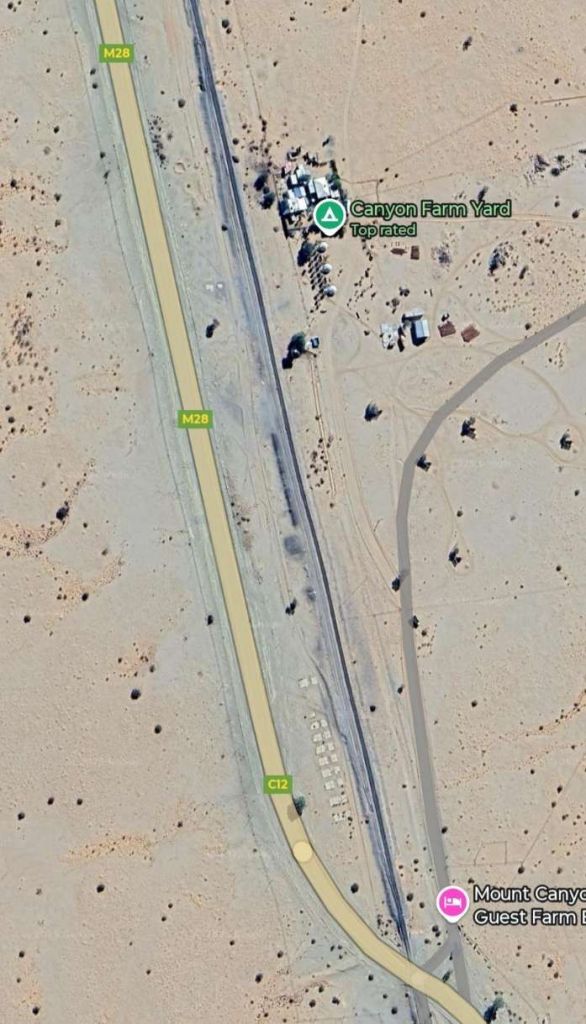
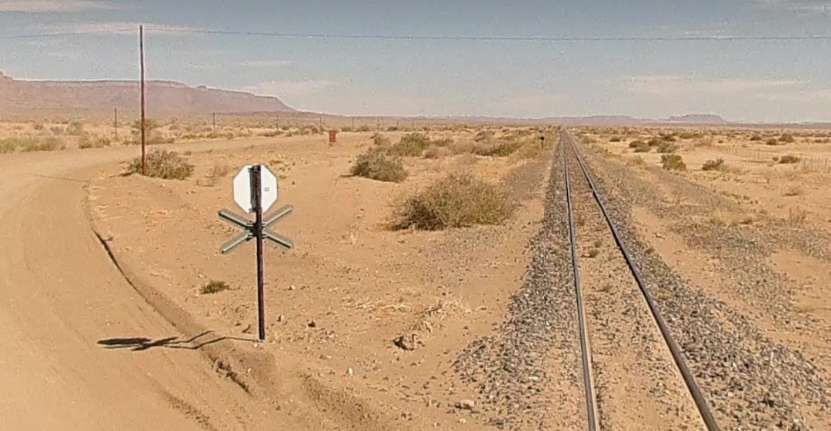
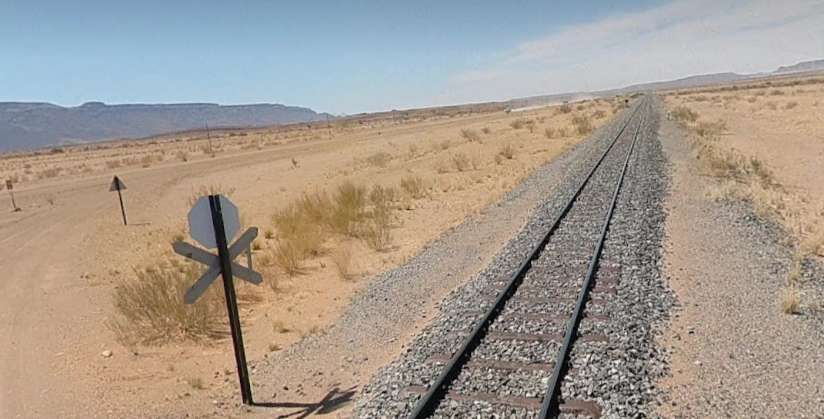
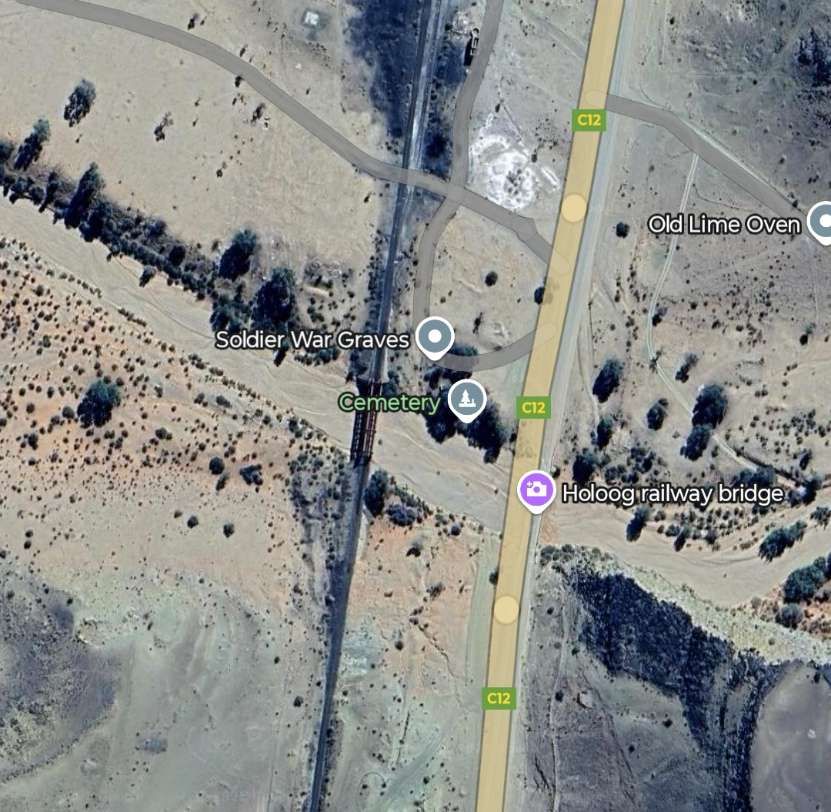
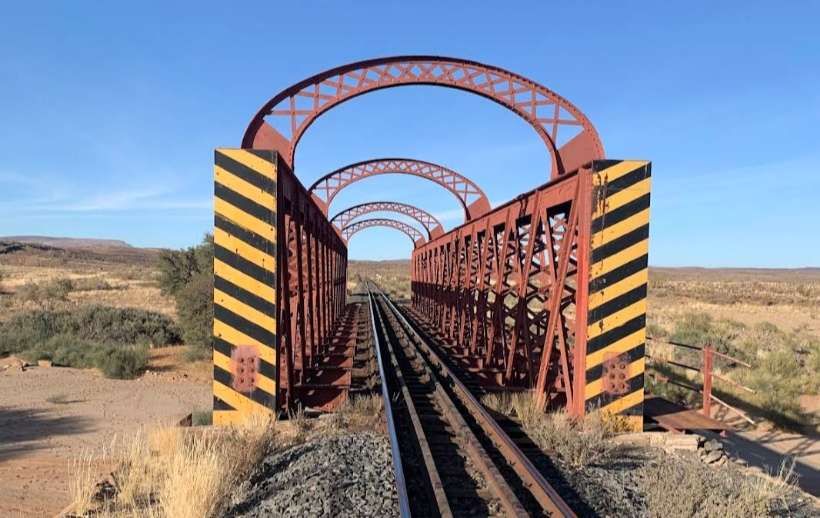


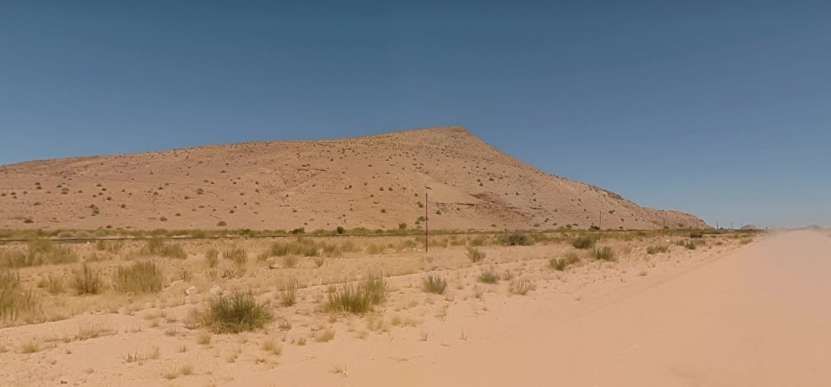
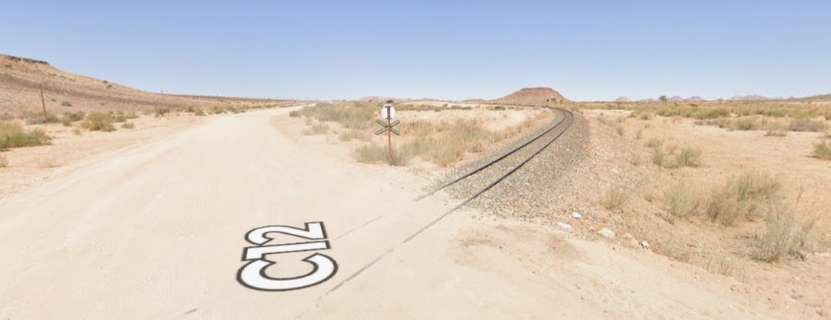
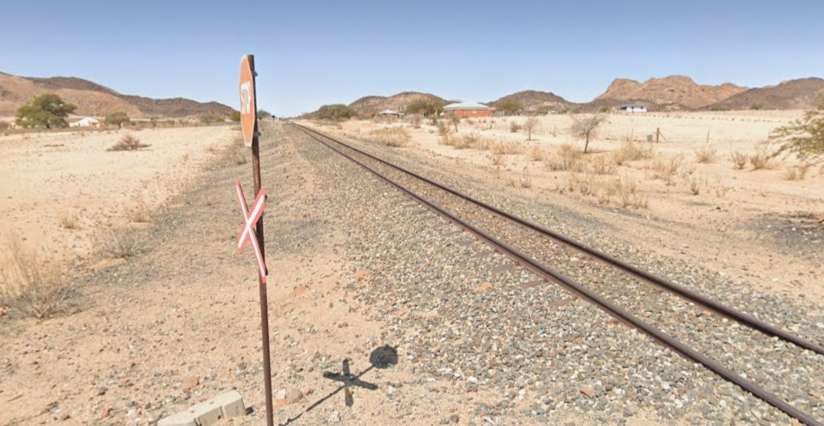

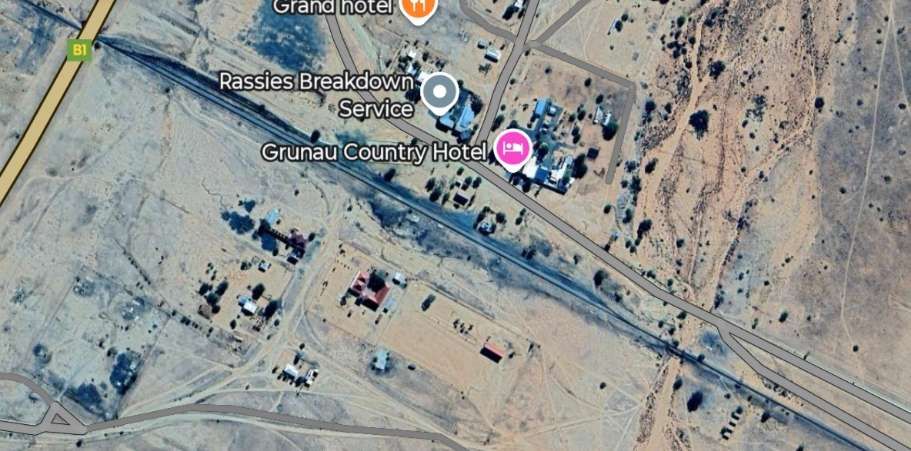
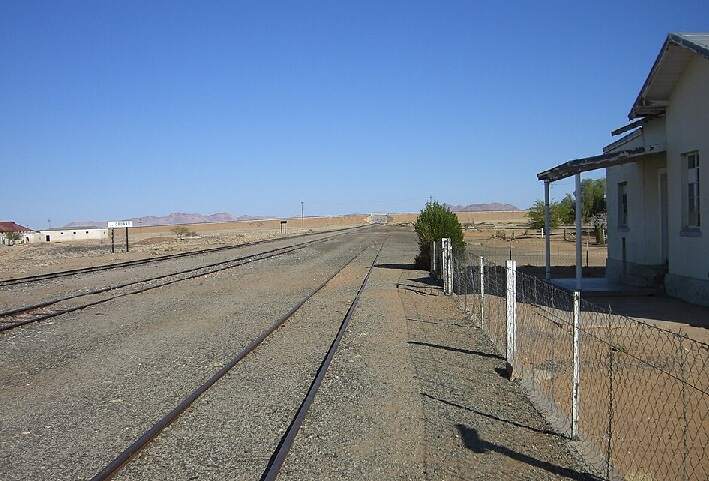
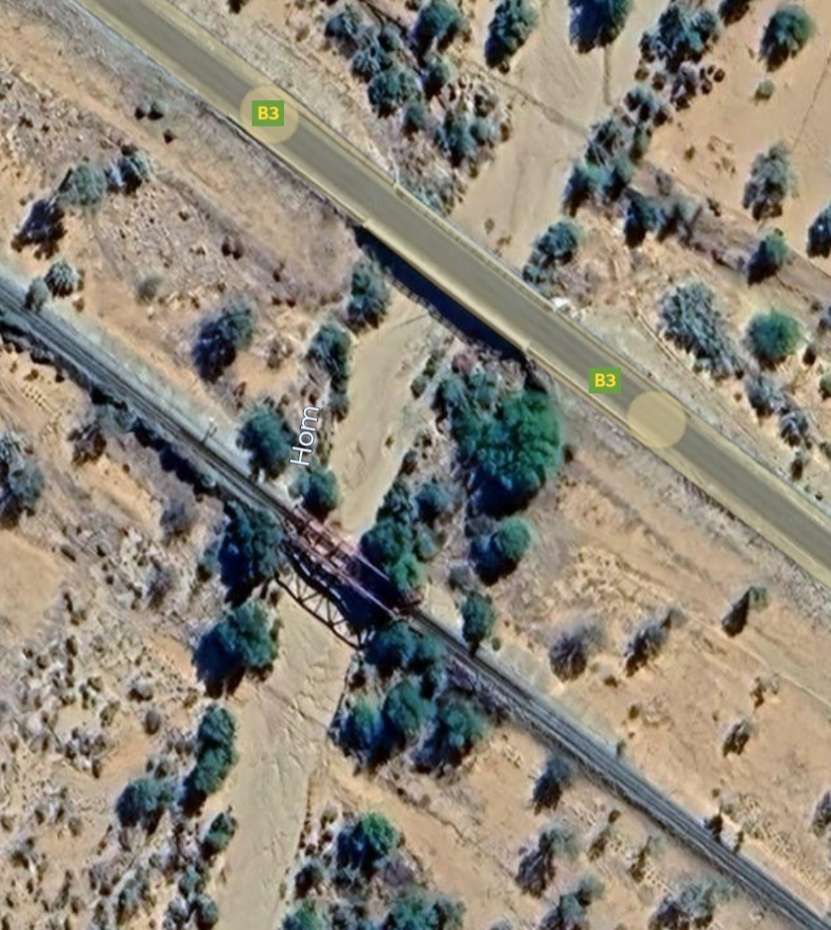
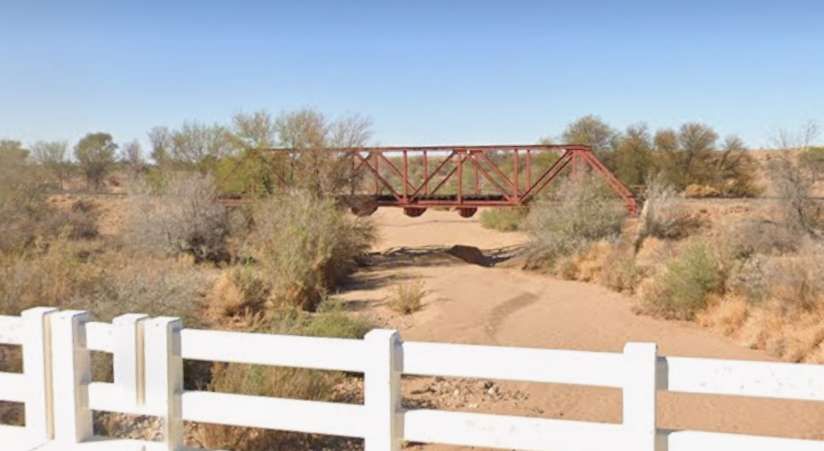

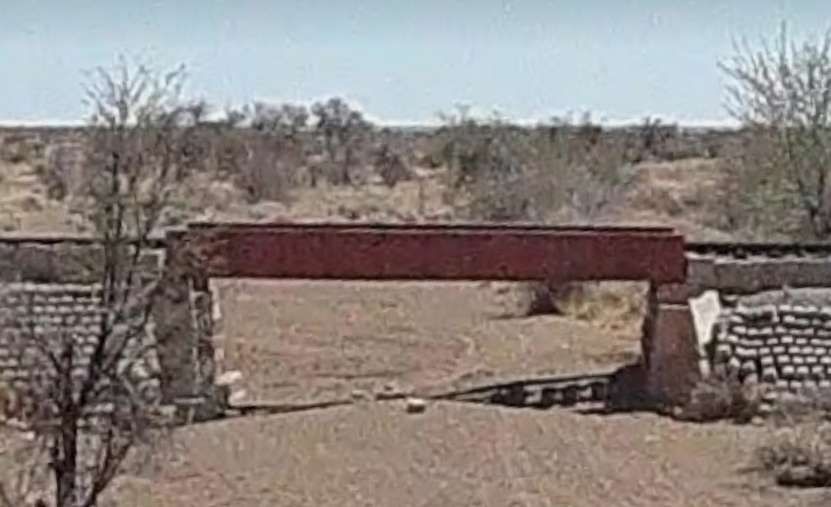
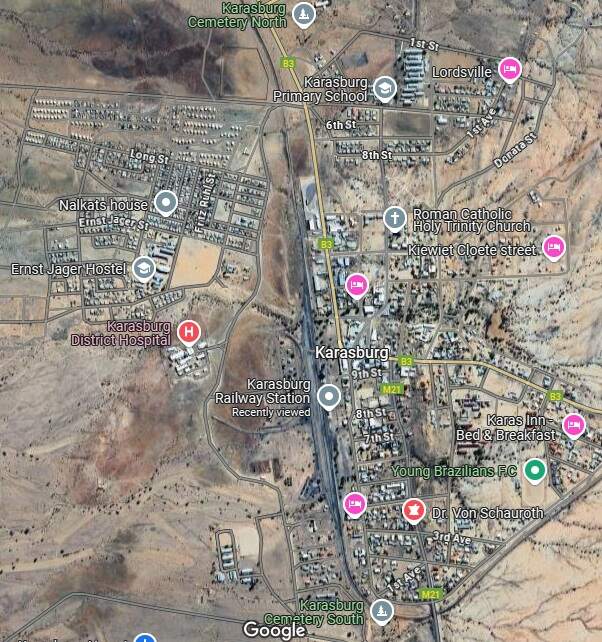
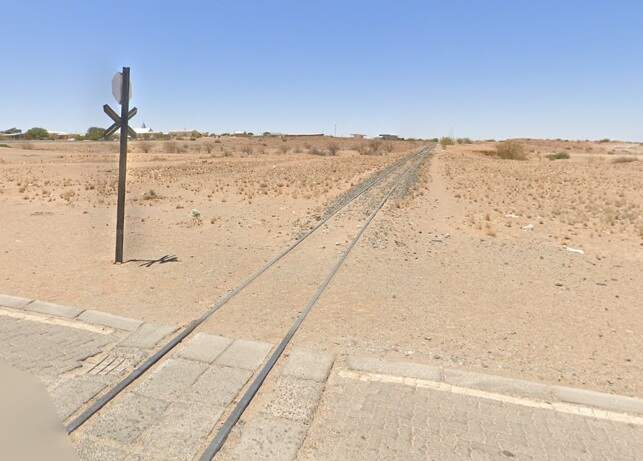
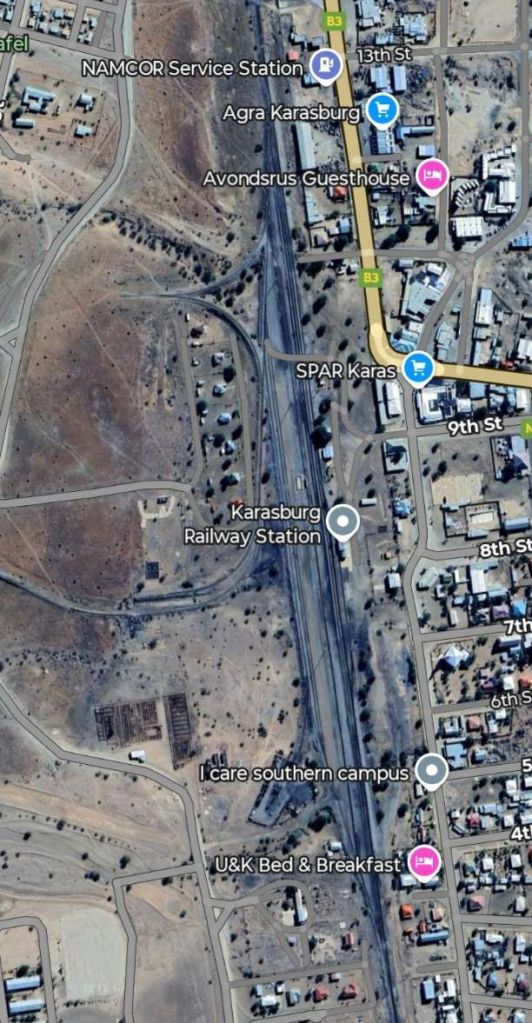
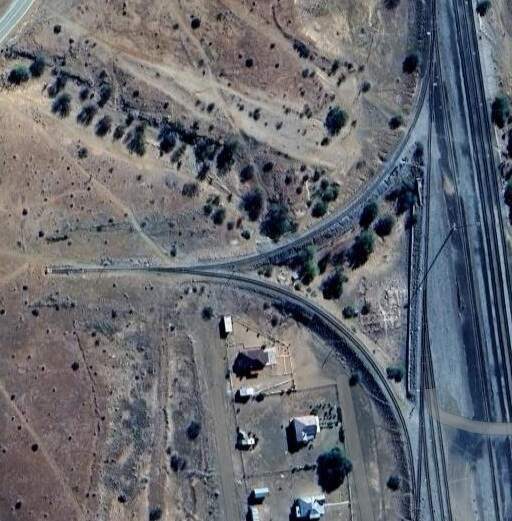
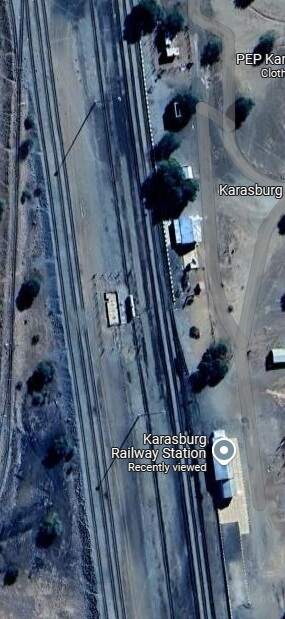
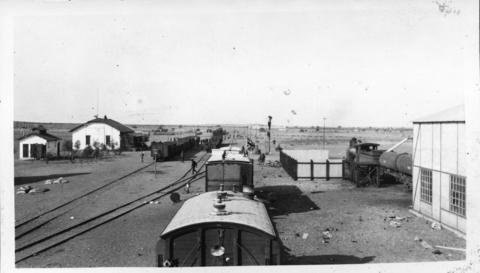
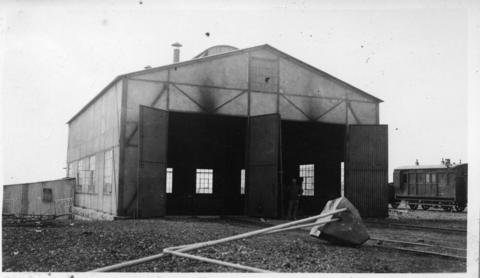
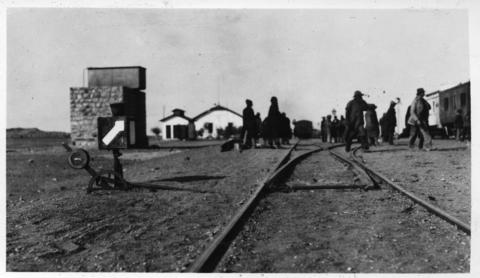


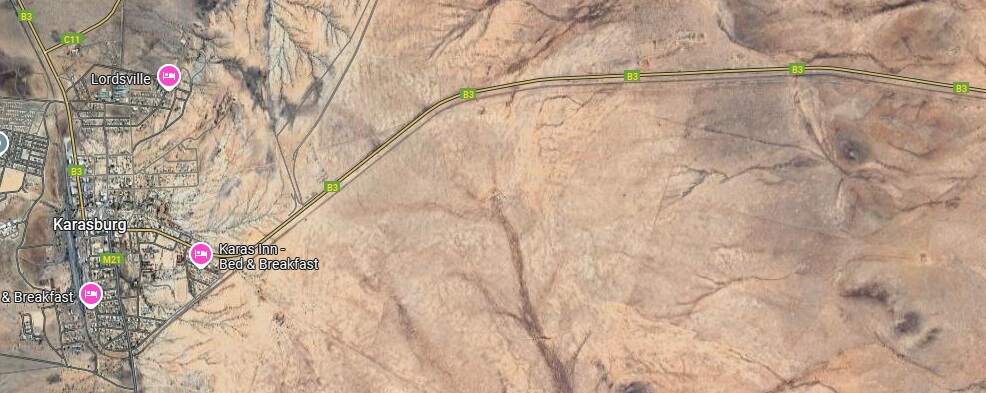
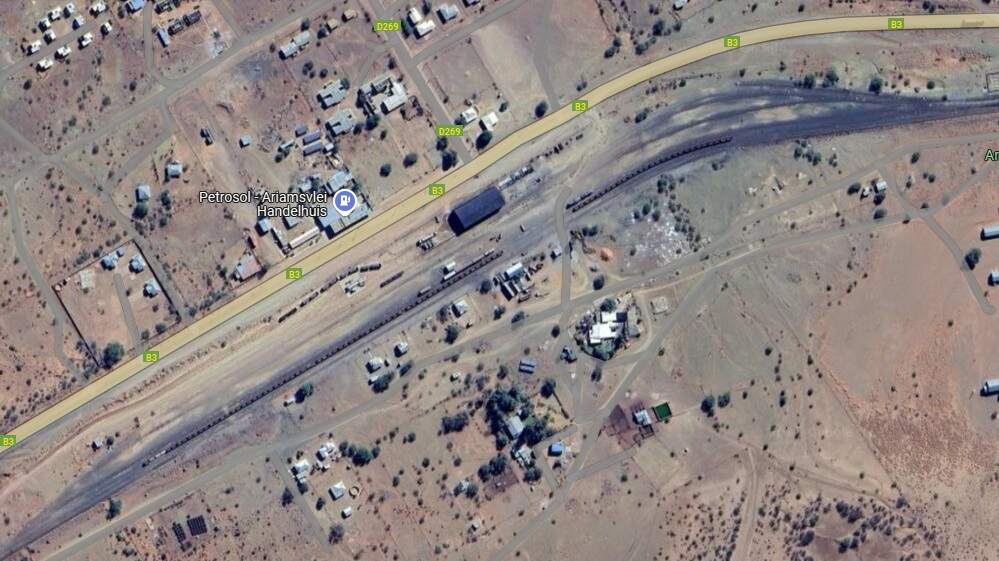
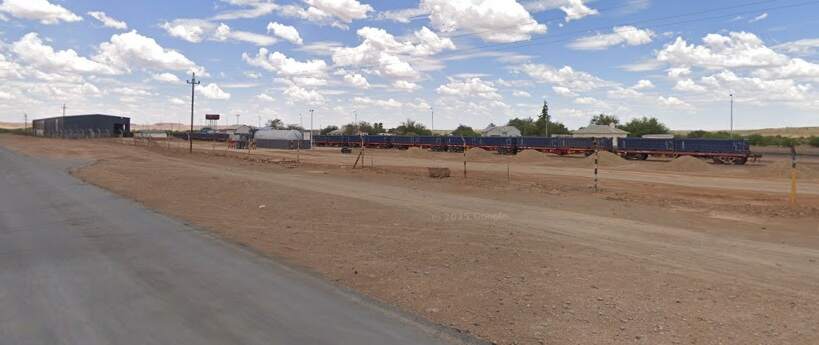

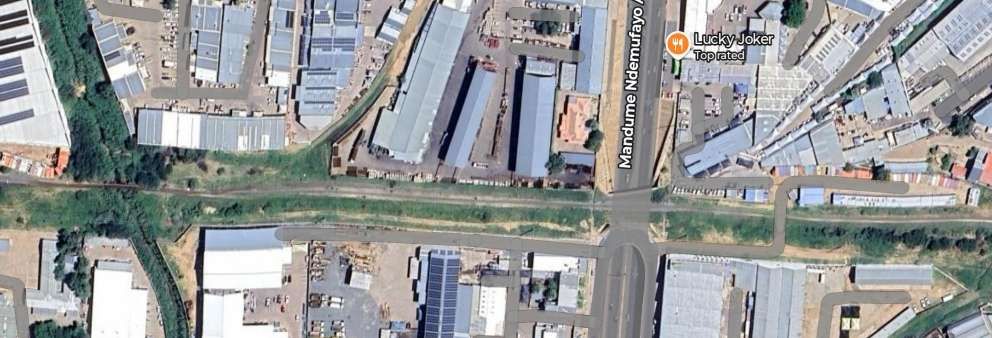

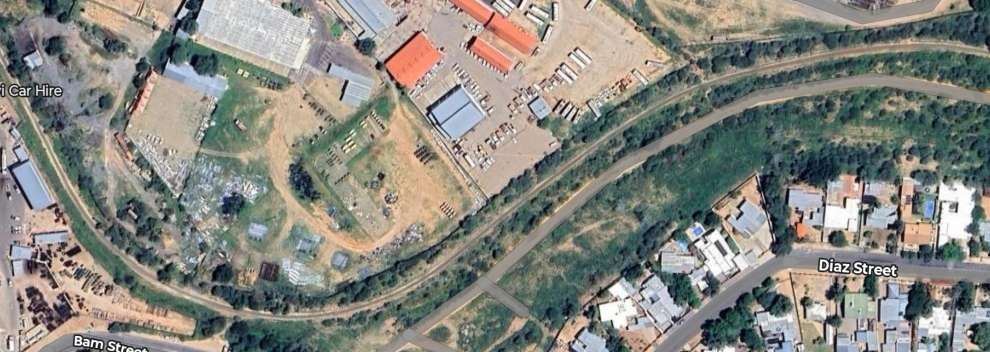
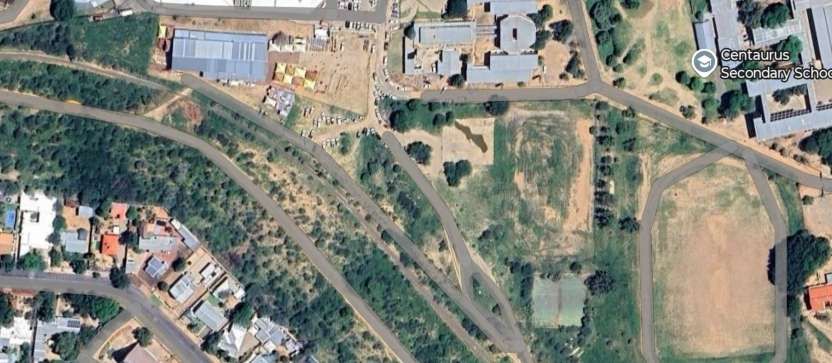
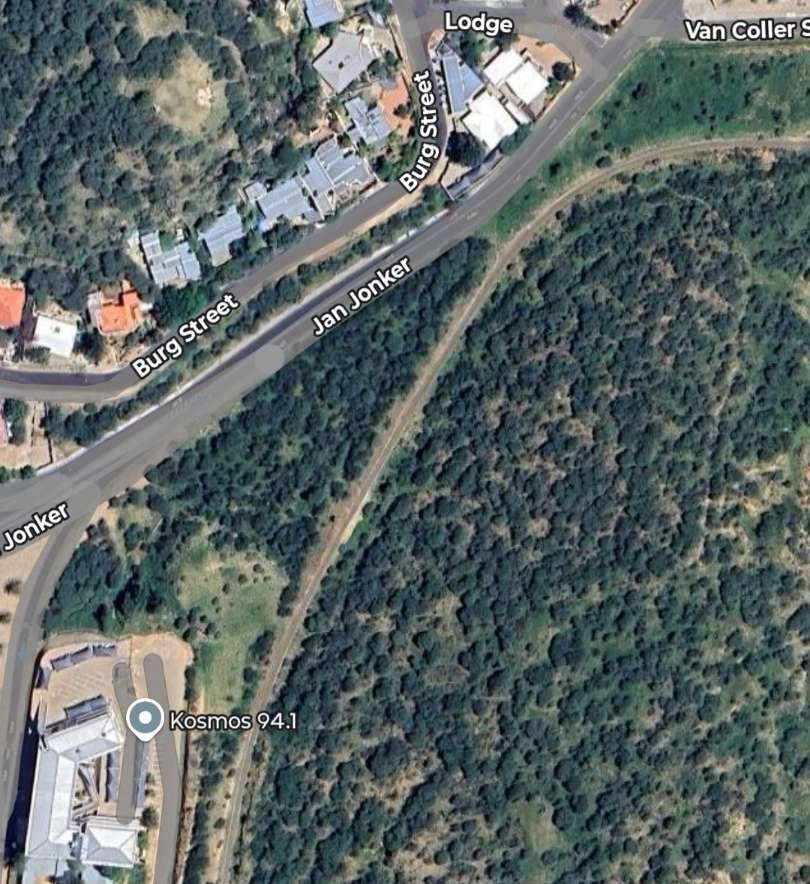
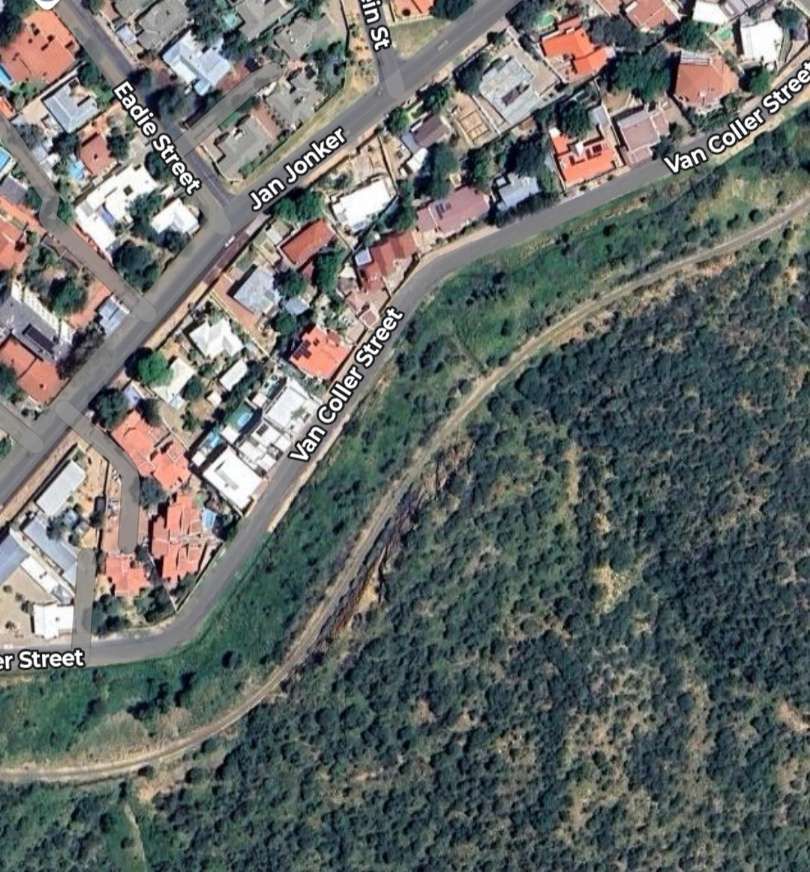
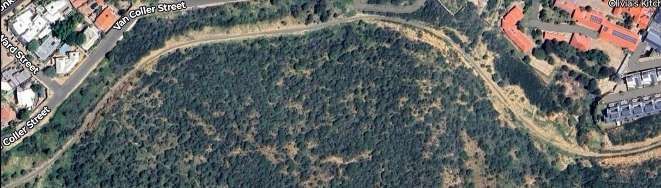
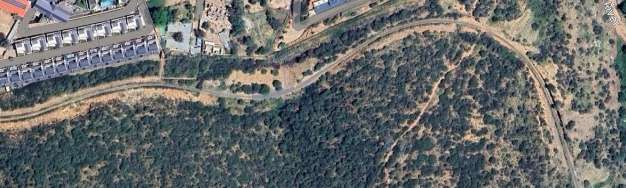
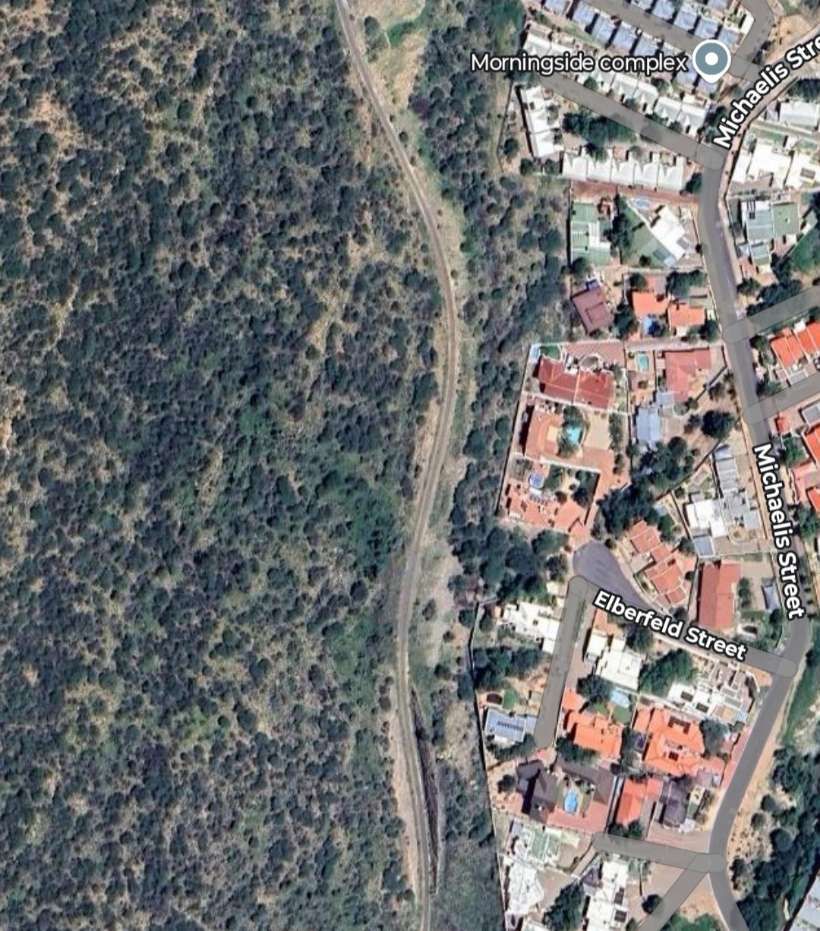
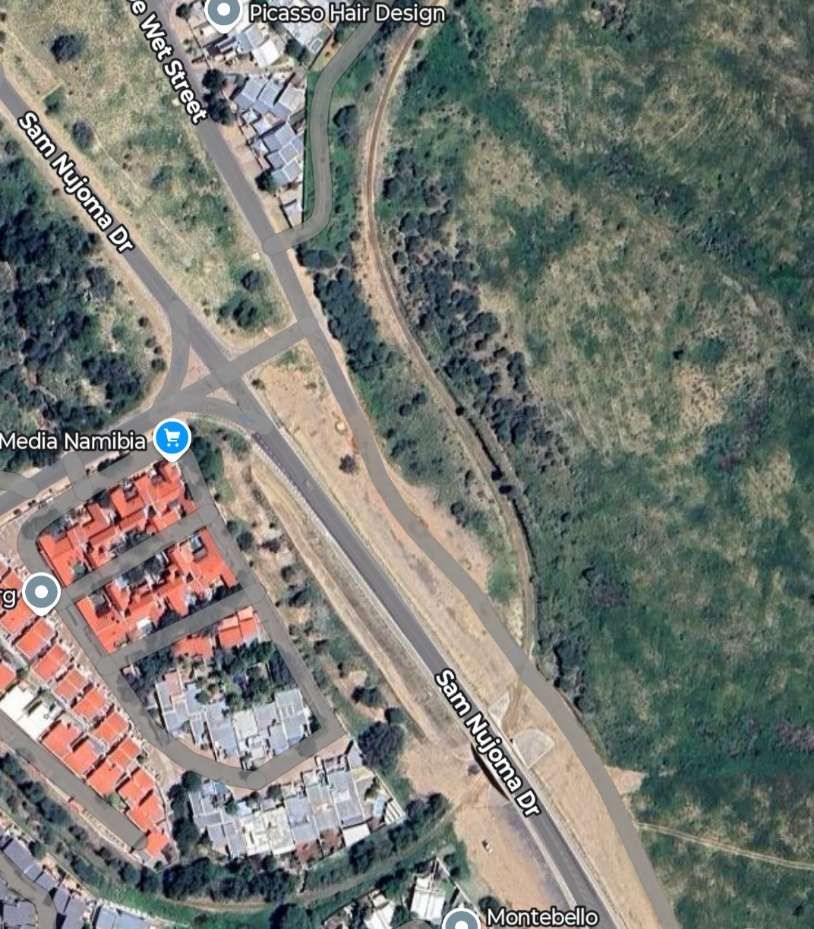
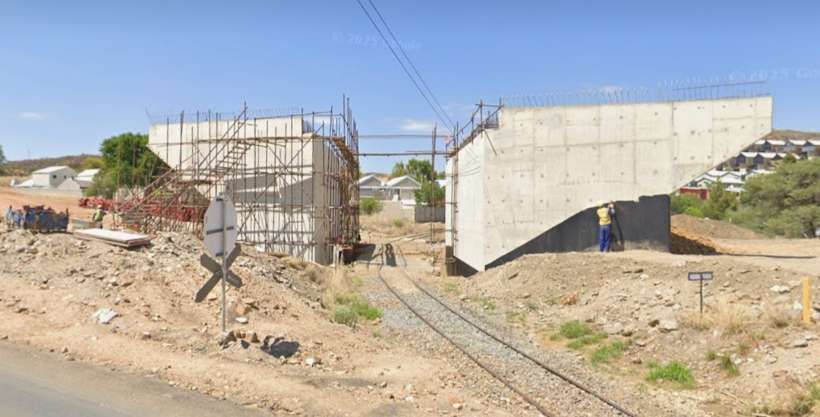
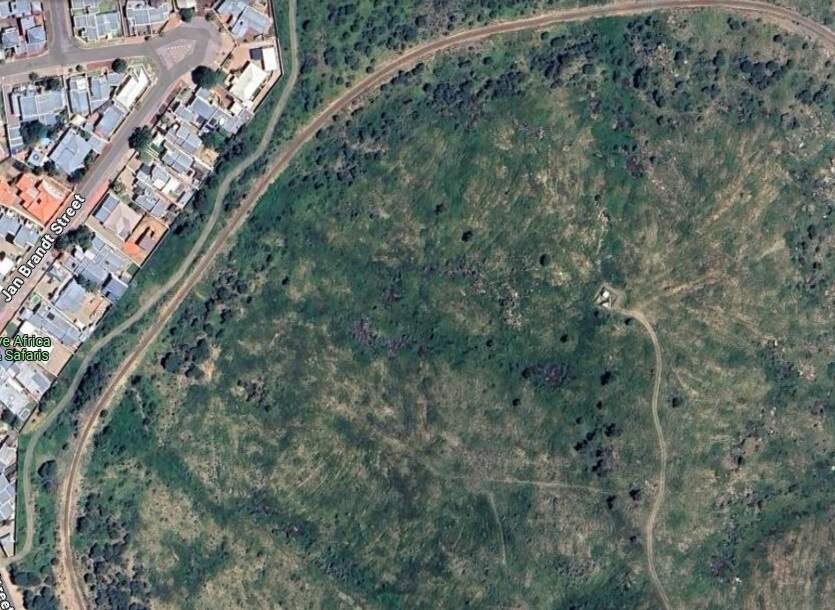
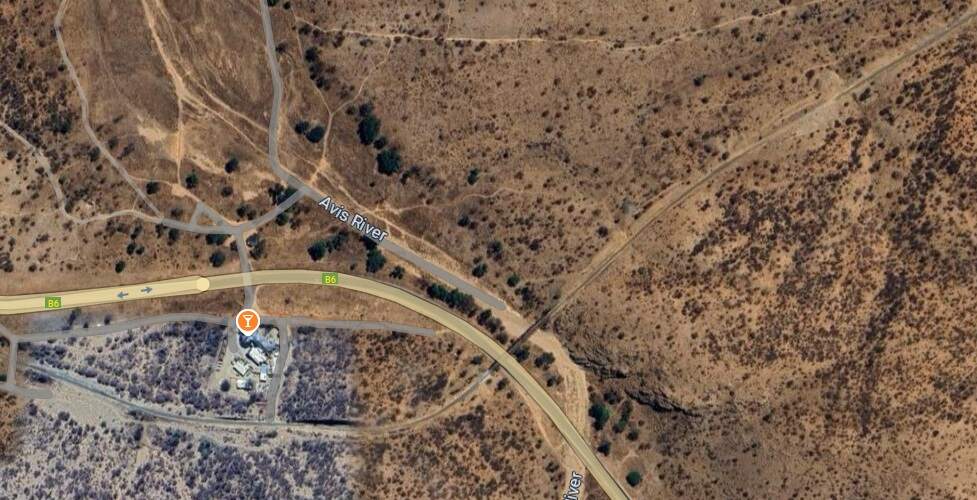
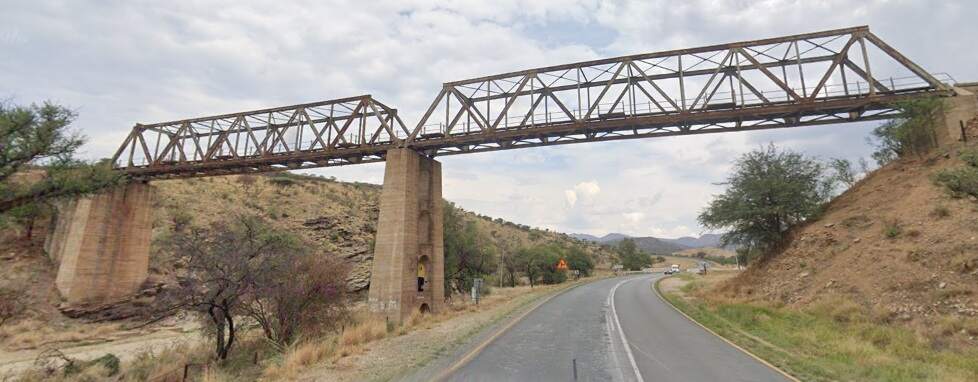
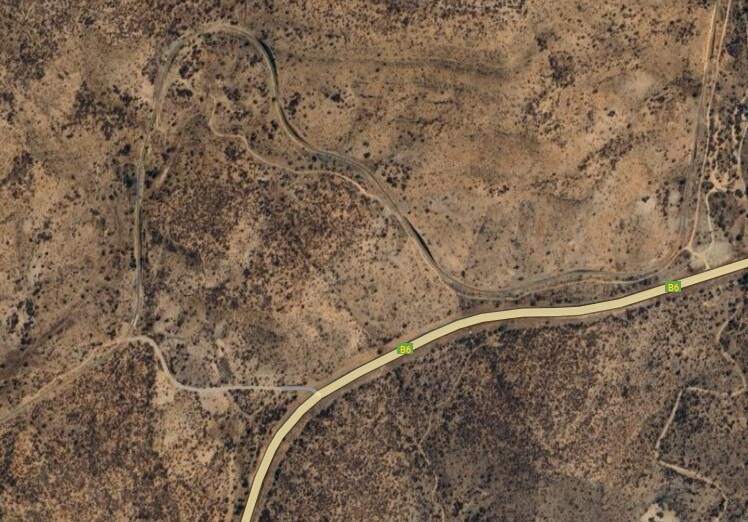
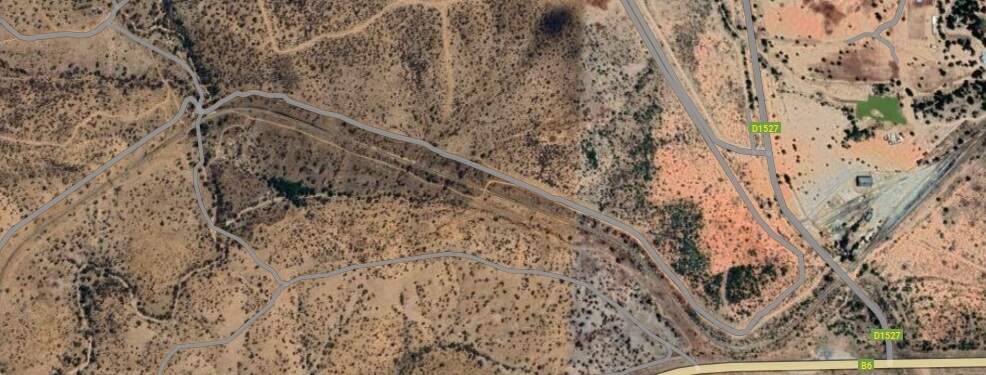
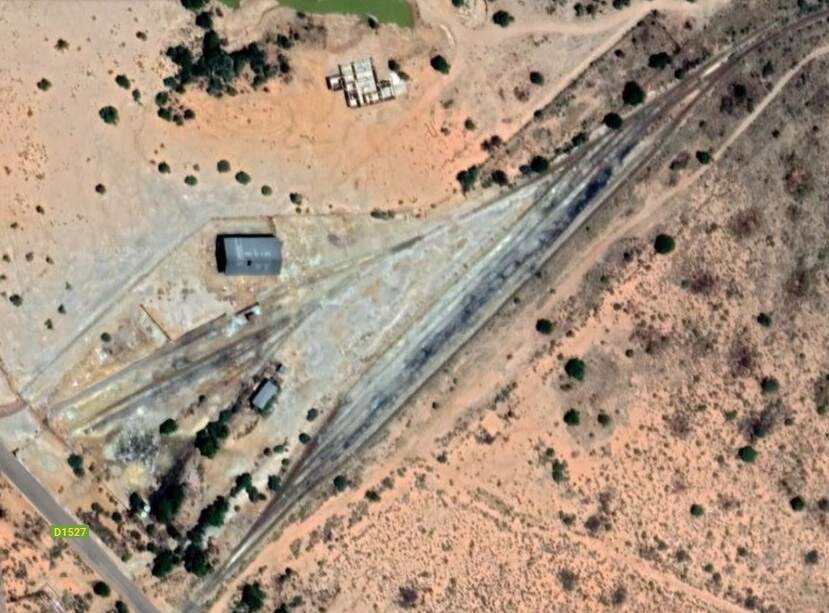
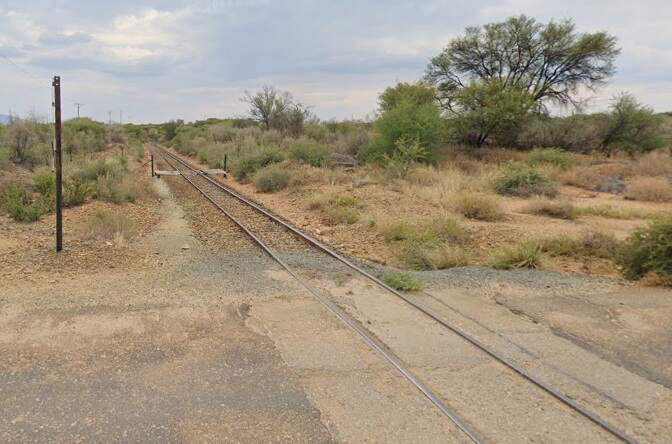

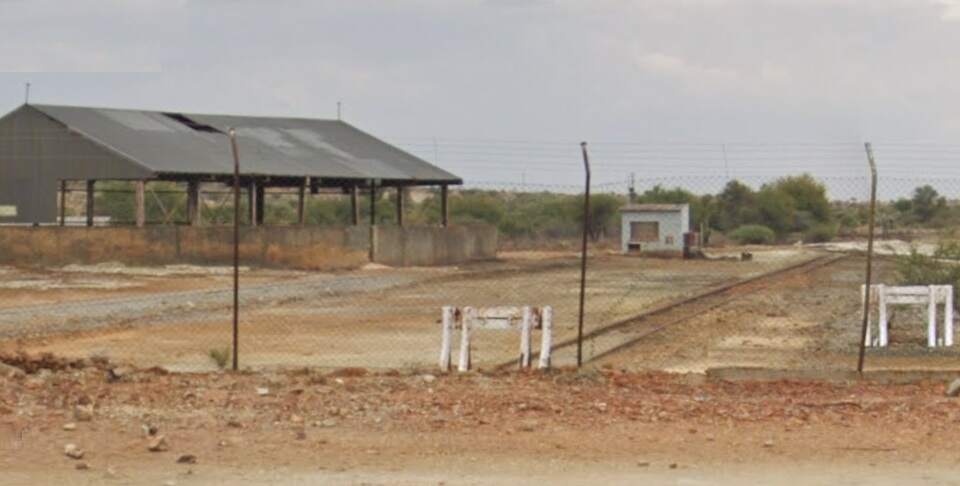
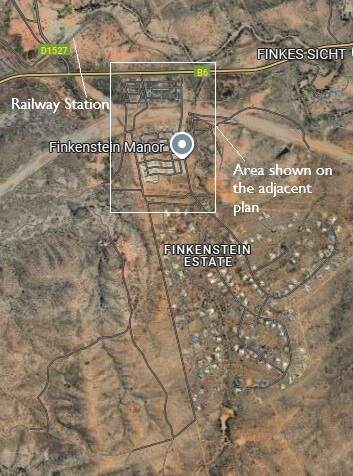
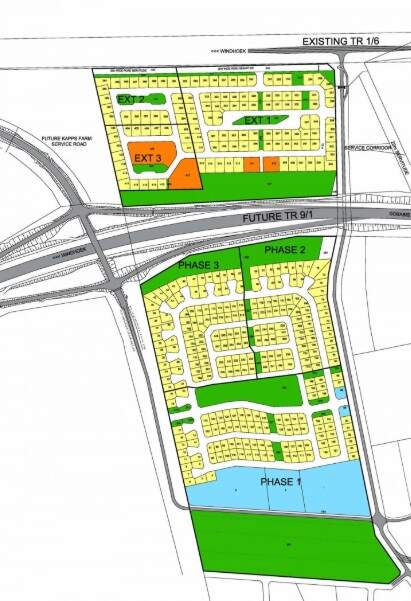
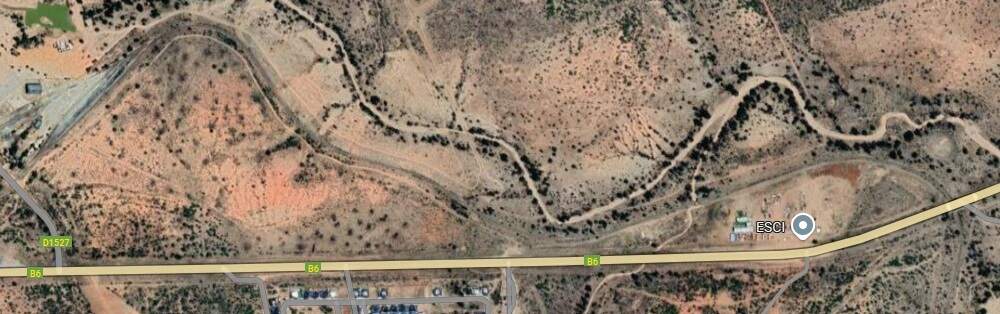

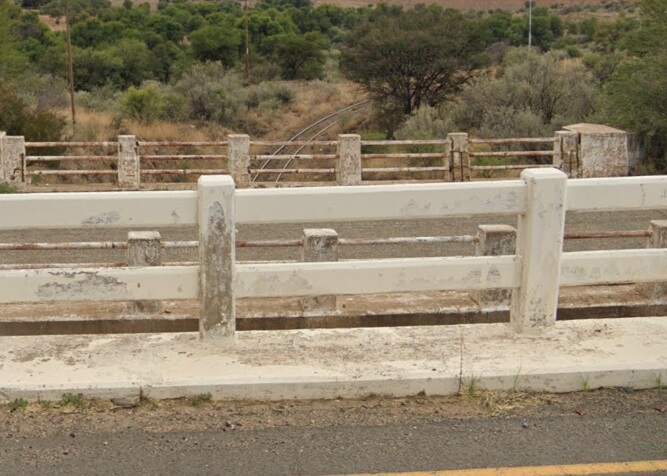
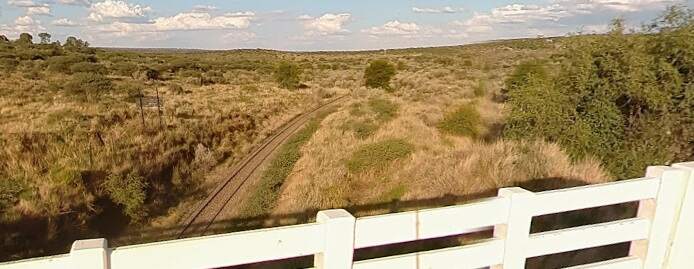
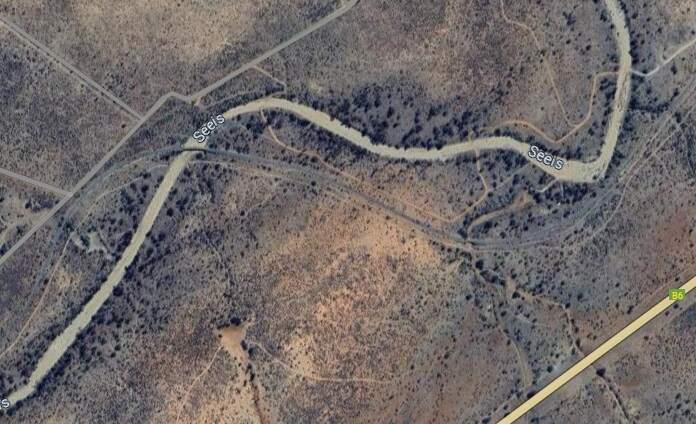
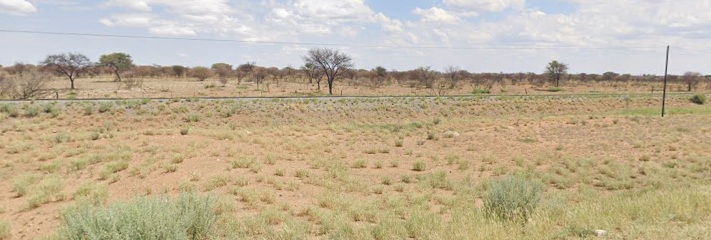

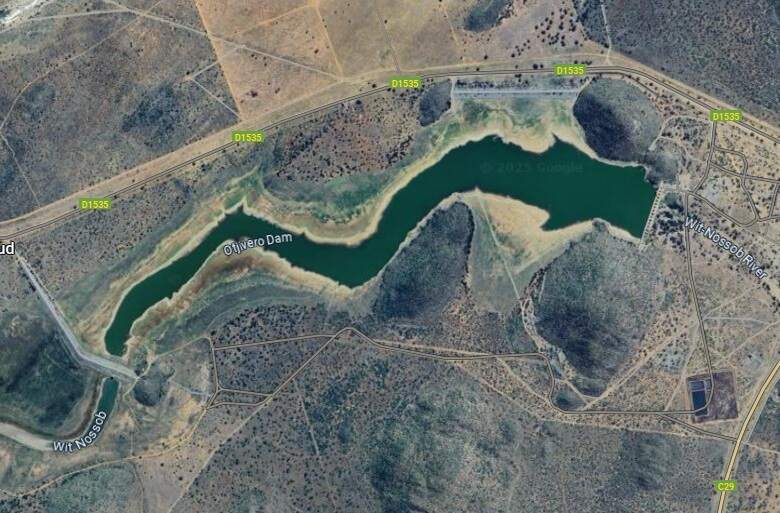
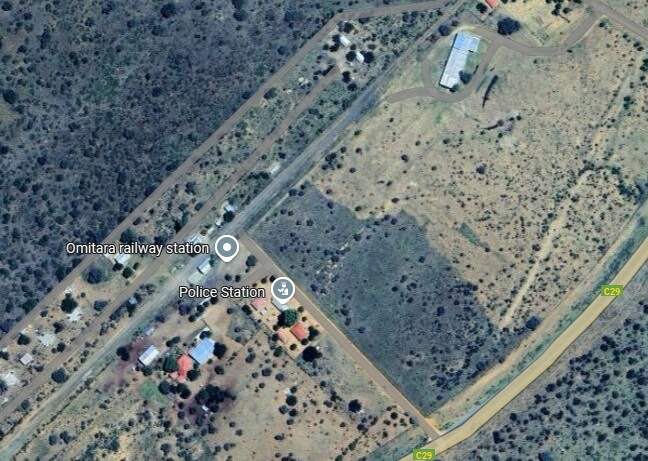
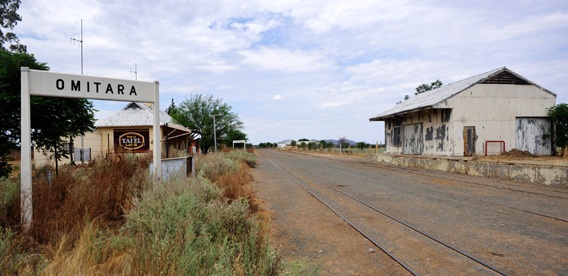
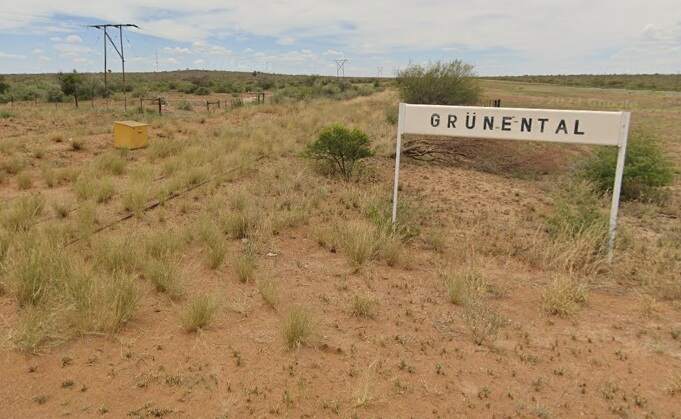
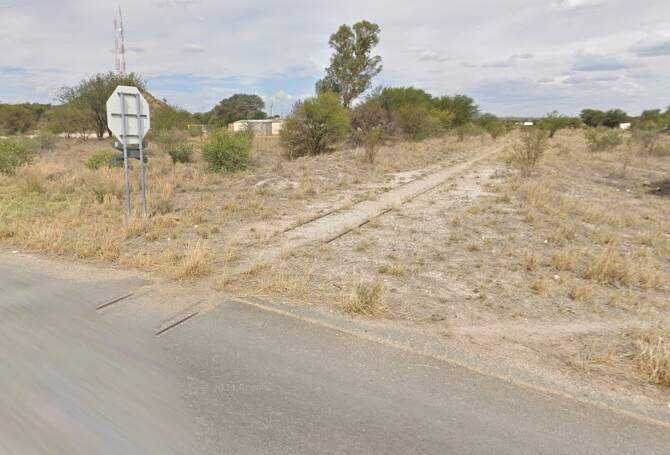
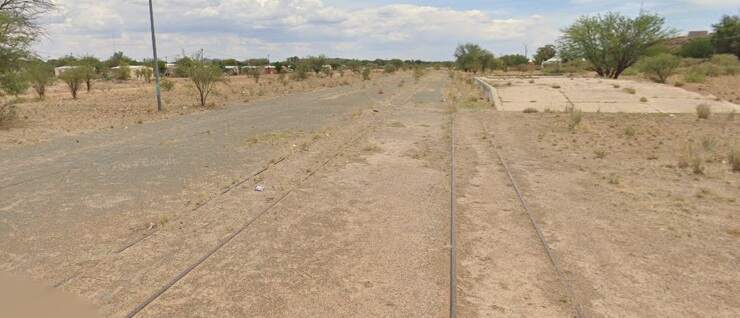
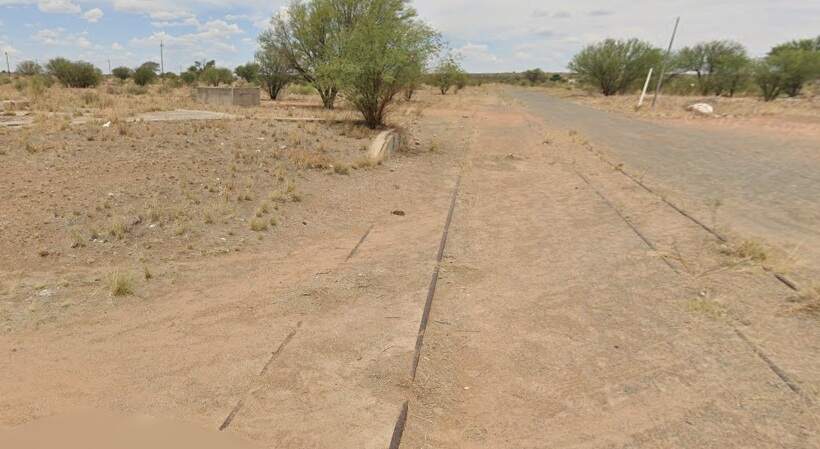
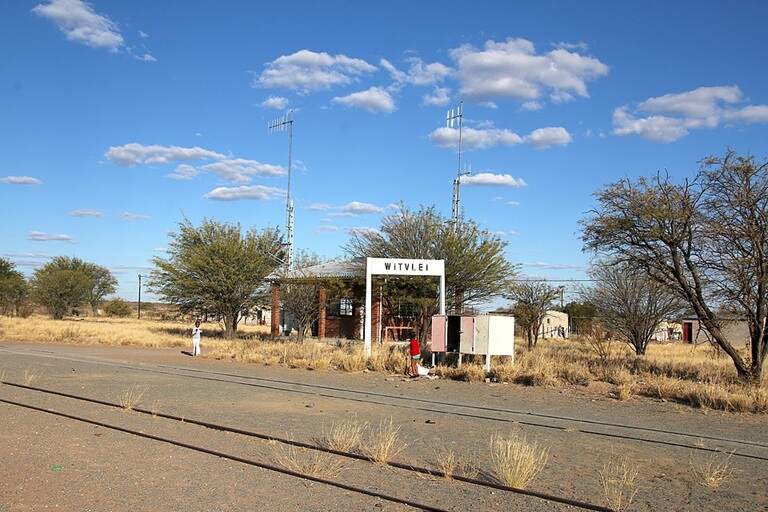
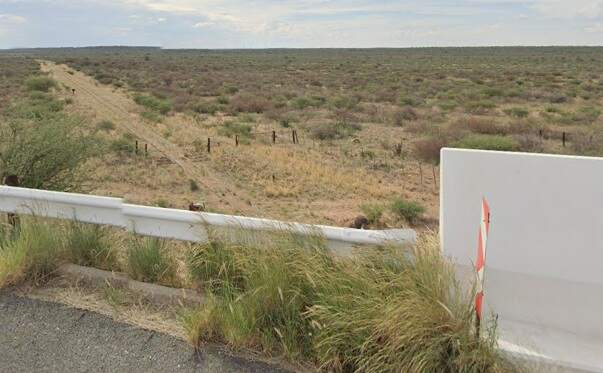
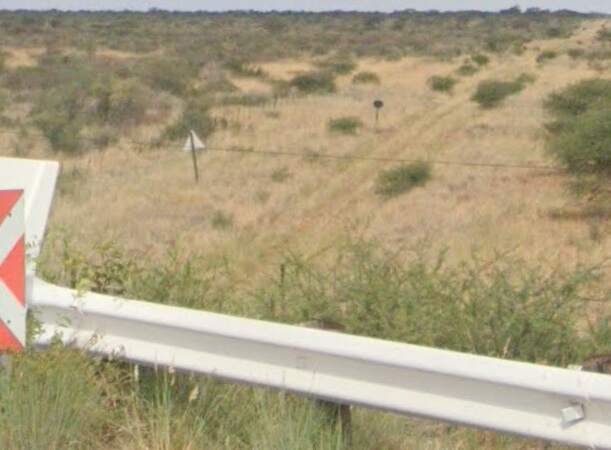
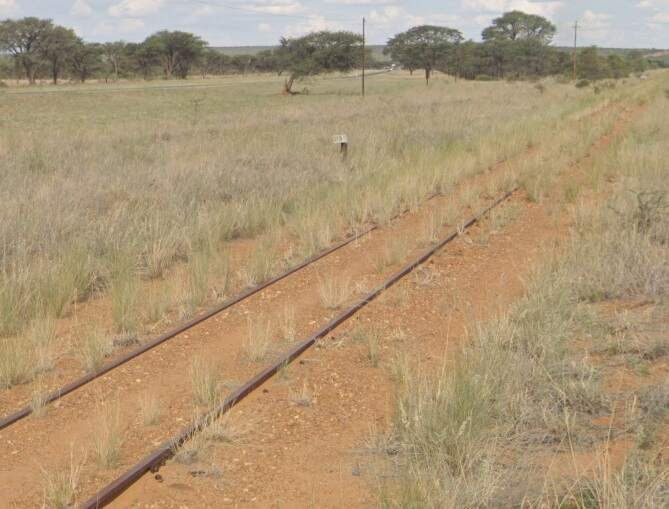
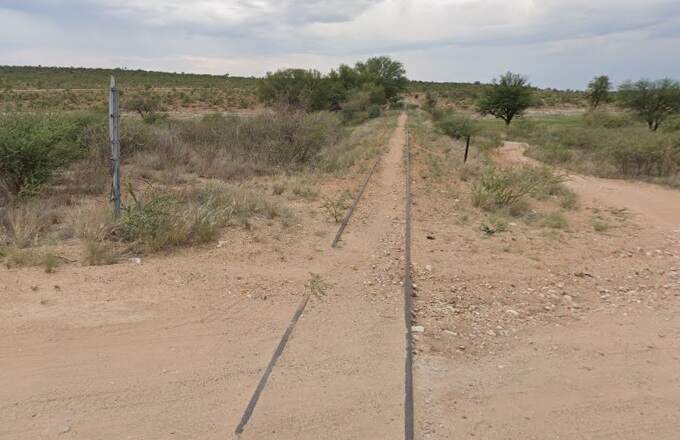
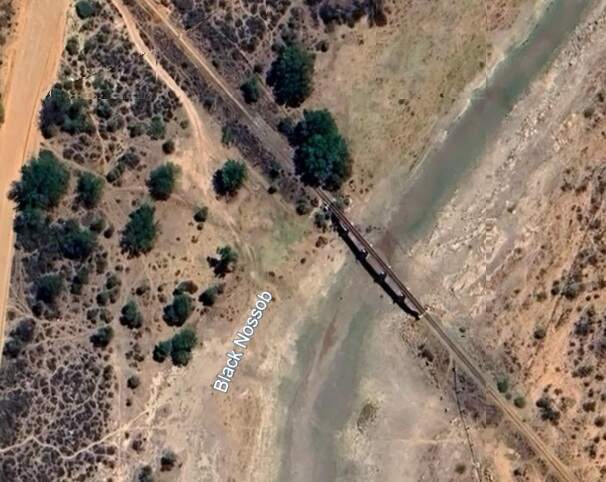
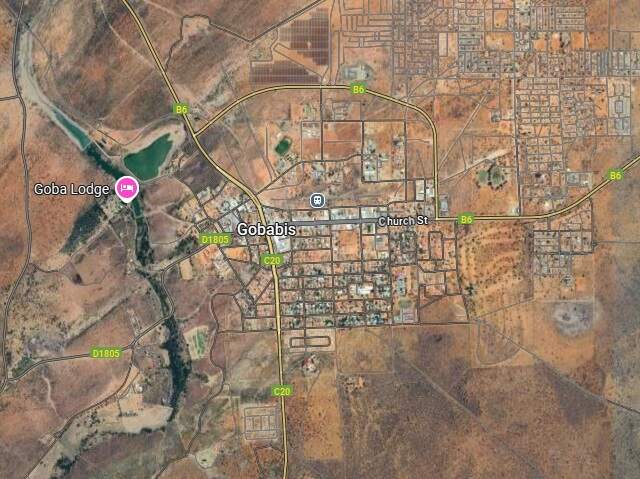
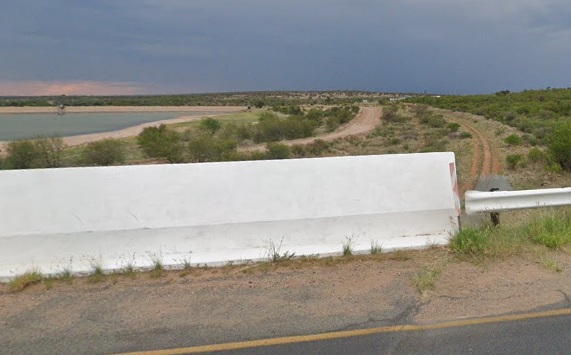
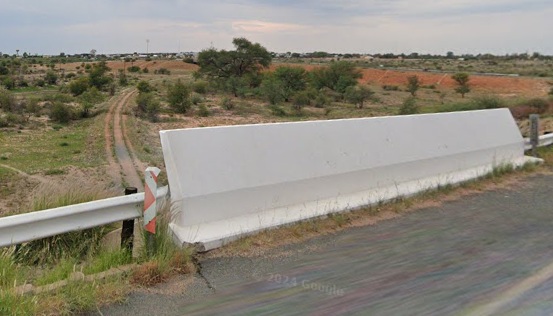
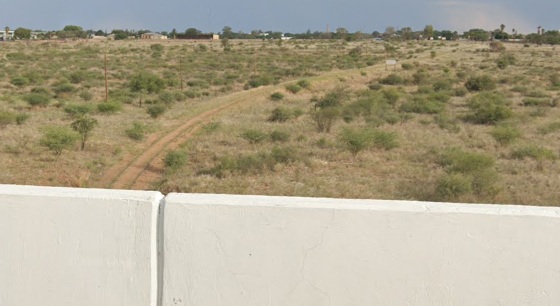
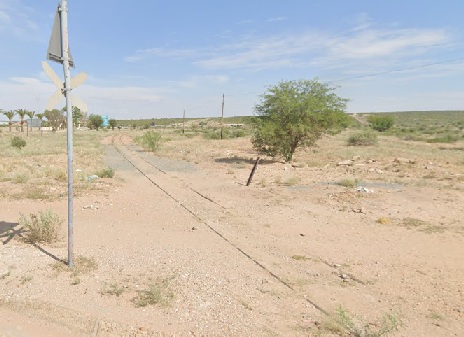
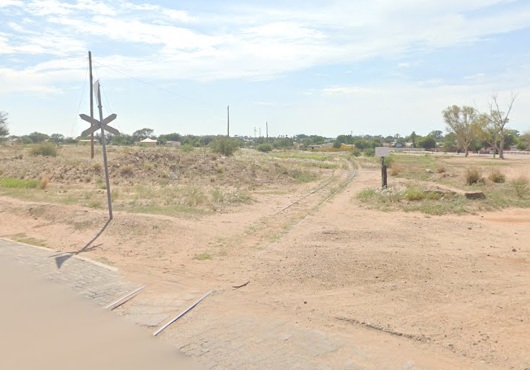
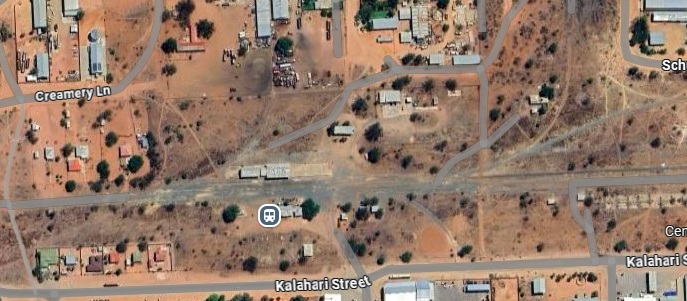
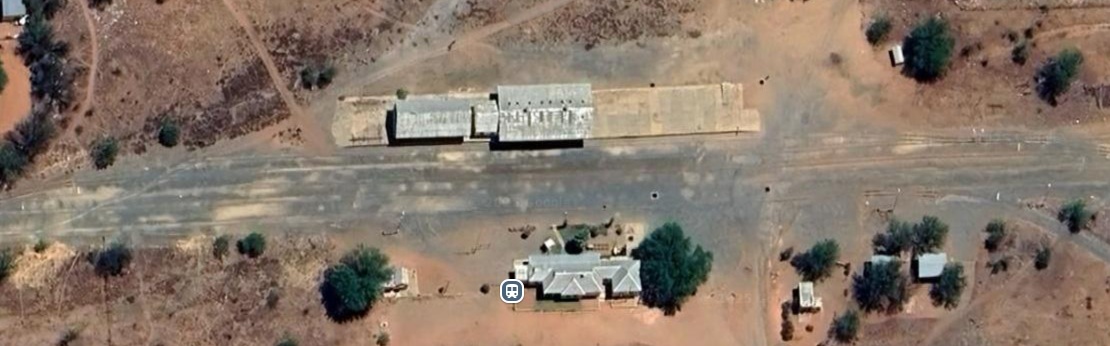
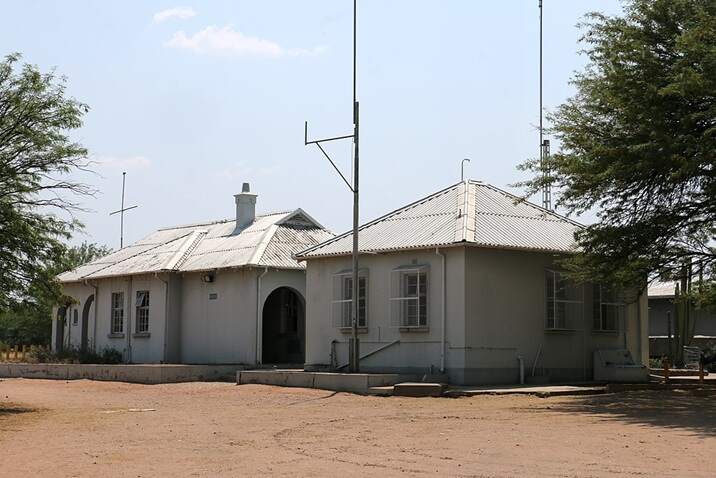
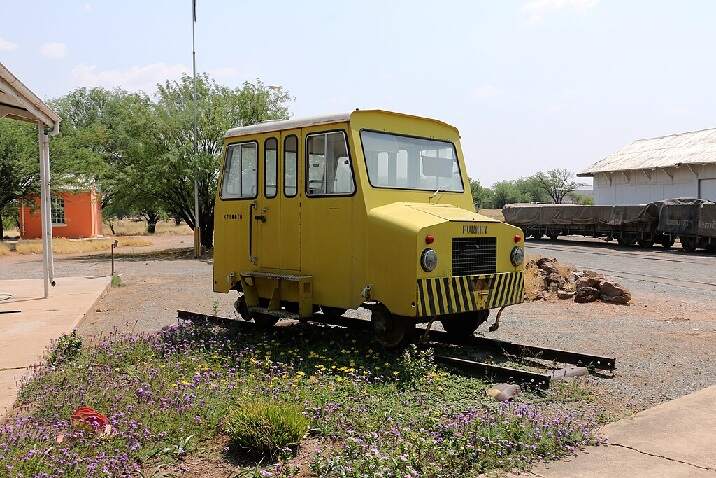


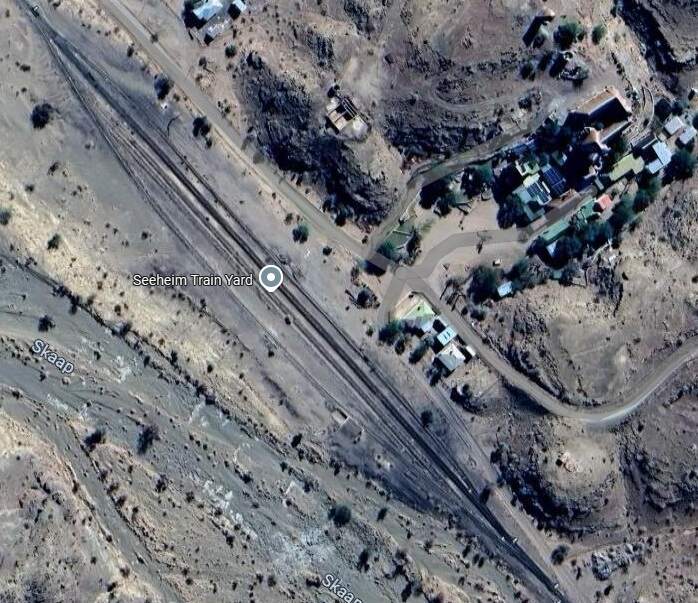

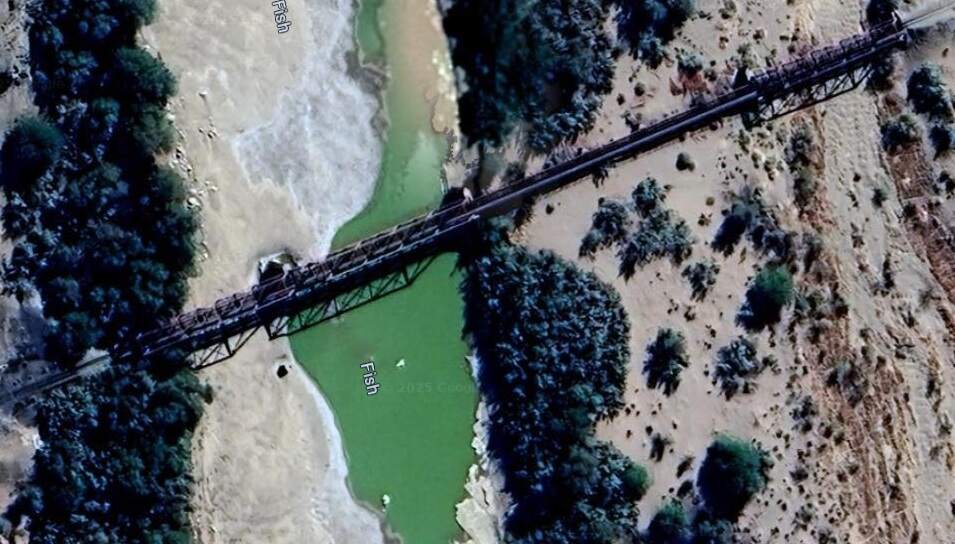
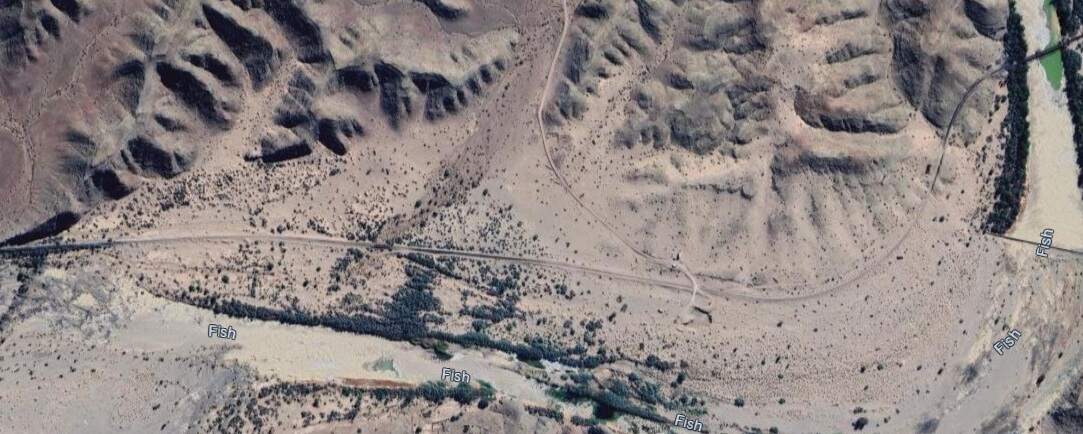
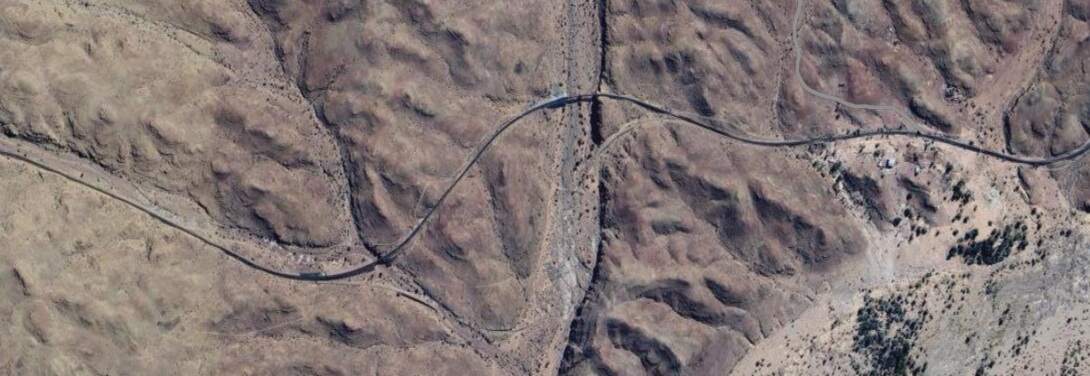
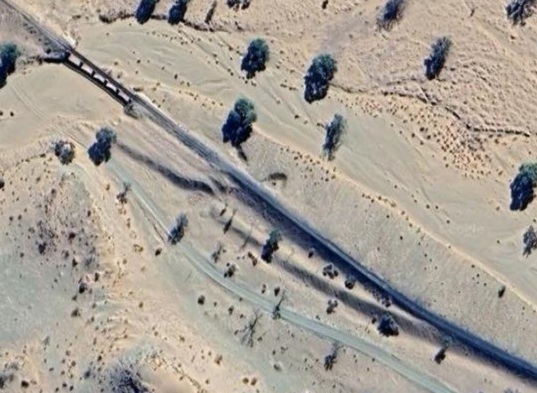
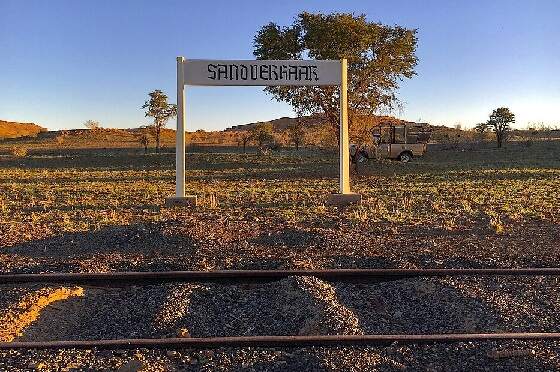

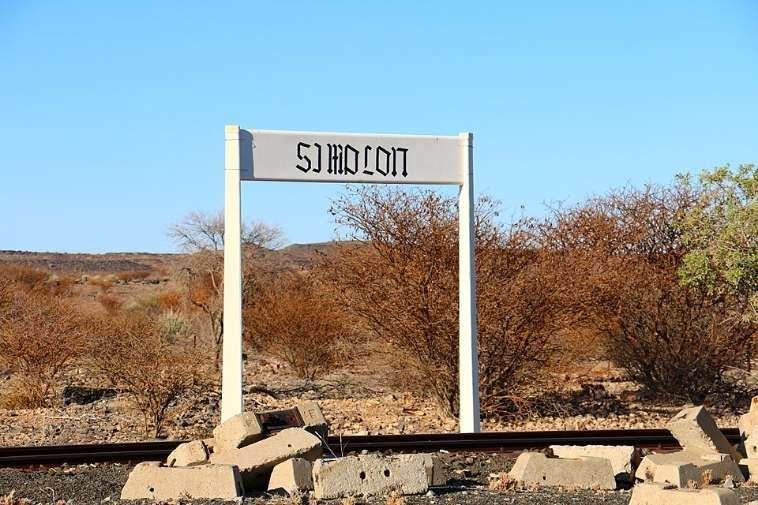
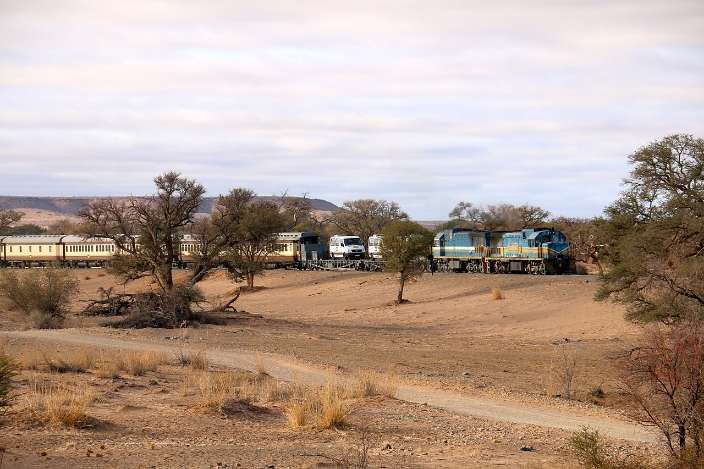
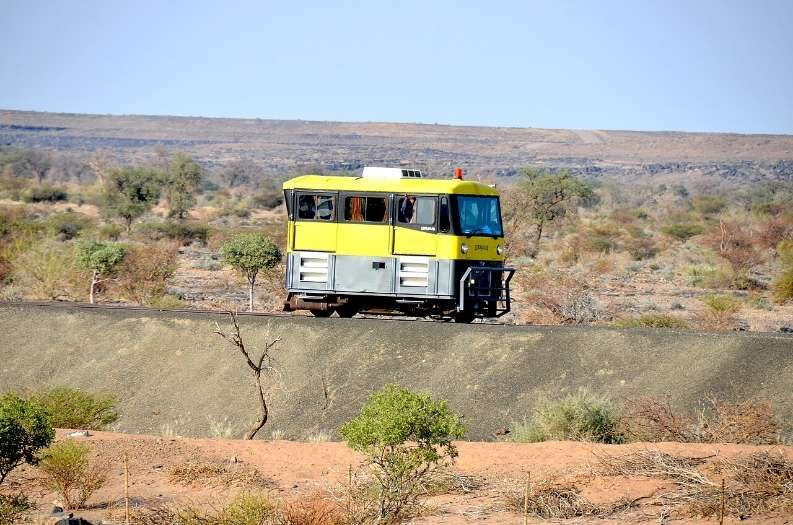
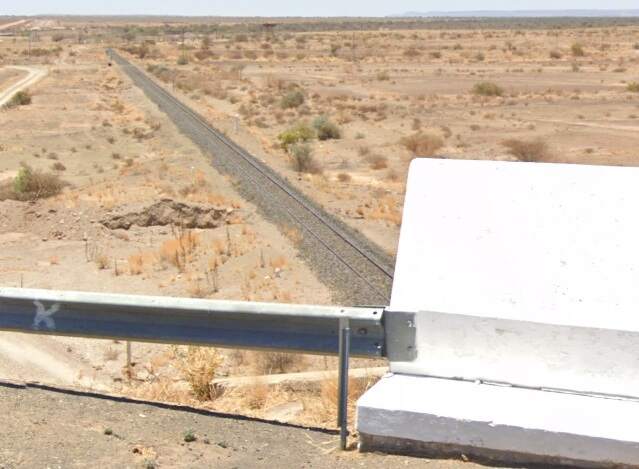
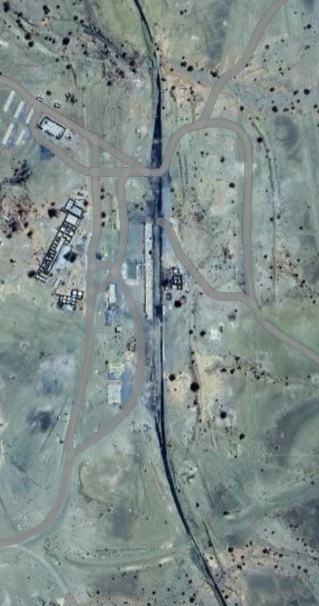
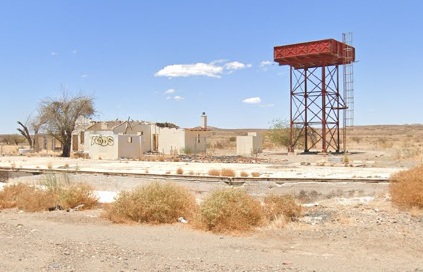
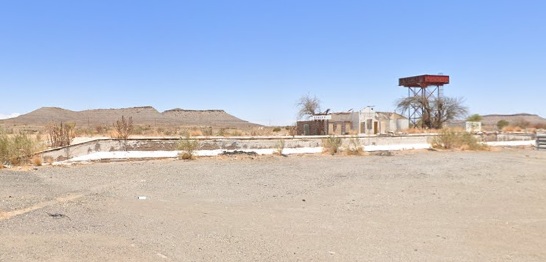
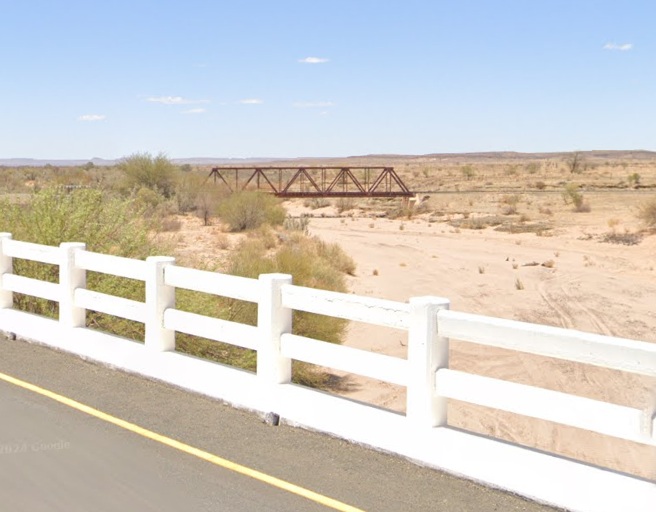

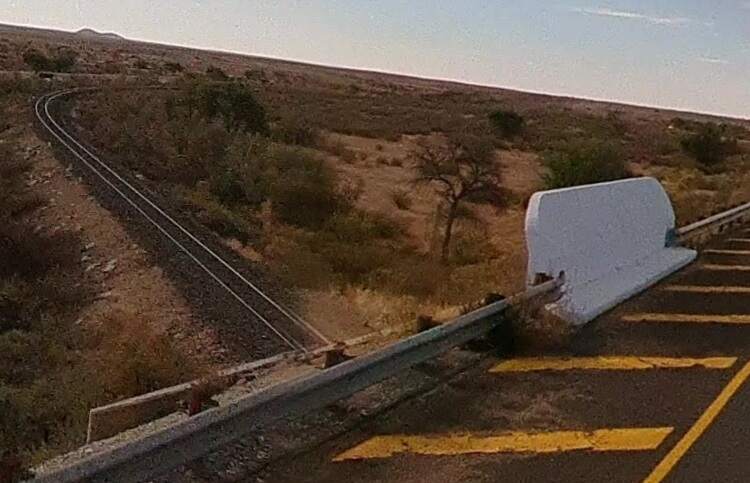
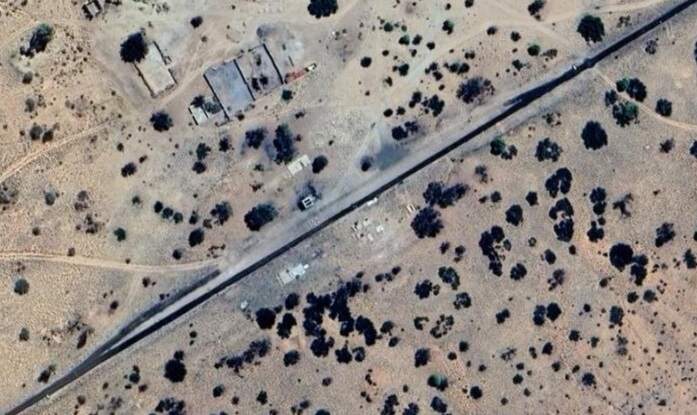
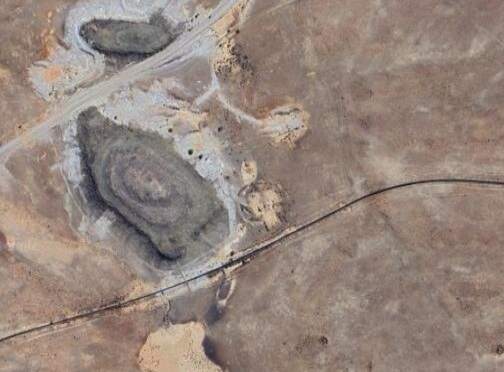
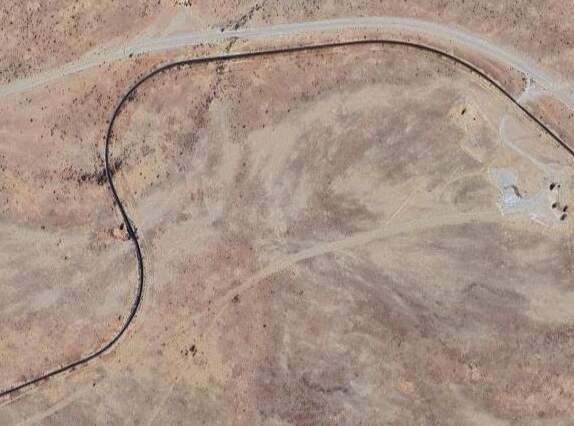
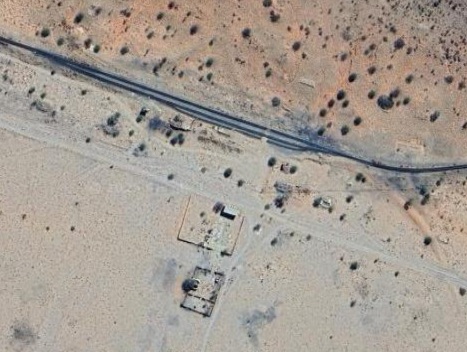
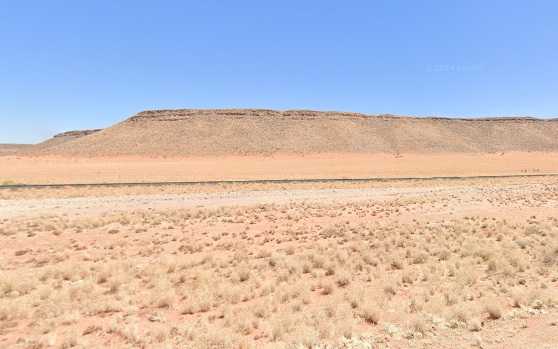
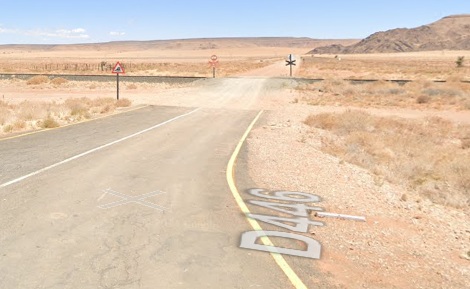
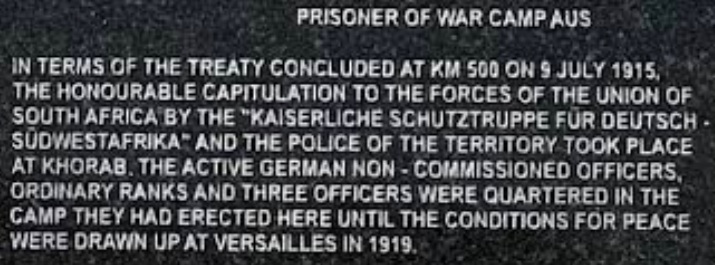
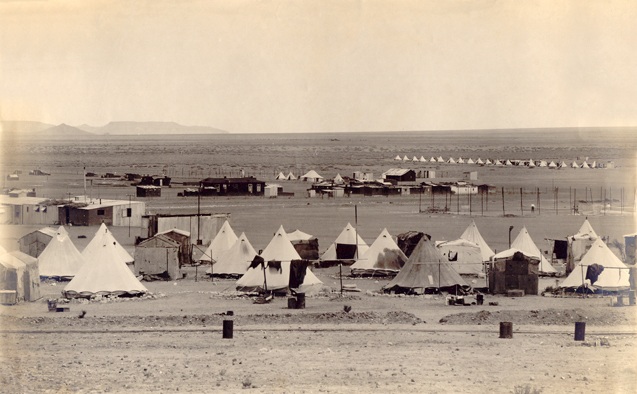
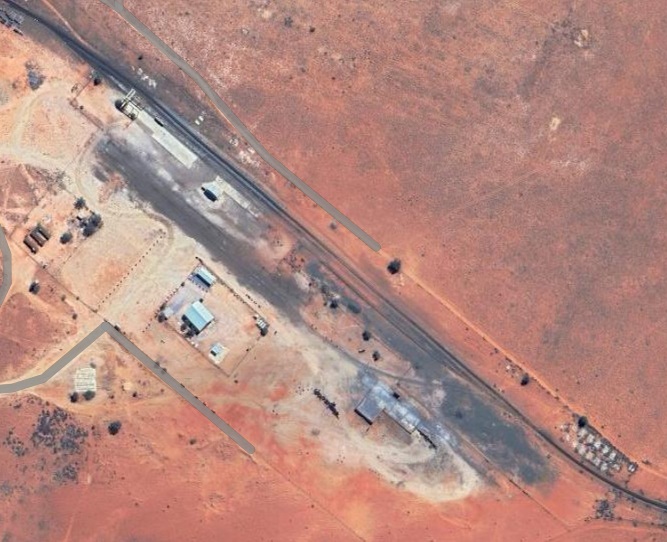
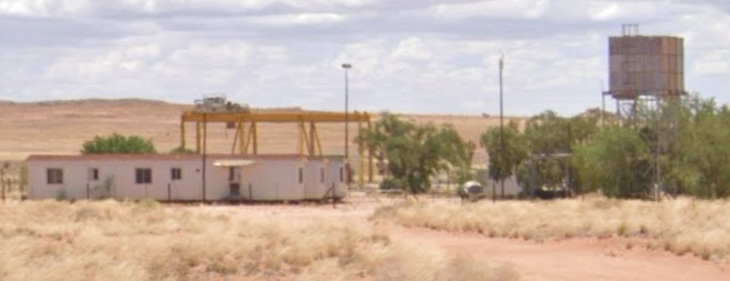
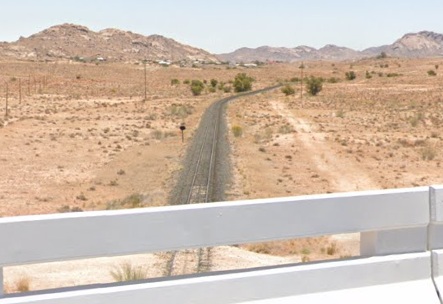
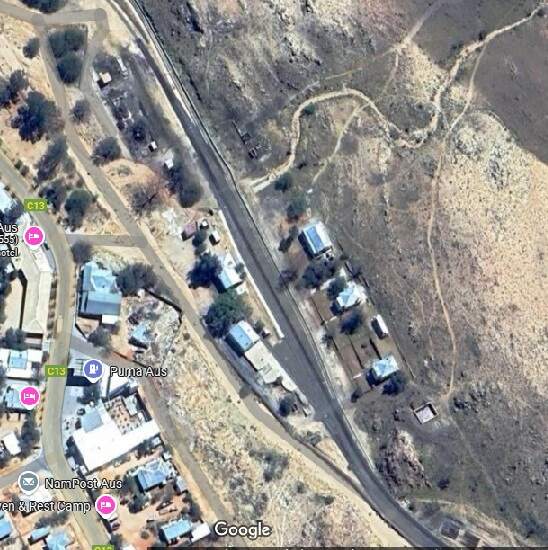
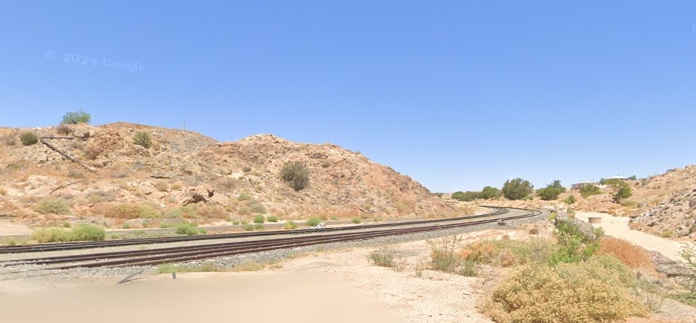
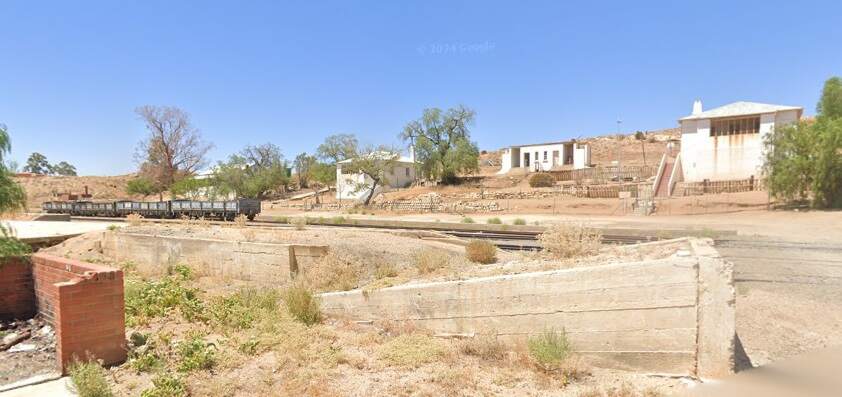
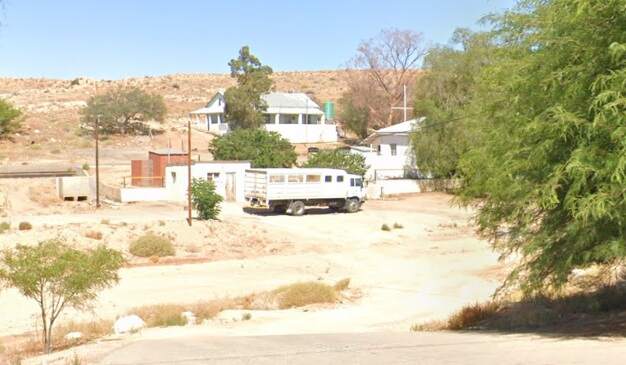
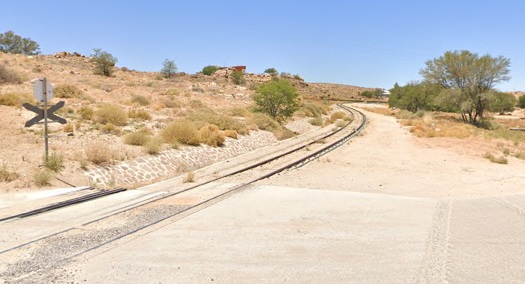
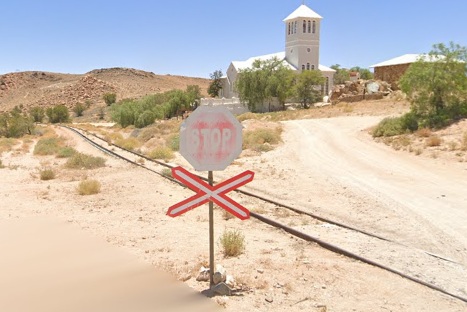
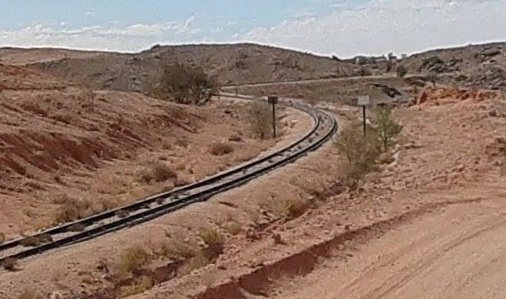
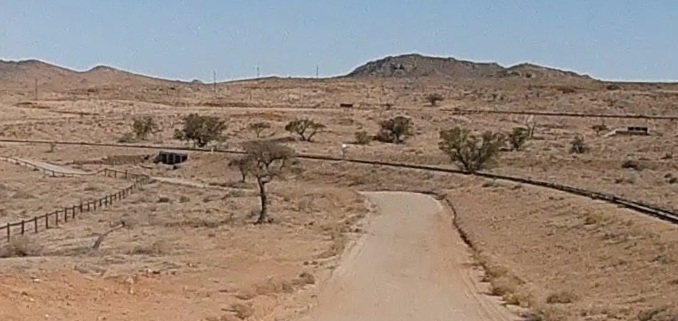
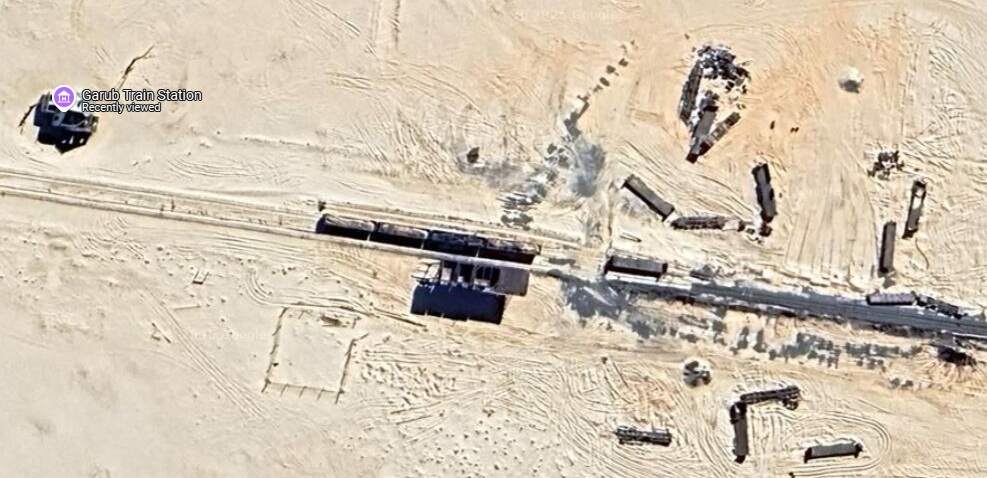
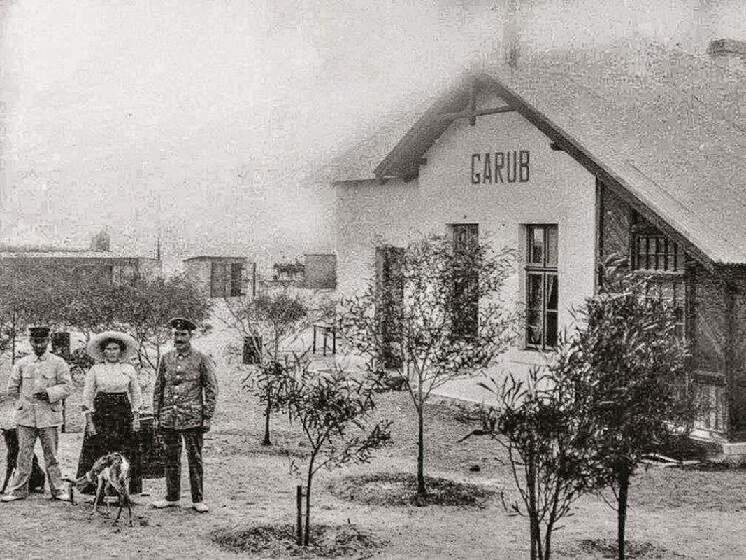

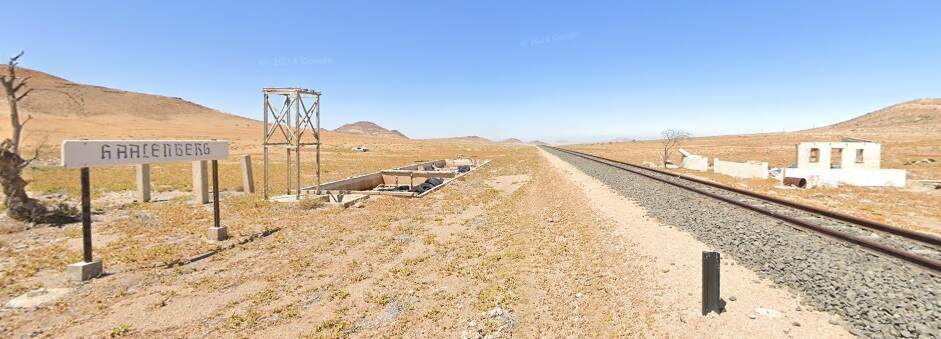

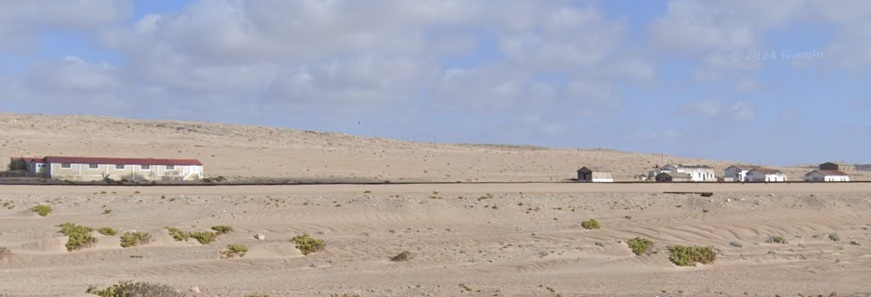
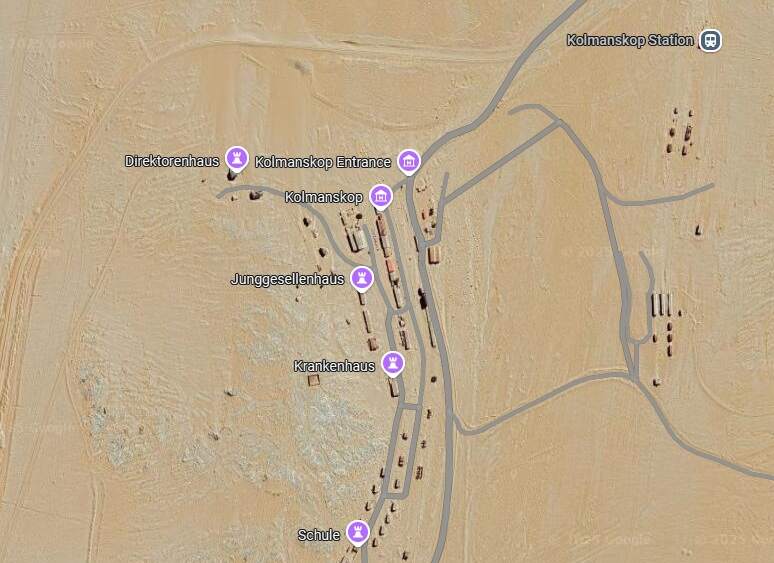
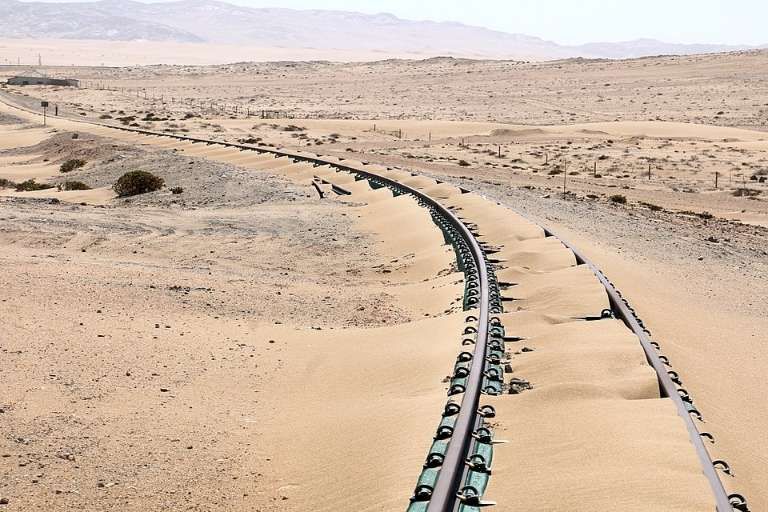

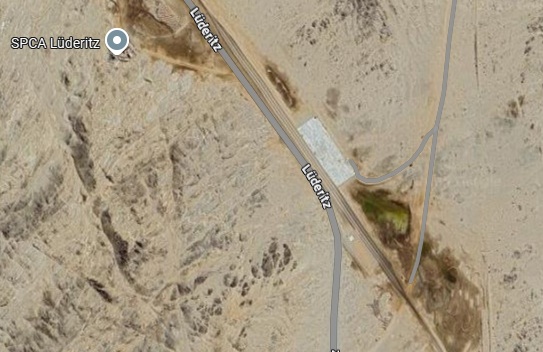
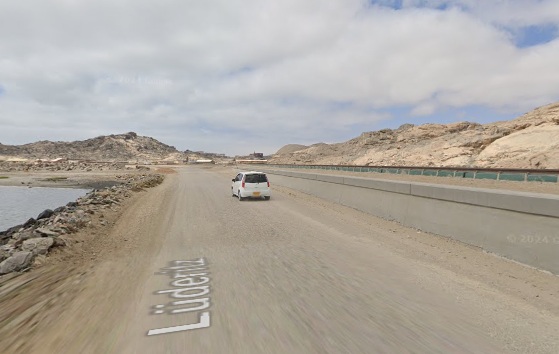

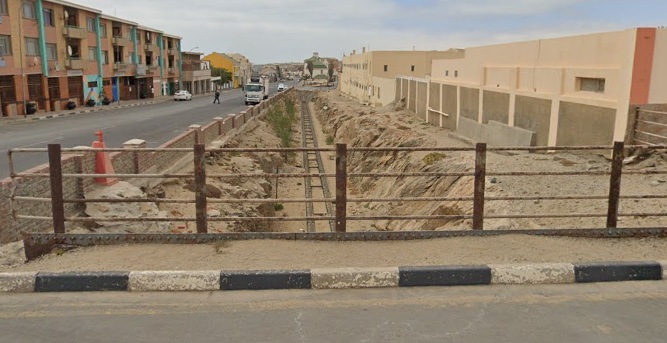
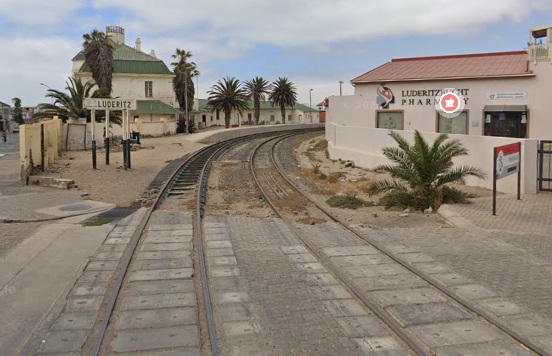
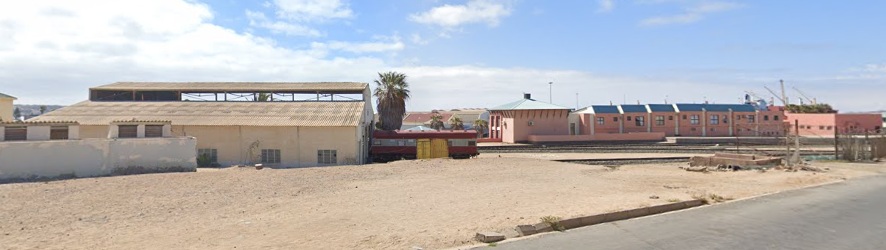
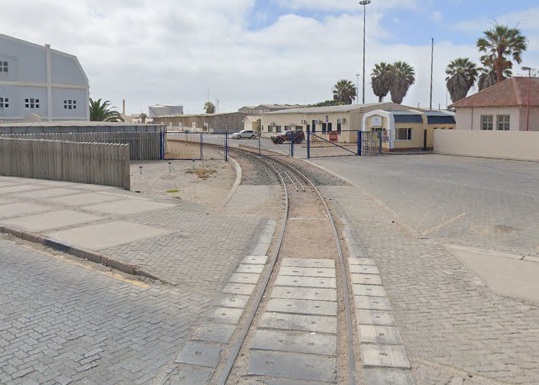
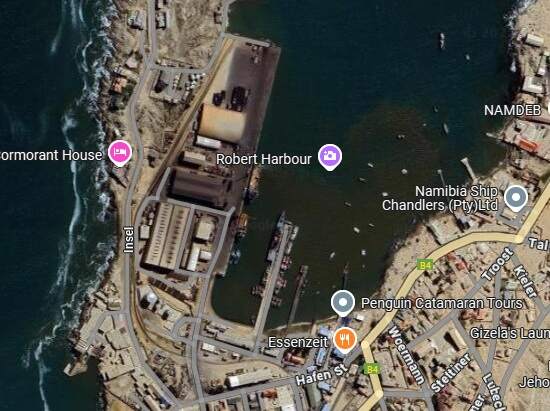

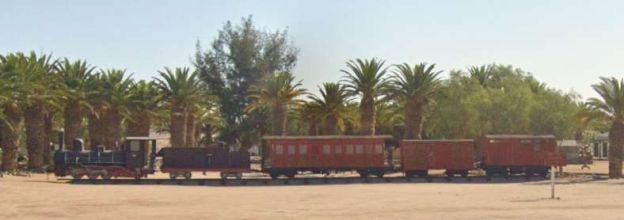


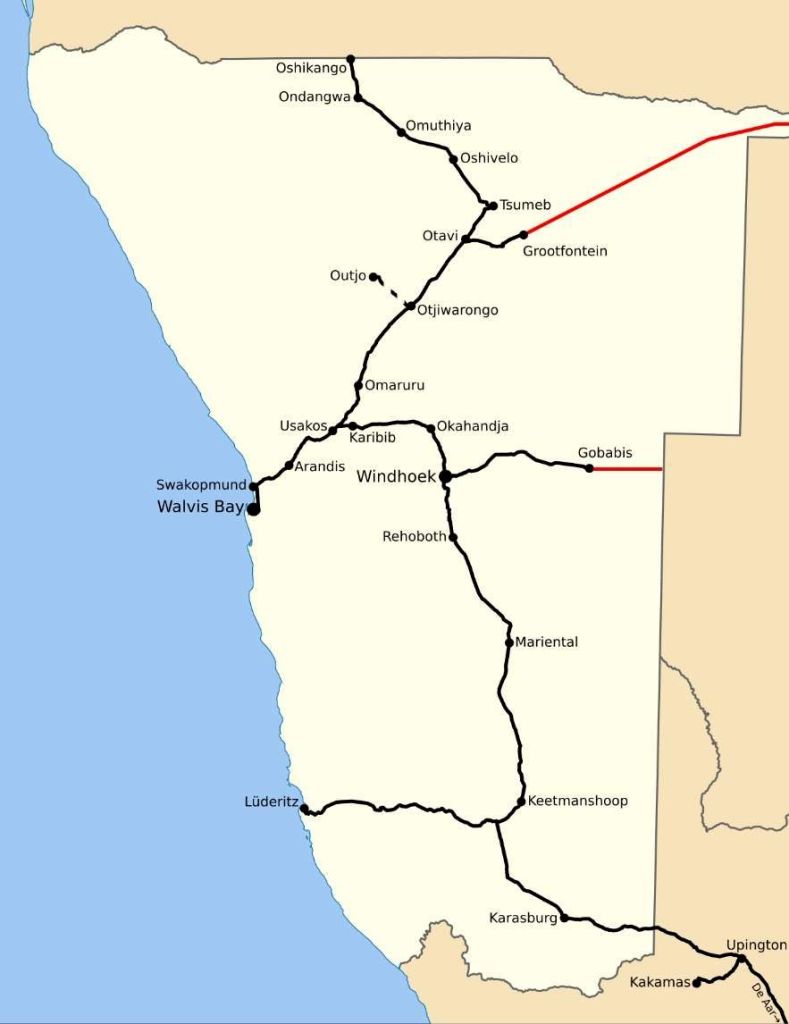


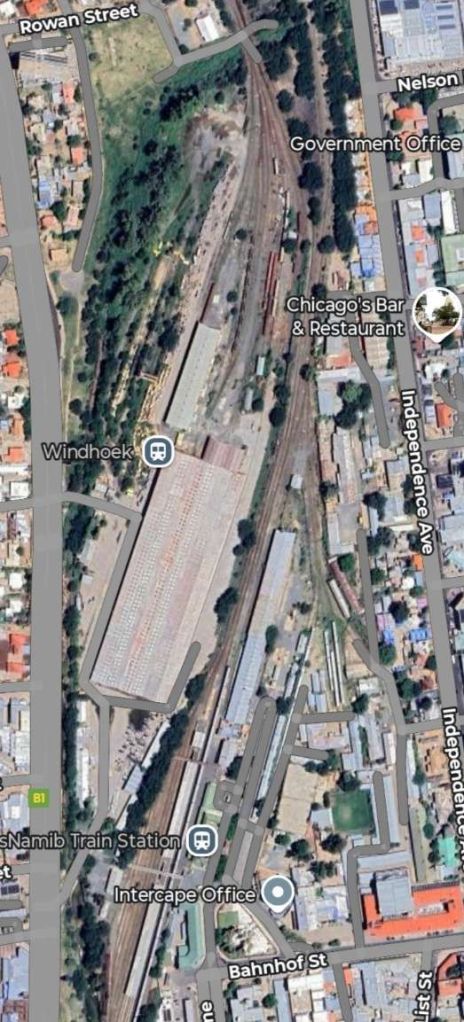
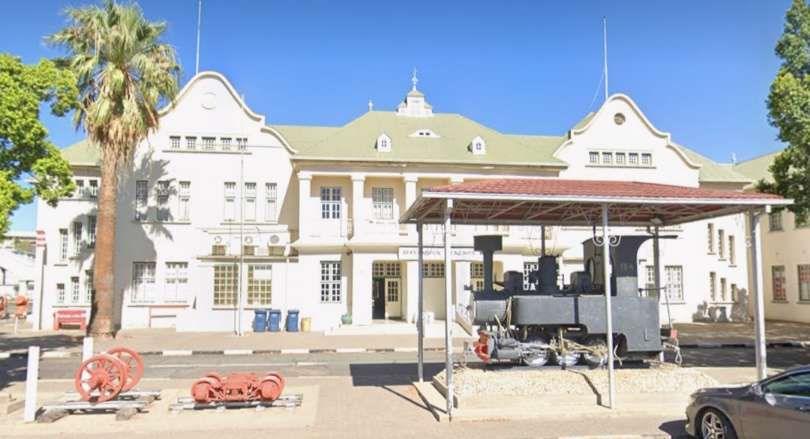
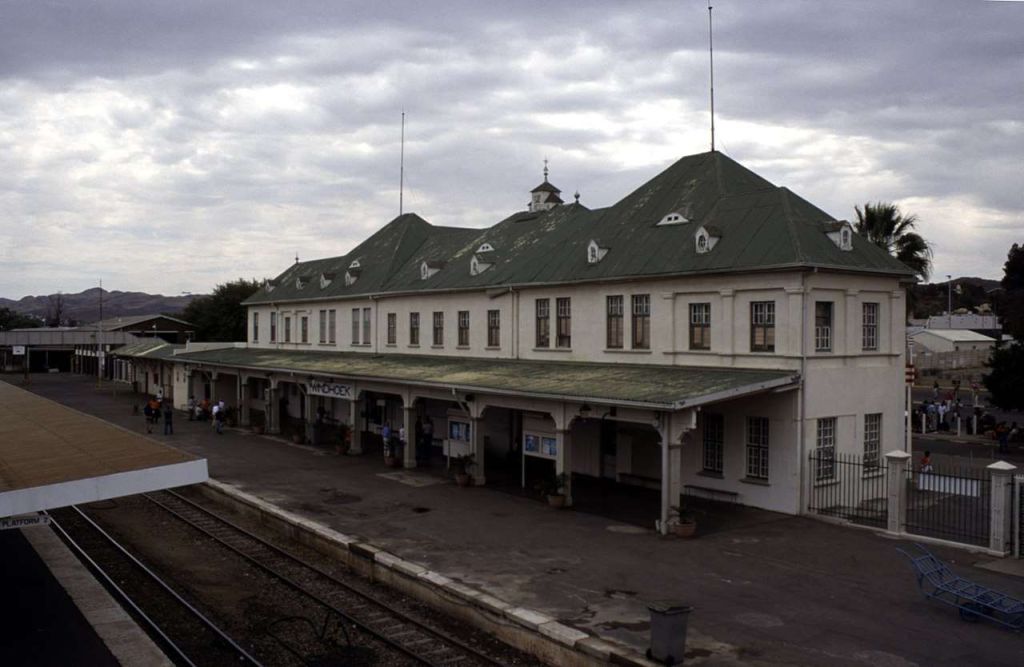

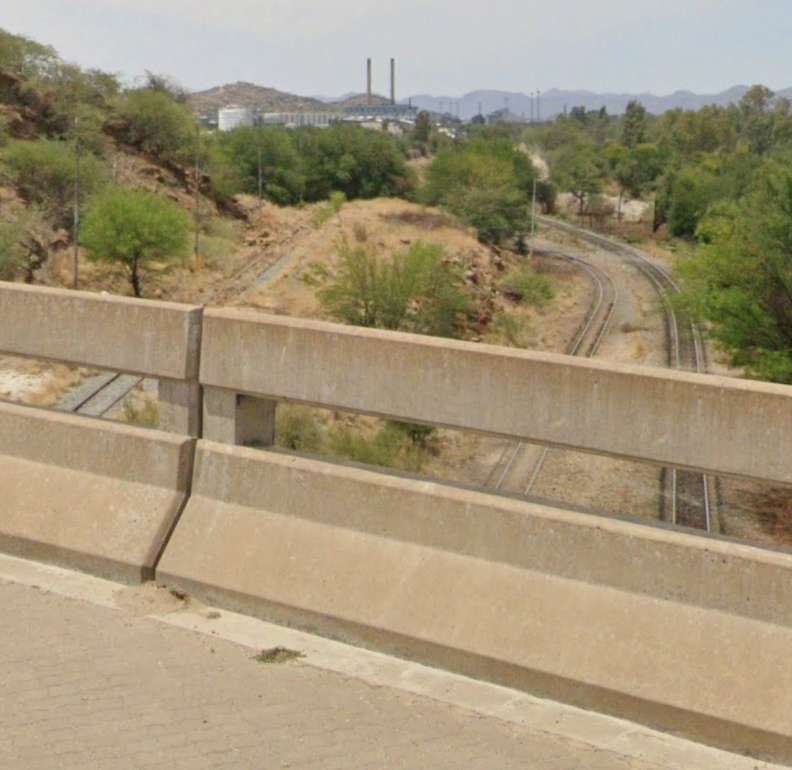
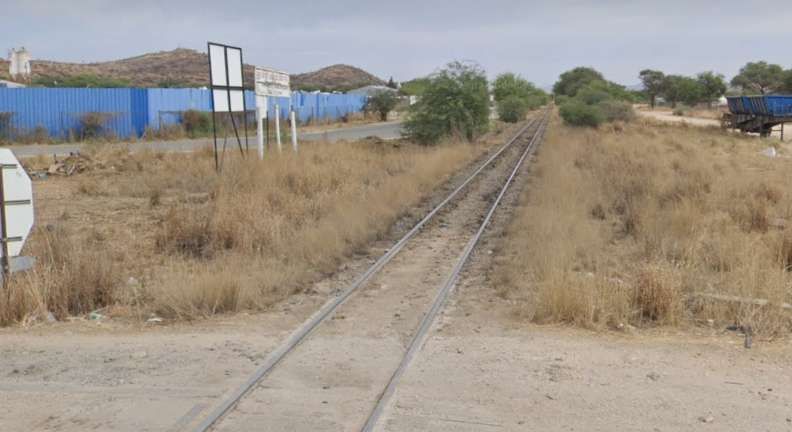
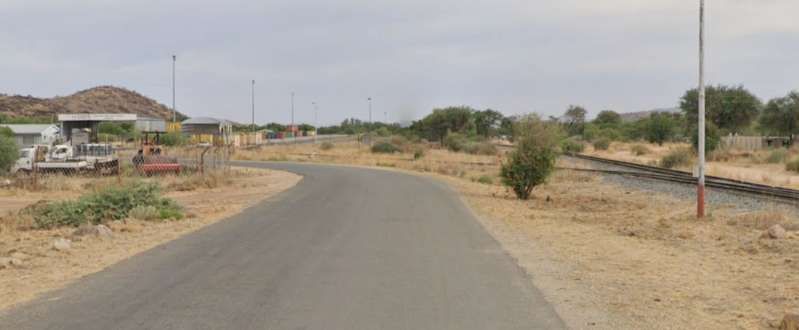
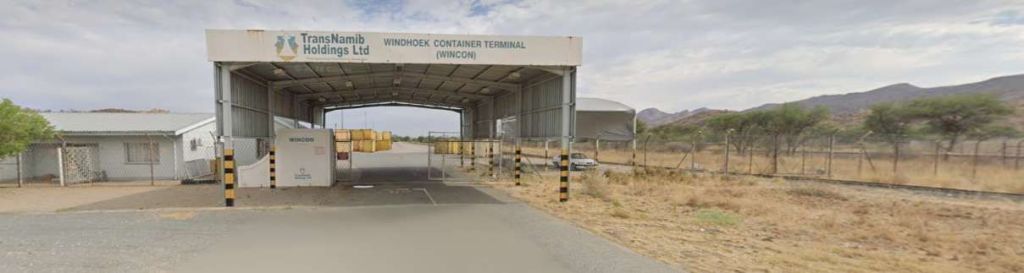
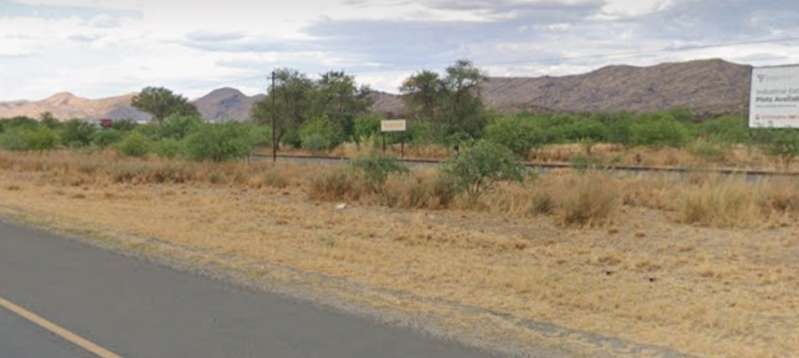
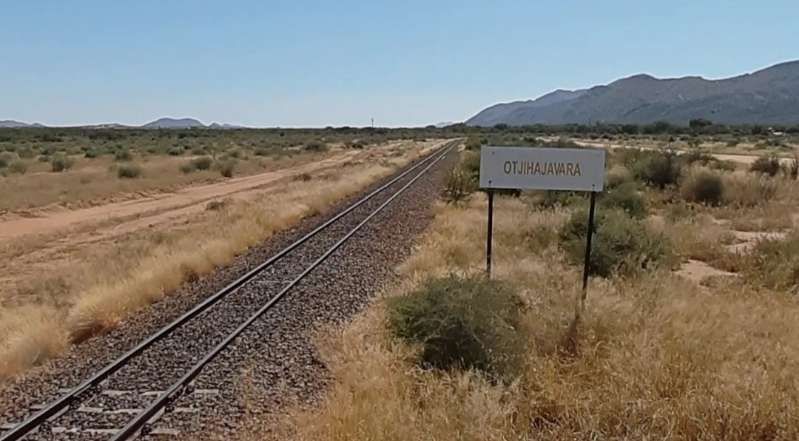
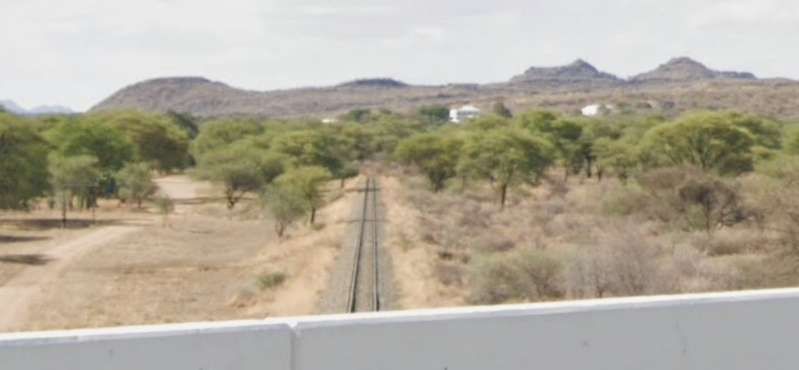
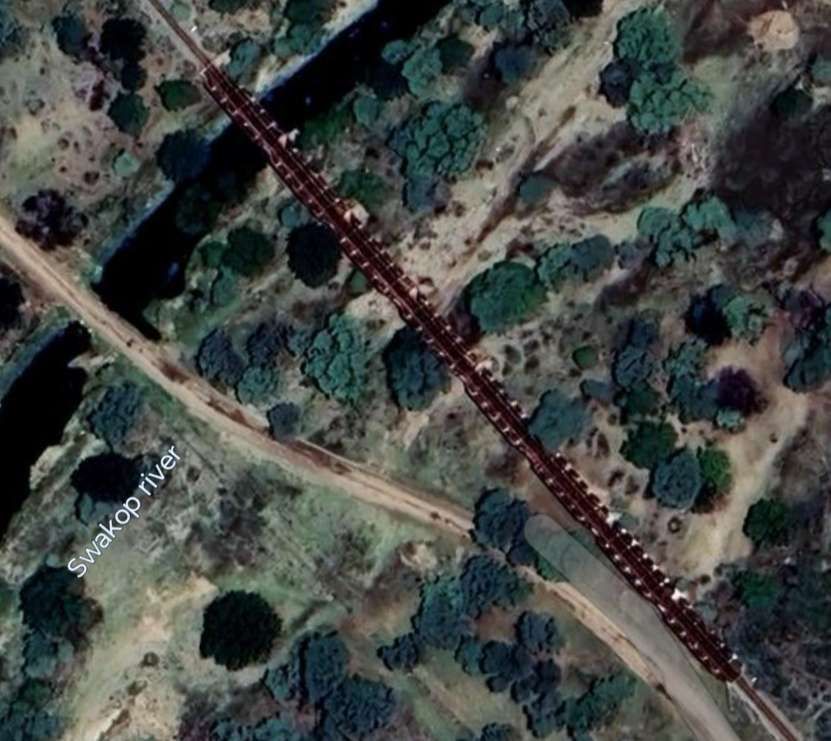
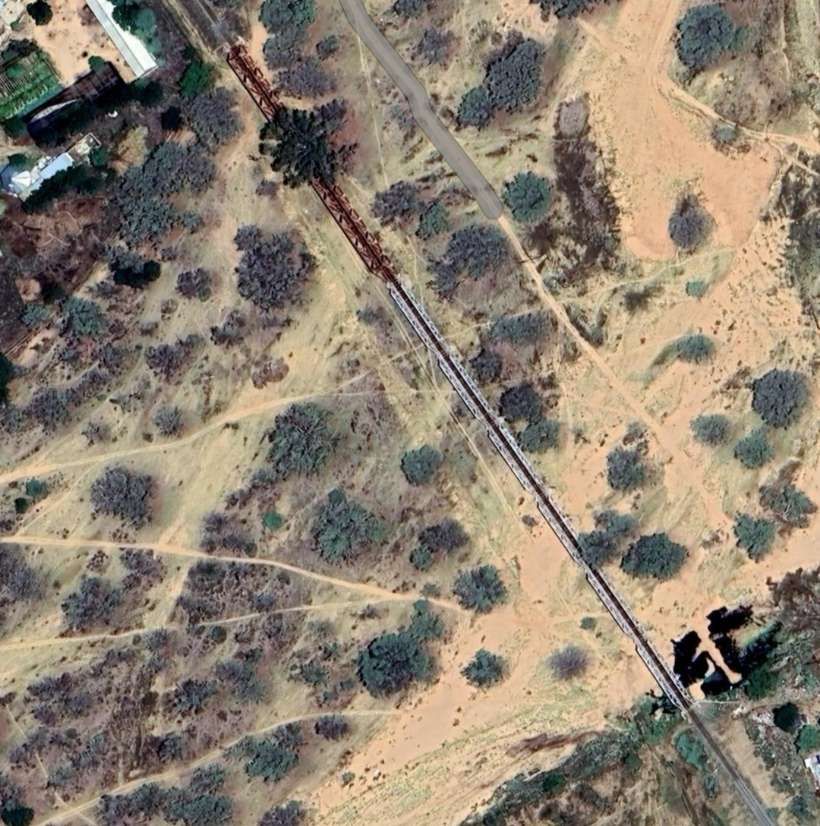
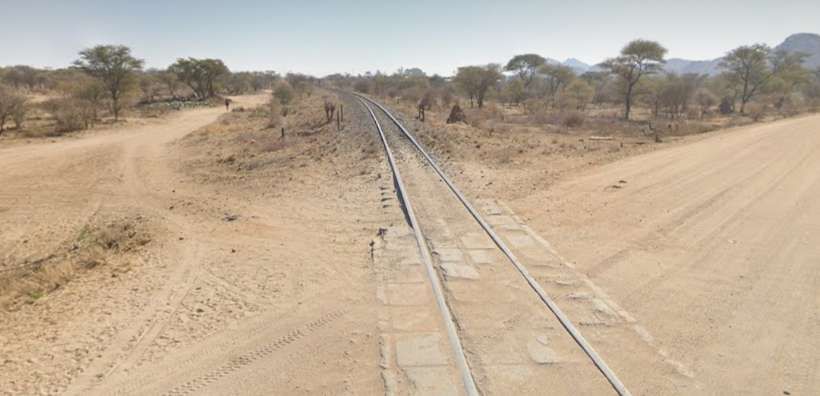
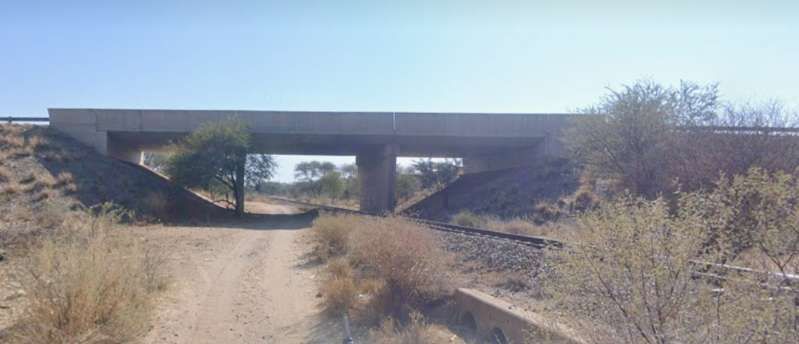
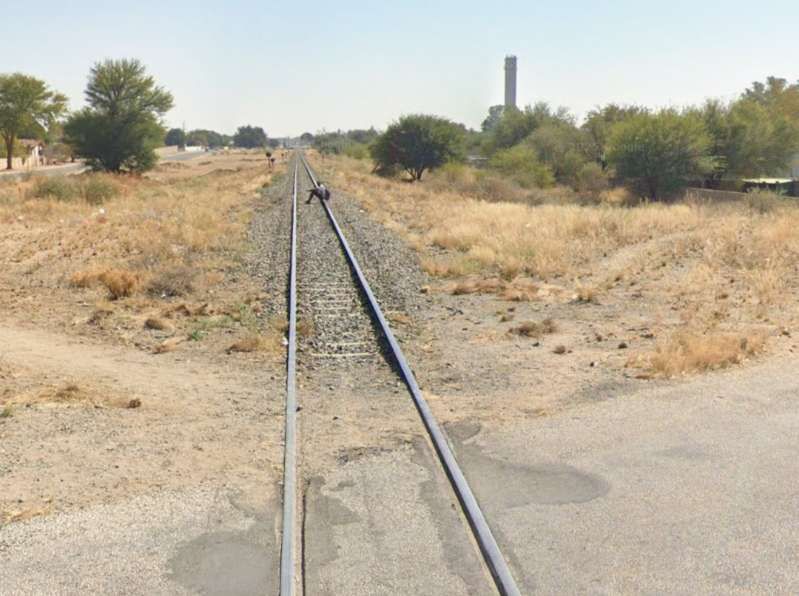
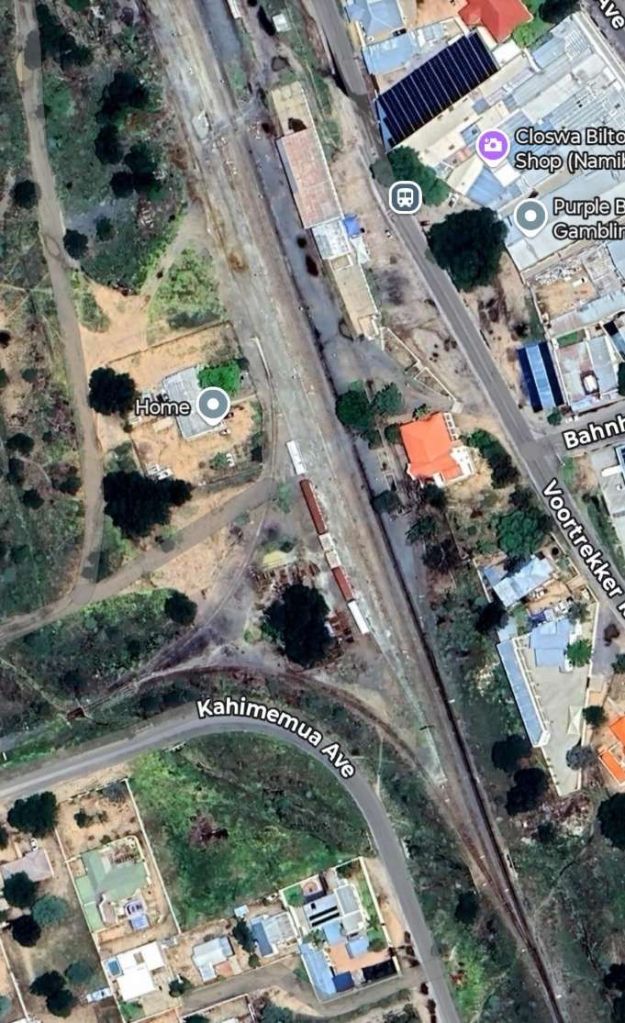
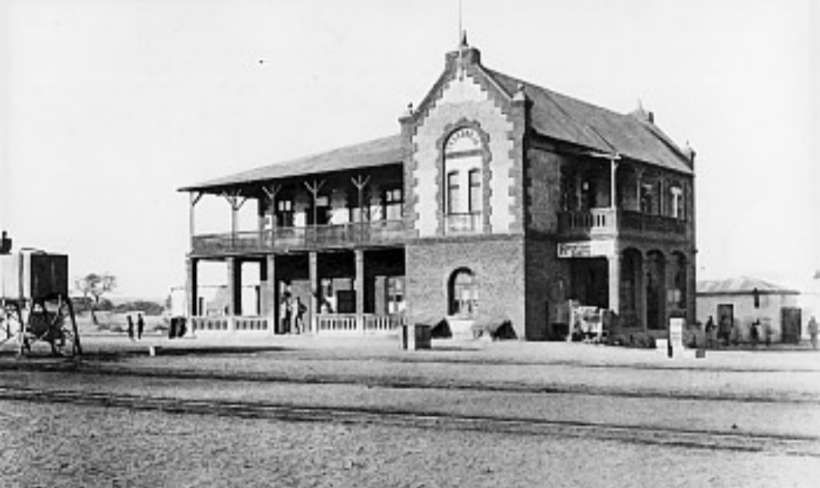
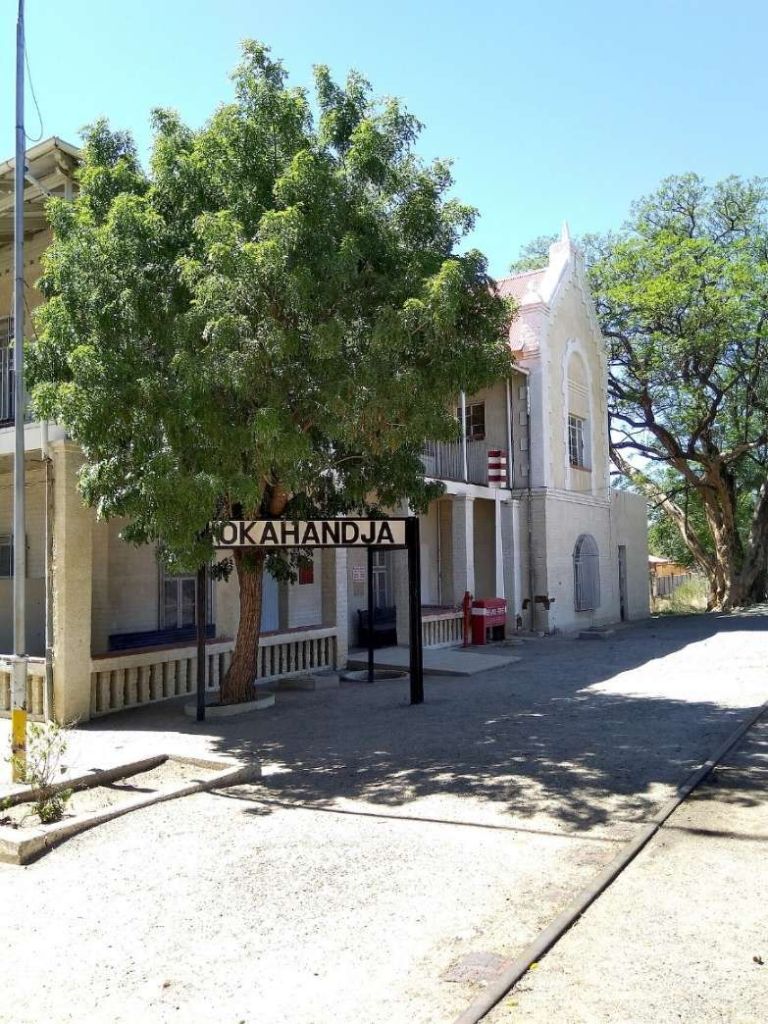
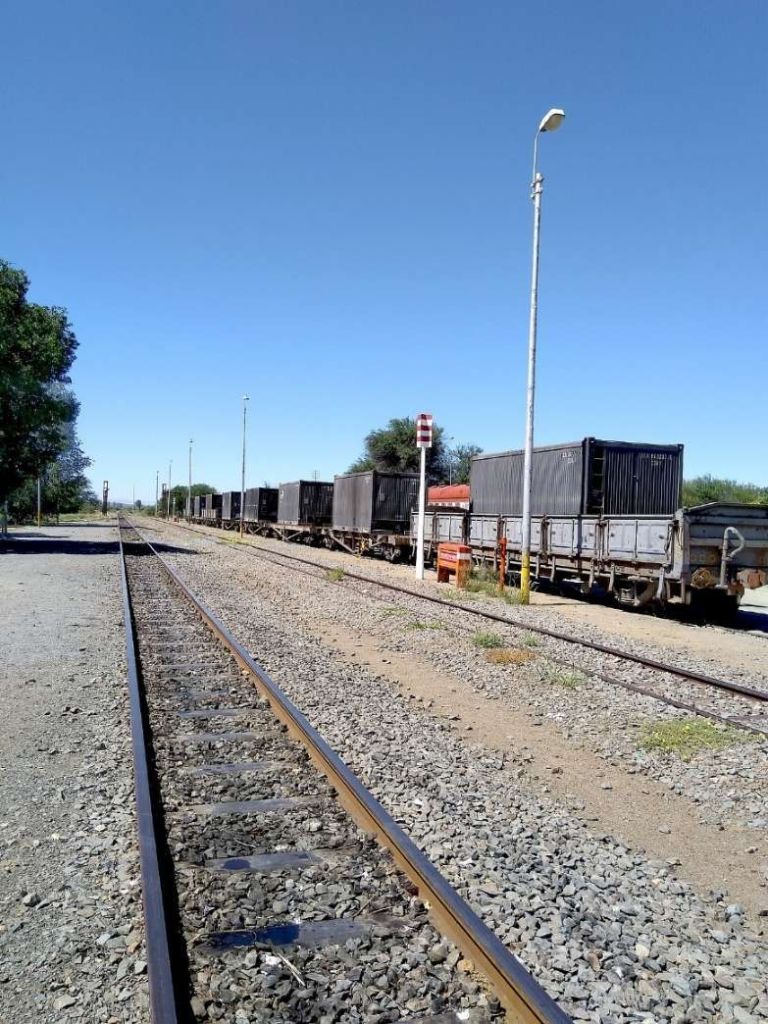
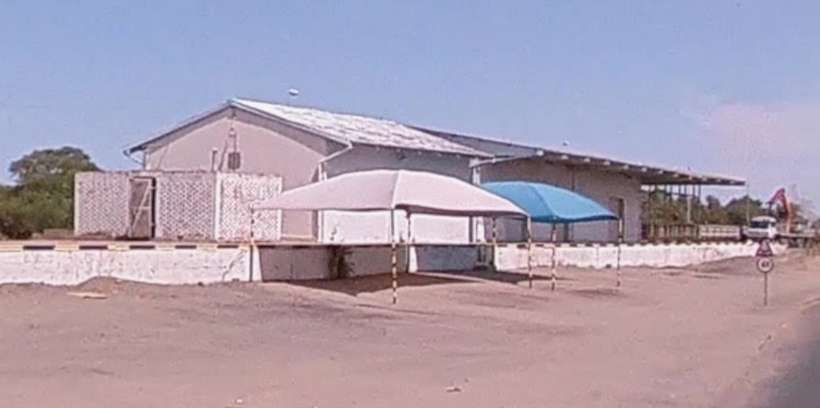
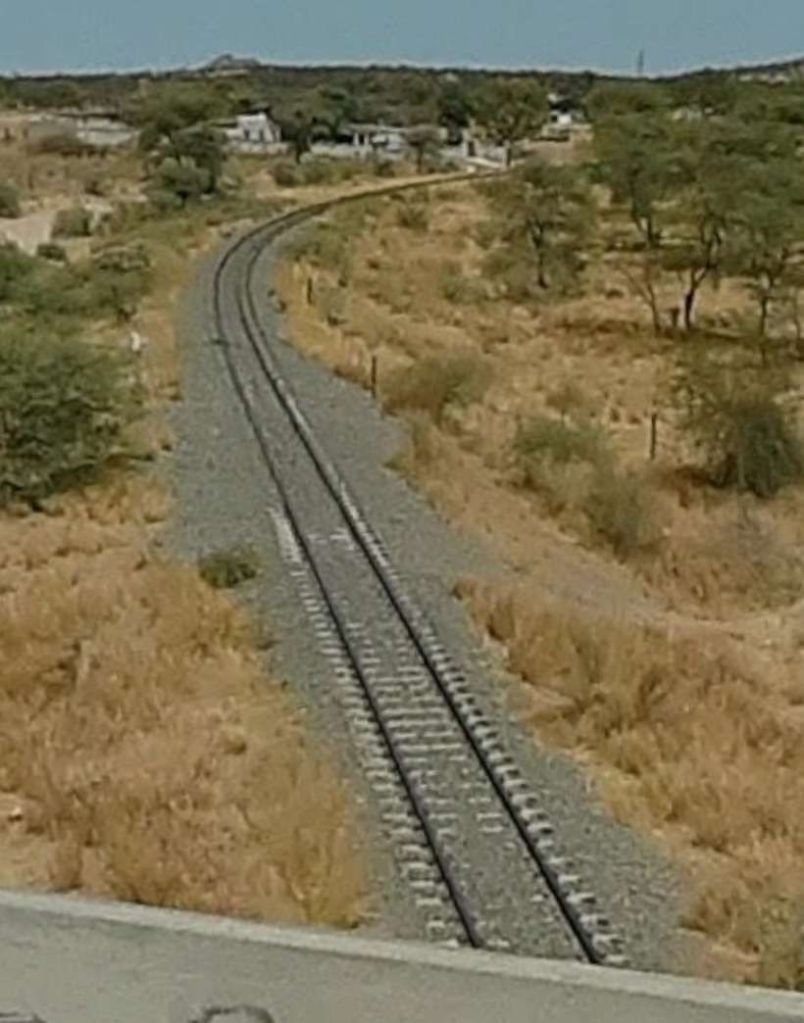

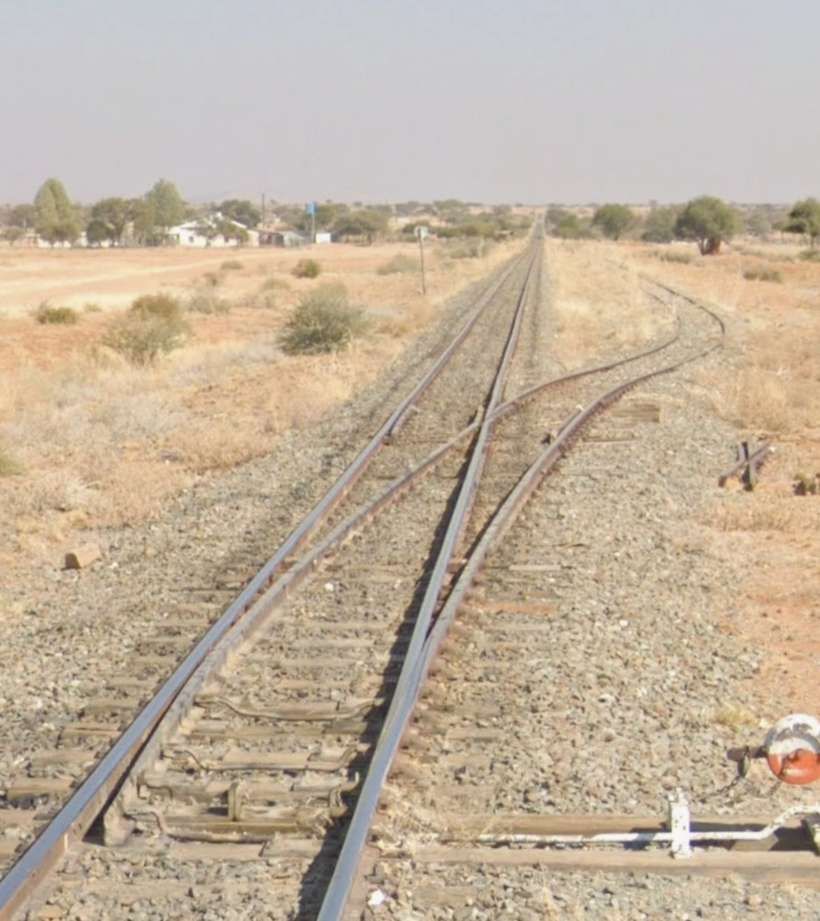
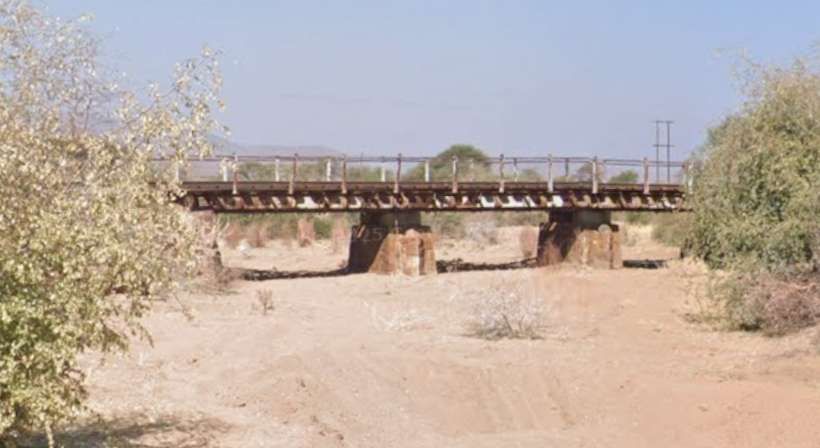
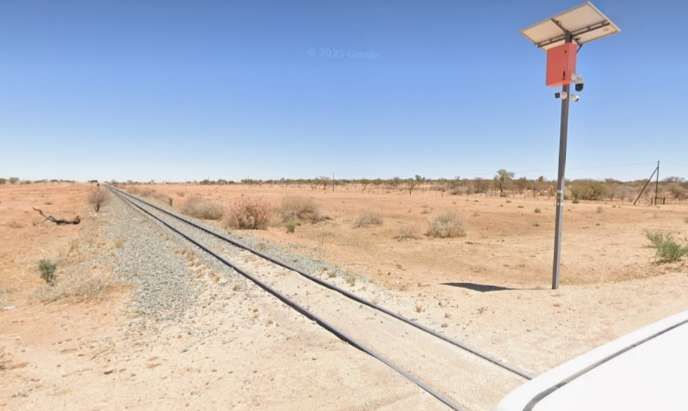
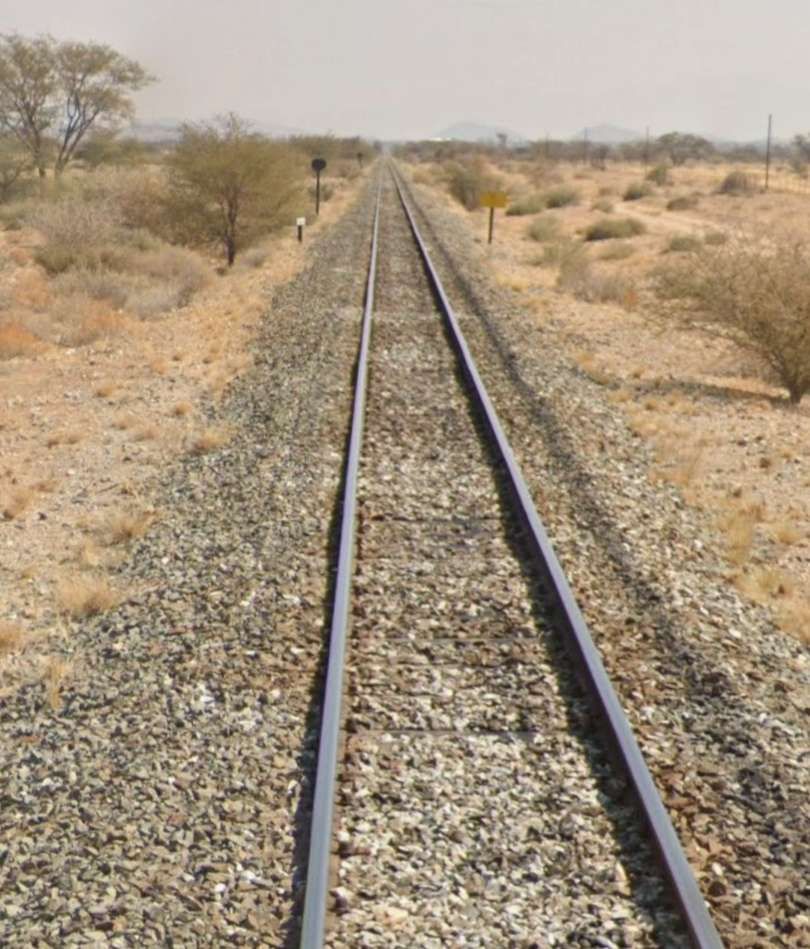
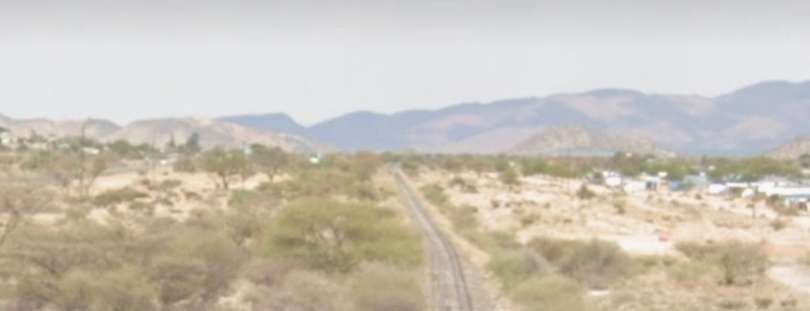
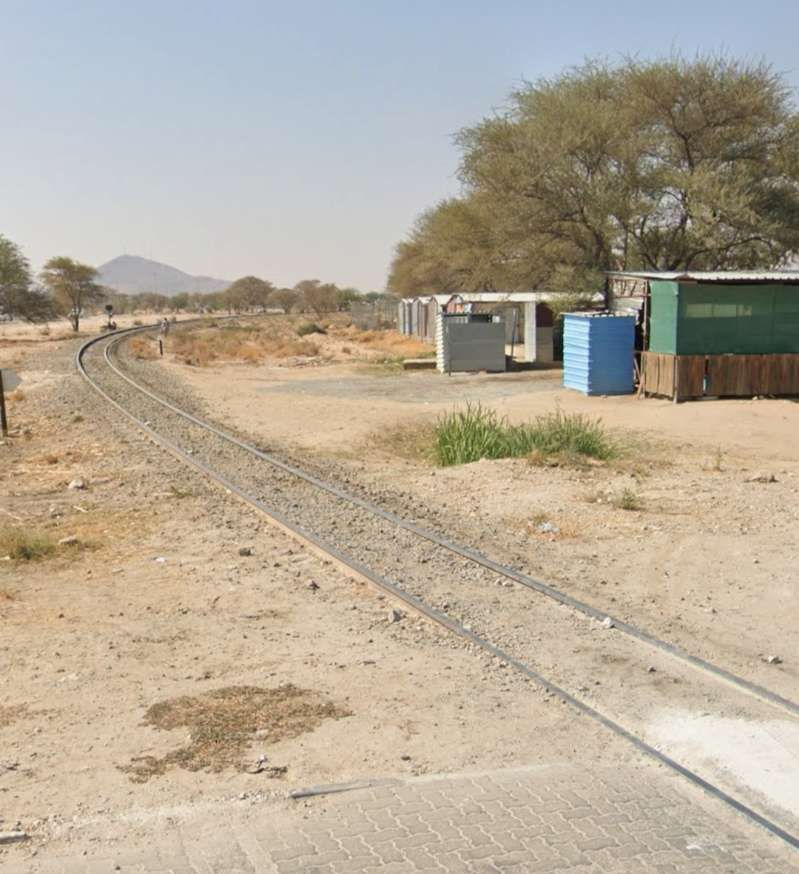
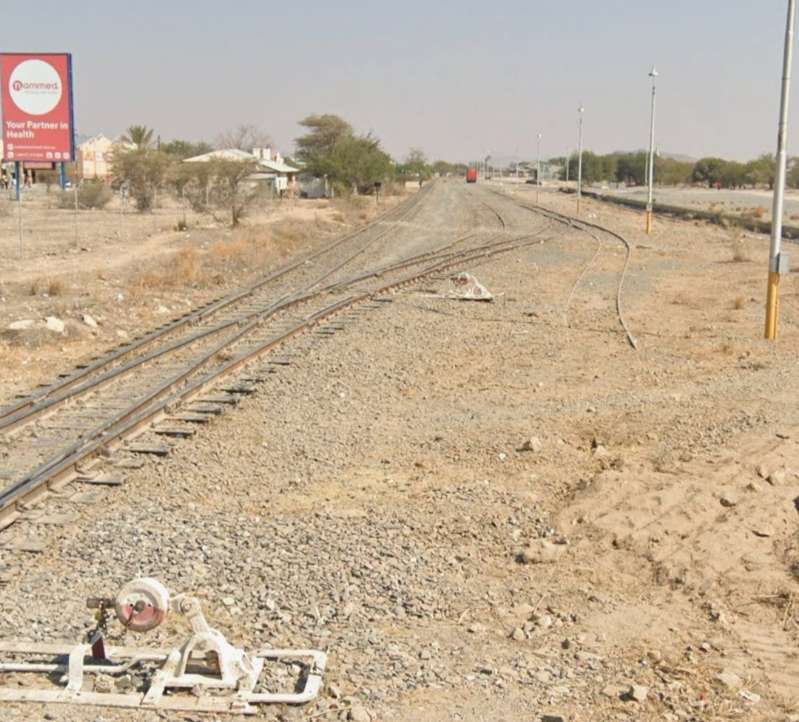
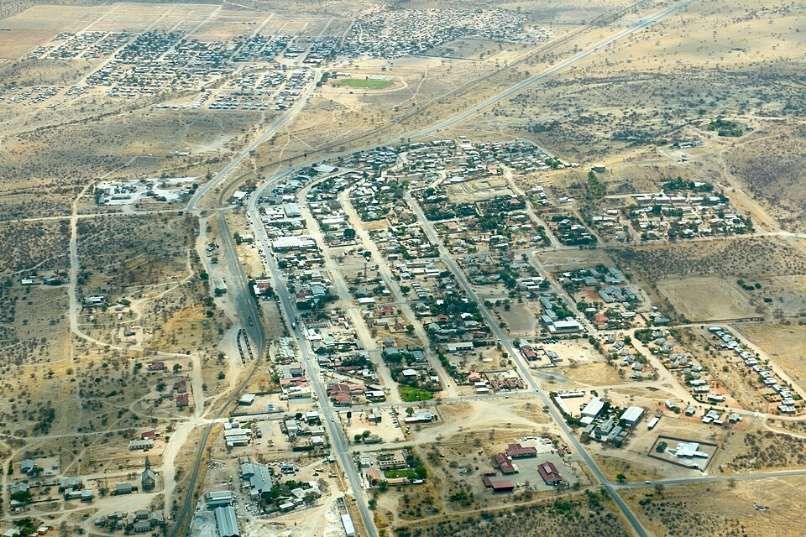

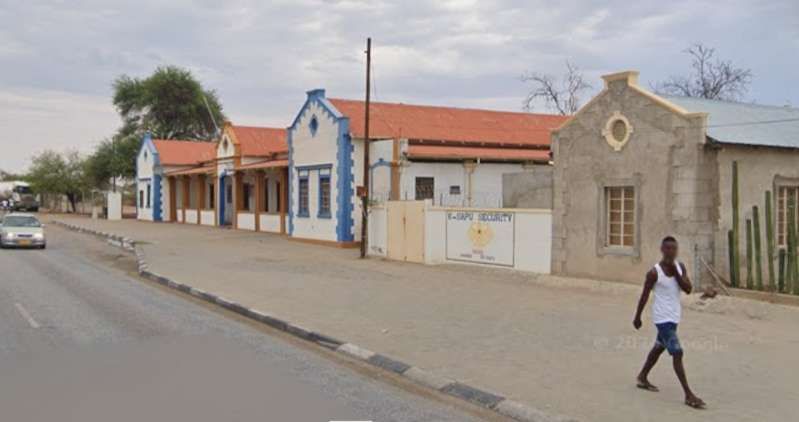
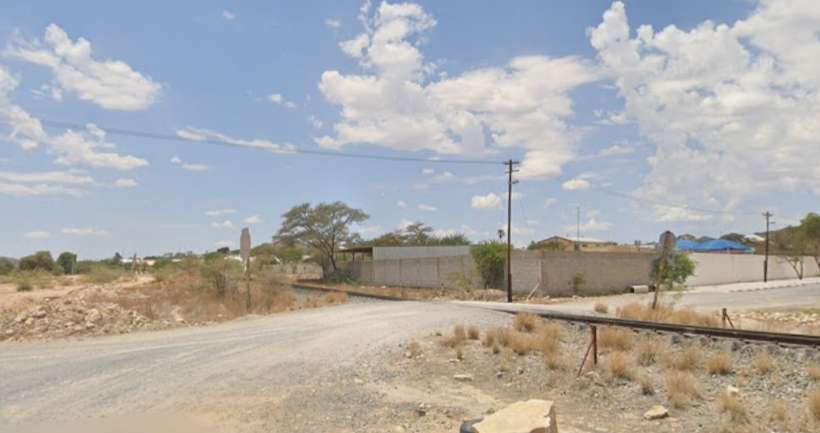
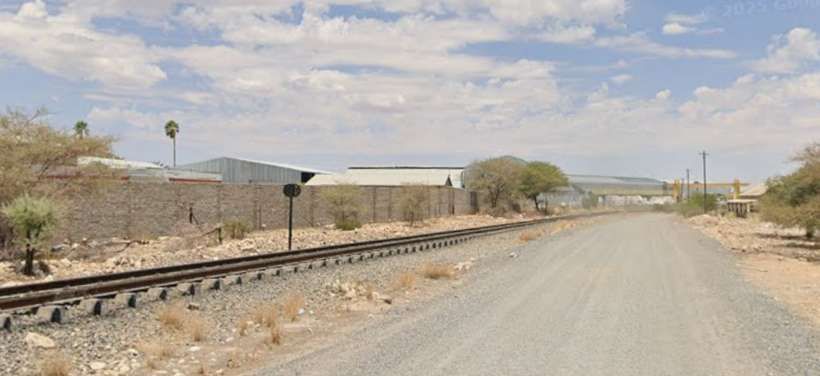
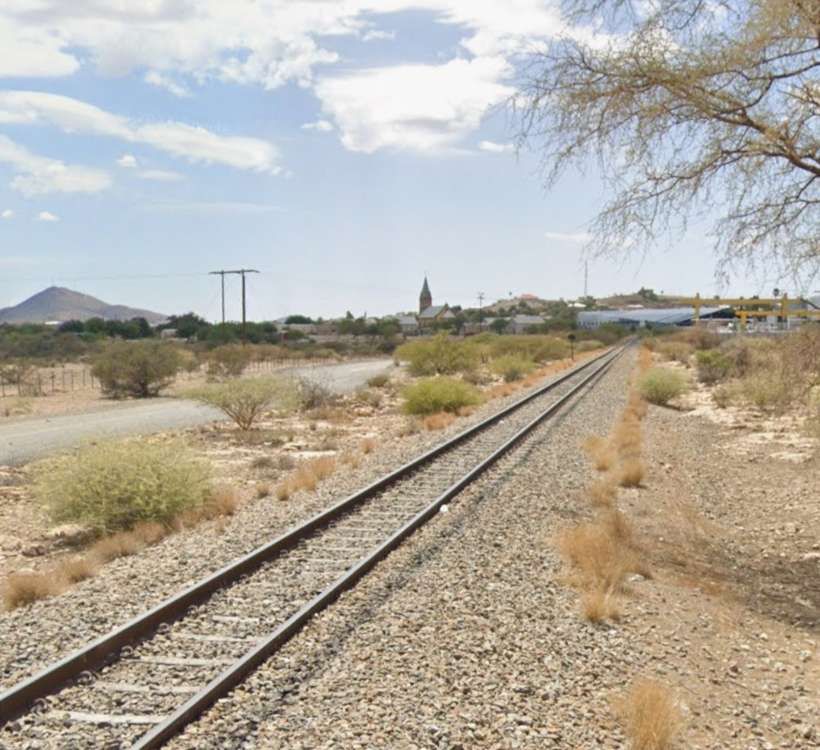
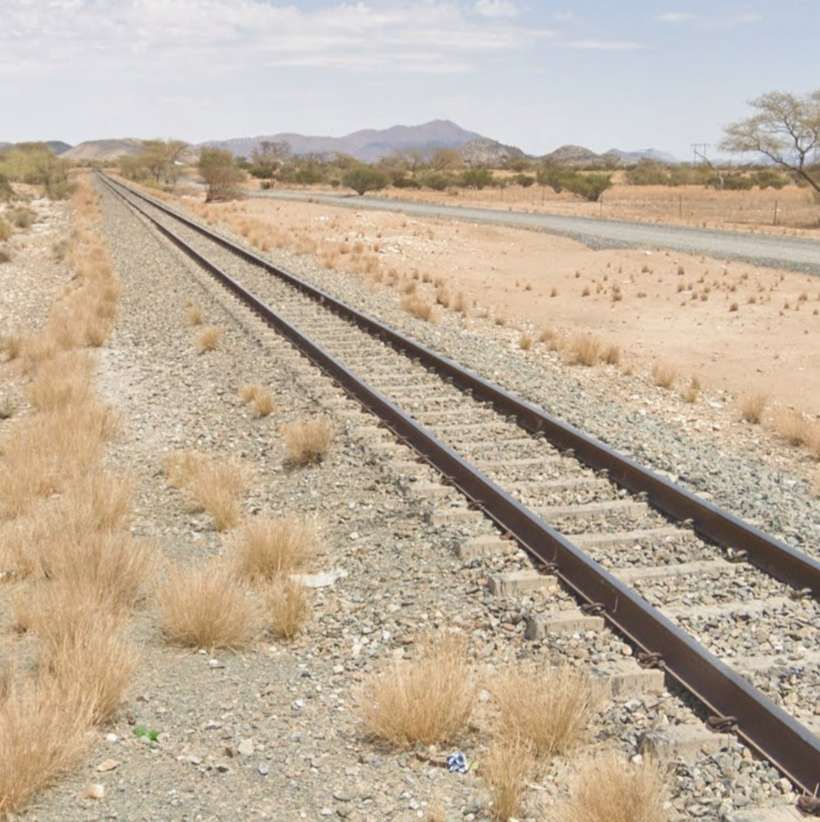

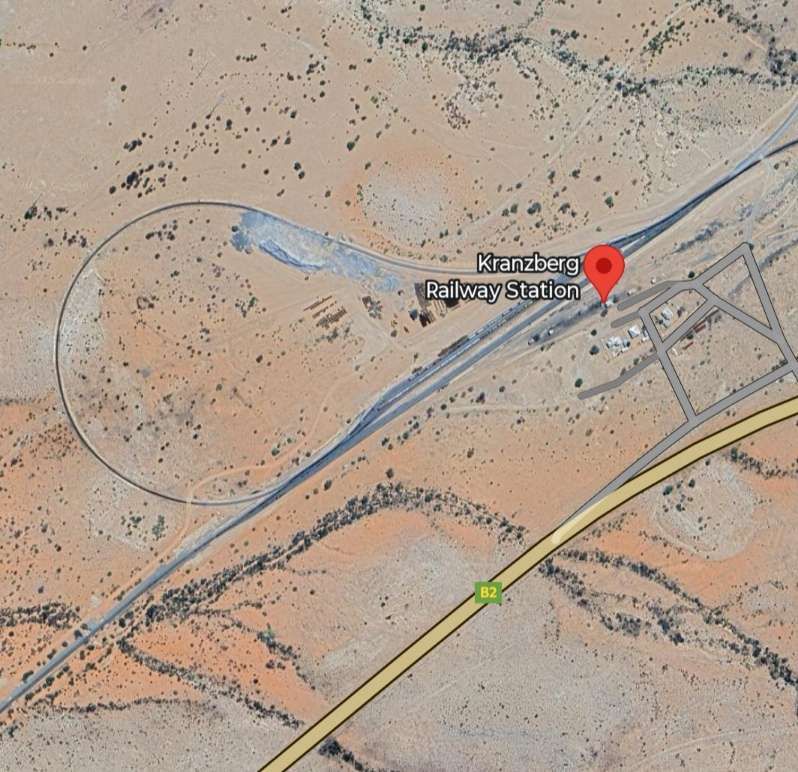
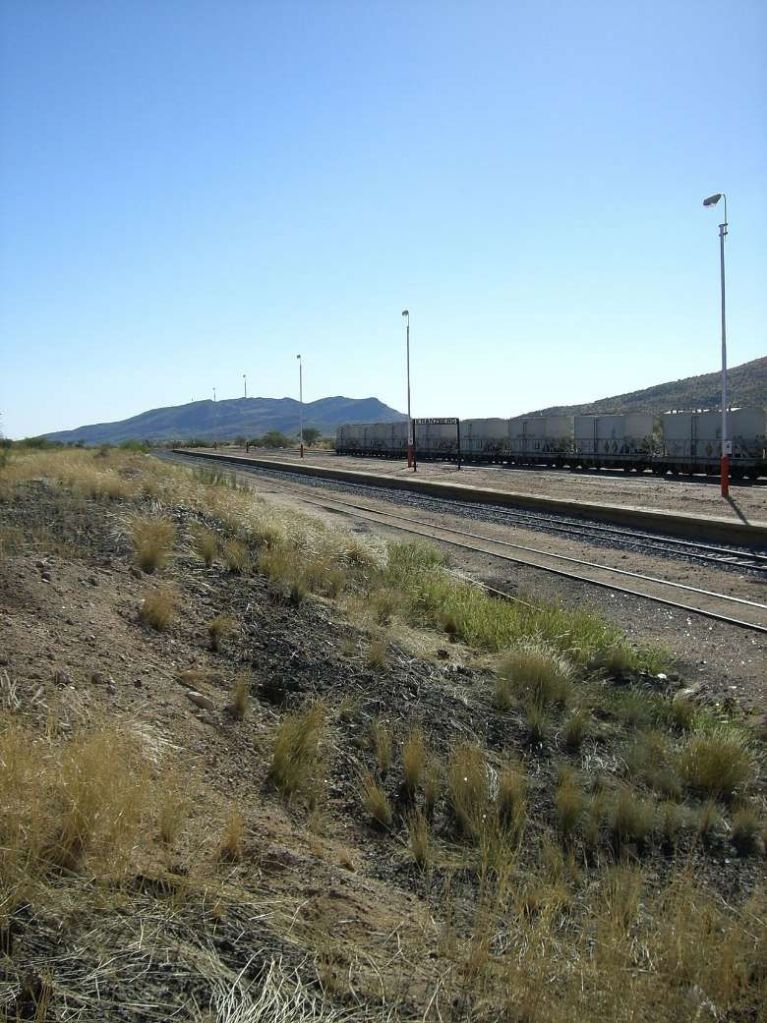
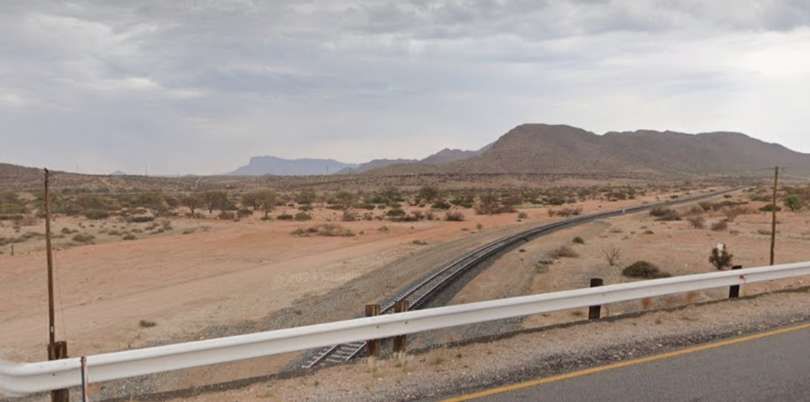
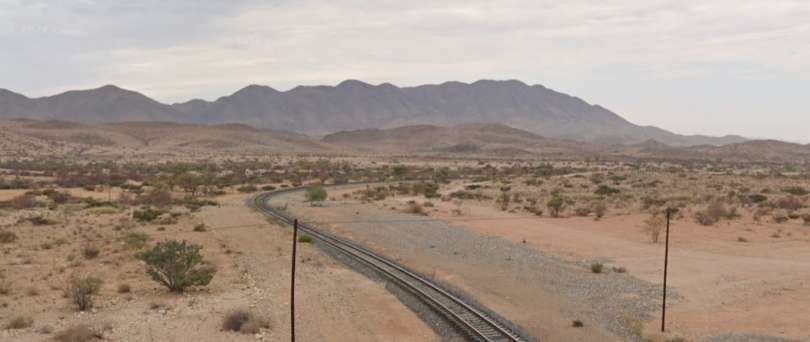
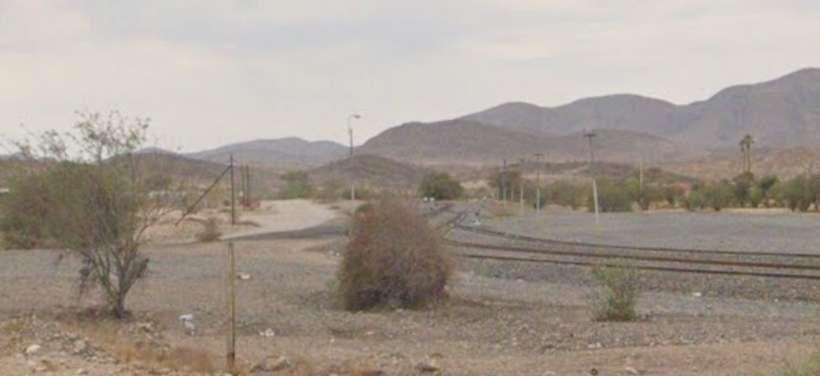
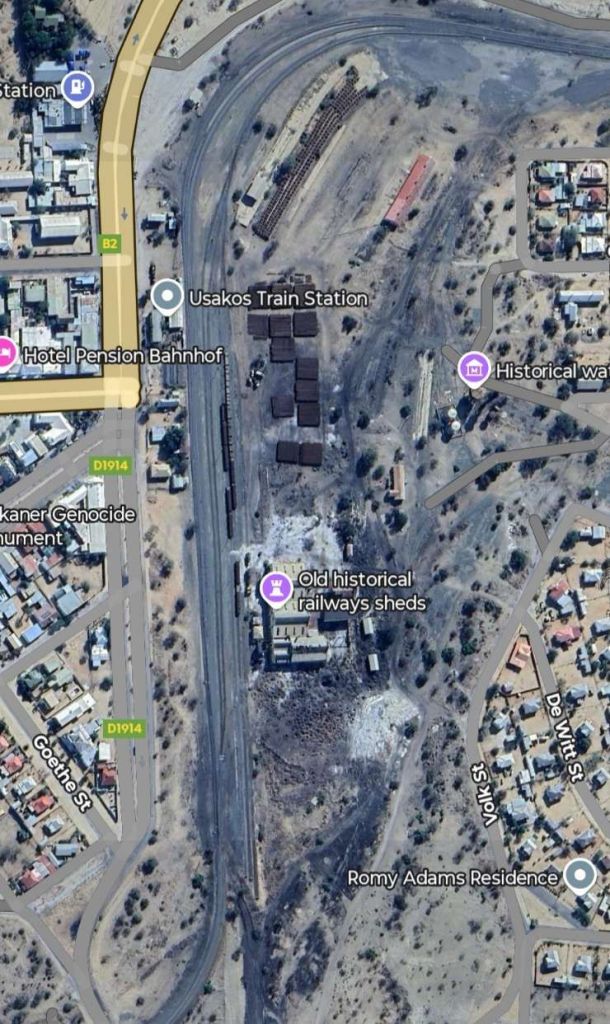
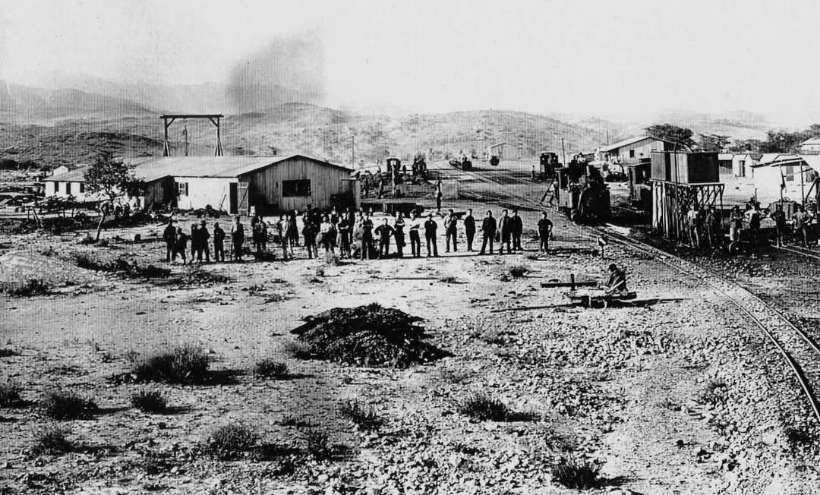
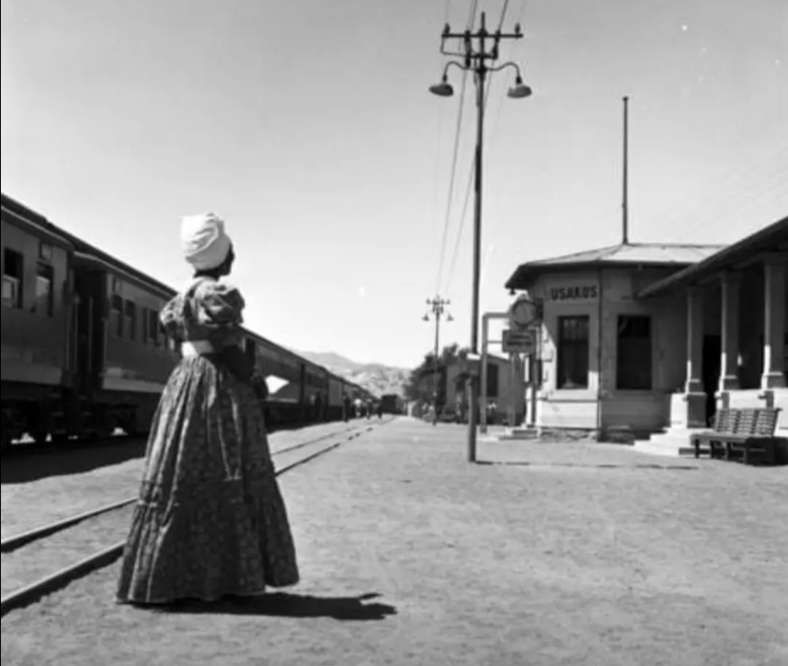
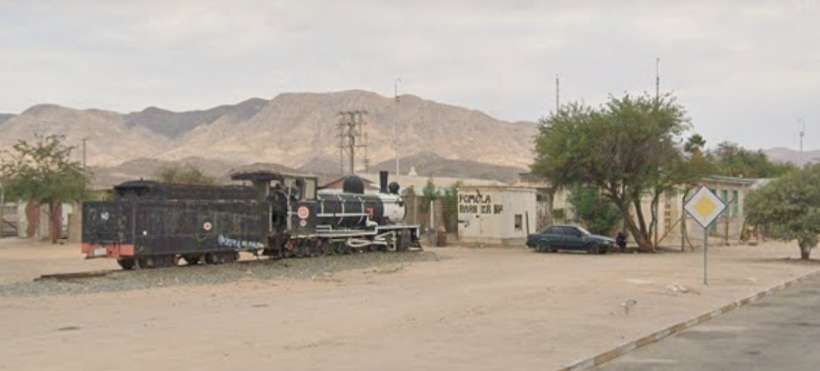
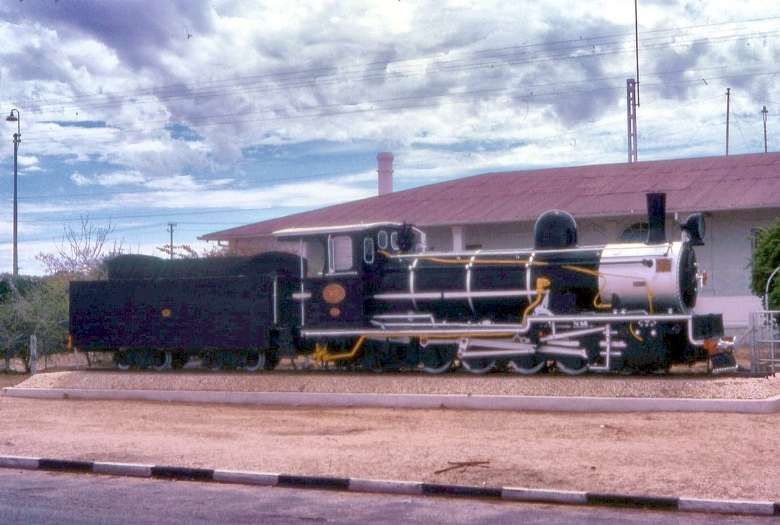
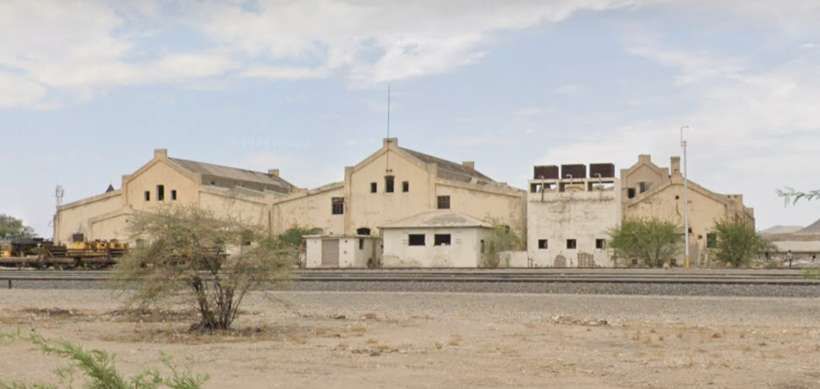

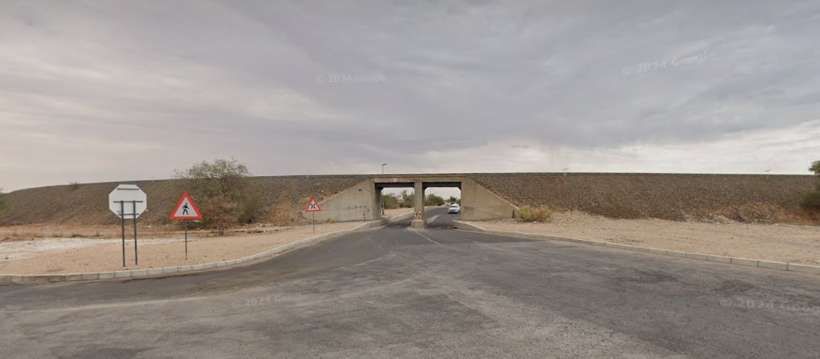
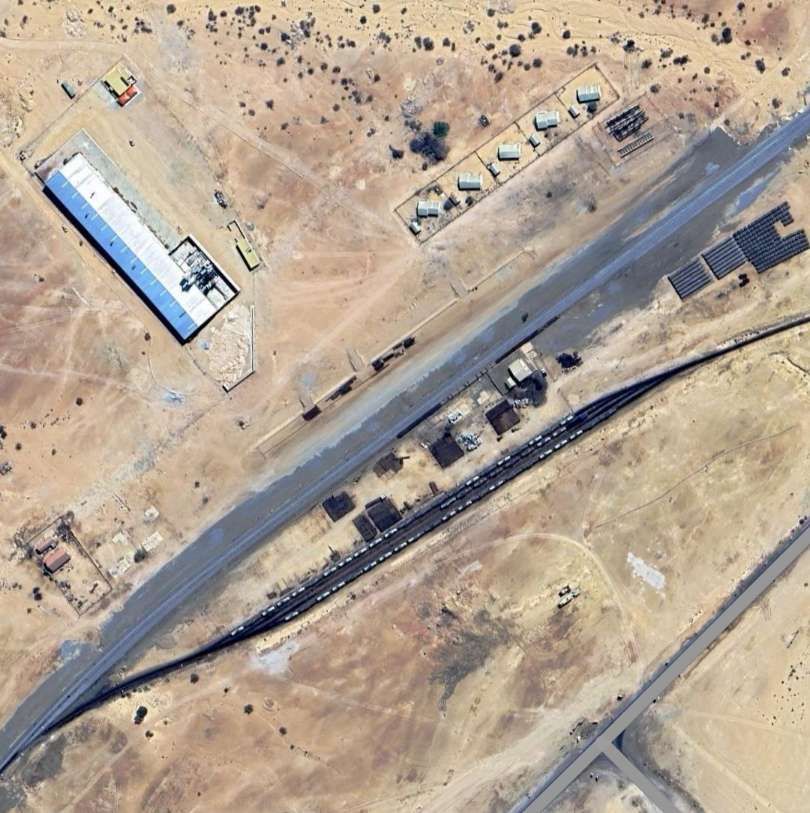
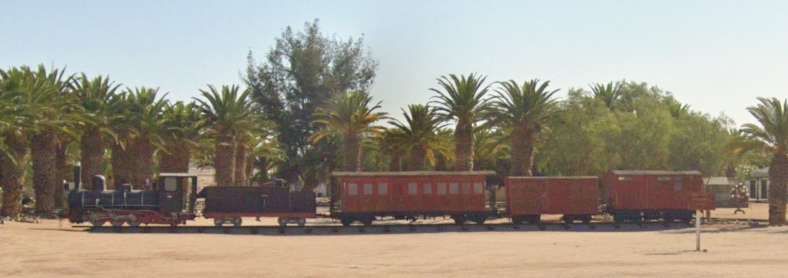
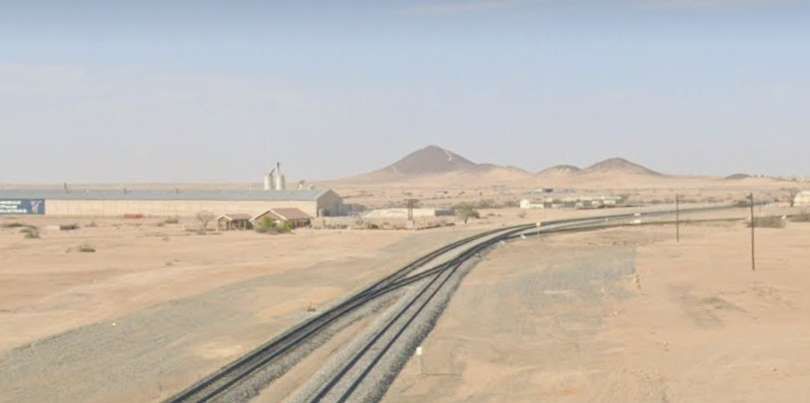
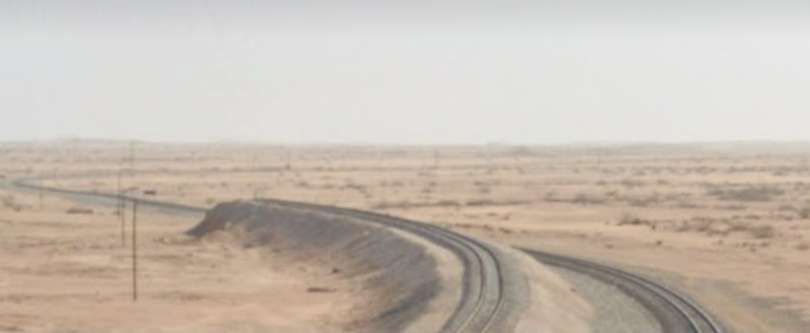
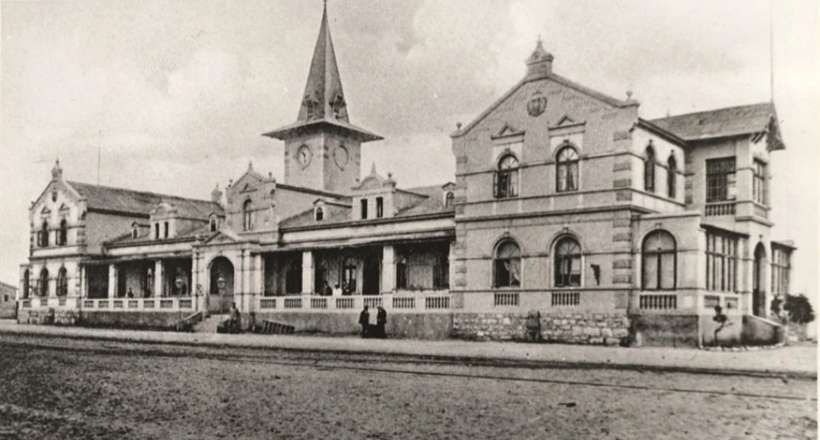
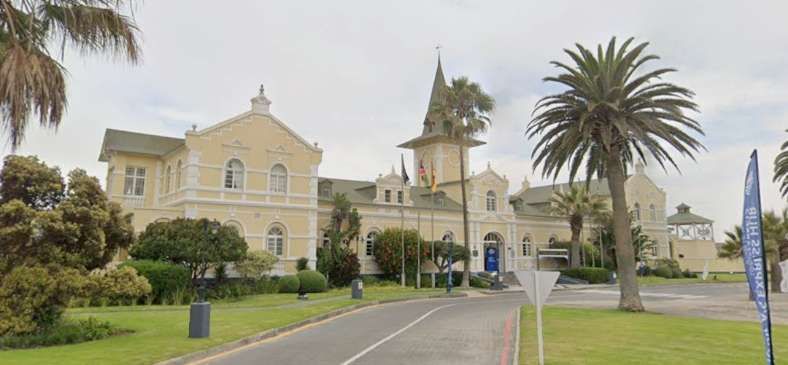
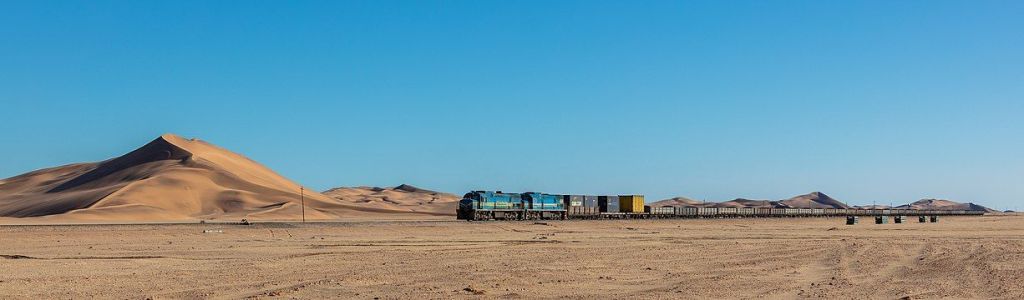
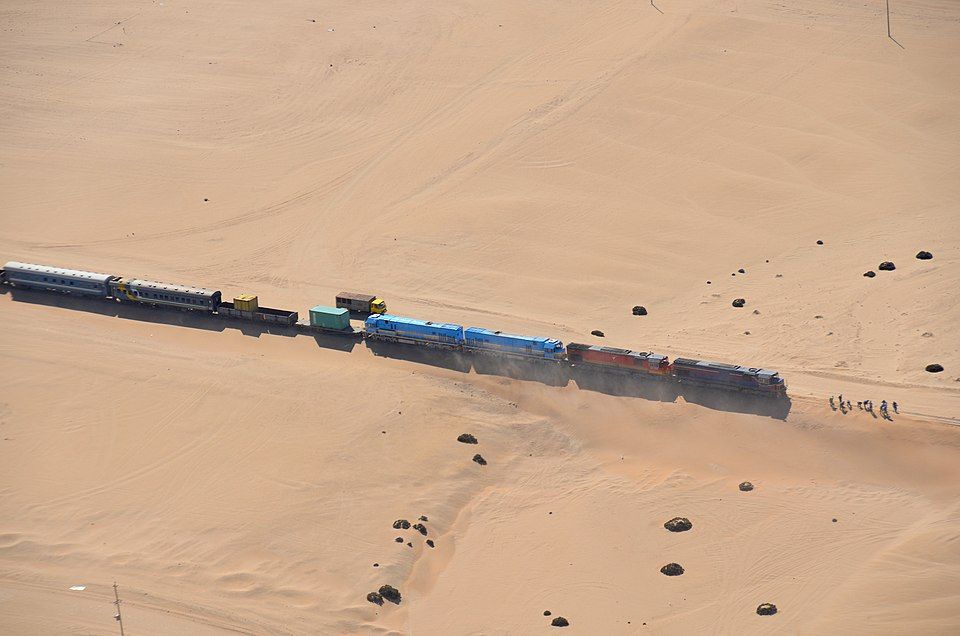
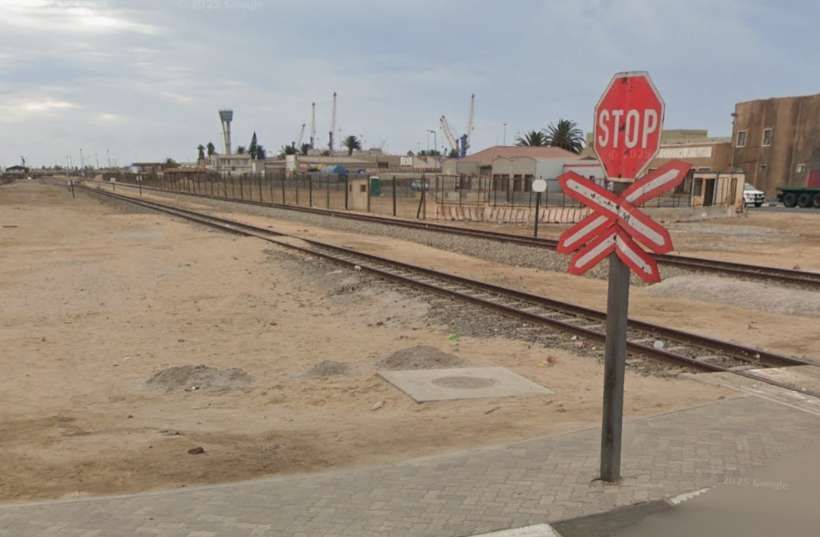
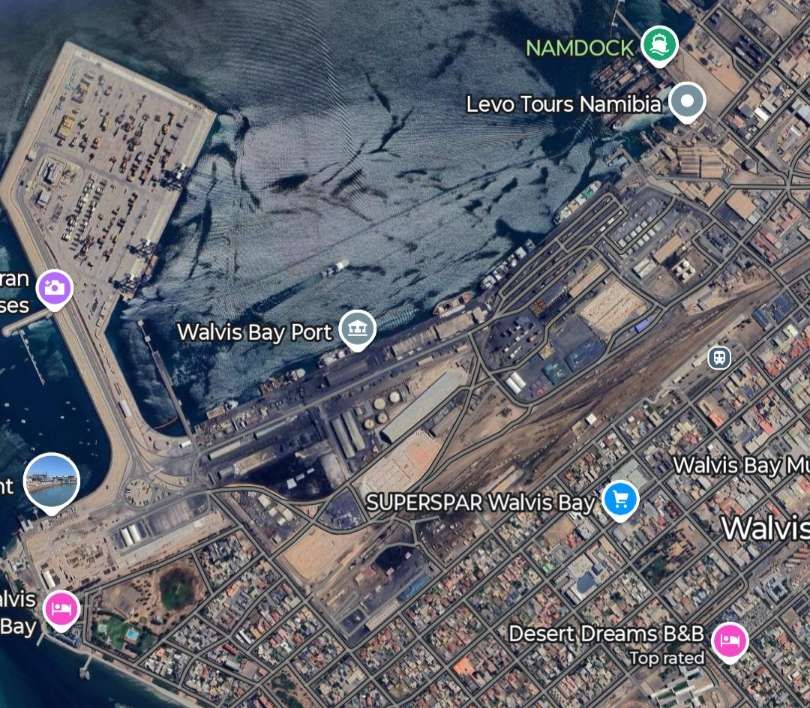
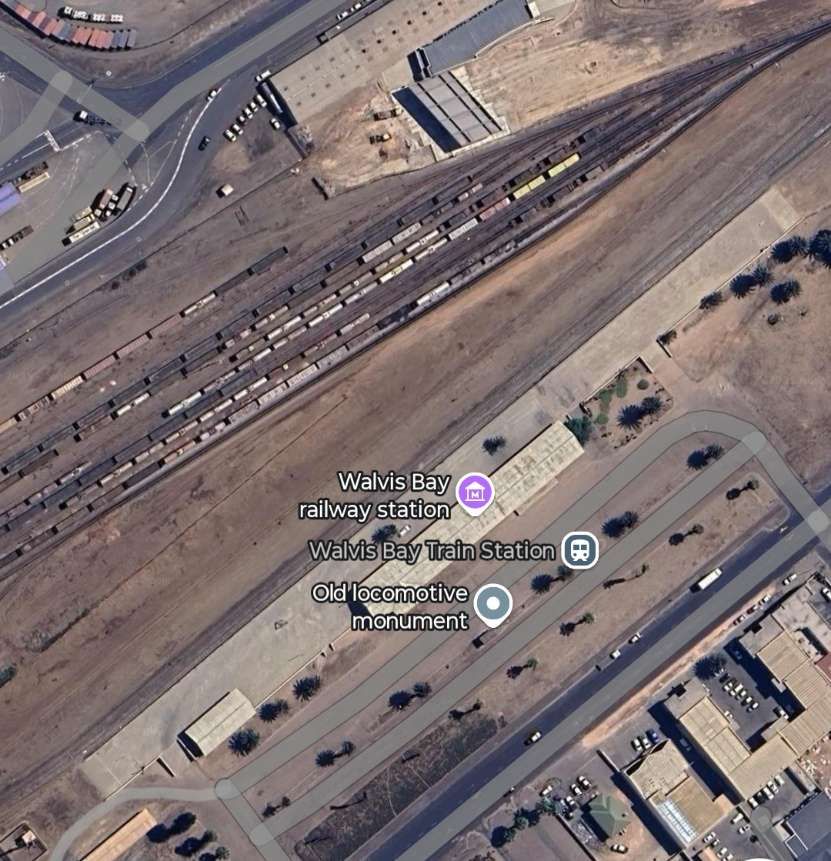
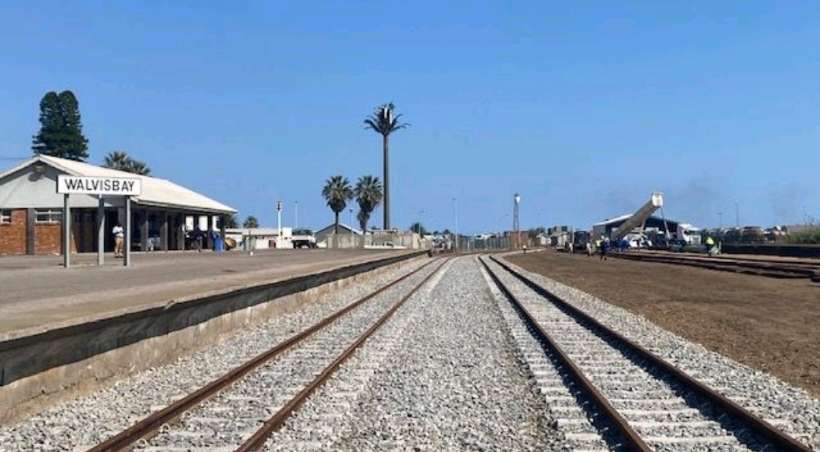

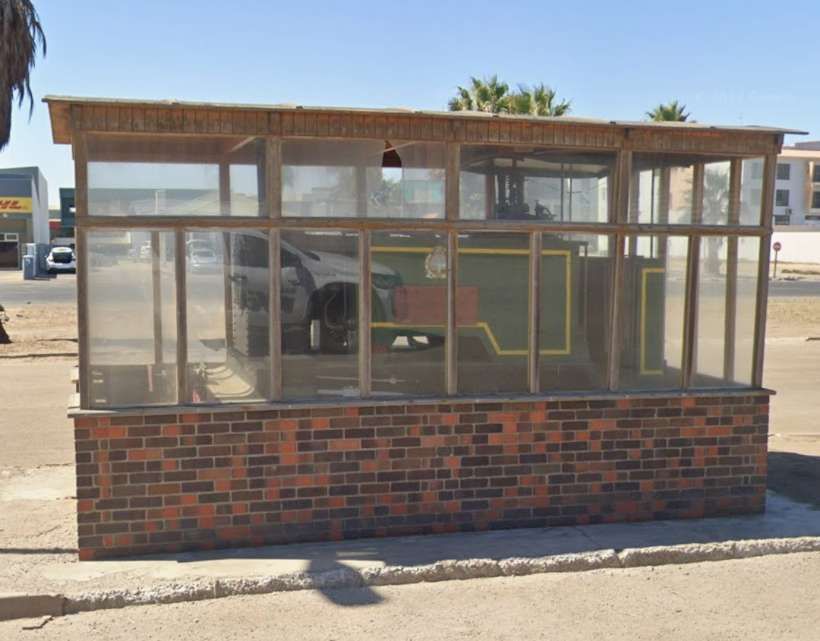
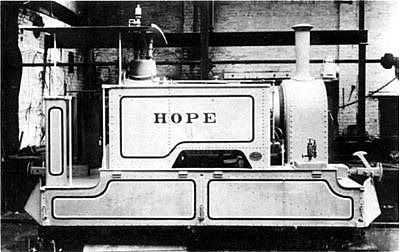
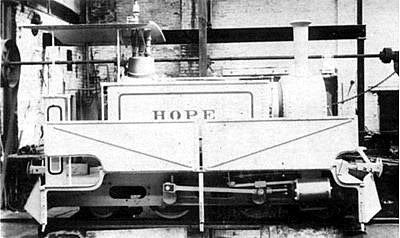
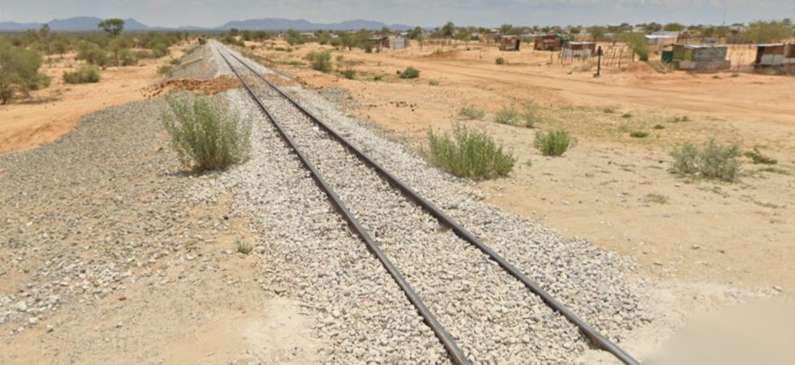
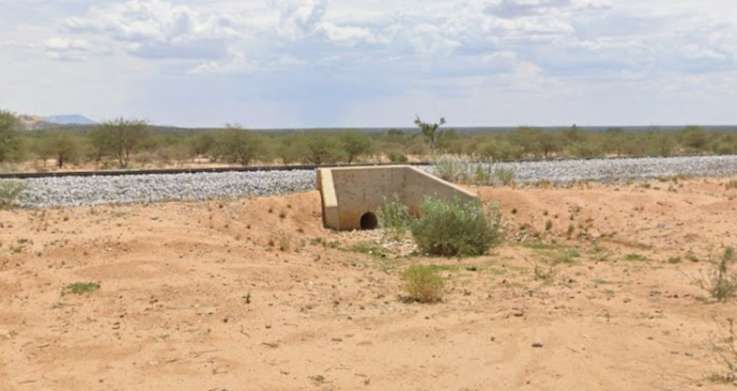

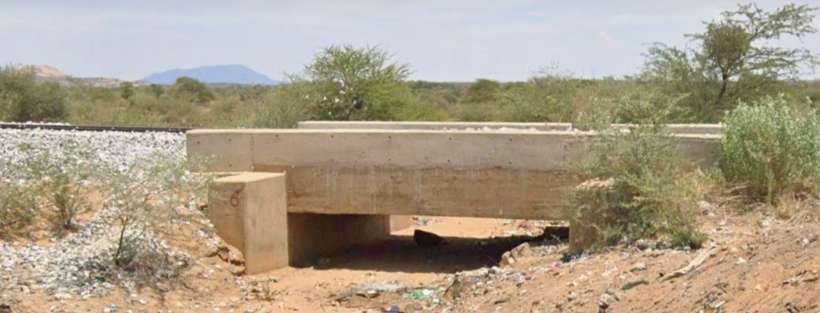
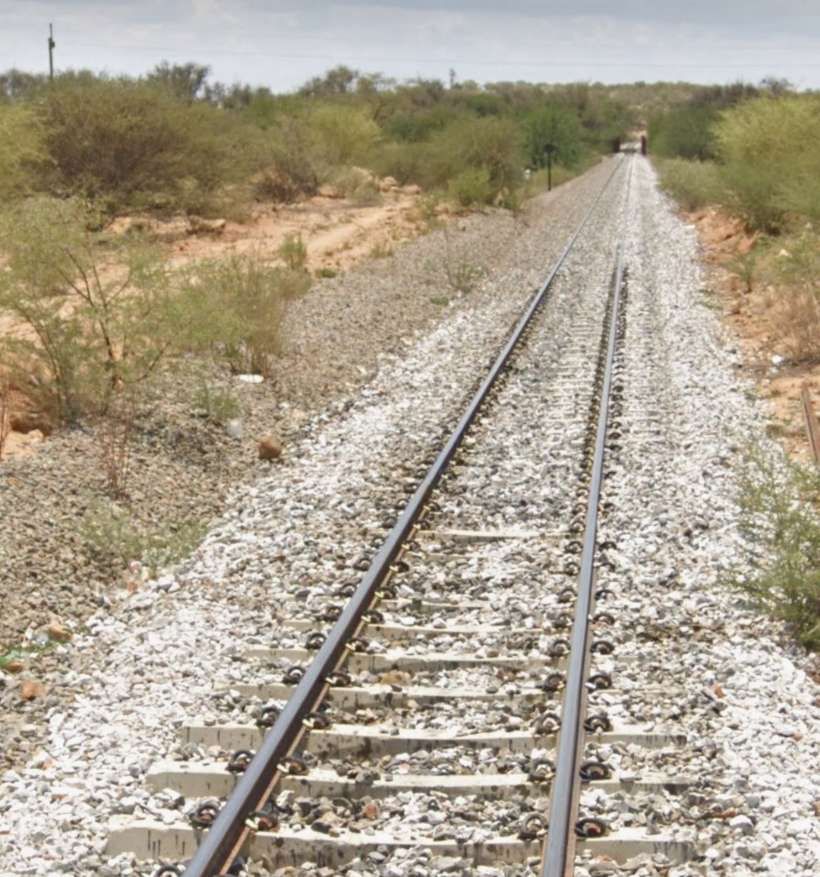
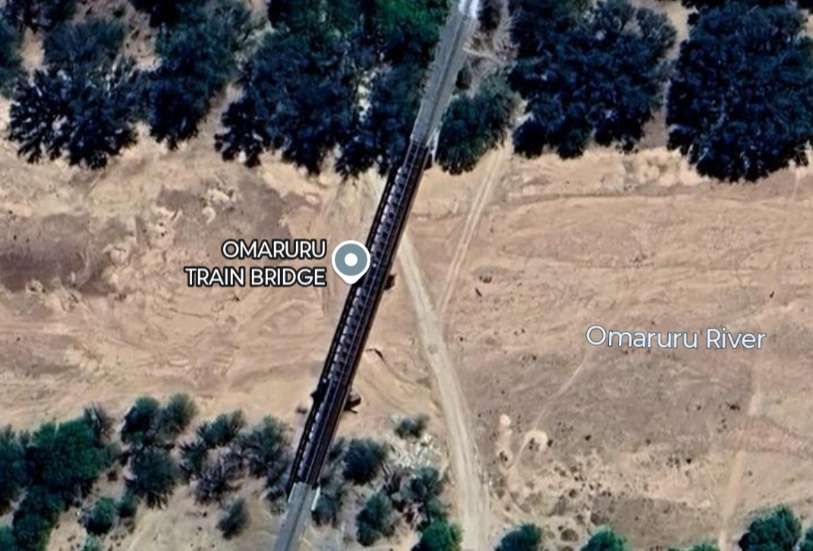
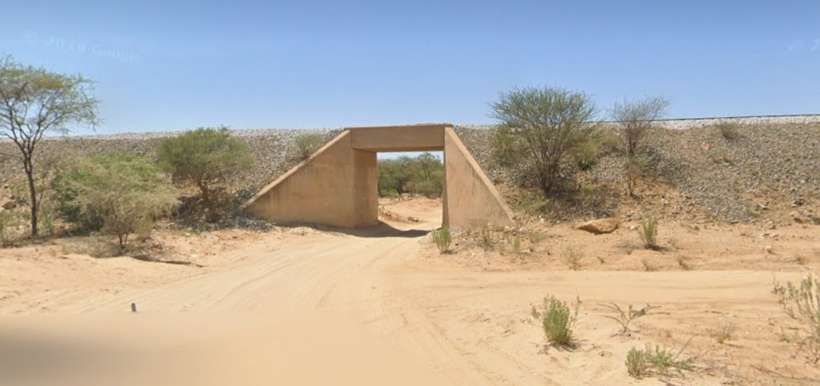
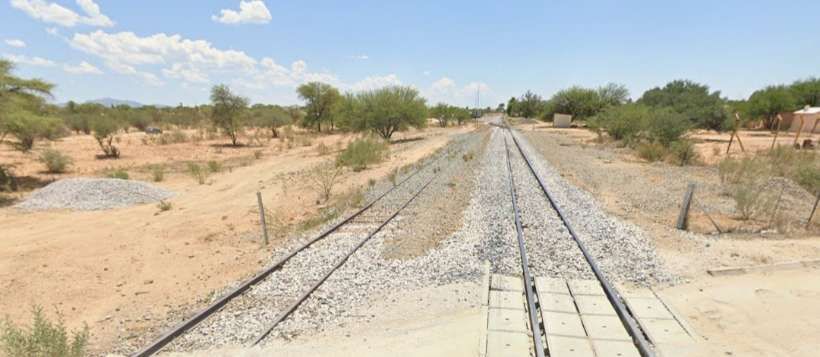
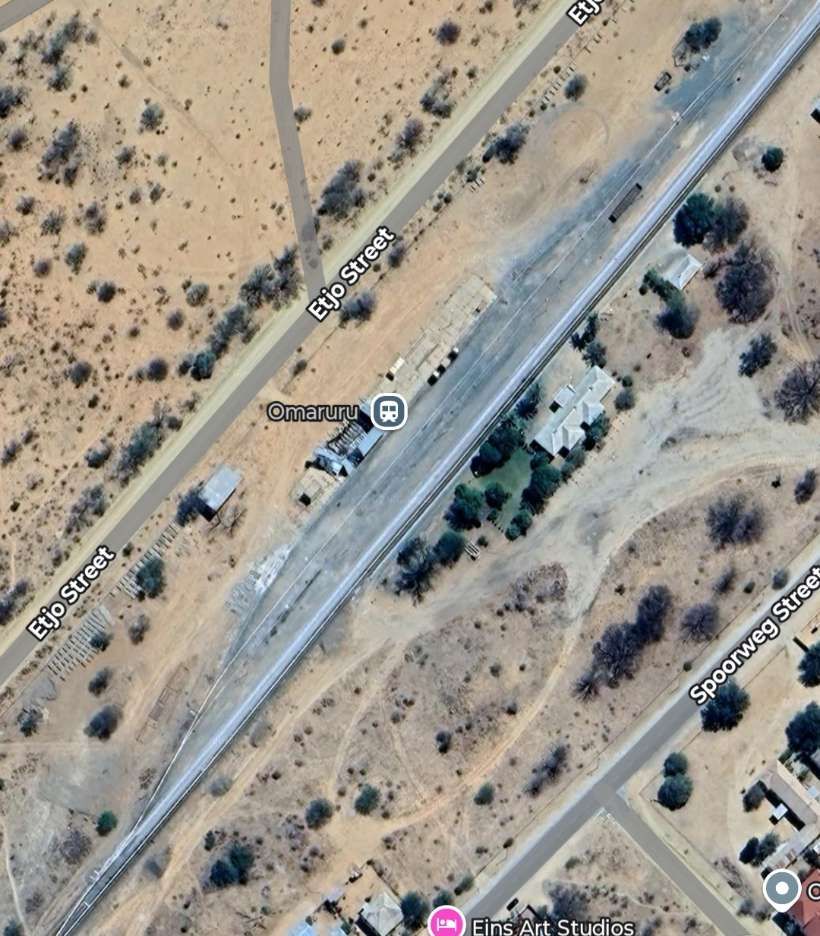
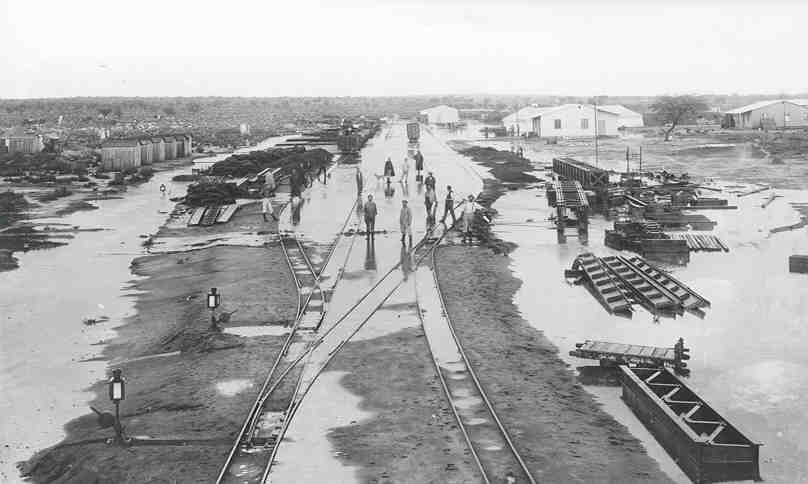
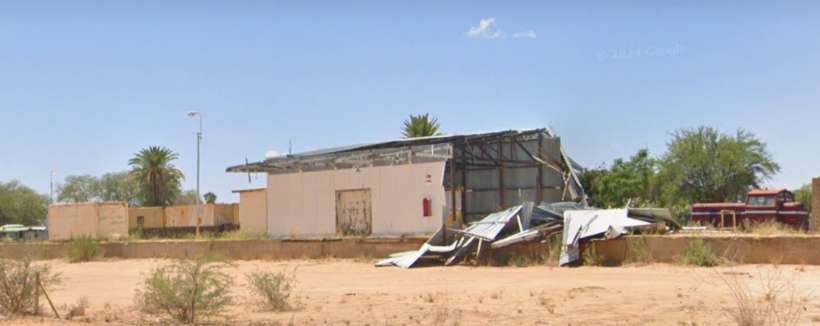
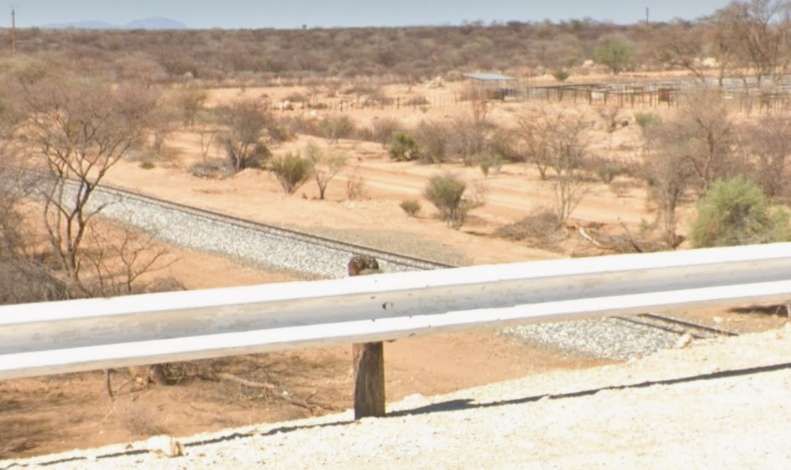
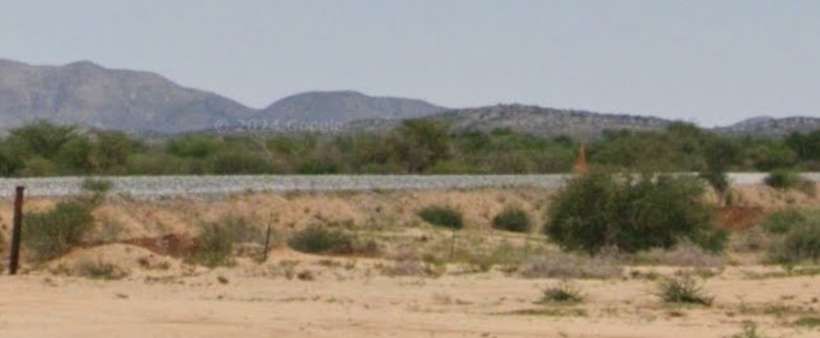
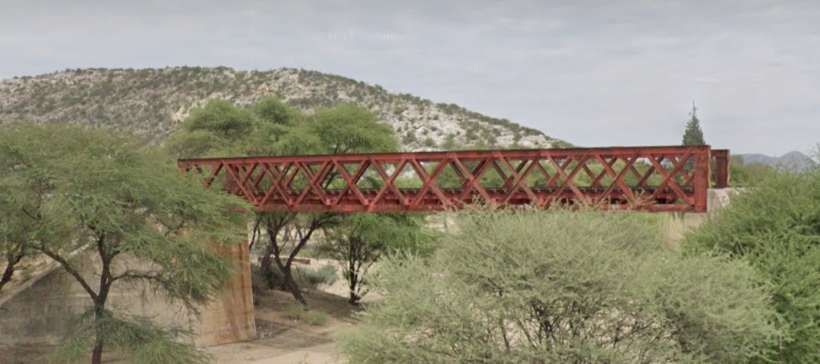
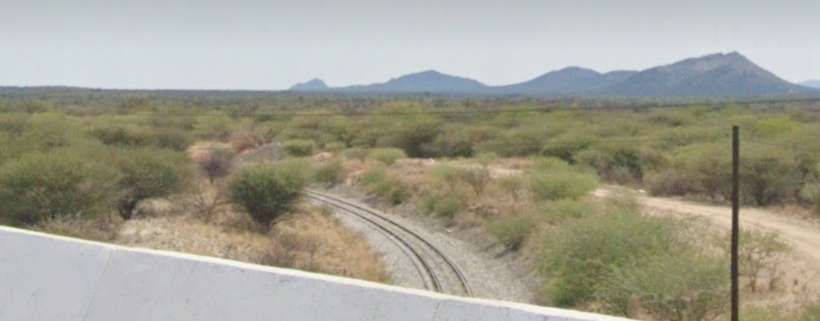
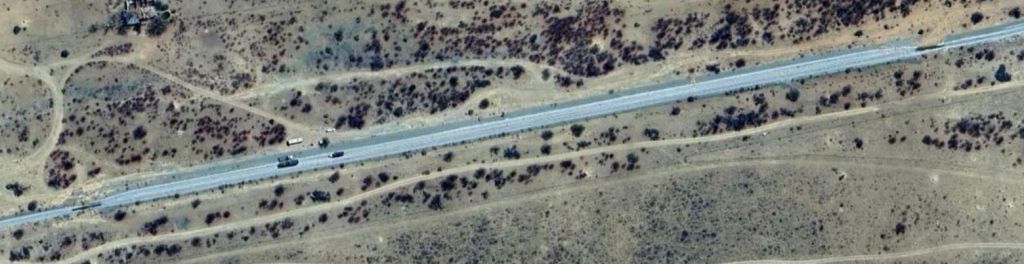
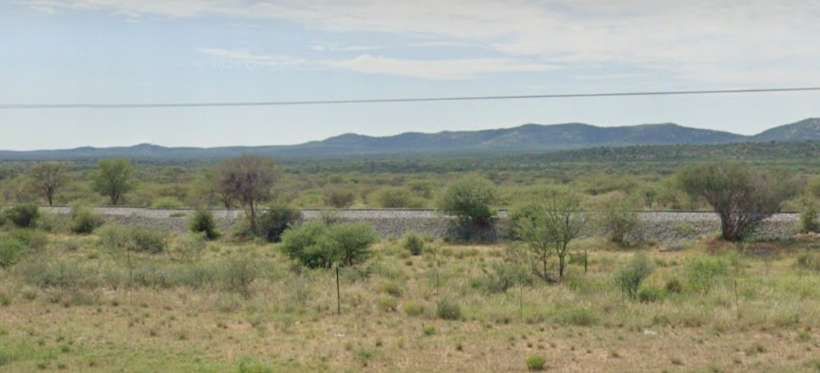
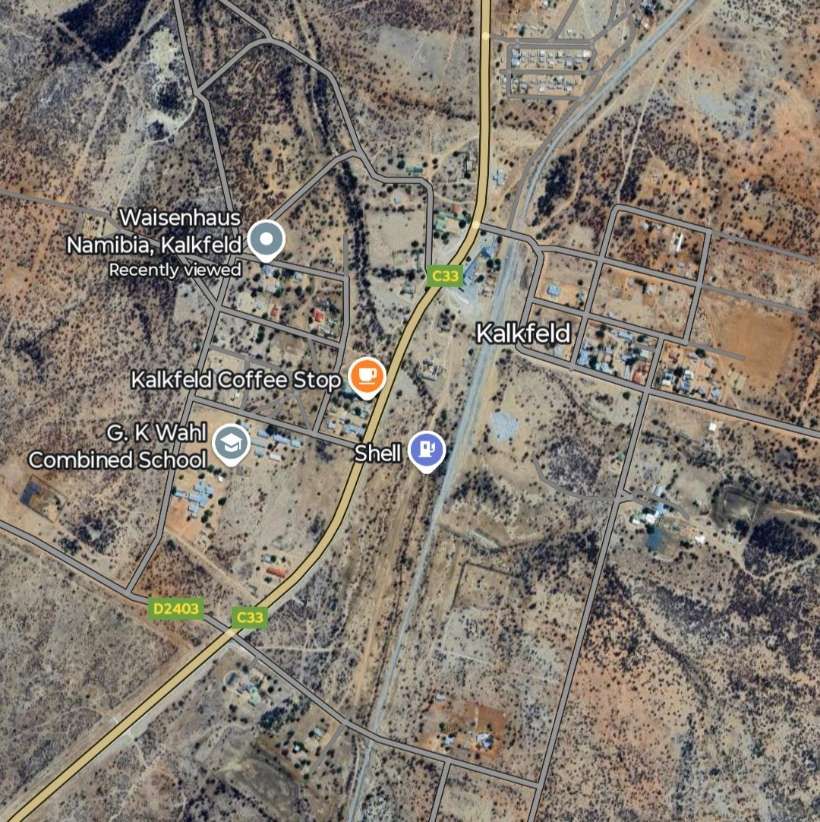
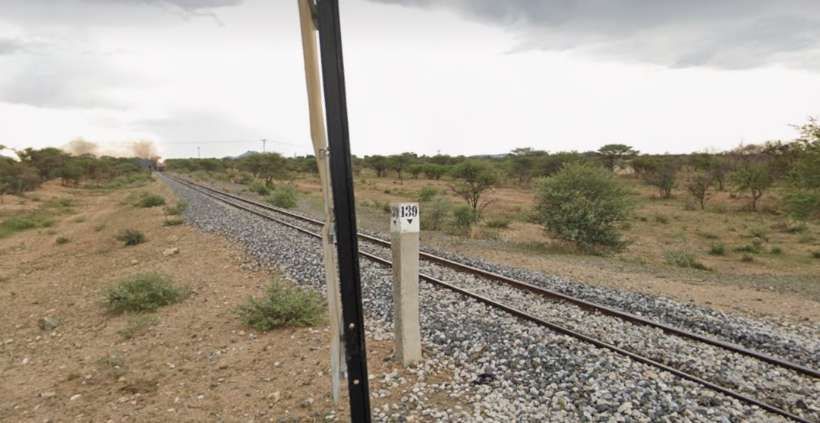
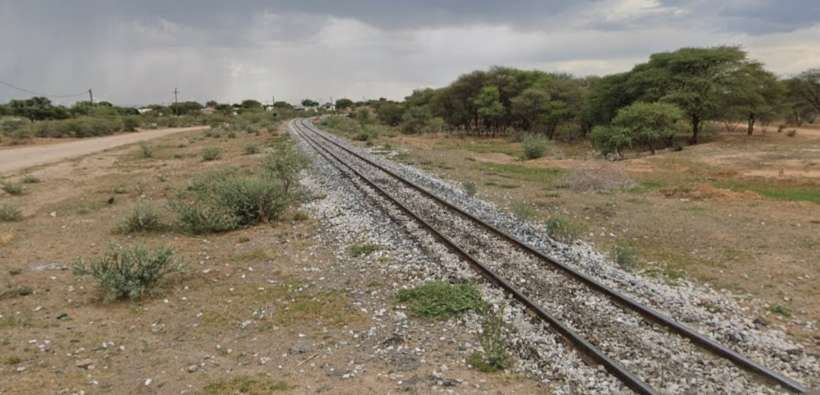
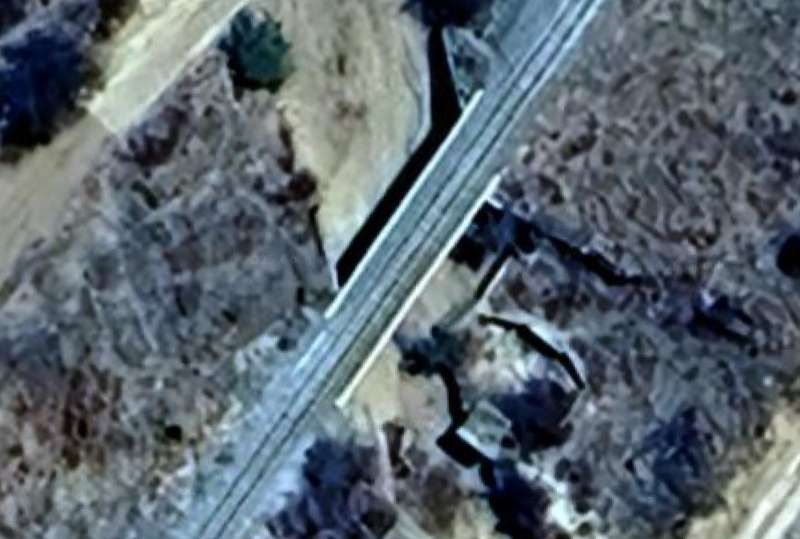
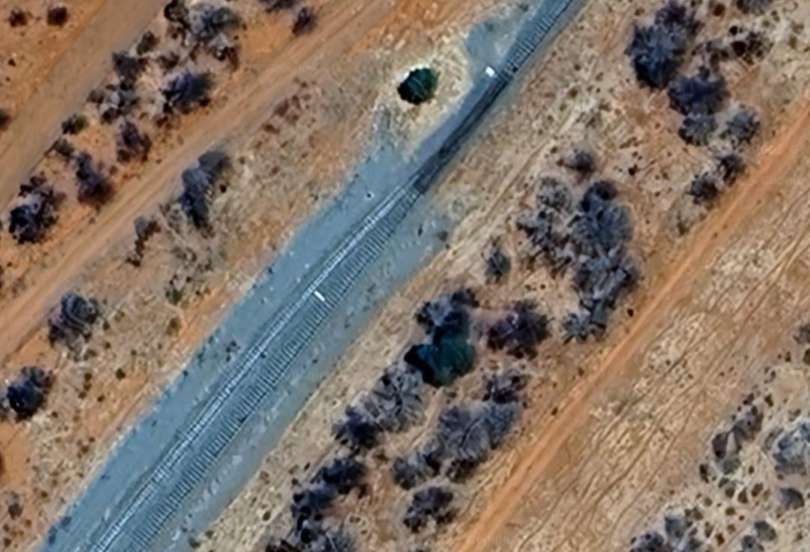
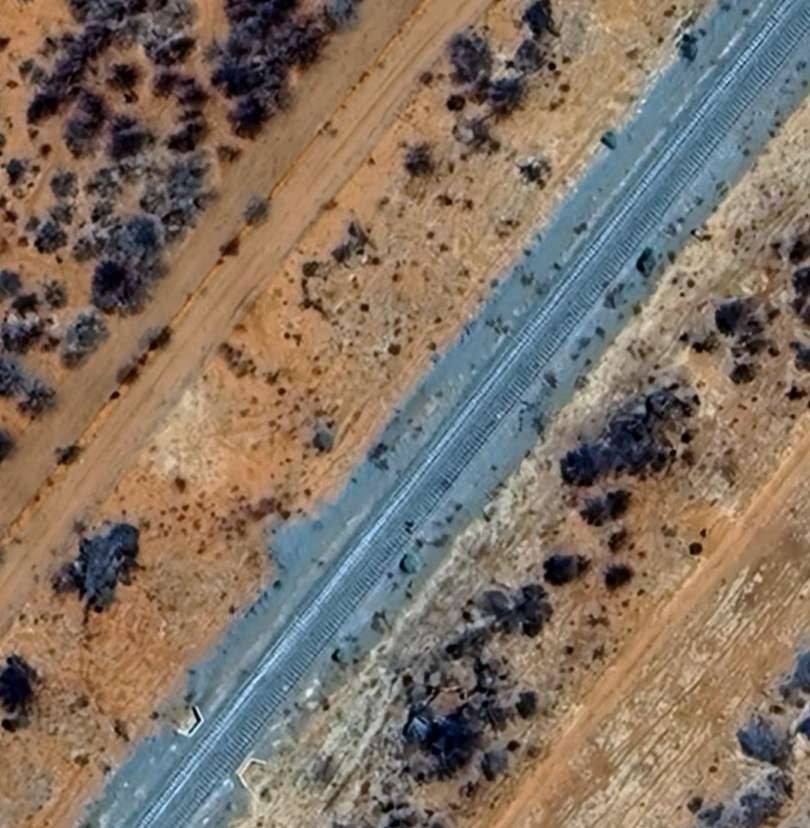
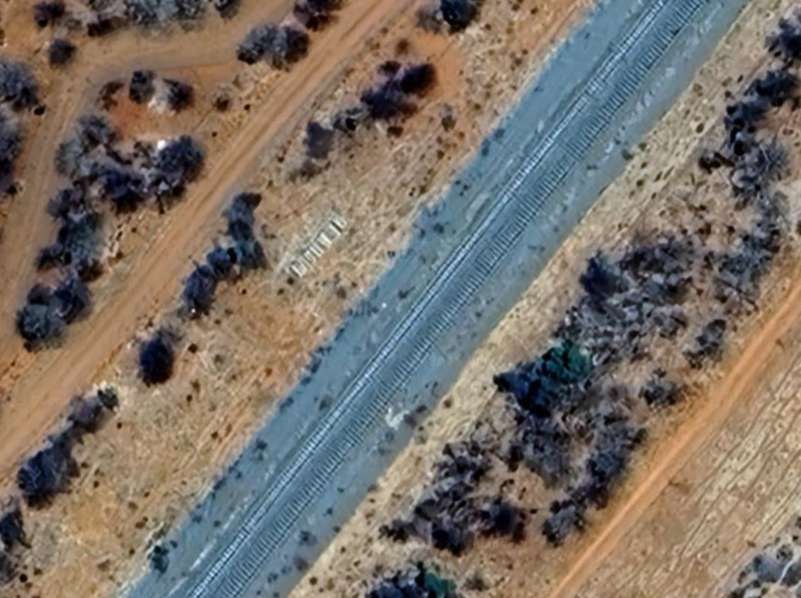
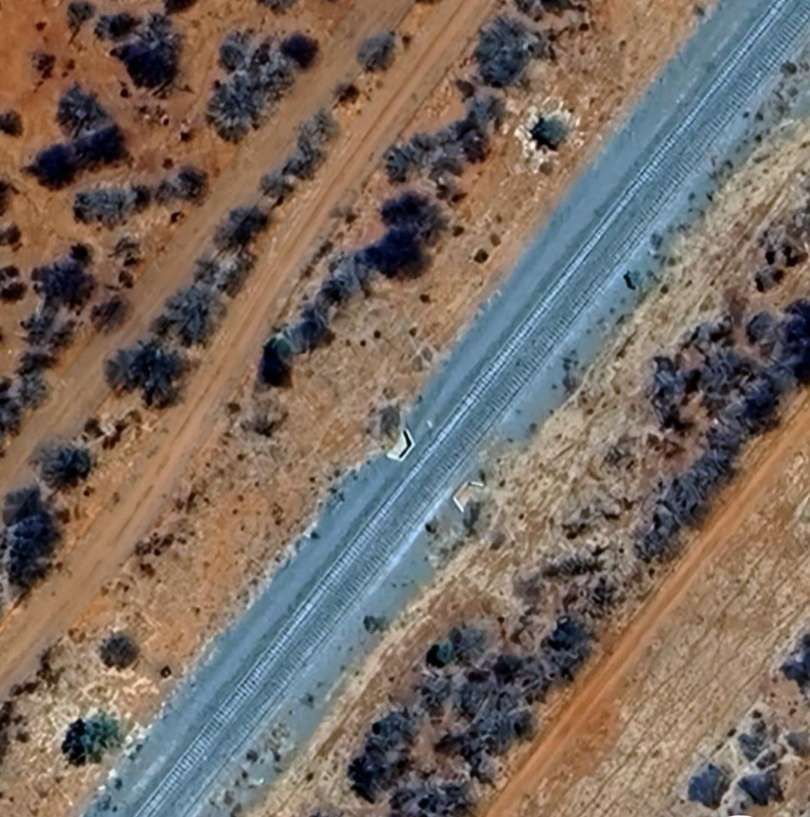
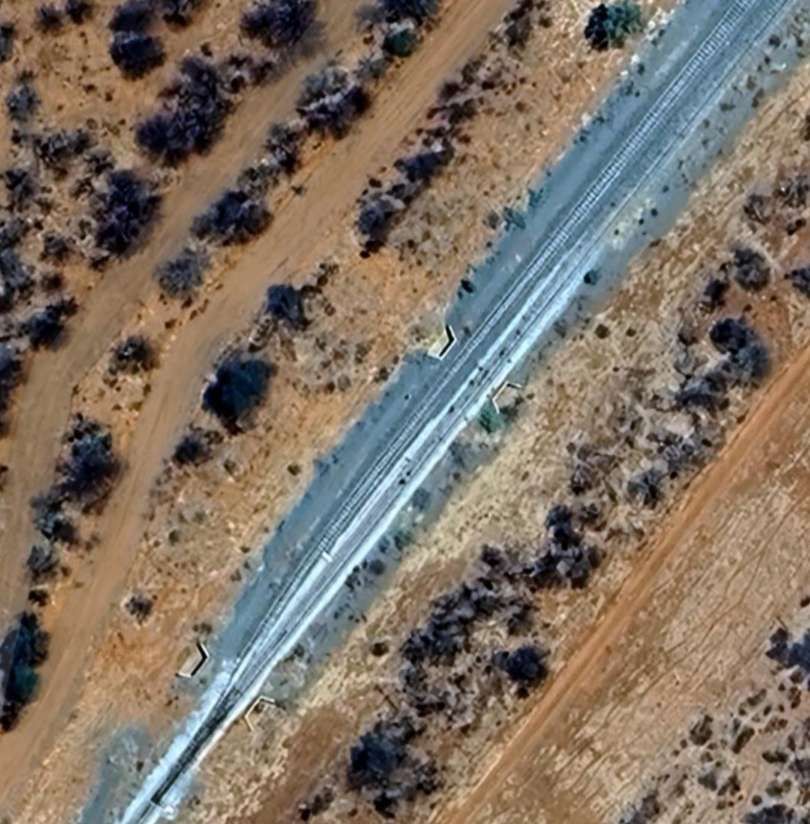
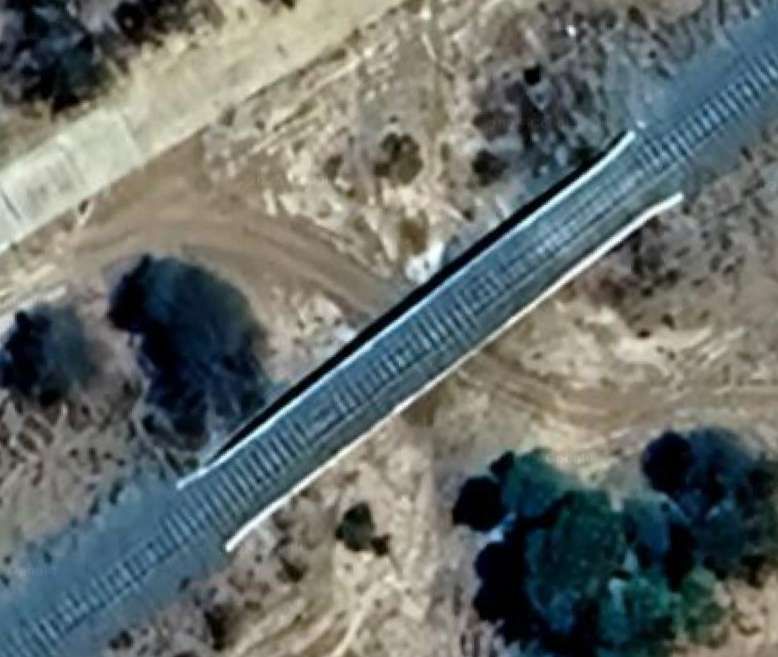
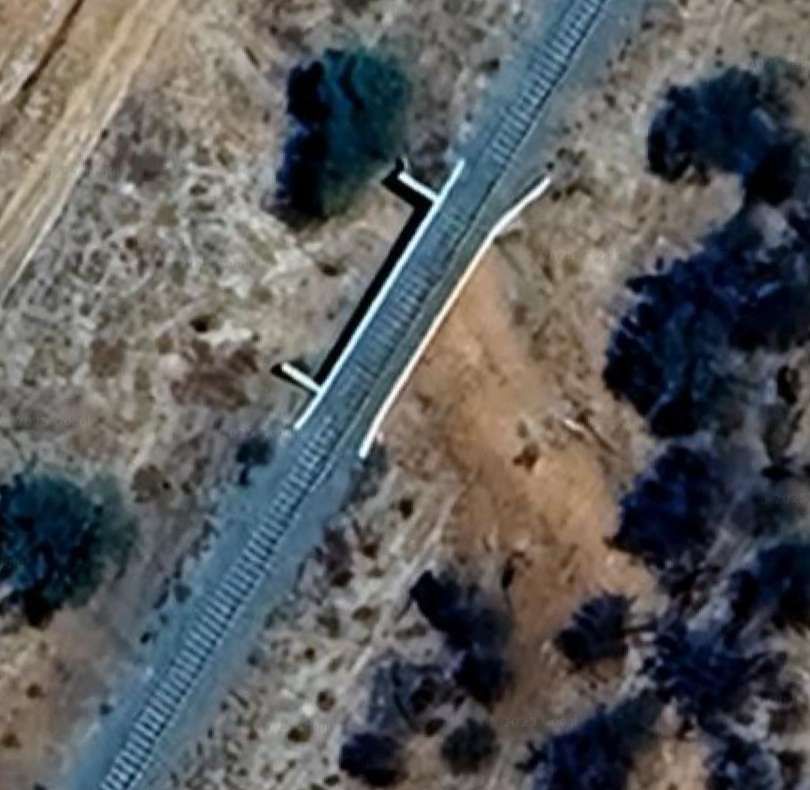
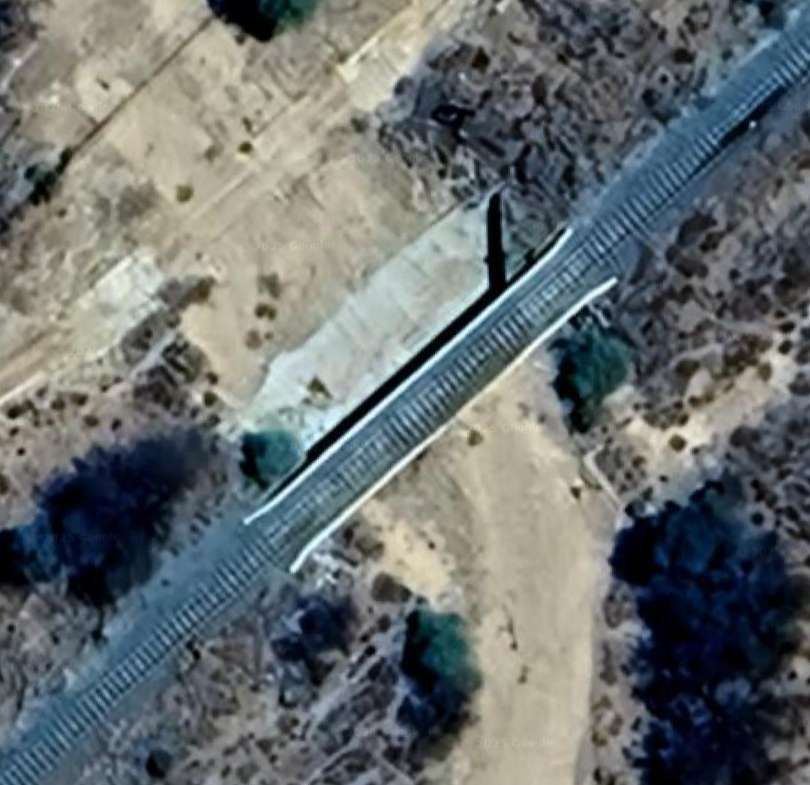
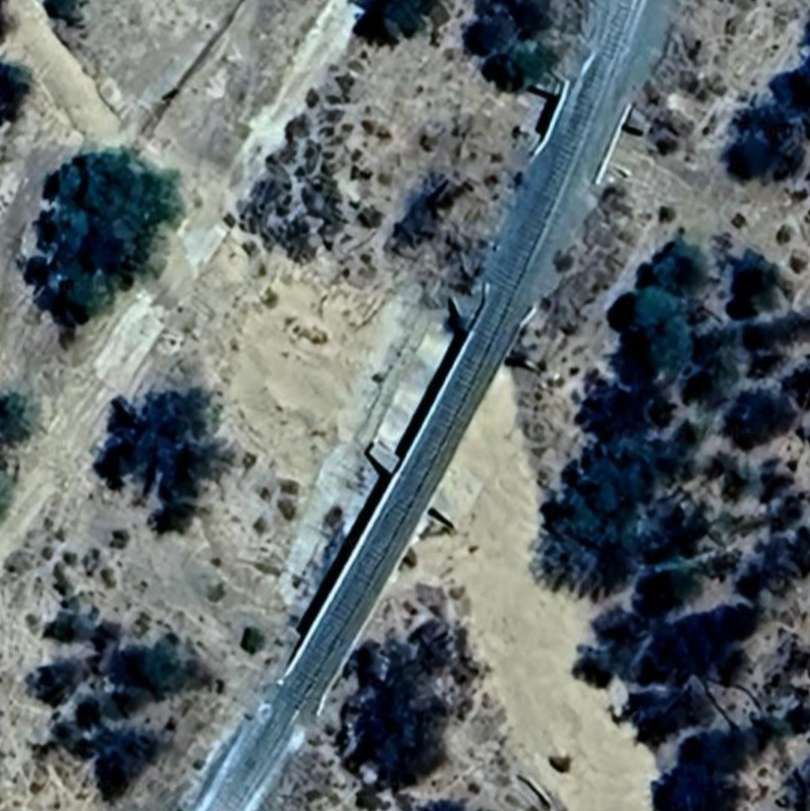
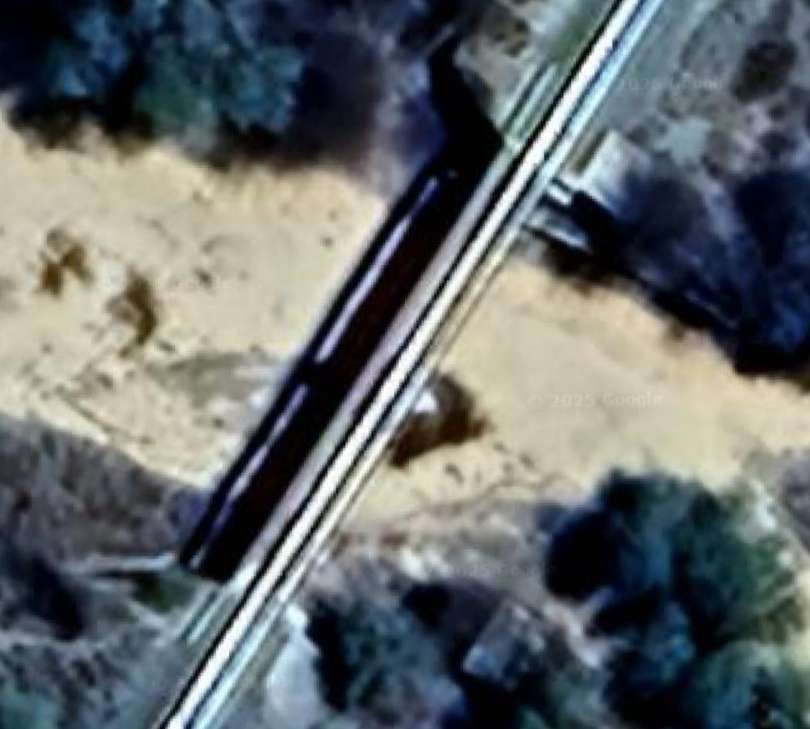
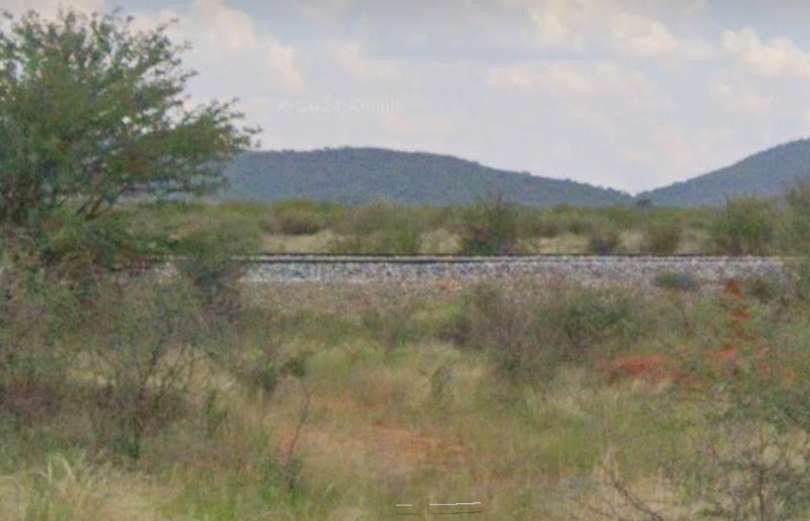
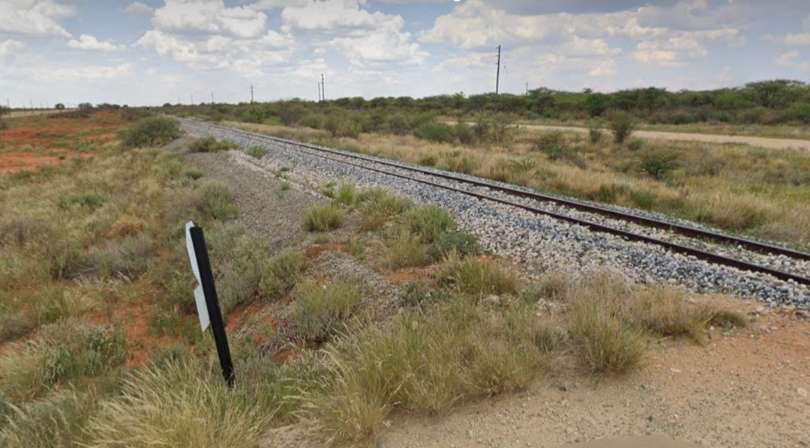
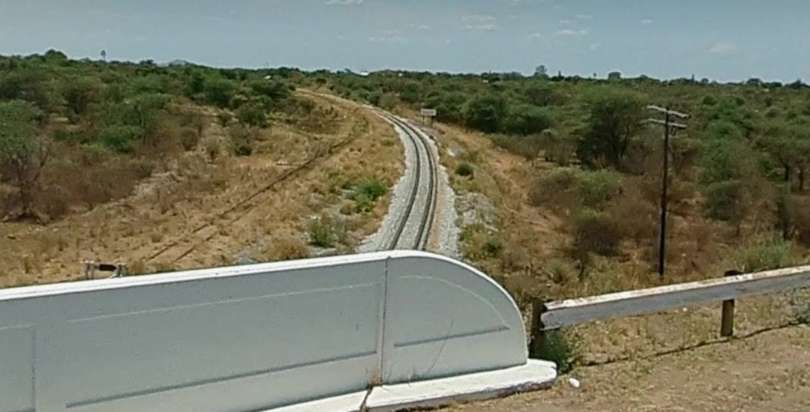
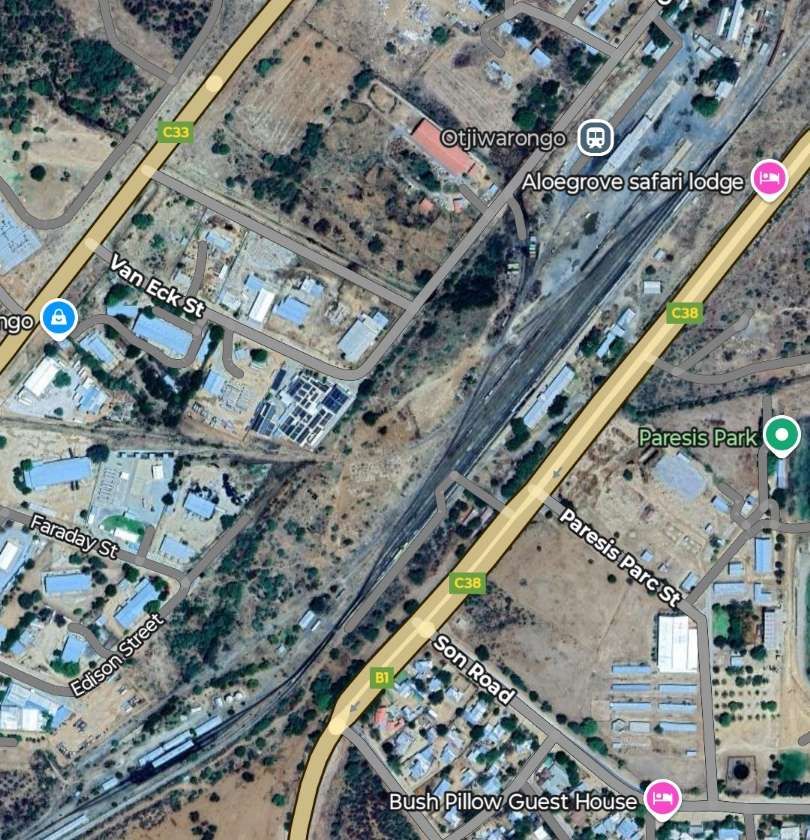
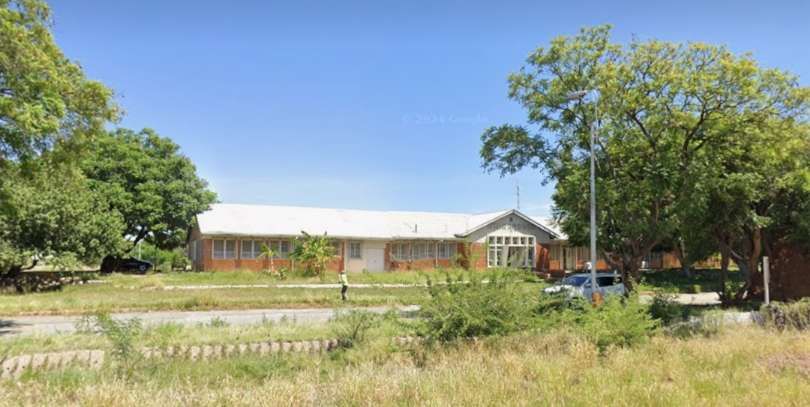
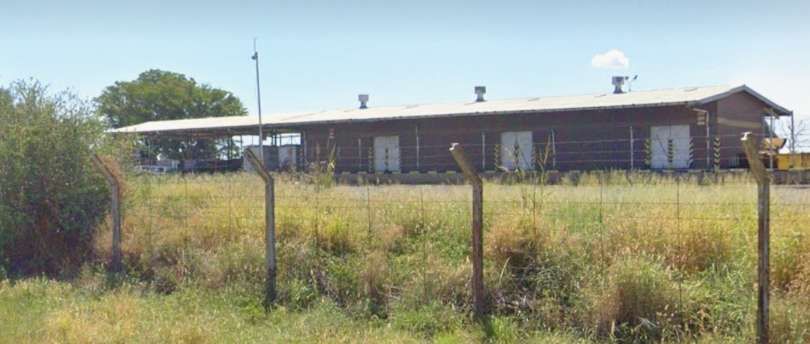
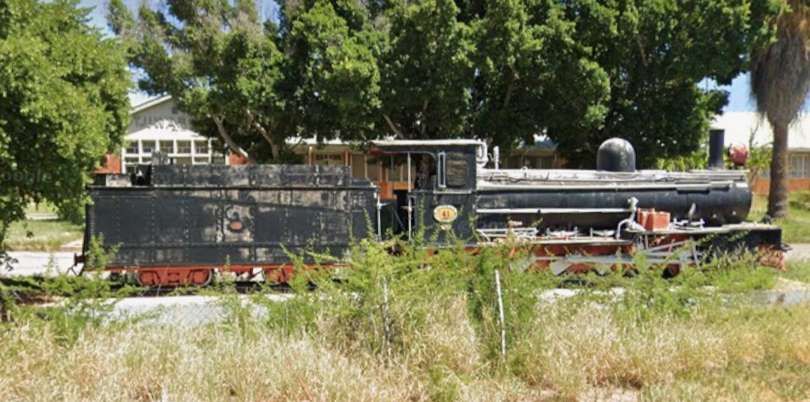
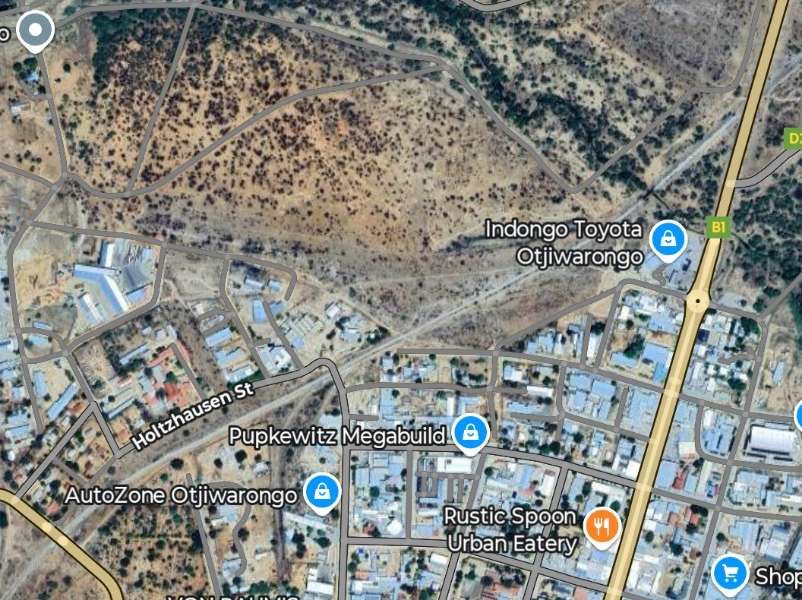
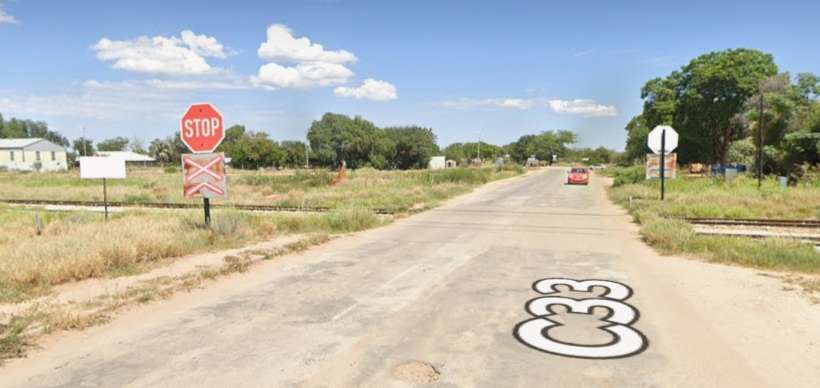
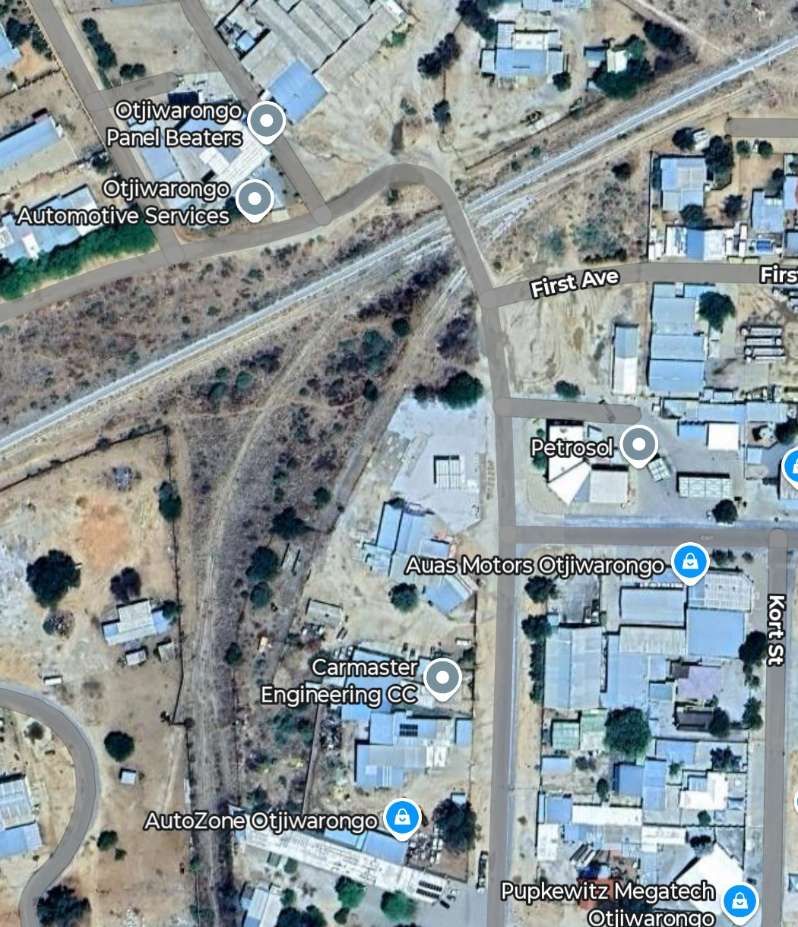
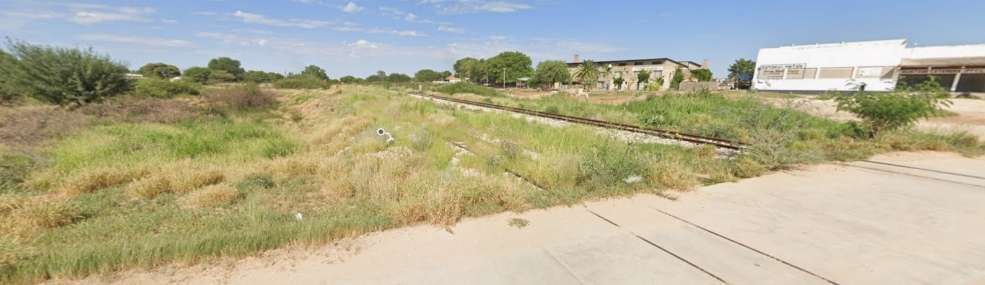
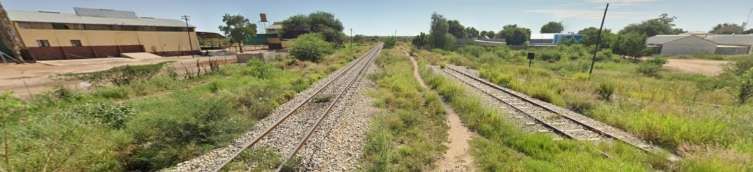
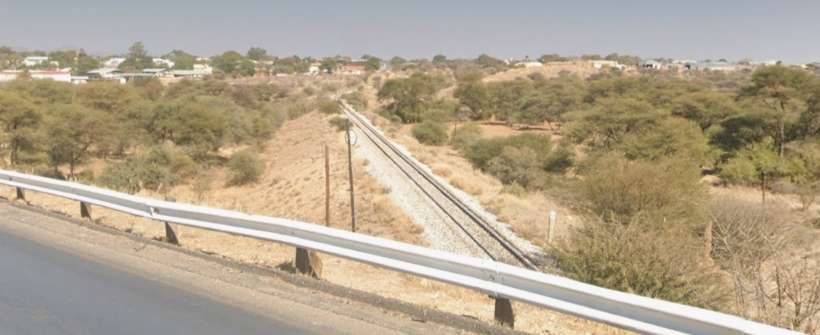
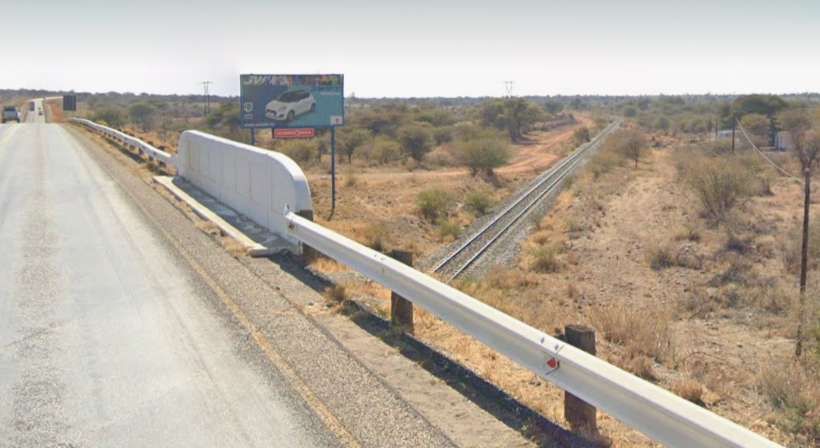
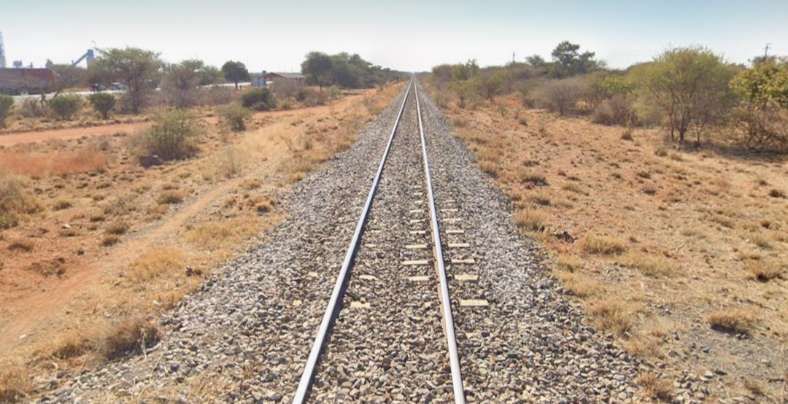
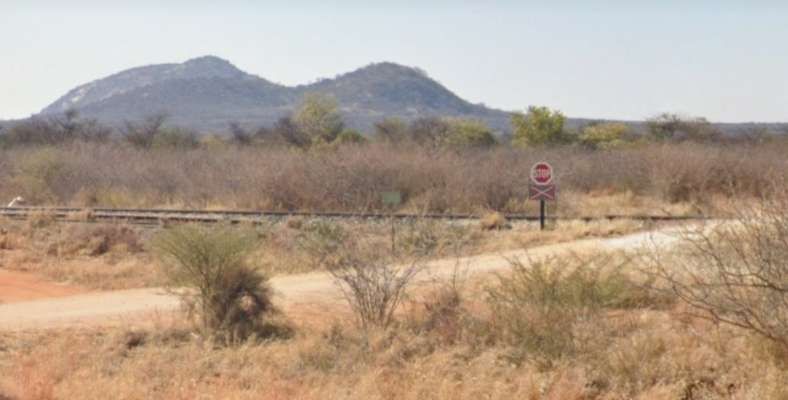
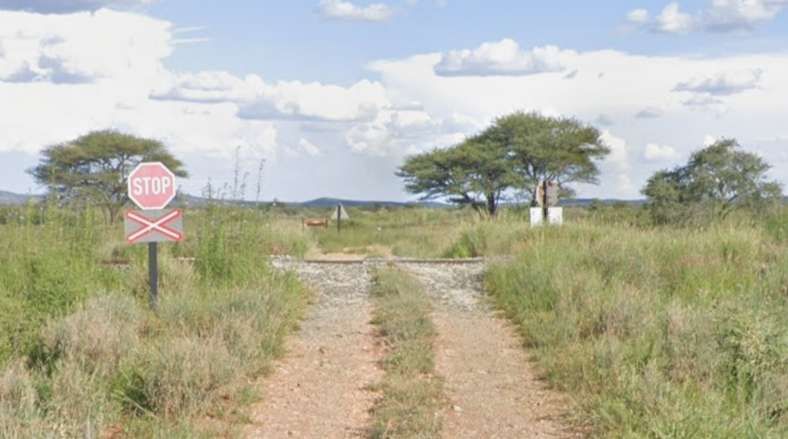
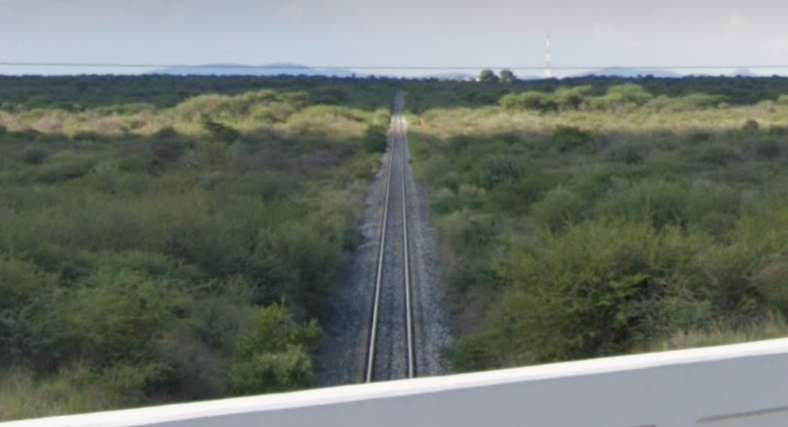
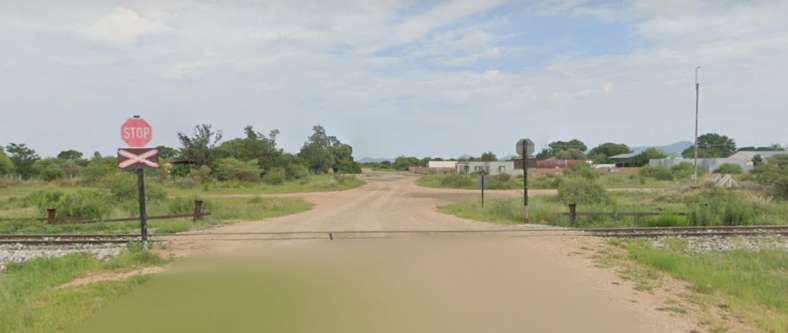
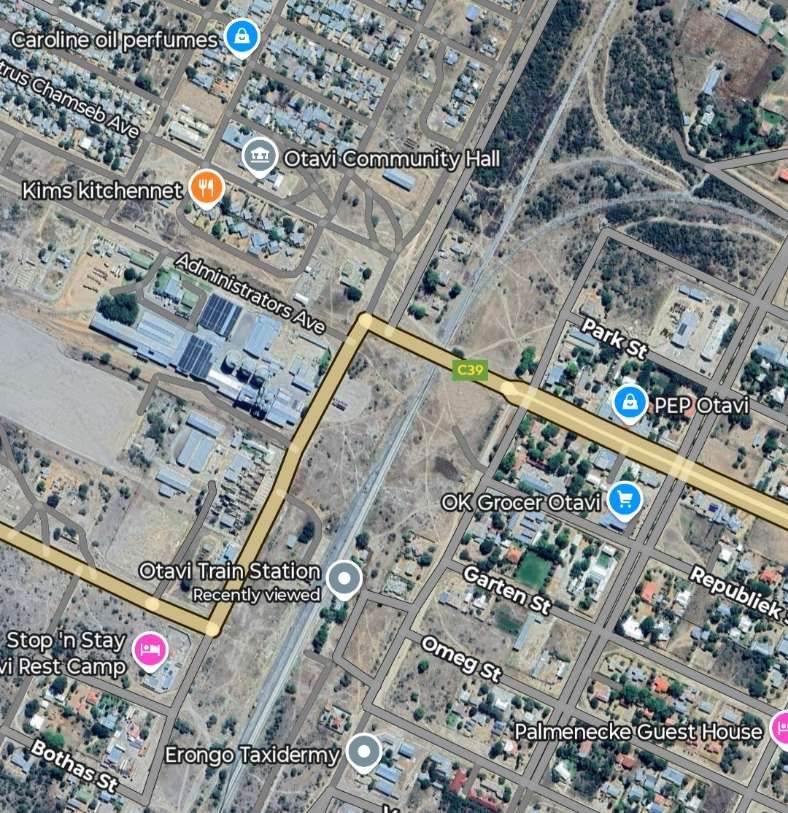
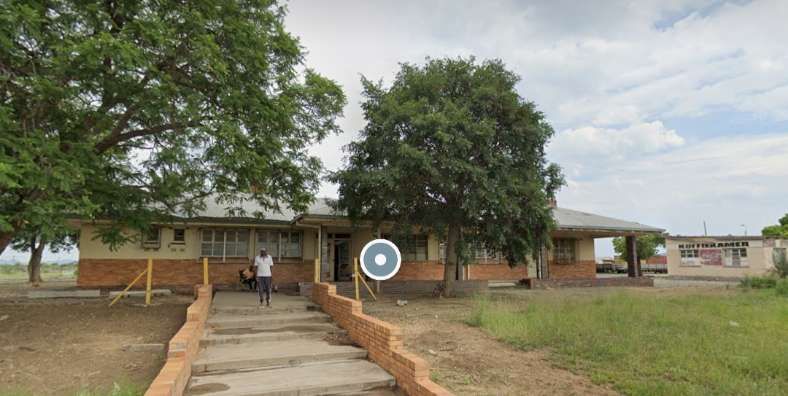
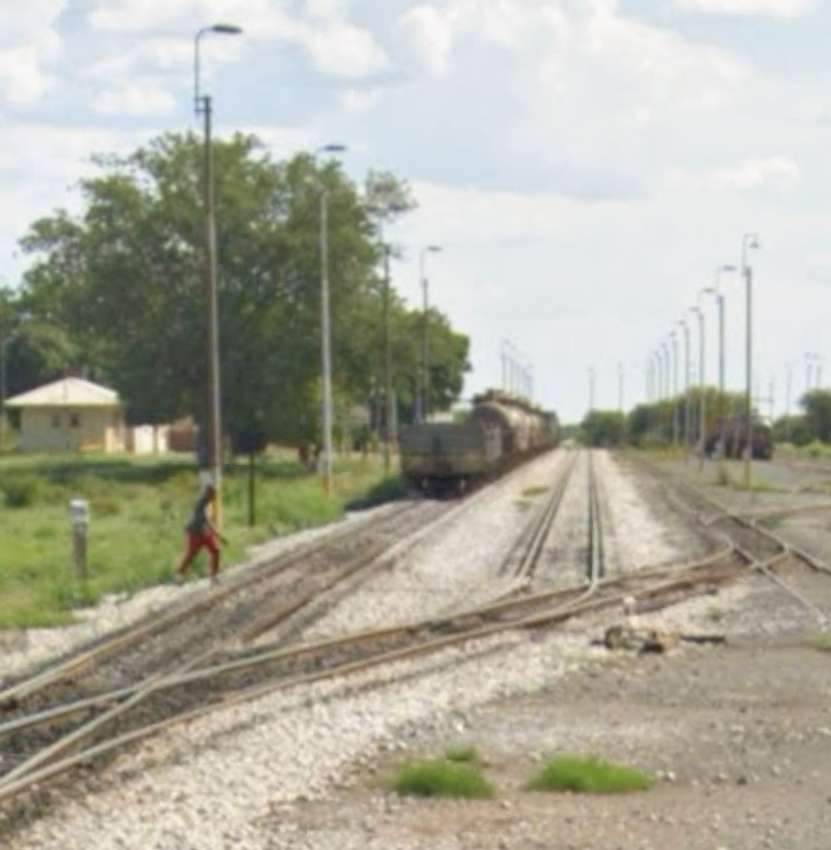
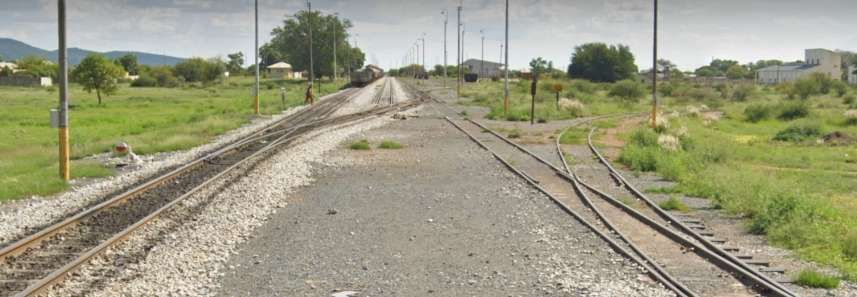
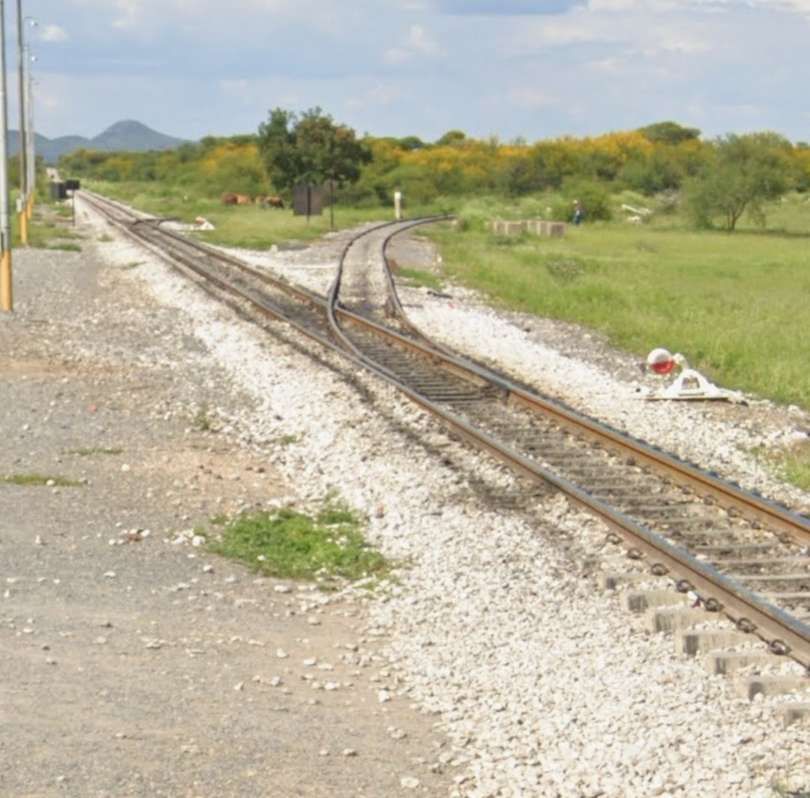
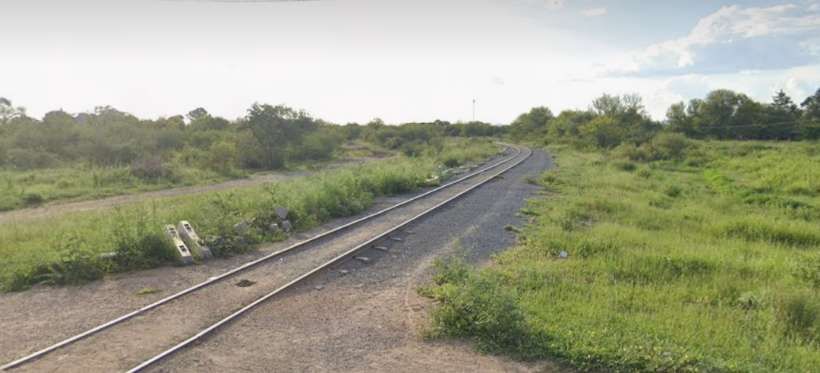
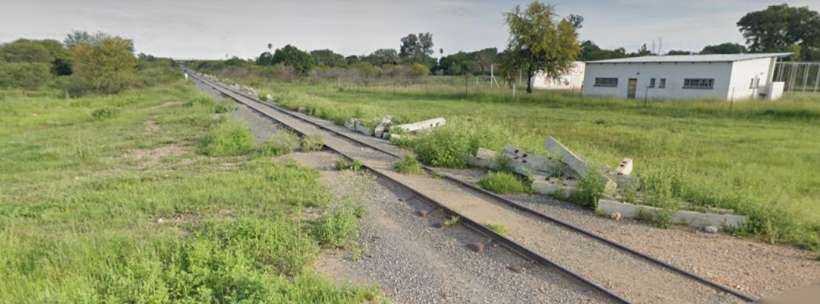
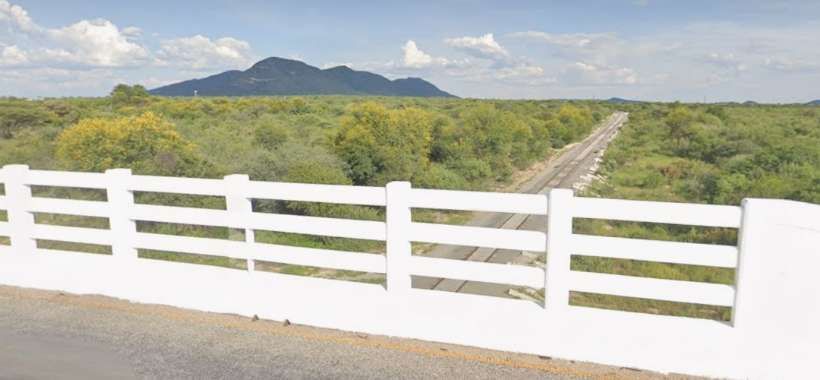
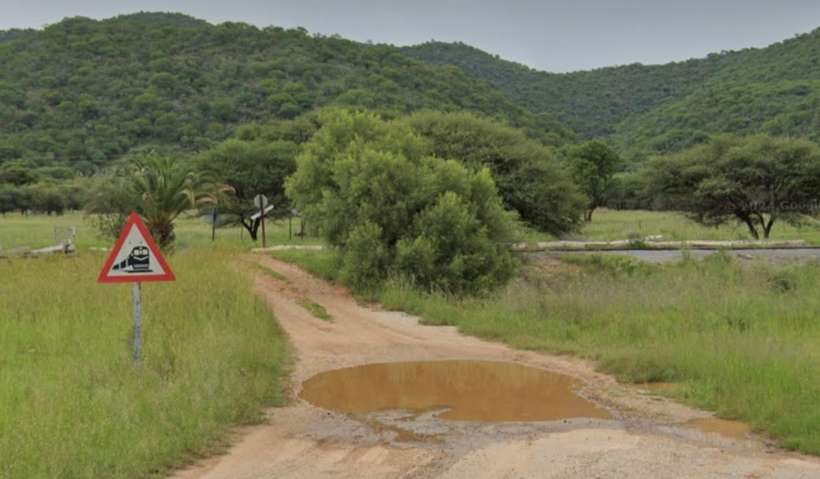
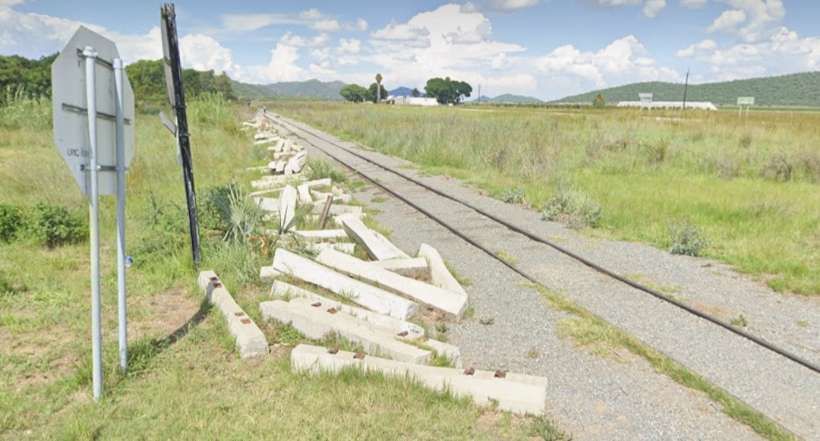
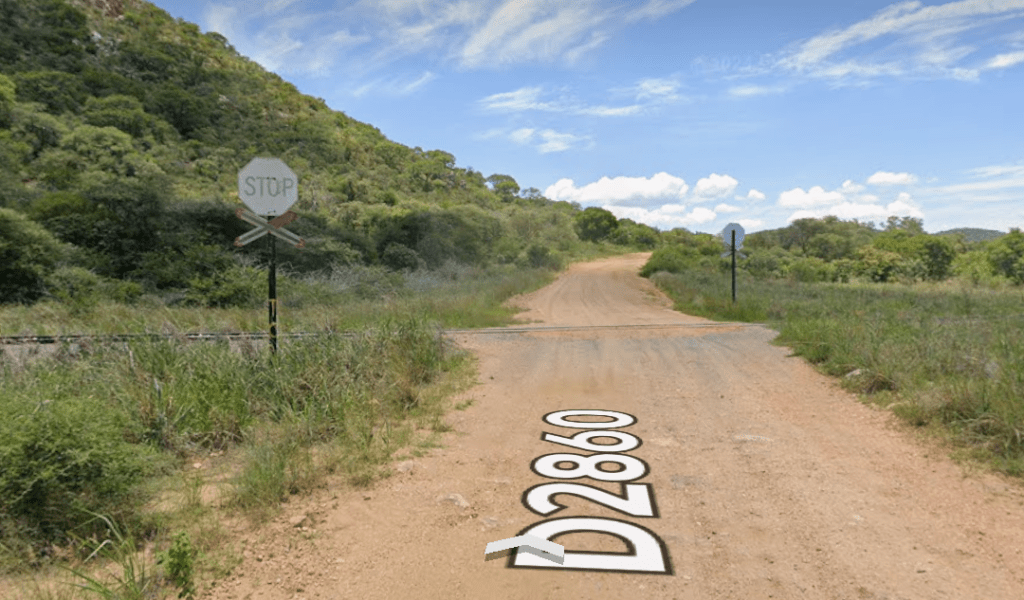
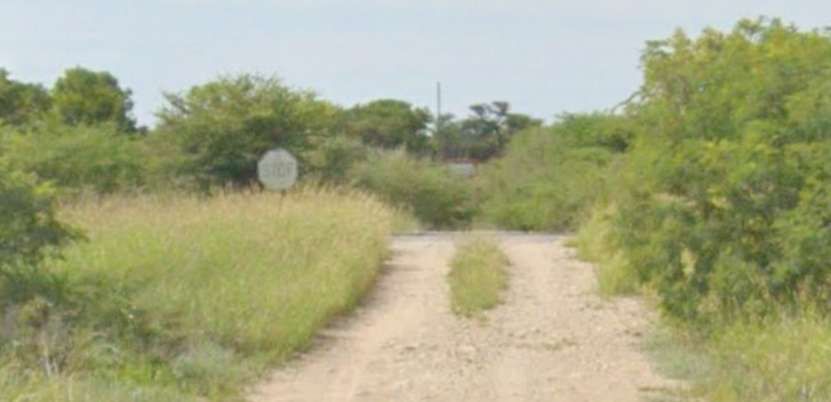
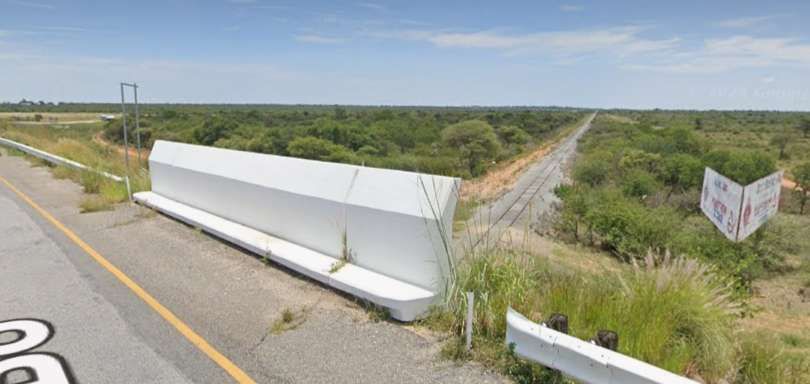
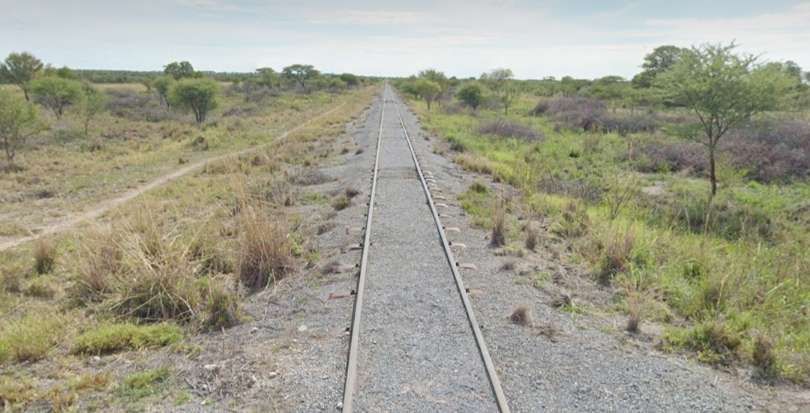

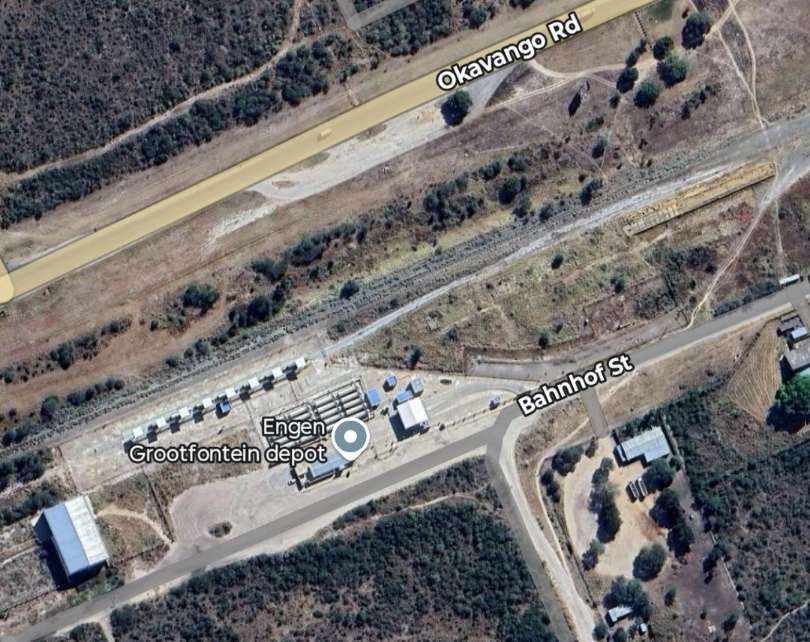
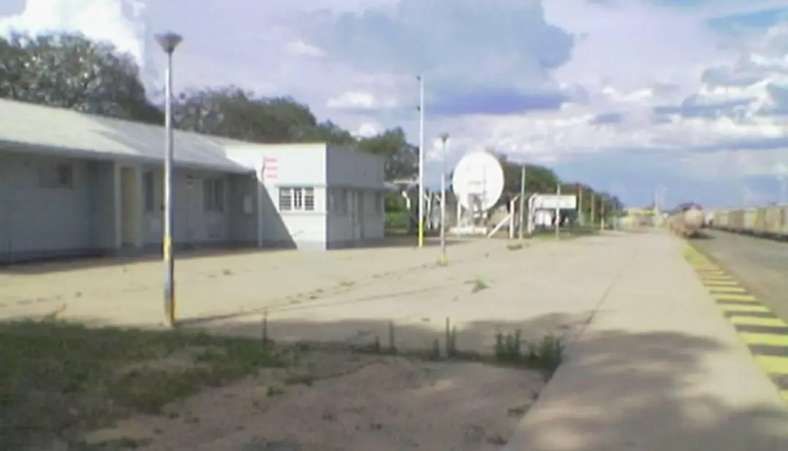

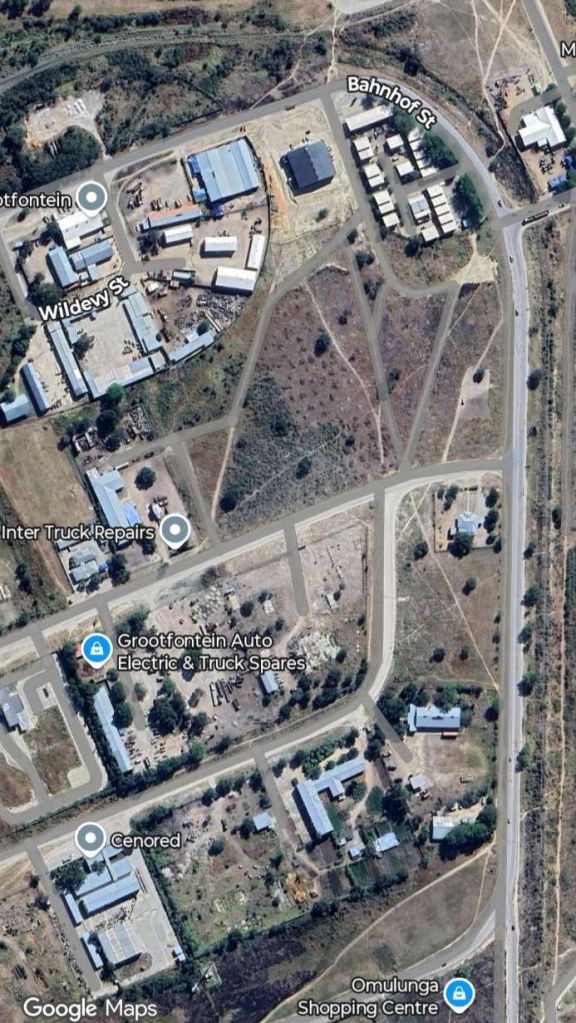
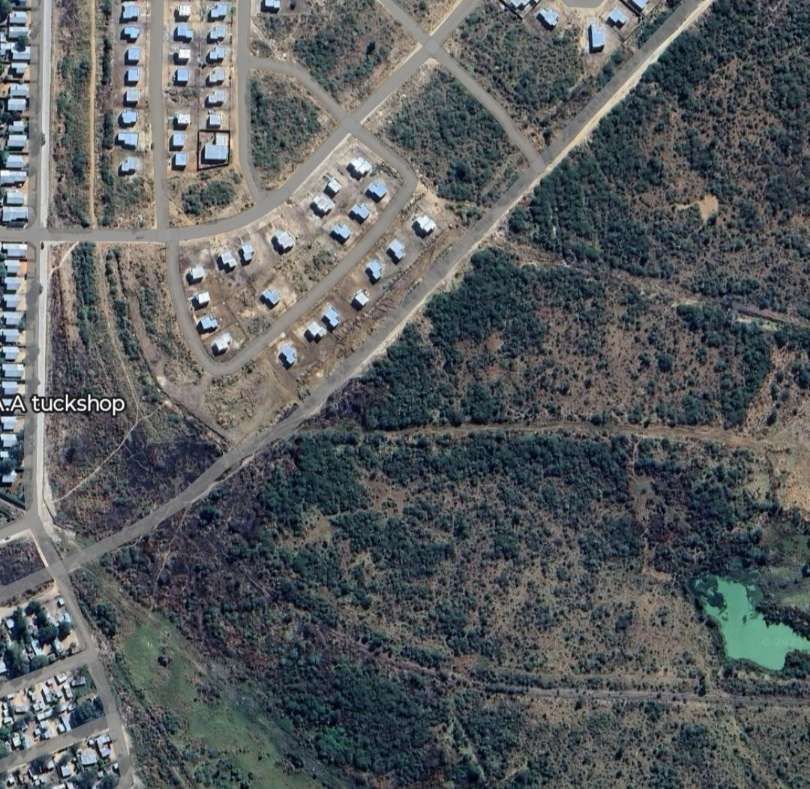
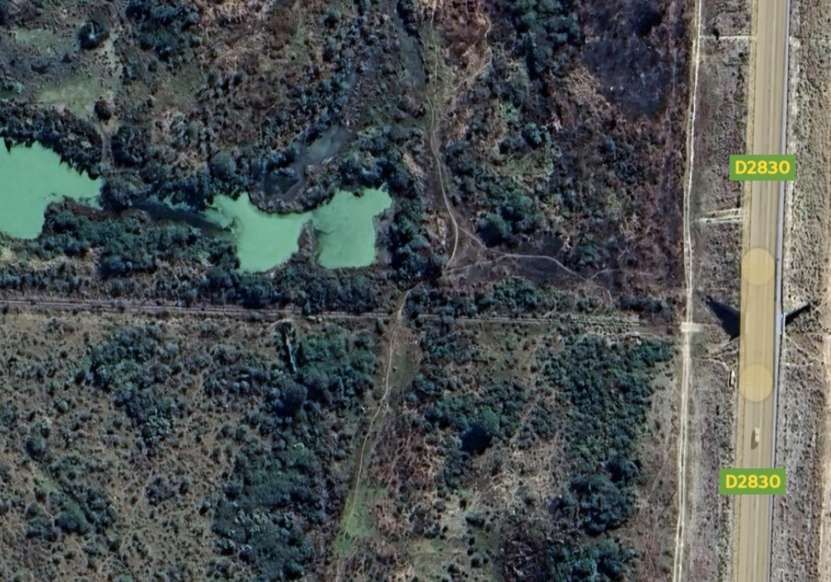
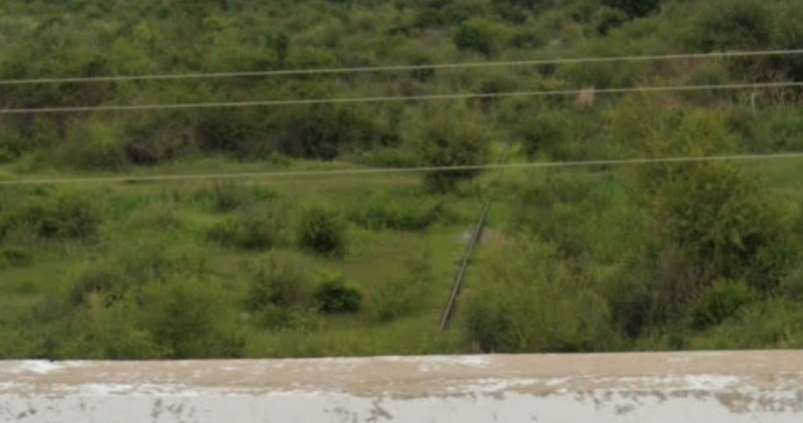


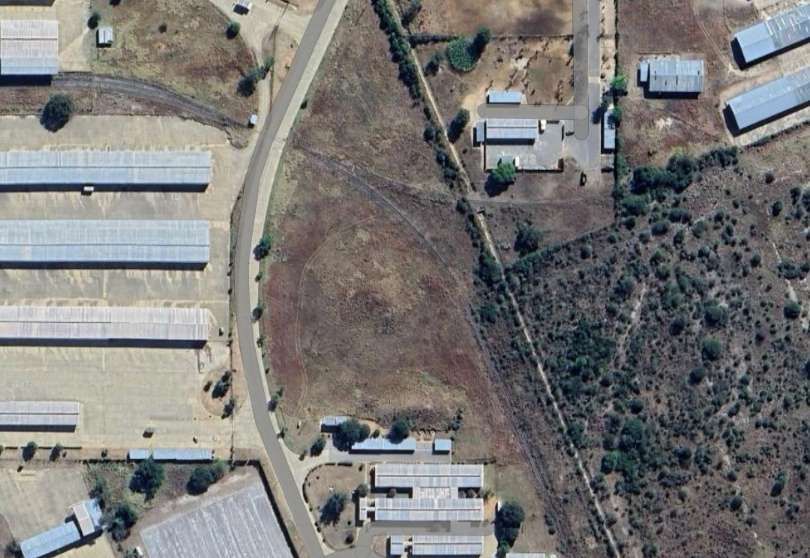
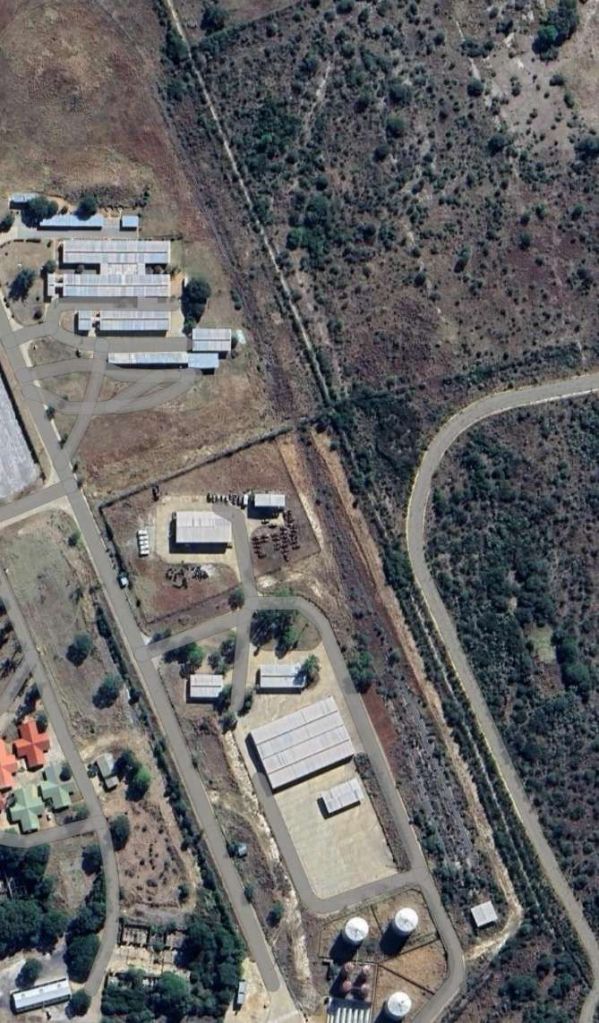
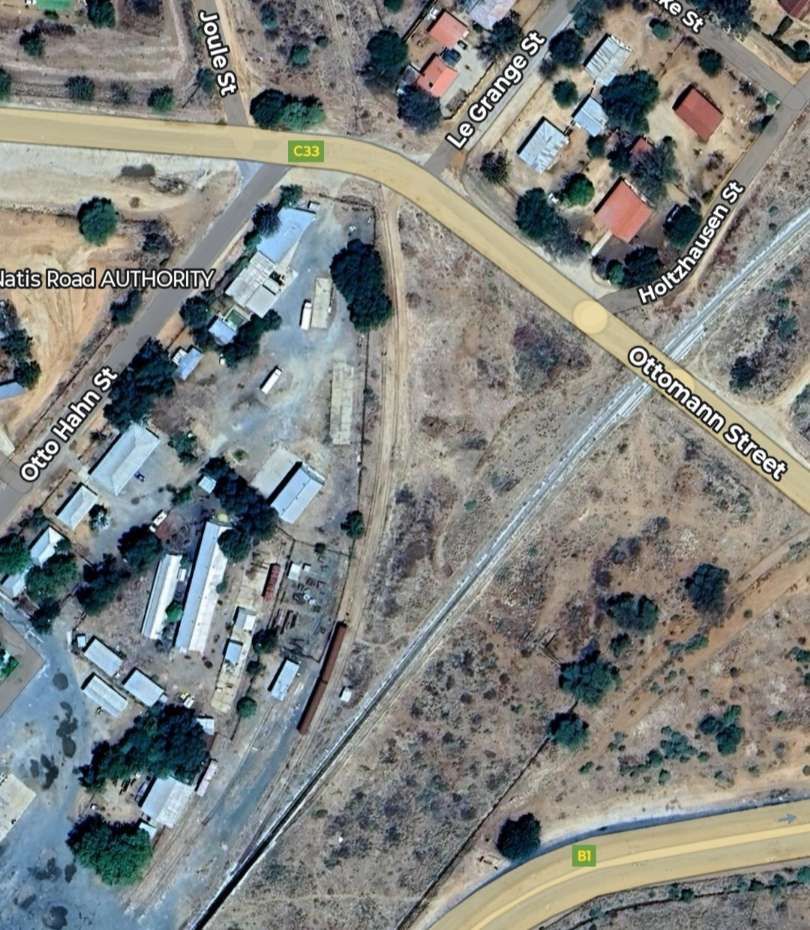

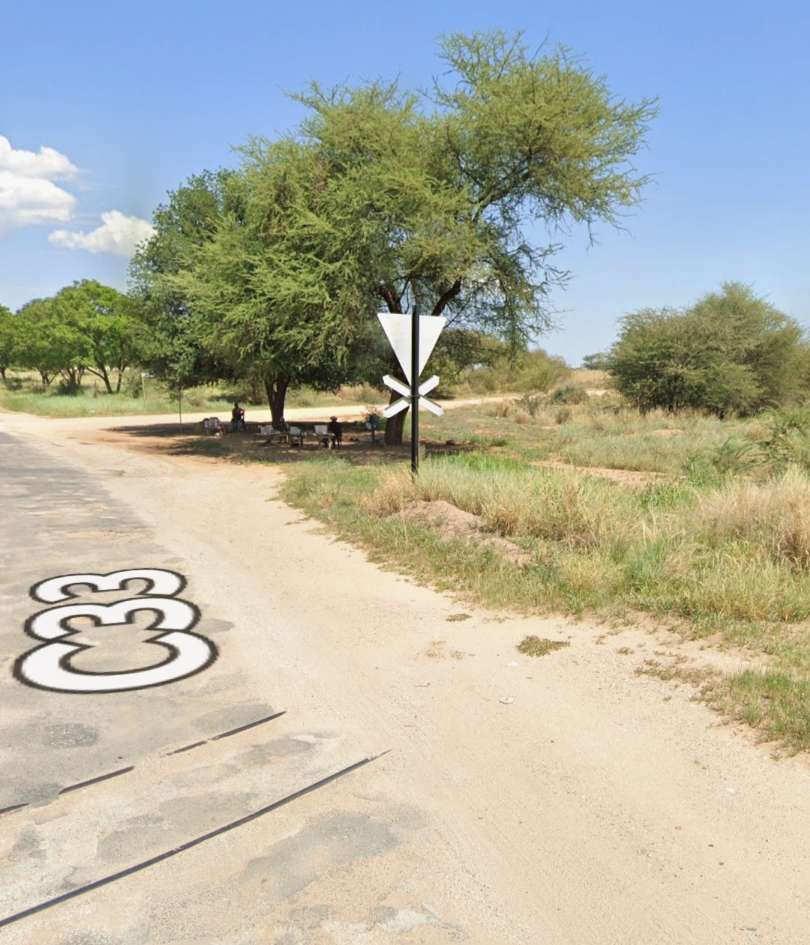
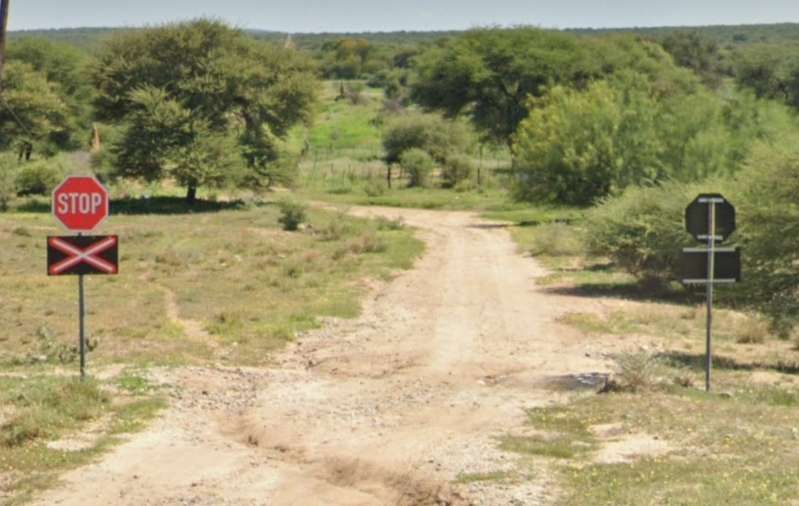
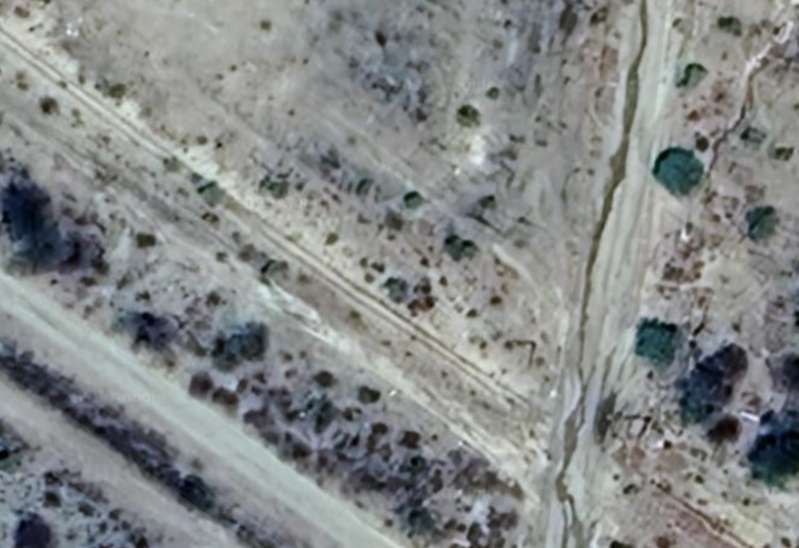
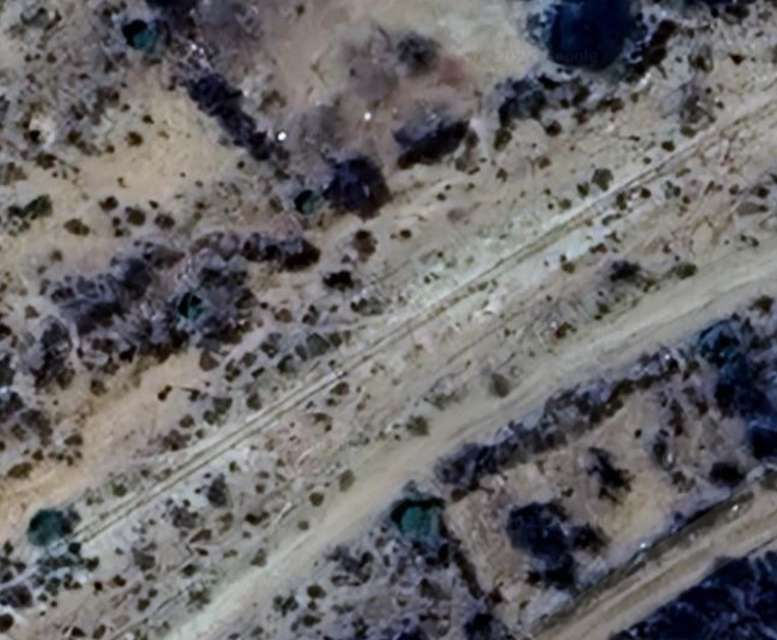
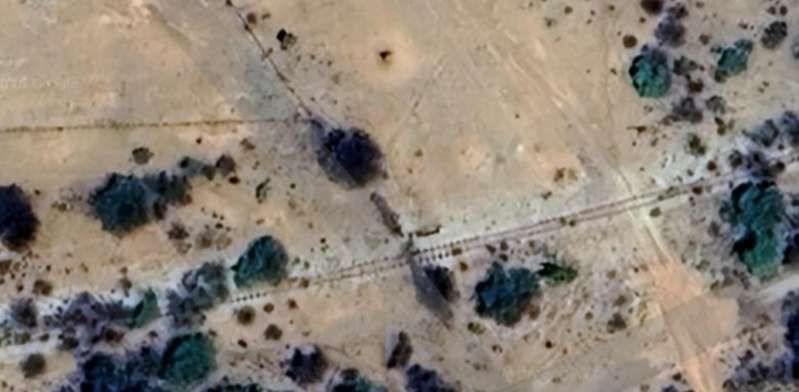
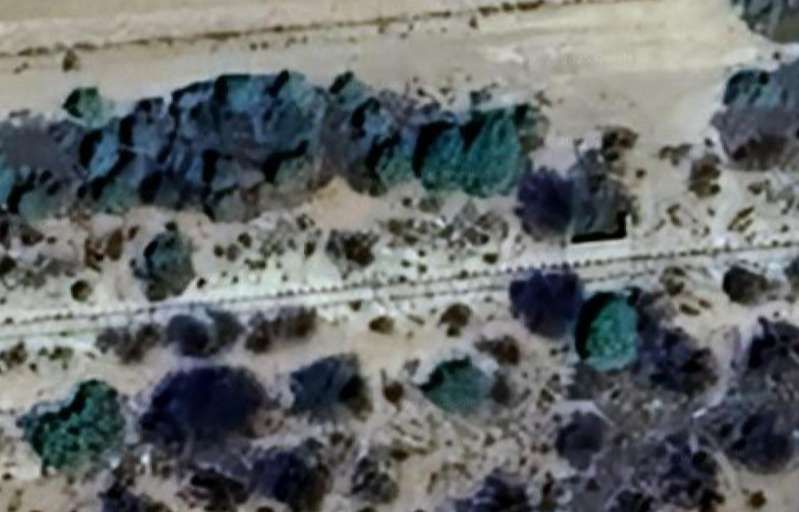
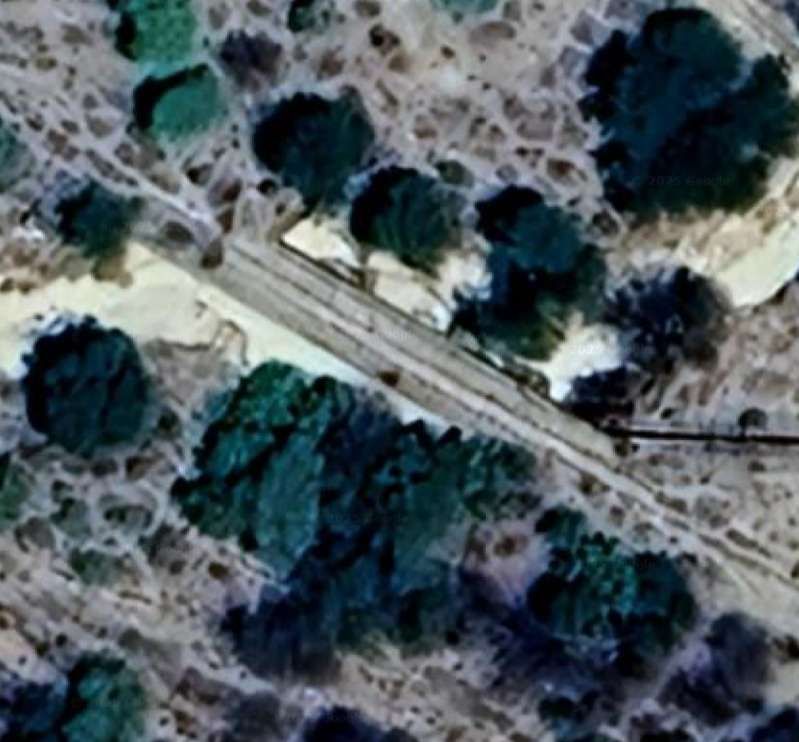
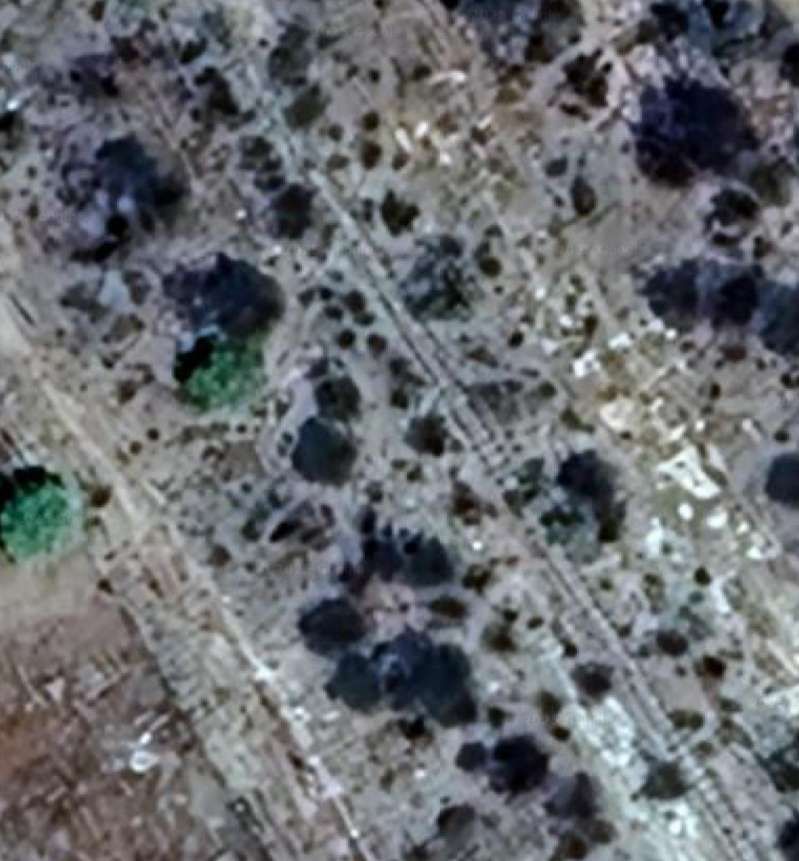
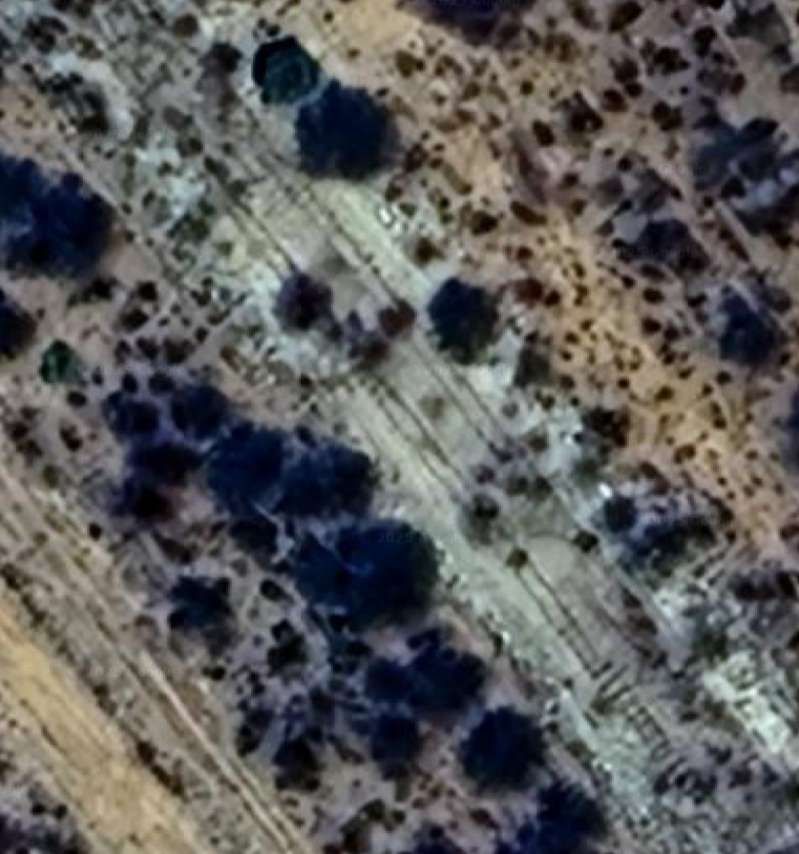
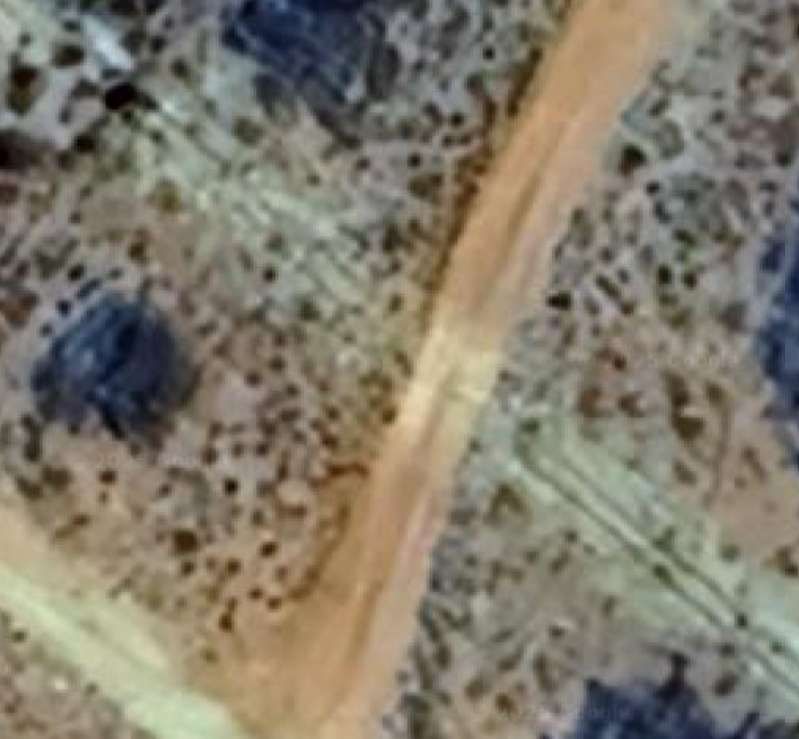

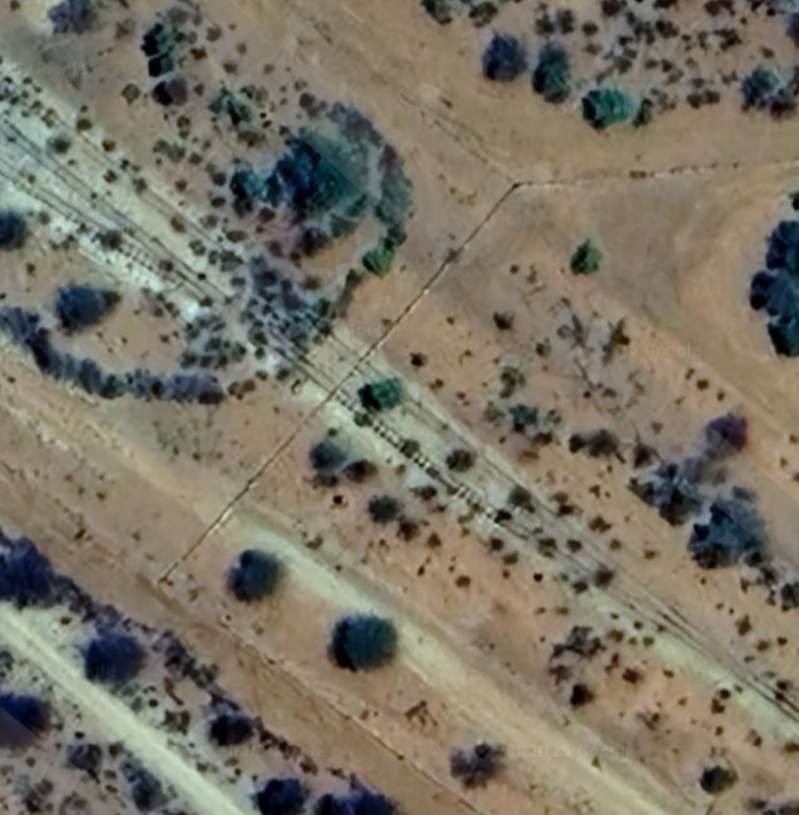
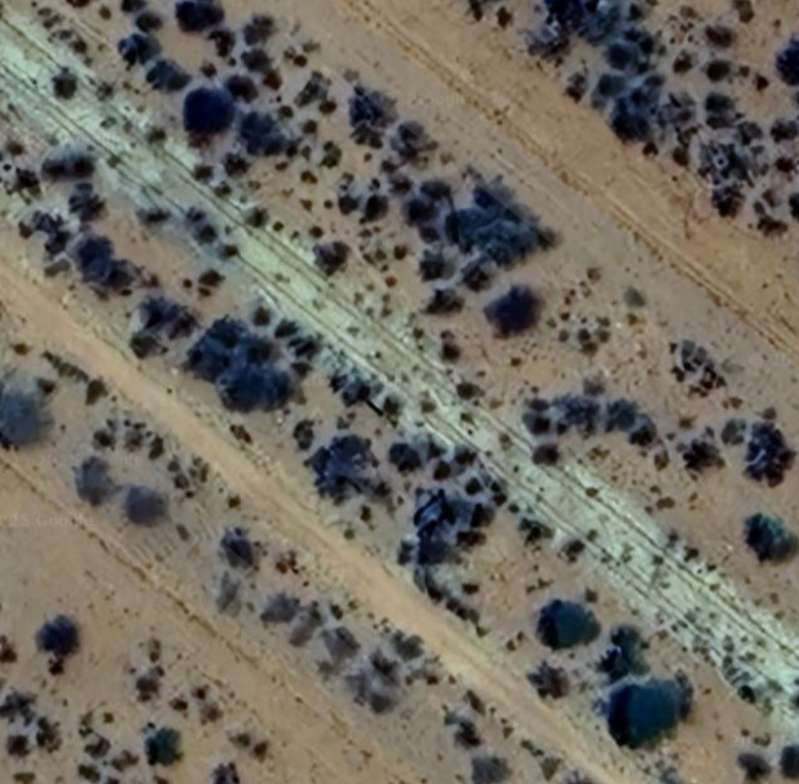
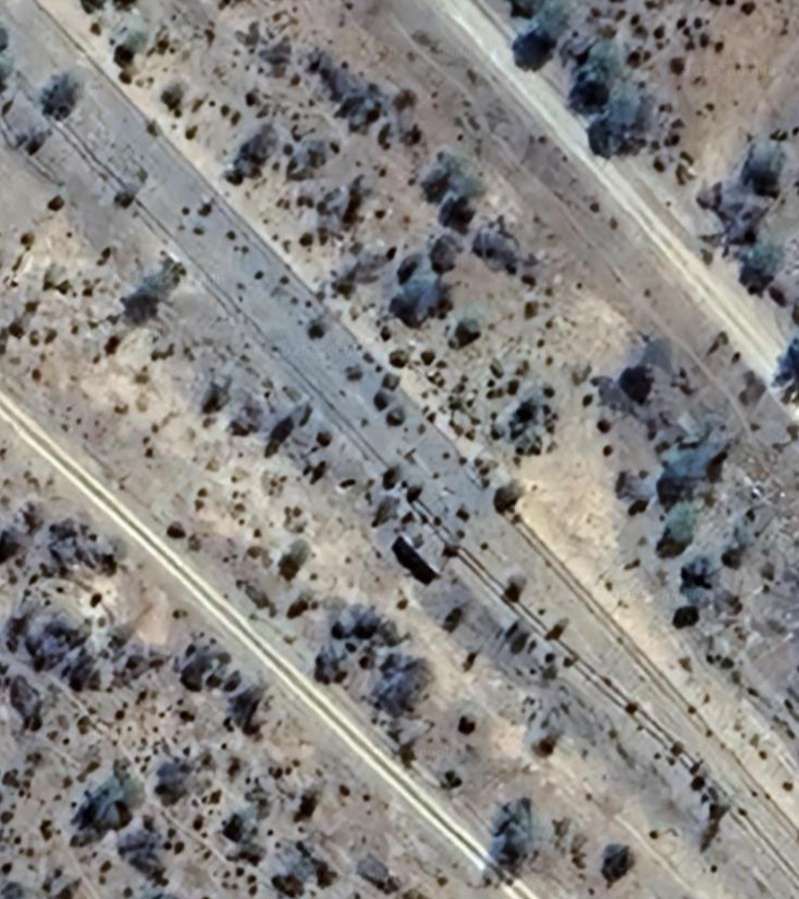
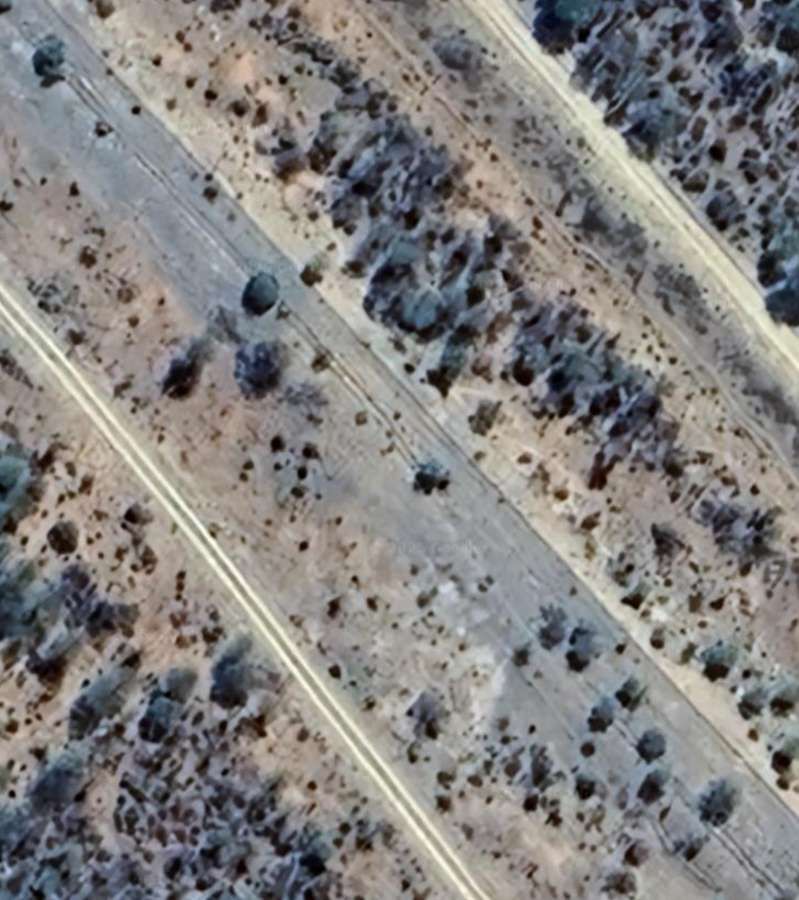
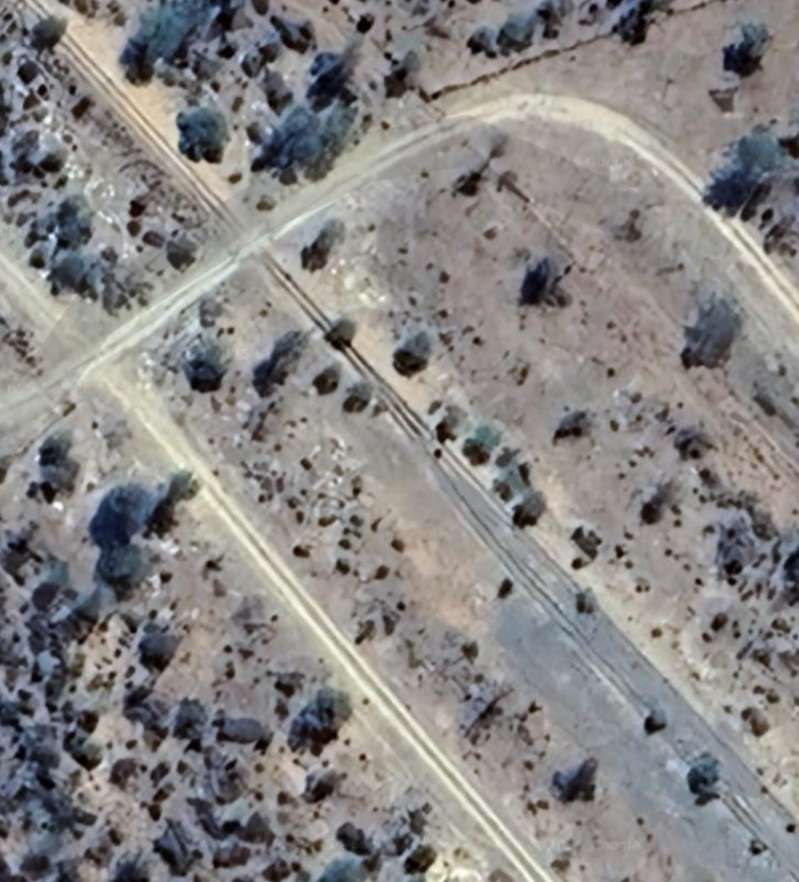

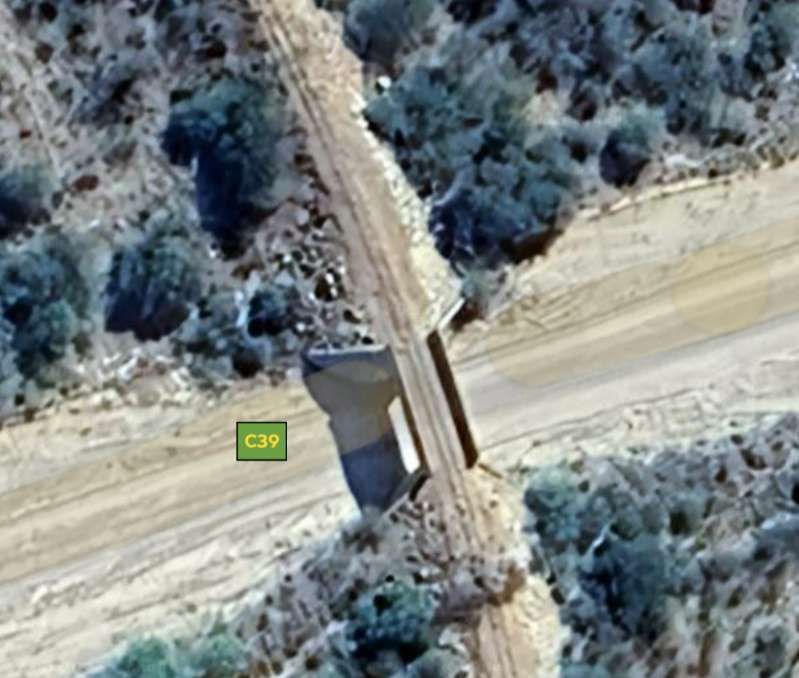
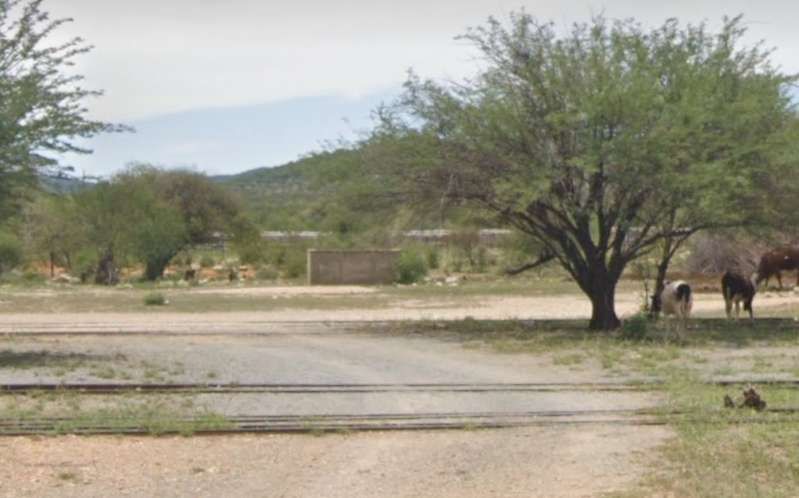
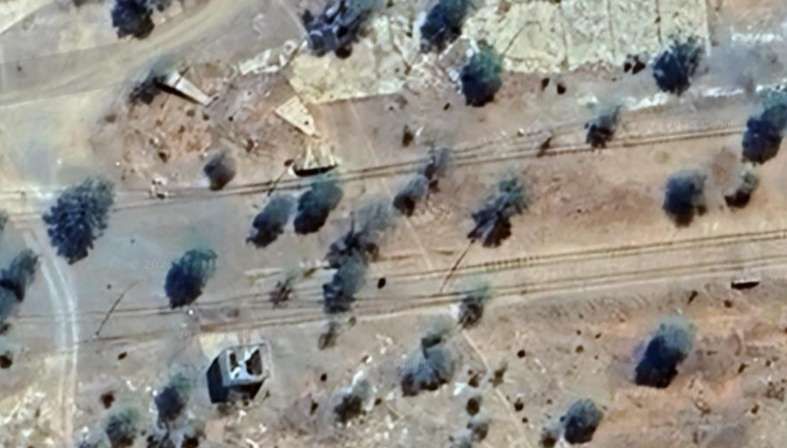
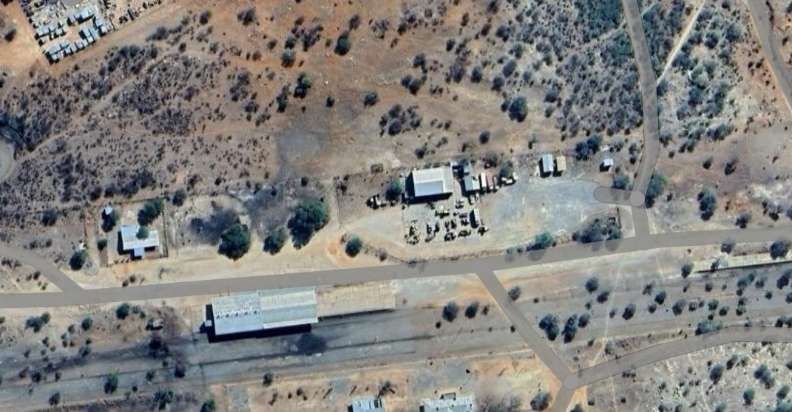
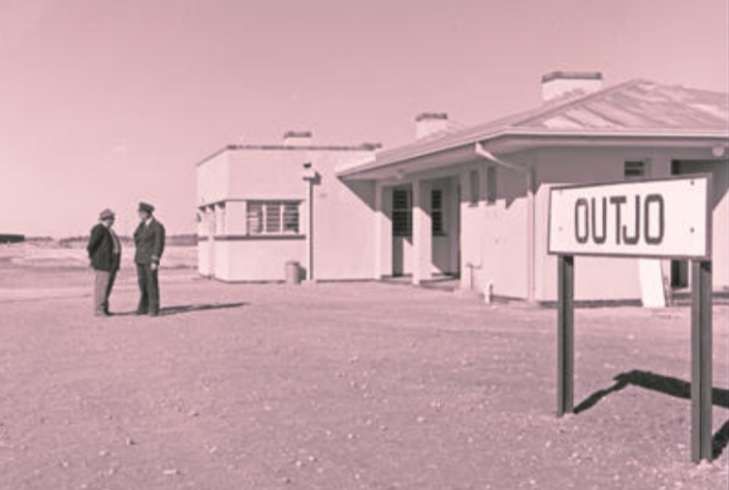
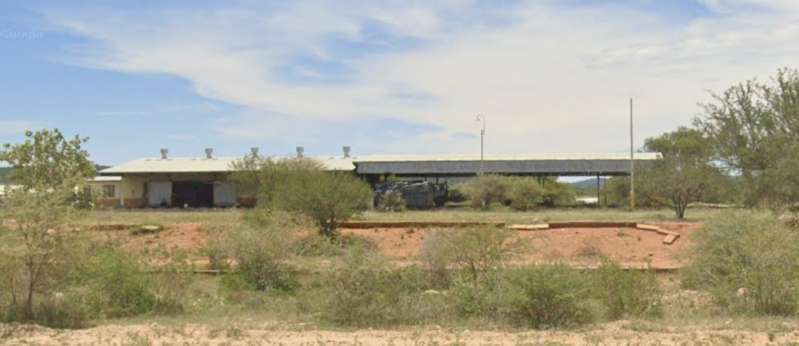
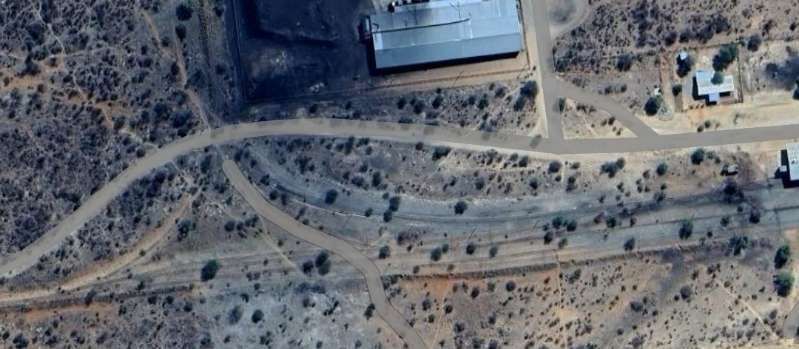
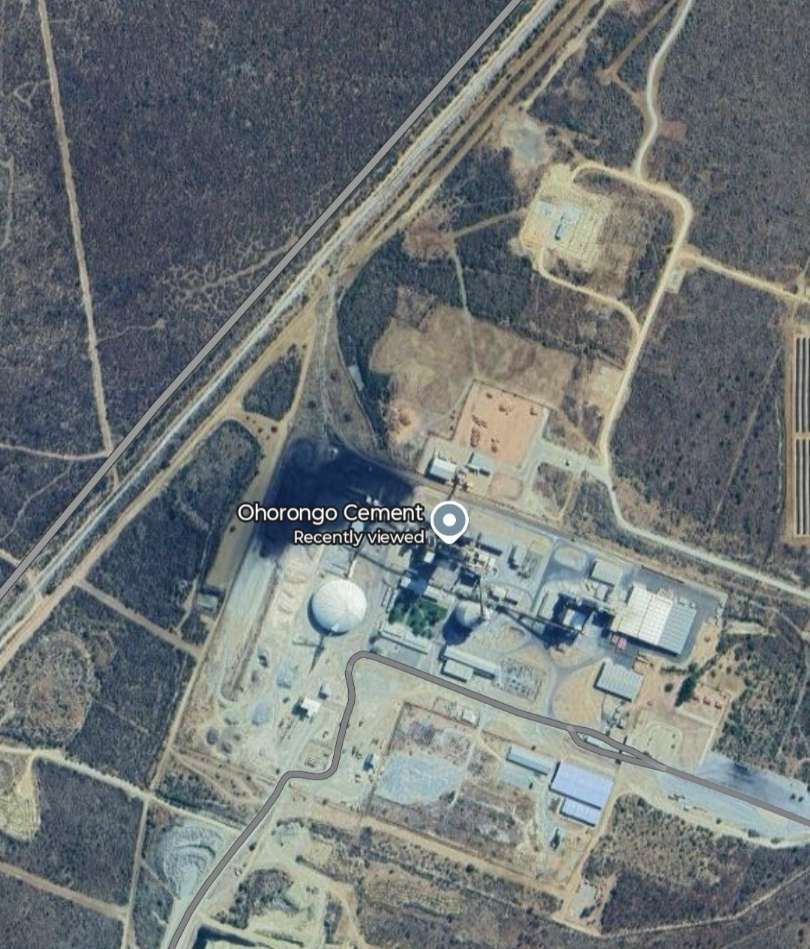
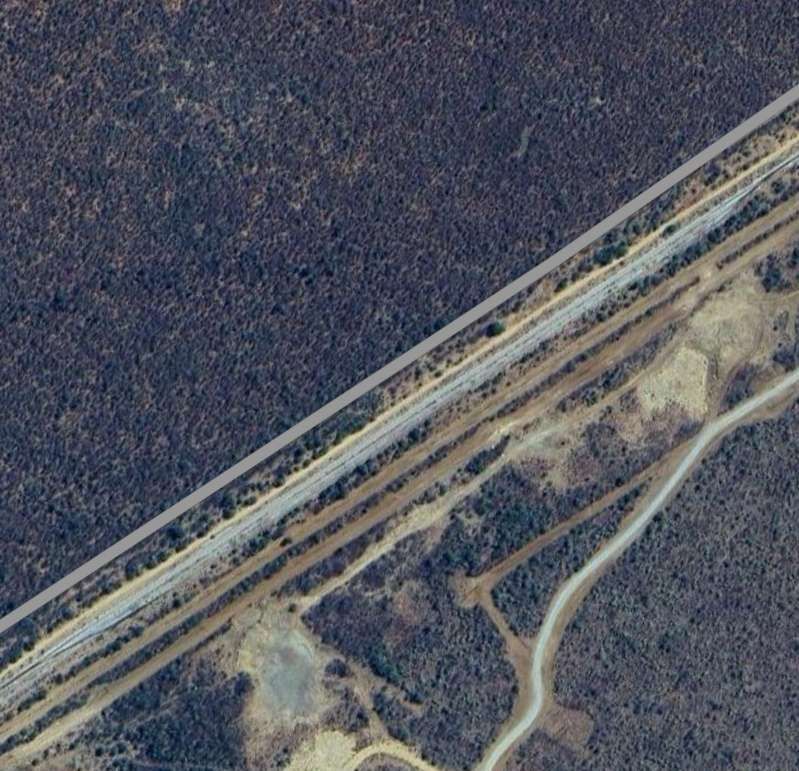
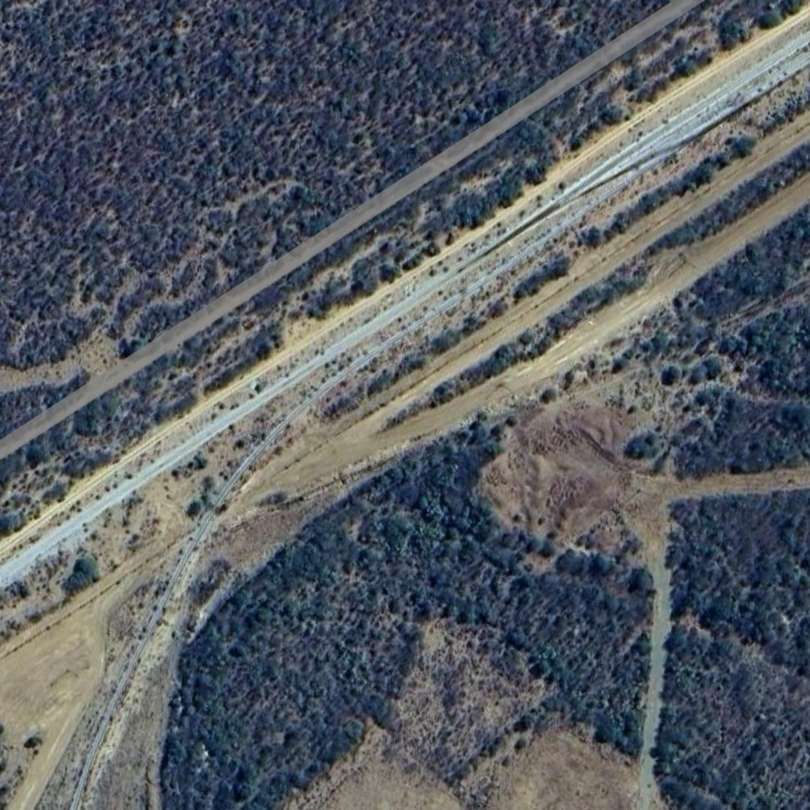
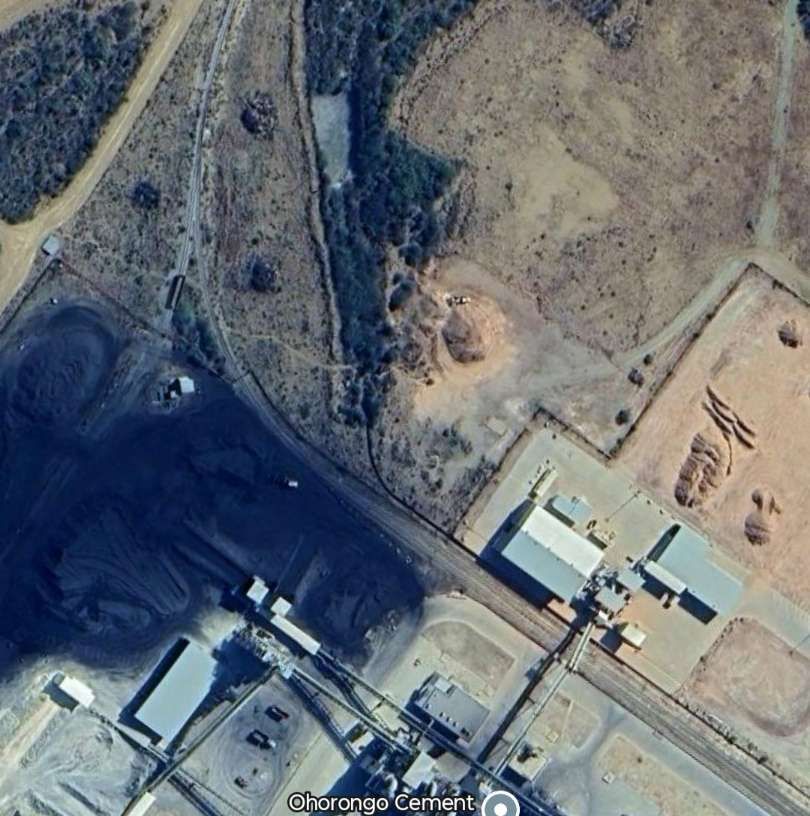
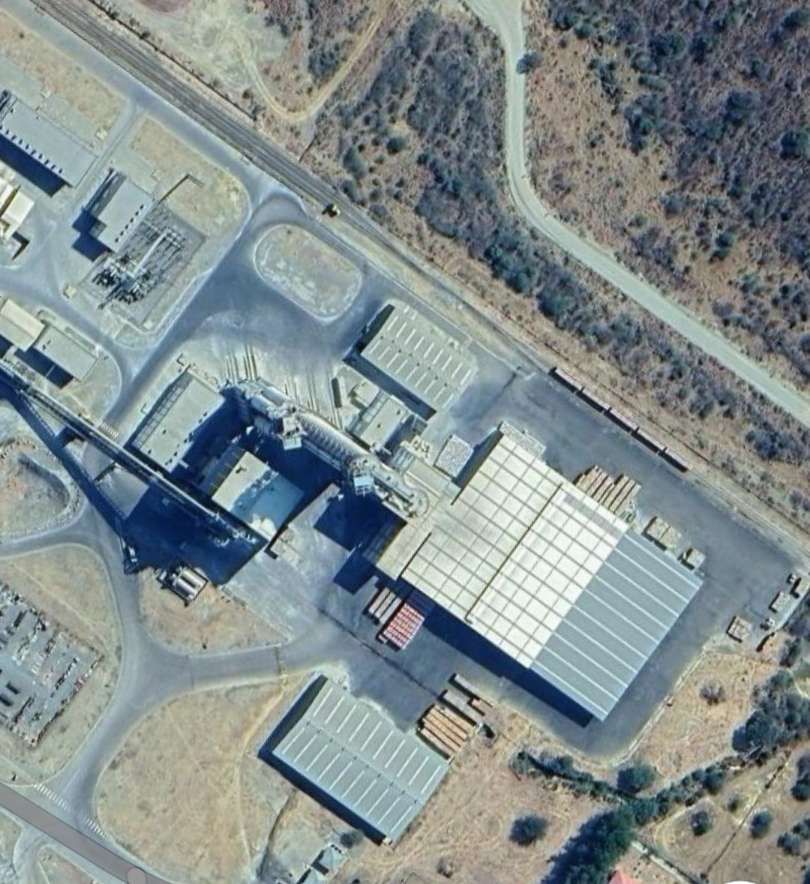
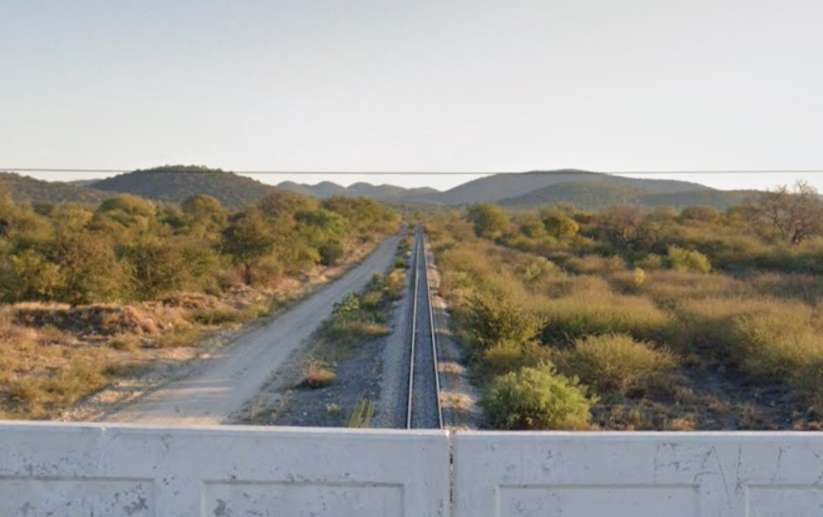
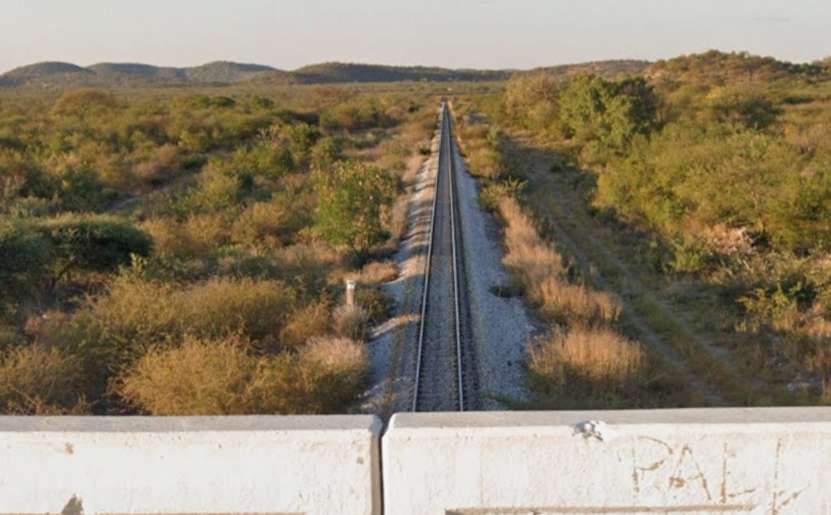
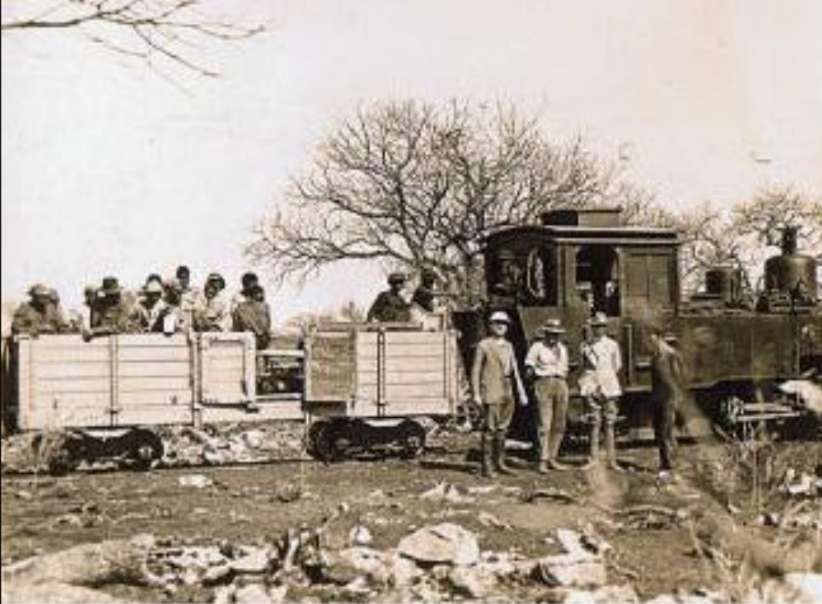
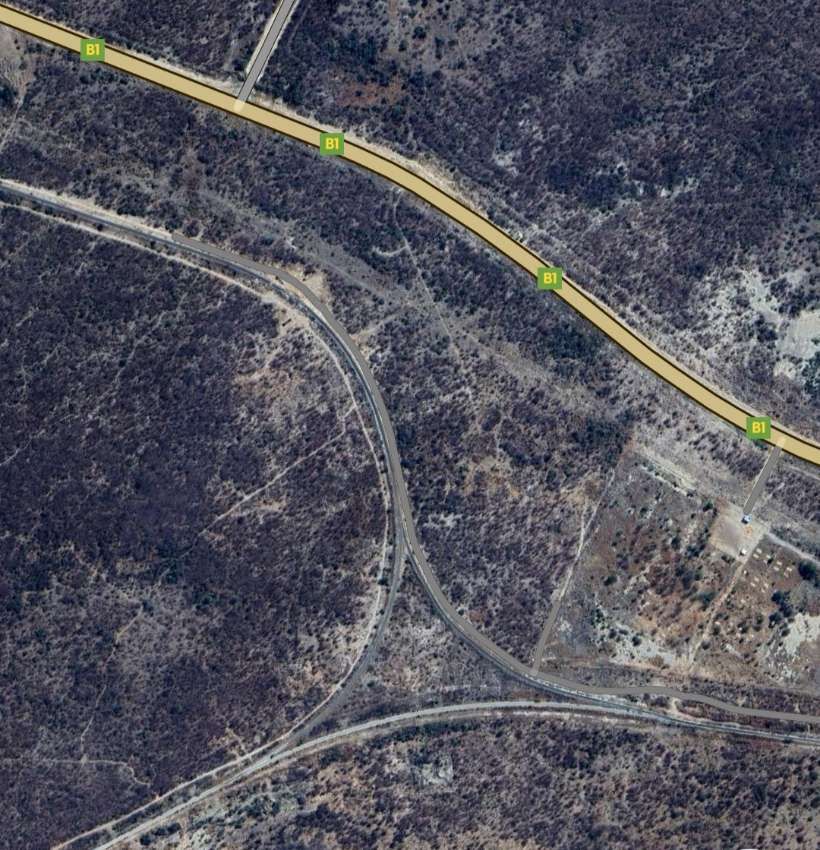
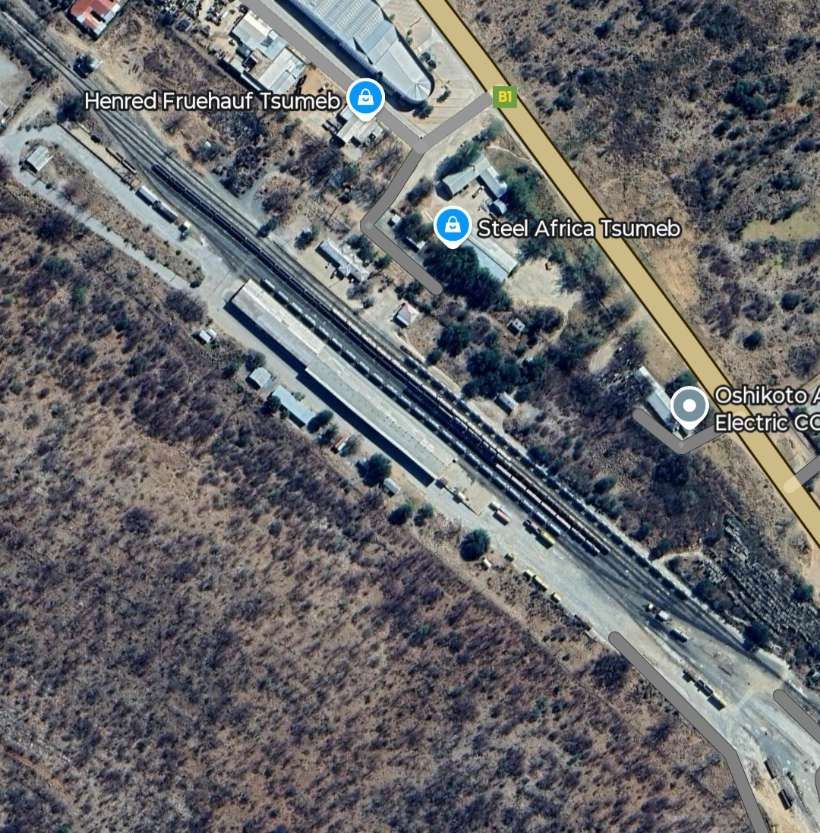
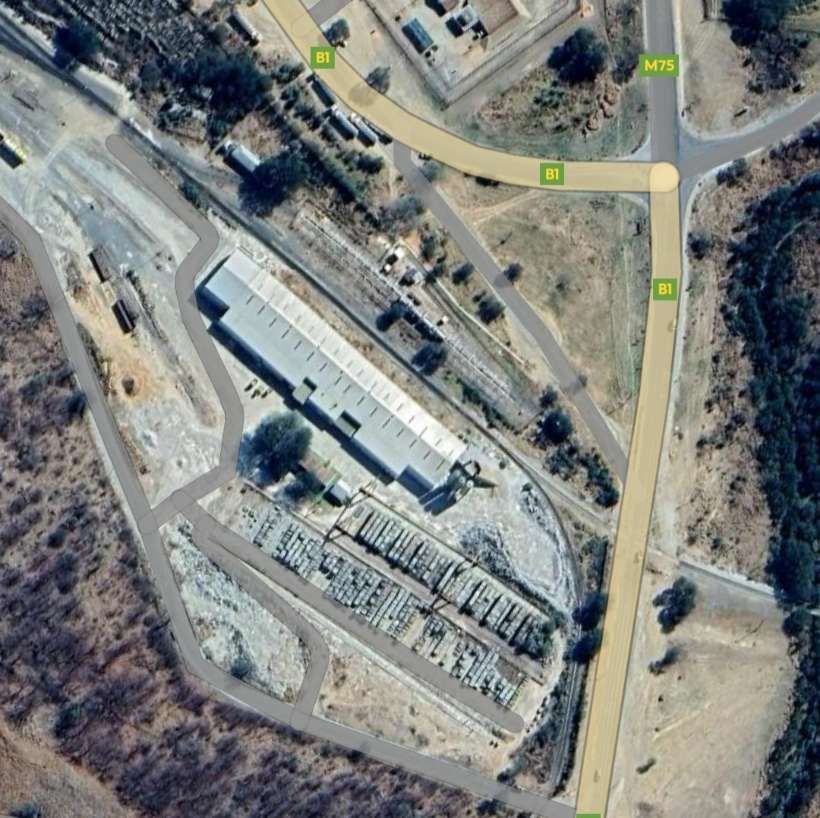
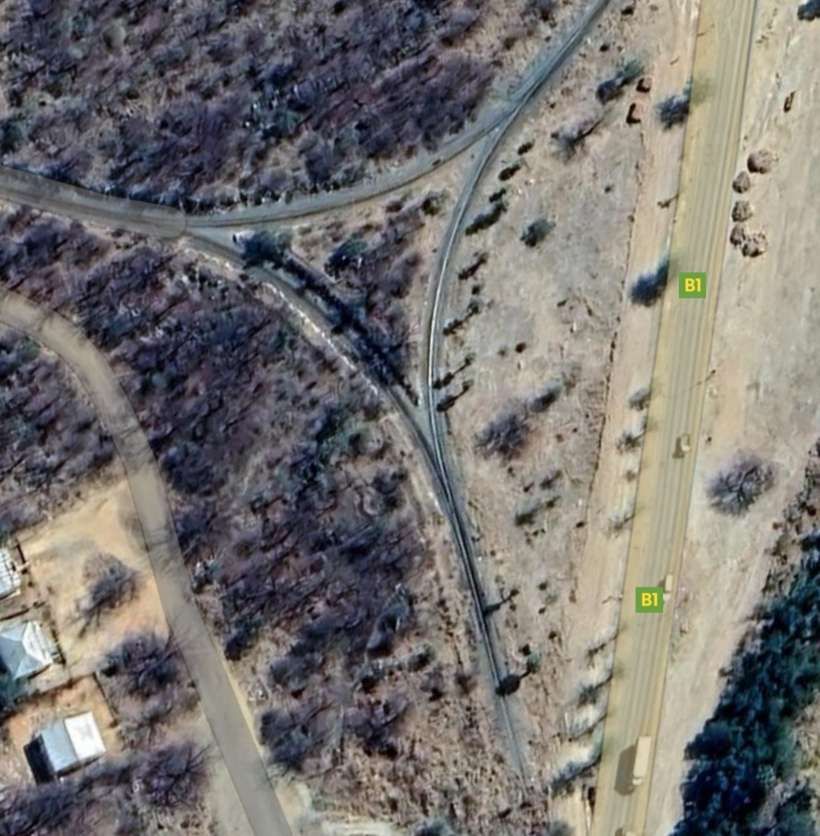
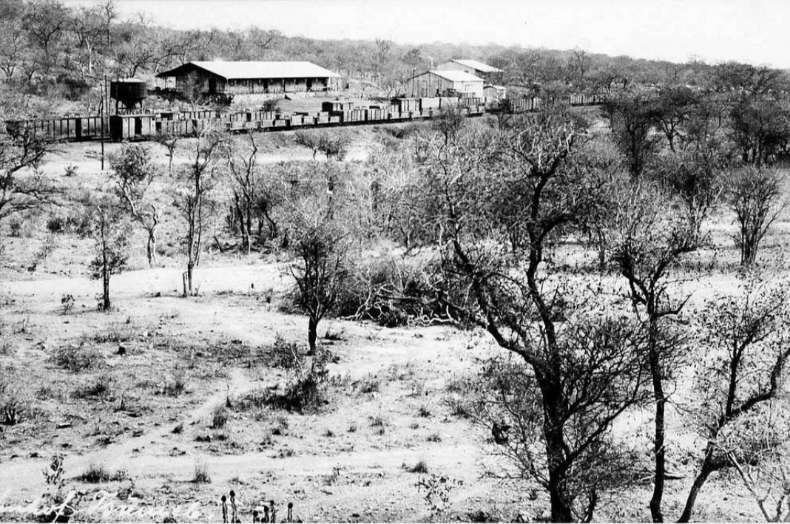
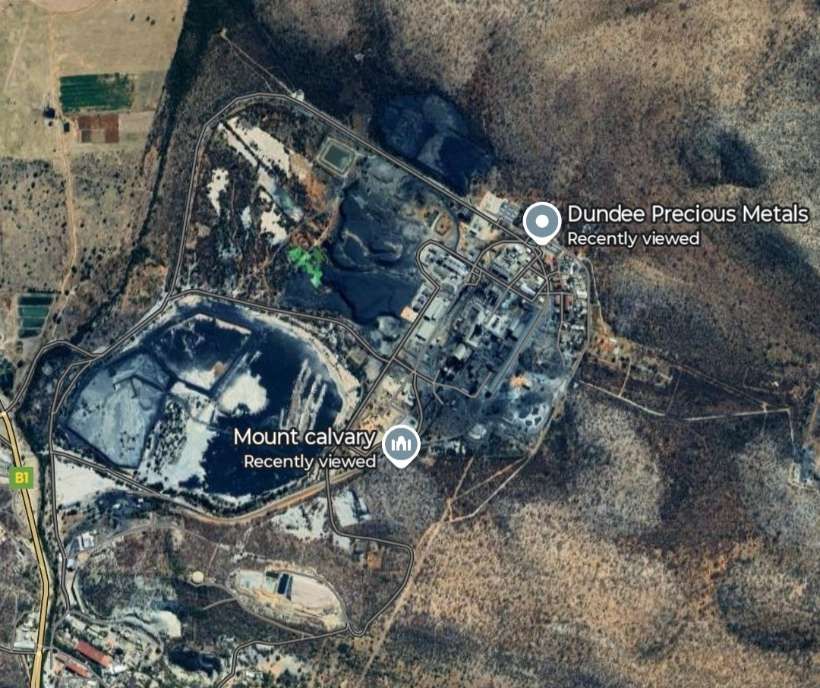
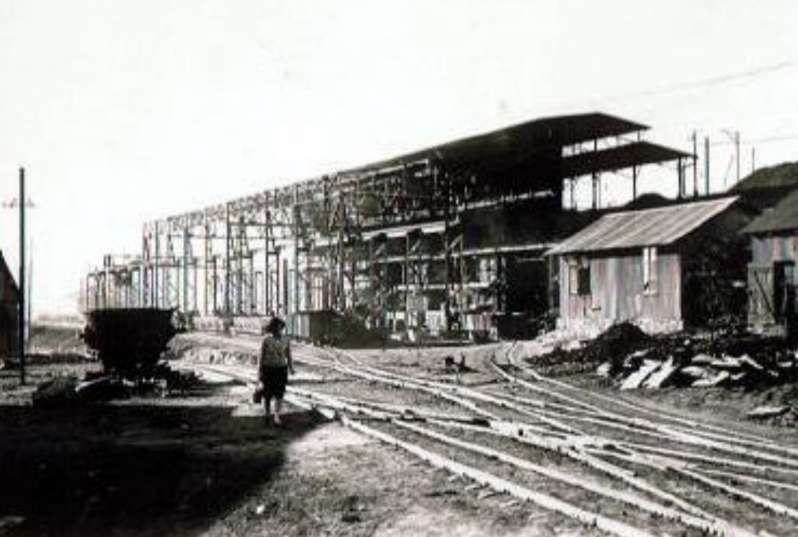
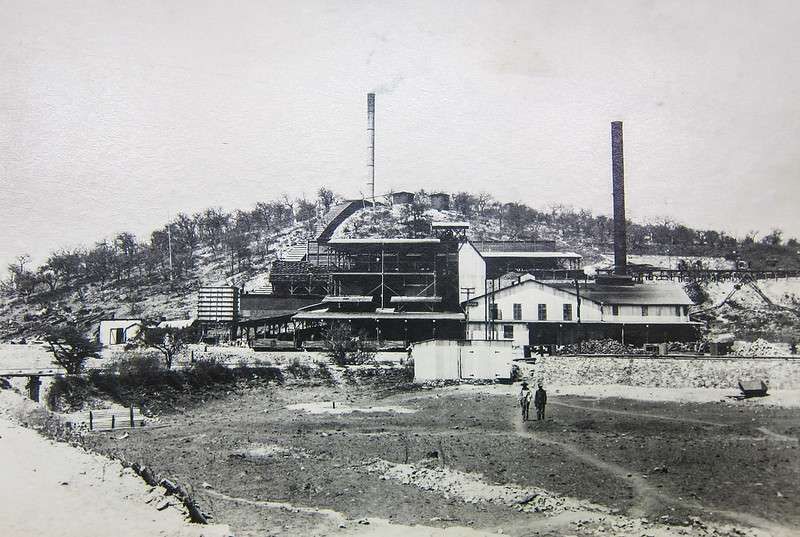
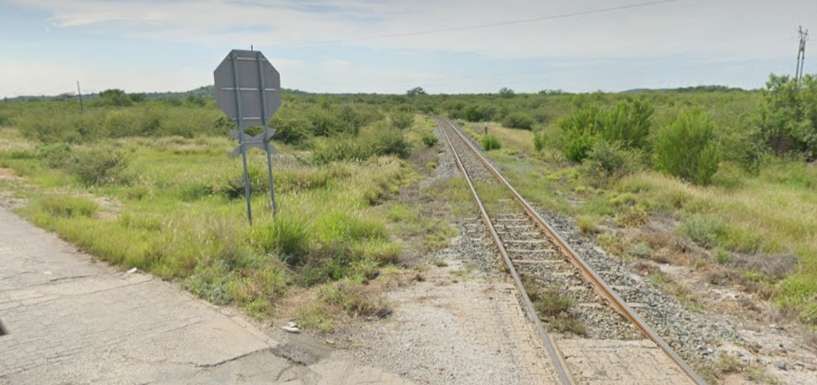
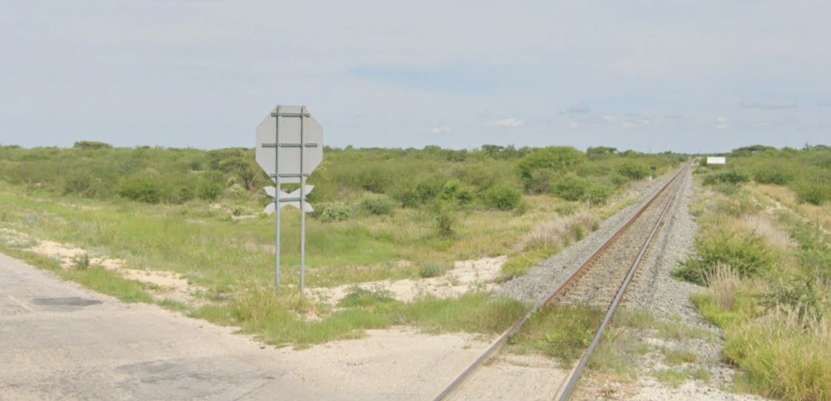
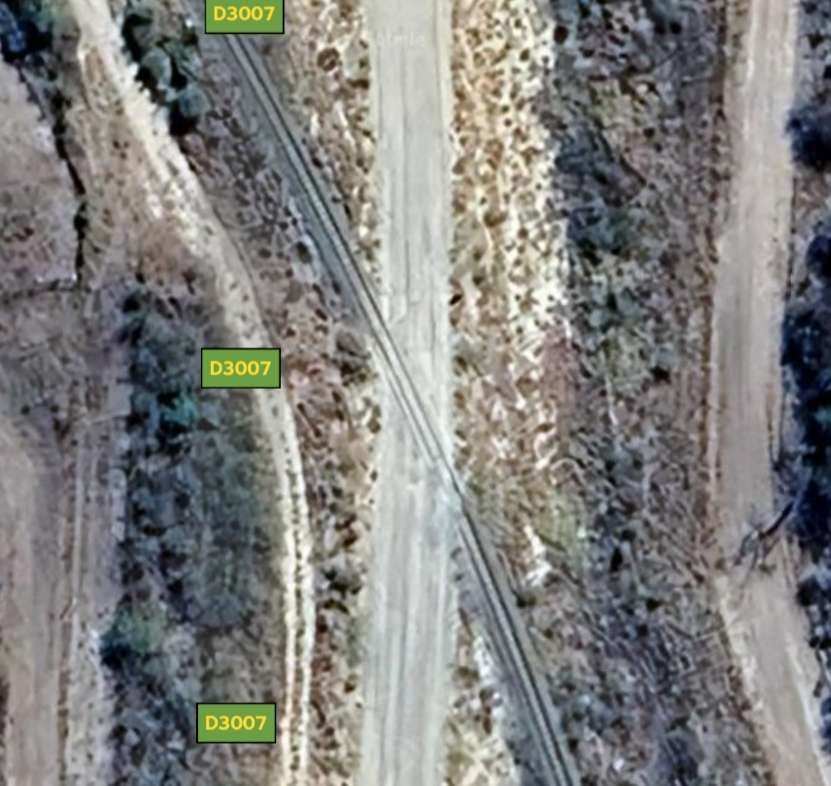
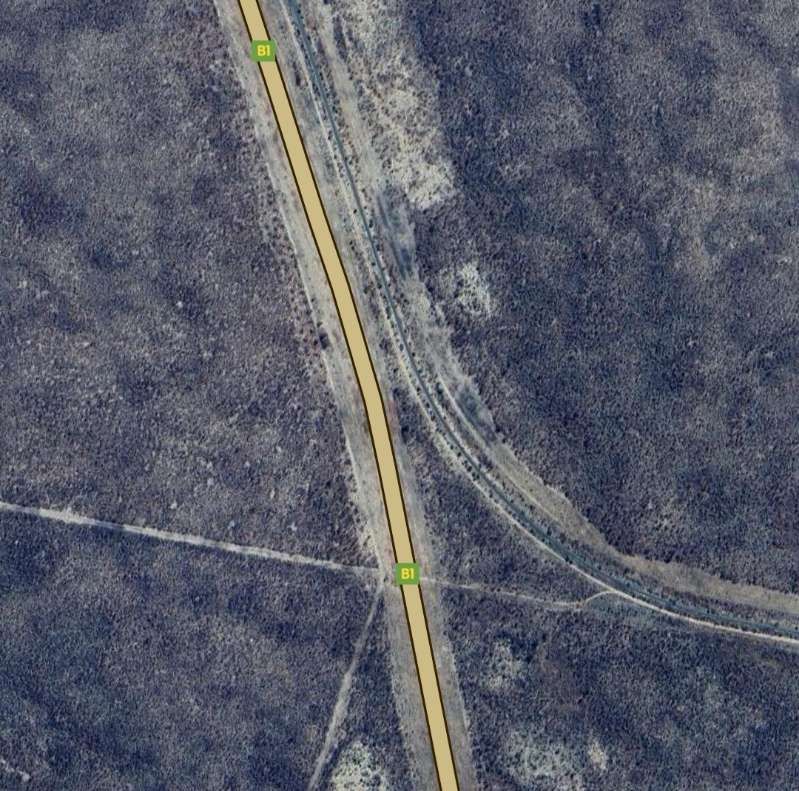
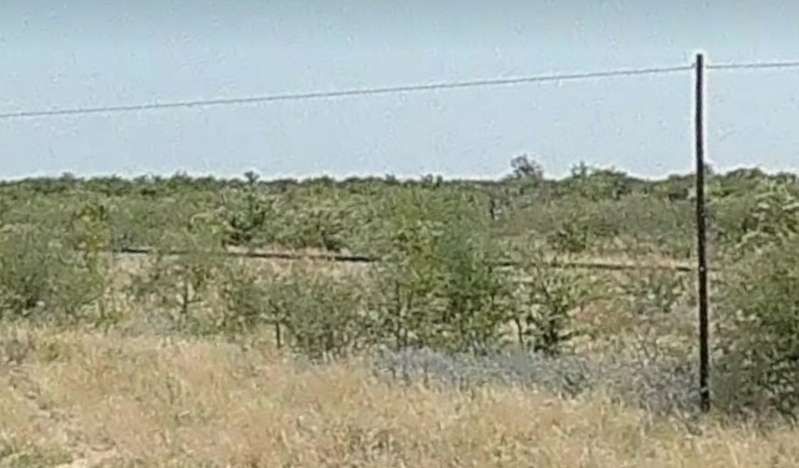
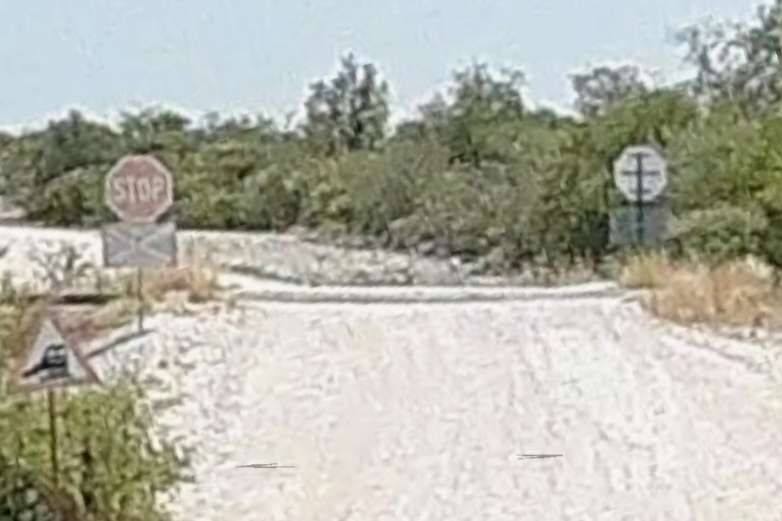
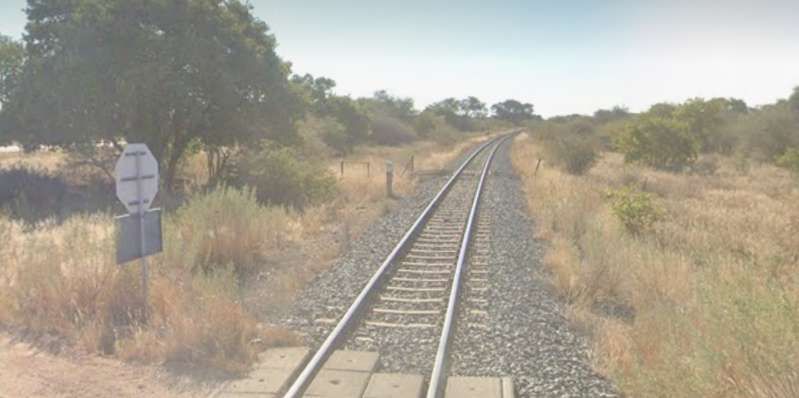
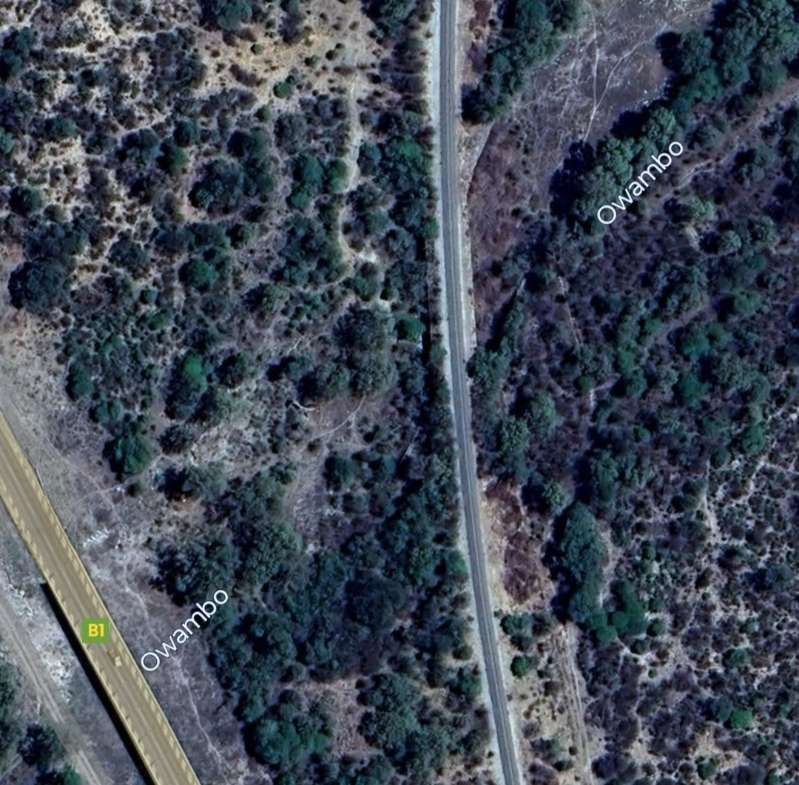
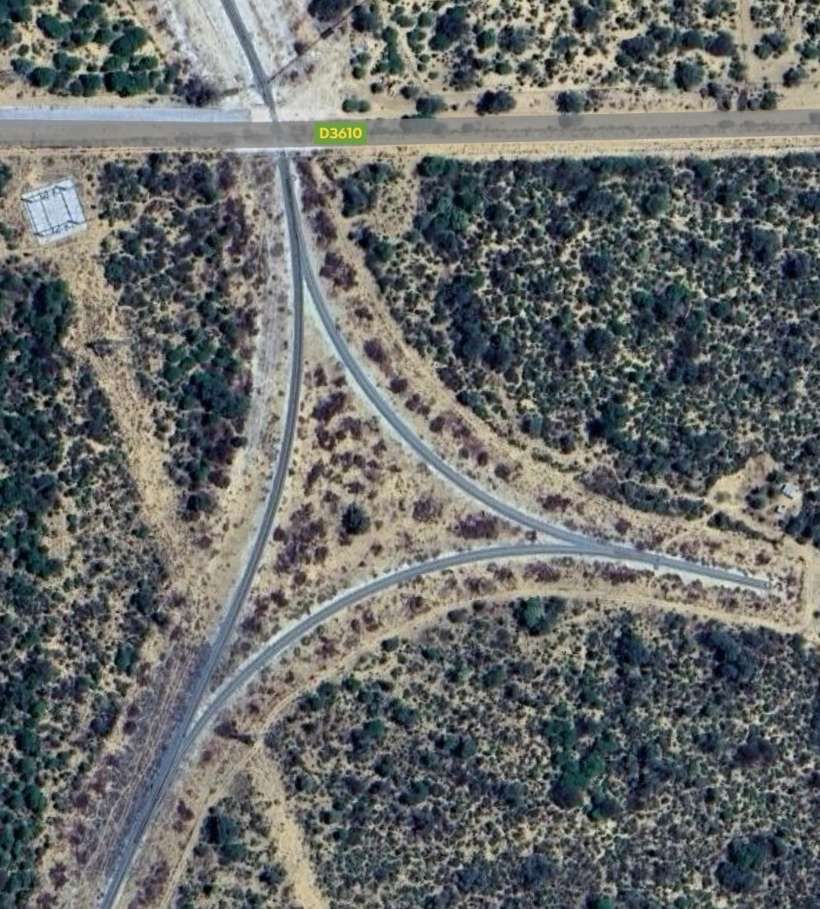
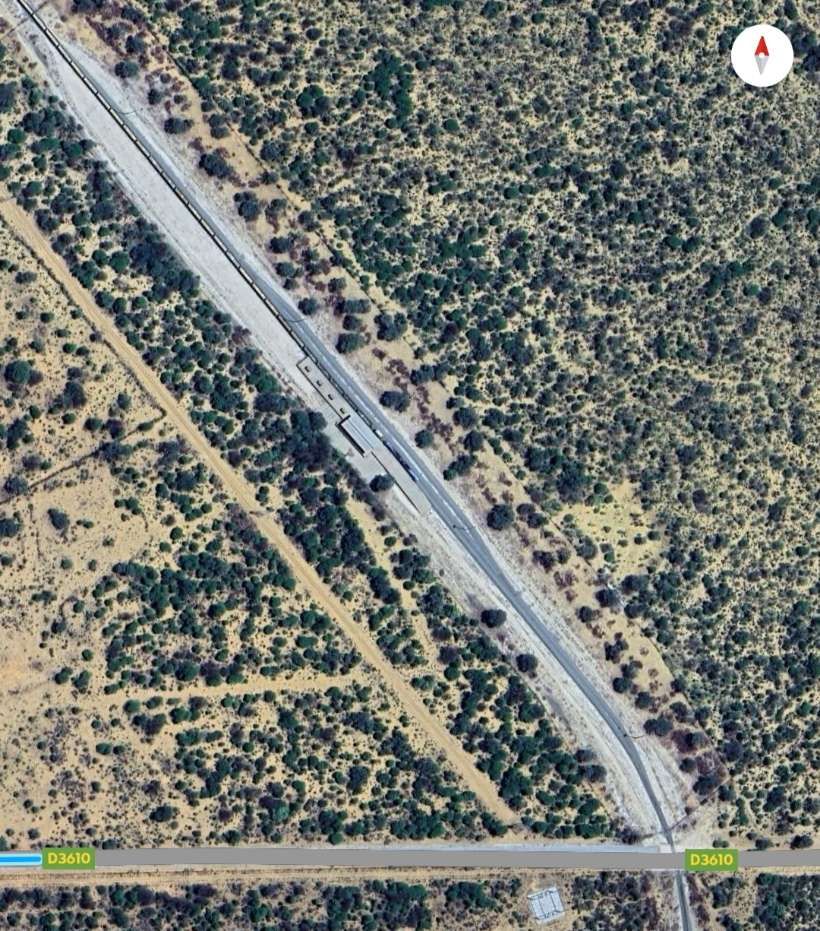
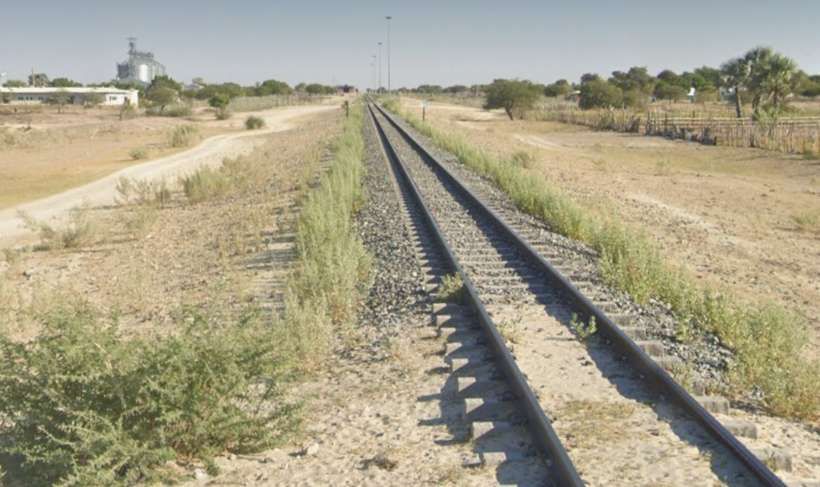
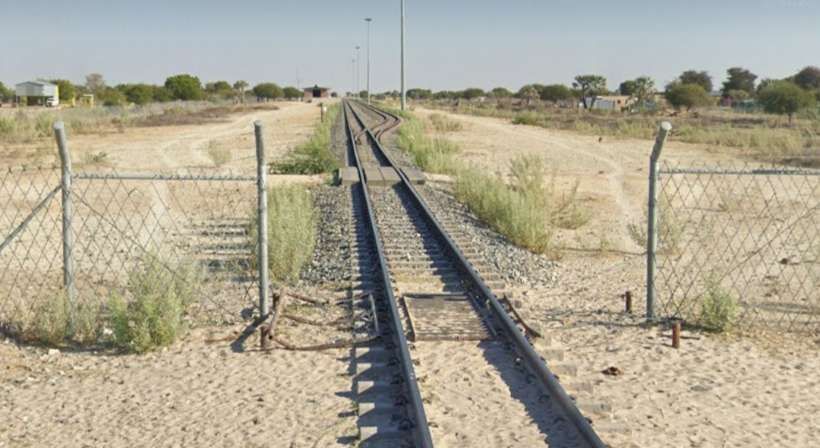
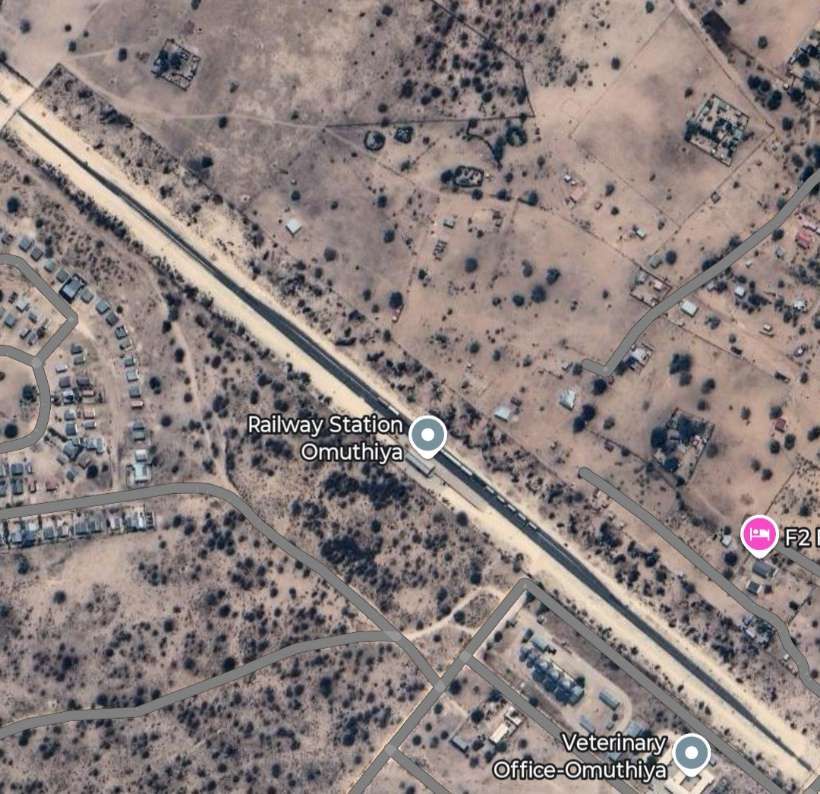
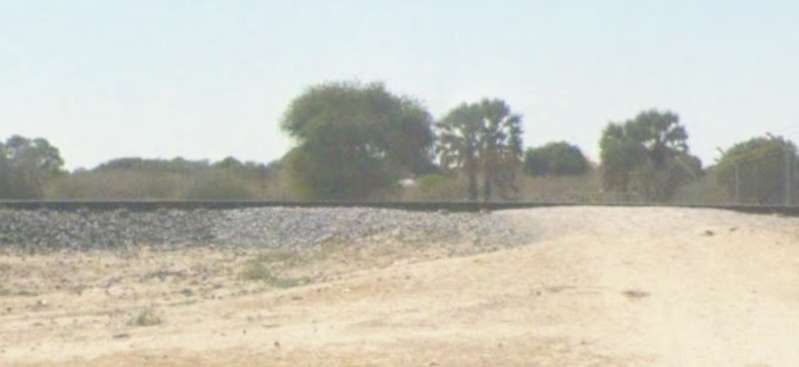
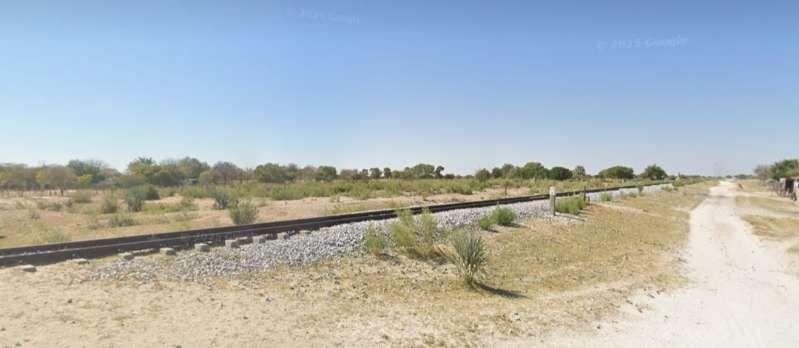
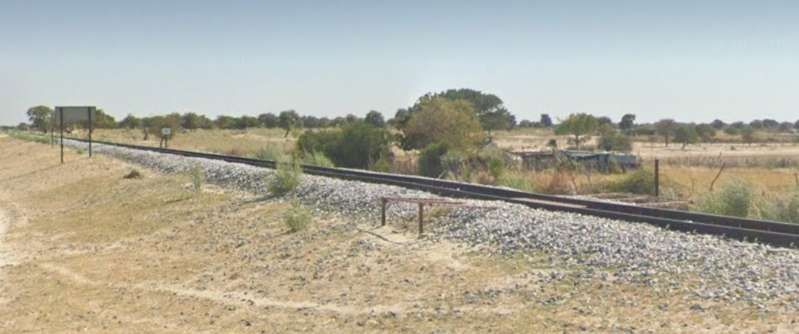
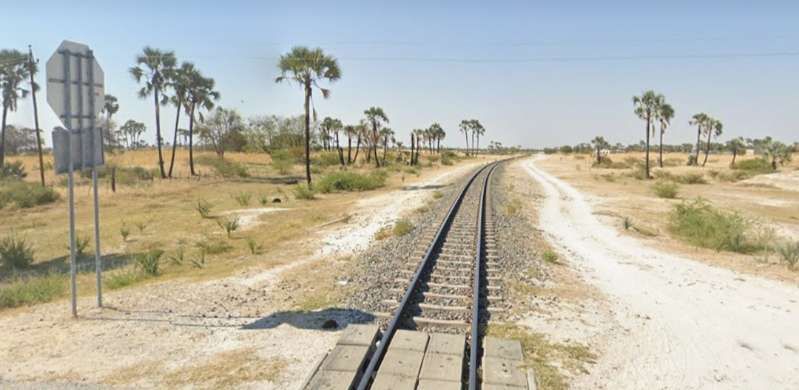


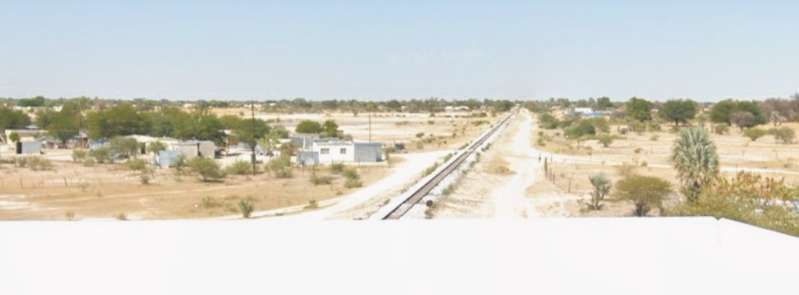
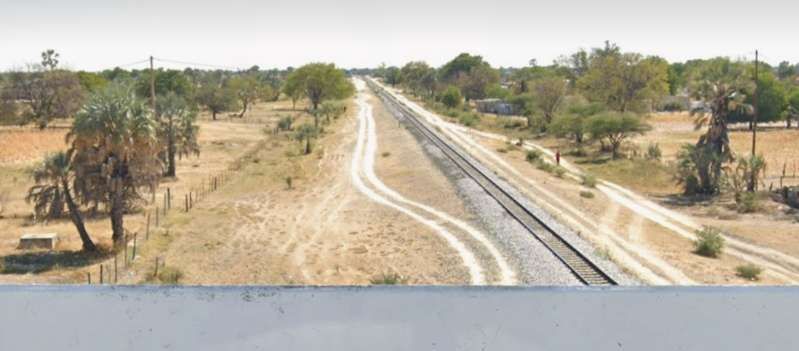
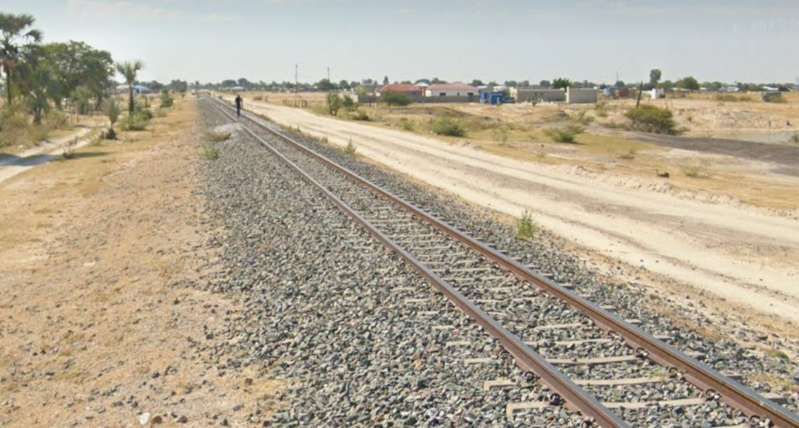
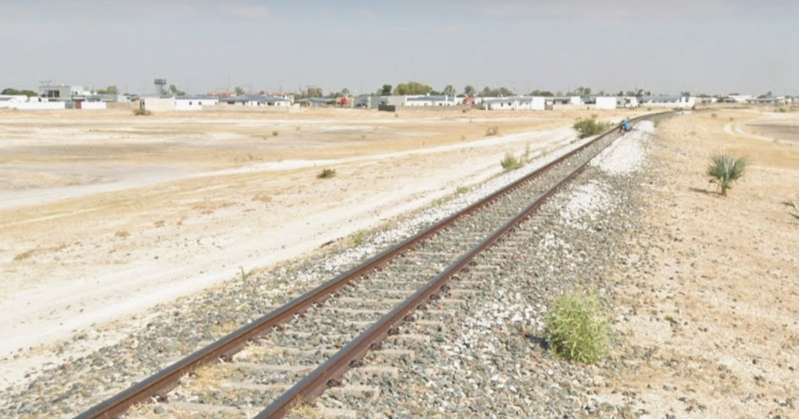
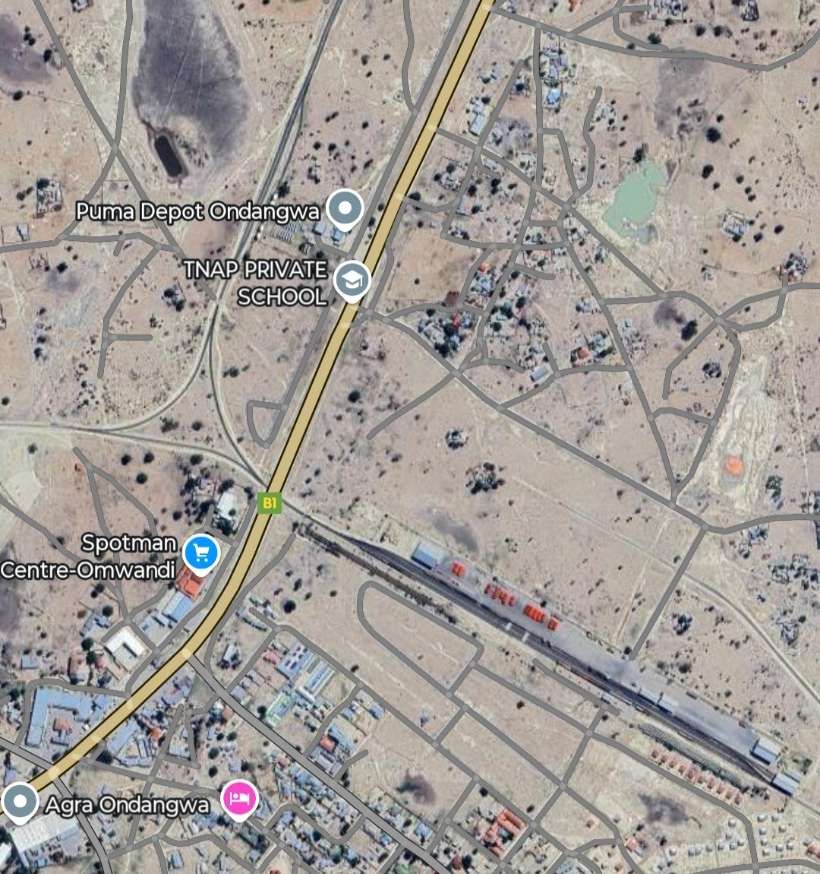
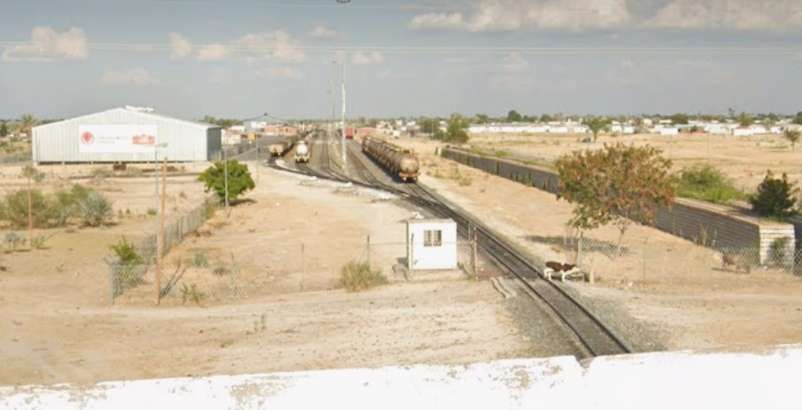
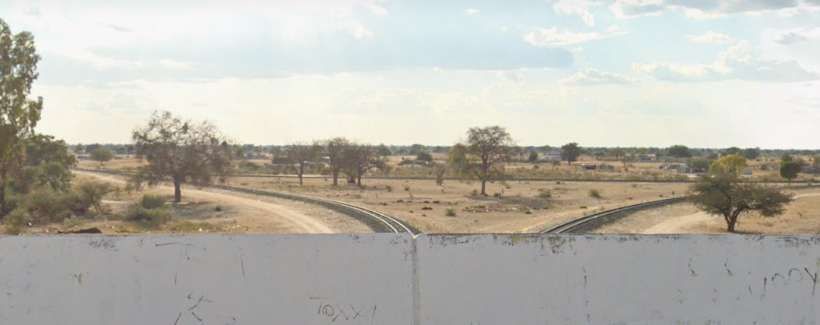
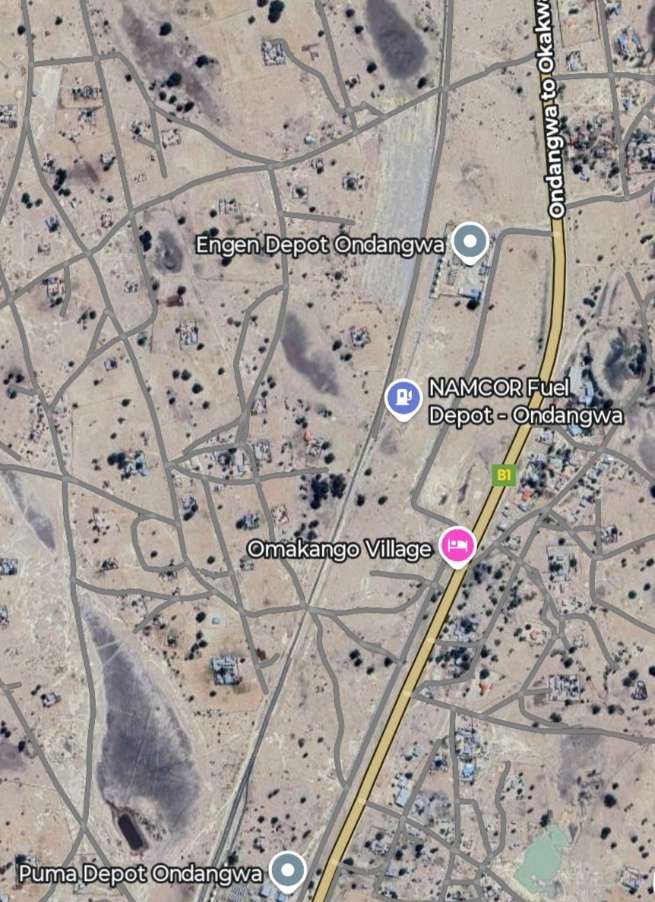
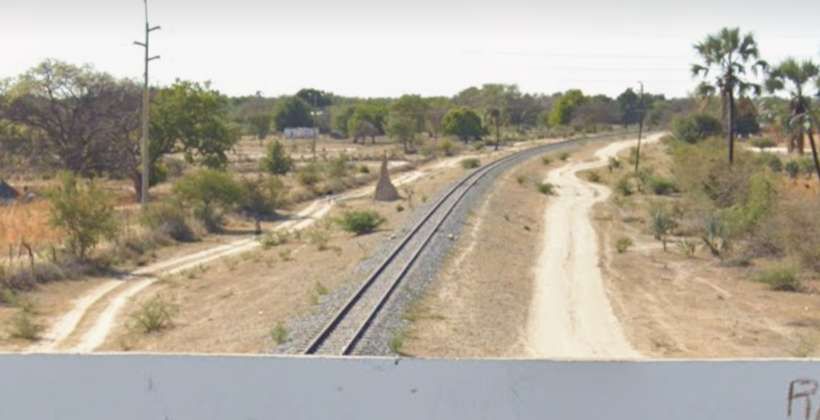
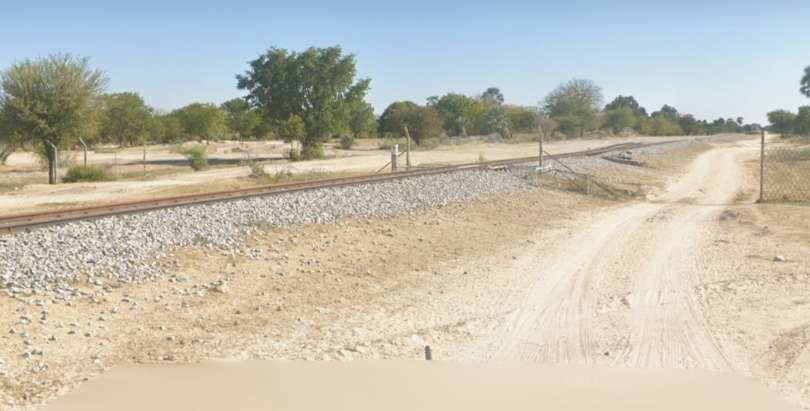
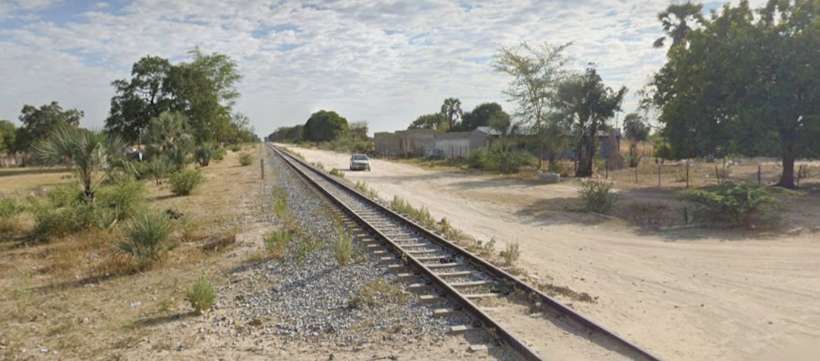
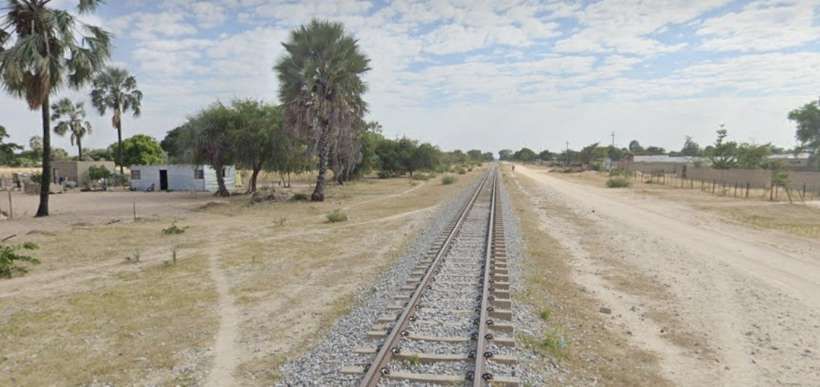
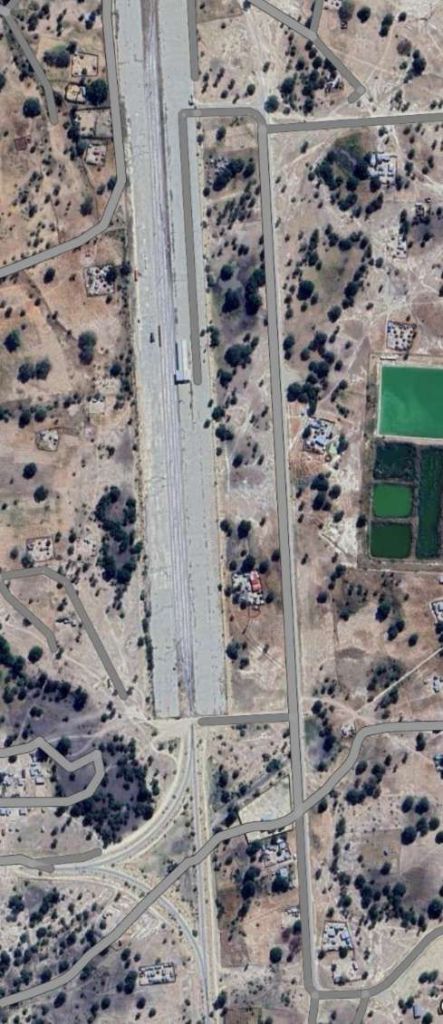


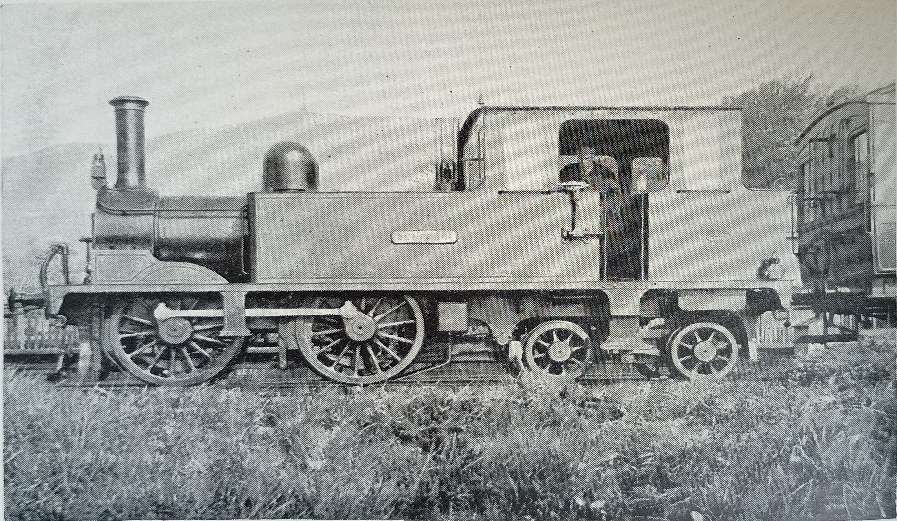


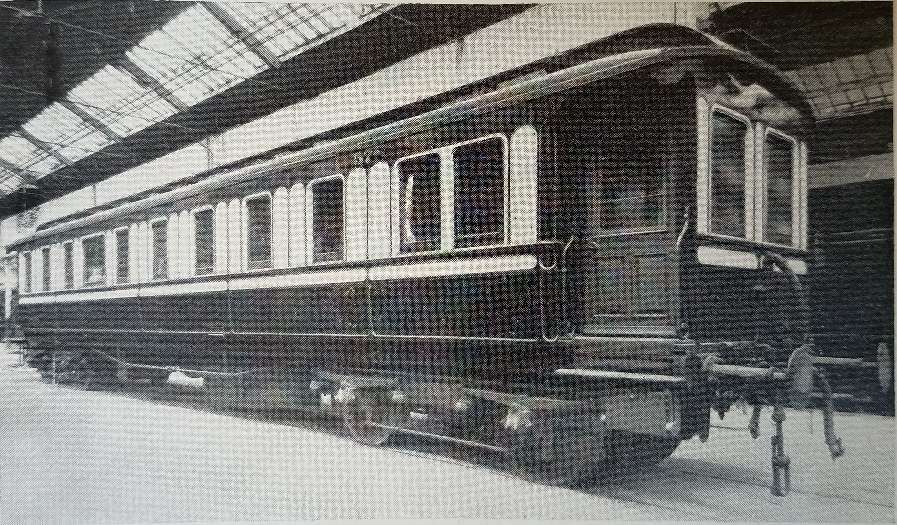


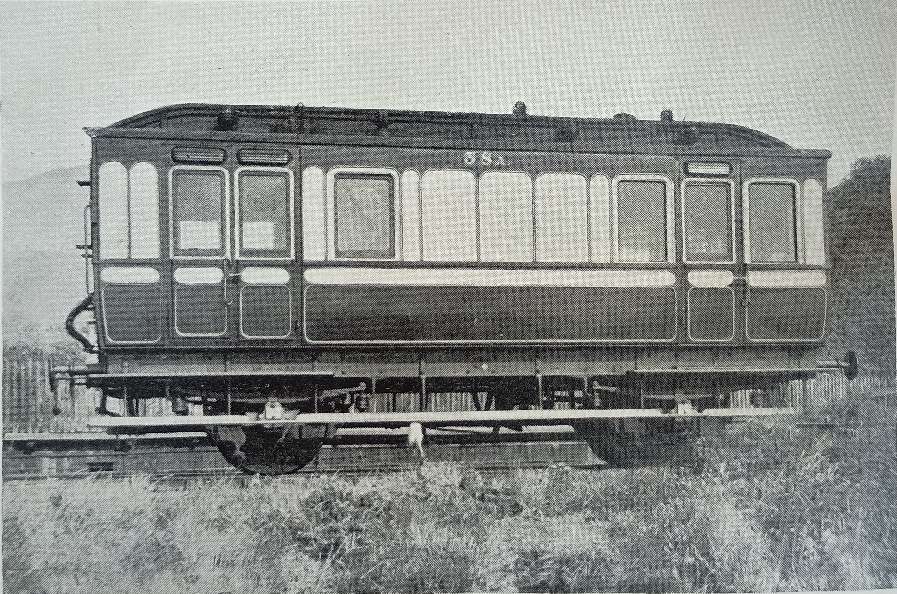
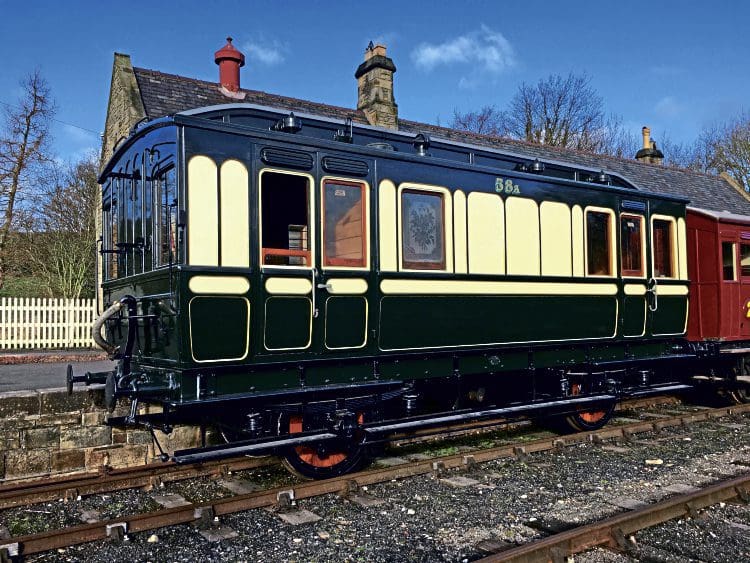
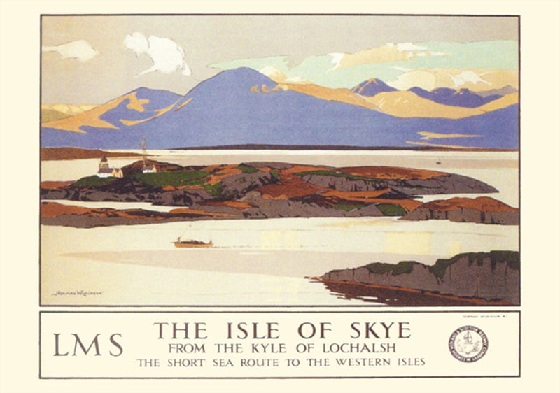
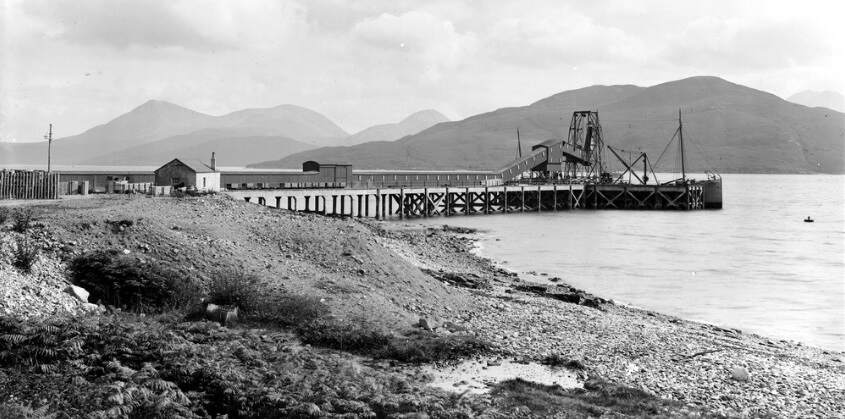
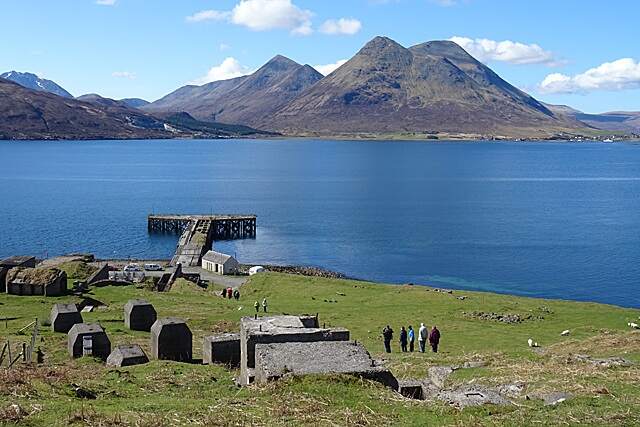


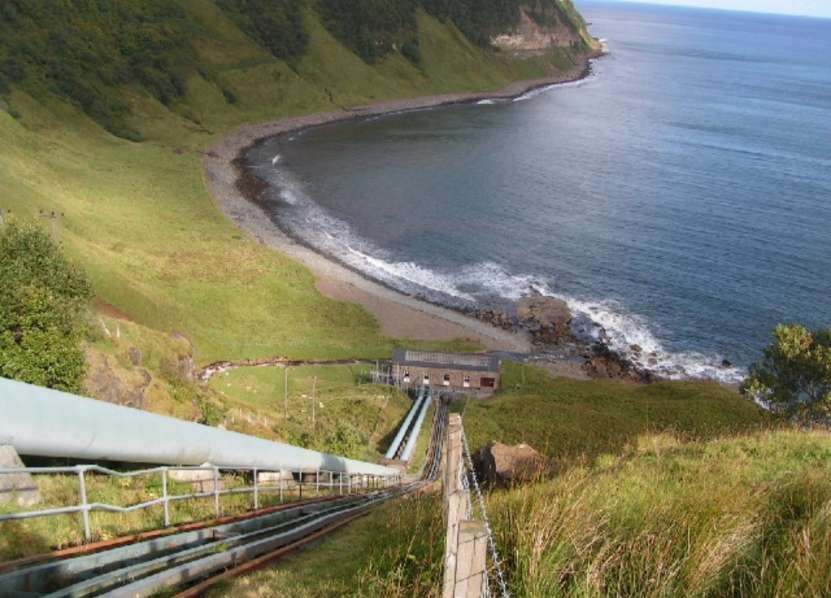
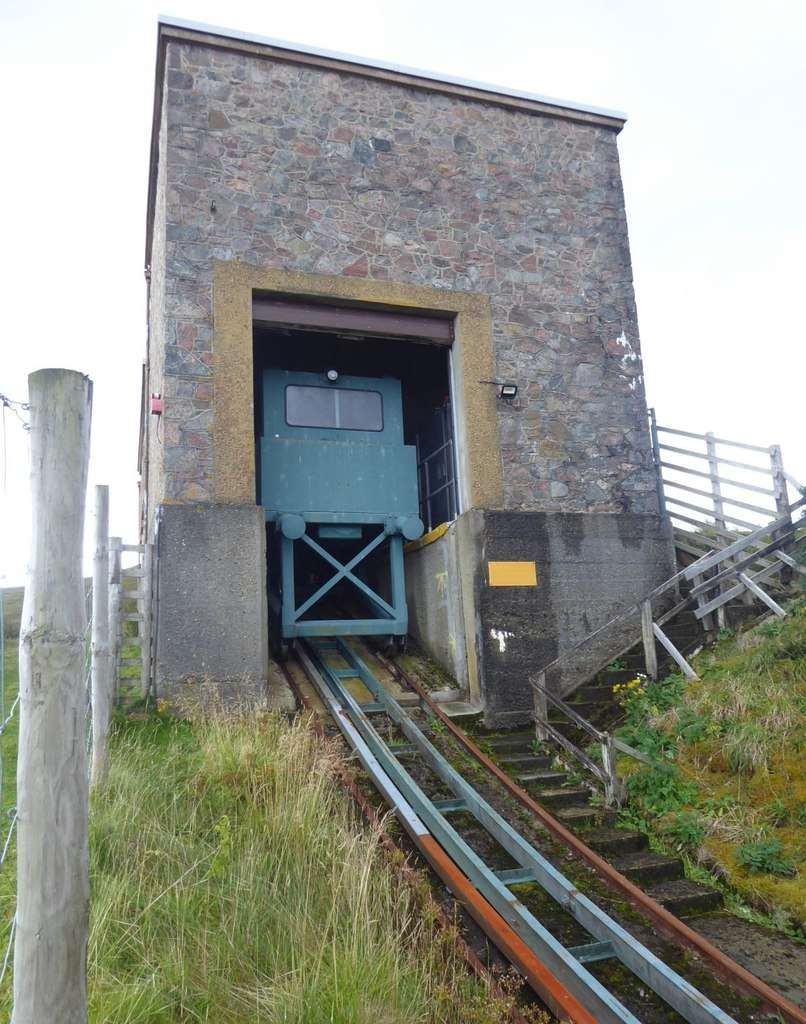
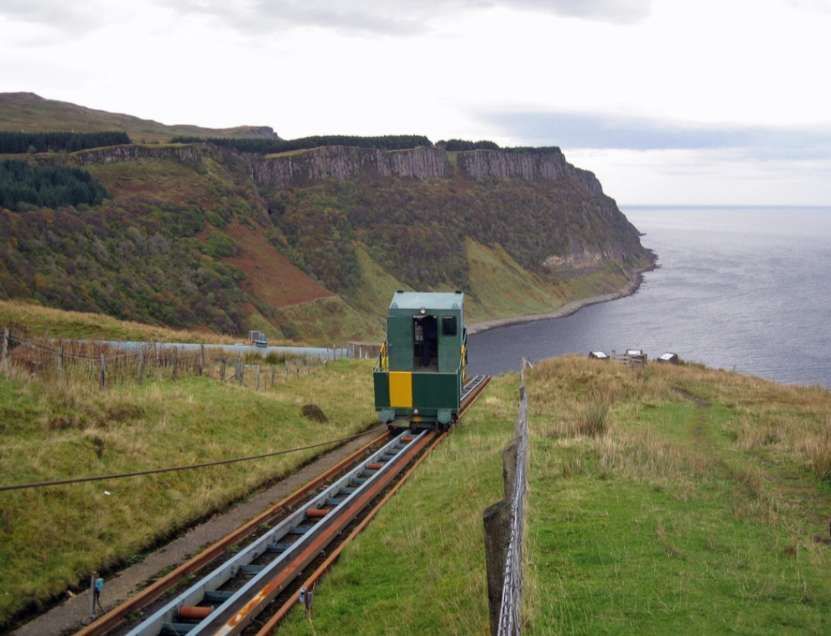
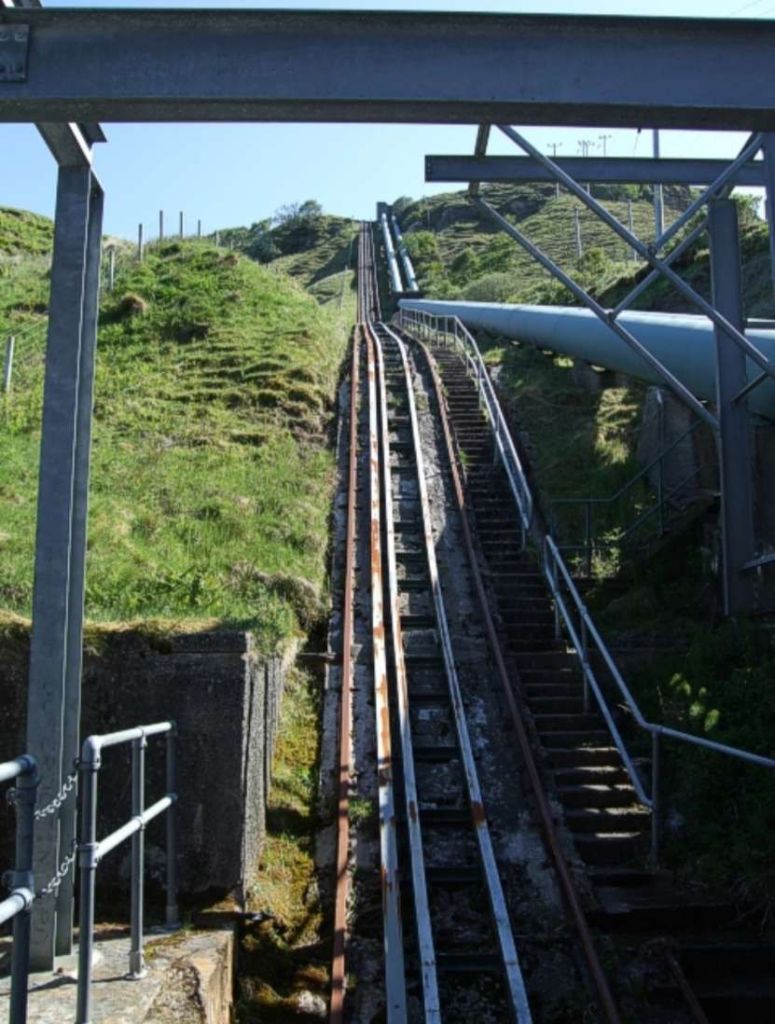


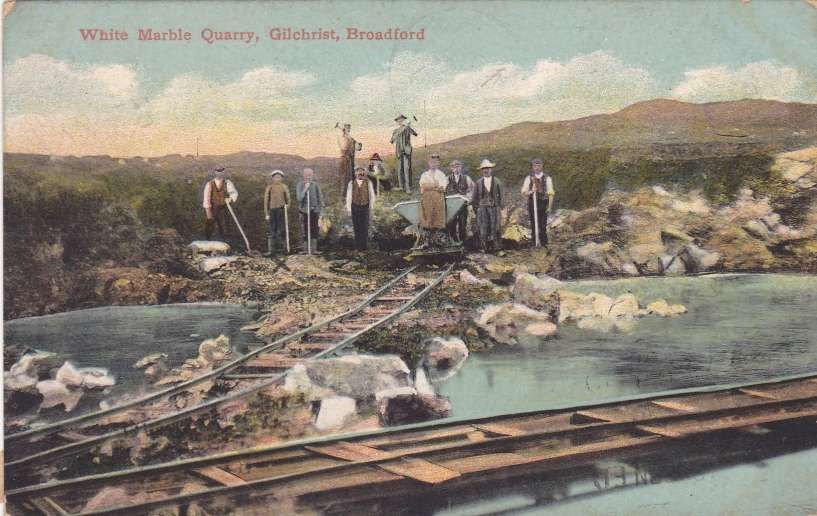
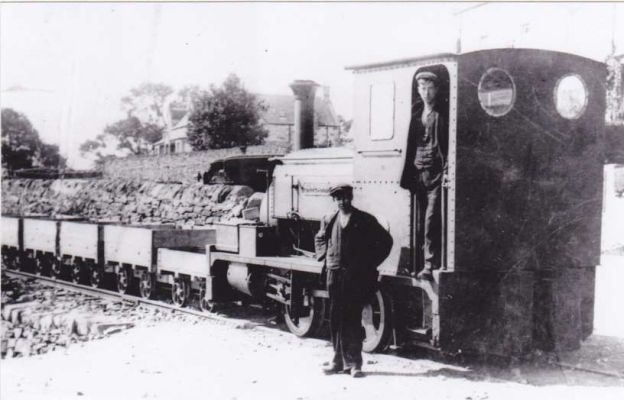
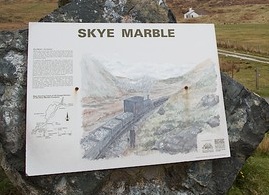
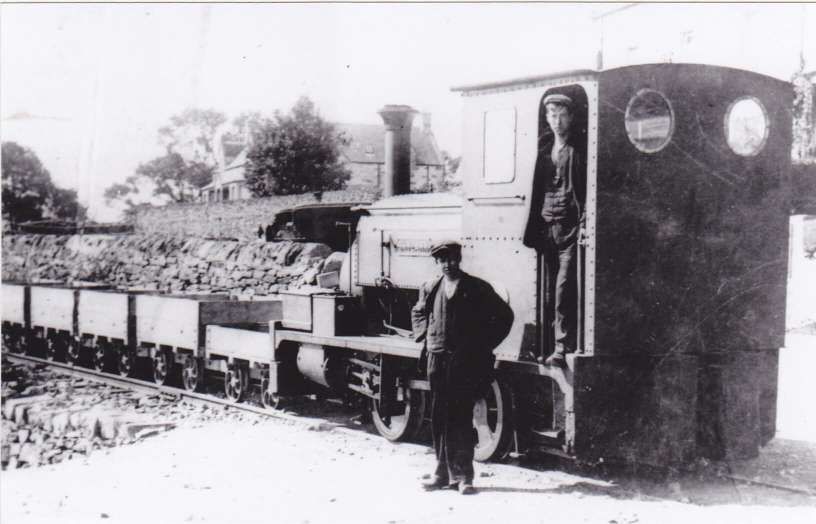
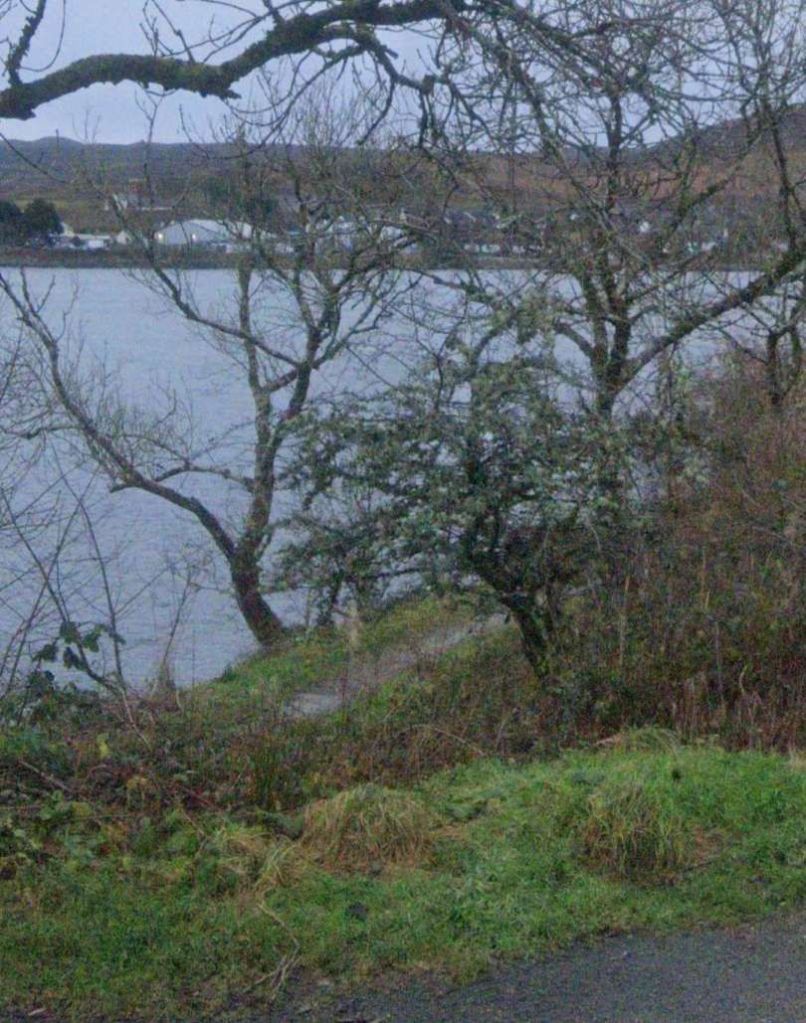
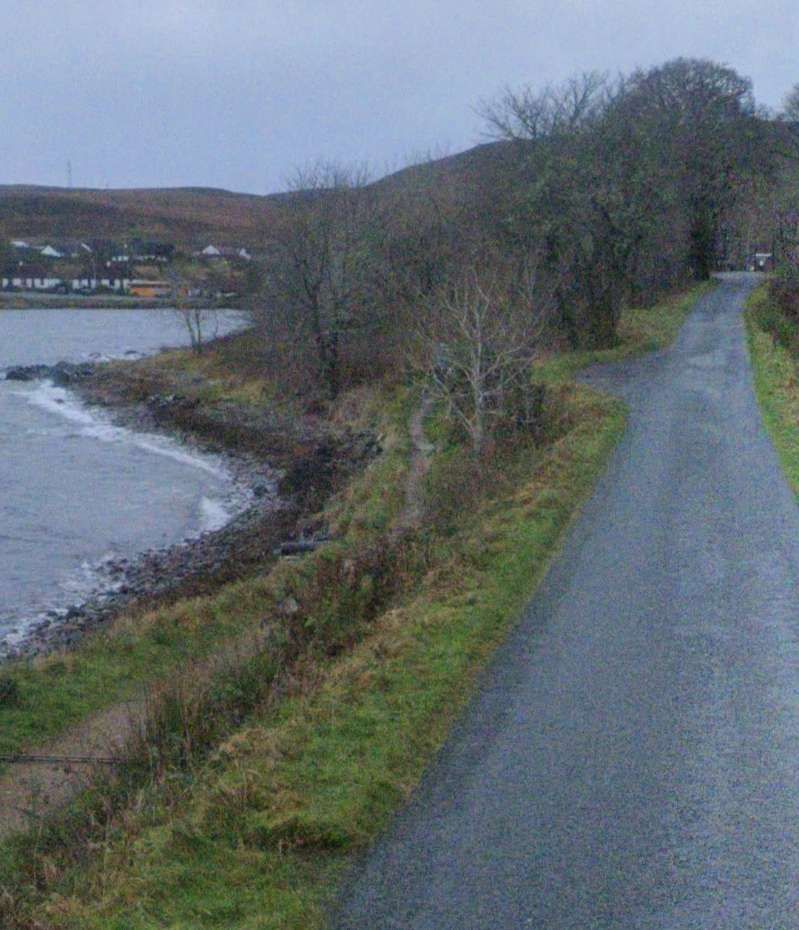
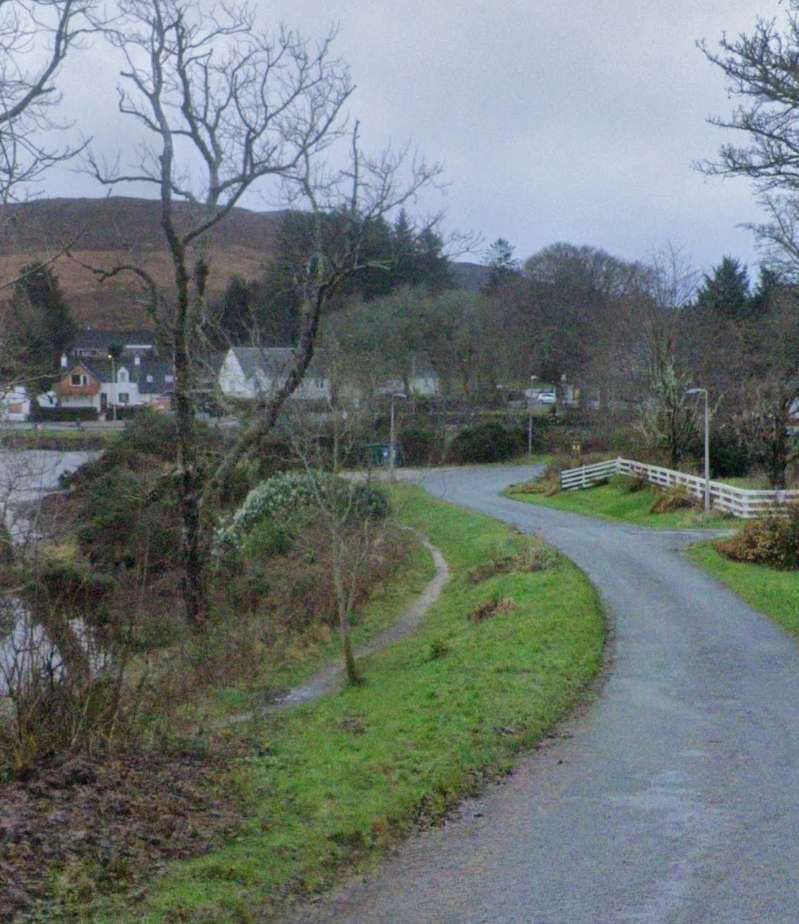
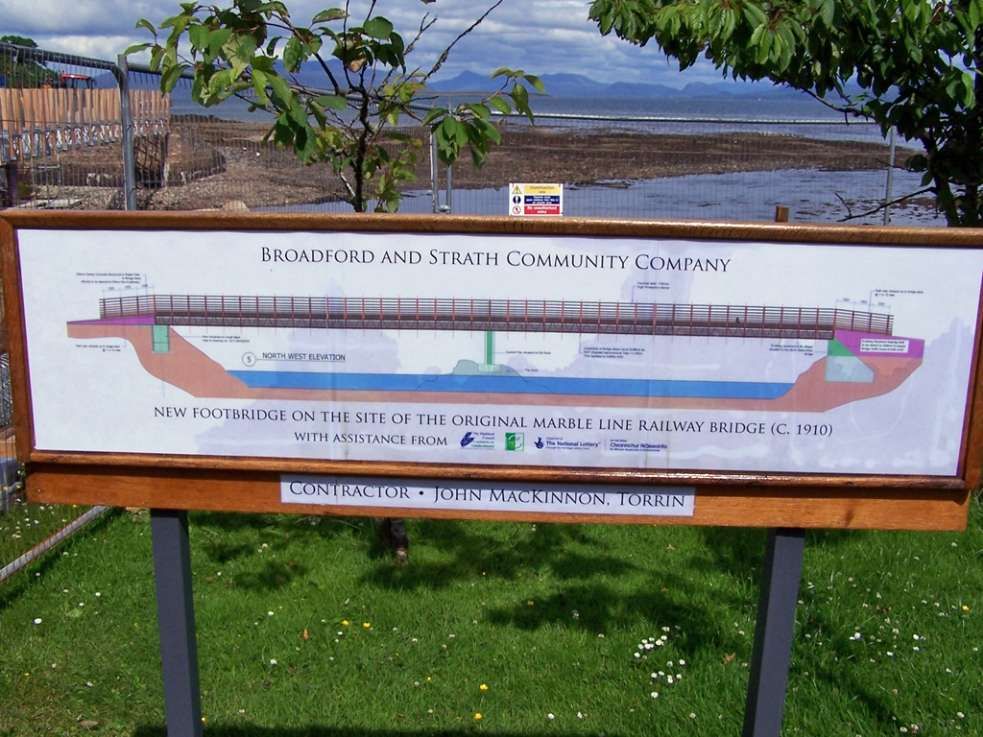
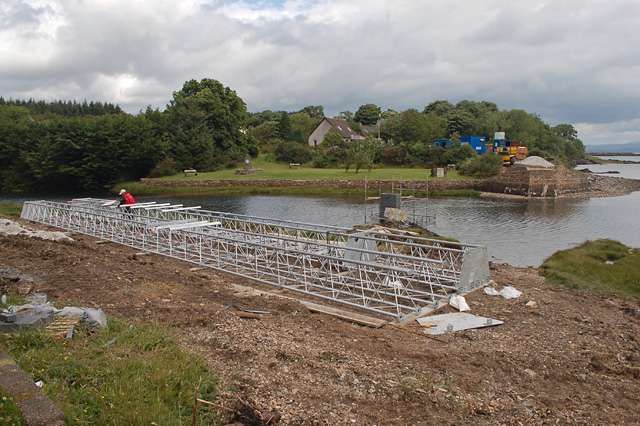
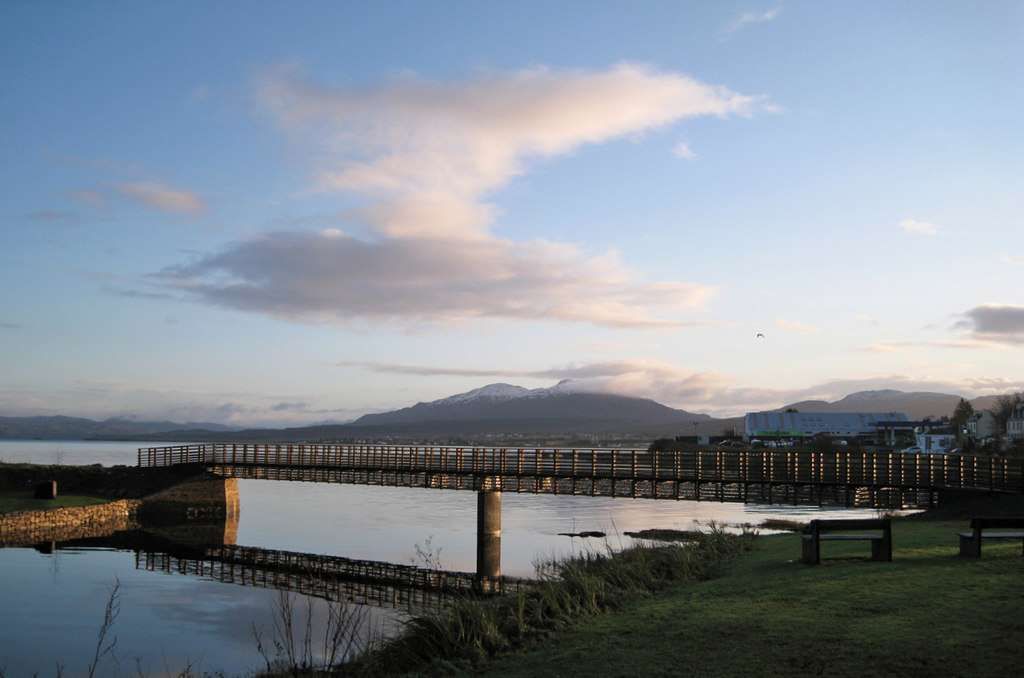
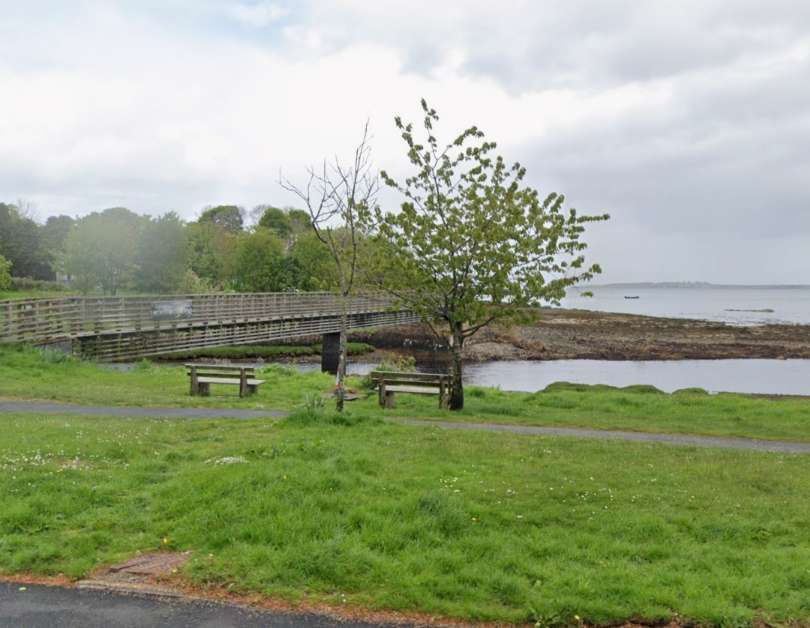
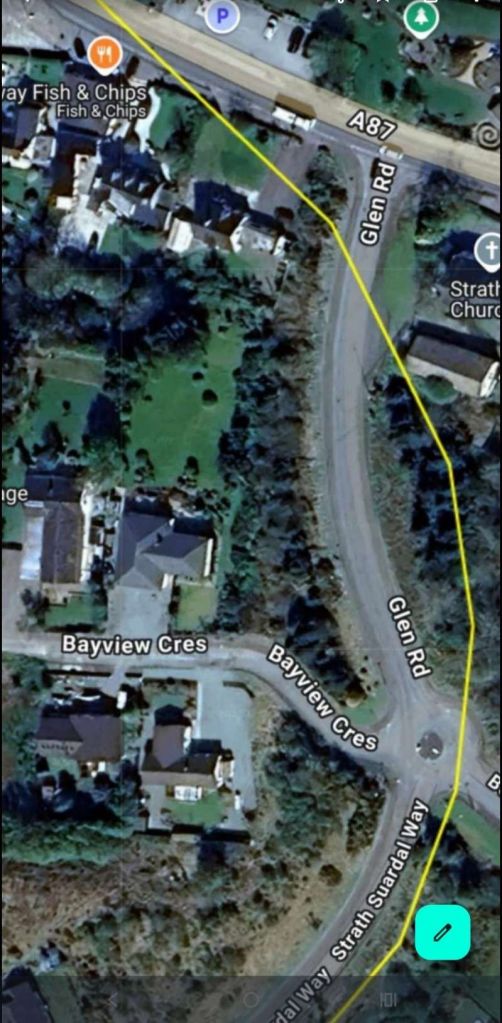
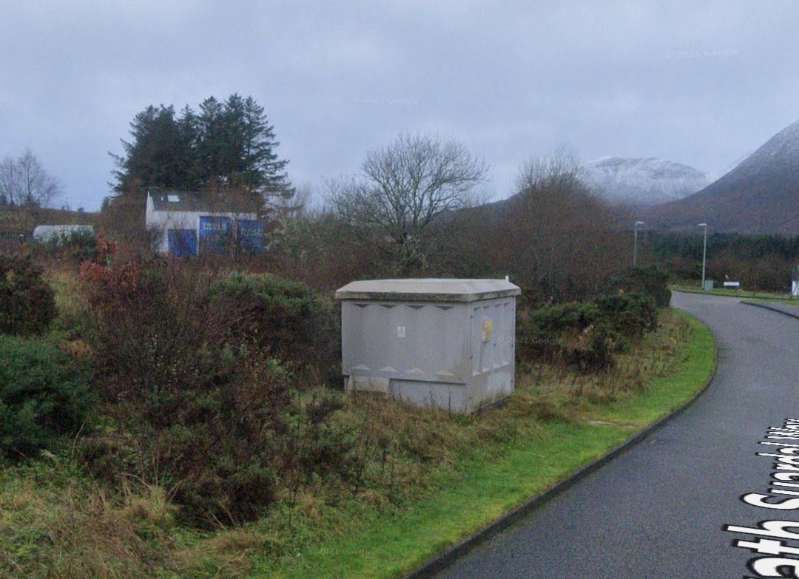
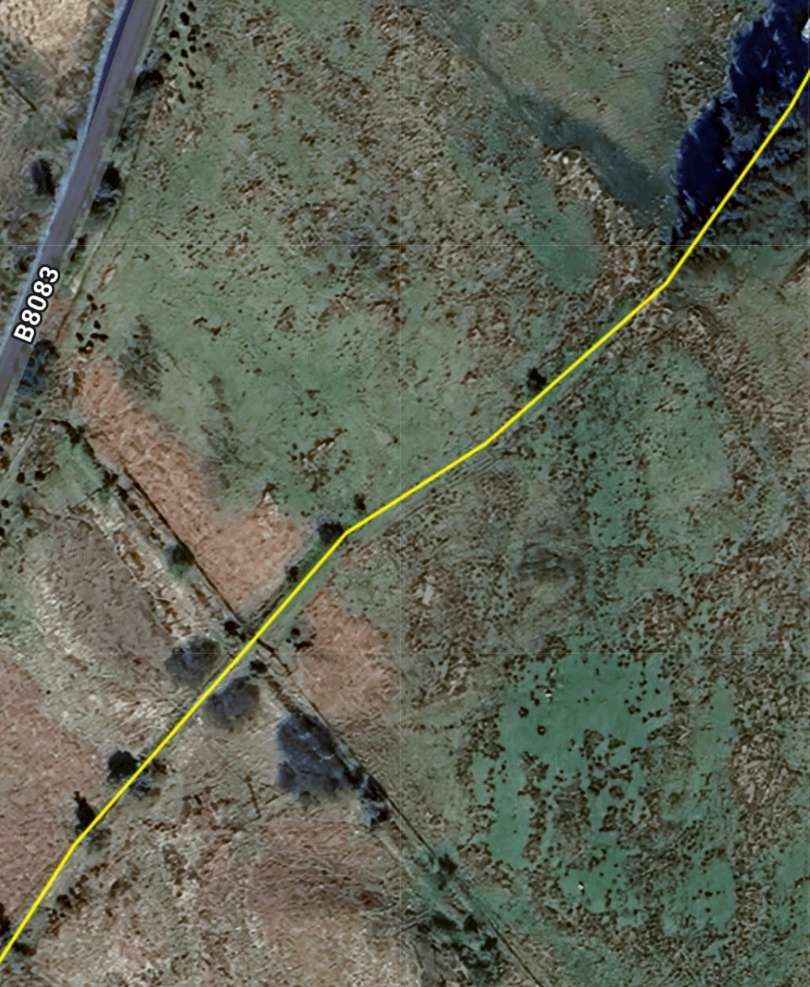

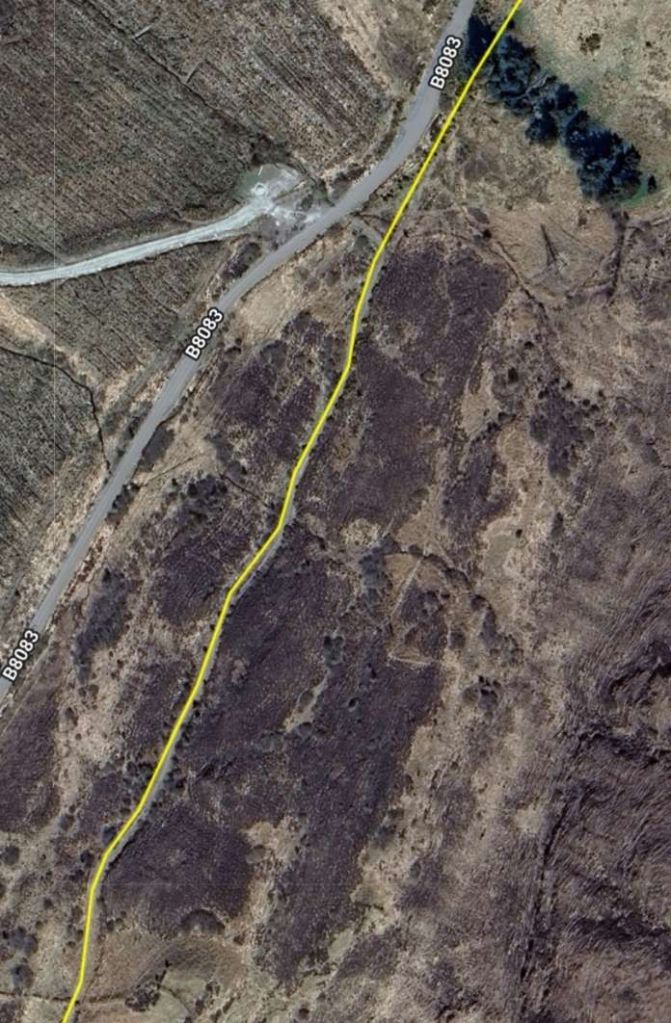
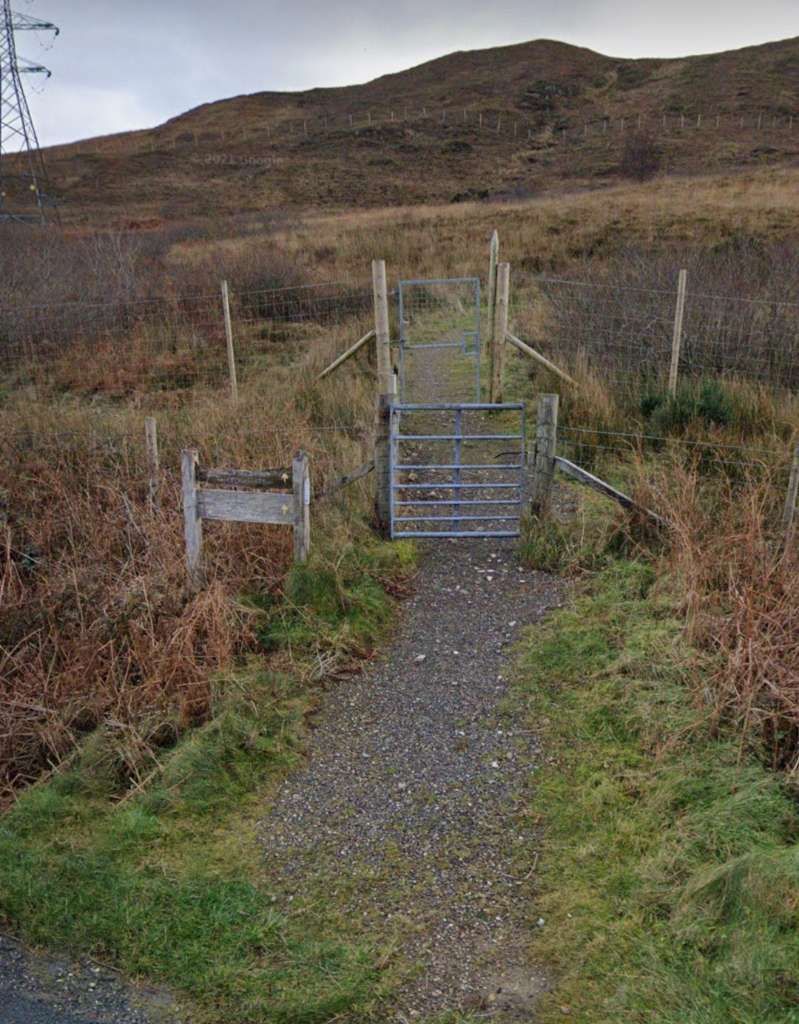
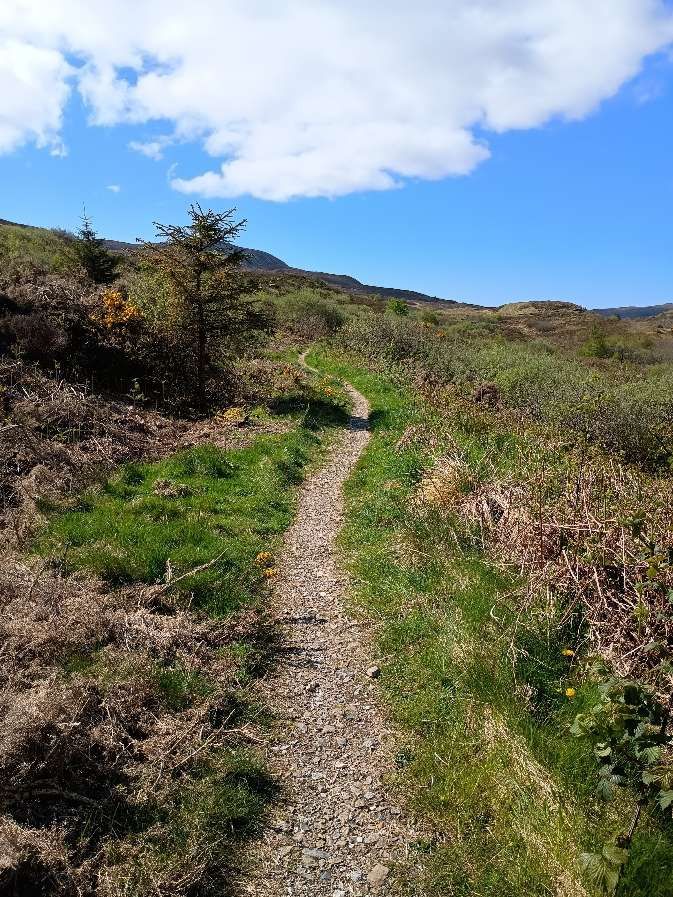
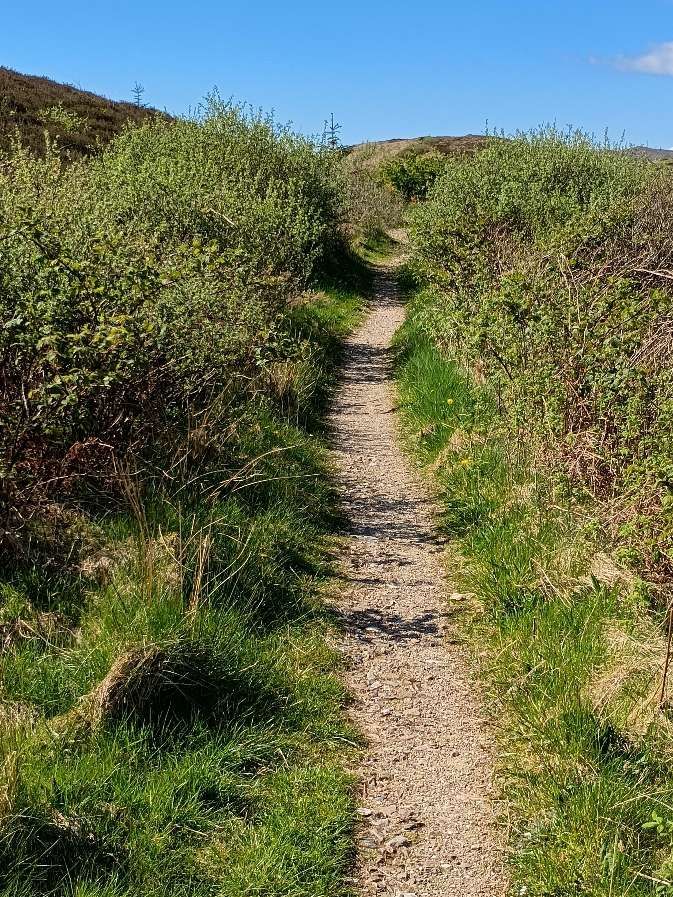
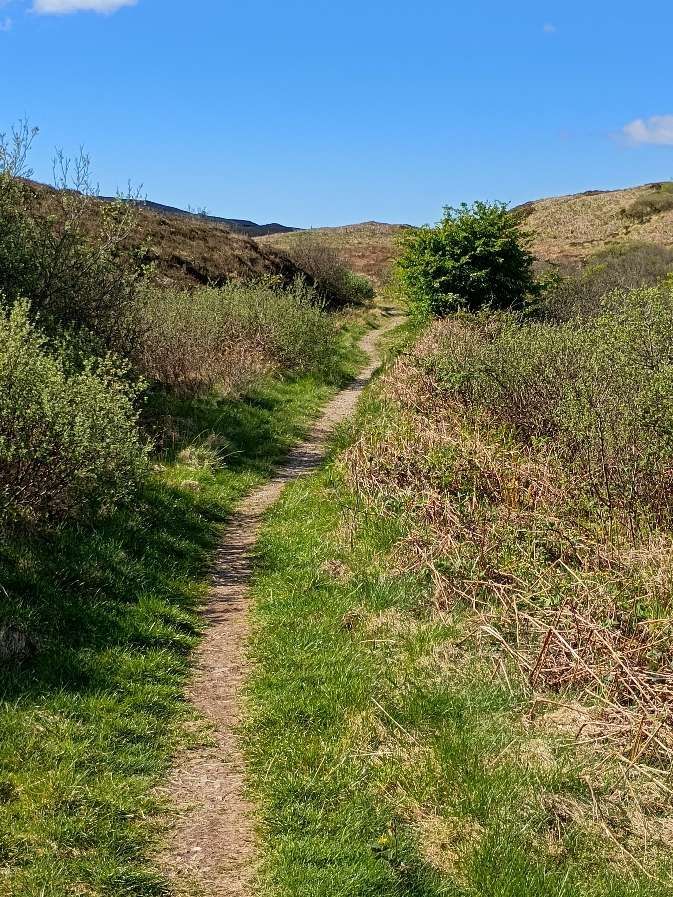
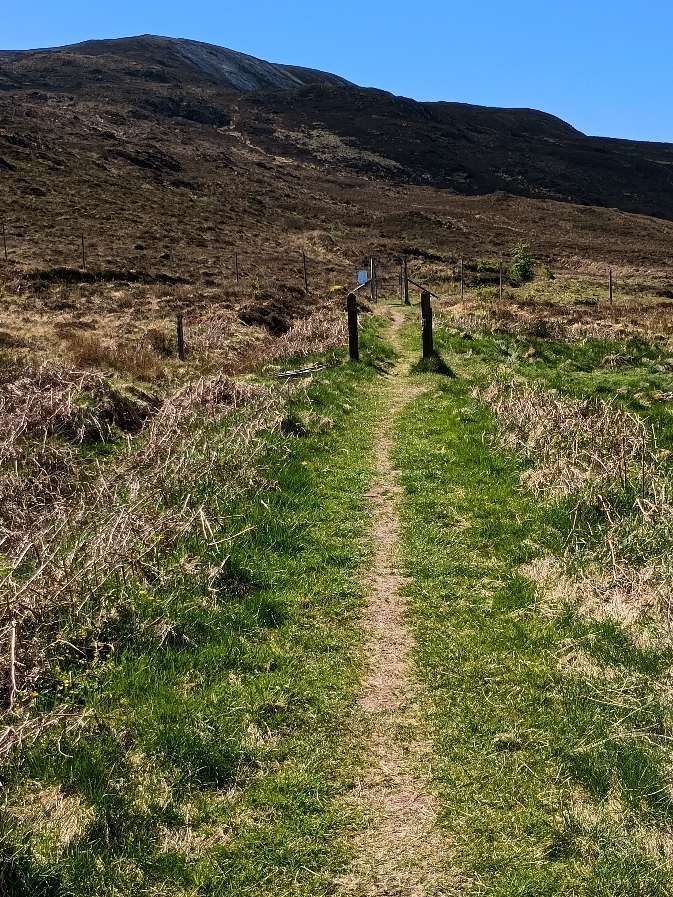
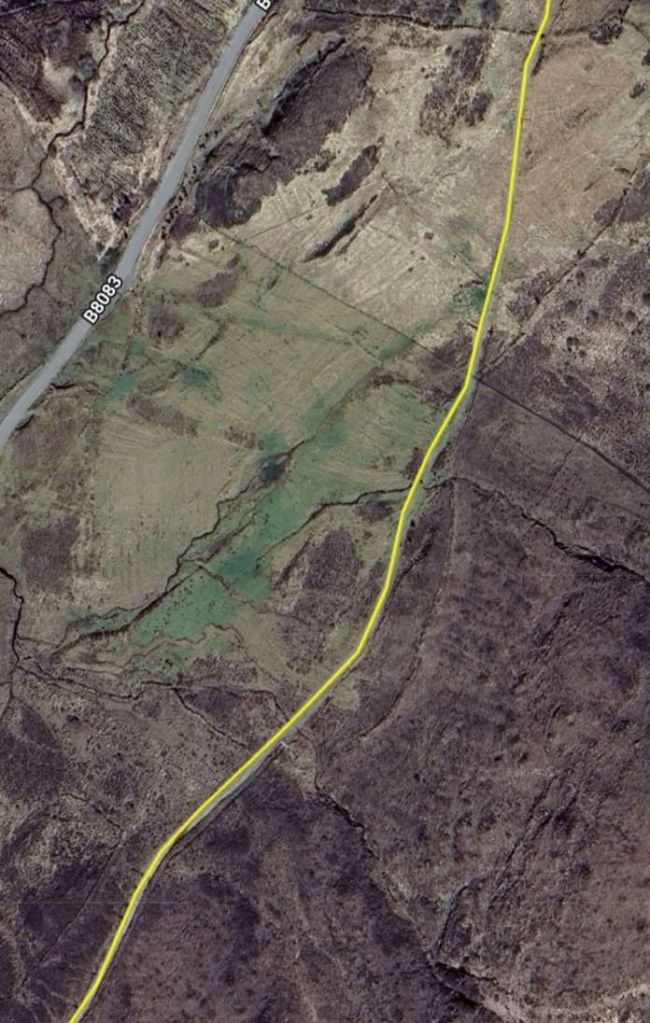
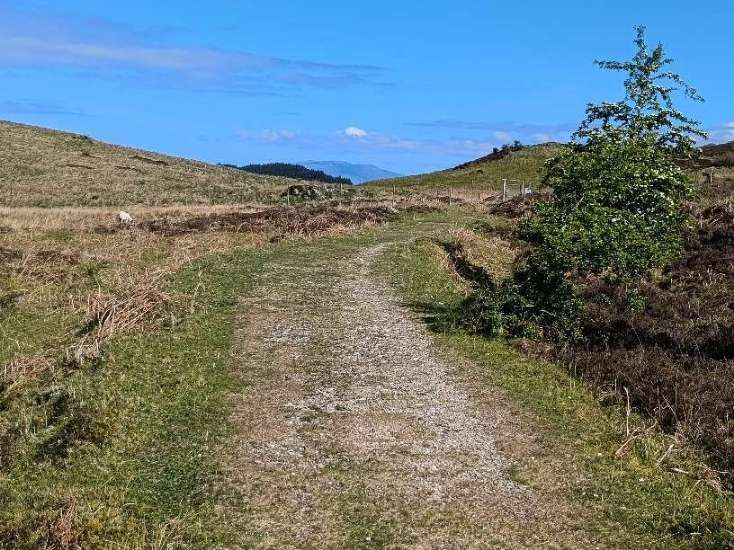
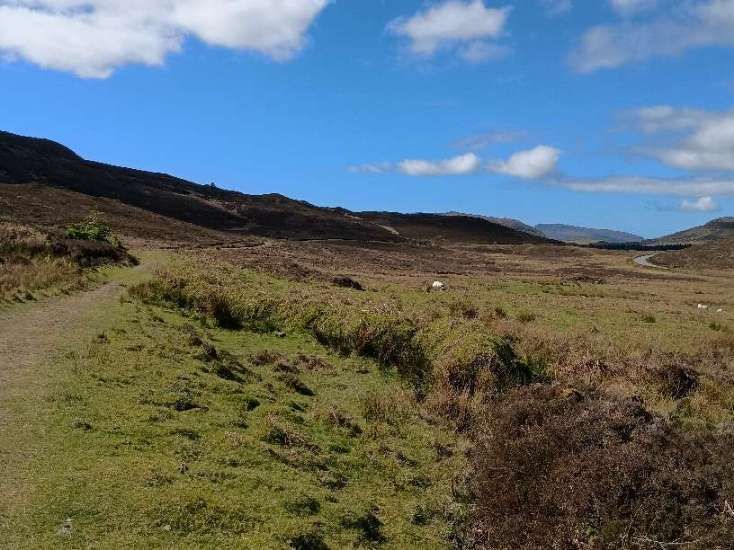
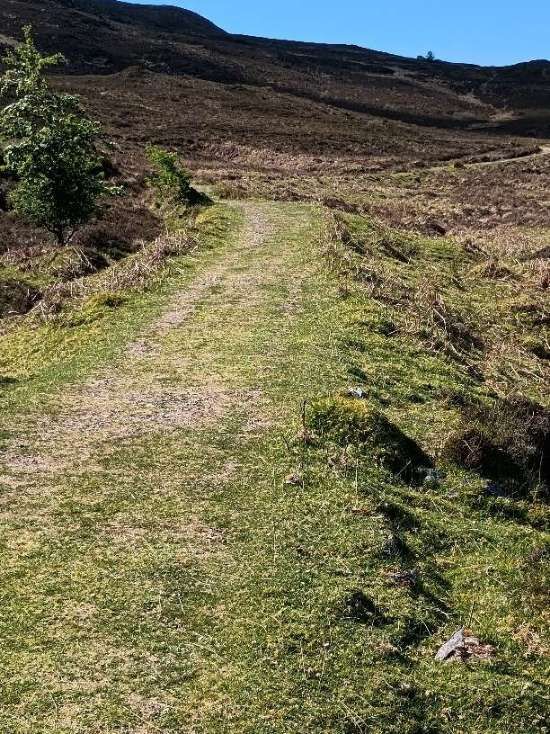
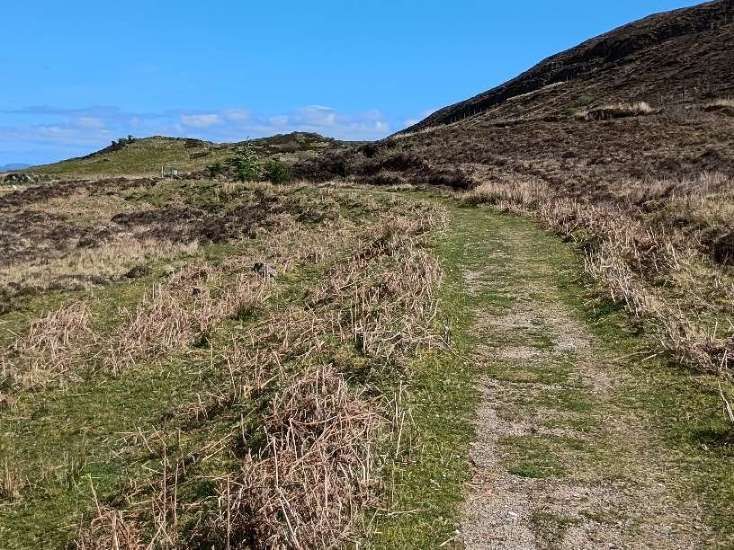
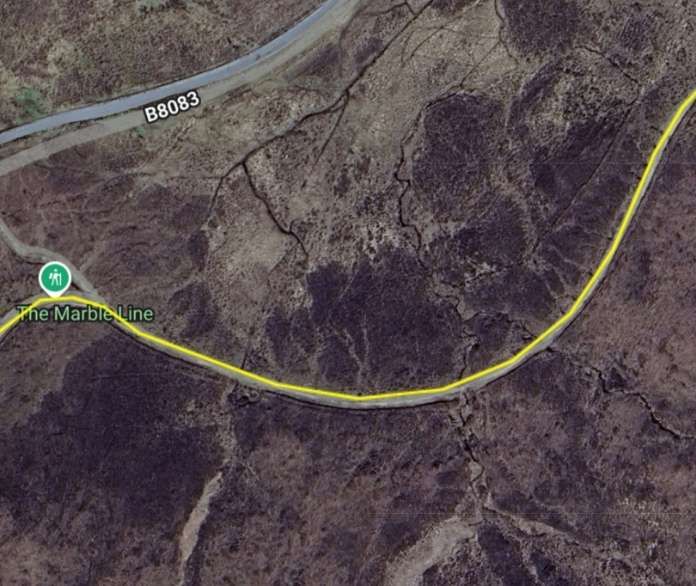
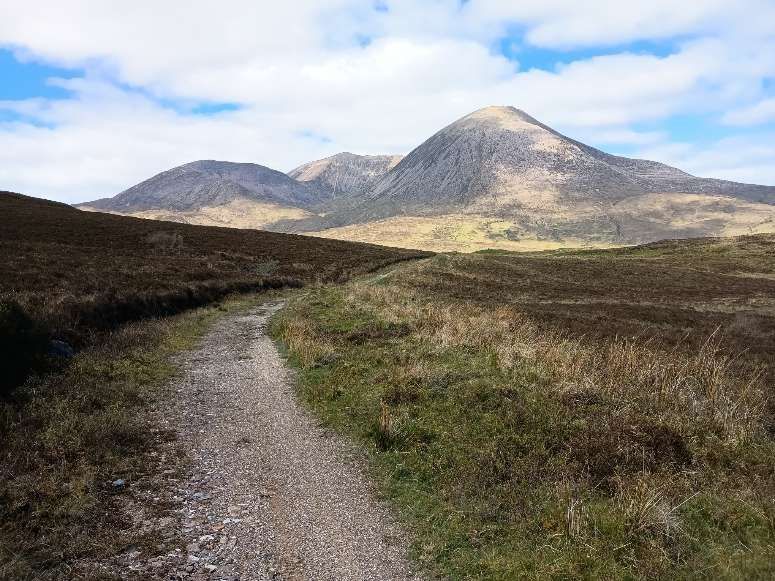
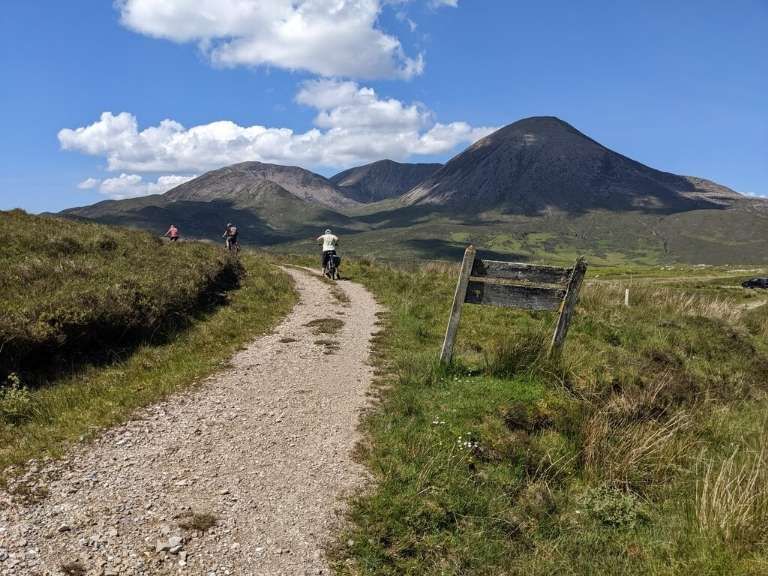
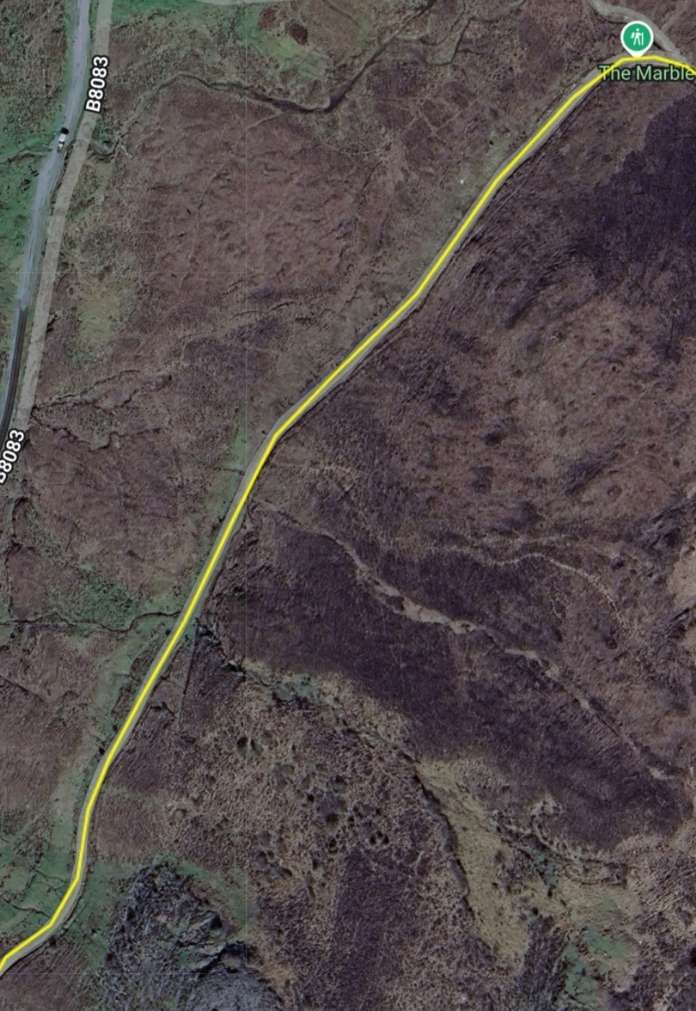
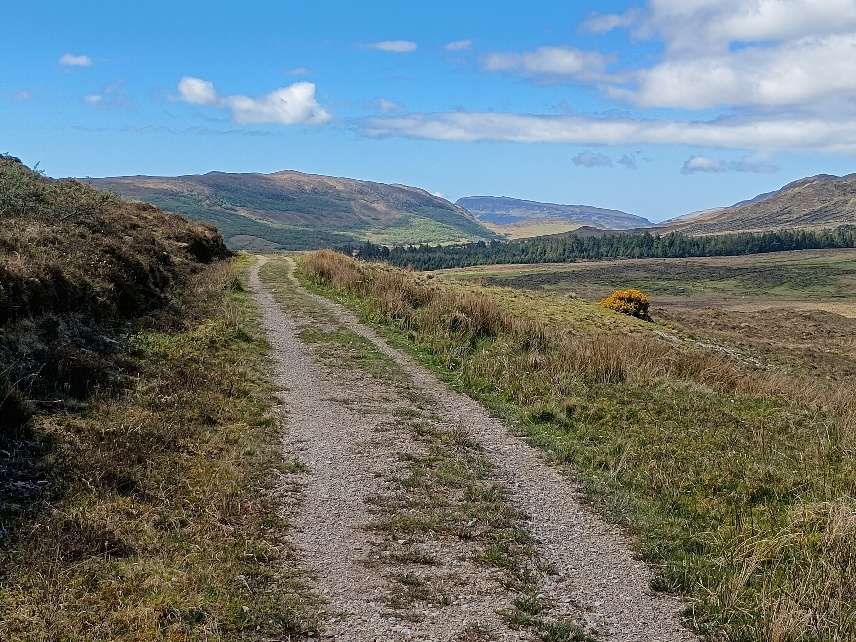
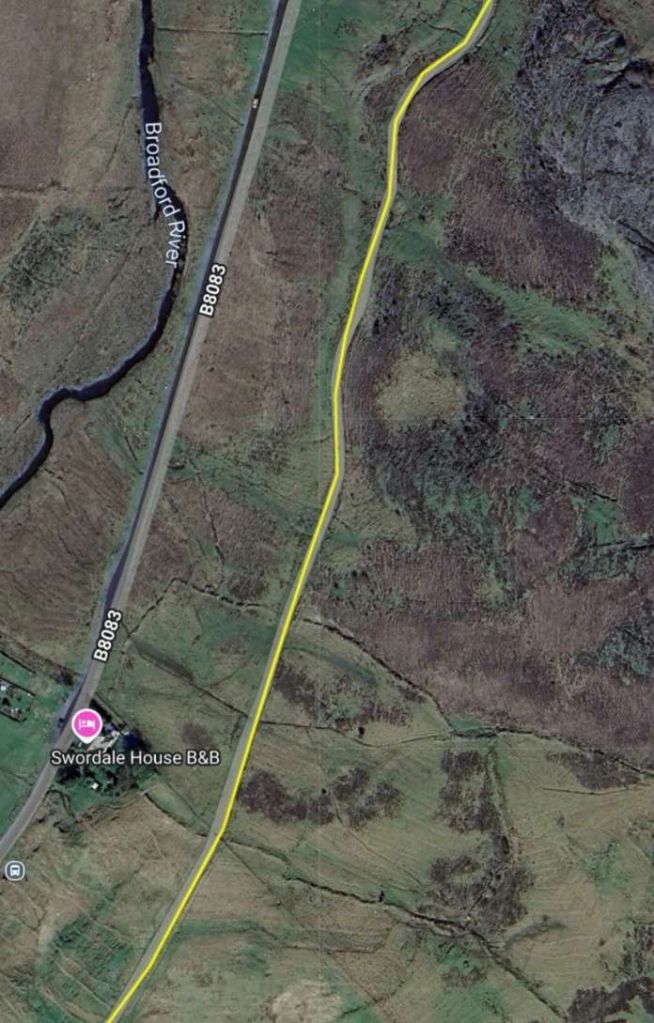
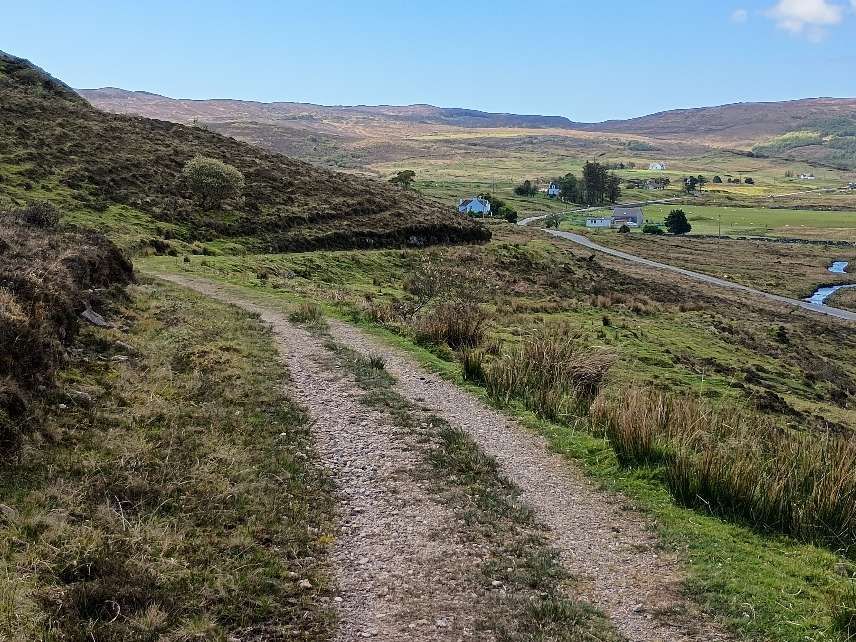
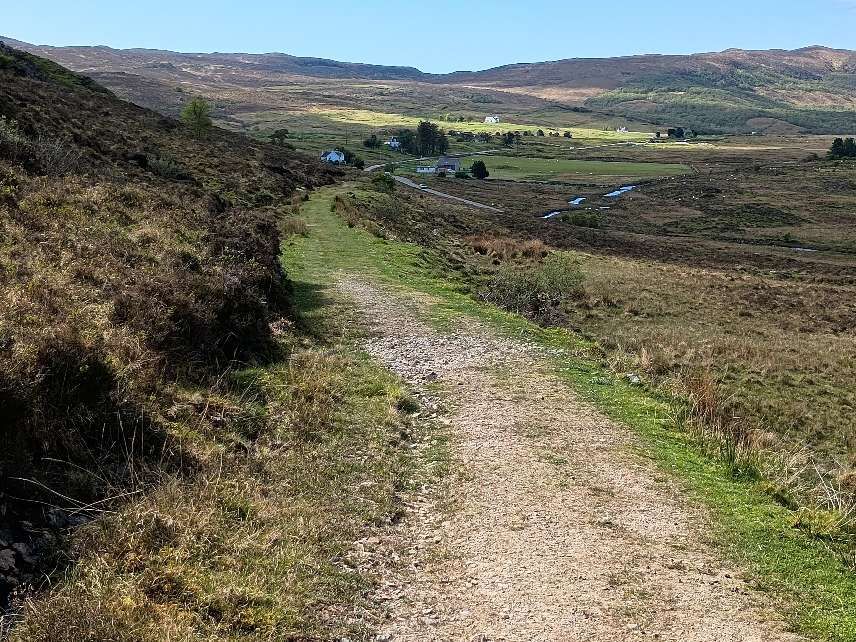
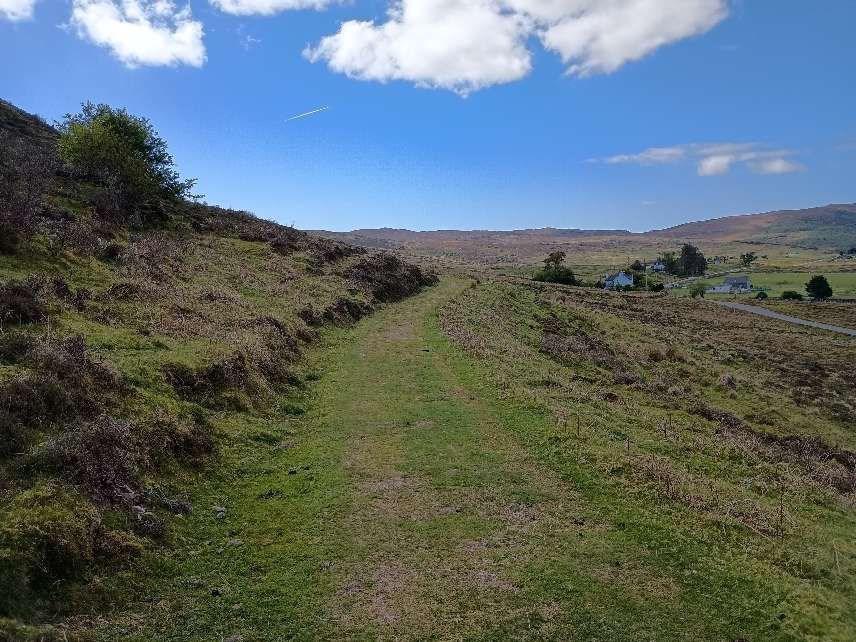
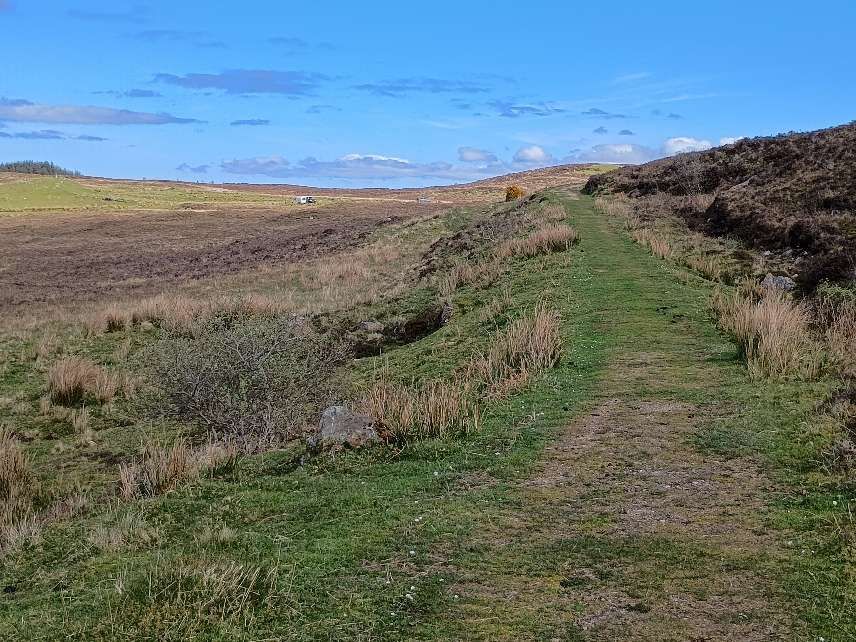
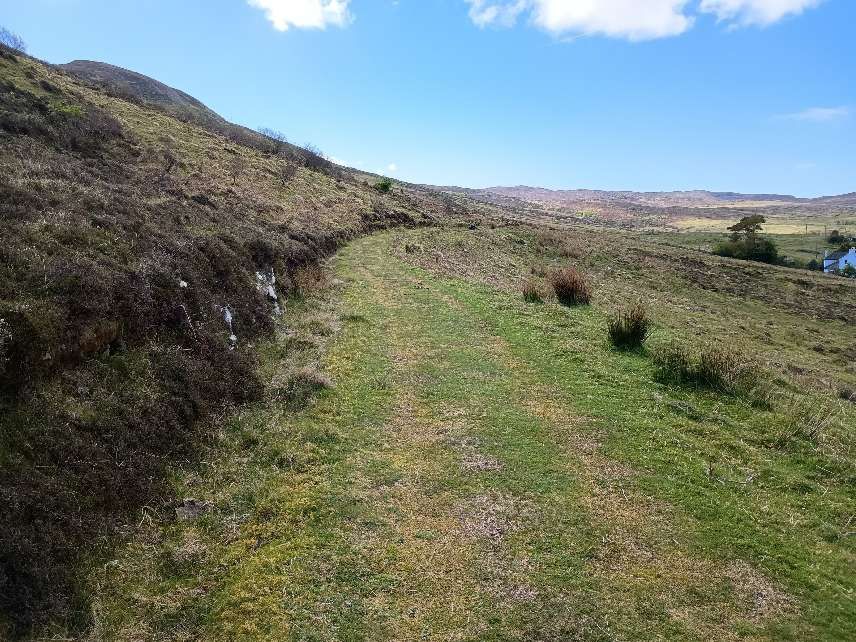


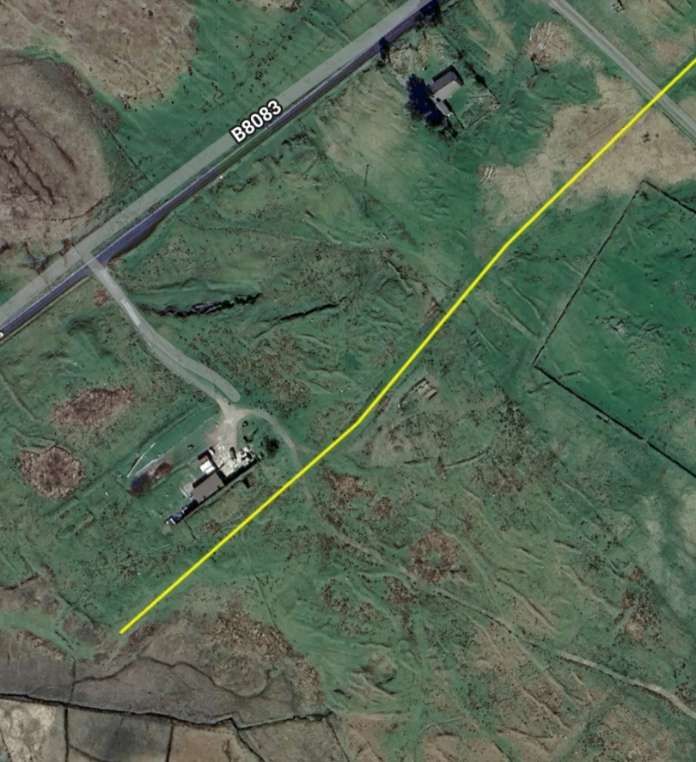
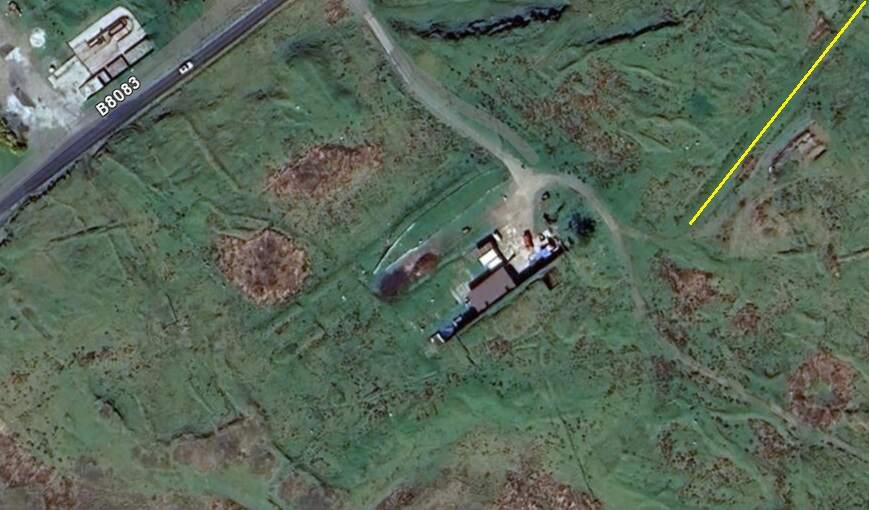
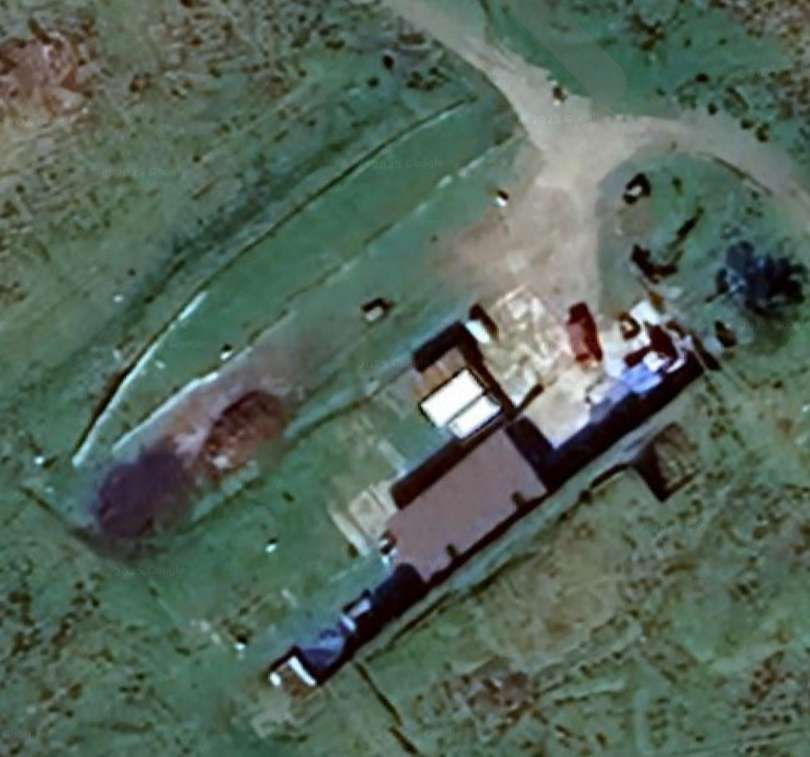
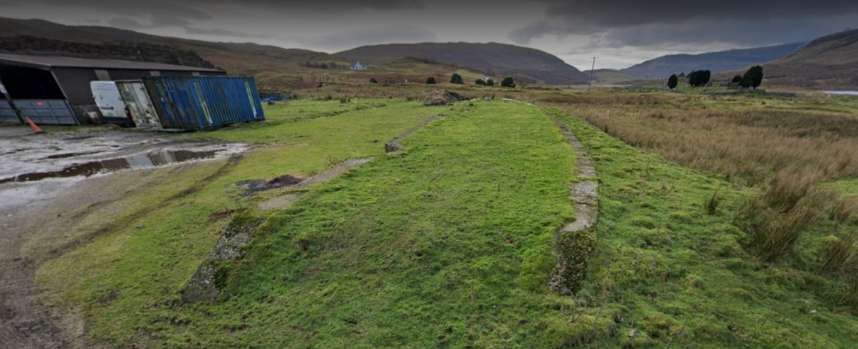
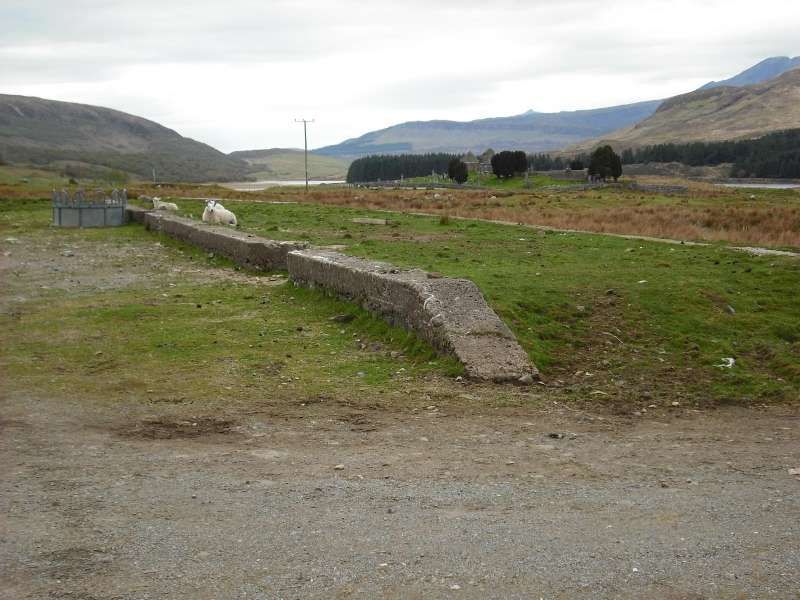
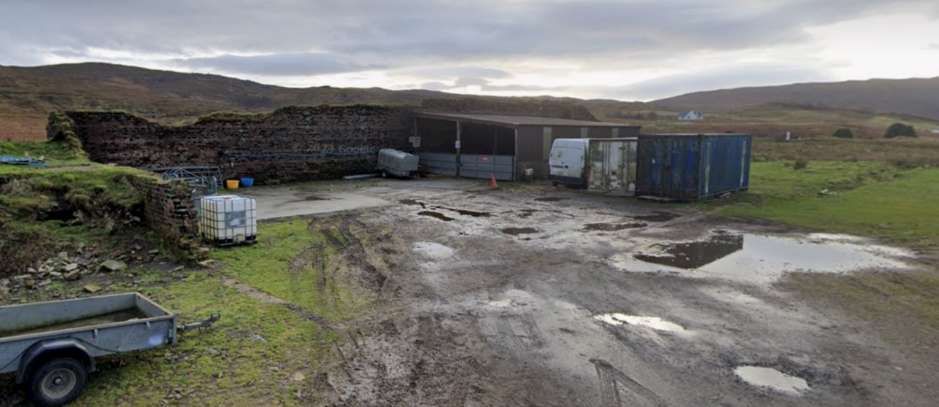
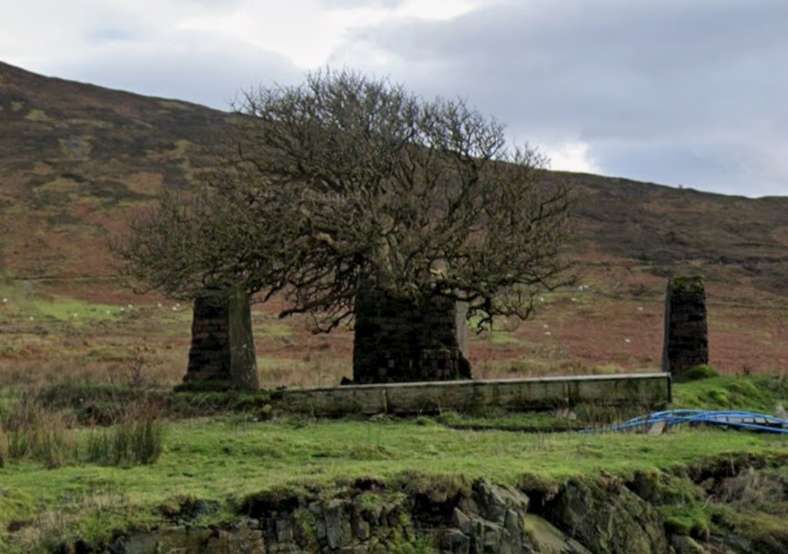
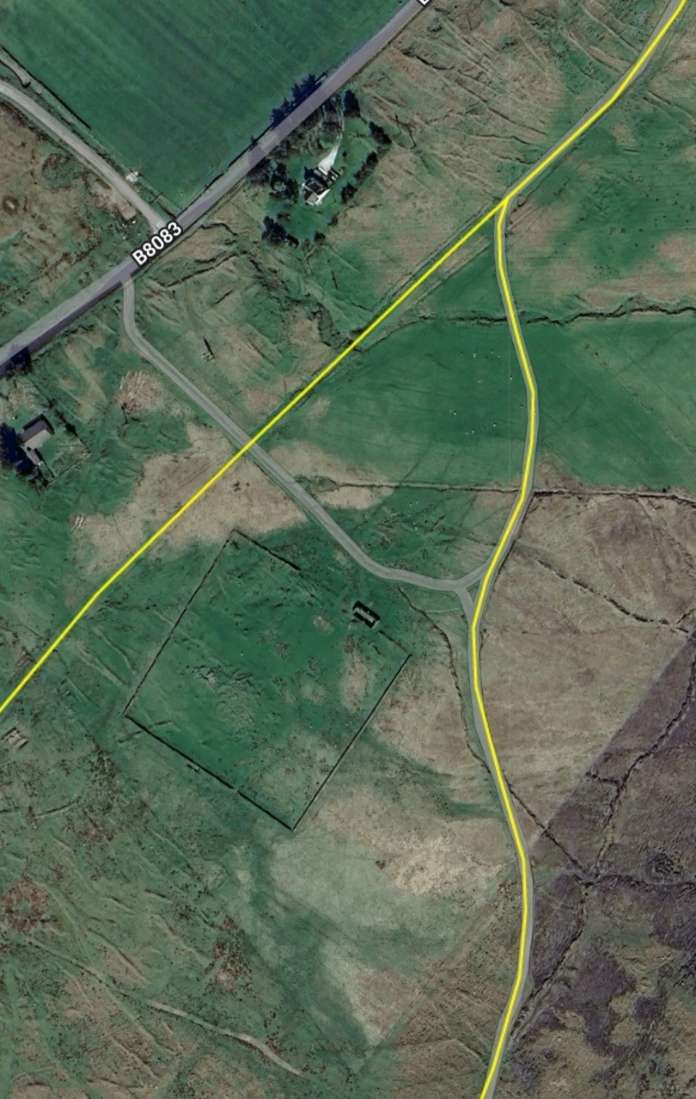
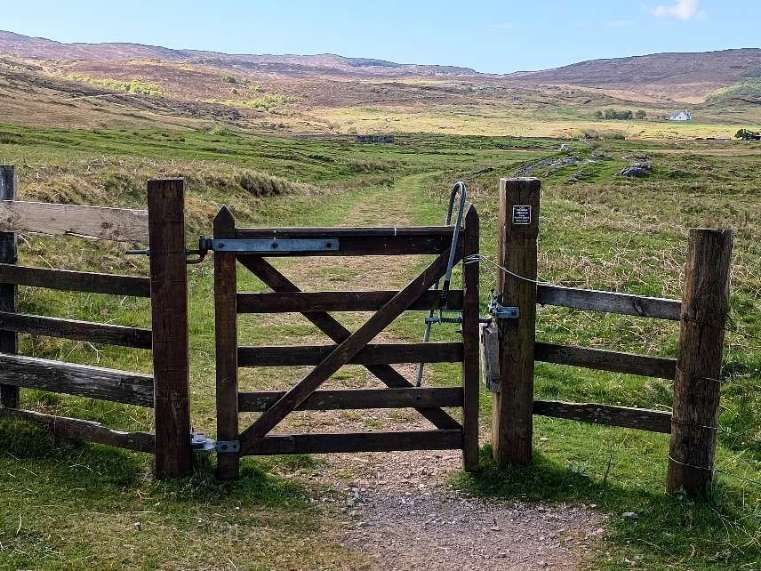
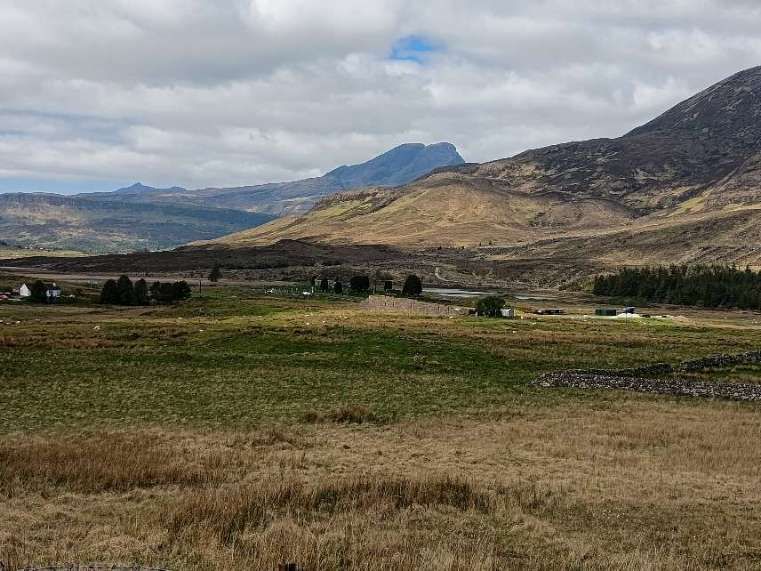
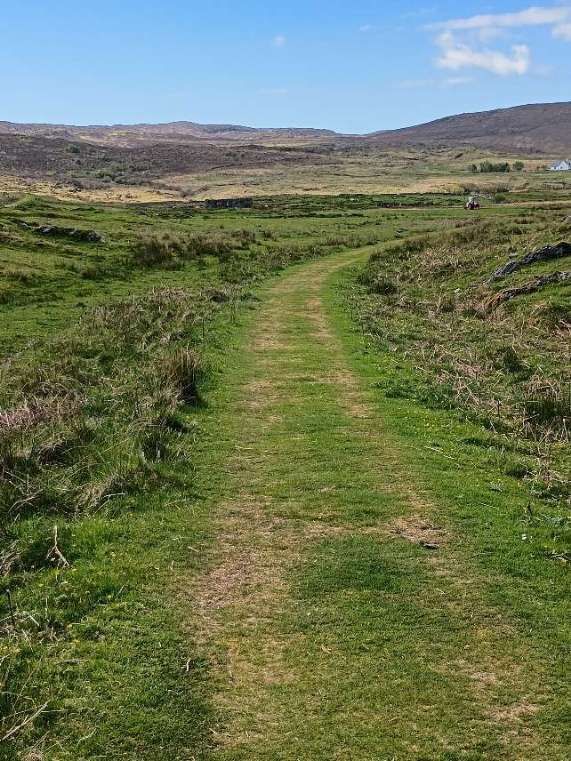
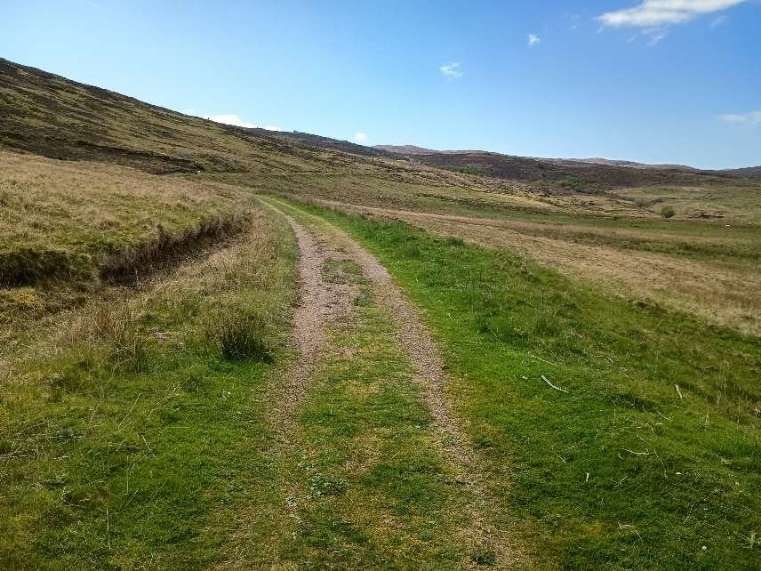
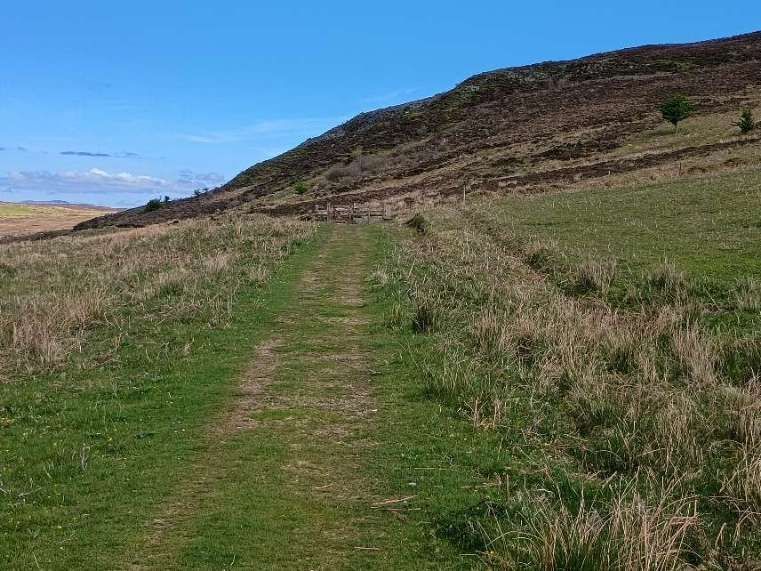
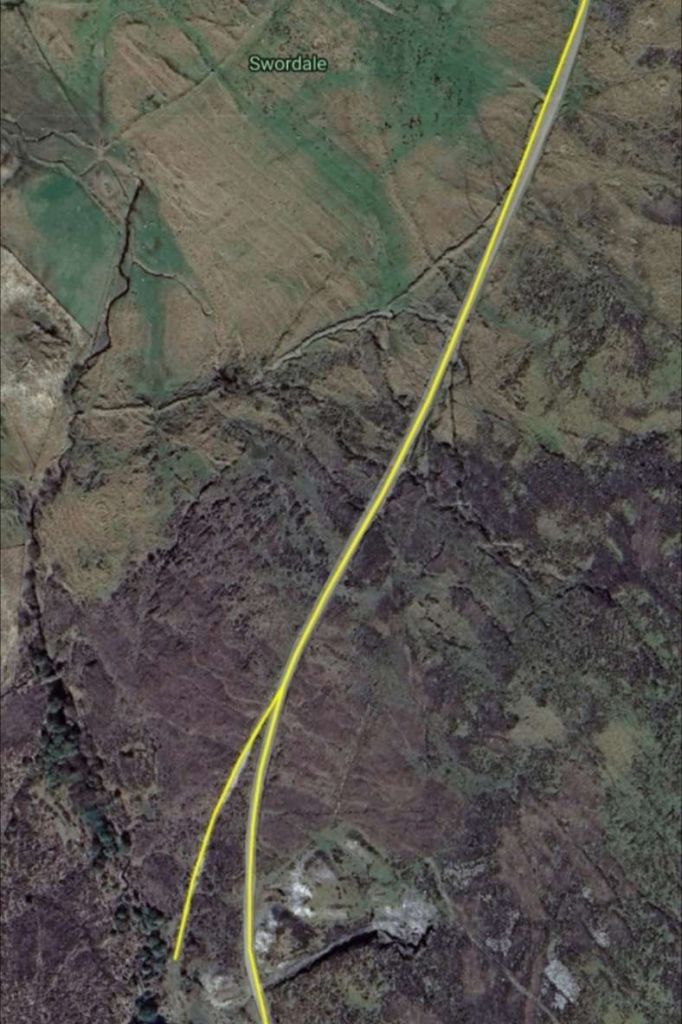
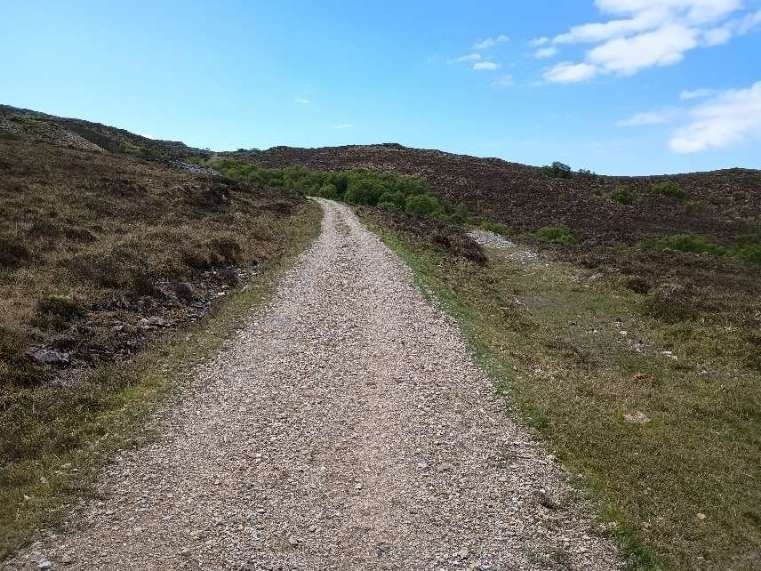
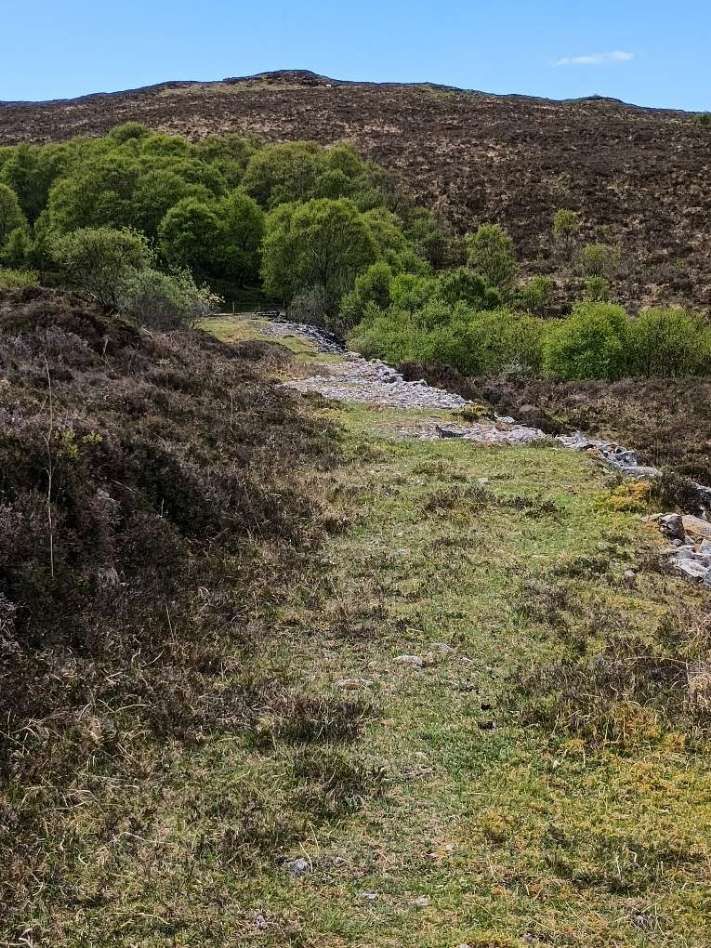
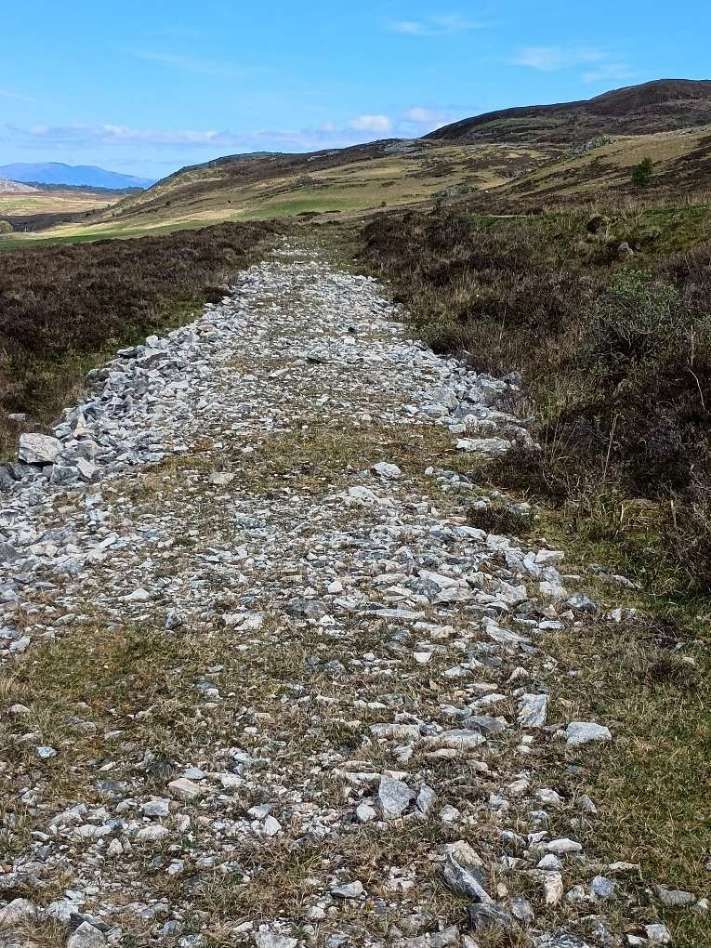
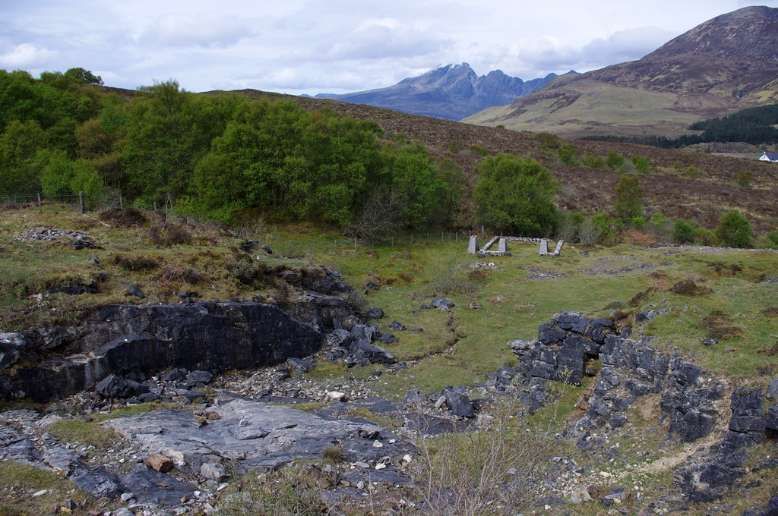
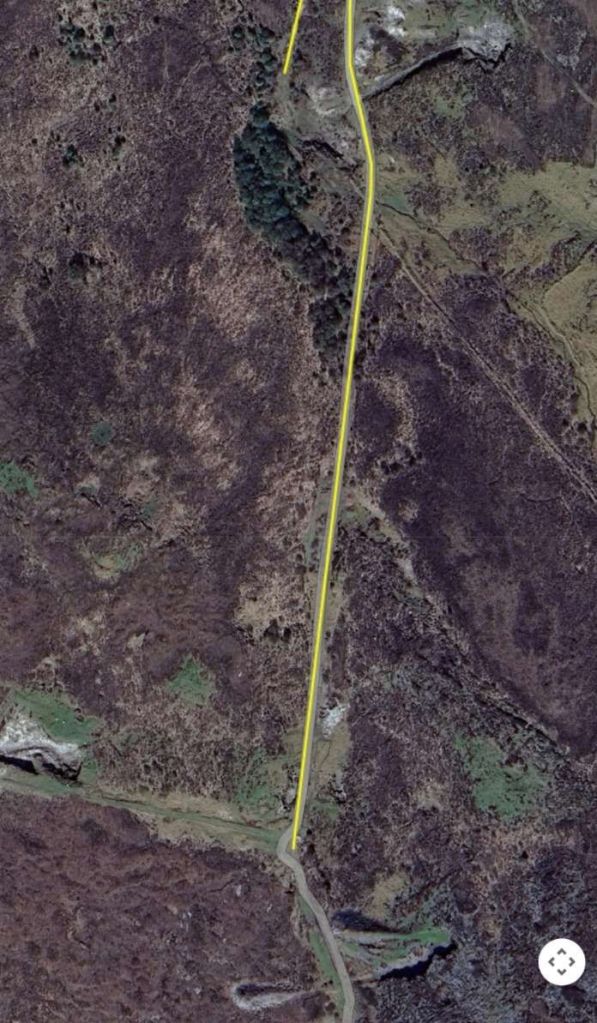
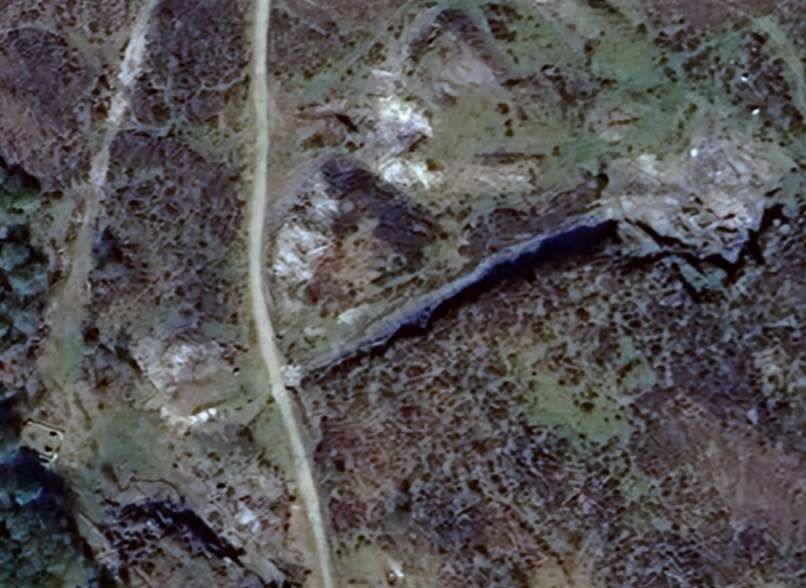
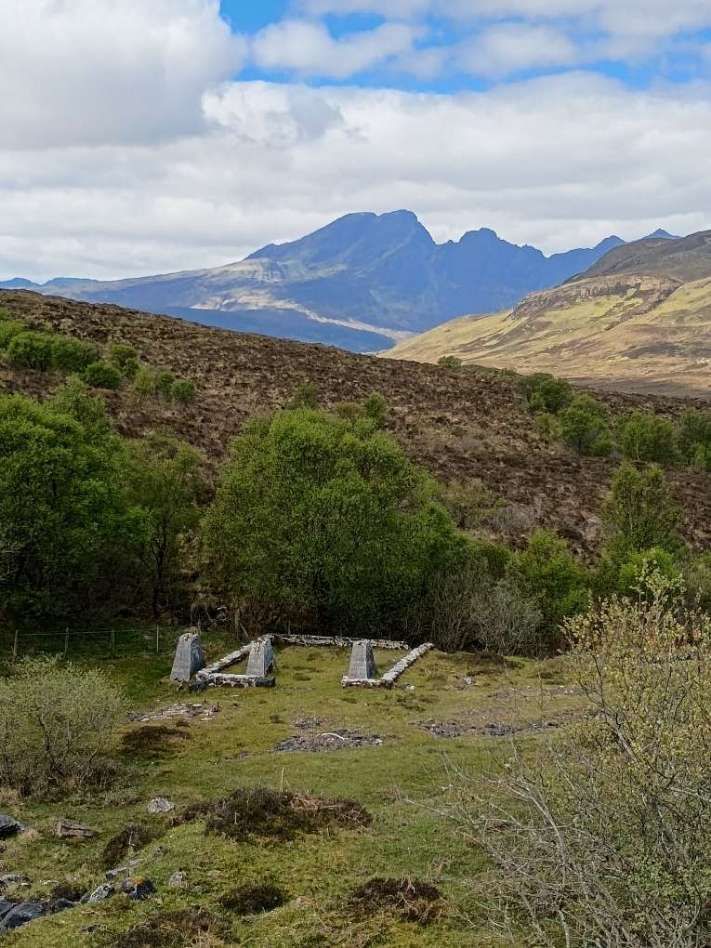

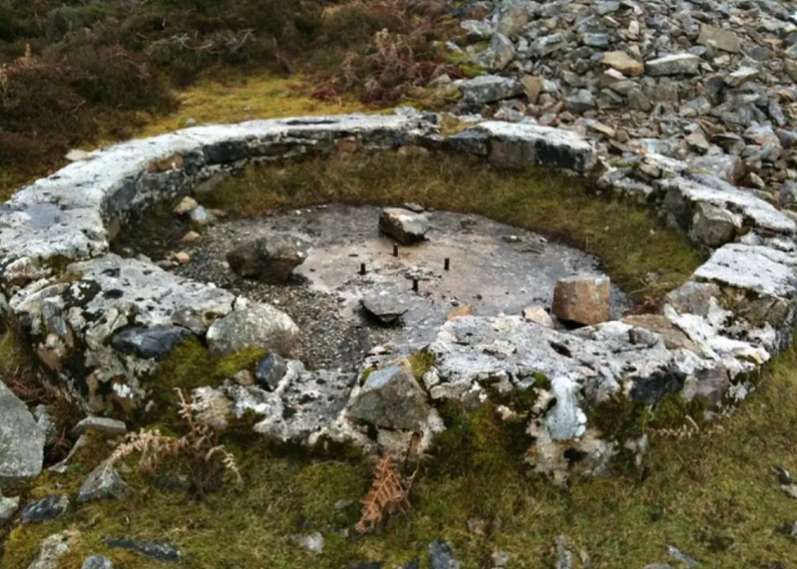


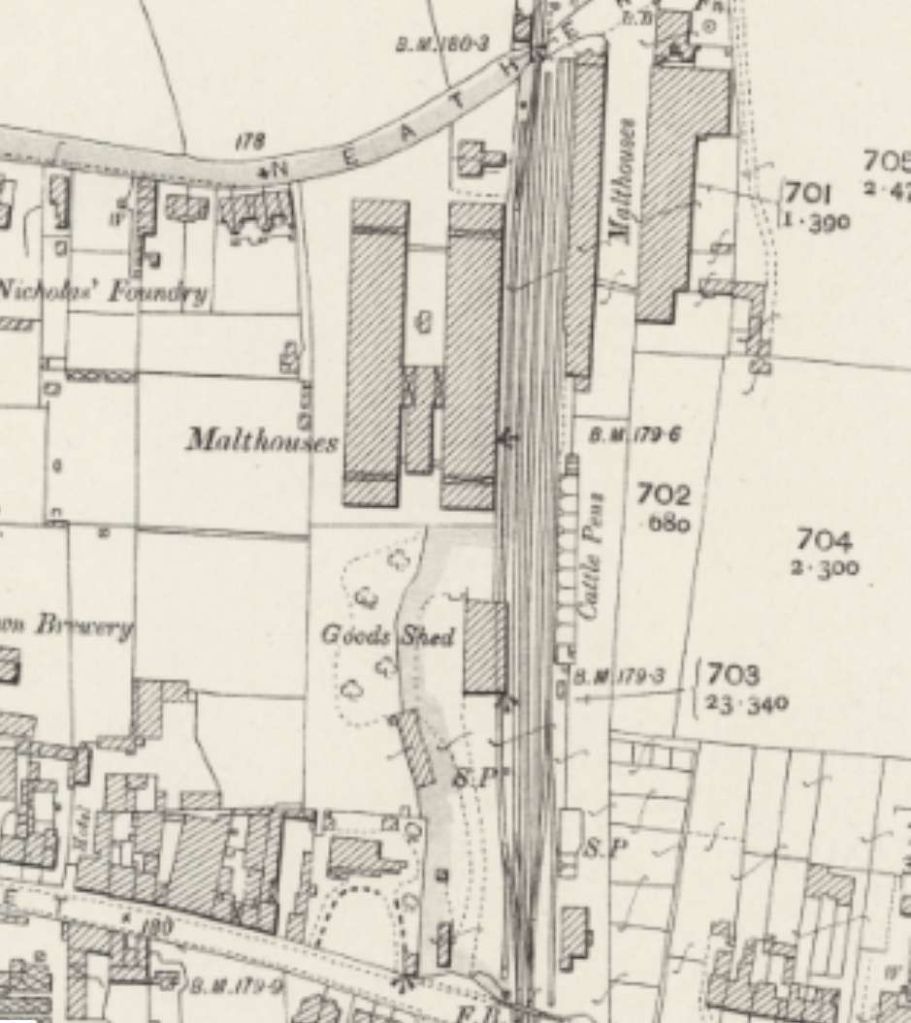
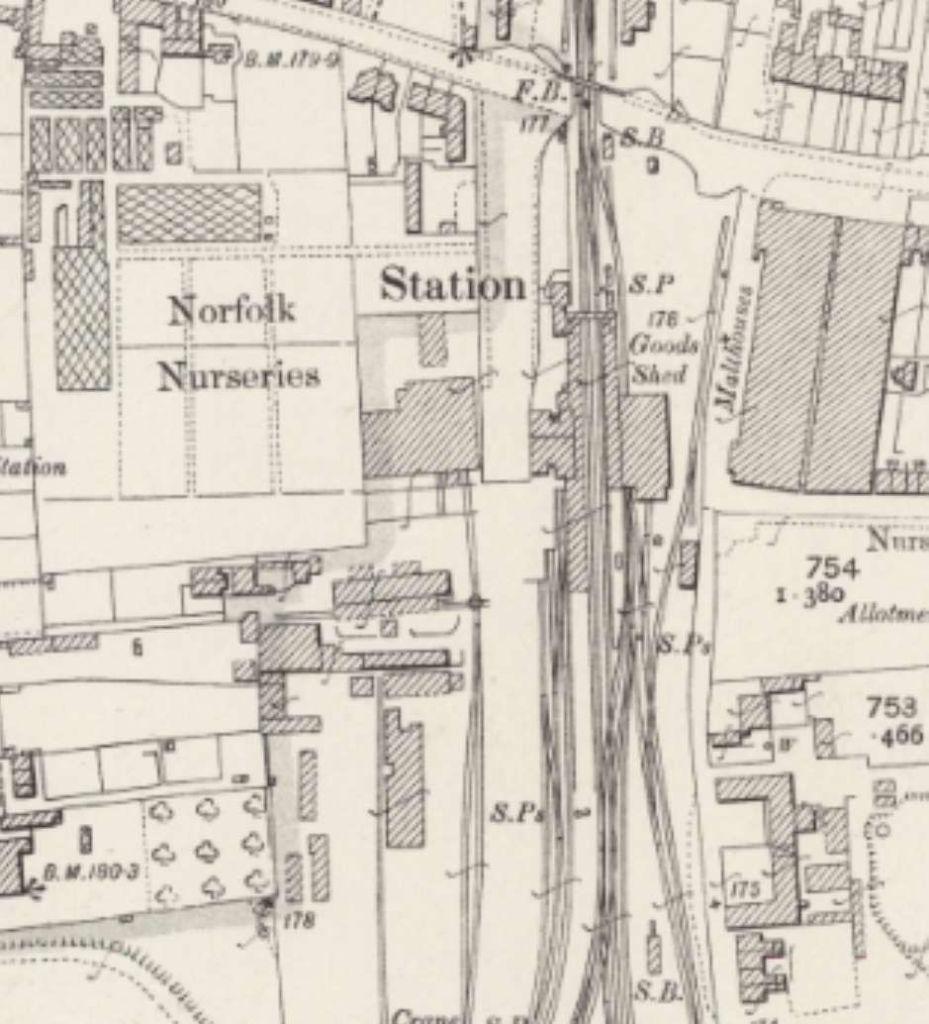
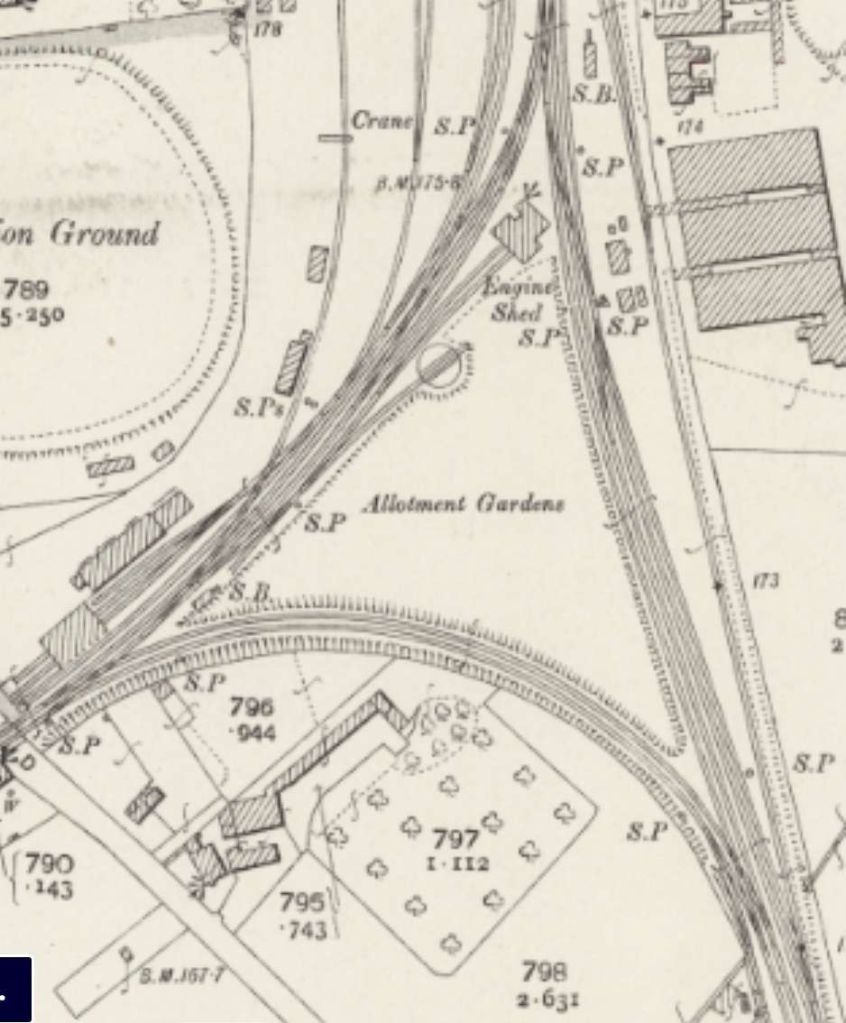
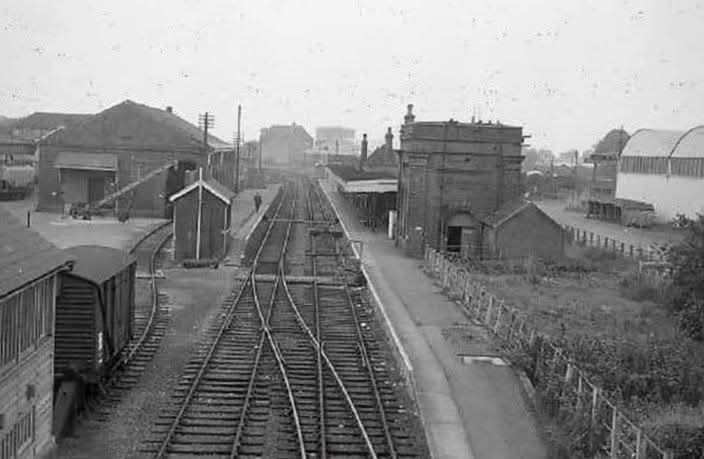
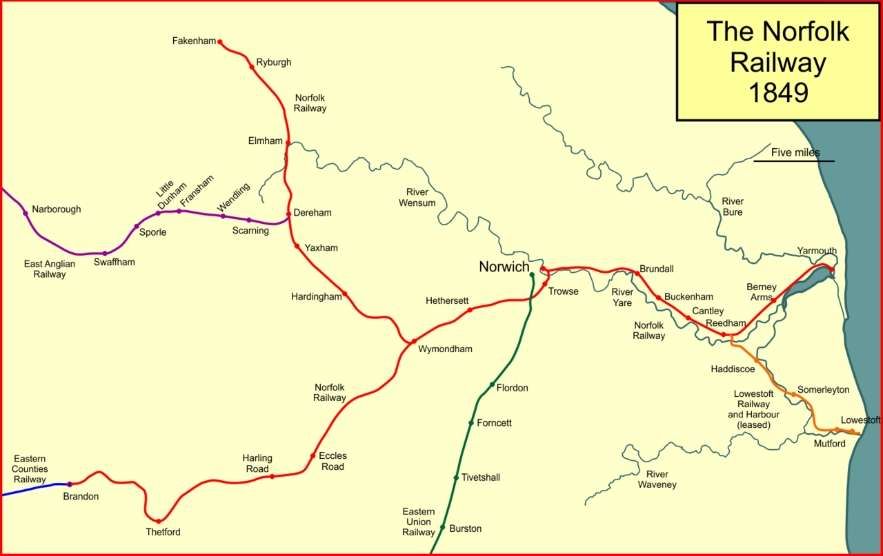
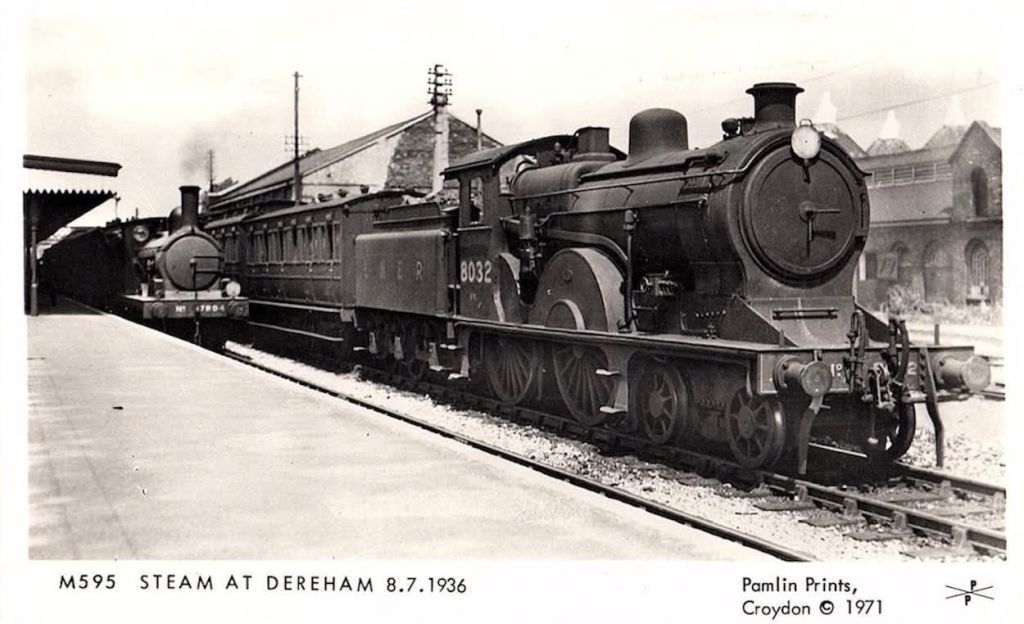
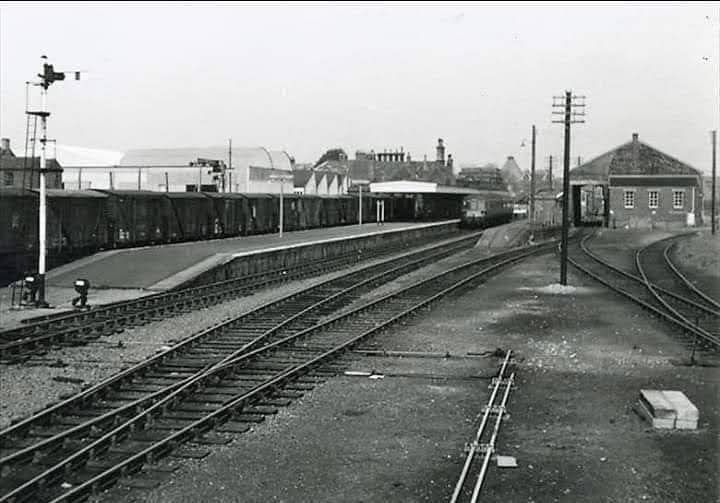
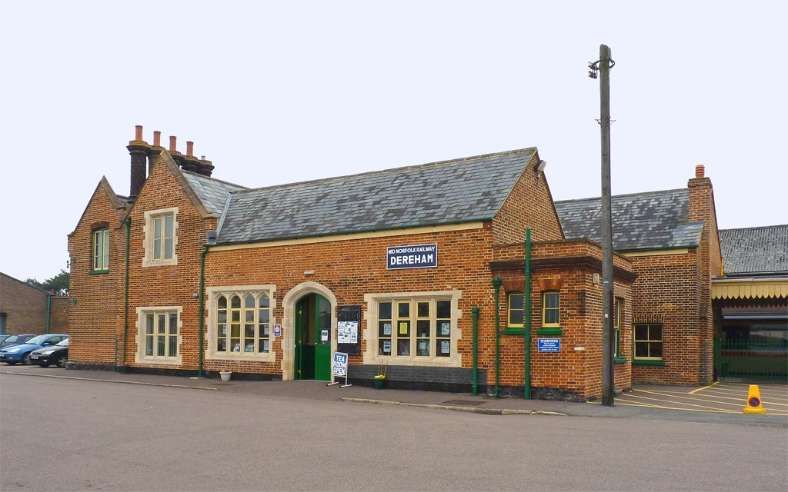
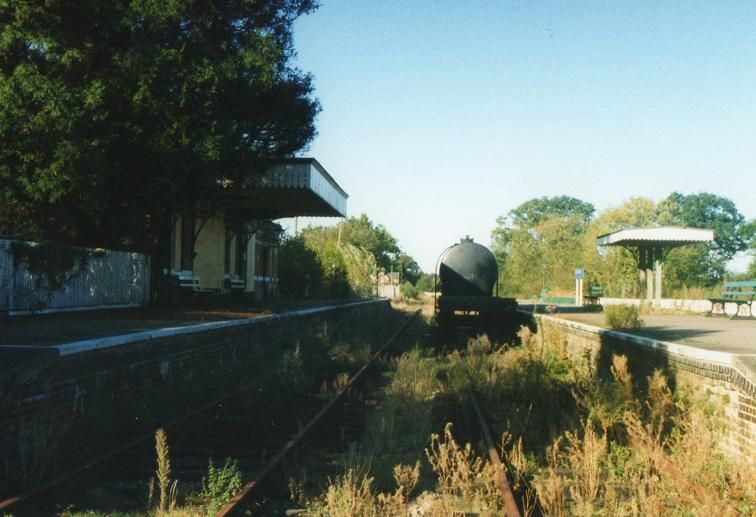


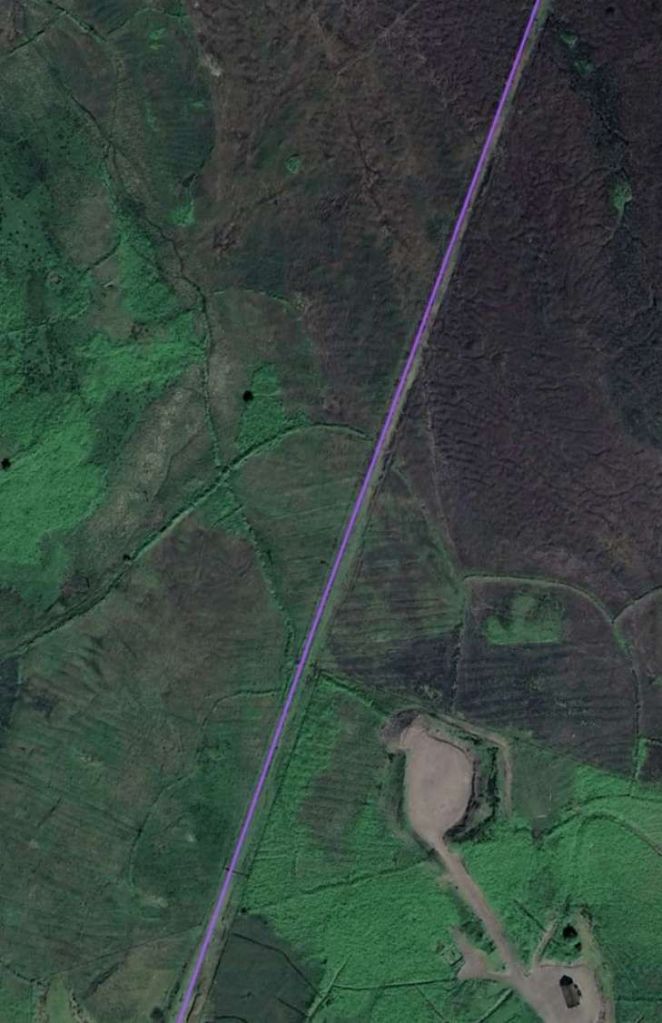
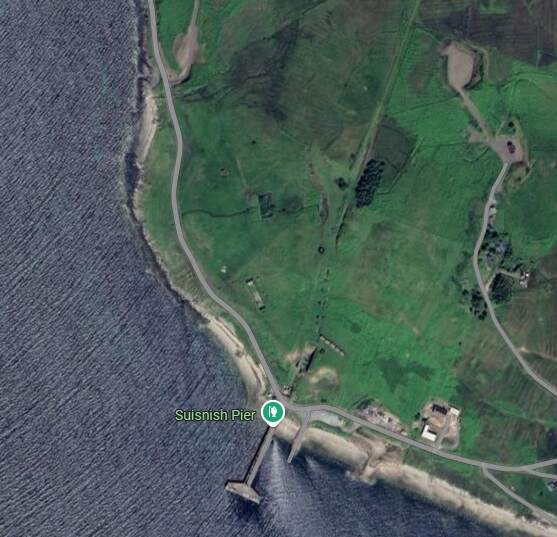
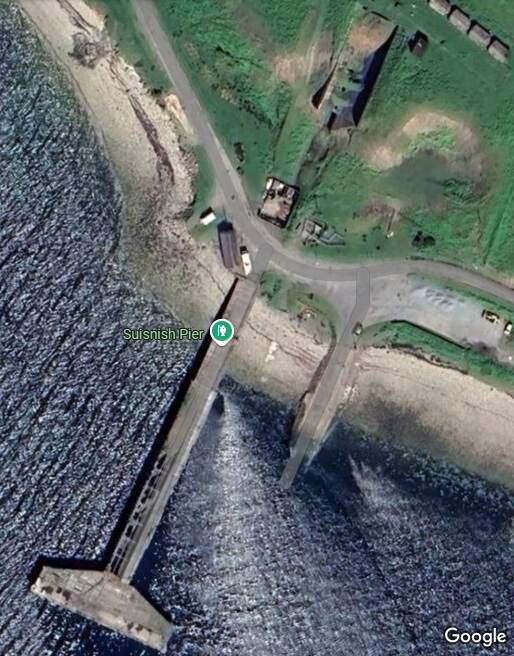
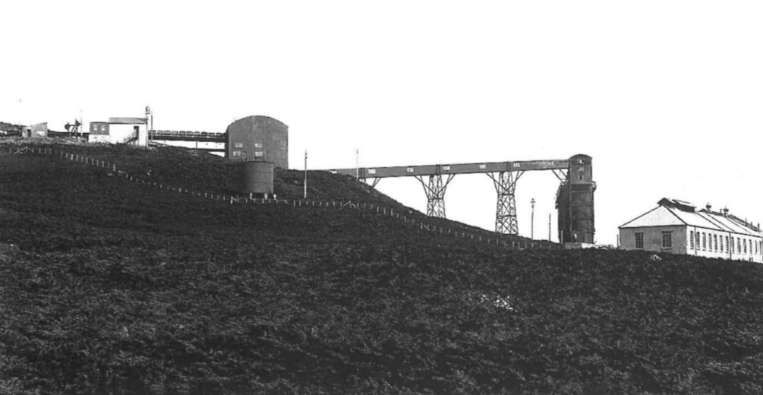
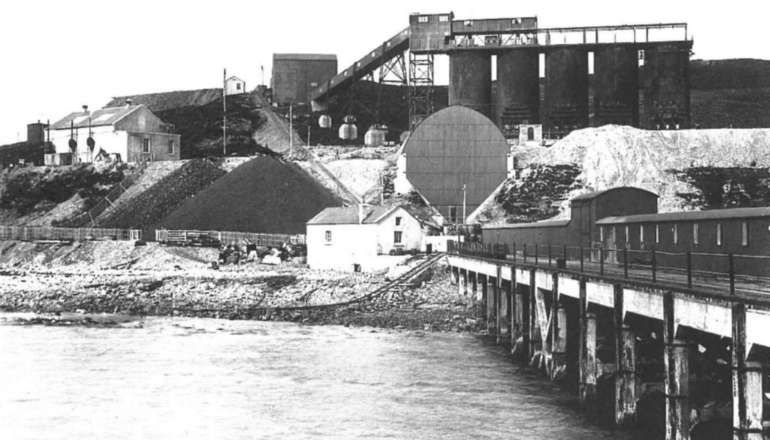
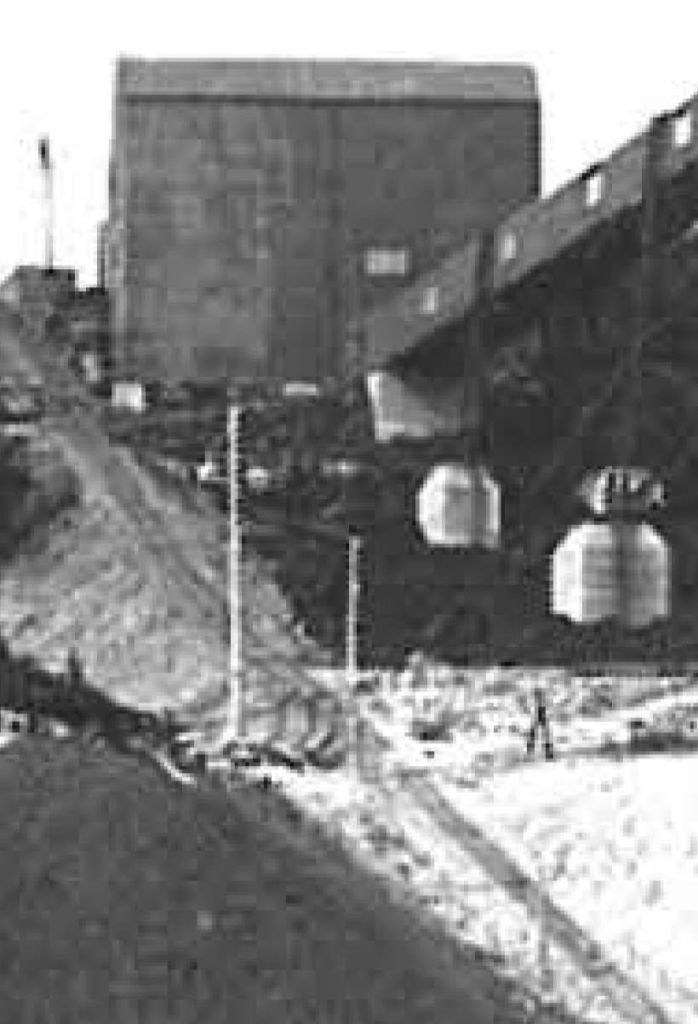
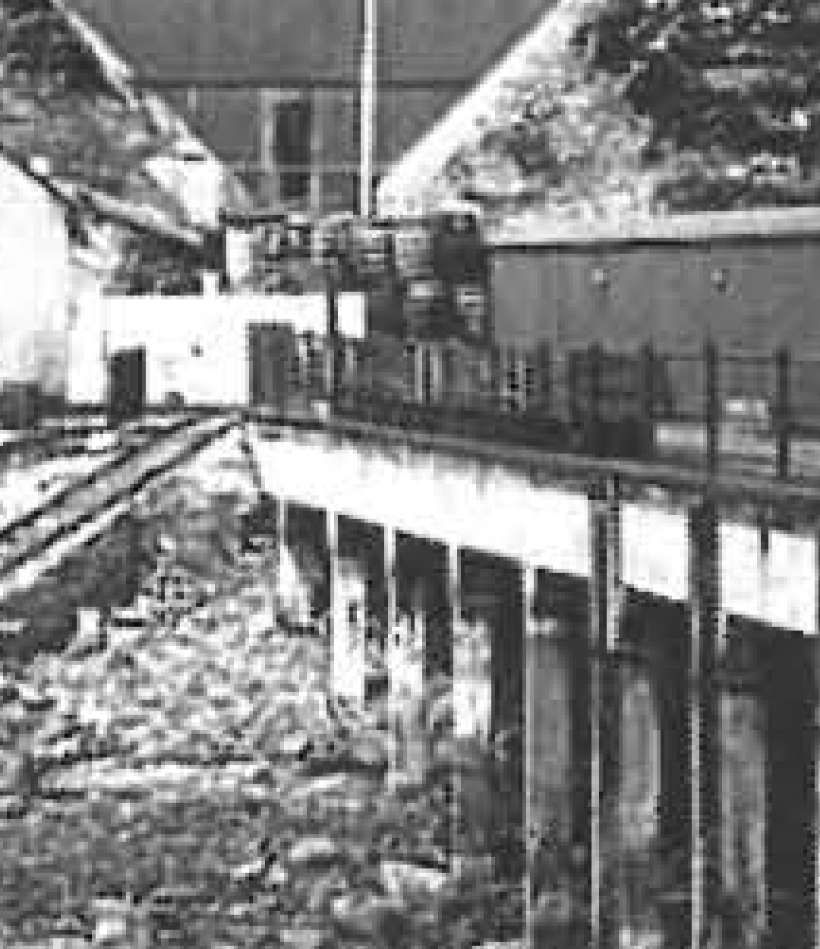
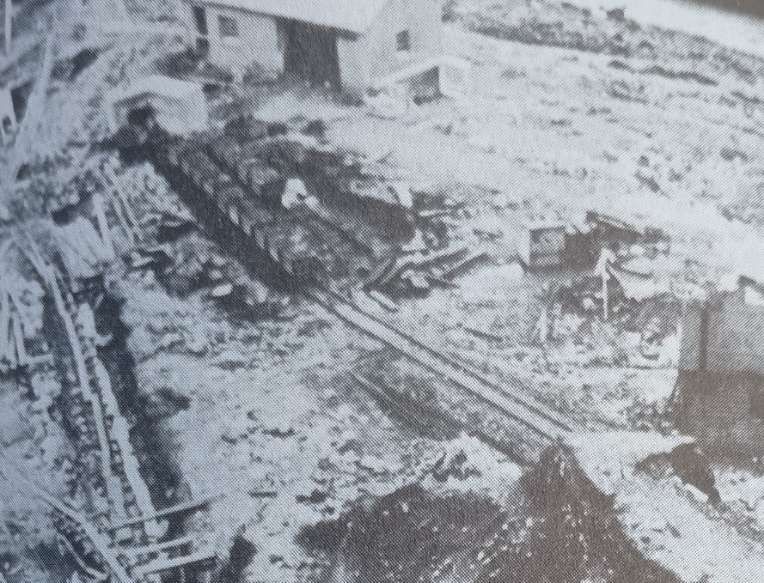
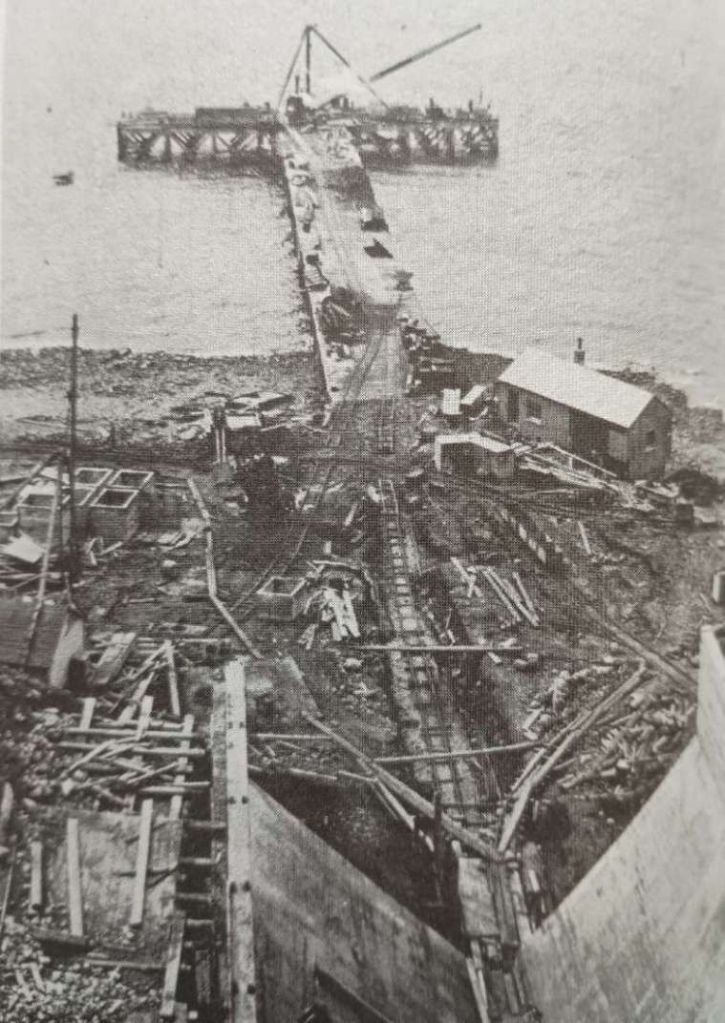
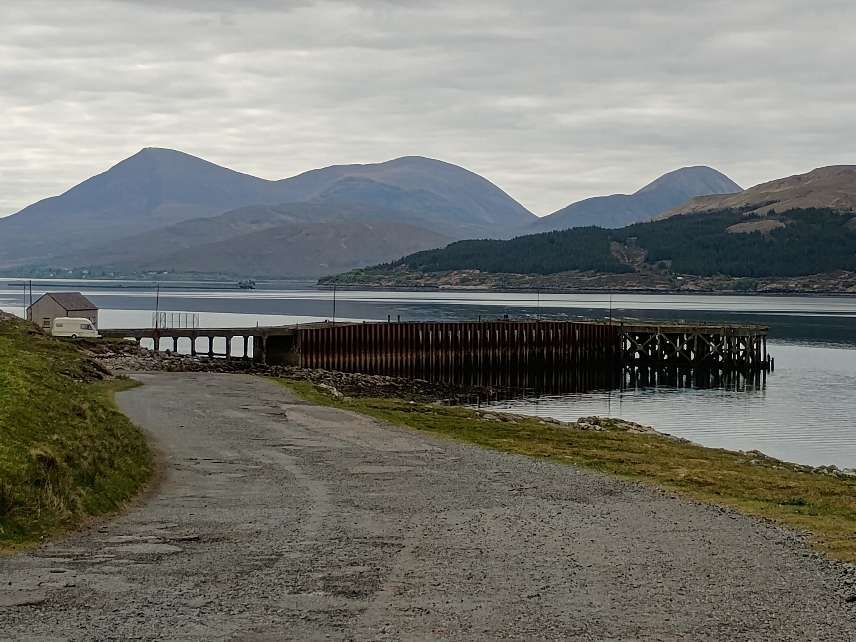
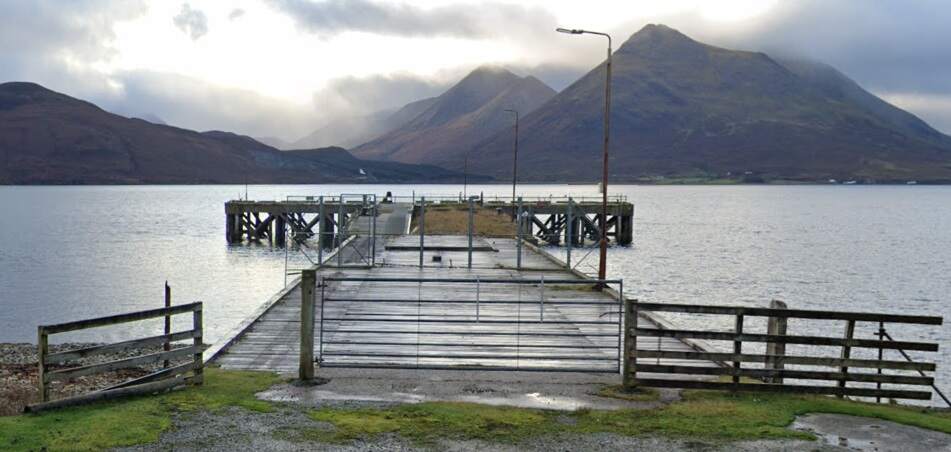
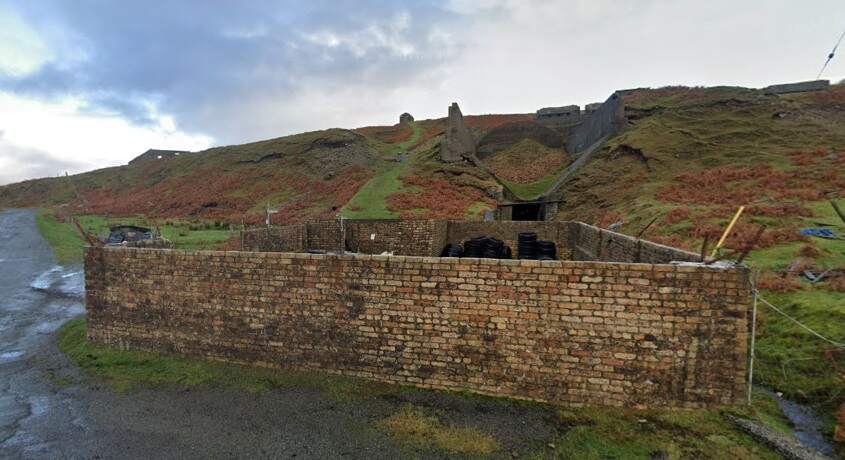

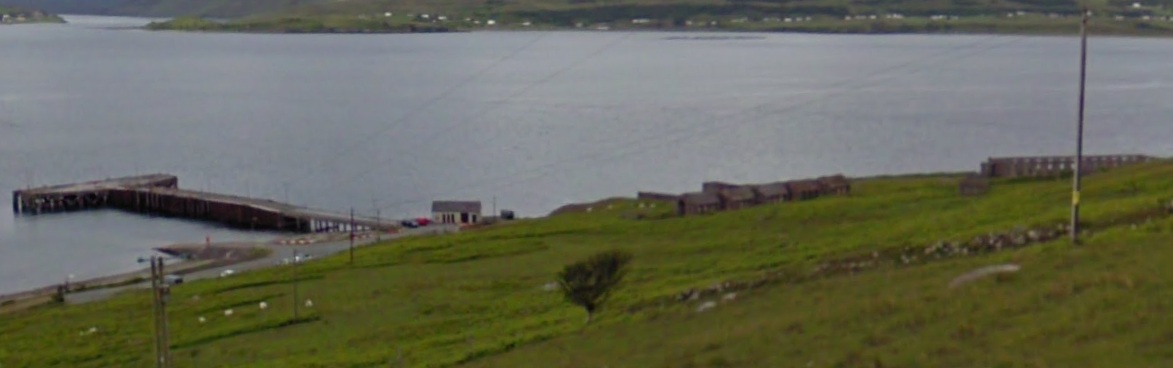
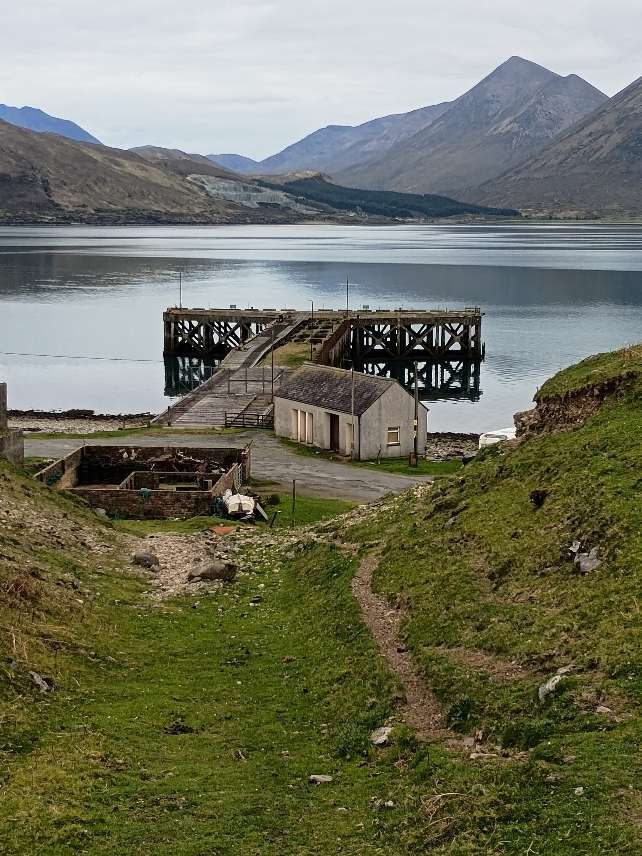
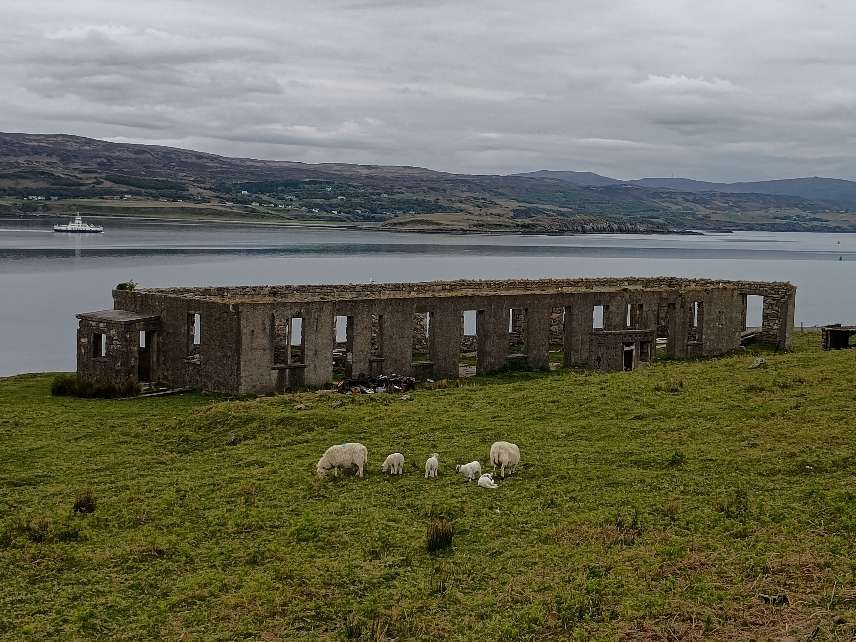
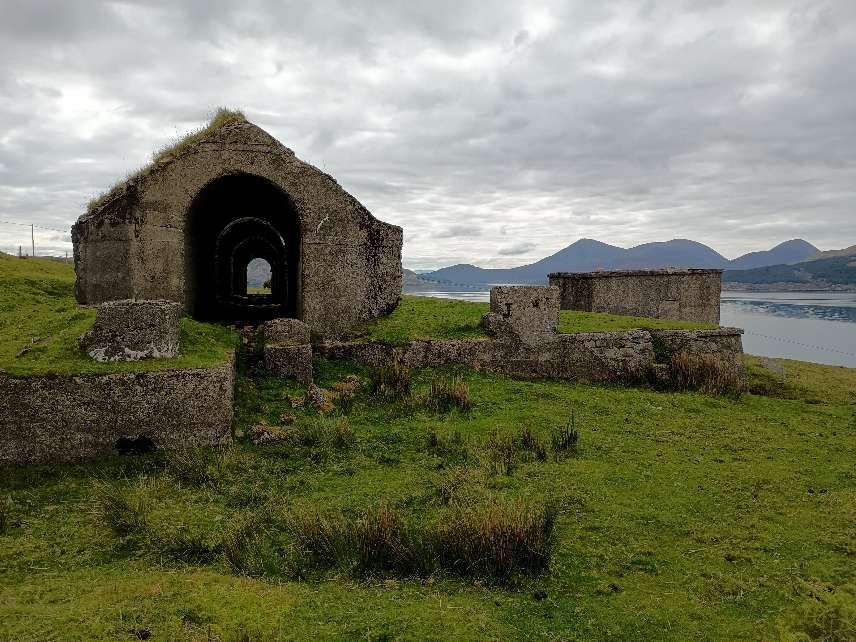
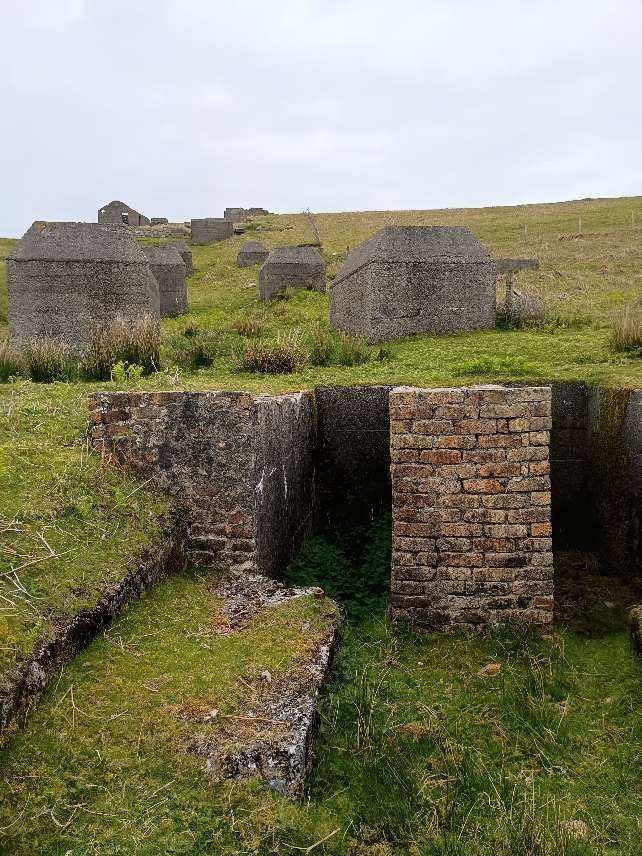
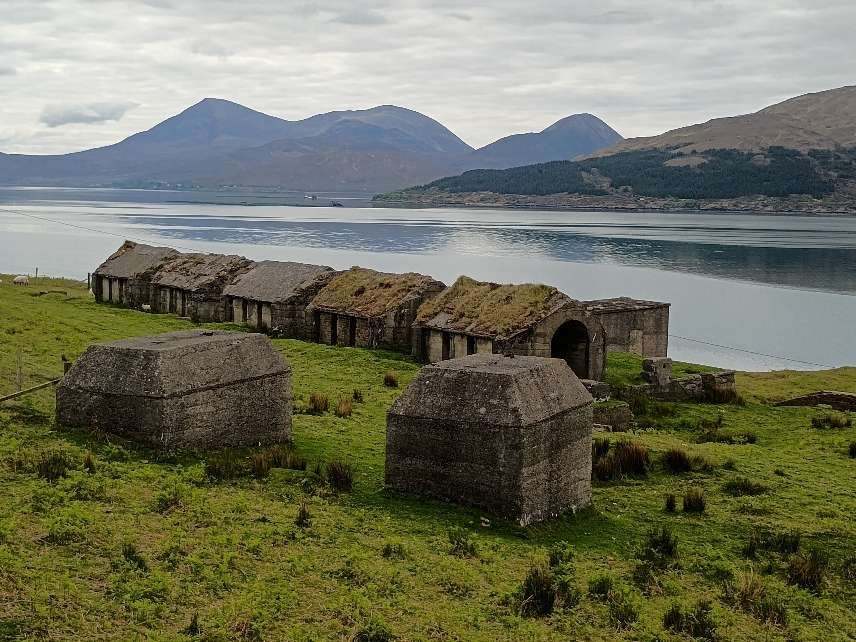
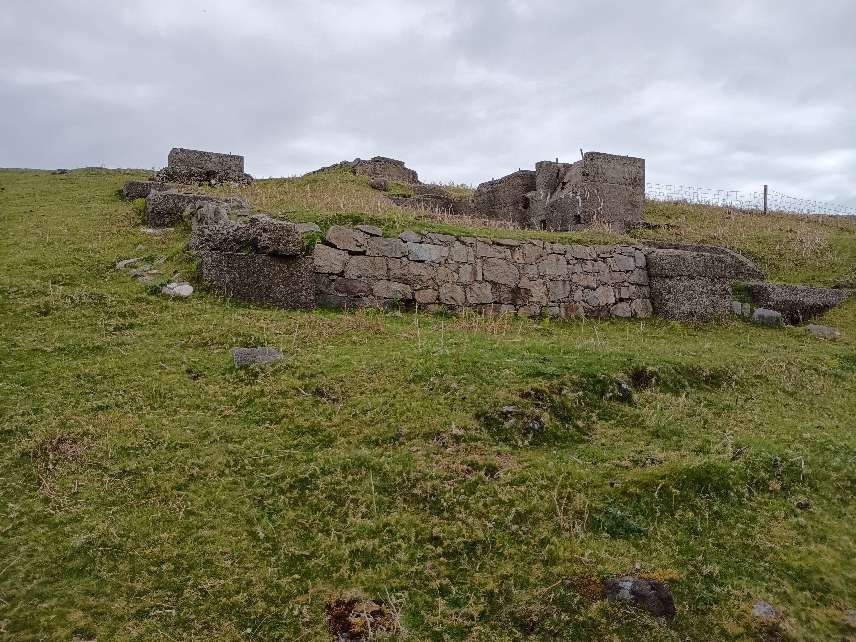
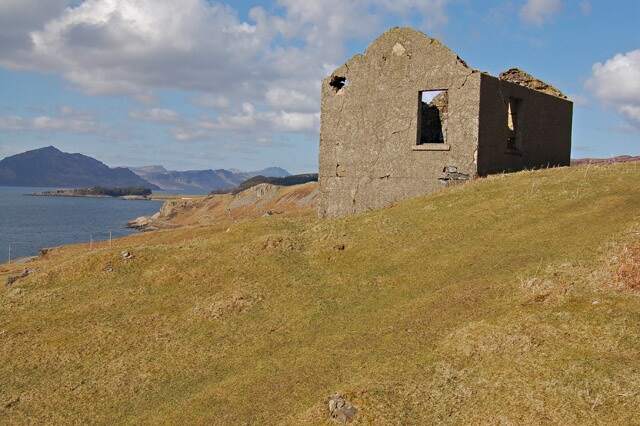
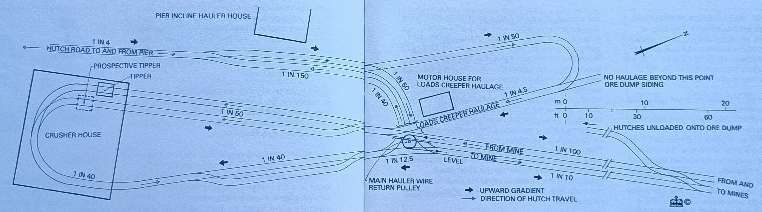

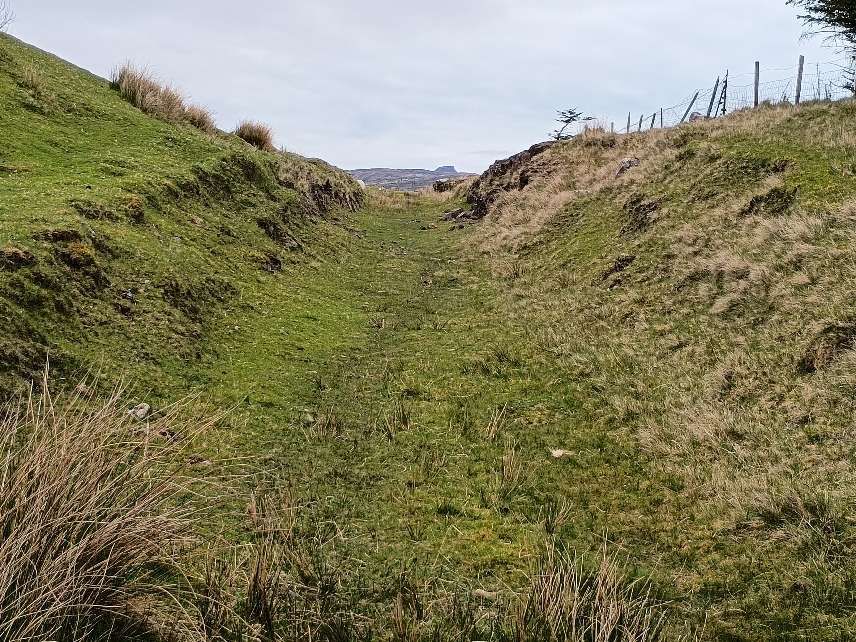
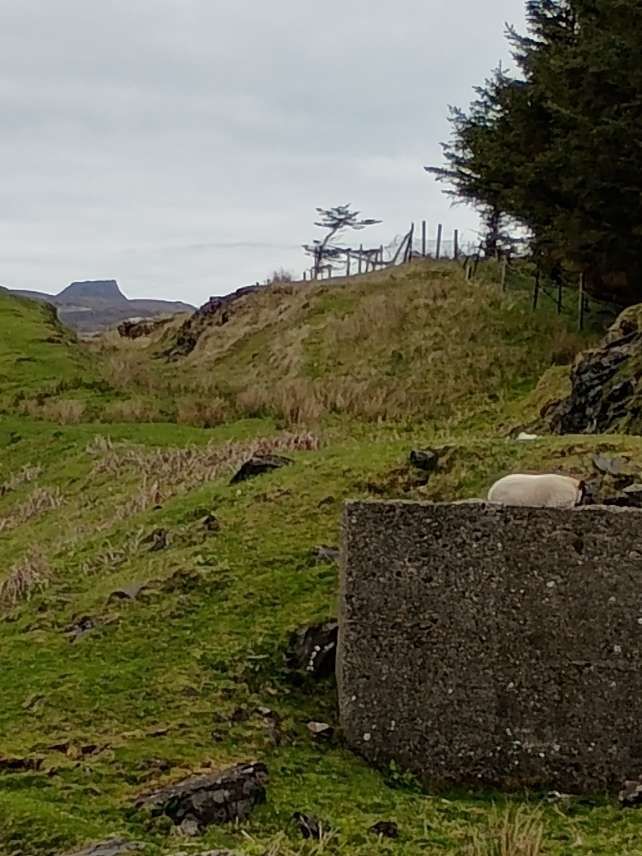
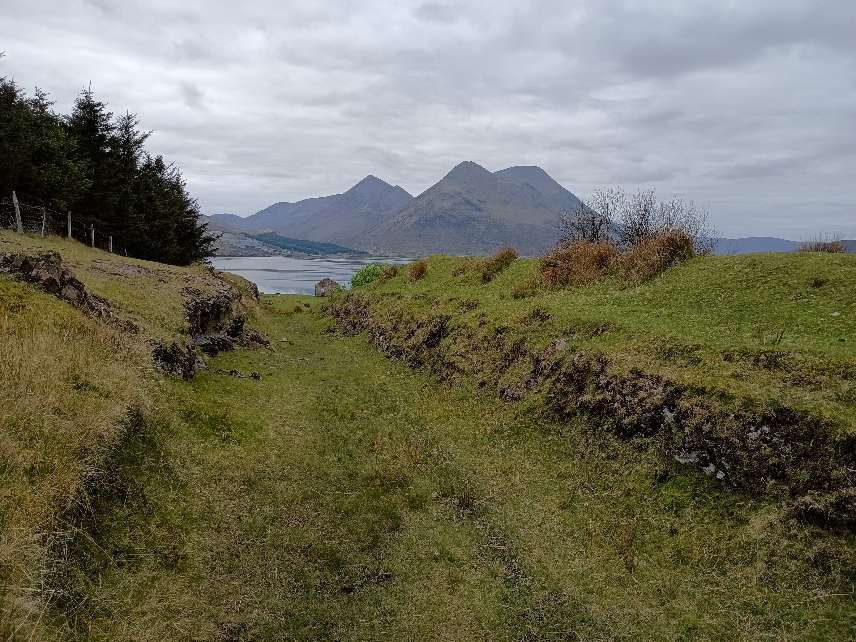
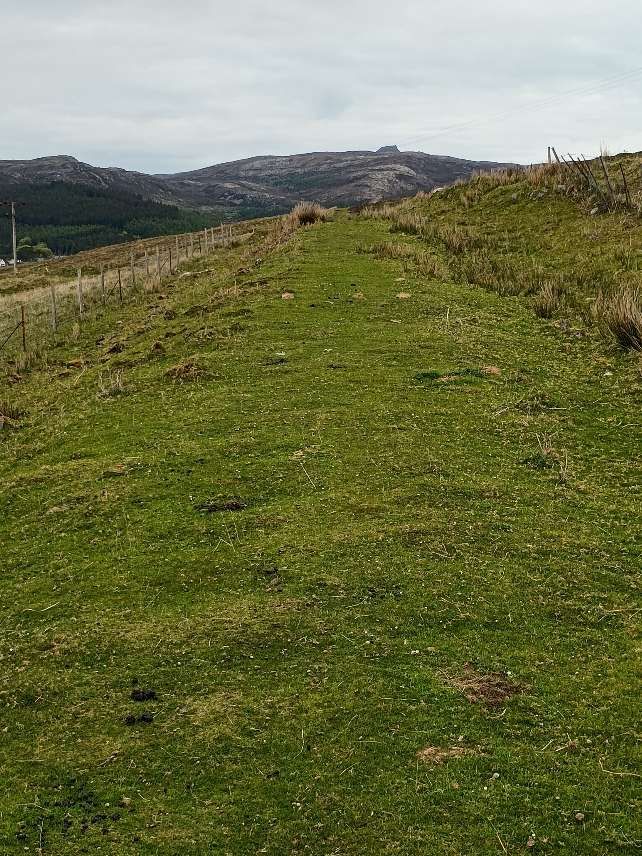


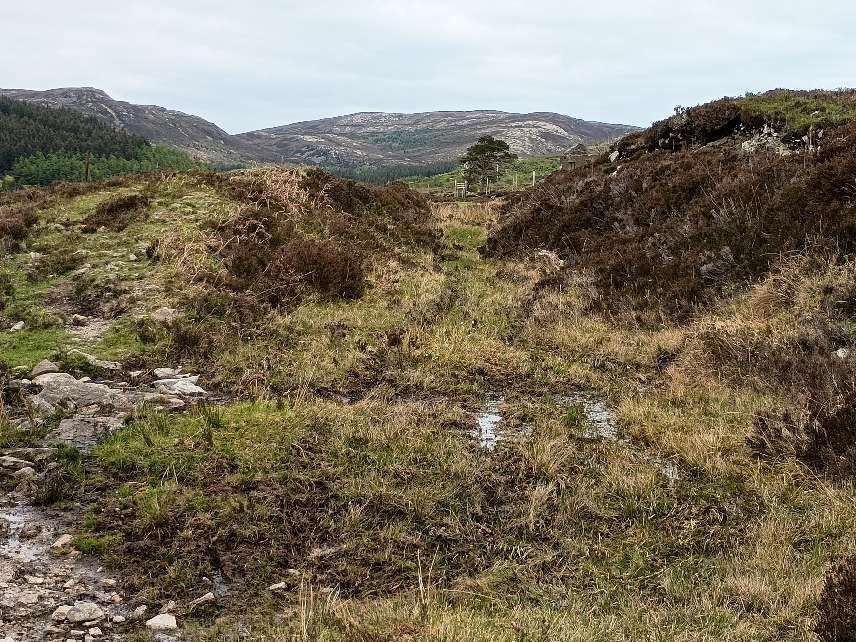
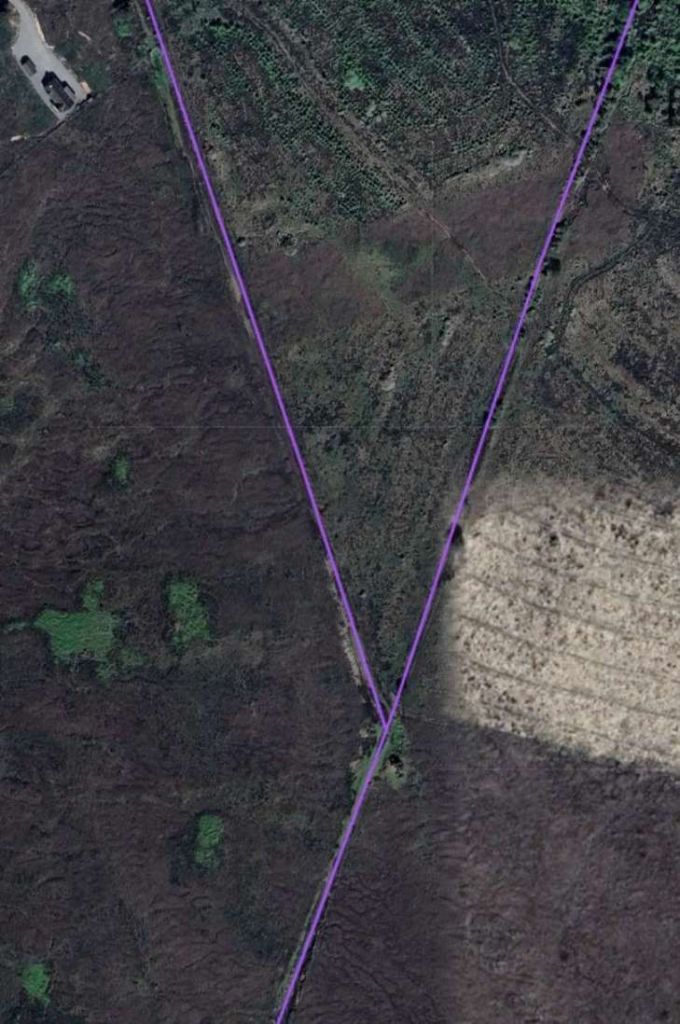
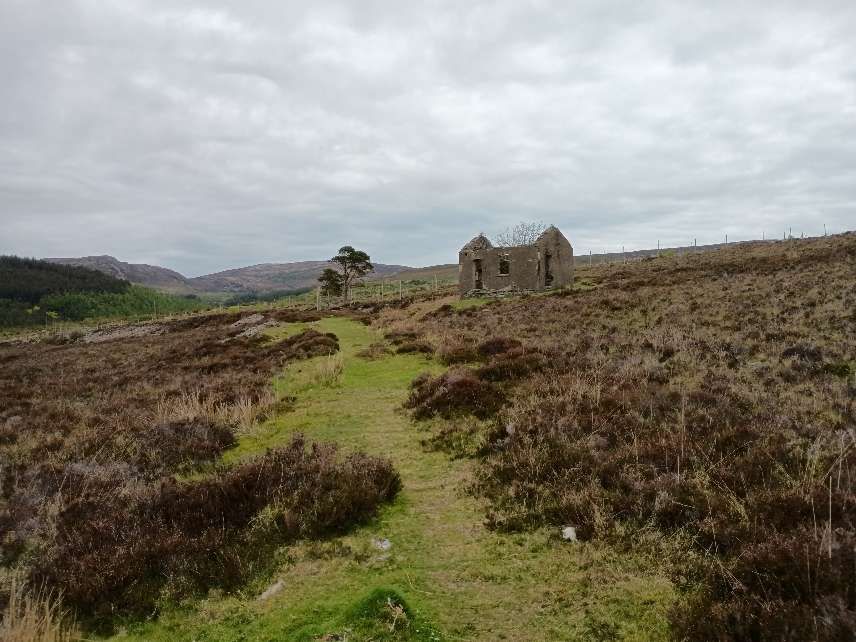
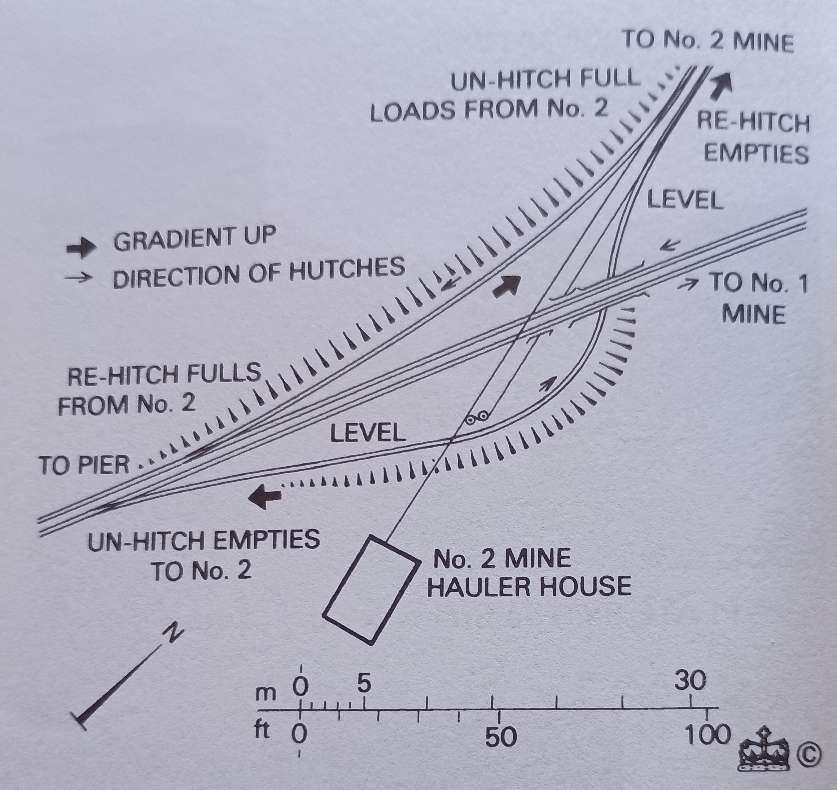
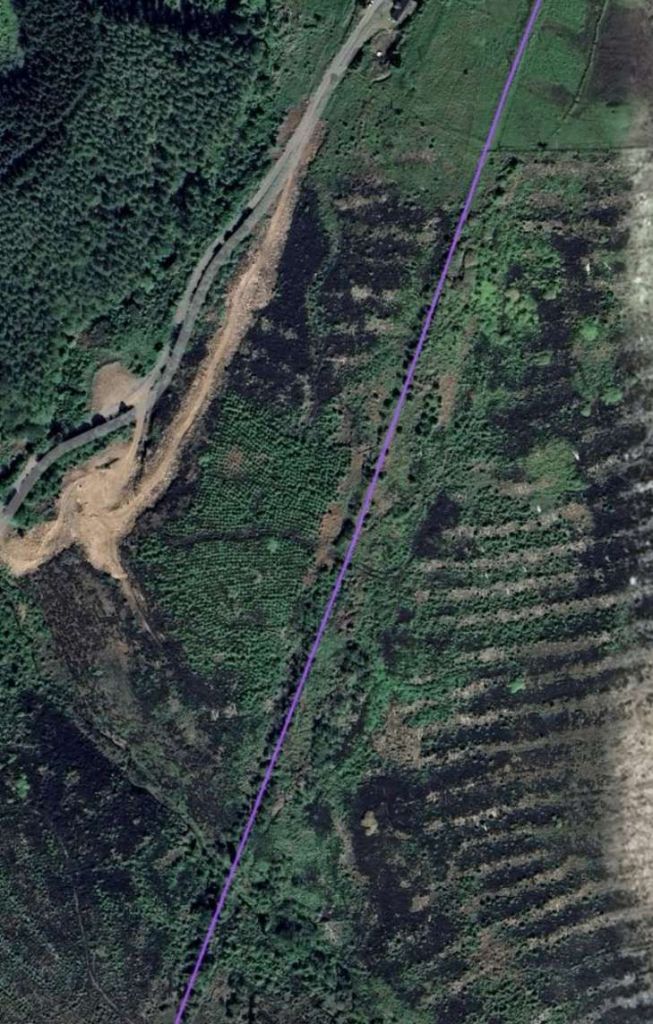
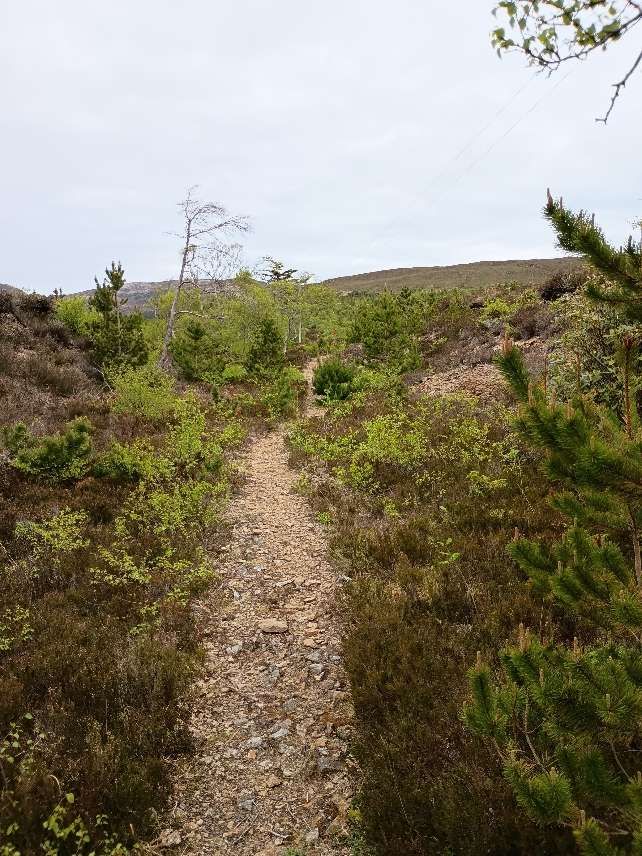
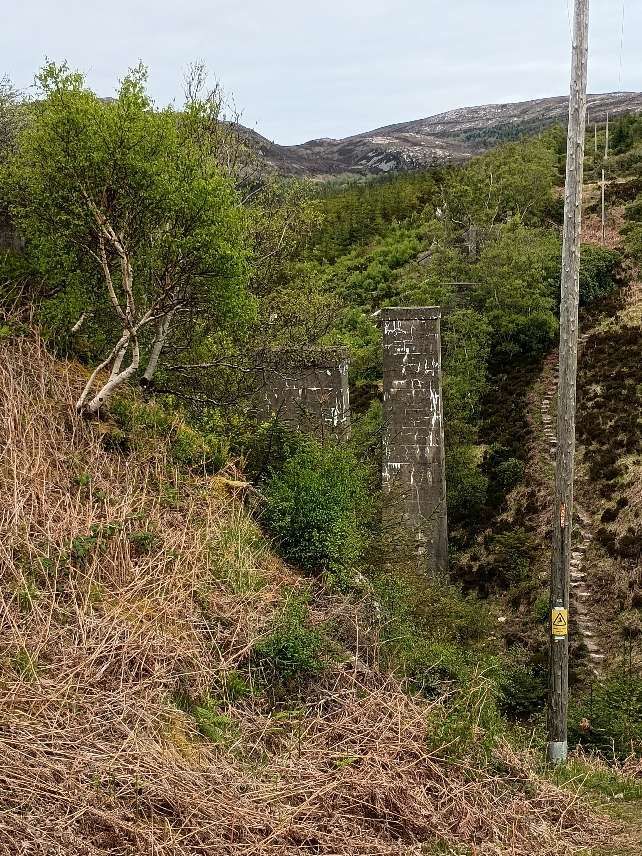
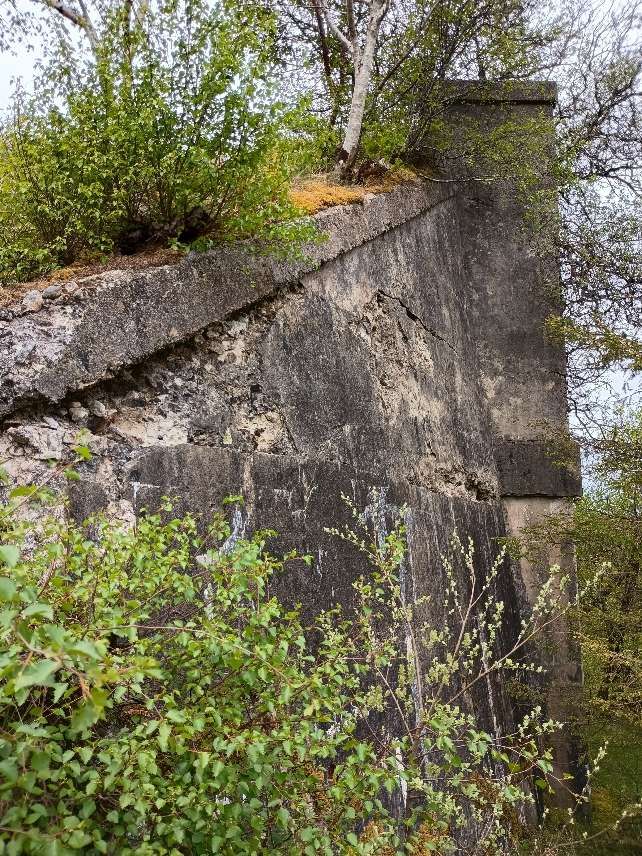
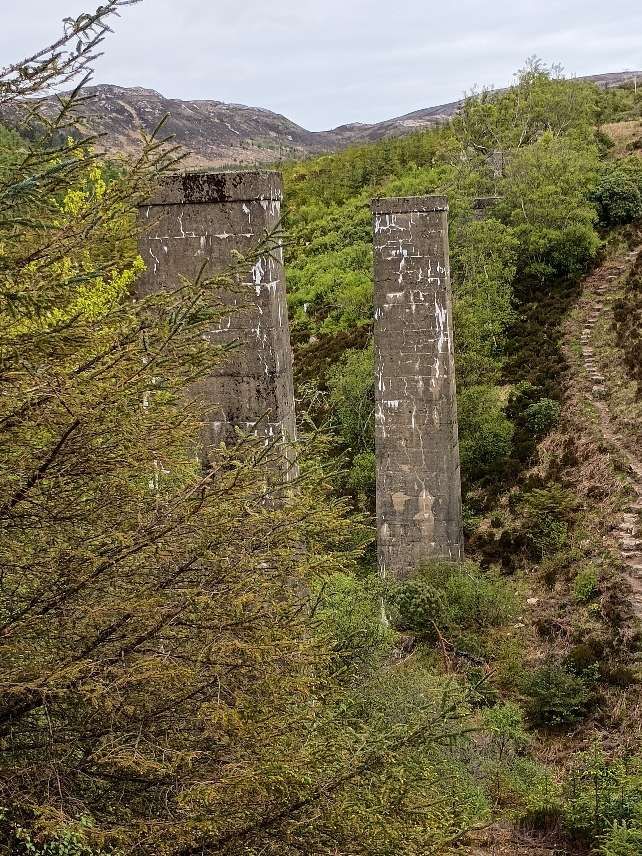
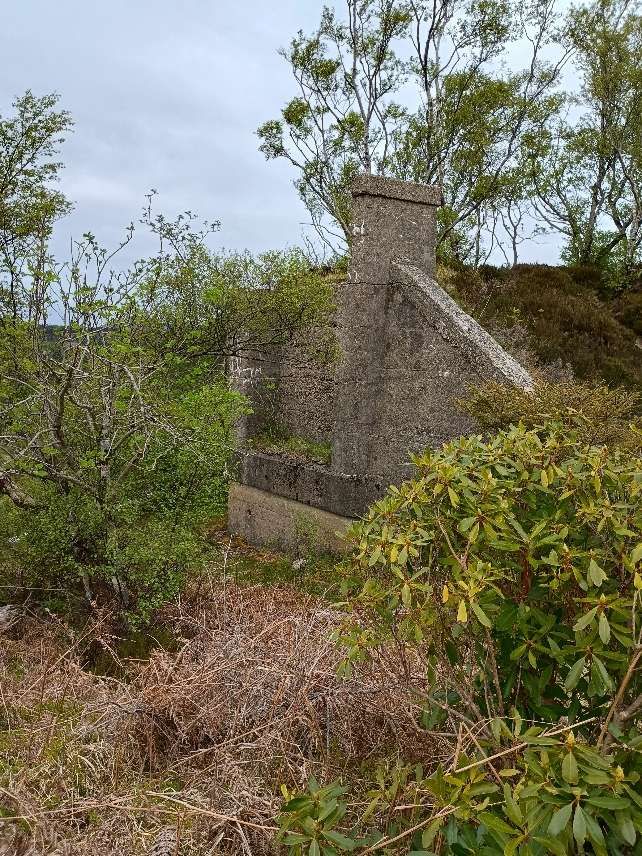
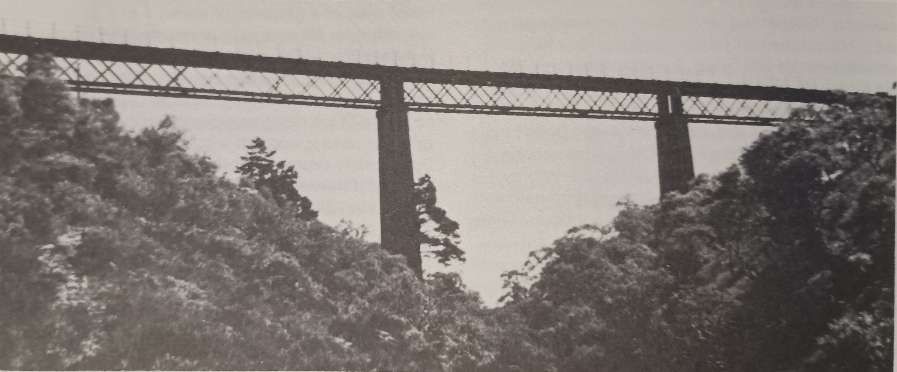
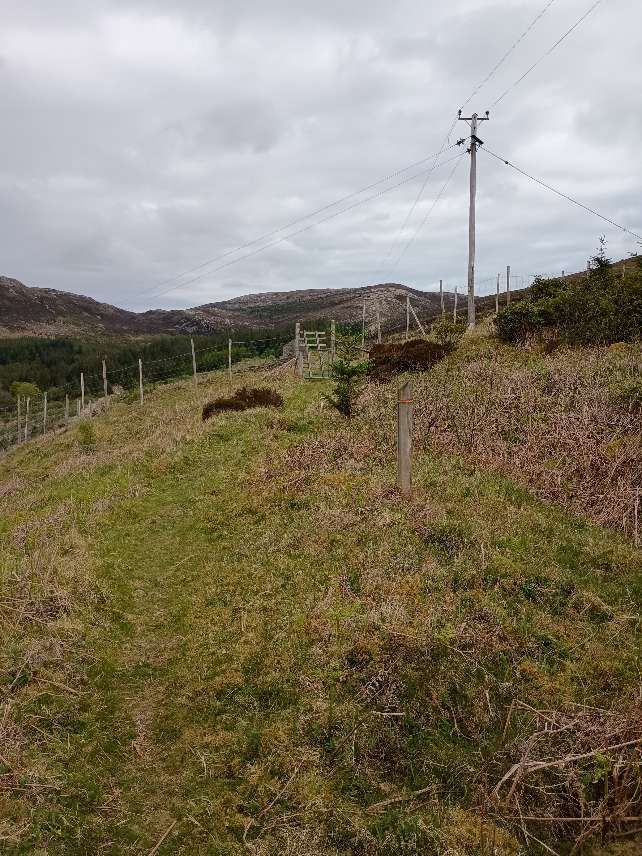
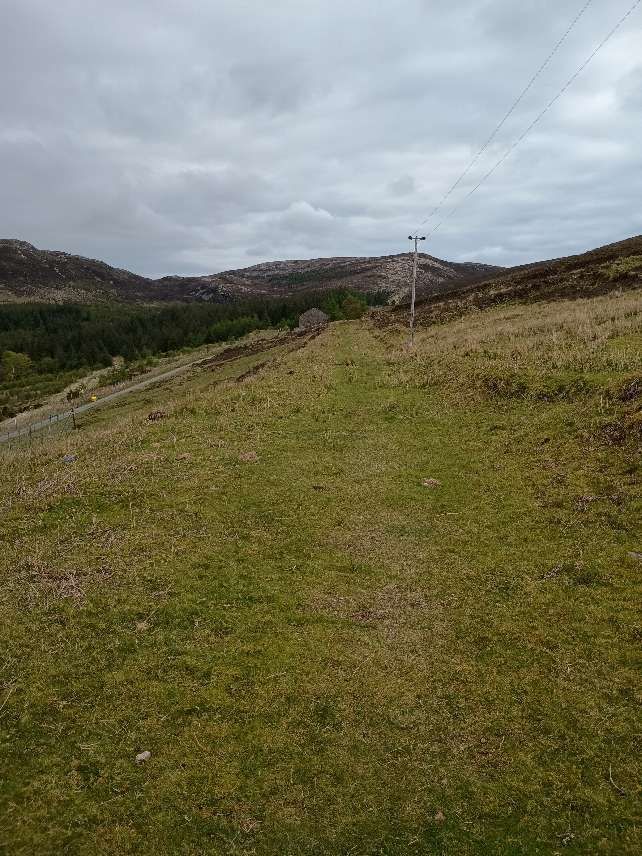
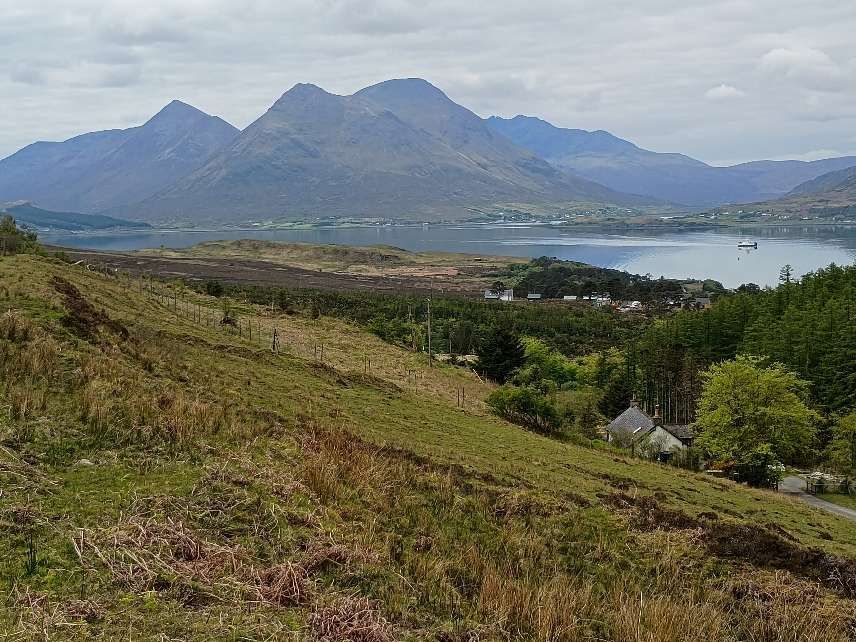
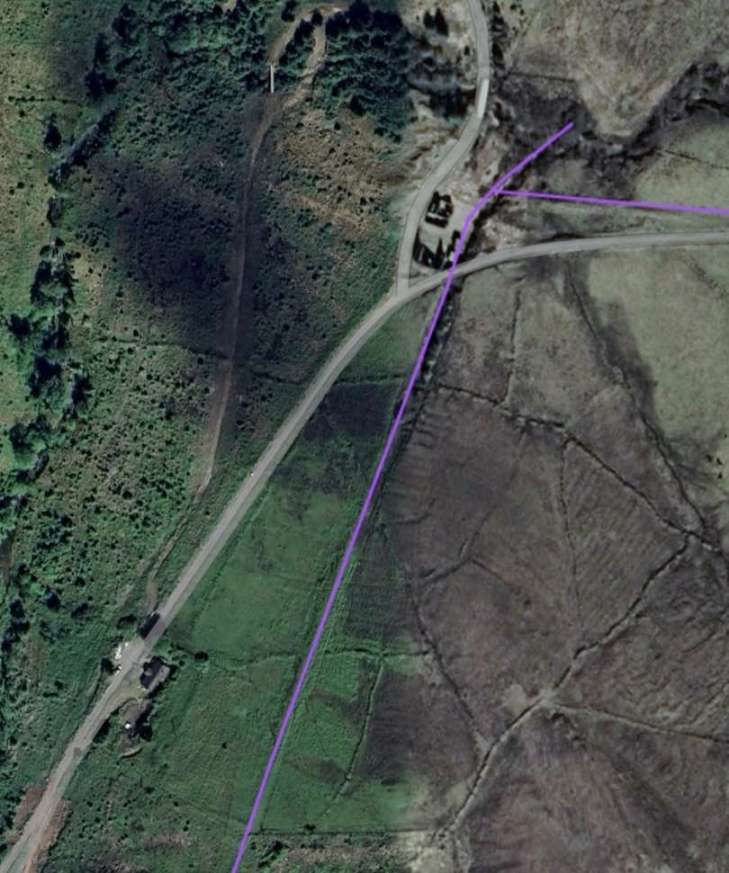
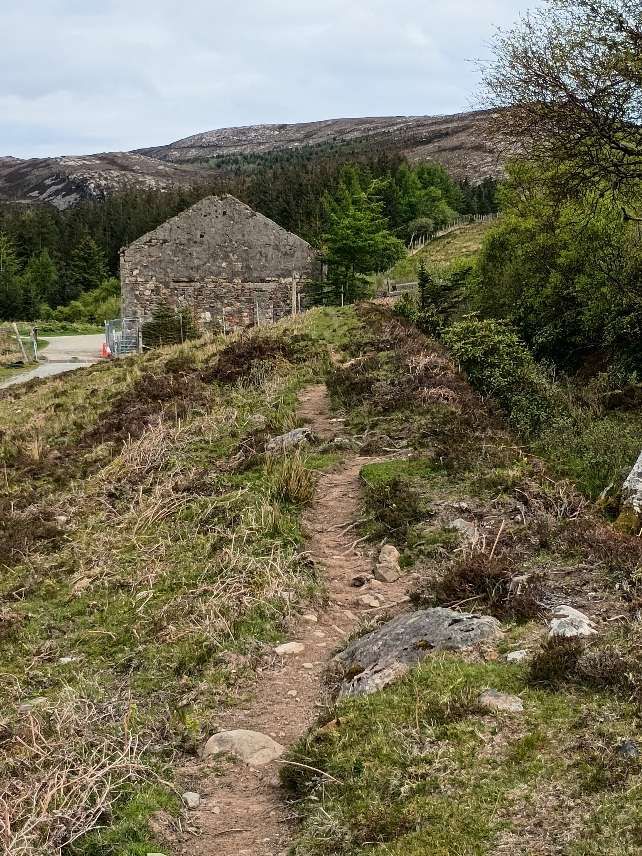
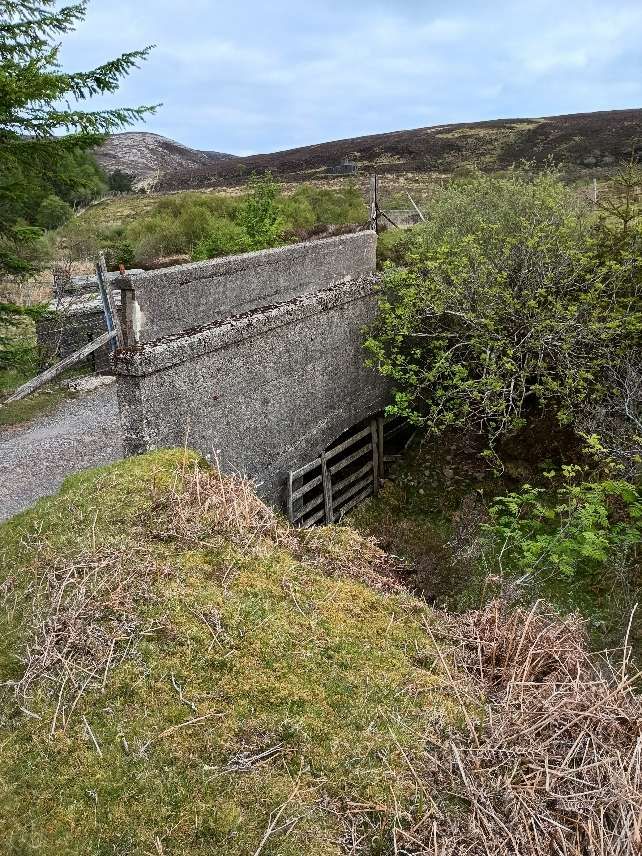
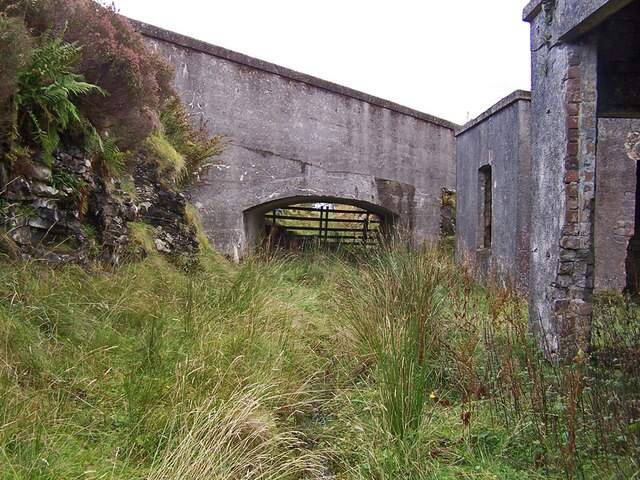
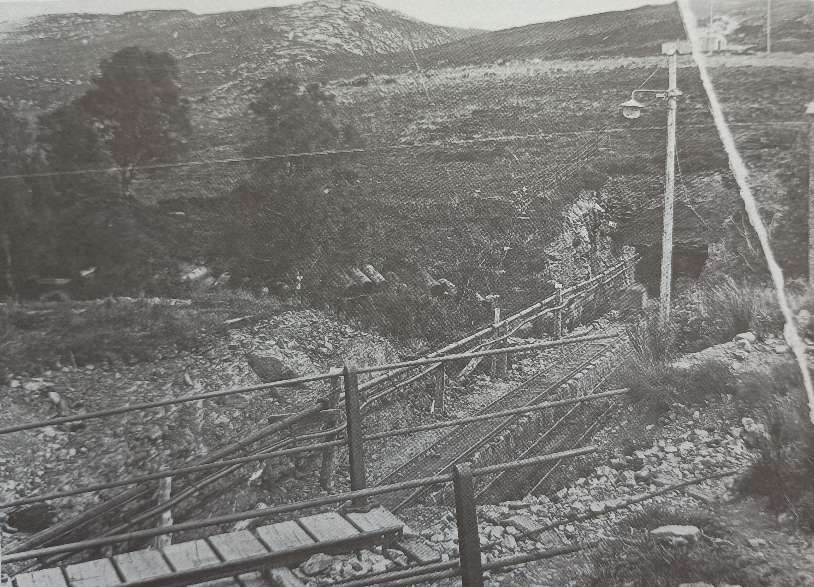
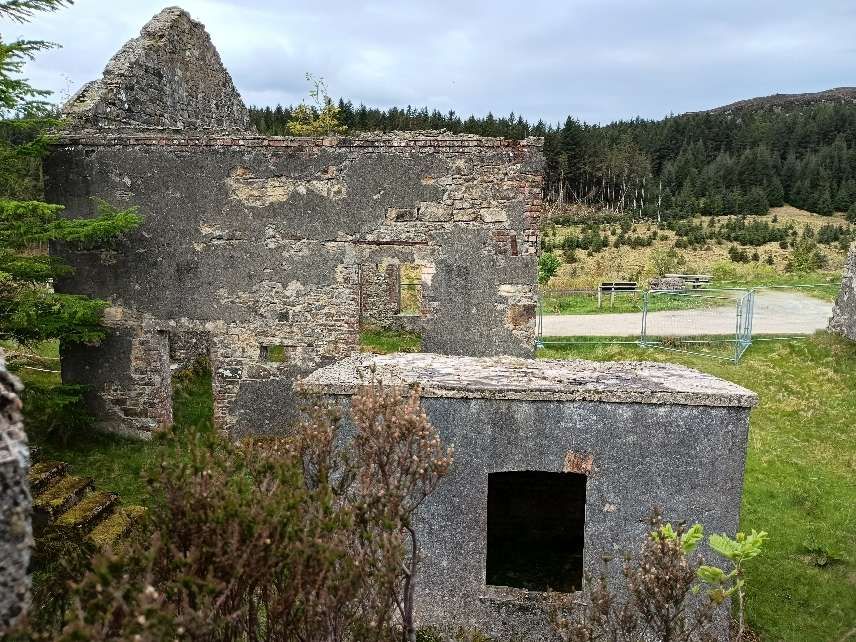
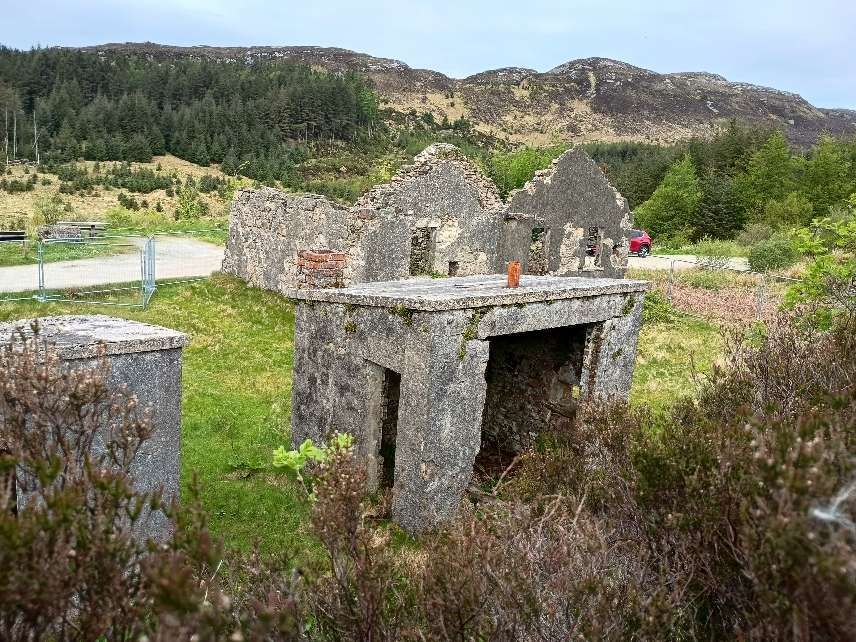
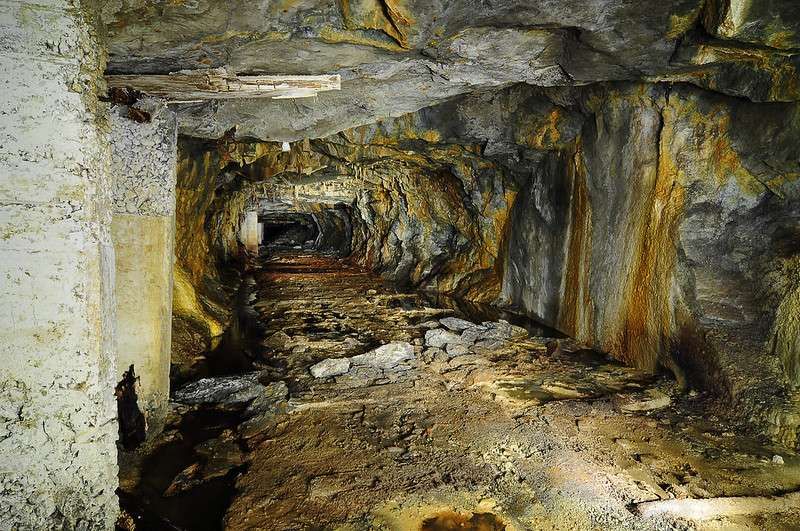
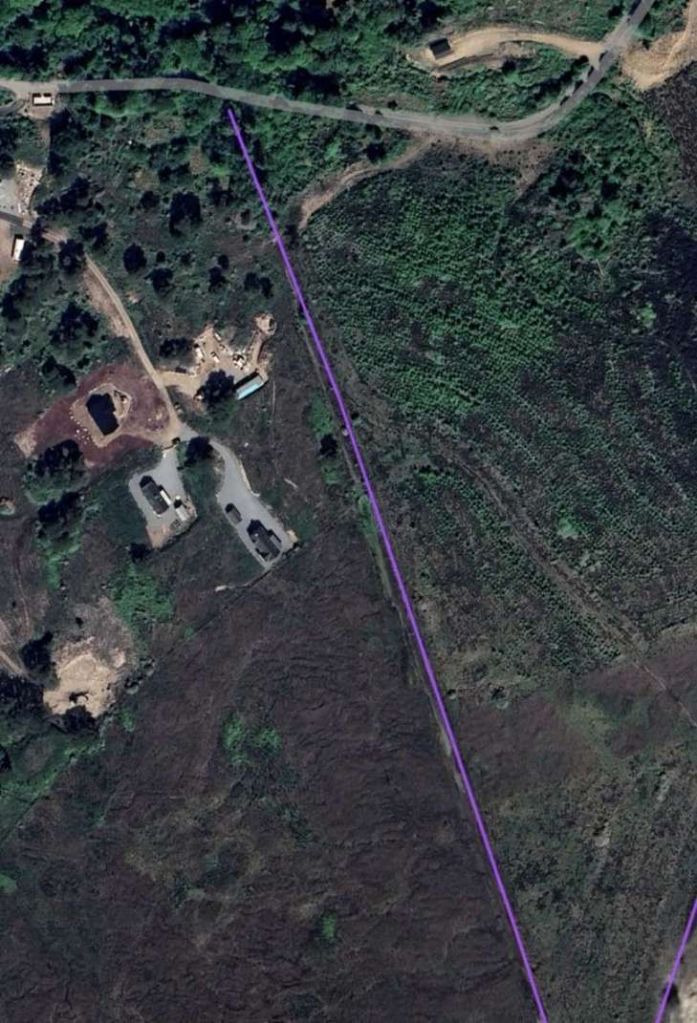
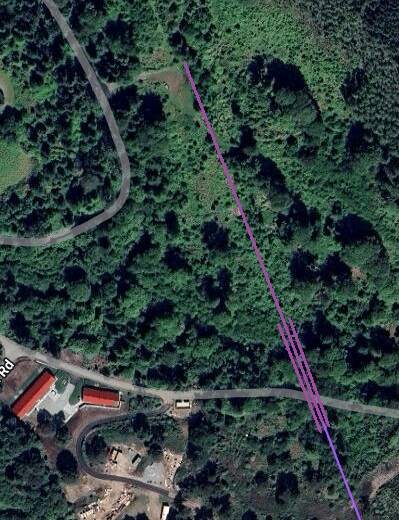
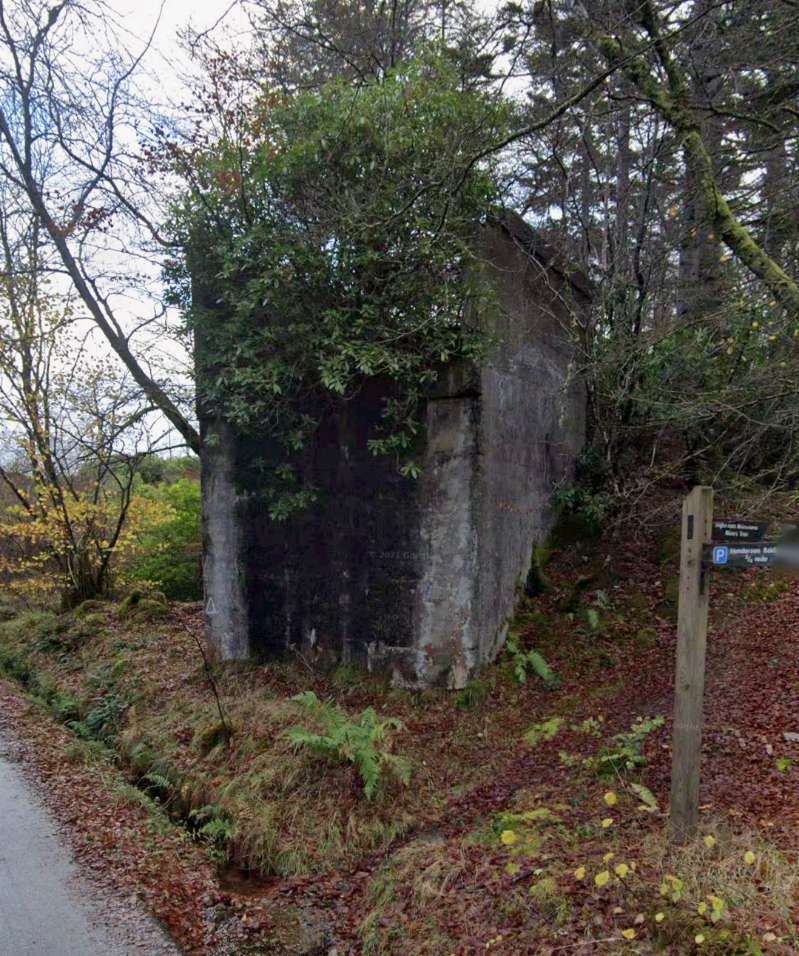

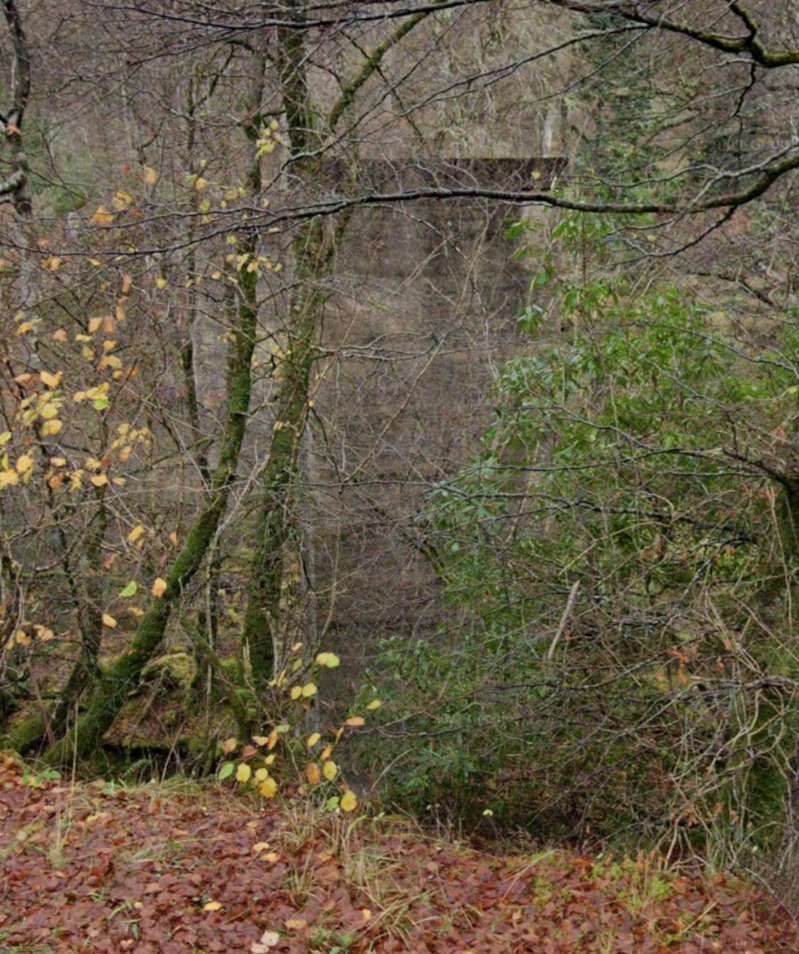
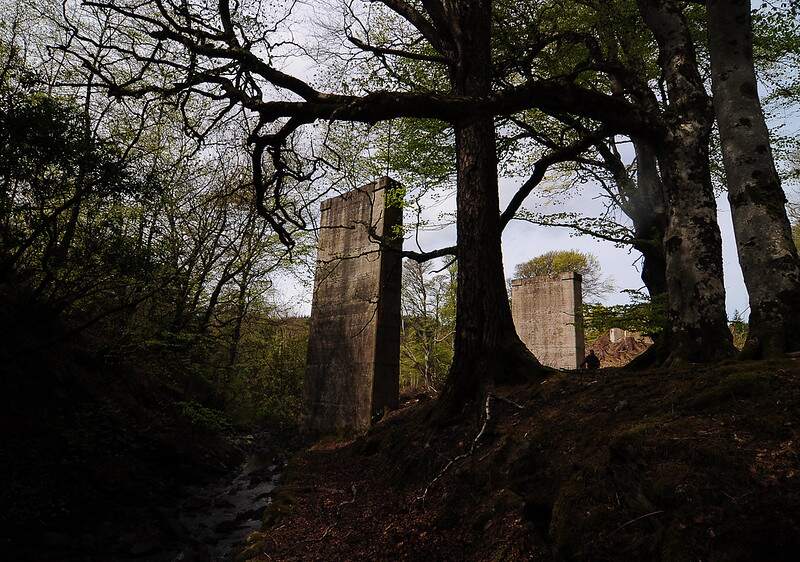
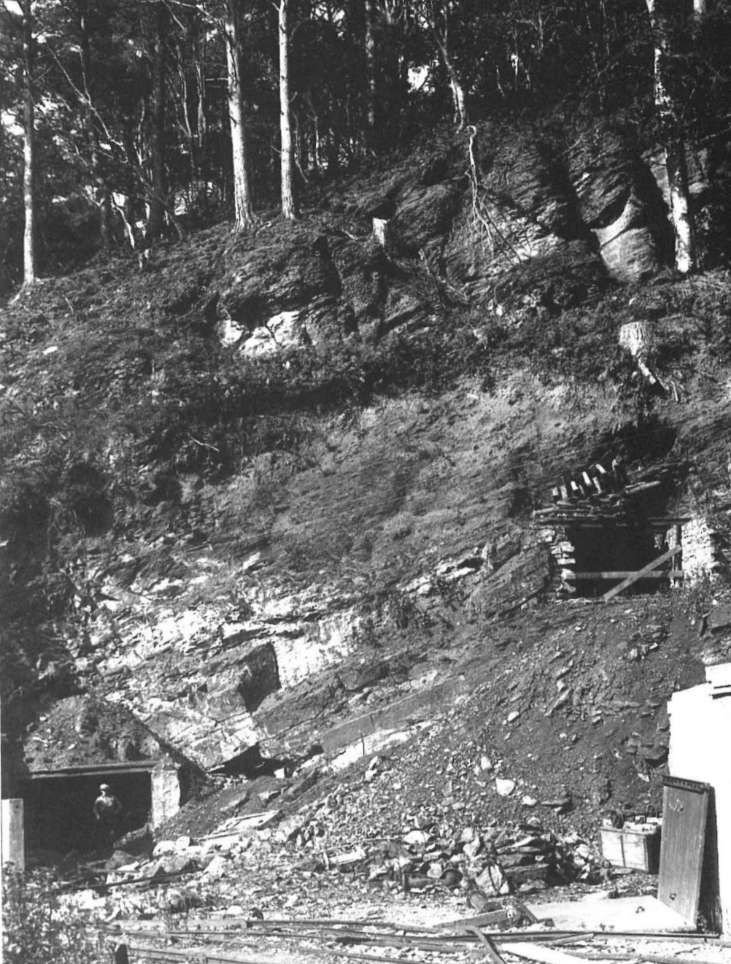
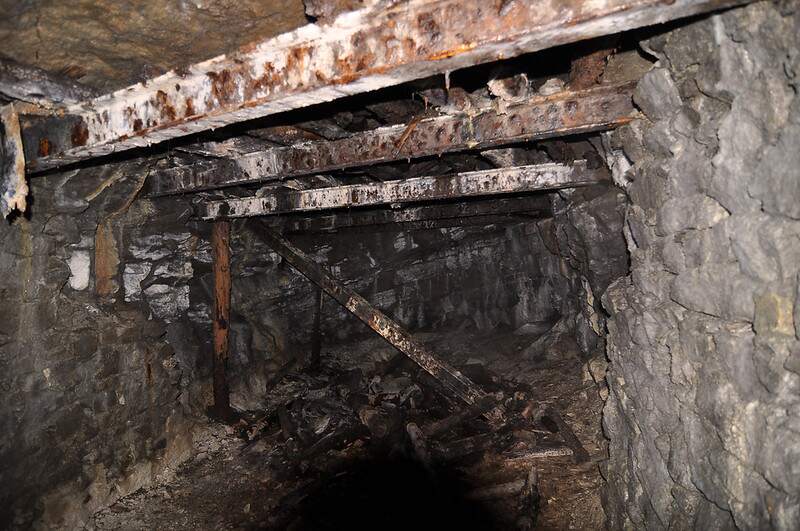
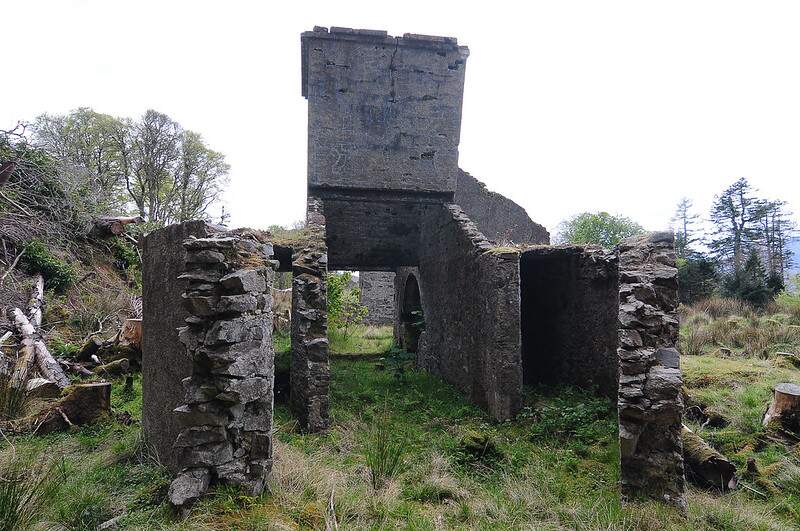


.jpg)
.jpg)
.jpg)
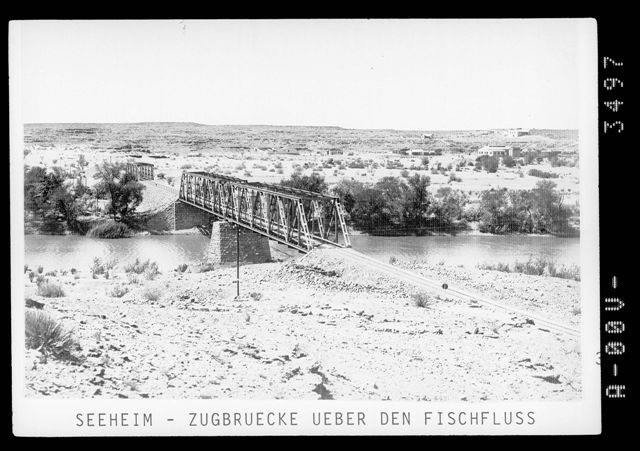
.jpg,baccrssef)
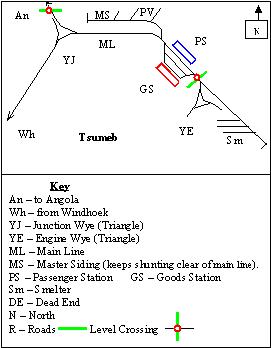