
MOD Kineton developed as a depot in the Second World War. Construction began in 1941 and the depot came to occupy most of the land between Kineton and Temple Herdwyke. It was a Central Ammunition Depot, it also served during the war as a transit camp, with Polish and Czechoslovakian troops based there. [1]
Today, the site houses the Defence Explosive Ordnance Disposal, Munitions and Search School, and there is an extensive military family married quarters patch at Kineton, along with its associated information centre – Kineton HIVE. [1]
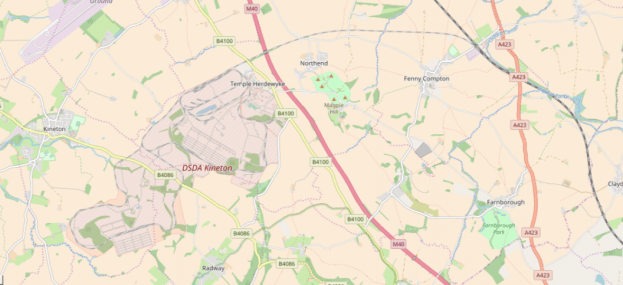
The MOD site at Kineton extends over several hundred acres and is linked to the main railway network by a branch-line. The branch-line is the remains of the old Stratford-upon-Avon and Midland Junction Railway (SMJ) from Fenny Crompton. The site was located just to the west of what was Burton Dassett station.
The Stratford-upon-Avon and Midland Junction Railway (SMJ) was a railway company formed at the beginning of 1909 by the merger of three earlier companies: the East and West Junction Railway; the Evesham, Redditch, and Stratford-upon-Avon Junction Railway; and
the Stratford-upon-Avon, Towcester, and Midland Junction Railway.
In 1910 the Northampton and Banbury Junction Railway was purchased and an east-west network was formed which linked routes to Bedford and Northampton in the east to lines leading towards Banbury and Gloucester in the west, by way of Towcester and Stratford-on-Avon.
The constituent lines had each been built with a view to carrying Northamptonshire iron ore to South Wales and the West Midlands, but they were all unable to finance their planned lines in full. The formation of the SMJ in 1909 was in effect a financial reconstruction, but the management of the combined company also showed a certain flair for generating tourist income, based on the connection with Shakespeare and also the family connections with George Washington. In addition the line developed as a shorter route for Midland Railway goods traffic from the Bristol area to London.
Some upgrading of the poor-quality infrastructure was undertaken, and some heavy mineral flows – continuing until as late as 1960 – passed along the line, but the severe operational constraints led to the diversion of traffic to other routes in 1964. By that time all of the passenger traffic had dwindled to nothing and the line was closed down piece by piece. A short section of the original network remains in use serving a Ministry of Defence depot at Kineton. [11]
Burton Dassett Station was known as Warwick Road Station and closed in 1873.
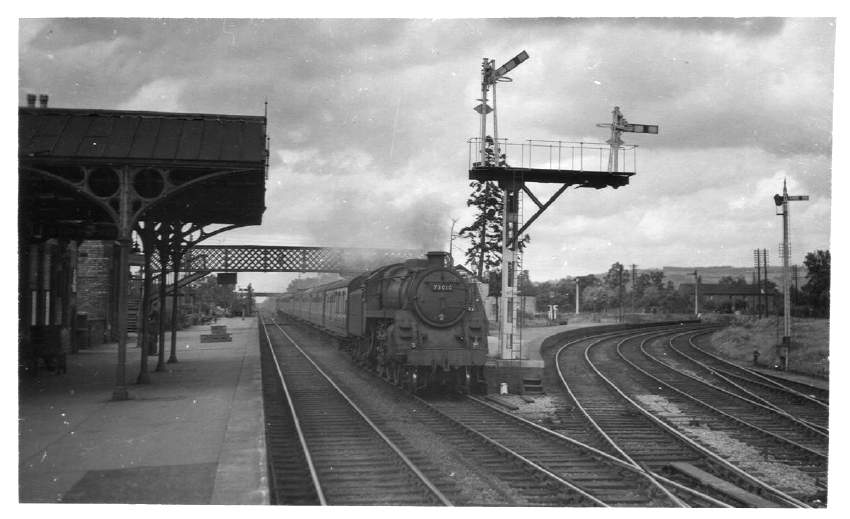
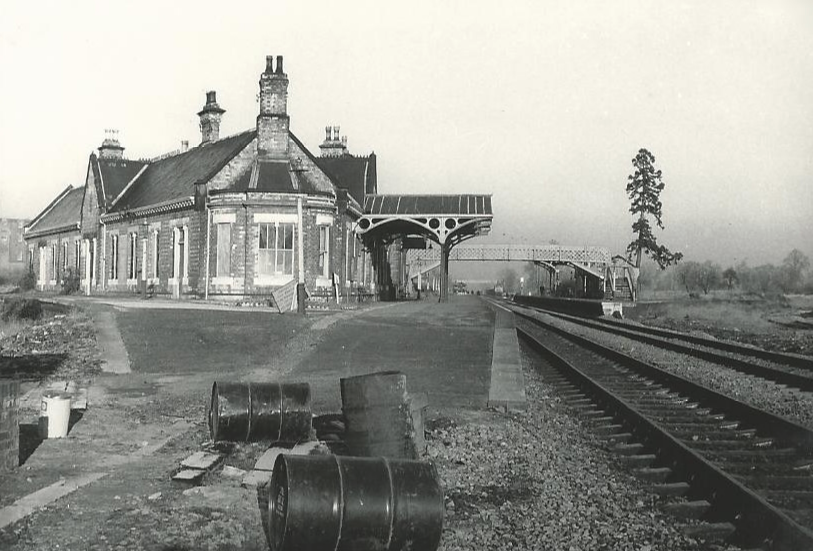
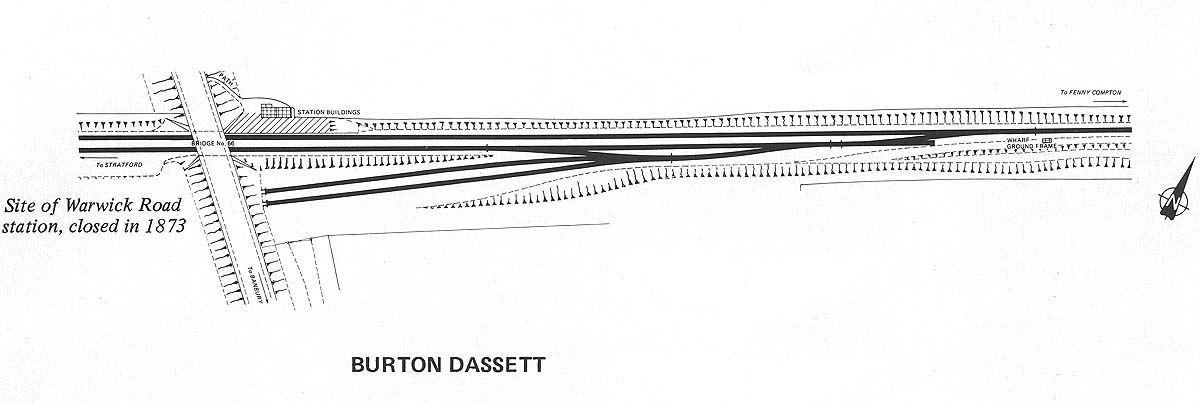 A schematic drawing showing Burton Dassett Platform and its two sidings goods yard post 1909 when it was operating under the control of the SMJ company. The Edge Hill sidings were built near to the site of the Warwick Road station some fifty years later. The photograph below shows the platform while still in place. [5]
The ammunition magazines were set out over a wide area and the depot was served by a yard branching off the LMS leading to an extensive network of sidings serving the magazines. Following closure of the through former SMJ line in 1965, the operation of the 4 mile stub from Fenny Compton (with connection to the Banbury to Leamington Spa main line) serving the Depot was taken over by the MoD. The line later passed into MoD ownership. It included some of the route of the disused Edge Hill Light Railway. [6]
The Edge Hill Light Railway [6] was formed to exploit the large ironstone reserves which lay just under the surface on the Northamptonshire/Oxfordshire border at a time when the enormous demands of Word War 1 were really making themselves known. The driving force behind the proposal seems to have been the proprietors of the Stratford on Avon and Midland Junction Railway who saw it as a means of increasing traffic on their railway. These proprietors were well connected City operators who specialised in increasing the value of railways before selling them on. The promoters acquired mineral rights to over 600 acres around Edge Hill. Unusually, instead of going for a simple mineral railway they opted for a public light railway and appointed Holman F Stephens, recently released from his army commitments, as engineer. This use of light railway powers for an essentially mineral railway has echoes of the still far from completed East Kent Light for which Stephens had been responsible since 1910.
The proposed railway was 11¼ miles long, including a triangular junction with the SMJ at Burton Dassett and after two miles a rope-worked incline followed by three branches serving different parts of the ore field. These branches stretched well south into the ironstone field. In view of objections from landowners and the local authorities, the proposals were scaled down to a total of 5½ miles, and it was agreed to construct bridges instead of a number of level crossings, very unlike Stephens, but not unprofitable as the excavations were through exploitable ironstone.
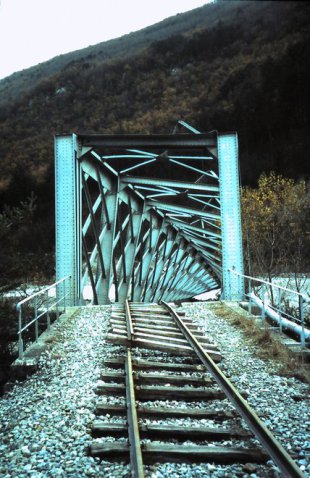
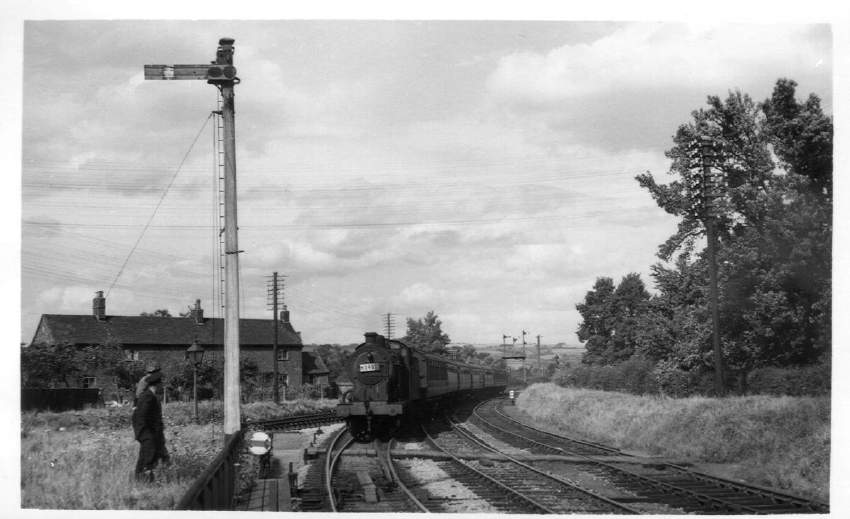
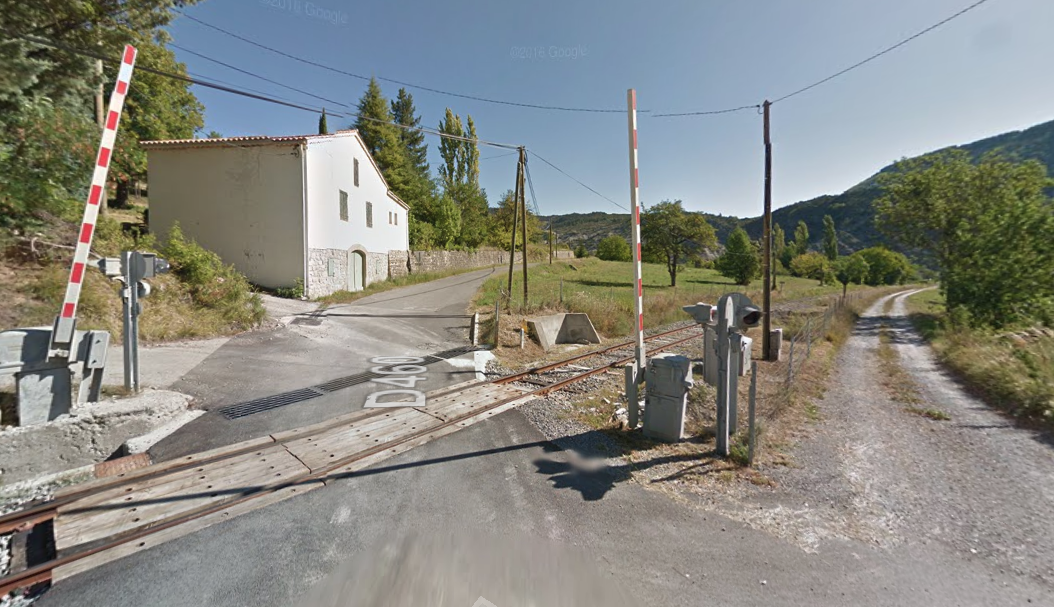
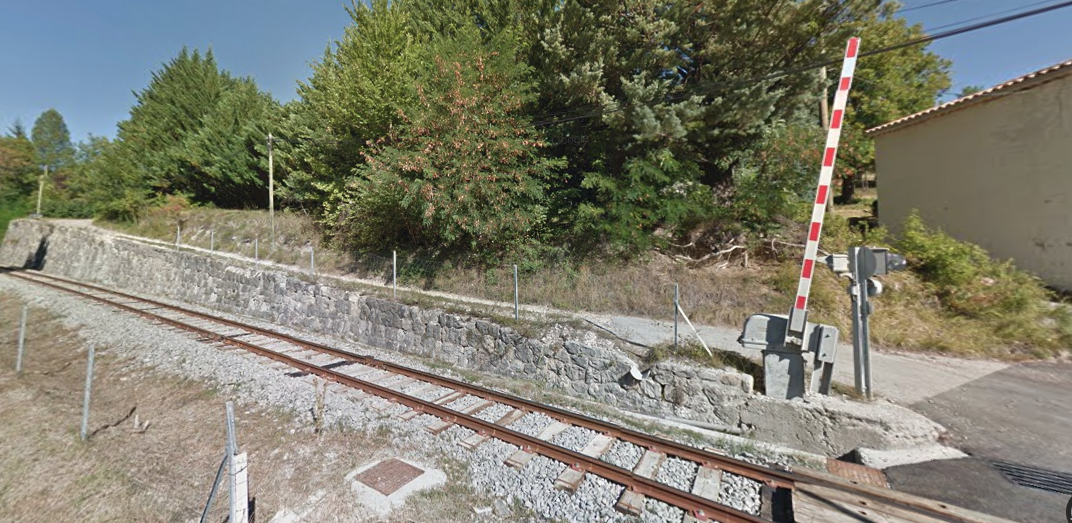
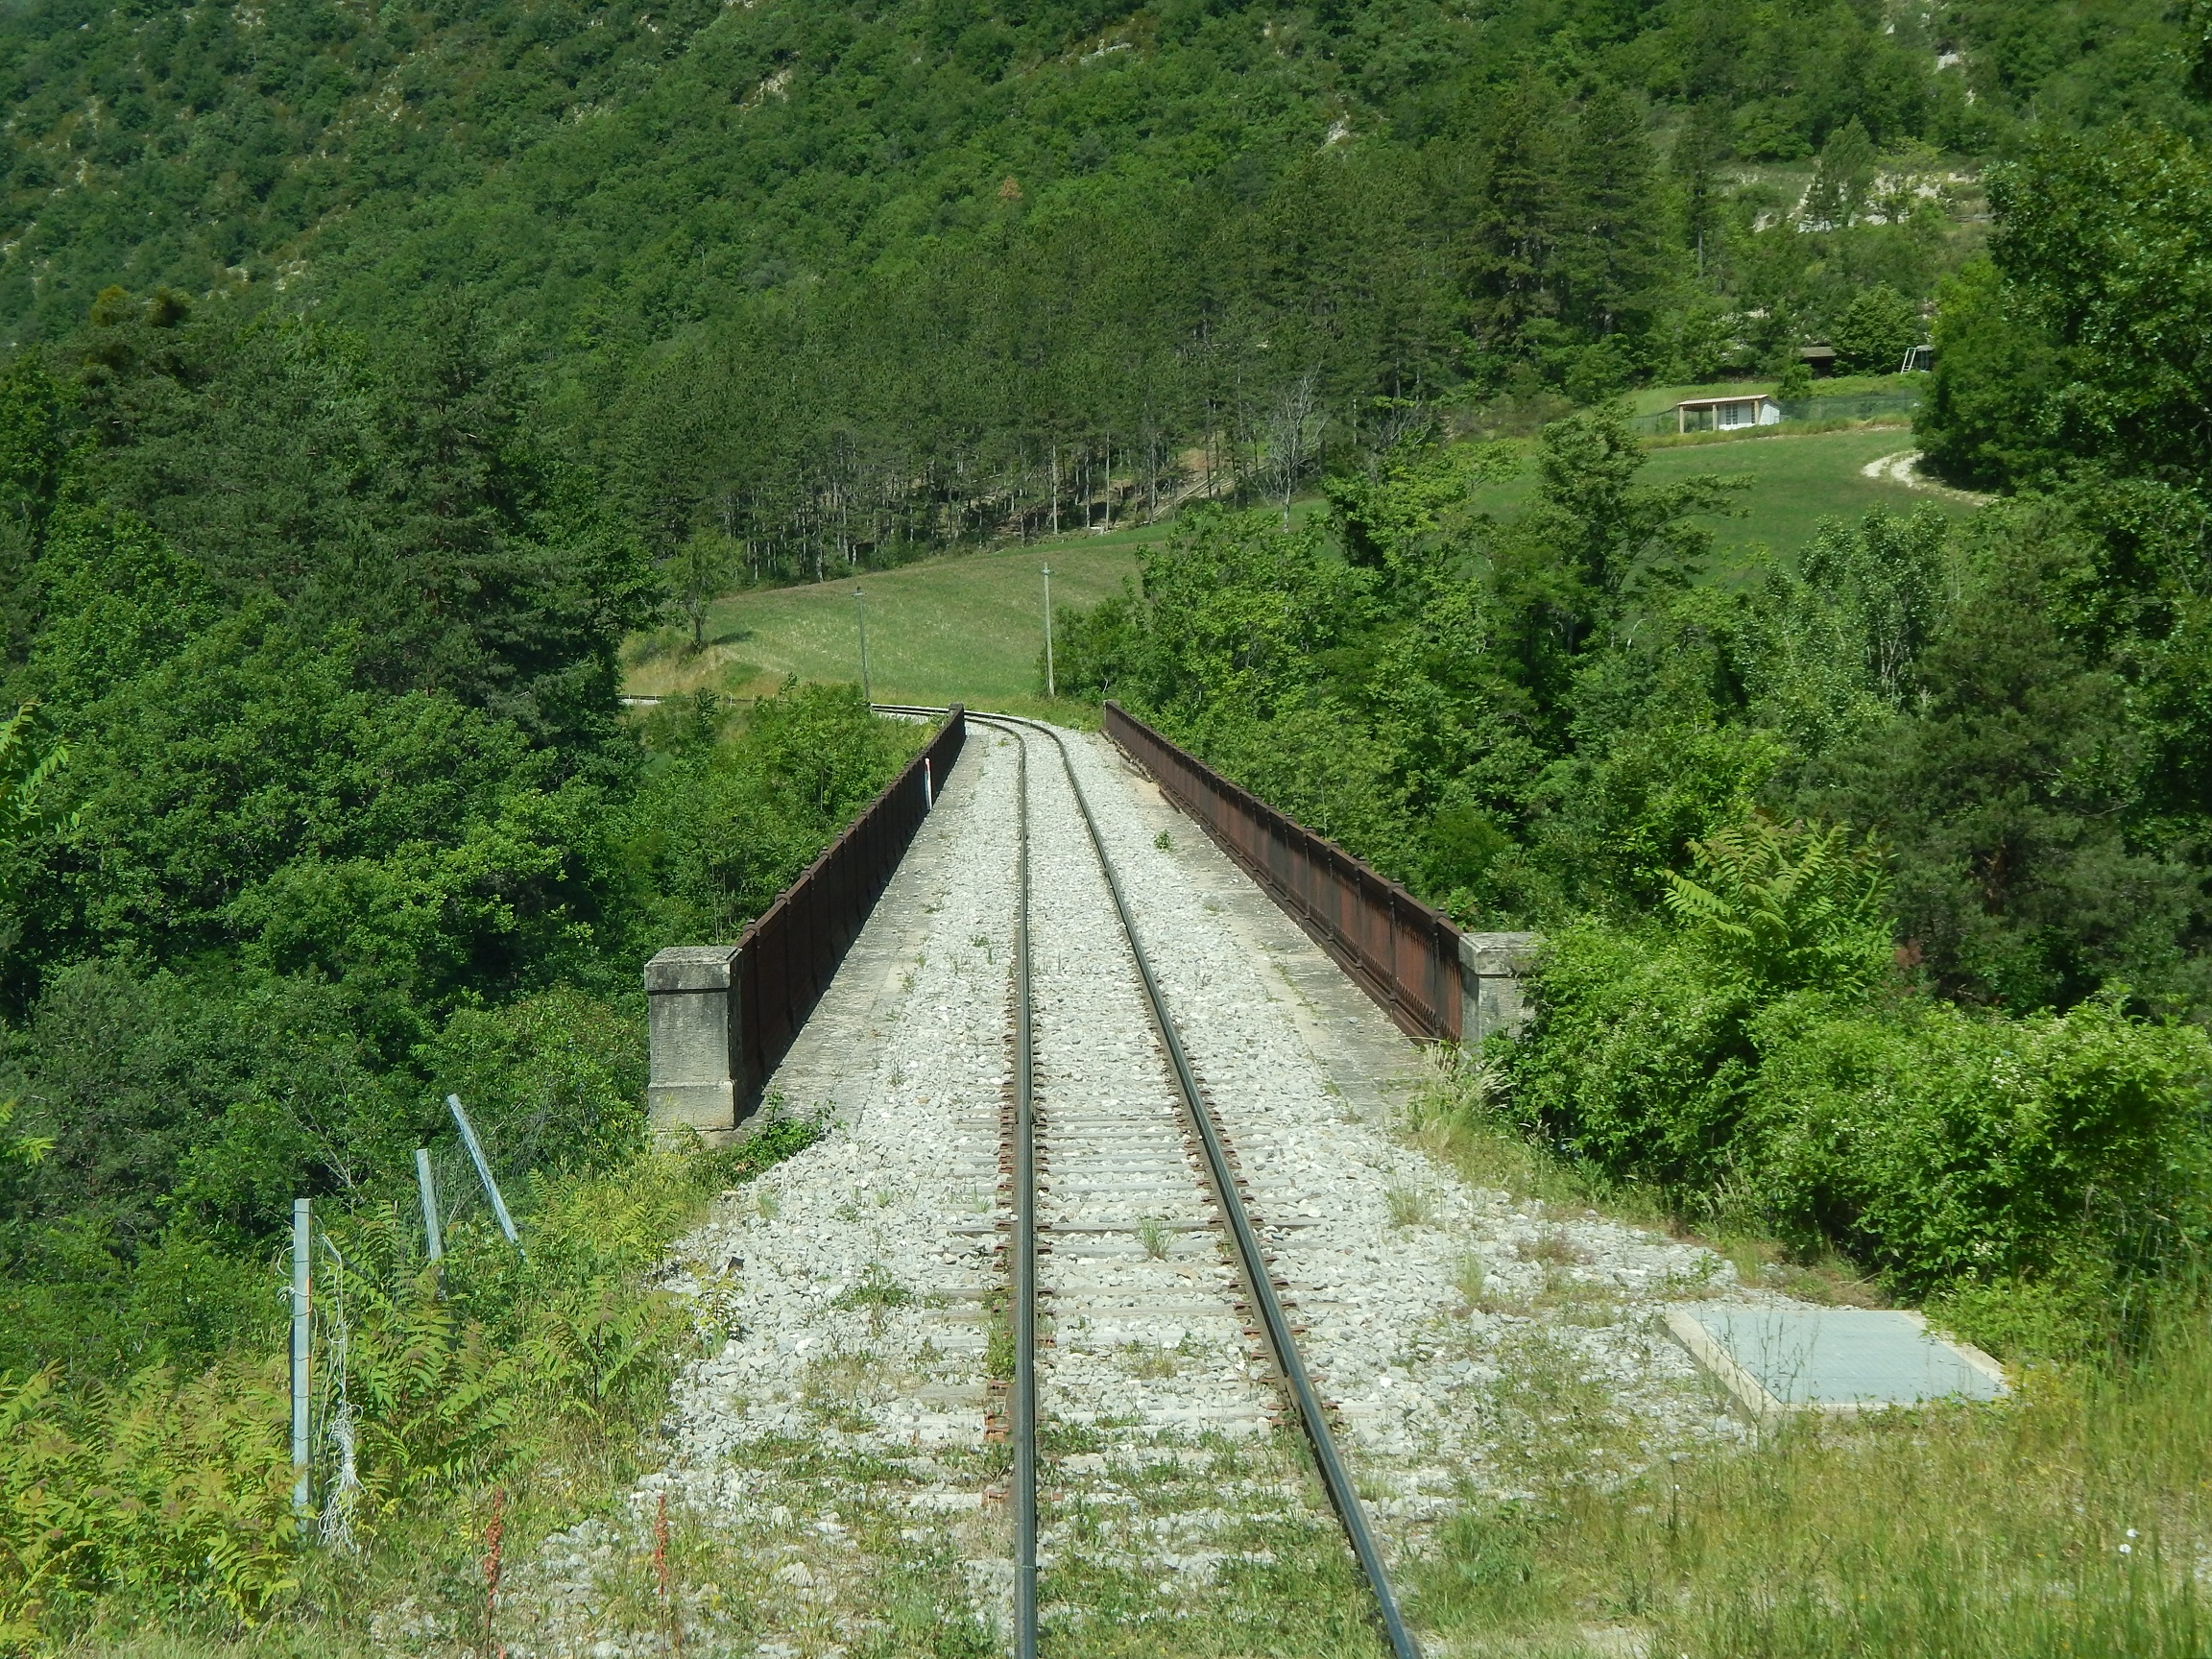
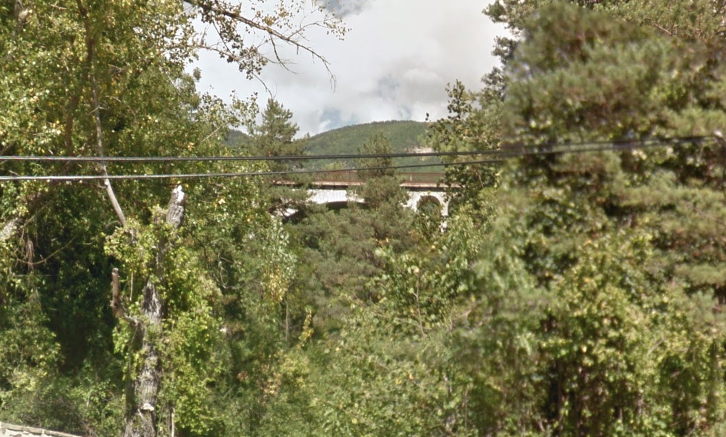
The SMJ would have running powers from Burton Dassett to the foot of a cable-worked incline (just over two miles) and passengers might be carried over this portion. A high-level line from the summit of the incline to the quarries would be for mineral traffic only. The maximum permitted speed was 12mph on both parts of the line. The Light Railway Order was finally approved on 17 July 1918.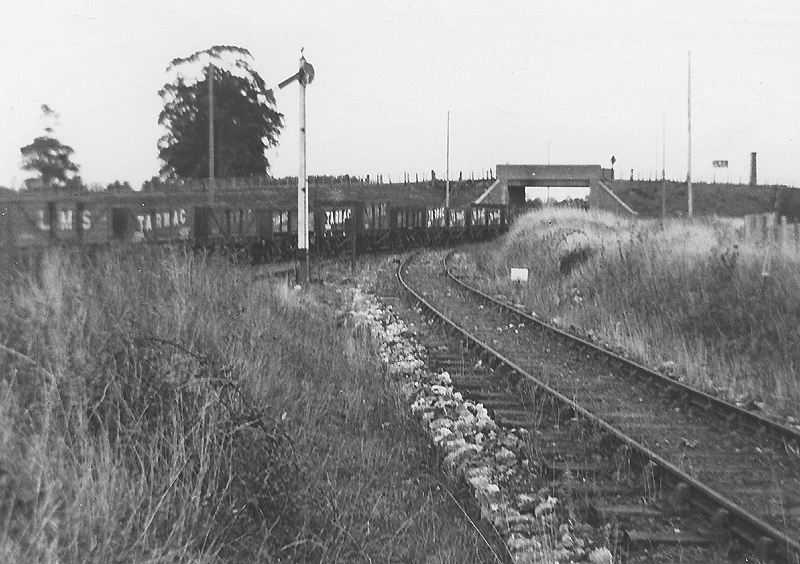 View of the connection between the EHLR with the SMJR with ‘Burton Dasset Platform’ located beyond the bridge on the right.
Two Brighton ‘Terriers’ were purchased from the LB&SCR to work the low-level line, No 1 (an A1X, No 673, formerly named Deptford), in April 1919, and No 2 (an un-rebuilt Al class, No 674, formerly named Shadwell) in July 1920. The Edge Hill had no engine shed, though strangely there was a turntable at the junction, and the engines were serviced and largely kept at the SMJ’s Stratford-upon-Avon locomotive shed, under a ‘gentlemen’s agreement’, facilitated by the two companies’ shared chief officers. As a quid pro quo, the SMJ is said to have used one of the ‘Terriers’ for its Stratford to Broom Junction trains at times when it was short of locomotives.
Construction of the Edge Hill Light Railway began sometime in 1919, with the expectation that that it would be feeding traffic to the SMJ by the end of the year. However construction work was very slow and may have been suspended for a while. This was no doubt because the railway had been started at the time of a post war industrial boom which ended in 1920 resulting in poor economic prospects for a line dependent on iron ore. Further the SMJ, still government controlled, was soon to be nationalised or grouped and the proprietors could now see their investment being compulsorily matured somewhat sooner than expected.
During construction some limited traffic had developed when the incline was finished in summer 1922, as the ground through which construction was taking place at the top of the ridge was usable ironstone under a light overburden. This traffic was assessed in later years by a former engine driver, Mr H Green, to have been about 180 tons, or three 60 ton trains, a day. A siding agreement for the junction had been concluded with the SMJ on 1st March and ore was dispatched to Midlands and Staffordshire ironmasters.
The ‘self acting’ or gravity worked incline was still only partially completed but plant could now reach the top and a small Manning Wardle 0-4-0ST (1088/1888), named Sankey from its original employment on the building of the Manchester Ship Canal, was obtained from Topham Jones and CoCo. in June 1922. EHLR 0-4-0ST ‘Sankey’ is protected from the elements both by a tarpaulin as well as standing under the bridge. On the buffer-beam ‘Sankey’ is equipped with an inside set of dumb buffers.
The railway started from a small yard adjacent to the SMJ’s Burton Dassett platform. It then proceeded on slight gradients for some 2½ miles to a fan of sorting sidings at the foot of the 1 in 6 cable worked incline. At the top of the incline the line extended some yards to finish at an uncompleted cutting near the road to Ratley village; near the incline top there was a back shunt and a few yards of track towards Nadbury.
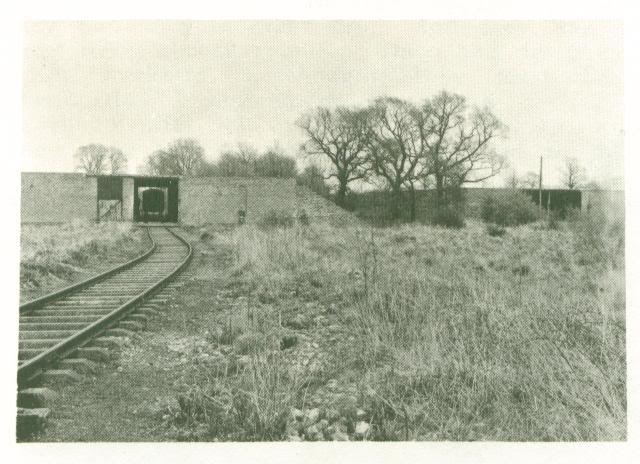
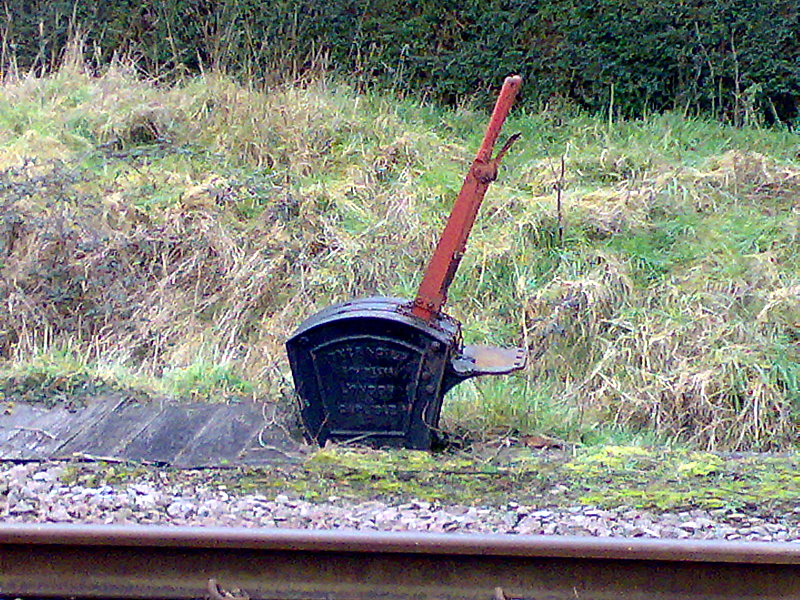
On Tuesday 10 October 1922 a directors’ inspection took place in connection with the incline mechanisms. During the inspection, there was a fatal accident resulting from runaway wagons. The incline was never repaired and commercial traffic ceased.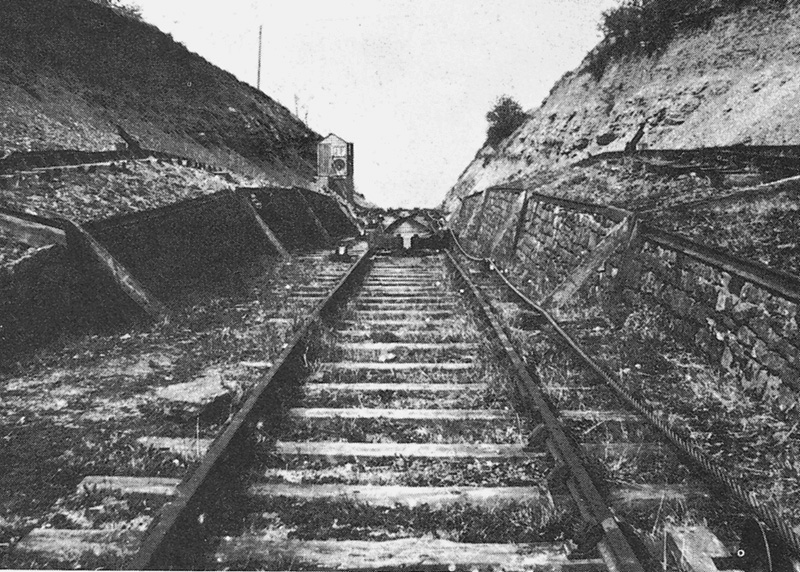 View of the top of the EHLR incline showing the hut used to house the cable controlling equipment on 11th May 1930. Either side of the track the initial portion of the embankment has been supported by stone walling laid at an incline with rail used to anchor the top of the wall.
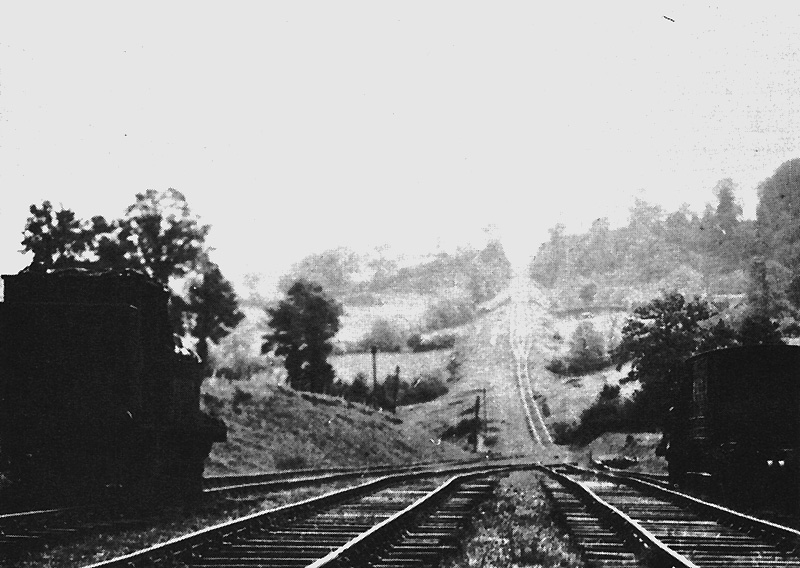 Looking up the EHLR incline with EHLR 0-6-0 No 1 standing on the left of the photograph on 28th May 1935. The locomotive was purchased from the LBSCR being previously No 673 ‘Deptford’.
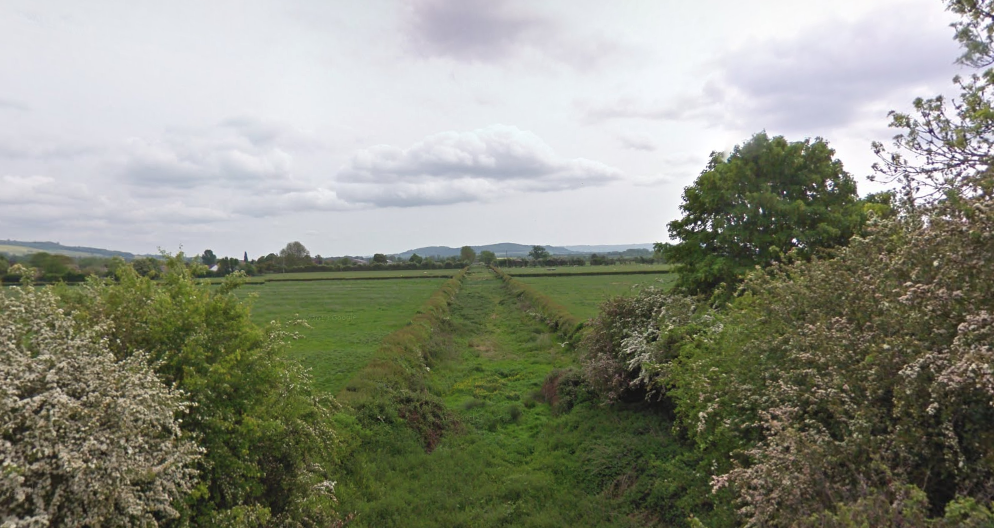
Photographic evidence seems to show little change over the years, except encroaching vegetation and rot, although a few construction tipper wagons seem to have disappeared at an early date and Brake Van No 1 was moved by persons unknown and ran away towards the junction, coming to a halt after about a mile. The Terriers were considered for purchase by the Southern Railway in 1938, but although they were assessed as ‘reasonable’ later in 1942, they were rejected due to their condition.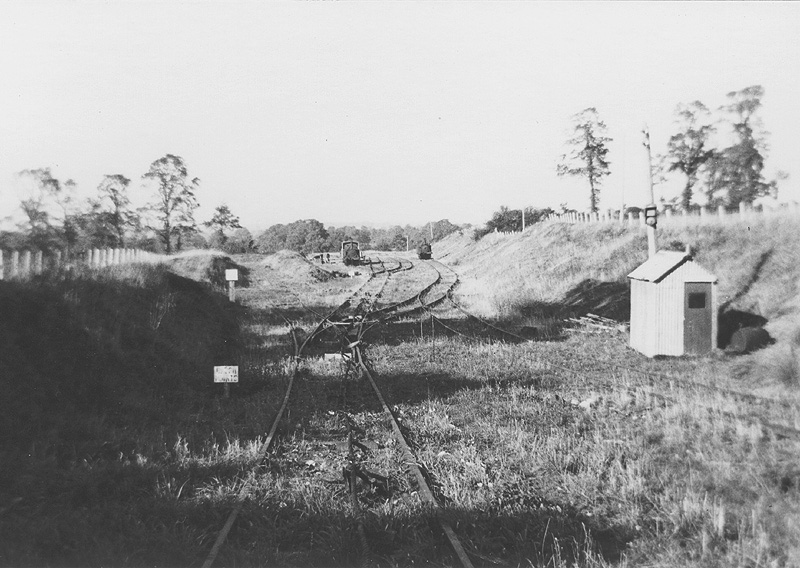 This photograph is being taken from the base of the incline looking across the plain towards the SMJ junction. The EHLR storage sidings can be seen with the derelict Terrier locomotives and rolling stock.
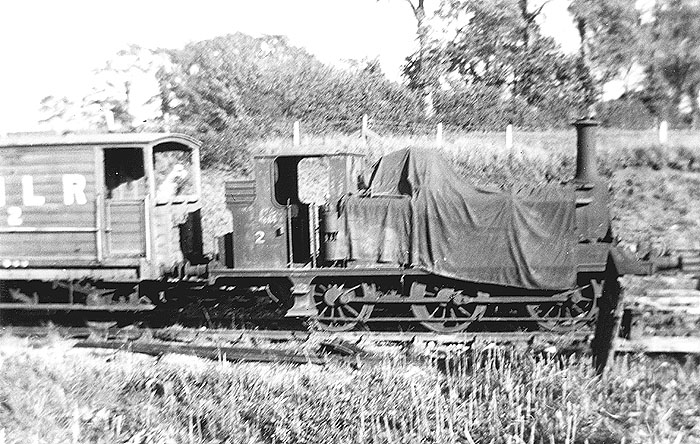 EHLR 0-6-0T No 2 is seen coupled to the brake van whilst being protected from the elements with a tarpaulin.
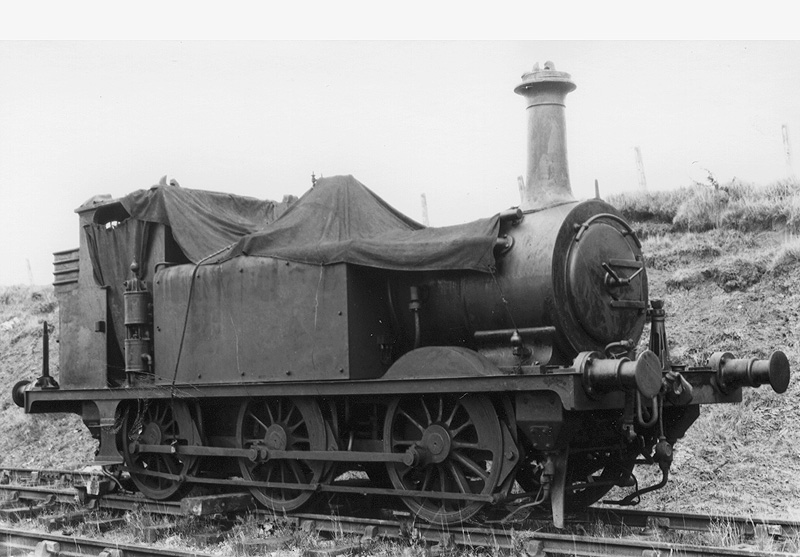 EHLR 0-6-0T No 1, an ex-Brighton ‘Terrier’ stands with a tarpaulin covering the cab, boiler and fittings whilst the chimney has a protection inserted to prevent water ingression to the inside cylinder chest. Prior to being sold to the EHLR it carried the LBSCR running number 73 and was named ‘DEPTFORD’.
Resurrection of the line was considered early in WW2. However the site was requisitioned for the war effort and the Terriers were marooned on unconnected track. The Terriers were not finally cleared until the renewed demand for scrap that swept the bankrupt nation after WW2 and were all cut up by James Friswell and Son of Banbury over spring and summer 1946.
The company story did not quite end with WW2. The owners, claiming they wished to take advantage of the boom in UK ironstone production during the 1950s, sought compensation from the MoD to reinstate the bottom end of the line via a deviation. This was probably simply a device to obtain greater compensation and no detailed plans seem to have been submitted. The Lands Tribunal gave the claim short shrift. The Company was finally wound up in November 1957. [6]
MOD Kineton
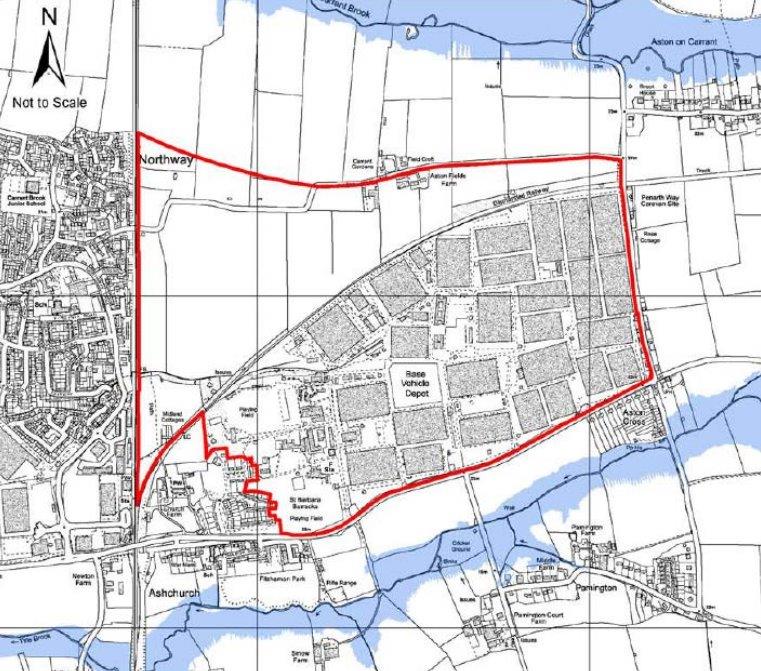
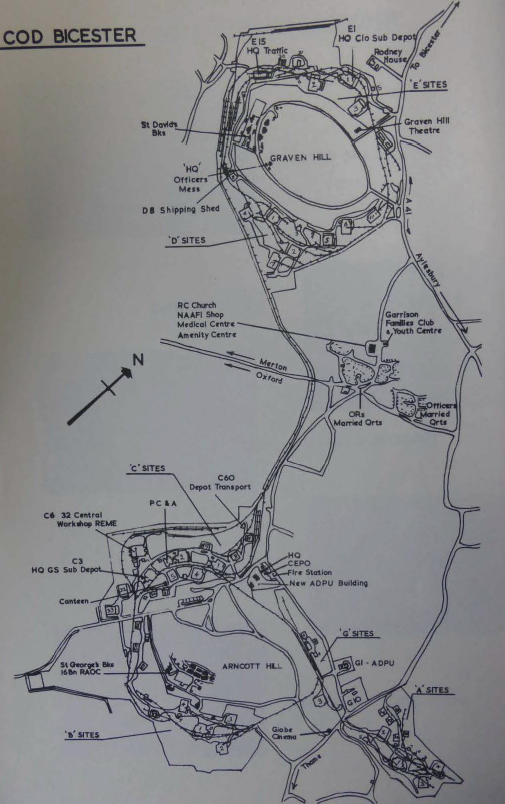
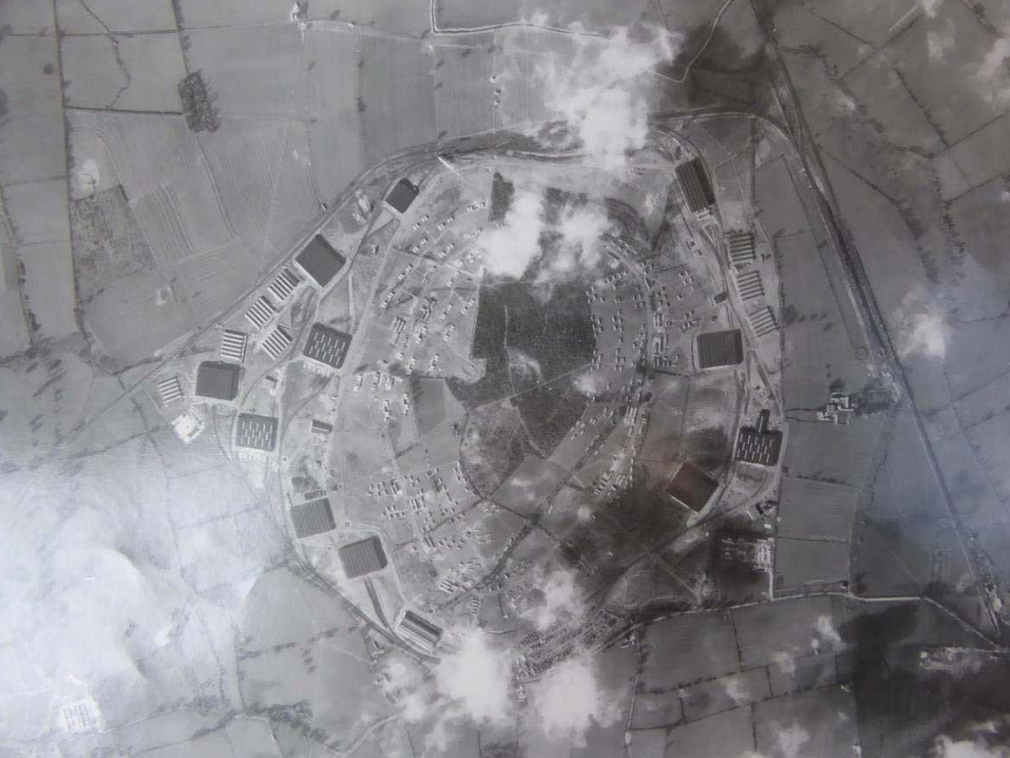
The depot itself has an extensive railway system of 76 miles of track. [5] The sketch plan below shows the extent of the network in 1947, it also shows in green the line or the Edge Hill Light Railway. [4]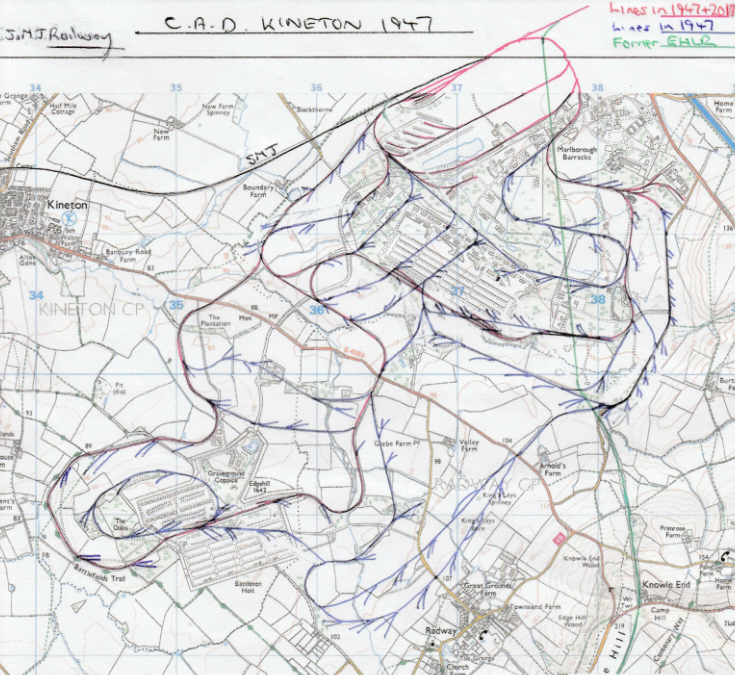
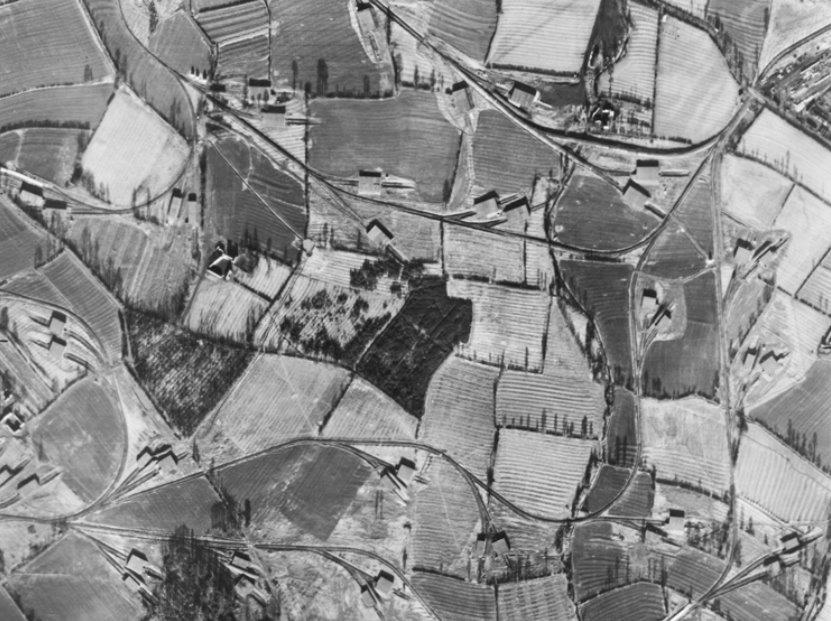 A part of the extensive ordnance depot at Kineton, Warwickshire, surrounded by ridge
and furrow. An extract from NMR RAF/CPE/UK/1926 509216-JAN-1947 English Heritage (EHA)
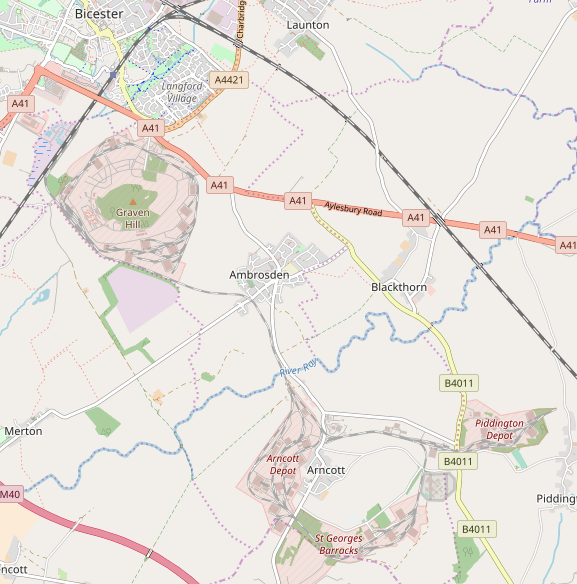
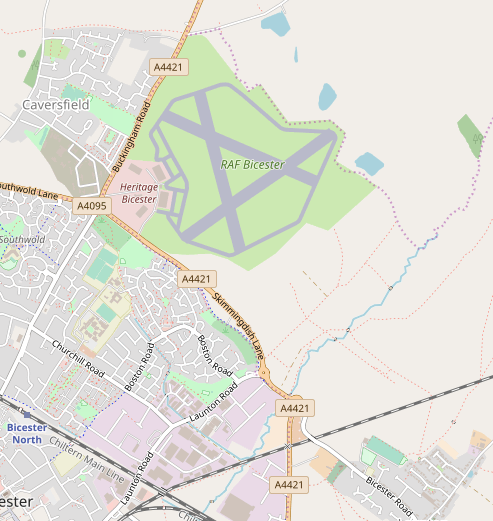
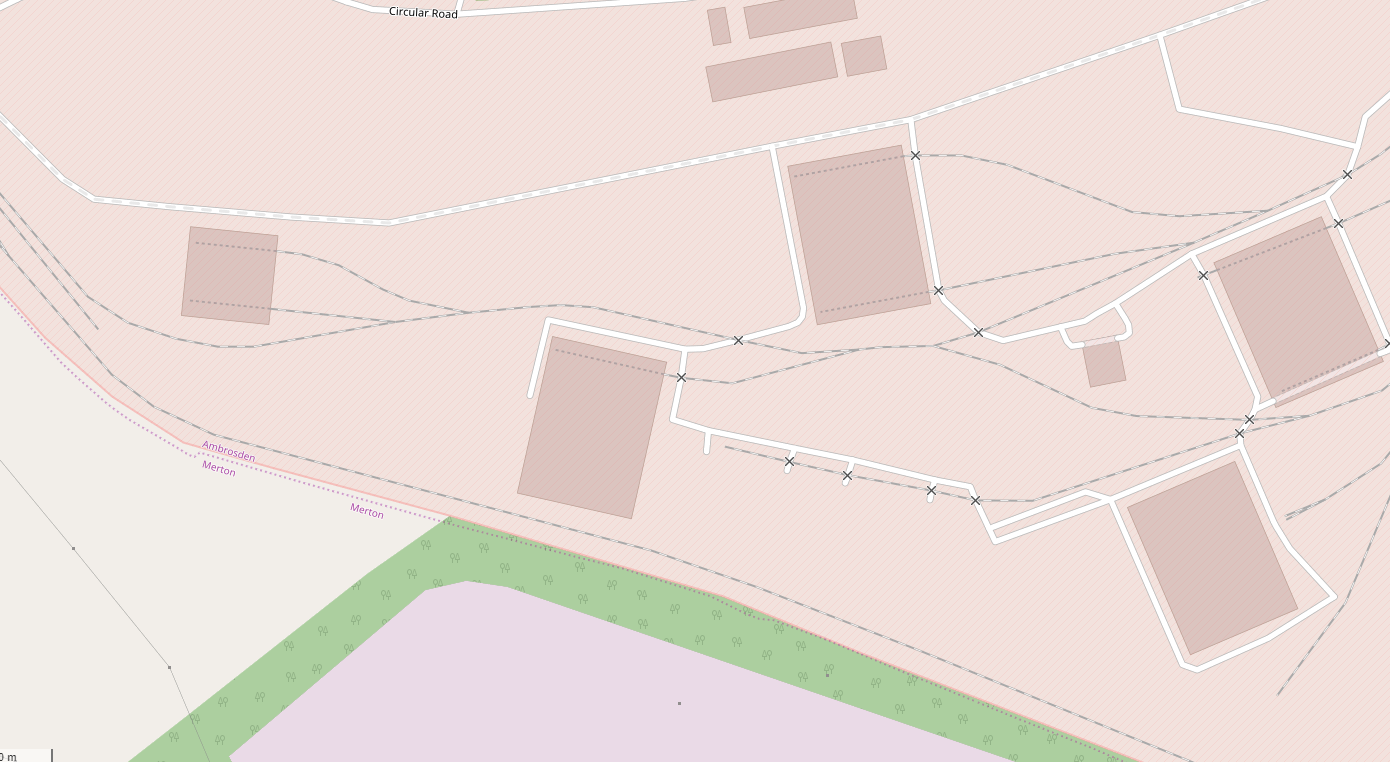
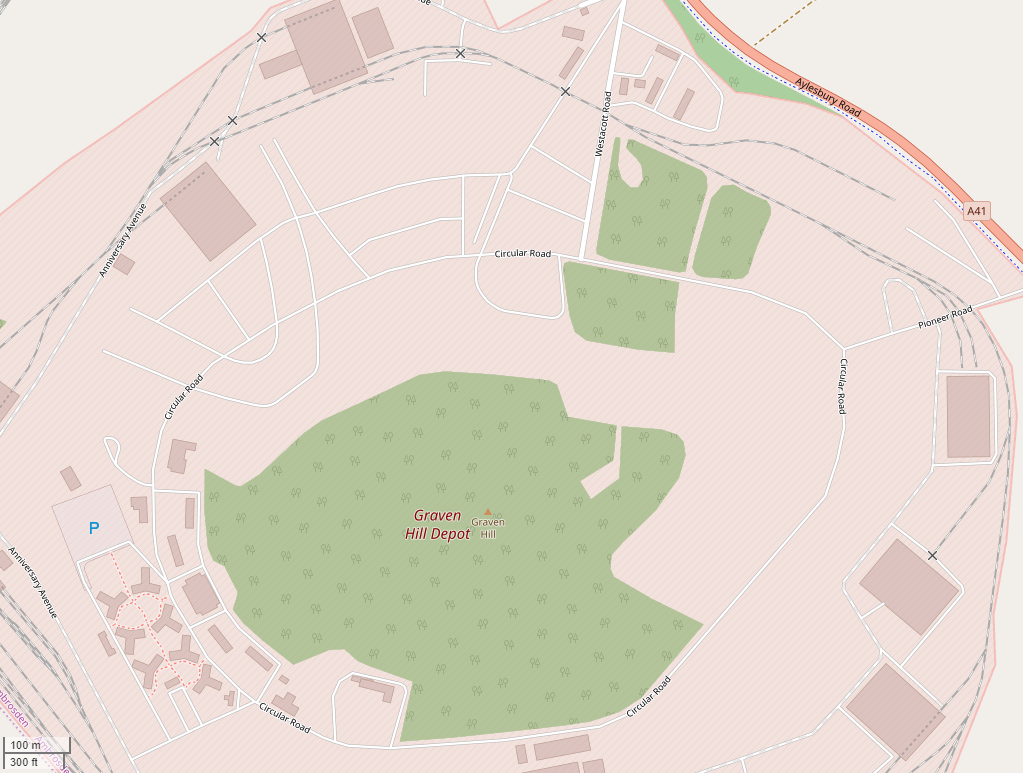
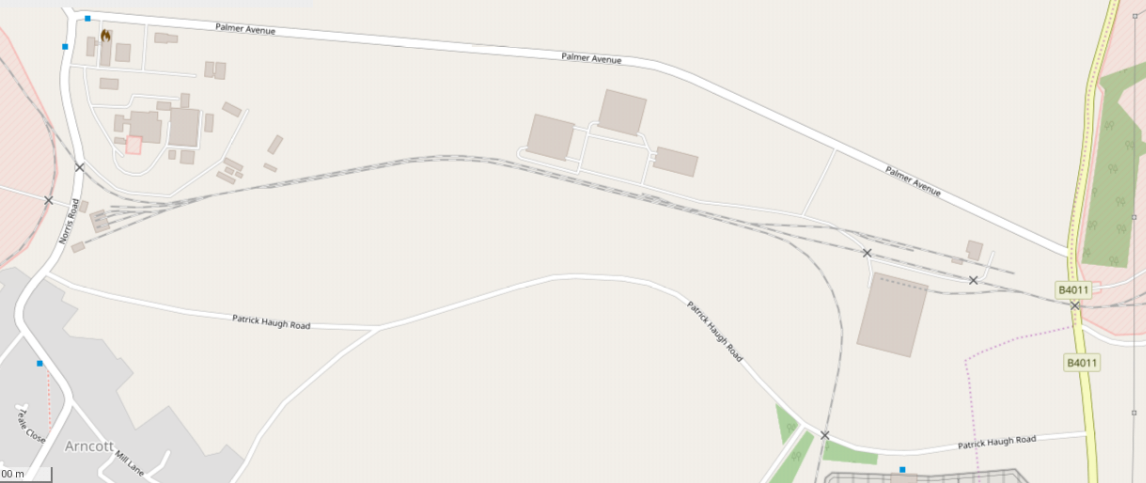
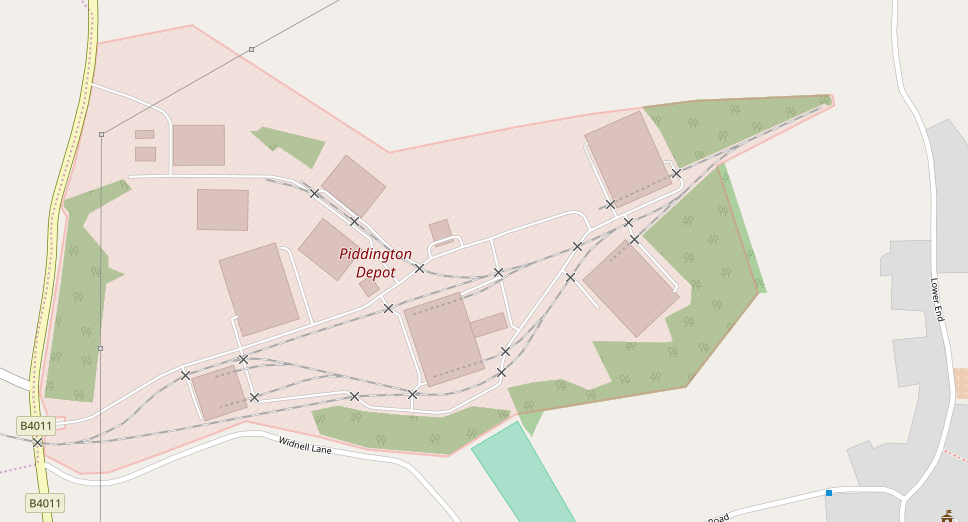
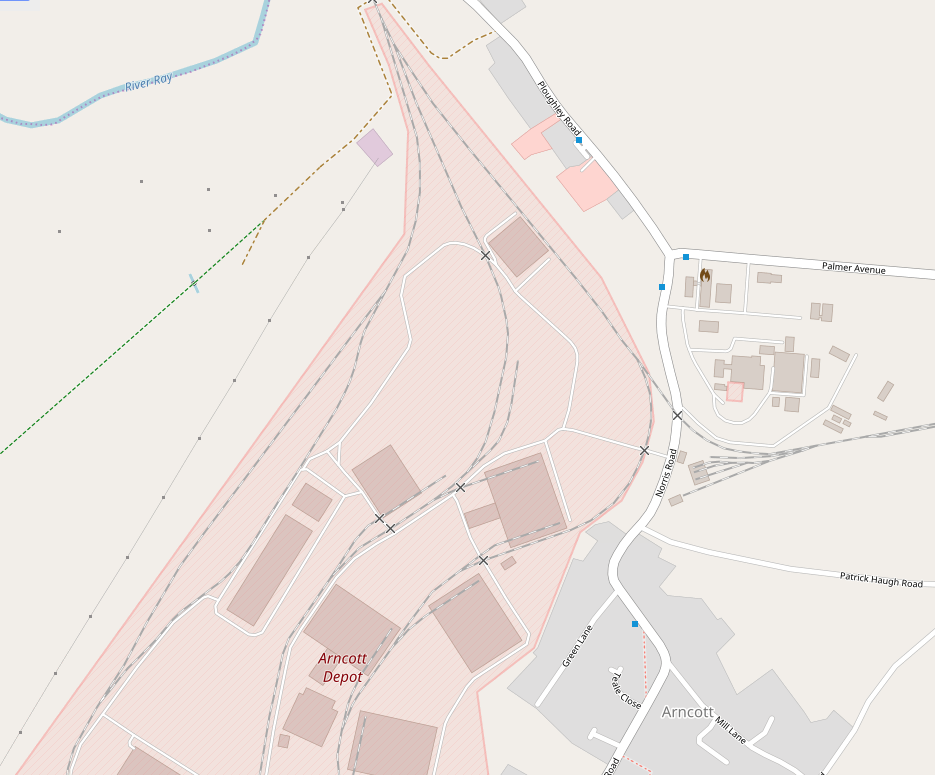
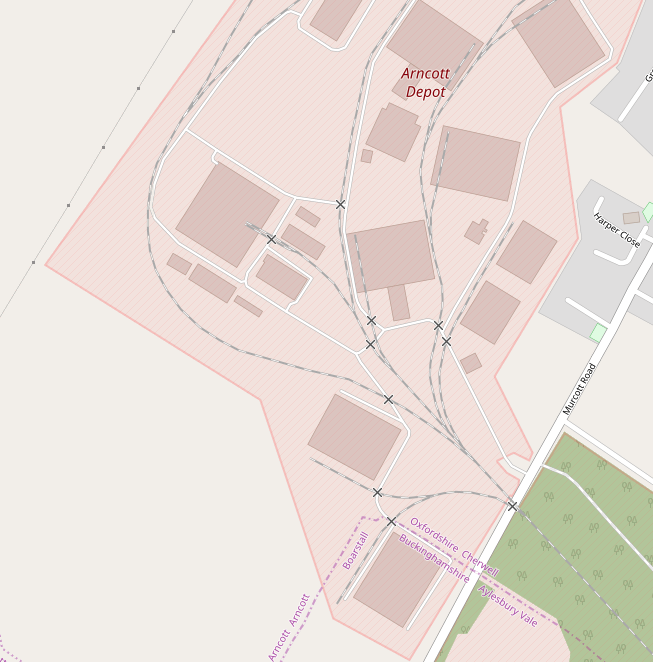
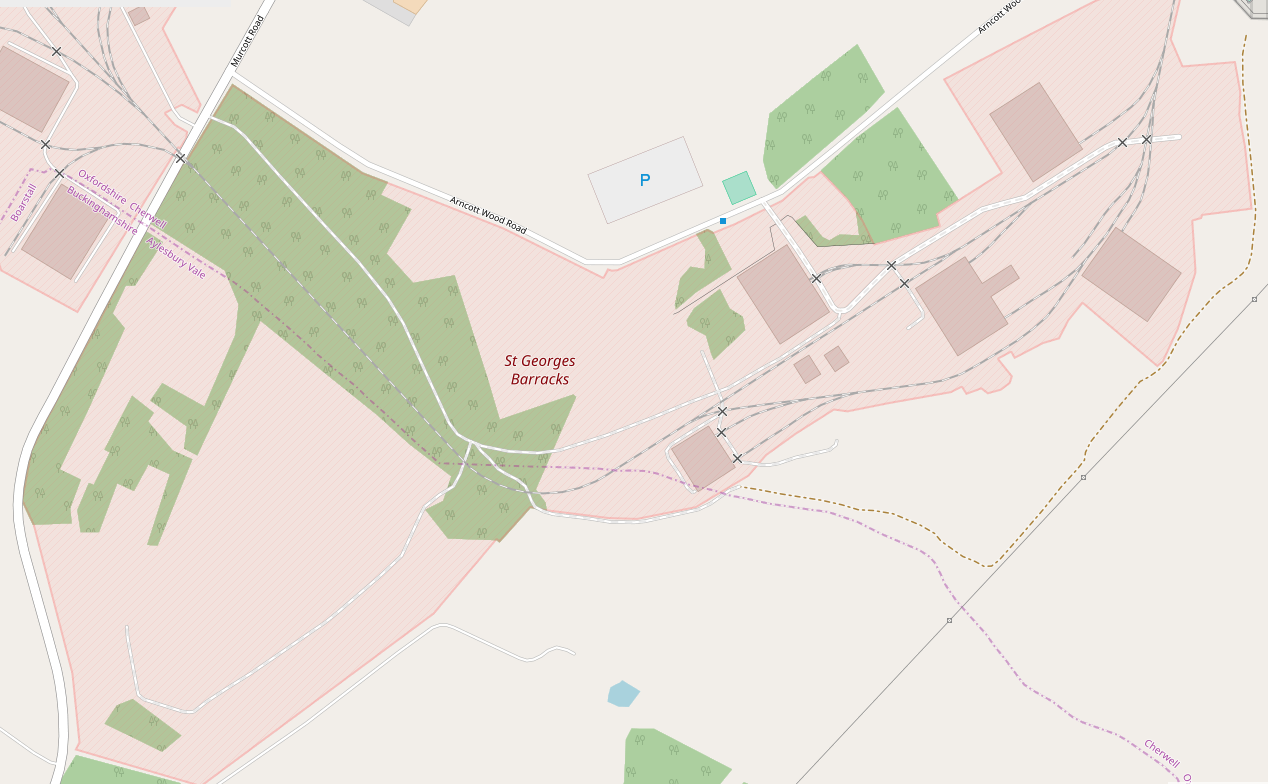
RAF Photography. [9]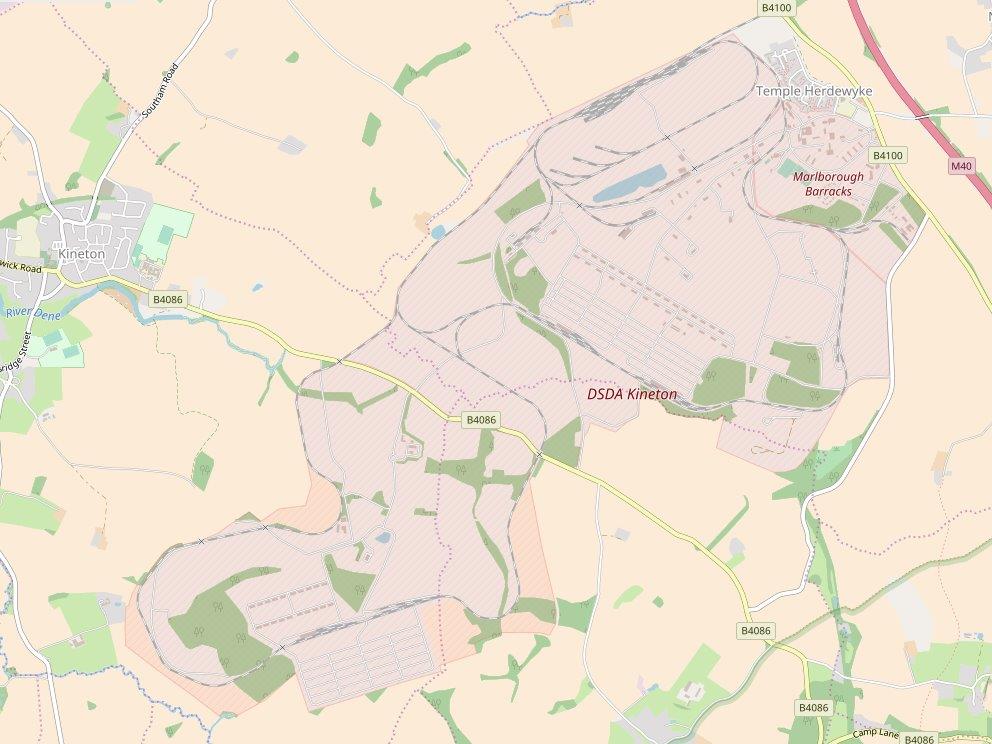 Openstreetmap shows the extent of the internal railway system in the 21st Century.
Some of the storage magazines had no road access so small railcars were used as staff transport. Some were fitted out as fire tenders. [4]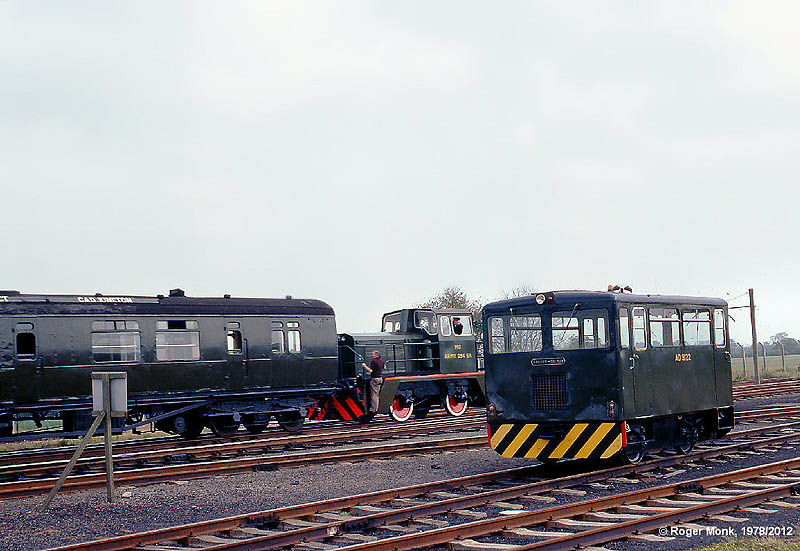 MoD No 9122 a four-wheel personnel transport Railcar built by Baguley-Drewry in 1975 (Works No 3711 of 1975) stands in the sidings. (c) Roger Monk. [4]
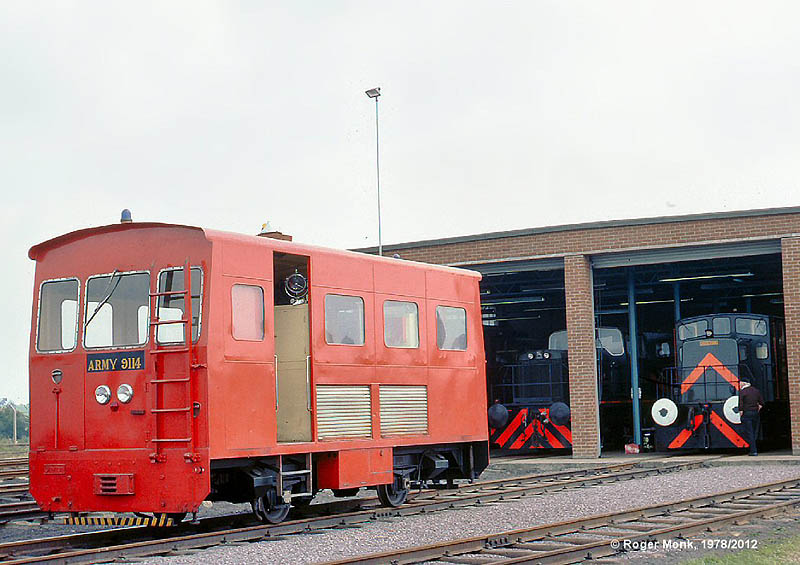 View of Army 9114, a Fire Tender Railcar, seen standing outside Kineton Central Ammunition Depot’s locomotive shed. The unit was built by Clayton Equipment Company in 1968 (Works No. 5380/1), (c) Roger Monk. [4]
Kinston had other small fire-tenders operating in the 1960s. Two which were scrapped in 1970 can be seen in a flickr photo posted by Gordon Edgar. [7]
When the M40 was built there was a period when the rail link to the MOD site was cut. It was a while before a new bridge was built over the motorway. After the bridge was built, the branch-line was completely renewed with full depth ballast and welded joints. [1][2]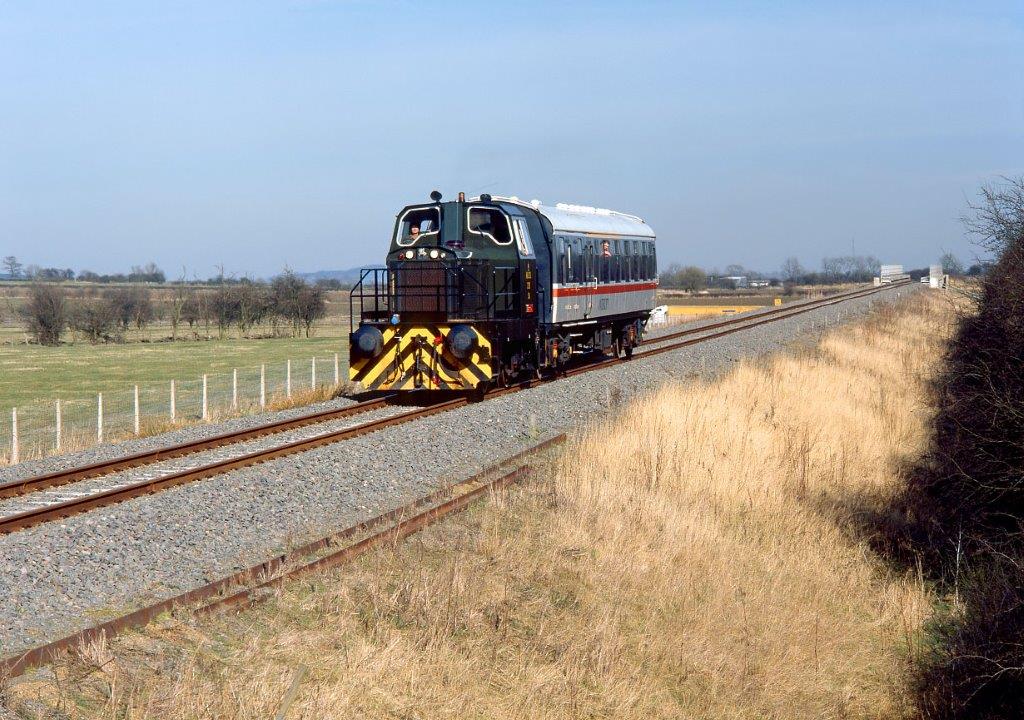 Martin Loader comments (see below): Army loco 278 Coppice (built by Thomas Hill in 1988) heads towards MoD Kineton on 12 March 1995 after taking ex-works Mk1 coach 21274 for a run along the MoD Kineton to Fenny Compton line. It is pictured on its way back from Fenny Compton and has just crossed over the M40 motorway (note the lorry just behind the coach). The rebuilding required when the motorway was built a few years previously has given this stretch of track a very modern appearance for a freight line with deep ballast and continuously welded rails, (c) Martin Loader. [2]
During the 1980s the extensive network of sidings was cut back when internal road transport to serve a central rail/road transfer facility was introduced.
The depot stores spare railway carriages and locomotives on behalf of the various UK Train Operating Companies, [1] utilizing some of the redundant sidings for this purpose. In 2018, the Depot and railway are still in use. The above information and more can be obtained from the Industrial Railway Society’s Preliminary Draft Handbook Industrial Railways & Locomotives of Warwickshire. [3][4]
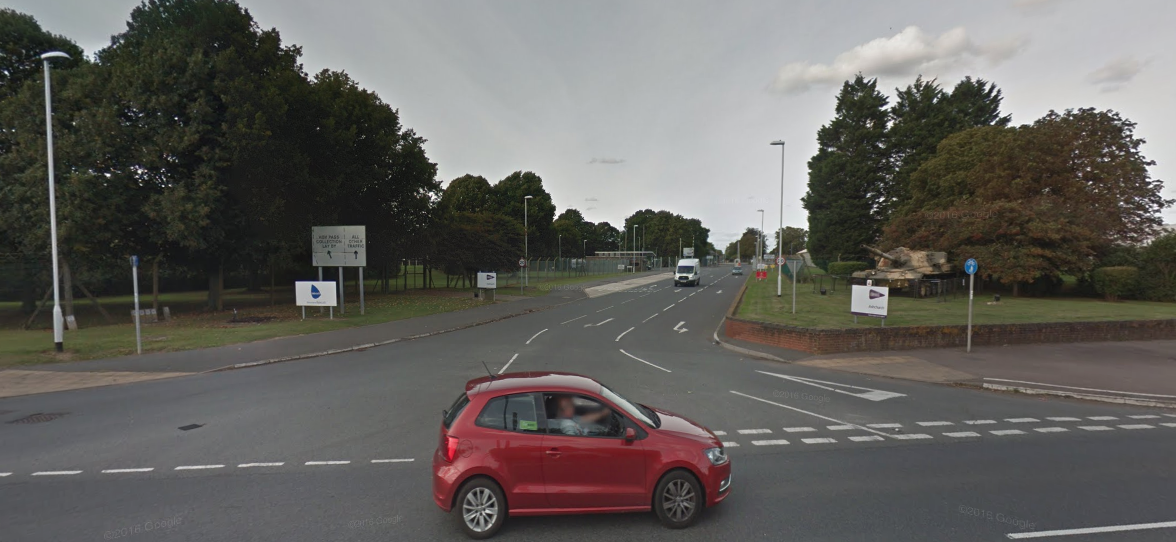
The rail link left the main line and crossed the motorway (M40), before running in a straight line towards the depot.Some pictures of the link follow, three at Google Streetview images and others are used with the kind permission of Martin Loader. [10] The rail-link bridge over the M40.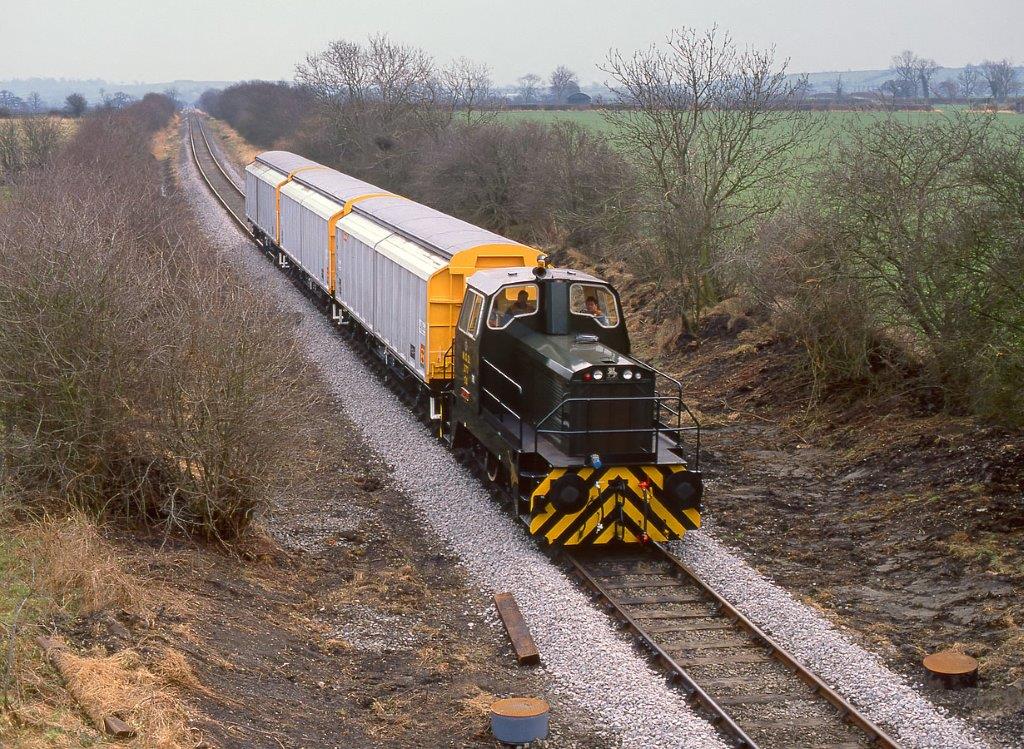 Martin Loader comments: Army loco 277 trundles along the Army’s Fenny Compton to Kineton line near Knightcote, heading for the MOD depot on 24 February 1992 with three immaculate VGA wagons of military stores. The wagons had been tripped up to Fenny Compton on the 6M19 07:45 Didcot to Fenny Compton, behind 47309, (c) Martin Loader. [10]
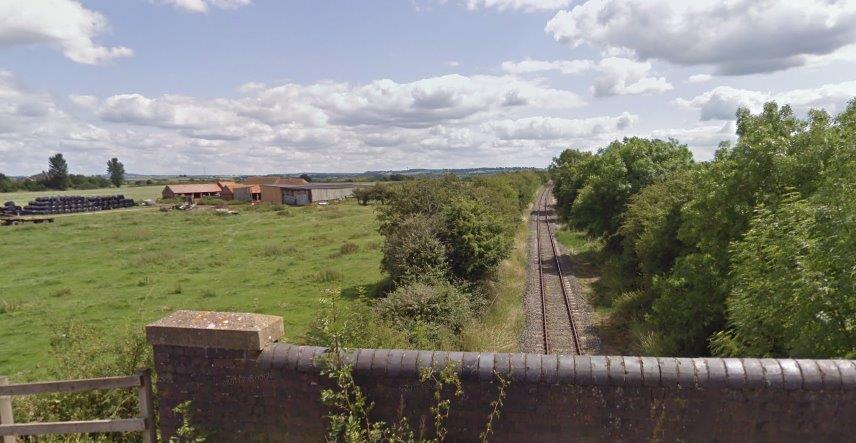 Looking east toward the mainline from Knightcote Lane.
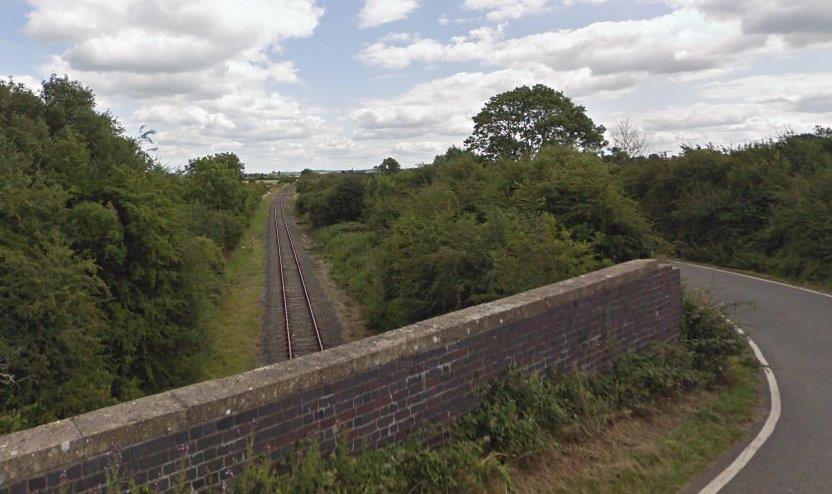 Looking east toward the mainline from Church Road.
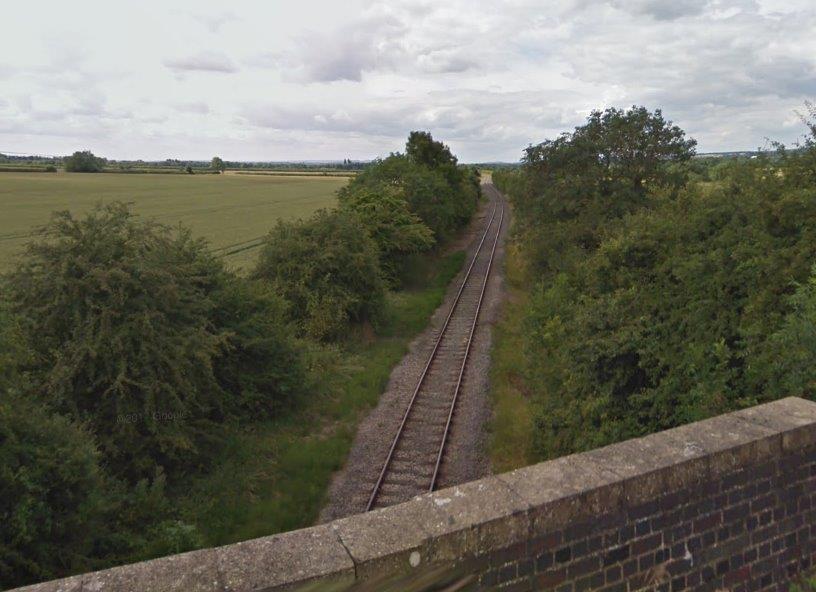 Looking west toward the M40 from Church Road.
 Martin Loader comments: Army locos 273 Edge Hill & 265 have a very unusual load to haul as they traverse the MoD line from Fenny Compton to Kineton on 28 March 1992. They are passing Knightcote with the Branch Line Society ‘Kineton Pullman’ railtour. The tour had started from Manchester Piccadilly behind 47597, with 58013 added later for working top’n’tail up various branches. Ironically I had visited this location a month previously and had taken a picture of a more normal sort of train you would expect to see at this location. [10]
 Army locos 273 Edge Hill & 274 Waggoner (built by Thomas Hill in 1987) head towards Kineton on the MoD branch from Fenny Compton exchange sidings with the Hertfordshire Railtours 1Z16 09:35 Paddington to Kineton ‘Edgehill’ railtour on 13 March 1994. They are pictured approximately half way along the branch, near Northend. The tour had traveled from Paddington behind 47811, and would soon be moving around the Army depot via a complicated set of reversals, which involved another Army loco (278 Coppice) on the rear. [10]
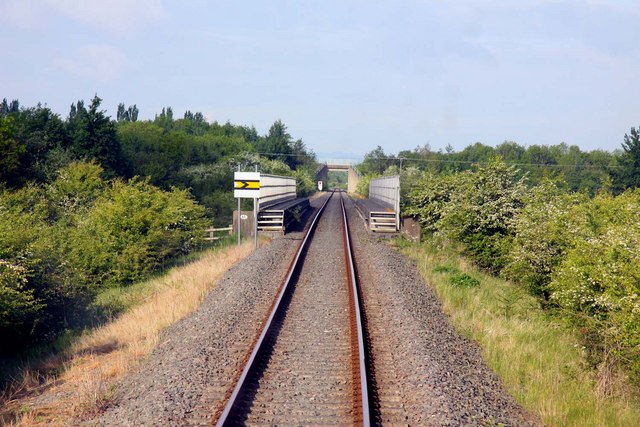
 Two ppictures above of the M40 Bridge, (c) Steve Daniels. [21]
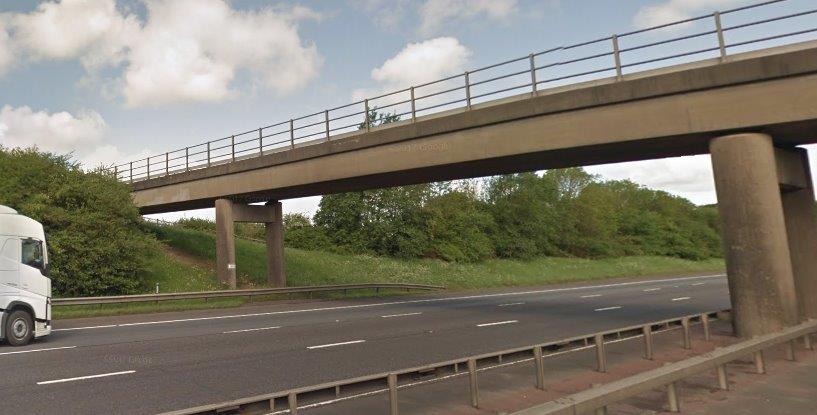 The rail-link bridge over the M40.
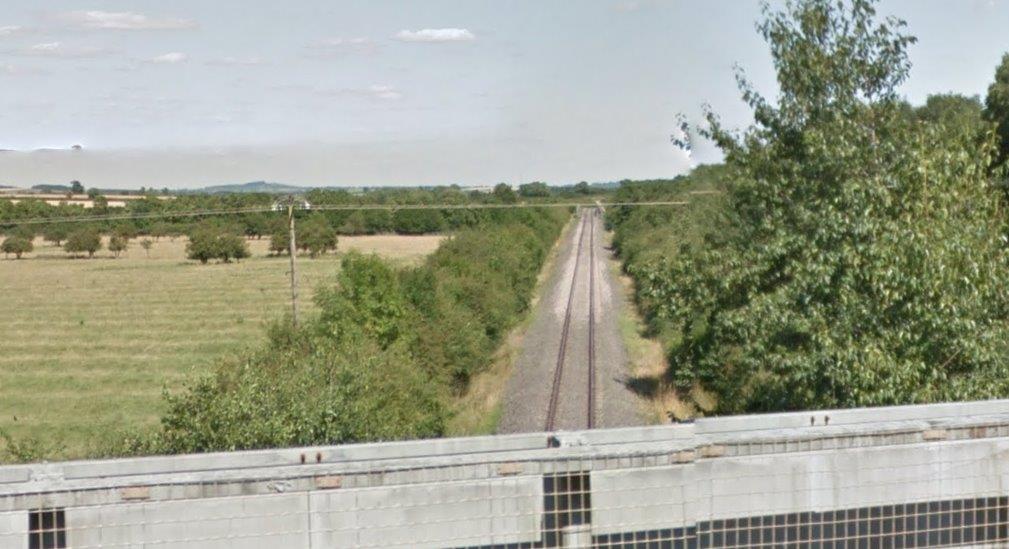 The rail-link, looking east toward the M40.
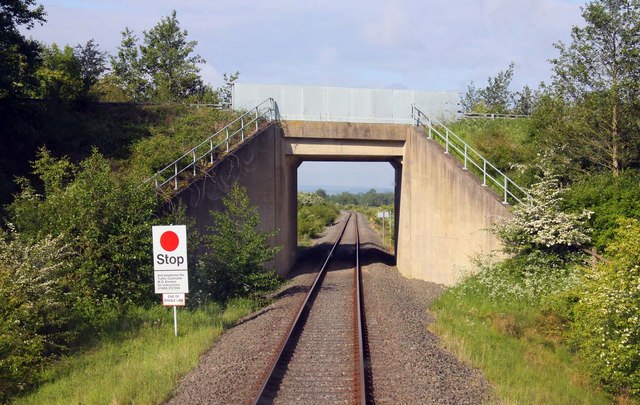 The B4100 over-bridge, (c) Steve Daniels.. [20]
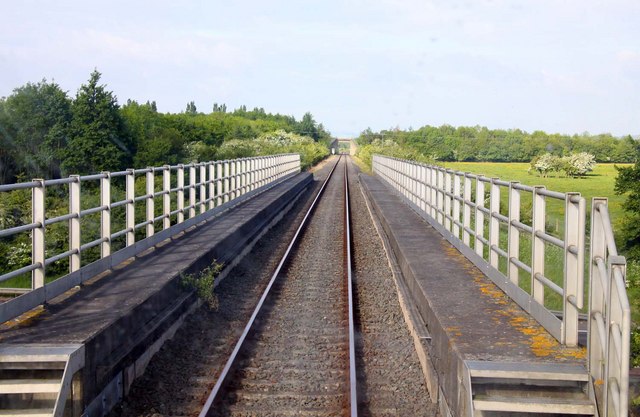
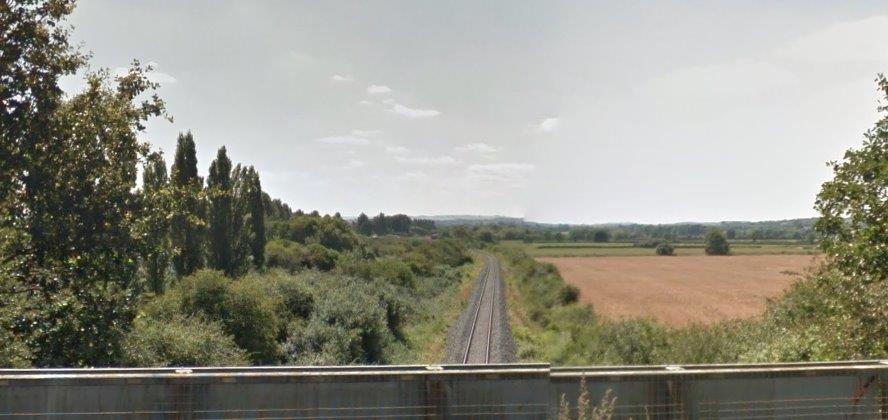 The rail-link looking west toward MOD Kineton.
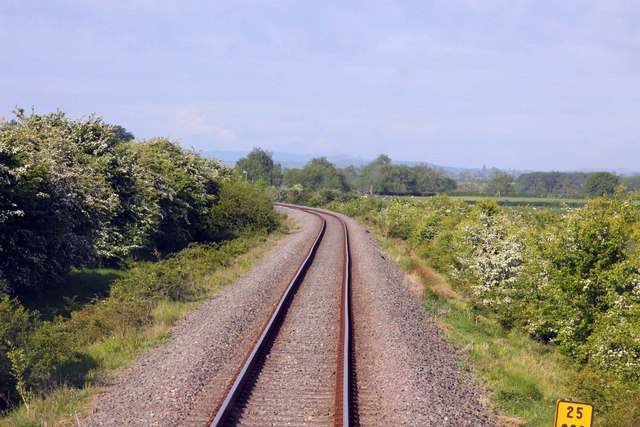 And a driver’s eye view, (c) Steve Daniels. [22]
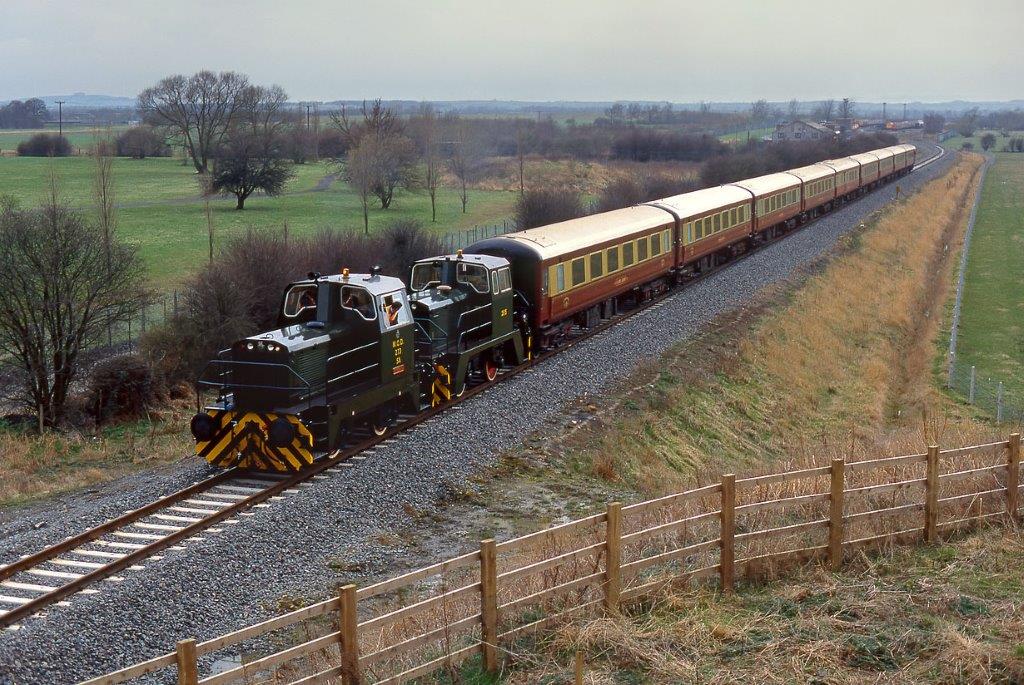 In miserable light, Army locos 273 Edge Hill & 265 head back towards Fenny Compton with the Branch Line Society ‘Kineton Pullman’ railtour on 28 March 1992, after doing a tour of Kineton Army Depot (in the background). The tour had arrived at Fenny Compton behind 47597 & 58013 working top’n’tail. [10]
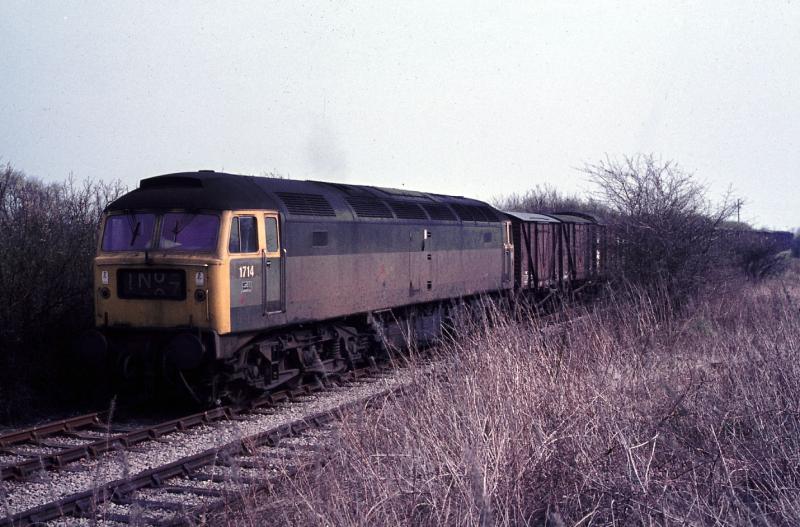 Class 47 No. 1714 with vans arriving at MoD Kineton in April 1971. [15]
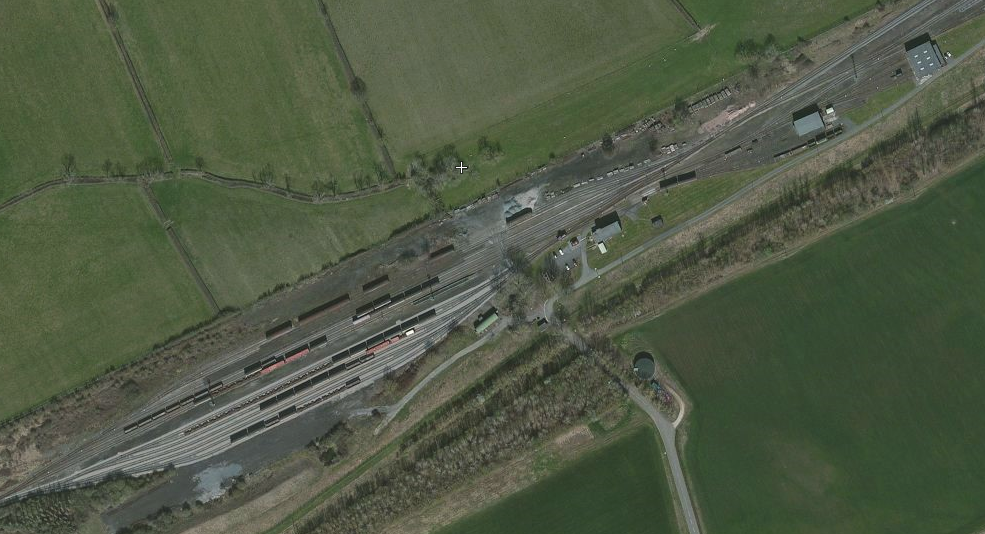
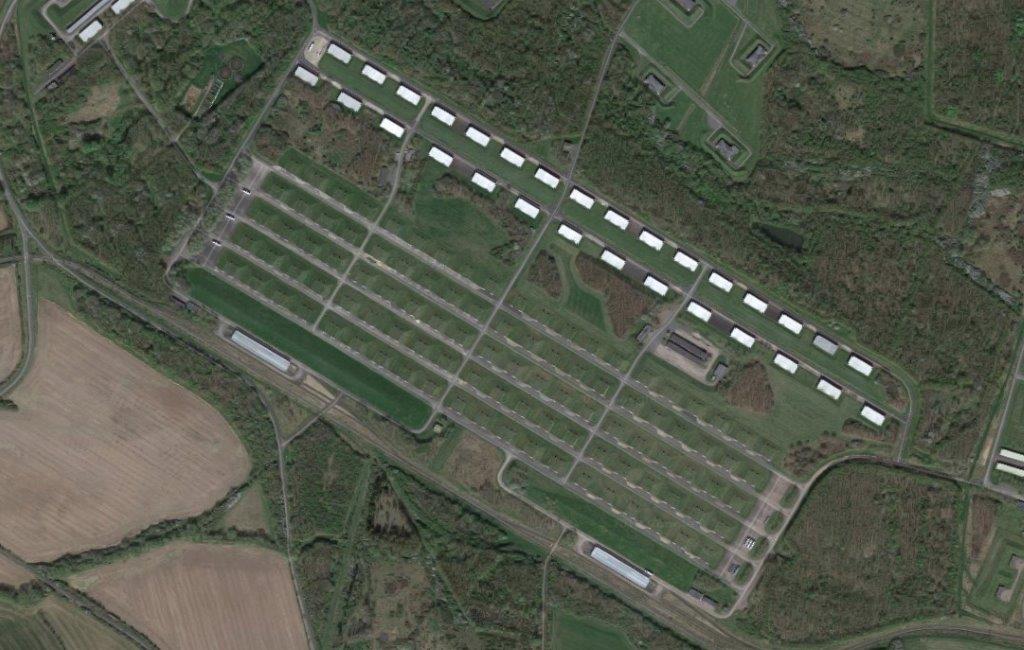
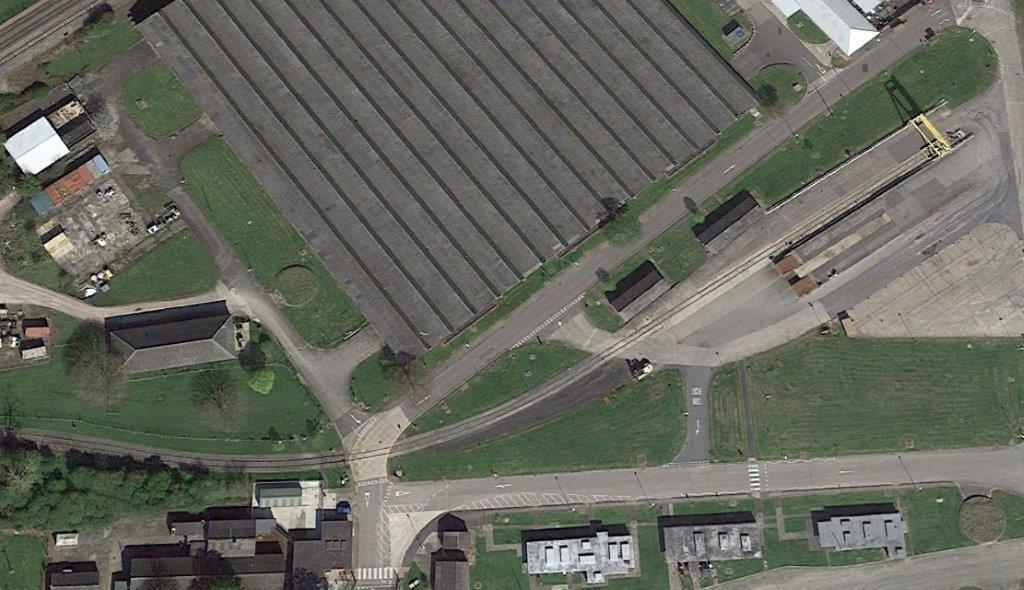
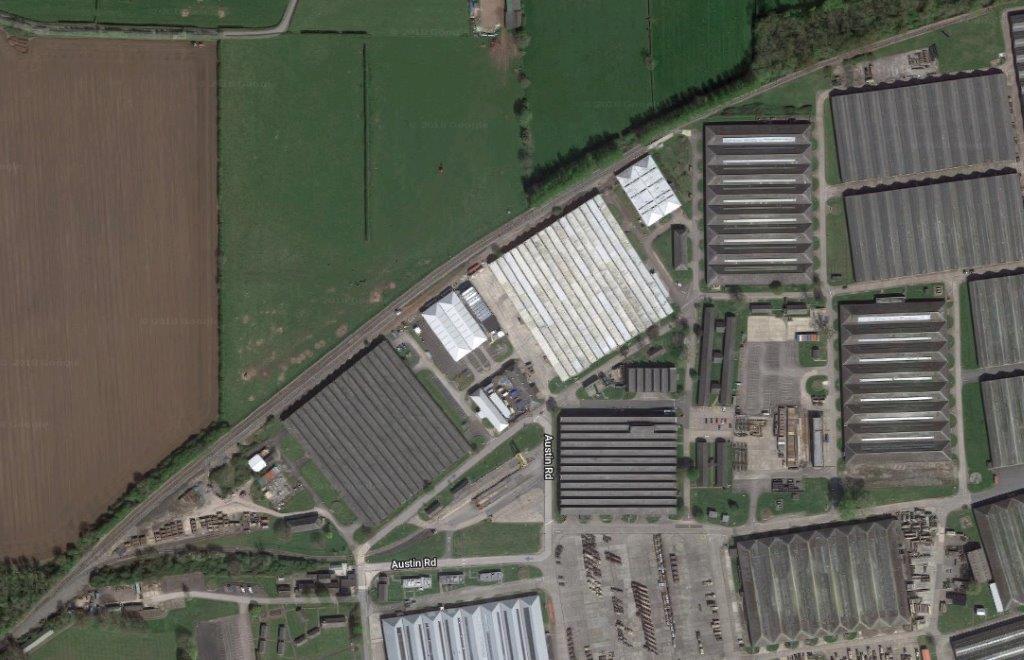
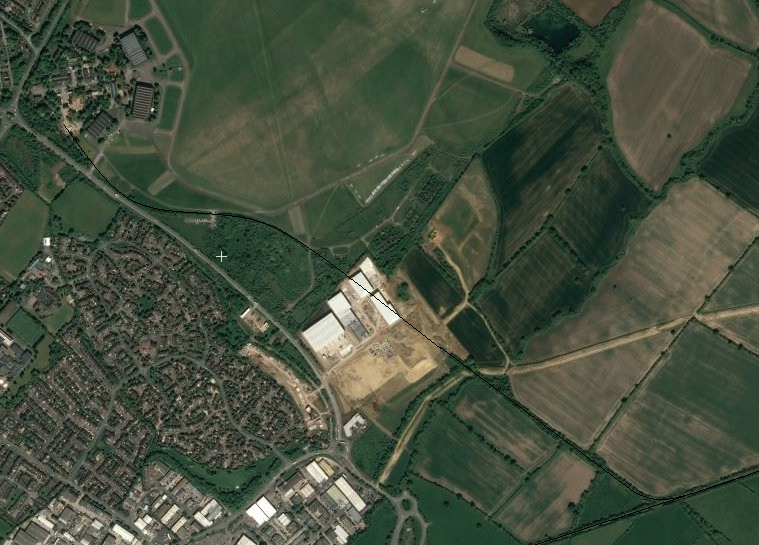
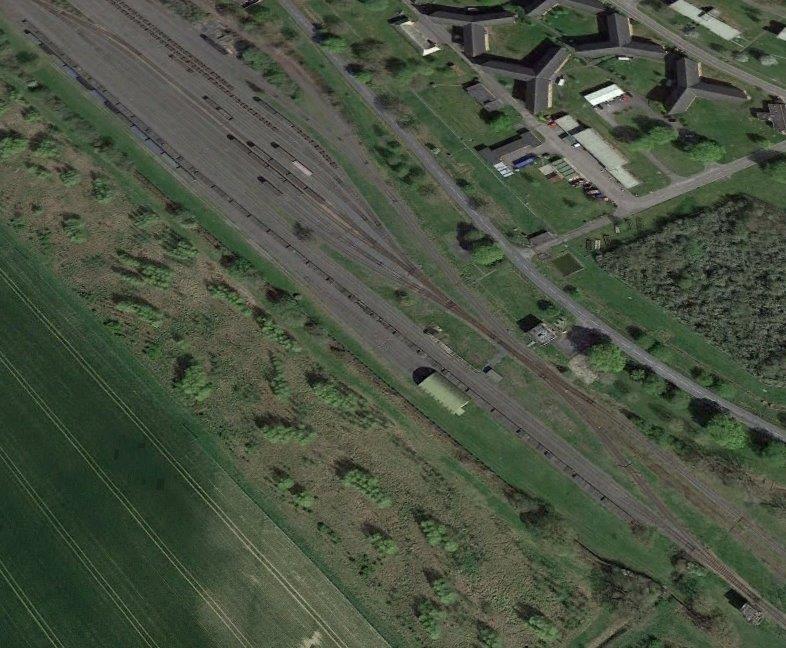
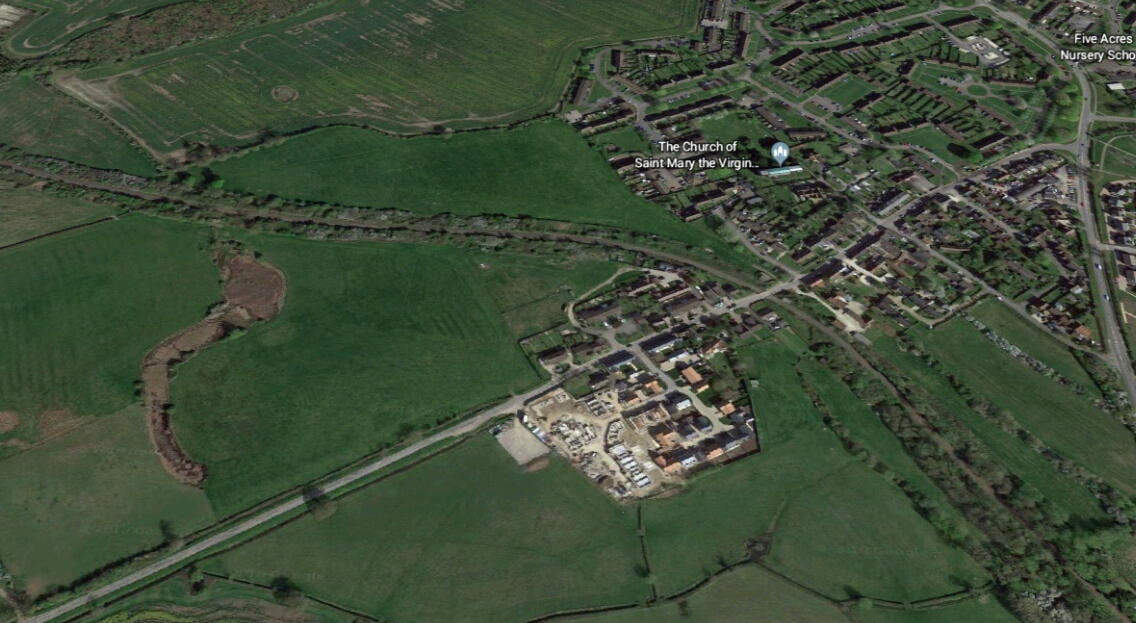
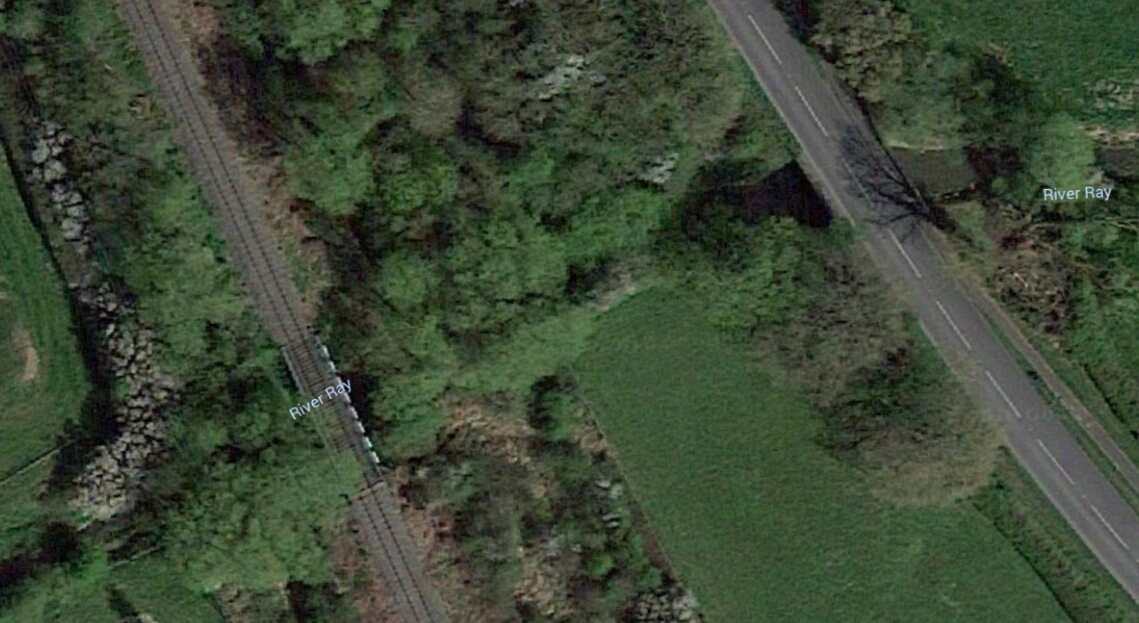
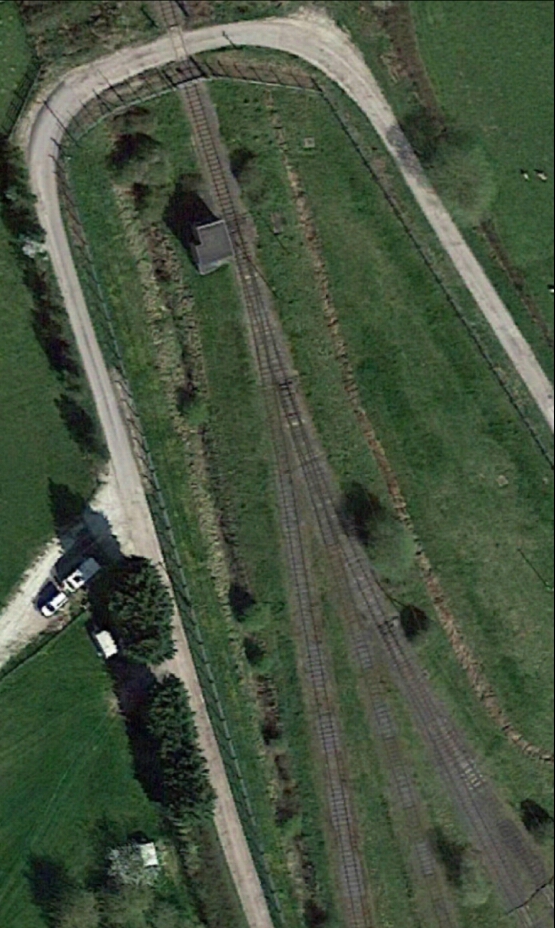
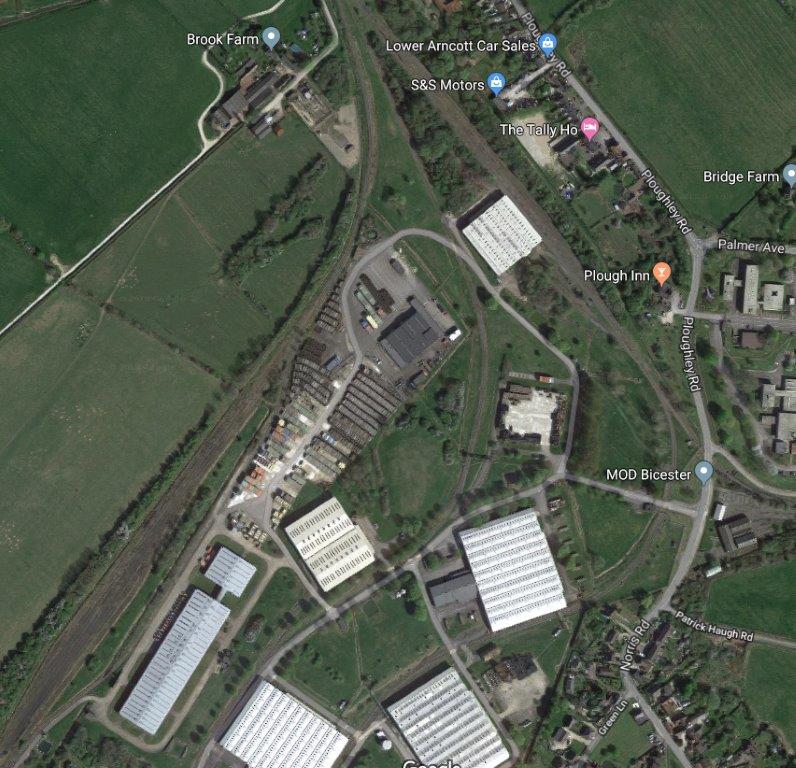
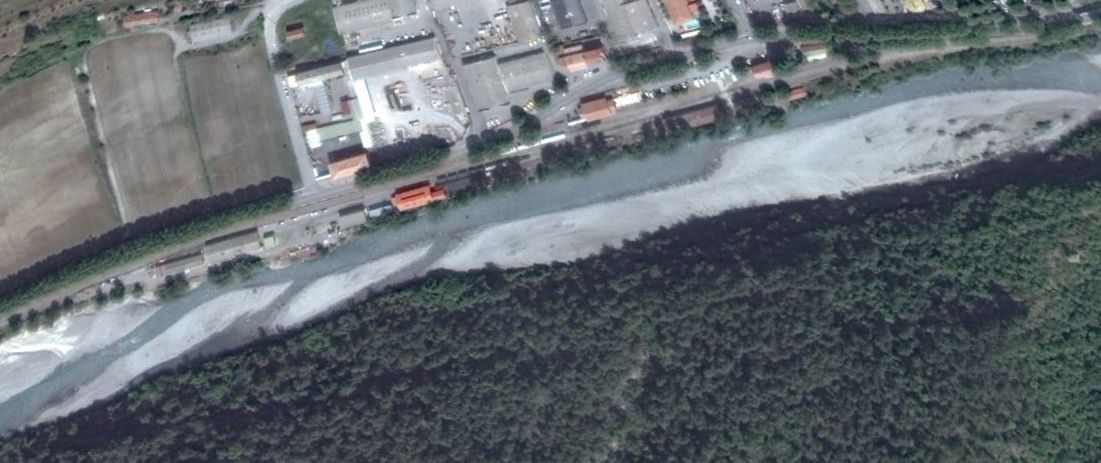
MOD Kineton’s rail link enters the satellite image below by passing under the B4100 which can just be picked out at the top-right of the image. The location of the old Burton Dassett platform was just off the image at the top-right corner on the north side of the line and to the east of the road bridge. The first element of the rail network encountered by an arriving train was the receiving and dispatch sidings which also are visible on the satellite image below.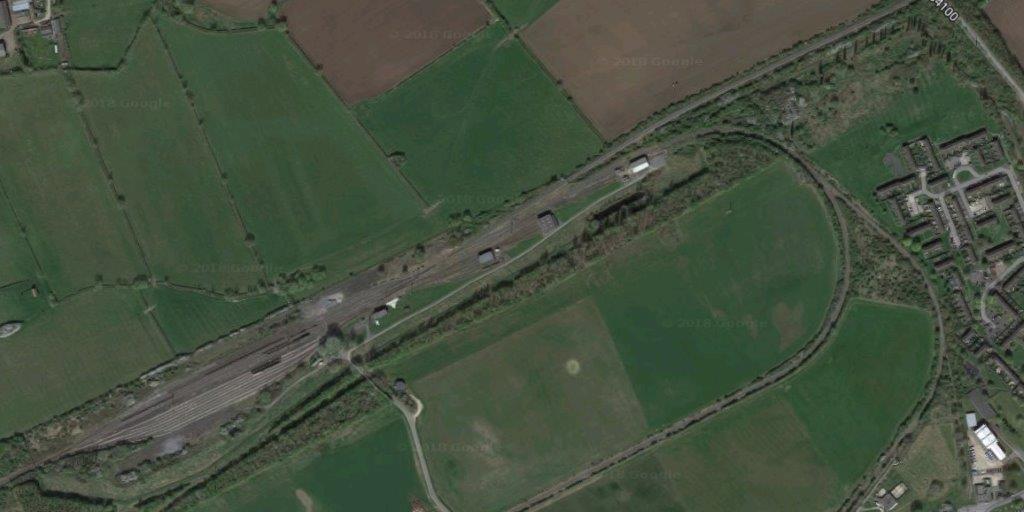
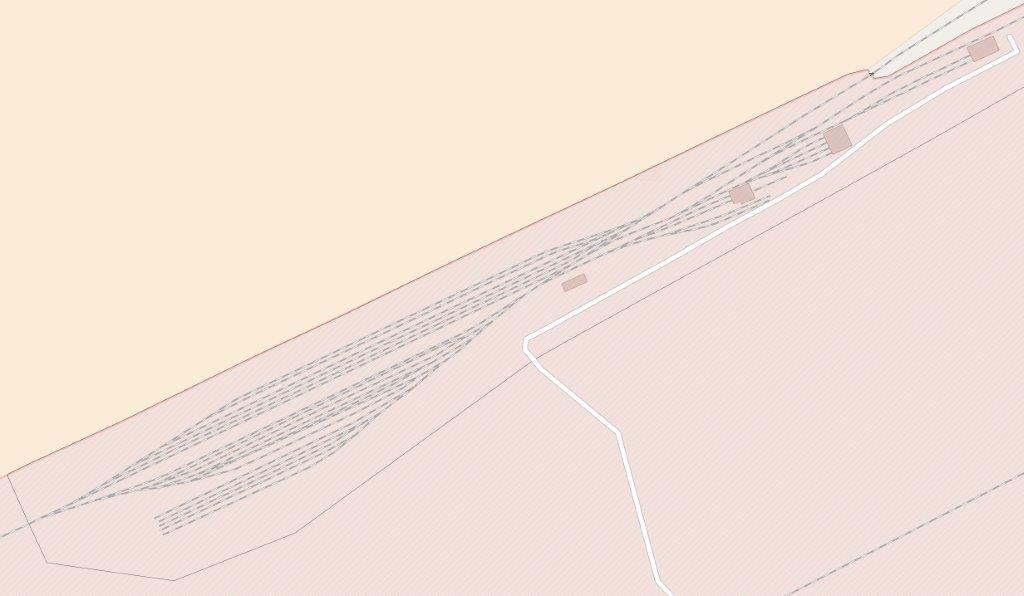
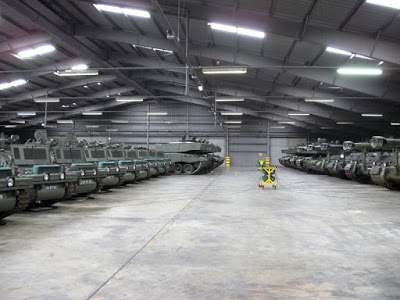
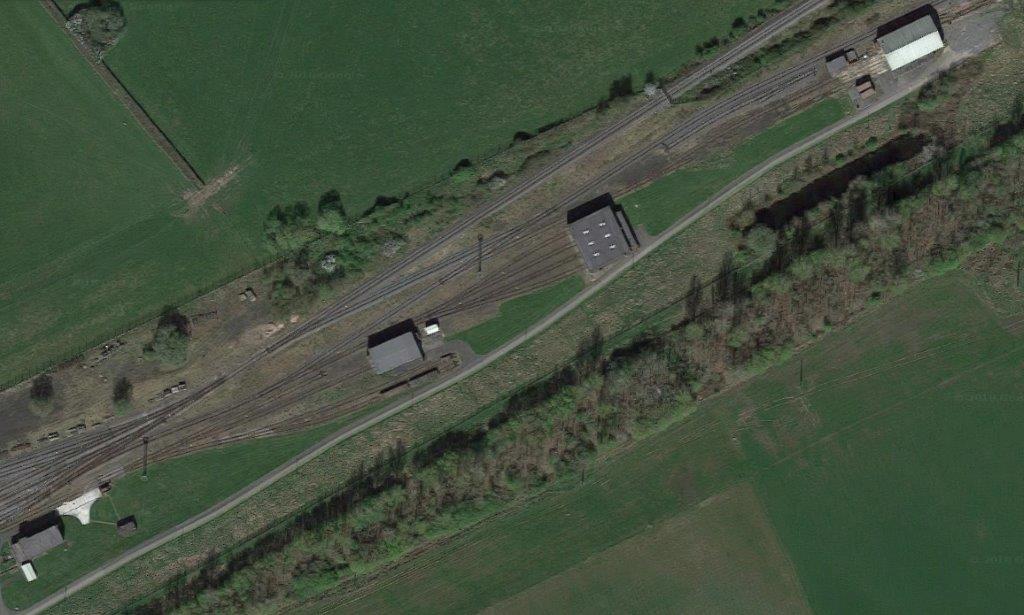 In the satellite image immediately above the four-track engine shed can easily be picked out close to the centre of the picture. A few images of the loco shed follow:
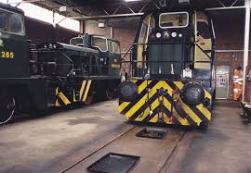
Thomas Hill V307, V272 and one other, unidentified TH in the loco shed at Kineton [8]
Thomas Hill V333 at M.O.D B.A.D. Kineton Loco Shed. [8]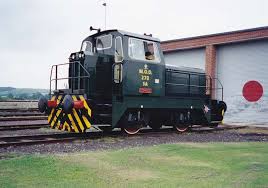

AB663 at Kineton. IIRC, this had recently arrived from Germany where it operated with the BAOR and was built to continental loading gauge. [8]
Thomas Hill (Rotherham) Limited (THR) was a company which repaired and sold steam road vehicles, diesel and electric road vehicles and railway locomotives. It later made its name building and rebuilding diesel locomotives. In 1962, negotiations were started with Rolls-Royce Ltd to take a financial interest in THR. These negotiations were concluded in April 1963 with Rolls-Royce Ltd taking a 51% controlling interest and THR became a subsidiary of Rolls-Royce, Diesel Engine Division, Shrewsbury.
On 30 June 1989 the company was sold again, this time to RFS Engineering Ltd. RFS were already operating at the old BR Doncaster works. The Thomas Hill name was dropped, but developments of TH designs continued to be produced. RFS’s first seven locos (narrow gauge locos for the channel tunnel contract) were numbered into their own scheme, thereafter works numbers of locos continued TH’s numbering.
Stock and work were transferred to RFS’s Doncaster works by August 1993. The final loco (CRACOE, for Tilcon, Grassington, N Yorks) was built at Doncaster as RFS Doncaster went into receivership. In 1998 RFS was acquired by Westinghouse Air Brake Co and in 2000 was renamed Wabtec Rail Limited. Wabtec has retained the IPR in the Thomas Hill and Sentinel ranges of locomotives. [12]
Locomotives
I have been endeavouring to find details of all the locos used on the site. The SMJ Society (http://thesmjr.ning.com) led me to a table prepared in 1960 which gives details of the locos on the site up to that date. [17]
| Loco No | Power | Type | Builder | Year | Dates | Disposition |
| 013 | Steam | 0-4-0ST | WB | 1941 | 3/58 | Gone by 7/59 |
| 102 | Steam | 0-6-0ST | HE | 1943 | 1/52 | To BIS 11/53 |
| 128 | Steam | 0-6-0ST | HE | 1944 | 1/52 to 3/58 | To BIS 7/58 |
| 137 | Steam | 0-6-0ST | HE | 1944 | 7/57 to 3/58 | To BIS 7/58 |
| 147 | Steam | 0-6-0ST | WB | 1944 | 7/57 to 3/58 | To ARN 3/60 |
| 149 | Steam | 0-6-0ST | RSH | 1944 | 1/52 to 11/53 | To ARN 10/54 |
| 150 | Steam | 0-6-0ST | RSH | 1944 | 4/56 to 3/60 | |
| 155 | Steam | 0-6-0ST | RSH | 1944 | 3/55 to 3/58 | To BIS by 7/58 |
| 164 | Steam | 0-6-0ST | RSH | 1945 | 8/55 to 3/60 | |
| 172 | Steam | 0-6-0ST | WB | 1945 | 3/58 | To LM by 7/59 |
| 174 | Steam | 0-6-0ST | WB | 1945 | 3/55 to 7/59 | |
| 182 | Steam | 0-6-0ST | VF | 1945 | 11/53 to 5/56 | To BIS by 4/57 |
| 197 | Steam | 0-6-0ST | HE | 1953 | 3/58 to 3/60 | |
| 8206 | Diesel | 0-4-0DH | NBL | 1955 | 7/59 to 3/60 | |
| 8209 | Diesel | 0-4-0DH | NBL | 1959 | 7/59 to 3/60 | |
| 8210 | Diesel | 0-4-0DH | NBL | 1958 | 7/59 | To ARN 9/59 |
| 8212 | Diesel | 0-4-0DH | NBL | 1959 | 9/59 | To ARN 3/60 |
| 8212 | Diesel | 0-4-0DH | NBL | 1959 | 7/59 to 3/60 | |
| 9001 | Petrol | 4w | Wkm | ? | 3/58 | |
| 9003 | Petrol | 4w | Wkm | ? | 3/58, 7/59 | |
| 9008 | Petrol | 4w | Wkm | ? | 3/58 | |
| 9009 | Petrol | 4w | Wkm | ? | 3/58 | |
| 9010 | Petrol | 4w | Wkm | ? | 3/58 | |
| 9011 | Petrol | 4w | Wkm | ? | 3/58 | |
| 9012 | Petrol | 4w | Wkm | ? | 3/58 | |
| 9013 | Petrol | 4w | Wkm | ? | 3/58 | |
| 9014 | Petrol | 4w | Wkm | ? | 3/58 | |
| 9015 | Petrol | 4w | Wkm | ? | 3/58 | |
| 9016 | Petrol | 4w | Wkm | ? | 3/58 | |
| 9019 | Petrol | 4w | Wkm | ? | 3/58 | |
| 9024 | Petrol | 4w | Wkm | ? | 3/58 | |
| 9025 | Petrol | 4w | Wkm | ? | 3/58 | |
| 9026 | Petrol | 4w | Wkm | ? | 3/58 | |
| 9027 | Petrol | 4w | Wkm | ? | 3/58 | |
| 9028 | Petrol | 4w | Wkm | ? | 3/58 |
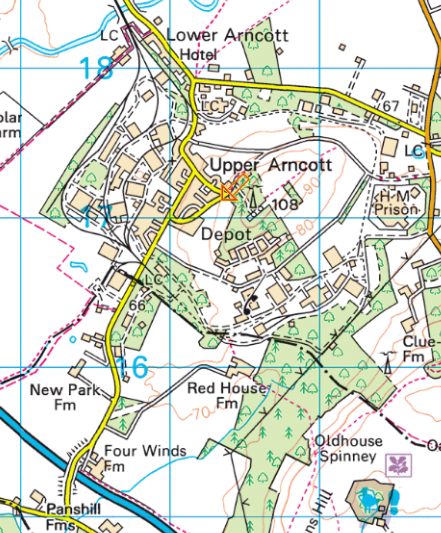
Key: ARN = Royal Engineers, Arncott, Oxon. BIS = Base Ordnance Deport, Bicester, Oxon
Loco Builders: HE = Hunslet Engine Co.; NBL = North British Locomotive Co.; RSH = Robert Stephenson & Hawthorns Ltd.; VF = Vulcan Foundry Ltd., WB = W.G. Bagnall & Co.
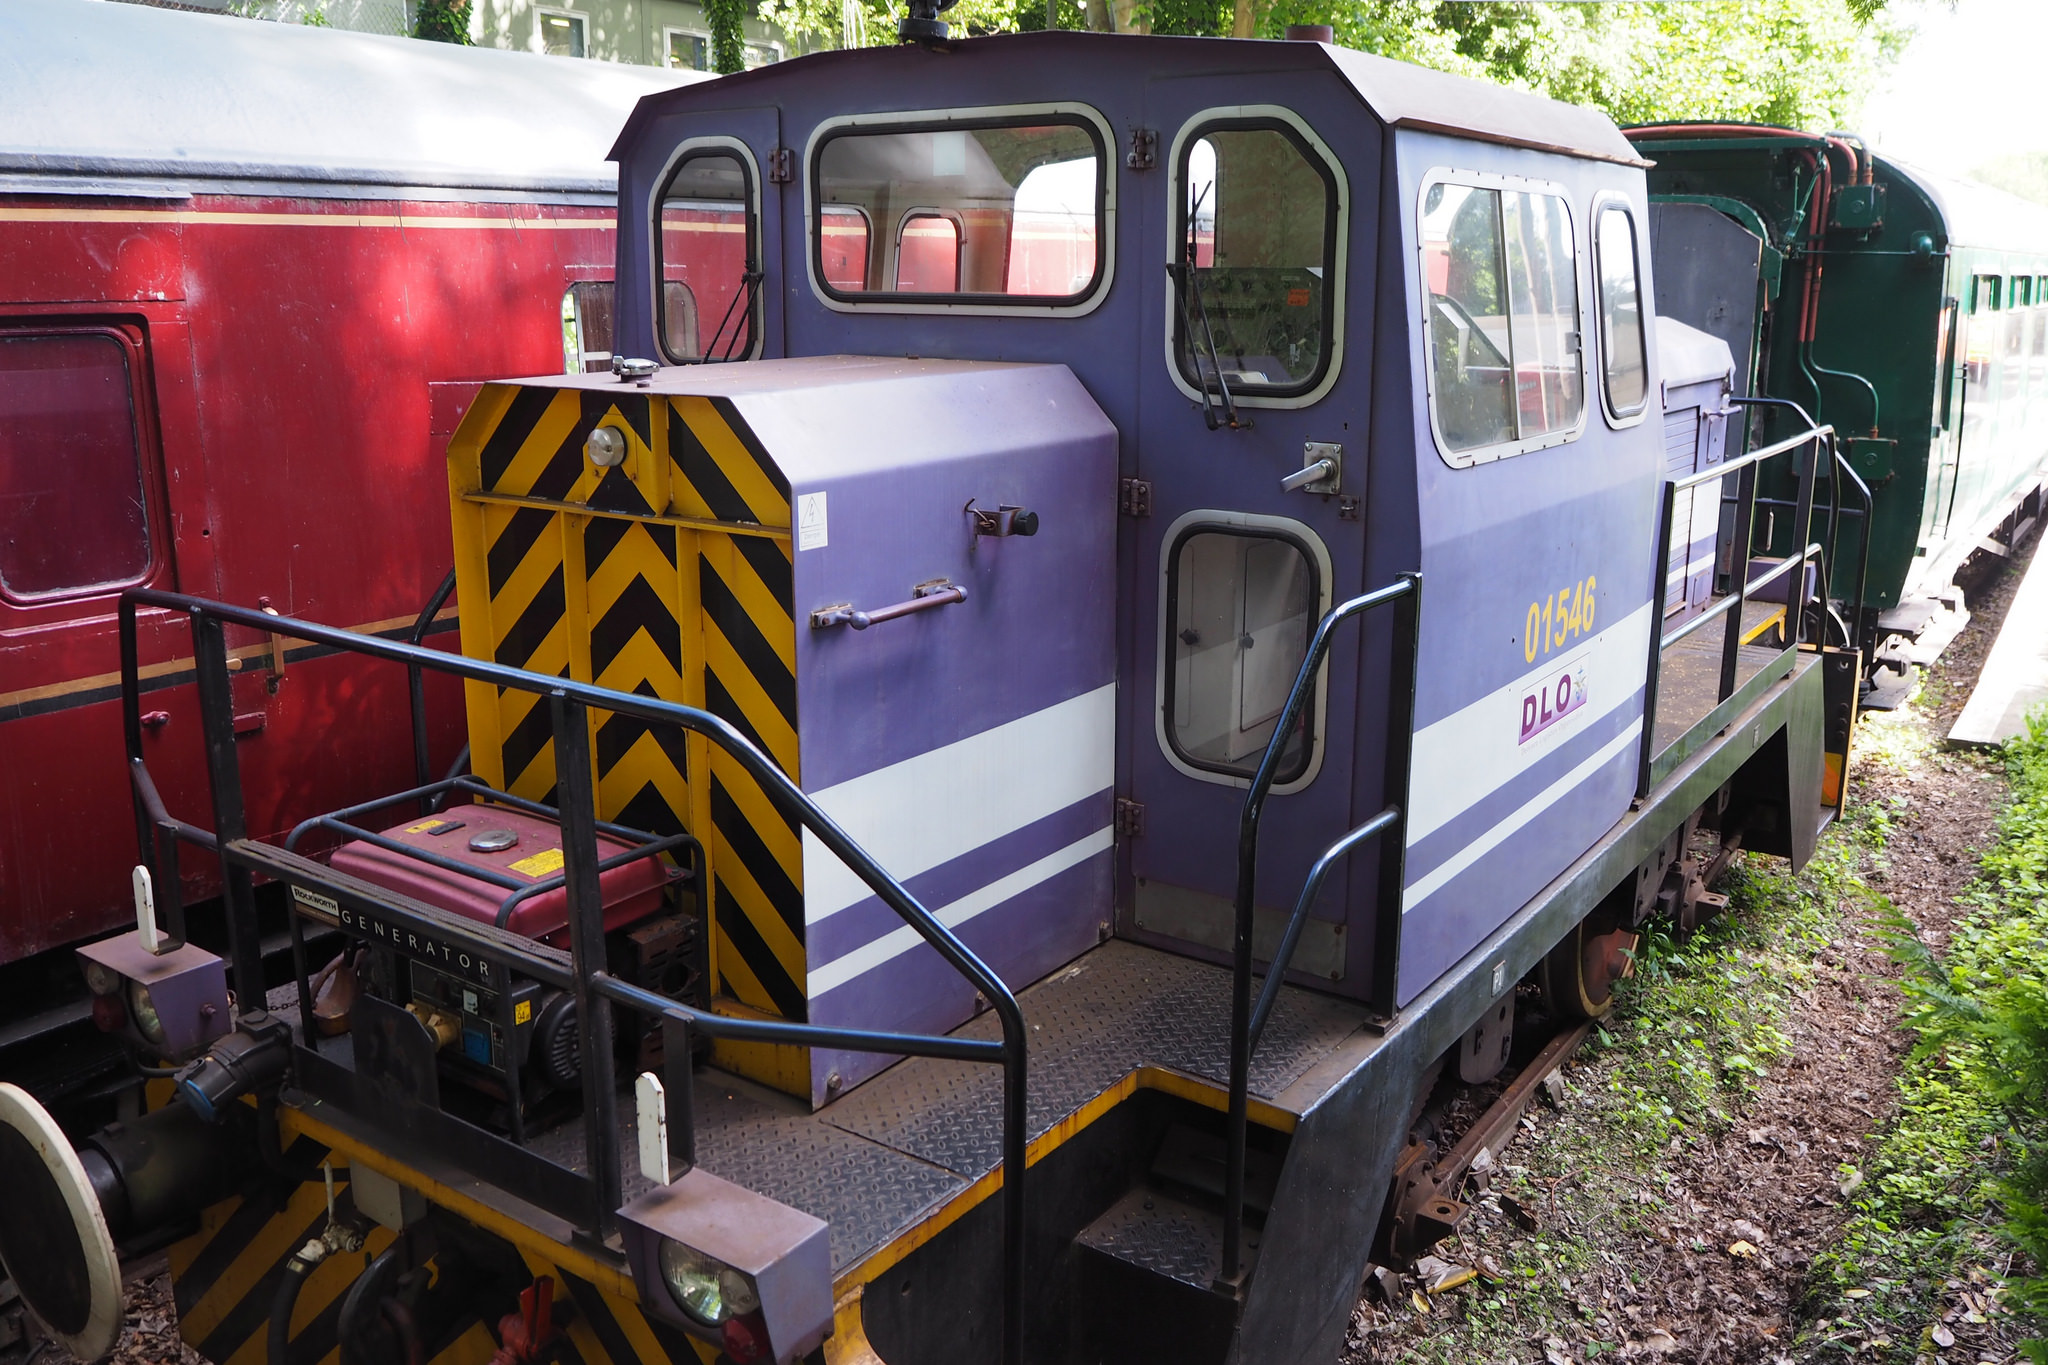

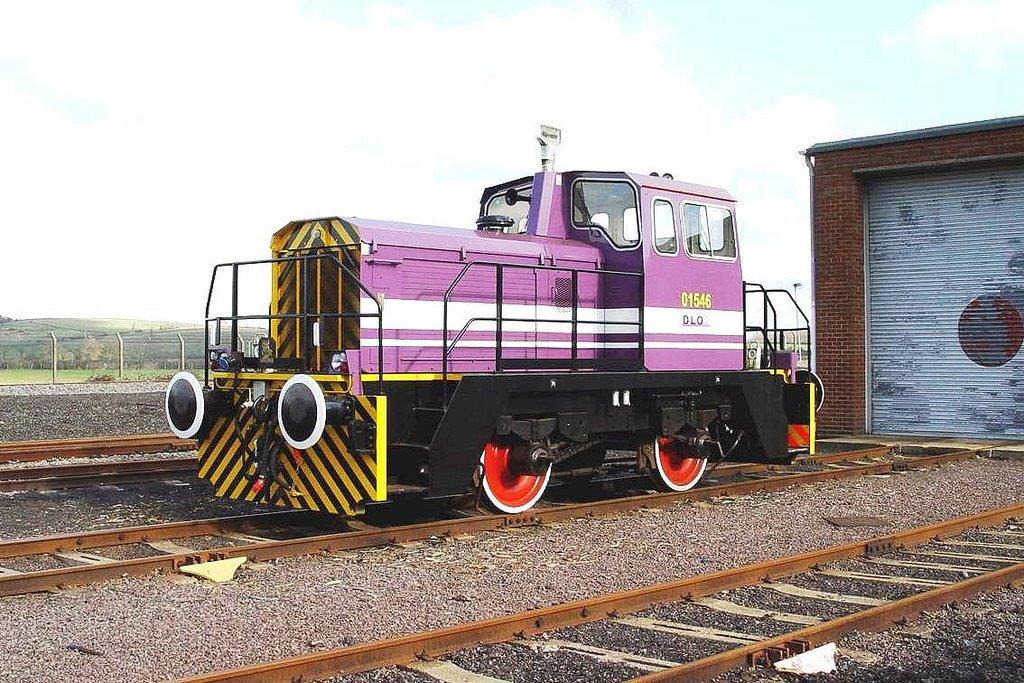
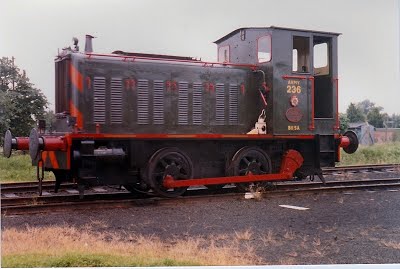
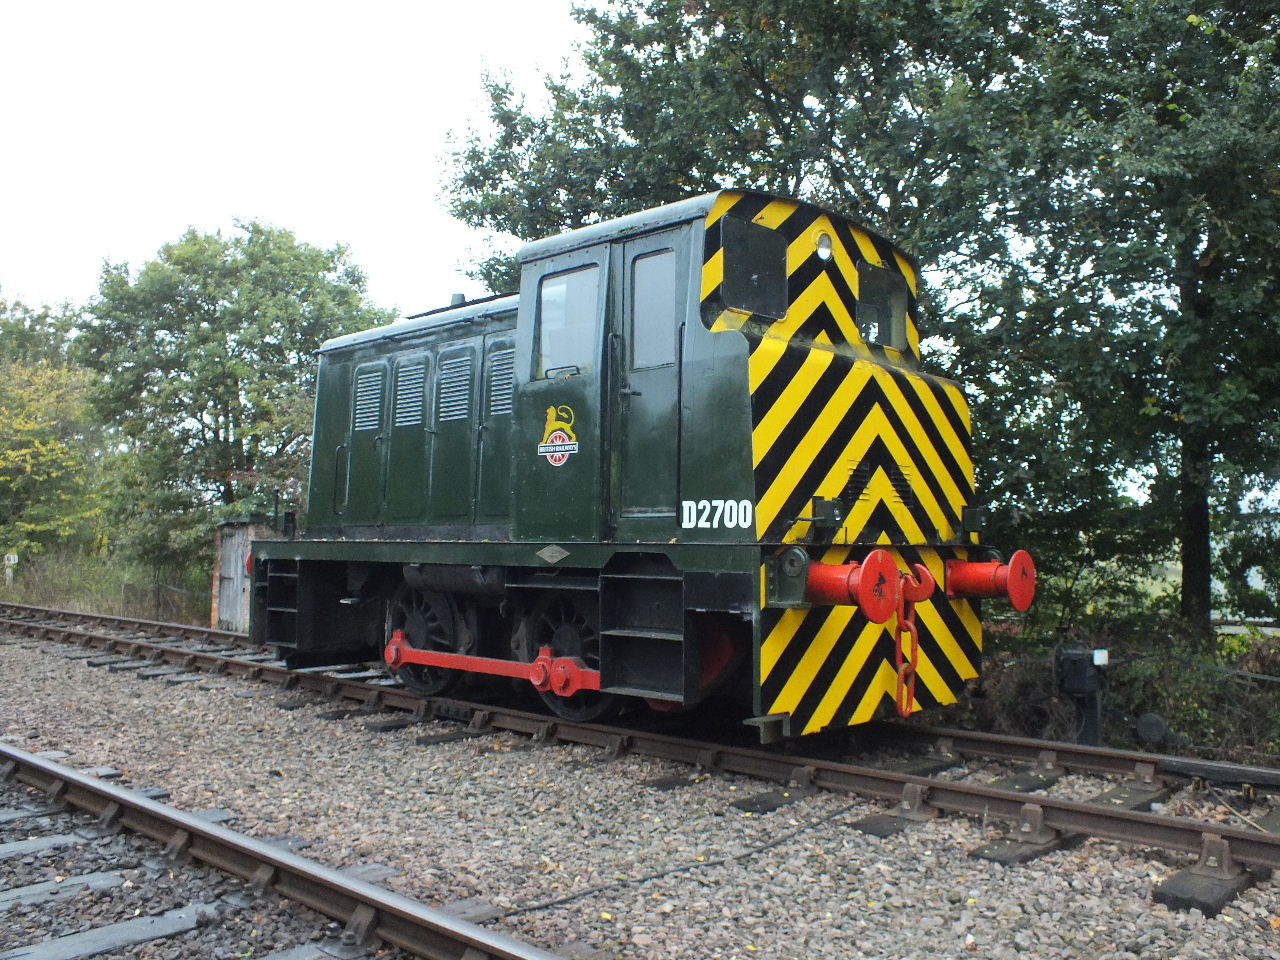
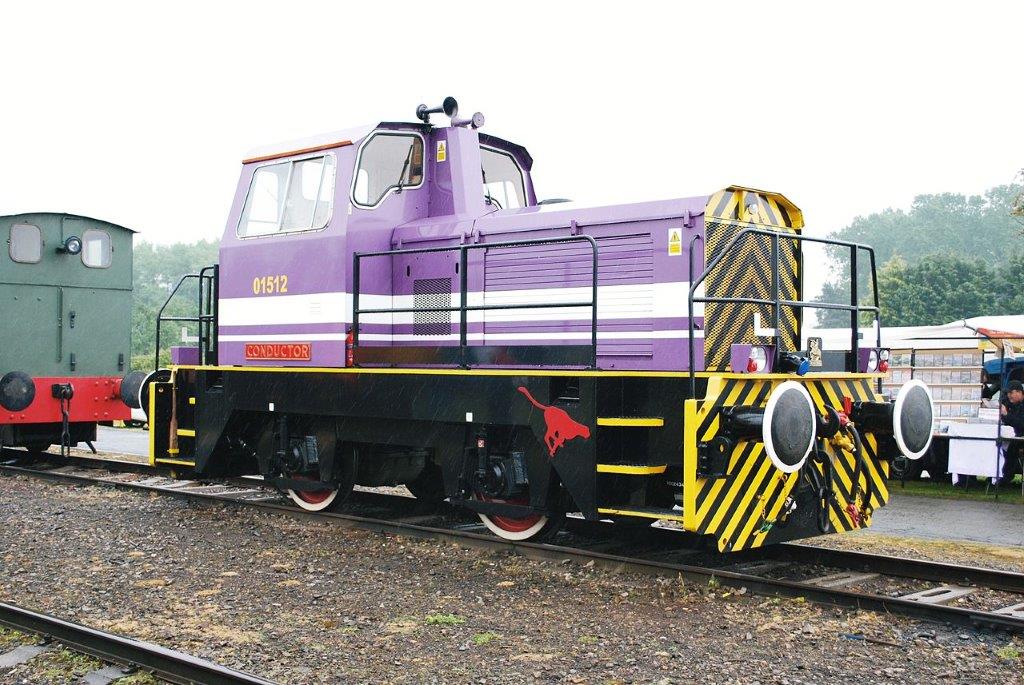
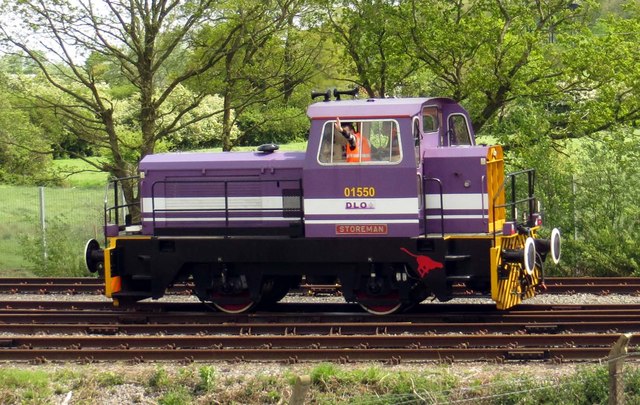
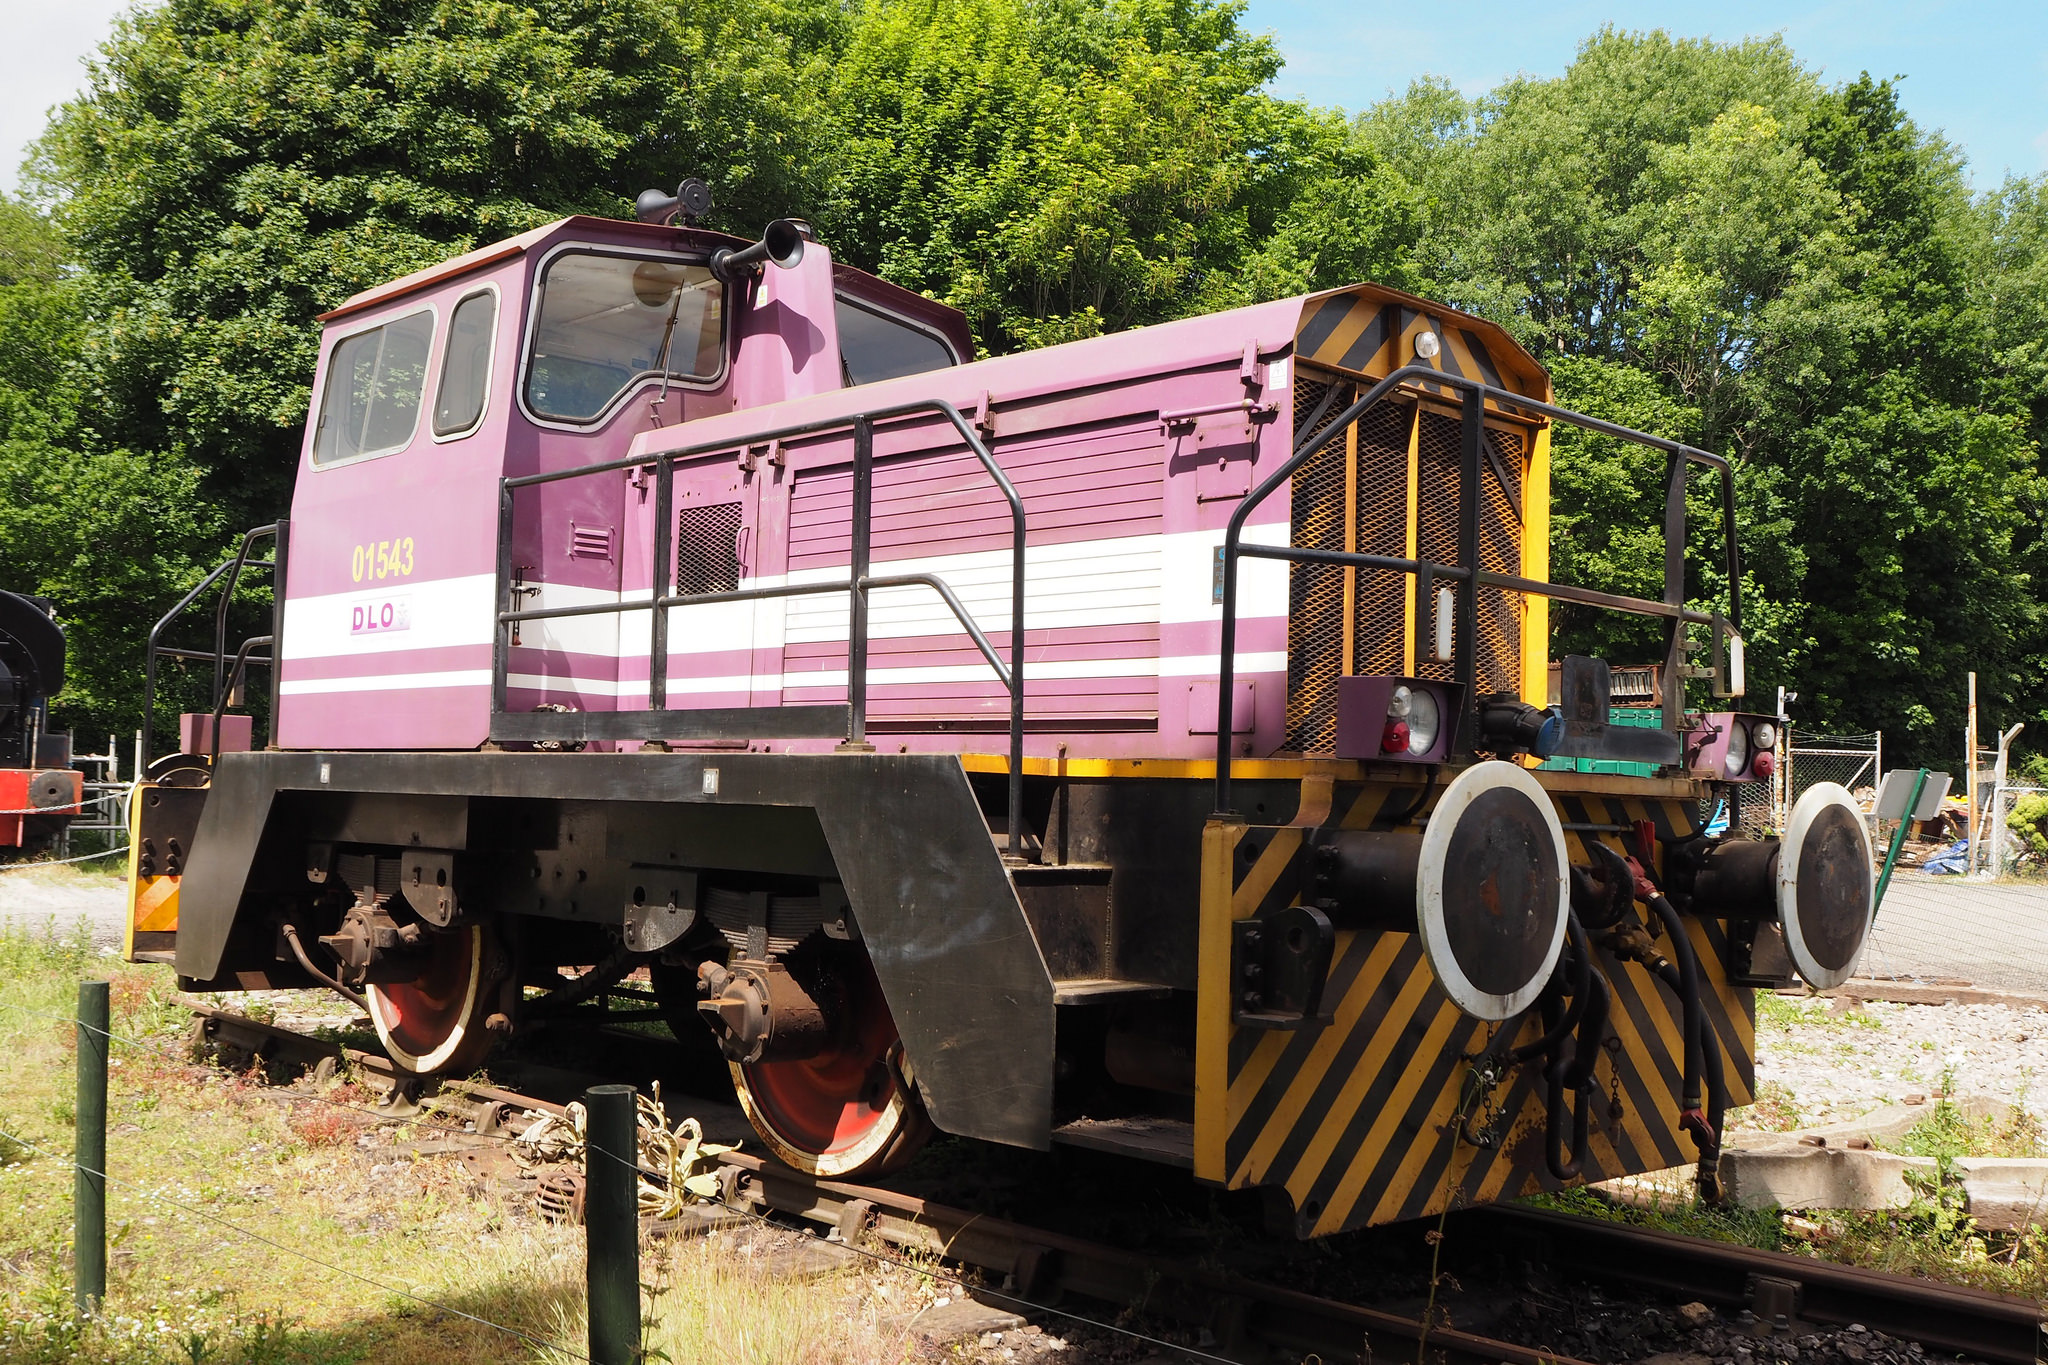 The three pictures above show 0-4-0 Thomas Hill Locos which at one time served at MOD Kineton now serving elsewhere. The first two of these images are of the same loco No. 01546 now based at the East Kent Railway.
The Network
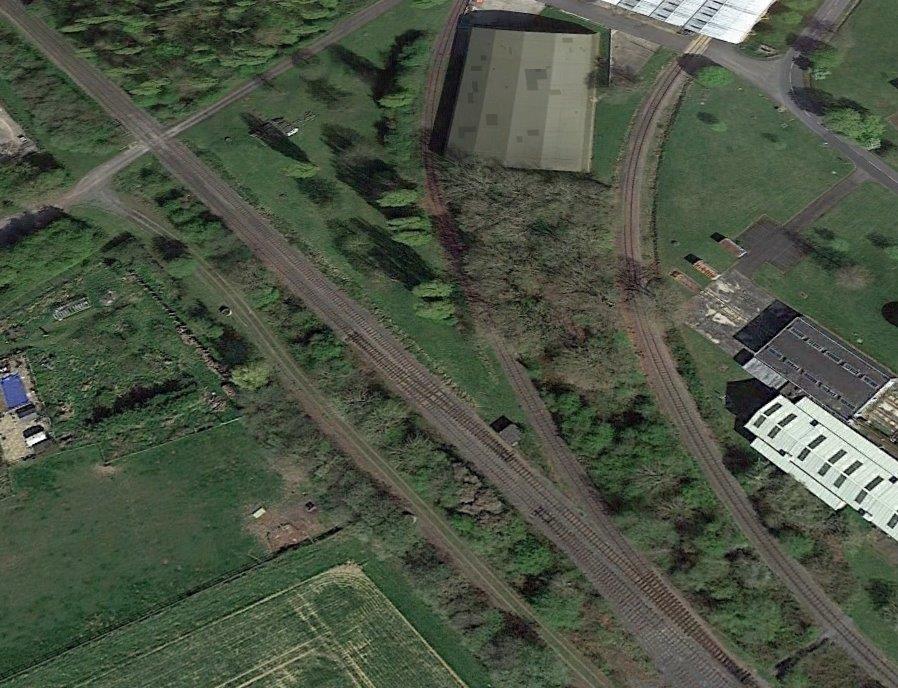
 Microsoft Bing Satellite Image of the Exchange Sidings shows some significant activity.
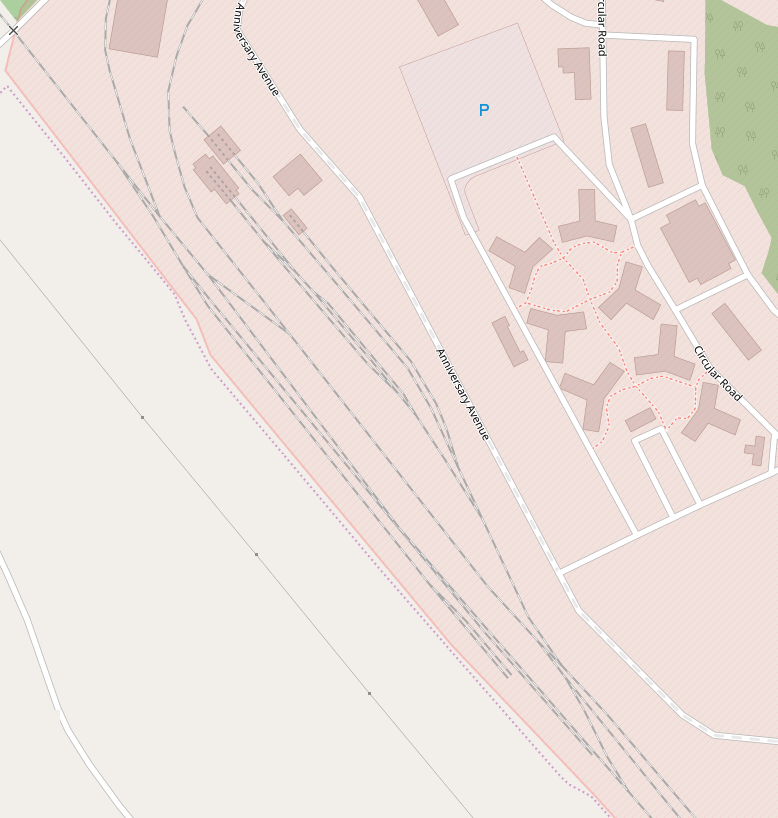
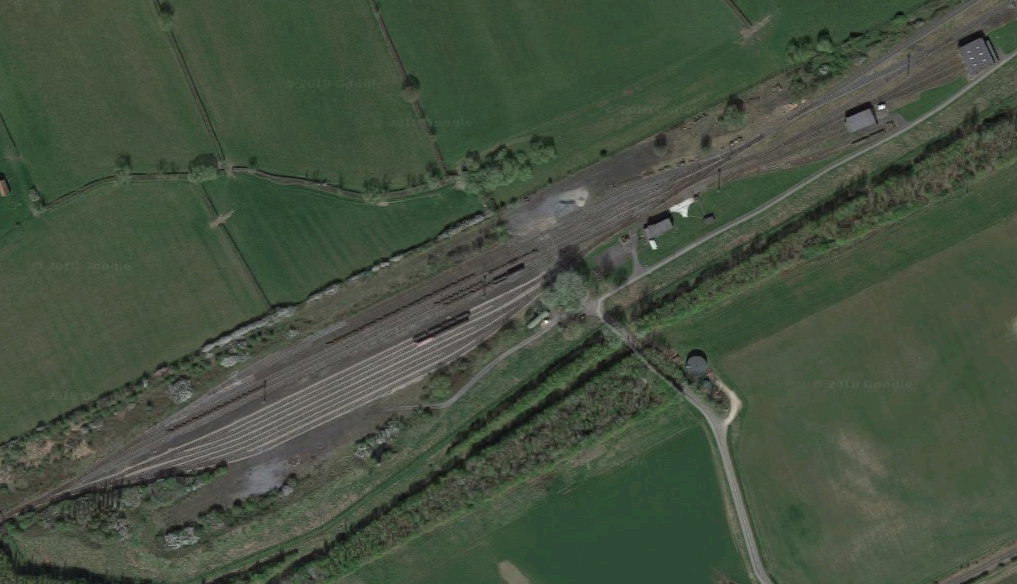 Google’s Satellite Image is, I believe, taken more recently and shows sidings with much less activity.
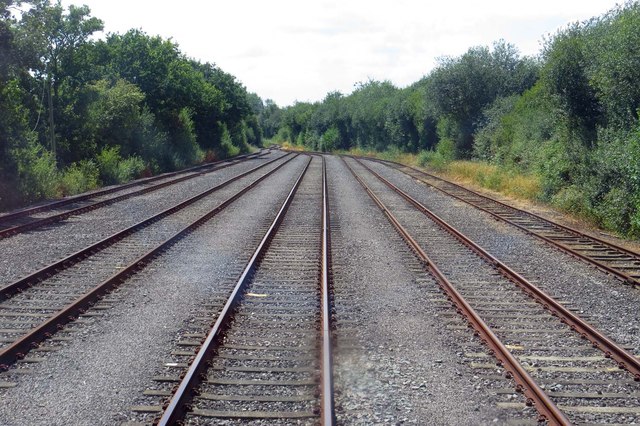
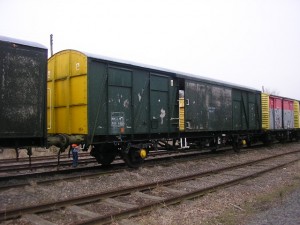
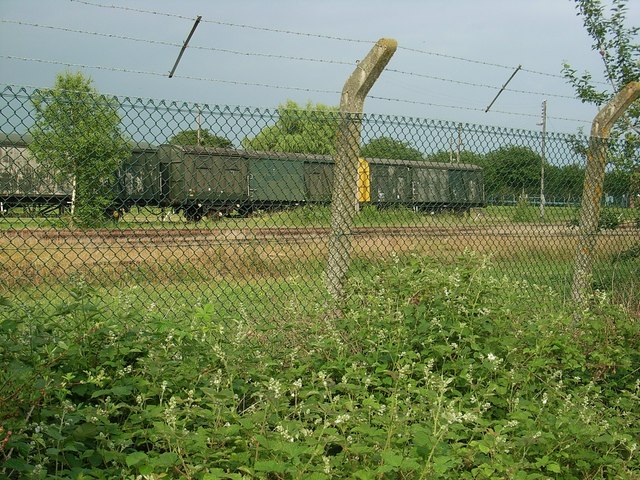
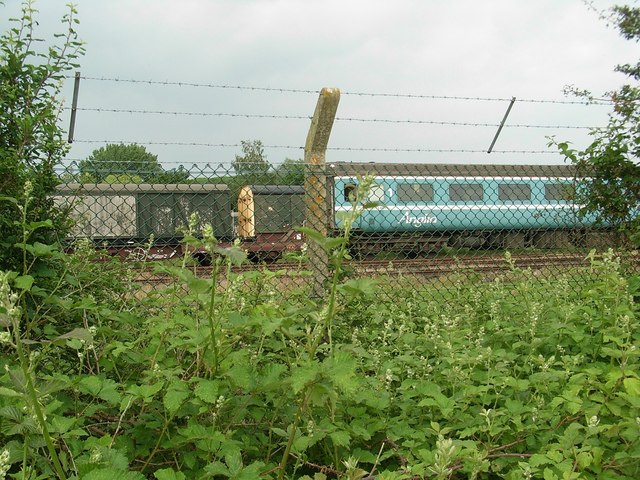
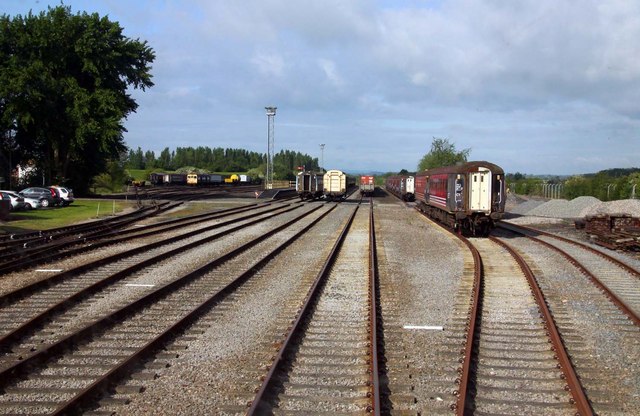 Stored railway rolling stock, (c) Steve Daniels. [18]
Unlike Bicester MOD Railway, (see https://rogerfarnworth.wordpress.com/2018/08/01/bicester-military-railway) the site at Kineton has restricted access and photographs of the railway lines, level-crossings and the buildings served are scarce.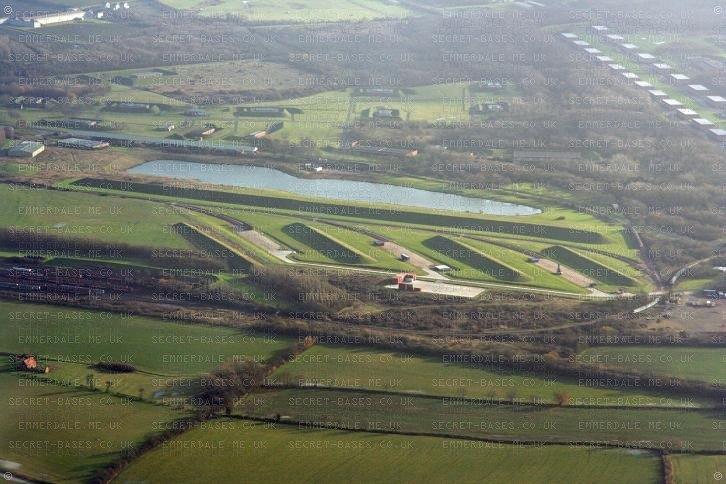 The exchange sidings can just be picked out (centre-left) in this aerial view taken from the north-west. [19]
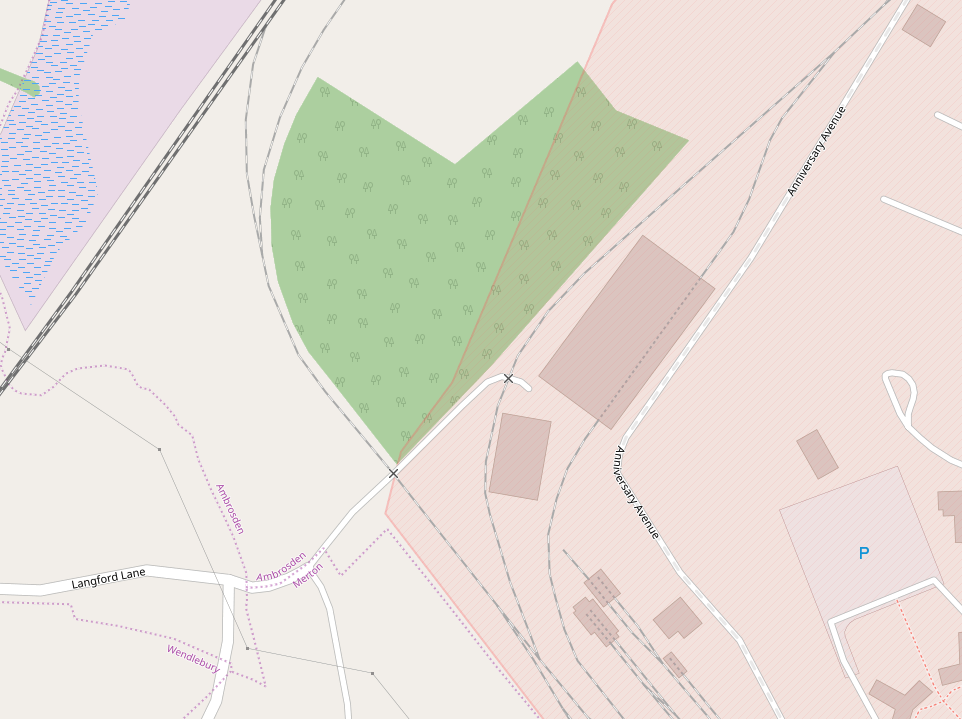
At either end of the exchange sidings a single track line heads away into the base. There are two return lines which run parallel to the exchange/storage sidings, and which each form a loop. The first has three double stub-sidings which serve the storage bunkers which can be seen on the above image immediately below the lagoon. The first loop is shown fully on the map below. The second loop runs on the south side of the lagoon.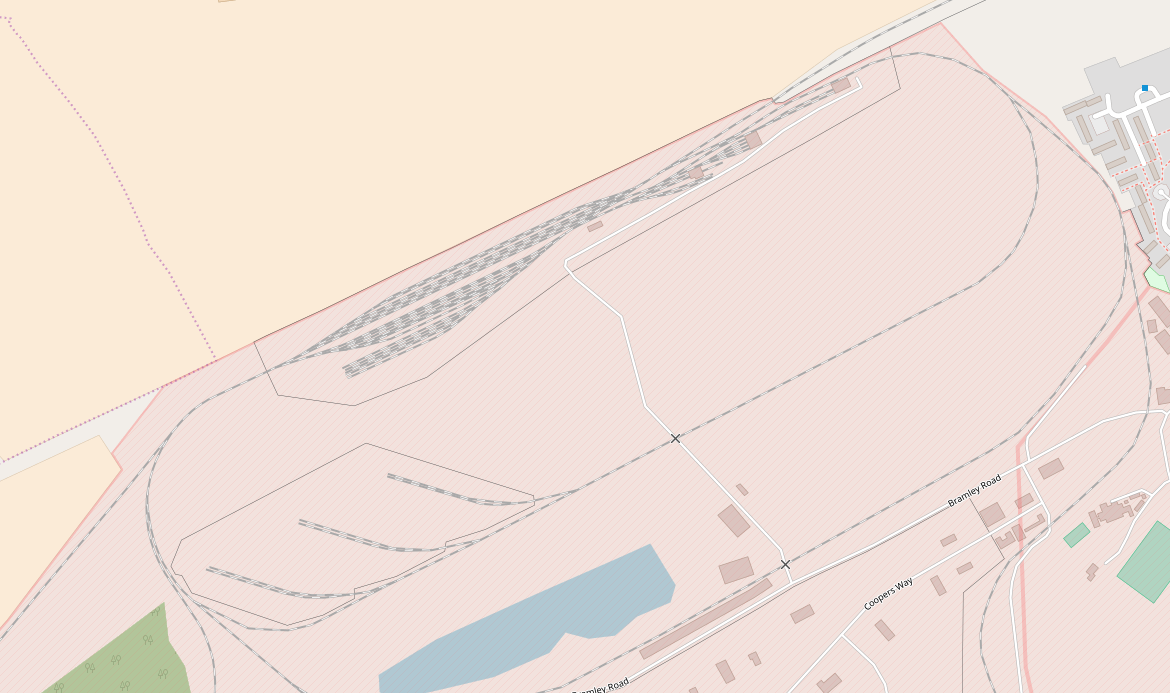 Four different branch-lines leave the loop to serve the rest of MOD Kineton. The first divides off the loop to the west of the exchange sidings. It heads down to the south-west of the depot past Boundary Farm.
 Train on the line past Boundary Farm, (c) David P. Howard. he comments: This train suddenly appeared pulled by a small blue diesel engine. The track is part of the extensive network surrounding DSDA Kineton, from where munitions are distributed. [23]
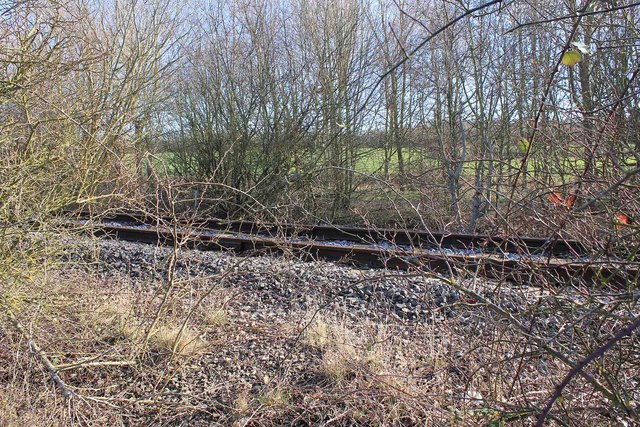
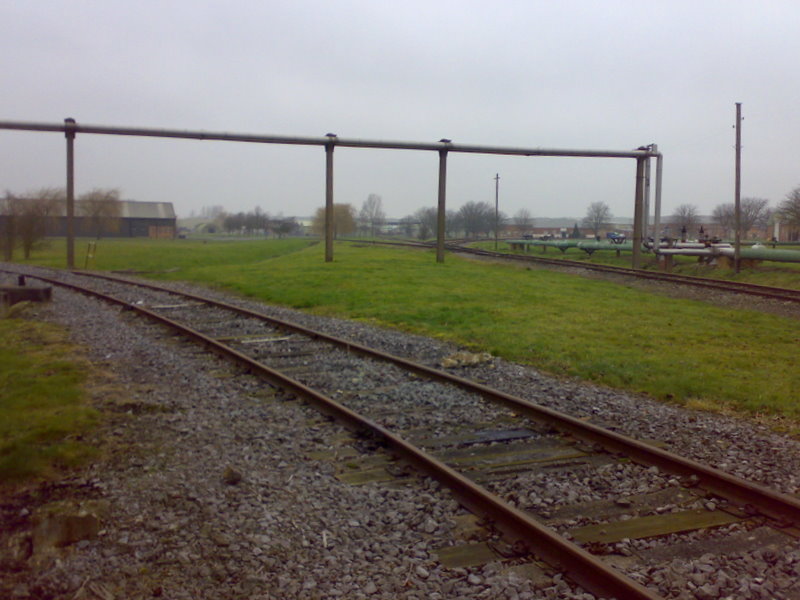
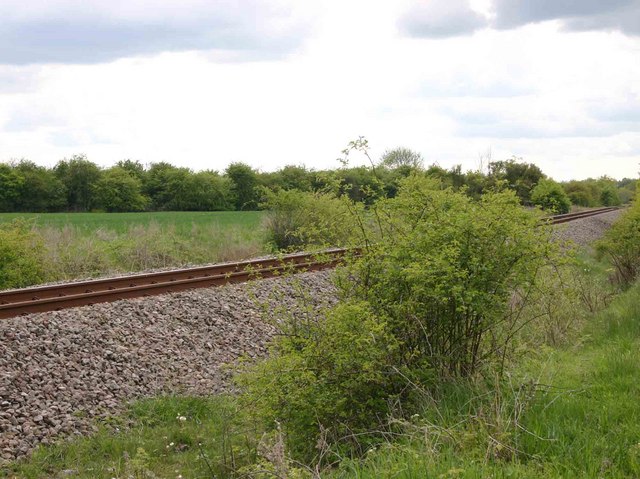 These tracks are just by the footpath to Gaydon from Kineton are part of the extensive network at DSDA Kineton, from where munitions are distributed. The train in the picture above was travelling a long this line., (c) David P. Howard [24]
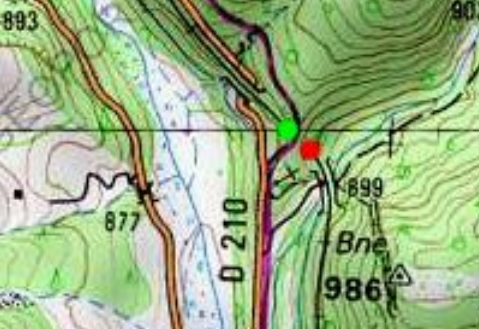
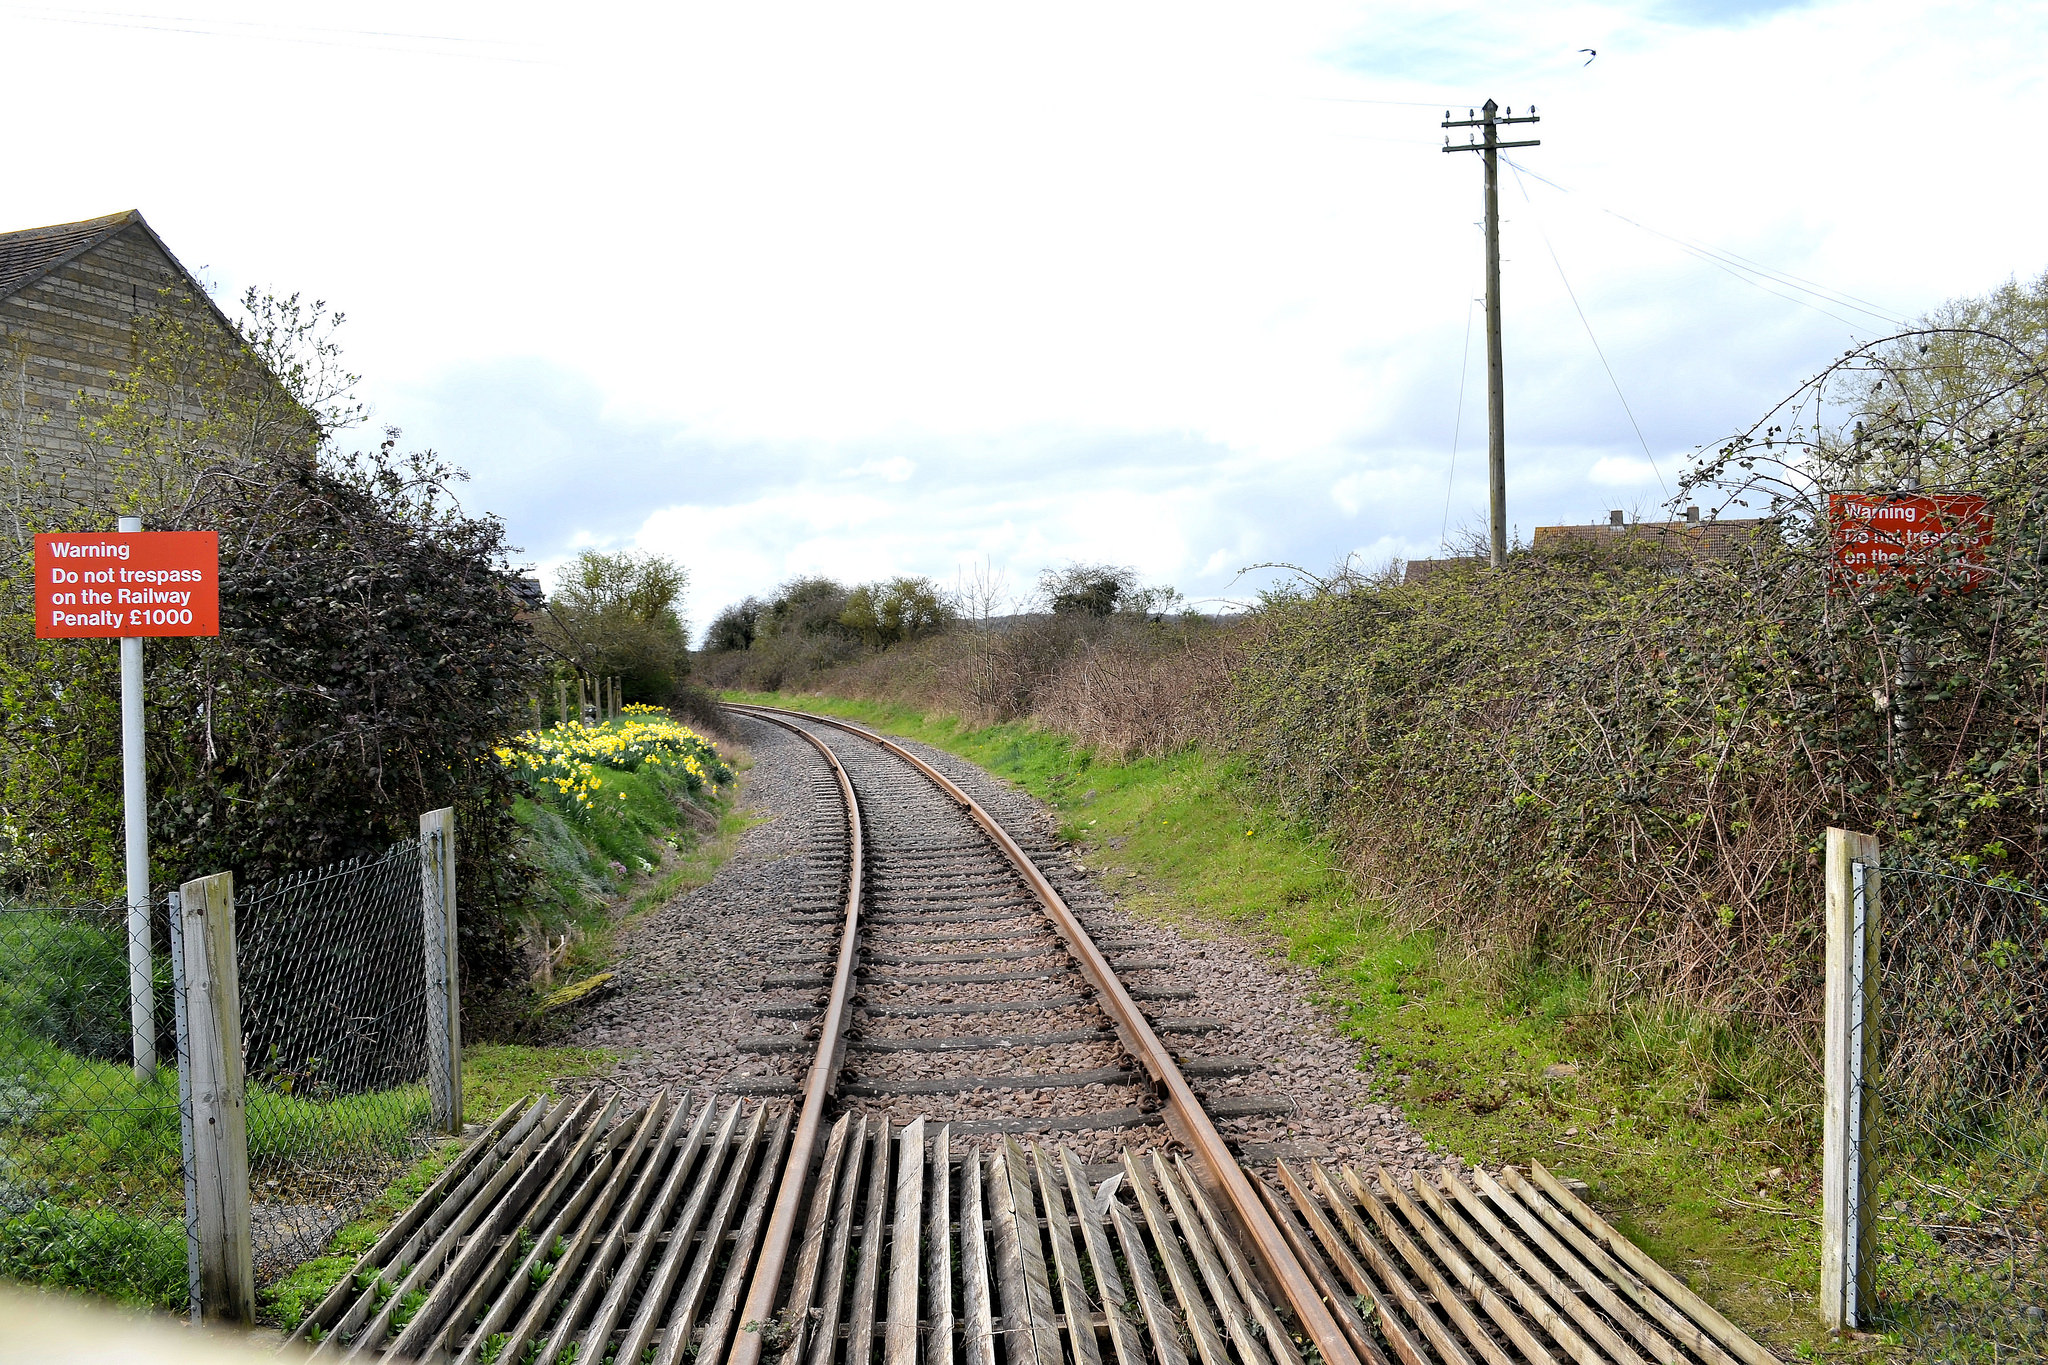
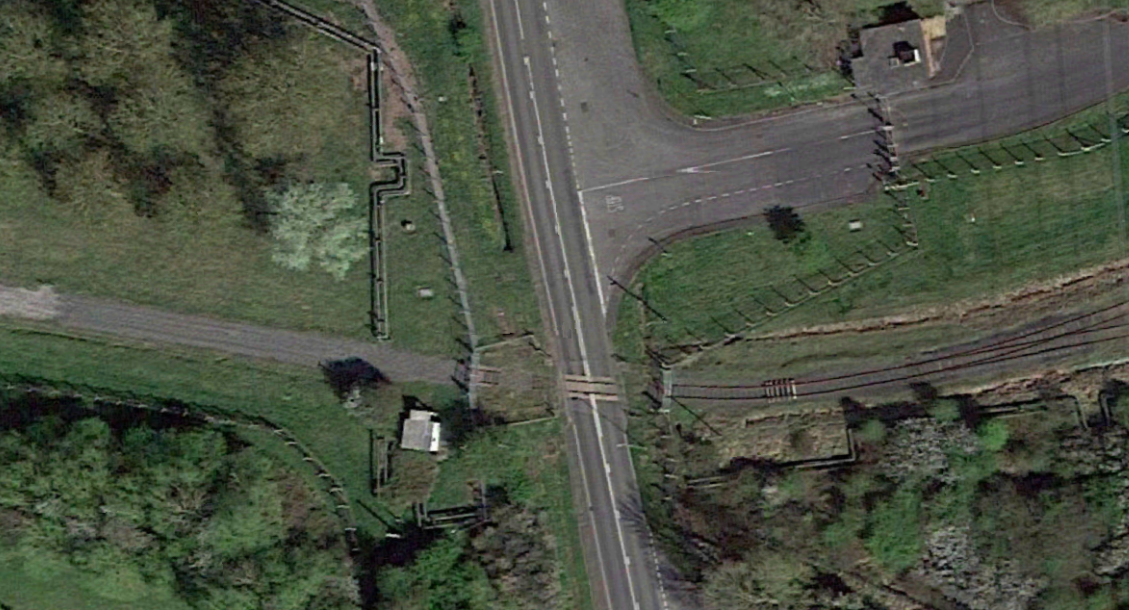
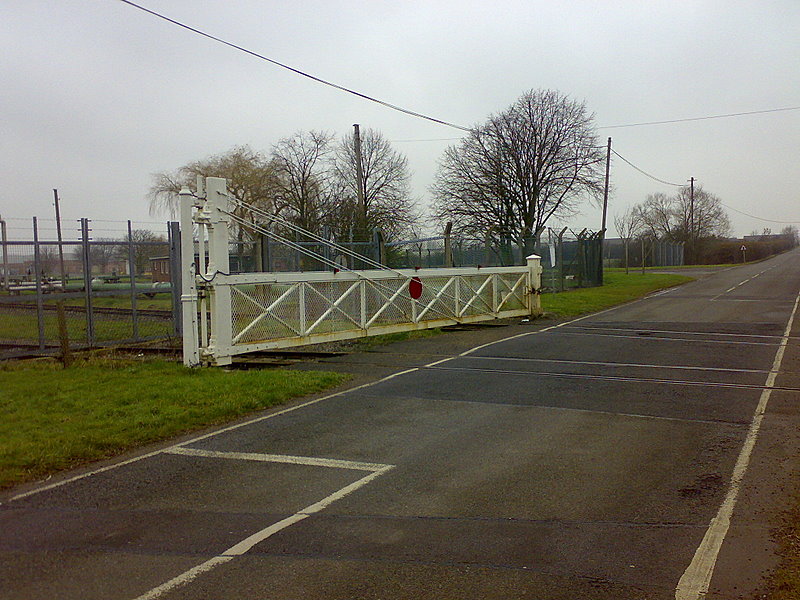
To the south-west of Boundary Farm the line divides once again with the most northerly branch heading towards the B4086 Kineton to Banbury Road.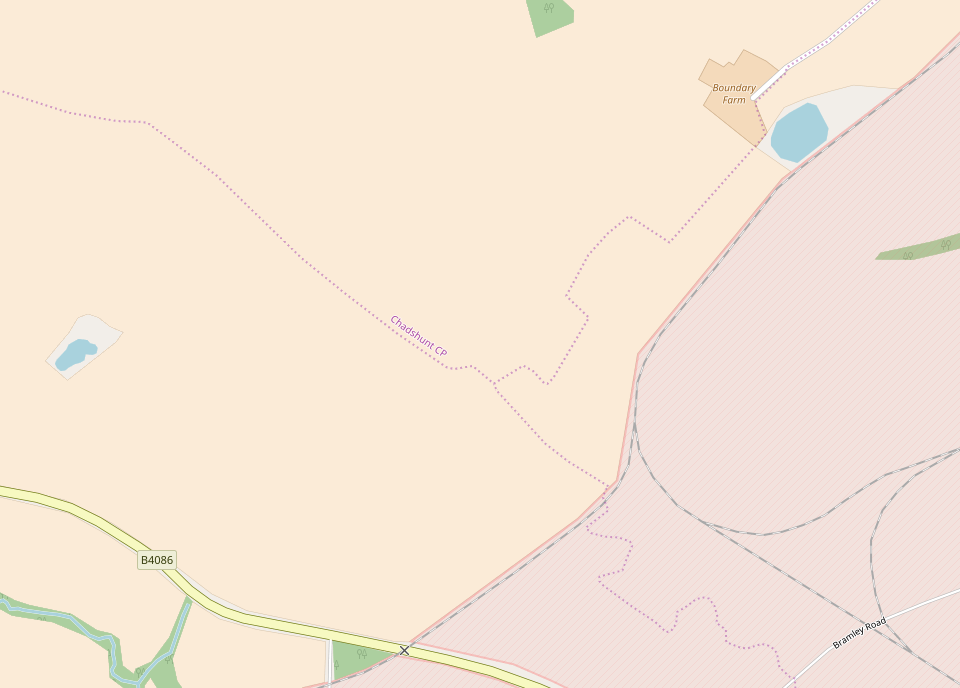 The railway/road crossing can be seen marked with an ‘x’ in the bottom middle of the above map.
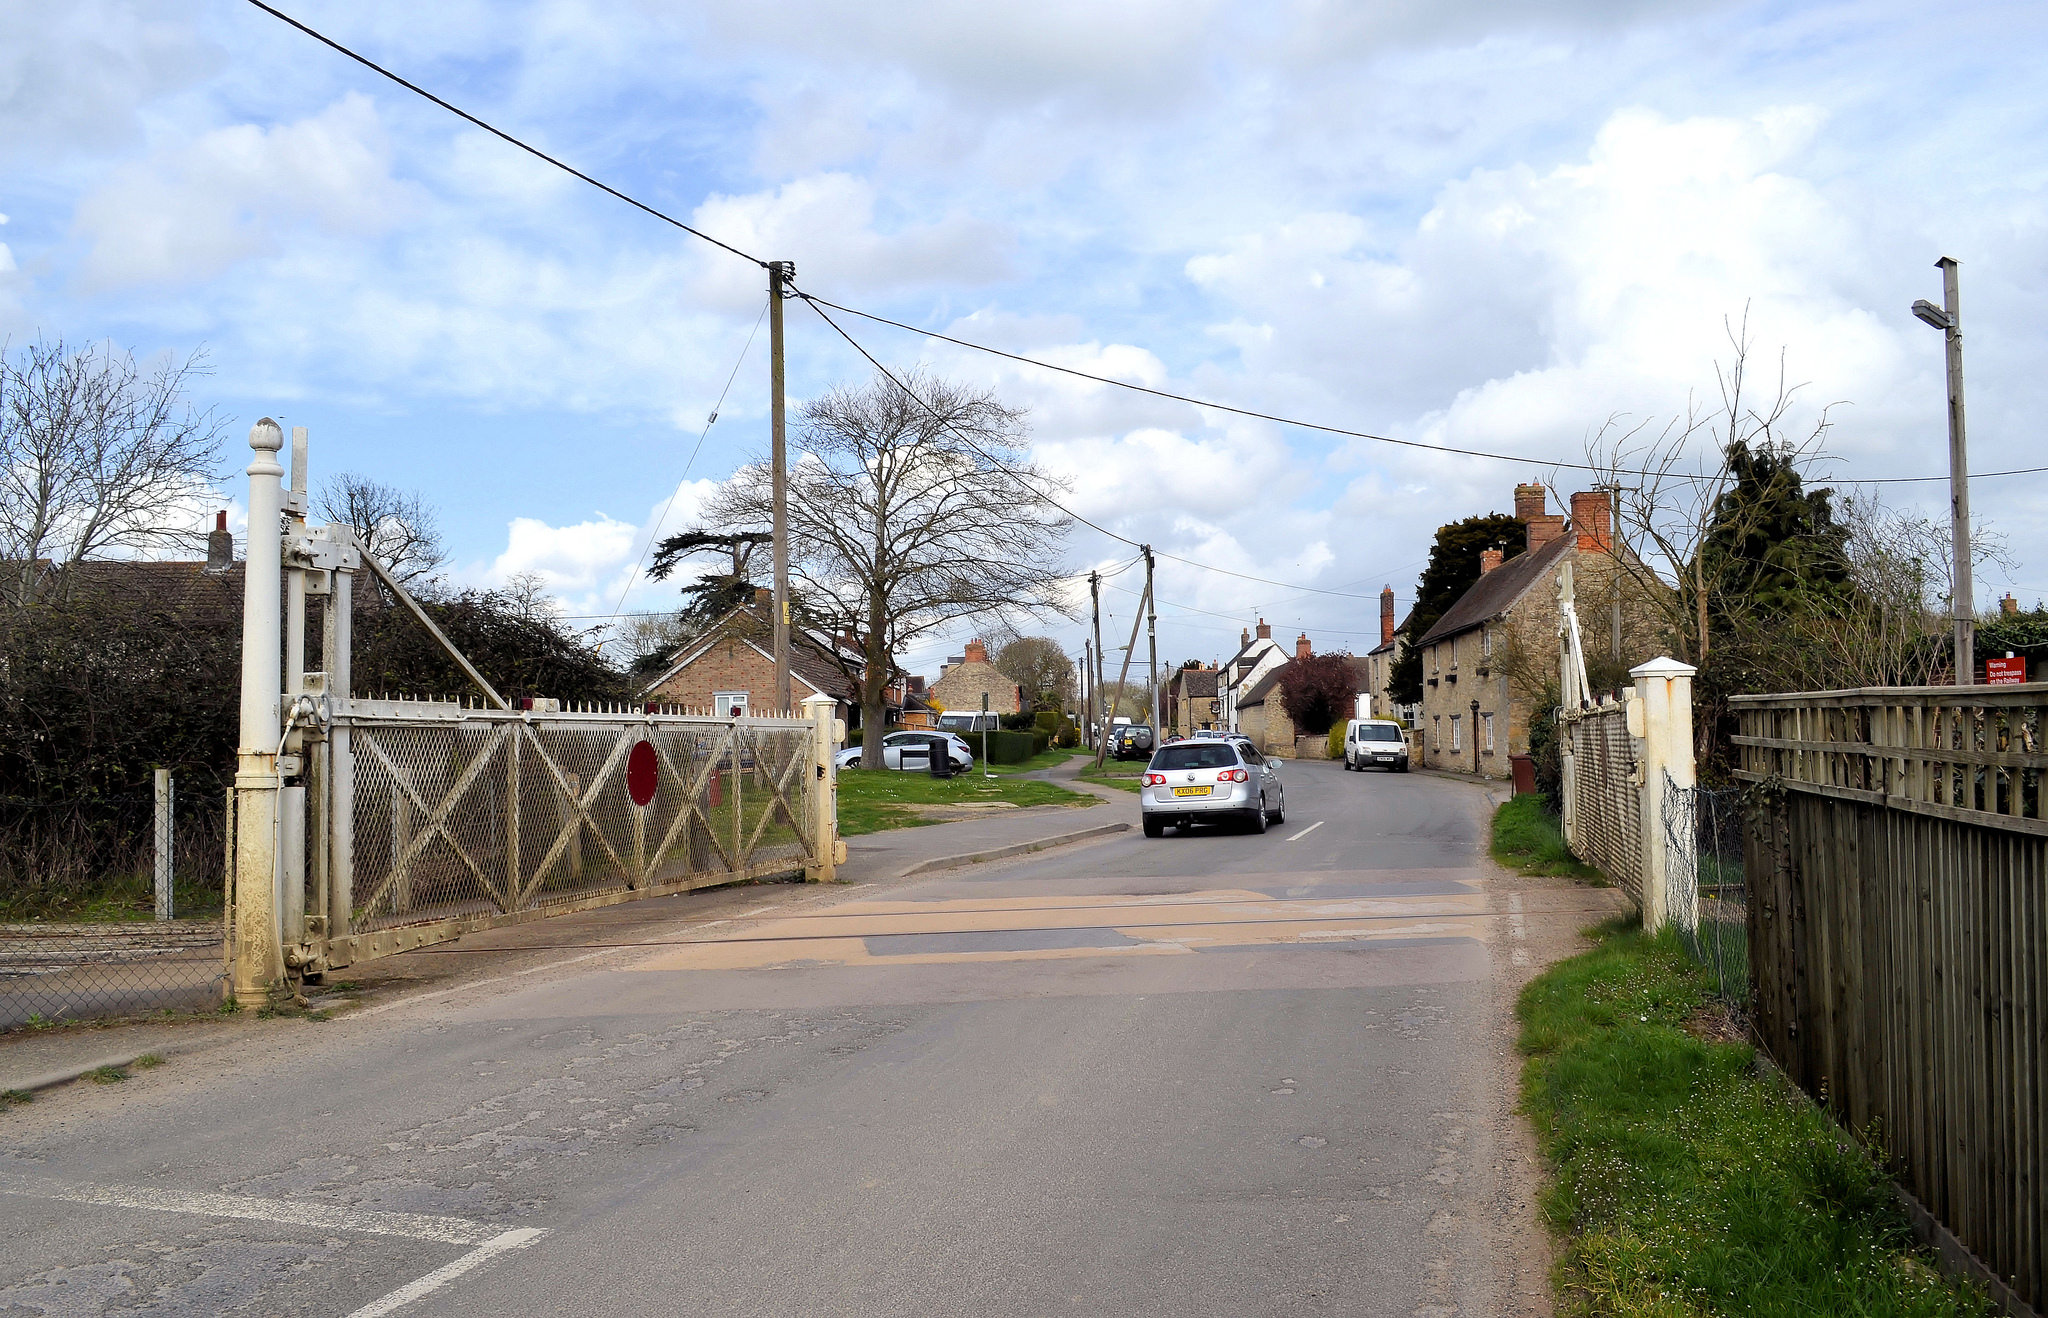
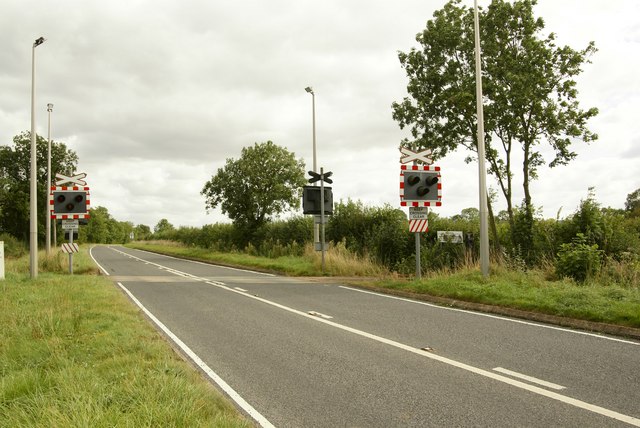 Railway crossing on the B4086 to the East of Kineton, © Colin Craig. [13]
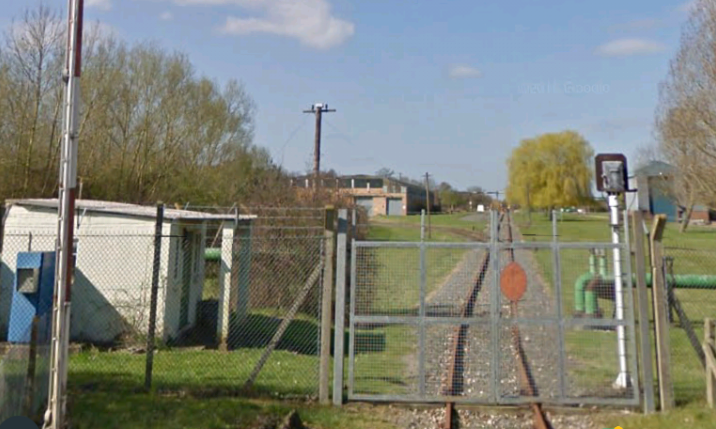
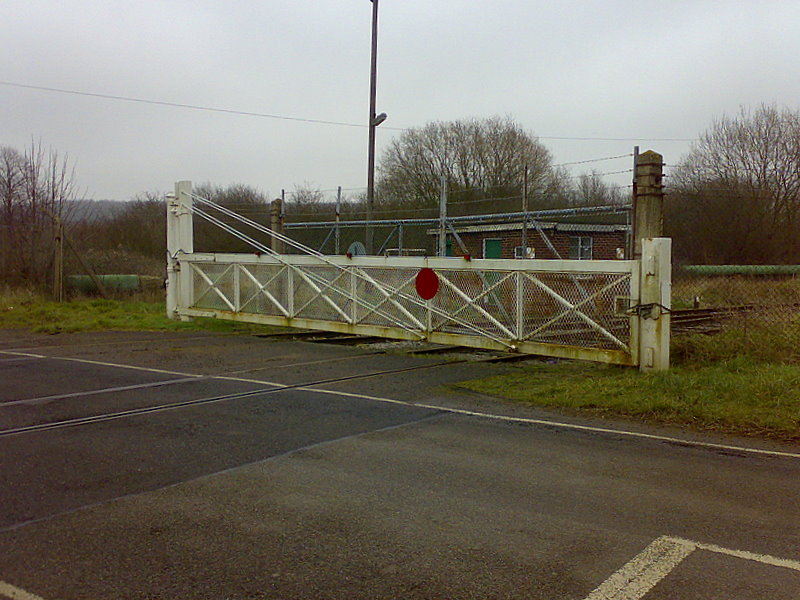
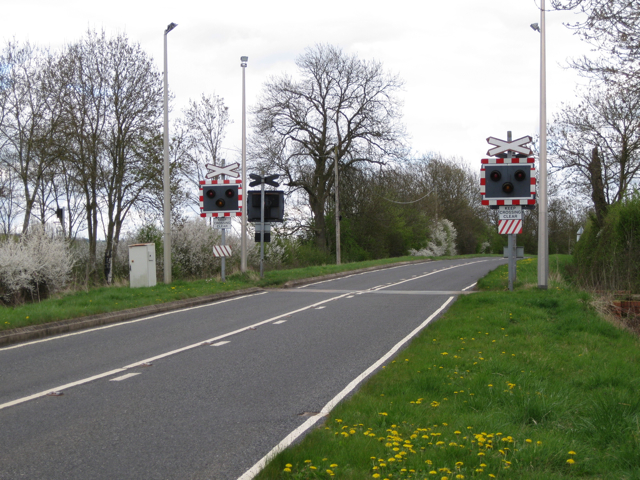 Railway crossing on the B4086 to the East of Kineton, © Robin Stott. [25]
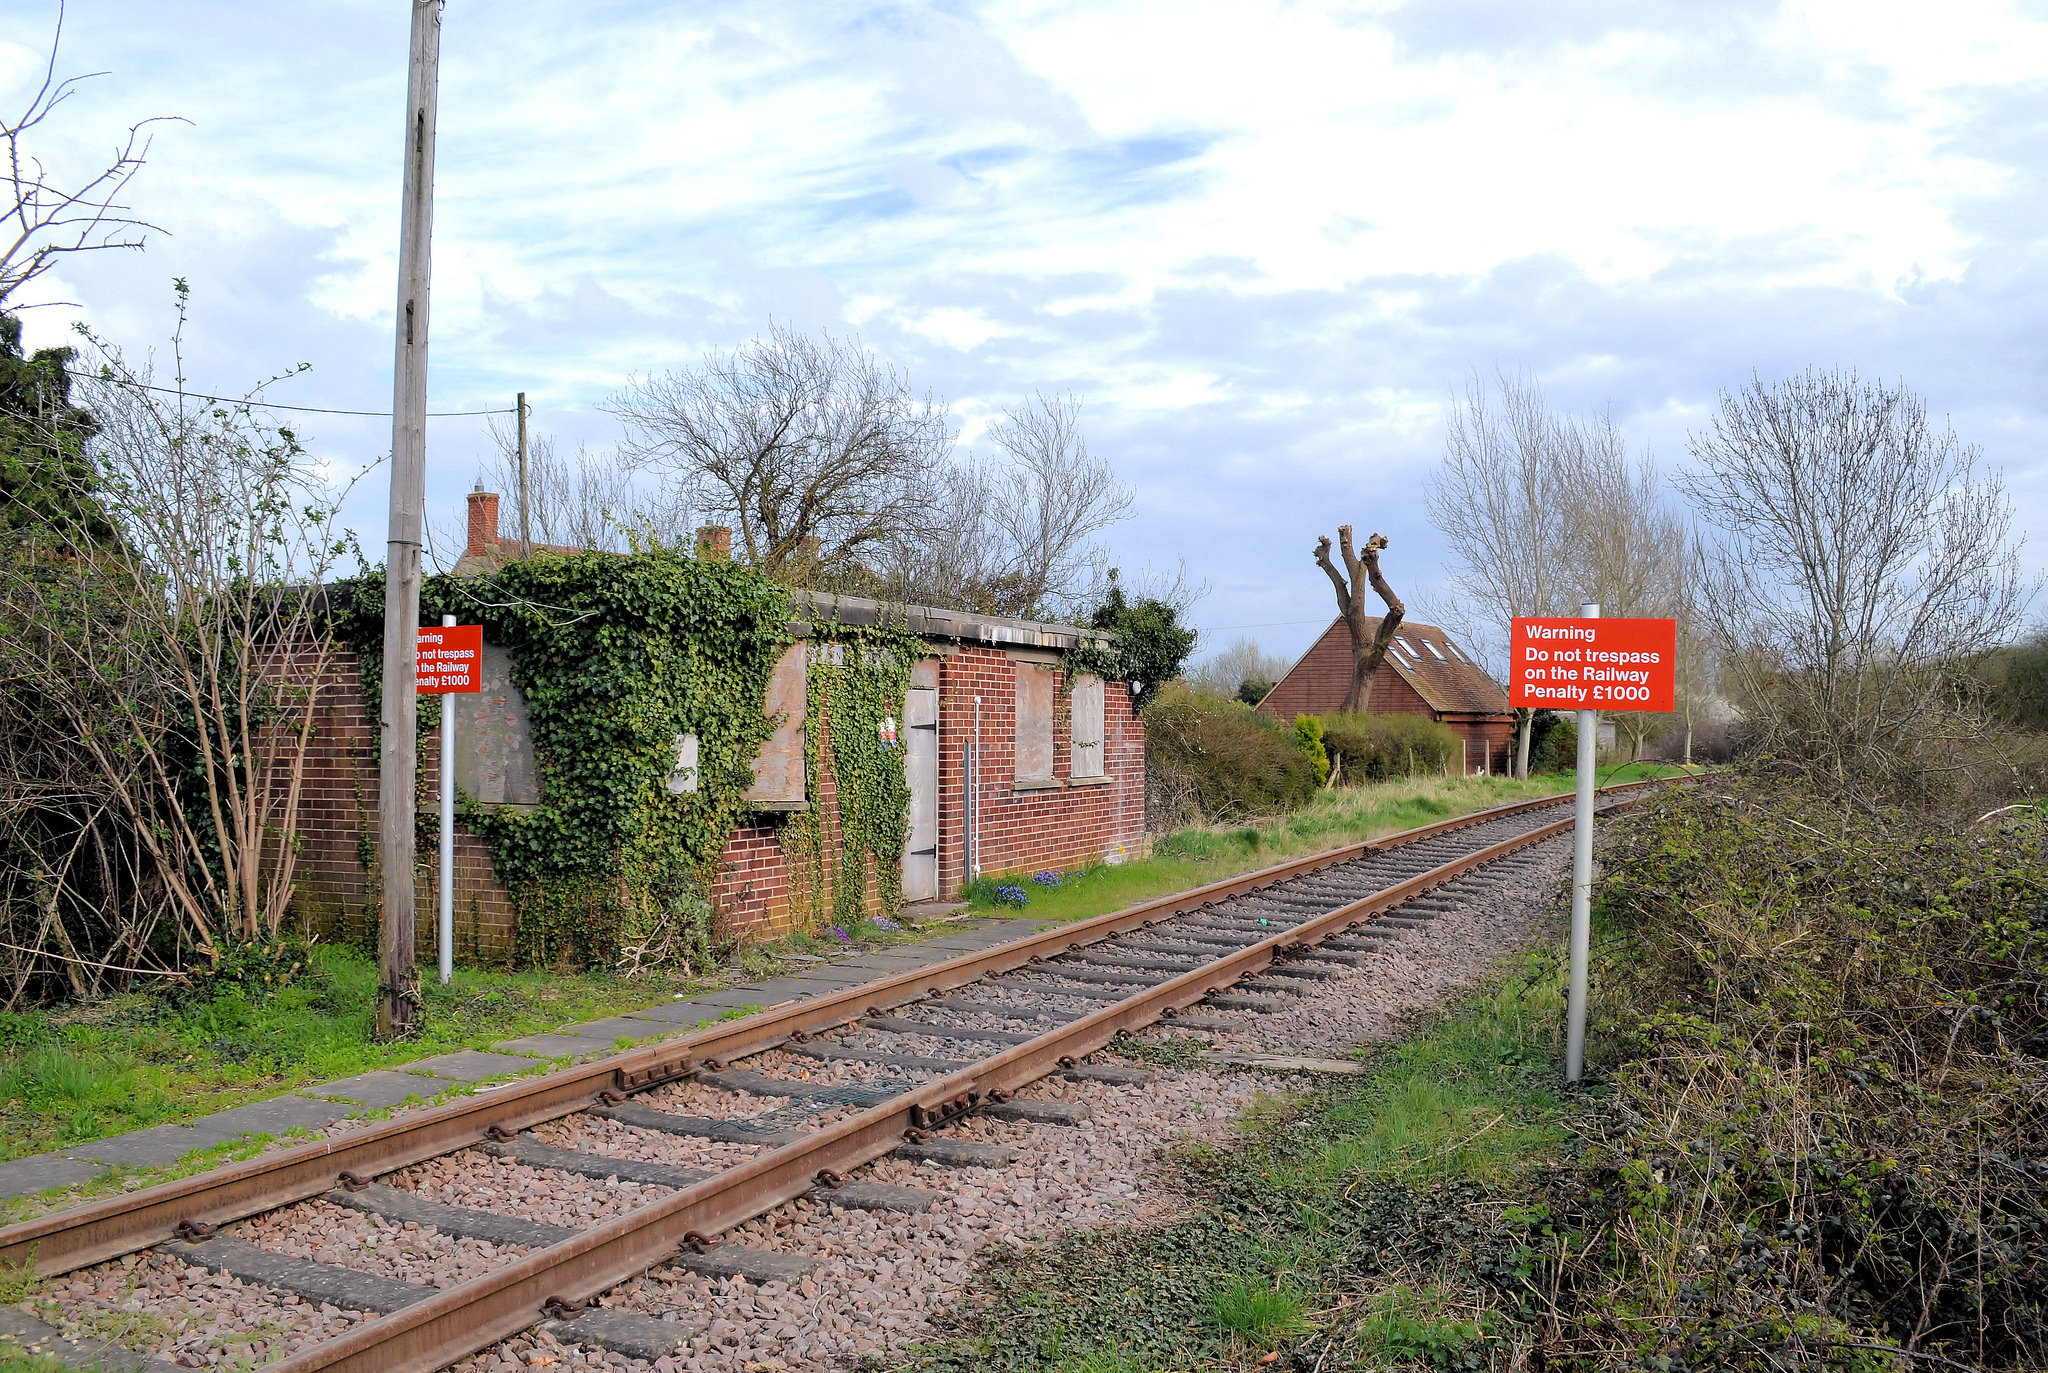
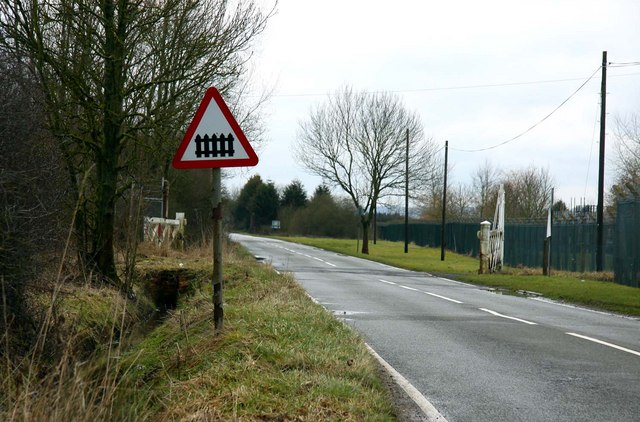
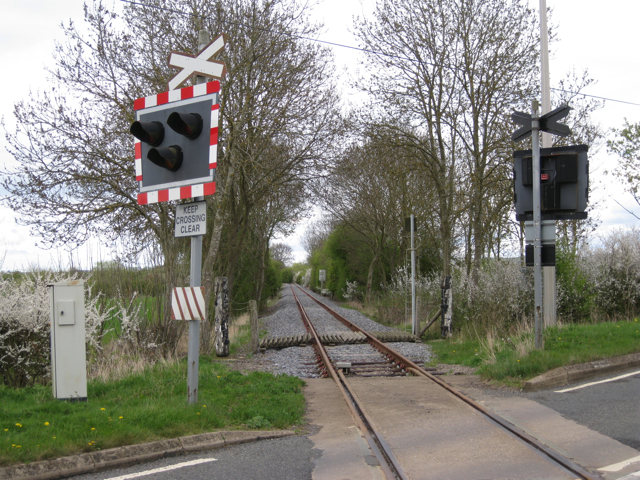 Railway crossing on the B4086 to the East of Kineton, looking North-East up the railway line, © Robin Stott. [26]
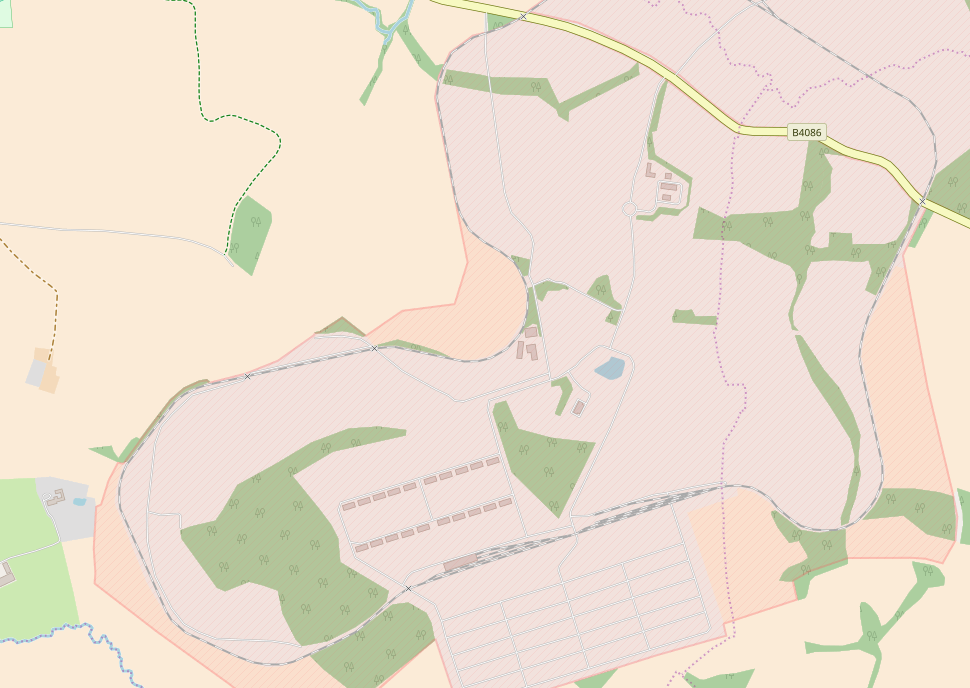
 The line near Red House Farm, (c) David P. Howard. [29]
South-west of the B4086 the network forms a large irregular loop with a series of sidings towards the southern perimeter of MOD Kineton.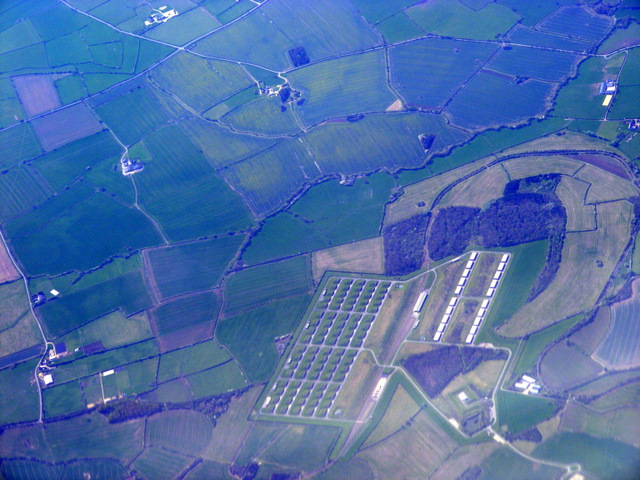 This aerial image is taken of the area south-west of the B4086 . The view is looking from East to West. [27] The storage bunkers in this area of the depot can be most easily seen in the satellite image below.
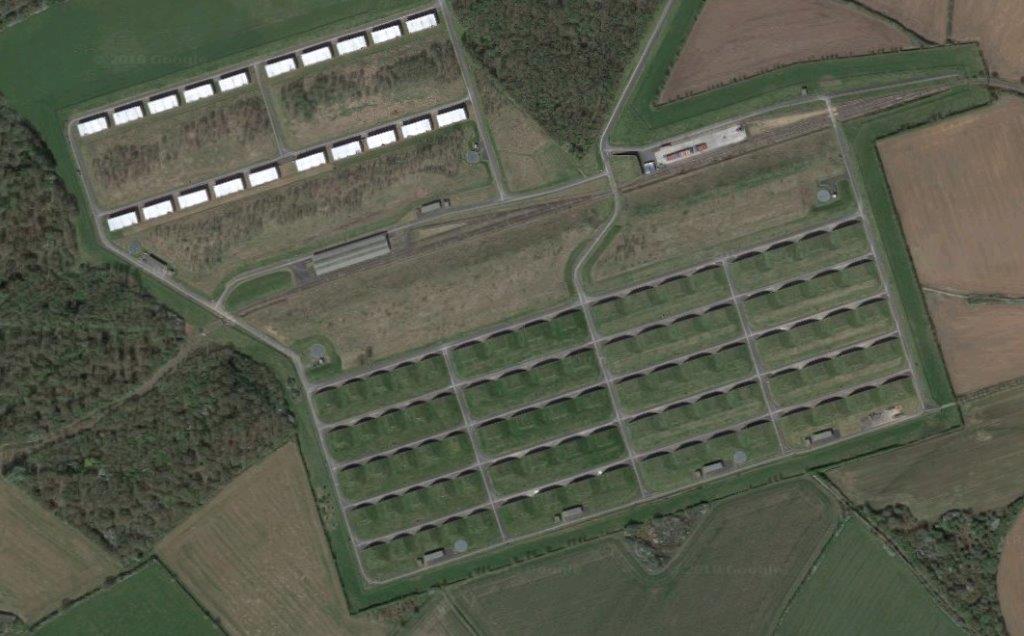
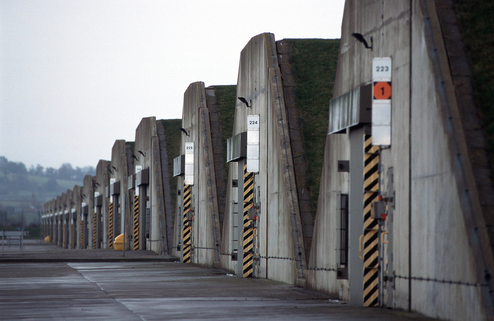 Modern ‘High Density’ Road-Fed Explosives Stores Houses (ESHs) at Kineton in the 21st Century. [14]
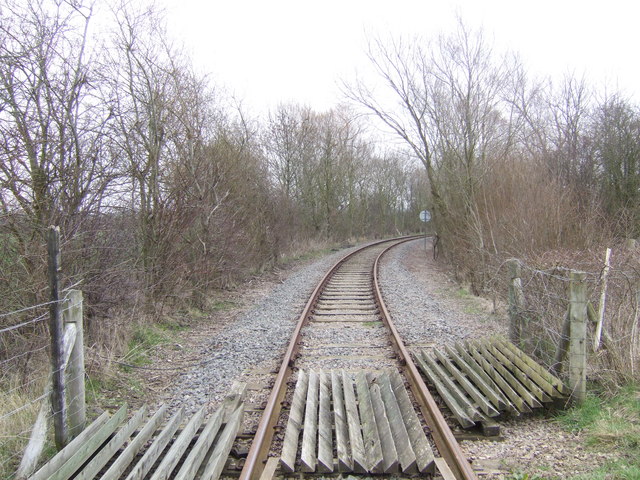
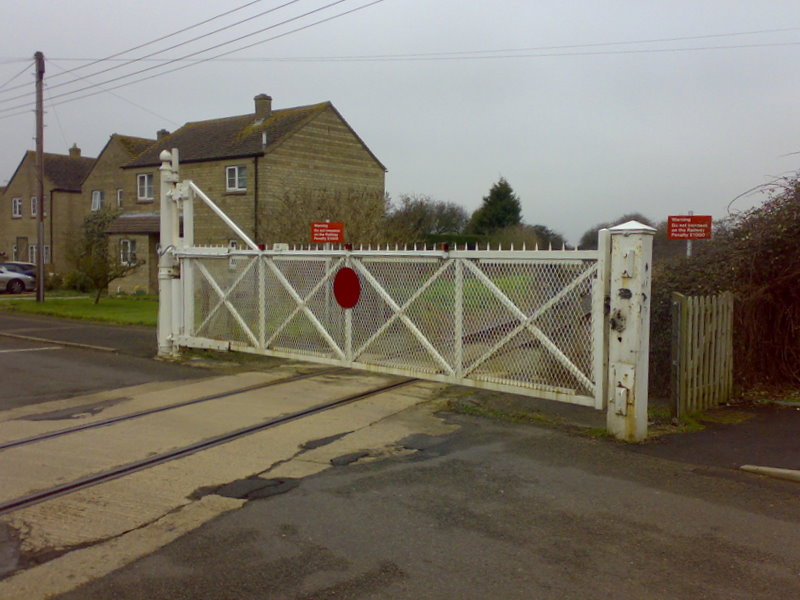
The line returned across the B4086 at another level-crossing to the East of the first, and north of the village of Radway.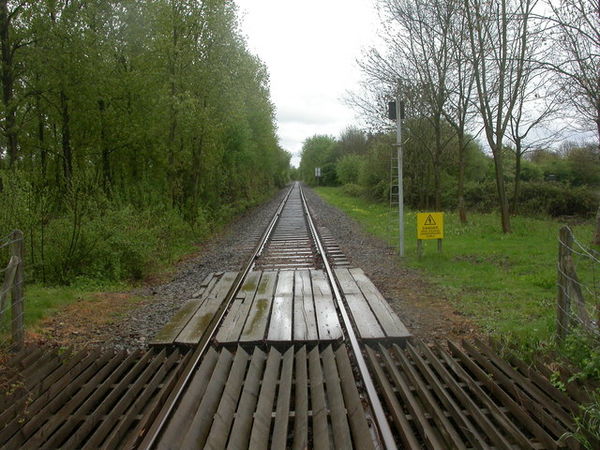 Part of the extensive rail network that exists around MoD Kineton, here a level crossing at Radway and a view back down the line towards the storage facility pictured above, (c) Mike Faherty. [1]
 The level-crossing near Radway is on a bend in the B4086, (c) Robin Stott. [28]
North of the level crossing the line branched into two, the left-hand line returning to the line we followed down the north-west boundary of the site the other branch turning north and swinging sharply round to run alongside another storage facility.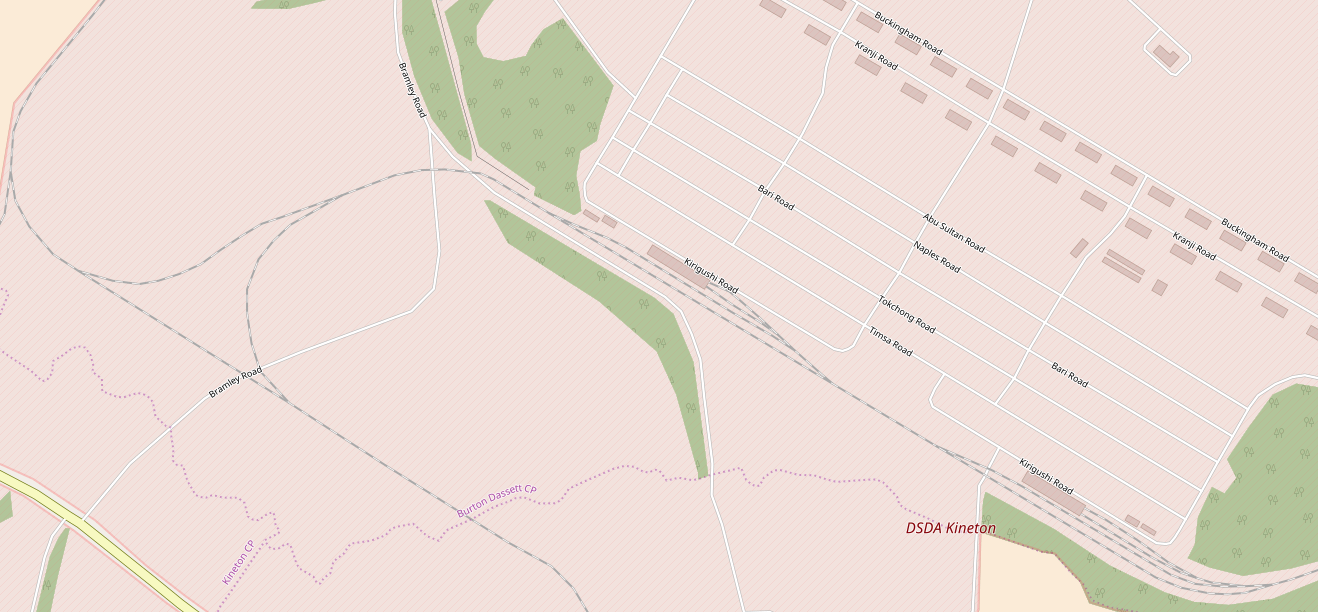
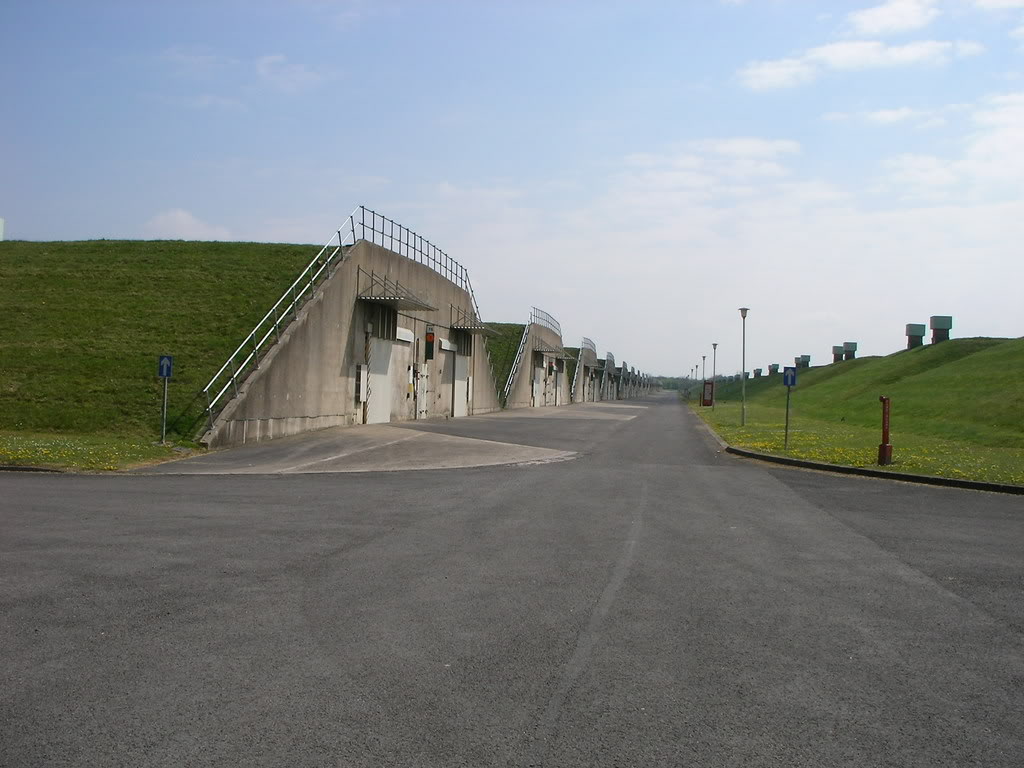
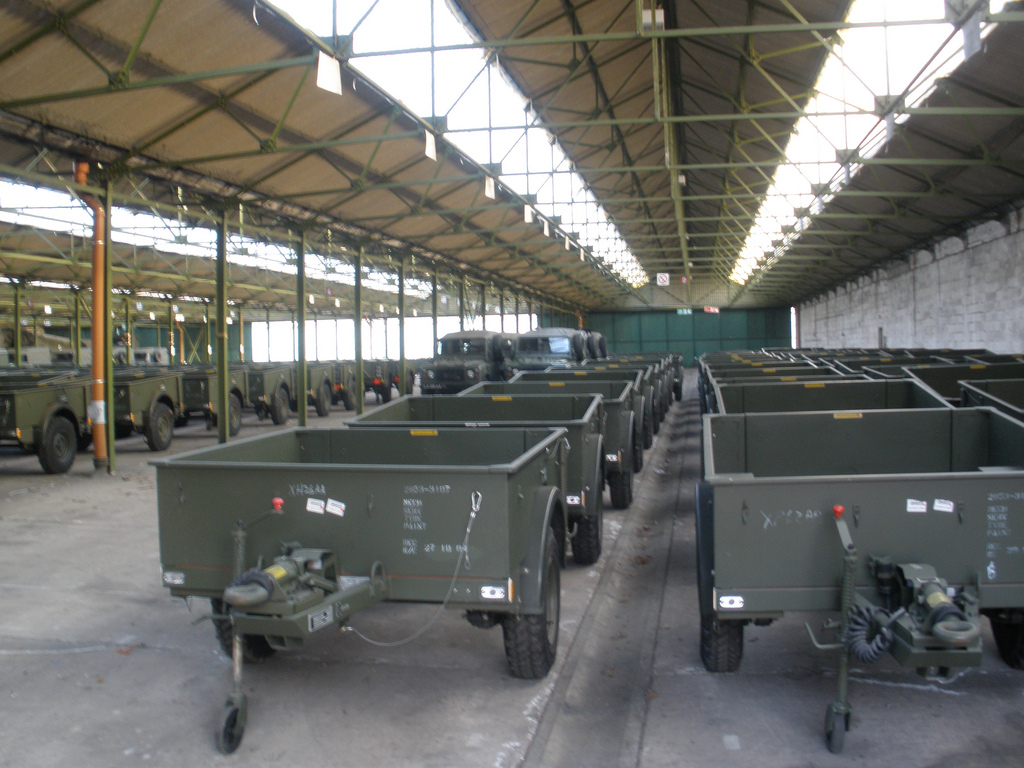
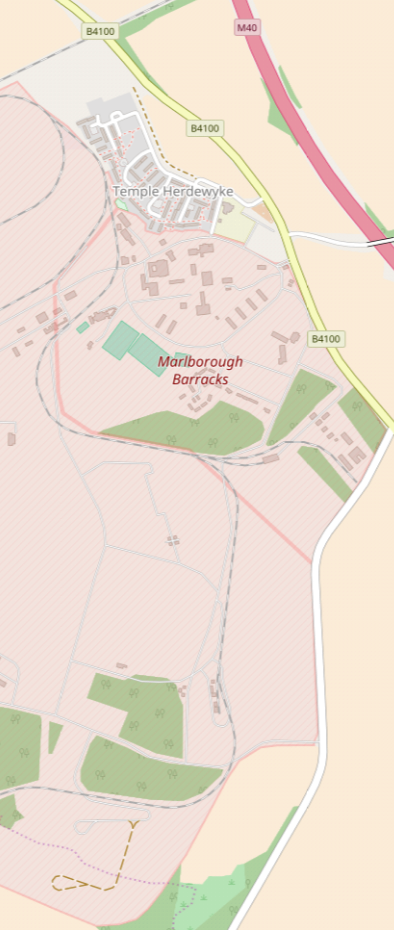 Modern ‘High Density’ Road-Fed Explosives Stores Houses (ESHs) at Kineton today (above). The phone boxes are provided because Mobile Phones (& Digital Cameras) are banned from the Explosives Area. [14]To the East of the storage bunkers, the line turned north and headed towards Marlborough Barracks. After circumnavigating the Barracks, the line passed close to the west of Temple Herdewyke before rejoining the loop close to the exchange sidings at the rail access to the site. A sketch plan of Marlborough Barracks.
We finish this post with a number of miscellaneous photographs taken at different times at various places around the MOD Kineton railway network.
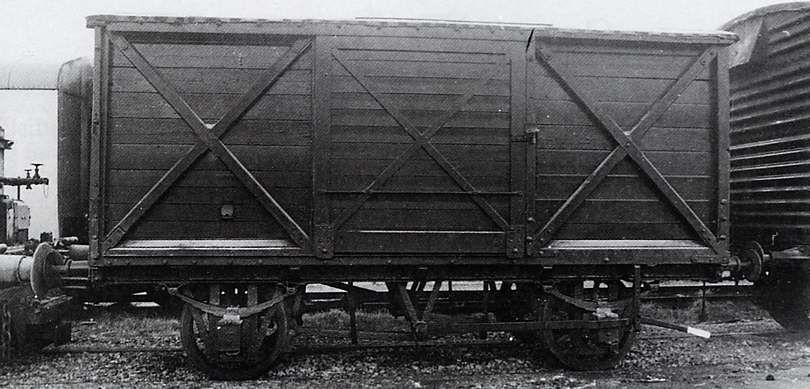
 A Double Sided Rail Fed Explosives Store House (ESH) at Kineton before the re-build (only one now remains as an example for the training school. [14]
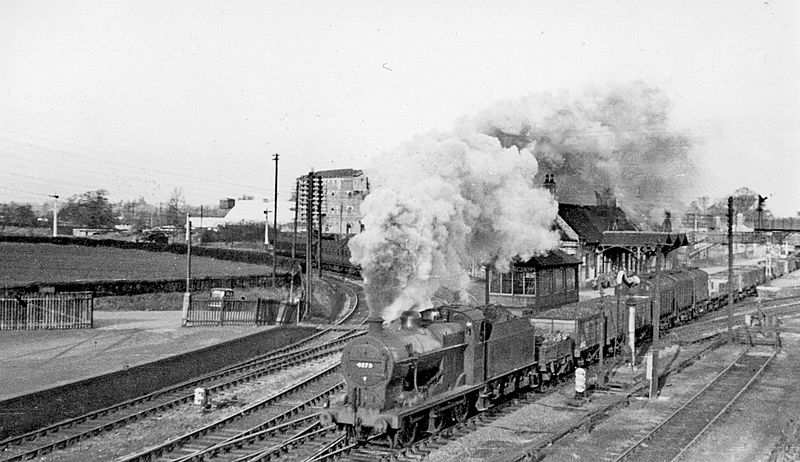
 Kineton Depot April 1971. [15]
 Kineton Depot April 1971. [15]
References
- https://en.m.wikipedia.org/wiki/MoD_Kineton, accessed on 5th August 2018.
- http://hondawanderer.com/278_Kineton_1995.htm, accessed on 5th August 2018.
- https://www.irsociety.co.uk/books/books.htm, accessed on 6th August (the book referred to is a preliminary draft).
- http://www.warwickshirerailways.com/misc/kineton-mod.htm, accessed on 6th August 2018.
- http://www.warwickshirerailways.com/lms/burtondassett.htm, accessed on 6th August 2018.
- http://www.warwickshirerailways.com/misc/ehlr.htm, accessed on 6th August 2018.
- https://www.flickr.com/photos/12a_kingmoor_klickr/6057577970, accessed on 7th August 2018. The Army Ordnance Depot at Kineton possessed two rail-borne fire tenders up until their disposal in 1970. This is them shortly after arrival at the scrapyard of Bird’s Commercial Motors Ltd, at Long Marston on 30th March 1970. They bore the Army running numbers 9041 and 9042 and were built by D. Wickham and Co.Ltd at Ware in 1956, works numbers 7390 and 7391 respectively.
- http://www.rmweb.co.uk/community/index.php?/topic/28530-industrial-locomotives-in-the-late-80s-to-mid-90s/page-6, accessed on 1st August 2018.
- file:///C:/Users/Roger%202/Downloads/SouthEastWarwickshireandCotswoldsHigherLevelStewardship(HLS)TargetAreasNMP.pdf, accessed on 7th August 2018.
- http://www.hondawanderer.com/Industrial_Diesels.htm, accessed on 5th August 2018.
- https://en.wikipedia.org/wiki/Stratford-upon-Avon_and_Midland_Junction_Railway, accessed on 7th August 2018.
- https://en.wikipedia.org/wiki/Thomas_Hill_(Rotherham)_Ltd, accessed on 7th August 2018.
- http://www.geograph.org.uk/photo/1491963, accessed on 7th August 2018.
- https://www.28dayslater.co.uk/threads/leyland-ammunition-store-23-09-08.33114, accessed on 7th August 2018.
- http://www.rmweb.co.uk/community/index.php?/topic/85326-dave-fs-photos-ongoing-more-added-8th-june/page-384, accessed on 7th August 2018.
- http://picssr.com/photos/kimctomcat/interesting/page18?nsid=60787812@N06, accessed on 7th August 2018.
- CAD KINETON – LOCOMOTIVES 1952 to 1960; Source: “British War Department Locomotives 1952 – 1960” by G.P. Roberts, published by the Birmingham Locomotive Club 1960 via http://thesmjr.ning.com/page/kineton-camp, accessed on 8th August 2018.
- http://www.geograph.org.uk/photo/1334830, accessed on 7th August 2018.
- http://archive.is/iu9dp, accessed on 8th August 2018.
- http://www.geograph.org.uk/photo/1334817, accessed on 8th August 2018.
- http://www.geograph.org.uk/photo/1332709 and http://www.geograph.org.uk/photo/1332711, accessed on 8th August 2018.
- http://www.geograph.org.uk/photo/1334823, accessed on 7th August 2018.
- http://www.geograph.org.uk/photo/1864229, accessed on 8th August 2018.
- http://www.geograph.org.uk/photo/1864244, accessed on 7th August 2018.
- http://www.geograph.org.uk/photo/1825272, accessed on 7th August 2018.
- http://www.geograph.org.uk/photo/1825284, accessed on 7th August 2018.
- http://www.geograph.org.uk/photo/2355847, accessed on 8th August 2018.
- http://www.geograph.org.uk/photo/1825265, accessed on 8th August 2018.
- http://www.geograph.org.uk/photo/2837711, accessed on 8th August 2018.


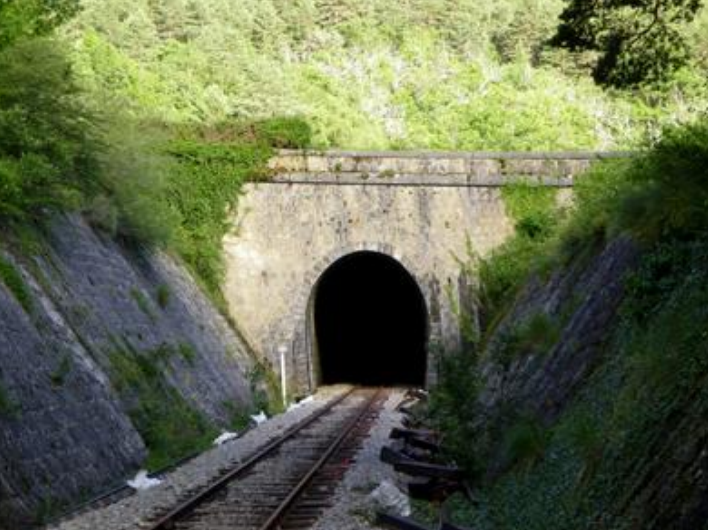


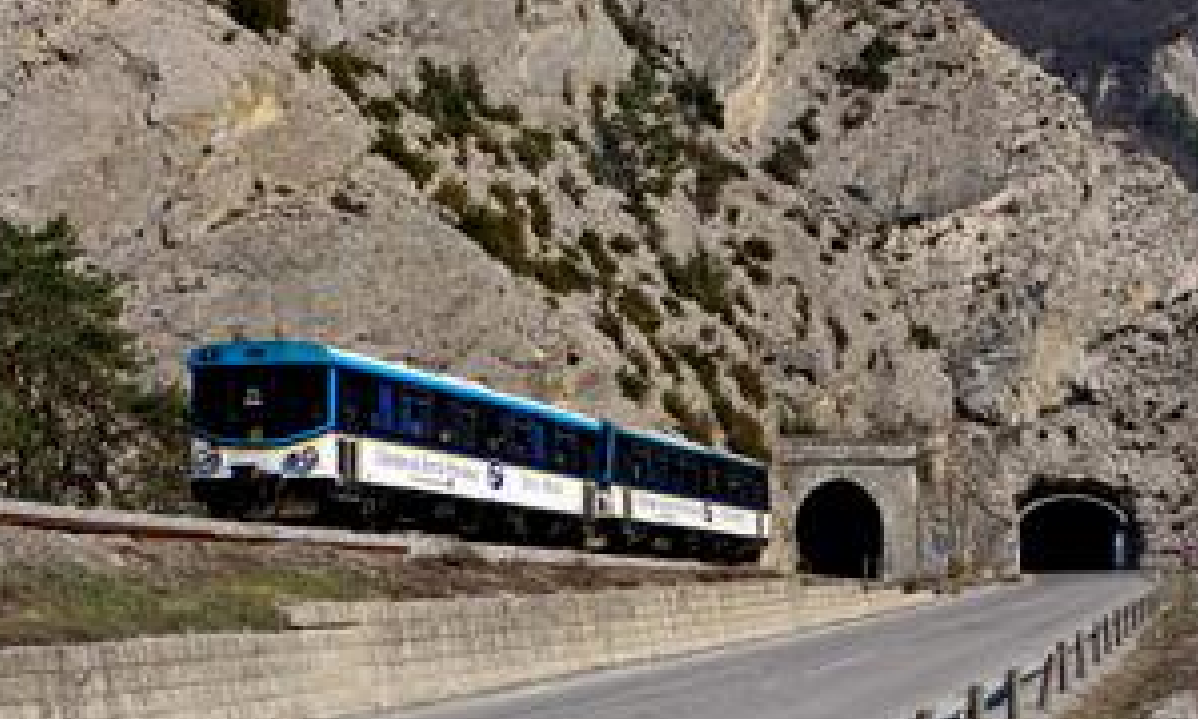
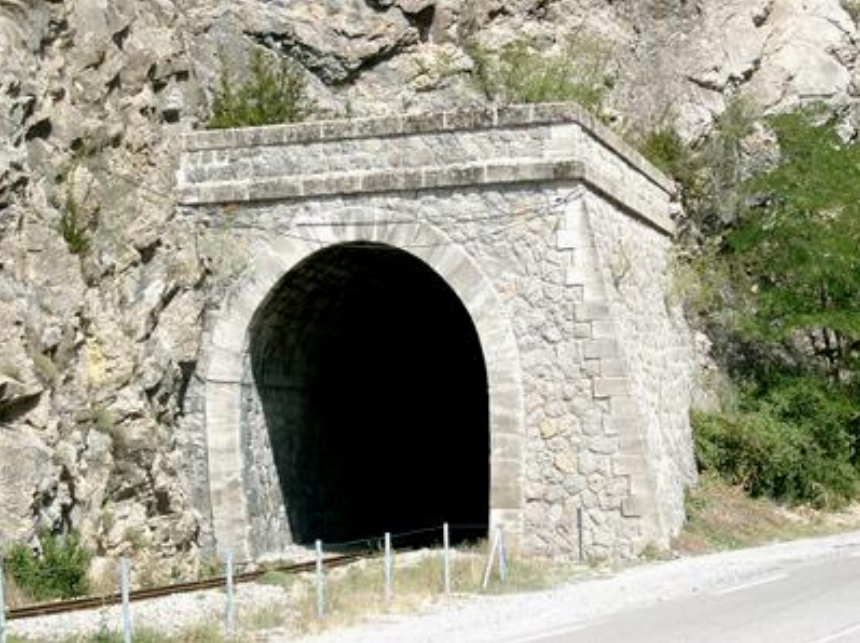
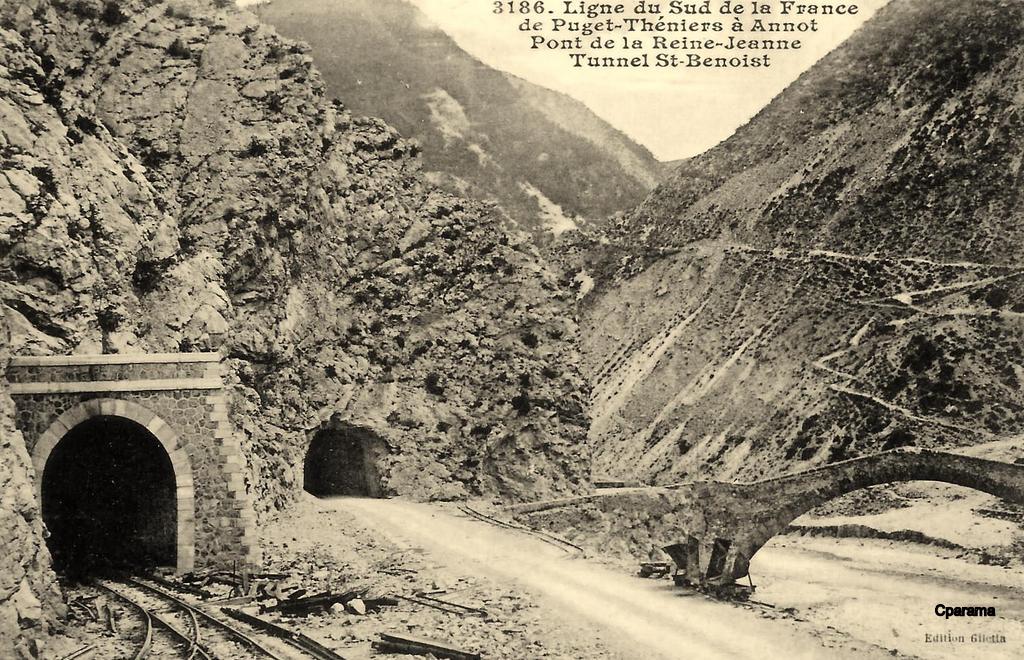
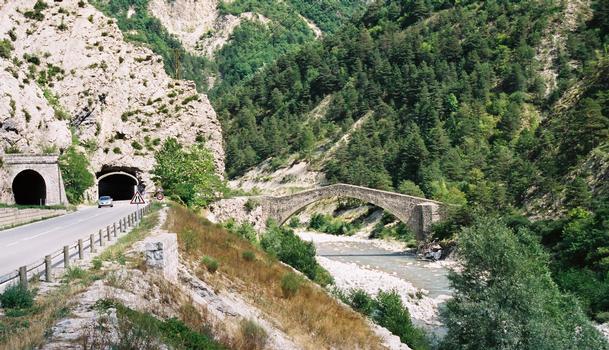

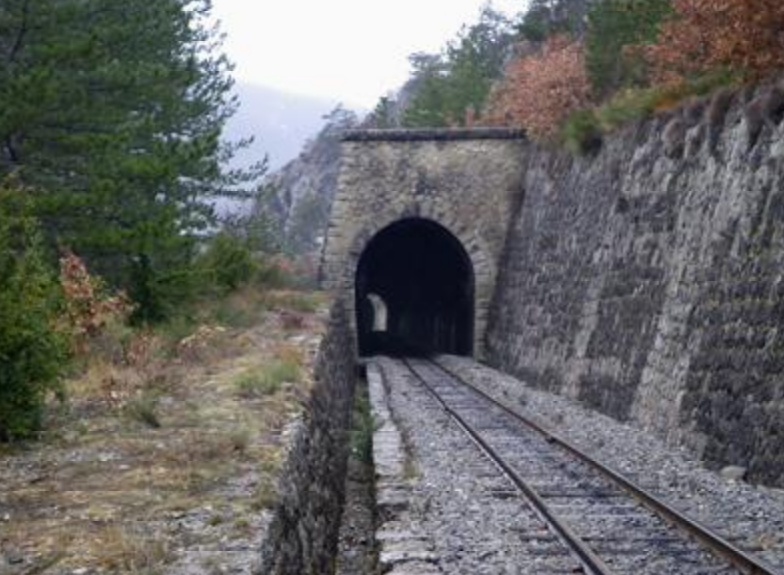
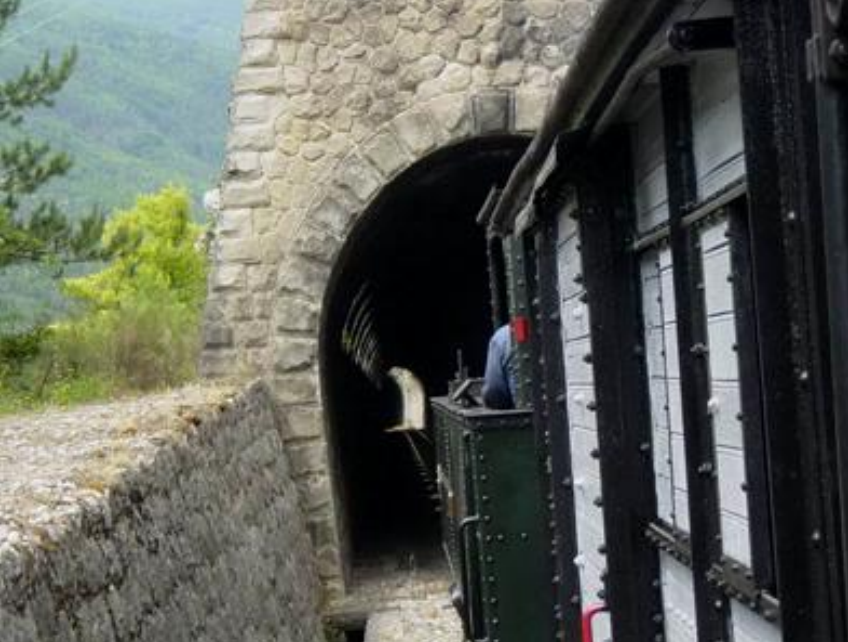
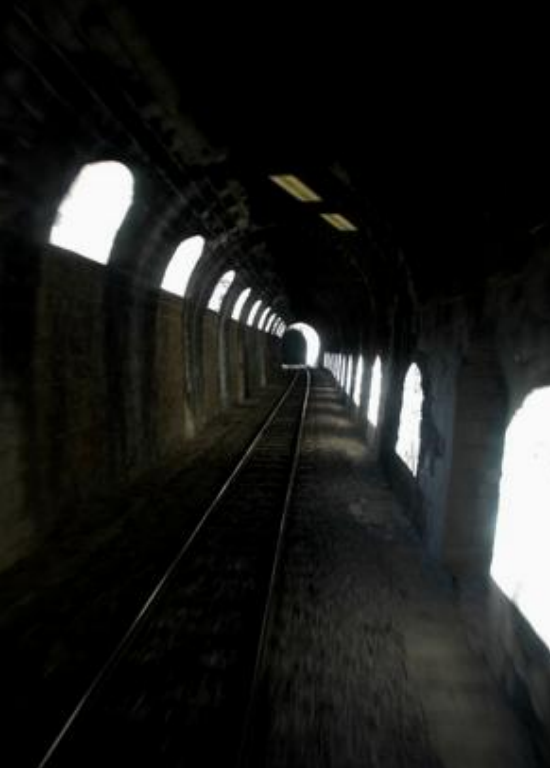
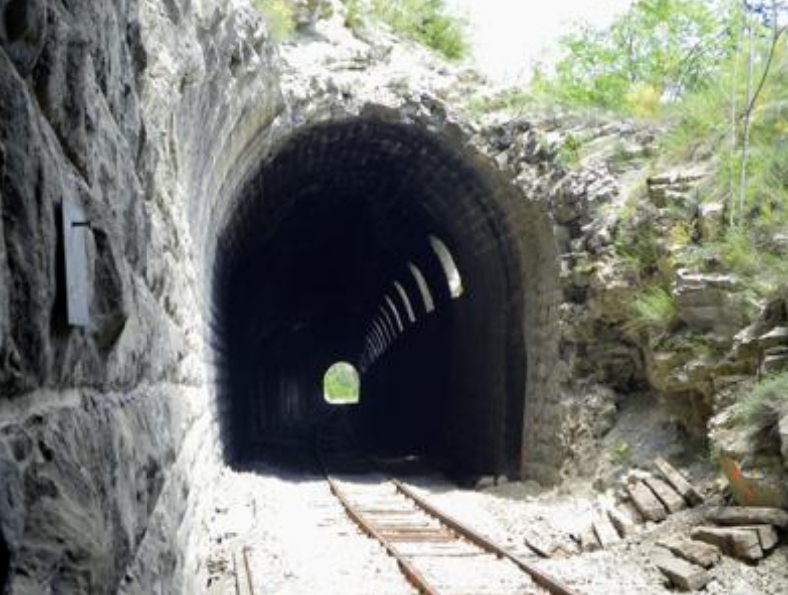


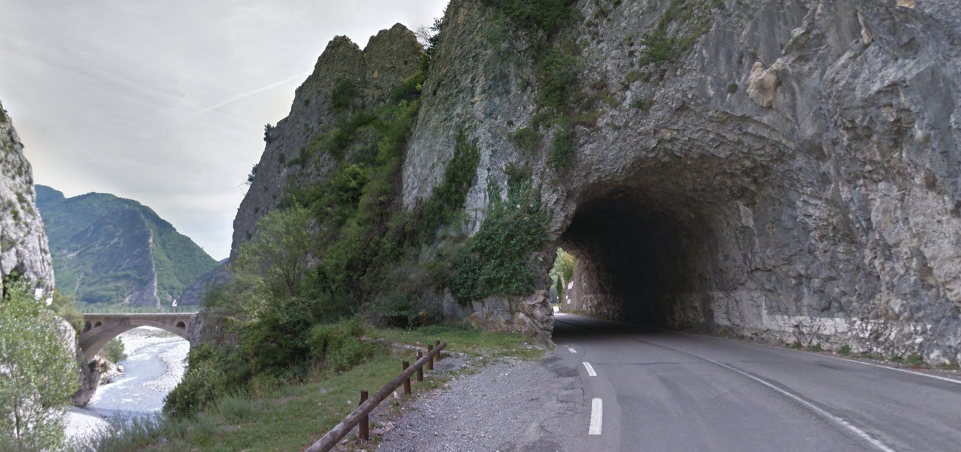

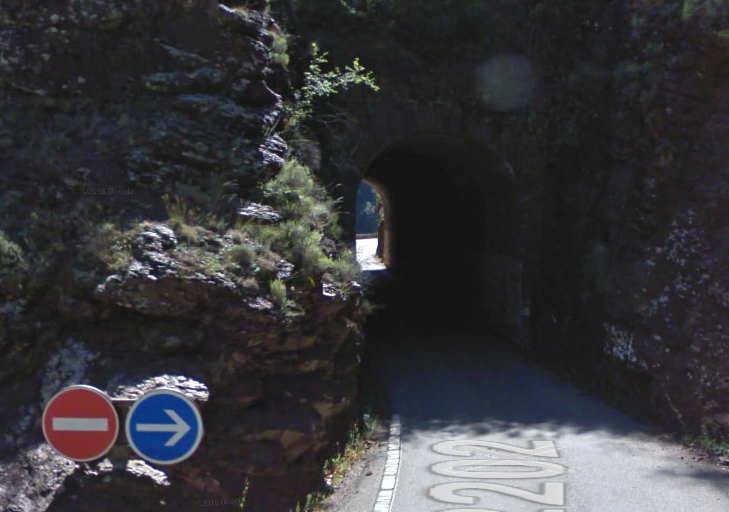
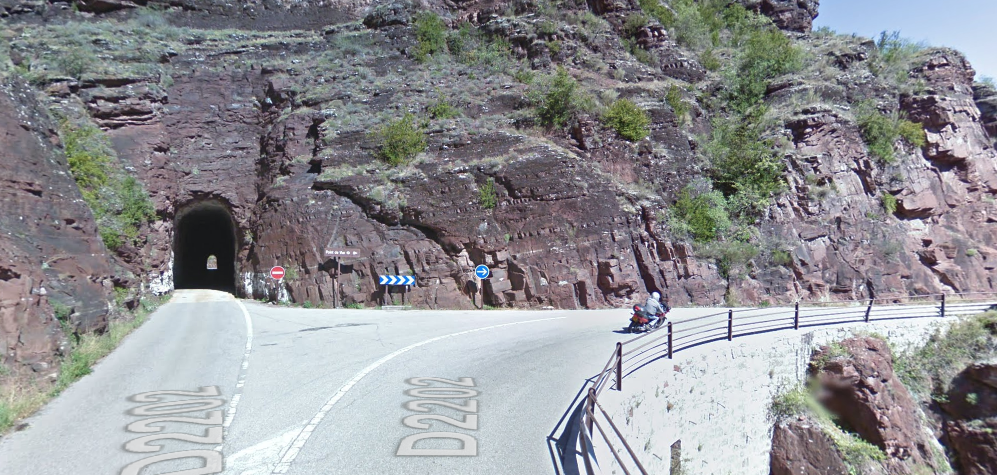
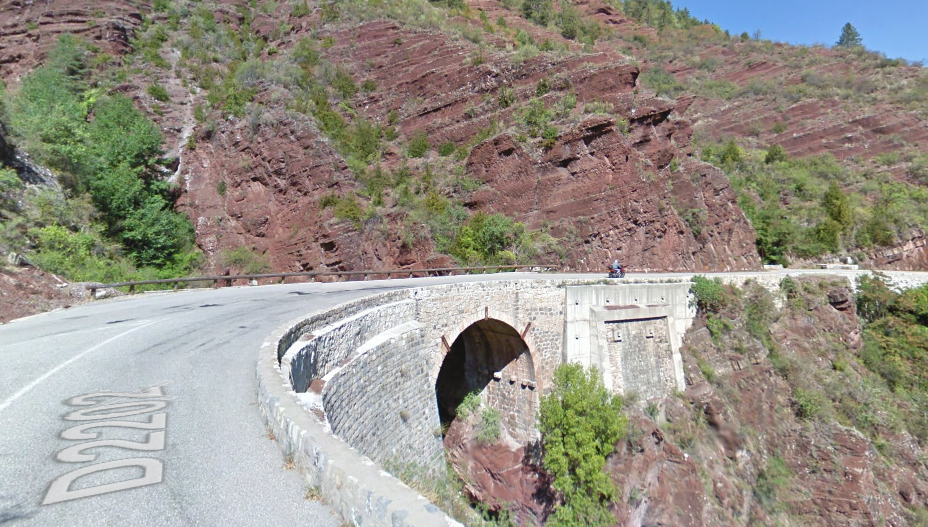
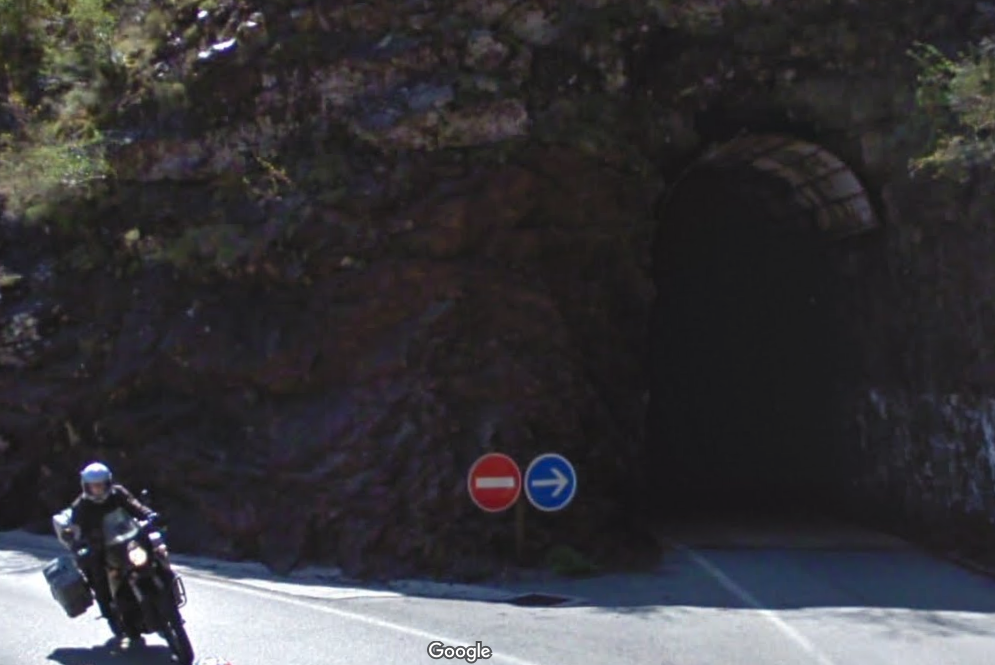
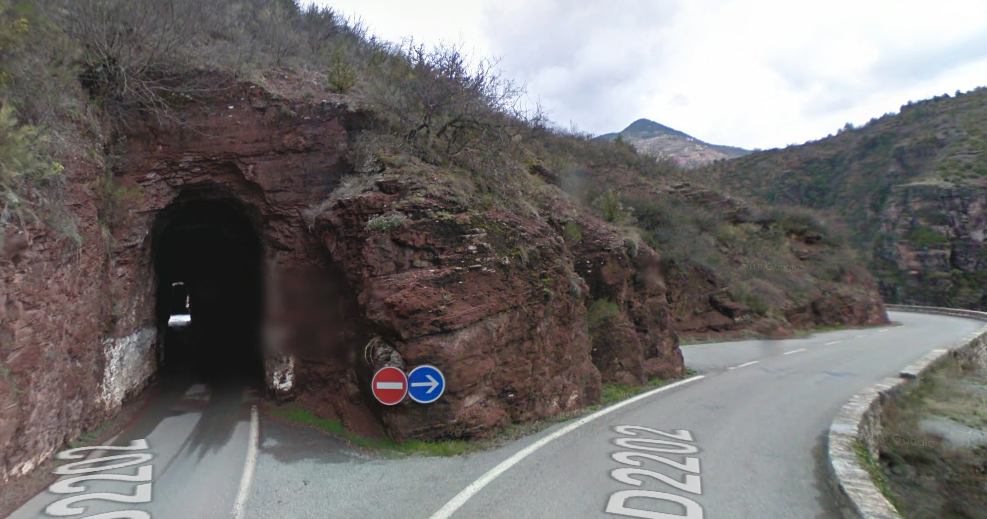
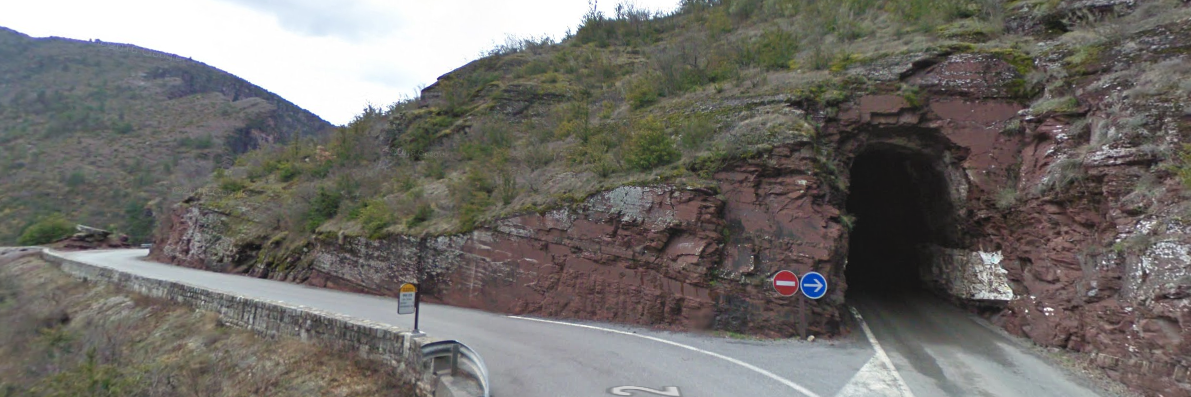
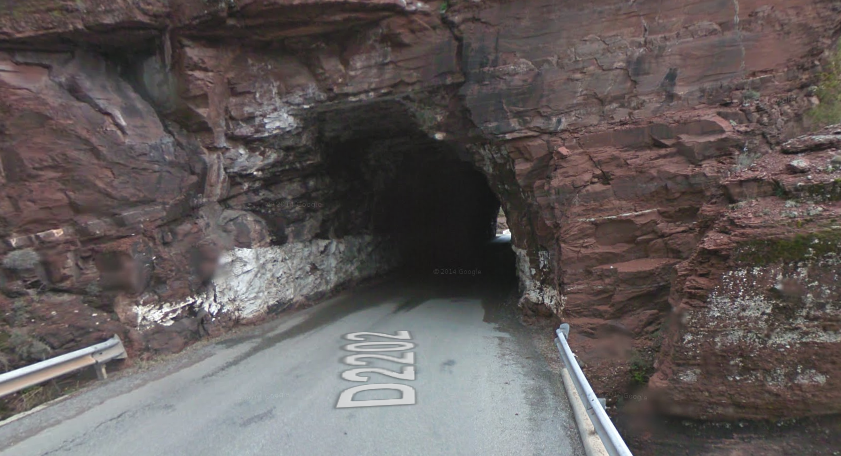
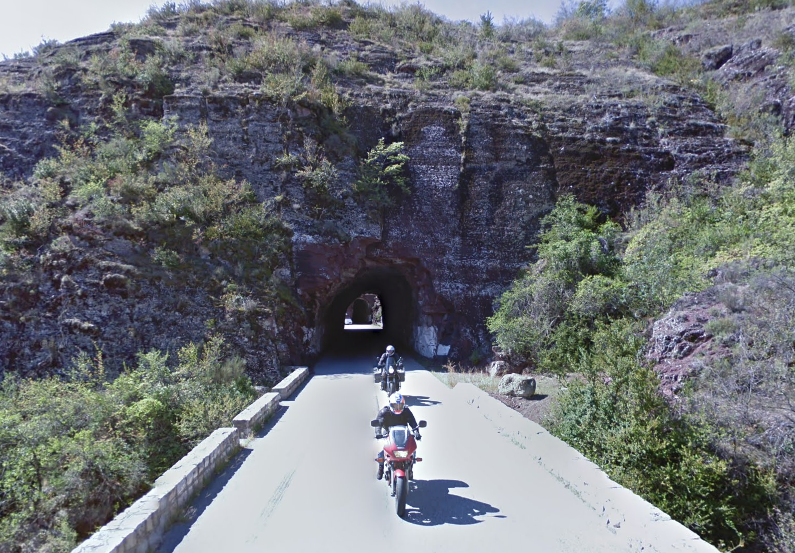
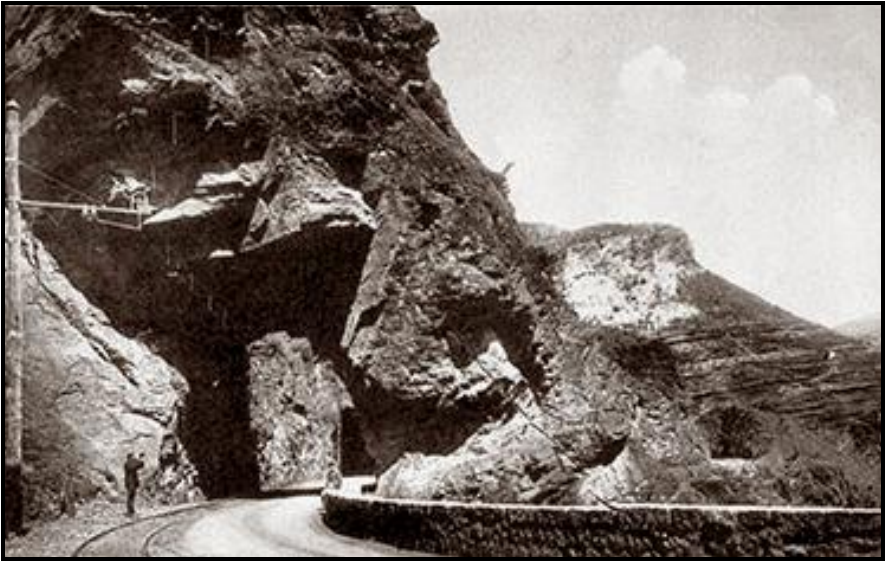
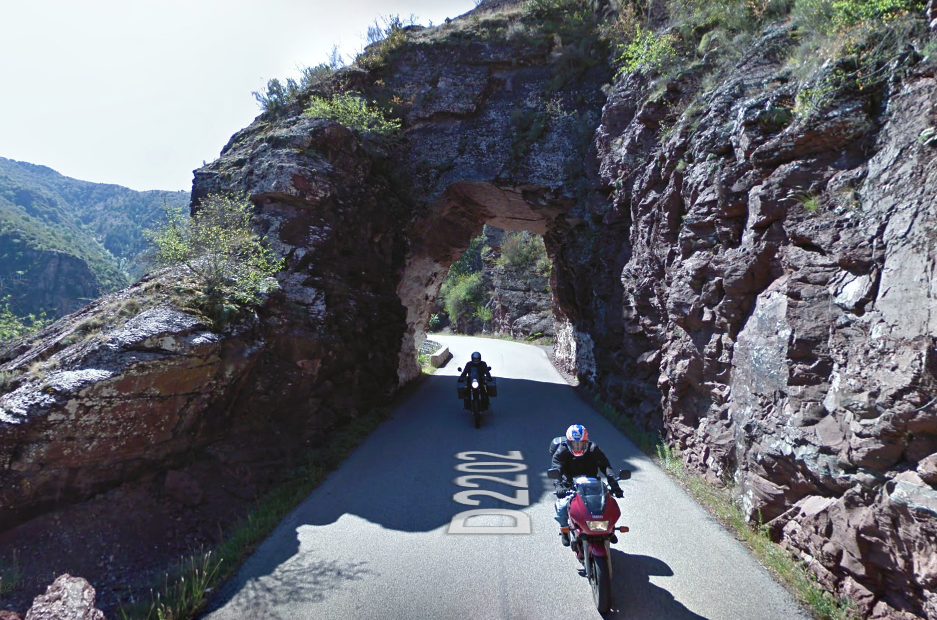
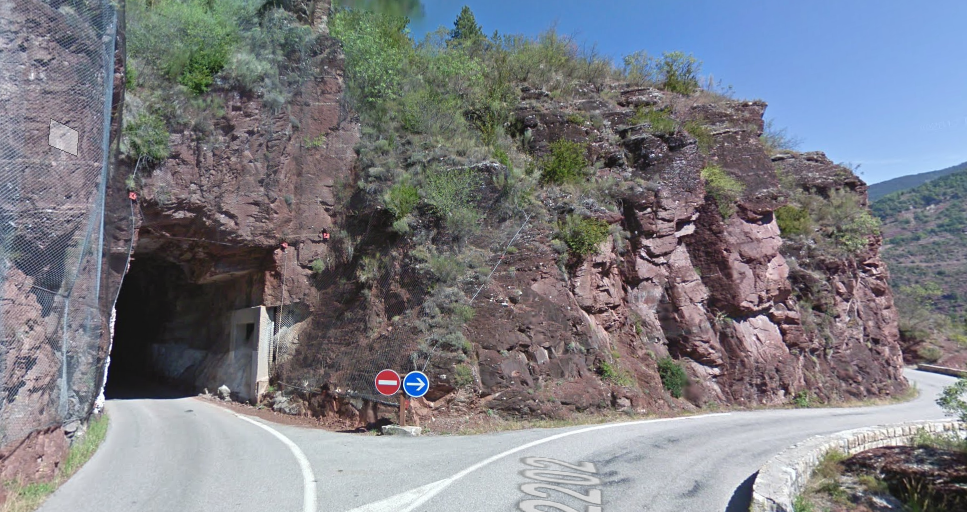
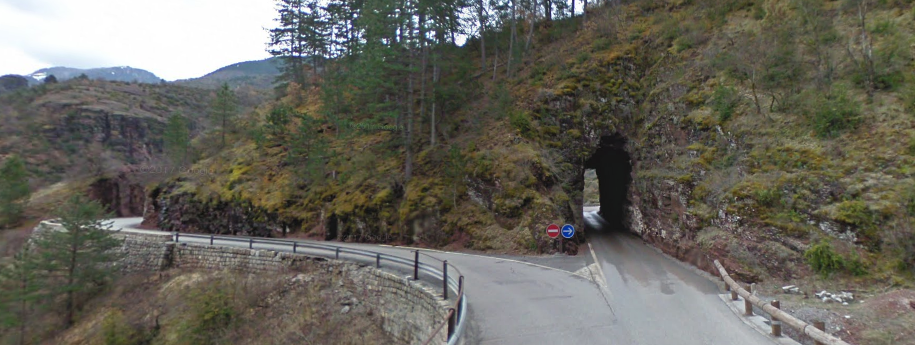
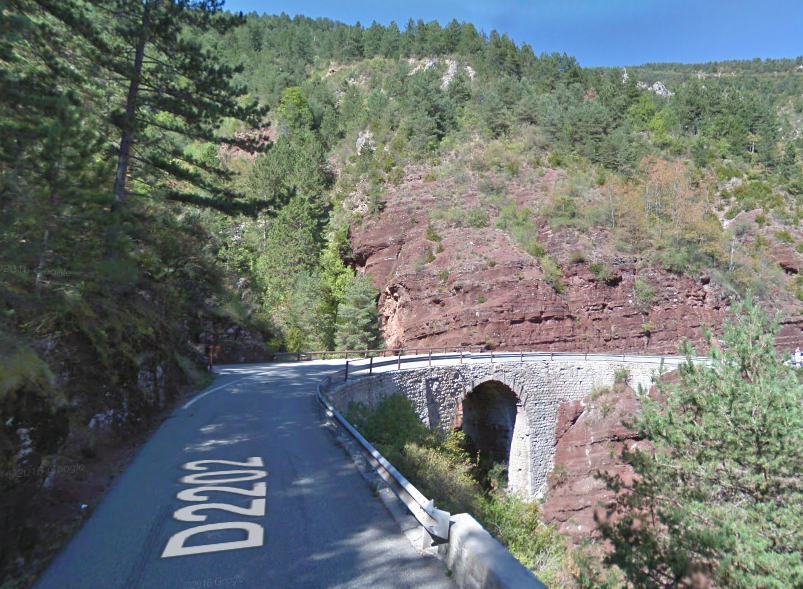
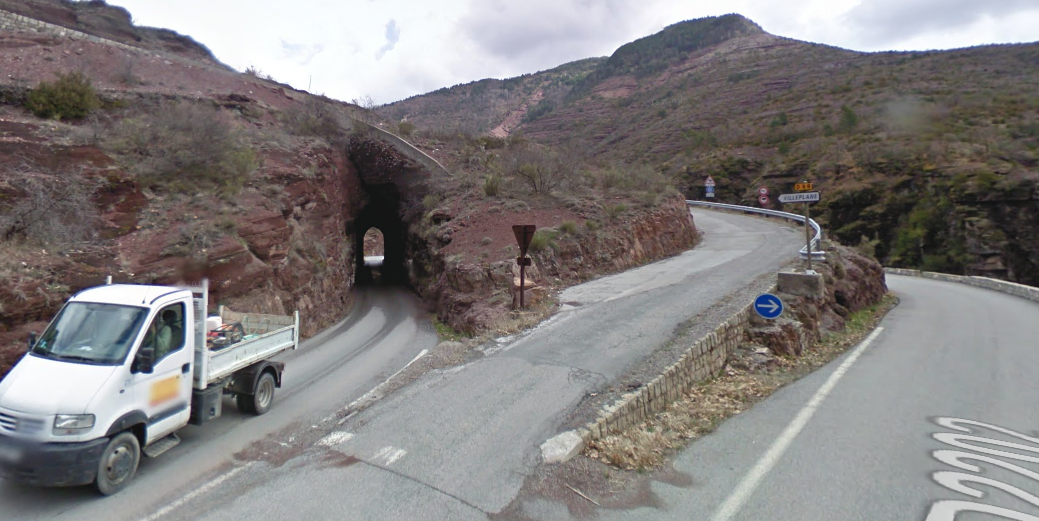
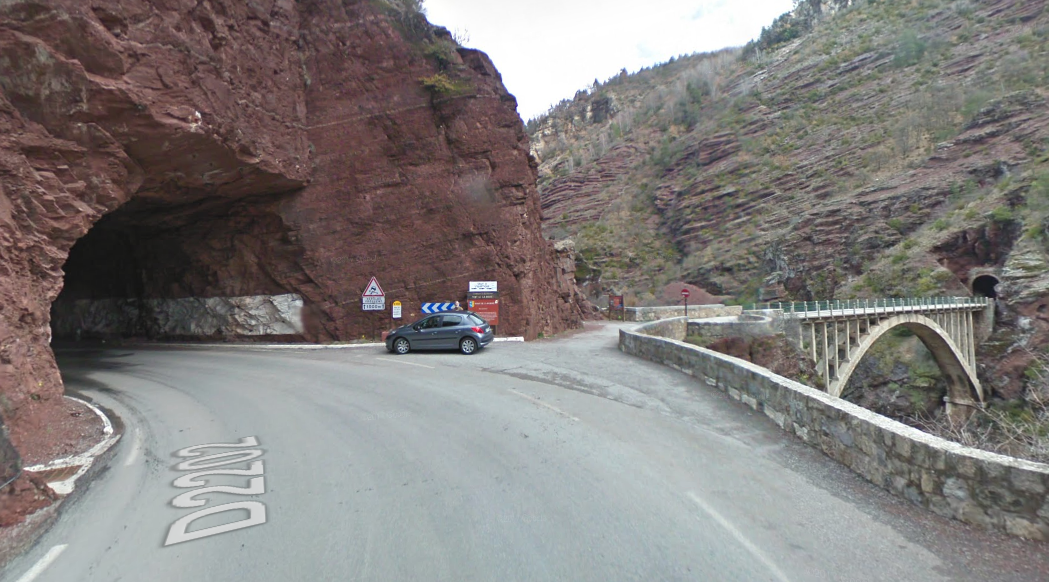
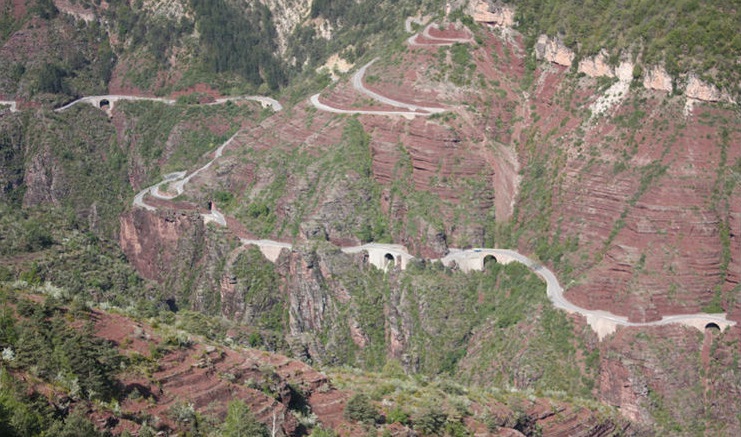
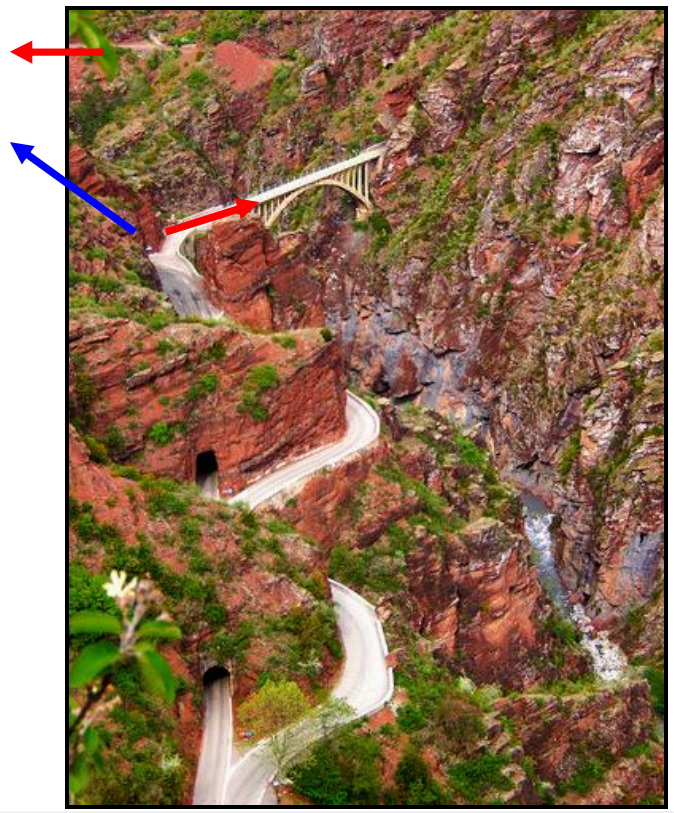
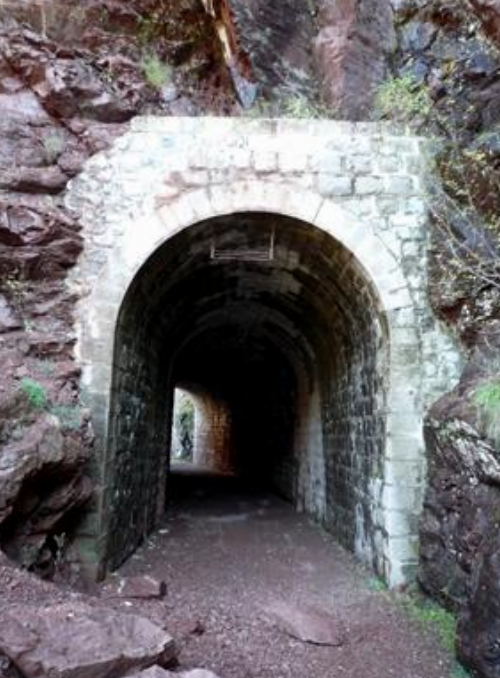
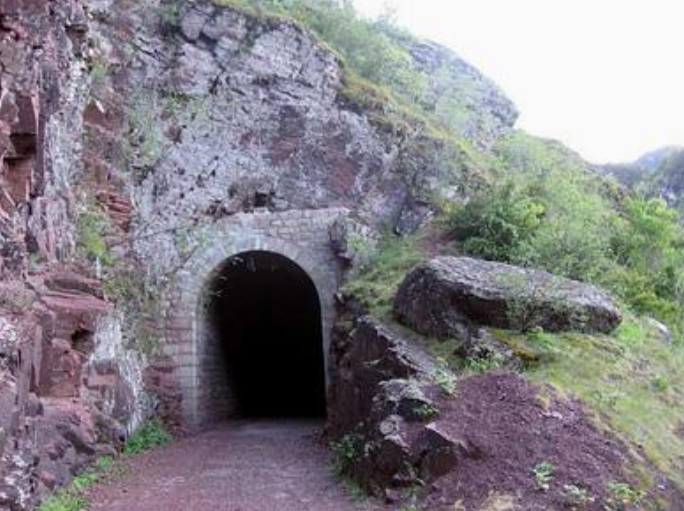
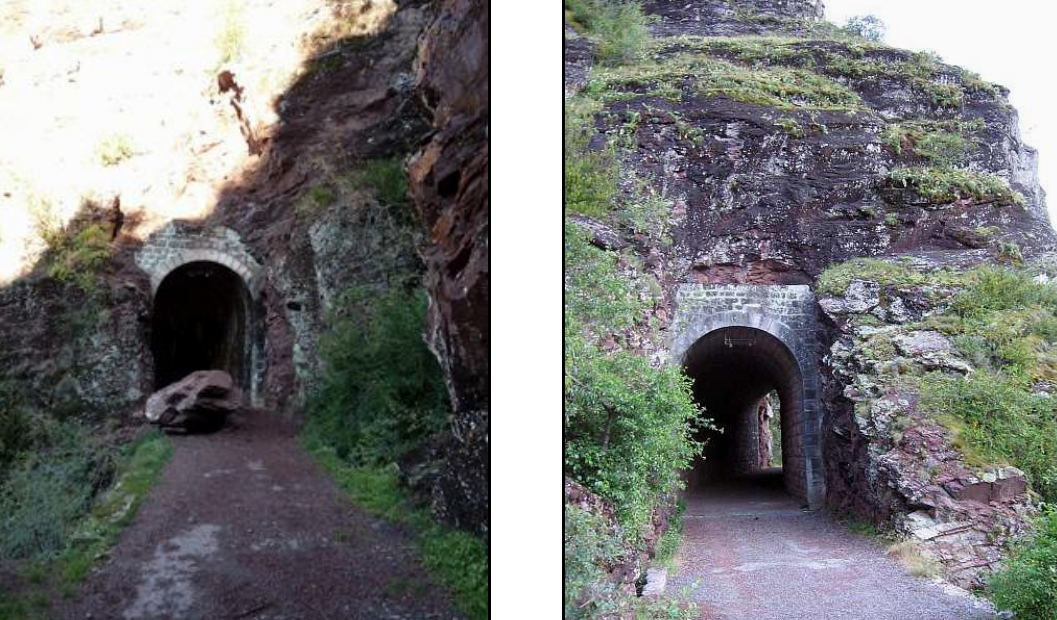
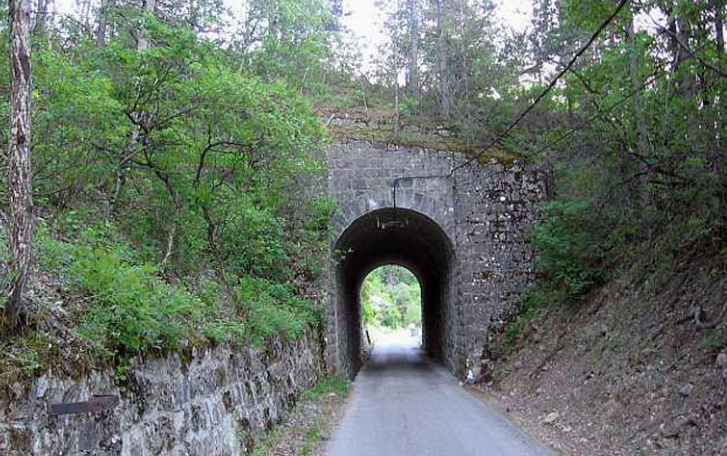
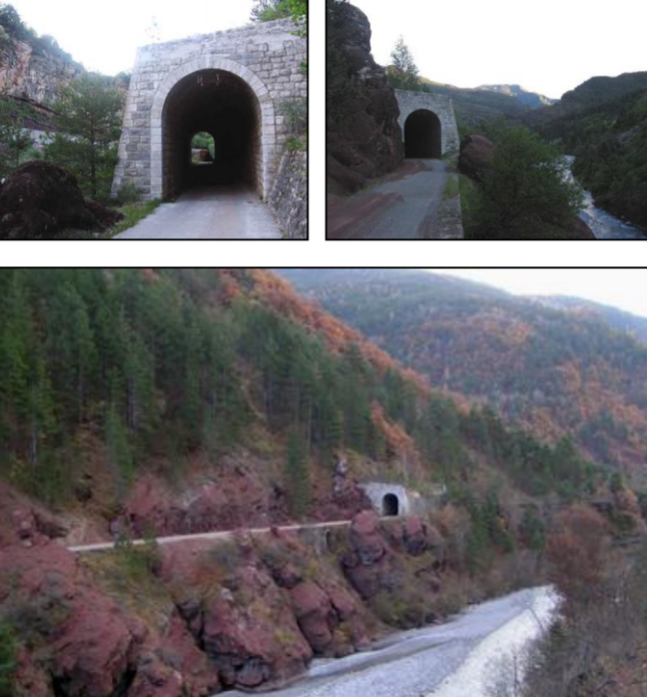
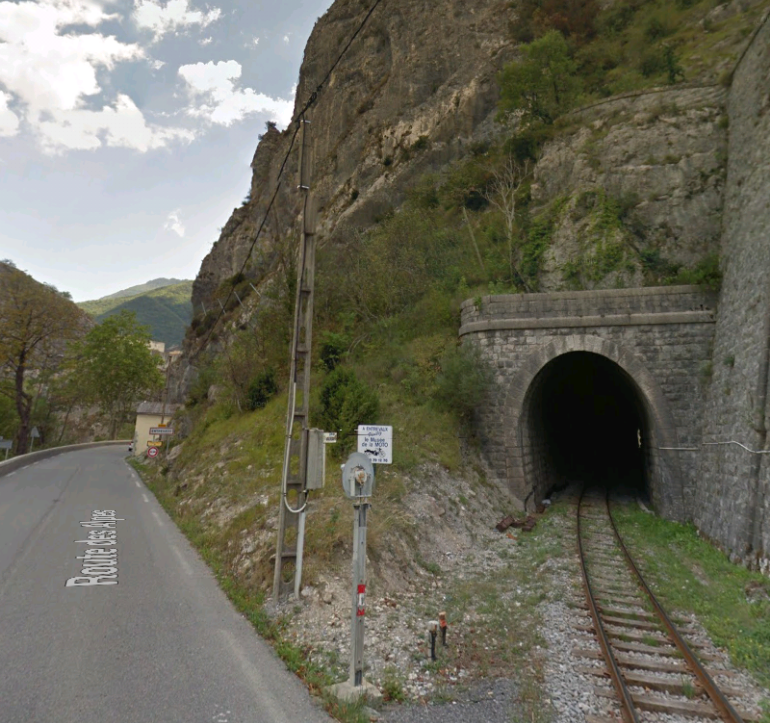
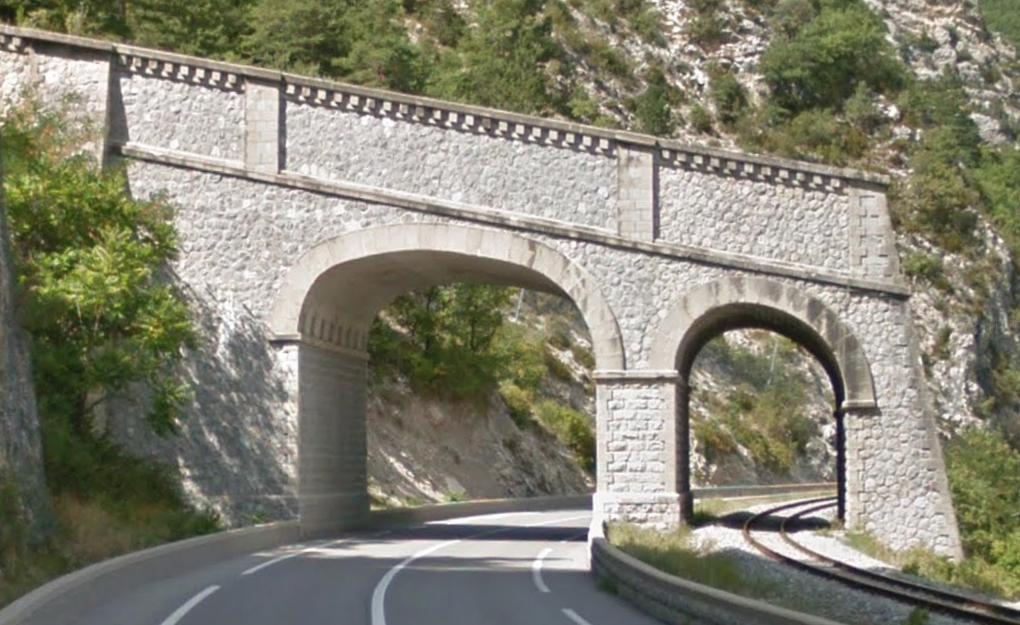
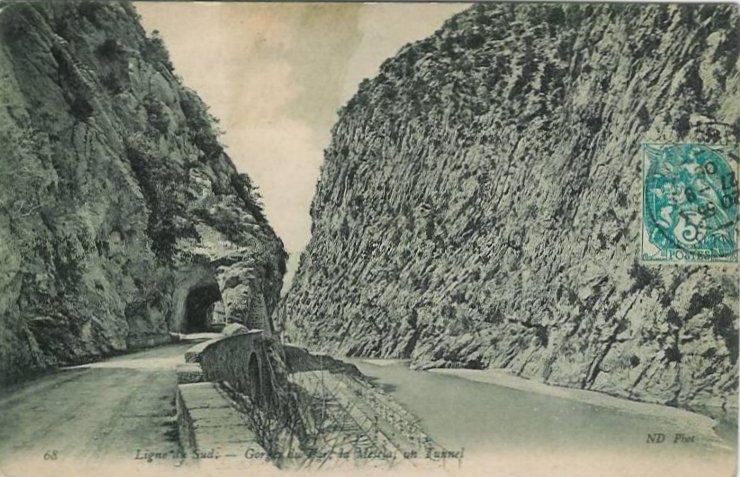
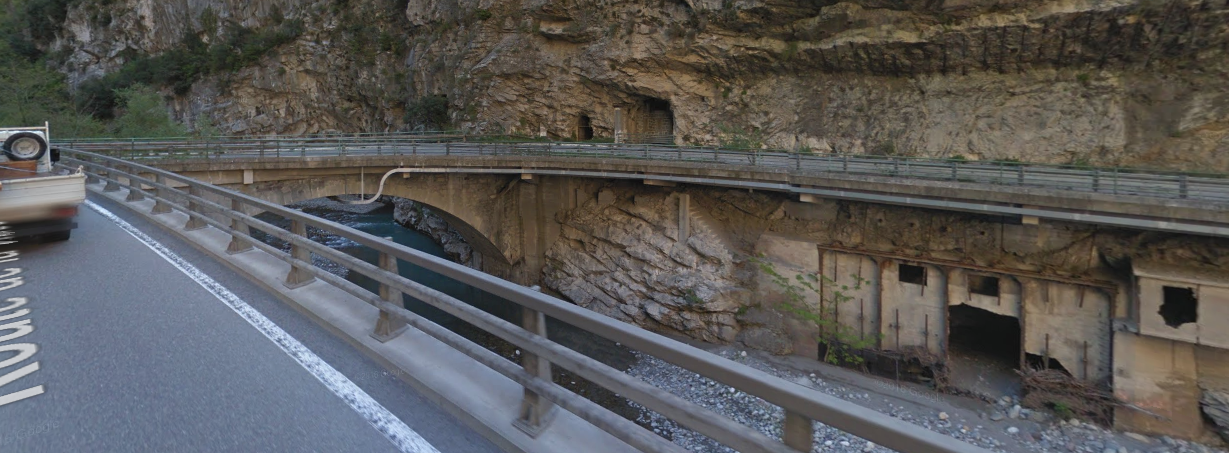
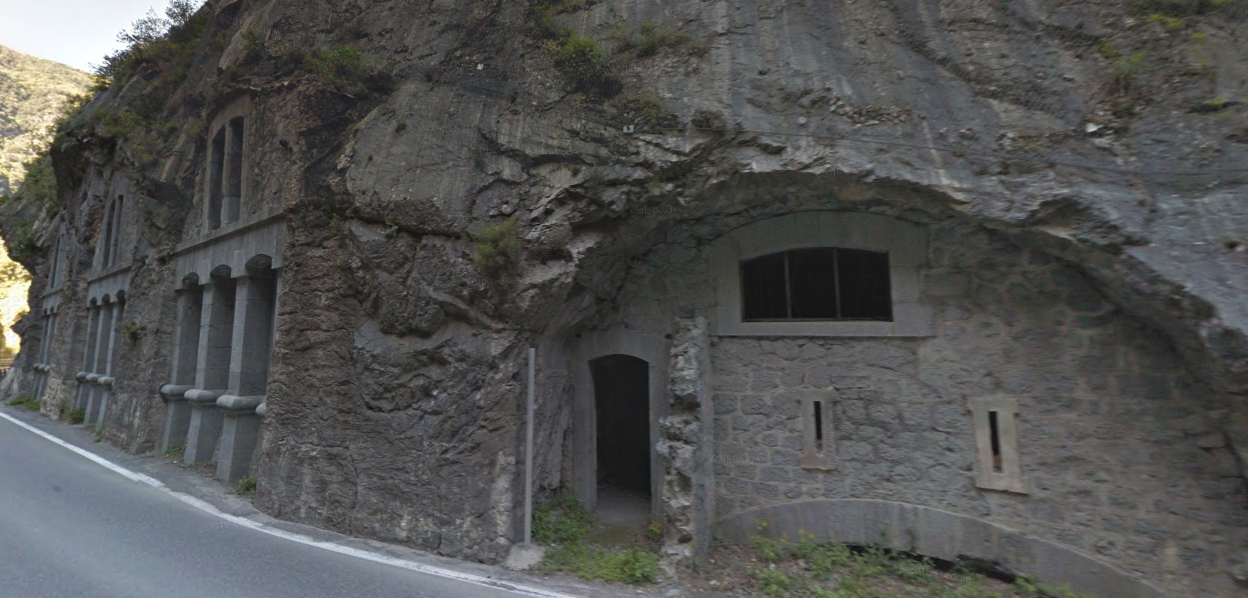
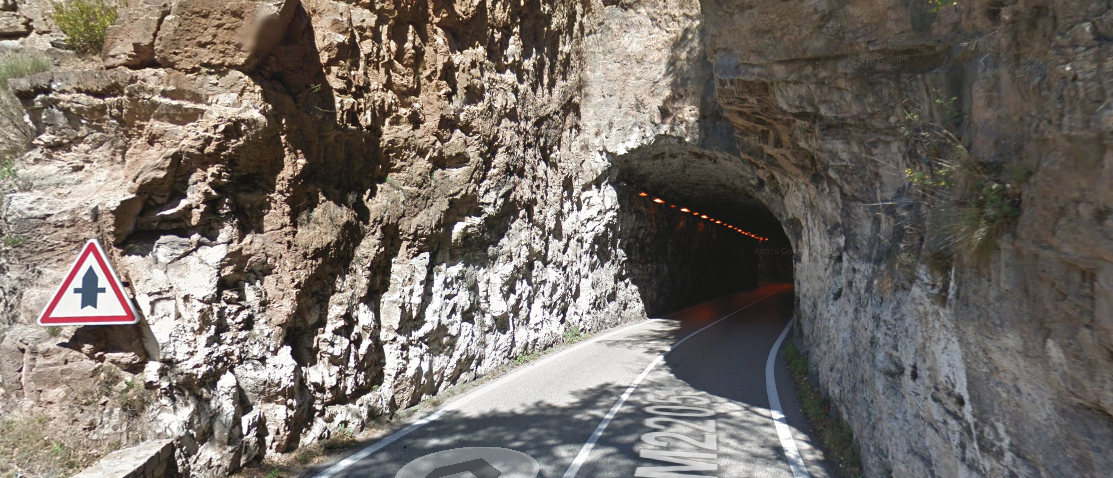
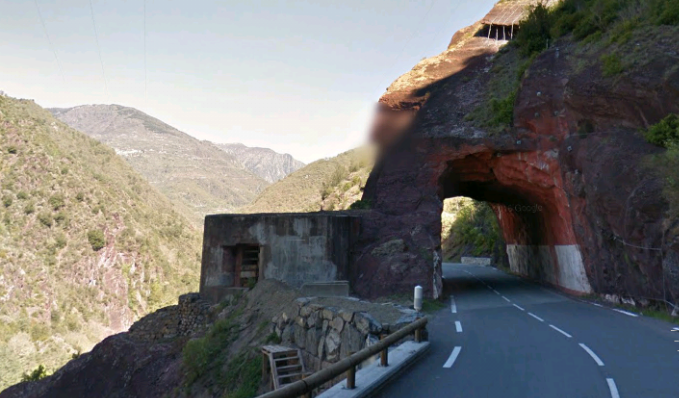
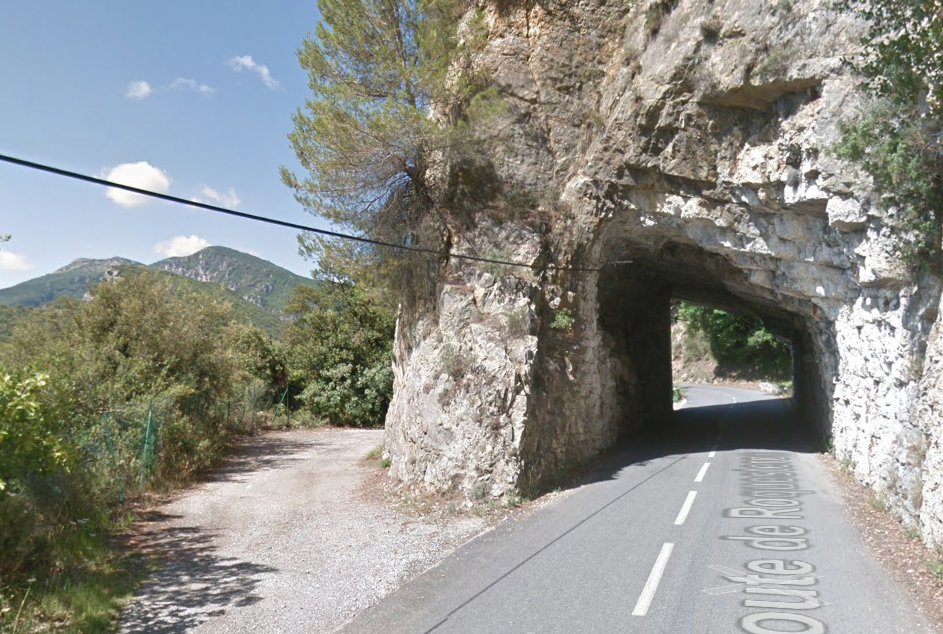
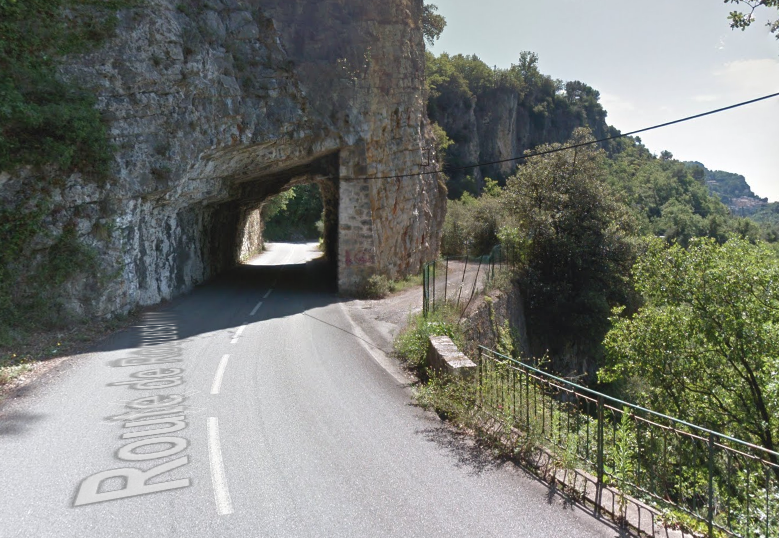
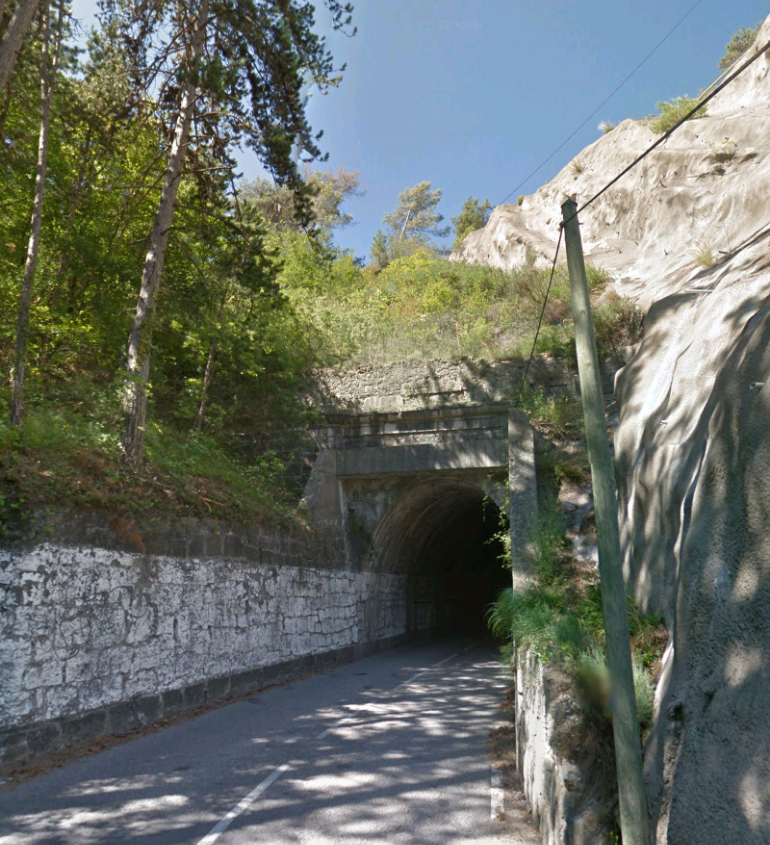
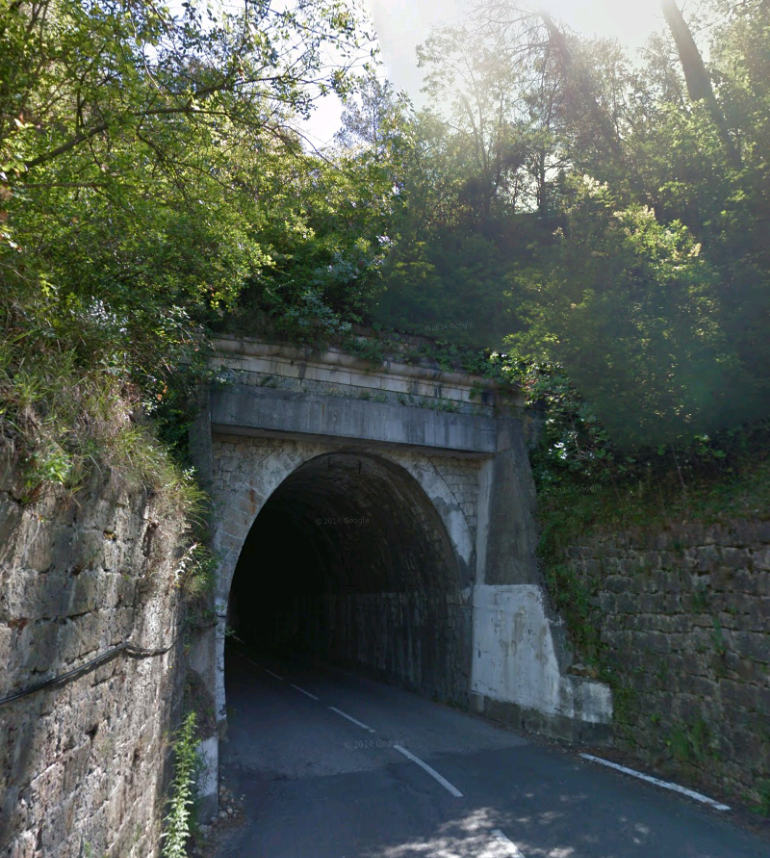
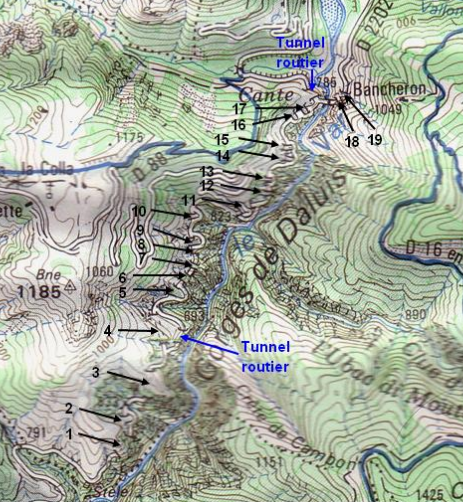 The ten tunnels already built became combined road/tramway tunnels, but it was also necessary to by-pass some very tight curves in the road using a dozen new


_319V_(5676879108).jpg)