
The August 1905 edition of the Railway Magazine was the 98th issue. In preparation for its 100th edition, it carried this advert. …

The Railway Magazine had been established for over 8 years. … The above image can be read easily with the exception of the central portion which, in my copy, is damaged. As far as I can tell that portion reads:
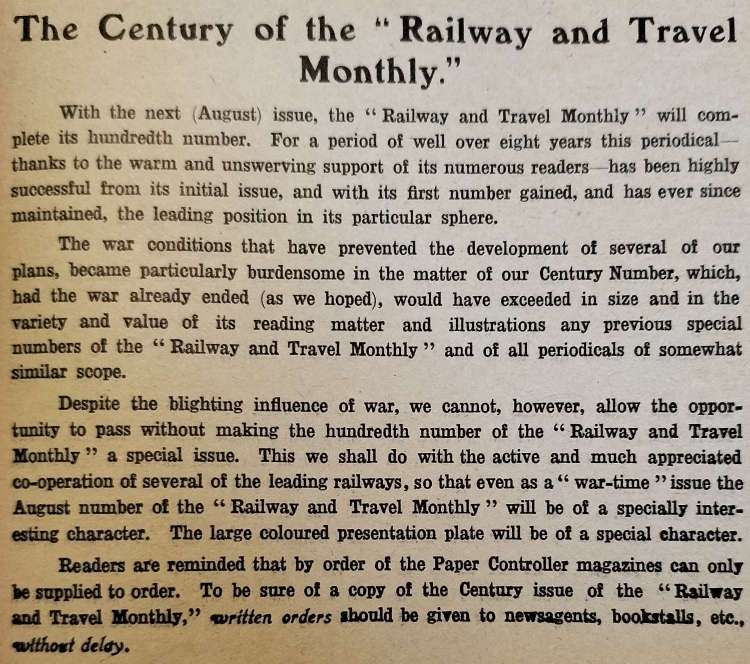
“As a memento of this success of the RAILWAY MAGAZINE, we propose to make the 100th Number (October, 1905), a special issue, containing, in addition to the usual articles, several contributions by the leading experts in various phases of railway working, locomotive development, etc. A feature of these special articles will be the reference to improvements in train services, locomotive working and railway management that have taken place during the past 8 years. The RAILWAY MAGAZINE is entitled to the credit of suggesting many of these improvements. With the 100th Number of the RAILWAY MAGAZINE will be issued a Large Presentation Plate, specially drawn, showing the evolution of the steam locomotive from 1803 to the present time, by means of typical engines of various periods.” [1: p176]
The practice of modern railway magazine special supplements and celebratory issues clearly goes back right to the very earliest months of publication of railway magazines.
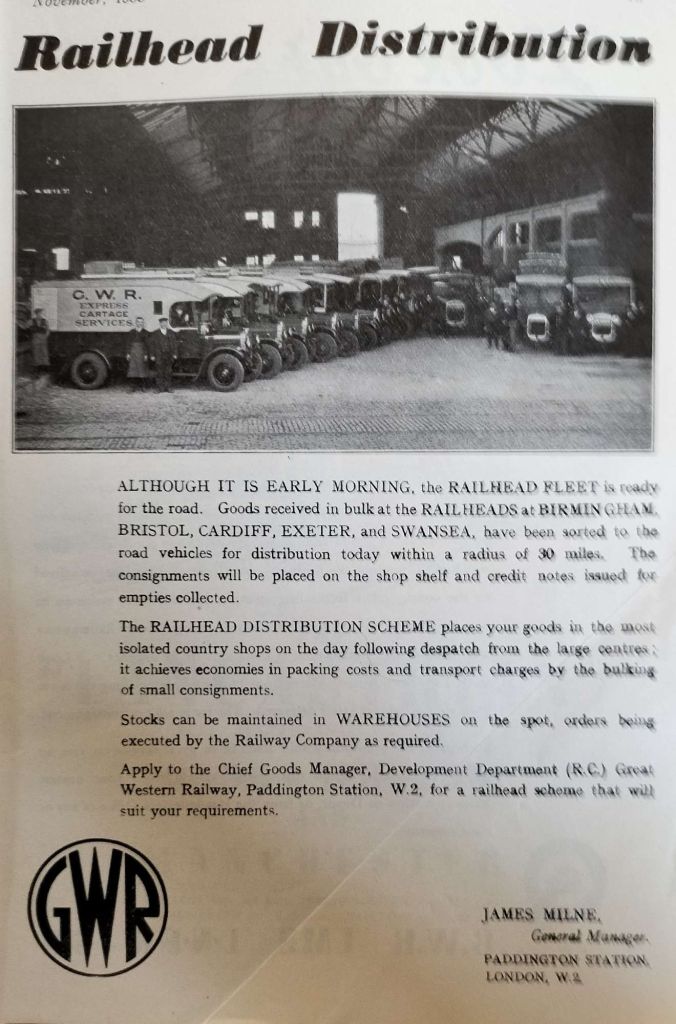
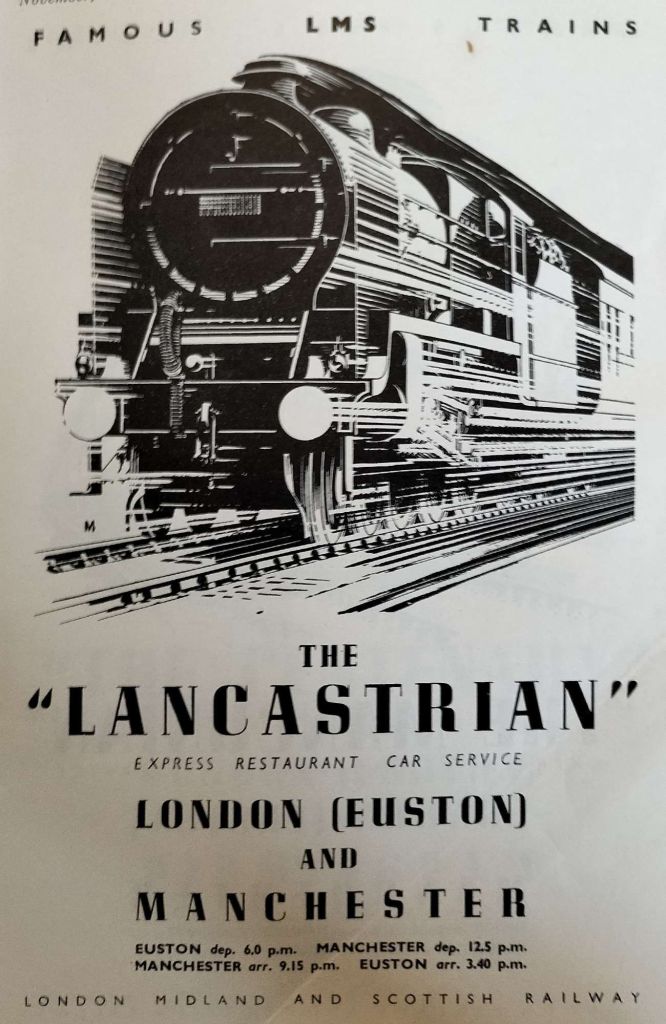
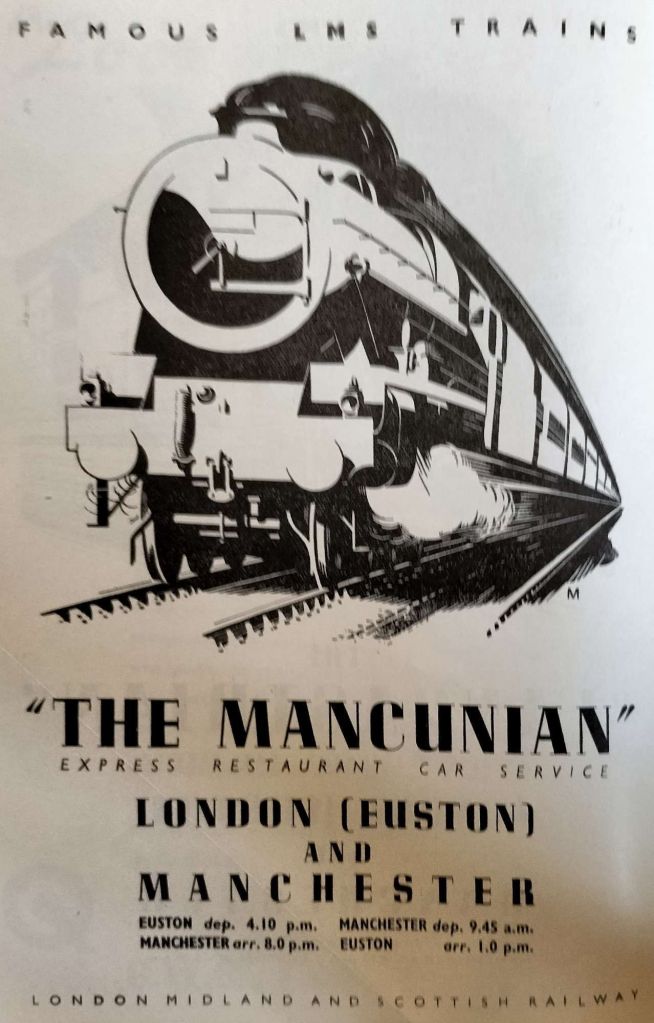
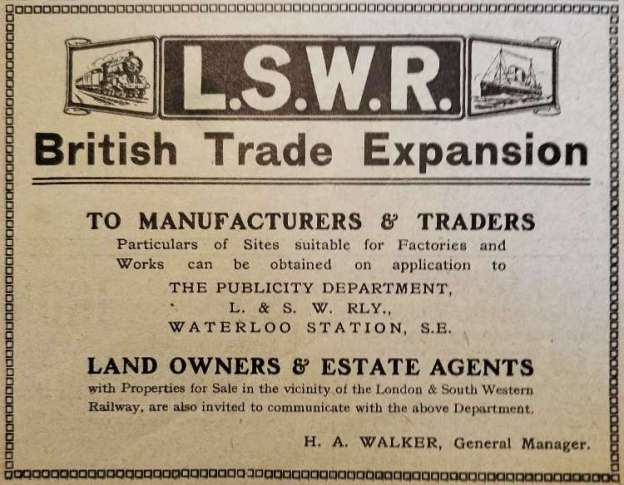
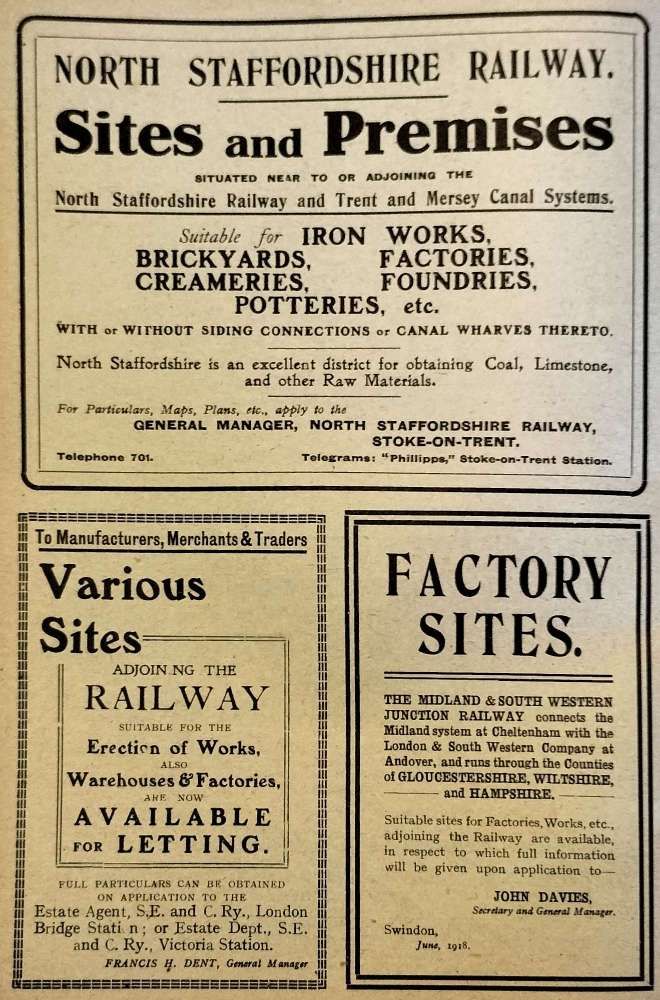
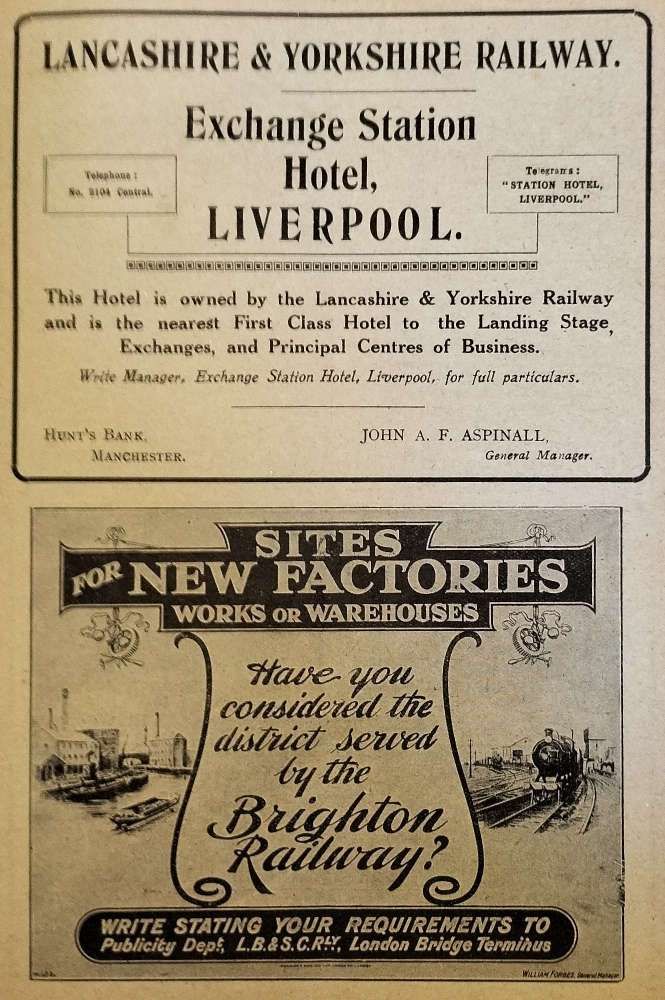
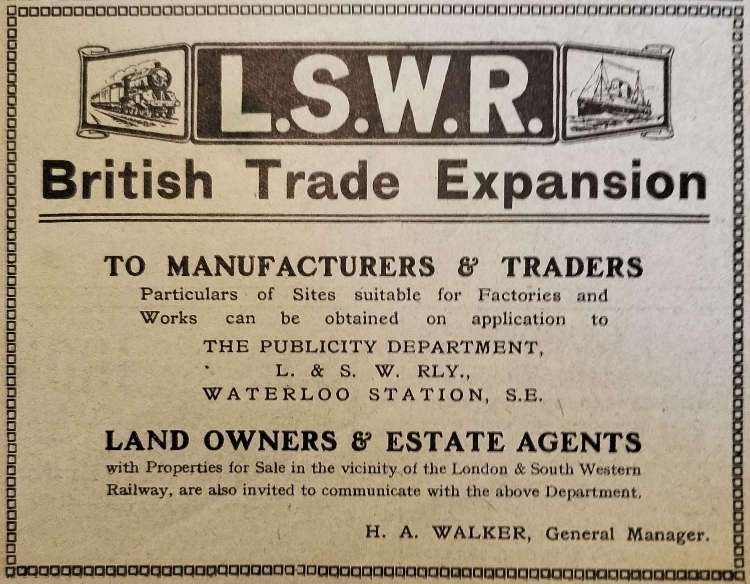
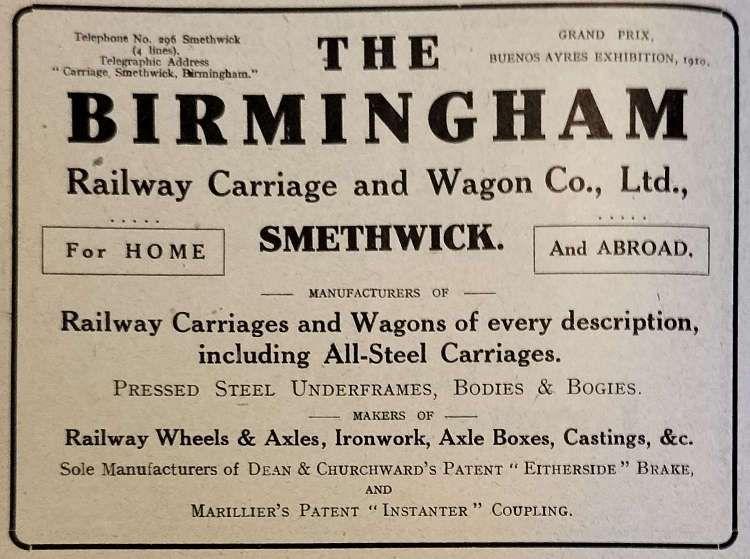
The August 1905 edition of the Railway Magazine contains a number of third party adverts which are interesting. ….
In addition to a good number of railway company adverts for particular train services and holiday destinations which are themselves worth looking at, are a number from companies which supplied the railway industry, provided services for railway passengers, or catered for the wider public. …
A. Hotel Cecil
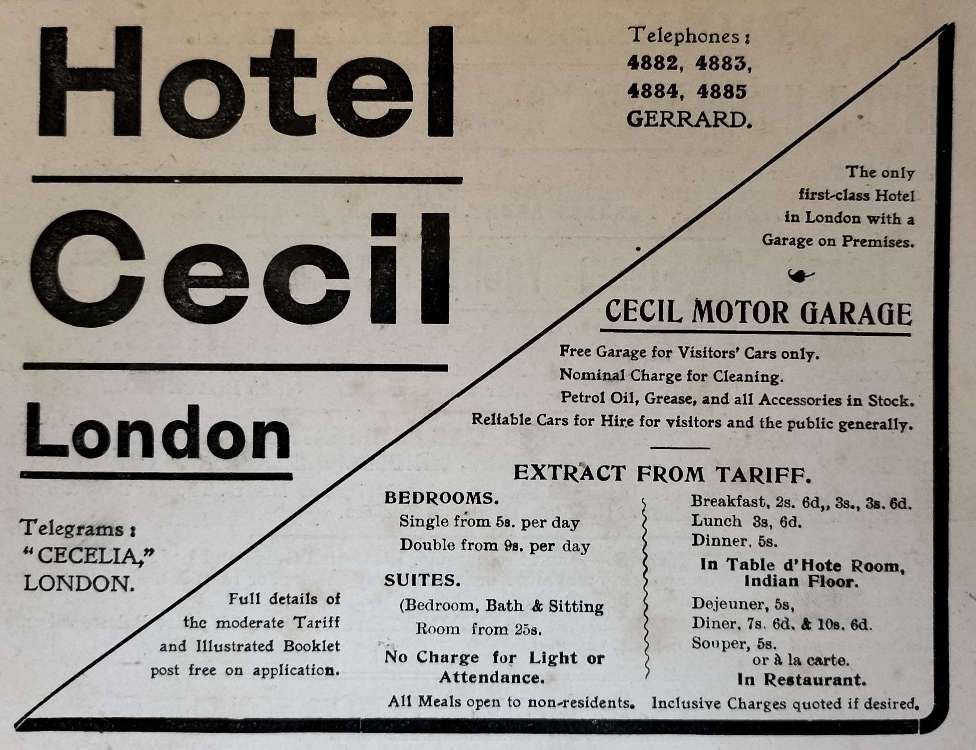
The Hotel Cecil advertised itself as the only first class hotel in London with a garage on the premises. Tariffs included: a single room at 5 shillings, a double at 9 shillings, and a suite at 25 shillings. Food was equally inexpensive to modern eyes, breakfast, lunch and dinner could be purchased for a total of 11 shillings. A single person could stay full board for 16 shillings! (80 pence!)
A loaf of bread cost 5d in London in February 1905, [2] around 2p in today’s money. If we accept that supermarket prices for a 800g loaf are about £1.35 in 2024 we can make a simplistic comparison with modern day costs for full board in London. £1.35 would have bought close to 70 loaves in 1905. That factor of 70 would suggest that a comparable price for full board would be £56!
Five-star accommodation in 2024 at the Shangri-La at The Shard, London costs upwards from £602 which could include breakfast!
B. A Motoring Atlas

The British Motor Tourists ABC, could be purchased as a paperback (limp) for 5 shillings – the same price as a single room at the Hotel Cecil! If you were using it as a chauffeur, then a special edition could be purchased far cheaper – just 1s 3d.
This ‘Indispensible’ volume included ‘Hints to Motor Tourists’, by S.F. Edge – 57 pages of clear Main Road Maps, Alphabetical List of Towns and Villages in Great Britain and Ireland. with Best Hotels, Garages, Spirit Stores, Charging Stations and Repairing Depots, Hints on Tyres. Customs Tariff and Regulations, Steamer Freights, Railway Regulations, re Petrol and Carriage of Motor Cars, Motor Car Act, Motor Signs, Racing Fixtures, Lighting-up Table, Yacht and Golfing Clubs, Automobile Clubs, Fishing and Hunting Centres.
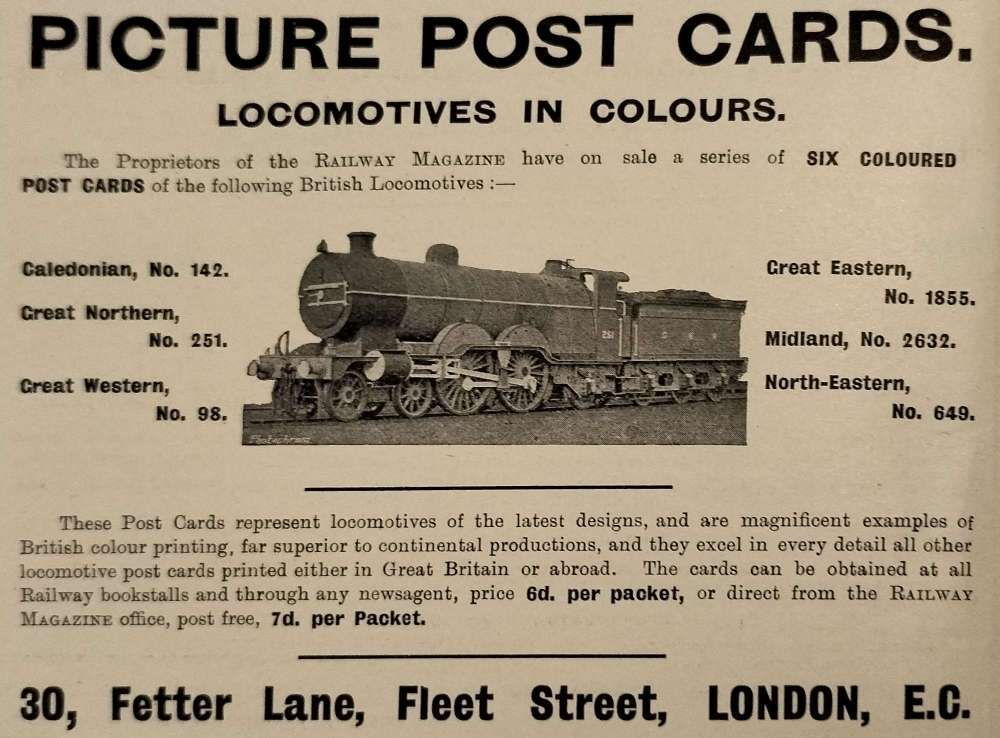
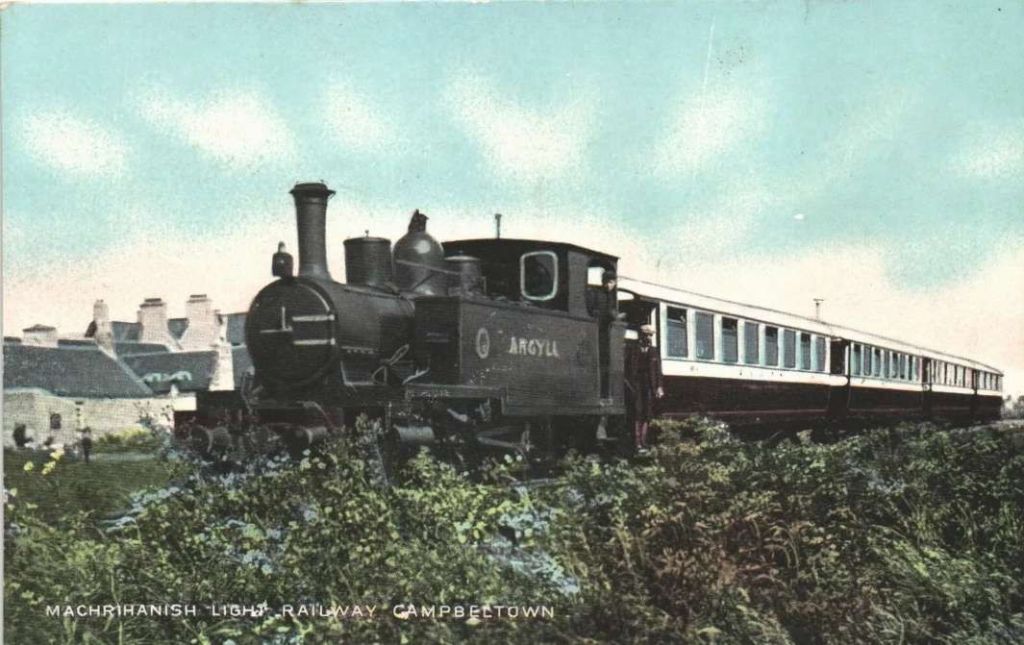
C. Postcards
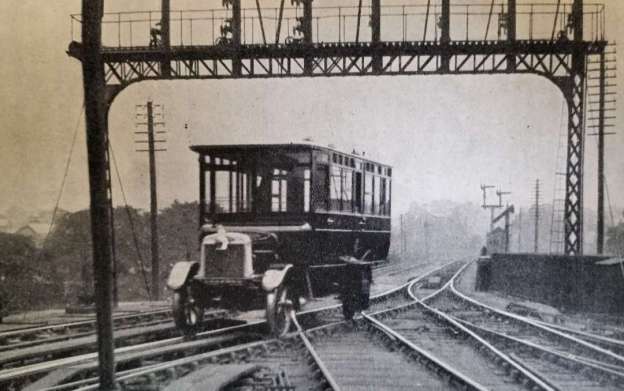
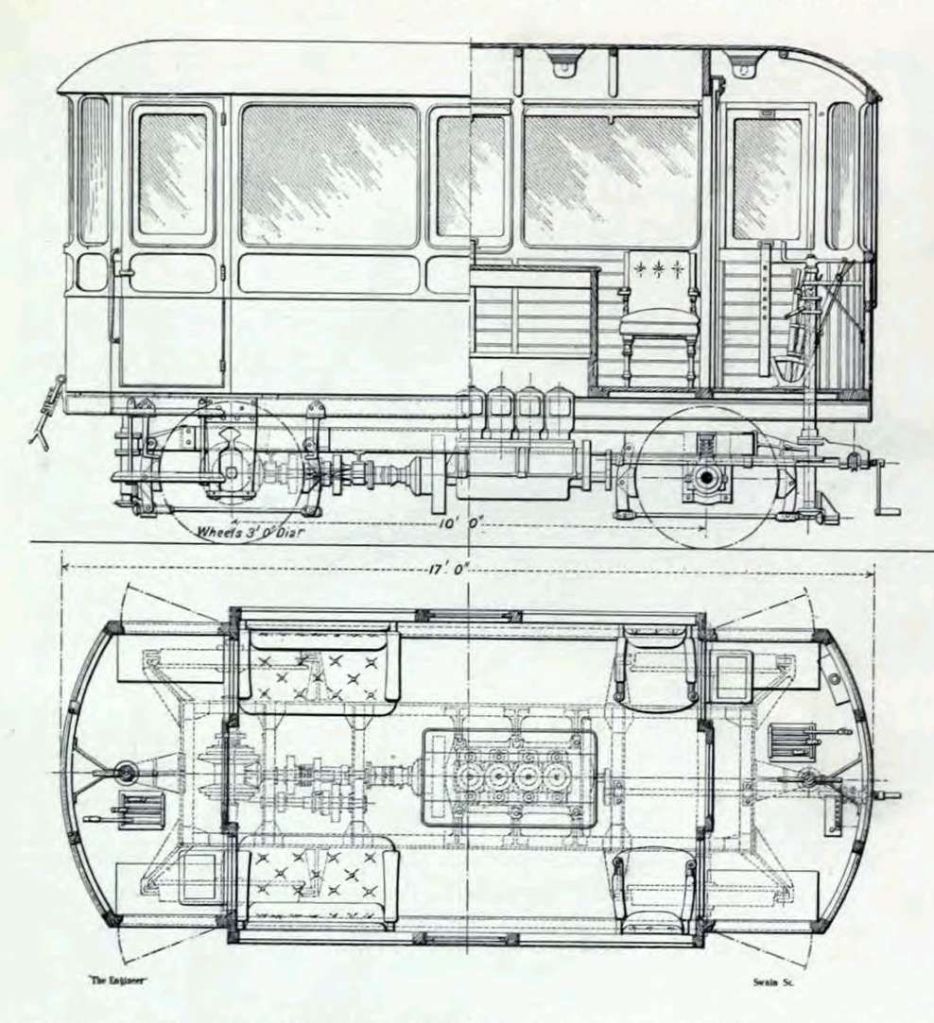
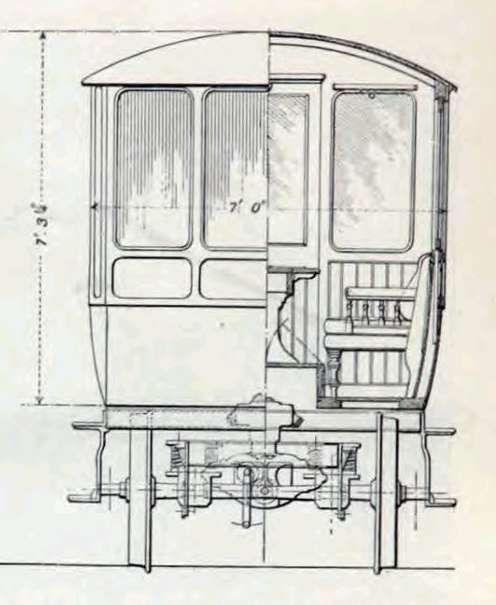
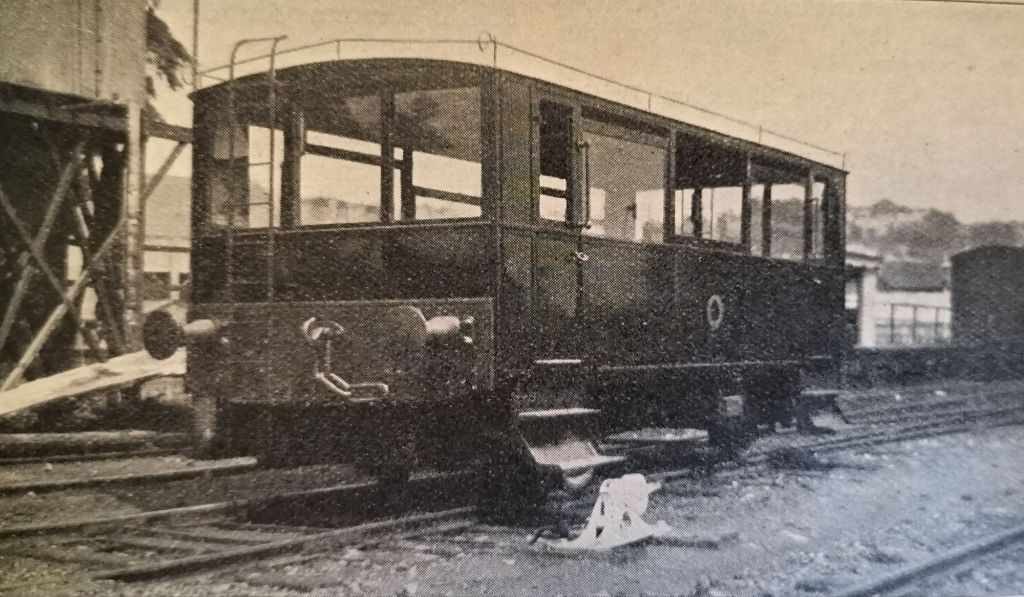
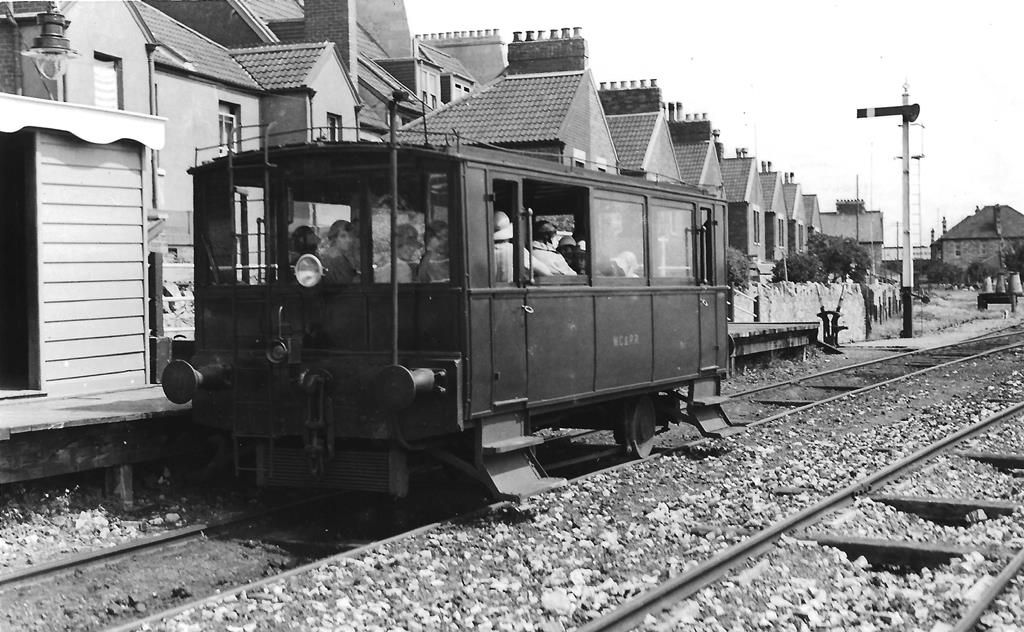
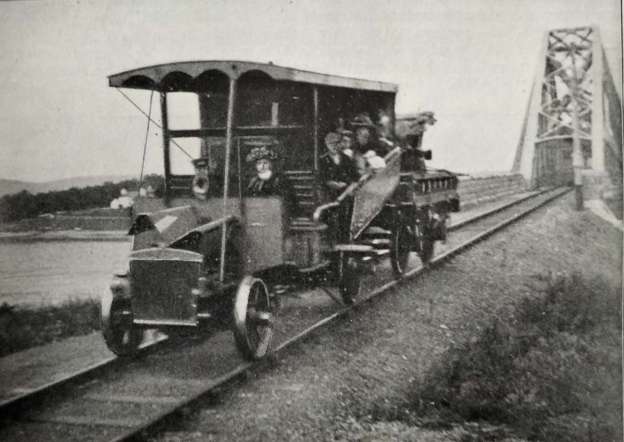
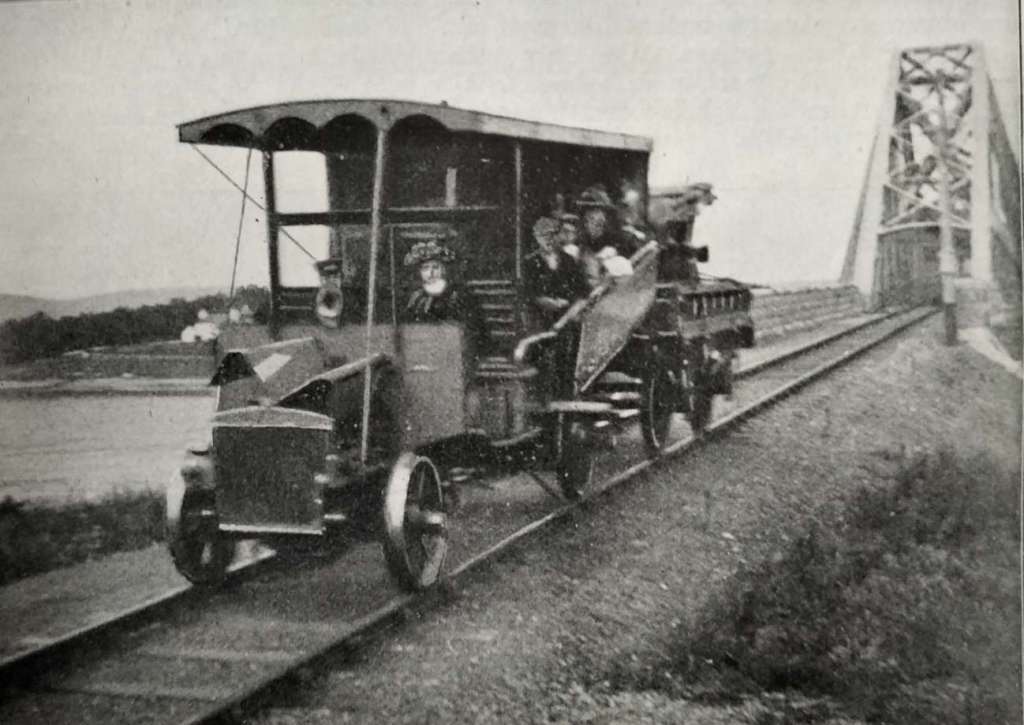
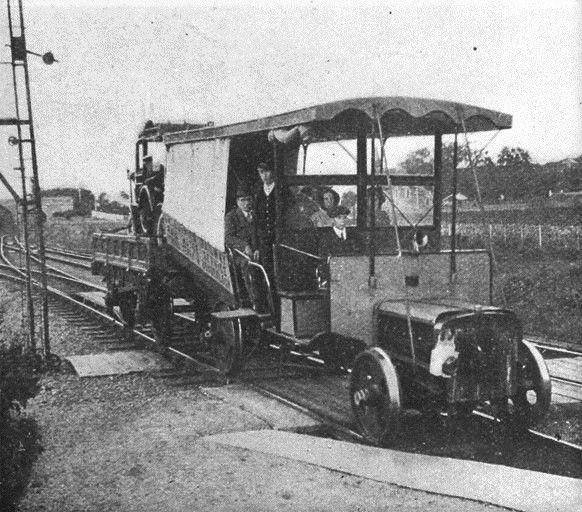
D. Railway Inspection Cars
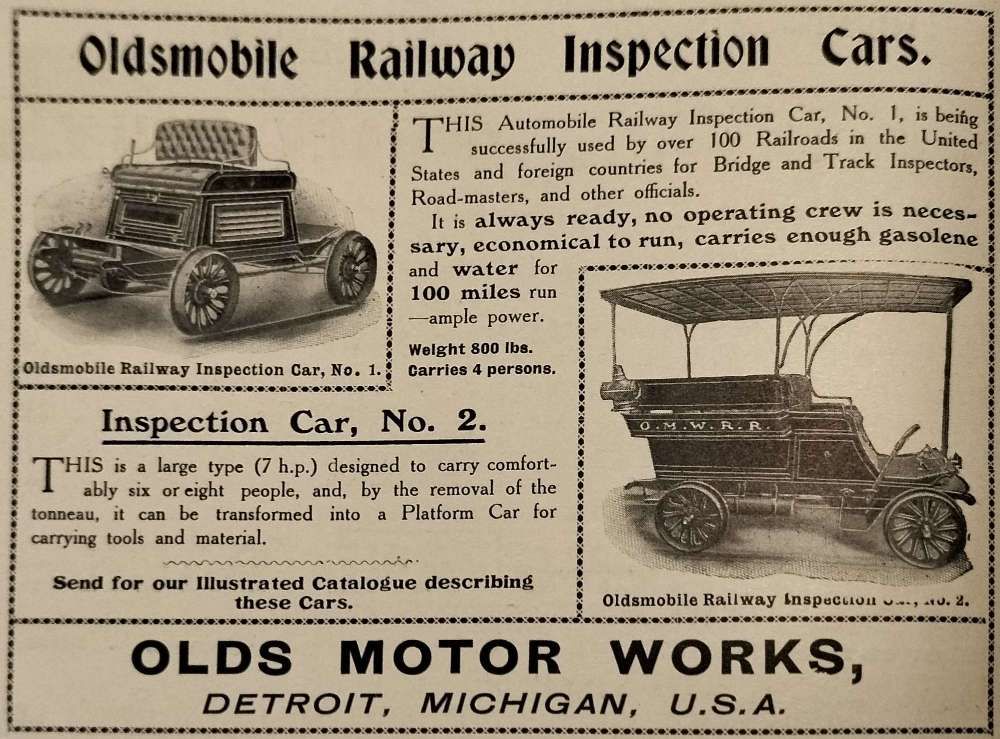
Inspection Car, No. 1 was already in use by over 100 Railroads in the United States and other countries. for Bridge and Track Inspectors, Road-masters, and other officials. The Company claimed that it was economical to run and had a range of 100 miles.
Production was limited to only 127 units, the Olds Rail Road Inspection Car was built by the Olds Motor Works from 1903 to 1905 and sold exclusively by the Railway Appliance Company of New York and Chicago. [3]
Inspection Car No. 2 was a larger vehicle with a 7 hp engine. It weighed in at 1200lbs, was designed for standard-gauge track but could be reduced to a minimum of 3ft 6 in gauge. A top speed of 30 mph was possible. Its range was comparable to Inspection Car No. 1 at 100 miles. [3]
There were a number of converted road vehicles in use over time as inspection vehicles in the USA. More can be discovered here. [4]
Ford produced one which included its own turntable. A 1925 Ford Model T Railway Inspection Car was on display on a short 30m section of track outside the Collections Centre at the British Motor Museum at Gaydon on 16th July 2024.

E. A Mug or Two of Cocoa
Dr. Tibbles’ Vi-Cocoa was a popular energy restorative in the Victorian era. At its height it was one of the highest-selling cocoa-based drinks in Britain. [6]
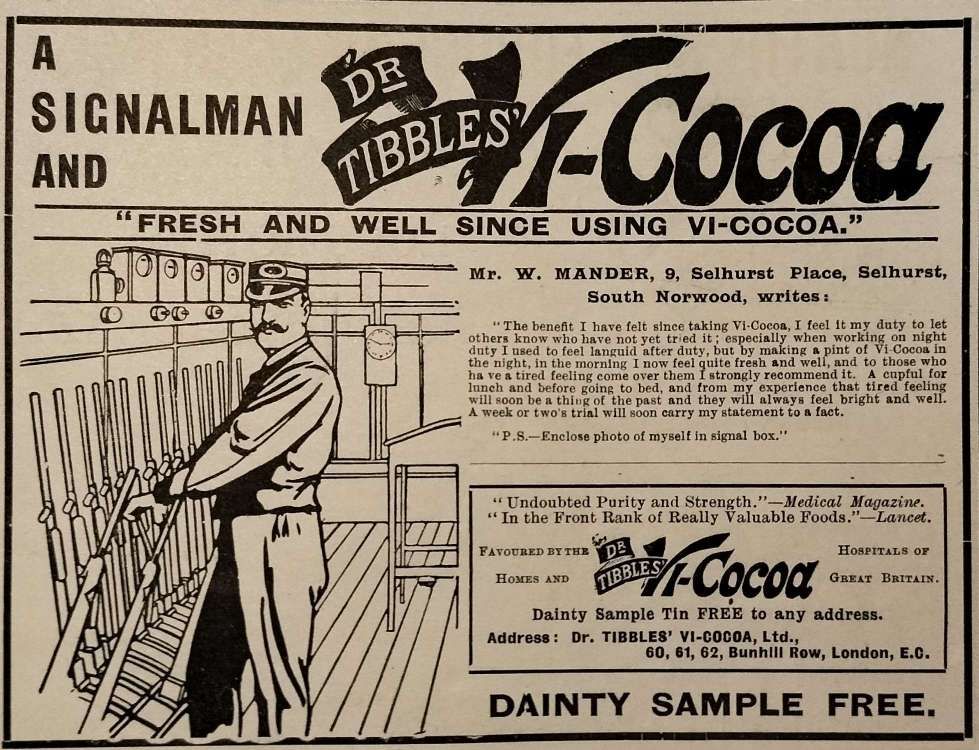
Adverts for Dr Tibbles Vi-Cocoa, which was a mixture of malt, hops, kola and cocoa, first appeared in 1893. He registered the company at that time and later re-registered as Dr Tibbles’ Vi- Cocoa (1898) Ltd in 1898. Tibbles retired soon afterwards.
“Land was purchased in North Watford to expand Vi-Cocoa production in 1899. A fire devastated the factory in 1903 but the site was rebuilt and became an important local employer making cocoa and chocolates.” [7]
The business was renamed the Watford Manufacturing Company in 1907.
“The Watford Manufacturing Company produced munitions during the First World War. Following the War, the company expected an increase in business and invested in the construction of a huge, new factory. However the business did not materialize. The new factory became a white elephant, was left unfinished and bankrupted the company in 1922.” [8]
In 1918, Lord Leverhulme became the largest shareholder. In 1922 the Company entered into liquidation and Lord Leverhulme purchased the Company. Virtually straight-away, Leverhulme sold up to Planters Products Ltd, a Lever Brothers subsidiary. Vi-Cocoa production continued, the factory was employing 400 people in 1929, and was one of the largest employers in the area. [6]
In 1930, the factory was sold and Unilever absorbed by Unilever, the new incarnation of Lever Brothers. Vi-Cocoa was still being advertised in 1945.
Dr. Tibble’s Vi-Cocoa “achieved remarkable success through a combination of innovative marketing techniques, including health claims, scientific endorsements, extensive print advertising, free samples, and targeted marketing. These strategies not only propelled Vi Cocoa to commercial success but also influenced broader trends in advertising and consumer culture in late Victorian Britain.” [9]
F. Thomas Firth & Sons Ltd.
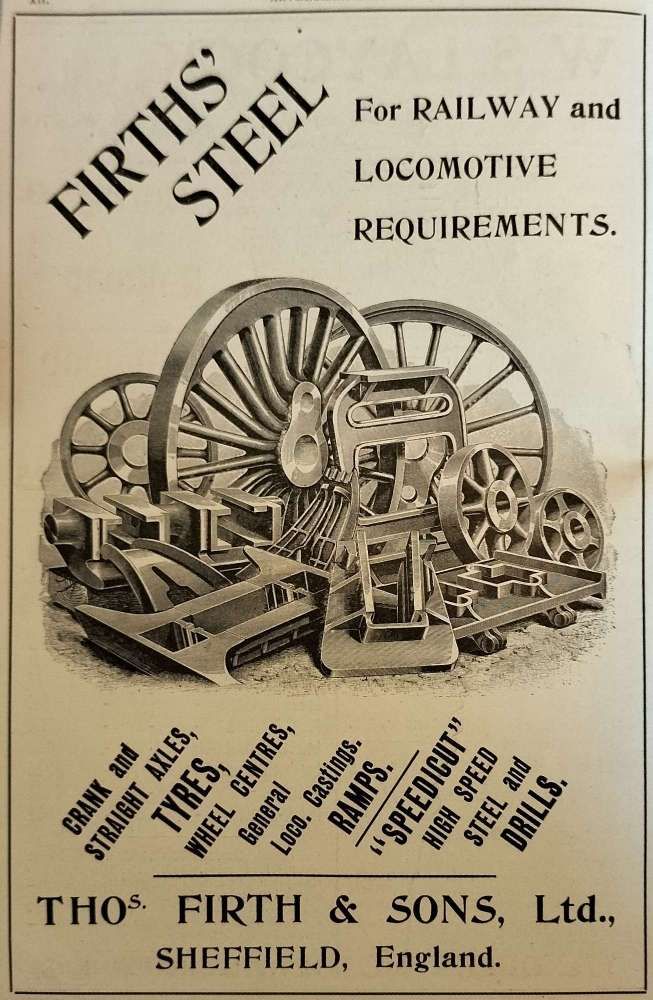
Wikipedia tells us that, “In 1902, Sheffield steelmakers John Brown & Company exchanged shares and came to a working agreement with neighbouring company Thomas Firth & Sons, the companies continuing under their own management until they finally merged in 1930.” [10] At the merger they formally became Firth Brown Steels.
G. W.S. Laycock Ltd.
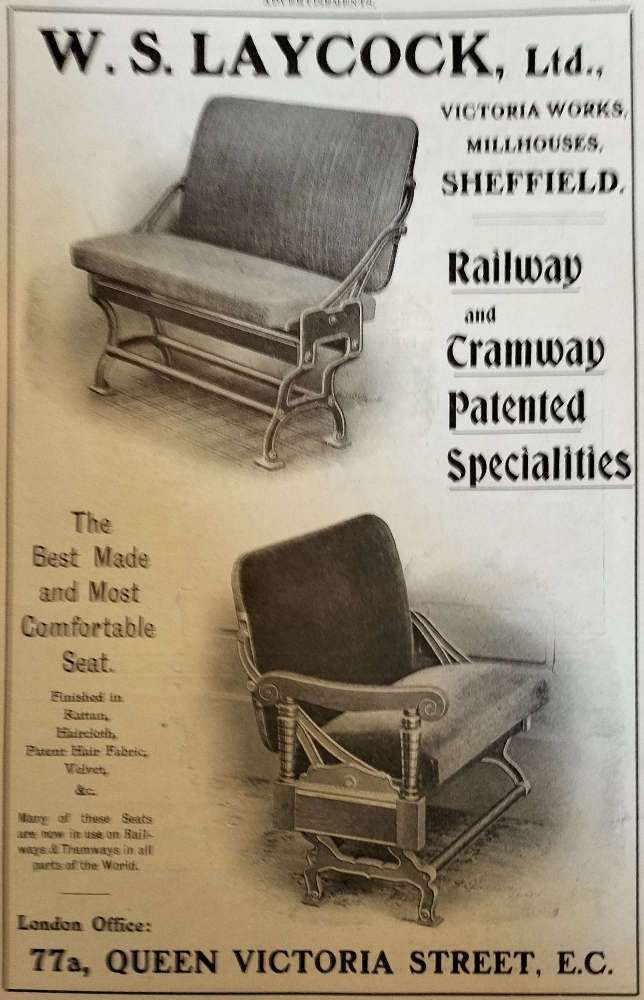
W. S. Laycock of Levygreave Road and Victoria Works, Gell Street, Sheffield were Railway Carriage Fittings and Appliance Manufacturers in 1901. First established by Laycock in Victoria Street, Sheffield in 1884. In 1893, the Company “introduced a system for train heating using steam from the locomotive with storage reservoirs in each compartment.” [11]
By 1900, the Company was incorporated as a limited company. Grace’s Guide tells us that the company “supplied equipment to every railway company in the world, the main specialities being carriage blinds, buckeye automatic couplers, vestibule gangway connections, and steam-heating equipment for complete trains.” [11]
In 1902, the Company opened new works at Millhouses, adjoining the Midland Railway. The Company produced munitions during WW1 and in time became Laycock Engineering Co. and later still Laycock Engineering. The company was still exhibiting at the Motor Show in the late 1980s.
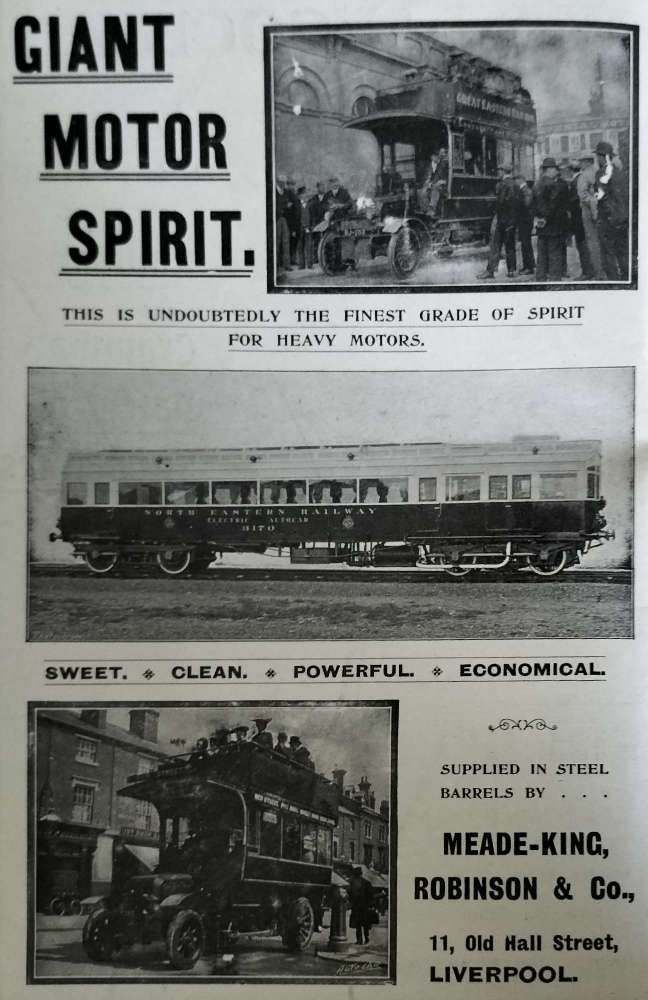
H. Giant Motor Spirit
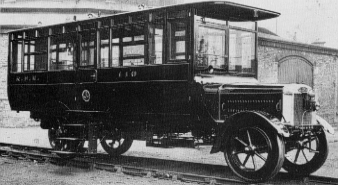
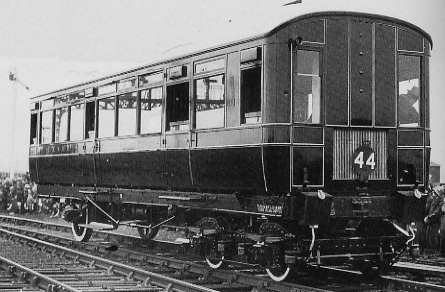
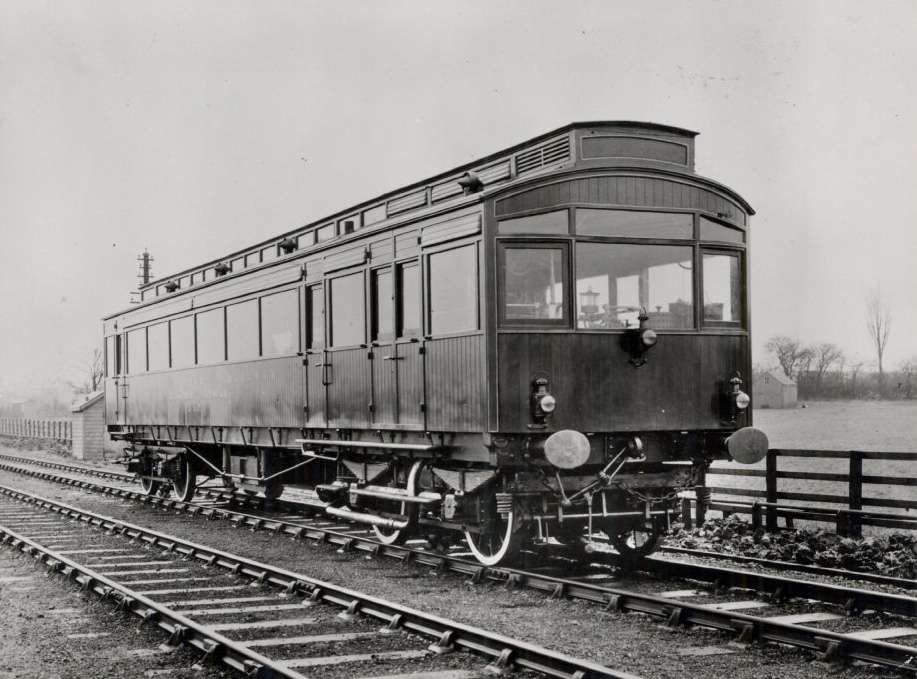
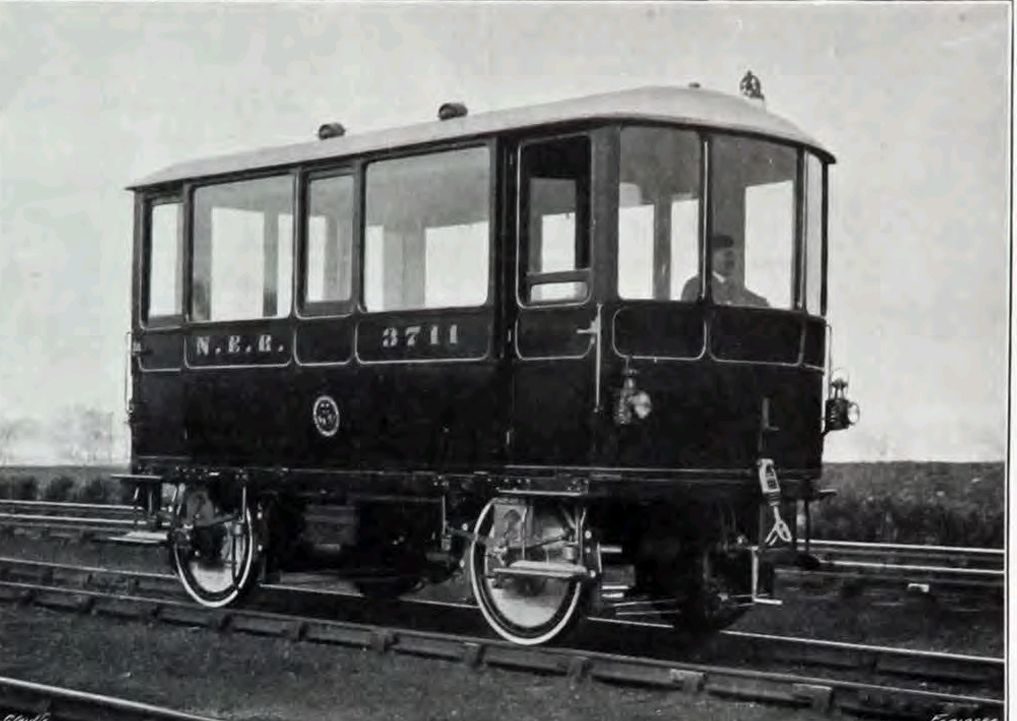
Motor Spirit is Petrol or Gasoline. Meade-King, Robinson & Co., of Liverpool place the advert below in the Railway Magazine. For more information about early Petrol-powered rail vehicles, click here. [12]
Meade-King Robinson [13] is still in business in 2024. “It is a privately owned chemical distribution company with over 140 years experience in the supply of a wide range of oils and chemicals.” [14]
I. Brown, Bayley’s Steel Works, Ltd.
Wikipedia tells that “Brown Bayley Steels was a steel-making company established in Sheffield, England in 1871, as Brown, Bayley & Dixon. They occupied a site on Leeds Road which was later occupied by the Don Valley sports stadium.” [15]
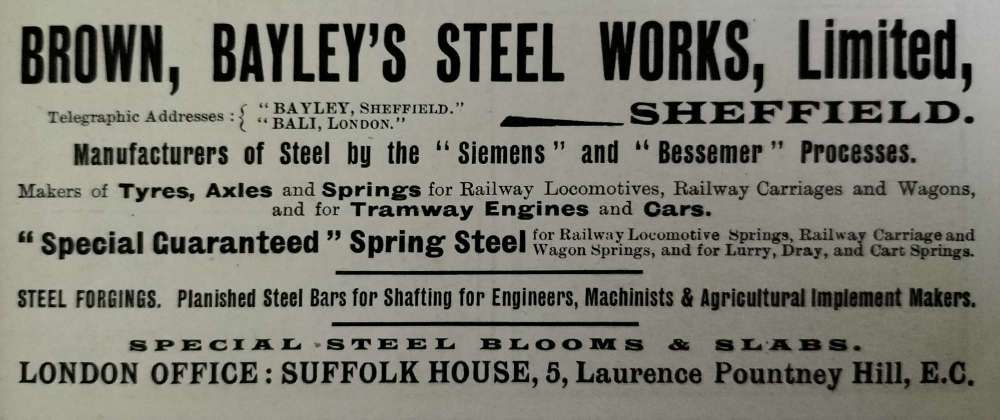
Brown, Bayley’s Steel Works had three main sites: Leeds Road, East Works, and Brighton Bar Shop.
Wikipedia tells us that “the Leeds Road site included: a spring shop, a hammer shop, a ring rolling shop with Telpher Crane, a machine shop for railway axles & tyres, an axle & railway tyre drop test plant, a heat treatment department, creep laboratories, a tyre blank press, a blacksmiths shop, a loco Shed, a drawing office, and a generator converter house creating direct current for cranes.” [15]
East Works: had “a sheet rolling mill, a sheet pickling plant, sheet polishing and guillotine shops and Steckel mills (slitting machines).” [15]
Bright Bar Shop: undertook “bar drawing, had centreless turning machines, centreless Lidkoping grinding machines, a 5 ton hammer, a 500 ton press and a railway tyre rolling mill.” [15]
NB: “A Steckel mill is also known as a reversible finishing mill, it is similar to a reversing rolling mill except two coilers are used to feed the material through the mill. One coiler is on the entrance side and the other on the exit side. The coilers pull the material through the mill, therefore the process is more similar to drawing than rolling. The material is fed back and forth through the mill until the desired thickness is reached, much like a reversing rolling mill.” [16]
NB: “The Lidkoping centerless grinder is designed and manufactured to meet practically any challenge in precision grinding. More details of the most modern form of this equipment can be found here. [17]
J. A Few Small Ads


Goddard’s Plate Powder was developed by Joseph Goddard in the early 19th century and 180 years later Goddard’s is still a going concern. [18]
Real Devonshire Washing Serge was sold by G. Bale & Co. of Topsham, Devon. I guess they anticipated sales to railway companies subsequent to their advert. I have not been able to find out anything about the company.
Whelpton’s Purifying Pills “were supplied by G. Whelpton and Son, London. They were advertised as being able to arouse the stomach to action, promoting the flow of gastric juice, and giving tone to the whole system. Headache flies away. Biliousness, Kidney Disorders, and Skin Complaints disappear, while cheerful spirits and clear complexions follow in due course!” [19: p1325]
“The pills had an average weight of 21 grains. Chemical and microscopical examination showed the presence of aloes (apparently Socotrine), powdered colocynth, ginger, and gentian. The last-named ingredient being less positively indicated than the others. No evidence of the presence of mercury or calomel was obtained.” [19: p1326]
I could not find any convincing evidence either that they were effective, or that they caused any real harm.
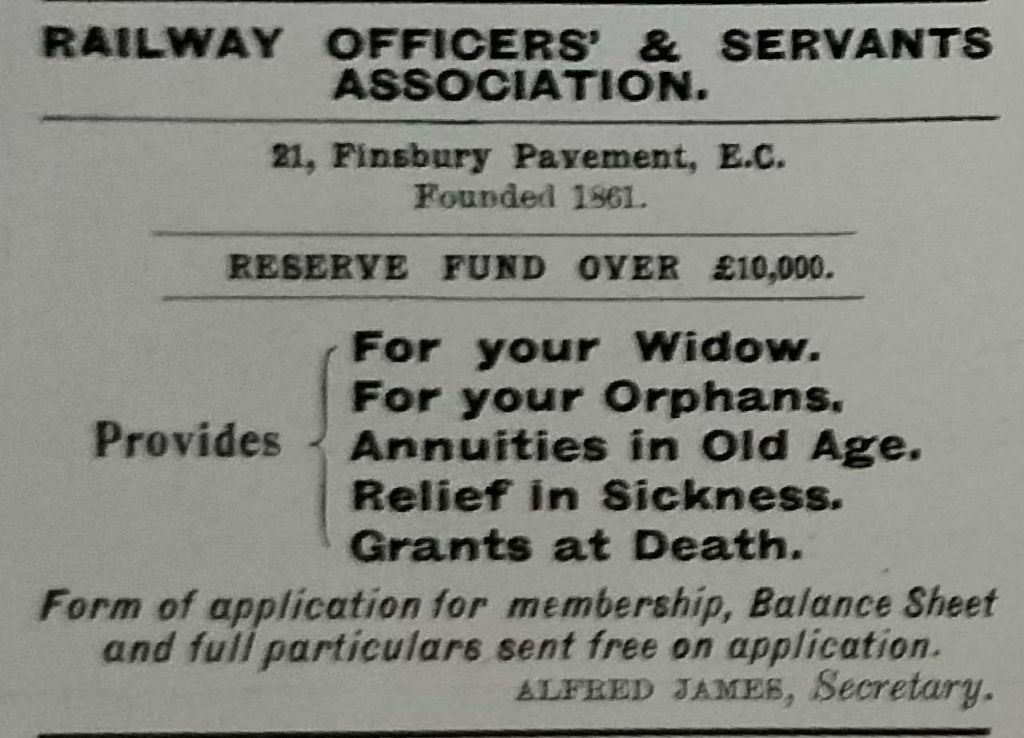
The Railway Officers and Servants Association was, until 1974, a Friendly Society, it was removed from the Charity register in November 1974.
References
- The Railway Magazine, London, August 1905.
- https://api.parliament.uk/historic-hansard/commons/1905/mar/08/comparative-prices-of-bread-in-london, accessed on 10th August 2024.
- https://www.curveddasholdsmobileclub.com/railroad-inspection-car.asp, accessed on 10th August 2024.
- http://www.trainweb.org/oldtimetrains/photos/inspection/gallery.htm, accessed on 10th August 2024.
- https://stratfordobserver.co.uk/news/classic-fords-motor-to-gaydon, accessed on 10th August 2024.
- https://letslookagain.com/2018/04/dr-tibbles-vi-cocoa, accessed on 10th August 2024.
- https://www.watfordobserver.co.uk/news/19169433.watfords-history-50-objects-cocoa-drink-victorian-times, accessed on 10th August 2024.
- https://cosgb.blogspot.com/2012/09/watford-manufacturing-company-limited.html?m=1, accessed on 10th August 2024.
- https://binreminded.medium.com/dr-william-tibbles-vi-cocoa-marketing-techniques-and-success-cbb247451a42, accessed on 10th August 2024.
- https://en.m.wikipedia.org/wiki/Firth_Brown_Steels, accessed on 10th August 2024.
- https://www.gracesguide.co.uk/W._S._Laycock, accessed on 10th August 2024.
- https://rogerfarnworth.com/2024/08/08/petrol-railmotors-the-railway-magazine-september-1922.
- http://www.meadekingrobinson.co.uk, accessed on 11th August 2024.
- https://www.chemical.org.uk/members-directory/meade-king-robinson-co-ltd, accessed on 11th August 2024.
- https://en.m.wikipedia.org/wiki/Brown_Bayley_Steels, accessed on 11th August 2024.
- https://en.m.wikipedia.org/wiki/Steckel_mill, accessed on 11th August 2024.
- https://www.uvalidkoping.com/machine/cl-630, accessed on 11th August 2024.
- https://goddards.com/pages/all-collections, accessed on 11th August 2024.
- https://www.google.com/url?sa=t&source=web&rct=j&opi=89978449&url=https://www.ncbi.nlm.nih.gov/pmc/articles/PMC2334043/pdf/&ved=2ahUKEwjb2uL3xe2HAxUia0EAHSOgMuoQFnoECBEQAQ&usg=AOvVaw3yNnhqTzcJKP7y2ejnXRMH, accessed on 11th August 2024.


