
In the Summer of 2024, my wife and I visited Giants’ Causeway as part of a few days meandering along the North coast of Ireland. When reading a series of older copies of the Modern Tramway, I came across an article written in 1950. … The Modern Tramway of September 1950 featured an article by D. G. Evans about one of the very early electric tramways – The Giants’ Causeway and Portrush Tramway. His article is quoted in full in this article.
Wikipedia tells us that The Giants’ Causeway, Portrush, & Bush Valley Railway & Tramway was a “pioneering 3 ft (914 mm) narrow gauge electric railway operating between Portrush and the Giant’s Causeway on the coast of County Antrim, Northern Ireland. The line, 9 1⁄4 miles (14.9 km) long, was hailed at its opening as ‘the first long electric tramway in the world’. [2] The Giant’s Causeway and Bushmills Railway today operates diesel and steam tourist trains over part of the Tramway’s former course.” [3]
Writing in 1950, Evans says that:
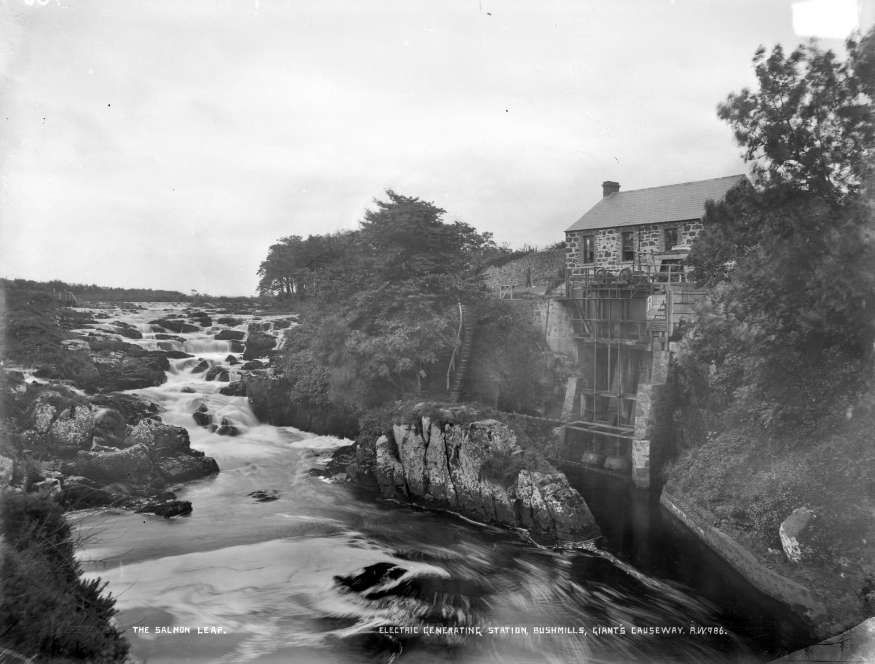
“The recent decision of the shareholders to close down the Giant’s Causeway tramway was sad news to those who knew the line and can recall the pleasure of breezy rides along the cliff tops in the qua’nt cars that had seen but little change since their first day of operation. The line was the first tramway in the United Kingdom to be operated by electricity and the current was produced by a hydro- electric power station at Walkmills, one mile from the Bushmills terminus. A waterfall on the river Bush was the source of the hydro-electric power.
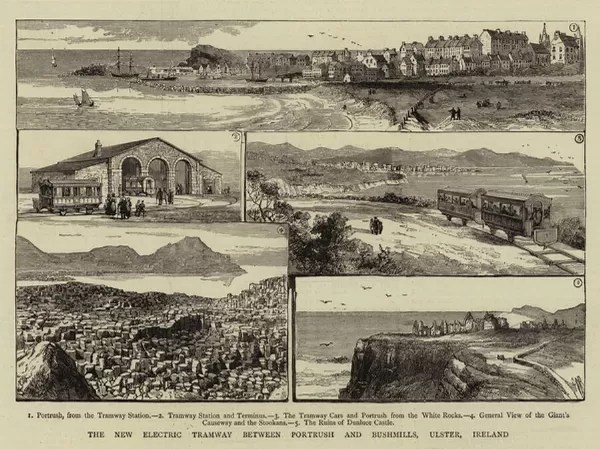
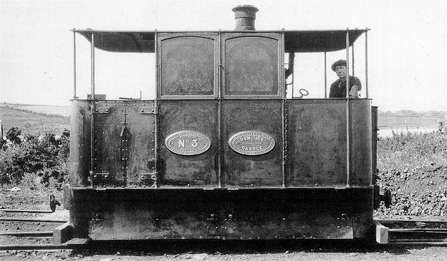
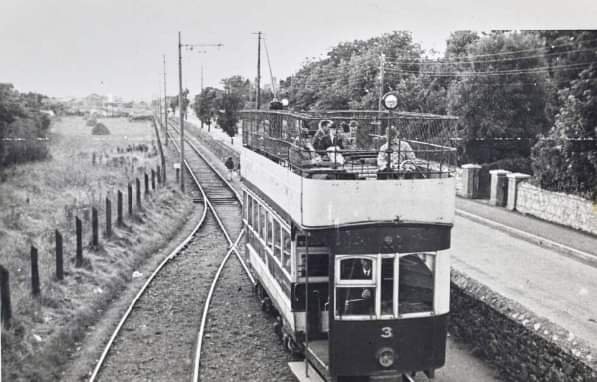
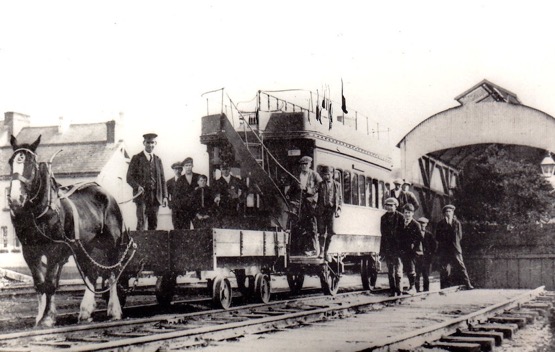
Opened from Portrush station to Bushmills in January, 1883, the line was extended to the ultimate terminus at Giant’s Causeway in 1887. The original current collection was from a side conductor rail 17in. above ground and 22in. from the inside running rail. This method was of course unsuited to a street tramway and the portion of the line which ran in the centre of the street through the town of Portrush was therefore worked by steam tram engines of the usual vertical boiler pattern. This method of operation of the first half-mile of the tramway persisted until 1899, when a change over to the overhead trolley system was made. From that date until 1915 the steam tram engines were retained for use during the peak traffic periods in the summer at which time the original power station proved inadequate for the needs of the system.” [1: p185]

Wikipedia gives some of the background to the opening of the line: “The Giant’s Causeway Tramway came about through the enthusiasm of William Atcheson Traill, M.A.Ing., of Ballylough (1844–1934), together with his brother Dr Anthony Traill, who between them undertook most of the promotion and fundraising for the line. W.A. Traill was a man with not only an interest in railways but also a keen interest in technological developments in engineering. The Act of Parliament incorporating ‘The Giant’s Causeway, Portrush, and Bush Valley Railway and Tramway Company’ was passed on 26th August 1880. It authorised a tramway from Portrush to Bushmills and a railway from there to join the Ballycastle Railway (also 3 ft. gauge) at Dervock. The only section of the railway never built was a short spur at Dervock. [5] The Dervock section was abandoned by an 1885 Act, which authorised extension from Bushmills to the Causeway.” [3][6]
“At the Berlin Trade Fair of 1879 Siemens was demonstrating the first railway electrification system and it was that which led the British branch of the firm to be commissioned to incorporate this new technology into the Giant’s Causeway Tramway venture. Sir William Siemens (1823–83) was briefly a Director and Siemens Brothers of London were appointed electrical engineers to the company, their representative being Dr Edward Hopkinson, who later went on to work on the Bessbrook and Newry Tramway and the City & South London Railway. Surveying and civil engineering work was carried out by Edward Price, son of the eminent Irish civil engineer James Price.” [3]
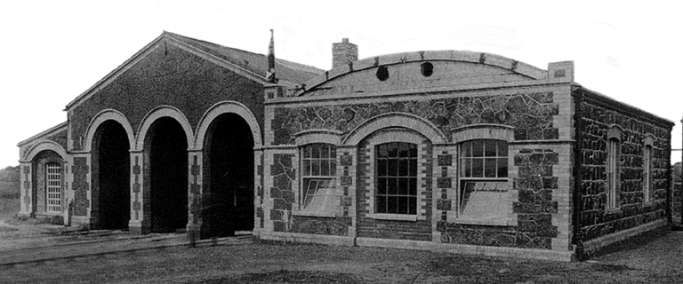
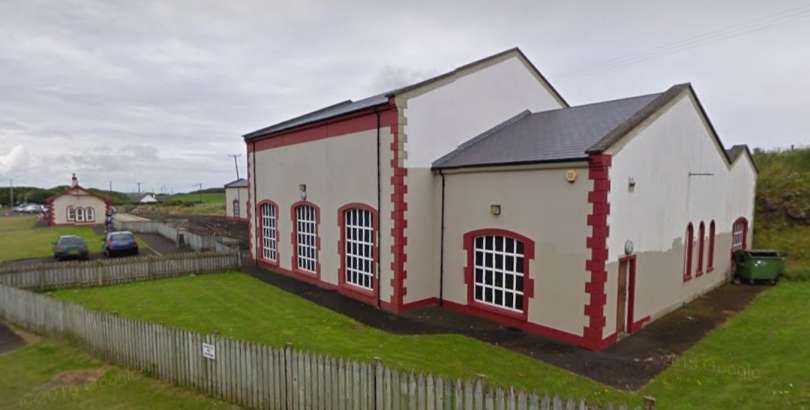
“The line was the world’s first to be powered by hydroelectricity, something that was later developed at Bessbrook and in Switzerland. Traill built a generating station at Walkmill Falls (24 feet (7.3 m)) head), near Bushmills, installing 104 horsepower (78 kW) Alcott water turbines to produce up to 250 volts at 100 amps of electrical power for his line. Later 160 horsepower (120 kW) turbines were installed. [8] This building, although without its equipment, is still in existence.” [3]

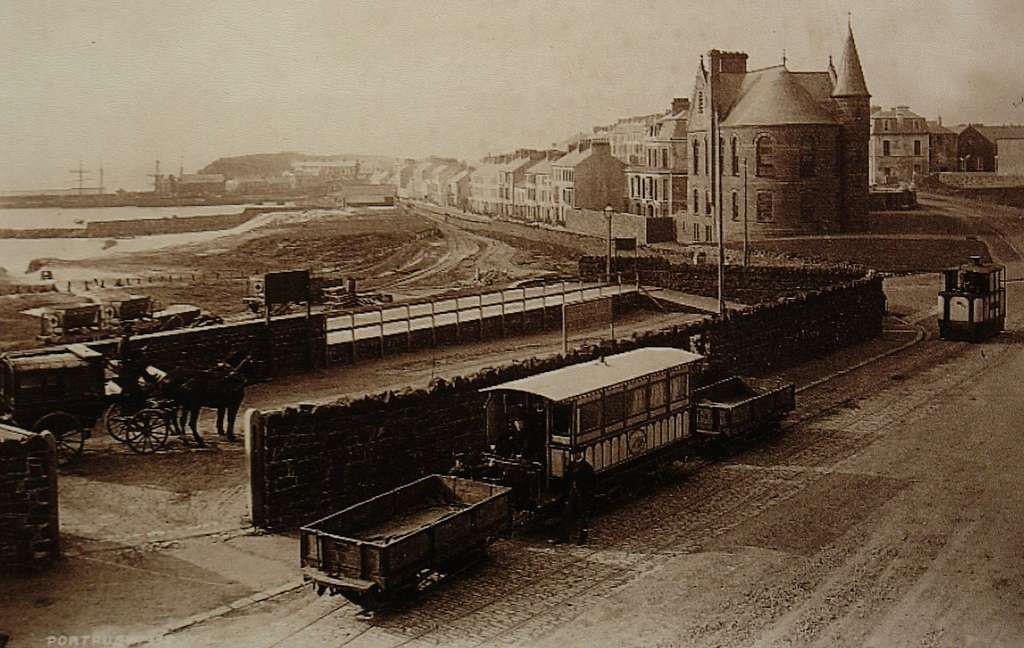
“Because of legal problems over water rights, erection of the Walkmills turbines was delayed and when the first section of the tramway, from Portrush to Bushmills, was opened on 29th January 1883 some of the timetabled passenger traffic was handled by steam tram engines which were in any case necessary on the town section in Portrush where it was impossible to provide electric power since this was originally fed to the trains via an elevated third rail which ran alongside the line. Therefore, a 25 horsepower (19 kW) steam generator was installed at the Portrush depot, [9] (by 1936 replaced by a 550 volt diesel generator for the Portrush-Dunluce section).” [3]
“The ceremonial opening, using electric traction, took place on 28th September 1883 although a full scheduled electric service did not begin until 5th November and steam locomotives remained available for use until at least 1926.” [3] In 1897, of the annual mileage travelled, “17,797 miles (28,641 km) were steam operated and 4,721 miles (7,598 km) electric. In 1901 the figures were 7,423 miles (11,946 km) and 23,550 miles (37,900 km) respectively. Very little use of steam was made after 1916.” [3]
Evans tells us that:
“In 1915, the Portrush power plant was installed and the two remaining steam engines were kept as stand-by equipment for use in the event of electricity failures. They were finally sold in 1930 to a public works contractor.
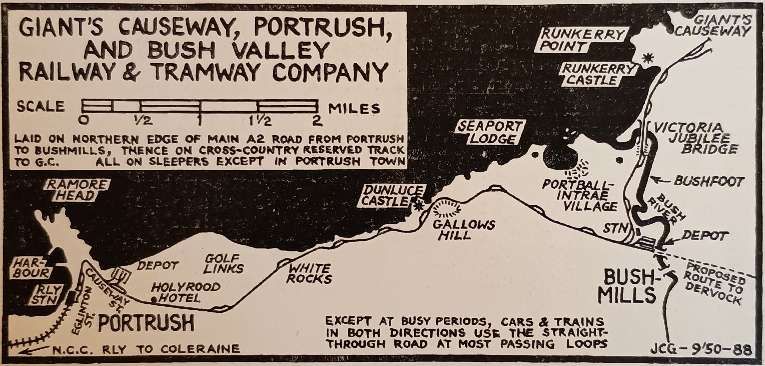
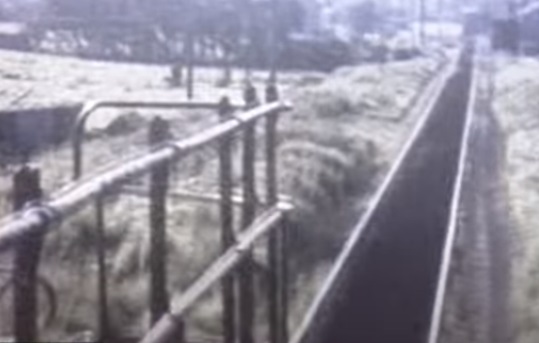
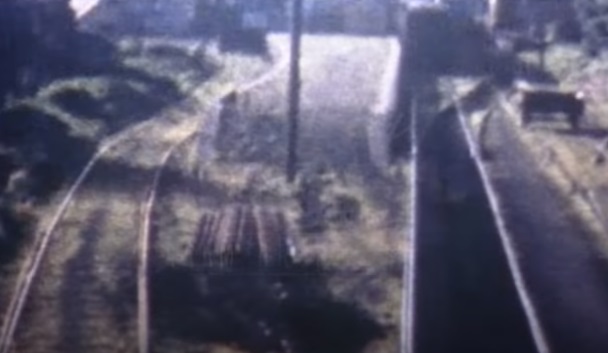
The voltage was 550 d.c., the Portrush plant supplying the Portrush-Dunluce section and the original station outside Bushmills the remainder of the line. Laid to the 3ft. gauge, the line was 7.5 miles in length, single track throughout with loops at irregular intervals.
The loops were normally run through on the landward line, the other line being used only when it was necessary to pass another car. All points (except those at the Portrush terminus which were tramway section) were of light railway type, controlled by dolly-weighted point levers which normally held the rails set for the direct (or landward) line.” [1: p185]
Wikipedia tells us that “the section from Bushmills to the Giants’ Causeway opened on 1st July 1887. In 1895, a cyclist died of electric shock after coming into contact with the conductor rail. At the subsequent inquiry it was revealed that the line voltage varied from an average of 290 V up to 360 V, and the company agreed to a temporary reduction in the voltage, which limited the number of services that could be electrically worked. The third rail was replaced by overhead electric wire using side poles from 26th July 1899, apparently initially at 250 V. Voltage drop remained a problem and the tram was the subject of a song by the Irish Rovers which comments on its slow speed. The song was written by Hugh Speers of Bushmills. [10] After upgrading of the Bushmills generating station in 1907 it was possible to produce a 550 V output.” [3]
Evans continues:
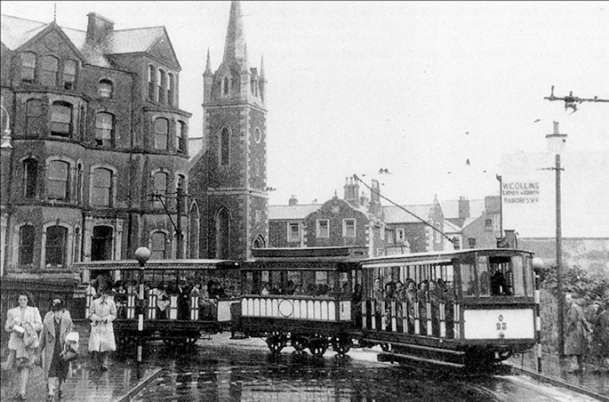
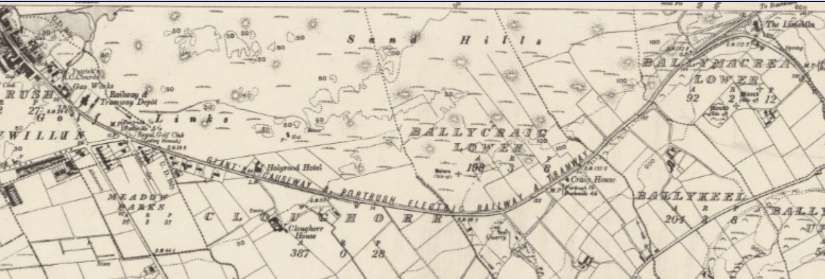
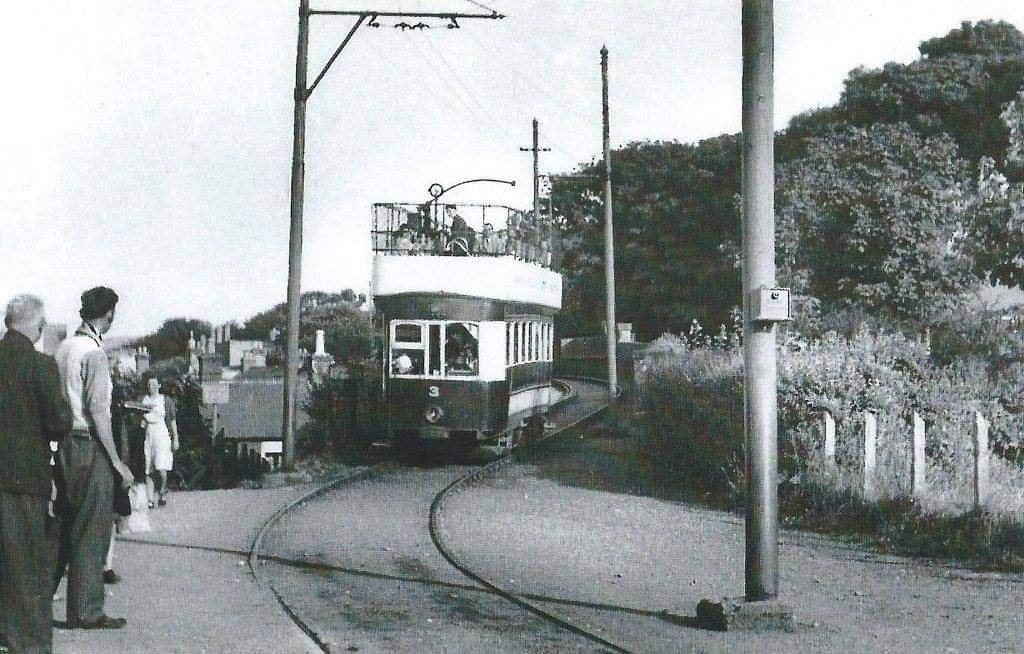
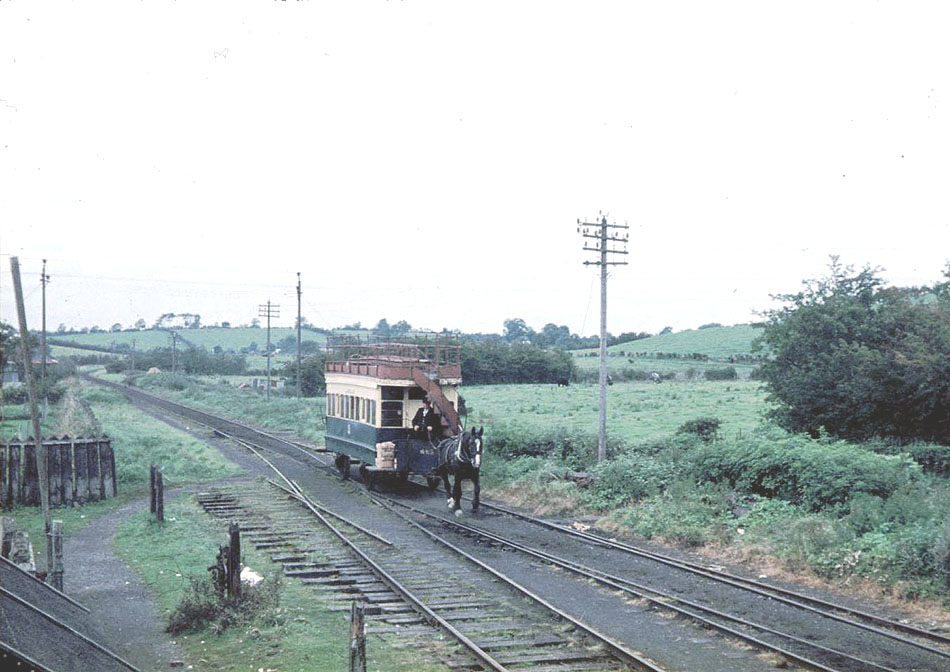
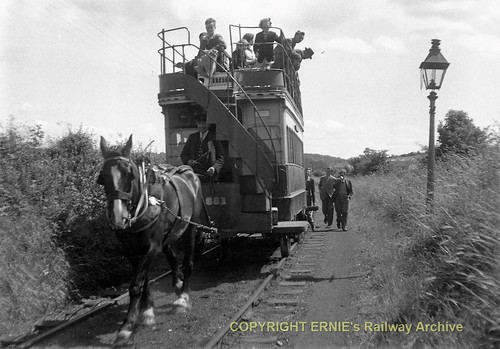
“As the wiring was double and followed the rails through the gantry type standards at loops, it followed that the trolley pole had to be changed from the wire normally used (the landward wire) to the seaward wire when a loop was to be used pass another tram. The writer has often seen this trolley changing performed whilst the cars her were at full speed on a downward grade and has marvelled at the dexterity with which the trolley wheel was placed on the opposite wire. The operation was also seen when the cars were descending the long hill outside Portrush. It seemed usual to lower the trolley bo boom west of White Rocks loop to the Holyrood Hotel. and coast from a point just West of White Rocks loop to the Holyrood Hotel.
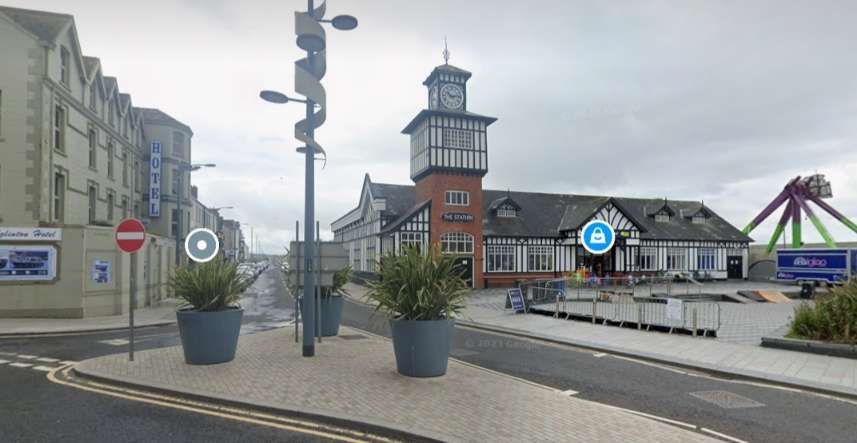
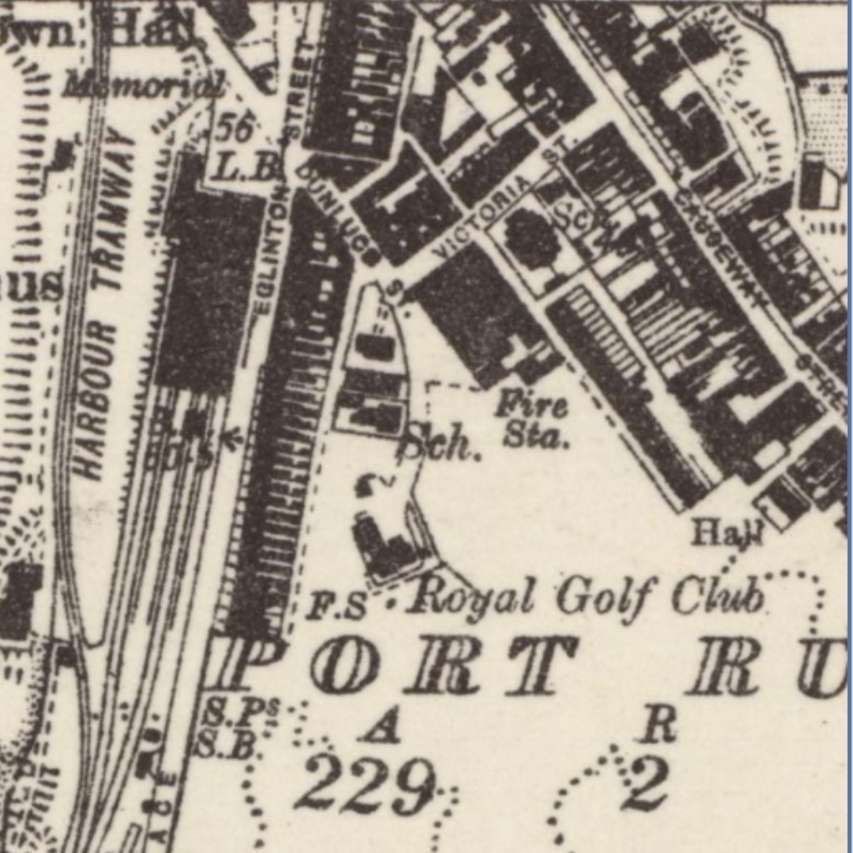
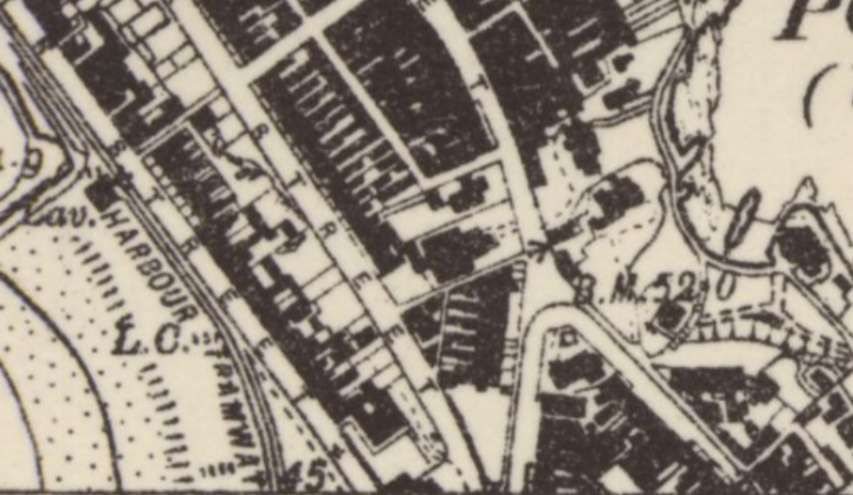
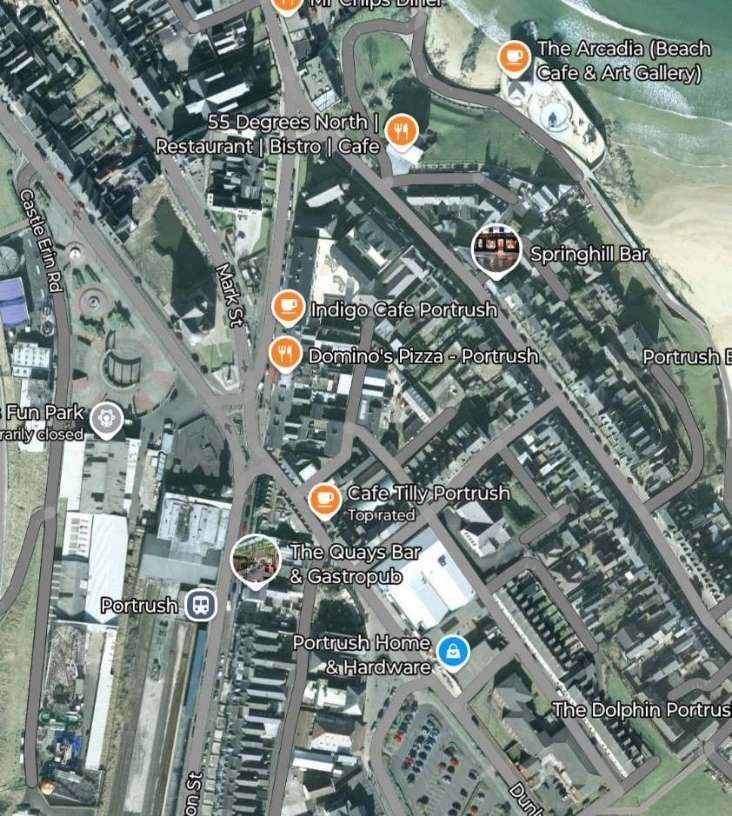
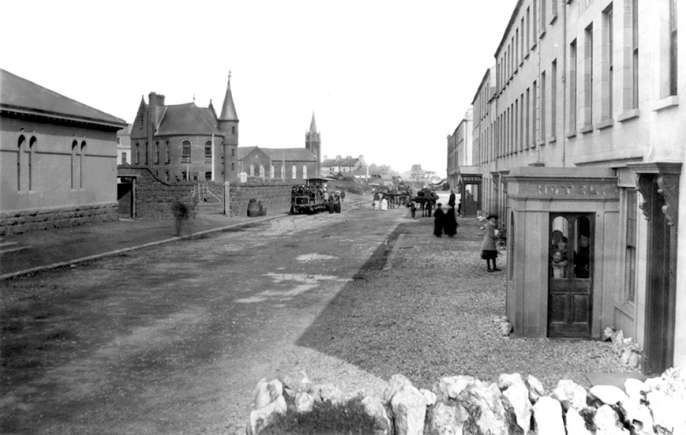
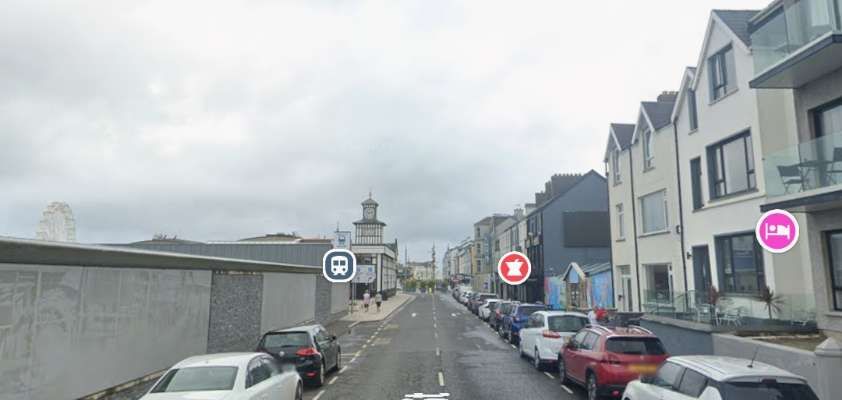
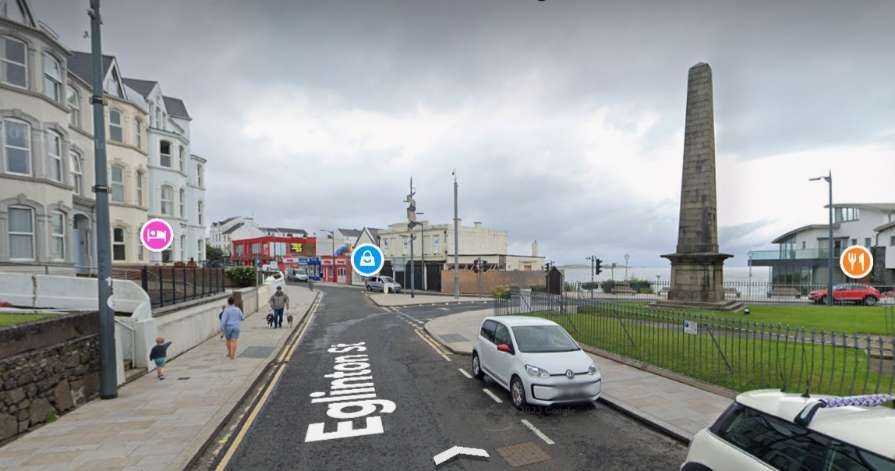
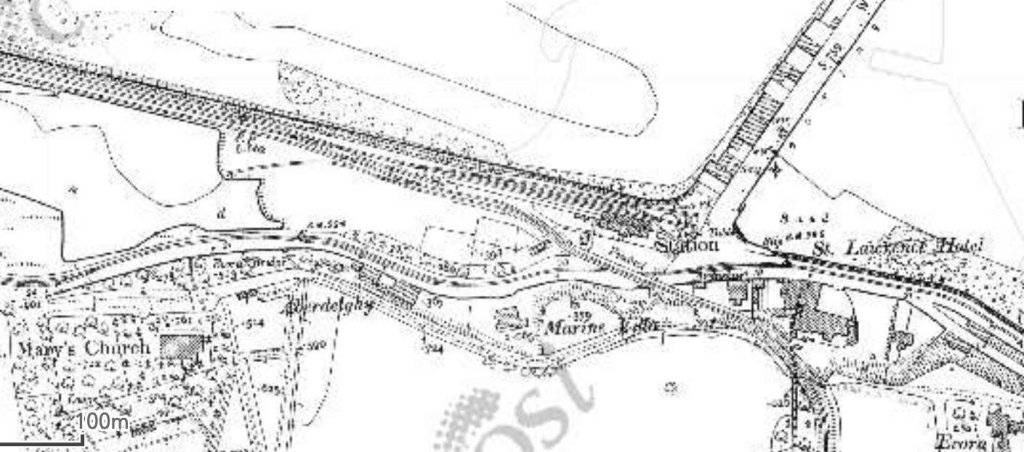
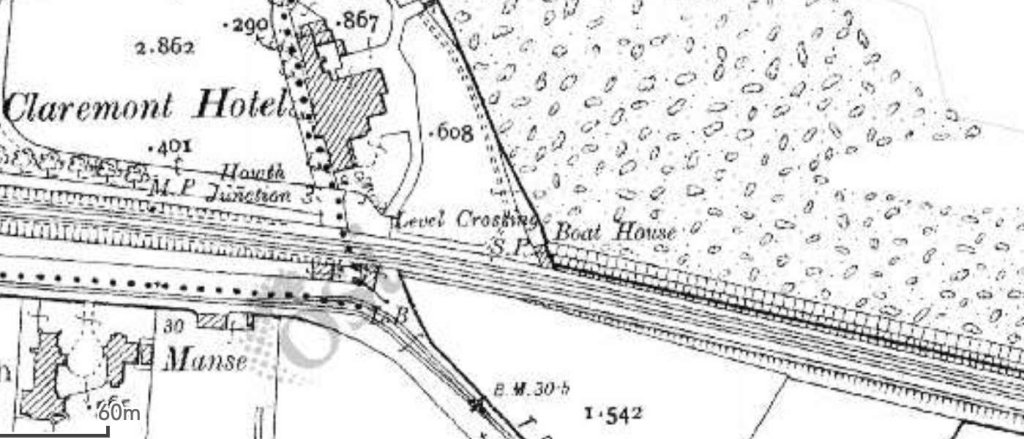
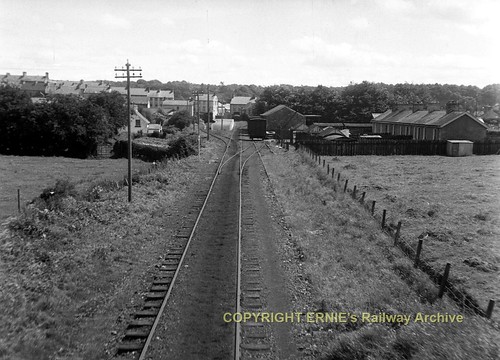
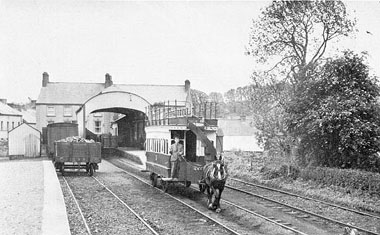
The Portrush terminus was outside the N.C.C. (formerly B. & N.C.R.) station and consisted of a run-round loop and lay-by siding in Eglinton Street. At one time there was a short branch which diverged just beyond the loop and ran down to the Harbour, but this was taken up about 1893.” [1: p185-186]
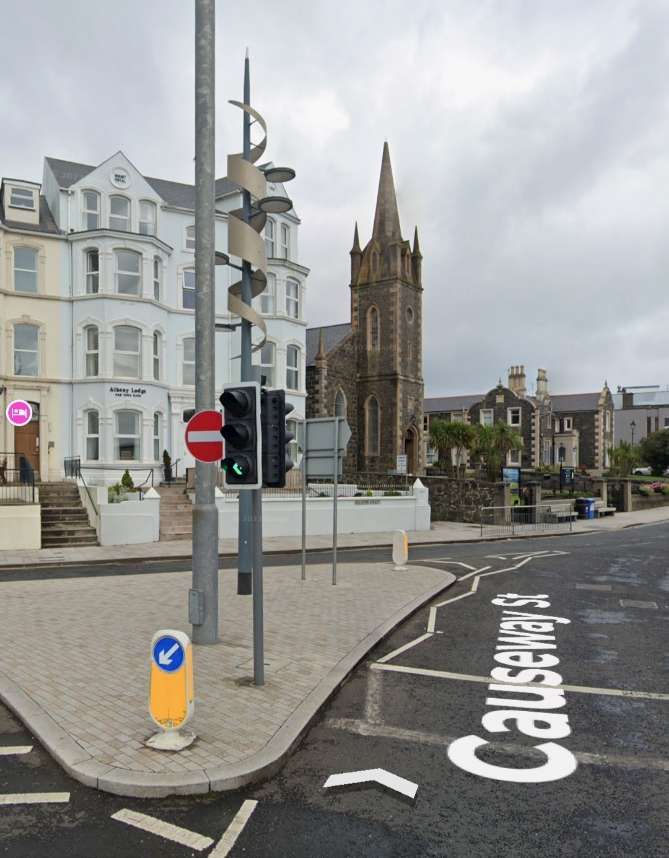
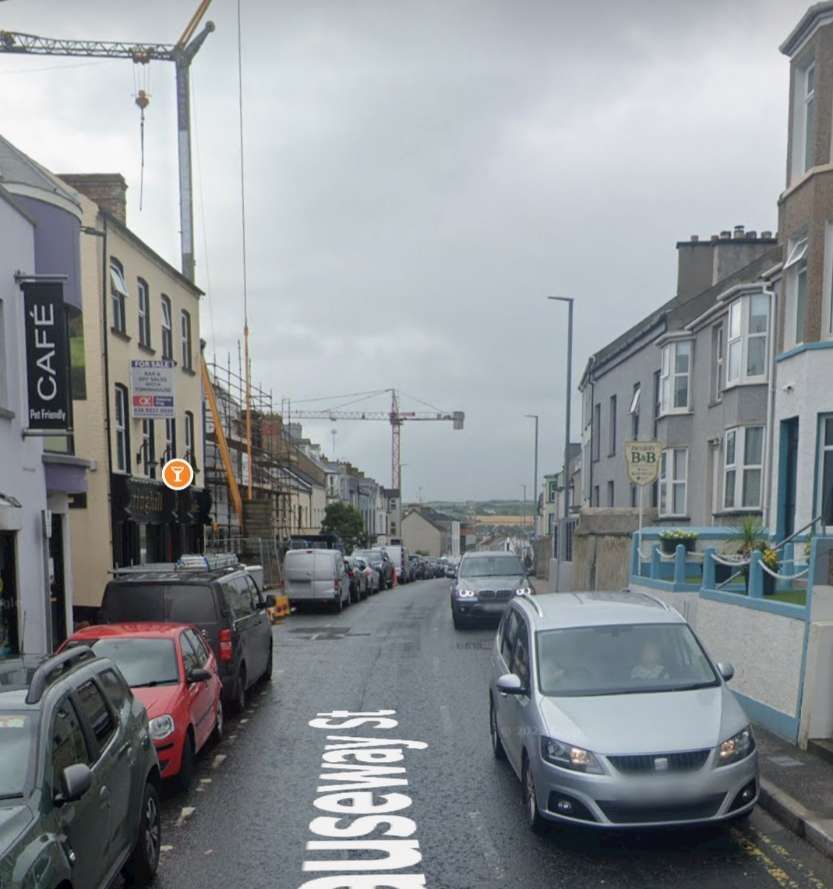
Evans continues:
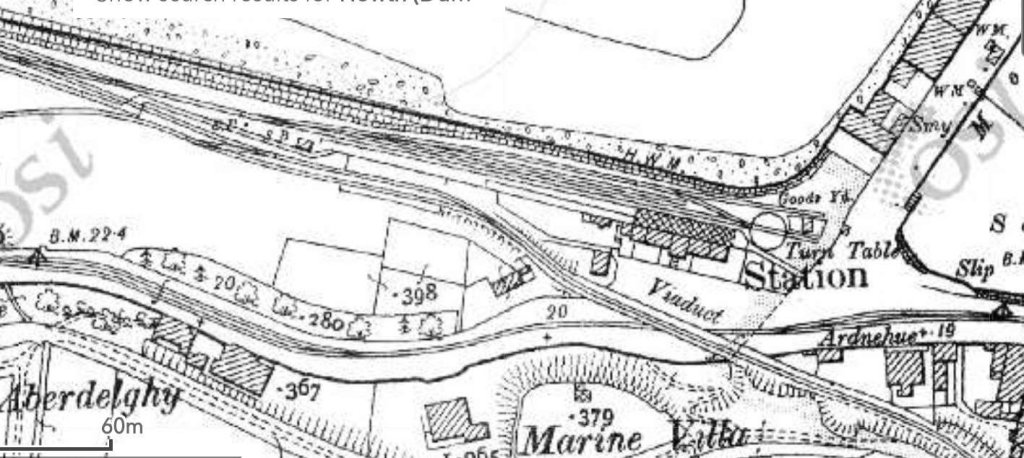
“For a short distance, the line ran due north before turning in a 75-degree curve into Causeway Street. The single track was of tramway section rails as far as the outskirts of the town. From a point near the depot the line was laid on flat-bottom light railway track on the seaward side of the Portrush-Bushmills road. The depot consisted of a dead end road with a permanent way yard at one side. The auxiliary power station was also here. This power station had a modern diesel plant installed in latter years.
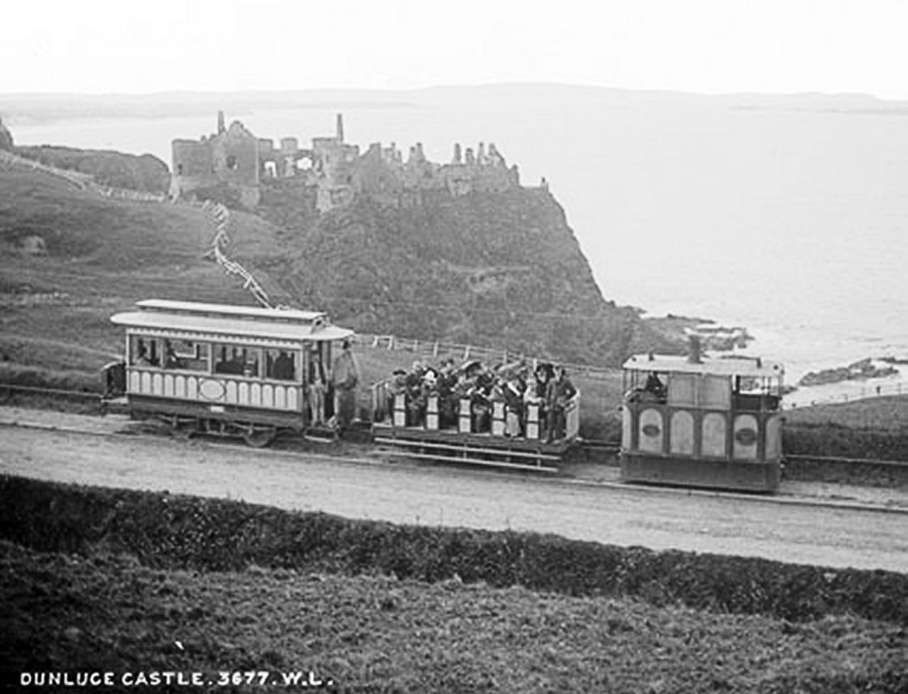
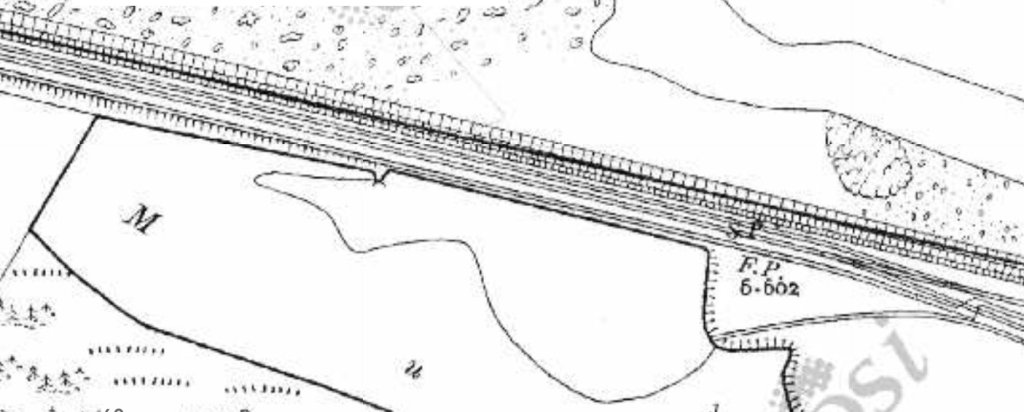
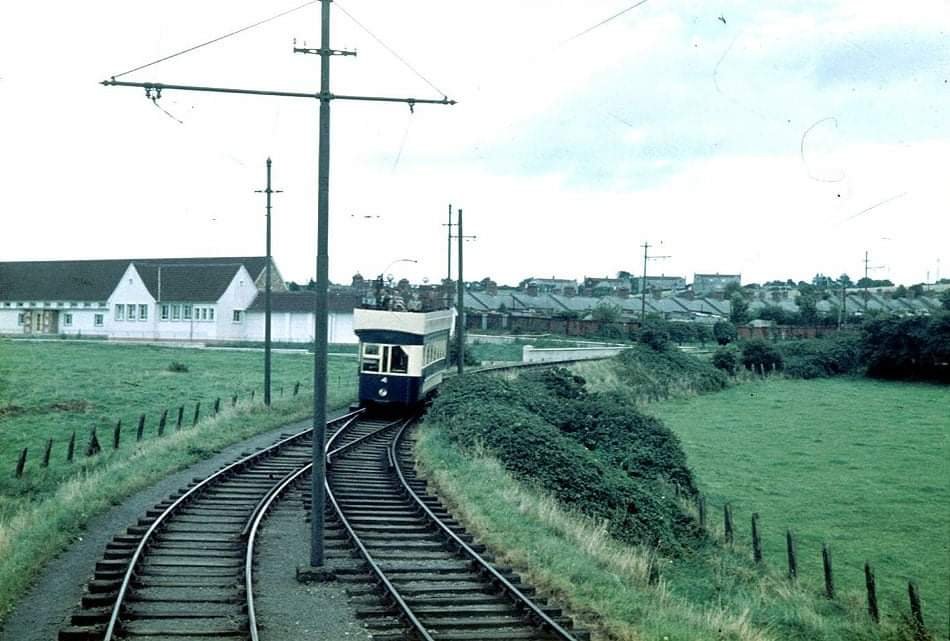
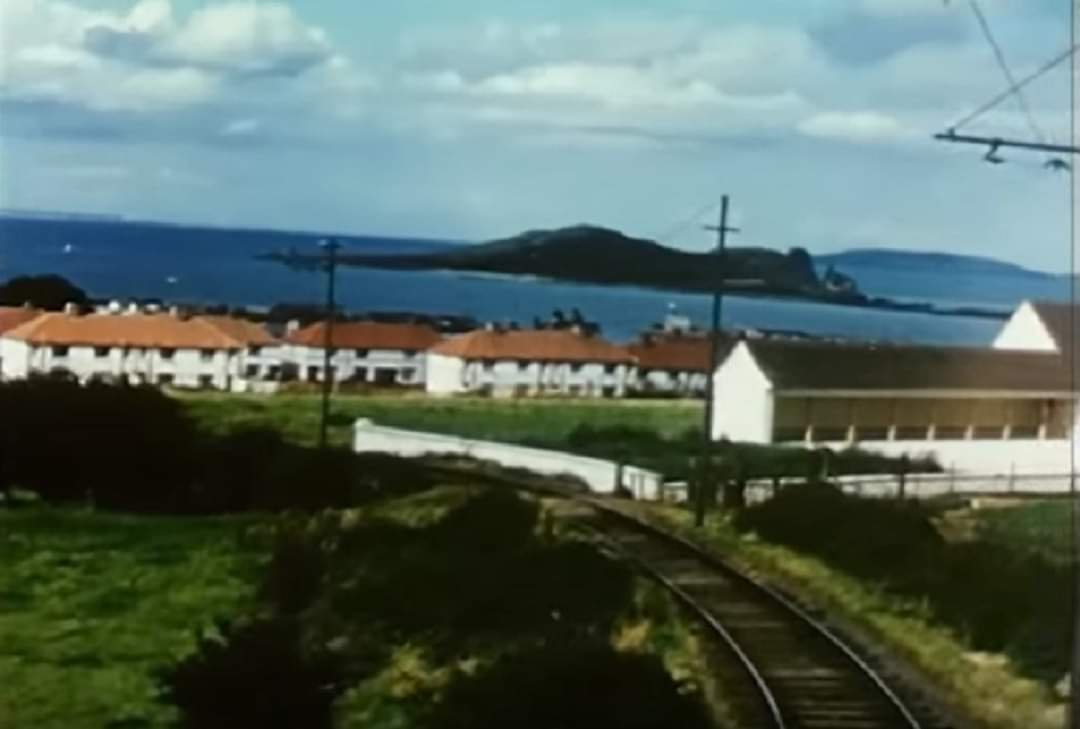
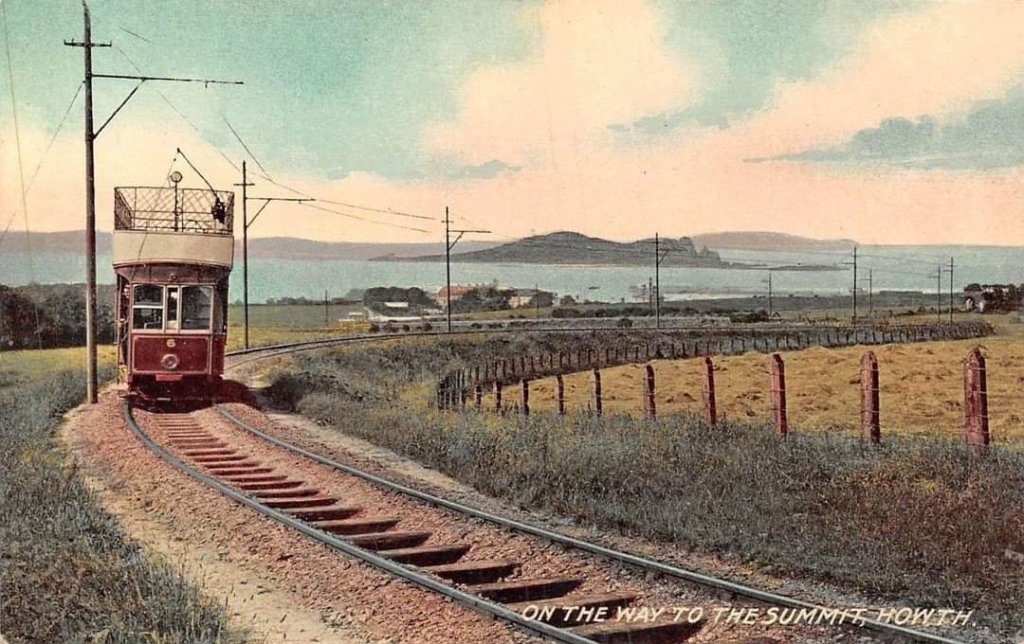
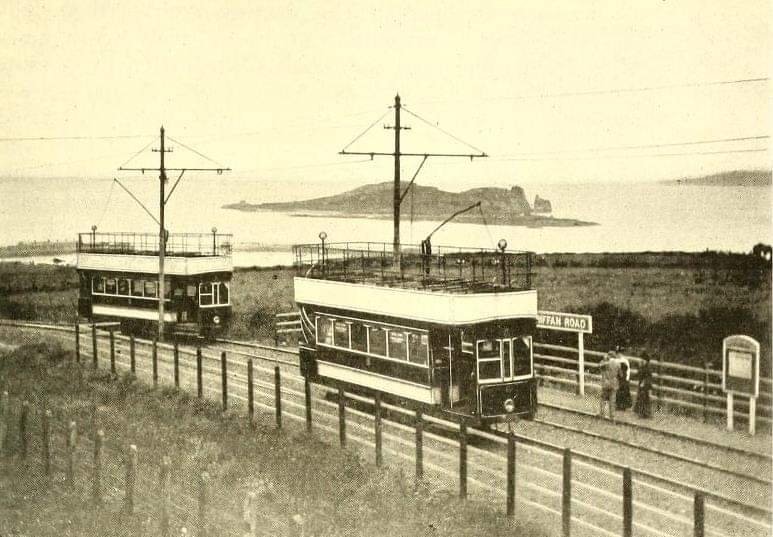
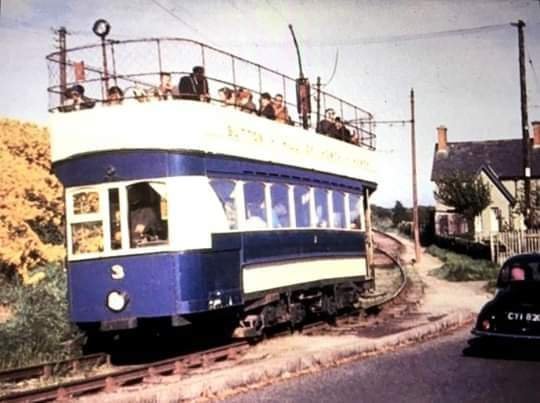
After leaving the depot the line ran through open country on its roadside reservation. Climbing steadily, it passed the famous Royal Links and at White Rocks gained the cliff tops. Onward to Dunluce, the trams ran close to the sea and in places the cliffs fell almost sheer from the trackside. There can be no doubt that the tramway, with its open toast-rack cars, was the best means of appreciating this wild and rugged coast.” [1: p186]

Evans continues, again:
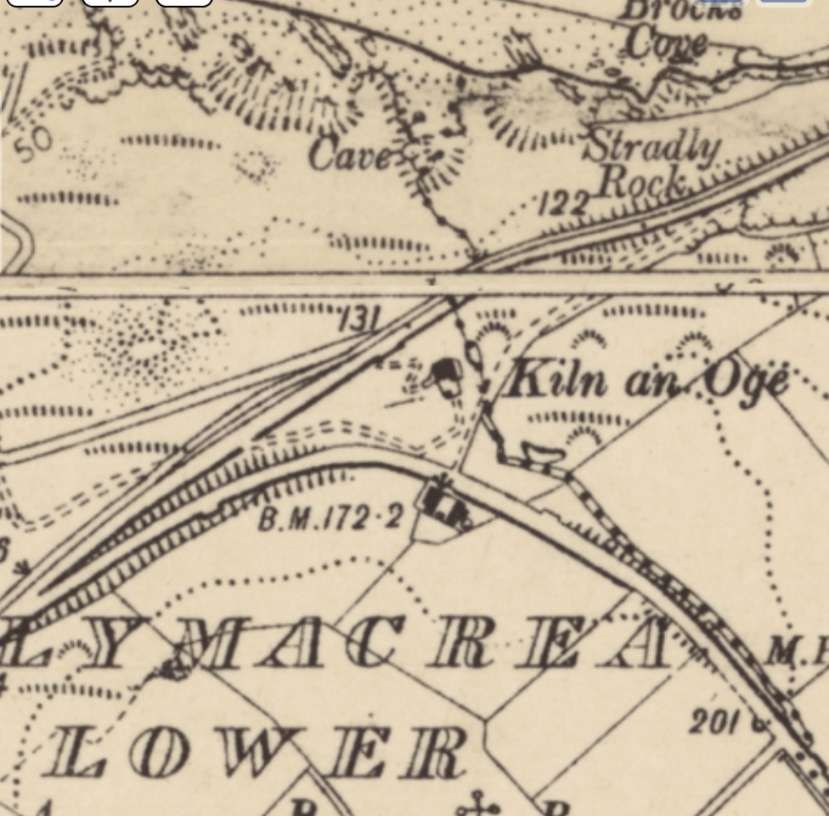
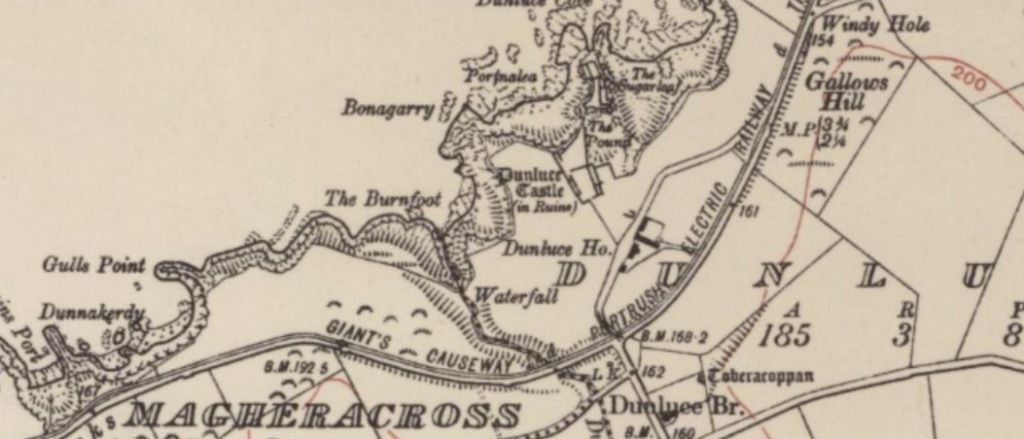
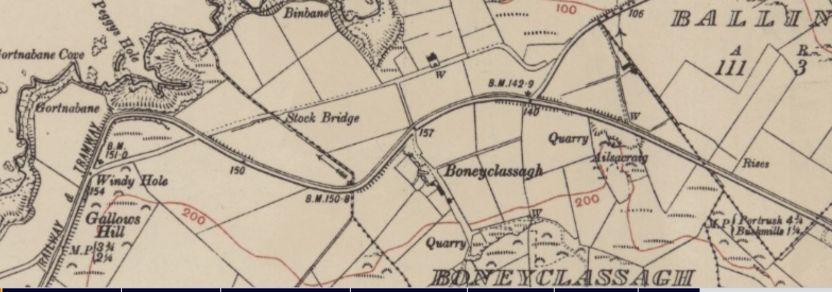
“Before reaching Dunluce, the tramway climbed to its highest point at Clooney Hill. This section, nearly 200ft, above the sea, abounded in sharp curves, gradients of 1 in 40 and even a short stretch of 1 in 30.
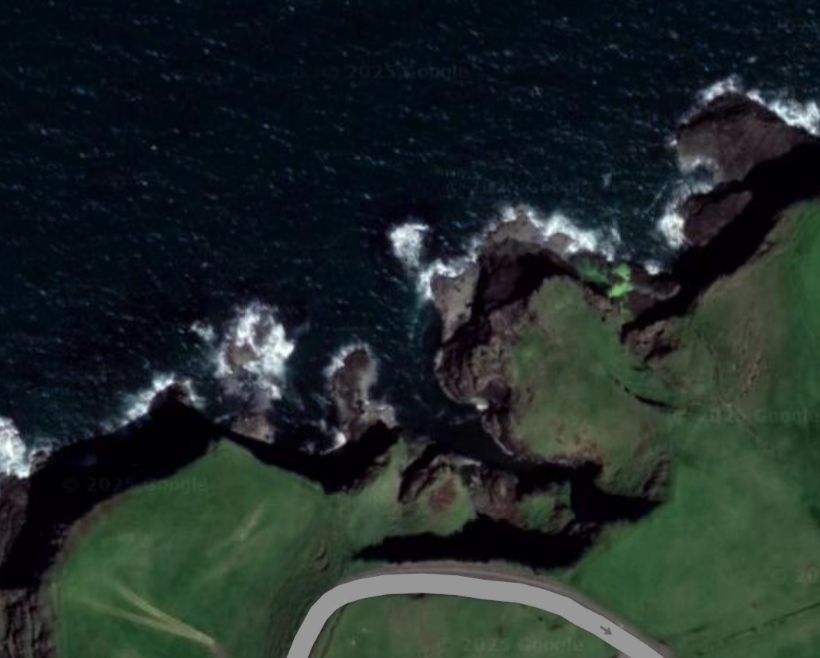
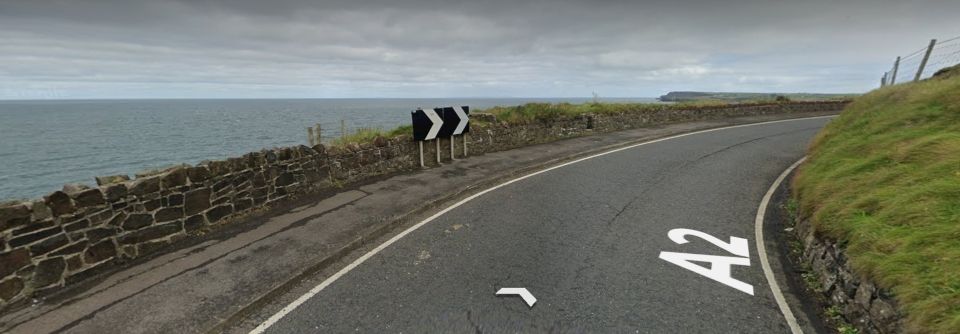
Beyond Dunluce, the line ran inland for a short distance below Gallows Hill, reaching the coast again at its most spectacular point. Here one could gaze down 140ft. to the foam-covered rocks below. From this point the line again ran inland and after three more passing loops reached Bushmills, a village known for its whisky. Bushmills had a light railway station provided with waiting room, luggage office and lavatories.” [1: p,186-187]
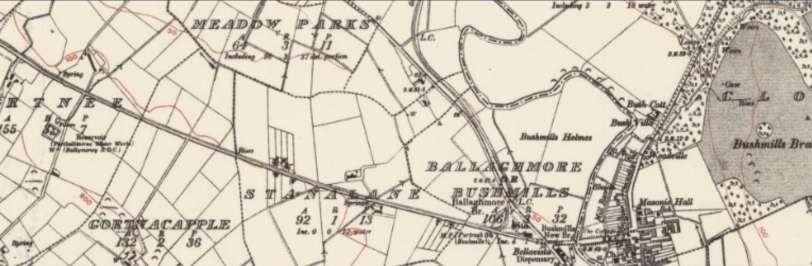
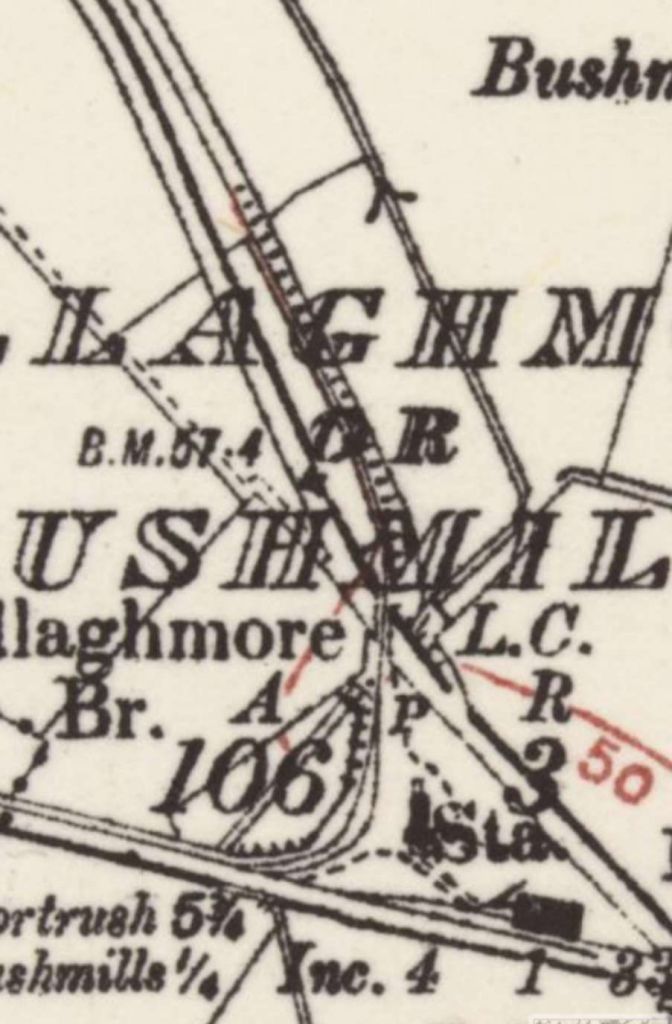
Evans continues:
“At one side of the station yard is a small tram shed with accommodation for two cars. The line to the car shed is of interest in that it was to have formed the beginning of an extension to Dervock on the 3ft. gauge Ballycastle Railway. It was with a view to through running with the latter railway that the narrow gauge was adopted for the electric line. The owners wisely decided that an extension to the Causeway would probably be more remunerative.
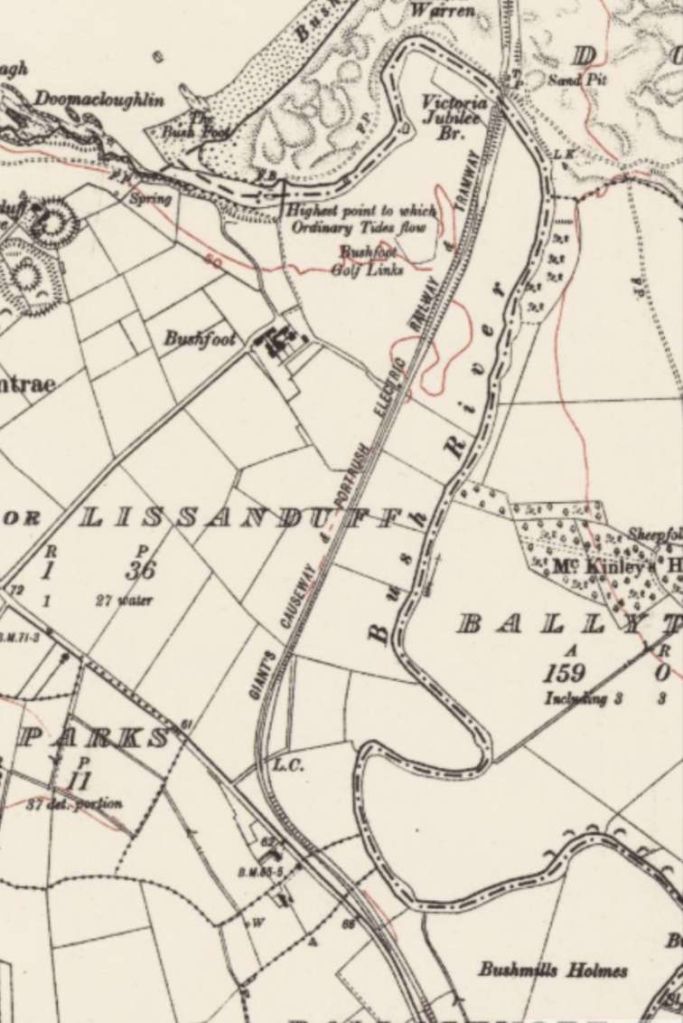
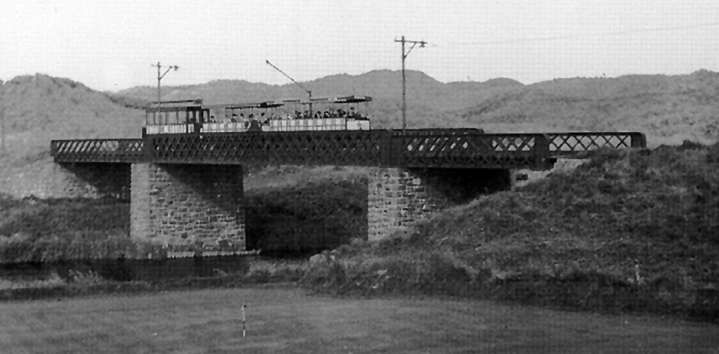
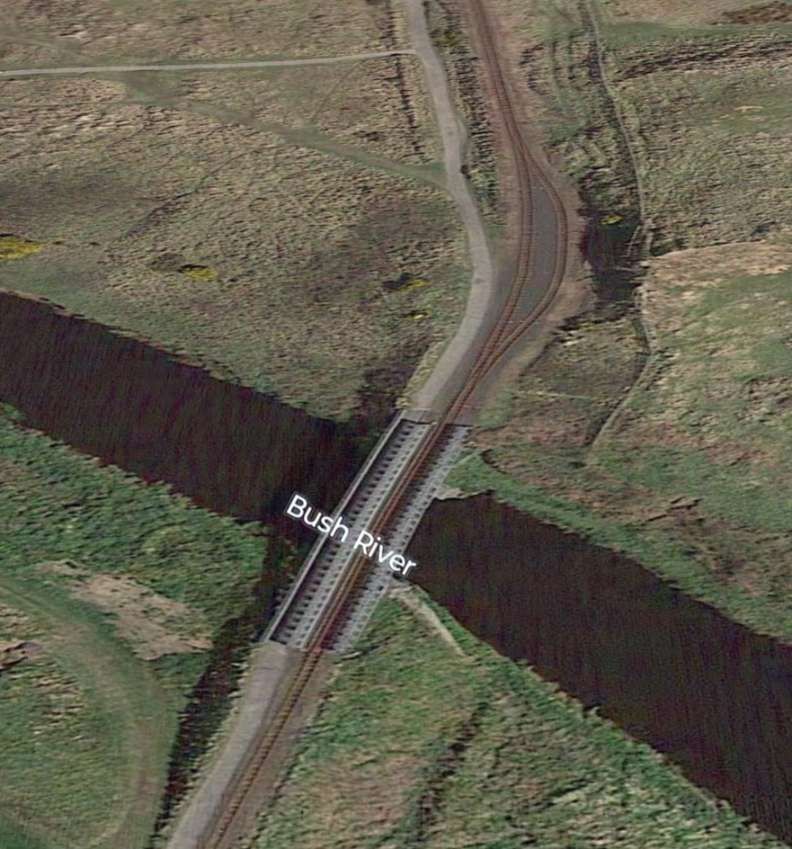
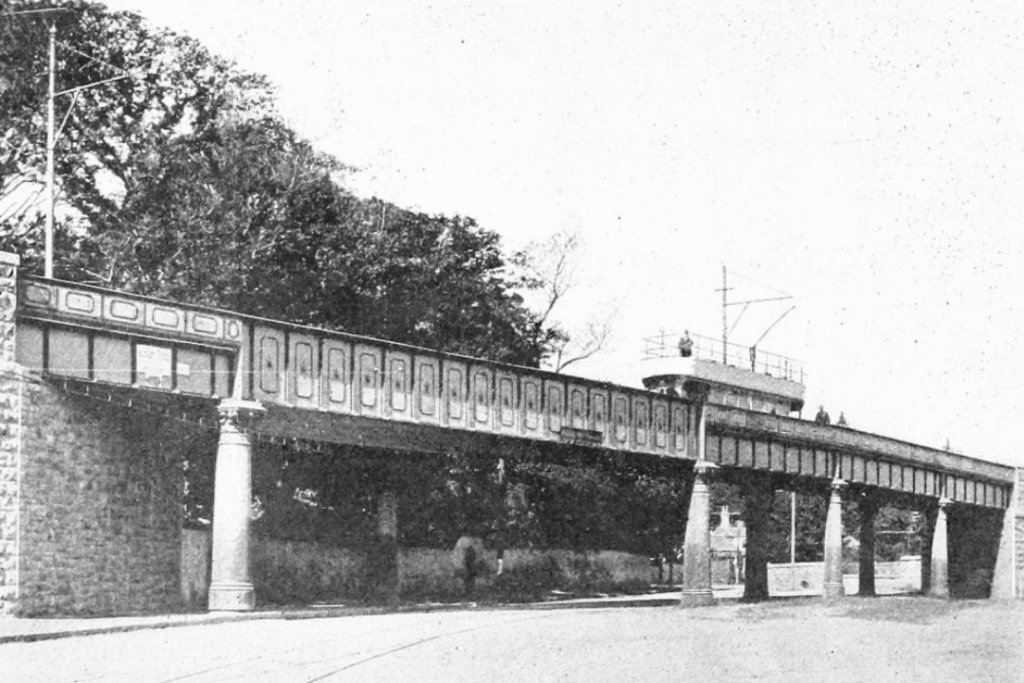
From Bushmills the line was completely private right-of-way and negotiated cuttings and embankments of railway proportions. After passing a loop, the Bushfoot Golf Links request halt was reached. Soon after this, the line crossed the Bush river by the impressive Victoria Jubilee Bridge, a three-span structure so named because it was erected in 1887.” [1: p187]

And, Evans again:
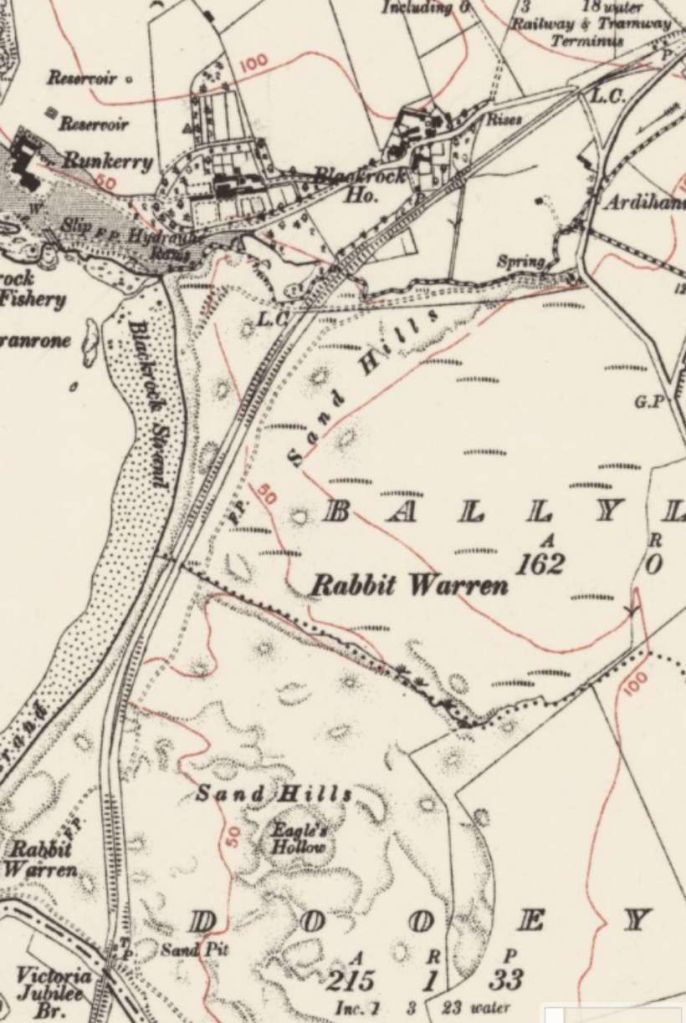
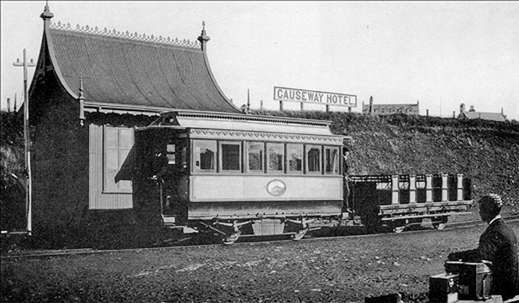
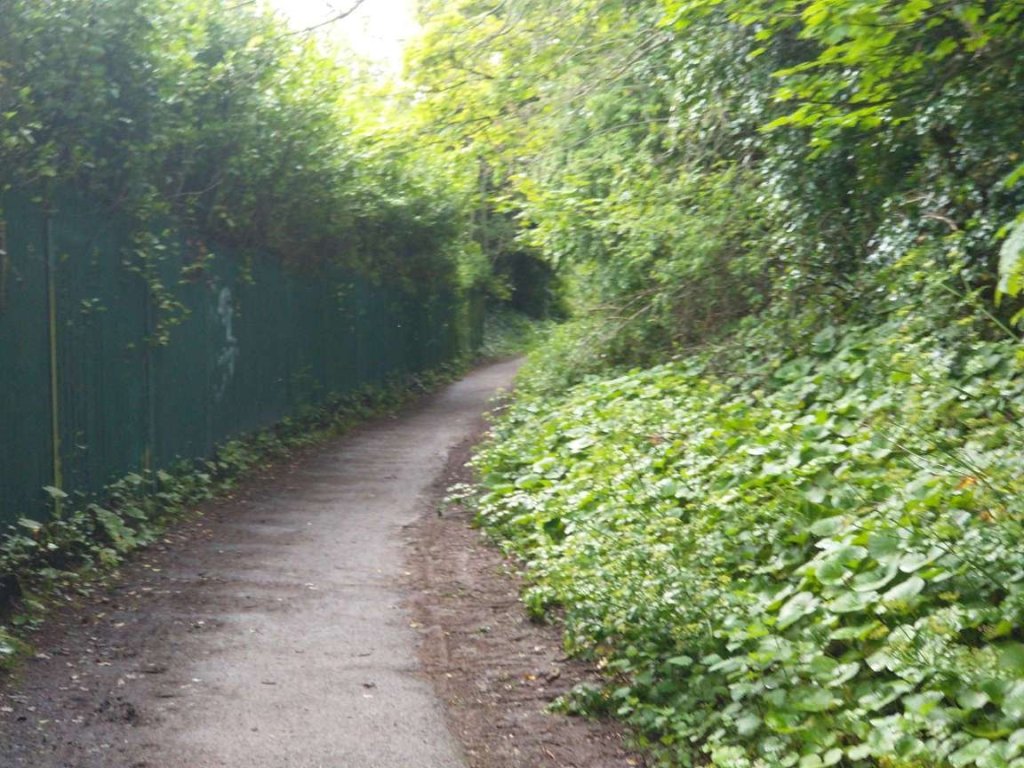
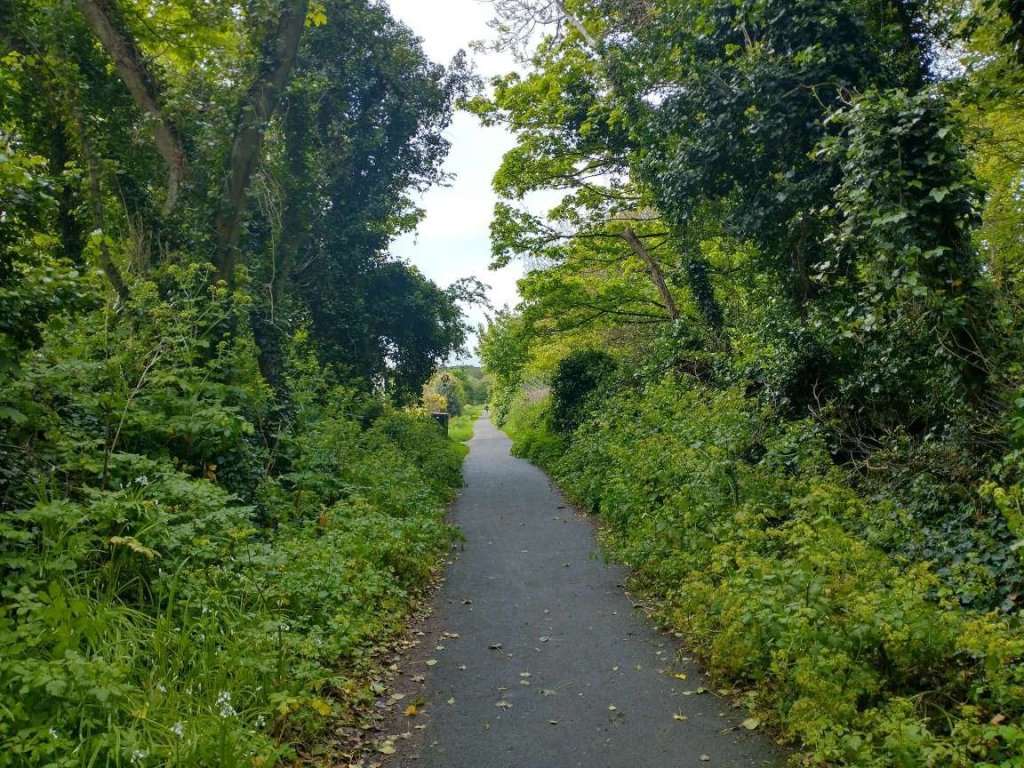
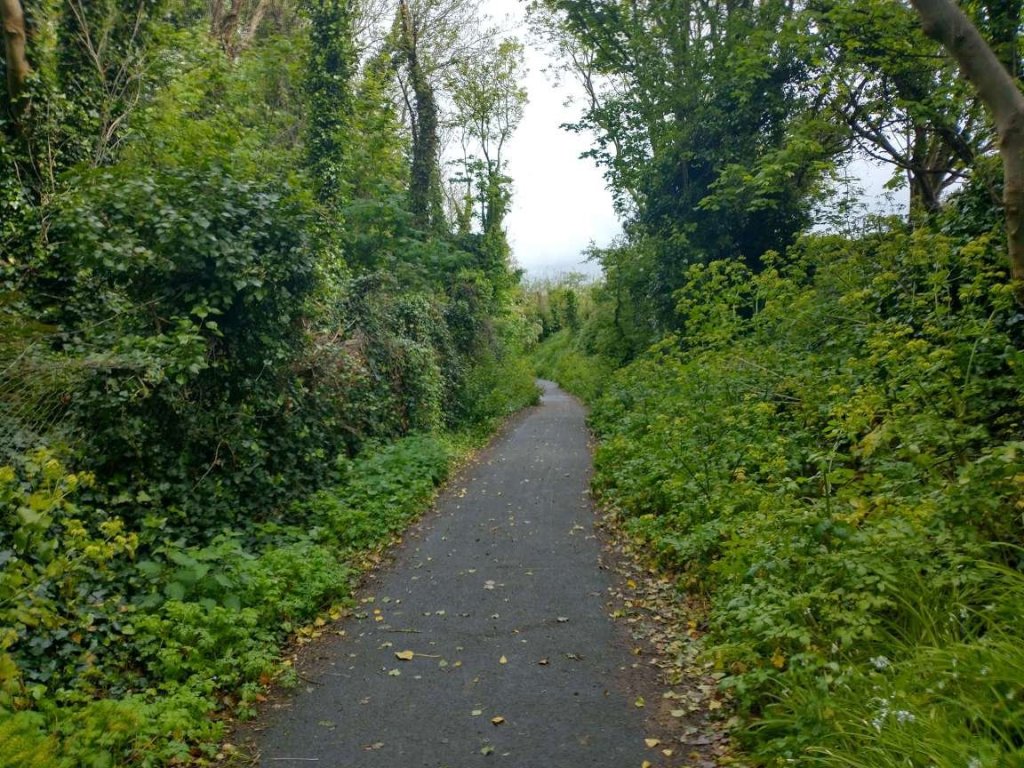
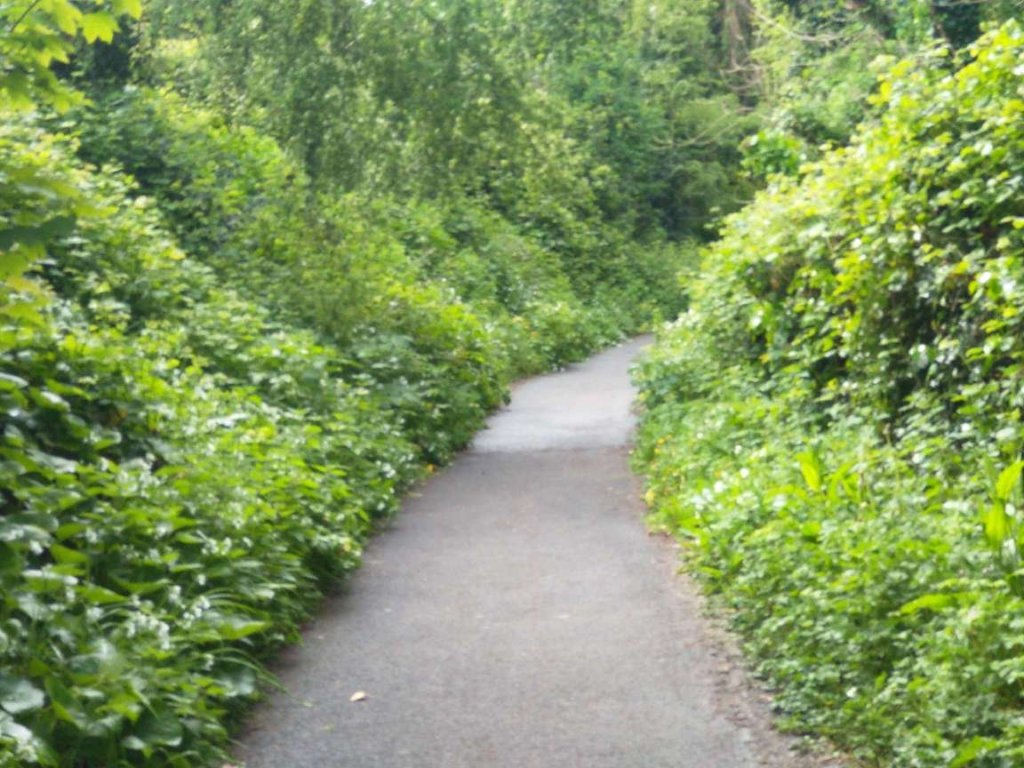
“On the other side of the bridge the line passed through sandhills and rabbit warrens, reaching the coast again and following it for a short distance before finally turning inland for the last time. There were two loops between the Victoria Bridge and the terminus; the layout at this latter point consisted of a run-round loop and a siding. The passenger accommodation was unpretentious, consisting merely of a shelter. The tourist had still almost a mile to walk before reaching the Causeway itself, and here, as is usual in such places, he has to pay for admission.” [1: p187]
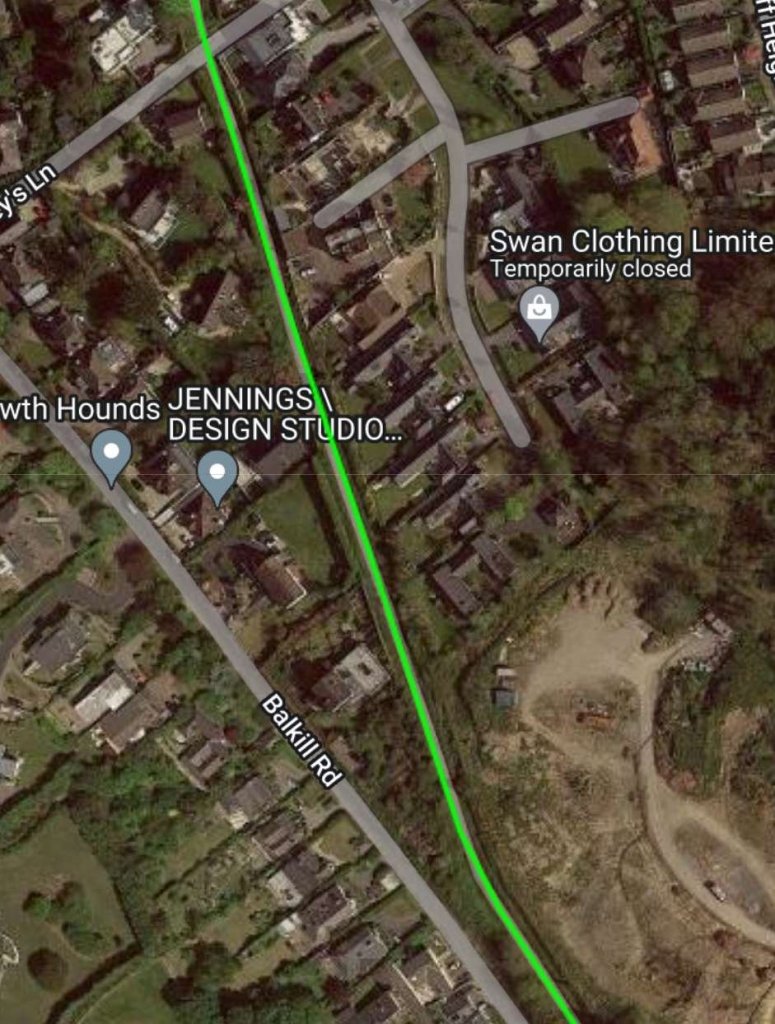
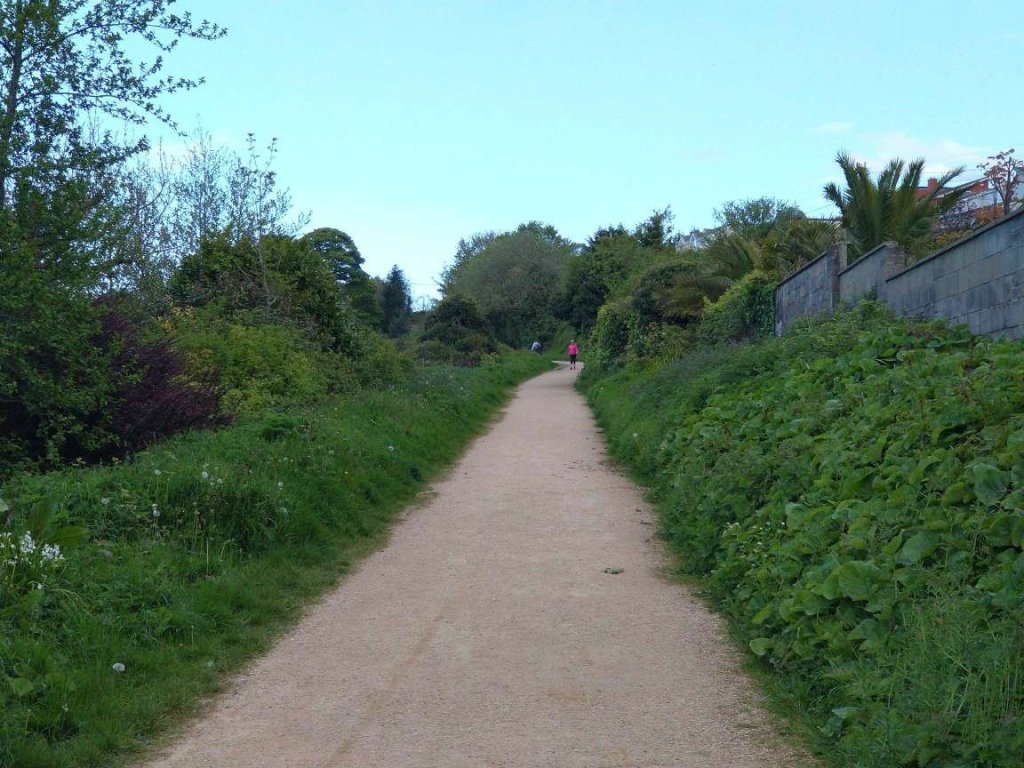
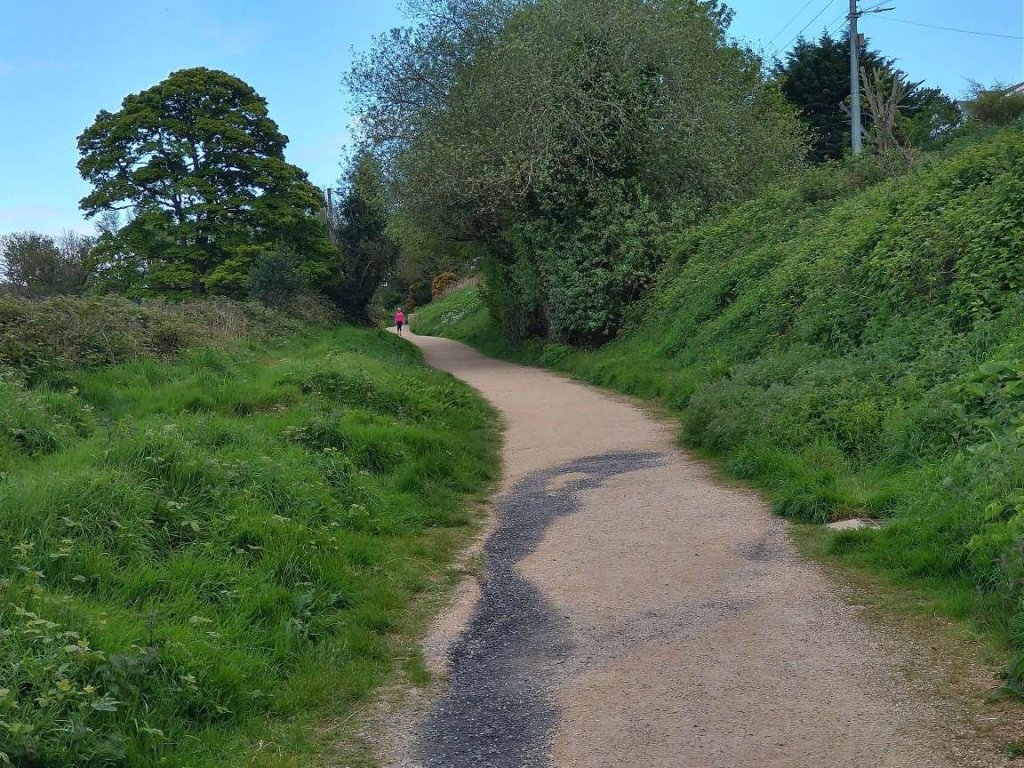
Discover Portrush describes the last part of the journey, thus: “the tram would run behind Black Rock Strand for about half a mile before turning right and climbing towards the Causeway Terminal. On the left passengers would see Runkerry House, a fine red sandstone house constructed in a striking location. Then part of the McNaughten Estate, occupied by two unmarried McNaughten ladies – later it became a home for the elderly after being passed to the government in lieu of death duties. Later still, it became an outward bound centre and is now divided into apartments.” [21]

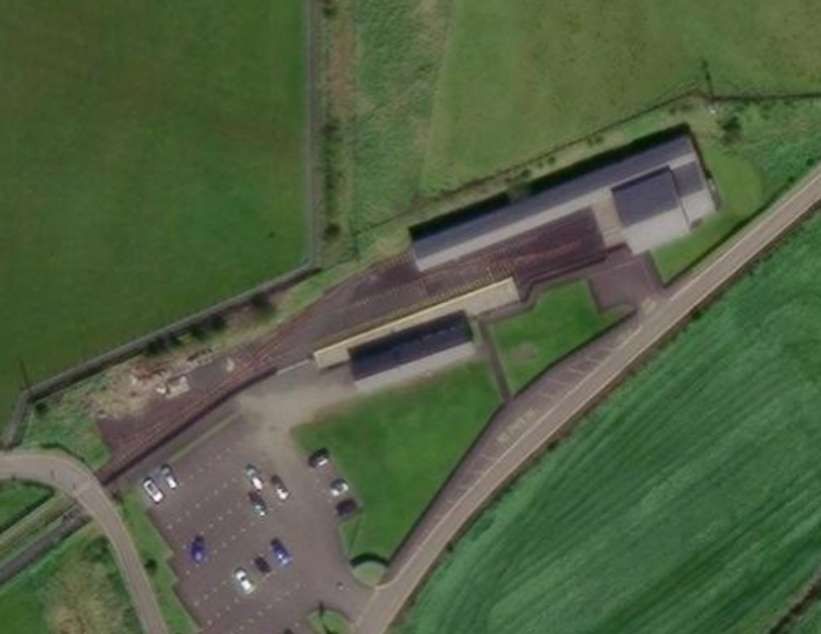

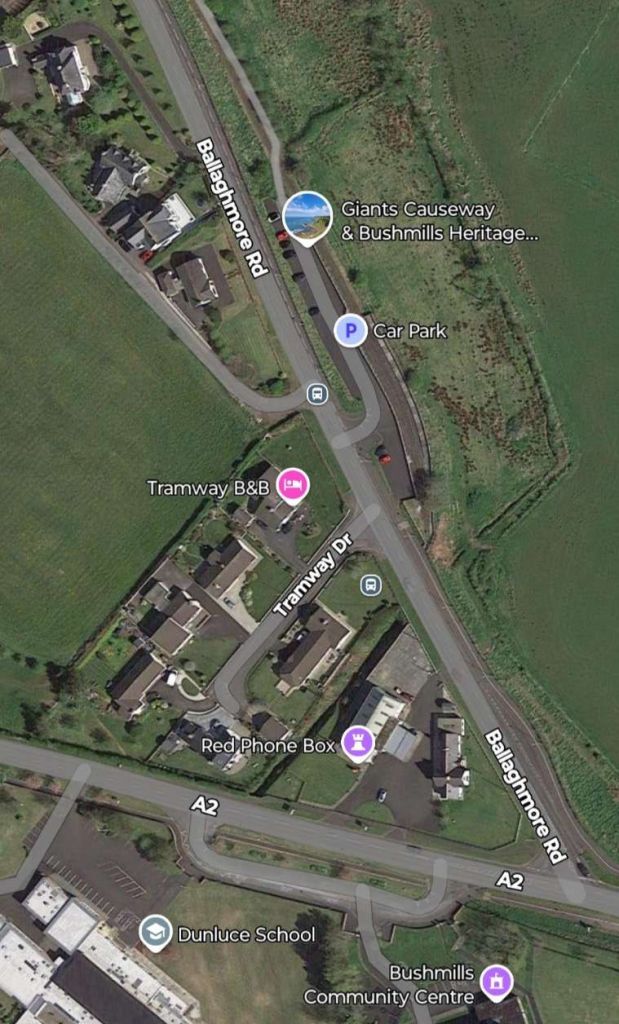
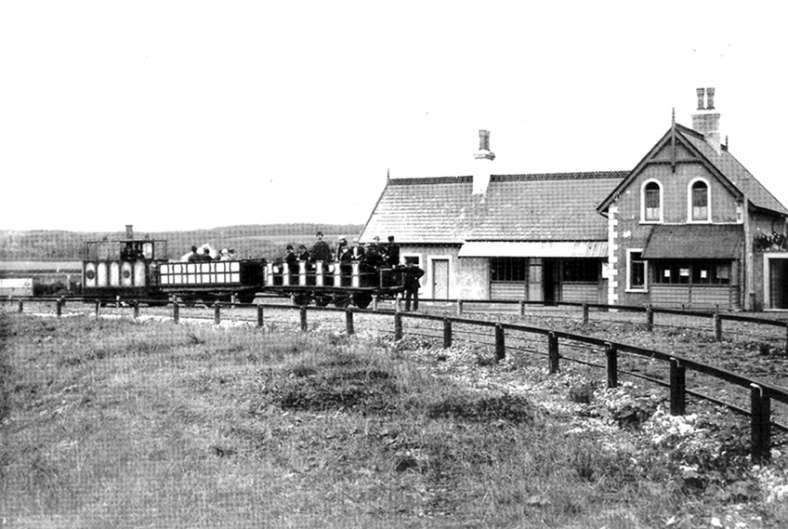
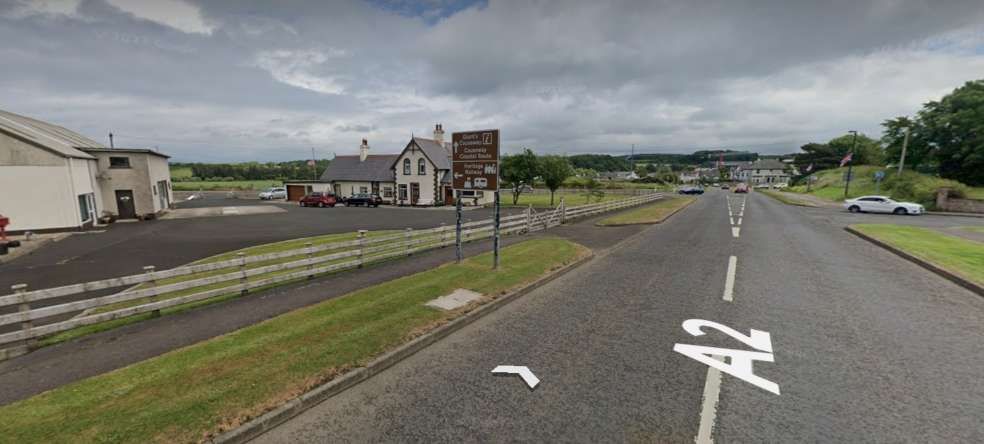
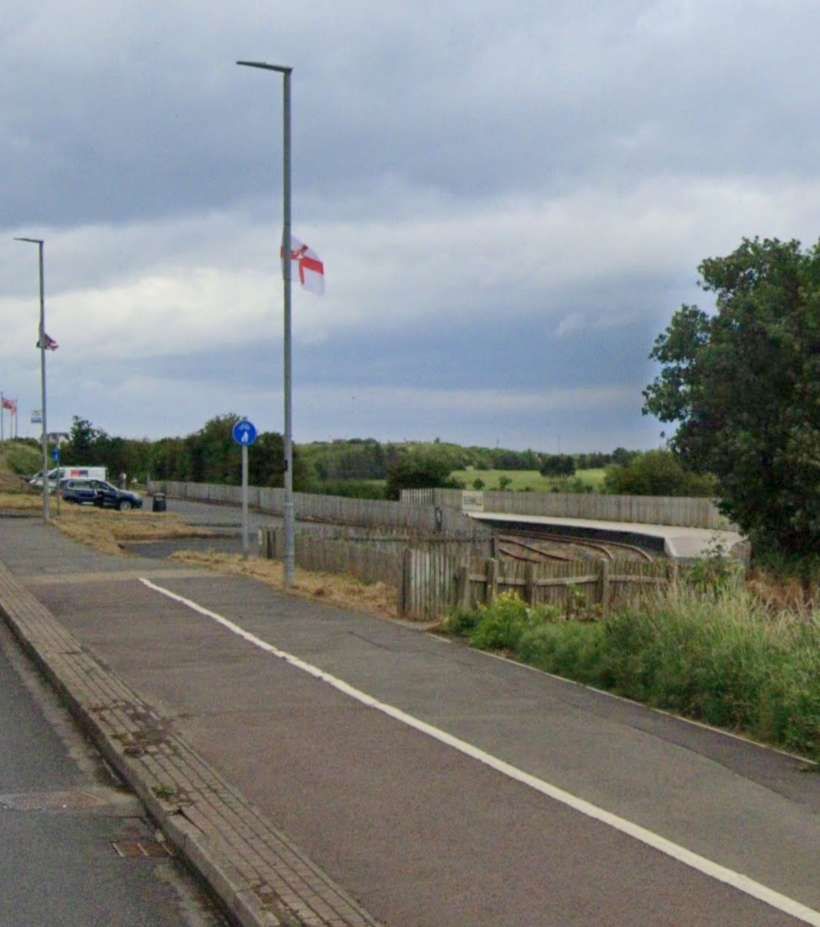
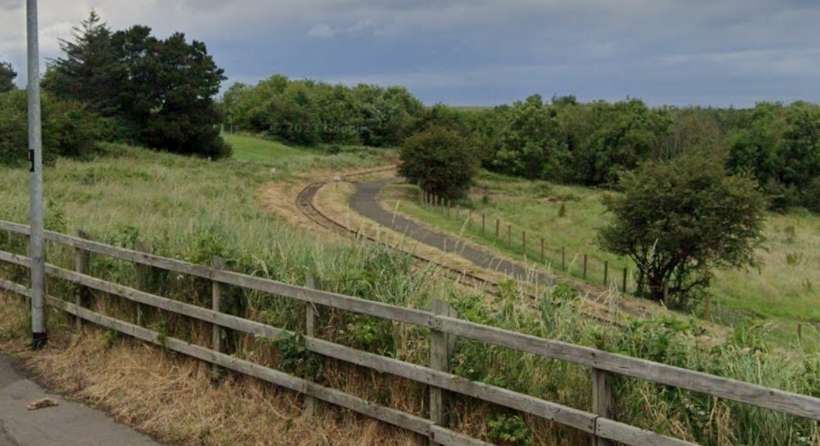
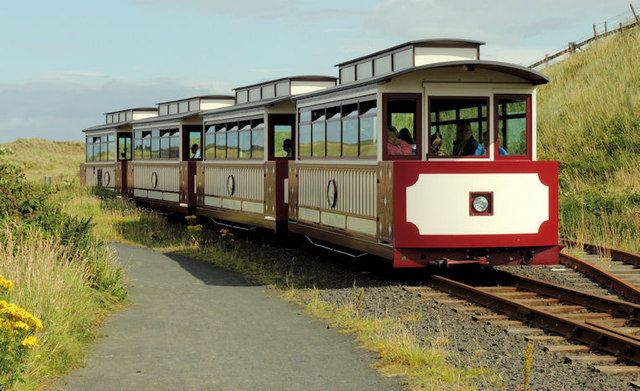
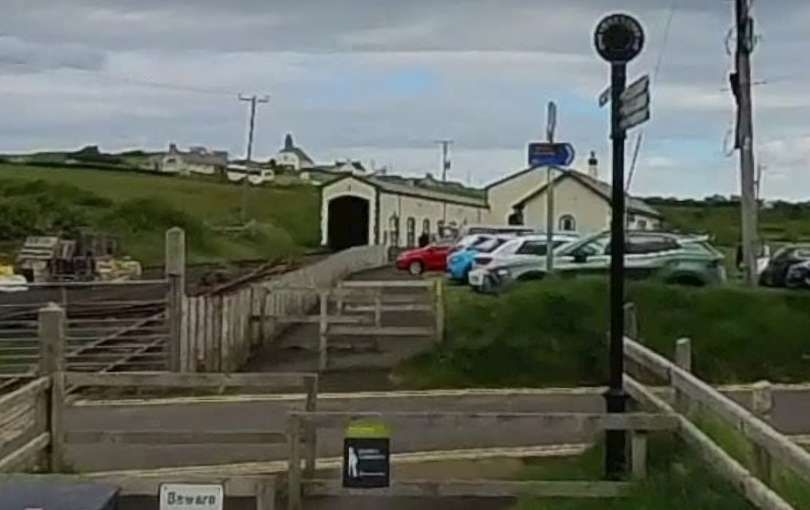
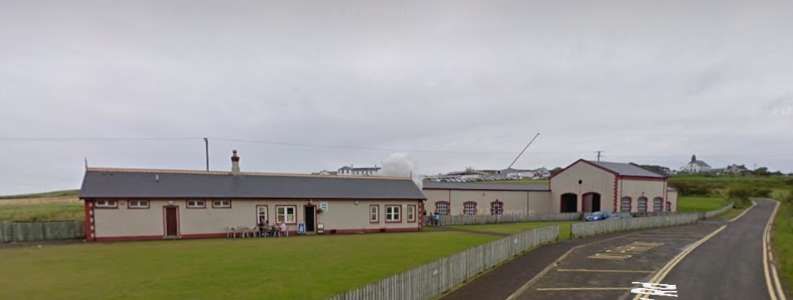
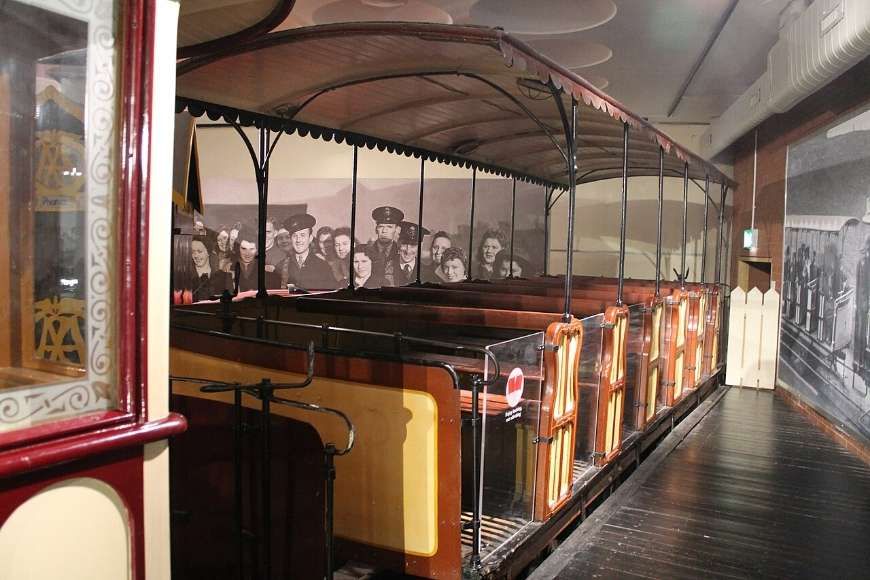
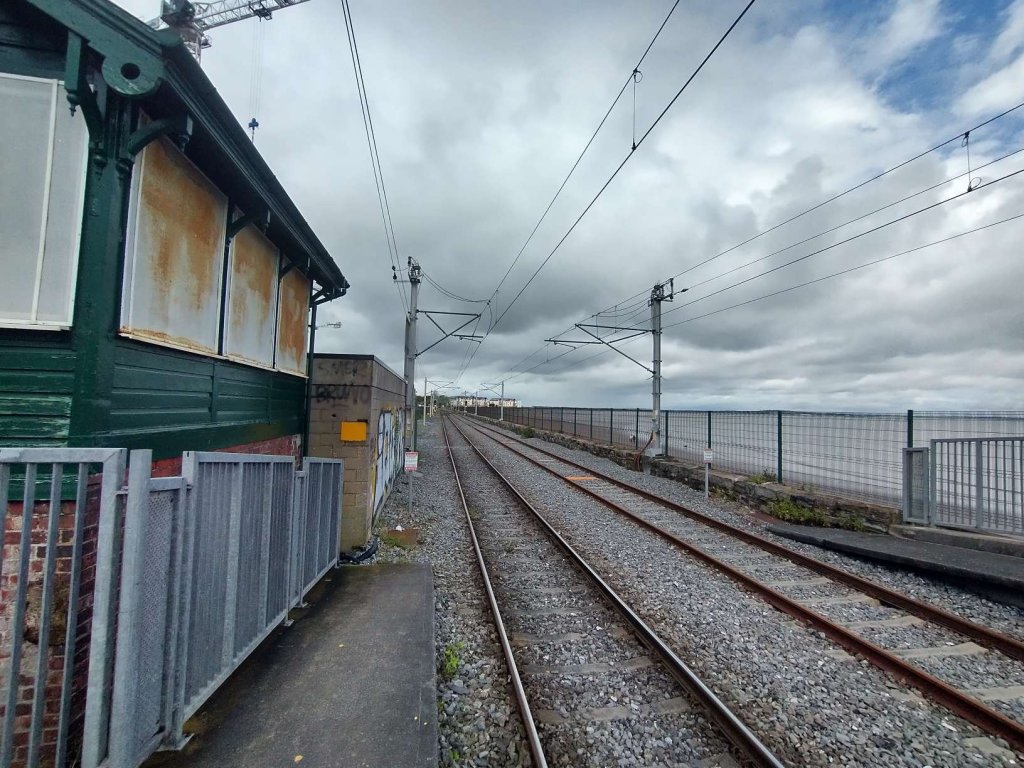
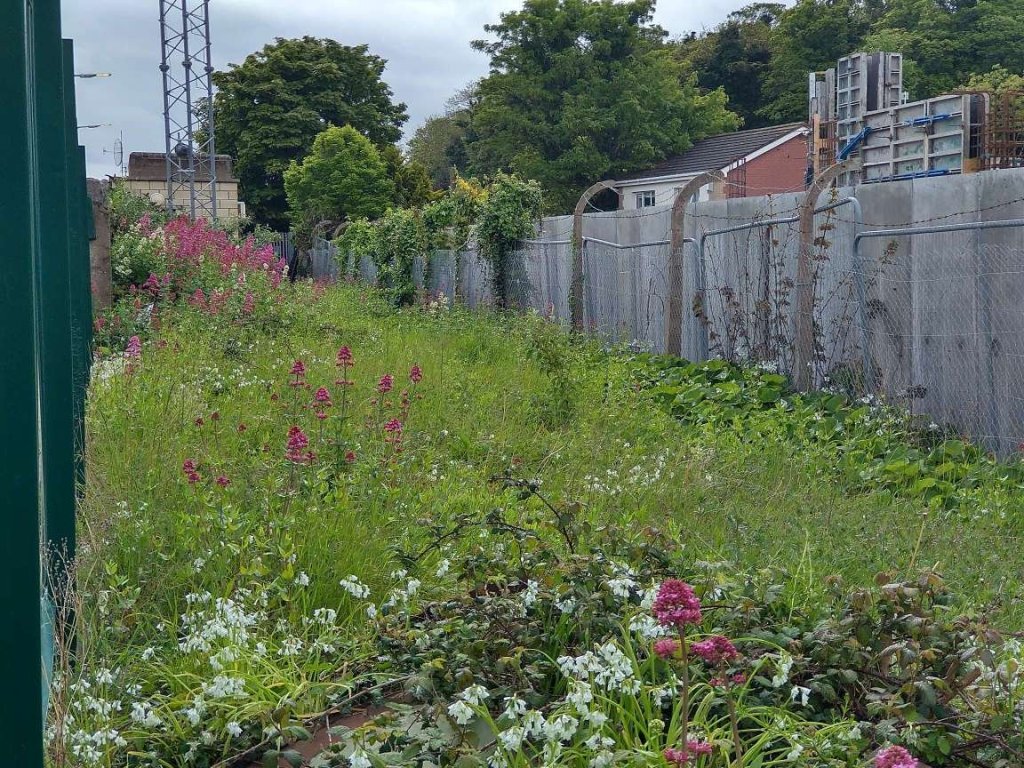
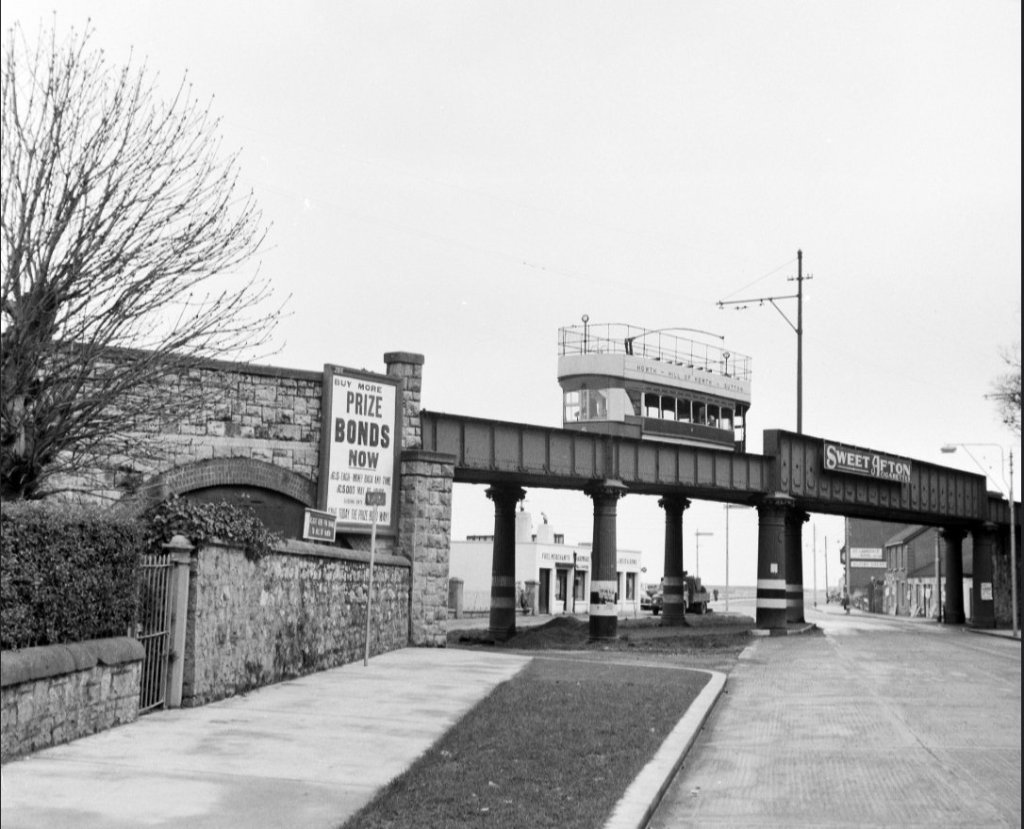
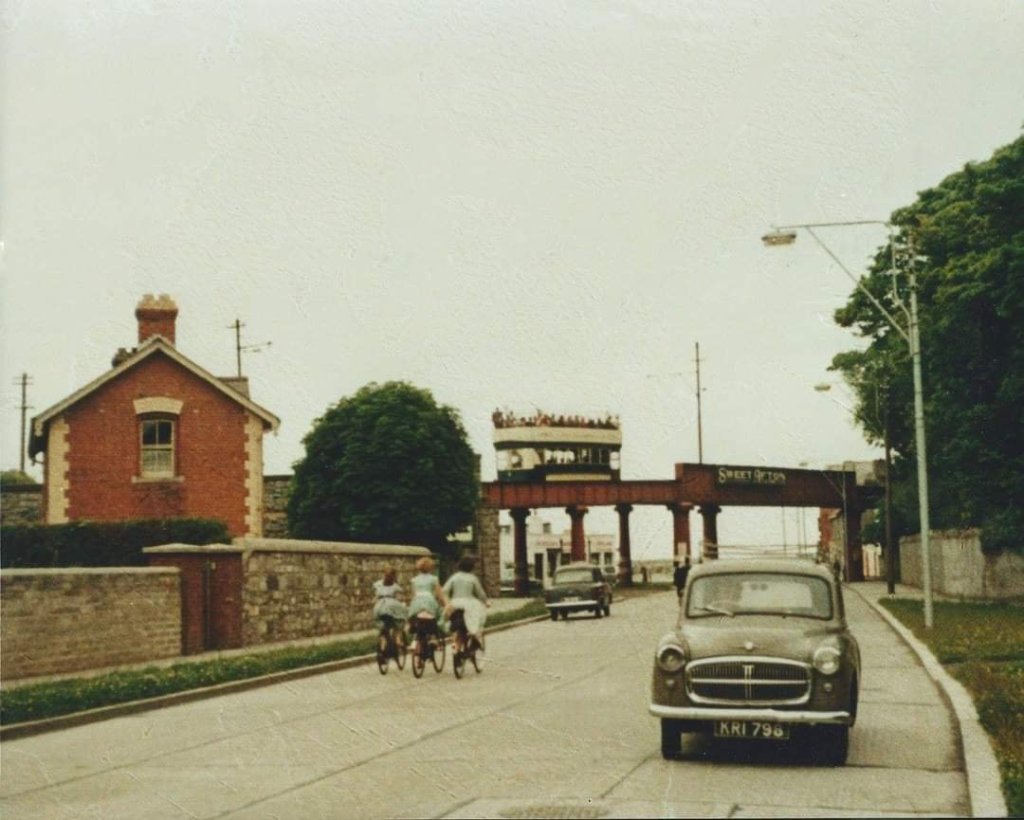
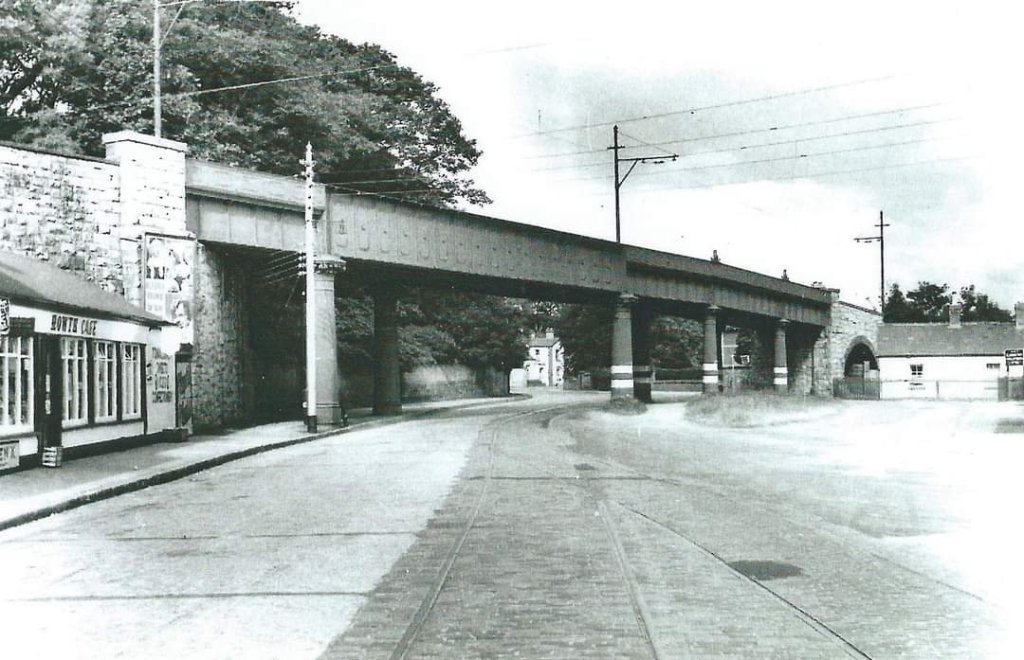
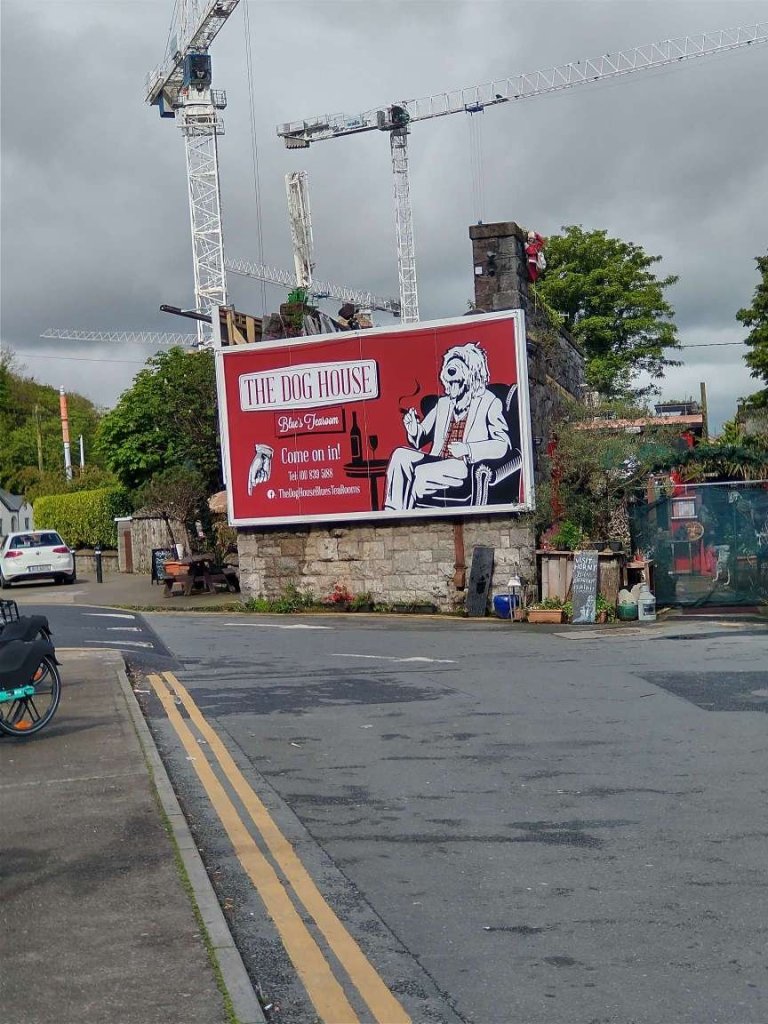
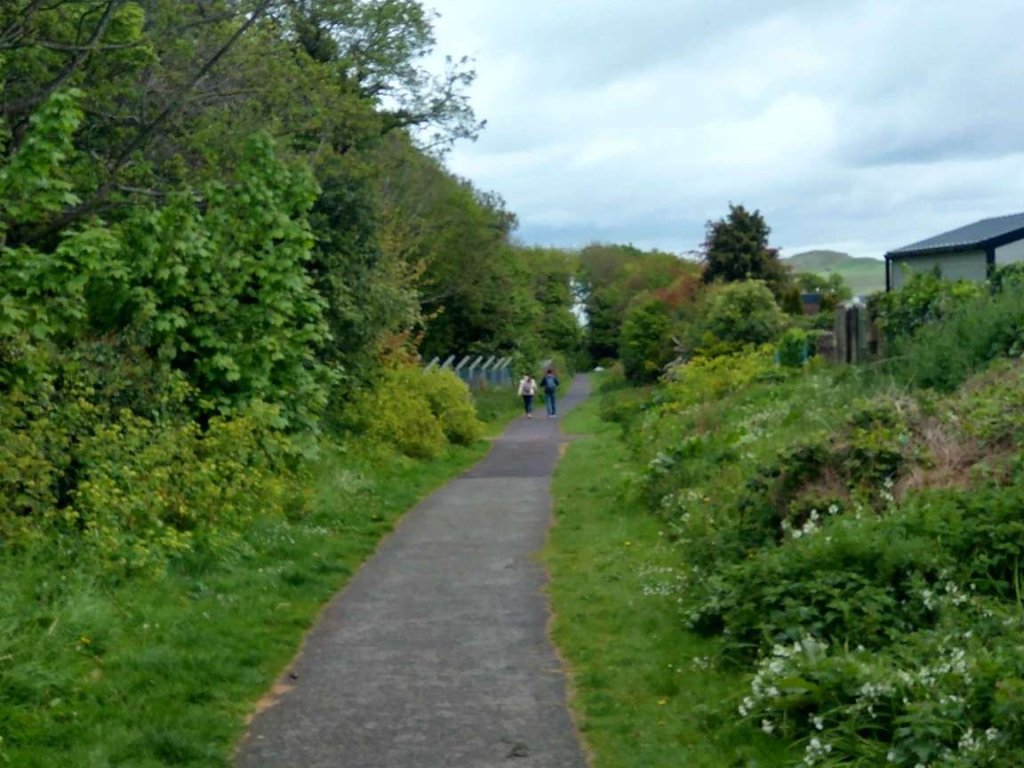
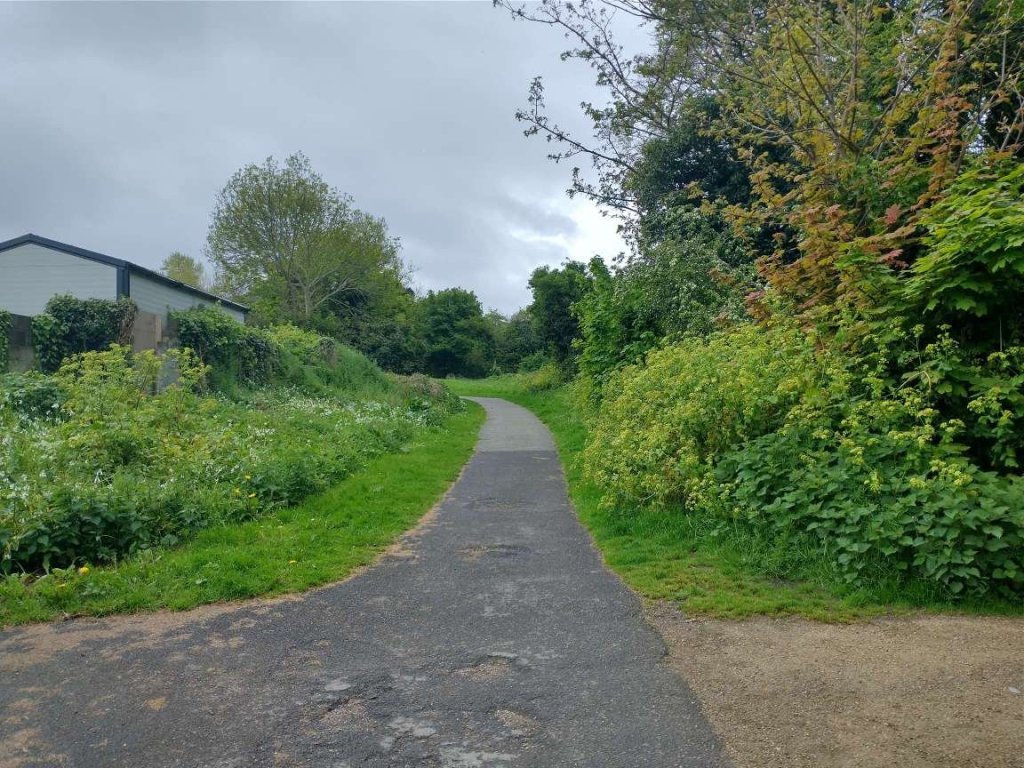
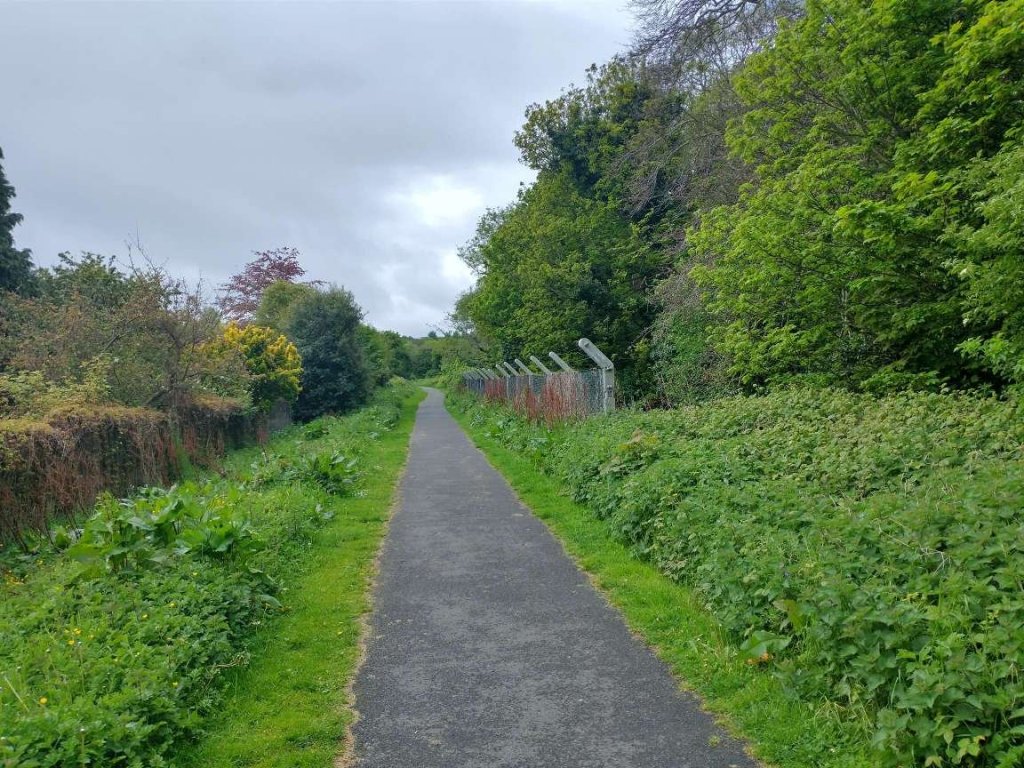
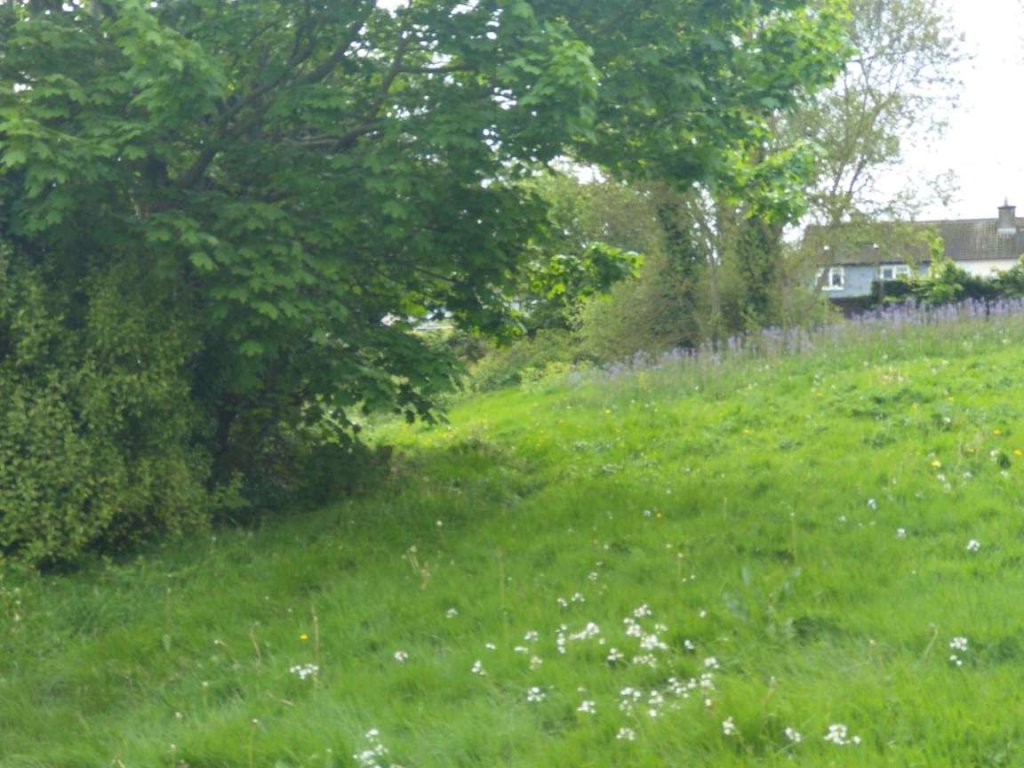
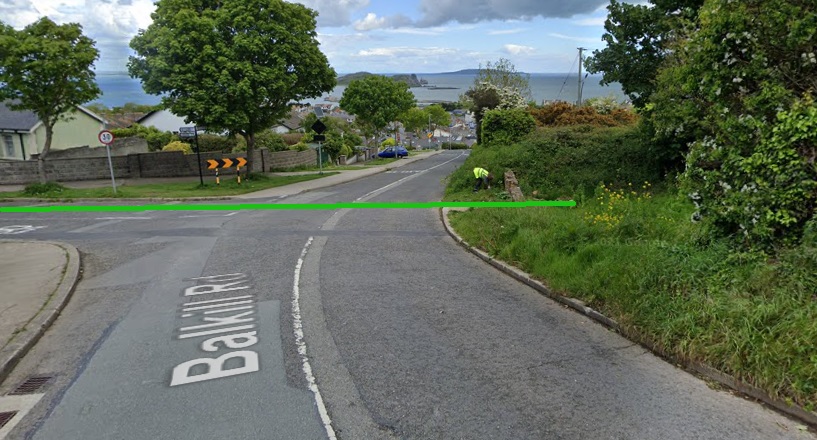
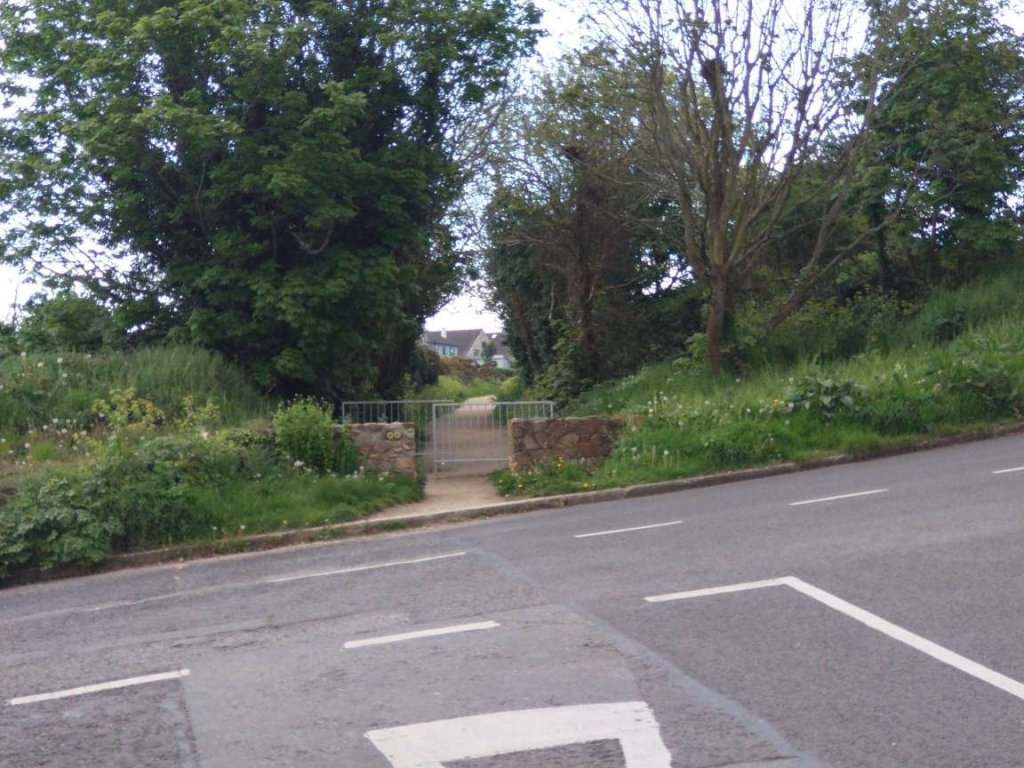
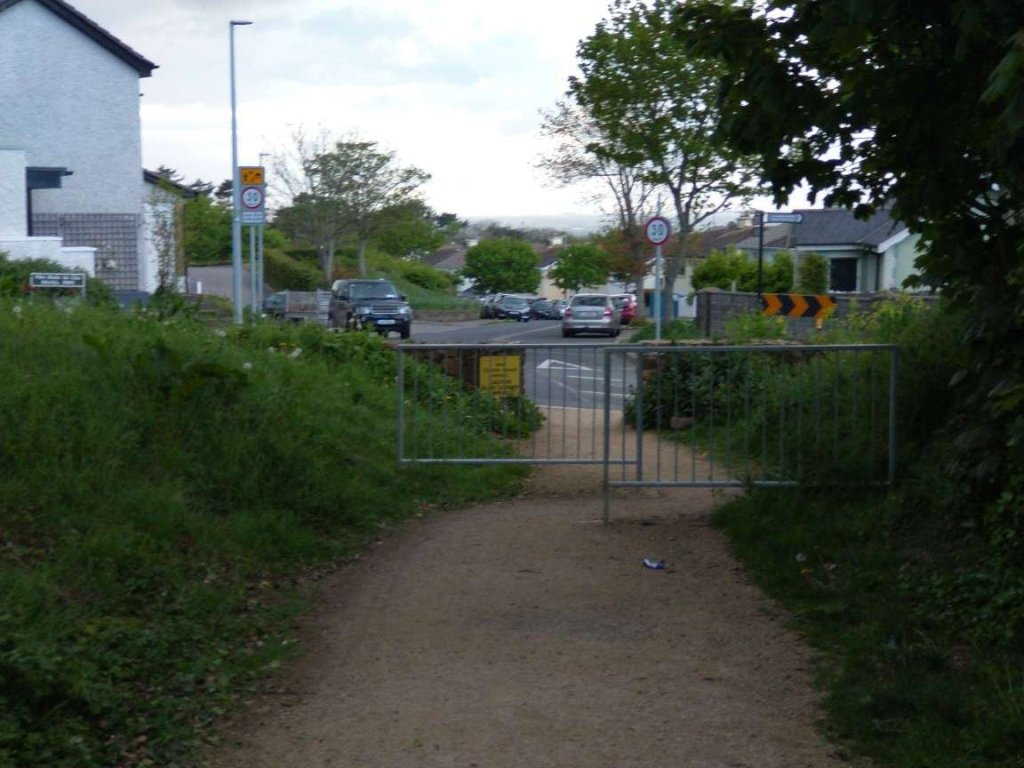
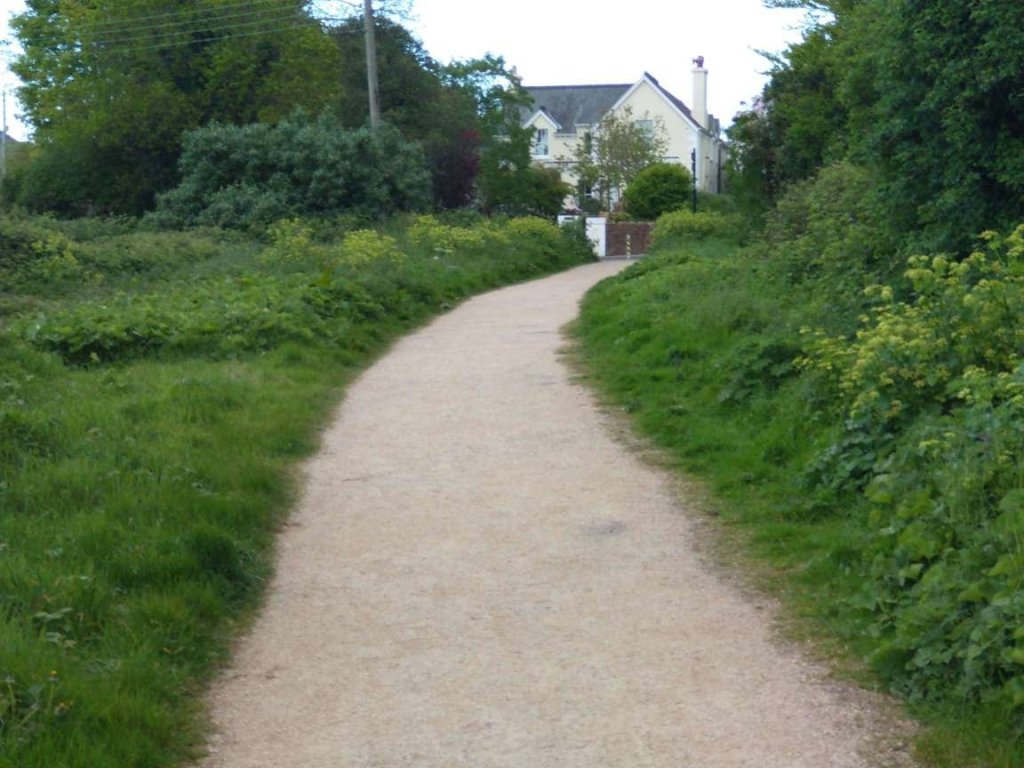
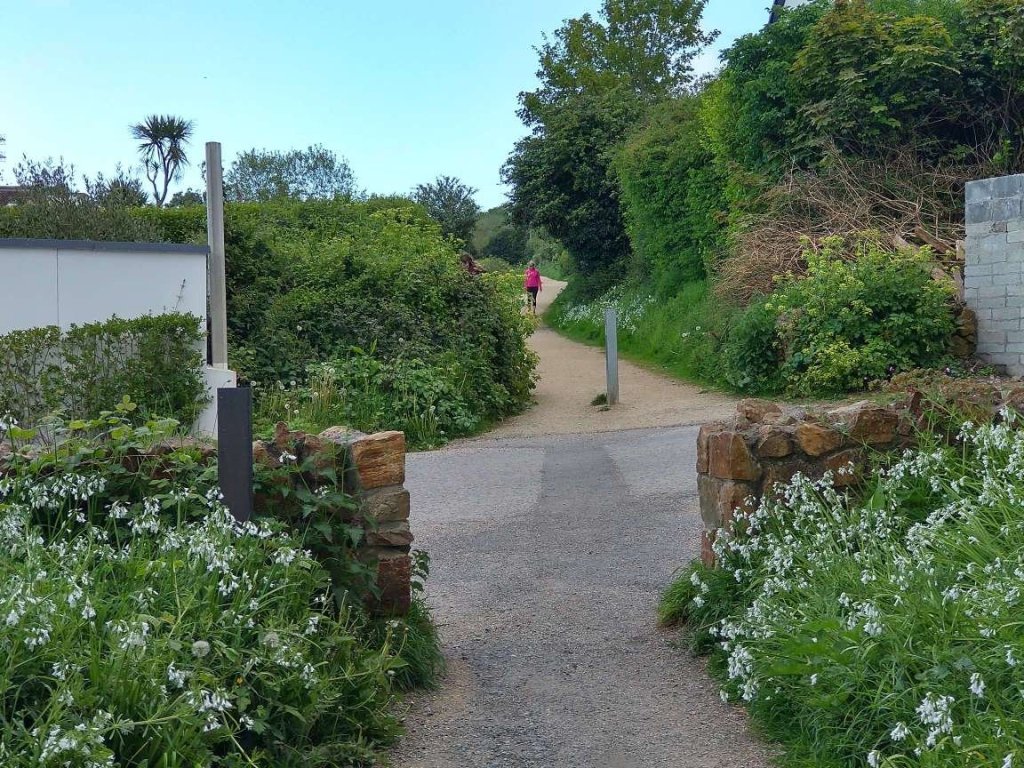
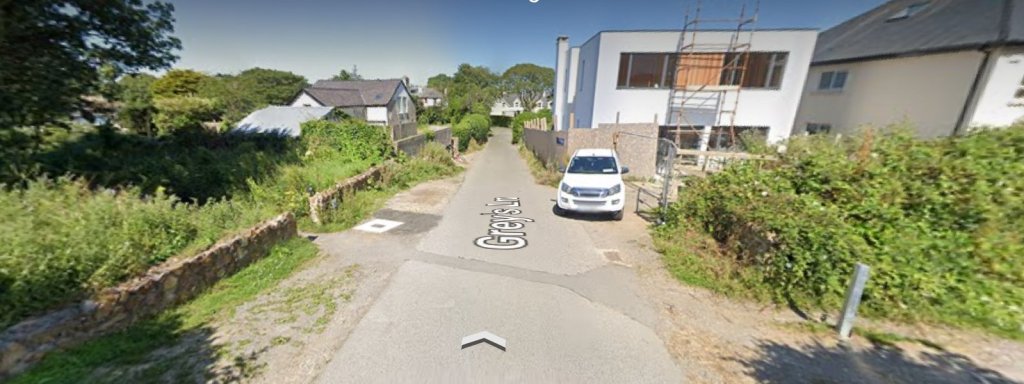
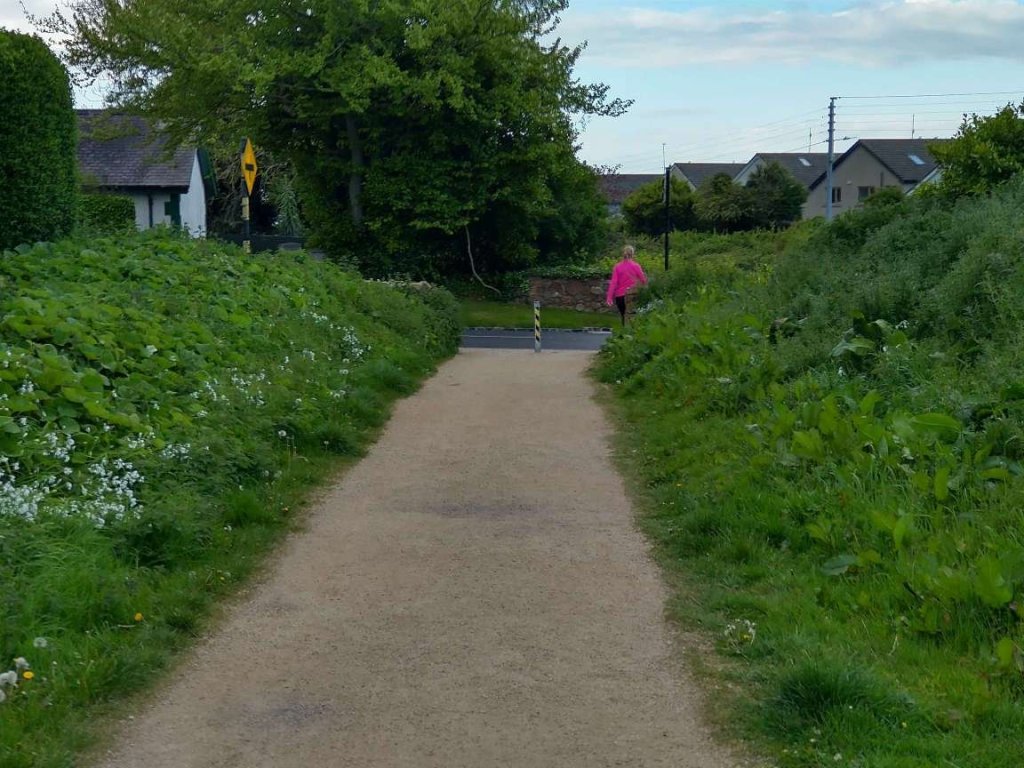
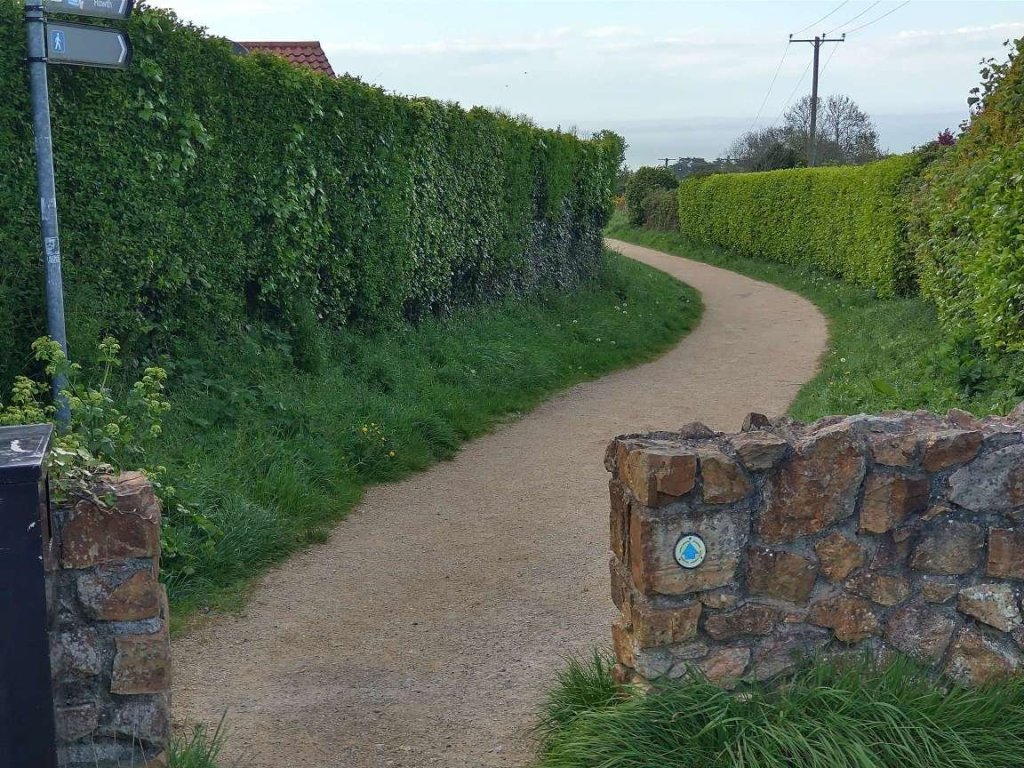
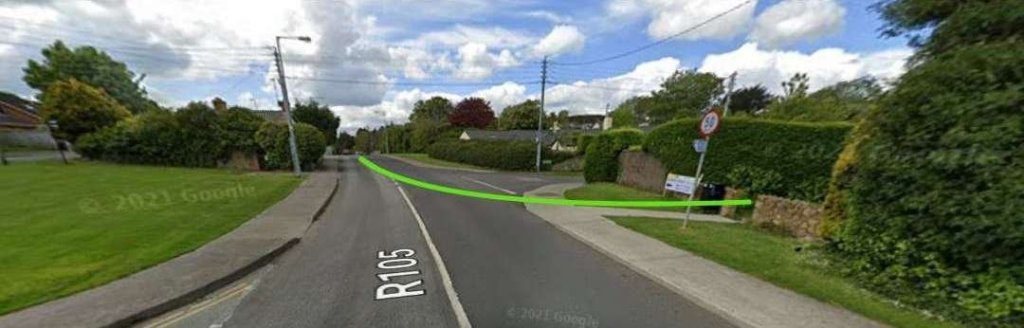
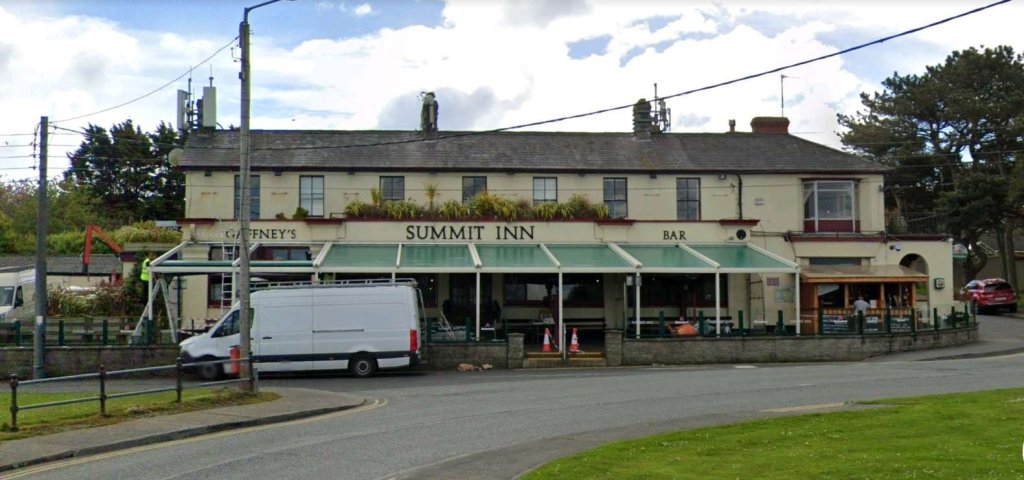
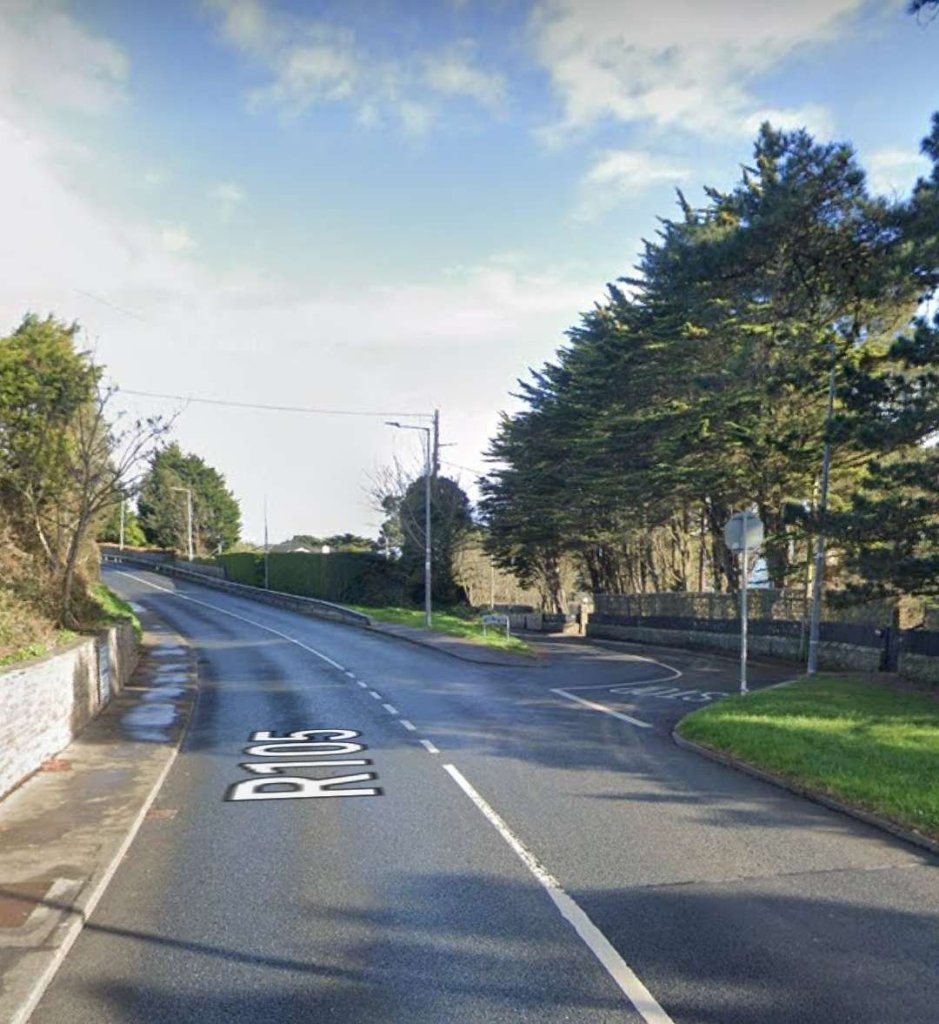
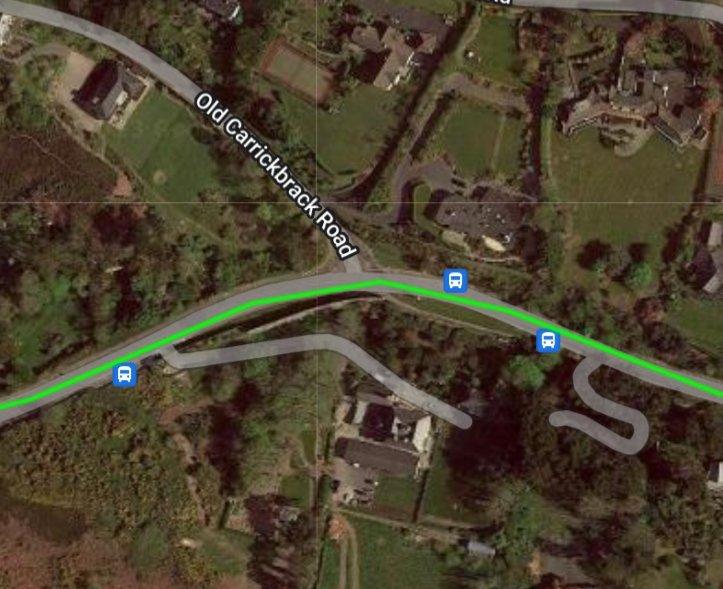
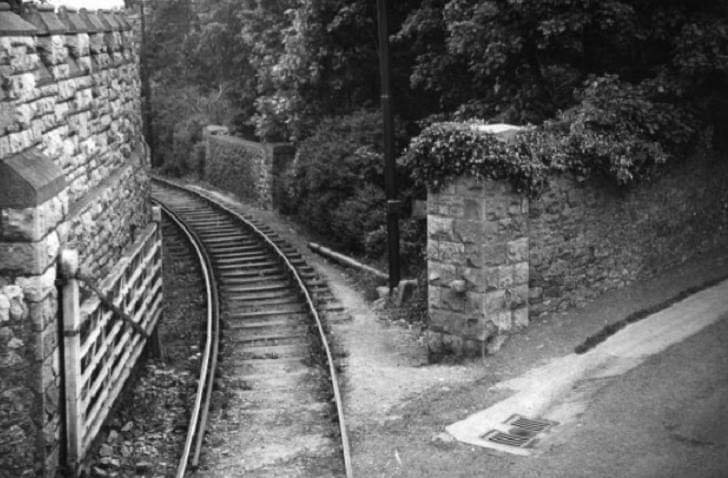
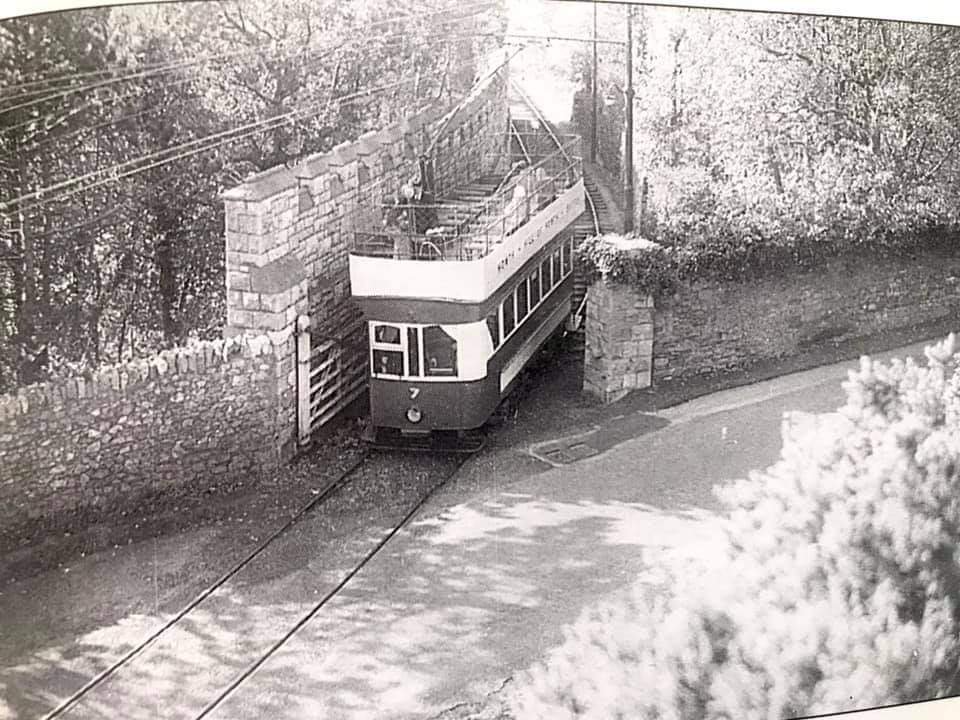
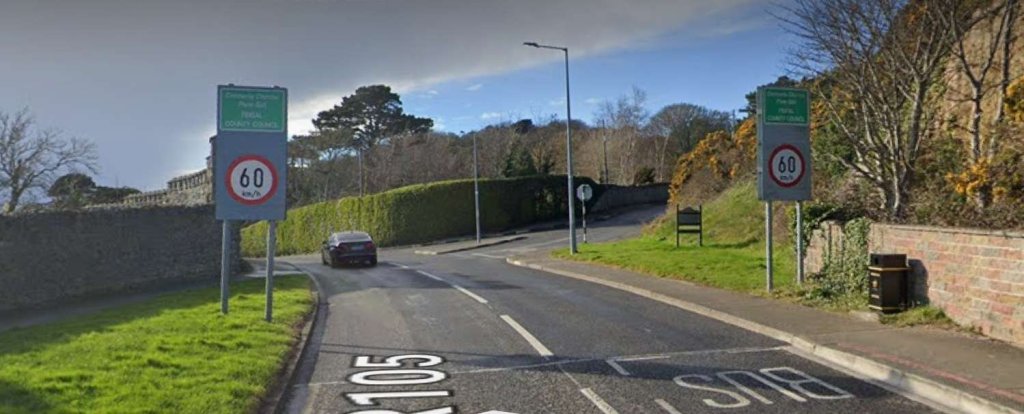
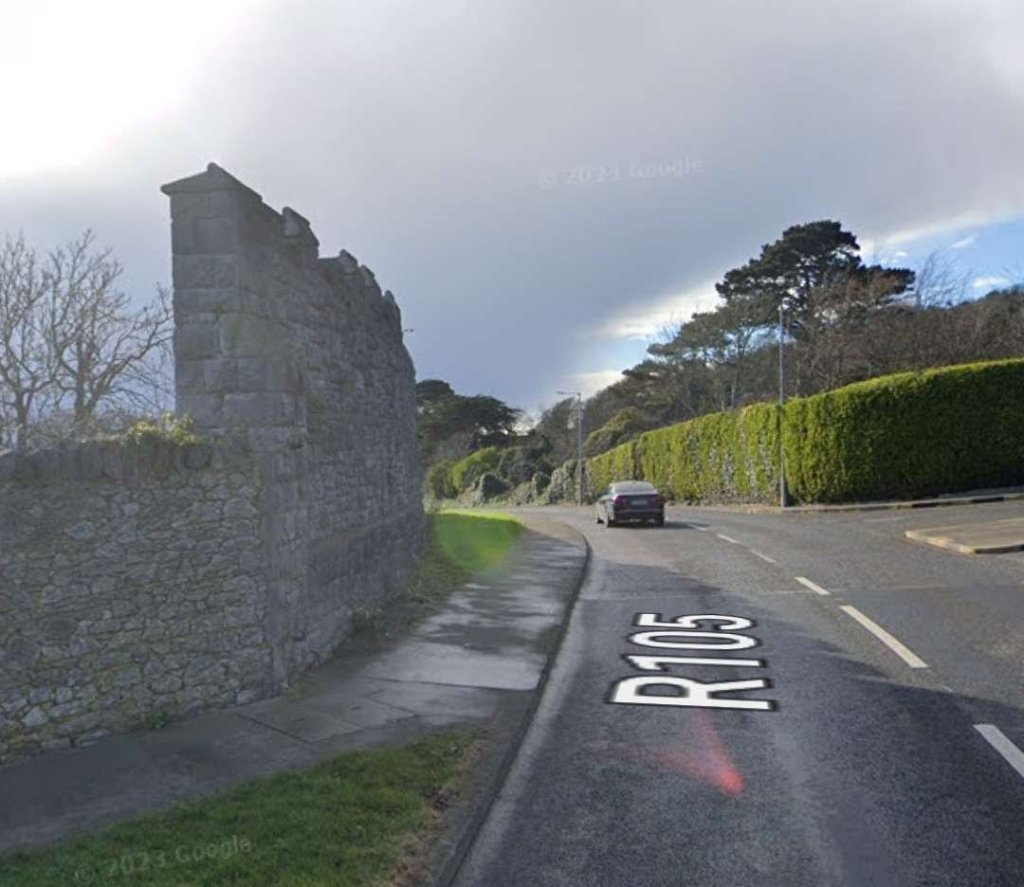
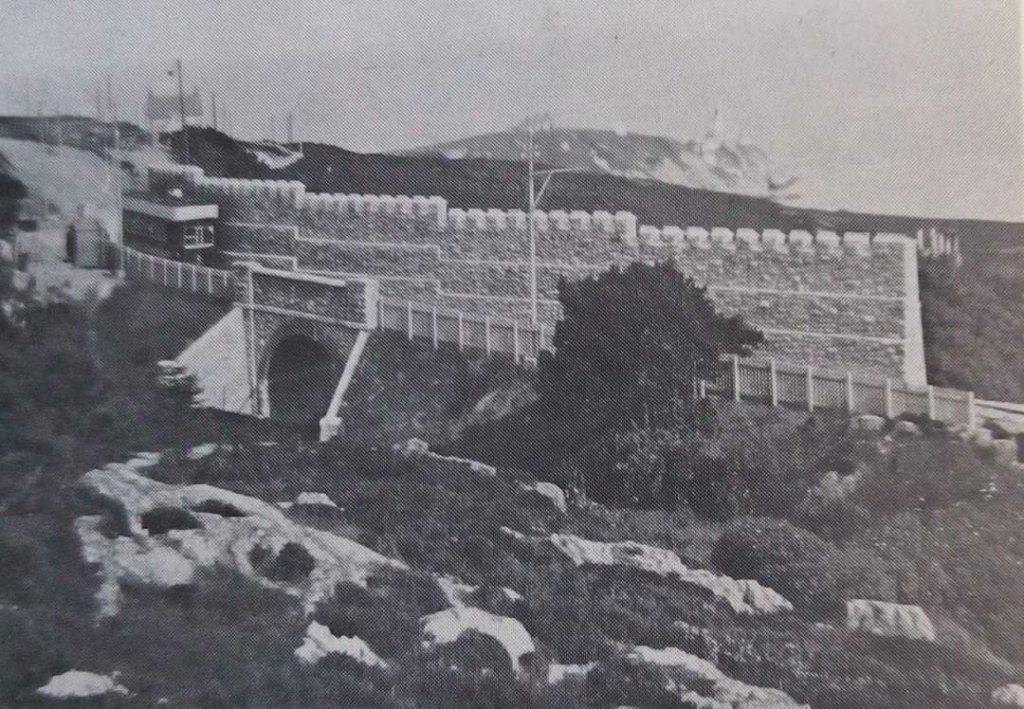
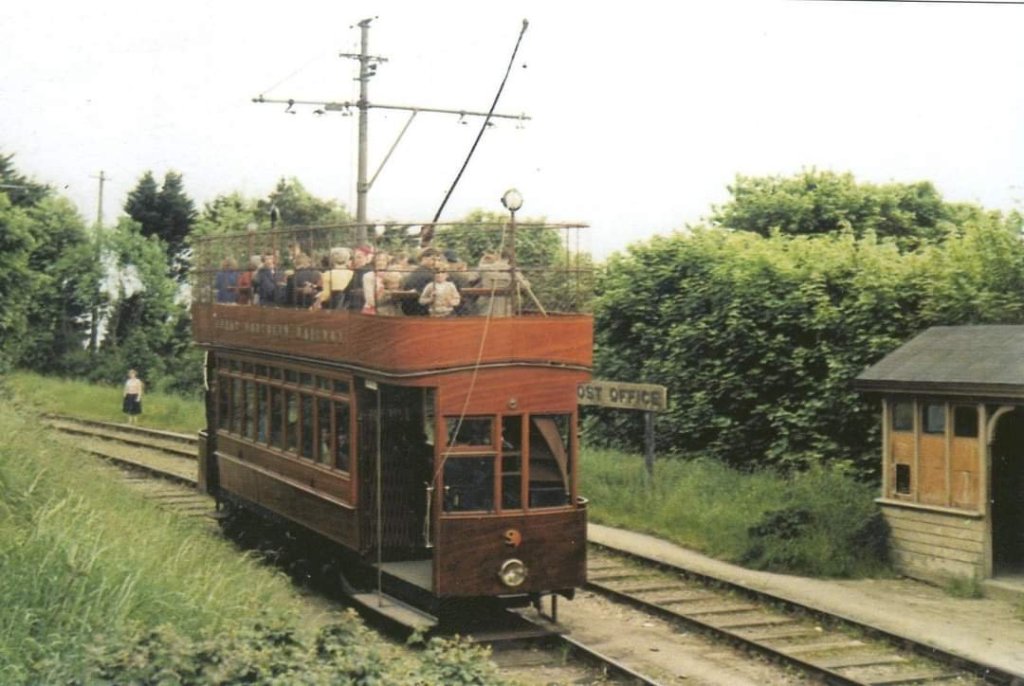
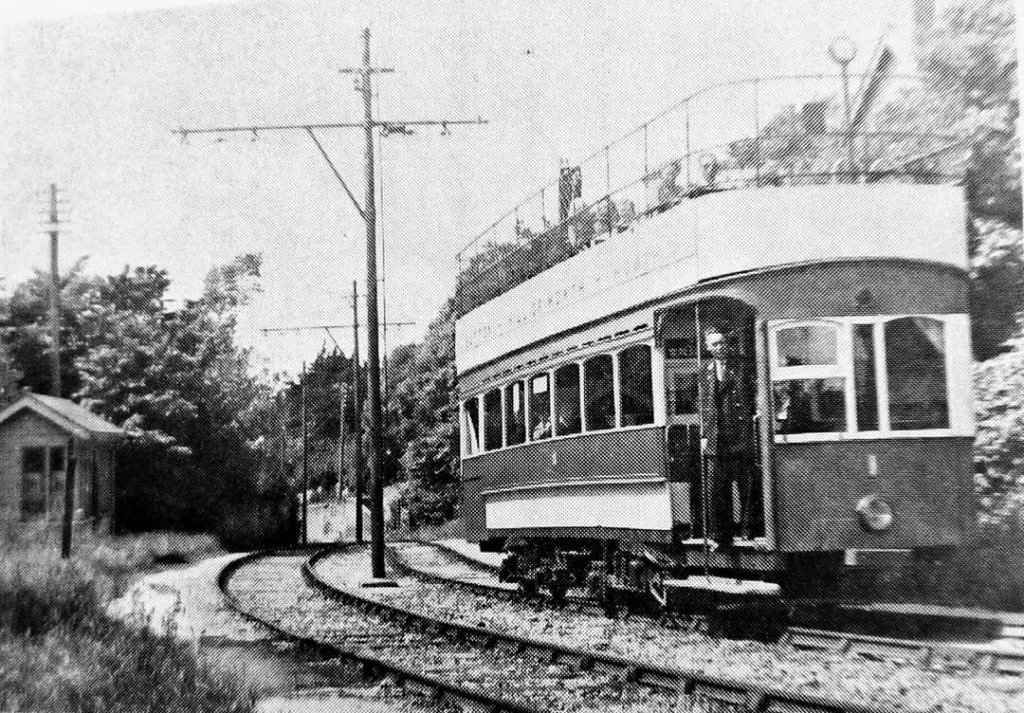
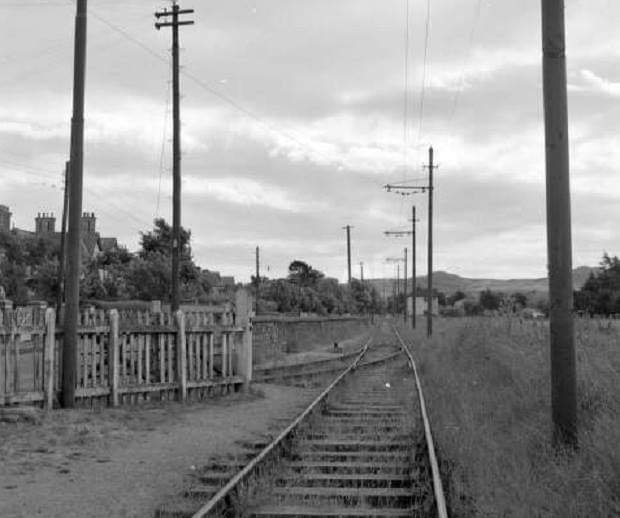
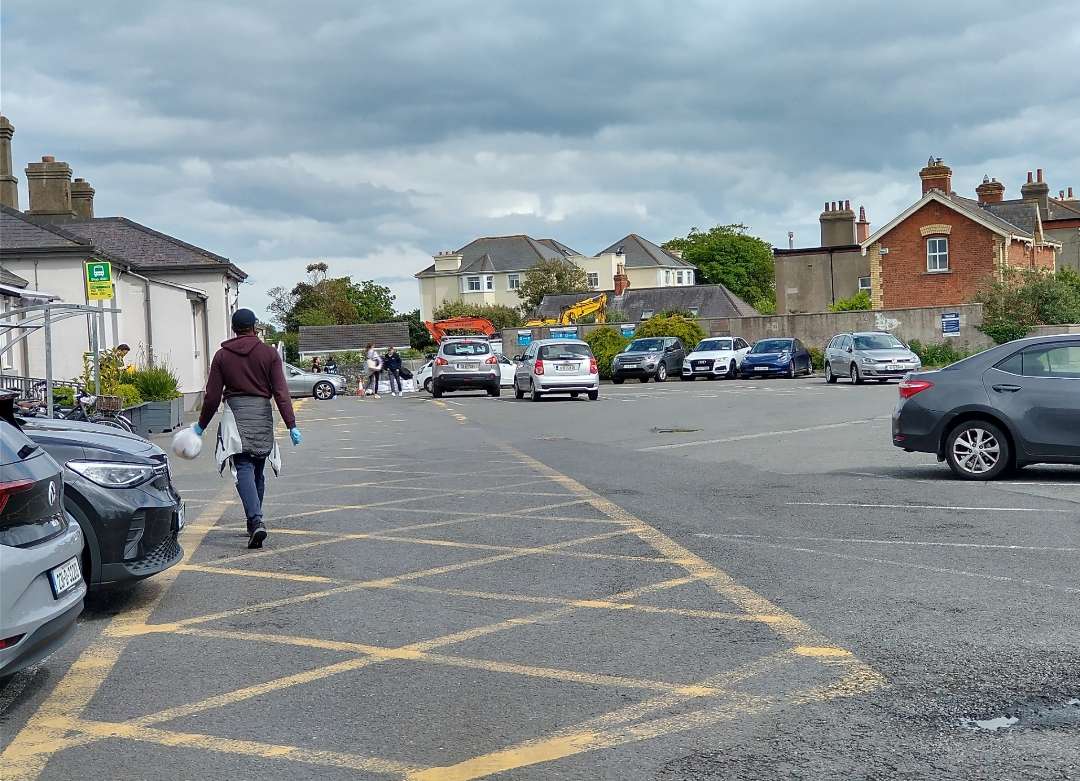
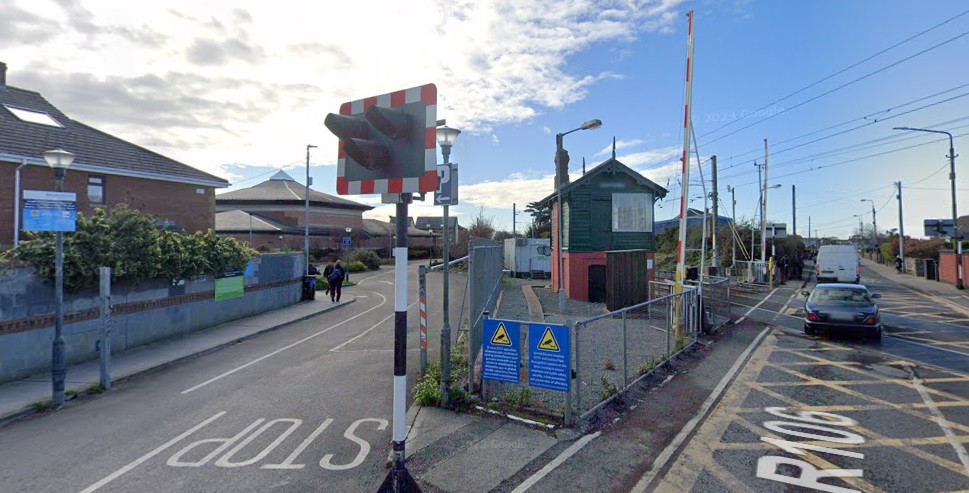
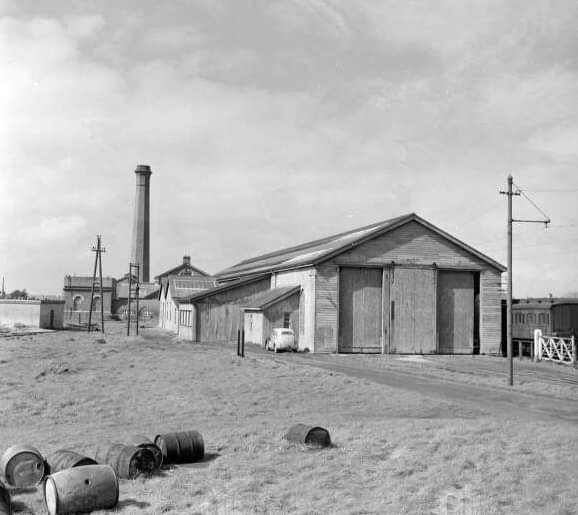
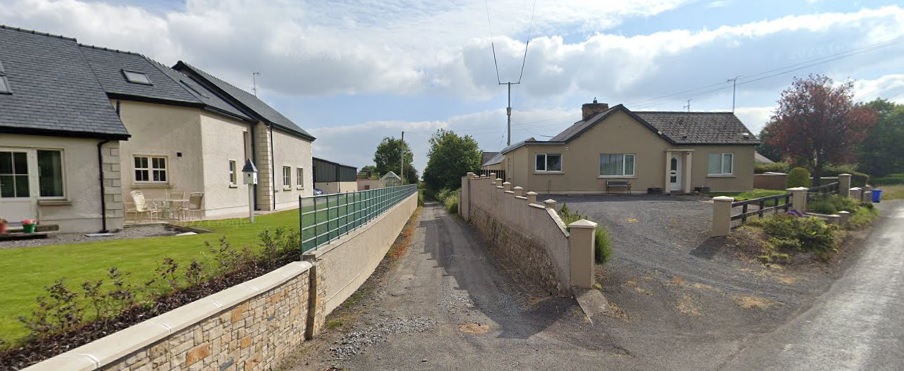
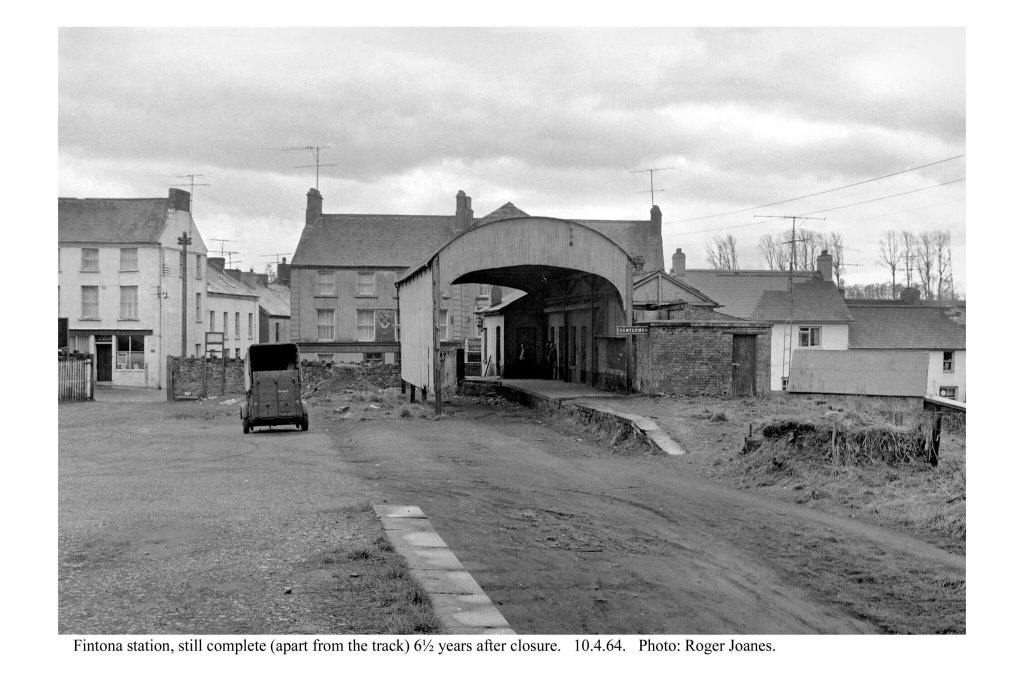
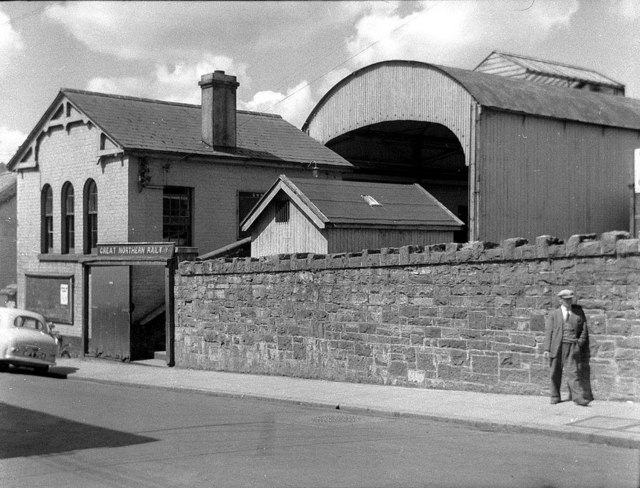
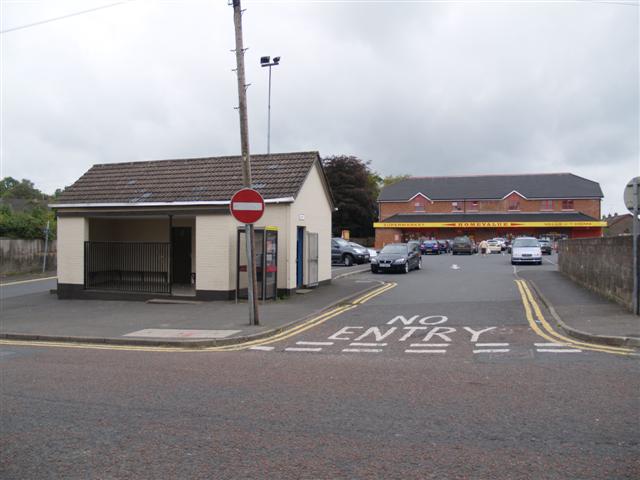
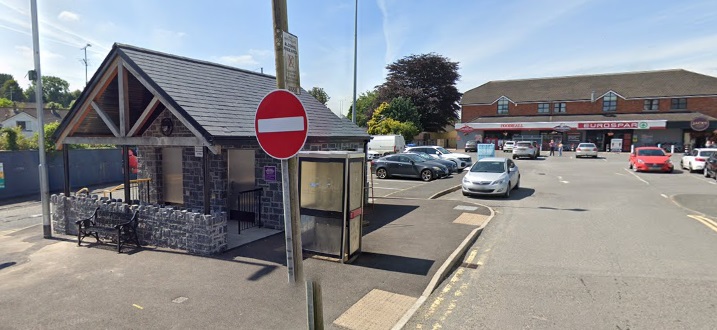
The next three views show the modern preservation line’s buildings in the early 21st century.
Operation
Evans describes the operation of the original line:
“The somewhat tortuous route along the cliff tops gave the line a reputation for scenery rather than speed, but high speeds were frequently attained on the long falling gradient between White Rocks and the Portrush depot.
When the full summer service was operating, the lengthy sections between passing loops rendered operation difficult, and, as some of the loops were not visible from each other, boy signallers were employed. These boys were supplied with white and red flags which they would display to the drivers from a convenient vantage point, the red flag calling on an eastbound car and the white a westbound
The small shed at Bushmills was used by the morning tram from the village which left, with a load of school children and others, to journey into Portrush before the main service started from the depot The winter service was extremely meagre and did not continue beyond Bushmills out to the Causeway unless three or more passengers booked through to that point. During the summer peaks five sets (of one motor car and two trailers) were often in operation at one time.” [1: p187-188]
Wikipedia tells us that “Traill, a former geological surveyor, expected a considerable mineral traffic between quarries along the line and Portrush harbour, and there was originally a goods branch into the main square of Bushmills. However, this traffic fell away, the narrow gauge harbour branch being taken up when the Northern Counties station was opened in 1893, [11] and for most of its life the line primarily served tourists visiting the Causeway. From 1925/26 the line was closed down during each winter.” [3]
“Increased patronage, partly from military traffic, during World War II meant a brief revival of winter services, but receipts were becoming inadequate to support maintenance of the company’s ageing assets, and the line did not reopen after the end of the 1949 season (last day of regular service 30th September 1949), [12] and was subsequently dismantled.” [3]
Rolling Stock
Evans provides details of the rolling-stock used on the line:
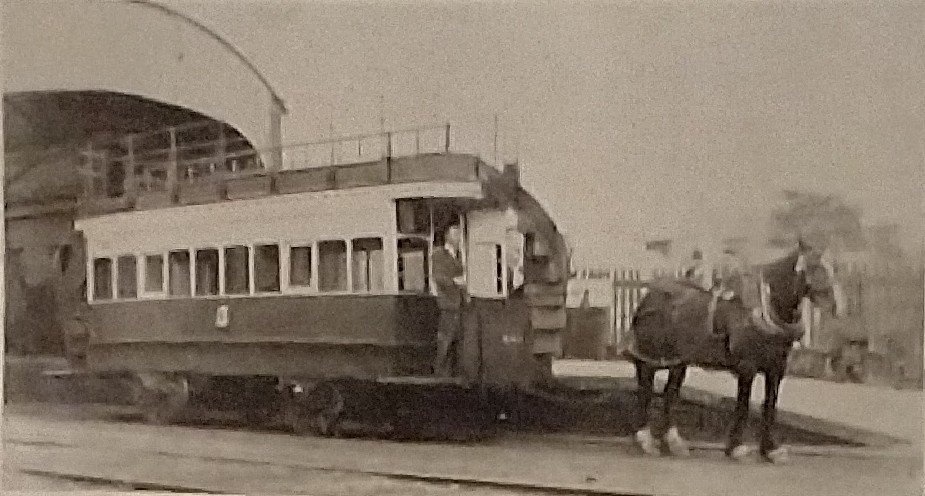
“The steam locomotives were Nos. 1 and 2 (1883) (scrapped 1910 and 1899 respectively), Nos. 3 and 4 (sold 1930).
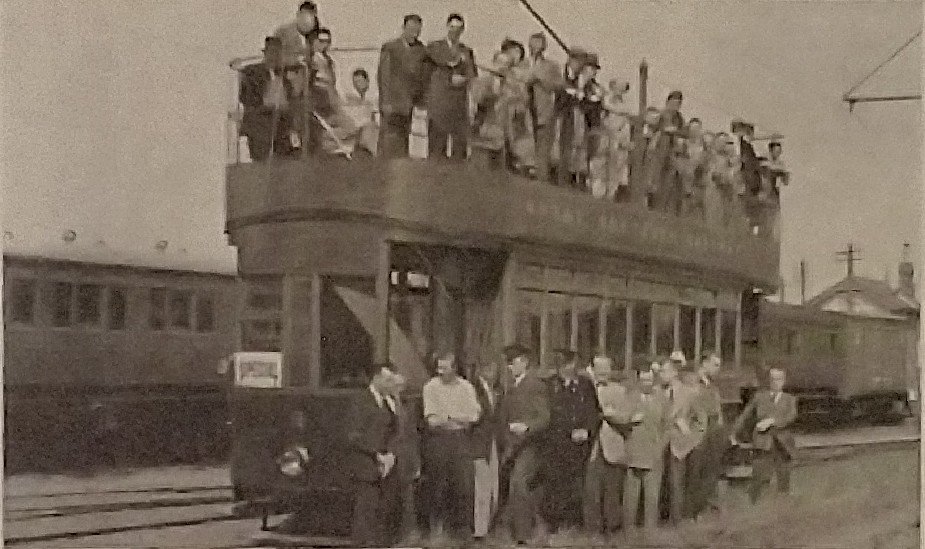
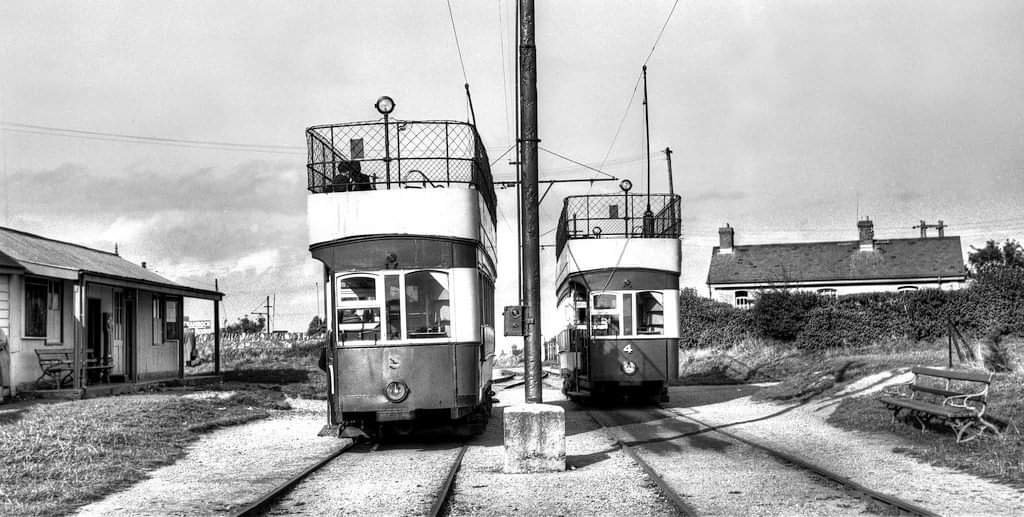
The electric stock was all single deck, single truck:
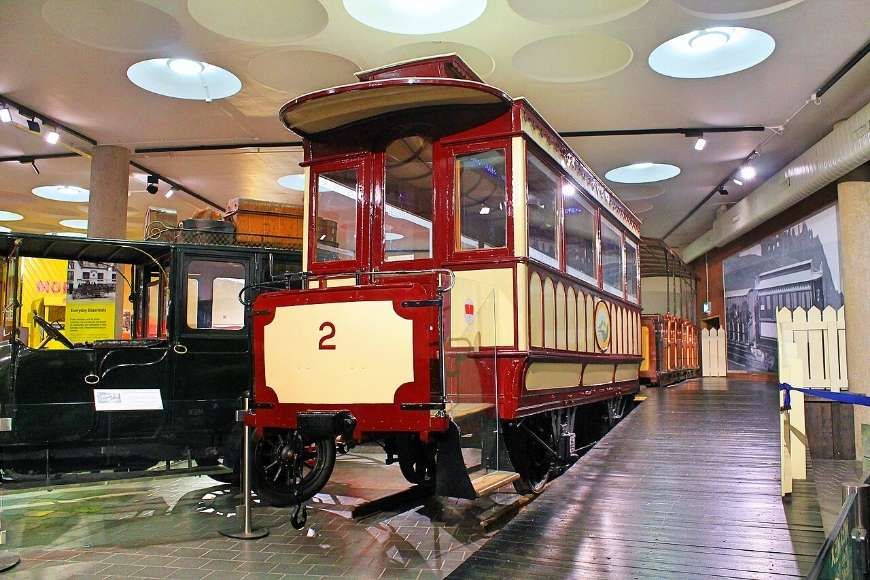
Nos. 1, 2, 10 (closed trailers with end platforms).
Nos. 4-7, 11, 13, 15, 16 and 19 (toast-rack trailers with canopies).
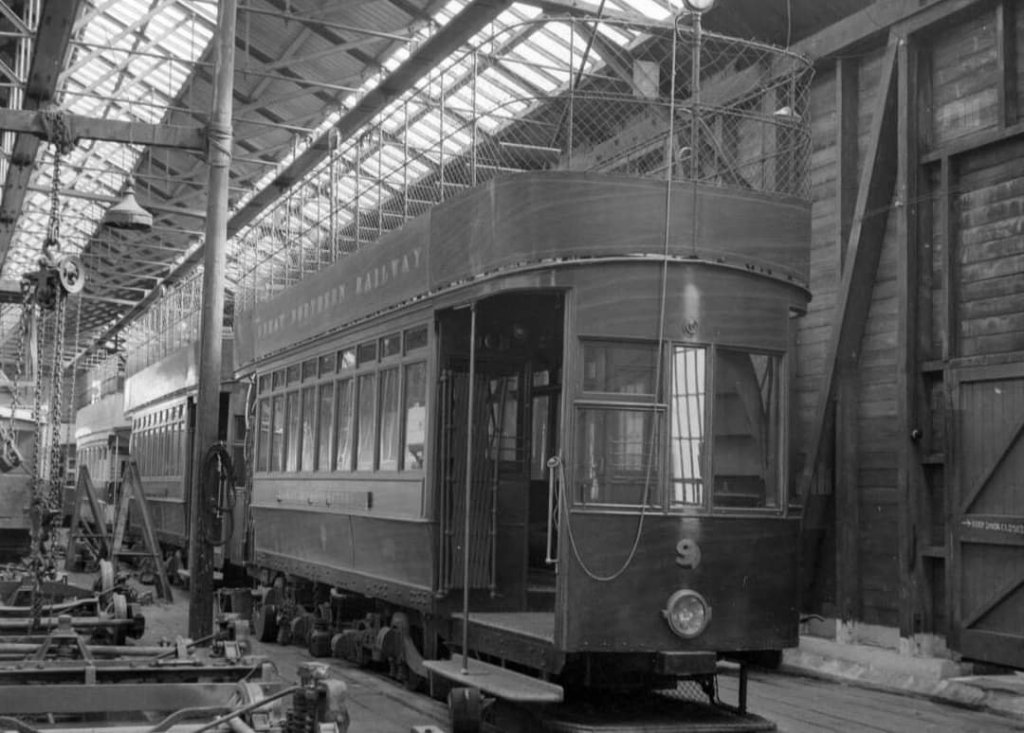
No. 9 (vestibuled motor-car 2 x 20 h.p. B.T.H. motors. Peckham truck),
Nos. 20-23 (toast-rack motor-cars with canopies, originally completely open).
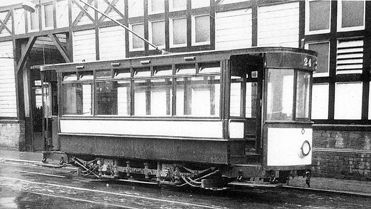
No. 24 (vestibuled motor-car, Peckham pendulum truck, originally double deck 3ft 6in. gauge car and purchased as such from Dunfermline and District Traction Co., August, 1937. It had longitudinal cushioned seats).” [1: p188]

Wikipedia expands somewhat on the rolling-stock record provided by Evans: “the original cars were built by the Midland Railway Carriage and Wagon Company and were later followed by 5 examples from GEC, each with 2 x 20 horsepower (15 kW) British Thomson-Houston motors, and also a Peckham car. There were a maximum of six electric power cars owned at any one time, all being single-truck, single-deck vehicles with both enclosed and “toast rack” examples; typically these would haul several 4-wheel “toast rack” trailers, of which there were 15. There were four steam tram engines, ordered from Wilkinson of Wigan. They had vertical boilers, weighed 7 tons and burnt coke. No.2 was scrapped in 1899, No.1 converted to a ballast wagon in 1910 and Nos. 3 (Dunluce Castle) and 4 (Brian Boroihme) were sold in 1930 for the River Bann Navigation works near Portstewart.” [3][11]
“In 1938 a final electric tram was added to the stock as number 24. This vehicle was formerly a double deck Dunfermline and District Tramways car which was both re-gauged and extensively modified to become a single decker with enclosed ends for the Giants Causeway route.” [3][14]
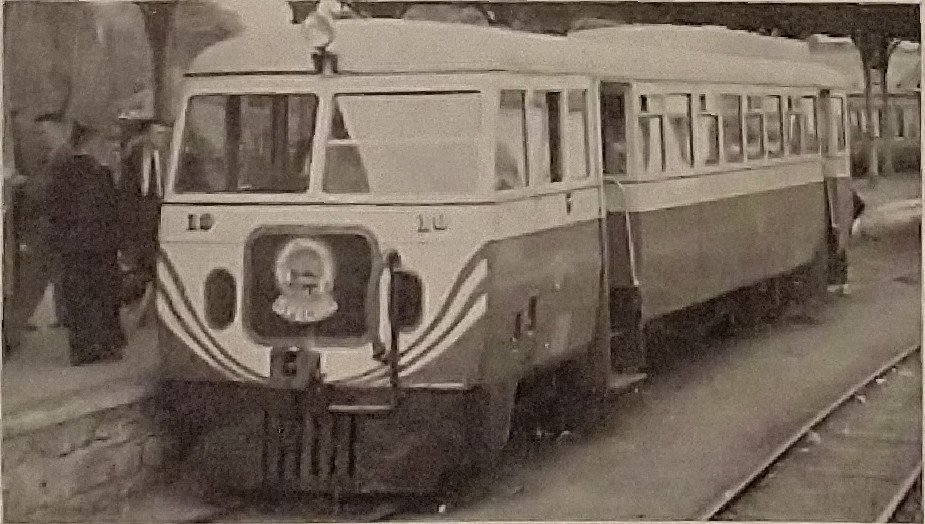
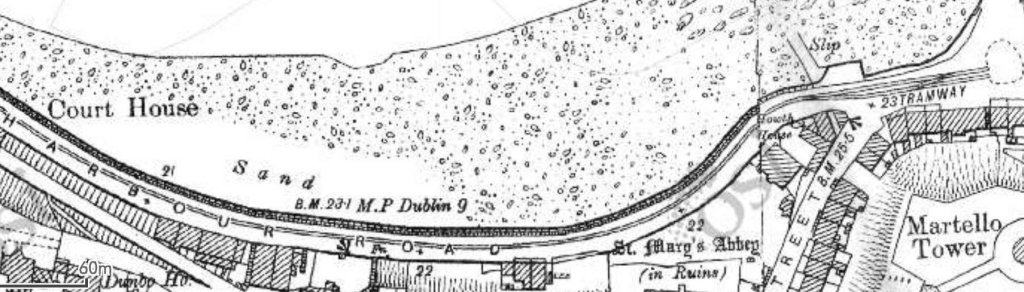
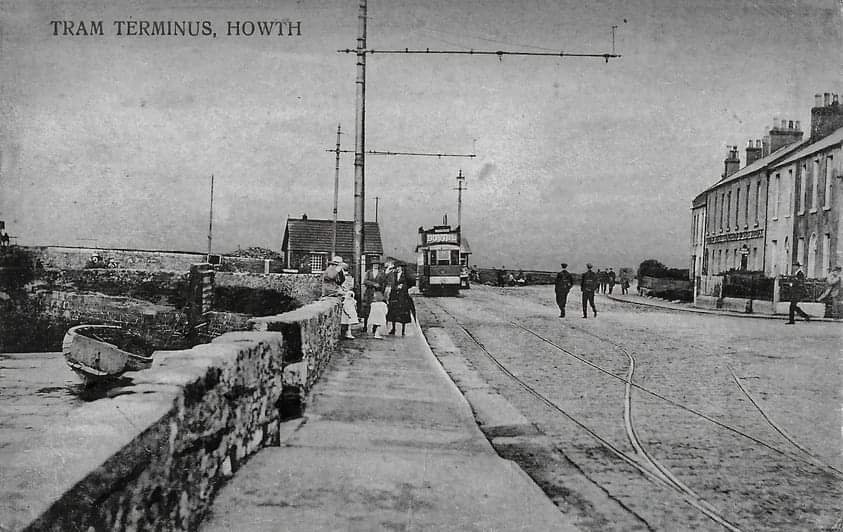
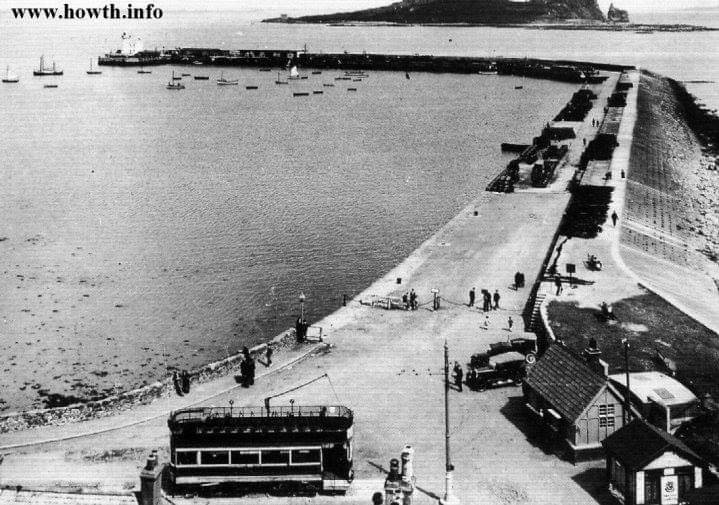
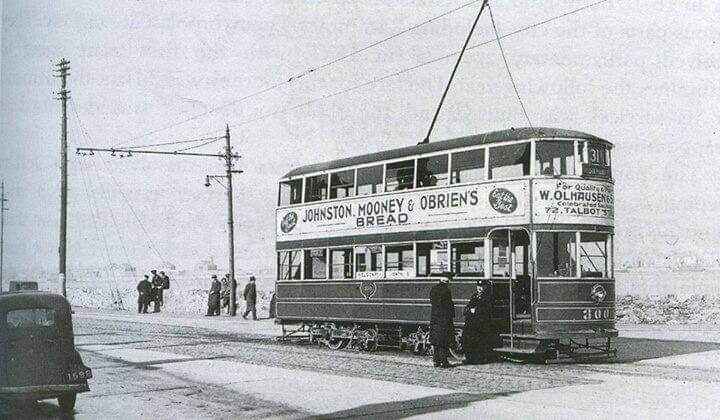
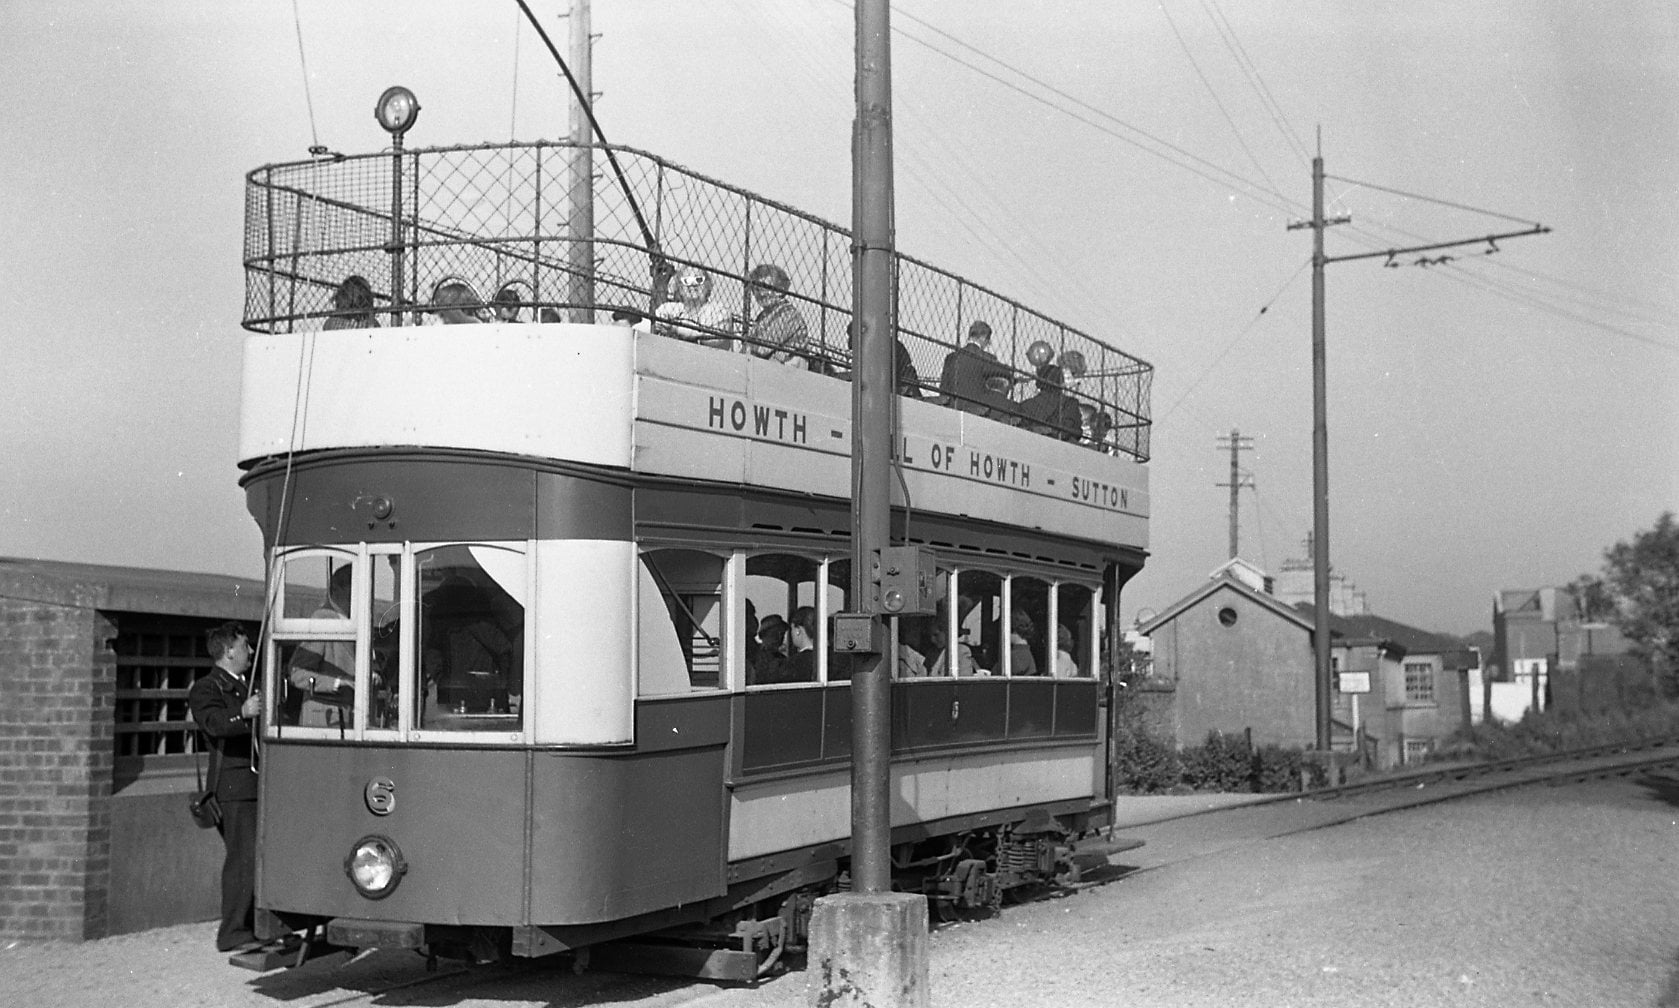
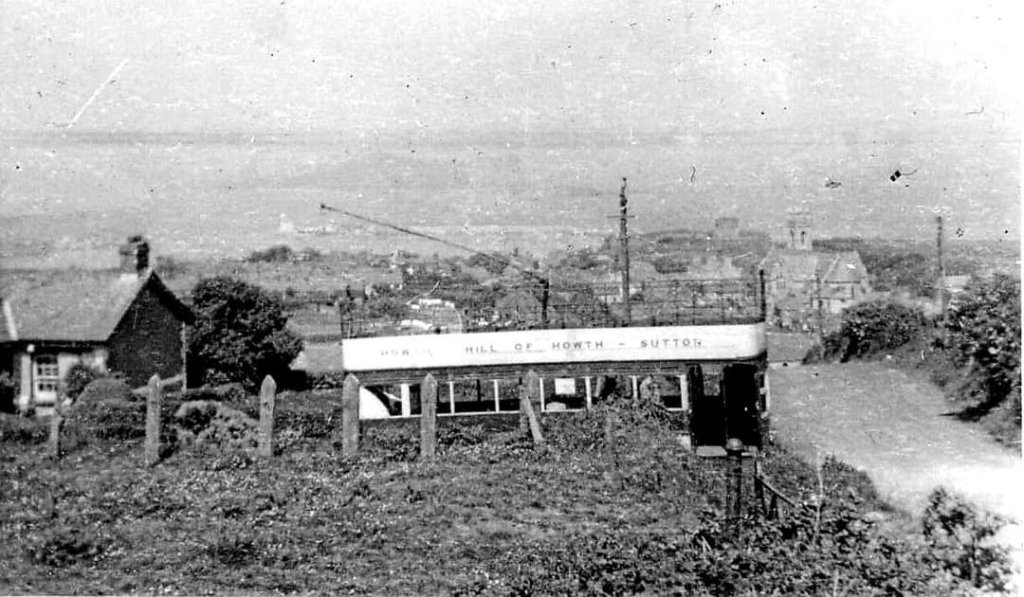
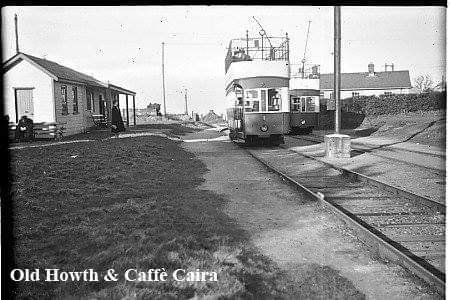
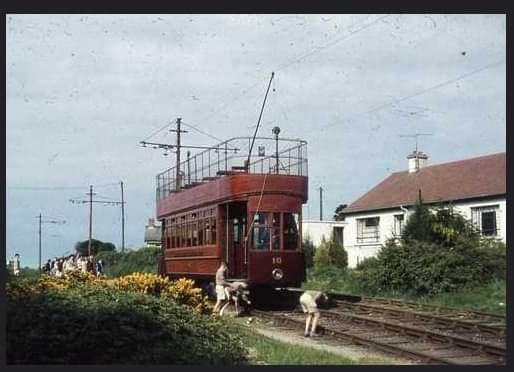
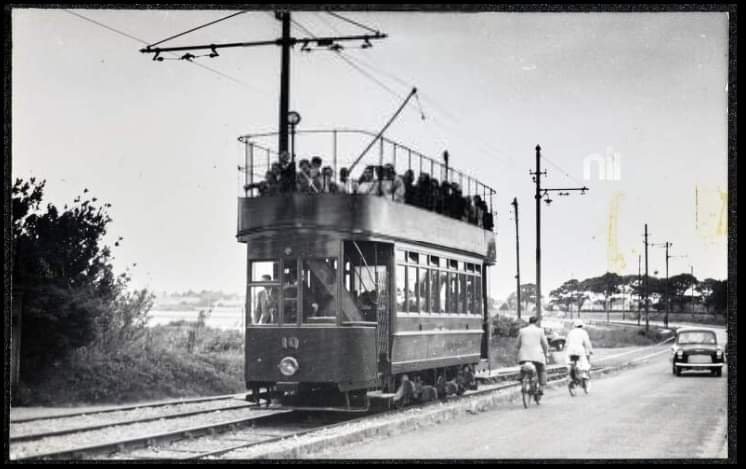
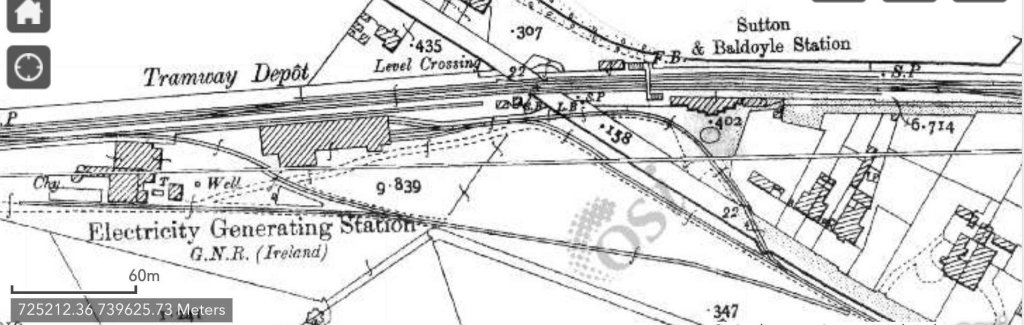
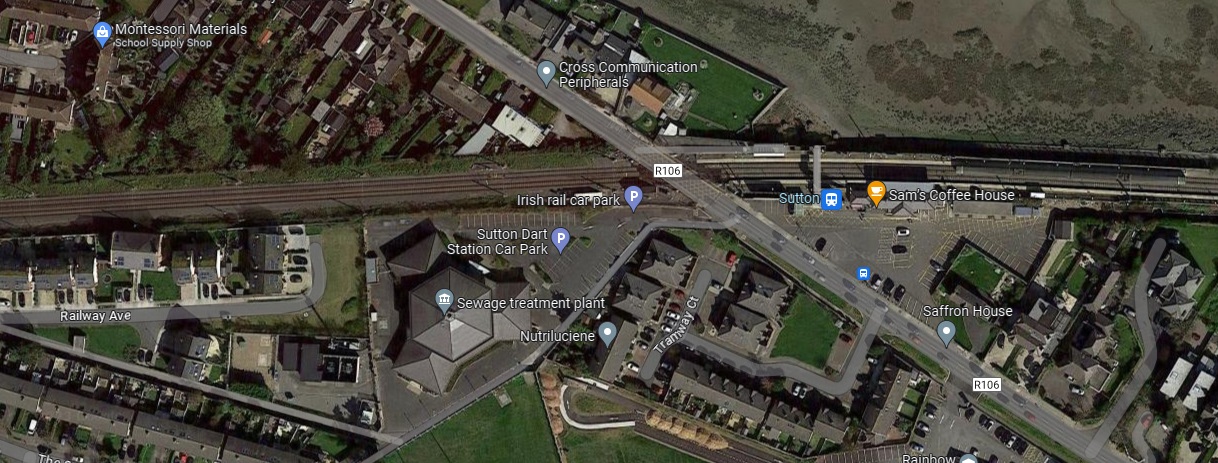
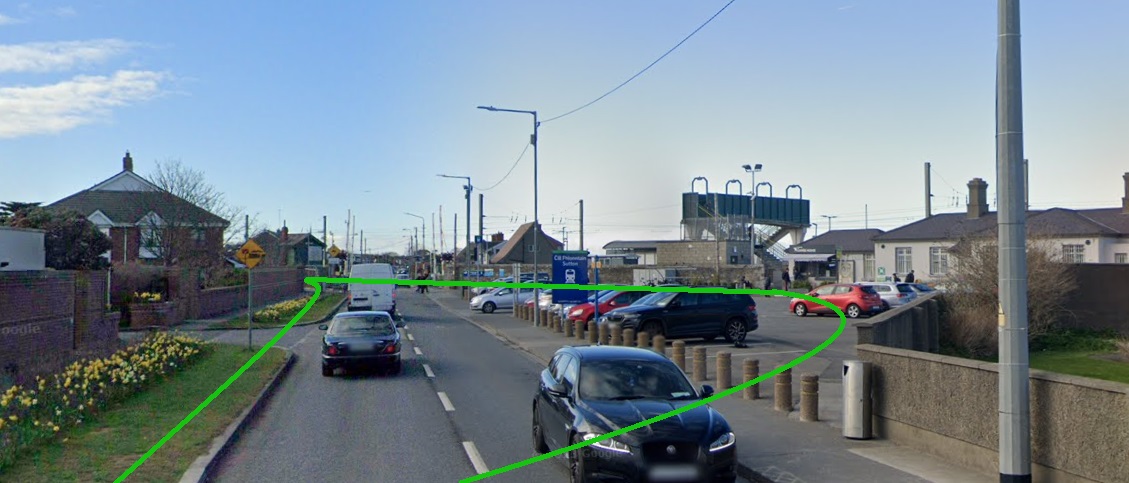
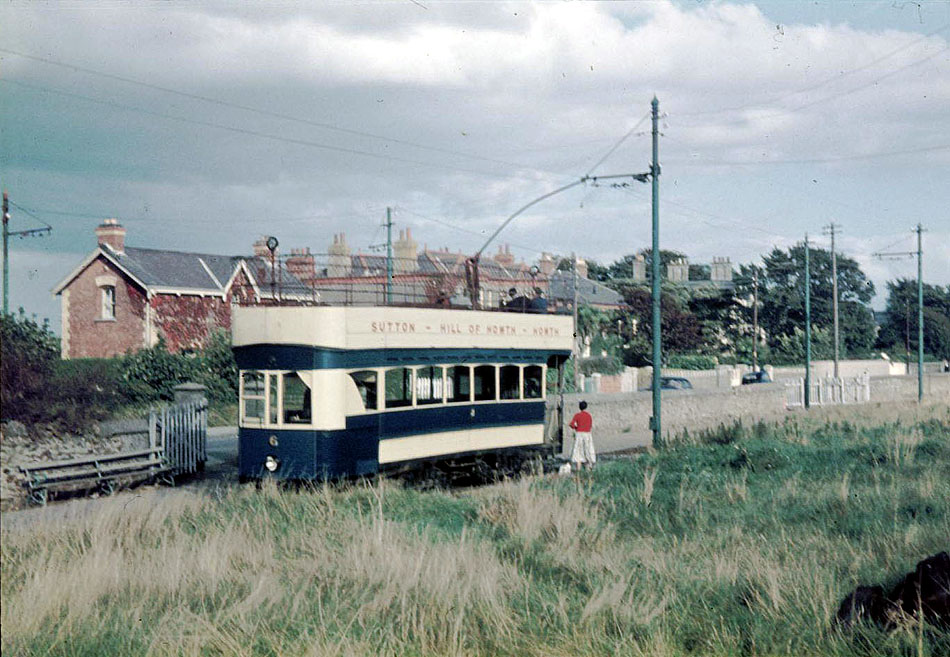
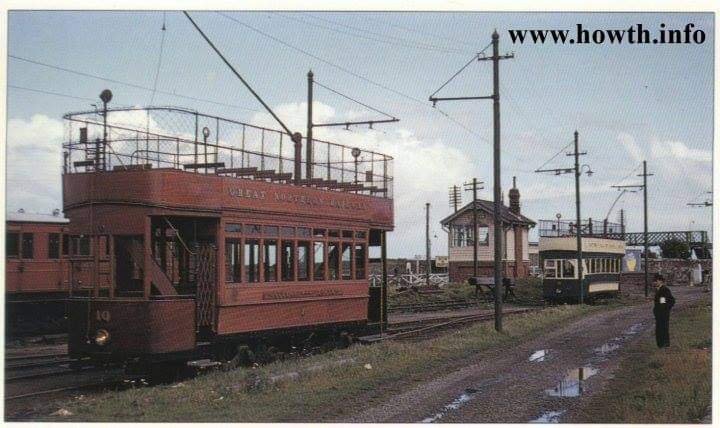
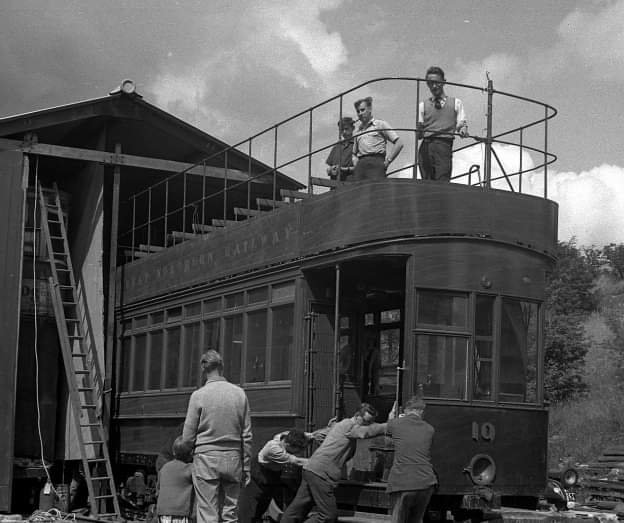
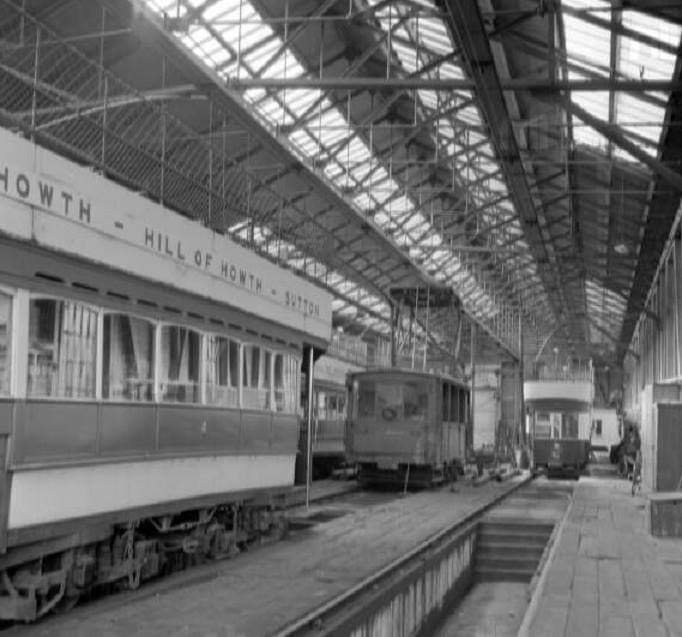
“A power car and trailer are restored at the Ulster Folk and Transport Museum, Cultra and another power car is in the care of the National Transport Museum of Ireland at Howth.” [3]
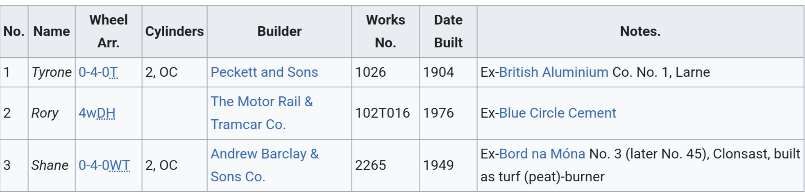
Full details of the steam locomotives can be found here. [17]
Evans concludes:
“The disappearance of this historic tramway, which changed so little in its 66 years of operation, yet provided a useful amenity, and an attraction for tourists, will be mourned by many and the line will be greatly missed by holidaymakers who have in previous years enjoyed rides along its scenic coastal route.” [1: p188]
The editor of The Modern Tramway commented: “We understand that a conference of local authorities is being held to urge the Government to subsidise the Giants Causeway line to the amount of £2,000 a year, so that it may be carried on as a tourist attraction. This is a move that commands our support, but we submit that the modernisation of the line might after a while actually render the subsidy unnecessary.” [1: p188]
Preservation
The Giants’ Causeway and Bushmills Railway was later constructed over the final two miles (3.2 km) of the Tramway and carried its first passengers at Easter 2002. Trains were running at least until the end of 2024. [3][13]
The Giant’s Causeway and Bushmills Railway (GC&BR) is a 3 ft (914 mm) narrow gauge heritage railway operating between the Giant’s Causeway and Bushmills. It “uses equipment originally assembled by Lord O’Neill for a tourist line at Shane’s Castle, Country Antrim, which closed in 1994. The idea of using this to revive part of the Tramway was largely conceived and promoted by David Laing. The Giant’s Causeway and Bushmills Railway Company is a not-for-profit organisation with charitable status. Clearance of the trackbed commenced at the end of 1999 and the railway carried its first passengers at Easter 2002.” [27]
“On 10th July 2010 the railway took delivery of a specially customised 4 coach diesel multiple unit capable of accommodating up to 90 passengers. Manufactured by Severn Lamb UK Ltd., it was designed to enhance the visitor experience to the North Antrim Coast and to recreate, in so far as was possible, the passenger experience of the original hydro electric tram. Commissioning of the new rolling stock by the manufacturers began on Monday 12 July with the inaugural journey three days later. The DMU is powered by a Kubota V3600-E3 engine and shares the line with the previous steam rolling stock. All vehicles run on bogies. The power vehicle is on the Causeway side and is shorter (4 windows) than the three trailers (5 windows).” [27]
Rolling Stock
In addition to the 4-coach DMU, the line has three locomotives and a number of coaches.
References
- D. G. Evans; The Giants’ Causeway and Portrush Tramway; in The Modern Tramway Vol. 13 No. 153, London, September 1950, p185-188.
- Railway Times; 22nd September 1883. (Cited by the article at Reference No. 3)
- https://en.m.wikipedia.org/wiki/Giant%27s_Causeway_Tramway, accessed on 17th January 2025.
- https://commons.m.wikimedia.org/wiki/File:Portrush_Rly_Station,_1890s.jpg, accessed on 16th January 2025.
- Railway Magazine. May 1936. p. 355. (Cited by the article at Reference No. 3)
- Railway Magazine. May 1936. p. 360. (Cited by the article at Reference No. 3)
- https://commons.m.wikimedia.org/wiki/File:Giant%27s_Causeway_tram,_Causeway_Hotel.jpg, accessed on 17th January 2025.
- Railway Magazine. May 1936. p. 359. (Cited by the article at Reference No. 3)
- Railway Magazine. May 1936. p. 356. (Cited by the article at Reference No. 3)
- David Hammond; The Singer’s House. Greenhays GR702, 1980, sleeve note.
- Railway Magazine. May 1936. p. 361. (Cited by the article at Reference No. 3)
- Irish Railway Record Society Journal, no. 9; Smmer 1951, p140.
- https://m.facebook.com/profile.php/?id=100063607388865, accessed on 17th January 2025.
- https://discoverportrush.com/buildings/transport-travel/giants-causeway-tramway, accessed on 17th January 2025.
- https://commons.m.wikimedia.org/wiki/File:Cultra_a7.jpg, accessed on 17th January 2025.
- https://commons.m.wikimedia.org/wiki/File:Cultra_a12.jpg, accessed on 17th January 2025.
- http://www.trainweb.org/i3/lbld_wi.htm#loco_wi_c, accessed on 17th January 2025.
- https://itoldya420.getarchive.net/amp/media/the-giants-causeway-tram-at-portrush-in-built-up-areas-was-initially-the-steam-6740ac, accessed on 17th January 2025.
- https://maps.nls.uk/view/247678121, accessed on 17th January 2025.
- https://maps.nls.uk/view/247678106, accessed on 17th January 2025.
- https://discoverportrush.com/buildings/transport-travel/giants-causeway-tramway, accessed on 17th January 2025.
- https://maps.nls.uk/geo/explore/#zoom=16.5&lat=55.20428&lon=-6.60729&layers=6&b=ESRIWorld&o=100, accessed on 18th January 2025.
- https://maps.nls.uk/view/247678112, accessed on 28th January 2025.
- https://www.mediastorehouse.co.uk/fine-art-finder/artists/english-school/new-electric-tramway-portrush-bushmills-23543986.html, accessed on 18th January 2025.
- https://www.ulstertransportmuseum.org/collections/causeway-tram, accessed on 18th January 2025.
- https://www.geograph.org.uk/photo/3083952, accessed on 19th January 2025.
- https://en.m.wikipedia.org/wiki/Giant%27s_Causeway_and_Bushmills_Railway, accessed on 19th January 2025.
- https://maps.nls.uk/geo/explore/#zoom=18.0&lat=55.23149&lon=-6.51811&layers=6&b=ESRIWorld&o=0, accessed on 19th January 2025.


