The Railway Magazine of April 1959 carried an article by Anthony A. Vickers about a short branch in Worcester of about 29 chains in length. [1] 29 chains is 638 yards (583.4 metres). The line served Worcester’s Vinegar Works.
After a time operating at their Vinegar Works in Lowesmoor, Worcester, Hill, Evans & Co. decided that a connection to the national railway network was required via the nearby joint Worcester Shrub Hill railway station which at the time served both the Oxford, Worcester and Wolverhampton Railway and the Midland Railway.
“The resultant Worcester Railways Act 1870 allowed Hill, Evans and Co to extend the existing branchline that had served the Worcester Engine Works, from where it crossed the Virgin’s Tavern Road (later Rainbow Hill Road and now Tolladine Road) by a further 632 yards (578 m) to terminate in … the vinegar works. This route required a level crossing at Shrub Hill Road, a bridge over the Worcester and Birmingham Canal, and a second level crossing at Pheasant Street.[3] The Act also permitted a second siding to be constructed that was wholly within the parish of St.Martin, which enabled the branchline to connect to both the local flour mill, and the Vulcan Works of engineers McKenzie & Holland.” [6]
“One of the provisions of the Act, was that signals must be provided at the public crossings to warn the public when trains required to cross. The speed of the latter was also to be limited to 4 m.p.h.” [1: p238]
A.A. Vickers notes that a few years prior to his article, “a Land-Rover was in collision with a train on Shrub Hill Road level crossing. It is understood that legal opinion of the question of liability was sought, and was to the effect that the semaphore signals fulfilled the obligations of the railway to give adequate warning of the approach of a train, and that the attendance of a shunter with red flags was unnecessary. Be that as it may, road traffic pa[id]no heed to the semaphores, being mostly unaware of their significance.” [1: p238]
“The branch was completed in 1872 and was known as the Vinegar Works branch or the Lowesmoor Tramway. As an engineering company, McKenzie & Holland supplied the required shunting locomotive. From 1903, engineering company Heenan & Froude also built a works in Worcester, which was served by an additional extension. After the closure of the flour mill in 1915, post-World War I that part of the branchline was lifted, and the flour mill and original part of the Vulcan Works redeveloped in the mid-1920s as a bus depot. In 1936, Heenan & Froude took over McKenzie & Holland, and hence responsibility for the supply of the private shunting locomotive.” [6]
Post World War II, the Great Western Railway and then British Railways took over supply of the shunting locomotive to the branchline. Supplies to the vinegar works switched to road transport in 1958. The last train on the branchline ran on 5th June 1964, hauled by GWR Pannier Tank engine 0-6-0PT No.1639. The branchline was taken up in the late 1970s.
Although the line was short it had a number of interesting features!
The line crossed the south loop of the junction, and then by a bridge over what A.A. Vickers tells us was, at the end of the 1950s, Rainbow Hill Road (now Tolladine Road). The line then ran through Shrub Hill Engineering Work, curving gradually round towards the Southwest.
Vickers tells us that, “As the time for the daily (weekdays except Saturdays) trip approache[d], a shunter walk[ed] down from Shrub Hill Station, unfasten[ed] the padlocks, and open[ed] the gates at each side of the crossing over Shrub Hill. These protect[ed] the railway track when closed, but [did] not project onto the roadway when opened. When the engine with its train dr[ew] up to a signal protecting a catch point about fifty yards away from the road, the shunter pull[ed] on the road semaphores, which [were] of standard main-line pattern and operated from their posts, and, at a small ground frame beside the track. While the train close[d] the catch point and pull[ed] off the signal protecting it [and ran] slowly down the incline towards the road the shunter flag[ged] the traffic along Shrub Hill to a stand still, and when he ha[d] achieved this he signal[led] to the train to cross. Then, after allowing the road traffic to proceed, the shunter return[ed] the signals to their original position. He then walk[ed] down the track, across a bascule lift bridge, and over a canal bridge, on which the train ha[d] stopped.” [1: p236]
Vickers continues: “The bascule bridge [was] at a factory gate. and the headroom below it [was] about 6 ft. 6 in. [By 1959], only private cars and foot and cycle traffic [used] this entrance. The bridge was last operated many years [before], and one of the basic movements at its fulcrum [had, in 1955,] been immobilised by a concrete wedge which [bore] the date 6th February 1955. The span [was] partly counterweighted, but required a chain and capstan haulage to raise it. The fulcrum contained a complicated arrangement to allow sufficient free space for movement at rail level to occur. First a padlock was unfastened to free a pivoted sleeper which blocked rotation of the fulcrum of a small 18 in. length of rail which was in effect a subsidiary bascule section. When this was raised there was thus an 18 in. gap which allowed the fulcrum of the main span to roll back as the span was raised. The free end of the subsidiary and main span was in each case allowed to slide into an open fish-plate end, the bottom bulge of the rail section having been cut away flush at the end of the span for this purpose. At the main span end the junction [was] fixed by insertion of the fish-bolts.” [1: p236-237]
Adjacent to the railway bridge over the canal there was a road bridge carrying Cromwell Street which by 1959 was unsafe for vehicular use. The red line denotes the route of the branch. The road bridge was replaced by a footbridge. [5]
The view North from George Street, Worcester along the Birmingham & Worcester Canal. The bridge furthest from the camera is the footbridge that replaced Cromwell Road Bridge. The railway bridge beyond it was removed some time ago. [Google Streetview, July 2025]
The level-crossing to the immediate West of the canal only crossed a road of very minor importance (Padmore Street), leading only to a private car park and yard.
The corner of Padmore Street and Cromwell Street in 2025. The blue line shows what was once a through road over the canal. Work was being undertaken on the pedestrian bridge over the canal in July 2025. The red line on the image is the line of the old railway. The building at the left was the Midland Red Bus Depot on Padmore Street. In the 21st century it is the depot for First Bus. [Google Streetview, July 2025]
“While the shunter [was] opening the crossing gate, the engine [was] uncoupled from the train. To allow for this the train, which usually consist[ed] of about eight wagons, [was] marshalled with a brake van at each end. The brakes of the leading van [were] applied and the engine [ran] forwards onto a short spur, on which [was] the remainder of a trailing point which once gave access to a factory on the site [which is 1959 was] occupied by the Midland Red Omnibus Company’s depot. The point leading to this spur [was] sprung to act as a catch point protecting the third level crossing, at Pheasant Street, which is the lowest point on the line.” [1: p237]
The Midland Red Depot was once the site of City Flour Mills. The site was later redeveloped and used by McKenzie, Clunes & Holland, renamed McKenzie & Holland from 1875, then McKenzie & Holland Limited from 1901, for the manufacturing of railway signalling equipment. Worcester operations of that company closed in 1921. A number of railway branch-lines were used to access the site. The site was acquired in 1927 by the Birmingham and Midland Motor Omnibus Company Limited (BMMO—Midland “Red” Motor Services) in preparation for the expansion required to operate the new Worcester City local bus area network due to start the following year. The purchase included an eight-bay, steel-framed corrugated-iron factory sited between the canal and Padmore Street which was converted for use as a bus depot, and part of former railway sidings from the Vinegar Works branch line to be used for outdoor parking. Work to convert the building included removing the wall that faced onto Padmore Street and replacing it with a series of sliding doors to allow vehicle access. ‘MIDLAND “RED” MOTOR SERVICES.’ was painted in large letters above the doors. The new depot opened on 1st June 1928. The garage was extended in 1930 with the addition of two extra bays built over the former railway sidings at the south end of the main building. The new bays were notably wider and, unlike the original building, could accommodate full-height enclosed double-deck buses. [11]
Pheasant Street had a gated crossing, while the locomotive and its short train were negotiating the crossing on Padmore Street, “a shunter from Hill, Evans & Company, for the benefit of whose vinegar factory the whole operation[was] carried out, … unfastened the padlocks and opened the gates at Pheasant Street level crossing.” [1: p237]
At the Pheasant Street level-crossing, the signals were on one post. small somersault arms control road traffic, with central spectacles, and coupled together directly so that one inclines in the wrong direction when ‘off’. They are provided with a central lamp. “When both shunters [were] satisfied that road traffic at the second and third crossings [was] responding to their flags, the guard in the leading brake van release[d] his brakes and allow[ed] the train to run forward down the slope. … The approach to Pheasant Street [was] quite blind, and the train appear[ed] through the gap in the high walls at the side of the road without audible warning at some 20 m.p.h., and [was] gone as quickly through the gap on the other side of the road. The engine follow[ed] at its leisure, to do any necessary shunting before pulling a train back up to Shrub Hill.” [1: p238]
“Hill, Evans & Co was founded in the centre of Worcester in 1830 by two chemists, William Hill and Edward Evans. The pair started producing vinegar, but later the company also produced: wines from raisin, gooseberry, orange, cherry, cowslip, elderberry; ginger beer; fortified wines including port and sherry; as well as Robert Waters branded original quinine which was drunk to combat malaria.” [6]
“As the company quickly expanded, they purchased a 6 acres (2.4 ha) site at Lowesmoor. In 1850 the company built the Great Filling Hall, containing the world’s largest vat, which at 12 metres (39 ft) high could hold 521,287 litres (114,667 imp gal; 137,709 US gal) of liquid. For a century this made the works the biggest vinegar works in the world, capable of producing 9,000,000 litres … of malt vinegar every year.” [6]
“Movement of wagons within the factory [was] carried out by a small road tractor equipped with a cast-iron buffer beam and a hook for towing with the aid of a rope. For this reason the rails in the factory [were] mostly laid in tramway fashion, flush with the surface.” [1: p238]
One of the provisions of the Worcester Railways Act of 1870, under which the line was built, was that signals must be provided at the public crossings to warn the public when trains required to cross the speed of the latter was also to be limited to 4 m.p.h. A few years ago a Land-Rover was in collision with a train on Shrub Hill Road level crossing. It is understood that legal opinion of the question of liability was sought, and was to the effect that the semaphore signals fulfilled the obligations of the railway to give adequate warning of the approach of a train, and that the attend-ance of a shunter with red flags was unnecessary. Be that as it may, road traffic pays no heed to the semaphores, being mostly unaware of their significance.
References
A.A. Vickers; An Unusual Branch at Worcester; in The Railway Magazine, April 1959; London, 1958, p236-238.
I was asked to do a talk for the Association of Shrewsbury Railway Modellers in November 2025. These are the notes and images pulled together for that talk. In many cases, the images included have been used in other articles and rather than creating new image files a link to the original image has been provided in these notes. ………
The featured image above is a view of the NCB-built engine shed near Granville Colliery. After the NCB took over the collieries owned by the Lilleshall Company, Granville Colliery supplied coal to Buildwas Power Station and the coal trains were worked by a range of locos down the 1.5 miles to Donnington. Granville Colliery had a decent sized shed and in later years used Austerity 0-6-0ST tanks but in Lilleshall Company days the bigger engines were the ex-TVR and Barry railway engines. This image and the accompanying text were shared by Marcus Keane on the Telford Memories Facebook Group on 15th September 2015. [38]
The Lilleshall Company
Sir John Leveson became Earl Gower in 1746. His son Granville Leveson Gower became the second Earl in 1754. They owned limestone quarries and coal mines in Shropshire and had significant land holdings across the country.
Granville Leveson Gower was elected to Parliament in 1744. With the death of his elder brother in 1746, he became known by the courtesy title of Viscount Trentham until he succeeded his father as Earl Gower in 1754. He built the earlier Lilleshall Hall, converting a 17th-century house located in the village of Lilleshall into a country residence around the late 1750s. [1]
He remained active in politics until his retirement later in 1794. In 1786, he was created Marquess of Stafford as a reward for his services. He dies in 1803. [1] He took an active interest in the efficient running of his local estates, including those at Sherrifhales, Lilleshall, Donnington Wood, St Georges, Priorslee, Wombridge and Snedshill. [2]
The second Earl’s brother-in-law was Francis, 3rd Duke of Bridgewater, who was the originator of the Bridgewater Canal which carried coal out of his mines in the Manchester area. Earl Gower was introduced to the brothers Thomas and John Gilbert John Gilbert was instrumental in the construction of the Bridgewater Canal. Along with the Gilbert brothers, the second Earl formed the Lilleshall Partnership in 1764. Initially, it focused on improving the extraction and supply of lime for use in agriculture and as a flux in iron-making. [2]
The Earl had a vested interest in producing and delivering limestone as cheaply as possible. The Lilleshall Partnership recognised that a better communication system was required between its widely dispersed sites and in 1765 began the construction of a 5.5 mile long canal. It ran from the Earl’s holdings in Donnington Wood to wharves at Pave Lane and was known as the Donnington Wood Tug Boat Canal.
Large scale iron making began in the parish of Lilleshall in 1785 when a blast furnace was operating at Donnington Wood. The works was started by William Reynolds and Joseph Rathbone. By 1802 there were two furnaces and a third was added in that year.
By 1802, the partnership and its associated companies were dissolved and replaced by The Lilleshall Company which over time developed interests in mechanical engineering, coal mining, iron and steel making and brickworks. The company was noted for its winding, pumping and blast engines and operated a private railway network. It also constructed railway locomotives from 1862 to 1888. [2]
In 1880, the Lilleshall Company became a Public company. After the Second World War its mines were nationalised as was the Lilleshall Iron and Steel Co under the Iron and Steel Act but then denationalised in 1954 and sold back to Lilleshall Company. The company’s railways were closed in 1969. [2]
The Mines
The Friends of Granville Country Park tell us that the Lilleshall Company “sank its first deep mine at Waxhill Barracks in 1818 and another the Freehold pit, at about the same time. The Muxton Bridge pit was opened by 1840. There were over 400 acres of coalpits and waste tips in the area in the 1840s. Their production was running at some 100,000 tons of coal a year with 50,000 tons of iron ore. ” [2]
Map of Muxton Bridge, Waxhill Barracks and Barnyard Collieries. This image was shared by Brian Edwards on the Granville Colliery Facebook Group on 29th September 2022. It shows the rail network prior to the installation of the cutoff line, Granville Colliery sits off the bottom of this image, (c) Unknown. [14]
Granville Colliery
“By 1860, the Granville pit had been sunk and sinking of the Grange (originally the Albert and Alexander) pit began in 1864. Grange Colliery, Granville Colliery, The Muxton Bridge, Woodhouse and Stafford Collieries were known as the Deepside Mines.” [2]
Granville Colliery was nationalised after the Second World War. It remained under National Coal Board control until closure in 1979. At the time of closure it was employing 560 people. This image was shared on the Granville Colliery Facebook Group by Sharon Bradburn on 10th July 2018, (c) Unknown. [4]
“From the late 19th century, coal mining gradually declined. The Waxhill barracks colliery ceased production in 1900 and Muxton Bridge soon after. The Freehold colliery closed in 1928 and only the Grange and Granville collieries survived until nationalisation in 1947. In 1951 the two were connected underground and from 1952 the Grange served mainly to ventilate the Granville. In 1979 the Granville colliery, which employed 560 men, was closed. It was the last coal mine in Shropshire.” [2]
Bob Yate tells us that, “The most prolific of the collieries, [Granville Colliery] supplied the LNWR, GWR and Cambrian Railways with locomotive coal, and latterly also to Ironbridge ‘B’ Power Station. In 1896, there were 177 underground and 67 surface workers. Later the pit had a fairly consistent workforce of around 300 men, but after the closure of the nearby Kemberton colliery in 1967, this grew to 900 men, but shrank again to around 600 in the early 1970s. Meanwhile, the annual output had grown from around 300-350,000 tons to 600,000 tons in the late 1960s.” [25: p16]
An early photograph of Granville Pit, taken from the West in around 1900. This image was shared on the Granville Colliery Facebook Group by Ray Robinson on 20th May 2024, (c) Unknown. [6]
This extract from the 25″ Ordnance Survey of 1881/1882 shows the full length of the Mineral Railway branch from the East side of the map extracts above which show Old Lodge Furnaces. It is worth noting the loop which allowed locomotives to run round their trains just to the West of the Colliery site. [26]
An extract from the ERSI satellite imagery provided by the National Library of Scotland. The two lanes which appear on the map extract above can easily be seen on this satellite image. The line of the old Mineral Railway is also easy to make out. Nothing remains of the old colliery buildings. [27]
A similar extract from the 25″ Ordnance Survey of 1901/1902. In 20 years some changes have occurred. The more southerly of the two colliery buildings has been enlarged and the new tramway/tramroad has been provided onto the spoil heap North of the standard-gauge mineral railway terminus, [28]
This map extract comes from the 1925/1927 edition of the 25″ Ordnance Survey. The screens have been built and some modifications to the internal tramway layout have occurred. [19]
The Colliery site on the 1:10,000 Ordnance Survey published in 1954. The tramway to the spoil heap has been relocated and the buildings on site have been altered. [30]
The colliery site on the 1:10,000 Ordnance Survey published in 1967. A complete refurbishment of the buildings above ground has taken place. The screens building is different and the area to the East of the railway has seen significant reconstruction. An internal tramway can now be seen to the South and East of the standard gauge line. [31]
This extract from the same Ordnance Survey sheet of 1967 shows the wider area close to Granville Colliery and the rationalisation which had by then taken place. The line North off this extract heads for the site of Muxtonbridge Colliery where trains to the Donnington Sidings would once have reversed. The line leaving the extract to the West runs on to the rest of the Lilleshall Company’s network. [31]
By 1970, this was the layout of the lines between the mainline at Donnington and the Colliery. This hand-drawn image appears in Bob Yate’s book. [25: p119]
Having looked at maps showing the Granville Colliery site at different points in its history, some photographs will help us better to envisage the site.
The picture referred to by Cliff Hewitt in his notes above. The image was shared by Cliff Hewitt on the Telford Memories Facebook Group on 1st October 2017. [44]
What appears to be a train of empties at the screens at Granville Colliery. [11]
The same location but after the rail link was severed. This image was shared on the Granville Colliery Facebook Group by Linda Howard on 9th March 2014. [18]
A view of the screens from behind. This image was shared on the Granville Colliery Facebook Group by John Wood on 30th January 2015. [43]
Granville Colliery had its own 2ft 3in narrow gauge railway/tramway underground and close to the main shafts, battery powered locomotives were used below ground. …
Under the head gear at Granville Colliery. Coal was lifted up the shaft and run off to left to what appears to be a tippler. From there the coal went down to the screens. This image was shared on the Granville Colliery Facebook Group on 1st March 2014 by Marcus Keane. [20]
The same lines seen from the opposite direction and from above. This image was shared on the Granville Colliery Facebook Group on 1st March 2014 by Marcus Keane. [21]
Two of the tubs/wagons used underground are seen in this image which was shared by John Wood on the Granville Colliery Facebook Group on 30th January 2015. [23]
Underground, there was an extensive network of 2ft 3in gauge lines which were initially served by horse power but which were later to see a number of dedicated battery-powered locomotives in use.
The underground workshop/garage at Granville Colliery in 1958. Granville had three English Electric battery locos and the garage had battery charging benches on either side of the rails. This image was shared by Cliff Hewitt on 22nd November 2015 on the Granville Colliery Facebook Group. [24]
Granville Colliery had English Electric battery locos, picture is of the loco garage with the 3.3kv battery chargers to the left of frame switchgear to the right & a loco in the background ready for a battery change. This image was shared by Cliff Hewitt as a comment under a post by Ray Pascal, dated 18th November 2015, on the Granville Colliery Facebook Group. [24]
A loco battery changeout. This image was shared on the Granville Colliery Facebook Group on 18th November 2015 by Cliff Hewitt. [24]
Old Lodge Furnaces
In 1824 the company commissioned two new blast furnaces. They were named the Old Lodge furnaces because of their proximity to the site of an old hunting lodge which was demolished in 1820. In March 1825 the Lilleshall Company paid the Coalbrookdale Company £2,392 for the works. George Roden, a stonemason from the Nabb, was paid £425 in 1825 and just over £777 in 1826 for erecting loading ramps and the retaining walls. In 1830 the Donnington Wood and the Old Lodge ironworks together produced 15,110 tons. A third furnace was added in 1846 and two more in 1859. New blast beam engines, manufactured by the Lilleshall Company, were installed in 1862 and the height of the furnaces was increased from 50 to 71 feet at about the same time.
Limestone came, via the canal, from the Lilleshall quarries and the coal (coke) and iron stone from the local pits via an extensive system of tramways, some of which, were later converted to standard gauge railways.
The Old Lodge Furnaces produced cold-blast pig iron of the finest quality, but eventually it could not compete with cheaper iron made elsewhere and in 1888 the last of the Old Lodge furnaces was blown out. The furnaces were demolished in 1905 by Thomas Molineaux Jnr, including a tall chimney 140 feet high by 13 feet diameter, known locally as “The Lodge Stack”. In 1956 the stone was reused for St Mathew’s Church. Thereafter the company concentrated all its iron and steel making at Priorslee.
An artist’s impression of what the Old Lodge Furnaces site would have looked like in its heyday. The view is from the Northeast. The canal arm which served the furnaces can be seen entering the sketch from the bottom-right (the North). The image is a little misleading as it shows narrow-boats on the canal when in fact tub-boats would have been used. The tub-boats would have been drawn by horses. The rails shown as a schematic representation of the rails on the site throughout its history and show an engine shed on the North end of the fun of furnaces. [My photograph, 27th July 2023]
This map extract is taken from the 25″ Ordnance Survey of 1881/1882. The canal arm enters from the top of the extract and railways/tramways are shown in preponderance, with the furnaces themselves in a row running North-South just above the centre of the extract. The line running off the extract to the East heads towards Granville Colliery. The line running off the extract to the South runs to Dawes Bower and Grange Colliery. Of the lines exiting the extract to the West, one, running Northwest (at the top corner of the lower image) is the old tramway link to Lubstree Wharf. There are also two lines leaving the bottom-left corner of the lower image, the lower line runs towards collieries/shafts local to the furnaces and is probably a tramway at a higher level than the upper of the two lines which is in cutting and is the connection from Old Lodge Furnaces into the wider Mineral Railway network belonging to the Lilleshall Company. [46]
This extract from RailMapOnline.com’s satellite imagery shows the area of the furnaces in the 21st century, a little more of the area immediately to the North than appears on the OS map extract above and less on the East-West axis. The turquoise lines are symbolic representations of the tramway network which preceded the mineral railway which is represented by the purple lines. The two tramway routes leading North out of this and the map extract served, from the left: Meadow Colliery (which appears in the first map extract below); Barn Colliery; Waxhill Barracks and Barracks Colliery; and Muxton Bridge Colliery. (That line, from Muxton Bridge Colliery to the site of Old Lodge Furnaces is illustrated on the map extracts which follow the one covering Meadow Colliery). [47]
A view of Old Lodge Furnaces from the East. [4] (This image was first produced in the ‘London Trade Exchange’ of 2nd January 1875. Some of the tramways are visible, as are the coke ovens in the distance, and the engine house on the right, although the engraver has omitted the chimney beside the engine house.) [25: p11]
The site of the furnaces became the main marshalling are for coal wagons from a number of the collieries, but particularly Granville Colliery
The Lilleshall Company Tramway and Railway Networks
A significant network of tramways and later railways served the Lilleshall Company’s interests in East Shropshire.
Bob Yate provides a sketch of the whole of the Lilleshall Company’s network of railways. This extract from the sketch map shows the length of their railways between the Humber Arm and Granville Colliery. The locations shown on this extract are: 3. Old Lodge Furnaces; 8. The Humber Arm Railway; 9. Lubstree Wharf; 10. The Donnington (LNWR) exchange sidings and the Midland Ironworks; 13. Lodge Trip; 19. Granville Colliery; 20. Barn Pits Colliery; 21. Waxhill Barracks Colliery; 22. Muxton Bridge Colliery; 23. Freehold Colliery; and 24. Shepherd Slag Crushing Plant. Yaye does not record Meadow Colliery which was close to the Donnington Wood Canal to the Southwest of Muxton Bridge Colliery and apparently tramway served until its closure. [2: p38]
The northernmost point on the network of tramways/tramroads was a wharf on the Humber Arm of the Newport Branch of the Shropshire Union Canal. That short branch canal ran from Kynnersley to Lubstree close to The Humbers, a hamlet located to the North of the old LNWR mainline through Donnington and on the North side of Venning Barracks, the present base of the 11th Signal Brigade and Headquarters West Midlands, part of the British Army’s 3rd UK Division. The early tramroad North of the old LNWR line was later replaced by a standard-gauge line. The length of tramroad to the South of the LNWR line was eventually abandoned in favour of a standard gauge line to the East.
Approximately the same area as shown on the map extract above, as it appears on the RailMapOnline.com satellite imagery. The purple lines are the approximate line of the Mineral Railway that replaced the tramway we will following first. Satellite imagery shows nothing of the Canal Arm to the North of this image. Heading to the North from here, the line of the canal traverses open fields and then Aqueduct plantation. The trees in the plantation obscure any direct evidence of the old canal arm from above and, similarly, the location of its junction with the Shropshire Union Canal Newport Branch. Significant work has taken place at this location to convert derelict buildings to housing. [47]
The modern home created from the goods shed at Lubstree. [48]
As shown on Yate’s sketch plan above, the line ran South towards the LNWR main line, passing under it by means of the bridge. The LNWR line has been replaced by the A518.
This extract from the 1882 25″ Ordnance Survey shows the point at which the LNWR bridged the Lilleshall Company’s tramway/railway. It also shows the old tramway route continuing to the South-southeast and the later standard-gauge mineral railway curving round to the Northeast to run parallel to the LNWR main line. [49]
This RailMapOnline satellite image shows the features noted on map extract above and shows the dramatic changes which have occurred in the immediate vicinity of the old tramway. The tramway route is not followed by RailMapOnline South-southeast of Wellington Road. It runs Southeast towards Old Lodge Furnaces. [47]
After passing under the LNWR main line, the Lilleshall Company’s Mineral Railway turned Northeast to run alongside the LNWR for a short distance.
This map extract shows the mineral railway curving away from the LNWR mainline. There were exchange sidings at this location and lines which accessed a Timber Yard and the Midland Ironworks, both on the East side of the LNWR mainline. [50]
On the curve on Donnington Sidings looking East. This is the same train as shown on the next picture. This image was shared by Carole Anne Huselbee on the Telford Memories Facebook Group on 14th September 2014. [51]
Donnington Sidings looking Northwest. A rake of empties setting off for Granville Colliery behind an 0-6-0ST locomotive. Wellington Road Crossing is a short distance ahead of the locomotive. This photograph was shared by Carole Anne Huselbee on the Telford Memories Facebook Group on 5th October 2014. [52]
This next extract from the 25″Ordnance Survey of 1882 shows the mineral railway heading Southeast and crossing, first, what is now Wellington Road, and then running parallel to the modern Donnington Wood Way and crossing School Road. [49]
The route of the old mineral railway runs parallel to Donnington Wood Way, approximately on the line of the footpath shown on this Google Maps extract. The red flag marker highlights its route. [Google Maps, July 2023]
A closer view of the point where the mineral railway crossed the old Wellington Road. The photograph below shows a locomotive approaching the level-crossing from the Southeast. [47]
Wellington Road Crossing. The photograph below shows a locomotive entering the level-crossing from the Southeast. This picture was shared by Carole Anne Huselbee on the Telford Memories Facebook Group on 5th October 2014. [53]This crossing was located at what was called the Coal Wharf on the old Wellington Road just over & up from the now Ladbrokes Bookies. The line ran from the pit and approached it via what is now a footpath between “The Fields” (a lane to the houses at the bottom of bell rec.) and Donnington Wood Way then across the first gated crossing at the bottom of School Road and on past the end of what is now Van Beeks Motor Spares to the second crossing. The road was wide so gates with supporting heavy caster type wheels allowed them to open seperately. The photograph shows NCB loco No 10 crossing the main Telford to Newport road (A518) at Donnington in 1975 with a trip working from Granville Colliery to the exchange sidings which were just the other side of the road. The MGR hopper wagons would then be moved by a Class 47 to Ironbridge, with run rounds at both Wellington and Madeley Junction. This image was shared on the Granville Colliery Facebook Group by Peter Bushell on 21st August 2023, The gates in this image are now in use by Telford Steam Railway. (c) Unknown. [7]
Possibly the same locomotive, definitely at the same location as the image above. This image was shared by Phil Neal on the Granville Colliery Facebook Group on 8th August 2017, (c) Unknown. [12]
Locomotive No. 10 (a Hunslet 0-6-0 ) waiting with its train to cross Wellington Road. This photo was shared by Lin Keska on the Telford Memories Facebook Group on 2nd May 2017. [54]
Another view of the School Road Crossing. This photo was shared on the Telford Memories Facebook Group by Carole Anne Huselbee on 8th September 2014. [57]
An 0-6-0ST pulls a train of empties back from Donnington to Lodge and Granville Colliery. It is seen here crossing School Road. This image was shared on the Granville Colliery Facebook Group by Jim Walton on 16th August 2023, (c) Unknown. [13]
From the School Road Crossing the line ran Southeast. Its route is now a public footpath separated from the modern Donnington Wood Way by a hedgeline.
Somewhere Southeast of School Road on 8th September 1969, this view looks Northwest and shows NCB Loco No. 8 hauling empty hopper wagons towards Granville Colliery. This image was shared on Telford Memories Facebook Group by Carole Anne Huselbee on 14th September 2014. [58]
Heading up hill from Donnington towards the Lodge and Granville Colliery. [11]
An 0-6-0ST (possibly No.8) pulls is train of hopper wagons up the direct route from Coal Wharf (Donnington) to Granville Pit (not going via the location of Muxton Bridge Pit) .This image was shared on the Granville Colliery Facebook Group on 10th March 2020 by John Wood. [36]NCB 0-6-0ST No. 8 taking a train of empty hoppers up the line from Donnington. This appears to have been taken on the cutoff link avoiding the need for reversing at Muxonbridge Colliery. This image was shared on the Granville Colliery Facebook Group by John Wood on 20th March 2020. [8]This photograph shows ‘The Colonel’, an 0-6-0ST, running down to the Sidings at Donnington. The image was shared on the Telford Memories Facebook Group by Clive Sanbrook on 27th March 2020. [32]
A later locomotive crossing the same road. This image was shared on the Telford Memories Facebook Group by Carole Anne Huselbee on 15th September 2014. [35]
Having climbed up from the exchange sidings trains of empties entered the area of what was once Old Lodge Furnaces.
By 1970, this was the layout of the lines between the mainline at Donnington and the Colliery. This hand-drawn image appears in Bob Yate’s book. [25: p119]
Granville Colliery’s Diesel Loco (NCB No. 2D?) hauling a rake of empty coal hopper wagons on the lines to the West of Granville Colliery. This photo was shared on the Telford Memories Facebook Group by Carole Anne Huselbee on 5th October 2014. [33]
The original engine shed. This building was demolished and the NCB built a replacement some distance away. It looks in a poor condition. The loco on the left looks like the 0-6-0 Barclay tank No 11 or one of the large ex Taff Vale locos. The one on the right is an unidentified Saddle Tank. This image was sent to me by David Clarke the author of a book about Telford’s railways, (c) Unknown. [37]
A view of the NCB-built engine shed noted in the image above. After the NCB took over the collieries owned by the Company, Granville Colliery supplied coal to Buildwas Power Station and the coal trains were worked by a range of locos down the 1.5 miles to Donnington. Granville Colliery had a decent sized shed and in later years used Austerity 0-6-0ST tanks but in Lilleshall Company days the bigger engines were the ex-TVR and Barry railway engines. This image and the accompanying text were shared by Marcus Keane on the Telford Memories Facebook Group on 15th September 2015. [38]Possibly locomotive No. 8 on shed. This image was shared on the Granville Colliery Facebook Group by John Wood on 20th March 2020. [8]
This view from a location on the spoil heap to the South of the last image shows the later engine shed, built by the NCB, and two locomotives in steam marshalling wagons. The wagons closest to the camera appear to be empties which will probably be pushed towards the colliery screens which are a distance off to the right of this image. The photograph was shared on the Telford Memories Facebook Group by Paul Wheeler on 25th May 2018. [34]
The ‘Colonel’, with a train of full wagons having left Granville Colliery and about to marshall its train for onward movement to Donnington Sidings. [11]
‘The Colonel‘ again! ‘The Colonel‘ was named after Colonel Harrison, Chairman of Harrison’s Grove Colliery. He was also Chairman of Cannock & Rugeley Colliery. After a spell at Area Central Workshops – May 1960 to June 1961, ‘The Colonel‘ went back to Grove Colliery then to Coppice Colliery at Heath Hayes for a few months in 1963 before transfer to Granville Colliery in November 1963. This image was shared on the Telford memories Facebook Group by Metsa Vaim EdOrg on 24th October 2020. [41]
Towards the end of steam, this loco is bringing its train South from the Depot towards the location of the engine shed which is off the picture to the left beyond the stored coal. The locomotive is ‘Granville No. 5‘. This image was shared on the Telford Memories Facebook Group on 15th February 2017 by Lin Keska. [40]
This photograph was taken at a similar location to those above. At the centre of the image is the weighbridge. Granville Colliery itself can be made out on the horizon. The image was shared by John Wood on the Granville Colliery Facebook Group on 30th January 2015. [42]
The Lilleshall network continued to the West and Southwest of Granville Colliery and Lodge Sidings. These next photographs cover the length of the line through Oakengates to Hollingworth Sidings and Stafford and Dark Lane Collieries.
The dotted lines on this sketch map are private railways. The Lilleshall Company’s main line runs from Granville and Grange Collieries in the top-right of the sketch map via Old Lodge Ironworks and Priorslee Furnaces down to Hollinswood. This sketch map was included on the Miner’s Walk website which provides information about the local area. [10]
Grange Colliery, close to Granville Colliery operated independently at first and along with Granville Colliery survived to be nationalised in 1947. In 1951, the two were connected underground and from 1952 Grange Colliery served mainly to ventilate Granville Colliery. [2]
The monochrome photographs included here were taken by a number of different photographers. Where possible permission has been sought to include those photographs in this article. Particularly, there are a significant number of photographs taken by A.J.B. Dodd which appear here which were first found on various Facebook Groups. A number were supplied direct by Mike Dodd, A.J.B. Dodd’s son, who curates the photographs taken by his father. Particular thanks are expressed to Mike Dodd for entering into email correspondence about all of these photographs and for his generous permission to use them in this article. [59]
Grange Colliery as it appears on the 25″ Ordnance Survey of 1901, published in 1902. The railway lines shown in the immediate area of the shafts and slag heaps were internal lines unconnected to the wider Lilleshall Company network. A single line ran to Dawes Bower where transshipment to the standard gauge Lilleshall Company network took place. [60]
The same area as shown on the OS map extract above. This image comes from Google Maps. What appears to be a caravan park on the site of the old colliery is Telford Naturist Club. The buildings to the top-right of the image are the Cottage Boarding Kennels and Cattery. [Google Maps, September 2025]
This extract from the 25″ Ordnance Survey of 1901 shows the point where the branch-line to Grange Colliery met the main Lilleshall line. The line from Grange Colliery enters bottom-right. At the top-right of this extract two sets of lines are shown. The upper lines run towards Donnington sidings, the lower lines connect to Granville Colliery. The lines leaving the top of the extract are local lines serving the area immediately around what were Old Lodge Furnaces. The line leaving the west (left) edge of the extract is the Lilleshall Company mainline to Priorslee and Hollinswood. As can be seen at the centre of the extract, a loco bringing wagons from Grange Colliery would need to cross the mainline before reversing its wagons onto the mainline and, depending on its destination, then head for Donnington or Hollinswood. The sidings shown on this extract were also used for storing wagons before onward transit to their ultimate destination. [61]
A short distance to the West of the sidings at Lodge, a line running North from Donnington Wood Brick and Tile Works met the Lilleshall Company’s main line at a triangular junction. [62]
Donnington Wood Brick & Tile Works were conveniently sited next to reserves of Clay. The Works had their own internal railway with a Self-acting Inclined Plane. [63]
Donnington Wood Brick & Tile Works seen from the air, from the Northeast. This image was shared on the Telford Memories Facebook Group by Marcus Keane on 27th March 2019. [64]
A much closer view of the circular Hoffman Kiln taken in 1966. This image was shared by Marcus Keane on the Telford Memories Facebook Group on 23rd September 2017. [65]
The location of the Donnington Wood Brick and Tile Works plotted on modern satellite imagery from Google Maps. Properties on Cloisters Way sit directly over the site of the Hoffman Kiln. [Google Maps, December 2023]
West along the main line from the short branch to Donnington Wood Brickworks there were sidings adjacent to Rookery Road. I have not been able to find them on any maps.
This extract from the 25″ Ordnance Survey shows the Lilleshall Mainline running South West from the junction which served the Donnington Wood Brick & Tile Works and covers the approximate location of the Rookery Road Sidings. [66]
This view looks East towards the triangular junction serving Donnington Wood Brick Works, (c) A. J. B. Dodd. [59]An 0-6-0ST Saddle Tank participating in track removal at Rookery Road Sidings. This image was shared on the Granville Colliery Facebook Group by John Wood on 28th June 2020, (c) A. J. B. Dodd. [9]
I believe this photograph was taken from a point close to the bridge over Gower Street. It looks East and shows Rookery Road Sidings in the distance, (c) A. J. B. Dodd. [59]
Moss Road/Gower Street Railway Bridge before demolition. This is a photo of a photo which was behind glass, hence the glare. It was shared by Gwyn Thunderwing Hartley on the Oakengates History Group including surrounding areas Facebook Group on 17th July 2018. [68]
The junction for New Yard Engineering Works was adjacent to Wrockwardine Villa. The engine shed is visible bottom-centre of the extract. One of two bridges which crossed the Lilleshall Company’s Railway appears towards the bottom-left of the image. I believe that this was known as the ‘Tin Bridge’. [69]
A very similar area to that covered on the map extract above. The image comes, again, from RailMapOnline.com’s satellite imagery. Wrockwardine Villa is centre-top in this image. [47]
New Yard Engineering Works. … Gower Street runs North-South on the right of the map extract New Works buildings faced East onto the road. The locomotive shed can be seen to the top-left of the image. The workshops which stood alongside it were not built by the time of the Ordnance Survey (1901). [72]
Sketch Railway Plan/Map of New Yard Engineering Works, Gower Street, St Georges showing the layout in 1959. The workshops adjacent to the Engine Shed are shown, top-left. This image was shared on the Oakengates History Group Facebook Group on 1st April 2023 by Gwyn Thunderwing Hartley. [73]
A aerial postcard image of New Yard Engineering Works, the camera is to the Southeast of the Works and as a result shows, at the top-right, the Engine Shed and Workshop. This image was shared on the Oakengates History Group Facebook Group by Gwyn Thunderwing Hartley on 17th February 2019. [74]
The Lilleshall Company mainline curves to the South through the area known as ‘The Nabb’. Two bridges are shown. The one just visible top-right is the ‘Tin Bridge. Prior to the construction of the standard gauge mineral railway a horse-drawn tramway ran North-South through this location, running down the side of the terraced housing adjacent to the bridge. The second bridge appears bottom-left. It was a more substantial structure. [75]
The Tin Bridge again with Diamond Row above and to the right. This photograph was taken during the Lilleshall Company’s last run on their Mineral line, with the Engine ‘Alberta’ in 1959. The Photo was taken by the late Edgar Meeson, cousin of Frank Meeson. The image was shared in the Oakengates History Group and surrounding areas Facebook Group by Gwyn Thunderwing Hartley on 27th January 2021. [78]
This is the second of the two bridges which crossed the Lilleshall Main Line in ‘The Nabb’.The picture looks to the Southwest and comes from the Howard Williams Collection and was shared on the Oakengates History Group including surrounding areas Facebook Group on 27th February 2014 by Frank Meeson. [79]
From this location the Lilleshall Company’s line curved round to the South and crossed Station Hill, Oakengates.
Station Hill, Oakengates at the turn of the 20th century. This postcard view looks West across the Lilleshall Company’s line down the hill towards the centre of Oakengates. The crossing keeper’s beehive hut is visible to the left of the road. This image was shared on the Oakengates History Group Facebook Group on 24th October 2018 by Gwyn Thunderwing Hartley. [81]
Two further images of the Station Hill Crossing. …
Looking South across Station Hill. The beehive keeper’s hut stands across the road from the camera. This image was shared by Gwyn Thunderwing Hartley on the Oakengates History Group Facebook Group on 16th May 2021. [82]
The line crossed Station Hill in Oakengates on the level with the old canal running beneath the road. Looking West from the crossing, train crews would have had a glimpse of Oakengates (Market) Railway Station on the LNWR/LMS/BR Coalport Branch. The station appears on the left of this map extract. [83]
South of Station Hill the line ran at a high level above sidings which served Snedshill Ironworks. The next few images are relatively grainy as they are enlargements from aerial images from 1948. …
The Lilleshall main line runs across the top of the first of these images and behind the house at the top-right of the image. Wagons sit in the sidings associated with Snedshill Ironworks. [84]
On the South side of Canongate, Snedshill Ironworks dominates this map extract. The Shrewsbury to Birmingham main line can be seen entering a tunnel at the bottom-left of this image. Towards the left edge of the extract, the LNWR Coalport Branch runs in cutting crossed by a number of footbridges/access bridges. The Works sidings on the West of the Works terminate on the site, whereas those to the East of the building run off the bottom of the extract to make a junction with the Coalport Branch. The old canal was in use as a reservoir alongside the Works and the Lilleshall Company’s mainline runs alongside that reservoir to its East. [87]
Two further extracts from Image No. EAW013746 taken in 1948 looking East, which show the mineral railway running South passing the Snedshill Ironworks (at the bottom of the first image).
The darker area above the Ironworks is a remaining length of canal with a retaining wall immediately beyond which supports the Lilleshall Company’s main line. [85]
The Lilleshall Company’s main line is on the right side of this image. Canongate can be seen at the top of the image with the reservoir which was once a length of the Shropshire Canal to the South of Canongate alongside the Lilleshall main line. Snedshill Ironworks sidings pass under Canongate and run towards the bottom-left of the image. [86]
Another extract from an aerial image which was taken shortly after those above. The wagons on this image are in the same location as those on the image above. This extract from EAW013752 on the Britain From Above website looks over Snedshill Ironworks (bottom-left), with the short length of canal behind them, towards Priorslee. The Lilleshall Company’s mainline enters just below centre-left and runs at an angle towards the top-right of the image. The Greyhound bridge on the old A5 is alongside the level crossing which took the mineral railway across the A5. The Greyhound bridge took the A5 over the LNWR Coalport Branch (in deep cutting) and a feeder line from/to the sidings at the Snedshill Ironworks which met the Coalport Branch just beyond the bridge. [88]
Lines from Snedshill Ironworks join the Coalport Branch in passing under what became the A5 a little to the South of the Works themselves. The Lilleshall Company mainline crosses the road at level. A short branch runs off towards the Snedshill Brickworks. The GWR line from Shrewsbury to Wolverhampton runs in tunnel from top to bottom of the map extract. [90]
In the 21st century the area covered by the 25″ OS Map extract above has changed considerably. Only the GWR mainline from Shrewsbury to Wolverhampton remains of the lines on the OS Map extract. On this satellite image it is represented by the turquoise line and is running in tunnel. The Greyhound Roundabout has replaced what was the A5 (B5061 in 21st century) bridge over the Coalport Branch. The level crossing shown below, is long gone. The Lilleshall Company buildings have been replaced by Wickes and Aldi! The A442 dual carriageway dominates the area. [47]
This photograph looks across the roof of the Snedshill Brick and Tile Works towards Priorslee Furnaces. This image was shared on the Oakengates History Group Facebook Group on 24th November 2015 by Gwyn Thunderwing Hartley. [92]
Priorslee Furnaces and Steel Works in 1901. The Lilleshall Company’s main line runs diagonally across this map extract from the top-left corner to the bottom-right corner. [93]
Priorslee Furnaces viewed from the Southeast. This image was shared by Paul Wheeler on the Oakengates History Group Facebook Group on 28th November 2017. [94]
An aerial image of the extensive steelworks and slag reduction plant at Priorslee. The blast furnaces were decommissioned in 1958 and the internal system closed. This image was shared on the Oakengates History Group Facebook Group by Lin Keska on 22nd February 2017. [95]
This postcard view of Priorslee Furnaces was taken in 1899. The rail access to the plant is emphasised by the locomotive and wagons in the foreground. The image was shared on the Telford Memories Facebook Group by Lin Keska on 27th June 2020. [96]
Two Lilleshall Company locomotives (Peckett 0-4-0ST No.10 and 0-6-2T No. 3 which was once GWR No. 589) in attendance at the demolition of a 98ft high concrete coal bunker at Priorslee Furnaces circa 1936. This work was taking place as part of the demolition of the former steelworks site. The image was shared on the Oakengates History Group Facebook Group by Gwyn Thunderwing Hartley (courtesy of John Wood) on 1st December 2019. I understand that the original image is held in the Archives of the Ironbridge Gorge Museum Trust. [97]
This extract from the 1882 25″ Ordnance Survey shows the area immediately Southeast of Priorslee Furnaces The Lilleshall Company’s main line split in three directions – to the South it runs into Hollinswood Sidings and up to Hollinswood Junction, where it joins the GWR mainline, Southeast it continues towards Stafford Colliery, and Northeast towards Woodhouse and Lawn Collieries. [98]
The remaining length of the Lilleshall Company’s mainline served Stafford Colliery (passing Darklane Colliery on its way East. This extract is taken from the 1901 25″ Ordnance Survey. Hollinswood Junction on the GWR mainline between Shrewsbury and Wolverhampton just sneaks into the bottom-left corner of this map extract. [99]
Hollinswood Sidings and Hollinswood Junction, to the South of Priorslee Furnaces and Steelworks. The GWR line between Shrewsbury and Wolverhampton runs from the top-left to the bottom-right. The LNWR Coalport Branch enters top-left and leaves the map extract to the left of centre at the bottom of the image. The line turning off the GWR mainline to the South served a series industrial undertakings to the East of the old Shropshire Canal. The Lilleshall Company’s sidings enter the map extract centre-top and meet the GWR mainline at Hollinswood Junction. [100]
This is another area of Telford which has seen dramatic change. The GWR line ‘turquoise’ remains, the LNWR Coalport branch (thicker purple) has long gone. As have all the Lilleshall Company’s lines (thinner purple). The M54, the A442, Queensway and Hollinswood Interchange dominate the modern image. [47]
Locomotive 48516 heading what seems to be a train of empty coal wagons and facing towards Wolverhampton. Hollinswood Sidings can be seen beyond the locomotive. The image was shared on the Telford Memories Facebook Group by Lin Keska on 4th April 2018. [101]
Lilleshall Company Locomotives
The Lilleshall Company operated a number of steam engines which it picked up from various sources and some of which it built itself. The remainder of this article is no more than a glimpse of these locomotives on the Lilleshall Company’s network. The authoritative treatment of the motive power on the Lilleshall Company network is the book by Bob Yate, “The Railways and Locos of the Lilleshall Company.” [25]
Yate tells us that, because the Lilleshall Company’s network was extensive, it needed a considerable number of locomotives to operate it. He continues: “Much of the traffic was heavy, so it comes as no surprise to find that the company turned to acquiring former main line company locomotives for some of their more arduous duties. The total number of locomotives rose from four during the mid-1850s to eight by 1870, down to five by 1875, then six by 1886, increasing to nine in 1900 until 1920 when there were eleven. By the 1930s the number was back down to nine.” [25: p67] After WW2, numbers were reduced to five, and once closure was approaching all five were scrapped and two other locomotives were purchased.
Peckett 0-4-0ST, Lilleshall Locomotive No. 10 at Priorslee, (c) Industrial Railway Society, Ken Cooper collection. This photograph was shared by Andy Rose on the Telford Memories Facebook Group on 29th September 2019. [103]
Former Barry Railway ‘B1’ Class 0-6-2T No. 60 (also ex-GWR No. 251) which when purchased by the Lilleshall Company was given No. 5, photographer not known. This photograph was shared by Andy Rose on the Telford Memories Facebook Group on 29th September 2019. [103]
Lilleshall Company No. 9, an 0-6-0ST locomotive built by Robert Stephenson & Co. Ltd. It was bought by the Lilleshall Company in 1904 and lasted until 1929, (c) F. Jones Collection. This photograph was shared by Gwyn Thunderwing Hartley on the Oakengates History Group Facebook Group on 27th November 2017. [104]
Lilleshall built 0-4-0ST, Constance and Andrew Barclay 0-6-0T No. 11 at New Yard Locomotive Shed. The image was shared on the Oakengates History Group Facebook Group by Gwyn Thunderwing Hartley on 4th April 2021. [105]
Lilleshall Company Locomotive No. 12, (ex-GWR No. 2794) 0-6-0PT sits a New Yard. This photograph was shared by John Wood on the Oakengates History Group Facebook Group on 28th June 2020. [107]
Lilleshall Company Locomotive, Prince of Wales (ex-Lever Brothers, Port Sunlight Railway) 0-4-0ST also sits a New Yard This photograph was also shared by John Wood on the Oakengates History Group Facebook Group on 29th March 2018. [107]
National Coal Board Locomotives
With nationalisation, the NCB took over Granville and Grange pits and continued to use the northern length of the Lilleshall Network until closure of Granville Colliery in 1979. Granville Colliery supplied coal to Buildwas Power Station and the coal trains were worked by a range of locos down the 1.5 miles to Donnington. Austerity 0-6-0ST steam locomotives were the most common form of motive power until steam was replaced by diesel locomotives.
Between 1948 and 1964, 77 new “Austerity” 0-6-0ST locomotives were built for the NCB.
NCB Hunslet Austerity 0-6-0ST Granville No. 5 at School Road Crossing. [108]
When steam was replaced by diesel, the NCB deployed Hunslet 0-6-0DH locos at Granville Colliery. Between 1965 and 1989 well over 50 0-6-0DH shunters were built by Hunslet (Leeds) for the British market. More were also built to a variety of gauges for users abroad in South America, Africa, Europe and the Indian subcontinent. The Hunslet 0-6-0DHs were surprisingly powerful for their size, and their short wheelbase enabled them to operate in locations where other locomotives may struggle. [109]
Typical NCB Hunslet 0-6-0DH locomotives. [110]
Models of the Hunslet 0-6-0DH are produced in OO gauge by Revolution Trains and in N gauge by the N Gauge Society.
CAD 3/4 image of Hunslet 0-6-0DH in 00 Gauge. [110]
What can be seen today?
All of the Granville Colliery buildings have been removed.
All that remains of the Old Lodge furnaces after extensive dismantling and site restoration involving raising of the ground levels are parts of the brickwork of the first three furnaces.
The high walls behind the furnaces are the remains of the furnace loading ramps. On the right of the ramp walls hidden in the trees is a retaining wall in front which was the blowing house. Behind the loading ramps were calcining kilns which were added in 1870 to improve the quality of the iron ore. Remains of the Lodge Furnaces, Tug Boat Canal and other buildings can be seen around Granville Country Park.
The Lilleshall Company Railways have disappeared completely.
G. F. R. Barker; Leveson-Gower, Granville (1721-1803); in Sydney Lee, (ed.); Dictionary of National Biography. Vol. 33; Smith Elder & Co., London, 1893.
The Jim Clemens Collection No. 2 – Steaming Through Shropshire Part 1; B&R Videos; and can be seen on Facebook at https://www.facebook.com/groups/265906436919058/search/?q=locomotive&locale=en_GB. B & R Video Productions produce a series of DVDs which have primarily been created by converting cine-film. One part of their library is the Jim Clemens Collection. These stills from the video are shared here with permission from Michael Clemens who holds the copyright on his father’s work. Michael is an author in his own right and maintains a website: https://www.michaelclemensrailways.co.uk. On that website there are details of all of the books he as published together with quite a bit of downloadable material including working timetables. His most relevant publication to this current article is: Michael Clemens; The Last Years of Steam in Shropshire and the Severn Valley; Fonthill Media Ltd, Stroud, Gloucestershire, 2017. That book contains two photographs which are similar to two of the images shown above (p67).
Many of the photographs taken by A.J.B. Dodd which appear in this article were first found on various Facebook Groups. A number were supplied direct by Mike Dodd, A.J.B. Dodd’s son who curates the photographs taken by his father. Particular thanks are expressed to Mike Dodd for entering into email correspondence about all of these photographs and for his generous permission to use them in this article.
On 27th September 2025 we marked the bicentenary of the Stockton & Darlington Railway which is accepted the world over as one of the most significant developments in the history of railways, the precursor of all that was to follow in the development of railway networks throughout the world. That day, Locomotion No. 1 (a replica appears in the featured image above) pulled a long train along the Stockton and Darlington Railway. …………
The logo for the series of events across the country to mark this significant anniversary. [46]
Andrew Wilson, writing in 2002, said that the Stockton & Darlington Railway (S&DR) “was incorporated in 1821. With the line from Stockton to Shildon opening on 27th September 1825. The S&DR became the world’s first steam-operated railway, although passenger services were initially horse-drawn; regular steam-powered passenger services commenced in 1833. In 1843 the line was extended to Bishop Auckland, and Barnard Castle was reached in 1856. Additional lines were soon planned, and one of these the South Durham & Lancashire Union Railway sought to link Bishop Auckland and Tebay so that coke from the Durham coalfields could be easily moved to the Furness ironworks, and iron-ore moved back to Cleveland.” [1: p13]
The Institution of Civil Engineers says that “The Stockton and Darlington Railway (S&DR) was the first passenger railway to use steam trains to transport passengers.” [4] The Company started operations at the end of September 1825 and was eventually taken over by the North Eastern Railway in 1863 when “it consisted of 200 route miles (320km) and around 160 locomotives.” [4]
Network Rail says: “On 27th September 1825, the world’s first passenger train, hauled by George Stephenson’s Locomotion No.1, carried more than 400 people along the Stockton and Darlington Railway. The landmark event drew crowds of up to 40,000 people and marked the birth of modern passenger train travel.” [46]
Darren Caplan, chief executive of trade body the Railway Industry Association, said: “It is hard to overstate the benefits that the railway has brought, and continues to bring, not just to the UK, but also globally, since 1825. Rail networks don’t just keep people connected, they also play a crucial role in spurring economic growth, creating jobs, boosting sustainability, and bringing together local communities.” [46]
The Encyclopedia Brittanica speaks of the S&DR as “first railway in the world to operate freight and passenger services with steam traction.” [6]
The Friends of the Stockton & Darlington Railway say that the S&DR “demonstrated to the wider world that such a railway could be a technical and financial success. The S&DR made possible the railways that were to follow such as the Liverpool & Manchester Railway. … It was therefore the birthplace of the modern railways that we know today.” [5]
Asked, ‘What’s so special about the S&DR?’ Neil Hammond, the Chair of the Friends of the Stockton & Darlington Railway, said, “We would argue that it’s the railway that got the world on track.” [7]
J. S. Jeans, writing in 1875, somewhat effusively called the S&DR, “the greatest idea of modern times.” [9] (His book appears in the adjacent image.)
According to Hammond, the S&DR, for the first time, brought together various elements of engineering and ideas for what a railway could be, which gave the rest of the world a blueprint for how to build a recognisably modern railway. Anthony Coulls of the National Railway Museum said that, “It set the DNA for the railway system.” [7]
From the outset, it was much more than just a way of conveying coal, unlike many of the other early railways. Transport of other goods and regular passenger services were intrinsic to its operation and purpose. “It used a combination of horses, stationary steam engines and steam-powered locomotives to pull wagons along its 26 miles, from the coalfields of County Durham to the port on the River Tees at Stockton, via the then-village of Shildon and market town of Darlington. Signalling systems, timetables and the idea of stations were all developed by the S&DR.” [7]
“While there had been earlier wooden waggonways, metal plateways and the use of steam engines, it was the coming together of engineering excellence with the motivation, vision and financial backing, mainly from Darlington’s Quaker families, in particular Edward Pease, which made the S&DR a significant milestone in the creation of what we now think of as the modern railway system. It required business people to recognise the potential role of the railway for communities and businesses beyond the mineral industries and to invest in a service that anyone (the public) could buy into and make use of. In return, unlike earlier mineral waggonways, the rail infrastructure would be a permanent fixture with a regular service linking populated areas and so attract additional businesses and industries resulting in population growth and movement. … By 1830, the S&DR was already a network of main and branch lines and had demonstrated to others building railways elsewhere in the UK and abroad, the model of a permanent, profitable steam powered public railway.” [8]
Coulls said that “Engineers travelled from across Britain and the world to see the the railway in action, to replicate its successes and learn from its mistakes. Bigger railways, such as the Manchester to Liverpool line, followed soon after and within a decade there was a global ‘railway mania’, akin to the rapid development and impact of the internet in the 20th Century.” [7]
He continued: “The S&DR was not the first railway and it was rapidly eclipsed. But it proved the practicality of the steam locomotive pulling trains over long distances.” [7]
There have been quite a number of detractors over the years and questions have been raised about the true place of the S&DR in railway history. As Coulls said, “it was not the first railway and it was rapidly eclipsed.” [7]
What we do know is that at least 400 people (maybe 600) travelled by train on the Stockton and Darlington Railway on 27th September 1825 and we know that around 40,000 people turned up to witness the event. [46] What is it that makes that event remarkable enough to be seen as the moment that the modern railway was born?
Lets first, make sure that we have understood the story on the Stockton & Darlington Railway Company: …
A Short History of the Stockton & Darlington Railway
Coal Reserves in Co. Durham
Coalfields in the United Kingdom in the 19th century. [103]
The Durham Coalfield is continuous with the Northumberland Coalfield to its North. It extends from Bishop Auckland in the South to the boundary with the county of Northumberland along the River Tyne in the North, beyond which is the Northumberland Coalfield. [106]
The two contiguous coalfield areas were often referred to as the Durham and Northumberland Coalfield(s) or as the Great Northern Coalfield. [108]
Three major ‘measures’ of Coal exist(ed) in the Durham Coalfield:
A closer focus on the Durham Coalfield: from a pamphlet printed by the National Coal Board in the 1950s, courtesy of ‘Mining History UK’, www.mhuk.org.uk. [106]Early Collieries tended to be sited as close as possible to major rivers. This is true of the Durham Coalfield – along both the Tyne and the Wear. The Tees appears bottom-right in this sketch map and was outside the extent of the Durham coalfield. [104]The Durham Coalfield: showing the mining areas developed before 1800. Proximity to river courses was paramount in keeping transport costs as low as possible. It is noticeable again that the River Tees and Stockton and Darlington were well outside the coalfield to the South. [104]This drawing highlights the extended areas of coal mining in 1800-1825 and 1825-1850. The areas concerned remain significantly to the North of the River Tees (and, indeed, Darlington and Stockton). [104]A cross-section of the Coalfield looking North. [104]
THe UK was the first country to develop its coal resources to any appreciable extent. The Durham Coalfield was among the first to be worked. The initiative came largely from the Bishops of Durham. The accounts of the See of Durham between 1274-1345 include a reference to the profits of the Bishop’s coalmines. By the middle of the fourteenth century mining had become well established at Whickham and Gateshead on the south side of the Tyne. “In 1366-1367 coal from Winlaton was bought by Edward III for the works at Windsor Castle. Coalpits were also in operation at Ferryhill, Hett and Lanchester before 1350. However, the cheapness of transport enjoyed by the pits close to the rivers gave them a big advantage and even at the beginning of the seventeenth century, almost all the large collieries were along the Tyne. Development of the Wear valley reserves led to the increasing importance of Sunderland as an exporting port, and by the time of the Civil War, the town had become, next to Newcastle, the biggest centre of the trade in the British Isles. The growth in the trade from the Tyne was phenomenal. In the year ended at Michaelmas, 1564, almost 33,000 tons of coal were shipped from Newcastle: in 1685, the tonnage was 616,000 almost 19 times as much.” [106]
Development of the industry in South Durham did not lag much behind the rest of the County. “As far back as the fourteenth century, part of the Bishopric of Durham south of Bishop Auckland was being successfully worked for coal. The Upper Wear Valley between Durham City and Bishop Auckland was in the Middle Ages the most populous part of the county because of the lead mines in the district. The coal consumed came from small workings sprinkled all through the valley and J. U. Nef, in his book ‘The Rise of the British Coal Industry’, estimates that by the middle of the seventeenth century there must have been twenty or thirty pits within an area of about 150 square miles. Every manor of any size had its own pits.” [106]
In more recent times, production from the Durham coal mines increased from about 26 million tons in 1877 to the highest recorded figure of almost 56 million tons in 1913. Just after the 1st World War there were 170,000 miners at work in the Durham coalfields. Since then, however, production has declined significantly. By the late 20th century production, with the closure of mines during the middle years of the century, production fell rapidly. The last mine in the Durham Coalfield closed in 1994. [107] The last in the Northumberland Coalfield (Ellington Colliery) closed in 2005. [108]
A few things to note:-
Coal Output – according to Sunnyside Local History Society, prior to the introduction of tramroads and then railways the combined output of the Northumberland and Durham coalfields was around 2,000,000 tons of coal per annum. [109] By 1850, the output was around 5,800,000 tons. By 1865, the coal exported from the combined coalfield was about 6,400,000 tons per annum. The railways and, prior to them, the tramroads enabled this dramatic increase, markedly increasing productivity and reducing costs. [110]
The location of Darlington and Stockton – both are some distance outside the Durham Coalfield. It is reasonable to ask what it was that meant that a railway route via Darlington to Stockton on the River Tees was considered to be the best route for the export of coal from the Southwest area of the coalfield. In practical terms, although the River Wear penetrated the Durham Coalfield close to the deposits in the Southwest, it was not navigable for much of its length. This meant that the distance to the port at Stockton (where the Tees was navigable) was shorter than the distance to Sunderland. The coal that was produced in the Southwest of the coalfield was either for local use or travelled by pack horse routes across the higher ground between the River Wear and the River Tees, or were carted on poorly surfaced roads to Stockton. It was natural, therefore to look to improve the route already used, rather than seek out significantly different alternative routes to the North and East. Landowners in the Southwest of the coalfield would only be able to exploit the coal reserves under their land once an economically sustainable transport method could be devised.
Pack horses – could carry about an eighth of a ton each. [111]
Tramroads – dramatically increased the capacity which a single horse could pull, from around 1 ton over uneven and poorly maintained roads to around 10 tons/horse. The problem, in the early 1800s, was to cost of horses and fodder. The Napoleonic Wars resulted in a dramatic increase in the cost of fodder and horses became more scarce as a result of the demands made by the wars. Landowners needed cheaper ways to transport coal to the ports for onward transport to London and the South. [112]
Canals – a number of different schemes were considered but foundered because of cost or the level differences involved in reach mines in the Pennine hills. If viable, they would have dramatically increased the load which could be pulled by one horse to as much as 30 tons! [111]
Steam railways – initially saw the amount of freight carried as 80 tons/locomotive (the amount pulled by Locomotion No. 1 on its inaugural trip on the Stockton and Darlington Railway). [113] And would go on to be able to move 100s of tons in single trains as the technology improved.
The Development of the Stockton & Darlington Railway
Until the 19th century, coal from the inland mines in southern County Durham used to be taken away on packhorses. Then later by horse-drawn carts as the roads were improved. [47]
A number of canal schemes failed.
Promoters included George Dixon, John Rennie, James Bradley and Robert Whitworth. [117]
The River Tees was straightened in the early 19th century through the creation of two cuts, the Mandale Cut (1810 – 220 yards long, saving over 2 miles of journey) and the Portrack Cut (1831 – 700 yards long), significantly improving access to Stockton’s port. [47]
Also in the early 19th century, another canal was proposed to take coal from the mines in the Southwest of Co. Durham to Stockton. The proposed route bypassed Yarm and Darlington and the scheme was resisted by Edward Pease and Jonathan Backhouse, both of Darlington. [47] It was at a meeting held in Yarm to oppose the construction of the canal that a tramroad was proposed. [48: p16] The Welsh engineer George Overton advised building a tramroad. He carried out a survey [49: p45-47] and planned a route from the Etherley and Witton Collieries to Shildon, and then passing to the north of Darlington to reach Stockton. The Scottish engineer Robert Stevenson was said to favour the railway, and the Quaker Edward Pease supported it at a public meeting in Darlington on 13th November 1818, promising a five per cent return on investment. [48: p16-17][49: p55 & 63] Approximately two-thirds of the shares were sold locally, and the rest were bought by Quakers nationally. [50: p33, 52, 79–80, 128][51][52][53: p223] A private bill was presented to Parliament in March 1819, but as the route passed through Earl of Eldon’s estate and one of the Earl of Darlington’s fox coverts, it was opposed and defeated by 13 votes. [11][54]
This plan, drawn by George Stephenson shows the original tramroad proposed by George Overton and George Stephenson’s own proposals for a railway. [118]
The first submission of a bill for what became the Stockton & Darlington Railway was deferred because of the death of George III. A revised bill was submitted on 30th September 1820. The route had to avoid the lands of Lord Darlington and Viscount Barrington. [49: p64-67][54]
The railway was unopposed this time, but the bill nearly failed to enter the committee stage as the required four-fifths of shares had not been sold. Pease subscribed £7,000; from that time he had considerable influence over the railway and it became known as “the Quaker line”. The Stockton and Darlington Railway Act 1821 (1 & 2 Geo. 4. c. xliv), which received royal assent on 19th April 1821, allowed for a railway that could be used by anyone with suitably built vehicles on payment of a toll, that was closed at night, and with which land owners within 5 miles (8 km) could build branches and make junctions;[49: p70][50: p37] no mention was made of steam locomotives. [48: p19][54]
What does seem significant, with the benefit of hindsight, is the way that this new railway initiated the construction of more railway lines, causing significant developments in railway mapping and cartography, iron and steel manufacturing, as well as in any industries requiring more efficient transportation. The railway(s) produced a demand for railway related supplies while simultaneously providing the mechanisms which brought significant economies of scale and logistics to many manufacturers and businesses [54][56][57]
This graph shows just how significant industrial growth was in the period before 1870 The vertical scale is logarithmic and we are focussing only on the period from 1800 to 1870. Each element of the industrial economy is set to a value of 100 in the year 1700. By 1800 the metals and mining sector had grown to 4.6 times its value in 1700, by 1870 it had risen to 618 times the 1700 value. The very rapid rise is due primarily to improvements in technology of which the railways were a dominant part. [119]Edward Pease and George Stephenson, (c) Public Domain.
“Edward Pease (1767-1858) was the chief inspiration and founder of the S&DR, in choosing a railway rather than a canal, in promoting its route, via Darlington, and adopting steam locomotive power.” [58: p13] Edward Pease had some concerns about George Overton’s competence in respect of railway construction. He turned to George Stephenson who had proven himself to be an excellent engine-wright at the Killingworth collieries, for advice. [54] In addition, Pease invested £7,000 (as much as £750,000 today) of his own money to overcome cashflow problems
A early share certificate (1823) for the Stockton and Darlington Railway. [127]
Pease also undertook, with fellow Quakers, what was perhaps the first targeted national sale of shares. They sought a wider involvement in share ownership beyond those immediately involved with their project.
On 12th May 1821 the shareholders appointed Thomas Meynell as chairman and Jonathan Backhouse as treasurer; a majority of the managing committee, which included Thomas Richardson, Edward Pease and his son Joseph Pease, were Quakers. The committee designed a seal, showing waggons being pulled by a horse, and adopted the Latin motto Periculum privatum utilitas publica (“At private risk for public service”).[49: p73][50: p184] By 23rd July 1821, it had decided that the line would be a railway with edge rails, rather than a plateway, and appointed Stephenson to make a fresh survey of the line, [49: p74][54]
The seal of the railway company was designed in 1821. It is clear that, at that time at least, the planned railway was not intended for steam propulsion or passenger use.
The Latin motto is Periculum privatum utilitas publica (At private risk for public service). [54]
Stephenson recommended using malleable iron rails, even though he owned a share of the patent for cast iron rails. Malleable iron rails formed about 65% of the railway but cast iron rails were used at junctions and on the remainder of the line. [4][59: p74][60]
By the end of 1821, Stephenson “had reported that a usable line could be built within the bounds of the Act of Parliament, but another route would be shorter by 3 miles (5 km) and avoid deep cuttings and tunnels.” [48: p20]
“Overton had kept himself available, but had no further involvement and the shareholders elected Stephenson [as] Engineer on 22nd January 1822, with a salary of £660 per year. [49: p79-80] On 23rd May 1822 a ceremony in Stockton celebrated the laying of the first track at St John’s Well, the rails 4 ft 8 in (1,422 mm) apart, [61] the same gauge used by Stephenson on his Killingworth Railway.” [48: p20][54] This was altered to 4 ft 8½ in to reduce binding on curves. [120: p19]
“Stephenson advocated the use of steam locomotives on the line. [48: p19] Pease visited Killingworth in mid-1822 [62: p154] and the directors visited Hetton colliery railway, on which Stephenson had introduced steam locomotives. [49: p83] A new bill was presented, requesting Stephenson’s deviations from the original route and the use of “locomotives or moveable engines”, and this received royal assent on 23rd May 1823 as the Stockton and Darlington Railway Act 1823 (4 Geo. 4. c. xxxiii).[49: p85-86] The line included embankments up to 48 feet (15 m) high, and Stephenson designed an iron truss bridge to cross the River Gaunless. The Skerne Bridge over the River Skerne was designed by the Durham architect Ignatius Bonomi.” [59: p75][65][54] George Stephenson’s bridge over the Gaunless suffered flood damage and had to be rebuilt – the directors of the railway company instructed Stephenson to consult Bonomi about the construction of Skerne Bridge – Bonomi designed a stone arch bridge, with a single arch spanning the river and two smaller flood arches over the paths either side. Bonomi’s bridge is still in use today. “Being the oldest railway bridge in continuous use in the world, it is a Grade I listed building.” [68]
By 1823, Stephenson and Pease had opened Robert Stephenson and Company, a locomotive works at Forth Street, Newcastle, from which the following year the S&DR ordered two steam locomotives and two stationary engines. [49: p95-96][54]
This highlights another way in which the S&DR was very much of its time and looked different from a modern railway: It only used locomotives (or horses) on the level sections of the line. Inclines were operated by a combination of gravity and steam-power from stationary engines.
“On 16th September 1825, with the stationary engines in place, the first locomotive, ‘Locomotion No. 1’, left the works, and the following day it was advertised that the railway would open on 27th September 1825.” [49: p105][54]
The Opening of the Line
Wikipedia tells us that “the cost of building the railway had greatly exceeded the estimates. By September 1825, the company had borrowed £60,000 in short-term loans and needed to start earning an income to ward off its creditors. A railway coach, named Experiment, [71] arrived on the evening of 26th September 1825 and was attached to Locomotion No. 1, which had been placed on the rails for the first time at Aycliffe Lane station following the completion of its journey by road from Newcastle earlier that same day. Pease, Stephenson and other members of the committee then made an experimental journey to Darlington before taking the locomotive and coach to Shildon in preparation for the opening day, with James Stephenson, George’s elder brother, at the controls. [49: p105-106] On 27th September, between 7 am and 8 am, 12 waggons of coal [74] were drawn up Etherley North Bank by a rope attached to the stationary engine at the top, and then let down the South Bank to St Helen’s Auckland. A waggon of flour bags was attached and horses hauled the train across the Gaunless Bridge to the bottom of Brusselton West Bank, where thousands watched the second stationary engine draw the train up the incline. The train was let down the East Bank to Mason’s Arms Crossing at Shildon Lane End, where Locomotion No. 1, Experiment and 21 new coal waggons fitted with seats were waiting.” [49: p109-110]
Between 450 and 600 people travelled behind Locomotion No. 1, most in empty waggons but some on top of waggons full of coal. Wikipedia tells us that “brakesmen were placed between the waggons, and the train set off, led by a man on horseback with a flag. It picked up speed on the gentle downward slope and reached 10 to 12 miles per hour (16 to 19 km/h), leaving behind men on field hunters (horses) who had tried to keep up with the procession. The train stopped when the waggon carrying the company surveyors and engineers lost a wheel; the waggon was left behind and the train continued. The train stopped again, this time for 35 minutes to repair the locomotive and the train set off again, reaching 15 mph (24 km/h) before it was welcomed by an estimated 10,000 people as it came to a stop at the Darlington branch junction. Eight and a half miles (14 km) had been covered in two hours, and subtracting the 55 minutes accounted by the two stops, it had travelled at an average speed of 8 mph (13 km/h). Six waggons of coal were distributed to the poor, workers stopped for refreshments and many of the passengers from Brusselton alighted at Darlington, to be replaced by others.” [49: p110-112][54][59: p85]
Wikipedia continues: “Two waggons for the Yarm Band were attached, and at 12:30 pm the locomotive started for Stockton, now hauling 31 vehicles with 550 passengers. On the 5 miles (8 km) of nearly level track east of Darlington the train struggled to reach more than 4 mph (6.4 km/h). At Eaglescliffe near Yarm crowds waited for the train to cross the Stockton to Yarm turnpike. Approaching Stockton, running alongside the turnpike as it skirted the western edge of Preston Park, it gained speed and reached 15 mph (24 km/h) again, before a man clinging to the outside of a waggon fell off and his foot was crushed by the following vehicle. As work on the final section of track to Stockton’s quayside was still ongoing, the train halted at the temporary passenger terminus at St John’s Well 3 hours, 7 minutes after leaving Darlington. The opening ceremony was considered a success and that evening 102 people sat down to a celebratory dinner at the Town Hall.” [49: p112-114]
The story of the opening day illustrates effectively that the line was not hauled throughout by steam locomotives and relied significantly on stationary steam engines for managing movements on steep inclines.
Early Days
“The railway that opened in September 1825 was 25 miles (40 km) long and ran from Phoenix Pit, Old Etherley Colliery, to Cottage Row, Stockton; there was also a 1⁄2 mile (800 m) branch to the depot at Darlington, 1⁄2 mile (800 m) of the Hagger Leases branch, and a 3⁄4 mile (1,200 m) branch to Yarm. [49: p106] Most of the track used 28 pounds per yard (13.9 kg/m) malleable iron rails, and 4 miles (6.4 km) of 57 1⁄2 lb/yd (28.5 kg/m) cast iron rails were used for junctions.” [49: p89-90][54][79] To put this in context, modern railway rails typically weigh between 40 to 70 kg/m (88 to 154 lb/yd), with heavier rails used for higher speeds and axle loads. In Europe, a common range is 40 to 60 kg/m, while in North America, it’s more common to see rails in the 55 to 70kg/m (115 to 154 lb/yd) range. The heaviest mass-produced rail was 77.5 kg/m (171 lb/yd). [78][79][80]
The full length of the Stockton & Darlington Railway in 1827 – modern railways are shown as red lines. [54][81]
The S&DR was “single track with four passing loops per mile; [48: p27] square sleepers supported each rail separately so that horses could walk between them. [59: p74] Stone was used for the sleepers to the west of Darlington and oak to the east; Stephenson would have preferred all of them to have been stone, but the transport cost was too high as they were quarried in the Auckland area. [49: p91] The railway opened with the company owing money and unable to raise further loans; Pease advanced money twice early in 1826 so the workers could be paid. By August 1827 the company had paid its debts and was able to raise more money; that month the Black Boy branch opened and construction began on the Croft and Hagger Leases branches. During 1827, shares rose from £120 at the start to £160 at the end.” [49: p138-140][54] Horses could haul up to four waggons. Dandy Waggons were introduced in mid-1828. A Dandy Waggon “was a small cart at the end of the train that carried the horse downhill, allowing it to rest while the train descended under gravity. The S&DR made their use compulsory from November 1828.” [48: p27][49: p154-156][54]
“The line was initially used to carry coal to Darlington and Stockton, carrying 10,000 tons [82] in the first three months and earning nearly £2,000. In Stockton, the price of coal dropped from 18 to 12 shillings, and by the beginning of 1827 was … 8s 6d.[49: p117, 119] At first, the drivers had been paid a daily wage, but after February 1826 they were paid 1⁄4d per ton per mile; from this they had to pay assistants and fireman and to buy coal for the locomotive. [49: p132] The 1821 Act of Parliament had received opposition from the owners of collieries on the River Wear who supplied London and feared competition, and it had been necessary to restrict the rate for transporting coal destined for ships to 1⁄2d per ton per mile, which had been assumed would make the business uneconomic. There was interest from London for 100,000 tons a year, so the company began investigations in September 1825. In January 1826, the first staith opened at Stockton, designed so waggons over a ship’s hold could discharge coal from the bottom. [49: p120-121] About 18,500 tons of coal was transported to ships in the year ending June 1827, and this increased to over 52,000 tons the following year, 44.5% of the total carried.” [49: p136][54]
Locomotives
“The locomotives were unreliable at first. Soon after opening, Locomotion No. 1 broke a wheel, and it was not ready for traffic until 12th or 13th October; Hope, the second locomotive, arrived in November 1825 but needed a week to ready it for the line – the cast-iron wheels were a source of trouble. [49: p118-119, 142] Two more locomotives of a similar design arrived in 1826; that August, 16s 9d was spent on ale to motivate the men maintaining the engines. [49: p118-119, 142] By the end of 1827, the company had also bought Chittaprat from Robert Wilson and Experiment from Stephenson. Timothy Hackworth, locomotive superintendent, used the boiler from the unsuccessful Chittaprat to build the Royal George in the works at Shildon; it started work at the end of November.” [49: p116, 142-143][54] A drawing of the Royal George appears below.
The boiler was a plain cylinder 13 ft. long and 4 ft. 4 in. in diameter. There were six coupled wheels 4 feet in diameter, and the cylinders, which were placed vertically at the end opposite to the fire place, were 11″ diameter, the stroke of the piston being 20 inches. The piston rods worked downward and were connected to the first pair of wheels. [122]
Problems with the locomotives may have seen the railway reverting to the use of horses but for the fact that Pease and Thomas Richardson were partners with Stephenson in the Newcastle works. Locomotives were clearly superior to horses when they were working. In his book, Tomlinson showed that coal was being moved by locomotive at half the cost of using horses. Rolt could not imagine the company reverting to horses. [83] Robert Young states that the company was unsure as to the real costs as they reported to shareholders in 1828 that the saving using locomotives was 30 per cent. Young also showed that Pease and Richardson were both concerned about their investment in the Newcastle works and Pease unsuccessfully tried to sell his share to George Stephenson. [50: p61-63][54][84]
“New locomotives were ordered from Stephenson’s, but the first was too heavy when it arrived in February 1828. It was rebuilt with six wheels and hailed as a great improvement, Hackworth being told to convert the remaining locomotives as soon as possible. In 1828, two locomotive boilers exploded within four months, both killing the driver and both due to the safety valves being left fixed down while the engine was stationary.” [49: p146-148][54]
Hackworth redesigned locomotive wheels – cast-iron wheels used to fracture too easily. His solution was the first use of “a system of cast iron wheel with a wrought iron tyre shrunk on. The wheels were made up in parts because the lathes in the Shildon workshops were too small to turn up the rims when fixed upon the axle. They were dotted with plug holes to ensure sound castings and reduce unnecessary weight. This new wheel type was very efficient and so was used on nearly every engine on the S&DR and on other railways for many years.” [124: p157-8][125: p30].
He designed the spring safety valve. He perfected the blast pipe and again it was to be used on many engines subsequently. Perhaps the most important invention was the blast pipe which ensured that boiler pressure was always maintained; thus curing the lack of steam found in Stephenson’s earlier engines.
Hackworth lagged Royal George’s boiler with strips of mahogany to insulate it. “Royal George” was built for coal traffic and so was designed to be strong and with good tractive adhesion suitable in all weathers and the blast pipe doubled the amount of useful work [it] could do.” [124: p228]. The ‘blast pipe’ discharged exhaust steam through a converging nozzle blast pipe in the chimney, greatly increasing combustion intensity and steam production.
“The S&DR was designed to be operated by travelling locomotive and through the skills of Timothy Hackworth, it was here that the locomotive engine became reliable and efficient. Through his work for the S&DR, confidence in the use of locomotives was gradually built up so that other embryonic railway companies were also prepared to embark on their use. By the time the Liverpool and Manchester line opened in 1830 the S&DR had 12 locomotives and by 1832 it had 19.” [125: p2]
“The surviving documentation suggests that without Hackworth’s promotion of the locomotive and his key developments such as the plug wheel and blast pipe which allowed the practical and ultimately successful implementation of locomotive power on the S&DR for all to see, then the railways that followed would have significantly delayed the use of travelling locomotives. Hackworth cast enough doubt in the Director’s minds of the Liverpool & Manchester Railway about the dangers and short comings of rope pulled inclines, that they organised the Rainhill Trials only months before opening in order to test the power and efficiency of various locomotives. … From 1828 when the locomotives were proven technology (thanks to Hackworth’s design of the Royal George the previous year), there was a growth in locomotive engineering companies in England, and by 1830, also in America and France.” [125: p3]
“Perhaps there was no man in the whole engineering world more prepared for the time in which he lived. He was a man of great inventive ability, great courage in design, and most daring in its application…” (The Auckland Chronicle, 29th April 1876 referring to Timothy Hackworth)
Passengers
Wikipedia tells us that “passenger traffic started on 10th October 1825, after the required licence was purchased, using the Experiment coach hauled by a horse. The coach was initially timetabled to travel from Stockton to Darlington in two hours, with a fare of 1s, and made a return journey four days a week and a one-way journey on Tuesdays and Saturdays. In April 1826, the operation of the coach was contracted for £200 a year; by then the timetabled journey time had been reduced to 1 hour 15 minutes, and passengers were allowed to travel on the outside for 9d. A more comfortable coach, Express, started the same month and charged 1s 6d for travel inside. [49: p122-126] Innkeepers began running coaches, two to Shildon from July, and TheUnion, which served the Yarm branch from 16th October. [49: p126-127] There were no stations: [87: p117] in Darlington the coaches picked up passengers near the North Road Crossing, whereas in Stockton they picked up at different places on the quay. [49: p130] Between 30,000 and 40,000 passengers were carried between July 1826 and June 1827.” [49: p131]
“The Union” started operating on 16th October 1825 and ran between Stockton and Yarm. [121]
Innovation occurred relatively quickly, the company decided that it needed to provide hostelries (pubs) close to its coal depots. Tickets were sold in various locations but, significantly, in the pubs closest to pick up points. The practice mirrored what happened with stagecoaches.
Perhaps a more significant change seems to have happened almost organically. … Some of the buildings at coal depots began to provide space for passengers to wait along with other goods to be carried by the railway. … Heighington was a wayside location on the railway. It had a coal depot, and the S&DR built a public house in 1826-1827 to oversee the coal depot. Historic England describe the building as a proto-railway station, built before the concept of the railway station had fully developed. [123] This was the first such structure on the railway.
This was one among a number of loading and unloading depots which would evolve into the now familiar railway architecture such as goods and passenger stations. [125]
Developing Understanding
In truth, a lot of work went into getting three different forms of traction to harmonise – horse, inclined plane and locomotives on a single line. This was further complicated by the fact that it was a public railway that anyone could use subject to payment and an agreement to abide by any rules. The increasingly popular use of the single line also meant that rules had to be established for giving way and the ‘first past the post’ system was adopted. Signalling considered (but blocked by local landowners), [128: p12] warnings were sounded on the approach to level crossings, braking systems improved and sleepers made heavier. There was no past experience to learn from, no book to consult and the duties of railway officials had yet to be clearly defined. [124: p121]
“The S&DR led the way in devising a system to run a public railway. It was here that passenger timetables evolved, baggage allowances were created, rules made regarding punishment for non-purchase of tickets, job descriptions for railway staff evolved and signalling and braking developed and improved for regular use. The S&DR also recognised the need for locomotives of a different design to haul passengers rather than heavy goods and the need to provide facilities for passengers and workers at stations – all before 1830.” [125: p2]
The Stockton & Darlington’s regulations were initially laid down in ten ‘rules’ set out in the company’s Act of Incorporation of 19th April 1821, which established fines for those failing to preserve order and security on the railway. These were of a fairly general nature. [128: p12-13]
Two rules had attached to them the massive (for the day) fine of £5, these required wagons to be especially constructed for the railway, to bear the owner’s name and wagon number in 3-inch high lettering, and to allow the company to gauge wagons if it felt necessary.
By July 1826, these rules were supplemented by 24 byelaws and rules concerning wagons taking to sidings, all of these suggesting that there were shortcomings in the original rules which were discovered as an early result of operational experience. [128: p67-68]
After the launch date in 1825, other advances followed rapidly. “The growth of health and safety, the administration of running a regional railway, … and, [critically,] commercial success that would reassure other investors that it was safe to invest in their own regional railway that would soon form part of a national and then international railway network. The first purpose-built goods station (as opposed to coal and lime which went to the depot down the road) was opened in Darlington 1827. … [It formed] the inspiration for the later 1830 warehouse at Liverpool Road Station in Manchester which still survives.” [125]
“Many aspects of the line were still unproven technology when they came to be used in the context of a public regional railway. Until it could be proven (and the launch of 1825 went some way to do that with enough customers ready to pay for the service to immediately allay fears of money losses), that the line had to work first before it could be expanded. It was up to the S&DR to find a way forward as new problems arose. [Much of that responsibility fell on Timothy Hackworth’s shoulders.] … Through the hard knocks of money shortages, operating difficulties and the limitations of contemporary engineering, the S&DR had discovered what would be necessary [to run a railway] by the start of 1829, at a time when the L&MR was still vacillating over vital traction and operating decisions.” [126: p11-12]
A Change in Passenger and Goods Services
It was 1833, before the passenger railway service began to become something like we would recognise today. By 1833, it had become obvious that the competing needs of passengers and goods under an open access model needed to be managed. Network management, capacity and overall co-ordination were increasingly seen as important. As the network expanded, the conflicts increased. Until 1833, passenger services were run by external contractors. In 1833, the S&DR took on this responsibility directly.
The railway changed from a kind of ‘public road’ on which all-comers could transport goods and passengers to a system where services were co-ordinated, managed, timetabled and run by the Company.
The S&DR established a permanent rail infrastructure providing a regular service transporting both goods and passengers. In this particular sense, the S&DR was truly the launch of a modern railway network. Managed, timetabled services for passengers and goods made possible the rapid expansion of railways in the 19th century across the globe, together with attendant huge worldwide social and economic change.
In a railway context, everything was being done for the first time:
the keeping of general records; various statistical and financial records; employment of staff and rules; at first all drivers were self-employed and paid their firemen themselves.
Engine shed maintenance records; the need for dedicated general goods facilities; all arrangements for passengers; the management and supply of first coke and then coal for use by steam engines. ….
The S&DR, from the official launch in September 1825, “was at the forefront of technology in terms of operating locomotives regularly and over a relatively long stretch of line, it was to the S&DR that other embryonic railway companies looked to. Railway engineers and promoters from other parts of the UK, France, and the USA attended the opening ceremony in 1825. Two of those distinguished French guests went on to found France’s first public railway. Others were to visit the S&DR Works in the years that followed including engineers from Prussia who took copious detailed notes on Hackworth’s experiments. Hackworth himself shared his results widely (often at the request of Edward Pease) and organised trials at the request of engineers from other companies who were torn between the use of canal versus railway, or horse versus locomotive, or stationary versus travelling engine. The S&DR was at its most influential until around 1830.” [125: p2] A very short period of time!
Beyond 1830, “there were significant technological achievements … such as the delivery of Russia’s first locomotives to the Tsar in the 1840s from Hackworth’s Soho Works in Shildon, the continuing evolution of the first railway towns at New Shildon and Middlesbrough and the delivery of gas to the works in New Shildon in 1841 before anywhere else in the country apart from Grainger Town in Newcastle. Further the grouping of internationally important structures with later pioneering structures (such as at North Road in Darlington or at Locomotion in Shildon) provides an insight into those rapidly developing days of the early railway and add value to each other.” [125: p3]
The First ‘Railway’ Town – New Shildon
Shildon was, at the start of the 1820s, just a tiny hamlet, (c) National Library of Scotland. [105]The same area South of Bishop Auckland as it appears on Stephenson’s survey of 1821. Shildon still appears as a tiny hamlet. [118]On Dixon’s Plan of 1839, there is new housing, the S&DR’s Shildon Works, bottom left, and Timothy Hackworth’s Soho Works, top right. [129]New Shildon has developed significantly by the time of this map extract. A significant number of streets are now present, and both the railway works and Hackworth’s Soho Works have expanded. Note Shildon’s Railway Station at the right side of the image. [130]By the 21st century New Shildon has completely swallowed the original hamlet of Shildon and urban sprawl has devoured all of the land North to Bishop Auckland. [Google Maps, August 2025]
The Second ‘Railway’ Town – Port Darlington and Middlesbrough
The ongoing story of the railway company is one of strong growth particularly in the carriage of goods. It opened its own port near the mouth of the River Tees.
The S&DR played a significant role in the rapid expansion of Middlesbrough. Initially a farming community of around 25 people at the beginning of the 19th century, it transformed into a major iron and steel producer, “spurred by the arrival of the Stockton and Darlington Railway and the discovery of iron ore in the Cleveland Hills. This rapid expansion led to a significant population increase and the development of a new town, planned by Joseph Pease and others, centred around a gridiron street pattern and a market square. [85][86] Middlesbrough had only a few houses before the coming of the railway, [87] but a year later had a population of over 2,000 and at the 2011 census had over 138,000 people. [88][89] Port Darlington was first established, as shown on the left of the image below, which also shows the gridiron street pattern in what would become Middlesbrough, the new town on the right of the image. [95]
Port Darlington’s staithes are on the left of this development plan, the fan of sidings and the staithes can be seen close to the red dot. This plan also shows the planned gridiron street pattern in the new town, on the right of the image behind the wharfs where ships could be loaded and unloaded. [95]The same area in the 21st century, the red dot provides continuity between these two images. A single rail siding still serves the area which had the staithes and some of the gridiron pattern of streets remains. The first house was completed in the New Town in the Spring of 1830. [Google Maps July 2025]
We have already noted the staithes built at Port Darlington to allow more mechanised loading of ships. These staithes were ingeniously designed, even if health and safety was not as paramount as perhaps it should have been. The Port of Middlesbrough describes the operation: “Staithes were elevated platforms for discharging coal and other materials from railway cars into coal ships for transport. … A steam engine hoisted a wagon full of coal off the line and about 20 feet into the air, where it landed on a gantry. A horse then pulled the wagon along the gantry and out over the water. At the end of the gantry, the wagon was strapped into a cradle and, with a man clinging to it, was swung in an arc on to the ship below. Here, the man unbolted the bottom of the wagon and the coal fell into the hold. Finally, the weight of the next full wagon swinging downwards caused the empty wagon and the man to swing upwards back to the gantry.” [95]
Plans from the port authority are shown below. It is difficult to imagine the process described from looking at these plans. It may be that the plans show a later design of staithe.
One of the staithes at Port Darlington/Middlesbrough Dock. [95]A closer view of the staithe shown in the image above. [95]
The years after 1827 (once Company finances were on a sound footing)
A series of different extensions and branches to the S&DR appeared over the period from 1827. [54] “In 1830, the company opened new offices at the corner of Northgate and Union Street in Darlington. [49:p189] Between 1831 and 1832 a second track was laid between Stockton and the foot of Brusselton Bank. Workshops were built at Shildon for the maintenance and construction of locomotives. [49: p235-236] In 1830, approximately 50 horses shared the traffic with 19 locomotives, but travelled at different speeds, so to help regulate traffic horse-drawn trains were required to operate in groups of four or five.” [54] The rule book stated that locomotive-hauled trains had precedence over horse-drawn trains. Even so, accidents and conflict occurred. The practice was to allow private use of the line by industries that it served, “some horse drivers refused to give way and on one occasion a locomotive had to follow a horse-drawn train for over 2 miles (3 km). [49: p383-384][50: p91-94] The committee decided, in 1828, to replace horses with locomotives on the main line, starting with the coal trains, but there was resistance from some colliery owners.” [54]
“After the S&DR bought out the local coach companies in August 1832, a mixed [locomotive-hauled] passenger and small goods service began between Stockton and Darlington on 7th September 1833, travelling at 12–14 miles per hour (19–23 km/h); locomotive-hauled services began to Shildon in December 1833 and to Middlesbrough on 7th April 1834. [49: p384-385][50: p68] The company had returned the five per cent dividend that had been promised by Edward Pease, and this had increased to eight per cent by the time he retired in 1832.” [50: p87-88][54]
In 1835, the S&DR partnered with the York & North Midland Railway (Y&NMR) to form the Great North of England Railway (GNER) to build a line from York to Newcastle which along the would run along the line of the S&DR’s Croft branch at Darlington. Pease specified a formation wide enough for four tracks, so freight could be carried at 30 miles per hour (48 km/h) and passengers at 60 mph (97 km/h), and George Stephenson had drawn up detailed plans by November 1835. [48: p64-65][54] The Acts of Parliament enabling the scheme were given royal assent on 4th July 1836 (Darlington to Newcastle) and 12th July 1837 (Croft to York). The railway opened for coal traffic on 4th January 1841 using S&DR locomotives, and to passengers with its own locomotives on 30th March 1841. [48: 67-69][54][87: p93-94]
A patchwork of different schemes was to follow:
By February 1842, a passenger service between Darlington and Coxhoe supported by an omnibus service to Shincliffe on the Durham & Sunderland Railway. [87: p165]
Early in 1842, the Shildon Tunnel Company opened its 1,225-yard (1,120 m) tunnel through the hills at Shildon to the Wear basin and after laying 2 miles (3.2 km) of track to South Church station, south of Bishop Auckland, opened in May 1842. [49: p435-437]
In 1846, the S&DR installed Alexander Bain’s “I and V” electric telegraph to regulate the passage of trains through the tunnel. [90: p52-53]
The SD&R provided a 3 1⁄4 hour service between Darlington and Newcastle, with a four-horse omnibus from South Church to Rainton Meadows on the Durham Junction Railway, from where trains ran to Gateshead, on the south side of the River Tyne near Newcastle. [48: p74]
By 1839, the S&DR track “had been upgraded with rails weighing 64 lb/yd (32 kg/m). [91: p415] The railway had about 30 steam locomotives, most of them six coupled, [91: p419] that ran with four-wheeled tenders with two water butts, each capable of holding 600 imperial gallons (2,700 L; 720 US gal) of water. [91: p422] The line descended from Shildon to Stockton, assisting the trains that carried coal to the docks at a maximum speed of 6 mph (9.7 km/h); the drivers were fined if caught travelling faster than 8 mph (13 km/h), [91: p415, 422] and one was dismissed for completing the forty-mile return journey in 4 1⁄2 hours. [59: p136-137] On average there were about 40 coal trains a day, hauling 28 waggons with a weight of 116 tons. [91: p423] There were about 5,000 privately owned waggons, and at any one time about 1,000 stood at Shildon depot.” [54][91: p417-418]
Wikipedia continues: “The railway had modern passenger locomotives, some [still] with four wheels. [91: p421-422] There were passenger stations at Stockton, Middlesbrough, Darlington, Shildon and West Auckland, and trains also stopped at Middlesbrough Junction, Yarm Junction, Fighting Cocks and Heighington. [91: p416] [A significant improvement on early passenger practice.] Some of the modified road coaches were still in use, but there were also modern railway carriages, some first class with three compartments each seating eight passengers, and second class carriages that seated up to 40. [91: p416][92] Luggage and sometimes the guard travelled on the carriage roof; [49: p423] a passenger travelling third class suffered serious injuries after falling from the roof in 1840. [49: p400] Passenger trains averaged 22–25 mph (35–40 km/h), and a speed of 42 mph (68 km/h) was recorded. Over 200,000 passengers were carried in the year to 1st October 1838, [91: p419] and in 1839 there were twelve trains each day between Middlesbrough and Stockton, six trains between Stockton and Darlington, and three between Darlington and Shildon, where a carriage was fitted with Rankine’s self-acting brake, taken over the Brussleton Inclines, and then drawn by a horse to St Helen Auckland. [91: p418] The Bradshaw’s railway guide for March 1843, after South Church opened, shows five services a day between Darlington and South Church via Shildon, with three between Shildon and St Helens. Also listed were six trains between Stockton and Hartlepool via Seaton [94] over the Clarence Railway and the Stockton and Hartlepool Railway that had opened in 1841.” [87: p146-147][54]
During the 1830s, Port Darlington quickly became overwhelmed by the volume of traffic (both imports and exports) and work started in 1839 on Middlesbrough Dock which was laid out by William Cubitt and capable of holding 150 ships! It was “built by resident civil engineer George Turnbull. [89] … After three years and an expenditure of £122,000 (equivalent to £9.65m at 2011 prices), the formal opening of the new dock took place on 12 May 1842. [49: p437][89] The S&DR provided most of the finance, and the dock was absorbed by the company in 1849.” [49: p508][54] The S&DR was, by 1849, a well established and very significant company.
Ongoing Developments
Political manoeuvring to secure a route from London to Scotland via the Northeast continued during this period and the S&DR saw its stocks in the GNER increase in value before a new concern, the Newcastle and Darlington Junction Railway (N&DJR) bought out the GNER.
The S&DR also secured interests in the Wear Valley, [4] [54] a line to Redcar and Saltburn, a branch to a mine at Skelton, [4][54] a line to Barnard Castle, a route (South Durham and Lancashire Union Railway (SD&LUR)) over Stainmore Summit to Tebay, [54] and, through running rights over the Eden Valley Railway (EVR) and the Lancaster & Carlisle Railway (L&CR), to Penrith. “The S&DR opened a carriage works south of Darlington North Road station in 1853 [98] and later it built a locomotive works nearby to replace its works at Shildon [which was] designed by William Bouch, who had taken over from Hackworth as Locomotive Supervisor in 1840, it completed its first locomotive in 1864.” [54][87: p8][99] The inclines, built when stationary engines were used, were bypassed by lines on gentler grades. By the early 1860s, the S&DR had a significant network, even having absorbed the EVR and the SD&LUR. [54]
“With 200 route miles (320 km) of line and about 160 locomotives, [100: p167] the Stockton and Darlington Railway became part of the North Eastern Railway on 13th July 1863. Due to a clause in the North Eastern and Stockton and Darlington Railways Amalgamation Act 1863 (26 & 27 Vict. c. cxxii) the railway was managed as the independent Darlington Section until 1876, when the lines became the NER’s Central Division. [87: p9][48: p133] After the restoration of the dividend in 1851, by the end of 1854 payments had recovered to 8 per cent and then had not dropped below 7 1⁄2 per cent.” [50: Appendix 1][54]
I guess that we might easily be able to agree that the Stockton & Darlington Railway was of great local significance. It significantly reduced the cost of coal supplied to Stockton and Darlington. It temporarily enhanced the Port at Stockton before moving that trade downstream to Middlesbrough. It dramatically improved the speed of supply of larger quantities of coal. It made the town and Port of Middlesbrough. It linked the industries of Cumbia and Cleveland allowing speedy transport of coal and iron-ore to the different industries. It improved passenger travel East-West and began with others the development of North-South travel freight and passenger train travel. ……
But how has the Stockton & Darlington Railway transcended the local and become internationally significant? ……
Why Is the Stockton & Darlington Railway So Important?
So, what is the case? Was the S&DR the first real railway?
As 2025 got underway, this question prompted me to look at what is known of railway history in the period from 1800 to 1850, and led to the writing of an article (online) about railway developments during that period. The article is entitled ‘The Mother of All Inventions‘. [2]
September 2025 marked the bicentenary of the Stockton & Darlington Railway (S&DR) and, very naturally and most appropriately, major events were planned across the UK, and enthusiasts across the world planned their own commemorations. In this context, it is, at the very least, worth considering what the S&DR can and cannot justifiably claim for itself. In fact, Anthony Dawson in an article in Steam Railway Magazine in February 2025 suggested that we best get to understand the importance of the S&DR, perversely, by considering what cannot be claimed for it. [3] What follows below is based around that article by Anthony Dawson.
Dawson says: “while every enthusiast would arguably agree that the [S&DR] is special and that the bicentenary of its opening is a landmark worthy of celebration, how many of us truly understand why the [S&DR] is so momentous? Indeed, putting the Stockton & Darlington’s importance into context isn’t exactly straightforward, nor can it be boiled down to a particular ‘first’. Therefore, to understand why the Stockton & Darlington is so important, we need to look at what it wasn’t.” [3]
He goes on to suggest that, to paraphrase Winston Churchill, “while the [S&D] was not the beginning, it was the end of the beginning. Although it wasn’t the first of anything, as early railway historian the late Andy Guy put it, it was ‘better than the first’.” [3]
Was the Stockton & Darlington the first railway?
Perhaps that question can only be answered once we have agreed a definition of a ‘railway’. Collins Dictionary offers three definitions: a railway is the steel tracks that trains travel on; a railway is a company or organization that operates railway routes; and, a railway is the system and network of tracks that trains travel on. [10] Accepting these definitions would rule out a number of early ‘railway-like’ systems based on stone and wood.
The Collins dictionary definitions are very narrowly drafted. Dawson points us to Dr Michael Lewis’ definition: A railway is “a prepared track which so guides the vehicles running on it that they cannot leave the track”. [3][11] This short, simple definition allows for the inclusion of the Diolkos and other rutways of the Classical World, [12][13] possible rutways in Wiltshire (circa 300CE), [13] Cornwall (circa 1550s), [13][14] rutways in 19th century Australia, [15] and the guide-pin railways developed in Germany and Austria in the Middle Ages. Lewis’ definition includes ‘railways’ “before the late 18th Century, [often] private … with rails essentially of wood or occasionally of stone, with carriage only of goods in vehicles propelled by horse- or by man-power, and with a variety of methods of guiding the wheels. ” [11]
Dawson comments that, “The earliest evidence for ‘railways’ in this country comes from the Lake District when German-speaking immigrants led by Daniel Hochstetter introduced them to silver mines at Caldbeck during the reign of Elizabeth I. These railways consisted of longitudinal planks which guided an iron pin secured to the bottom of a four-wheel mine cart, working rather like a slot-car. … But the first [‘true’] railway in England was very likely that built by Huntingdon Beaumont in 1604 to carry coal from his pits at Wollaton near Nottingham down to the River Trent. It was made entirely from wood and greatly improved the transport of coal for onward shipping by water. So pleased was Beaumont with this new technology, he invested heavily in four similar railways around Newcastle, which were built to carry coal down to the Tyne. Beaumont, however, failed to break into the local market. This, coupled with heavy investment in his new railways and his lavish lifestyle, led him to being declared bankrupt, ending his days in a debtors’ prison.” [3]
Dawson goes on to say that, “following the turmoil of the English Civil War and Commonwealth period, wooden railways began to spread across Shropshire where they took on the name ‘Railed Way’ and the North-East where they were known as ‘Waggonways’ – two different names for the same idea. Indeed, as excavations on the first railway in Scotland – the Tranent to Cockenzie Waggonway of 1722 – have shown, there was very little new in the technology of a wooden railway. It [was] essentially a giant ladder laid on the ground. They used old ideas to provide a solution to a new problem.” [3]
The coming of the 18th century heralded a transport revolution. Dawson says: “The early waggonways carried largely coal and other minerals down to a staithe or wharf on a river or canal for onward shipping. Thus, they grew hand in hand with the canal network and many canal companies even owned their own waggonways as feeder lines. There was a transport revolution on the roads as well with the growth of turnpikes. Taken together, [these events] … fed and fuelled industrialisation and growing urbanisation, particularly in the North of England. Improved transport links meant coal could go to market quicker. It meant it was cheaper at the point of sale, which meant greater profits and, in turn, greater demand.” [3]
Various forms of ‘railway’ were clearly well established by the advent of the 19th century. The S&DR was clearly not the first railway.
If not the first ‘railway’, was the Stockton & Darlington the first to use iron rails?
Iron was first used in a ‘railway’ context as protective plating for the early wooden ‘railways’. Lengths of cast iron plate were nailed to the running surface of wooden rails, probably first in Coalbrookdale. Wooden rails were wearing too quickly and the iron covers improved longevity. It was a simple logical next step to move from cast-iron plate to cast-iron bars and then to either cast iron edge rails or cast iron L-shaped ‘tram-plates’. Cast-iron rails were common by the 1790s, their only real fault was that they were brittle and often broke under load. Indeed, when Trevithick’s early locomotive ‘Pen-y-darren’ made its maiden run on the Merthyr Tramroad in 1804, it was noted that the cast-iron rails were not robust enough for the heavy locomotive and a number broke. [16]
Dawson says that “What was needed was a superior type of rail … made from wrought iron. First rolled in any quantity in 1820 at Bedlington Iron Works, the Stockton & Darlington was probably the first railway to use wrought-iron rails on a large scale. Due to distrust of the new material, half of the line was laid with cast iron and half with wrought. It was a major technological breakthrough and one crucial to the development of the locomotive.” [3]
It may well be that around two thirds of the length of the railway used wrought iron rails and one third had cast iron rails. Cast iron was used for the chairs which sat on the sleepers.
A section of the original Stockton & Darlington Railway track, including the rail, chairs and sleepers, at Preston Park Museum circa. 1962 (c) Bruce Coleman, courtesy of the Shildon Archive [133]
So, it seems that the Stockton & Darlington was not the first to use iron rails but that it was important in the taking of the next technological step of employing wrought-iron rails. “Bedlington Ironworks, in Blyth Dene, Northumberland … is remembered as the place where wrought iron rails were invented by John Birkinshaw in 1820, … with their first major use being [on] the Stockton and Darlington Railway. [17] Birkinshaw’s wrought-iron rails were rolled in 15ft lengths.
If not the first railway and not the first to use iron, was the S&DR the first railway authorised by Act of Parliament?
The first Act of Parliament for a railway was obtained by Charles Brandling for what became the Middleton Railway. It ran from coal pits at Hunslet down to the River Aire. The Act received Royal Assent in 1758. A significant number of Acts of Parliament relating to railways preceded the S&D, including this small selection: [18]
The Llanelli Railway and Dock Act, 1802 and the Monmouth Railway Act 1810. [134][135]
1802: The Llanelly Railway and Dock Act;
1803: The Croydon, Merstham and Godstone Iron Railway Act;
1804: The Ellesmere Canal, Railway and Water Supply Act;
1805: The Surrey Iron Railway Act;
1808: The Kilmarnock and Troon Railway Act;
1809: The Bullo Pill Railway Act; the Gloucester and Cheltenham Railway Act; the Lydney and Lidbrook Railway Act;
1810: The Monmouth Railway Act; the Severn and Wye Railway and Canal Co. Act; The Severn Tunnel Act;
1811: The Hay Railway Act; the Llanvihangel Railway Act; the Penclawdd Canal and Railway or Tramroad Act; the Severn and Wye Railway and Canal Co. Extension Act;
1812: the Anglesey Railway Act;
1813-15: the Usk Tram Road;
1817: the Mansfield and Pinxton Branch;
1818: the Kidwelly and Llanelly Canal and Tramroad Company Act; the Kington Railway Act;
1819: the Leeds and Liverpool Canal Branch and Railway Act; the Plymouth and Dartmoor Railway Act;
1820: the York and North Midland Railway Act; and the Plymouth and Dartmoor Railway (Crabtree and Sutton Pool Branch) Act. [18]
All these and more received their Royal Assent in advance of the S&D at some great expense. Dawson explains that “getting such an Act was very expensive and required having a Parliamentary Agent and introducing a Private Members’ Bill. It would then have to go through both Houses and committee stage and, unless the Bill could demonstrate it was for the public good, could be thrown out at any stage. It was a big risk, but ultimately worth it. Even though the Middleton had an Act, it didn’t mean it was a public railway. It was owned by the Brandlings, to carry their coal to market. It wasn’t open to any other users, and wasn’t a public right of way.” [3]
Not the first railway, not the first to use iron, not the first railway to received Royal Assent through an Act of Parliament. …Was, then, the S&D the first public railway?
All the railways built in the 17th and 18th centuries were private railways, built over private land. Dawson notes that, “or a railway to be public – to be public right-of-way – that meant it needed an Act of Parliament. It also meant that, until 1825 when the law was changed, an Act was also needed to form a joint-stock company.” [3]
Lake Lock Rail Road was the first public railway in England. It opened in 1798. [132]
The first public railway in England was the Lake Lock Rail Road (LLRR), which opened in 1798. It linked collieries near Wakefield to the Aire & Calder Navigation. The LLRR qualifies as a public railway “because it was open to any user upon payment of a toll and because its capital was held in publicly traded shares. … The LLRR didn’t operate the railway itself, but rather allowed colliery owners to run their own trains on it, for which a toll was paid.” [3] The LLRR can claim another first! As well as being “probably the world’s first public railway, it was also owned … by the world’s first public railway company.” [21]
If you are unhappy with the idea of the LLRR being the first public railway, Then perhaps you would have to accept the Surrey Iron Railway as the next contender for the title – It required an Act of Parliament and incorporated in 1803 and fully open at the latest by 1806.
The first public railway carrying passengers – The Swansea and Mumbles Railway. [131]
The first passenger-carrying public railway in the United Kingdom was opened by the Swansea and Mumbles Railway at Oystermouth in 1807, using horse-drawn carriages on an existing tramline. [19][20]
The first public railway in Scotland was the Kilmarnock & Troon Railway (K&TR) which finally opened in 1812. Like the LLRR, it operated as a toll road, so that independent carriers could place wagons on it, and pay for the facility. [22]
We have established that the Stockton & Darlington was not the first public railway. Given what we have already discovered, our next question needs to be one about the intentions of the designers and directors of the Stockton & Darlington.
Was the Stockton & Darlington the first to be designed and built with mechanical operation in mind?
Here we have to start from an ambivalent position. … It depends! … Do you see hydraulic power as a form of mechanical power? If your answer is ‘Yes’, then the first length of railway to be operated mechanically is one known to have existed in Sweden in the late 1600s, where a waterwheel was employed to haul wagons up an incline. By the end of the 1700s, this technology was in use in Mas-sachusetts (on the South Hadley Canal) for a rail-based lift for canal boats linked with practice at Ketley, Shropshire at that time but assisted by power from a water wheel. There was another ex-ample at Bad Gastein in what is now Germany. [114][115: p87 & p337][116] The water-powered haulage of wagons up an inclined plane in the UK was initially limited to one location in Devon alt-hough the practice was used much later in North Wales. [115: p87-88]
If we set aside waterpower, perhaps the S&DR could stake a claim to be the first publicrailway designed to be worked mechanically. But it definitely was not the first to be operated mechanically. … (More of that later).
Setting aside waterpower, was the S&DR the first railway designed to be operated mechanically? … Again the answer is ‘No!’ … Early inclines were self-acting, water power could support this but, as Gwyn tells us, experience on the Ketley Incline led Reynolds, when carrying out a survey for a canal to connect the Oakengates collieries with the River Severn, to conclude that the wastage of water from locks “would be prohibitive, and after much hesitation and a public competition, he and the other shareholders resolved on a modification of the Ketley system, but with fixed steam engines on its three inclined planes, at Donnington Wood, Windmill Farm and Hay. Instead of locks at the summit as at Ketley, reverse railed slopes were constructed into docks permanently kept in water, and the cradles were equipped with overlapping wheels which ran on ledges on the docksides to maintain them in a horizontal position. The engines were used to draw boats and cradles out of the docks and to haul up the main incline if necessary. All three were built to a hybrid design by Reynold’s protégé, Adam Heslop. These were the first locations in the world where railed vehicles were moved by steam. They were operational by 1793.” [115: p89]
The top of the Hay Inclined Plane as drawn by Agustín de Betancourt. [136]Rendered isometric views of the 3D CAD model of the top area/winding house of the Hay Incline. [136]
This was followed by a significant section of the Lancaster Canal crossing the Ribble Valley. In 1803, steam-powered inclines were used “to connect the northern and southern ends of the Lancaster Canal. Its three inclined planes were each equipped with a high-pressure 6-horsepower 13-inch cylinder engine costing £350 and made by Summerfield and Atkinson, a local foundry which offered ‘patent steam engines’, and which also built the waggons. The first was installed in May of that year. In June, a 6-horsepower steam engine was installed on a plateway incline to haul spoil on the construction of London Docks.” [115: p89]
From the turn of the nineteenth century a number of shorter inclines were being steam-operated or steam-assisted. Examples include: an incline at Wellington Quay on the North bank of the Tyne (where George Stephenson was employed for a time), 1802/1803; an incline at Glynneath, connecting Aberdare Ironworks with Neath Canal, 1805; Bewicke Main (Urpeth) Colliery, 1805. [115: p89-91]
Three years prior to the opening of the Stockton & Darlington Railway George Stephenson designed and built another railway (the Hetton Colliery Railway) which, like the Stockton & Darlington “used a combination of stationary engines, rope haulages and level sections worked by locomotives.” [3] However, the Hetton Colliery Railway was a private, not a public railway:- “The Hetton Colliery Railway was an 8-mile (13 km) long private railway opened in 1822 by the Hetton Coal Company at Hetton-le-Hole, County Durham. … The Hetton was the first railway to be designed from the start to be operated without animal power, as well as being the first entirely new line to be developed by … George Stephenson.” [25]
Again, if we set aside hydraulic and discrete uses of stationary steam-power, it seems that the Stockton & Darlington was the first ‘public‘ (rather than ‘private‘) railway to be designed and built with steam power in mind. This, perhaps, feels as though we are making some headway. … The Stockton & Darlington was the first ‘public‘ railway to be designed and built with steam power in mind. … That is definitely a ‘first’ isn’t it. ….
Was the Stockton & Darlington the first railway to use steam power?
Surely, given that the S&DR was the first public railway designed for mechanical operation, that must mean that it was the first to use steam-powered engines. Mustn’t it?
Nothing is that simple!
The Middleton Railway in Leeds, was using steam power by 1812: “In 1812, it introduced the worlds first commercially successful steam locomotives which were designed and built in Leeds. These locomotives incorporated one of the most significant advances in the design of the steam locomotive – namely the twin cylinder engine which eliminated the need for the cumbersome flywheel employed on earlier single cylinder engined locomotives.” [24][34][35][36]
Incidentally, because it was the first railway to regularly use steam locomotives, the Middleton Railway also “lays claim to other firsts; they employed the first regular professional train driver in the world, a former pit labourer named James Hewitt. More tragically, a 13 year old boy called John Bruce was killed in February 1813 whilst running along the tracks – almost certainly the first member of public killed by a locomotive.” [36]
The Kilmarnock & Troon Railway first used steam power in 1817: in 1817 the Duke of Portland acquired a locomotive for the K&TR named ‘The Duke‘, which was the first use of steam locomotive power in Scotland. Its use was however discontinued in view of frequent breakages of the cast-iron rails on the line. [23] … Notes in The Railway Magazine of January 1950, suggest that this was only a hiatus in the use of this locomotive on the K&TR: In his ‘Story of the Life of George Stephenson‘, Samuel Smiles noted the discontinued use of ‘The Duke‘, but later, in his ‘Lives of the Engineers Volume III’ he appears to have secured further information, viz: “The iron wheels of this engine were afterwards removed, and replaced with wooden wheels, when it was again placed upon the road and continued working until the year 1848.” [43: p59][44: p139] This is supported by W. J. Gordon, writing in 1910, who says of the K&TR: “on it was placed the Killingworth engine with the chain gearing bought by the Duke of Portland from George Stephenson in 1817. The iron wheels of this remarkable engine broke down the cast-iron rails, for it thumped horribly, but, instead of being withdrawn from duty, as usually reported, it had its iron wheels taken off and replaced by wooden ones; and with wooden wheels it worked the traffic-mineral, goods and passenger-until 1848, for so many years in fact that it has been confused with or mistaken for the old St. Rollox, one of the first engines of the Glasgow & Garnkirk, which it in no way resembled.” [43: p59-60][45: p188-190]
Gordon appears to “have picked up and recorded a local railway tradition about the locomotive. It is difficult to credit that an old Killingworth-type engine was re-furbished in 1839 or later, after two decades of disuse, but this seems to be the only way of reconciling the various scraps of evidence. No trace has been found of any other Kilmarnock & Troon locomotive.” [43: p60]
It would be impossible to argue that the K&TR was built with steam power in mind, however, the K&TR was definitely the first use of steam-power on a public railway in Scotland. It could also be argued that this was the first use of steam power on a public railway in the United Kingdom. This was eight years before the Stockton and Darlington first used steam-powered trains.
However, neither of these could justifiably make a claim to be the first to use steam on a revenue earning railway. That accolade must go to the Merthyr Tramroad (otherwise known as the Pen-y-Darren Tramway and associated with the Pen-y-darren Ironworks, in Merthyr Tydfil) a bit earlier in the 19th century, on 21st February 1804 to be more precise, and to a locomotive designed by Richard Trevithick.
“In 1802, Trevithick took out a patent for his high-pressure steam engine. To prove his ideas, he built a stationary engine at the Coalbrookdale Company’s works in Shropshire in 1802, forcing water to a measured height to measure the work done. The engine ran at forty piston strokes a minute, with an unprecedented boiler pressure of 145 psi.” [26]
It seems that the experiment in Shropshire led to Trevithick experimenting with creating steam railway locomotives. He had already designed and built a road locomotive, ‘Puffing Devil‘. [27]
In 1802, the Coalbrookdale Company in Shropshire built a rail locomotive for him. [28] The death of a company workman in an accident involving the engine is said to have caused the company to not proceed to running it on their existing railway. [29]
The drawing above has been used as the basis of all images and replicas of the later ‘Pen-y-darren’ locomotive, as no plans for that locomotive have survived. It cannot be an exact sister of the later locomotive because there is a tunnel on the Pen-y-darren Tramway which would have required a lower chimney and a smaller flywheel. [3]
The S&DR was not the first railway to use a steam locomotive. However, the S&DR saw a step change in the use of steam power. … “Prior to 1825 no one had ever attempted to run a locomotive as far as George Stephenson did; the furthest they had ever run was a few miles.” [3] George Stephenson had such faith in steam power “that he designed and built a steam railway to be worked by locomotives not just for a couple of miles but for tens of miles” [3] – twenty six miles in all!
We have established that the S&DR was the first ‘public‘ (rather than ‘private‘) railway to be designed and built with steam power in mind. We have seen that while not the first to use steam-power, it was the first to be so confident in the new technology to believe that it could be used over significant distances.
We have noted, in passing, that the majority of different railways in use prior to 1825, were designed to carry coal or iron ore and some other ancillary forms of freight.
Can we say that the Stockton & Darlington was the first to carry fare-paying passengers over any significant distance?
Dawson tells us that “unofficial passenger carrying goes back into the 18th Century, on what were private mineral lines. The first public railway, as authorised by an Act of Parliament and which authorised the railway to do so was the Swansea & Mumbles Railway of 1807. This was a horse-drawn service, working to a timetable and, in 1812, saw the first railway station open in Swansea.” [3]
He continues: “The first passenger service on a public railway in Scotland was in 1813, on the Kilmarnock & Troon [Railway]. Again, it was horse-worked but like the Stockton & Darlington tickets could be bought from local inns along the line – as well as refreshments and parcels left there to be carried by the railway as well. There was a long history of public passenger railways before 1825. … Therefore, the Stockton & Darlington was tapping into an existing idea.” [3]
David Gwyn says: “In April 1807 the first known public railway passenger service was inaugurated, enabling tourists to enjoy the beauties of Swansea Bay along a plateway opened the previous year to carry limestone from the Mumbles to the copper smelters, and coal and manure in the opposite direction. Such services were soon found on railways in the border country, Scotland and the English West Country. Some carriers offered pleasure carriages for hire. Well-heeled people could now make railway journeys in order to enjoy attractive scenery, and humbler folk could travel by train to buy and sell – both Dr Griffiths plateway from the Rhondda to Pontypridd and the rail section of the Somerset Coal Canal to Radstock were used by women taking farm produce to market.” [115: p71-72]
Gwyn goes on to say that, “Carriers offering passenger services for wealthy tourists built specially designed vehicles, including long-wheelbase carriages on the Sirhowy, hauled at 6 or 7 mph, and on the Oystermouth.” William Chapman suggested in 1813 that ‘long carriages, properly constructed, and placed on two different sets of Wheels, viz. 8 in all, may take 30 or 40 people with their articles to market’.” A ‘market caravan’ on the Plymouth and Dartmoor had fireplaces to keep passengers warm, and there was also an open carriage with an awning. The Kilmarnock and Troon had a coach called ‘the Caledonia’, another called ‘the boat’, then one variously described as ‘an enormous Gypsy caravan’, ‘the Czar’s winter sledge’ and a ‘Brobdingnagian diligence’.” On other systems, humbler passengers rode on unconverted waggons, perhaps for the price of some beer money to the haulier or some other acknowl-edgement, or paid a fare to travel in a coal waggon which had been brushed out, and had planks inserted to serve as seats.” [115: p73]
Let’s tighten up the question. …
Was the S&DR the first to use steam for passenger trains?
Again we have to ask what criteria this should be judged by. Dawson says, “Yes, the opening train of the Stockton & Darlington was indeed pulled by a locomotive, and … included a purpose-built passenger carriage and passengers travelling in coal waggons, but that was a one-off event. It wasn’t the start of a regular steam-worked passenger service. Indeed, the Stockton & Darlington’s passenger service was horse-worked until 1833.” [3]
It was only after a number of years of operating passenger services that the economic potential for steam powered passenger services was recognised by the S&DR and it introduced its own steam hauled passenger services in 1833. It should be borne in mind that, “Although the S&DR made use of steam locomotives from its opening day, it can also be seen to represent a transitional stage of railway development in which stationary engines and horse-drawn vehicles were also utilised. Although [George Stephenson’s] ‘Locomotion’ represents a notable development [in] the earlier pioneering work of George Stephenson and others, it is fair to say that the subsequent work of Timothy Hackworth, the first Superintendent Engineer of the S&DR, proved the supremacy of the steam locomotive over other forms of motive power.” [37]
We have already noted in passing that passengers were carried on a number of earlier steam powered trains:
on 21st February 1804, Trevithick’s locomotive pulled a train of coal wagons which carried workmen (over 11 tons of coal, five wagons and 70 men) over the length of the line and it was also proposed to couple a private carriage begin the engine; [38][39]
Trevithick’s ‘Catch Me Who Can‘ of 1808 was pioneering in two ways – it was the first purpose-built passenger locomotive, as well as the first to haul fare-paying passengers; [33] and,
steam-powered trains on the Middleton Railway and associated lines also carried passengers, informally from very early days, formally by around 1834. [40]
We also have to note that the first regular steam-worked passenger service was to be established in May 1830 on the Canterbury and Whitstable Railway, which incidentally issued the first ever season tickets in 1834. [41] That line “was worked by a combination of stationary engines and a single locomotive – the now preserved Invicta, designed and built by Robert Stephenson & Co in Leeds immediately after Rocket.” [3]
In September 1830, the Liverpool and Manchester opened with a timetabled steam-powered passenger service. So, the S&DR cannot claim to be the first steam-powered passenger service.
If we accept that all of this is true, that the S&DR was not the first in any of the ways already discussed. What can we say about the S&DR which justifies the place it holds in the popular mind and in the eyes of technical specialists, journalists and railway enthusiasts around the world?
What is so special about the Stockton & Darlington Railway?
It is clear that the Stockton & Darlington Railway would not have existed without the, at least, two centuries of railway development which came before it. As Dawson says, “During those two centuries, crucial ideas and crucial technologies were worked out from the track to locomotives, to carrying passengers and legal structures. So, while the Stockton & Darlington wasn’t really the first of anything, it was the culmination of that previous development and evolution. It represents the bringing together and synthesising of existing ideas into a new concept. A public railway, authorised by Act of Parliament, to carry passengers, to use steam locomotives and use iron rails. In many ways it was, as Andy Guy noted in 2016, ‘better than the first’.” [3]
The Museum at Hopetown, Darlington says that, “The Stockton & Darlington was by no means the first railway, but its opening in 1825 marked a very significant step in the development of railways by bringing together two features for the first time:the concept of a public railway, available to all, for transport of passengers and goods; andthe use of steam locomotives.” [37]
On that first journey on 27th September 1825, made by the locomotive, ‘Locomotion No. 1‘, driven by George Stephenson, a large number of wagons filled with coal, flour and passengers were hauled along the line. There was a passenger carriage called ‘Experiment’ present which carried the railway’s directors. 300 passenger tickets were sold officially. However, a total amount of nearly 700 passengers were crammed into the wagons and the total load on that day was about 80 tons! [42]
There was clearly a sense that something momentous was happening that day and history has proven that to be the case.
And that initial success, together with that of the neighbouring Hetton Colliery Railway, meant that George Stephenson had demonstrable experience in the use of steam locomotives and places on which to trial his continued development of the technology.
As Dawson says, the S&DR “wasn’t the first. It wasn’t the first railway, it wasn’t the first steam railway, nor was it the first main line railway. But what it did do was put the railway squarely on the map and in the public consciousness showing what a steam-worked railway could do, laying the foundations for everything that came afterwards.” [3] It was a critical link in the chain of developments that brought about our modern railways. “The Liverpool & Manchester and the birth of main line railways as we know them simply wouldn’t have happened without the Stockton & Darlington Railway.” [3] It placed George Stephenson at the forefront of the development of railway technology and gave him space to test and modify locomotive design.
In that context, However, we must acknowledge the strength of debate underway between 1825 and 1829.
In this four-year period there was an intense debate about whether locomotive power or stationary engines were best.
Stephenson ascribed to the use of fixed engines where gradients were both short and steep. Others argued for the use of a variety of different fixed engines. The directors of the Liverpool & Manchester Railway challenged Stephenson’s proposals for the use of locomotives. This resulted in a number of studies taking place. The first of these took place on the S&DR and reported that rope haul-age would be suitable for the Liverpool & Manchester, with the proviso that it could cause problems at level crossings and at junctions.
A second study based at the Bolton & Leigh Railway and at the Middleton Railway also found in favour of the use of stationary engines for the Liverpool & Manchester spaced at no more than 2-mile intervals, with goods and passengers changing from one system to another at locations dictated by the gradient or by the length of rope in use. That study saw the value of locomotives for light loads but estimated that the rate per ton per mile for heavier loads would be 2/3 of a penny cheaper with stationary engines rather than locomotives.
There was a worldwide proliferation of the use of stationary engines from the second half of the 1820s into the 1830s.
The complexity of use of the stationary engines over significant distances, the necessary transshipment of goods and passengers to suit the technology eventually brought the director of the Liverpool & Manchester to the conclusion that provided locomotives could meet specific criteria then they should be used for the longer lower gradient length (35 miles) of the railway.
There is little doubt that the experience of working the S&DR and the rapid development in loco-motive technology which resulted gave Stephenson and Hackworth a clear advantage over any competition. But it must be remembered that the ‘ordeal’ at Rainhill was as much about the choice between stationary engines and mobile locomotives as it was about which was the best locomotive.
Both Hackworth and Stephenson entered locomotive for the Rainhill Trials Stephenson’s expertise, honed by experience on the S&DR and built on a fastidious attention to detail which saw all parts of Rocket tried and tested as part of a component review, resulted in Rocket significantly out-performing all its competitors (including Hackworth), but perhaps of greater significance, the debate over the use of locomotives or stationary engines had been conclusively resolved in favour of the locomotive.
Locomotive design was developing so quickly that after 1831, Rocket became design-expired and was only used on engineers’ trains and for other secondary duties! [137] [115: p144-171]
To summarise, … the S&DR:
Was a significant step forward on a journey to technological advancement and in the history of transport. The S&DR made a critical contribution to the history of the world, not just to the development of railways. It:
Demonstrated the Feasibility of Steam Railways as a means of transport of goods and passengers over significant distances. It proved that steam-powered trains could be a practical and profitable means of transport, not just for coal but also for passengers.
Inspired Global Growth: The S&DR’s success led to a surge in railway construction both in Britain and around the world, as other countries sought to replicate its model. Initially, it gave confidence to a number of investors in railways. After the opening of the S&DR, people knew that they would be investing in proven technology, not risking their money on what was no more than an experiment.
Brought About Technological Innovation: The S&DR pioneered various railway technologies, including signaling systems, timetables, and station layouts, which became standard practices in the railway industry.
Had a Significant Economic Impact: The railway transformed the Tees Valley into an industrial powerhouse, facilitating the transport of goods and people, and contributing to the growth of new industries and towns.
Had a Manifest Social Impact: The S&DR made travel more accessible to people of all classes, leading to increased social mobility and cultural exchange.
Created a Legacy: The S&DR is considered the “birthplace of the modern railway system” and its legacy continues to be celebrated through museums, heritage sites, and ongoing research.
By the time Richard Trevithick died in 1833 the first main lines were extending across Britain. By the time of George Stephenson’s death in 1848, the railway mania was in full swing. Soon the world would be crisscrossed by parallel iron rails, and nothing would ever be the same again. Places once considered perilously distant could be reached in hours.
However, if the S&DR had not opened in 1825, somewhere else would have taken its place as the birth-place of modern railways within a matter of a few short years. It was however, the tipping point when one excellent technology of tramway and tramroad gave way to what we now call the railway..
Industries would soon transport their goods across the globe with ease.
Industrial output grew exponentially. … Cities were reshaped now that people didn’t have to live within walking distance of work.
Businesses could be more productive than ever before with reliable means of communication. News of events in far-off places could be on the breakfast table the following day.
Railways would drive wars and revolutions.
Railways also made going on holiday accessible to ordinary people.
Railways were celebrated in literature music and film.
The new need for consistent timekeeping across the country meant that Greenwich Mean Time (GMT) was adopted as standard – even time itself would be spiked to the iron way.
And here we are, 200 years later in a world that Trevithick and Stephenson would barely recognize. Perhaps the best way to end would be with a quote attributed to Stephenson found in Smile’s biography of George Stephenson and told to Smile by John Dixon. …
“The time will come when railways will supersede almost every other form of conveyance in this country when mail coaches will go by railway and railroads will become the great highway for the king and all his subjects. I know there will be great and almost insurmountable difficulties to be encountered but what I have said will come to pass as sure as you live.” [George Stephenson]
References
Andrew Wilson; The Stainmore Route and the Eden Valley Line; in Rex Kennedy (ed.); Steam Days, Red Gauntlet Publications , Bournemouth, Forest, January 2002, p13-30.
J. S. Jeans; Jubilee Memorial of the Railway System. A History of the Stockton and Darlington Railway and a Record of Its Results; Longmans, Green & Co., London, 1875. (later 1974 ed., p74).
M. J. T. Lewis; Railways in the Greek and Roman World, in A. Guy & J. Rees, J. (eds.); Early Railways. A Selection of Papers from the First International Early Railways Conference; (PDF); Newcomen Society, London, 2001, p8–19; via https://web.archive.org/web/20110721083013/http://www.sciencenews.gr/docs/diolkos.pdf, accessed on 26th March 2025.
David Gwyn and Neil Cossons; Early Railways in England: Review and summary of recent research; Historic England, Discovery, Innovation and Science in the Historic Environment Research Report Series No. 25-2017; via
“The first railways in England probably date, at earliest, from the second half of the 16th century and were associated with mines where German-speaking miners were employed. Smith-Grogan 2010 suggests that several Cornish rutways might date back to the 1550s and be associated with Burchard Cranich and Ulrich Frosse. The West-Country mining engineer Sir Bevis Bulmer (1536-1615) was familiar with Agricola’s De Re Metallica (Skempton 2002), and another possible literary conduit is Sebastian Munster’s Cosmographia Universalis, published in German in 1544 and in Latin in 1550. This includes a woodcut of a hund on flanged wooden rails in a mine at Ste Marie/Markirch in Alsace (Lewis 1970, 51).” [12: p20]
G. Smith-Grogan; Rutways in Cornwall; in Early Railways 4, Fourth International Early Railways Conference; Newcomen Society, London, 2010.
J. Longworth and P. Rickard; Plateways, Steel Road Rails, Stoneways, and Rutways in Australia; in Early Railways 6, Sixth International Early Railways Conference; Newcomen Society, London, 2016.
“Designed and built by Matthew Murray, four of these locomotives were built for use in Leeds, where they lasted – despite one blowing up – until the early 1830s. Three were built for use around Newcastle-upon-Tyne; three under licence for use near Wigan, and one for service in South Wales. A working model was sent to the Tsar of Russia and copies were built in modern-day Belgium and Poland. This means not only were they the first locomotives in commercial use, but the first built in any number and the first to be used in many countries around the world.” [3]
The design of this early locomotive address one particular problem associated with these early locomotives: “Colliery manager John Blenkinsop focussed on a particular problem with locomotives on cast-iron rails, specifically that an engine light enough to run on the tracks without breaking them would have trouble with the weight of the wagons and the often steep gradients of the track. Blenkinsop relaid the track on one side with a toothed rail – patented in 1811 – and approached engineer Matthew Murray to design a locomotive with a pinion to mesh with the rail. The resulting Salamanca became the first commercial steam locomotive to operate successfully in 1812.” [36]
Maurice W. Kirby; The Origins of Railway Enterprise: The Stockton and Darlington Railway 1821–1863; Cambridge University Press. 2002.
In the 19th century members of the Society of Friends travelled to attend regular meetings and came to know Quakers elsewhere, this leading to marriages and business partnerships. The Society of Friends published guidance on conduct that included honesty in business matters, and this gave Quakers the confidence to invest in the dealings of a devout member. [50: p52, 79–80, 128]
“In the mean time, a bill is to be brought into Parliament to carry a rail-way from Bishop Auckland to Darlington and Stockton. Mr. Stevenson … has been called … to give an opinion as to the best line. The work is estimated at 120,000l., a great part of which is already subscribed.” [53: p223]
Thomas Thomson, ed.; Durham Coal Field; in Annals of Philosophy. Vol. XIII.; Baldwin, Cradock and Joy, London, March 1819.
“From [1825] on, an abundance of maps, plans, diagrams and technical drawings were created to enable railways to be planned, constructed and operated; to be changed, developed and regulated; to attract business and passengers; and to provide railway staff with a range of specialist tools.” [56]
Diana Collecott; The Arrival of Quakerism in Teesdale; in The Quaker Line: A study to understand the importance of the Quaker community to the Stockton & Darlington Railway; compiled by the Friends of the Stockton & Darlington Railway (FSDR), supported by Historic England, 2022/3, p7-14; via https://www.sdr1825.org.uk/wp-content/uploads/2023/12/The-Quaker-Line-Alan-Townsend-Ed.pdf, accessed on 14th July 2025.
L. T. C. Rolt; George and Robert Stephenson: The Railway Revolution; Penguin, 1984.
Malleable iron rails cost £12 10s and cast iron rails £6 15s per ton at that time, but malleable iron rails could be less than half the weight for the same strength. [59: p74]
“Smiles [62: p160] states that early tramroads had rails 4 ft 8 in (1,422 mm) apart, but Tomlinson [49: p82–83] questions this, stating that the most common gauge of the early tramroads and waggonways was about 4 ft (1,219 mm), and some, such as the Wylam Waggonway, had the rails 5 ft (1,524 mm) apart. The gauge of the S&DR was given in early documents as 4 ft 8 in (1,422 mm), but the distance between the rails was later measured as 4 ft 8+1⁄2 in (1,435 mm), and this became the standard gauge used by 60 per cent of railways worldwide. The difference of 1⁄2 inch (13 mm) is a mystery.” [54][63: p75][64]
“The Skerne bridge was shown on the reverse of the Series E five-pound note that featured George Stephenson, issued by the Bank of England between 1990 and 2003.[66] Allen [48: p22] and Tomlinson [49: p93–95] state that Bonomi was directly appointed by the directors after Stephenson had ignored suggestions to consult him, but Rolt [59: p75] does not mention this.” [54]
“Smiles [62: p166] has an image of this railway coach and describes it as ‘a somewhat uncouth machine’, even though the Illustrated London News had discounted in 1875 an earlier publication of Smiles’ image, stating that coach used on the opening day was a similar to a road coach. [72] Tomlinson [49: p109–110] describes the coach as having a table, cushioned seats and carpets, and criticises the Smiles image for the lack of roof seats, having the wheels outside the coach frame and says that the drawing in Smiles does not look like a vehicle that was built for £80 (approximately £8300 in 2023). [73]
Railway Jubilee at Darlington; Illustrated London News. 2nd October 1875, p342.
UK Retail Price Index inflation figures are based on data from Gregory Clark; The Annual RPI and Average Earnings for Britain, 1209 to Present (New Series); MeasuringWorth, 2017, via https://measuringworth.com/datasets/ukearncpi accessed on 15th July 2025.
“These waggons (known as wagons after about 1830) [75] were designed to carry a Newcastle chaldron (pronounced ‘chalder’ in Newcastle) of coal, about 53 long cwt (5,900 lb; 2,700 kg). This differed from the London chaldron, which was 36 bushels or 25+1⁄2 long cwt (2,860 lb; 1,300 kg). [49: p120][76]
A. A. Jackson; The Railway Dictionary: An A-Z of Railway Terminology; Alan Sutton, 1922, p322.
Bill Griffiths; A Dictionary of North East Dialect; Northumbria University Press. 2005, p30.
An imperial or long ton is the same as 1.016 metric tonnes and 1.120 short tons, the US customary unit.
Compare Tomlinson (49: p141–142) and Rolt (59: p143).
Robert Young; Timothy Hackworth and the Locomotive; Locomotive Publishing Co., London, 1923 – republished by The Hackworth Society/The Book Guild Ltd., 2000 in PB.
A. N. Mackay, ed.; A History of North Eastern Railway Signalling; North Eastern Railway Association, 2016.
Francis Whishaw; The Railways of Great Britain and Ireland Practically Described and Illustrated (2nd ed.); John Weale, London,1842.
“Passenger accommodation was sometimes classified as inside and outside following the practice on stage-coaches; express trains with premium fares were known as first-class trains. The S&DR introduced third class accommodation on some trains in 1835 as people unable to afford a second class ticket had been walking along the tracks.” [93]
Charles Edward Lee; Passenger Class Distinctions; in the Railway Gazette, London, 1946.
Bradshaw’s Monthly General Railway and Steam Navigation Guide; March 1843, p16
A. Guy; Better Than First: the Significance of the Stockton & Darlington Railway, 1821-30;(unpub paper given at the Friends of the S&DR Conference June 2015).
José Ignacio Rojas-Sola & Eduardo De la Morena-De la Fuente; The Hay Inclined Plane in Coalbrookdale (Shropshire, England): Geometric Modeling and Virtual Reconstruction; Symmetry 2019, Volume 11, No. 4, p589; https://doi.org/10.3390/sym11040589; via https://www.mdpi.com/2073-8994/11/4/589, accessed on 20th August 2025.
M.R. Bailey & J.P. Glithero; The Engineering and History of Rocket; National Railway Museum, London and York, 2000.
The featured image above is a rather grainy image of steam at Drap-Cantaron Railway Station.
In the first six articles about the line from Cuneo to the sea we covered the length of the line from Cuneo to Breil-sur-Roya and then to Ventimiglia. These articles can be found here, [9] here [10] here, [11] here, [12] here, [13] and here [14]
Woven into the text below are a series of stills from a video of the train journey from Breil-sur-Roya to Nice. The video can be seen here. [4]
This article begins the journey from L’Escarene.
Initially, the line heads Southeast but then gradually turns to the the Southwest through Peille, Peillon and Drap before running into Nice.
The map below shows the two routes which headed from Nice and Ventimiglia North to Cuneo, as they existed prior to the alteration of the border between France and Italy after the Second World War.
The lines Nice to Tende and Ventimiglia to Tende in the period from 1928 to the Second World War, before the annexation, in 1947, of St-Dalmas de Tende and Piene to France. [15]
From l’Escarene to Drap-Cantaron
The line from L’Escarene to Drap/Cantaron. [25]
L’Escarene sits at the head of a long climb from Nice, it was one of the historic staging posts on the old royal road from Nice to Turin. Like Sospel Station, that of l’Escarene has substantial facilities which would allow the reception of military convoys in the event of conflict with neighbouring Italy. [1: p92]
It is only a very short distance to the abutment of the viaduct that carries the line through l’Escarene.
The D2566 passes West-East under the railway and then curves round to join the D2204 and pass North-South under the West end of the railway viaduct. The Anc. Rte de L’Escarène passes through the first arch of the viaduct. The D2204 passes through the second arch of the viaduct. [Google Maps, September 2025]
Setting off from l’Escarene Railway station, this is the first view of the l’Escarene Viaduct from the cab of a Nice-bound train. The viaduct over the Redebraus has eleven 15 metre arches. [4]
Part way across the viaduct the camera in the cab of the Nice-bound service picks up the metal parapet rails of the viaduct and the short tunnel ahead. [4]
The tunnel at the Southeast end of l’Escarene Viaduct is the Tunnel de Brec (382 metres in length. [19]
The Northwest portal of Brec Tunnel seen from alongside the line. [19]
The same crossing on Google’s satellite imagery. [Google Maps, August 2025]
The view Southeast from the mouth of Brec Tunnel. [4]
Turning through 180, provides us this view of the Southeast portal of Brec Tunnel. [19]
A gated crossing over the line a little further to the Southeast. [4]
The view from Rte de Tres, looking back towards l’Escarene Railway Station. [Google Streetview, November 2022] From the same location looking Southeast. Notice the bridge over the line. [Google Streetview, November 2022]
The view of the same bridge from the cab of the Nice-bound train. [4]
The bridge carry Rte de Tres over the line. [Google Maps, August 2025]
Looking Northwest along the line from the bridge carrying Rte de Tres over the line. [Google Streetview, November 2022]
The view Southeast from the same bridge. [Google Streetview, November 2022]
The next overbridge carries Rte de l’Eira over the line. [4]
Looking North from the bridge carrying Rte de l’Eira over the line. [Google Streetview, April 2013]
Looking South from the same bridge. [Google Streetview, April 2013]
Southeast, the line enters Tunnel de Ecluse (136 metres in length). Just before this, there is a footpath access under the embankment. [34]
The underbridge mentioned above, seen from the D21. [Google Streetview, March 2023]
The Northwest portal of Tunnel de Ecluse, seen from the cab of a Nice-bound train. [4]
The same tunnel mouth, seen from the lineside. [34]
The view from the cab of the Nice-bound train at the Southeast portal of Tunnel de Ecluse. [4]
Turning to face Westnorthwest, this is the Southeast portal of the Tunnel de Ecluse. [34]
The next feature on the line is a short tunnel – Tunnel d’Euira (63 metres in length). [32]
Tunnel d’Euira is on the right side of this satellite image. [Google Maps, September 2025]
The North portal of Tunnel d’Euira. [32]
The South portal of Tunnel d’Euira and the galleried retaining structure which carries the line from a point very close to the tunnel portal. [32]
From many an angle, you would be forgiven for thinking that the railway crosses a viaduct. It appears, however, that the structure is a galleried retaining structure which creates a platform for the railway to run on while limiting the wight of the structure on the rock face beneath. [Google Maps, September 2025]
This view of the location from a little further ‘South, shows that the trackbed abuts the rockface on the East side of the line. [32]
Looking East from a short length of the D21, the galleried retaining structure, which is almost a viaduct, can be seen. [Google Streetview, March 2023]
The railway continues on a ‘berm’ built out from the East face of the Paillon valley and high above the D21, until it reaches the Ruisseau d’Euira.
This small extract from Google’s satellite imagery shows Le Paillon, the D21 and the railway in parallel. The railway bridge over the Ruisseau d’Euira is on the right of this image. [Google Maps, September 2025]
The Viaduc d’Euira crosses the valley of the Ruisseau d’Euira. The viaduct has one 30 m arch and two 5 m arches. [31]
The Tunnel de Santa Augusta (754 metres in length) runs under the Ste-Augusta Chapelle. [30]
The South portal of the Tunnel de Santa Augusta. As can be seen the tunnel runs straight between the two portals, allowing the light from the North portal to be seen from outside the South portal. This photograph was taken alongside the track crossing the Viaduc d’Erbossièra. [30]
The Viaduc d’Erbossièra (205 metres in length). [29]
Viaduct de Faquin seen from the West on Chemin de Sainte Lucie in the valley floor. [Google Streetview, January 2011]
The northern mouth of Tunnel de Coletta, seen from a Nice-bound train. [4]
Viaduct de Faquin, seen from the D53 which crossed the line above the tunnel mouth to the South of the viaduct (Tunnel de Coletta). [Google Streetview, April 2023]
Tunnel de Coletta. [23]
Immediately to the South of Tunnel de Coletta the railway enters Peille Railway Station in Grave de Peille.
The approach to Grave Railway Station, seen from the cab of a Southbound service at the mouth of Tunnel de Coletta. [4]
Le Gare de Peille is situated on the East bank of the River Paillon on a pan artificial plateau which was created as part of the construction of the line from Nice to breil-sur-Roya. [26]
Peille Railway Station is located 6 km from the village of the same name, and serves the La Grave district, where the Vicat company operated a quarry and cement factory from 1924. A branch of the TNL tramway network reached this point from Pont-de-Peille. [1: p92]
At the South end of the Station site the line becomes single track once again adjacent to a house built originally for railway staff. [4]
South of Peille Railway Station the line passes this railway-built home, usually these houses were built for railway employees, either at a nearby station or working on track maintenance. [Google Streetview, April 2013]The line continues South towards Tunnel de Nogairet. [Google Streetview, April 2013]
Further South the line passes through Tunnel de Nogairet (32 metres in length). [Google Maps, September 2025]
The North portal of Nogairet Tunnel, seen from the cab of a Nice-bound service. [4]
The view South from the cab of the Nice-bound train at the South portal of Nogairet Tunnel.
Turning through 180°, this is the South portal of the Tunnel de Nogairet as seen from the cab a Breil-sur-Roya-bound train in 1995. [37]
And then a short distance further South trains pass through Tunnel de Bouisses.
Tunnel de Bouisses as it appears on Google’s satellite imagery, (107 metres in length). [Google Maps, September 2025]
The North portal of Tunnel de Bouisses, seen from the cab of a Nice-bound train. [4]
Low sun shines on the cab of the same Nice-bound service as it leaves Tunnel de Bouisses and is about to cross the first of two viaducts with the name ‘Bouisses’ (Viaduc de Bouisses No. 2). [4]
Turning through 180°, this low definition view shows the South portal of Tunnel de Bouisses as seen from the cab of a Breil-sur-Roya-bound train in 1995 which is just about to cross Viaduc de Bouisses No. 2. [37]
Viaduc de Bouisses No. 2 (three 6-metre arches), as it appears on Google’s satellite imagery. [Google Maps, September 2025]
A very short distance South-southwest the line crosses Viaduc de Bouisses No. 1. …
Viaduc de Bouisses No. 1 (six 6-metre arches).[Google Maps, September 2025]
In the light of the low sun this is the view South-southwest across Viaduc de Bouisses No. 1 from the cab of the Nice-bound service. [4]
The two Bouisses viaducts seen from across the valley to the West. No. 1 is on the right, No. 2 is on the left, with the portal of Tunnel de Bouisses visible top-left. [Google Streetview, March 2023]
A little further to the South, after running along a trackbed supported by retaining walls trains travelling towards Nice cross the Viaduct de Adrecia, seen here from the cab of the Nice-bound service. [4]
Viaduc de Adrecia (three 6-metre arches). [Google Maps, September 2025]
Viaduc de Adrecia, seen from the D21. [Google Streetview, April 2023]
The line has curved round to the Southeast before it enters Tunnel de Launa, shown here by the red, blue and green dots. Viaduc de Launa sits immediately to the Southeast of the tunnel. [38]
The Northwest portal of Tunnel de Launa (309 metres in length). [4]
This slightly overexposed image shows the view from the cab of the Nice-bound service as it leaves the Tunnel de Launa. The Viaduc de Launa is just beyond the railway house on the left of the image. [4]
The Southeast portal of Tunnel de Launa with a railway house on the right of the image. The viaduct is immediately behind the camera. Note also the level crossing close to the tunnel mouth. [38]
The view East across the railway on Rte du Vieux Village (D121). [Google Streetview, March 2023]This photograph, taken at the apex of a hairpin bend on Rte du Vieux Village (D121) has the tunnel mouth top-left, the railway house just to the right of centre at the top of the image with the railway in front of it spanning a bridge which carries the road under the railway. [Google Streetview, March 2023]
The bridge carrying the railway over Rte du Vieux Village (D121). [Google Streetview, March 2023]
Viaduc de Launa (100 metres in length – six 12-metre arches over the Galimbert stream) seen from the cab of the Nice-bound train running through the level-crossing. The viaduct was rebuilt during 1992 and 1993 as the first viaduct suffered settlement due to ground movement. [4]
Both this and the next image of the pedestrian crossing at Chemin de Laghet – a couple of hundred metres further along the line toward Nice – are of poor quality because of bright and low sunlight. [4]
Immediately to the West of Peillon-Sainte-Thècle Railway Station, the line crosses Pont de Brauschet (five 9 metre arches), seen here from the South on Avenue de la Gare. [Google Streetview, March 2023]
Pont du Brauschet sits just to the West of Peillon-Sainte-Thècle Railway Station and is marked on this map with a red arrow. It is 70 metres long and is a 5-arch viaduct.
Pont de Brauschet, seen from the cab of a train heading for Nice. [4]
The next structure along the line is Tunnel de Châteauvieux (219 metres in length). This in the East portal of the tunnel. [4]
Tunnel de Châteauvieux is the first of three tunnels which Nice-bound trains now pass through. It is marked by the red, blue and green dots on this image. Immediately to the West of this tunnel are the two side-by-side Viaducs des Mortes. [40]
This is the West portal of Tunnel de Châteauvieux, seen from alongside the line between the tunnel and Viaduc des Mortes. [40]
Just to the West of the Tunnel de Châteauvieux there are 2 viaducts next to each other (Viaducs des Mortes) of which only one is in service; the southern one which gives access to the Tuhet tunnel. The viaduct to the north (which has seven arches) leads to an unfinished tunnel. An accident occurred during the drilling of the original tunnel in 1925. The accident, which caused the death of 3 workers, resulted in the need to drill a new tunnel and, as a result, the construction of another viaduct in 1927 (with five 11 metre arches). The viaducts are named, Viaducs des Mortes, not because of the accident but because the viaducts bridge a footpath which was used to take deceased inhabitants of Borghéas to the cemetery of the neighbouring village of Drap.
The two viaducts mentioned above. [Google Maps, September 2025]
The two viaducts, seen from the North. The green arrow indicates the operational viaduct, the red arrow, the redundant viaduct. [48]
A view of both of the two viaducts and the Tunnel de Tuhet beyond. [46]
The East portal of Tunnel de Tuhet, seen from the cab of a Nice-bound service on the Viaduc des Mortes. [4]
The Tunnel de Tuhet (346 metres long). [46]
The West portal of the Tunnel de Tuhet. [46]
The East portal of Tunnel de la Ribosse. [47]
Tunnel de la Ribosse. [47]
The West portal of Tunnel de la Ribosse. [47]
A short distance further West, the line passes through Fontanil-Drap High School Halt.
Fontanil-Drap High School Halt seen from the Southeast on Route des Croves. [Google Streetview, March 2025]
At the West end of the station/halt, the Route des Croves passes under the line. The low arch bridge seen from the South. [Google Streetview, March 2025]
The same structure seen from the North side of the line. [Google Streetview, March 2025]
The next bridge carries the line over Chemin de de l’Ubac. [Google Streetview, March 2025]
The South side of the same structure. [Google Streetview, March 2025]
A short distance further West the line crosses the D2204, the River Paillon and the D2204B. …
The railway station at Drap also served the village of Cantaron which was on the opposite bank of the River Paillon. This old postcard image was shared by Roland Coccoli on the Comte de Nice et son Histoire Facebook Group on 22nd January 2016. [5]A closer view of the Station at Drap. This postcard image was shared on the Comte de Nice et son Histoire Facebook Group by Charles Louis Fevrier on 5th January 2021. [6]
This length of our journey finishes here at Drap-Cantaron Railway Station.
References
Jose Banaudo, Michel Braun and Gerard de Santos; Les Trains du Col de Tende Volume 1: 1858-1928; FACS Patrimoine Ferroviaire, Les Editions du Cabri, 2018.
Jose Banaudo, Michel Braun and Gerard de Santos; Les Trains du Col de Tende Volume 2: 1929-1974; FACS Patrimoine Ferroviaire, Les Editions du Cabri, 2018.
Jose Banaudo, Michel Braun and Gerard de Santos; Les Trains du Col de Tende Volume 3: 1975-1986; FACS Patrimoine Ferroviaire, Les Editions du Cabri, 2018.
Franco Collida, Max Gallo & Aldo A. Mola; CUNEO-NIZZA History of a Railway; Cassa di Risparmio di Cuneo, Cuneo (CN), July 1982.
Franco Collidà; 1845-1979: the Cuneo-Nice line year by year; in Rassegna – Quarterly magazine of the Cassa di Risparmio di Cuneo; No. 7, September 1979, pp. 12-18.
Stefano Garzaro & Nico Molino; THE TENDA RAILWAY From Cuneo to Nice, the last great Alpine crossing; Editrice di Storia dei Trasporti, Colleferro (RM), EST, July 1982.
SNCF Region de Marseille; Line: Coni – Breil sur Roya – Vintimille. Reconstruction et équipement de la section de ligne située en territoireFrançais; Imprimerie St-Victor, Marseille (F), 1980.
The featured image above is a poster for the Nice-Cuneo line. It shows Scarassoui Viaduct with a Northbound steam service between the wars (c) Adolphe Crossard. … Public Domain. [49]
In the first three articles about the line from Cuneo to the sea we covered the length of the line from Cuneo to St. Dalmas de Tende. These articles can be found here, [9] here [10] and here. [11]
I also want to acknowledge the assistance given to me by David Sousa of the Rail Relaxation YouTube Channel https://www.youtube.com/@RailRelaxation/featured and https://www.railrelaxation.com and particularly his kind permission given to use still images from rail journeys that he has filmed on the Cuneo Ventimiglia railway line. [35][55]
1. The Line South from St. Dalmas de Tende as far as the French/Italian Border …
St. Dalmas de Tende (San-Dalmazzo-di-Tenda in Italian) was “the last station on Italian territory, before the northern border. This is where the French Forces would install a large-scale border station that will handle customs clearance operations in addition to the French facilities at Breil. In the first phase, a temporary passenger building and a small freight shed were built on the vast embankment created from the spoil from the tunnels upstream of the confluence of the Roya and Biogna rivers. The original layout includes four through tracks, one of which is at the platform, five sidings, three storage tracks, a temporary engine shed, a 9.50 m turntable, and a hydraulic power supply for the locomotives.” [1: p127]
It is here, at St. Dalmas de Tende, that we start this fourth part of our journey from Cuneo to the coast. Before we do set off southwards we note that the Tende to La Brigue “tranche of the work on the line was awarded to the Tuscan contractor Enrico Lévy, and the Briga to St. Dalmas de Tende tranche was executed by the Rosassa company of Alessandria. Work began in 1912 and progressed more quickly than upstream of Tende, thanks to the opening of the construction sites during public holidays and the use of new compressed air drills.” [1: p129]
The line from Tende (Tenda) to San-Dalmazzo-di-Tenda (St. Dalmas de Tende) was opened on 1st June 1915. The three of the four daily services were connected to the Southern arm of the line which by this time had reached Airole, by a coach shuttle. [1: p131]
A temporary station was provided as a terminus of the line from Cuneo. It was sited to the Northeast of the present large station building which was not built until 1928.
A postcard image overlooking the station site at St. Dalmas de Tende prior to the construction of the large station building. This image was shared on the Ferrovia Internazionale Cuneo-Ventimiglia-Nizza Facebook Group by Mauro Tosello on 12th June 2022. [19]The San Dalmazzo di Tenda station before the construction of the current building. [12]St. Dalmas de Tende Railway Station as show on OpenStreetMap. [56]The locomotive Depot at St. Dalmas de Tende. The depot was on the Southeast side of the running lines opposite the railway Station and close to the Biogna River. The road shown on the OpenStreetMap plan of the modern station to the Southeast of the site is the road shown at the top of this plan. This drawing comes from From the December 1929 Technical Magazine of Italiane Ferrovie. It was shared on the Ferrovia Internazionale Cuneo-Ventimiglia-Nizza Facebook Group on 13th February 2024 by Francesco Ciarlini Koerner. [18]The station during construction work. There is scaffolding on the main station building, which appears to have been built in sections with a completed length nearest to the water tower. The engine shed is under construction, centre-right. This image was shared on the Ferrovia Internazionale Cuneo-Ventimiglia-Nizza Facebook Group by Mauro Tosello on 12th June 2022. [20]A postcard view of the Railway Station at St. Dalmas de Tende, taken from the East. The tunnel at the Southwest end of the station site can be seen on the left of the photograph. This image was shared on the Ferrovia internazionale Cuneo-Ventimiglia-Nizza Facebook Group by Luisa Grosso on 1st November 2021. [57]The station forecourt, seen from Avenue Martyrs de la Resistance. [Google Streetview, August 2016]A schematic view of the line South of St. Dalmas de Tende, as far as the French/Italian border. [13]
St. Dalmas de Tende Railway Station seen, looking Northeast, from the cab of a North-bound service. [35]
Looking Southwest from alongside the end of the platform of the modern railway station at St. Dalmas de Tende with the grand edifice of the 1928-built station building fenced off on the right. [55]A little further to the Southwest, the line bridges the Bieugne (Biogna) River over a 15-metre arch bridge and then heads into the Biogna Tunnel. [55]The tunnel mouth is in shadow at the bottom-left of this extract from Google’s satellite imagery. The railway bridge over the River Bieugne is centre-bottom with the road bridge (D91) to the left. [Google Maps, August 2025]The railway tunnel mouth is on the centre- left of this view from the D91 with the rail bridge over the river bottom-left and the road bridge over the river ahead. [Google Streetview, August 2016]Looking Northeast from the D91 through the station area. [Google Streetview, August 2016]The view Northeast from the tunnel mouth of the Biogna Tunnel, the road bridge over the river is on the left, the rail bridge over the river is immediately in front of the camera. This photograph is a still image from a video taken from the cab of a Northbound train. [35]The portal of Biogna Tunnel and the bridges over the Bieugne immediately after Storm Alex in October 2020. This photograph was shared on the Ferrovia Internazionale Cuneo-Ventimiglia-Nizza Facebook Group by Mario Zauli and Olivier Woignier on 3rd October 2020. [17]One final view of St. Dalmas de Tende railway station. This the Direct 18:83 Turin Porta Nuova – Imperia Porto Maurizio, Locomotive D445.1056 heads a train of five coaches passing through St. Dalmas de Tende on 24th April 1994. This image was shared by Andrea Richermo on the Ferrovia Internazionale Cuneo-Ventimiglia-Nizza Facebook Group on 11th April 2020. [21]
From San-Dalmazzo (St. Dalmas), the railway forms two horseshoe loops underground, crossing the Roya three times over a distance of just over a kilometre as the crow flies.
The Biogna Tunnel is the first of these horseshoe tunnels, it is 1154 metres long. We have already seen the approaches to the tunnel from St. Dalmas de Tende Railway Station. The tunnel’s horseshoe shape can be seen on the OpenStreetMap extract below. …
The Biogna Tunnel is horseshoe shaped. [14]
The view Northeast from the southern mouth of Biogna Tunnel. [55]
Turning through 180 degrees this is the mouth of the tunnel, seen from the cab of a Northbound train. [35]
Two viaducts cross the valley off La Roya, San Dalmazzo II Viaduct crosses the River Bieugne (three arches each of 15 metres, then the San Dalmazzo III Viaduct, also three 15 metres arches bridging the Avenue de France (E74/D6204) and then La Roya, before disappearing into the Porcarezzo Tunnel. [15]The two viaducts as they appear on Google Maps satellite imagery. [Google Maps, August 2025]In the foreground is a viaduct over the Biogna Torrent; beyond are a viaduct over the River Roya, and then the entrance to the Porcarezzo Tunnel. This section of line is near San Dalmazzo di Tenda. This image was included in an article about the line in Railway Wonders of the World. All that is left of the building at rail level in the left half of the image is the widened surface of the embankment between the two viaducts. [24]
Looking East across San Dalmazzo II Viaduct which has three arched spans, each of 15-metres and crosses the Bieugne River. [55]
Looking East across San Dalmazzo III Viaduct which spans La Roya. This Viaduct has one opening for the road and a narrower archway for pedestrians and has three further 15-metre spans. The mouth of the Porcarezzo Tunnel is in shade. [55]
The bridge over Avenue de France seen from the North. [Google Streetview, August 2016]
The same bridge seen from the South. In this image both the secondary (narrow) arch and the viaduct over La Roya can be seen. [Google Streetview, August 2025]
San Dalmazzo di Tenda Viaduct III, seen from the South on 23rd October 2020. This image was shared on the Ferrovia Internazionale Cuneo-Ventimiglia-Nizza Facebook Group by Federico Santagati on 23rd October 2020. [22]
Reinforcement/repair works in November 2020 on San Dalmazzo di Tenda Viaducts II and III after the damage from Storm Alex on October 2 – 3, 2020. This image was shared on the Ferrovia Internazionale Cuneo-Ventimiglia-Nizza Facebook Group on 20th November 2020 by Mario Zauli, courtesy of Bernard Woignier. [23]
Looking West across the same viaduct towards the Biogne Tunnel. [35]
The Porcarezzo Tunnel mouth to the East of La Roya. [55]
Looking West from the Porcarezzo Tunnel mouth across the San Dalmazzo III Viaduct. [35]
The Porcarezzo Tunnel turns through 180°, continuing to drop at a gradient of 25mm/m. It is 1249 metres in length. [16]
Southbound trains leave Porcarezzo Tunnel and immediately cross San Dalmazzo di Tenda Viaduct IV. [55]
Turning through 180° we see the Southwest mouth of the Porcarezzo Tunnel which sits above La Roya and is seen here from the cab of a Northbound train on the San Dalmazzo IV Viaduct. [35]
San Dalmazzo di Tenda IV Viaduct as it appears on Google’s satellite imagery. [Google Maps, August 2025.
The approaches to the Porcarezzo Tunnel from the Southwest cross the San Dalmazzo di Tenda IV Viaduct (six 15-metre spans) over La Roya and the E74/D6402. [35]
San Dalmazzo di Tenda IV Viaduct seen from the North. [Google Streetview, August 2016]
San Dalmazzo San Dalmazzo di Tenda IV Viaduct seen from immediately below on the North side. [Google Streetview, July 2014]
San Dalmazzo IV Viaduct di Tenda seen from the South. [Google Streetview, August 2016]
Once Southbound trains had crossed La Roya, it was just a short distance before they entered Gorges Paganini Tunnel. This is the tunnel mouth. [55]
Turning through 180° this is the view from the cab of a Northbound train leaving Gorges Paganin Tunnel (1,702 metres in length). [35]
Gorges Paganin Tunnel runs South-southwest parallel to the valley of La Roya and only a few metres beyond the valleys western face, occasionally running close enough to the valley side for gallery openings to shed light into the tunnel.
Gorges Paganin Tunnel is marked by the dotted line to the West of the river valley. It is over 1700 metres in length with occasional gallery openings in the valley side. [25]
The Gorges Paganin Tunnel is actually considered to be a series of six different tunnels separated by sections of galleries with arched openings into the valley side. These tunnels are: Foce (167m long); Tornau I (270m long); Tornau II (475 m long); Ravallone I (392m long); Ravallone II (91m long; and Balma (337m long). [1: p129]
One of a series of gallery openings in the walls of Gorges Paganin Tunnel, seen from the cab of a Southbound service. [55]
OpenStreetMap shows a short length of line within the Paganin Valley above the Hydroelectric Power Station which is next to the E74/D6204 in the valley of La Roya. [26]
Google’s satellite imagery shows the hydroelectric scheme in the Vallon de Paganin and the power station next to the road and La Roya. The railway line can be seen just to the left of centre. [Google Maps, August 2025]
Banaudo et al tell us that at “the end of the tunnel, the line opens into the Paganin Valley, which marks the northern border between Italy and France. … In this wild and steep site, where a torrent and the penstock of the Paganin Hydroelectric Power Plant tumble, the portals of the last Italian tunnel and the first French tunnel face each other, each guarded by a roadside cottage in the typical style of the FS and PLM.” [1: p129]
Having reached the old French/Italian border we can stop and take stock. We will look at the construction of the line North from the coast once our journey reaches that portion of the line. Suffice to say that by 1915 tracklaying from the coast had reached Airole.
As far as the line heading South from Cuneo is concerned track laying had reached San Dalmazzo di Tenda and the structures and track formation was in place to the Northern French /Italian border.
2. The First World War
In 1915, Italy entered the war on the side of the allies. “Leading up to WWI, Italy had formed an alliance with the Central Powers of the German Empire and the Empire of the Austria-Hungary in the Triple Alliance. Italy should have joined on the side of the Central Powers when war broke out in August 1914 but instead declared neutrality.” [27]
“The Italian government had become convinced that support of the Central Powers would not gain Italy the territories she wanted as they were Austrian possessions – Italy’s old adversary. Instead, over the course of the months that followed, Italy’s leaders considered how to gain the greatest benefit from participation in the war. In 1915, Italy signed the secret Treaty of London and came into the war on the side of the Triple Entente (Britain, France, Russia). By its terms, Italy would receive control over territory on its border with Austria-Hungary stretching from Trentino through the South Tyrol to Trieste as well as other areas.” [27]
“After the war ended, at the Paris Peace Conference that led to the Versailles Treaty, the Italian government struggled against the other Allied leaders, the Big Three (Britain, France and the US), to gain all that they believed had been promised to them. Although Italy did receive control of most of the European requests, they failed to gain their colonial ambitions and felt they did not get what they had been promised. This engendered resentment towards the Allied countries, especially as Italians felt they had paid a high price, in terms of men and money, fighting for the Allies. These resentments helped drive the success of Benito Mussolini and his fascist movement – four years after the war, Mussolini and his blackshirts gained power.” [27]
Ultimately, the war stopped all progress on the line. Banaudo et el tell us that “the work begun thirty-two years earlier by the SFAI, then continued by the RM until nationalization, was thus virtually completed by the FS. The construction of the 80.3 km of line in Italian territory cost nearly 85 million lire compared to the 76 million initially planned, representing an average expenditure of 1,058,500 lire per kilometre.” [1: p135]
In France, the war caused all work to be halted. An attempt was made to continue the work in 1915, but failed because of underground conditions encountered. In 1917, an attempt to continue activity using prisoners of war was unsuccessful.
During the war, Italian authorities lifted track between Piena and Airole in the South for use on the front. Work on the new Cuneo railway station halted.
French and British troops were sent to augment Italian forces on 1917. It seems as though many of these passed through San Dalmazzo di Tenda. Between 19th October and 15th December 1917, “192 military convoys departed from San-Dalmazzo, and the Col de Tende line saw up to twenty movements of all categories on some days.” [1: p136]
After the war, resources were in short supply. In France priority was given to the devastated areas in the Northeast of the country. The PLM received very little support. Contractors found recruitment a problem because of the drastic loss of life among working age men. Banaudo et al tell us that in France “tunnels, abandoned for nearly five years, had suffered serious deformation, particularly in areas with high water infiltration. In Italy, the situation was no better, and construction of the new Cuneo station was suspended, even though an arch of the large viaduct over the Stura River, which was to provide access to it, was already being erected.” [1: p138]
Nevertheless, work did resume, supplies began to head North from Menton on the tramway to Sospel and supplies were arriving from the South via the FS on the Italian side of the border at Airole. Transport via Airole proved better than via the Menton-Sospel tramway and by 1920 the two main contractors on either side of the border (Giianotti and Mercier) ceased to use the Menton-Sosel route. [1: p138]
1920 saw a significant budget reduction for the works in French territory – 104 million Francs to 75 million Francs. Only 17 million Francs were allowed in 1920. “The Mercier company alone was spending 4 to 5 million francs per month on its construction sites.” [1: p140] Layoffs were necessary and work slowed significantly to remain within budget.
“In June 1920, the Inspector General of Public Works announced to companies that only 700,000 francs of credit remained to complete the year, an insignificant sum that forced construction to be suspended immediately, putting hundreds of workers out of work. Elected officials from the Alpes-Maritimes immediately rushed to Paris to meet with representatives of the ministry and the PLM management. After heated discussions, a new budget was allocated by the State for railway construction. The PLM had a credit of 41 million, 25 of which were allocated to the Nice – Cuneo line. Work could resume, but the engineers and contractors in charge of it would have to take into account the irregular arrival of funds until the end when organizing their construction sites.” [1: p140]
2. The Northern French/Italian Border South to Breil-sur-Roya
Two tranches of construction work covered the length of the line from the French/Italian border to Breil-sur-Roya. Banaudo et al tell us that this length of the line “contained the highest density of engineering structures on the French route, and, with a few exceptions, the war had interrupted work there in its early stages.“[1: p142]
A schematic representation of the line between the historic Italian/French Border and Breil-sur-Roya. [13]
The view across the border from the North, a view from the cab of a Southbound service at the mouth of the Gorges Paganin Tunnel. [55]
Looking back North towards the southern portal of the Gorges Paganin Tunnel, a view from the cab of a Northbound train. [35]
Once on the French side of the border the line immediately entered the Frontiere Tunnel. …
The North portal of the Frontiere Tunnel, seen from the cab of a Southbound train. [55]
Looking North across the border from the cab of a Northbound service leaving the mouth of the Frontiere Tunnel [35]
The view from the cab of a southbound train just to the Southwest of the Frontiere Tunnel mouth. [55]
The short open section of track appears on the left of this extract from OpenStreetMap. Tree cover means it is impossible to show the short section of line on and extract from Google’s satellite imagery. [28]
The view from the cab of a Northbound train approaching the mouth of Malaba Tunnel. Ahead is the southern portal of Frontiere Tunnel. A very short length of line runs between Frontiere Tunnel and Malaba Tunnel. [35]
Malaba Tunnel is 389 metres in length. This image shows the view from the cab of a Southbound service as it leaves the tunnel. [55]
Turning through 180 degrees we see the Southwest portal of Malaba Tunnel from the cab of a Northbound train. [35]
This extract from OpenStreetmap shows the next open length of track running from centre-top to bottom-left. We are just entering the first length of another spiral and can see the lower length of track in tunnel under the line and then bridging La Roya. [29]
Google’s satellite imagery shows the same length of railway high above the Scarassoui Viaduct which can be seen bottom-right. [Google Maps, August 2025]
From the cab of the Southbound service, we see the mouth of Scarassoui Tunnel. The Tunnel is 181 metres in length. [55]
Turning through 180°, we look Northeast from the cab of the Northbound train as it leaves the Scarassoui Tunnel. [35]
The spiral in this location consists of a number of tunnels and open lengths of track. The first tunnel encountered travelling South is the Scarassoui Tunnel (top-right) which has a gallery of a series of arches at its southern end. A length of open track leads to Peug Tunnel, Vernardo Tunnel, Caussagne Tunnel and then Berghe Tunnel. [31]
A view North along the valley of La Roya. Top-left in this image, the line from St. Dalmas de Tende enters the image at high level and on a falling grade, through Scarassoui Tunnel. It passes through Peug Tunnel and, after running parallel to the river for a short distance, curves away to the left in tunnel. It appears again beneath Scarassoui Tunnel to cross La Roya before travelling down the East side of the river in a series of tunnels. Source not recorded. [30]
The high level tunnels of Scarassoui (its South portal can be seen at the top of this extract) and Peug. The metal frames over the open lengths of track are part of an avalanche warning system. [30]
Two views looking South inside the gallery at the southern end of Scarassoui Tunnel. [55]
A driver’s eye view of the South end of Scarassoui Tunnel. [35]
The gallery seen from below soon after it was constructed. This image appear in the Railway Wonders of the World article about the line, (c) Public Domain. [24]
Just a short distance further South, we can look over our shoulder to see the modern Scarassoui Viaduct crossing the River Roya some distance below. In a short while we will cross that viaduct. [35]
Turning through 180°, this is the view South towards the North portal of Peug Tunnel which is just 75 metres in length. [55]
The view North from the mouth of the Peug Tunnel. [35]
This Google Earth 3D satellite image gives good idea of how far up the valley side from the river and road the railway is positioned. [Google Earth, August 2025]
The view South from the mouth of Peug Tunnel, seen from the cab of a Southbound train. [55]
The southern portal of the Peug Tunnel seen from the cab of a Northbound service. [35]
A little further South and looking South from the cab of the Southbound service across the Peug Viaduct (50 metres long). [55]
Looking across the valley of La Roya we can see the line heading South . Our train will travel along that length of the line in a short while. [35]
Further South again, a driver’s view from a Southbound service along Capuon Viaduct (45 metres long) towards the North Portal of Verardo Tunnel (53 metres long). [55]
Looking back at the southern mouth of Verardo Tunnel. [35]
The cab of the Southbound train again, looking from the southern end of Verardo Tunnel over Berghe Viaduct (30 metres long) towards the mouth of the Caussagne Tunnel (275 metres long). [55]
Caussagne Tunnel curves West into the valley of the Torrent de la Ceva. The far tunnel mouth faces West-northwest.
The view back towards Vernardo Tunnel over the Berghe Viaduct from the mouth of Berghe Tunnel. [35]
The view from the cab of the Southbound train as it leaves Caussagne Tunnel, heading Northwest up the valley of the Ceva. [55]
Turning through 180°, this is the tunnel portal, seen from the cab of a Northbound train. [35]
The Ceva valley is steep sided and the line sits on a narrow ledge supported above the valley floor by a retaining wall. Before entering the 1881 metre Berghe Tunnel it crosses the Ceva Viaduct (71 metres long).
The view from the cab of a Southbound train crossing Ceva Viaduct before entering the Berghe Tunnel. [55]
This extract from a photograph taken to illustrate the demands placed on cyclists riding up the Ceva Valley shows the retaining structure which holds the railway above the minor road. The tunnel mouth of the Berghe Tunnel can just be made out at the left of this image, (c) Cromagnon. [32]
The Mouth of the Berghe Tunnel, seen from the cab of a Southbound service. The Tunnel curves back to the North and then round to the Southeast. [55]
Turning through 180°, this is the View from the mouth of the Berghe Tunnel, seen from the cab of a Northbound service. [35]
Throughout the spiral the line continues on a falling grade. It opens out, well below the level it enters the spiral, onto the Scarassoui Viaduct.
The view from the mouth of the Berghe e Tunnel across the Scarassoui Viaduct. [55]
Looking back towards the mouth of Berghe Tunnel. [35]
This postcard image shows the Scarassoui Viaduct as built in 1922, (c) Public Domain. [33]The Scarassoui Tunnel, top-left, and the Scarassoui Viaduct, bottom-right. [46]
The French engineer, Paul Séjourné decided to create a significant structure at the location of the Scarassoui Viaduct. Banaudo et al quote Séjourné: “The Scarassoui Viaduct is the first French structure that one will see when coming from Italy. It is like a gateway to France; it must be worthy of it.” [1: p142] Séjourné was of the opinion that: “Of all the structures — I mean all, even the smallest — appearance matters. It is not permissible to make ugly. It is a strange opinion to consider expensive what is beautiful, cheap what is ugly.” [1: p142] The bridge Séjourné designed was a curved viaduct (radius 300 metres) carrying the railway on a falling grade of 21 mm/m. It was 125 m long, spanning both La Roya and the E74/D6204 at a height of 42 m. Banaudo et all, tell us that “two arches of 11 m on the Nice side and a 13 m arch on the Cuneo side give access to a central arch of 48 m decorated with six vaults, according to a design that Séjourné had applied on other works. … The central arch was supported by two massive pilasters with crenellated facings, whose bases were widened to compensate for the misalignment due to the curvature of the deck.” [1: p142]
Sadly this bridge was destroyed by the retreating German forces in 1944 and it was not reconstructed in any form until the 1970s. Details of this bridge and photographs of its condition prior to reconstruction can be found here. [34] The replacement 1970s structure is shown below. …
The modern Scarassoui Viaduct seen from the E74/D6204, looking South. [August 2016]The modern Scarassoui Viaduct seen from the E74/D6204, looking North. [August 2016]One of the regaul=ar service trains posed on the Scarassoui Viaduct in the 21st century. [36]
Scarassoui Viaduct crosses the River Roya close to the top of this image. Trains heading South then pass through a series of short tunnels following the East bank of La Roya. [30]
The northern portal of the Camera Tunnel is in deep shade. [55]
The view back across the Scarassoui Viaduct from the northern portal of the Camara Tunnel. [35]
The view South from the southern portal of Camara Tunnel. [55]
Looking back at the South Portal of the Camara Tunnel. [35]
Just to the South of Camara Tunnel is Camara Viaduct, seen here from the cab of a Northbound train. [35]
While it is not possible to see the line on the West bank of La Roya over this length of the valley from the road, it is possible to glimpse the line on the East side of the valley occasionally. [Google Streetview, August 2016]
The North Portal of Vallera Tunnel No. 1. [55]
The view North from Roches-Rouges Viaduct towards the South Portal of Vallera Tunnel No. 1. [35]
The view South from Roches-Rouges Viaduct towards Vallera Tunnel No. 2. [55]
The North Portal of Vallera Tunnel No. 2. [55]
Looking North from the tunnel mouth above. [35]
Looking South from the southern tunnel mouth of Vallera Tunnel No. 2. [55]
Looking South along Vallera Tunnel No. 2 [55]
Looking back at the South Portal of Vallera Tunnel No. 2. [35]
Looking North from Vallera Viaduct towards Vallera Tunnel No. 2. [35]
The North portal of Torette Tunnel (121 metres long). The village of Fontan can be seen to the right on the valley floor, [55]
The view from the Southern Portal of Torette Tunnel. [55]
The southern mouth of Torette Tunnel seen from the cab of a Northbound train. [35]
The approach to Fontan-Saorge Railway station from the North, seen from high on the valley side to the West of the River Roya. [My photograph, 18th November 2014]
The the track duals to the North of Fontan-Saorge Railway Station. [55]
The D38 (Route de la Gare crosses the River Roya and turns South for quite a length of the road the railway towers over it, held above by a large retaining wall. [Google Streetview, July 2014]Road and railway become much closer in height before the road passes under the railway. [Google Streetview, July 2014]Another image from the cab of the Northbound train. Just before arriving at Fontan-Saorge Railway Station the line bridges Route de la Gare – the road between Fontan and Saorge. [55]After passing under the railway the road continues to climb. [Google Streetview, July 2014]
The final approach to Fontan-Saorge Railway Station. [55]
Fontan-Saorge Railway Station, seen from the cab of a Southbound train. [55]
This extract from Google’s satellite imagery shows the site of the Fontan-Saorge Railway Station which sits between the two villages. It is a large site as it was designed to be a frontier station. The historic border between France and Italy was just a short distance North along the valley of La Roya. [Google Maps, August 2025]
A view of the Fontan-Saorge Railway Station from high on the West flank of the valley of La Roya in 1927/1928. This image illustrates the significant earthworks needed to create a ‘plateau’ for the station (c) Public Domain. [50]
As trains head south from Fontan-Saorge they cross Ambo Viaduct (a short viaduct – just 36 metres in length) before entering Saint-Roch Tunnel . The wall on the left carries the D38 (the road to Saorge). [55]
Ambo Viaduct and the North Portal of Saint-Roch Tunnel, seen from the E74/D6204. [Google Streetview, August 2016]
The road to Saorge climbs above the level of the railway. [Google Streetview, July 2014]
The tunnel carrying the road to Saorge runs just above the railway tunnel. Saint-Roch Railway Tunnel is named for the church close to the road as it enters Saorge. [Google Streetview, July 2014]
This is the view North along the railway towards Fontan-Saorge Railway Station from the mouth of the road tunnel on the D38. The Ambo Viaduct is in the bottom-left of the image, Fontan-Saorge Railway Station is in the top-right. [Google Streetview, July 2014]
Looking back along the line towards Fontan-Saorge Railway Station from the mouth of Saint-Roch Tunnel. The viaduct in the foreground is Ambo Viaduct. [35]
Looking Southwest across the bridge at Saorge from the cab of a Southbound service leaving the mouth of Saint-Roch Tunnel. Tracks cross the bridge 60 metres above the valley floor. [55]
Turning through 180 degrees this is the Southwest portal of the Saint-Roch Tunnel as seen from the cab of a Northbound train. [35]
The bridge at Saorge in the 21st century. It was rebuilt in the 1970s after destruction in 1944. [Google Maps, August 2025]
Early during the construction of the bridge at Saorge. Here we see the formwork for the arch being constructed high above the valley floor, (c) Public Domain. [50]
Work on the bridge at Saorge started “in February 1922 from the Saint-Roch and Nosse tunnels, between which a conveyor cable was stretched for the assembly of the 40 m lowered arch. A suspended footbridge was then launched over the precipice and a 0.60 m track was placed there to supply the materials onto small 500 kg load wagons, maneuvered by gasoline-powered shunters. … The main work of the bridge was completed in March 1923.” [1: p143]
The bridge at Saorge was completed in 1922, it spanned the valley of La Roya at a particularly tight point along the gorge. The village of Saorge can be seen beyond the bridge. This bridge was destroyed by the retreating German troops in 1944. [47]This extract from a postcard image shows the bridge in use in the early 1930s. [51]Looking Southeast from road level, the modern bridge seems to fly between the valley walls! [Google Streetview, August 2016]The same structure seen from the Southeast. [Google Streetview, August 2016]
Looking Northeast over the bridge at Saorge towards the Saint-Roch Tunnel from the mouth of Nosse Tunnel. [35]
Significant savings on construction costs were made (even when the cost of construction of the bridge was included) by following the right bank of La Roya down towards Breil-sur-Roya. [1: p142]
The Northeast portal of Nosse Tunnel (89 metres in length). [55]
The view Southwest from the tunnel mouth of the Nosse Tunnel. [55]
Turning through 180°, looking Northeast into the mouth of Nosse Tunnel. [35]
The open length of the line between Nosse and Four A Platre tunnels. [Google Maps, August 2025]
The North Portal of Four A Platre Tunnel (316 metres long), seen from the cab of a Southbound train. [55]
The view South from the South Portal of Four A Platre Tunnel. [55]
Turning through 180°, this is the South Portal of Four A Platte Tunnel. The village of Saorge can be seen in the sunlight on the right of the image. [35]
The length of line between Four A Platre (Plaster Kiln) Tunnel and Commun Tunnel. [Google Maps, August 2025]
The village of Saorge is a lovely ancient perched village sitting high above La Roya. We have stayed there three times over the years renting the same small apartment each time that we have been there. Most recently, we were there post-Covid and after Storm Alex. That short holiday was in November 2023.
The view from our apartment window – the railway can be seen on the far bank of La Roya, high up the valley side. The visible length of railway is that to the South of Four A Platre Tunnel. [My photograph 11th November 2014]A closer view of the line on the West bank of La Roya, seen from the apartment window. [My photograph, 20th November 2014]An even closer view, also from the apartment. [My photograph, 19th November 2014]Another view, focussing, this time, on the vaulted retaining wall which is typical of a number of retaining walls along the line. [My photograph, 11th November 2014]Saorge village, seen from the road below. [My photograph, 13th November 2014]
The northern mouth of Commun Tunnel (60 metres in length), seen from the cab of the Southbound service. [55]
The view South from the South portal of Commun Tunnel towards Precipus Tunnel over the Petit Malamort Viaduct. [55]
This satellite image shows Petit Malamort Viaduct which cannot easily be seen from the road network. [Google Maps, August 2025]
Turning though 180, just a short distance further along the line, this is the view back towards the South Portal of Commun Tunnel from the Petit Malamort Viaduct (56 metres long). [35]
Petit Malamort Viaduct and the North portal of Precipus Tunnel (623 metres long). [55]
Between Saorge and Breil-sur-Roya construction works were delayed for a time by high pressure water ingress into tunnels. [1: p142]
Looking North across Precipus Viaduct (46 metres long) toward the South Portal of Precipus Tunnel. [35]
The Precipus Viaduct seen, looking West from the D6204 in the valley floor. [Google Streetview, August 2016]
Looking North from the North Portal of Combe Tunnel. [35]
The South Portal of Combe Tunnel. [35] 262
Looking South across a minor road crossing on the North side of Breil-sur-Roya. [55]
Looking back North across the same road crossing to the North of Breil-sur-Roya, seen from the cab of a Northbound train. The D6204 is off to the right of the image, the museum is off to the left of the camera. [35]
Maglia Bridge looking South from the cab of a Southbound train. [55]
Maglia Bridge looking North from the cab of a Northbound service. [35]
Maglia Bridge seen from Route de la Giandola. [Google Streetview, October 2008]
The bridge carrying the Route du Col de Brouis over the railway. [55]
Looking back North from the same bridge over the railway. [Google Streetview, August 2016]
Looking ahead towards Breil-sur-Roya Railway Station from the bridge which carries Route du Col de Brouis over the railway. [Google Streetview, August 2016]
Looking Back North through the same bridge. This is the view from the cab of a Northbound train. [35]
Looking South from the D6204 adjacent to the level crossing at the North end of the station site, along the line towards Breil-sur-Roya Railway Station. Beyond the crossing is the Eco Musee, Breil-sur-Roya, Haut-Pays et Transports, an exhibition of vintage trains, trams & buses. The road on the right is Avenue de l’Authion. [Google Streetview, August 2016]
The same location looking to the North. The D6204 is on the right of the picture. [35]
The Eco Musee at Breil-sur-Roya, seen from the road to its North, Avenue de l’Authion. [Google Streetview, 2009]
The Eco Museum was founded in 1989 to showcase the history and heritage of the Roya valley, it became a museum focused mostly on industrial heritage in 1991. It now houses exhibits of hydropower and transportation. The collection comprises lots of interesting locomotives, railcars, trams, postal vans and other vintage vehicles.
Looking North from adjacent to the end of the platform at Breil-sur-Roya Railway Station. [35]
Looking North at Breil-sur-Roya as a Southbound service arrives at the Station. [35]
Breil-sur-Roya Railway Station facing North. [35]
The approach to Breil-sur-Roya from the South, seen from the cab of a Northbound train. [35]
We finish this fourth length of the journey from Cuneo to the coast of the Mediterranean here at Breil-sur-Roya South of Breil, there are two routes to the coast. One heads to Ventimiglia, the other to Nice. The next article will look at the line heading South towards Ventimiglia.
In Breil, the earthworks for the international station were constructed starting in June 1920. The area was around 1 kilometre in length and 300 metres wide. To build this the, “National Road 204 had to be diverted towards the Roya for about a kilometre, as was the Goulden power plant canal. The natural ground was cleared on the northern side and raised with excavated material from the tunnels on the southern half. At this end of the station, the modest single-arch bridge over the Lavina valley, which provides access to the Nice and Ventimiglia lines, required considerable work. The foundations for the abutment on the Nice side had to be dug into a gypsum bed sloping to a depth of 16 metres (compared to 2.20 metres on the Breil side, where hard rock quickly emerges). and a 15.12 m high reinforced concrete cantilever to the abutment anchored it in the loose fill.” [1: p141]
The next article in this series can be found here. [4]
References
Jose Banaudo, Michel Braun and Gerard de Santos; Les Trains du Col de Tende Volume 1: 1858-1928; FACS Patrimoine Ferroviaire, Les Editions du Cabri, 2018.
Jose Banaudo, Michel Braun and Gerard de Santos; Les Trains du Col de Tende Volume 2: 1929-1974; FACS Patrimoine Ferroviaire, Les Editions du Cabri, 2018.
Jose Banaudo, Michel Braun and Gerard de Santos; Les Trains du Col de Tende Volume 3: 1975-1986; FACS Patrimoine Ferroviaire, Les Editions du Cabri, 2018.
Franco Collidà, Max Gallo & Aldo A. Mola; CUNEO-NIZZA History of a Railway; Cassa di Risparmio di Cuneo, Cuneo (CN), July 1982.
Francohttps://www.geneanet.org/cartes-postales/view/186296#0 Collidà; 1845-1979: the Cuneo-Nice line year by year; in Rassegna – Quarterly magazine of the Cassa di Risparmio di Cuneo; No. 7, September 1979, pp. 12-18.
Stefano Garzaro & Nico Molino; THE TENDA RAILWAY From Cuneo to Nice, the last great Alpine crossing; Editrice di Storia dei Trasporti, Colleferro (RM), EST, July 1982.
SNCF Region de Marseille; Line: Coni – Breil sur Roya – Vintimille. Reconstruction et équipement de la section de ligne située en territoireFrançais; Imprimerie St-Victor, Marseille (F), 1980.
A proposed tramway that did not get built. … The featured image is a map showing the full length of the proposed line which followed National Route No. 204 in France.
Late in the 19th century before a link from Vievola to the Mediterranean was really on the agenda. Alongside the experimental ‘Train Scotte’, [1: p40][2][3] a “local engineer, M. Chatelanat, proposed building a tramway line between Vievola station … and Ventimiglia. He knew the region well, having just overseen the construction of the rack railway from Monte Carlo to La Turbie. [4] Here is the project he presented in an application filed on 7th February 1899.” … [1: p47]
The submission made by M. Chatelanat began, “The electric tramway for which we are requesting a concession is intended to facilitate the movement of passengers and goods in the Roya Valley through a rapid, convenient, and economical means of communication. Currently, to reach Nice and the other communes of the department, the population of the French part of this valley must either travel more than 60 kilometers along the old Nice-Cuneo road, crossing the foothills of Brouis and Braus, in unsafe conditions due to the steep slopes, the height of the passes, and, in winter, the seasonal inclement weather. Or, since the opening of the national road from Breil to Ventimiglia, travel approximately 30 kilometers and cross two customs lines to join the coastal railway line in Ventimiglia. … Between the coast and Upper Piedmont, especially the province of Cuneo, there is a very intense movement of population every year, but if you want to go by train, you have to make a long detour via Savona, which is long and expensive. The province of Cuneo sends to Nice and the coast some of its products that our region cannot obtain elsewhere. On the other hand, our particular products from the South are in demand and consumed in the upper Po Valley. Facilitating the movement of travelers and this exchange of products between Piedmont and the coast will at the same time allow the French populations of the Roya Valley to come easily and quickly to Nice to stock up and connect with the entire French coast without having to cross the Braus and Brouis passes, such is the goal we are pursuing.” [1: p47]
There were a number of projects of this nature being explored at the time. The tramway between Menton and Sospel is an excellent example. [5][6] Others in the valley of the River Var and in the valley of the River Paillon were also built.
M. Chatelanat continues to explain how up to that time it had not been possible to devise a railway scheme that enable a link between Nice and Cuneo. His proposed tramway was not claimed to be a replacement for the planned railway, but while awaiting the development of the railway scheme, the tramway would “provide great services by greatly reducing the communication difficulties between the two regions. The project [would] not provide the speed of the railway, it [would] require two transshipments at Ventimiglia and Tende. Nevertheless, the transport of goods [would] be significantly more economical and passengers [would] find facilities and comfort there which [would] undoubtedly give the population satisfaction, if not complete, at least acceptable. The electric tramway, executed at a width of 1 metre with gradients of up to 70 mm/m and curves down to 20 metres in radius [could not] be used for the passage of standard-gauge locomotives and wagons, and therefore [could not] be used in the event of war.” [1: p48]
Concern about possible conflict was paramount in the minds of many and projects were vetted and often vetoed by the military. M. Castelanat went on to explain that power for the section of the line would be supplied from a hydraulic plant close to Breil-sur-Roya which could easily be put out of action, and if the overhead cables were also removed no use would be possible. He was sure that no advantage would be gained by a future enemy and that “The tramway must therefore be considered a commercial means of communication with no possibility of use in the event of war.” [1: p49]
Castelanat confirmed that electrical operation would mean no problem would be encountered with gradients up to 7% without the need for any regrading of the highway. He planned stations at Breil, Giandola, Saorge, Fontan, and Berghe. The tramway would use National Road No. 204 without any deviations and would cost around 1,400,000 francs. This tramway would, strictly speaking, be only a section of an international line which would have its origin in Ventimiglia and which would go up the valley of the Roya.
A conference including all the statutory interested parties was arranged for 23rd November 1899. Differing views were expressed about whether the tramway could provide a military advantage to the enemy in the case of war. A few months after the conference, on 2nd May 1900, “Chief Engineer Aubé of the Ponts et Chaussées (Roads and Bridges Department) reached the following conclusions: ‘The establishment of the planned electric tramway has lost much of its appeal since the military authorities ceased, with certain reservations, to oppose the construction of the railway from Nice to Sospel and to the Italian border, near Fontan. This line would, in fact, provide the French population of the Roya Valley with the access to Nice they were willing to seek in an economical manner by means of the tramway connecting them to the international station at Ventimiglia‘.” [1: p50]
The effect of the military’s withdrawal of their opposition to the Nice-Sospel-Fontan line was to render the tramway proposals obsolete. It was 1904 before “an international conference finally approved the construction of the Vievola – Breil – Ventimiglia and Breil – Sospel – Nice railway sections. … [Nevertheless] two tram lines were created[in the area]: one from Menton to Sospel, which operated from 1912 to 1931, [5][6] and a line from Ventimiglia to Bordighera, which operated from 1901 to 1936.” [1: p50]
Instead of the ‘Train Scotte’ and a tramway, from perhaps as early as 1900, but definitely by 1st September 1906, a service connecting with trains was introduced between Vievola station and Ventimiglia. The two images below show the mixture of different vehicles in use. Both focus on the road on the West side of the station building at Vievola.
Banaudo et al provide details of a bus service which started on 1st September 1906. The bus service between Vievola and Ventimiglia provided two buses a day from Vievola to Ventimiglia, the first leaving Vievola at 12:15 and arriving in Ventimiglia at 17:00, the second leaving Vievola at 20:40 and arriving in Ventimiglia at 0:40. The cost of the full journey was 5 lire/person. [1: p52]
The advert in the local paper commented that, “Without making the tedious Bastia-Savona detour, travelers can reach the Nice or western Ligurian coast from Cuneo and nearby towns in just a few hours, take care of their business, and return to their hometowns the same day, if they wish, even finding enough time in Vievola to refuel. Every modern comfort will be available in the station buffet, since, with appropriate consideration, the owner, Mr. Giuseppe Borgogno, has asked the Italian State Railways Administration to expand and repurpose the space for this purpose.” [1: p52]
Banaudo et al share details of services which developed over the next few years with pictures of the various buses in use. [1: p52-56]
Jose Banaudo, Michel Braun and Gerard de Santos; Les Trains du Col de Tende Volume 1: 1858-1928; FACS Patrimoine Ferroviaire, Les Editions du Cabri, 2018.
The railway from Nice PLM Station to Tende was completed in 1928. It was long in the gestation and in construction. The story stretches back more than a century and a half. ‘Le Chemin de fer du Col de Tende’ is historically a significant local and international line. Its inverted Y-shaped layout and its crossing of international borders means that it is known by a number of different names:
in Nice it is known as the Nice – Coni Line;
generally in Italy it is officially Ferrovia Cuneo Ventimiglia
in the Piedmont city of Cuneo’s economic/political circles, sitting at the top of the inverted ‘Y’, it is often referred to as the Cuneo – Nizza line in recognition of good relations with the community of Nice.
Its story is a saga of significant technical achievement: gaining 1000 metres in height ; having a dozen tunnels longer than 1 kilometre (including those of the Col de Tende (8098 m), the Col de Braus (5939 m) and the Mont Grazian tunnel (3882 m), which are among the longest structures on the French and Italian networks); having four complete helical loops, several S-shaped loops and a multitude of bridges and viaducts (some of which, such as those of Scarassouï or Bévéra, are architecturally significant railway structures. Of a total route of 143.5 km, 6.5 km are on bridges or viaducts and over 60 km are in tunnels. This means that close to 42% of the journey along the line(s) is on or within structures.
The line warrants a comprehensive detailed treatment and Jose Banaudo, Michel Braun and Gerard de Santos have provided just such a work. The 3 volumes of their work cover three distinct periods in the life of the line:
Volume 1: 1858 until the completion of construction in 1928; [1]
Volume 2: 1929 through to 1974 [2]
Volume 3: 1975 to 1986. [3]
The line’s construction spanned over 40 years and as a result a variety of different structural techniques were used. The first length built in Italy in the 19th century has some substantial stone and brick structures. Later work on the length from Nice to Fontane which was built between the two world wars employs much lighter design techniques. Then even later, after sections of the line were destroyed in the second world war, prestressed concrete construction techniques were used in the rebuilding of the line. [1]
The history of the area through which the line has been built has been tumultuous. This meant that the process of developing the line was tortuous. It took more than 75 years for the line(s) to be completed and then after a few short years of operation, the lines usage was disturbed by the machinations of dictatorships and then the second world war literally destroyed the region. Post war recovery was slow but nowhere more so than the length of the line between Ventimiglia and Breil-sur-Roya which was not fully reopened until 35 years after the end of the second world war. [1]
The reopening of the line after the second world war was vital for the economic development of Piedmont, the Riviera dei Fiori, and the Côte d’Azur – between which there was no efficient road connection and where the difficult terrain favored rail access. [1]
The immediate area offered tremendous tourism potential, both the train itself and the region it served. Ski resorts became accessible, particularly Limone, excursion trains came from all over Europe. But, after just a few decades of development the approach of the 21st century saw increased bureaucracy, financial disputes between the increasing number of partners, contradictory regulations and increased journey times. The result was that the line’s value and existence was called into question and that too sparked further conflict. “Paradoxically, European unification, which should have fully promoted this symbolic communication route, marginalized it!” [1: p5]
In 2014, my wife and I stayed in the village of Saorge in the valley of La Roya for the first time. We had travelled by train from Nice to Tende in an earlier year. In 2014, we had a hire car and on one occasion we followed the old road to the Col de Tende. In subsequent years it was not possible to drive up the old road as works on the much more modern tunnel seemed to have blocked access to the old road. On a more recent visit, we stayed in Saorge a year after serious flooding had destroyed much infrastructure in the valley. Travel towards the Col de Tende from Tende was not possible.
Early attempts to create a route from Cuneo toTende
In 2014, we drove up a road which was constructed by le duc Charles-Emmanuel 1er de Savoie (Duke Charles Emmanuel 1st of Savoy). It seems that he constructed a road over the pass between 1592 and 1616. Of this road, Banaudo et al say that, “the northern road [up to the pass] has about twenty hairpin bends, while access from the south requires an extraordinary … sixty hairpin bends.” [1: p9]
Our hire car was a very small vehicle, but nonetheless needed some careful manoeuvring at each hairpin bend. Once at the top, we were able to walk quite a distance between the different forts that stood on the ridge.
Banuado et al, tell us that since that route was constructed, a series of attempts were made to tunnel from lower points on the pass. Attempts from the North were made: in 1612 (achieved just 75m of tunnel before being halted); in 1781 which was abandoned 3 years later (164m of tunnel was achieved). [1]
In 1784, a carriage managed to traverse the pass for the first time.
Banaudo et al. Tell us that “the public works engineer Deglioli submitted an initial report on 3rd June 1852, supported by the diplomat Francesco Sauli (1807-1893), on the extension of the Marseille-Var railway, then planned in France, to Nice, Ventimiglia, the Roya Valley, and Piedmont, namely Cuneo or Mondovì.” [1: p11]
In 1854, the first train of the Società della Ferrovia Torino Cuneo arrived in Cuneo from Turin (via Trofarello, Savigliano, and Fossano). The first terminus was built in the Cuneo suburb of “Madonna-dell’Olmo, on the left bank of the Stura below the city. Ten months later, the time required for the completion of the viaduct over the Stura, Cavour and the Minister of Public Works, Pietro Paleocapa (1788-1869), presided over the inauguration of the new Cuneo platform/station on 5th August 1855, established in a temporary location at Basse-di-San-Sebastiano. The permanent station would not be built until 1870 on the plateau preceding the confluence of the Stura and Gesso rivers.” [1: p11]
In 1856, “Victor Emmanuel II, King of Sardinia, Cyprus and Jerusalem, Duke of Savoy and Aosta, Prince of Piedmont, Count of Nice and Tende, visited [Nice and] personally promised [a] railway to the people of Nice and distributed a lithograph depicting him, ostentatiously bearing a map bearing the dedication ‘Ferrovia da Cuneo a Nizza. Ai Fedeli Nizzardi’. … The Minister of Public Works commissioned a Roman military engineer, Filippo Cerrotti (1819-1892), to conduct a more in-depth study. On 29th May 1856, Cerrotti submitted a preliminary design for a standard-gauge line from Cuneo, ascending the Gesso and Vermegnana valleys, crossing the Col de Tende through a 6.5 km tunnel accessible by inclined planes powered by hydraulic funiculars, to emerge in the Roya River, which it followed to Airole. From there, two tunnels successively would take it through the Bévéra Valley and then into the Latte Valley, through which it reached the coast, which it then followed to Menton, Monaco, and Nice.” [1: p11]
The Nicois authorities accepted the proposed scheme in September 1856, their counterparts in Cuneo quickly endorsed the plans in principle but asked that an alternative route via the Col des Fenestres and the Vésubie, be explored and that a modification to the initial proposal should be explored, specifically a locomotive-powered line without the use of inclined planes. The municipality of Nice then commissioned another survey of alternative routes by Louis Petit-Nispel, but proposals were rejected by the Ministry of Public Works on 4th March 1858. [1: p11, p14]
Nothing happened, so the Nice authorities sent a petition to the Sardinian parliament (16th July 1858) but the request got lost in the midst of political machinations which surrounded the cession of Savoy and the County of Nice to France which was eventually confirmed on 22nd April 1860.
“During his first visit to the new border department in September 1860, the French Emperor promised the people of Nice a rapid connection to Marseille and the rest of the country via the Paris-Lyon-Mediterranean Railway Company (PLM) line, whose construction was then well advanced beyond Toulon.” [1: p14]
Nice got its connection to Marseille by 18th October 1864, but hopes for a Nice to Cuneo link were overshadowed by the desire to have a direct link between Marseille and Turin via Sisteron, Gap, Briançon, the Col de l’Echelle, and Bardonecchia – a plan was eventually shelved (even though it was favoured by the French government and the PLM company) as a result of the deal-making associated with the Saint-Gothard line.
In the mid-1860s the Piedmontese railway network became part of the Società per le Ferrovie dell’Alta Italia (SFAI). Its focus became developing internal infrastructure in Italy, with the exception of a very large project … a 13.7 km (8.5 mile) long tunnel, carrying the Turin-Modane railway line under Mont Cenis, linking Bardonecchia in Italy to Modane in France under the Fréjus. [1: p17][8]
Despite this, economic and political groups in Cuneo remained committed to having a rail link and in 1868 proposed a joint commission of French and Italian engineers. The following year, “the provincial authorities granted a loan of 500,000 lire to the Lombard engineer Tommaso Agudio (1827-1893), who sought to develop the possibilities offered by funicular traction. He, in collaboration with the engineer Arnaud, recommended the construction of a narrow-gauge railway alongside the SS 20 national road, along its entire route from Cuneo to Ventimiglia. This hypothesis suggested curves with a radius of less than 50 m and gradients of 45 mm/m. The Tende Pass was to be crossed by the planned road tunnel, with two access ramps sloping at 87.5 mm/m, on which traction would be provided by a hydraulically counterweighted cable.” [1: p17]
His project was approved by the Italian parliament in 1862 but no progress was made on the French side of the border. The project failed and Tommaso Agudio moved on to other things, “experimenting with his cable traction system in 1874 in Lanslebourg, then by applying it in 1884 to the railway linking the Turin suburb of Sassi to the famous Basilica of Superga.” [1: p17]
With little progress being made on a rail link, road links became paramount, a commission chaired by the civil engineering inspector Sebastiano Grandis (1817-1892) renewed interest in 1870 in a road tunnel under the Col de Tende which Grandis imagined would obviate the need for a railway.
“Following the fall of the Empire, France and Italy were finally connected by rail, first through the Fréjus Tunnel, opened between Modane and Bardonecchia on 17th September 1871, and then through the Menton and Ventimiglia on the coast on 23rd February 1872. At the same time, traffic between Piedmont and the former County of Nice was growing at an encouraging pace: the Fontan customs post recorded an annual transit of 22,000 tons of goods and 76,447 head of cattle. Under these rather favorable conditions, Nice’s business community sought to revive discussions with a view to attracting to their port a share of the benefits of the upcoming opening of the Saint-Gothard line, whose traffic, they feared, would exclusively benefit Genoa via the Via Giovi, or Marseille in the event of the construction of the Col de l’Echelle route. In April 1871, a group of industrialists and politicians from the region, including the mayor of Nice, Auguste Raynaud (1829-1896) and his counterpart from Toulon, Vincent Allègre (1835-1899), founded a Syndicate for the Nice Cuneo Line with the support of the Alpes-Maritimes Chamber of Commerce. On 7th November, the municipal council sent a personal letter to Adolphe Thiers, the new President of the French Republic, to express the desire of the people of Nice to see this project, which had been on hold for some twenty years, realized. On 29th November, the syndicate appointed a study commission headed by engineer Joseph Durandy (1834-1912), … to establish contacts with interested Italian parties and determine the advantages and disadvantages of each proposed route.” [1: p19]
“In March 1872, the engineer Henry Lefèvre (1825-1877), a public works contractor and member of parliament for the Alpes-Maritimes, published an ambitious programme comprising two railway lines, Nice – Digne and Nice – Cuneo. They would run as a common trunk up the Var valley to the confluence of the Vésubie; from there, the branch towards Piedmont would follow this river to its source, crossing the Pagari pass under a 7000 m tunnel drilled at an altitude of 1300 m, to then reach Cuneo via the Gesso valley. The gradients would not exceed 35 mm/m, which would however require several reversals from Venanson, as well as the use of articulated Fairlie locomotives.” [1: p19][9]
Lefèvre’s project was based on poor maps and went through areas with a high risk of avalanches and heavy snowfall. Durandy suggested that a longer tunnel (almost 15km long) could be employed, Delestrac suggested following the undulations/contours on the left bank of the Vésubie as much as possible to reduce the number of engineering structures and limit the gradients to 25 mm/m.” [1: p19] Both these suggestions significantly increased the costs of Lefèvre’s 120 km project.
Other projects were proposed:
In 1872, Séraphin Piccon proposed a “103 km long narrow-gauge route, crossing the Col de Tende through a 5100 m tunnel at a height of 1150 m. Descending the valley of la Roya to Piena, reaching the Bévéra basin and Sospel through a 1300 m tunnel under the Col de Vèscavo, then heading up the Merlanson valley to pass under Mont Méras through a new tunnel leading to Peille, and thence to Nice through down the valley of the Paillon. Access to the Col de Tende would be via two inclined planes with inclinations of 40 to 85 mm/m totaling a length of 6100 m, while a 60 mm/m gradient over 4700 m would allow the line to gain altitude north of Peille.” [10] On these steep gradients, traction would be assisted by a rack or an auxiliary central rail (the Fell System). [11][1: p20]
Also in 1872, Baron A. Cachiardy de Montfleury of Breil submitted a renewed proposal to the Conseil General, based on the Narrow-Gauge route between Cuneo and Ventimiglia funicular sections developed by engineers Agudio and Arnaud. [12][1: p20]
Then in April 1873, Baron Marius de Vautheleret. presented a proposal for a narrow-gauge Cuneo-Ventimiglia line using the planned Col de Tende road tunnel, passing through Briga, then through a 13,000 m tunnel under the Marta peak and then along the Nervia valley to its mouth near Ventimiglia. This route aimed to simplify administrative procedures by bypassing French territory, even if it meant creating a costly underground tunnel to connect the Roya to the Nervia river valleys. Gradients would not exceed 35 mm/m except for 22 km on either side of the Col de Tende, where gradients of 38 to 40 mm/m would require the adoption of a rack or hydraulic funicular. [13][14][1: p20]
These last two projects were discarded, partly because they were narrow gauge and required steep gradients, neither of which would suit the anticipated important international traffic and partly because they only linked two Italian cities while passing through French territory and not serving Nice. Both the protagonists continued to push their case until the end of the 19th century.
The first project proposal by Piccon was also deemed incompatible with heavy traffic flows but in its favour was the intent to link the railway to Nice. The “Durandy Commission preferred this option, subject to significant technical adjustments, such as adopting the standard gauge and replacing the inclined planes with longer base tunnels. On this route, the syndicate hoped for annual freight traffic of 90,000 tons despite a higher cost per kilometre than the routes via the Tinée or the Careï, as well as a revival of passenger traffic.” [1: p20]
The PLM had little enthusiasm for the proposed line as their experience of lines in the Alps encountered technical difficulties and had profitability problems
In 1878, the Minister of Public Works, Charles de Freycinet (1828-1923), asked regional authorities to consider possible lines to become part of a network of secondary lines across the country. The Prefect of the Alpes-Maritimes submitted the line ‘from Nice to the Italian border’, running from Nice to Turin via the Paillon Valley, the Col de Nice, L’Escarène, the Col de Braus, Sospel, the Col de Brouis, Breil, the Roya Valley, and the Col de Tende. This route was registered No. 142 in the network in the law of 17th July 1879, where it appeared alongside the Nice – Digne via Saint-André and Nice – Draguignan via Grasse lines. [1: p21]
While the Cuneo-Nice line was a low priority for the national government in Italy, but Piedmont and Liguria did not give up, encouraged by the interest on the French side of the border. A number of different schemes were considered (from Baron de Vautheleret, Giacomo Pisani and Domenico Santelli).
Renewed interest at a national level led, in April 1876, the ‘conseil superieur des Travaux Publics’ approved the principle of a Cuneo – Ventimiglia railway, following the Roya along its entire course, including crossing French territory. The estimated cost for the 86 km on Italian soil was 38 million lire.
Two years later, while France was preparing its “Freycinet plan”, Italy had its ‘loi Baccarini’ (law 5002) which was passed in parliament on 25th July 1879 and included for a secondary line ‘from Cuneo to the sea’, “leaving all options open South of the Col de Tende so as not to prematurely offend any interests.” [1: p23]
By the end of July 1879, the process seemed well underway but no one allowed for the political machinations that would follow.
“The first disappointments emerged in France in 1880 during the budget debates, where the President of the Chamber of Deputies, Léon Gambetta (1838-1882), postponed the vote on construction funding. On 22nd July, the General Council of Bridges and Roads rejected an initial project, which included 30 mm/m gradients and 300 m radius curves, as too costly. In November 1881, the Ministry of War was even more categorical, formally opposing the extension of the railway beyond Sospel, and demanding that it serve the village of Lucéram from L’Escarène, the supply base for the defensive sector of L’Authion, Turini and Peïra-Cava. In this case, the line would have to adopt even more severe characteristics: 40 mm/m gradients, 150 m radius curves, switchbacks to cross the Col de Nice and helical loops to reach Lucéram…” [1: p24]
“In 1882, an important step towards opening up the Haute Roya region was taken with the commissioning of the Col de Tende road tunnel. … This structure, remarkable for its time, was designed for the movement of carts, horses, pedestrians and. cannons, because the defense of the Tenda and Briga area was a major concern for the Italian general staff! The journey now avoided the countless hairpin bends of the pass and the risk of snowstorms and avalanches.” [1: p24]
The Col de Tende Road Tunnel and the border between France and Italy. [17]
But while economic and emotional ties remained strong between Cuneo and Nice, they were weakening between Rome and Paris due to political, commercial, and colonial rivalries that would poison relations … for about fifteen years. The attitude of the city of Marseille was also difficult. The business community in Marseille was hostile to a new rail link between Nice and Italy. Fearing the expansion of the port of Nice at their expense. They lobbied against any possible expansion of the port of Nice, even to the extent of thwarting standard-gauge lines from Nice to Digne and Draguignan, ensuring that the lines were built to metre-gauge (with less transport capacity and obligatory double-handling of loads). [1: p24]
Locally, in Nice, some pushed for the line to be metre-gauge, thinking that might iron out the technical difficulties and strategic objections. [1: p24] Faced by the administrative impasse which stalled the project in France , the French Ministry of Public Works decided to close its Nice design office on 1st September 1887. Italy, however, worked unilaterally with the intention of opening up the Haute Roya without prejudging the continuation of the route towards France. [1: p24]
From 1882 until 1900 it was the Italians that took the initiative. A delegation from Cuneo secured 29.5 million lire from the Italian Minister of Public Works. The first length of the scheme received local approval on 25th March 1882. Work on site started in April 1882 on the length of the line from Cuneo to Vernante.
The present railway station in Cuneo dates from the late 1930s the older station is known as Cuneo Gesso Statzione. At the time of the building of the Line from Cuneo towards Nice and Ventimiglia, Cuneo’s railway station sat alongside the Gesso River across the town from the present station.
The original Cuneo Railway Station from which the line to Nice and Ventimiglia left in a southerly direction. This image was taken in 1903. It was shared on the Facebook Nel dipartimento della Stura – Cuneo – pagina. [19]This second photograph of Cuneo’s original railway station which was on the banks of the River Gesso shows both the station building and the bridge which carried the railway over the river. This image was taken in 1905. It was shared on the Facebook Nel dipartimento della Stura – Cuneo – pagina on 16th November 2017. [20]Although dated 6th October 1979 this postcard image originated in the early years of the 20th century. It shows the Cuneo Gesso Station as it was at the turn of the 20th century. The postcard was made to commemorate the reopening of the international railway line that connects the city of Cuneo with the city of Nice. This image was shared on the Facebook Ferrovia Internazionale Cuneo-Ventimiglia-Nizza page on 11th December 2017. [21]
The railway initially arrived from Turin, via Fossano. It came as far as Madonna dell’Olmo opposite Cuneo across the Sturia River on 16th October 1854 where a small building was built to serve as a temporary station. On 5th August 1855 the inaugural train from Cuneo left for Turin. In the same year the municipality built a bridge over the Sturia (at its own expense). After the construction of the bridge over the Stura, a second temporary station was built on an embankment in the San Sebastiano plain (where Giuseppe Garibaldi had arrived to visit his “Alpine Hunters” in 1856). Only in 1870 was a significant edifice completed which became Cuneo’s railway station. It was alongside the Gesso River and it was again built entirely at the town’s expense. [19]
The complete opening of the Cuneo-Ventimiglia line, which took place on 30th October 1928, caused significant logistical problems for both travellers and rolling stock at Cuneo station. The old depot, dating back to 1864, soon became insufficient to house the locomotives of the new line, [23: p41] a hastily built locomotive depot was provided (because of delays creating the new line and new railway station, and in the construction of the large mixed-use viaduct over the Stura di Demonte. [24][25]
The Locomotive Depot at Cuneo Gesso Station which was used until the new depot close to Cuneo Altipiano Railway Station was opened. The site was repurposed – it became a sawmill. This plan comes from From the December 1929 Technical Magazine of Italiane Ferrovie., It was shared on the Ferrovia Internazionale Cuneo-Ventimiglia-Nizza Facebook Group on 13th February 2024 by Francesco Ciarlini Koerner. [62]
The new depot was placed beyond the embankment of the road to Mondovì. A double track arched bridge took the tracks under the road. [26][27] On 7th November 1937[24] the new Cuneo Altipiano station was opened, located to the west of the city centre and connected to the new locomotive depot built on the right side of the Stura River. [24][25]
Cuneo Gesso quickly lost importance, remaining active only as a stopping point for the lines to Mondovì and Boves , the latter closed to traffic in 1960. [23: p55-57][25]
Near the station was the terminus of the Cuneo-Dronero, [28] Cuneo-Saluzzo [29] and Cuneo-Boves [30] tramways, active for different years between 1879 and 1948 [25][31: p120]. The Cuneo Boves line opened in 1903 and closed in 1935.
Ex Stazione Ferrovia Di Cuneo Gesso as it appears on Google Maps satellite imagery. he river is the Gesso Torrent and a modern concrete bridge now spans the river. The line heading South from the station originally served a temporary Locomotive depot but now serves the sawmill that replaced the depot. [Google Maps, July 2025]The old station buildings seen from the Southwest. The building is in use as a cafe/bar. Tracks remain in place beyond the building. [Google Streetview, May 2025]The bridge which now carries the railway over the River Gesso. [Google Streetview, 2022]
Construction of the new line started in 1882, it left the station to the South curving sharply to the left to cross the Gesso River on a 3-arch brick viaduct (each span was 24.8 metres) shared with the line from Cuneo to Mondovi which was under construction at the same time. [1: p25]
The line to Mondovi remains today, but no passenger trains use the line any longer. The line we are following from Cuneo to Vernante, left the line to Mondovi heading Southwest and passing through the villages of Boves and Fontanelle-di-Boves. Provision for freight and passengers was made at Boves, just for passengers at Fontanelle-di-Boves.
Preparing for this article, I found a document from 1904 which included the plans and profiles of the line on the Ferrovia Internazionale Cuneo-Ventimiglia-Nizza Facebook Group. It was shared as a series of photographs by Davide Franchini on 2nd March 2022.
The 1904 document cover. [47]The first plan shows the bridge crossing the River Gesso with the line heading for Nice and Ventimiglia bearing away from the line to Moldovi. [47]The line heading South. [47]The route of the old railway from Cuneo Gesso to Borgo-San-Dalmazzo, (c) Ale Sasso and licenced for reuse under a Creative Commons Licence, (CC BY-SA 4.0). [32]
As far as I can tell, the line to Boves has been built over. It seems to have followed the route of Via del Borgo Gesso South from the river bridge, then Via Bisalta, then Highway SP21 to Boves where the line curved back towards the River Gesso. Boves station was on a relatively sharp curve in the line. [33]
Boves Railway Station building. [35]A similar view of Boves Railway Station in the 21st century. [Google Streetview, June 2025]The altered station building as seen from the Southeast. [Google Streetview, 2012]The goods shed/warehouse seen from the East. [Google Streetview, 2012]The goods shed at Boves, seen from the West on the SP21. The original station building can be seen on the left of this image. [Google Streetview, June 2025]The location of Boves Railway Station in the 21st century. Via Gastalato (SP21) runs along the old railway line. The main station building has a silver coloured roof and sits at the centre of this satellite image. The goods warehouse costs to the West of the main station building and has a red roof. [Google Maps, July 2025]
Boves station had a passing loop and two sidings. The passenger building, converted into residential housing several years ago, was adjacent to a goods warehouse, now used as a provincial warehouse. [35]
Boyes Railway Station plan. [47]The line beyond Boves Railway Station ran through Fontanelle di Boves and then crossed the River Gesso again. [47]
The hamlet of Fontanelle di Boves was just a short distance beyond Boves Railway Station. It had its own passenger station which opened in 1942 after the line from here back to Cuneo was replaced by a new line on the other side of the River Gesso which ran into the new station at Cuneo. Just a short distance further down the line was the viaduct which took the line back over the River Gesso. Originally, this was a masonry structure of three 24.8 metre arched spans. [1: p25] The viaduct was overwhelmed and destroyed by a flood of the Gesso on the afternoon of 2nd October 1898. It was then replaced with the current 74 m metal truss girder bridge. [34]
This photograph shows the immediate aftermath of the destruction of the bridge between Fontanelle-di-Boves and Borgo San-Dalmazzo. It was shared on the Ferrovia Internazionale Cuneo-Ventimiglia-Nizza Facebook Group by Mario Zauli on 29th February 2024. As well as appearing on the Facebook Group, Banaudo et al include the picture in their book. They comment: “On 2nd October 1898, the Southern Alps suffered violent floods that swept away the three-arched masonry viaduct over the Gesso between Boves and Borgo San-Dalmazzo, built in 1883. It was rebuilt as a metal truss bridge, but initially trains used a temporary structure on wooden beams. In December 1898, this was tested by the passage of locomotive No. 4333 of type 040, series 4201 to 4493 of the Rete Mediterranea. (Photo Giacinto Garaffi – Diego Garel collection).” [37][1: p26]
The bridge is known as Ponte di Sant’Andrea, a second truss was positioned alongside the railway bridge and together the two bridges now carry the SP21.
After crossing the River Gesso and at about 12 km from Cuneo the line arrived at Borgo-San-Dalmazzo.
This schematic map shows the two rail routes. The solid line shows the original alignment that we have just been following. The dotted line shows the route built at the end of the 1930s. The two lines met to the West of Pont Sant’Andre. The 1937-built station is on the banks of the Stura River on the West side of Cuneo and on the dotted line. [34]The bridge (Ponte di Sant’Andrea) is flagged in the bottom-right, the newer line from Cuneo enters this image middle-top and runs down to the bottom-left. The older line curved round from the SP21 and its route is marked by the curved field boundary. [Google Maps, July 2025]
Returning to the 1937-built Cuneo Railway Station, the line from that station leaves Cuneo in a South-southwest direction. It is easiest to see the route of the line on a sequence of extracts from global mapping provided by OpenStreetMap. …
Cuneo’s Railway Station in the 21st century. [OpenStreetMap, July 2025][38]
A twilight view of Cuneo railway station taken from the cab of a multiple unit entering the station from the Southwest. [45]
The line runs alongside the locomotive depot to the South of the passenger facilities at Cuneo Railway Station and then enters a tunnel which turns South under the city. [39]The tunnel mouth to the South of Cuneo Railway Station can be made out at the centre-top of this image. [Google Earth 3D, July 2025]This time looking North, the Southern portal of the tunnel to the South of Cuneo Railway Station can be made out below the roundabout at the centre-top of this image. [Google Earth 3D, July 2025]
A rain-spattered cab view from the South, taken in the late evening, of the Southern portal of the tunnel which sits to the South of Cuneo Railway Station. [45]
After leaving the tunnel, the line began to curve round to the Southwest passing under Via Fontanelle and then under the roundabout at the junction of Via Mellana and Viale Federico Mistral. [40]
Looking North in the evening light under a footbridge close to Via Giuseppe Scagliosi through the cab widow of a multiple unit on the line. [45]
The view North from the bridge carrying Via Fontanelle across the line. [Google Streetview, 2019]Looking South from the bridge carrying Via Fontanelle over the line. The bridge in the distance sits underneath a roundabout at the junction between Via Mellana and Viale Federico Mistral. [Google Streetview, 2019]
A three arch bridge carries Via Fontanelle over the railway, seen again in the evening light from the South through the rail-spattered cab widow of a multiple unit. [45]
A short tunnel carries the roundabout at the meeting of Via Mellana and Viale Federico Mistral over the railway, seen again from the South through the rail-spattered cab widow of a multiple unit. [45]
Vegetation around the roundabout means that it it not possible to see into the cutting from the road.
The line continues in a Southwesterly direction running alongside Viale Federico Mistral. [41]
A brick-ringed arch bridge carries the railway over a side road off Viale Federico Mistral. This view is from the Southeast. The structure is at the top-right of the map extract immediately above. [Google Streetview, June 2025]
A very similar arch bridge carries the railway over a further side road off Viale Federico Mistral. The bridge is located in the bottom-left quadrant of the map extract above. [Google Streetview, June 2025]
Now on a more Southwesterly course the line passes under a footbridge, obscured on the map extract by the words Tetto Bidetti in the top-right corne of the extract.
Silhouetted in the evening light, this bridge crosses the line carrying a footpath over the railway. The image, again comes from the cab of a multiple unit heading for Cuneo. [45]
Close to Cascina Tallone, the line crosses Lungo Gesso by means of another brick ringed arch. This view looks under the railway from the Southeast. [Google Streetview, May 2022]
Near Cascina David another brick-arched bridge pierces the railway embankment where Via David passes beneath the railway. Again this view is from the Southeast on Via Sant’Andre. [Google Streetview, May 2022]
Near Cascina Landra another brick-arched bridge pierces the railway embankment. Again this view is from the Southeast on Via Sant’Andre. Thestructure appeasr bottom-left on the map extract above and top-right on the extract below. [Google Streetview, May 2022]
And close to where the line of the older route meets the newer route the line is heading South-southwest and turns towards the Southwest. [43]Now in Borgo San-Dalmazzo we have reached the point where the older line curved in from the East having crossed the River Gesso. [44]
Via Sant’Andrea passes over the line. This view looks Northeast towards Cuneo. [Google Streetview, May 2022]
Also taken from the bridge carrying Via Sant’Andrea over the railway, this view looks across the road SP21 towards Borgo San-Dalmazzo. [Goog;e Streetview, May 2022]
The view Southwest from the bridge carrying the SP21 over the railway. The route of the older line is marked by the field boundary visible to the left of the line. [Google Streetview, June 2025]
The older line curved round to the Southwest and followed a straight course towards Borgo-San-Dalmazzo Railway Station. The newer line has taken its place on the approach to the Station from the Northeast.
San-Dalmazzo is a very old trading town located at the crossroads of three valleys: the Stura, the Gesso and the Vermenagna. The station had three platforms, a goods yard, a 5.50 m turntable and a large overflow yard that could be used for the embarkation and disembarkation of military units deployed in the area. “When the railway arrived in Borgo-San-Dalmazzo, this small town had already had a rail service for several years. In fact, private entrepreneurs Ercole Belloli and Carlo Chiapello opened a 1.445 m gauge horse-drawn tramway between Cuneo and Borgo in 1877, passing through the San-Rocco-Castagnaretta district on the left bank of the Gesso. Horse-drawn traction was replaced by steam locomotives on this modest 8-km line in 1878.” [1: p27][48]
The Cuneo-Borgo San-Dalmazzo-Demonte tramway linked the cities of Cuneo, Borgo San Dalmazzo and Demonte from 1877 to 1948. In the late 1870s, following the success of similar initiatives in the Turin area, the construction of tramways was pursued in the province of Cuneo. [48] As we have already noted, this was just one of a number of such tramways in the area.
The Cuneo Borgo-San-Dalmazzo tramway was extended in 1914 to Demonte (26.4 km) and converted on this occasion to a 1.10 m gauge to facilitate the exchange of goods with the Compagnia Generale dei Tramways Piemontesi (CGTP) which operated the Cuneo Boves line (8.3 km) from 1903. The Boves steam tramway disappeared in 1935 and that of Borgo and Demonte in 1948. [1: p28] The story of these tramways seems worth investigating, but their histories are a matter for a different article!
The station had an ignominious place in history. During the Second World War two convoys of Jewish deportees departed from the Borgo San Dalmazzo railway station bound for Auschwitz , coming from the adjacent Borgo San Dalmazzo concentration camp. The first convoy, on 21st November 1943, completed its journey via Nizza Drancy with 329 people on board. Only 19 survived. The second convoy, on 15th February 1944, with 29 people on board, headed instead for the Fossoli transit camp where it was combined with transport no. 8 bound for Germany. Only 2 survived. [49][50]
The Deportation Memorial , with a row of cattle wagons similar to those used then (the wagons are from 1953) commemorates the names of the deportees, their age and nationality and their family relationships. [50][51]
Burgo San-Dalmazzo to Robilante: The second construction contract covered the length from Borgo San-Dalmazzo to Robilante. Work began in late 1883. From Burgo San-Dalmazzo the line leaves the plain and begins its ascent up the Vermenagna Valley, heading towards the Tende Pass. The route, was designed to accommodate heavy traffic, so the line does “not include any curves with a radius less than 300 m, with two exceptions: one at the southern end of Cuneo station and one at the exit from Borgo station, where the route curves sharply to the left in a 257-meter curve to reach the left bank of the Gesso River. There, a 21 m three-arched masonry viaduct, shared by the railway and the SS20 road, crosses this Alpine torrent for the third and final time.” [1: p27]
This satellite image shows the sharp curve from the Railway Station at Borgo San-Dalmazzo to the viaduct across the River Gesso. [Google Maps, July 2025]
As the railway curves round towards the river its embankments are pierced twice to allow local roads to pass beneath the line.
This is the first structure. [Google Streetview, June 2025]The second structure, closer to the River Gesso. [Google Streetview, June 2025]
The southern approach to Borgo San-Dalmazzo Railway Station, seen from the cab of a multiple unit. The line to the right of the image is a siding which terminates close to the River Gesso. [45]
The 3-span viaduct across the River Gesso carries both the railway and the SS20. [Google Streetview, June 2025]Looking South along the SS20 as it crosses the Gesso. The railway cantenary is on the left with the tracks hidden behind the dividing fence. [Google Streetview, June 2025]
A view from the South showing the road on the left. This is a view from the cab of the multiple unit again. [45]
Once over the river the road and railway remain at a high level with an access road to the SS20 passing under both the railway and the road. [Google Streetview, June 2025]
After crossing the river the line ran on through Roccavione. …
Roccavione Station is a simple station with two public platforms and one track serving a military platform. Another level crossing sits beyond the South end of the station site.
Looking back from the level-crossing at Via Piano Sottano towards Roccavione Railway Station. [Google Streetview, June 2025]
A similar view looking North into Roccavione Railway Station from the cab of the multiple unit. The station has no passing loop. [45]
The view Southwest across the level-crossing. [Google Streetview, June 2025]Looking South-southeast as the line continues up the Vermenagna valley. [Google Streetview, June 2025]
The line follows an easy gradient between the SP259 (which used to be the SS20) and the left bank of the River Vermenagna to Robilante Railway Station. [1: p27]
The line runs Northwest to Southeast across this extract from Google Maps satellite imagery. It runs close to the SP259 between Roccavione and Robilante. [Google Maps, July 2025]A link road under the railway and under the SP259 beyond. It provides access from Via Piano Sottano to the SP259. [Google Streetview, June 2025]What in the UK we might choose to call an underpass or cattle-creep under the railway. Apologies for the slight distortion of the image which comes from the way in which Google’s algorithm merges the 360° camera photographs. [Google Streetview, June 2025]
Robilante Railway Station had three platform tracks, a small goods yard, a water feed, a 8.50m turntable and an engine shed. Beyond the station track gradients increased significantly and provision needed to be made for banking engines in steam days. [1: p27]
Robilante Railway Station. [Google Maps, July 2025]The station building sat on the Southwest side of the line, This view looks through the station to the Southeast, (c) Gum Gum. [Google Maps: July 2023]Robilante Station building and forecourt seen from the Northeast on Via Roma. [Google Streetview, June 2025]This view looks Northwest through the station towards Cuneo, (c) Mattia Vigano. [Google Maps: April 2019]
A similar view to that immediately above but taken from the driver’s cab on a multiple unit. In the distance in this image the old goods shed can be seen to the left of the line. The shed is no longer present in the more modern image above. [45]
A station plan for the station at Robilante. The line is oriented Northwest to Southeast. The turntable is located at the Northwest end of the yard. The engine shed is opposite the passenger building. The goods shed was Northwest of the passenger facilities and is shown here with a single siding passing through the building. The bridge, shown in images below crosses the station throat at the Southeast end of the station site. Not shown on this early plan are five sidings added for clinker wagons from the Buzzi Unicem cement plant nearby. [47][53]
Robilante Goods Shed seem from the cab of a multiple unit. As noted above, the shed has now been demolished. [45]
This image taken from the Southeast of the station from the cab of an approaching Cuneo service gives a broader view of the station site. [45]
A broader view of Robilante Station taken from a road at the Southeast corner of the station site. [Google Streetview, June 2025]The road overbridge at the Southeast end of the station site. [Google Streetview, June 2025]The view Northwest from the road bridge which carries Via Luigi Emina over the line. [Google Streetview, June 2025]The view Southeast from the same road bridge. [Google Streetview, June 2025]The bridge which carries Via Luigi Emina over the line, seen from the Southeast. [Google Streetview, June 2025]
The second phase of the construction work on the line terminated in Robilante. “The preliminary design for the third phase from Robilante to Vernante was submitted to the Ministry of Public Works on 11th January 1884, and work began the following summer. On this 6,419-meter-long section, the railway crosses the mountain with gradients of 25 mm/m.” [1: p27]
This extract from Google Maps satellite imagery shows the length of the line from Robilante to VernanteVia Ferrovieri runs immediately adjacent to the railway for some distance, passing under a road over bridge along with the railway. This view looks ahead up the Vermenaga valley. [Google Streetview, June 2025]The same bridge seen from the Southeast. [Google Streetview, June 2025]
The two images immediately above were taken at the end of a road serving a small industrial area. The first looks Northeast, the second, Southeast. [Google Streetview, September 2023]
After passing under the SS20, the line runs alongside the road for a kilometre or so.
Trains can be seen passing immediately adjacent to the road. [Google Streetview, June 2025]
A short distance further South a side road from the SS20, Via Tetto Pettavino, bridges the line. The two photographs below were taken from the bridge.
Looking North towards Robilante. [Google Streetview, June 2025]Looking ahead along the line towards the viaduct over the River Vermenagna. [Google Streetview, June 2025]The railway crossed the Vermenagna River by means of a viaduct of 5 arched spans – three of 21 metres flanked at each end by an 8 metre span. [Google Maps, July 2025][1: p27]
A photograph of the viaduct over the Vermenagna surrounded by trees can be found here on Flickr. [54]
Banaudo et al tell us that seven further significant structures were included in the contract which covered the line as far as Vernante [1: p27] all of which sit within approximately 3 kilometres along the line:
the Rio Vermanera masonry viaduct, with three 8-metre arches;
the Ponte Nuovo Tunnel, 425 metres long;
the Brunet Tunnel, 161 metres long;
the Corte-Soprano Tunnel, 95 metres long;
the San Giovanni masonry viaduct, with six arches measuring 7.90 m, three measuring 13.75 m, and one measuring 6 m;
the San Giovanni Tunnel, 138 metres long; and
the Costa Tunnel, 147 metres long. [1: p27]
The first of these – the Rio Vermanera Viaduct is pictured below.
The Rio Vermanera masonry viaduct, seen from the West, one span of which crosses the Strada Vermanera, another spans the Vermaners stream. [Google Streetview, June 2025]
The same viaduct seen from the East. [Google Streetview, June 2025]
Strada Vermanera provides road access to a number of small hamlets to the East of the railway line. [Google Maps, July 2025]
The Ponte Nuovo Tunnel: this extract from OpenStreetMap shows the tunnel curving significantly. It ran from just to the South of the Rio Vermanera Viaduct to open out immediately adjacent to the SS20/E74 but at a higher level. [55]
Immediately beyond the southern portal of the Ponte Nuovo Tunnel, a masonry retaining wall supports the railway above the SS20/E74.
Looking back towards the South portal of the Ponte Nuevo Tunnel the parapet railings of the retaining wall can be seen on the left of this image. [45]
The southern portal of the Ponte Nuovo Tunnel is at the far end of this retaining wall. Immediately at the Southeast end of the retaining wall is the short Brunet Tunnel (161 metres long) [Google Streetview, June 2025]
The Brunet Tunnel is shown dotted on this extract from OpenStreetMap. [56]
The South Portal of the Brunet Tunnel. [45]
The next tunnel is only 200 metres or so along the line, the Corte-Soprano Tunnel is even shorter at only 95 metres in length. [57]
The South Portal of the Corte-Soprano Tunnel. [45]
Just to the Southeast of the tunnel portal is the next structure, the San Giovanni Viaduct. masonry viaduct, with six arches measuring 7.90 metres, three measuring 13.75 metres, and one measuring 6 metres. [Google Maps, July 2025]
It is not feasible to get a photograph of the full length of the viaduct. The three images below give a good impression of its length and height.
Two further short tunnels, the San Giovanni Tunnel (138 metres long) and the Costa Tunnel (147 metres long) follow in the next few hundred metres.
The two tunnels are only separated by a short length of the line. [Google Maps, July 2025]
The South portal of the San Giovanni Tunnel. [45]
The South portal of the Costa Tunnel. [45]
The railway continues to climb higher on the eastern slope of the Vermenagna Valley and reaches Vernante, about 23 km from Cuneo.
Another of the plans and profiles that we encountered earlier in this article. This one shows the final approaches to Vernante Railway Station. Some of the structures described above can be seen on this plan. [47]
On the final approaches to Vernante Railway Station two further structures can be seen on the plan above. They carry the line over minor roads. The first spans Via La Tina, the second spans Vicolo Castello/Strada da Castello.
Looking East through the underpass which takes Via La Tina under the railway. [Google Streetview, June 2025]Looking East through the structure that carries the railway over Strada da Castello. [Google Streetview, June 2025]
Vernante Railway Station was the end of the third tranche of works on the railway. Vernante is “a busy centre of livestock breeding and craftsmanship where renowned knives are produced. Vernante station … has two platform faces with a passing loop, … [a goods shed] and platform for goods traffic, a 5.50 m turntable and a curious installation, unique on the line, the “binario di salvamento”. This is a counter-slope safety [line which leaves the main running line close to the station throat] on the Limone side. The switch is permanently positioned to provide access to the safety line, so that any vehicle drifting down the 26 mm/m gradient south of the station can enter it, be slowed down by the opposite gradient and then come to a stop. Each descending train must stop before the switch, so that it can be maneuvered on site to allow normal entry into the station. This simple but effective precautionary measure applies to other steep-gradient lines on the Italian network, in the Alps and the Apennines.” [1: p27]
A plan of Vernante Railway Station. [47]Vernante Railway Station. [Google Streetview, July 2025]The view Southeast from the station car park, after demolition of the old goods shed. The main station building features at the centre of the image. [Google Streetview, June 2025]The main station building at Vernante seen from the West. [Google Streetview, June 2025]
Photographs showing the station building and the goods shed prior to its demolition can be seen here. [58] “Inaugurated in 1889, the station served as the terminus for the Cuneo-Ventimiglia line for nearly two years, until it was extended to Limone Piemonte. The passenger building features classic Italian architecture, with two levels. It is square, medium-sized, and well-maintained. Its distinctive feature is the two murals depicting scenes from the Pinocchio fairy tale, adorning its façade. The lower level houses the waiting room and self-service ticket machine, while the upper level is closed.” [58]
A photograph from the cab of a Cuneo-bound train arriving at Vernante. The passenger building is on the left with the goods shed beyond. [45]
While construction work was underway on the first three tranches (Cuneo to Vernante), the Italian rail network was undergoing a major reorganization. The Law passed on 27th April 1885, placed control of the railways into the hands of “the new Società per le Strade Ferrate del Mediterraneo, more commonly known as Rete Mediterranea (RM), … including the route ‘from Cuneo to the sea’.” [1: p28]
In 1887, the time had come for the first trains! “The Cuneo-Robilante section was inaugurated on Saturday, 16th July 1887, and opened for service on Monday 18th. Less than two weeks later, Francesco Crispi became President of the Council of Ministers, and relations between Italy and France would soon be strengthened. Then came the beginning of the future Cuneo-Mondovi line, which opened on 2nd October 1887, as far as Roccadebaldi. The Roccadebaldi and Robilante lines thus formed a common section for 359 meters, starting from Cuneo [Gesso] station and crossing the Gesso River on the same viaduct. … Two years later, the Robilante-Vernante section was … opened on 1st September 1889.” [1: p28]
As footnotes to this article we note that:
Banaudo et al comment: “construction of the Ceva Ormea branch line began in the upper Tanaro Valley. With a terminus about 30 km from Vernante or 25 km from Tenda and Briga, this line would play an important role in the battle of interests that would unfold in the final years of the century to confirm a definitive route to the sea.” [1: p28]
They also give details of the locomotives used on the line in these very early years, by Rete Mediterranea (RM). The locomotives were 030s (in the UK 0-6-0s) with tenders and came from the roster of the Turin depot and loaned to the Cuneo-Gesso Locomotive depot. They belonged to just one series: “Nos. 3201 to 3519 RM, which became group 215.001 to 398 at the FS. [The series was built] between 1864 and 1892 based on a model derived from the French “Bourbonnais” locomotives of the PLM. These 450 hp engines were equipped with saturated steam, single expansion, and Stephenson internal distribution. The [later] Cuneo depot, established in 1907, still had five type 215 locomotives in 1922, mainly operating service trains.” [1: p86] It is also worth noting that some of the locos used on the line after 1899 came from a second series of locomotives (“Nos. 3801 to 3869 RM, later 3101 to 3169, then group 310.001 to 069 at the FS, built from 1894 to 1901 [1: p86]). While these locomotives were old enough to have served in the period from 1887 to 1891, they only arrived on the line during 1901. … I anticipate there being a separate article about motive power on the line in due course.
We finish this first part of the journey from Cuneo to the sea at Vernante. The next article about the line will begin at Vernante and head South towards Limone and Vievola. It can be found here. [61]
References
Jose Banaudo, Michel Braun and Gerard de Santos; Les Trains du Col de Tende Volume 1: 1858-1928; FACS Patrimoine Ferroviaire, Les Editions du Cabri, 2018.
Jose Banaudo, Michel Braun and Gerard de Santos; Les Trains du Col de Tende Volume 2: 1929-1974; FACS Patrimoine Ferroviaire, Les Editions du Cabri, 2018.
Jose Banaudo, Michel Braun and Gerard de Santos; Les Trains du Col de Tende Volume 3: 1975-1986; FACS Patrimoine Ferroviaire, Les Editions du Cabri, 2018.
“The locomotive developed by the Scottish engineer Robert Francis Fairlie (1831-1885) from 1869 on the Ffestiniog narrow gauge railway in Wales, had two boilers connected by a single central firebox. Each boiler supplies steam to a pair of cylinders driving an independent group of axles. This system was developed in France from 1888 by artillery captain Prosper Péchot (1849-1928) and engineer Charles Bourdon (1847-1933), creators of an articulated narrow gauge locomotive widely used by the French army.” [1: p21]
Séraphin Piccon; Etude Comparative de Deux Lignes de Chemin de Fer Entre Nice et Coni; 1872.
The Fell System which created “additional adhesion using a raised central rail, patented by British engineer John Barraclough Fell (1815-1902), was first applied in the Alps in 1868 on the railway running along the Mont Cenis route between St. Michel-de-Maurienne and Susa, pending the completion of the Fréjus Tunnel in 1871.” [1: p21]
A. Cachiardy de Montfleury; Chemin de Fer de Nice a Coni; Imprimerie Cauvan, Nice, 1872.
Marius de Vautheleret; Chemin de Fer Cuneo Ventimiglia – Nice Traversant le Col de Tende; Editions Giletta, Nice, 1874.
Marius de Vautheleret; Chemin de Fer Cuneo – Nice par Ventimiglia et le Col de Tende; Kugelmann, Paris, 1883; Trajet direct de Londres à Brindisi par le Col de Tende; Kugelmann, Paris, 1884; Ligne directe Londres – Brindisi par le Col de Tende; Retaux, Abbeville, 1890; Le Grand Saint-Bernard et le Col de Tende Ligne Ferrée Directe de Londres à Brindisi avec Jonction à la Méditerranée; Malvano & Mignon, Nice, 1897.
Stefano Garzaro & Nico Molino; La Ferrovia Di Tends Da Cuneoba Nizza, L’ultima Grande Traversata Alpina, Colleferro (RM); E.S.T. – Editrice di Storia dei Trasporti, Luglio, 1982, (Italian text)
Ferrovie dello Stato; Circolare Compartimentale del Compartimento di Torino 54/1937, (Italian text).
Franco Collidà, Max Gallo & Aldo A. Mola; Cuneo-Nizza: Storia di una ferrovia, Cuneo (CN); Cassa di Risparmio di Cuneo, Luglio, 1982, (Italian text).
The locomotive depot area, left vacant after the opening of the new Cuneo station, was later reused by a sawmill connected by a siding to the Gesso station. [25]
Roger Hutchinson tells the story of Lord Leverhulme’s interest in Lewis, Harris and (to a much lesser extent) Skye, in the years following the First World War. Lord Leverhulme purchased Lewis and later Harris with a view to developing the islands.
Mingled in with the story are Lord Leverhulme’s plans for transport infrastructure and particularly railways. Hutchinson first introduces railway plans in comments attributed to Thomas Mawson who wrote about Lord Leverhulme’s plans in the Manchester Guardian. Late in 1918, Mawson wrote: “before any … industry can be a success [on Lewis] it will be necessary to provide better transit facilities by sea and land. Safe harbours are the first essential of all economic developments. Engineers are accordingly at work making preliminary surveys for railways which will connect the principle harbours of the island with Stornoway, their natural base. We may soon have a railway on the east coast, connecting Port of Ness, another railway connecting with Callernish on the west, and possibly a third to Loch Seaforth, connecting the Isle of Harris directly with Stornoway. As supplementary to these the main roads are likely to be further improved and motor routes created as feeders to the railways. … A natural corollary to the introduction of railways and harbour facilities will be an increase in the number and size of the steamers trading with the mainland. A trawling fleet, too, is bound to appear as an arm to the fishing industry. Ice factories, cold storage, and canneries for the curing and treatment of fish for export are already planned, and the work of construction will soon begin.” [1: p91]
Hutchinson goes on to comment: “The idea of giving Lewis a couple of branch railway lines was neither original nor utterly ridiculous. Just twenty years previously, in 1897 and 1898, two separate private enterprises, the Highland Railway Company and the Highland Light Railway Company, had surveyed and proposed small-gauge lines between Stornoway and Tarbert in Harris and between Stornoway and Breasclete and Carloway on the west coast. The £500,000 schemes had collapsed when the amount of capital required to be raised by private subscription – £290,000 – was not forthcoming.” [1: p93-94]
Also, “Lewis did have railways, around the turn of the 19th/20th century. There was a railway from the quarry at Bennadrove to Stornoway. Posts related to this track can still be found in the Castle Grounds, opposite the Caberfeidh Hotel.” [5] …
It seems that under Lord Leverhulme’s tenure, “a trackbed was laid near Garrabost in Point, but a railway was never built. The same fate befell the track, linking Carloway to Stornoway along what is now the Pentland Road.” [5]
Very little other evidence exists of his proposed railways, and it is entirely possible that the remains referred to in the last paragraph could relate to much earlier railway proposals. [8]
Lord Leverhulme “planned to develop several smaller fishing harbours around the island’s coast that would be linked by new [his proposed] railways and roads to Stornoway, which would be transformed into a huge fish-processing centre. There was also to be a cannery, an ice-making factory, and a plant to make glue, animal feed and fertiliser from the offal.” [2]
“A chemical industry would also be developed to process the plentiful seaweed around the island; peat would be used in large scale power stations; and unproductive land would be transformed into forests, or fruit or dairy farms. Lewis would grow to become an island of up to 200,000 people. … He had prominent architects and town planners produce a vision of a future Stornoway in 1920. There was to be a town hall and art gallery, a bridge to connect the town to the Castle grounds, long avenues and a railway station, with a war-memorial on South Beach. None of these were constructed although he did give the town a gas supply, and he also intended to use electricity to light the streets.” [2]
For all Lord Leverhulme’s grandiose plans, he was unable to stay the course. His plans “failed in Lewis partly from trying to force the people into too rapid and too fundamental change; he was used to a totally different lifestyle and he tried to define progress on his own terms.” [2]
He faced determined resistance from the local population whose overwhelming desire was for croft land and the freedom to choose what work to undertake. As a result, they did not take to the idea of industrial jobs centred in Stornoway and, in fact, regarded that kind of work, even though salaried, as effective slavery.
“Despite the growing tensions, Leverhulme spent over £1 million in Lewis. Two model housing schemes were built in Stornoway, one on Matheson Road and another on Anderson Road, to house Leverhulme’s managers and employees. New roads were built in Lewis: a concrete bridge, now known as the Bridge to Nowhere, was constructed in Tolsta as part of a scheme to create a coastal road linking Tolsta to Ness at the north tip of the island. The road was never completed.” [3]
Lord Leverhulme’s failure to understand the basic, even visceral, connection between the people and the land was significant.
His proposals centred on his perception of a significant fishery in the waters around Lewis which would sustain industrialised fishing and canning. In reality the stocks were not as great as he believed and the postwar demand for canned fish deteriorated (partly because of barriers to trade with Russia imposed by the UK after the Russian revolution) and as more and more fresh fish from other sources became available. He saw the sale value of fish reduced by 90%.
Lord Leverhulme believed that his offer of good housing and allotments close to Stornoway would ultimately be more attractive than a hand-to-mouth crofting lifestyle. He could not have been more wrong. “What the crofters most needed was casual work to supplement their subsistence farming; what was proposed was regular employment in an industrial process. They did not want to be dependent on any landlord, even a millionaire philanthropist, for their livelihood, and most preferred to take control of their own destiny.” [3]
He stubbornly refused crofters access to good farmland in favour of his desire to see the island self-sufficient in milk, which could anyway be cheaply be imported from Aberdeenshire. As a consequence many men of Lewis raided those farm lands, began building and setting up crofts.
Only a matter of a few short years after the conclusion of the war, Lord Leverhulme had decided that his project was over.
A young doctor, Halliday Sutherland arrived in Stornoway in 1923 “a half-built factory on which work had been abandoned, a derelict small-gauge railway, and thousands of pounds’ worth of machinery rusting on the shore.’ Anxious to uncover the reasons for such a depressing scene, Sutherland approached what was presented in his later transcription as a bellicose old man working a croft in the Back district. The man had no desire, Sutherland said, ‘to answer a whistle at six in the morning and work for wages in Lever’s factory. No damn fear. Poor as I am, I’m master here, and could order you off this croft. … Why did some of us raid his pasture-land? A dairy farm for the island it was to be. I’ve another name for that a monopoly in milk. No damn fear. We are poorer now than we were. Why? Because the line-fishing in the spring has failed. Why? Because of these damned trawlers that spoil the spawn, and half of them are Lever’s English trawlers. He makes us poor, and then wants us to work for him.'” [1: p169][4]
Had Lord Leverhulme’s grandiose plans for Lewis and Harris resulted in lasting changes, there would probably have been some significant changes on Skye. Not the least of these changes may have been the provision of some form of railway from Kyle of Lochalsh onto Skye and through Broadford and Portree to Dunvegan inthe North of the Isle of Skye.
David Spaven & Julian Holland provide a map of proposed railway lines in Scotland. This map shows these proposed but unbuilt railways as dotted lines. Of particular relevance here are the lines on Lewis and on Skye. Although it should be noted that the routes marked predated Lord Leverhulm’s interest in Lewis and Harris by some considerable time. [7: p166 – extract from larger map]
Spaven and Holland’s map does not tell anything like the full story of the planned railways for Lewis and Harris. The map below, provided by Ian B. Jolly shows considerably more detail. It is included in an article in The Narrow Gauge magazine. [15]
Proposed railways on Lewis/Harris. [15: p10]
The Napier Commission’s report on crofting published in 1884 proposed the use of light railways on Lewis and Skye. As a result, The Hebridean Light Railway Co. was formed to promote 130 miles of railway in Skye and Lewis. This led to surveys being undertaken by Alex MacDonald, Engineer, of a possible railway linking Stornoway to Breasclete and Carloway. The survey report was dated 1st June 1893.
Ian Jolly reports that “the trackbed of this line was constructed and, for the first two or three miles out of Stornoway now forms the A858 road, while the rest of the route is an unclassified road to Breasclete.” [15: p12] The unclassified road is the ‘Pentland Road’ which has two arms, one to Carloway and one to Breasclete.
Jolly also notes that O’Dell and Walton, include in their book, ‘Highlands and Islands of Scotland’, a map showing projected railways for Lewis and Skye in 1897 and 1898. In fact, this is just a small part of a map covering the whole of Scotland and are at best schematic in nature. [15: p12][16: p206]
The Outer Hebrides and Skye, showing various schemes which did not come to fruition in the later years of the 19th century and mark with the year in which the schemes would have been constructed. The lines drawn are no more than indicative of the routes proposed. There is no indication of schemes proposed in the 20th century. [16: p206]
One further map is worth noting. This map is provided in a paper by John and Margaret Gold and shows Lord Leverhulme’s development plan for Lewis and Harris. …
Lord Leverhulme’s Development Plan: this gives a good idea of the scope of Lord Leverhulme’s imagination. His ideas were built on the assumption that the fishery around Lewis and Harris was likely to sustain yields over many years. His plans were well-developed. [45: p197]
Later, in April 1919, Jolly says, there were proposals (elsewhere reported as being considered during the first world war) put to a meeting at Staffin, in the north-east of Skye, when representations were made to the Secretary of State, Ministry of Transport and the Highland Reconstruction Committee for a system of light railways on the East side of Skye. There was a similar meeting at Uig, also on Skye, in September 1920 when representations were made to the Ministry of Transport for a light railway connecting Uig to Kyleakin via Portree. Both these meetings were reported in the local press at the time.. [15: p12]
Jolly mentions a comment by Lord Leverhulme which was reported the Highland News, 17th May 1919, that the new harbour at Stornoway should come before the light railway.
Nigel Nicolson, in Lord of the Isles, notes that in a relatively short time (circa. 1920) Lord Leverhulme was looking seriously at light railway schemes on Lewis and had marked out their courses. Leverhulme’s scheme would have had a terminus at Stornoway and three lines:
1) A line South through Balallan to Aline with later extension to Tarbert.
2) A line West, then North to Callanish and Carloway and return to Stornoway via Barvas; and
3) A Branch North from Barvas to serve townships near the Butt of Lewis and return down the east coast through Tolsta to Stornoway.
The total track mileage would have been about 100 miles. The gauge was to be 3ft using WDLR rails being sold as surplus. Lines to be steam worked but Leverhulme wanted electric working! [15: p12] [17: p110-111]
None of these schemes came to fruition.
Photographs and further information can be found in a copy of The Narrow Gauge which is available online. [15]
The Stornoway, Breasclete and Carloway Route
We noted above that construction work did commence on the lines surveyed in 1893, specifically that the trackbed was constructed “and, for the first two or three miles out of Stornoway now forms the A858 road, while the rest of the route is an unclassified road to Breasclete.” [15: p12] It should be noted that the unclassified road follows the planned railway to Carloway as well as to Breasclete and is known as the Pentland Road.
It is nigh impossible to establish the location of the Stornoway terminus from this limited information. Given that modern roads follow the formation of the planned railway route it is quite easy to follow the routes to Breasclete and Carloway. There is, however, a specific, relevant resource held at Stornoway Public Library. It comprises 4 sheets from the 1″ Ordnance Survey 1st Edition mapping from the 1850s, that have been stuck together, with the route itself annotated on top. A digital version of this map has been made available by the National Library of Scotland (NLS). [18] Please note that after navigating to the correct webpage, it will be necessary to scroll down to find the annotated map.
The proposed railway “was planned to connect Carloway and Breasclete on the west coast with Stornoway. Work began on the scheme, but ran into economic and legal problems. Although the railway was never constructed, the ‘Pentland Road’, largely followed the same route, and was built instead by 1912. The road was named after John Sinclair, better known as Lord Pentland who was the Secretary for Scotland between 1905 and 1912 and who helped to secure funding for the completion of the road.” [18]
The map is made up of “four original Ordnance Survey first edition six-inch to the mile maps from the 1850s that have been stuck together, with the route itself annotated on top. … Near Carloway, there is an additional Blue line shewing route originally surveyed changed to avoid damaging arable land.” [18]
Carloway and Breasclete were the western termini of the network with the line to Breasclete appearing to be a branch line.
The extracts from the annotated 1″ Ordnance Survey of the 1850s run in sequence from Stornoway to Carloway and then from the junction to Breasclete. They are the sepia coloured map extracts. Beneath each extract from the 1″ Ordnance Survey is the 2nd Edition 6″ Ordnance Survey from around the turn of the 20th century. These extracts precede the construction of the Pentland Road but show the route the road(s) will take as a dotted track.
Modern satellite imagery is then provided alongside some Streetview images to show the built roads which were completed in 1912 and which are still in use in the 21st century.
There is some doubt over the route of the line approaching and entering Stornoway. Two possibilities with supporting drawings start our look at the line. …
Stornoway to Carloway
Close to Stornoway the alignment of the planned, but never built, railway is not certain. The first possibility is shown immediately below. This takes the mapping provided by the NLS. … [18] The second alternative was discovered by ‘Tom’ in the National Archives at Kew and highlighted on his blog. [53][54]
First, the NLS supplied drawings from the Stornoway Public Library. …
The most easterly length of the proposed railway is shown turning South into Stornoway but no indication is given of the planned terminus. [18]A closer focus from the 6″ OS mapping shows a road following the line of the proposed railway. That road appears to predate the planned railway and it is possible that the line would have run within the road width or on the verge. [19]Willowglen Road first runs North-northwest, then turns through Northwest and West before leaving Stornoway in a West-southwest direction. It is not clear where the Stornoway terminus of the line was expected to be, perhaps to the West of the modern A857 on the portion of Willowglen Road which runs North-northwest from its junction with the A857? [Google Maps, July 2025]Looking North-northwest along Willowglen Road. Rather than this road being built on the line of the planned railway it is likely that the line would have run on the verge of what may well have been a narrower highway at the end of the 19th century. [Google Streetview, September 2024]Now heading West-northwest, the width of the modern Willowglen Road accommodates the planned railway route. [Google Streetview, September 2024]Further West with Willowglen Road now heading in a West-southwest direction. The older road may well have been narrower than the modern road and could have accommodated a railway on its verge. [Google Streetview, September 2024]
Second, the alternative alignment for the East end of the line which appears in documents at the National Archives. [53][54]
The Hebridean Light Railway Company, a blog by ‘Tom’ includes this photograph of a plan from the National Archive at Kew.This plan matches the plan provided by the NLS throughout the length of the line with the exception of the eastern end of the line. [54]
This image shows the eastern end of the line at Stornoway. The route takes a line to the North of what is now Willowglen Road, and to the North of what was Manor Farm, now the Cabarfeidh Hotel, then swinging in a wide arc round the East side of Stornoway before running across the South of the town. [54]
The superimposed red line is a diagrammatic representation of the route, but it does have some resonance with the later temporary railway built by Robert McAlpine & Co. which is covered towards the end of this article. It does however match with other papers in the bundle which ‘Tom’ discovered in the National Archives. …
A very low resolution photograph of the plan of the proposed railway around Stornoway. This is a match for the red line shown above. [54]
A closer view of the last portion of the proposed line on the South side of Stornoway. This compares well with the 6″ Ordnance Survey extract below. It shows that the plan was for the line to terminate at the West end of South Beach Quay. [54]
An extract from the 6″ Ordnance Survey of 1895, published 1899. [55]
The remainder of the route to the West of Stornoway. …..
The red line is the line of the 1893 survey. [18]There is a short section – the hypotenuse of a triangle formed by two roads – at the surveyed line which at the turn of the century was no more than a track along the line of the planned railway. There was then a section of road to the South of Mary Hill before the surveyed route separated from existing roads at the East end of Loch Airidh na Lic. [20]The same area as shown in the map extracts above. [Google Maps, July 2025]This photograph looks from Willowglen Road down the first length of the planned railway route which was independent of existing roads. The planned railway would have run ahead down the centre of the image. A lane can be seen to the right side of Willowglen Road which leads onto the old railway route as shown below. [Google Streetview, September 2024] The first length of road built over the line of the planned railway making use of the civil engineering work undertaken before the railway scheme was abandoned. [Google Streetview, September 2024]The A858 enters this photograph from the left and turns left to run directly ahead of the camera. From this point onwards the road which is now the A858 was built over the line of the railway which was not completed. [Google Streetview, September 2024]The view West along the A858 and therefore also along the line of the intended railway. [Google Streetview, September 2024]Further West, another West-facing view along the lines of the planned railway. [Google Streetview, September The route of the planned railway ran along the South shore of Loch Airidh na Luv. [18]The formation for the planned railway can be seen following the surveyed route. [21]The same area as it appears on Google Maps. [Google Maps, July 2025]Looking West along the A858 which is built on the line of the planned railway. Loch Airidh na Luv is on the right of the photograph. [Google Streetview, September 2024]Further West along the A858, also looking West. [Google Streetview, September 2024]The route surveyed continued West along the South side of Amhuinn a’ Ghlinn Mhoir. [18]The formation follows the surveyed route. [22]The same area as it appears on 21st century satellite imagery. [Google Maps, July 2025]Looking West at the third point from the right of the satellite image above. [Google Streetview, September 2024]Looking West at the third point from the right of the satellite image above. [Google Streetview, September 2024]The surveyed route then switches to the North shore of Loch Vatandip. [18]The track follows the surveyed route, bridging Allt Greidaig just East of Loch Vatandip. [23]The same area in the 21st century. The A858 turns away from the surveyed line of the railway and the Pentland Road begins. [Google Maps, July 2025]Looking West at the road junction the images above. The A858 bears away to the left, the Pentland Road continues ahead and bears to the right. [Google Streetview, September 2025]The loch on the left is Loch Vatandip. [Google Streetview, September 2024]Further West along the single track Pentland Road, looking West. [Google Streetview, September 2024]The surveyed route ran West-northwest above the North shore of the loch. [18]While the surveyed line is straight on the map extract above, the line of the track shows a minor deviation as it heads West-northwest between Loch Vatandip and Loch Mor a Chocair. [24]The same area in the 21st century, the same minor deviation in the alignment of the Pentland Road. [Google Maps, July 2025]The same minor deviation in the road alignment seen from the East. [Google Streetview, September 2024]The surveyed route continues on the same bearing. [18]The track on the formation of the proposed railway matches the survey, passing to the South of Loch Beig a Chocair and bridging two streams – Loch a Chocair and the Greta River (or the River Creed). It seems that work on the railway extended to the construction of bridges ready for the final addition of the rails. [25]The same length of road in the 21st century. [Google Maps, July 2025]The first of two bridges on this length of road, built for the railway that never arrived! [Google Streetview, September 2024]The second of those bridges, also seen from the East. [Google Streetview, September 2024]This is the first of four map extracts where the original survey route is shown in blue. The red line being that which was used. No reason for this alteration is provided. [18]Small culverts or pipes are not marked on the OS mapping but there must be one over Allt a’ Bhiorachan at the left of this map extract and possibly two other smaller culverts or pipes close to the centre of the extract. [26]Having checked each of the three locations where streams run under the surveyed route which is now a road, there is no visible structure, so there is probably no more than a drainage pipe at each location. [Google Maps, July 2025]The surveyed route has now turned slightly to run East-West, before turning West-northwest again to the North of Loch an Tobair. [18]It seems that the final alignment of the earthworks prepared for the railway was, over the first half of this extract, North of either of the marked survey lines. A further culvert/pipe must have been provided for the stream flowing South into Loch an Tobair. [27]The same area in the 21st century. [Google Maps, July 2025]No sign of a structure at the point where the feed to Loch an Tobair passes under the road so a drainage pipe must suffice. The wide open skies on Lewis are amazing! [Google Streetview, September 2024]Now back on an West-northwest alignment, the original survey line (blue) and that deemed to have actually been used (red) run in parallel. [18]The same length as it appears on the 6″ OS mapping at the turn of the 20th century. No bridges are marked at the crossing point of the two streams which suggests that smaller culverts or drainage pipes were used. [28]The same area in the 21st century. [Google Maps, July 2025]The first (most easterly) drainage ditch crosses the line at this location, a pipe of some sort must pass under the road. [Google Streetview September 2024]At the second (more westerly) location, standing water is visible to the South of the road, drainage from North to South must be by a pipe. [Google Streetview, September 2024]The two surveyed routes come together again North of the East end of Loch an Laoigh. [18]Three gravel pits are marked along this length of the formation. No bridges are marked so culverts must have been employed for the two watercourses. The track appears to run a little to the North of the surveyed alignment. [29]The two streams shown on the map extracts above. Both show water downstream of the road, one appears to have a corrugated plastic pipe under the road. [Google Maps, July 2025]The location of the more easterly watercourse seen looking West: a plastic pipe can be seen to the left of the road. [Google Streetview, September 2024]Drainage water can be seen to the left of the road in this West-facing view at the location of the more westerly watercourse. No drainage pipe is visible from the road. [The proposed junction with the line to Breasclete heading West-southwest and that to Carloway heading Northwest. [18]The linto Carloway heads Northwest and crosses Allt Mhic Ille Chetheir. [30]The junction: Breasclete is to the East and Carloway to the Northwest. [Google Maps, July 2025]The junction seen from the Southeast. [Google Streetview, September 2024]The road to Carloway: both arms of the road are called Pentland Road. [Google Streetview, September 2024]The proposed line ran to the West of a group of three lochans – Loch Mor a Ghrianain, Loch Beag a Ghrianain and Loch an Fheoir. [18]Continuing Northwest the planned line to Carloway crossed Allt nan Lochanan Traighte and ran passed a small quarry which was not marked on the 1″ mapping of the 1850s. [31]The modern road continues to follow the planned railway route. Google Maps, July 2025]The road travels on a causeway with drainage ditches on each shoulder. [Google Streetview, September 2024]The surveyed route curves around the top of Loch Laxavat (Lacsabhat) Ard. [18]A larger area than shown on the survey sheet above which shows clearly a relatively tight curve on the alignment of the railway formation to the Northeast of the Loch. [32]This satellite image matches the area shown on the extract from the 1″ Ordnance Survey of the 1850s. [Google Maps, July 2025]The road follows the planned railway route curving to the left to avoid higher ground. [Google Streetview, September 2024]Then curving to the right around a rock outcrop. [Google Streetview, September 2024]The tight curve mentioned in the notes about the extract from the 6″ OS mapping above appears towards the bottom-right of this extract from the survey plans. [18]This 6″ OS extract takes the line to a point just to the West of the River Ohagro which feeds onto the North of Loch Laxavat Ard. It will be noted that there is a break in the embankments built for the proposed railway where a bridge would have been placed over the river. A short diversion provides access by means of a ford across the river. The ‘as built’ looks NE of embankments do not follow the survey to the East of the River Ohagro. [33]A similar area to that shown on the 6″ Ordnance Survey. [Google Maps, July 2025]The road can be seen undulating ahead, possibly foreshortening exaggerates this effect. The 6″Ordnance Survey shows that embankments were constructed at the end of the 19th century. [Google Streetview, September 2024]The bridge over the River Ohagro which feeds into Loch Laxavat Ard. This bridge was not constructed as part of the railway contact and had to be built as part of the construction of the Pentland Road early in the 1910s. [Google Streetview, September 2024]Another culvert takes the line over the Allt nan Cnocan Dubh. [18]This next extract from the 6″ Ordnance Survey takes the track beyond Conan Dubh to approximately the same point on the surveyed line as the 1″ extract above. [34]A very similar length of the road as shown in the map extracts above. [Google Maps, July 2025]Looking Northwest along the Pentland Road at the centre of the satellite image above. [Google Streetview, September 2024]Further West the road curves round a rick outcrop on the North side of Conan Dubh. [Google Streetview, September 2024]This next length of the survey takes the proposed line as far as Loch Thorrad. [18]No obvious provision is made for the proposed line to cross the Allt Loch Thorrad, so a culvert or drainage pipe must be presumed. [35]This satellite image takes us as far as Loch Thorrad (which can be seen on the North side of the road at the left side of the image. [Google Maps, July 2025]Loch Thorrad is to the right of the road as it curves a little to the Northwest. [Google Streetview, September 2024]From Allt Loch Thorrad onwards the line heads Northwest. [18]After crossing the Allt Loch Thorrad the earthworks got the planned railway stay to the Northeast of the Carloway River. One tributary to the Carloway is crossed as the proposed line headed Northwest. [36]The road now follows the valley of the River Carloway. [Google Maps, July 2025]This and the next image show the road following the planned railway route alongside the River Carloway. [Google Streetview, September 2024]The road picks its way between rock outcrops and the river. [Google Streetview, September 2024]The earthworks remain on the Northeast side of the Carloway River for most of this length. [18]The same length of the proposed railway. The Carloway River stays on the Southwest side of the river until the top-left of this extract, where the line crosses the River. One stream is culverted under the railway. [37]We are relatively close to Carloway: the road follows the Northwest bank of Carloway River before the river passes under the road near the top-left of this satellite image. [Google Maps, July 2025]This and the next image are two photographs showing the Carloway River meandering around close to the road. [Google Streetview, September 2024]Buildings at the edge of the village of Carloway can just now be picked out in the distance e. [Google Streetview, September 2024]Looking Northwest along the Pentland Road over the bridge carrying the road over the Carloway River which flows left to right under the bridge. [Google Streetview, September 2024]Two alternative alignments for the proposed railway appear again close to Carloway. The original surveyed route is shown by the blue line. The planned route was moved so as to avoid the better farmland. [18]Track which follows the formation of the planned railway crosses Gil Fasgro and runs immediately adjacent to the Carloway River. [38]The Pentland Road runs down towards Carloway following approximately the red line from the survey. Google Maps, July 2025]At the junction in the bottom-right of the satellite image the Pentland Road heads North following the river valley. [Google Streetview, September 2024]The Pentland Road runs alongside the Carloway River. [Google Streetview, September 2024]Closer to Carloway and still alongside the River. [Google Streetview, September 2024]On the right of the image the Heidagul River joins the Carloway River and from this point on the combined stream is known as the Heidagul River. Google Streetview, September 2024]The final length of the survey shows the revised alignment (in red) close to the river and crossing the Carloway River close to Carloway Bridge. The surveyed route extends as far as the pier a Borraston, Dunan Pier. [18]The last length of the Carolway line as recorded in the bundle from the National Archives that ‘Tom’ discovered and wrote about on his blog. [54]This extract from the 6″ Ordnance Survey of the turn of the 20th century covers a similar area as the 1″ map extract above. The pier can be seen bottom-left. The line of the planned railway is less clear from the 6″ OS in Carloway but becomes much clearer on Google Streetview images as it follows the North shore of the estuary. [39]The 21st century satellite imagery highlights.more clearly the route of the planned railway and what became the Pentland Road through to the Dunan Pier near Borraston. Of particular interest is the arrangement of structures close to Carloway Bridge. A bridge over the Heidagul River and a bridge which now carries road over road will both have been built as part of the aborted railway works. [Google Maps, July 2025]This view shows the two structures noted above. The masonry arch structure is Carloway Bridge which carries the modern A858. The bridge over the river in the foreground was built for the railway as was the bridge which carries the A858 over Pentland Road. [Google Streetview, September 2024]The bridge over the Heidagul River built for the planned railway, seen from Carloway Bridge. [Google Streetview, September 2024]A closer view from the East of the bridge built to carry the road over the railway that never was! [Google Streetview, September 2024]Looking back East towards the two bridges carrying the A858 in Carloway. [Google Streetview, September 2024]
The next seven images form a sequence showing the last length of the route to the pier at Borraston. Note the causeway in the third image which will have been built for the railway. …
The pier at Dunan near Borraston. [All seven images: Google Streetview, September 2024]Dunan Pier was the end of the line: shown here in an extract from the 6″ Ordnance Survey 2nd Edition from the end of the 19th century. [49]
The Junction to Breasclete
The surveyed route of the branch line to Breasclete curved round the North side of Loch an Tairbeart nan Cleiteichan and Loch an Tuim. [18]The track which appears on the 6″ OS mapping from the turn of the 20th century takes a single radius curve a little to the North of the surveyed alignment. [30]The single track road built on the earthworks of the abortive railway project curves round the North side of Loch an Tairbeart nan Cleiteichan and Loch an Tuim. It is a smooth curve as shown on the 6″ Ordnance Survey from the turn of the 20th century. [Google Maps, July 2025]The road to Breasclete is also called Pentland Road. It heads away to the left of th. [Google Streetview, September 2024]The surveyed route then turns to a Westerly alignment South of an unnamed lochan and across the North end of Loch na Ba Buidhe. [18]Another small quarry sits on the North side of the track. Presumably the small quarries at intervals along each of the planned railway routes were used to supply stone for embankments along the formation. [40]The same length of the road. [Google Maps, July 2025]The view West from the centre of the satellite image above. [Google Streetview, September 2024]The surveyed route ran across the North side of Loch na Ba Buidhe, Loch a Ghainmheich and Loch Avaster (Amhaster), turning to head West-southwest. [18]The same area as it appears on the 6″ Ordnance Survey from the turn of the 20th century. [41]The same area in the 21st century. [Google Maps, July 2025]Looking West from the centre of the satellite image above. Loch a Ghainmheich is on the left . [Google Streetview, September 2024]Continuing in a Southwesterly direction, the surveyed route ran on the North side of Loch na Beinne Bige. [18]A similar area as it appeared at the end of the 19th century. The track following the built formation for the railway follows the surveyed alignment closely but turns away from it to the left of this map extract. [42]The same area as shown on the 6″ Ordnance Survey extract above. [Google Maps, July 2025]Allt Glas flows under the road, presumably in a drainage pipe, twice the first of these locations is shown here. [Google Streetview, September 2024]Allt Glas flows under the road again although it appears to both pass under the road and to have found a path on the North side of the road. [Google Streetview, September 2024]Allt Bealach na Beinne also passes under the road, Allt Glas joins it on the left of this photograph. [Google Streetview, September 2024]Looking West-southwest along Pentland Road, Loch Na Beinne Bige is on the left. [Google Streetview, September 2024]The final length of the surveyed route for the planned railway. Two alignments are shown, the original (in blue), the revised (in red). [18]This extract comes form the documents held by the National Archives and photographed by ‘Tom’ for his blog as noted below. [54]The track which follows the prepared formation for the planned railway passes to the North of both of the surveyed routes as it runs through the village of Breasclete, regaining the red surveyed alignment to the West of the village and running through to the pier. [43]A very similar area to that shown on the 6″ OS map extract above. [Google Maps, July 2025]Facing West-southwest approaching the crossroads in Breasclete. [Google Streetview, September 2024]Continuing West-southwest along Pentland Road towards the pier at Breasclete. #[Google Streetview, September 2024]The second crossroads in Breasclete. [Google Streetview, September 2024]Approaching the pier at Breasclete. [Google Streetview, September 2024]
We have followed the two lines that almost got built on Lewis. sadly, lack of funding resulted in a project that was quite well advanced, being abandoned. As noted, the earthworks were later (1912) used to create the single track Pentland Road which appears in many of the modern images above. There remains some uncertainty over whether the early construction works were designed first for a railway or were just designed as an easily graded public road. [50] It is possible that some construction work for a road was undertaken but the National Archives hold plans for a railway dated to the same period, predating the construction of the Pentland Road which was not completed until 1912. [53]
The plans, which include proposals for railways on Skye and on Lewis were accessed by ‘Tom’ in preparing for a modelling project centred on these intended railways. This image comes from an early blog. [53] The images relating to Lewis come from a later blog. [54]
Lord Leverhulme’s Planned Railway Station, Stornoway
Lord Leverhulme was very interested in town planning, The National Library of Scotland has on its website, a town plan of Stornoway drafted by James Lomax-Simpson, Leverhulme’s godson and also his chief architect at Port Sunlight. The plan is entitled, ‘Port Sunlight plan of Stornoway, showing proposed lay-out’ and is dated 16th July 1919. It is 710 mm x 710 mm in size. The plan is included on the website, courtesy of The Stornoway Trust. [44]
“Simpson took charge of the Architectural Department of Lever Brothers from 1910 and he was made a director in 1917. In his role as Company Architect, he worked in over twenty-five different countries around the World, but he also carried out much work for Lever himself, including alterations and additions to Lews Castle. The plan also illustrates part of Leverhulme’s ambitious ideas for redeveloping Stornoway along garden city lines, with new suburbs, broad avenues, circuses, and open spaces. The new planned railways, that were part of the wider plans for the economic transformation of Lewis, curve in and down to the Harbour on the eastern side of the town. Existing roads are shown with dashed lines. In places, ‘Parlour Cottages’ were planned, which had been constructed at Port Sunlight, as larger ‘Arts and Crafts’ residences for working families with a parlour at ground-floor level. Although visionary and ambitious, some of the new planned streets would have demolished much of the original old town. Over time, the plans were subsequently altered, shown as annotations on top of the original plan. Some construction began along these lines in the 1920s, but economic difficulties and considerable opposition to Leverhulme’s plans by the islanders curtailed developments, and the schemes were largely abandoned by 1923.” [44]
Small extracts from the plan are included here. They show a proposed railway station close to the Harbour on the East side of the town. Each of the three extracts is paired with the ESRI satellite imagery provided by the NLS. …
The proposed station location with the main station building facing out onto a circus/roundabout close to the harbour. [44]A double track line was planned Northeast from the station. [44]The detail becomes more sparse further Northeast. [44]
These plans did not see the light of day!
Goat Island
Lord Leverhulme’s plans included the construction of a causeway to link Goat Island to the mainland and the provision of additional quays on the West side of the island. He expected to provide a light railway along the causeway to link his Cannery and associated industries to the quays. John & Margaret Gold provide a plan showing Leverhulme’s intentions for Stornoway and Goat Island. [45: p200]
John & Margaret Gold comment that in Leverhulme’s Plan: “An industrial area was located in the east of the town. Goat Island would act as home base for the MacLine Drifters and Trawler fleet and was joined to the mainland by a causeway. The ice plant and cannery were situated inland near the site of the existing fish-oil and guano works. A light railway would connect them with the quays. There were tweed mills, electricity generating plant, a laundry and a dairy to take the increased output from the east coast farms. Between the industrial area and the residential districts was the railway station serving both freight and passenger purposes.” [45: p200]
Lord Leverhulme’s Development Plan for Stornoway: the railway line noted in the paragraphs about Stornoway’s railway station can be seen to the right of centre. The light railway planned to serve Goat Island is shown in the bottom-right of this map. [45: p200]Goat Island in 1895 as it appeared on the 6″ Ordnance Survey of 1895, published in 1899. [46]
It would not be until after the Second World War, in 1947, that the causeway was built. It was 2,030 feet in length. Work undertaken that year also included the construction of an embankment to the south of the causeway; the construction of the Slipway and a jetty at Goat Island; the demolition of No. 3 Pier. The work was authorised by The Stornoway Harbour Order Confirmation Act, 1947. [48]
Goat Island and causeway as they appeared on the 6″ Ordnance Survey of 1958. [47]Goat Island and Causeway in the 21st century. [Google Earth, July 2025]The causeway to Goat Island. [Google Streetview, September 2024]Goat Island seen from the causeway. [Google Streetview, September 2024]
While the causeway was built, the railways were not!
The Branahuie Railway (3ft-gauge)
One line that did get built on Lewis in Lord Leverhulme’s time was a 3ft-gauge line built by “Sir Robert McAlpine and Co. for the Harris & Lewis Welfare Development Co. Ltd. (a company owned by Lord Leverhulme) – part of a £345,000 contract to build the canning factory, roads and houses. … [It] was in operation by 1920 when the first loco arrived – [that] was McAlpine’s Loco No 34, an 0-4-0ST built by Hudswell Clarke (Works No 1037) in 1913 and delivered to McAlpine’s Pontstycill Reservoir contract near Merthyr Tydfil in South Wales. It carried the plant number 778 when it arrived but that had changed to 606 by the time it left in 1923 moving to the Maentwrog reservoir contract in North Wales. It then worked on other contracts until it was sold for scrap to George Brothers in 1956. The second loco to work on the line was another 0-4-0ST built by Hudswell Clarke in 1901 (Works No 597). It was new to Newcastle & Gateshead Water Co Ltd at Whittledean reservoir carrying the name ‘PONT’. It was sold back to Hudswell Clarke who resold it to McAlpines in 1906 on their Culter reservoir contract. It arrived at Stornoway as Plant No 1780 in 1920 leaving on 25th May 1923 as Plant No 813. Last recorded as being for sale at McAlpine’s Ellesmere Port depot in 1929.” [8]
A first reference was made to the Branahuie line in the Highland News on 15th May 1919 when Sir Robert MacAlpine & Son wrote to the Council seeking permission to lay a light railway from Manor Farm to Goathill Road crossing public roads at three different places. Gates and fences were included in the scheme which received Council permission. In June 1919, MacAlpine applied for permission to lay a water main at Manor Farm to supply water to engines. This was agreed at charge of £5 per annum. [15: p12]
Jolly records these details: “The line was some five miles long and was used for the construction of Leverhulme’s Cannery, from where it ran northwards past Goathill and Manor Farm (Coulregrein), where there was a watering point, to the Town Council’s Dormitory Quarry beneath the War Memorial. This line ran around the then outskirts of the town and much has been built over. Another line ran south from the cannery to the locomotive shed (also now built over). From here another line ran eastwards across the fields to Sandwick, then for 2.5/3 miles beside the A866 to the beach at Branahuie. The evenly graded trackbed is very distinct alongside the undulating road on this section. A shallow cutting can also be seen on the northern line. … At least two steam locos were used on the contract by MacAlpines.” (15: p12]
Jolly provides this drawing of the route of the 3ft-gauge contractor’s railway. It is schematic in nature and not to scale. Manor Farm and Goat Hill Farm appear to the Northeast of Stornoway and of the line. The Cannery is marked, as is the Loco Shed. The line to Branahuie is also shown. I have not been able to find any greater detail as to the route of the line than the text description of the route above. [15: p9]
Jolly continues: “The cannery was completed in late 1921 or early 1922, and at the end of May 1922, the “Contract Journal carried an advertisement: ‘For sale-railway track and plant inc. two 3ft gauge locos Hudswell Clarke, … built 1901 and 1913, and 59 wagons 3ft gauge, 34 wagons 2ft gauge. Plant will be handed over to purchasers FAS (free aboard ship) Glasgow-Lewis & Harris Welfare & Development Co., Bebington, Nr. Birkenhead’. Only two locomotives fit this description: Hudswell Clarke 597/1901 was delivered new to the Newcastle & Gateshead Water Co, and was later used by McAlpine on the Motherwell Corporation Culter Waterworks contract between 1903 and 1906. Its later history is not known for certain. The later machine, Hudswell Clarke 1037/1913, was supplied to McAlpine for work on the Pontstycil reservoir between 1913 and 1917. It was subsequently used on the Maentwrog Hydro-Electric reservoir contract, near Ffestiniog, from 1924-28, and must therefore have been retained by McAlpine.” [15: p12-13]
The Route
Lord Leverhulme’s Cannery sat to the East of Stornoway town centre. Appropriately, its address was Cannery Road. The building was never used as a cannery and later became a Harris Tweed Factory.
As Jolly mentions, material for the construction contract was excavated at a quarry at Dormitory which was to the West of the War Memorial (itself to the North of the town). Jolly also mentions that the temporary railway line ran close to Manor Farm (in the 21st century the Caber feidh Hotel occupies this site). His sketch map above shows the line running to the South of Manor Farm. This suggests that the line ran close to Willowglen Road, on its North side. Assuming that this is the case then the Contractor’s railway would have crossed Percival Road South close to its junction with Willowglen Road.
There has been mention of an incline leading from a point close to the War Memorial into Stornoway which may be a remnant of the line. [8]
The area from Dormitory to Manor Farm as shown on the 6″ Ordnance Survey Second Edition. [51]Pretty much the same area as it appears on Google Maps. [Google Maps, July 2025]A closer view of the area around Dormitory as it appears on the 6″ Ordnance Survey from the end of the 19th century. The contractor’s railway would have run East from the quarries close to Dormitory, probably parallel to and on the North side of what would eventually become the A858 (Willowglen Road). [52]A similar area in the 21st century. [Google Maps, July 2025]A closer view of the area around Manor Farm as it appears on the 6″ Ordnance Survey from the end of the 19th century. The contractor’s railway would have run West-East, probably parallel to and on the North side of what would eventually become the A858 (Willowglen Road). [52]Much the same area in the 21st century. [Google Maps, July 2025]
After crossing what is now called Percival Road South, the line crossed Macaulay Road and curved round through Goat Hill, passing the Poor House and the Hospital, running close to the pre-existing Fish Oil Works (adjacent to which Leverhulme’s Cannery was to be built). The Locomotive Shed was South and West of that location, as was a junction between the line from the quarry and the line East to Branahuie.
The line of the contractor’s railway heading East is not clear. The red-dotted line gives an idea of the possible alignment. Initially over open fields it has then been covered, by the extended cemetery at Sandwick and by housing developments. [Google Maps, July 2025]Some field boundaries support the assumed route but there is no guarantee that this is the actual line of the contractor’s railway. At the right side of this image the line has once agin been built over. [Google Maps, July 2025]The only indication as to the route of the line to the East of the built up area that I have been able to find is Jolly’s comment that the line ran alongside the A866. He says (above) that the line of the old railway is level while that of the road undulates. [Google Maps, July 2025]This view East along the A866 is taken from a point a little to the East of the end of the development visible at the left of the satellite image immediately above. It is not beyond the bounds of possibility that the land immediately to the right of the road was the route of the contractor’s railway, but it does not appear as though the highway undulates as much as Jolly suggests. [Google Streetview, September 2024]Further to the East, a relatively slight gradient is evident in the road but there is little evidence of an old railway formation alongside the road. [Google Streetview, September 2024]Jolly has the remaining length of the contractor’s railway to Branahuie continuing along the South side of the A866. [Google Maps, July 2025]
It is entirely possible that the road now evident in the 21st century is not that which was present in the 1920s. It is very likely that the road to Branahuie was a single track road in the 1920s and that the widening of the road has covered the formation from the contractor’s railway line.
Stornoway Waterworks Railway(2ft-gauge)
“Since the 1870s Stornoway’s water supply had come from Loch Airigh na Lic, about two miles west of the town, but by the mid-1930s this was proving insufficient for the population of around 5000 which was swelled by four or five hundred herring drifters operating out of the port during the season. Loch Mor an Stairr, five miles north-west of the town, was chosen to augment the supply as it was free from pollution and some distance from public roads. The exit from the Loch was between peat banks some 65ft apart, and it was across this that a concrete dam, 92ft long, was constructed. Pipes led at different levels to a small valve house on the north bank of the outlet stream, and a 9inch main then connect[ed] to the filter houses beside the main road.” [15: p8]
The Waterworks Railway. Another small extract [15: p9]
The work was facilitated by the construction of a 2ft-gauge railway line.
A Simplex locomotive was used on the Stornoway Waterworks Railway. This locomotive was a 20hp model built by Motor Rail Ltd. It operated on the 2-foot gauge line that served the Stornoway Waterworks. Its Works No. is not known. One source suggests No. 110U082 but the records at the Apedale Valley Light Railway have that works number attributed to a 3ft-gauge locomotive at the Bo’ness & Kinneil Rly. [10] It is worth noting that the Almond Valley Light Railway has a 2ft 6in-gauge example. [11]
The Stornoway Waterworks Railway was built in the 1930s and ran for approximately 1.5 miles between Stornoway Waterworks and Loch Mòr an Stàirr. It was used to transport materials during the conversion of the loch into a reservoir for the waterworks and for subsequent maintenance works. It was closed by the 1960s. [12][13]
Writing about the locomotive and the construction work in 1982, Ian B. Jolly states: “The Contractor for the dam and pipeline was G. Mackay & Son. of Edinburgh, who started work on the dam in 1935. Their work was completed mid-1936 when the pipeline was connected direct to the town’s mains – the filter house and covered reservoirs were completed within the next few years. … A locomotive-worked narrow gauge tramway was used by MacKay & Son to construct the dam. Rock was excavated and crushed in a small quarry east of the main road. across which it was transferred by lorry to the tramway terminus. Stone and other materials were then carried by rail to the site of the dam. The railway was left in-situ and used by Stornoway Town Council for maintenance of the dam for many years. The loco, a 20 h.p. bow-framed model built by the Motor Rail & Tramcar Company of Bedford, was in use until at least 1940 when Mr Alex Macleod, the fitter who maintained it. was called up for military service. By 1943 the engine had been removed and it had been reduced to a frame and wheels. in which form it is believed to have been in use, pushed by hand, until the early 1960’s as the line’s only item of rolling stock. The loco frame is now [1982] very delapidated and derailed about half a mile from the filter house. It was originally fitted with a Dorman 2JO two-cylinder petrol engine; not the later, but similar 2JOR engine. The axleboxes have ‘W D 1918’ cast on them. whilst the loco had been fitted with the narrow pattern of brake column. This suggests that it was built during late 1918 for the War Department Light Railways, but sold directly as Government Surplus. Motor Rail’s records throw no light on its identity – the only locomotives credited to G. Mackay & Son of Edinburgh are two 40 h.p. ‘protected’ machines: LR3057 4wPM MR 1336/1918 and LR3088 4wPM MR 1367/1918. Both were in the service of MacKay by 21st June 1924. MR 1336 was later with Inns & Co Ltd, Moor Mill Pits. Colney St, Herts. and MR 1367 was with Thomson & Brown Bros Ltd, of Edinburgh by 16th February 1933. There is no mention of a 20 h.p. loco but MacKay was obviously no stranger to Motor Rail & Tramcar Company products.” [15: p9]
Jolly further notes that “Rolling stock on the line at the time of the dam construction consisted of nine one-cubic-yard skips, a mixture of side and end tippers. The derelict remains of several [could in 1982] be seen at the foot of the bank beneath the filter house, one being a single end tipper. The axle boxes [were] marked ‘Du Croo & Brauns’ – the Dutch firm of railway equipment suppliers. … Most of the track from the roadside terminus to just beyond the loco [had by 1982] been removed without authority – probably for fencing posts! However, the track layout [could] be traced because the turnouts [had in 1982] been left in place. These [were] rivetted to corrugated steel sleepers, whilst the remaining track [was] spiked to wooden sleepers or clipped to corrugated steel sleepers.” [15: p11]
Of further interest, is the significant variation in rail cross-section and weight (between 14lb and 20lb per yard). Jolly also notes that, “On the lengths of prefabricated track where the rails [were tied accurately to gauge, three distinct gauges [could] be measured – 2ft, 60cm (1ft 11.5/8in) and 1ft 11½ in! The loco wheels [were] set to 60cm gauge.” [15: p11]
In 1982, only minimal earthworks were evident, with track following the undulation of the land but, says Jolly, “there is a rise of just over 25 feet from one end of the line to the other. The track terminates near the dam without so much as a buffer stop or siding. The remains of the loco and line will probably survive for many years to come, as scrapmen are unknown in the Outer Hebrides.” [15: p11]
Another photograph which shows remains of point work close to the Waterworks can be seen on the Railscot.co.uk website. [14]
Other Railways?
Jolly comments: “There appear to have been three other industrial railways in Lewis, lain D.A. Frew referred to the horse-worked system on the outskirts of Stornoway. This served the factory of the Lewis Chemical Co, promoted in the late nineteenth century to extract paraffin-oil from peat by a patent process. Garrabost Brickworks, about 8 miles east of Stornoway) is reputed to have had a short line. The brickworks is shown on the 1852 6in map but no railway, and the 1897 edition shows the works as ‘disused claypit. We were also told of Marybank Quarry, west of Stornoway, where there was a hand worked line from the rockface about 100 yards to the crusher. The quarry was operated in the few years before the last war by William Tawse of Aberdeen.” [15]
Other lines are referred to in a blog about the island accessed through the BBC website. The blog is entitled ‘Arnish Lighthouse’ and includes these words. … “Lewis did have railways, around the turn of the 19th/20th century. There was a railway from the quarry at Bennadrove to Stornoway. Posts related to this track can still be found in the Castle Grounds, opposite the Caberfeidh Hotel. … A trackbed was laid near Garrabost in Point, but a railway was never built.” [56]
I have not yet been able to find anything further about any of these short lines. There is an active quarry at Bennadrove. This is not far from Marybank
This final satellite image shows the relative locations of Marybank and Bennadrove to the West of Stornoway. It also encompasses most of the different line referred to in the immediate vicinity of Stornoway. [Google Maps, July 2025]
Records
Plans illustrating the surveyed railway routes proposed by Lord Leverhulme can be accessed at Tasglann nan Eilean Siar, the Hebridean Archives. [6]
References
Roger Hutchinson; The Soap Man: Lewis, Harris and Lord Leverhulme; Birlinn, Edinburgh, 2003 (latest reprint 2017).
The Railway Magazine of February 1952 carried an article by Charles E. Lee about railways in what was German South West Africa. This encouraged me to have a look at the history of Namibia’s railways and their condition and extent in the 21st century. The 1952 article also caught my attention because Manchester Diocese (I was a priest in Manchester Diocese before retirement) is linked with the Diocese of Namibia.
The territory was formally colonized by Germany between 1884-1890. It covered an area of 835,100 sq. km. It was a settler colony and had attracted around 3,000 German settlers by 1903, who primarily settled in the central high grounds. [2]
German South West Africa, now known as Namibia, was a German colony from 1884 to 1915. It was not a province within the German Empire but a separate colonial territory. From 1891, the capital was Windhoek, which also serves as the capital of modern-day Namibia. [2]
The arrival of German settlers disrupted the existing socioeconomic balance and led to conflicts, particularly with the Herero and Nama people.
“In 1883 Franz Adolf Lüderitz, a merchant from Bremen, Germany, established a trading post in southwest Africa at Angra Pequena, which he renamed Lüderitzbucht. He also acquired the adjacent coastal area, which he named Lüderitzland. These areas were constituted the first German colony under German protection on April 24, 1884. The German occupation subsequently extended inland. By the latter 1880s the German Colonial Company for the South realized that it was incapable of administering the territory, and the German government immediately took over the colony’s administration. As a result of the Zanzibar Treaty (1890) between Germany and Great Britain, German South West Africa acquired the Caprivi Strip (named after the German chancellor Graf Leo von Caprivi), a tract of land 280 miles (450 km) long in the extreme northeast of the territory; the colony thus gained access to the Zambezi River.” [3]
German colonial rule was harsh, leading to insurrections and resistance. “Major Theodor Leutwein, governor of the colony in 1894–1904, suppressed insurrections of the Khoekhoe (1894) and of the Hereros (1896). In 1904, however, the Hereros fomented a far more dangerous rebellion. The German force, at first only 750 strong and supported only by one artillery battery, had to face an army of some 8,000 men equipped with modern weapons. Reinforcements increased the German force, ultimately under the command of General Lothar von Trotha, and resulted in a decisive German victory on the Waterberg River. Further Khoekhoe rebellions were put down in 1904–07.” [3]
German South West Africa was occupied by the South African Union Defence Force in 1915 during World War I, and Germany formally ceded the territory under the Treaty of Versailles in 1919. Its administration was taken over by the Union of South Africa (part of the British Empire) and the territory was administered as South West Africa under a League of Nations mandate. It became independent as Namibia on 21st March 1990. [2]
The Railways
The railways in German South West Africa played a crucial role in the colonial administration and the First World War campaign. The German colonial authorities built a railway network between 1897 and 1914 to enable colonial territorialization and facilitate the extraction of resources. [4]
Charles E. Lee tells that “under the German regime, the first railway in South West Africa was the Northern State Railway (NSR), as it was then called, built to a gauge of 60 cm. (1 ft. 11 in.) between Swakopmund and Windhoek, via Jackalswater and Karibib, a distance of 238 miles. This line was begun in 1897 and was built by a German Military Brigade from Europe. It was first intended to be worked by animal power – Argentine mules or Cape donkeys – but steam traction was soon adopted. The first section (15 miles) was opened to traffic from Swakopmund in January 1898. By the end of that year 68 miles were ballasted and 54 open. In July 1900, the line was opened to Karibib, 121 miles, and the whole railway completed to Windhoek, a further 117 miles, in June, 1902. The curves and gradients were very severe, the gradient out of the Khan River gorge, for instance, being 1 in 19 with curves of 180 ft. radius. The rails weighed about 19 lb. a yard and were laid on iron sleepers. There were iron girder bridges at Khan River, Dorst River, and Kubas. The only good and plentiful water supplies were at Swakopmund and Karibib.” [1: p121]
Wikipedia tells us that there was actually an earlier line than the one Lee talks about. It was a small mining rail line at Cape Cross in 1895. [5] “Soon afterwards, the ox-cart transport system totally collapsed, in the wake of a rinderpest epidemic in 1897. As it was necessary to react quickly to the now extremely precarious transport situation, decisions were made: to build a railway line from the German port of Swakopmund to Windhoek (the Staatsbahn); to use existing, 600 mm (1 ft 11 5⁄8 in) gauge military Feldbahn material; and to entrust a railway brigade with the construction work, which began in September 1897.” [5]
Wikipedia continues: “Construction of the railways connecting with the Staatsbahn was aimed partly at military strategic objectives following the uprising of the Herero and Nama, and partly at economic requirements. … By World War I, the following lines had been developed (listed by the first year of full operation):” [5]
1902: Swakopmund–Windhoek line, 600 mm (1 ft 11 5⁄8 in) gauge, Karibib–Windhoek section re-gauged in 1911 to 3 ft 6 in (1,067 mm) gauge. [5]
1906: Otavibahn, 600 mm gauge. [5]
1905: Onguati–Karibib branch. [5]
1908: Otavi–Grootfontein branch. [5]
1907: Lüderitzbahn, 3 ft 6 in (1,067 mm). [5]
1909: Seeheim–Kalkfontein branch. [5]
ca 1911: Kolmannskuppe–Elisabethbucht–Bogenfels, industrial railway of the diamond fields. This 600mm gauge railway was electrified from 1911 (the only electric railway in Namibia’s history). Diamond mining in the region gradually moved south. The northern part of the line as far as Pomona was abandoned in 1931, and some of its materials were used for the extension of the railway towards Oranjemund. The southern section was operated with diesel traction. This line no longer exists. [5]
1912: Windhoek–Keetmanshoop railway, 3 ft 6 in (1,067 mm) gauge. [5]
1912: Rehoboth shuttle, 600 mm (1 ft 11 5⁄8 in) gauge (questionable). [6][7][2][5]
1914: Otjiwarongo–Outjo–Okahakana, 600 mm gauge (project started, but not completed due to the war). [5]
Lee talks of the formation, by the Otavi Mining & Railway Company, an Anglo-German syndicate owning the copper mines at Otavi and Tsumeb, of a railway: “This company was formed in Berlin in 1900, in accordance with an arrangement between the South-West Afrika Company, the Disconto-Gesellschaft of Berlin, and the Exploration Company. The first intention was to build a 3 ft. 6 in. gauge railway from Port Alexander in Portuguese West Africa to run in a south-easterly direction up the Muende River Valley and via Etosha Pan to the Tsumeb Copper Mines, and later to extend this line to Rhodesia to form a trans-African railway. Eventually it was decided to form a 60 cm. gauge line entirely in German territory connecting Swakopmund with Tsumeb, a distance of 351 miles. Construction was undertaken by Arthur Koppel & Co. and was begun in November 1903, but was delayed by the Herero War, and the work completed on 25th August 1906. This undertaking, called the Otavi Railway, had the distinction of being the longest narrow-gauge railway in the world. Branches were laid subsequently from Otavi to Grootfontein (56 miles) and from Onguati to Karibib on the State Railway (9 miles). The cost is stated to have been about £2,400 a mile, or roundly £1,000,000 in total. The railway was bought by the German Imperial Government in 1910 for £1,250,000, but the management was left in the hands of the company under a 30-year lease, terminable after 10 years.” [1: p121]
This line was well constructed, and well ballasted. It had a ruling gradient of 1 in 66 and minimum curvature of 150 metres. The permanent way consisted of steel rails in 30-ft. lengths, 30 lb. a yard, laid on steel sleepers weighing about 26 lb. each. “From Swakopmund, for a distance of 68 miles, the line rises steadily on a grade of 1 in 66 to Ebony Station, where it reaches an altitude of 3,500 ft. (On the down journey, the last 40 miles into Swakop-mund can be run by gravity.) From Ebony there is a regular fall to Usakos, which is 2,640 ft. above sea level. From Usakos it climbs 690 ft. in 13 miles to Onguati, and continues to rise until it attains its greatest elevation near Kalk-feld, where the summit is 5,200 ft.” [1: p121]
“The Otavi Railway, like the State Railway, was built to the 2 ft-gauge, though a difference of 1 centimetre in the wheel gauges is stated to have prevented the free interchange of rolling-stock. The widening to 3 ft. 6 in. of the gauge between Swakopmund and Omaruru had been voted by the German Railway Board, but the work had not been put in hand by the outbreak of the 1914 war. A new branch projected at the same period was the Ovamboland Line, the first aim of which was to provide Ovambo labour for the South. The Landesrat in November 1913, approved a line of 2 ft-gauge, but on earthworks and bridges wide enough for a 3ft. 6in. gauge track, to run from Otjiwarongo (on the Otavi Railways) to Outjo and Okahakana.” [1: p121]
Railways in South West Africa from Swakopmund, mainly German- built, included the 361 miles to Tsumeb, opened in 1906, and the longest narrow-gauge railway in the world. The gauge at the Southern end was widened in 1915. [1: p122]
A sum of £450,000 was allowed for the line from Otjiwarongo to Outjo and Okahakana “in the German Loan Estimates for 1914-15. The first section, including the 55 miles from Otjiwarongo to Amiab Poort, was to cost £250,000. Construction was begun, and the line was laid for 22 miles before the outbreak of hostilities in the first world war.” [1: p123]
“Railway developments south of Windhoek, on the 3 ft. 6 in. gauge, made it desirable to convert the earlier 2ft. lines. During 1911, the section from Karibib to Windhoek was converted to 3 ft. 6 in. gauge at a cost of £550,000, with the Bechstein-Koppel Gesellschaft as contractor. The ruling gradient [was] 1 in 66 with a minimum curvature of 656 ft. This work was completed during 1913. The Swakop River at Okahandja [was] spanned by a bridge 350 ft. long, and there [was] a smaller bridge at Otjihavera. About the same time, the coastward section from Karibib to Swakopmund was practically abandoned in favour of the alternative route provided by the Otavi Railway. In fact, the settlers in the Swakop Valley, who asked for a short railway to link them with Swakopmund, were promised in November 1913, that the material from the disused 92 miles of the State line between Swakopmund and Kubas would be used for this purpose, but it was not done.” [1: p123]
An image showing an armoured train in South West Africa during World War I, 1914-1918, can be found here [29] The South African army invaded the German colony of South West Africa in March 1915 overrunning the much smaller German forces.
Wikipedia tells us that, “With the outbreak of World War I, the German Schutztruppe military unit retreated from the coast, and withdrew into the inland. In the process, the Schutztruppe destroyed the Otavibahn, and the old Staatsbahn towards Karibib, as far as Rössing.” [5]
The Staatsbahn was abandoned but this was not the case with the Otavibahn. In 1914, “British troops … moved forward from the British enclave of Walvis Bay, and by the end of 1914 they had built a 37 km (23 mi) long 3 ft 6 in (1,067 mm) railway to Swakopmund. The Otavibahn was also reconstructed in 3 ft 6 in (1,067 mm) as far as Usakos, and the section between Usakos and Karibib was realigned. The network north of Usakos remained in 600 mm (1 ft 11 5⁄8 in) gauge; the workshop for both gauges was consolidated in Usakos, and the one in Karibib was closed.” [5]
Lee tells us that by 1917 the Staatsbahn line from Karibib to the coast had ceased to exist. “the line between Karibib and Rossing (95 miles), the 10-mile branch from Jakalswater (built to carry water from the Swakop River at Riet), and the Kubas military line (4.5 miles), were lifted and removed to provide material for Tanganyika and the Union of South Africa.” [1: p123]
Lee goes on to confirm that the Union forces, in the course of their invasion of German South West Africa, “laid a 3 ft. 6 in. line for 100 miles inland from Swakopmund to Kranzberg along the original track of the Otavi line, which the Germans had wrecked in their retreat. This was completed in August, 1915. The construction of a new 12.5-mile section, of the same gauge, from Kranzberg to Karibib, was completed in July 1915, and again connected the Otavi Railway with the [NSR]. Thus, in August 1915, there was continuous communication of uniform gauge for the first time from Swakopmund to points south of Windhoek. As strategic railways had meanwhile linked the Union Railways with those of South-West Africa on 25th June 1915, a through railway of 1,635 miles was provided between Walvis Bay and Cape Town.” [1: p123]
Also during the first world war, a new railway from South Africa was constructed – “as an extension of the De Aar-Prieska Railway – to achieve a secure supply route for … South African troops. In 1916, the line was connected to the German network at Kalkfontein (now Karasburg).” [5]
“With the linking of the Kranzberg-Tsumeb 2ft-gauge line to the workshops at Usakos by means of a third rail between Usakos and Kranzberg on the 3-ft. 6-in. gauge track of improved location, the 9-mile section from Karibib to Onguati was no longer of value, and it was uplifted in 1924.” [1: p123]
“The former Otavi Railway system [was] therefore represented [in 1952] by about 100 miles of 3 ft. 6 in. line on the coastward section, part of the main railway system of South-West Africa, and 307 miles of 2ft-gauge farther inland. [In 1952, there were] also various private branch lines (some disused) connected with the 2ft section. [In 1952], the present main line of this gauge [was] from Kranzberg to Tsumeb, some 251 miles, on which one train in each direction [was] run two days a week.” [1: p123]
Wikipedia continues: Under South African/British occupation, the following lines were established (listed by first year of full operation): [5][10]
1914: Walvis Bay–Swakopmund in 3 ft 6 in (1,067 mm). [5]
1915: Swakopmund–Karibib: Reconstruction in 3 ft 6 in (1,067 mm). [5]
1915/1916: (De Aar)–Nakop (border)–Kalkfontein in 3 ft 6 in (1,067 mm). [5]
1921: Otjiwaronge–Outjo 600mm gauge (based on German preparations). [5]
1929: Windhoek–Gobabis railway in 3 ft 6 in (1,067 mm). [5]
From 1958: the Otavibahn north of Usakos was gradually regauged to 3 ft 6 in (1,067 mm), with the new line being laid parallel to the existing line, but largely on new foundations; the new line was in operation from 1961. [5]
“From August 1915 the Namibian railway network was operated de facto by South African Railways, and this arrangement became official in 1922. … From 1959, steam locomotives were gradually replaced by diesel locomotives, for which an engine-house was built in Windhoek. This made operations very much easier, because water is in short supply in Namibia, and the coal needed to heat the water in the steam locomotives also had to be procured from the Transvaal.” [5]
The Namibian Network in the 21st century
In the 21st century, the rail network of Namibia is operated by TransNamib. As of 2017, the Namibian rail network consisted of 2,687 km of tracks. [11]
The railway line from Windhoek to Kranzberg is 210 kilometres (130 miles) long and was completed in 1902. [10]
Windhoek (capital – junction)
Okahandja
Karibib (proposed cement works)
Kranzberg (junction Tsumeb v Windhoek)
After the aerial image immediately below, the next three images form a kind of ‘tryptic’ which shows the TransNamib train yard and station at Windhoek. Taken together they show the full site. …
Wikipedia tells us that “the station was built in a Cape Dutch-style and is located on Bahnhof Street. An additional northern wing was constructed by South African Railways in 1929 to match the existing style of the building. … The station also houses the small Trans-Namib Railroad Museum which outlines Namibian transport history, particularly that of the railway. Opened on 1st July 1993, the exhibition consists of a wide range of railway equipment, maps and related items which date back to German colonial times. Another part of the exhibition is dedicated to Namibian Airways history and Namibian Maritime history. … Across from the entrance [to the station] stands the German locomotive ‘Poor Ole Joe’, one half of a South West African Zwillinge, No 154A, the sole surviving specimen of this type of steam locomotive. It was originally shipped to Swakopmund in 1899 and reassembled for the run to Windhoek” [23][24]
Namibia Scientific Society posted the following on Facebook on 9th June 2020: Poor Ole Joe is a 600mm-gauge steam locomotive “and was manufactured in 1900 by Henschel & Sohn GmbH, Kassel, Germany, under the serial number 5376. It was put into operation in 1904 and operated on the Swakopmund – Windhoek route. The steam locomotive was taken out of service in 1939 after traveling approximately 371,000 miles.” [25]
There is some uncertainty over the date of fabrication of the locomotive. Perhaps the two years mentioned relate to a date when the locomotive was shipped from the factory and the date of completion of the reassembly in Swakopmund?
The railway line from Kranzberg to Walvis Bay is 201 kilometres (125 miles) long. The section between Kranzberg and Swakopmund was completed in 1902. In 1914, an extension to Walvis Bay was commissioned; the rails were laid close to the shore of the Atlantic Ocean. In 1980, this extension was replaced by an alternative route behind the dunes that allowed for higher axle load. [10]
Kranzberg (junction Tsumeb v Windhoek)
Usakos
Arandis (crossing loop)
Swakopmund
Walvis Bay (port)
Looking back Northeast towards Kranzberg Railway Station from the B2. [Google Streetview, 2024]Looking Southwest along the railway towards Usakos’, Arandis and Swakopmund. [Google Streetview, 2024]
Key locations along the line to Swakopmund are illustrated below: …
Before having a look at the Rossing Uranium Mine, it is worth a quick diversion Northwest of the station and marshalling yard shown above. The Namibia Institute of Mining & Technology is host to a plinthed display of a locomotive and carriages from the old 2ft-gauge railways of Namibia.
This image shows a complete (but short) 2ft-gauge train at the Namibia Institute of Mining and Technology. [Google Streetview, 2024],
This train was once on display in Windhoek. It was moved to the Namibia Institute of Mining Technology (NIMT) outside Arandis. and restored with the help of Wesbank Transport and AWH Engineering, Rigging and Rentals. The locomotive, is a Henschel Hb 56. The locomotive and its wagons were in use between Usakos and Tsumeb between 1906 and 1959. The South African Railways then donated it to the National Museum in Windhoek and in 1964 it was placed in front of the Alte Feste, but it was too close to the Reiterdenkmal and was moved in 1974 to the southern side. The train consists of the locomotive, a coal wagon, a closed goods wagon, a passenger coach for first and second class and a wagon in which the conductor travelled with the mailbags, milk and cream cans that were picked up along the route. The passenger coach could transport 16 passengers. The first-class passengers could sit on upholstered seats while the second-class passengers sat on plain wooden benches. The two classes were divided by a small washroom. The conductor’s wagon was destroyed in 2007 when it was set alight by a homeless person who slept in the train and made a fire. The boilermaker and carpentry students at NIMT renovated the train. [35]
“The locomotive is from the class Hb 0-6-2T. Of the 15 locomotives built by Henschel for the Otavi line between 1905 and 1908, six were absorbed into the SAR. The engines had Allan valve gear and often ran with an auxiliary tender attached which contained both coal and water.” [36]
Walvis Bay was a British enclave in German South West Africa. The first narrow gauge railway in the British ruled Cape Colony was in Walvis Bay. Initially projected merely to connect the jetty with the town, the Walvis Bay Railway was opened in 1899 and ran for twelve miles up north to the German border at Plum. [17]
“On 6th March 1899 the Agent General for the Cape of Good Hope ordered a “Sirdar” class locomotive named ‘Hope’ which was almost as long in transit to Walvis Bay – where it arrived on 22nd August 1899 on board the British barque Primera – as it had been in the building. Because of the extremely light nature of the track (12 lb. rail with sleepers spaced three feet apart) HOPE was provided with an additional pair of carrying wheels at both ends. Thus the standard 0-4-0T type was converted to a 2-4-2T type. Even so the maximum axle load of ‘Hope’ in working order would be about 1¾ tons, which is considerably more than today’s suggested figure for this category of track of 1 ton 4 cwt. Within six years the railway was virtually moribund and by 1915, ‘Hope’ had been laid aside and forgotten. That was because the Germans preferred to use their own harbour in Swakopmund.” [17][18]
Two works photographs of ‘Hope’: in the one with the valance (wheel cover) raised, one of the smaller carrying wheels can just be made out on the left of the picture. [17][18]
Kranzberg-Otavi
The railway line from Kranzberg to Otavi is 328 kilometres (204 miles) long and was completed in 1906. [10]
Kranzberg (junction Tsumeb v Windhoek)
Omaruru
Kalkfeld (short siding)
Otjiwarongo (junction for Outjo)
Otavi
Kranzberg Railway Station has already been featured above. The next images show the line from there to Otavi. …
Kranzberg Railway Station. [Google Streetview, June 2025]
The loop allows trains from Windhoek to access the route to Otavi without reversing. That line running towards Otavi sets off from Kranzberg in a Northeasterly direction crossing a series of dry watercourses and gradually taking a more northerly course before encountering the D2315 (a dirt road).
From Kalkfeld the line heads in a generally Northeasterly direction towards Otjiwarongo.
As on the earlier length of the line, we see it crossing a number of dry river beds. [Google Maps , June 2025]
The next five images are a sequence which shows a long passing loop, perhaps halfway towards Otjiwarongo.
A sequence of five images shows a passing loop. The sequence has the Northeast end of the loop in the first of the five images and the Southwest end of the loop in the fifth image, immediately above. [Google Maps, June 2025]
The next five images show a sequence of structures over dry river beds
Five bridges spanning dry watercourses. [Google Maps, June 2025]This photograph is taken from the C33 which has followed the railway Northeast towards Otjiwarongo. [Google Streetview, 2024]Approaching Otjiwarongo, this photograph faces East-northeast from alongside an ungated crossing around 50 metres Southeast of the C33. [Google Streetview, 2024]This photograph faces East-northeast along the approach to Otjiwarongo Railway Station. The road from which it is taken is the C38. [Google Streetview, 2024]Otjiwarongo Railway Station is a junction station with line onward to Otavi and Outjo. [Google Maps, June 2025]Otjiwarongo Railway Station building. [Google Streetview, 2024]Otjiwarongo Goods Shed. [Google Streetview, 2024]In 1912, Henschel built three 2-8-2 tender engines No. 40, No. 41 and No. 42 for the Otavi line for use on the Swakopmund-Karabib section. No. 41 is plinthed outside Otjiwarongo Railway Station. Like many other SWA locos they had dust covers to protect the motion. The carrying wheels were arranged as radial axles. As there were no separate bogie truck, the axle boxes were guided in such a way that the wheels could move radially with respect to the frame. At that time the railway was a 2ft-gauge line [Google Streetview, 2024] More information can be found here. [39]
The line to Otavi continues heading Northeast. …
The line to the Northeast of Otjiwarongo Railway Station. [Google Maps, June 2025]At the bottom-left of the image above the line crosses the C33 at an ungated crossing. [Google Streetview, 2024]A closer satellite view of the length of the line to the Northeast of the C33. A few sidings serve industries to the South of the line. The road at the centre of the image running North-South is Industria Street. [Google Maps, June 2024]Looking West from Industria Street. [Google Streetview, 2024]Looking Northeast from Industria Street. [Google Streetview, 2024]The B1 to the Northeast of Otjiwarongo bridges the line. This view looks Southwest towards the railway station. [Google StrLooking Northeast towards Otavi from the B1. [Google Streetview, 2024]The line runs parallel to the B1 heading Northeast. [Google Streetview, July 2024]Looking Northeast along the line from an ungated crossing at the D2430. The B1 can just be seen on the left of this image. [Google Streetview, July 2024]A little further Northeast this photograph, taken from the B1, shows a minor road crossing the railway at an ungated crossing. [Google Streetview, July 2024]As we travel Northeast, the landscape becomes greener. This another view looking East from the B1 and shows another ungated crossing of a minor road. [Google Streetview, July 2024]The line passing under the B1. The landscape has changed. The line is running through dense shrubs and small trees. [Google Streetview, 2024]In Otavi, this is Phyllis Street. It crosses the line at the Southwest end of the station site. [Google Streetview, 2024]Otavi Railway Station and turning triangle. [Google Maps, June 2025]Otavi Railway Station building. [Google Streetview, 2024]
It is worth noting here that the original gauge of the line from the coast to Otavi and Tsumeb was originally built to 2ft-gauge. Later it was converted to 3ft 6in gauge. The line was built for the Otavi Mining and Railway Company (Otavi Minen- und Eisenbahn-Gesellschaft or OMEG). The company was founded was a railway and mining company in German Son 6th April 1900 in Berlin with the Disconto-Gesellschaft and the South West Africa Company as major shareholders. [41]
The first locomotives designed for regular service were fifteen 22-tonne 0-6-2T locos built by Arn. Jung. [41][42: p45] Henschel & Sohn built twelve locomotives similar to the Jung design and three 0-6-0T locos. [41][42: p45] Twenty 8-wheel auxiliary tenders carrying 8 cubic metres of water and 3.5 tonnes of coal were built to enable these tank locomotives to complete longer runs. [41][42: p45][43: p65] Henschel & Sohn built three HD class 2-8-2 in 1912 with separate 8-wheel tenders for long-distance running. [42: p47] These locomotives weighed 59 tonnes (including the 26-tonne tender) and remained in service for 50 years as the 2-8-2 type became standard for the railway. [41]
By 1913, train service included 4 express trains, 14 mixed trains, and 29 freight trains each week. [42: p39] Express and mixed trains included a baggage car, a car for African passengers, and a coach for first and second class passengers. [42: p39] The passenger coaches carried concrete ballast in a depressed center section to minimize the possibility of wind tipping a lightly loaded car off the rails. [43] Express trains stopped only at designated stations, but other trains would stop at intermediate points when transport was required. [42: p39] Equipment included: 96 low-side ore gondolas; 55 high-side gondolas; 20 limestone gondolas; 20 boxcars; 12 tank cars; 4 stock cars; 3 passenger coaches; and an executive business car with a kitchen, a bathroom, and an office convertible to a bedroom at night. [41][42: p42][43: p65]
There were also some self-powered steam rail cars with a coal bunker, a mail compartment, 2 compartments for Europeans, and 4 for Africans. [41][42: p36]
Otavi-Grootfontein
The railway line from Otavi to Grootfontein is 91 kilometres (57 miles) long and was completed in 1908. [10]
Otavi (junction for Grootfontein)
Grootfontein (branch terminus)
Otavi Railway Station, seen from the C39 at the Northeast end of the station site. [Google Streetview, 2024]From the same location on the C39 a wider view shows the sidings at Otavi Railway Station [Google Streetview, 2024]Turning through approximately 180° and looking Northeast, the line to Tsumeb runs towards the hills at the left of the image. The line to Grootfontein curves away to the right. [Google Streetview, 2024]Looking back towards Otavi Railway Station from the ungated crossing on Josef Buchholz Avenue. [Google Streetview, 2024]Turning through 180°, this is the view Sputheast from Josef Buchholz Avenue towards Grootfontein. [Google Streetview, 2024]Heading Southeast out of Otavi the line to Grootfontein passes under the B1. This is the view along the line from the road and bridge. [Google Streetview, 2024]Out of Otavi, the line soon starts to accompany the B8 in its journey East. This photograph is taken from the B8 and shows an ungated crossing on a minor road. [Google Streetview, 2024]An ungated crossing provides access from the B8 into Kombat. The road is the D2863. This is the view East at the crossing. [Google Streetview, 2024]
The line turns away from the B8, to the North. As it does so it crosses the D2860 at an ungated crossing.
The line to Grootfontein crosses the D2860 at an ungated crossing. [Google Streetview, 2024]
The line follows the D2860 and then the D2905 before passing under the B8, as it heads for Grootfontein.
An ungated crossing to the South of the D2905. [Google Streetview, 2024]The view ahead along the line towards Grootfontein from the B8. [Google Streetview, 2024]The view towards Grootfontein from a minor road ungated crossing. [Google Streetview, 2024]Much closer to Grootfontein, another view East along the railway. [Google Streetview, 2024]The fuel depot at Grootfontein. [Google Maps, June 2025]Grootfontein Railway Station. [Google Maps, June 2025]Grootfontein Railway Station in 2007. This image was shared on the African Railway Station Stopping Places Facebook Page In 2012. [46]Grootfontein Railway Station goods depot in 2007. This image was shared on the African Railway Station Stopping Places Facebook Page In 2012. [47]
Grootfontein railway station is being converted into a logistics hub for business with the DRC and Zambia.
At the moment, trucks from the DRC, Zambia or Namibia travel about 2,500 kilometres from Walvis Bay harbour to Lubumbashi. With the introduction of the Grootfontein hub, these trucks will travel a distance of about 1,400 kilometres. TransNamib is prepared to dedicate four trains a week for this business idea. [44]
Immediately to the East of the railway station the line turns to the South and is clearly not well used and significantly overgrown in places. [Google Maps, June 2025]After a few hundred metres the line turns to the East. It can clearly be made out towards the bottom of this satellite image. [Google Maps, June 2025]The line continues East and passes under the D2830. [Google Maps, June 2025]Looking West from the D2830, a short length of the line can be seen just to the right of the centre of this image. [Google Streetview, 2024]To the East of the D2380 a series of sidings still exist. [Google Maps, June 2025]It is harder to make out the sidings in this view. The photograph looks East from the D2380. [Google Streetview, 2024]These last two satellite images show the extent of the tracks in the industrial area to the East of the D2380. [Google Maps, June 2025]
Otjiwarongo-Outjo
Otjiwarongo (junction for Outjo)
Outjo (railhead)
Otjiwarongo Railway Station is illustrated above. The railway line from Otjiwarongo to Outjo is 69 kilometres (43 mi) long. The first 26 kilometres (16 mi) were completed under the German colonial administration in 1914/1915; the railway line was named Amboland Railway in reference to the territory of the Ovambo people. The link to Outjo was completed in 1921 under South African rule. [10]
The branch line to Outjo can be seen turning away North from the line to Otavi. [Google Maps, June 2025]The branch line crossed the C33 at an ungated crossing. This photograph looks South from the C33 towards Otjiwarongo Railway Station. [Google Streetview, 2024]Turning through 120°, or perhaps more, standing on the C33, the rails of the line to Outjo disappear into the vegetation. The line has clearly not been used for some time. However, we will see that much of the line to Outjo remains in place and perhaps could be renovated should the need arise. [Google Streetview, 2024]The line curves round towards the West. On the way it appears often out of the undergrowth. Here, this minor road crosses the old railway and the signs still stand proudly either side of the line, either side of the railway. [Google Streetview, 2924]The road shown above appears bottom-right of this image. [Google Maps, June 2025]The line then heads Southwest for a while before gradually turning through the West to the Northwest. [Google Maps, June 2025]The line appears out of the brush quite often and sometimes for significant distances, as these two. [Google Maps, June 2025]These two images are typical of what can be seen on satellite imagery. The line appears out of the brush quite often and sometimes for significant distances. [Google Maps, June 2025]The line turns through West to Northwest. [Google Maps, June 2025]It continues, Northwest. [Google Maps, June 2025]One passing loop appears out of the undergrowth. [Google Maps, June 2025]Here it can be seen crossing another minor road. [Google Maps, June 2025]And then a tarmac road. All crossings are ungated. [Google Maps, June 2025]
The next series of six photographs show sidings parallel to the running line. This location is more than just a passing loop but I have not been able to establish whether a specific local industry was the reason for the sidings. The photographs run in sequence Southeast to Northwest. …
The last of six photographs of sidings adjacent to the line to Outjo. [Google Maps, June 2025]
The next sequence of four photographs shows a passing loop on the line. In sequence, these photographs run from the Southeast to the Northwest. …
In 2005, a new 89 km section of Northern Railway from Tsumeb to Oshivelo was opened by President Sam Nujoma, as part of the “Northern Extension” of the railway link from Kranzberg to Otavi. Construction on the project’s second phase, a 59 km stretch from Ondangwa to Oshikango on the Angolan border at a cost of about N$329m, was scheduled to be completed by December 2007. Ondangwa Station opened in 2006 for freight.
In phase 3, a 58 km branch from Ondangwa to Oshakati was constructed at an estimated cost of N$220m, for completion in December 2008. For the future a connection from Oshikango to a point near Cassinga is planned on Angola’s southern railway system. [11][13][14]
The Ondangwa-Oshikango line was officially opened by President Hifikepunye Pohamba in July 2012. In order to keep the system operational and safe, provincial governor Usko Nghaamwa implored local residents to stop stealing railroad ties and sections of the wire fence. [11][15]
Otavi (junction for Grootfontein)
Tsumeb
Ondangwa (junction)
Oniipa (road bridge)
Onjdiva [11][14]
Namacunde [11][16]
Oshakati
Oshikango (Angolan border)
The C39 crossed the railway immediately to the North of Otavi Railway Station. as we have already noted, this view from the ungated crossing shows the branch to Grootfontein heading away to the right and the line North-northeast to Tsumeb heading for the distant hills. [Google Streetview, 2024]
The journey towards Tsumeb runs uneventfully over flat ground surrounded by shrub and small trees, heading North-northeast, until it reaches Ohorongo Cement Works.
An aerial view of the works can be found here. [48] That view looks North across the Works and shows the railway and a dedicated branch to the Works in the background.
Ohorongo Cement Works. [Google Maps, June 2025]The passing loop and access to the cement works’ private sidings. [Google Maps, June 2025]The dedicated siding can be seen leaving the main line at the Southwest end of the passing loop. [Google Maps, June 2025]The siding curves round along the Northeast side of the Works. [Google Maps, June 2025]The siding ends towards the Northeast corner of thecsite
The railway continues Northeast over largely unremarkable flat terrain, before turning East, encountering one arm of the B1 and then a triangular junction.
Encyclopedia Britannica tells us that “In 1851 Sir Francis Galton, a British explorer, made note of copper ore deposits in the vicinity of what later became the town of Tsumeb. An Anglo-German company acquired mining rights for the Tsumeb area in 1903. Southwest of Tsumeb is the site of the final German troop surrender to South African forces in World War I. The town remained a small copper-mining centre until the Tsumeb mine was purchased in 1947 by a largely U.S.-based corporation. It has since been developed as a planned company town (although ownership of the mine has changed hands several times), exploiting mineral deposits that include significant amounts of lead and copper as well as zinc, cadmium, silver, and germanium (a metalloid element used as a semiconductor). An integrated copper and lead smelter treats concentrates from Tsumeb and other mines. Owambo labourers are the chief contract workers.” [50]
The mine, owned by Dundee Precious Metals sits to the East of the B1.
The line to the North of Tsumeb left the triangular junction to the West of the town heading first to the West and then to the Northwest and then directly North alongside the D3007, before turning West-northwest again.
Looking Southeast from the B1 towards Tsumeb. [Google Streetview, 2022]Looking Northwest from the B1 along the line towards Omuthiya. [Google Streetview, 2022]The ungated crossing at the D3007. [Google Maps, June 2025]
After a few kilometres on a West-northwest heading, the line then turns to the North-northwest and runs parallel to the B1 for some considerable distance.
The B1 and the railway converge and head North-northwest. [Google Maps, June 2025]The line seen from the B1. [Google Streetview, 2022]The ungated crossing on the D3004. [Google Streetview, 2022]The view North-northwest along the line from the ungated crossing on the D3001. [Google Streetview, 2022]The line diverges from the B1 just to the South of the River Owambo. Both the railway and the road cross the river in this satellite image. [Google Maps, June 2025]Triangle on the South side of the D3610 at Oshivelo. [Google Maps, June 2025]Oshivelo Railway Station on the North side of the D3610. [Google Maps, June 2025]Looking South East from an ungated crossing just to the Southeast of Omuthiya Railway Station. [Google Streetview, 2022]Looking Northwest from the same ungated crossing into the site of Omuthiya Railway Station. [Google Streetview, 2022]Omuthiya Railway Station. [Google Maps, June 2025]The line to the Northwest of the station, seen from the South. [Google Streetview, 2024]A short distance further up the line looking back towards Omuthiya. [Google Streetview, 2024]A little further Northwest again, this time looking North towards Ondangwa. [Google Streetview, 2024]Looking back towards Omuthiya from the ungated crossing on the D3603. [Google Streetview, 2024]At the same ungated crossing, this photograph is taken looking forward towards Ondangwa. [Google Streetview, 2024]Two culverts then take the line over the dry channel of the River Gwashigam. [Google Maps, June 2025]Looking back Southeast from the bridge carrying the D3622 over the line on the approach to 0ndangwa. [Google Streetview, 2024]Looking Northwest from the same bridge towards Ondangwa. [Google Streetview, June 2025]Looking South-southeast from an ungated minor dirt road crossing closer to Ondangwa Railway Station. [Google Streetview, 2024]Looking West-northwest towards Ondangwa. [Google Streetview, 2024]Ondangwa Railway Station and turning triangle. [Google Maps, June 2025]Looking South East from the B1 overbridge into the site of Ondangwa Railway Station. [Google Streetview, 2024]The view West from the same bridge across the turning triangle, the arm on the right leads to the line heading North towards the Angolan border. [Google Maps, June 2025]Fuel depots sit alongside the line as it heads North. [Google Maps, June 2025]Looking North from the bridge carrying the C45 over the railway which is now closing in on the railhead on the Angolan border. [Google Streetview, 2024]
The next three images are a sequence of North-facing photogra
The last photograph on the northern line is a satellite image showing the railhead
The railhead in Oshikango at the Namibia/Angola border. [Google Maps, June 2025]
References
Charles E. Lee; The Longest Narrow-Gauge Railway; in The Railway Magazine, February 1952, Tothill Press, Westminster, London, p121-123.
Helmut Schroeter; Die Eisenbahnen der ehemaligen deutschen Schutzgebiete Afrikas und ihre Fahrzeuge = Die Fahrzeuge der deutschen Eisenbahnen 7 [The Railways of the former German Protectorates in Africa and their Rolling Stock = the Rolling Stock of the German Railways 7]. (in German); Verkehrswissenschaftliche Lehrmittelgesellschaft, Frankfurt am Main, 1961.
Helmut Schroeter and Roel Ramaer; Die Eisenbahnen in den einst deutschen Schutzgebieten: Ostafrika, Südwestafrika, Kamerun, Togo und die Schantung-Eisenbahn: damals und heute [German colonial railways: East Africa, Southwest Africa, Cameroon, Togo and the Shantung Railway: then and now] (in German and in English); Röhr-Verlag, Krefeld, 1993.
Brenda Bravenboer and Walter Rusch; The First 100 Years of State Railways in Namibia; TransNamib Museum, Windhoek, 1997.
According to Schroeter; Bravenboer does not mention this line.
Frederic J. Shaw; Little Railways of the World; Howell-North, Berkeley, California, 1958.
Dick Andrews; Extra Narrow Gauge Junction: Otavi Ry., State Northern Ry. in South Africa [sic]; in Narrow Gauge and Short Line Gazette, Volume 16 No. 1, 1991, p63–66.
What were the circumstances which brought about their existence?
History does not make it easy to take out one example from a steady continuum of change. …
David Wilson writes: “There have been track or plateways since Roman times. You might say that these could be brought within the term railway and therefore the Romans invented the railway.” [1: p61]
Except there were railways of a sort, at least as far back at 600 BCE, possibly going back even further, maybe as far back as 1000 BCE. The clearest example being the Diolkos Trackway. [2] This was a paved trackway near Corinth in Ancient Greece which enabled boats to be moved overland across the Isthmus of Corinth.
David Wilson continues: “For most people, however, the railways began with the Stockton and Darlington (S&D), though I’m sure many people already appreciate that history is not always what it seems.” [1: p61]
David Wilson tells us that if one wished to take the view that the first ever railway was the first to have been authorised by Parliament, then the first railway was built in Leeds – The Middleton Railway. “The Middleton Railway was given Parliamentary Assent in 1758 and began using steam traction in 1812, two years before the advent of Mr Stephenson’s first locomotive, ‘Blucher’, and 13 years before the opening of the S&D.” [1: p61]
But there is more to consider. … The Lake Lock Rail Road opened in 1798 (arguably the world’s first public railway). It carried coal from the Outwood area to the Aire and Calder navigation canal at Lake Lock near Wakefield. [3][4] The Surrey Iron Railway was the first railway to be authorised by the UK Parliament (21st May 1801). It was a horse-drawn railway which ran between Wandsworth and Croydon. [5][6][7][8][9] It was followed by The Carmarthenshire Railway or Tramroad (authorised by Act pf Parliament on 3rd June 1802). It was a horse-drawn goods line, located in Southwest Wales, the first public railway first authorised by Act of Parliament in Wales.[3][10][11][12]
The Low Moor Furnace Waggonway was constructed in 1802. It connected Barnby Furnace Colliery to Barnby Basin on the Barnsley Canal. It was replaced in 1809 by The Silkstone Waggonway which operated until 1870. [19][20] The Merthyr Tramroad, between Merthyr Tydfil and Abercynon, also opened in 1802. [5][13][14][15][16][17][18] The Lancaster Canal Tramroad (also known as the Walton Summit Tramway or the Old Tram Road), was completed in 1803. It linked the north and south ends of the Lancaster Canal across the Ribble valley. [21][22]
The first steam locomotive to pull a commercial load on rails was Penydarren (or Pen-y-Darren) was built by Richard Trevithick. It was used to haul iron from Merthyr Tydfil to Abercynon, Wales. The first train carried a load of 10 tons of iron. On one occasion it successfully hauled 25 tons. However, as the weight of the locomotive was about 5 tons the locomotive’s weight broke many of the cast iron plate rails. [5][13][14][15][16][17]
We could go on to mention:
The Croydon, Merstham & Godstone Goods Railway opened in 1805; [23]
The Sirhowy Tramroad opened in 1805; [24]
The Ruabon Brook Tramway (also known as Jessop’s Tramway or the Shropshire Union Tramway) also opened in 1805; [25][26][27][28]
The Middlebere Plateway (or Middlebere Tramway) opened on the Isle of Purbeck in 1806; [29][30][31][32]
The Monmouthshire Canal Tramway, open by 1806; [33][34]
The Oystermouth Railway, opened in 1806; [35][36] and
The Doctor’s Tramroad, Treforest which opened in 1809. [37][38][39]
The Monmouth Railway authorised by the UK Parliament in 1811. [5][72][73]
The Kilmarnock & Troon Railway which opened in 1812. [5][74][75][76][77]
The Killingworth Waggonway of which a first stretch opened in 1762 and which was extended in 1802, 1808 and 1820. [78][79][80][81][82][83]
The Haytor Granite Railway of 1820 which not only transported granite from Dartmoor as freight but ran on granite rails. [84]
We could list other railways opening before the S&D in 1825. The use of steam power at The Merthyr Tramroad and The Middleton Railway preceded its use on the S&D. A very strong claim to be the most significant development in the early 1800s could be made on behalf of The Middleton Railway. But it is the Stockton & Darlington (S&D) Railway which has caught the imagination and it is the 200th anniversary of the S&D which is being celebrated in 2025 as the beginning of the railway age.
Why is this?
It is clear that the claim to fame of the Stockton and Darlington (S&D) is lessened, at least, by the prior claim of the Middleton Railway both as first to be sanctioned by Parliament and first to make commercial use of steam power. The claims associated with other railways which preceded the S&D also must be significant. However, there is one important and fundamental difference between it and them. David Wilson says that, unlike the Middleton Railway, “the S&D was constructed with a view to carrying other companies’ goods and, to a lesser extent, to carry people.” [1: p61]
In addition, he says, “Bear in mind the distinction between the carriage of goods and people, and between carrying one’s own goods and those of others. In many ways this type of division is what distinguishes the modern concept of the railway as a system for the transport of goods and passengers on a hire and reward basis from the early plateways and railways such as the Middleton, which were not essentially built to carry anything other than goods, typically coal, for their owners.” [1: p61]
Perhaps, though, there are more grounds for the place taken in history by the S&D. Rather than just running between a pithead and a coal wharf on a canal, river or road and serving specific industrial concerns, the S&D also was built by public subscription and linked one town to another.
David Wilson continues: “To arrive at a description of what constitutes a railway we have to enlarge our definition to include not only Parliamentary Sanction, the use of rails or tracks, and the carriage of goods, but also the carriage of the public, the carriage of public goods and that one settlement be joined to another by the laying of a line paid for through the issue of shares. Thus … a railway is a set of tracks laid between two centres of habitation, which carries goods or people for commercial reward and has been authorised by Act of Parliament. It will have been built through the raising of public funds, either through the sale of shares in it or via government spending from the public purse.” [1: p61]
Let’s return to the era before the existence of the steam locomotive, the era of that list of lines highlighted above (and many more).
David Wilson comments: “The growth of the coal mining industry in the later part of the 17th and early 18th century had led to a growth in the plateway systems used to move the coal from the pit head to [a road], canal or river for shipment to the growing cities and the newly built mills. By as early as 1645 there were wagonways taking coal from the Durham coalfields down to the Tyne. By 1800 there were more than 100 miles of these plateways in the Tyneside area alone.” [1: p61]
Similar developments were taking place elsewhere in the UK:
The first overground railway line in England may have been a wooden-railed, horse-drawn tramroad which was built at Prescot, near Liverpool, around 1600 and possibly as early as 1594. Owned by Philip Layton, the line carried coal from a pit near Prescot Hall to a terminus about half a mile away. [40]
The Wollaton Waggonway in Nottinghamshire was in use by 1604. [5]
In East Shropshire and around the Severn Gorge; [41][42] A railway was made at Broseley in Shropshire some time before 1605 to carry coal for James Clifford from his mines down to the River Severn to be loaded onto barges and carried to riverside towns. It is possible that Clifford’s ‘railway’ was in use as early as 1570 and a similar line may well have been constructed by William Brooke near Madeley, again down to the River Severn. [43: p21] By 1775, there were a number of both short and long tramroads in the area around the Severn Gorge.
The Tranent to Cockenzie Waggonway was built by the York Buildings Company of London, to transport coal from the Tranent pits to the salt pans at Cockenzie and the Harbour at Port Seton, in Haddingtonshire, now East Lothian. [5][44]
The Alloa Wagon Way was constructed in 1768 by the Erskines of Mar in Alloa, to carry coal from the Clackmannanshire coalfields of central Scotland to the Port of Alloa. [45]
The Halbeath Railway opened in 1783, from the colliery at Halbeath to the harbour at Inverkeithing. [46][47]
The Charnwood Forest Canal, sometimes known as the ‘Forest Line of the Leicester Navigation’ was, under the guidance of William Jessop, using railways to supplement the canal between Nanpantan and Loughborough wharf, Leicestershire by 1789. [5][48]
The Butterley Gangroad (or Crich Rail-way) was built by Benjamin Outram in 1793. [49][50][51][52][53][54][55][56][57]
The Earl of Carlisle’s Waggonway opened in 1799 from coal pits owned by George Howard, 6th Earl of Carlisle around Lambley to Brampton, Cumbria. [51][58] There is some confusion over dates. The earliest opening date quoted is 1774, the latest 1799. [59] Dendy Marshall says that it was built in 1775. [60] C.E. Lee says it was constructed in 1798. [59][61]
It is perhaps easy to loose sight of the scale of these industrial undertakings. The rapid expansion of mining, plateways and railways “led to an increase in the numbers of horses in use … and a growth in the amount of horse feed needed. By 1727 The Tanfield Waggonway, in Co. Durham, carried 830 wagon loads of coal daily that’s a lot of horses.” [1: p61][5][62][63] “In 1804, the Middleton Colliery line was carrying 194 loads per day. Each wagon held about 2.5 tons and required the use of one horse and driver.” [1: p61]
A crisis in the use of horses and wagons occurred early in the 19th century with the advent of the Napoleonic Wars. The conflict became a significant drain on both horse and horse feed availability. The resulting inflation in the price of horses and feed lowered the profitability of each wagon load of coal. David Wilson says that, “The more visionary (or greedy, depending on your point of view) pit owners started to search for alternatives to the horse to move their goods to market. They provided their pit engineers with money and materials to experiment with steam power to replace horse power.” [1: p61]
Of course, steam power wasn’t new. Knowledge of the power of steam had been around since before the Common Era in Greek society [64][65][66] and the pits themselves had steam engines for pumping out the water and for lifting coal to the surface, or as winding engines on rope-worked inclines. [66][67] Newcomen’s first engine was installed for pumping in a mine in 1712 at Dudley Castle in Staffordshire. [66][68] What was new was first, the expiry of Boulton & Watt’s patent for a high-pressure steam engine, [5][69] and second, the idea of making the steam engine mobile, thus creating the steam locomotive. What eventually became even more revolutionary was the idea of creating a network of railways to serve the whole country. [1: p61]
We sometimes talk of a ‘perfect storm’ (a particularly violent storm arising from a rare combination of adverse meteorological factors), when we are talking about a series of adverse conditions occurring at the same time – a situation caused by a combination of unfavourable circumstances. The opposite of a ‘perfect storm’ is usually assumed to be a period of calm. However, the true opposite of a perfect storm is the occurrence (co-occurence) of a series of positive factors which combine to produce something significantly valuable. Wilson says that “as with almost anything man-made, there must be certain ingredients present. To bake a cake you need eggs, flour, milk etc. and in creating a railway you need, metalworking skills, engineering expertise, labour, capital and an incentive.” [1: 61]
The early years of the 19th century saw a timely co-incidence of these and other factors:
growing shortages of horse and feed coupled to the rising prices of both;
poor road conditions;
a rapidly developing understanding of engineering – Wilson suggests that this was “as a consequence of the more theoretical works of philosophers such as Newton, Descartes and Leibniz. … Such men have a reputation as creators or exponents of the mechanistic world view. Prior to the works of these men many had thought, and indeed some still do think, that the earth was a living entity. However, the views espoused by Newton, Descartes and Leibniz came to be accepted, the world was made up of dead, lifeless and inert matter, here to benefit mankind;” [1: p62]
the availability of skilled and unskilled labour – particularly the ‘navigators’ who were skilled in the techniques of earthworks, tunneling and bridge building – the men who had earlier built the canals. (“These men were to become the skilled labour of the railway construction industry and in turn they passed on their skills to the former farm labourers who were recruited to railway works as the lines progressed along their routes“); [1: p62]
developing metalworking skills – “the Darby family, who set up the … Coalbrookdale foundry. had acquired new skills in metalworking from tinkers, in what is now the Netherlands;” [1: p62] After constructing Ironbridge, “the Coalbrookdale ironmasters began to widen their horizons. One of their number, John “Iron Mad” Wilkinson, constructed what was reputedly the first iron barge and, more importantly, … the smiths of Coalbrookdale collaborated with Richard Trevithick in the construction of his locomotive – they cast the cylinder block and the plates for the construction of the boiler;” [1: p62]
the increasing availability of financial capital;
the increasing birth rate and the better health of the work-force which provided the necessary labour while engineering work was still labour-intensive.
The Availability of Capital
Among the physical factors listed above is an interesting financial factor which will bear some scrutiny. Wilson tells us that “the capital to build the world’s first public railway came, not from the Government, but from the Society of Friends, the Quakers.” [1: p62] He notes too that the Darby family whose Coalbrookdale plant had such a formative influence in the early days of the industrial revolution, were also Quakers. Wilson explains that Quakers were isolated from much of society and public life because of a refusal to sign up to the articles of faith of the established church. However, the same religious views made them sympathetic to works performed for the public good. Various Quaker families began to take an interest in the developing railway sphere. The website quakersintheword.org [70] tells the story of the significant role played in financing railways played by the Quakers.
“In 1818 a small group of Quaker businessmen, including Edward Pease and his son Joseph from Darlington, Benjamin Flounders and the banker Jonathan Backhouse, met to discuss the possibility of building a railway from Darlington, passing several collieries, to the port of Stockton.” [70]
The Act of Parliament required for the work to take place faced significant delays in the parliamentary process. “The delay proved very significant, as in April 1821 Edward met George Stephenson and recruited him as an engineer for the railway. The original intention had been that the coaches would be horse drawn, just like all the others now in existence. However, George convinced Edward that steam engines were the future for railways, and that he could build them. The Pease family then put up much of the capital that enabled Stephenson to establish a company in Newcastle, where he built the locomotives.” [70]
After the opening of the Stockton & Darlington Railway, “the railway network grew under the guidance of Edward’s son Joseph, who opened the Stockton & Middlesbrough branch in 1828. … In 1833 Joseph became the first Quaker to enter Parliament and the railway interests passed to his brother Henry. In 1838, Henry opened the Bishop Auckland & Weardale line, followed by the Middlesbrough and Redcar line in 1846. Henry wanted to traverse the Pennines and in 1854 he started the Darlington & Barnard Castle line, which opened in 1856.” [70]
Quakers were often involved in railway developments in the 19th century, for instance, “in 1824, a group of merchants, including Quaker philanthropist and anti-slavery campaigner James Cropper, went to see the Stockton and Darlington railway. They soon began building the Liverpool and Manchester railway, which opened in 1830.” [70]
Incidentally, Quakers “were also responsible for two innovations that improved the way these new passenger railways worked – timetables and tickets. James Cropper produced a 12-page timetable for the Liverpool and Manchester railway, probably the first railway timetable ever. It was the forerunner of Quaker George Bradshaw’s Railway Companion, published in 1839. Bradshaw’s became a household name for anyone using the railways. … The second innovation was the railway ticket. In 1839 Thomas Edmundson, another Quaker, was appointed station master at Milton, on the Newcastle and Carlisle line. He was unhappy that customers paid their fares directly to him without receiving a receipt. Consequently he introduced the railway ticket, which came into general use with the creation of the Railway Clearing House in 1842.” [70]
The Birth Rate and Increasing Health of the UK Population
Wilson points us to one more significant factor in the development of railways in the early 19th century. “Seemingly disconnected and irrelevant factors were playing their part. During the period from the end of the civil war (1649) onwards there was a growing awareness of the value of the human being as resource, and a concerted effort was made to increase the birth rate and to cut the death rate. … This did not stem from any rise in humanitarianism but from a recognition that people were worth money. After all, in the 1640s and on into the 19th century, slavery was still common throughout the so-called civilised world, including Britain. Improvements in diet and sanitation increased life exресtancy. It is no coincidence that the first workhouses began to appear around the middle of the 17th century – a reasonably fit and healthy population produced more than a sickly and unfit one.” [1: p62]
“By the beginning of the 19th century, the conditions were in place for a major economic expansion. A growing empire and military strength ensured the supply of raw materials and provided a growing market place for the products made from them. An expanding population provided the physical means by which the empire might be held together. Technology provided the ability to carry out the grand design. The workhouses and other reforms had created a disciplined workforce.” [1: p62-63]
By 1850, a quarter of a million workers – a force bigger than the Army and Navy combined – had laid down 3,000 miles of railway line across Britain, connecting people like never before. [71]
And Finally …
Wilson suggests one other, less definable, reason for the dramatic welcome given to steam technology in particular. He suggests that there was a more visceral connection to steam power which predisposed humanity to embrace the technology.
No doubt, the S&D was at the forefront of engineering developments it was “the white heat of technology, the frontier of science.” [1: p63] Wilson asks us to consider that there was (and still is) a connection between “a piece of primitive industrial technology, the steam locomotive and its enduring popularity, and an ancient, and some might say mystical, view of the world.” [1: p63]
Wilson says: “Prior to the advent of the mechanistic world view in which cause and effect, hard science and hard facts are the order of the day, people held to a more animistic philosophy. Miners would pray to the earth before digging it up. … In this more mystic view of the world things were not made of chemicals and atoms, molecules and the force of gravity. They were composed of the four elements – earth, air, fire and water.” [1: p63] He asks us to consider whether “the reason so many people took to the steam engine and the railway when it began was that the steam locomotive has a unique blend of the four elements not only in its construction but in the very forces and requirements necessary for its movement. … [It] is made from the ores of the earth, heated by fire which needs air to burn. The metals from the forge are then tempered by water whilst being shaped on the anvil. In order to make the steam locomotive work, coal, or part of the earth, is consumed along with air in a fire which turns water into steam which in turn brings the locomotive to life.” [1: p63]
We all know that all men, are just little boys at heart. Increasingly women are involved in the preservation movement. There seems to be a deep emotional connection for many of us between the steam beasts of earth, wind, fire and water that reigned over the railway networks for the world for more than a century and a half and our own psyche, something deeply ‘elemental’!
Whatever the cause, the early 19th century saw humanity embrace steam-power and the benefits it brought with open arms and wallets.
References
David Wilson; Mother of Inventions; in the Evening Mail Supplement, 1st June 1993, p61-63.
Peter King, The First Shropshire Railways in G. Boyes (ed.), in Early Railways 4: Papers from the 4th International Early Railways Conference 2008, Six Martlets, Sudbury, 2010, p70–84.
An oblique aerial photograph taken facing north shows a general view in 1928 of Alloa, its Town Hall, Marshill and Church Street. The wagon road which was used to transport coal from the Holton area of Sauchie to Alloa harbour. Although the tracks are gone the road still exists from Station Hotel down to South School. https://www.britainfromabove.org.uk/image/SPW020247, accessed on 7th January 2025.
Hero (Heron) of Alexandria, described in detail what is thought to be the first working steam engine. He called it an aeolipile (“wind ball”). His design was a sealed caldron of water was placed over a heat source. As the water boiled, steam rose into the pipes and into the hollow sphere. The steam escaped from two bent outlet tubes on the ball, resulting in rotation of the ball. The principle he used in his design is similar to that of today’s jet propulsion. Hero (Heron) did not consider this invention being useful for everyday applications: he considered his aeolipile invention as a novelty, a remarkable toy. https://www.smith.edu/hsc/museum/ancient_inventions/steamengine2.html, accessed on 3rd March 2025. The same device was also mentioned byVitruvius in De Architectura about 100 years earlier. [66]
In 1712, Thomas Newcomen’s atmospheric engine became the first commercially successful engine using the principle of the piston and cylinder, which was the fundamental type of steam engine used until the early 20th century. The steam engine was used to pump water out of coal mines. [66]
Steven Johnson; The Invention of Air: A story of Science, Faith, Revolution and the Birth of America; Riverhood Books, New York, 2008.

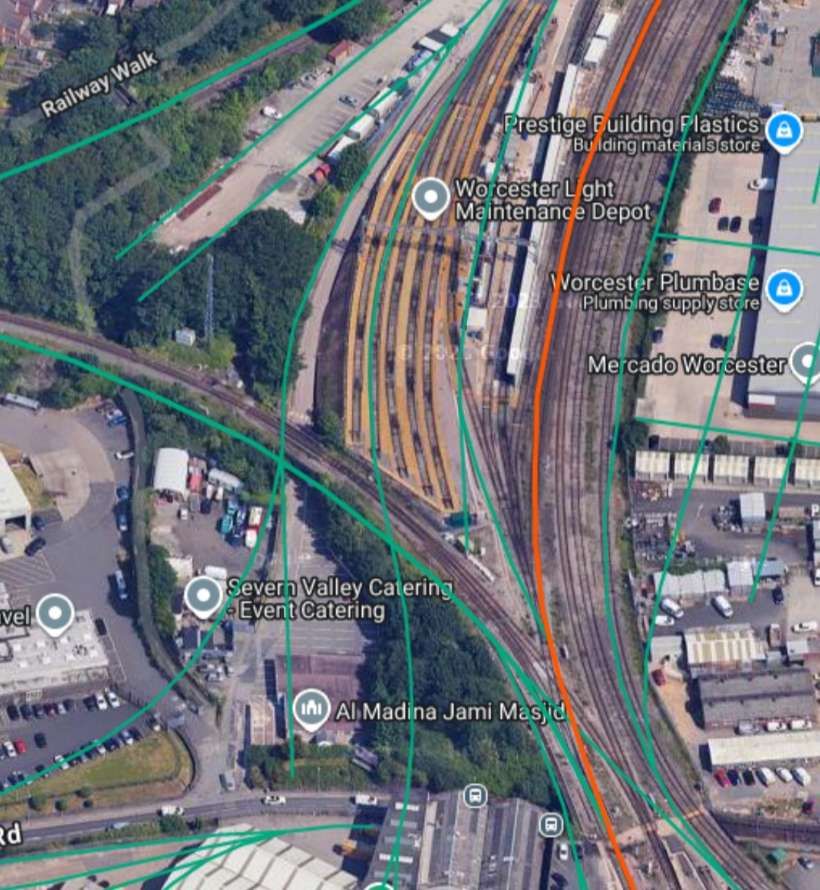
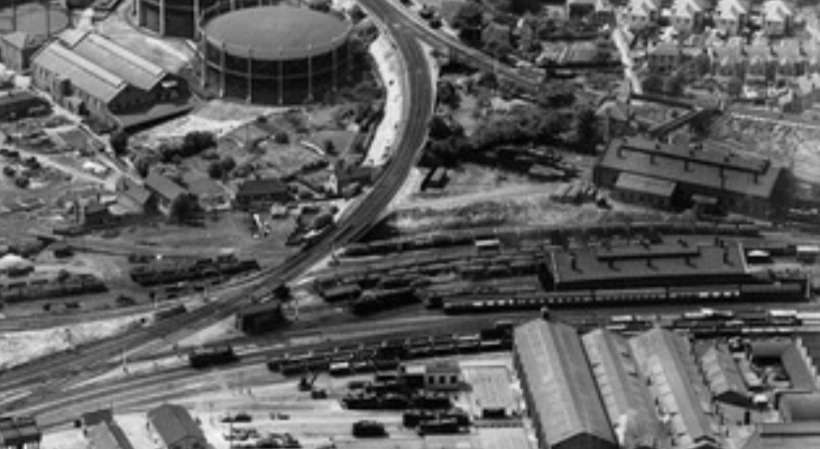
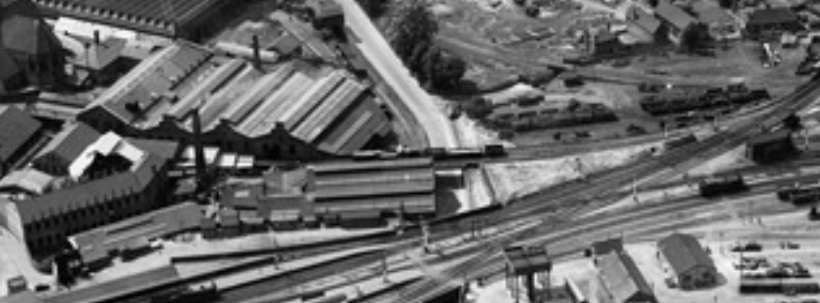
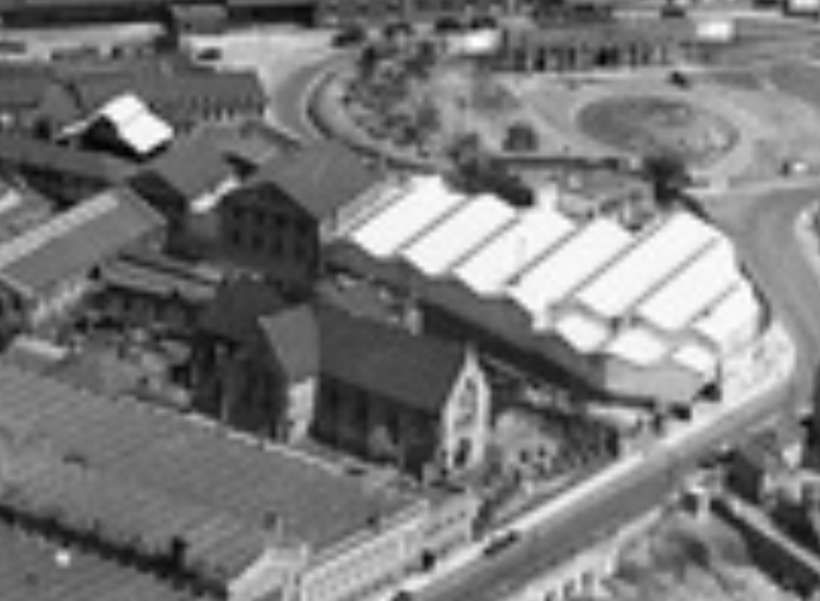
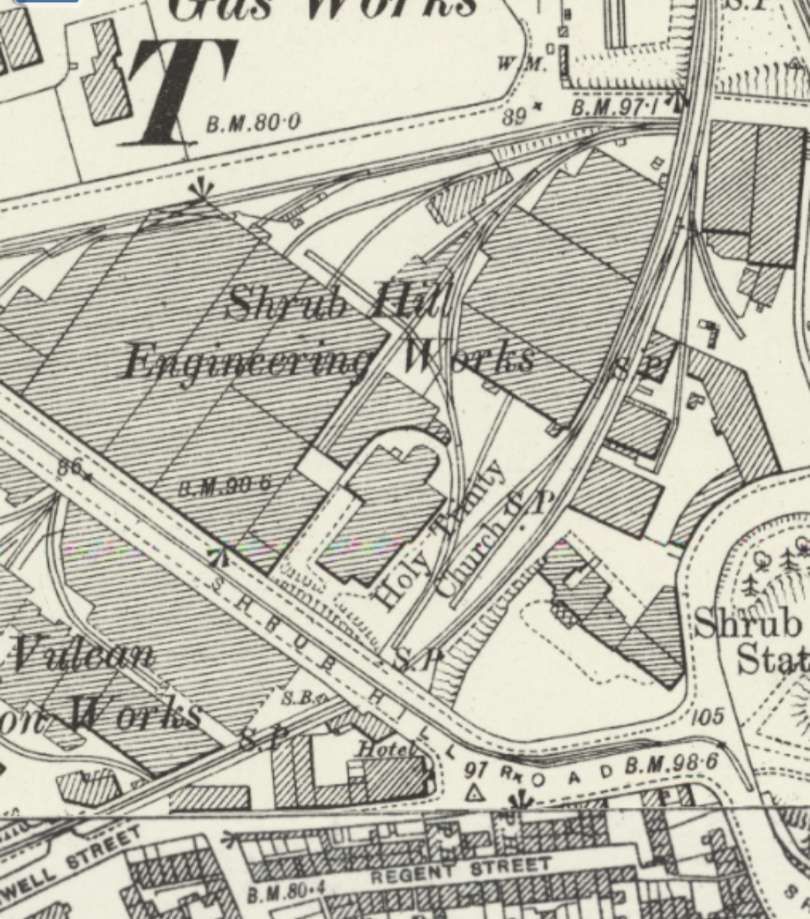
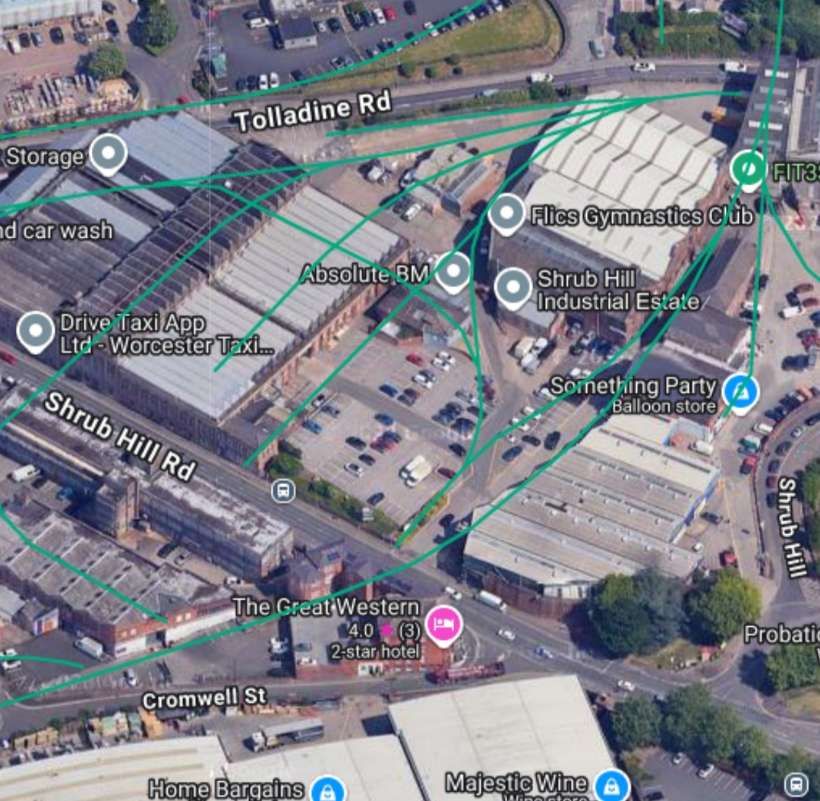
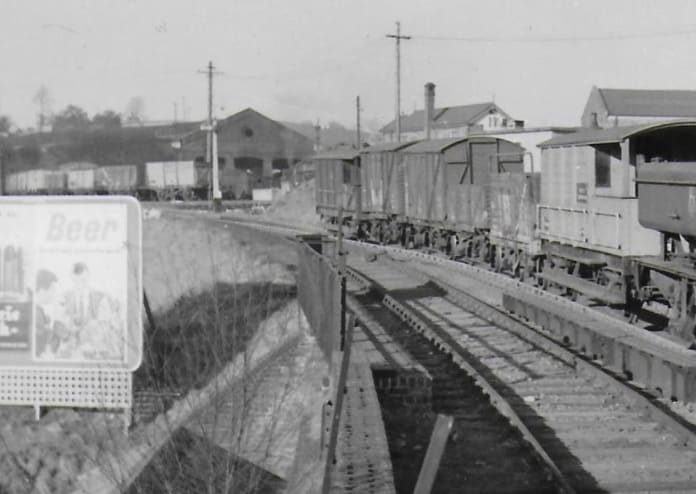
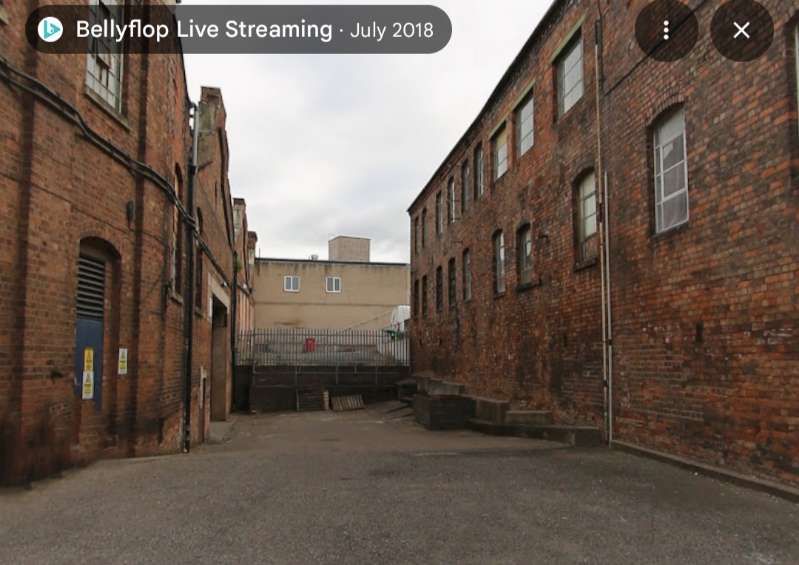
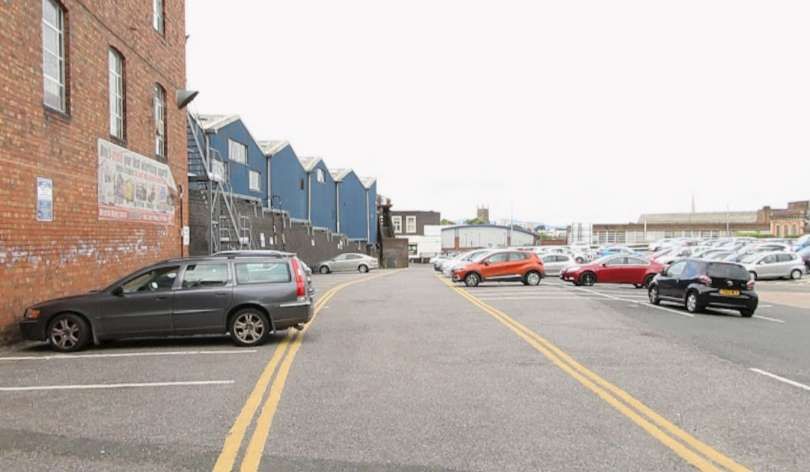

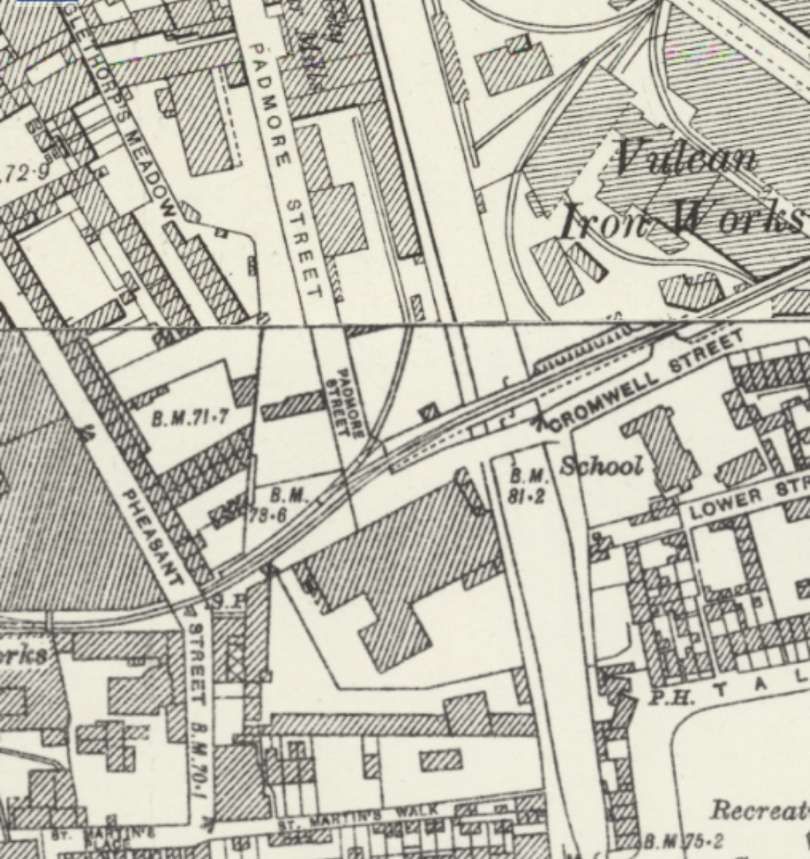
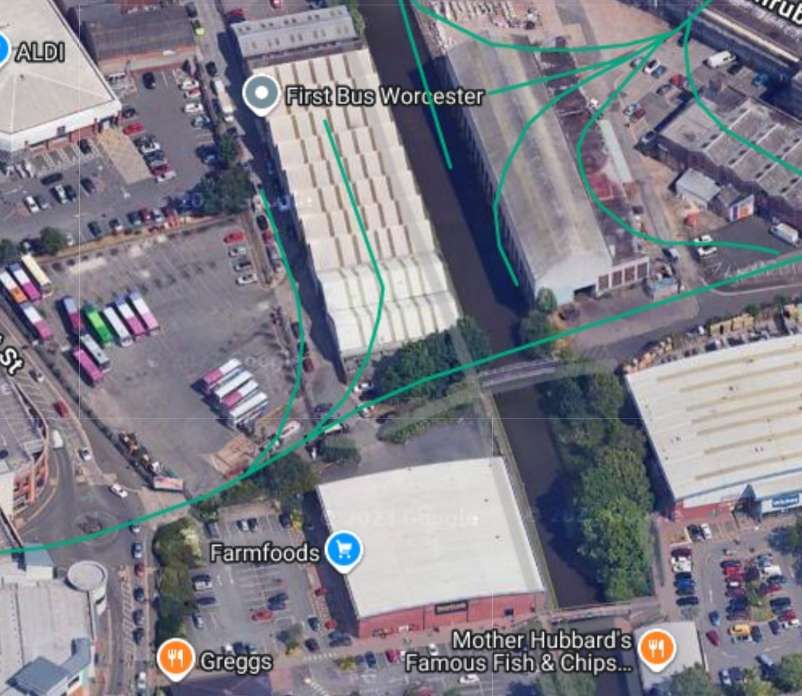
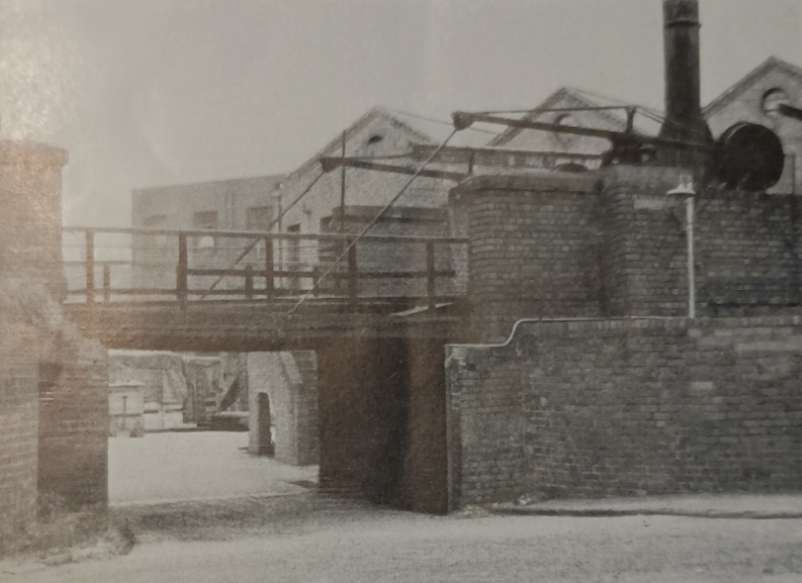
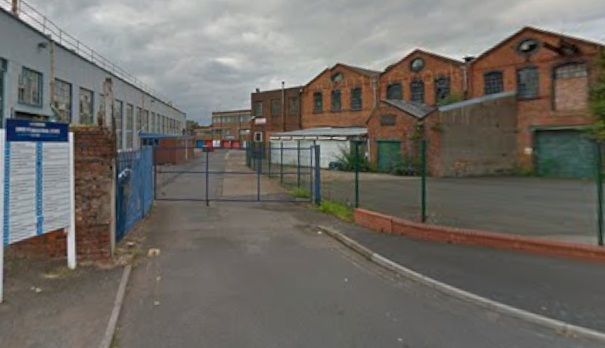
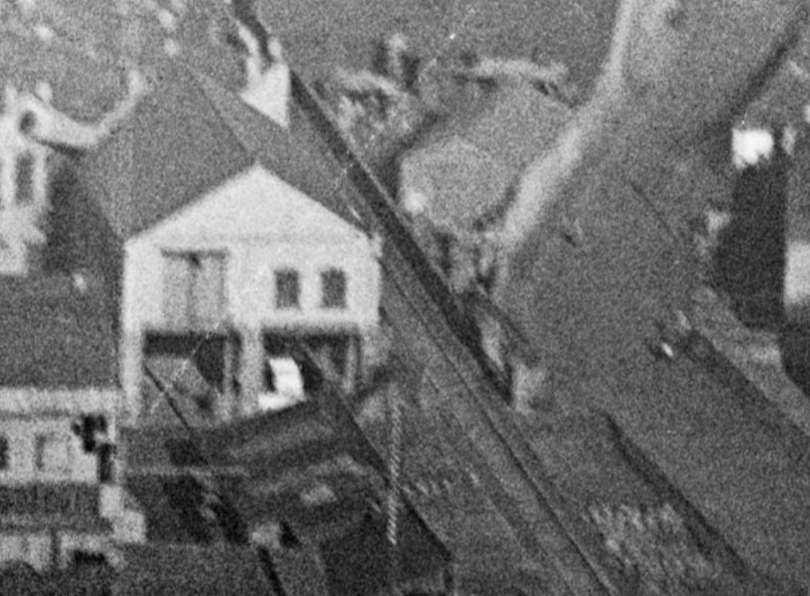
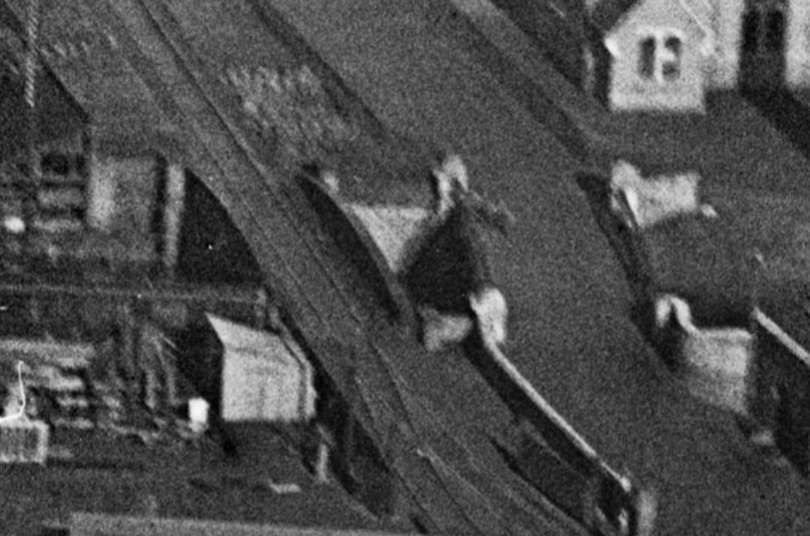

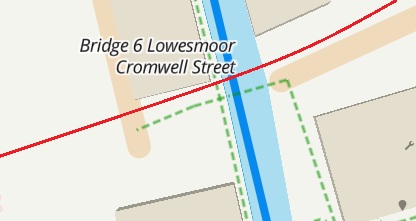


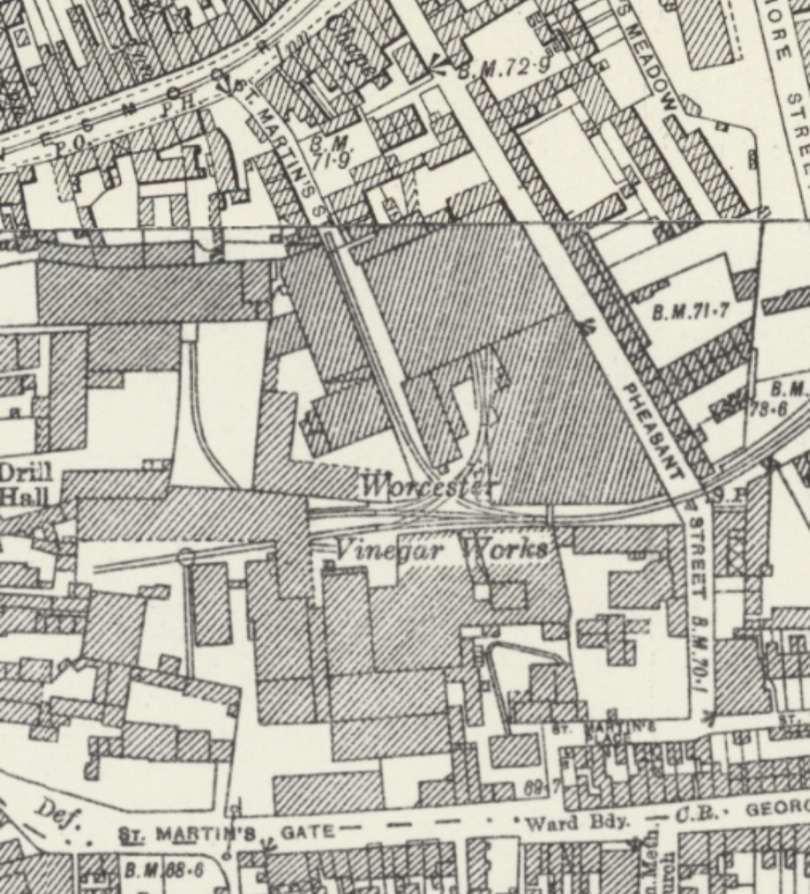
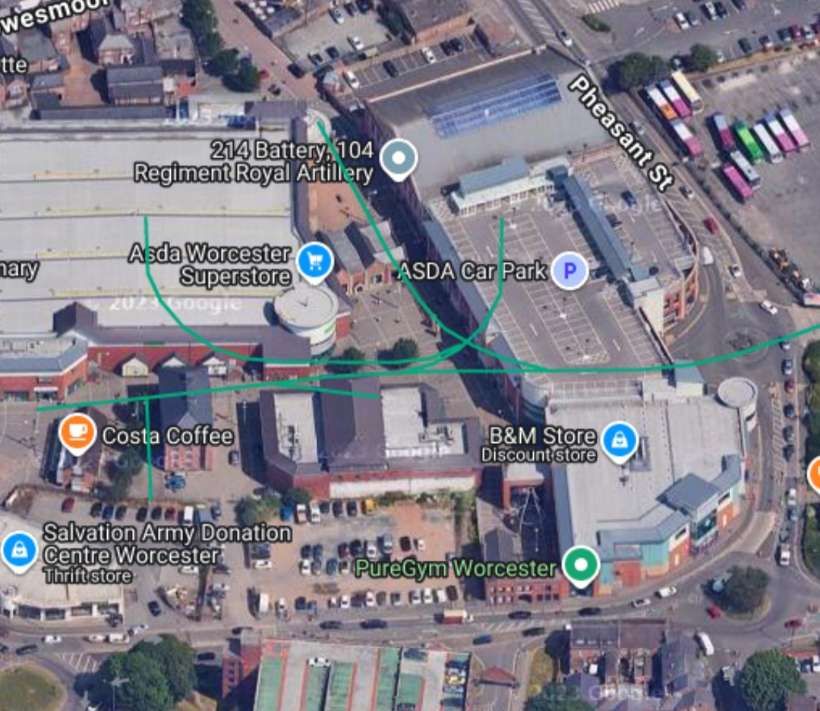
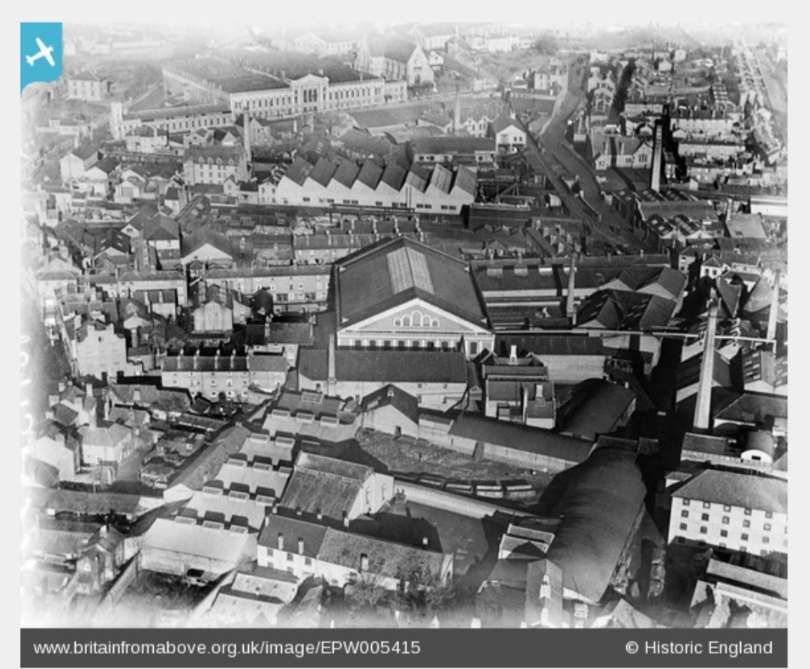

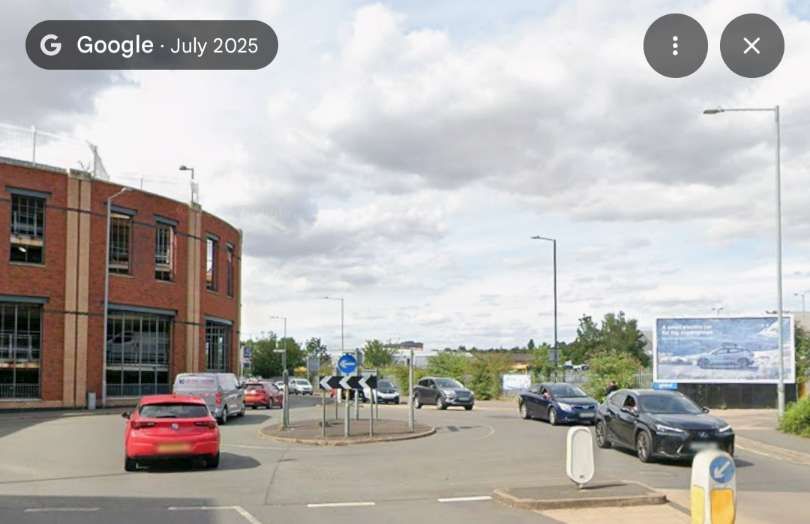
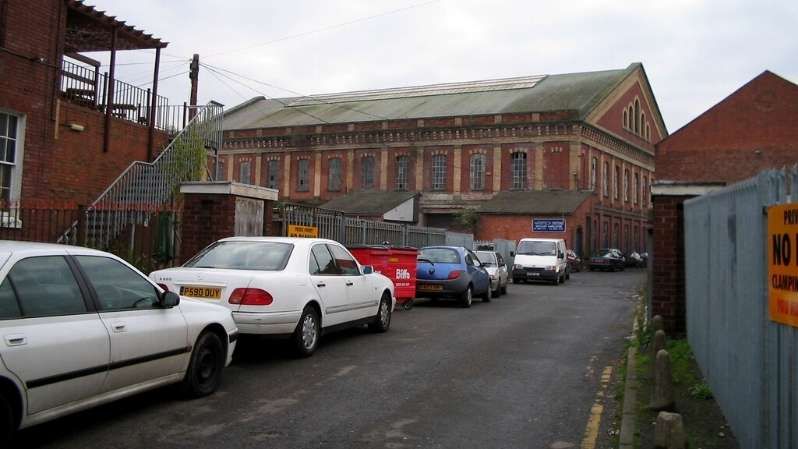
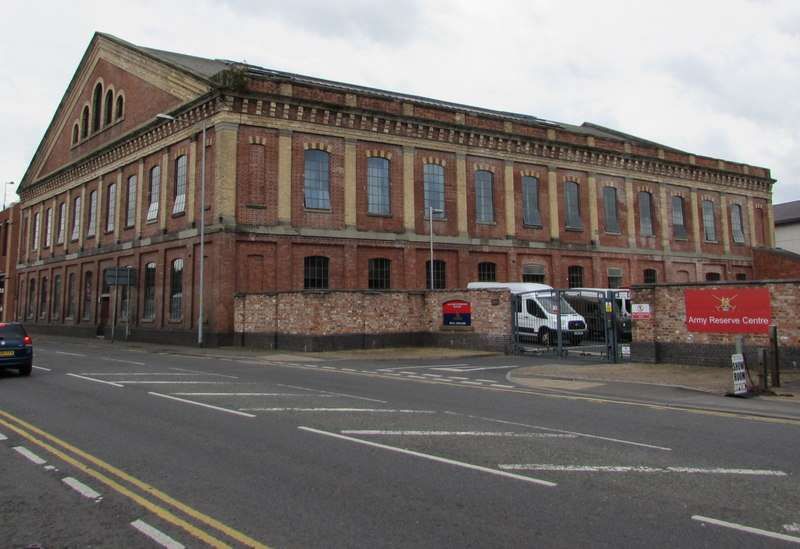
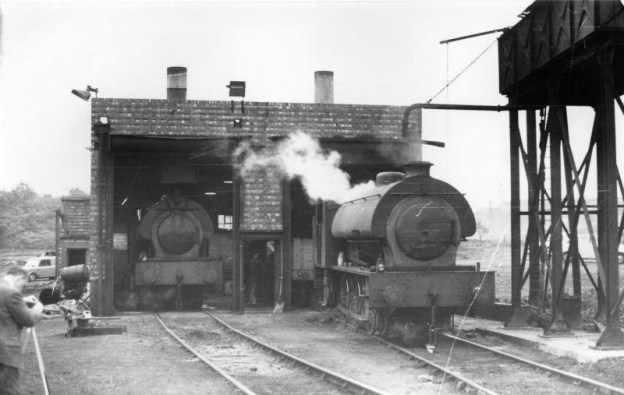
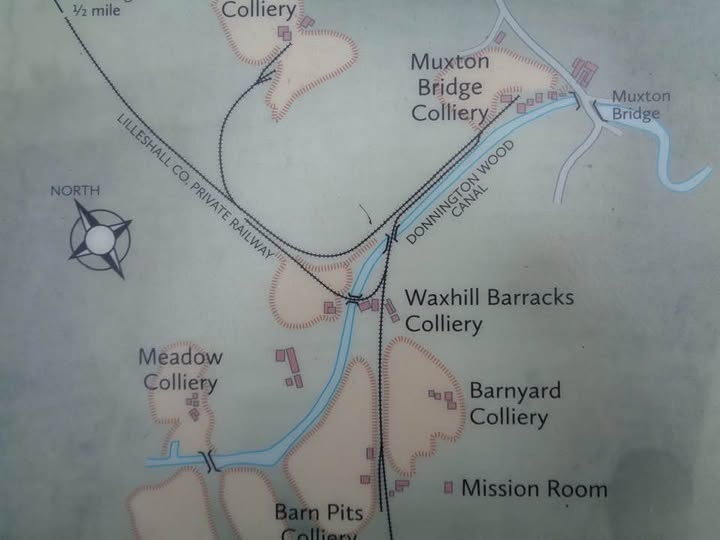

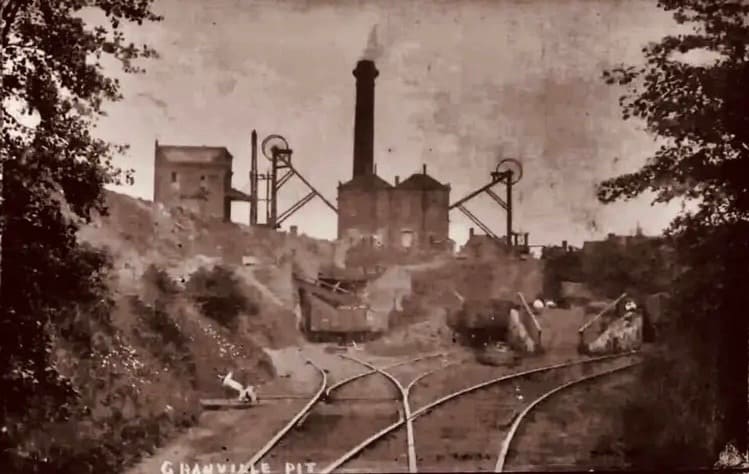
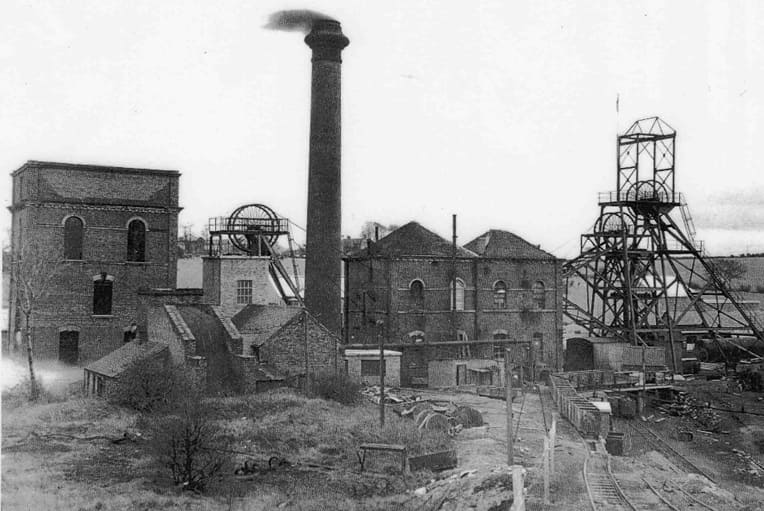
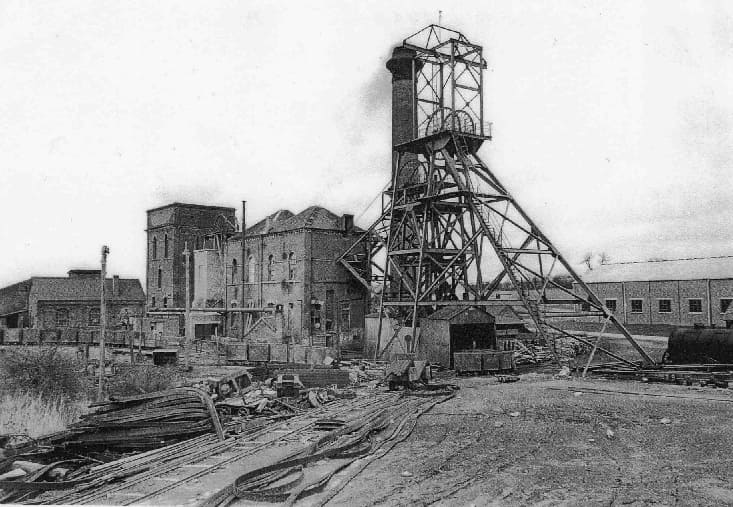
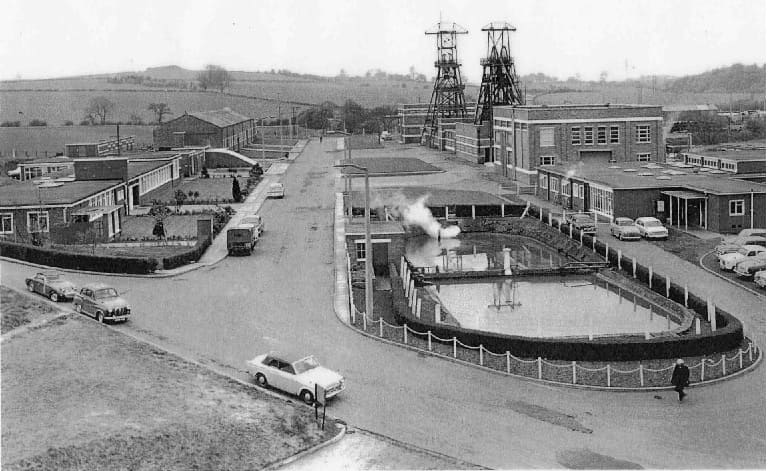
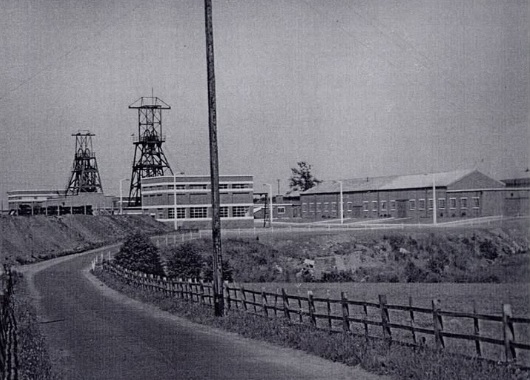
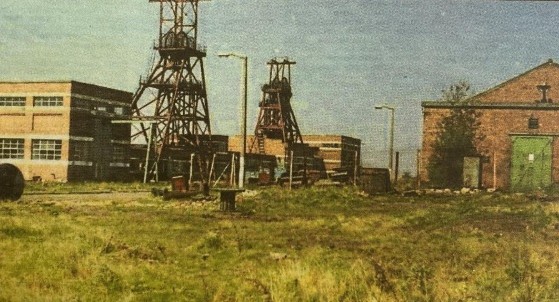
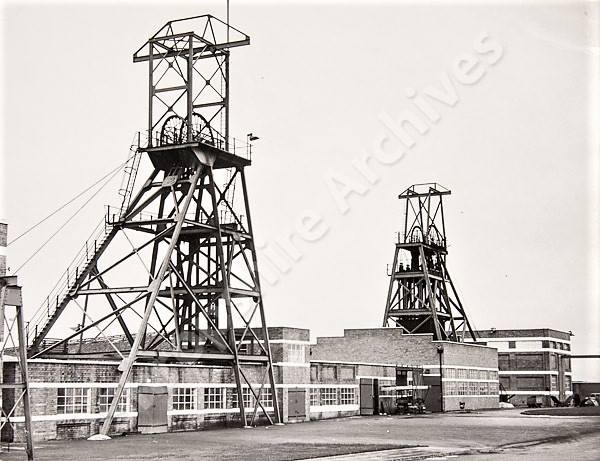
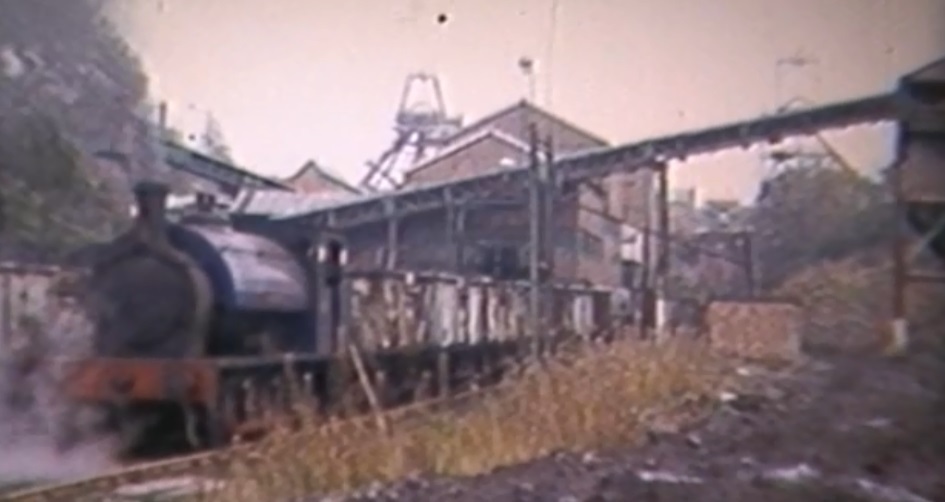

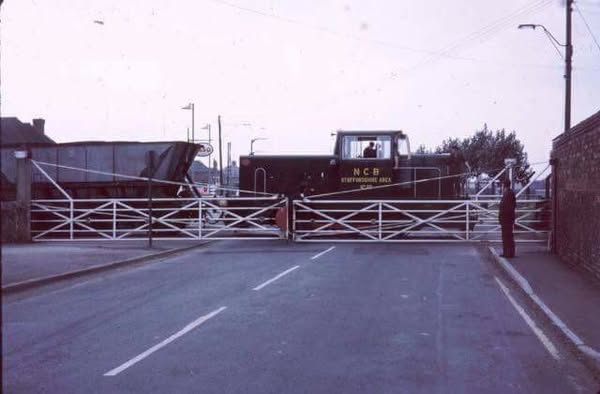

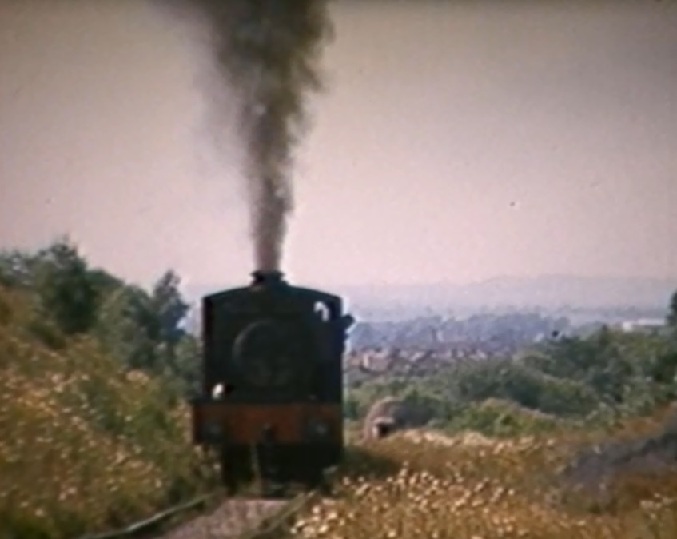
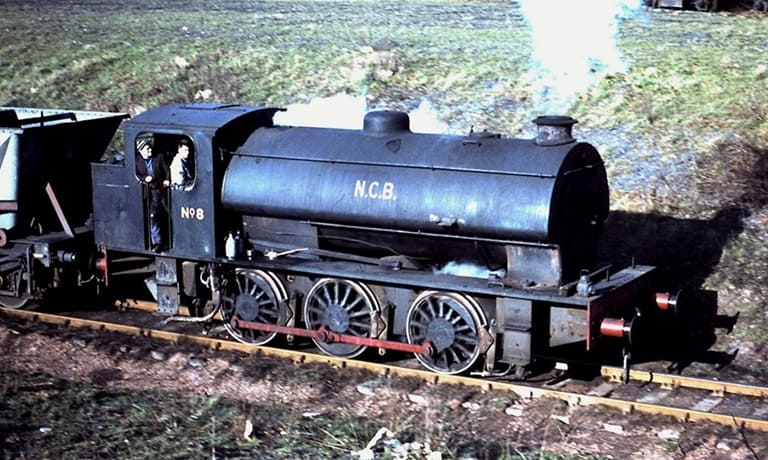
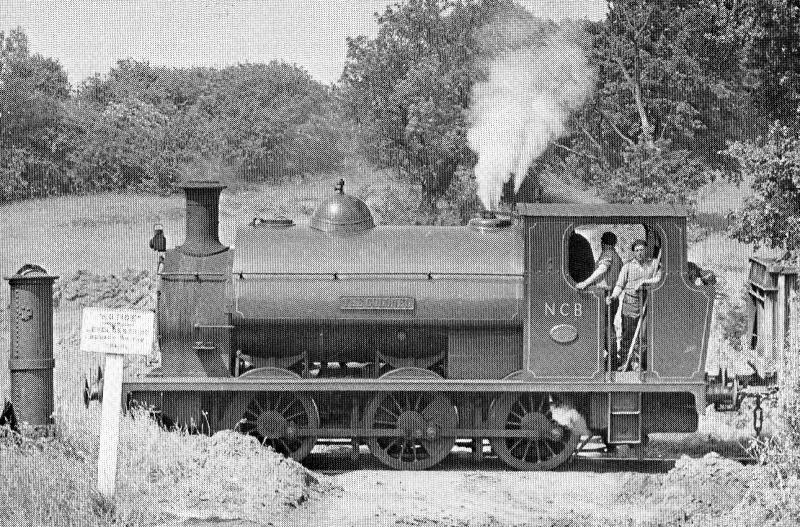
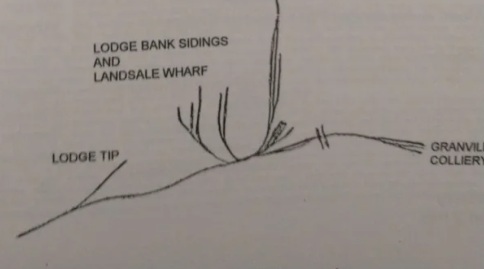
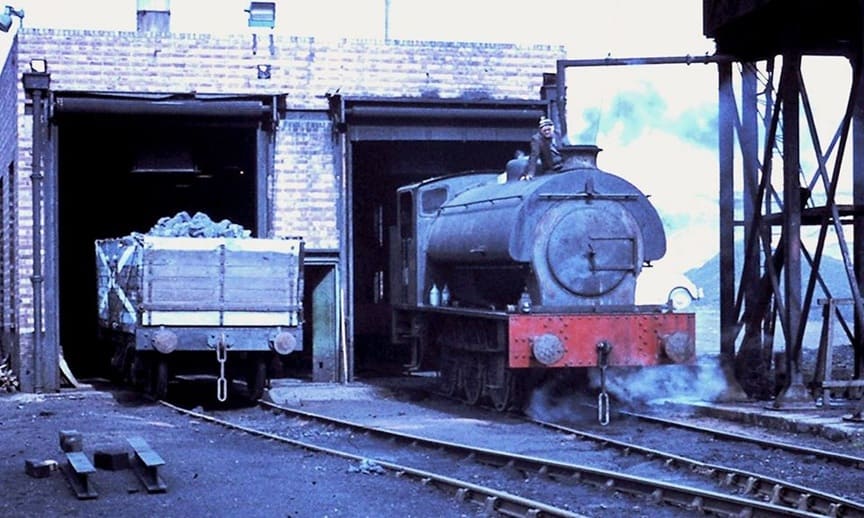
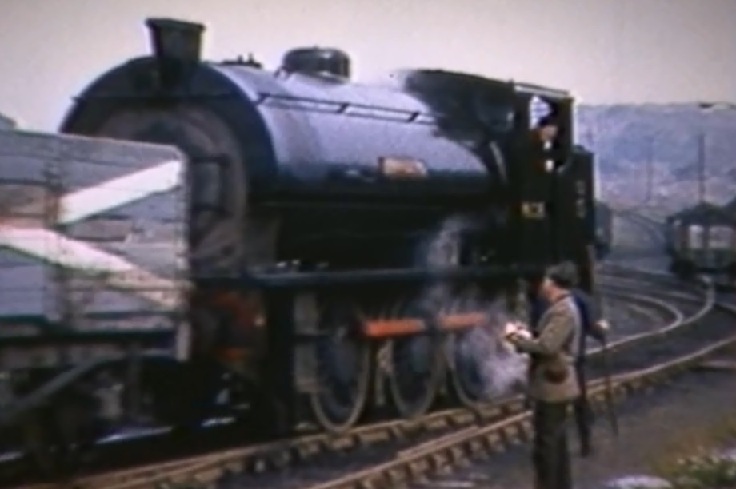
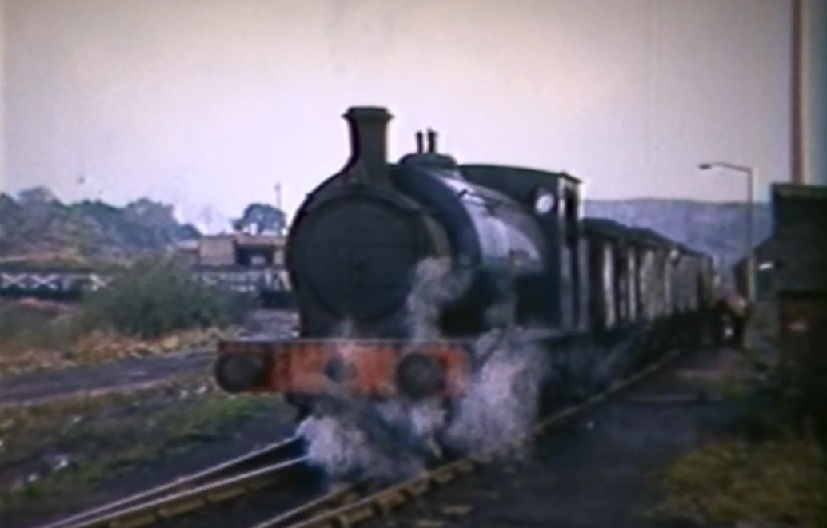
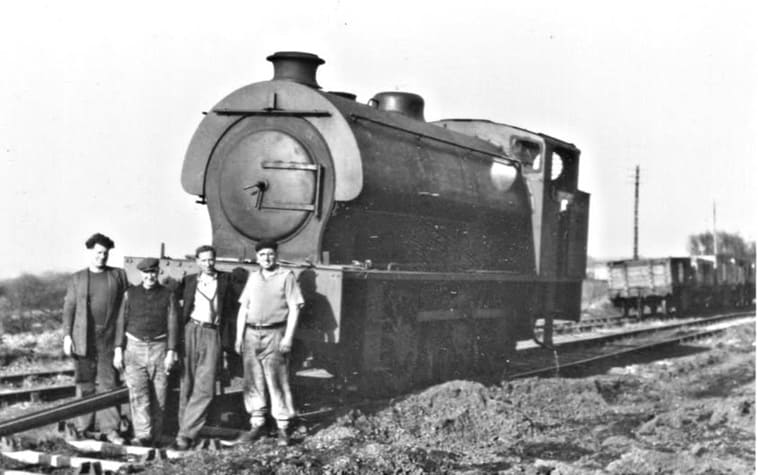
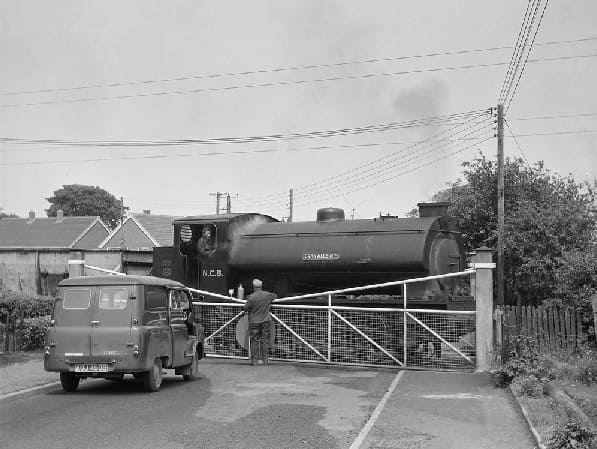
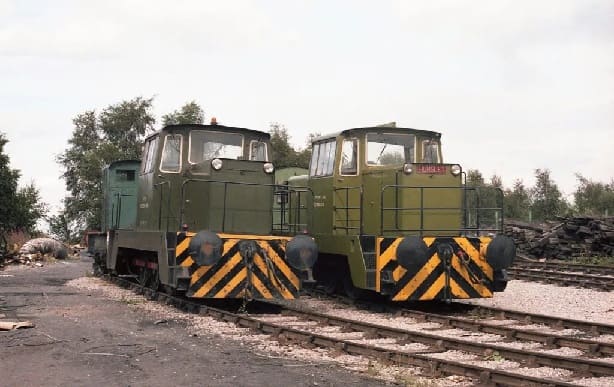
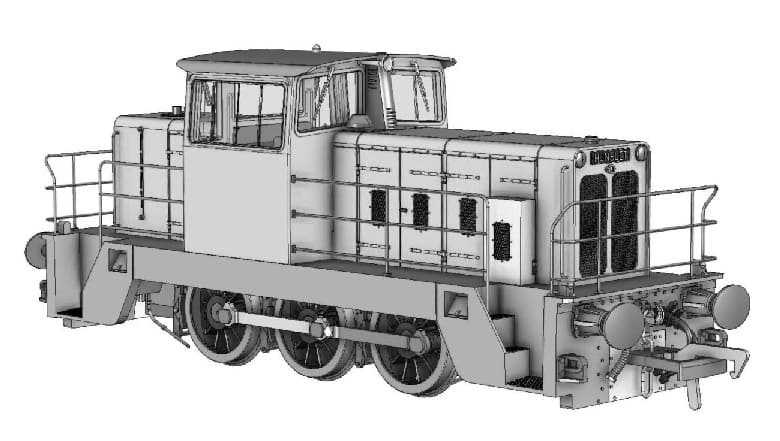
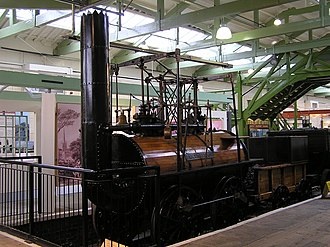
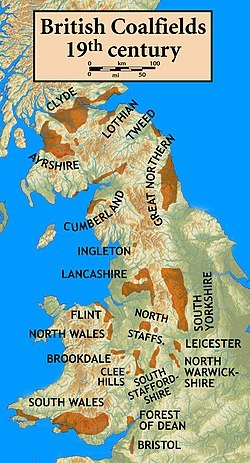
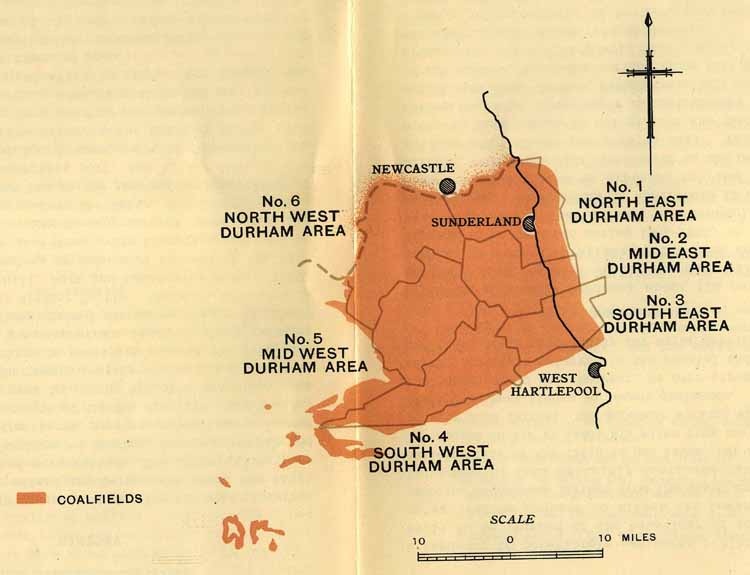
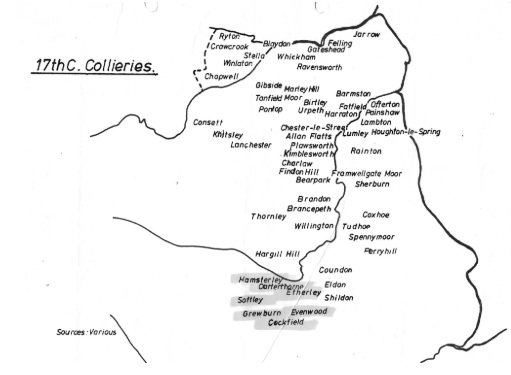
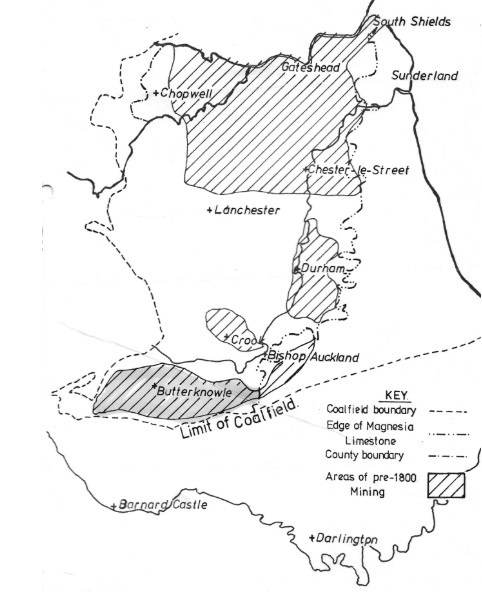
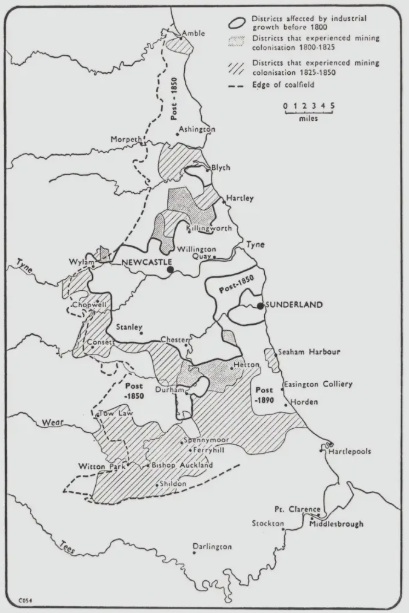

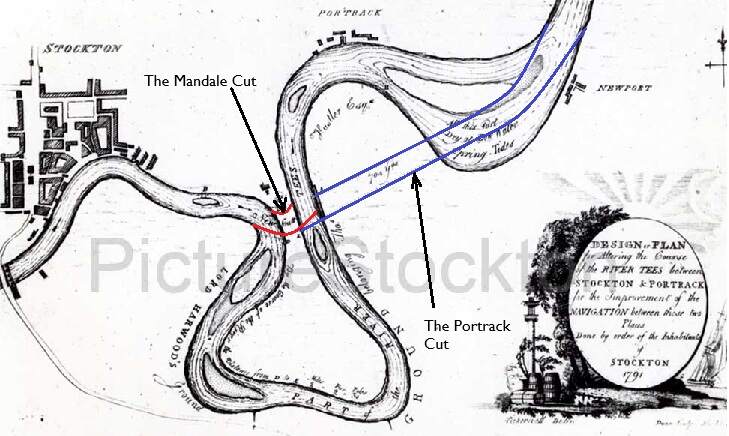
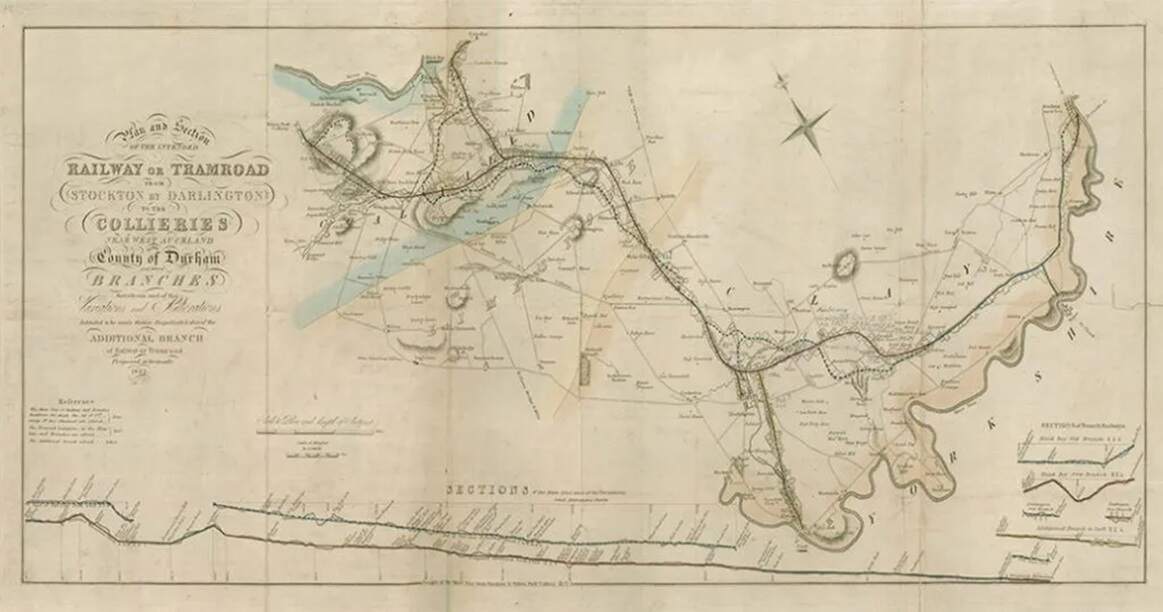

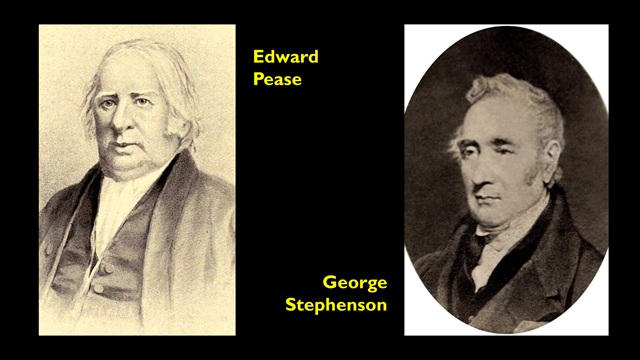
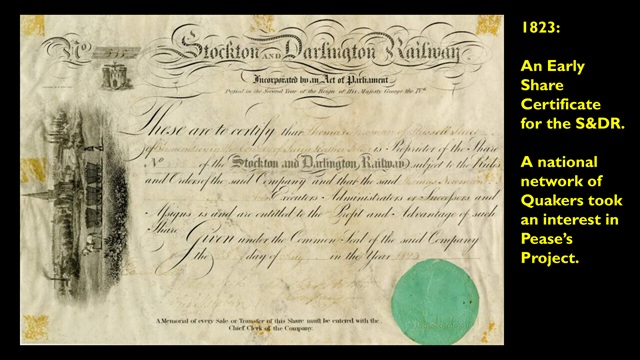
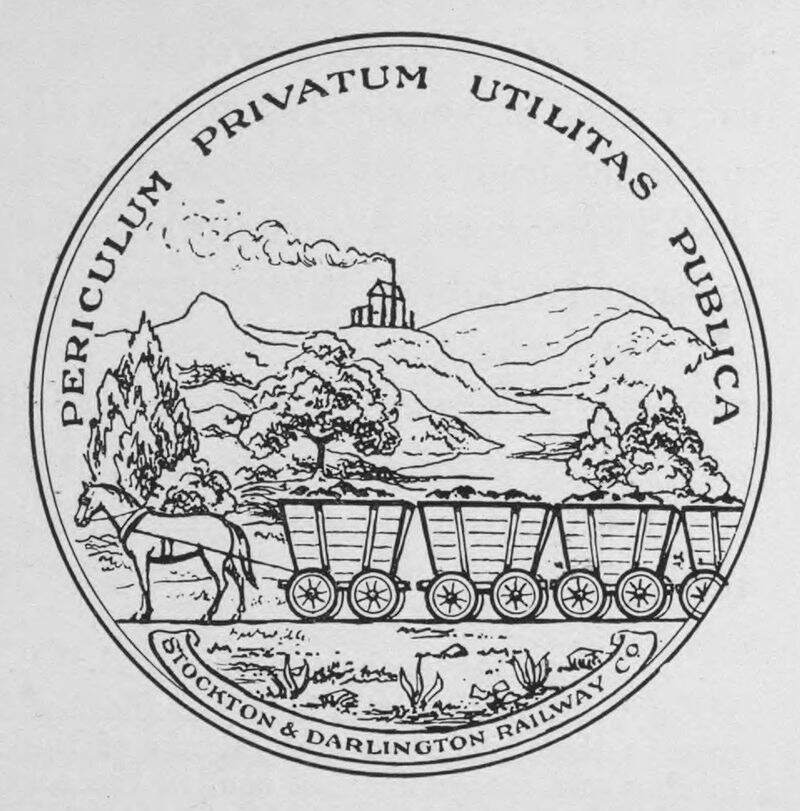
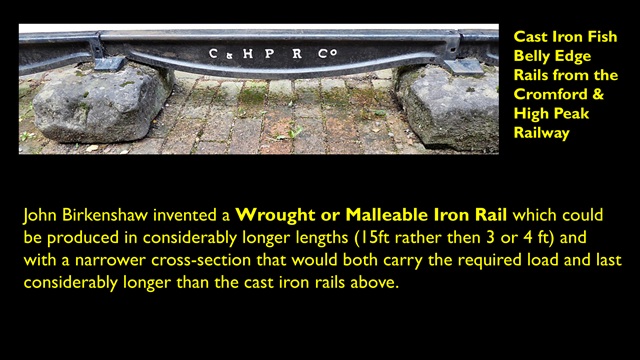
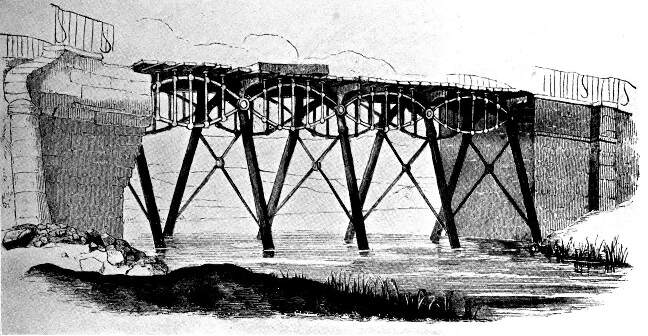
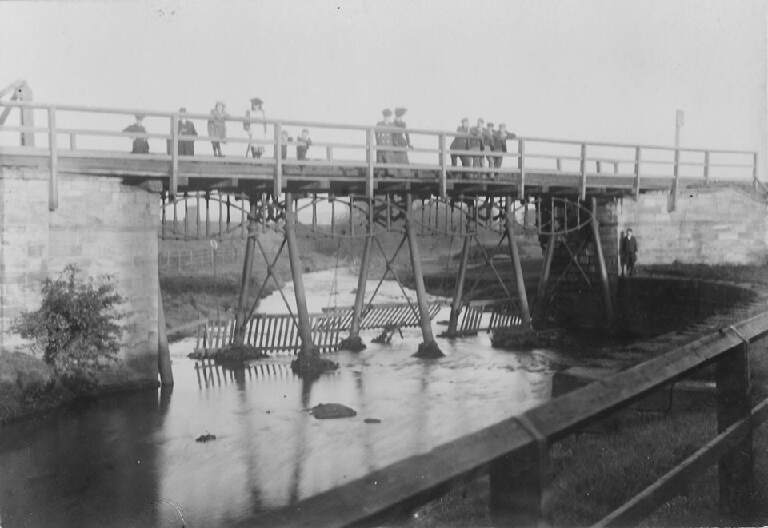
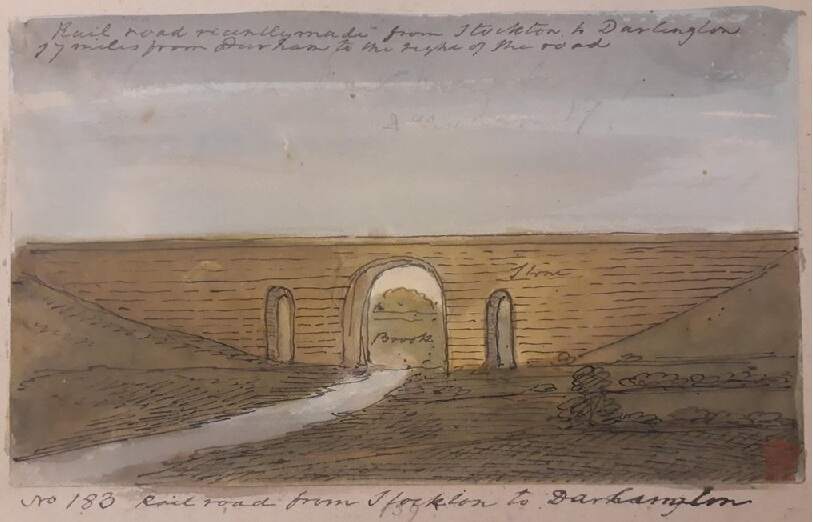
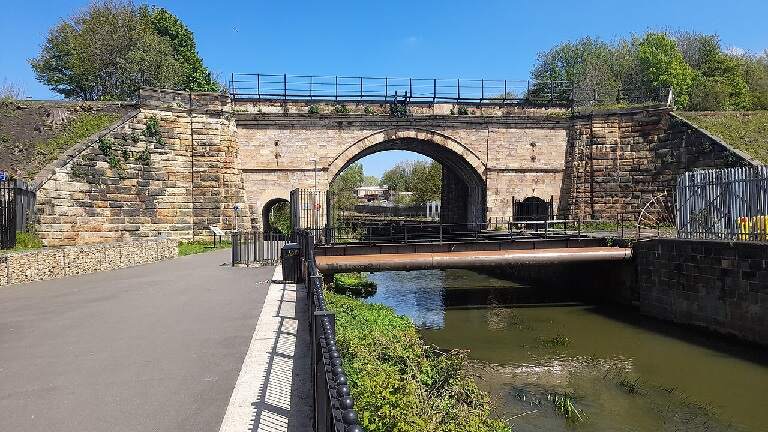
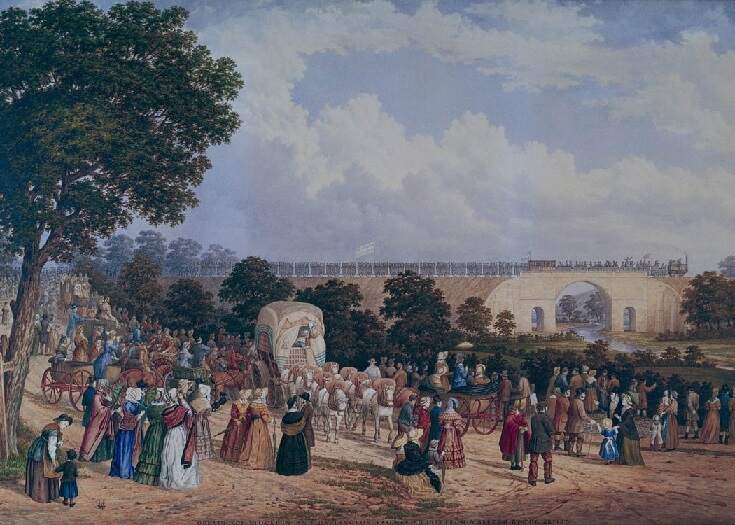
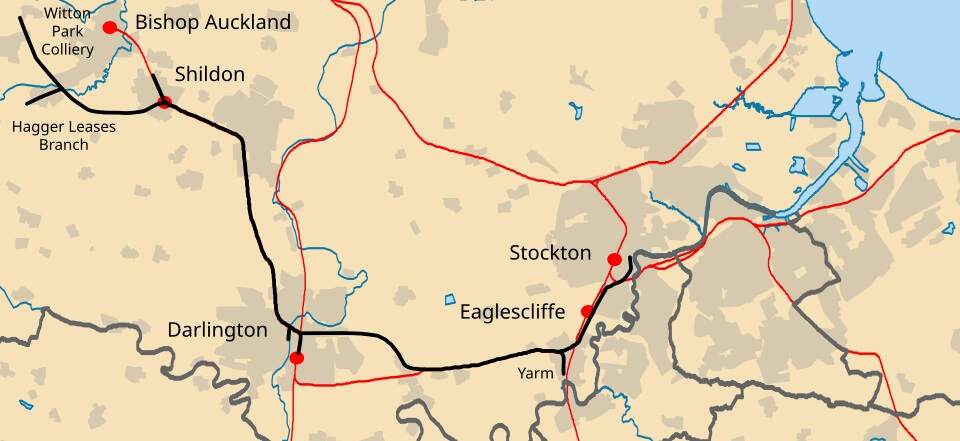
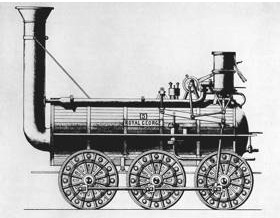
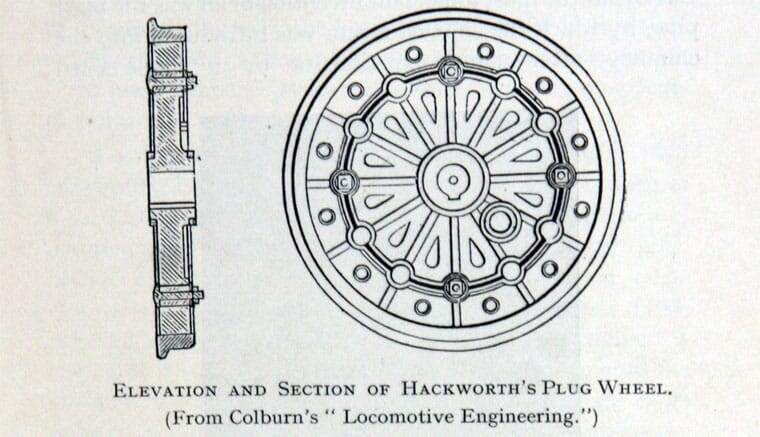
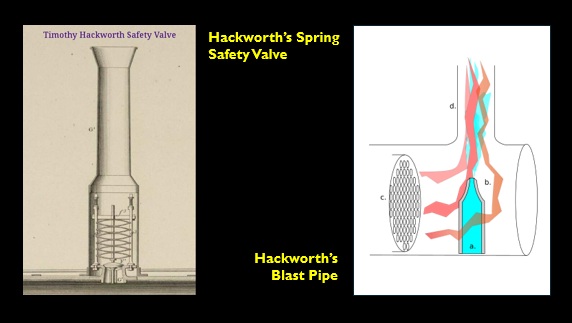
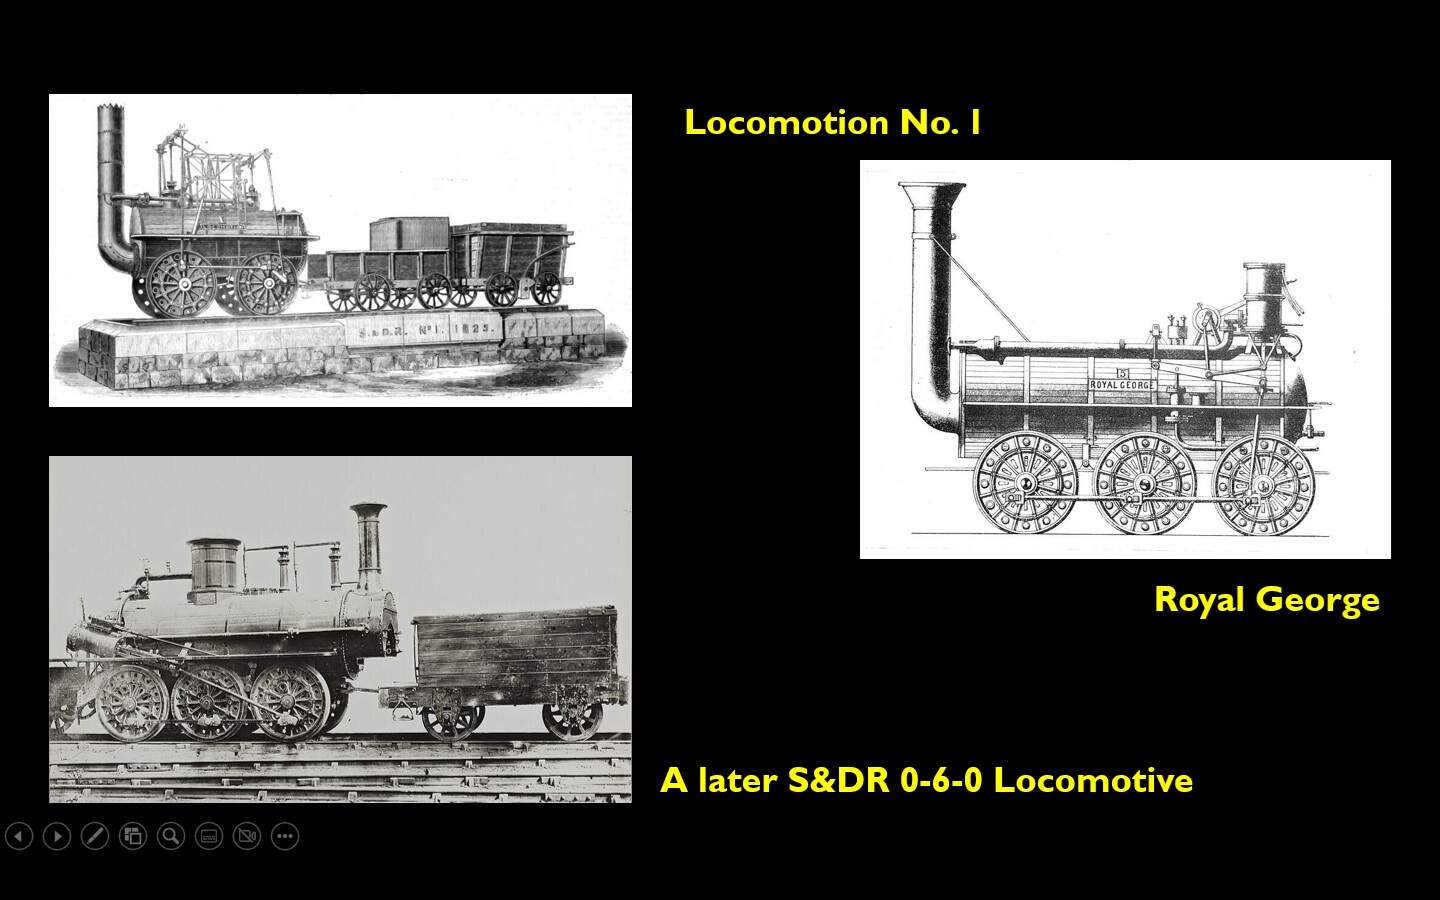
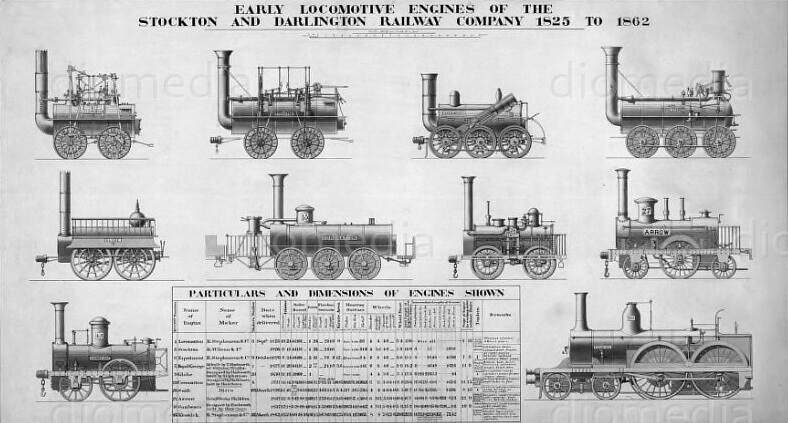
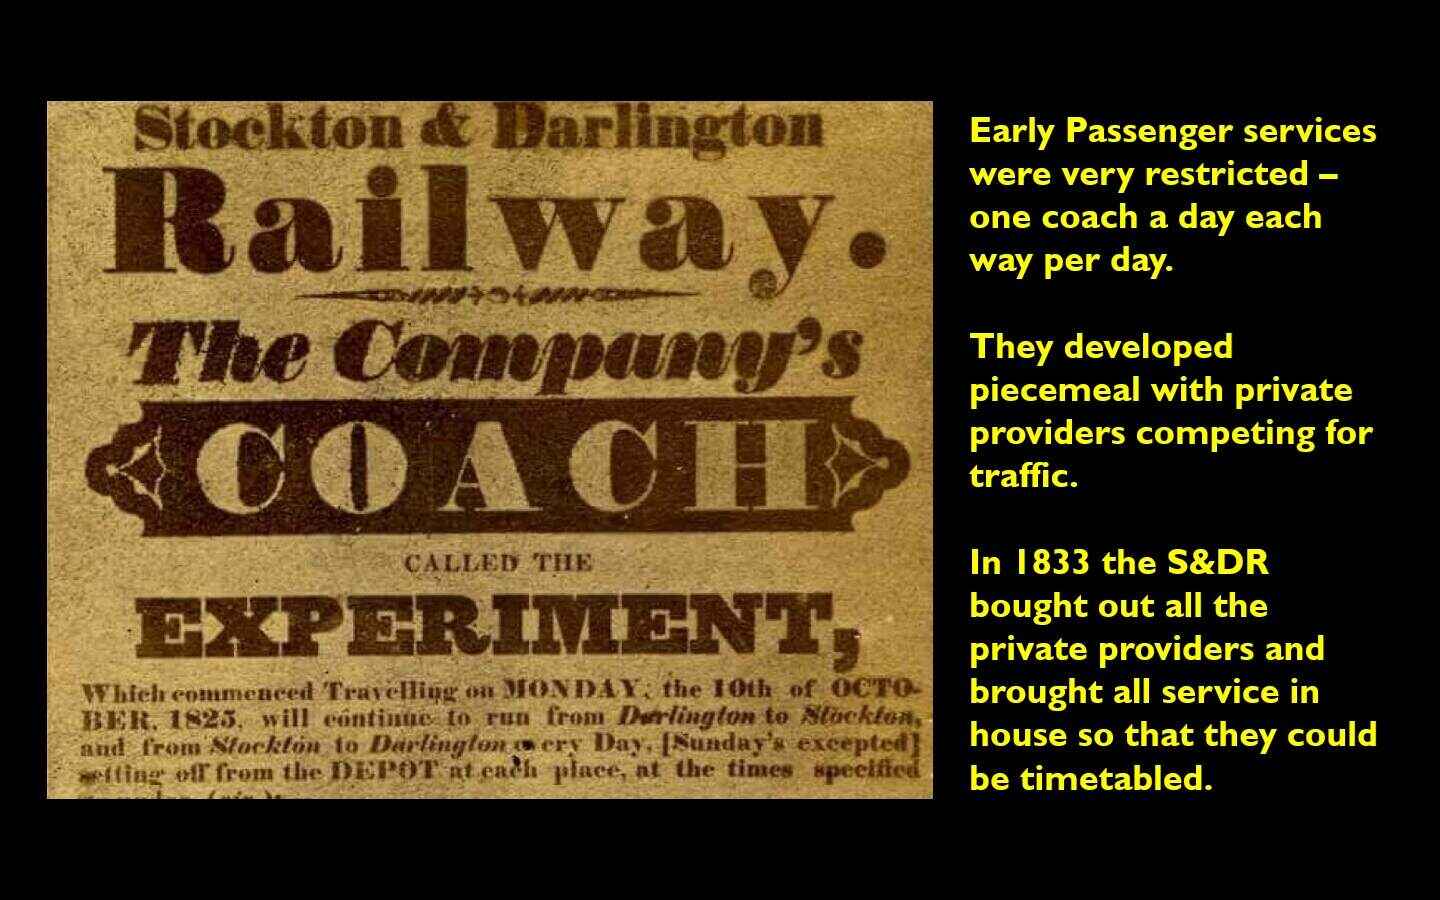
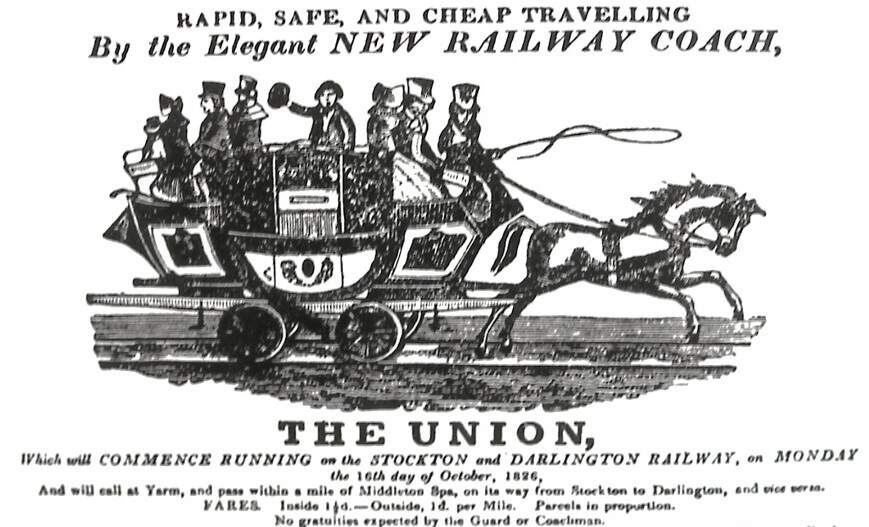
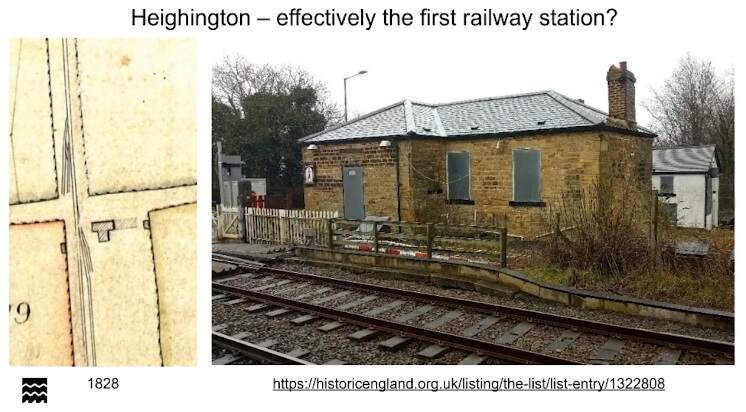
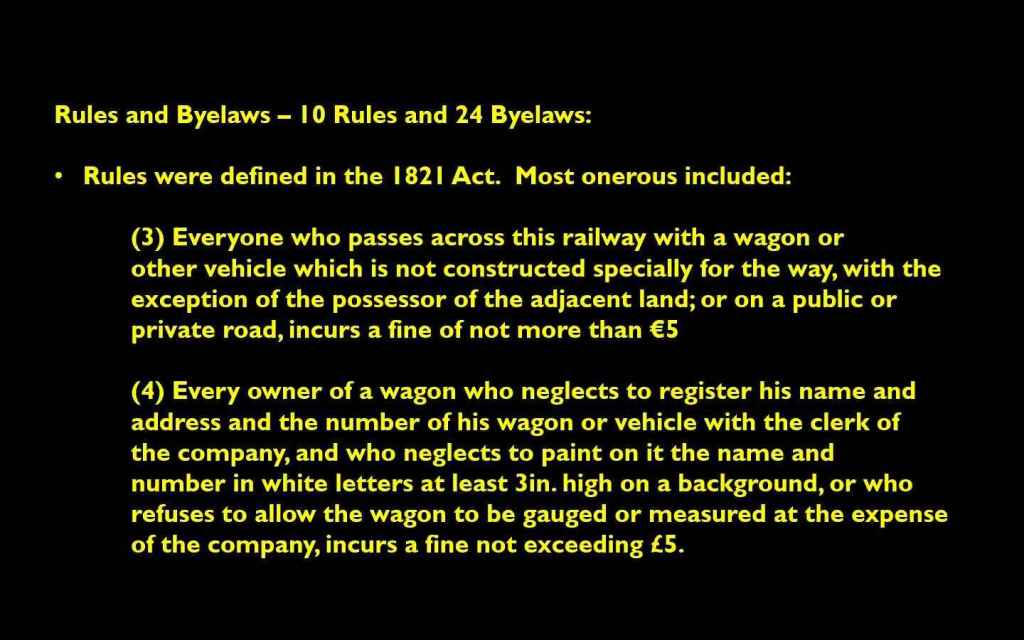
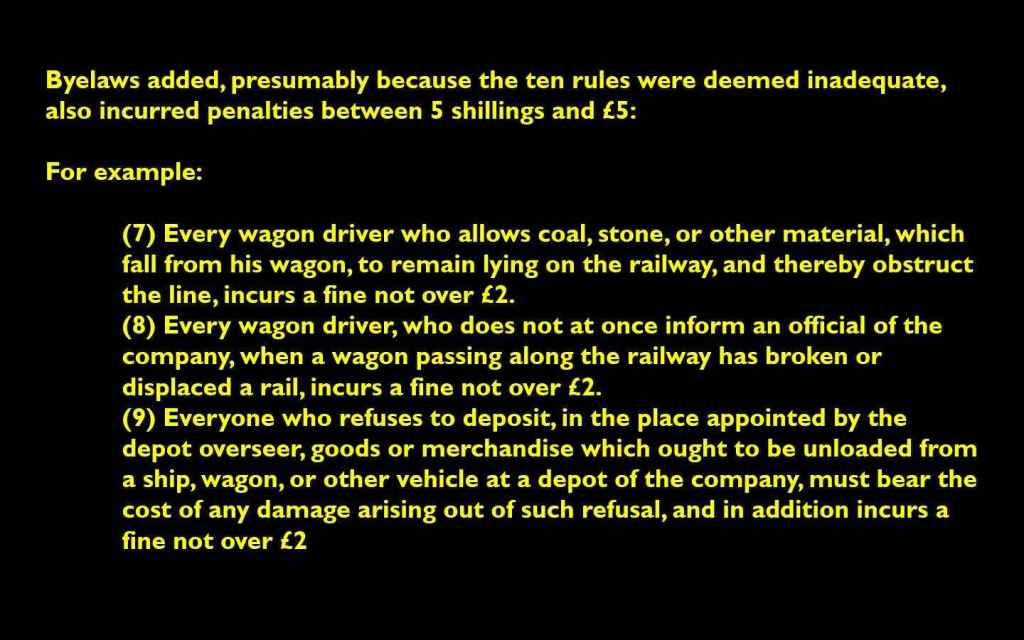
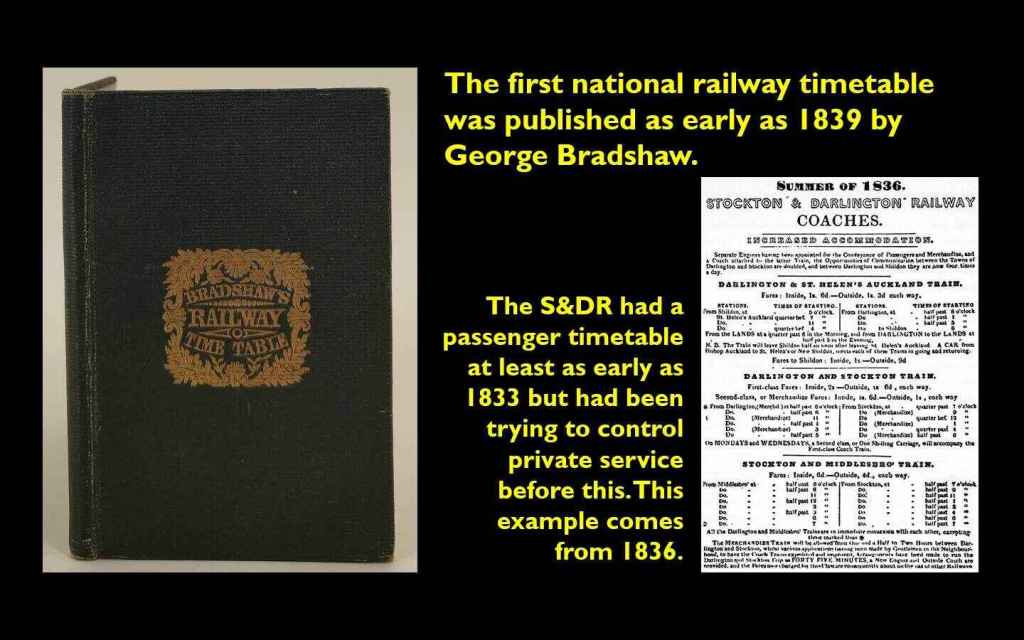
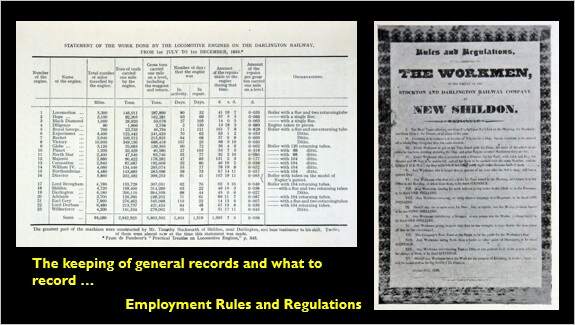
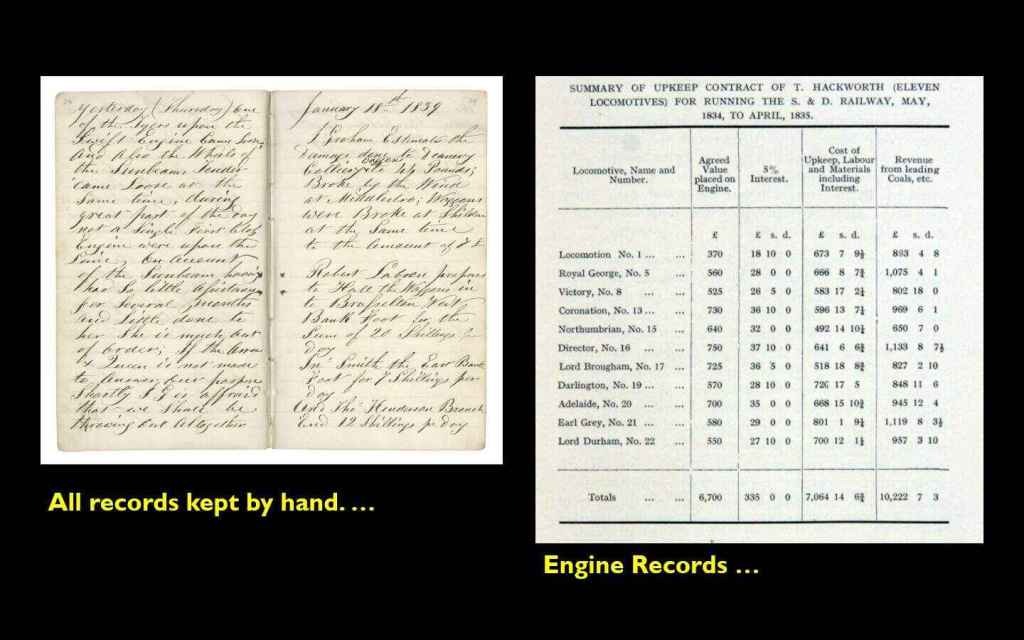
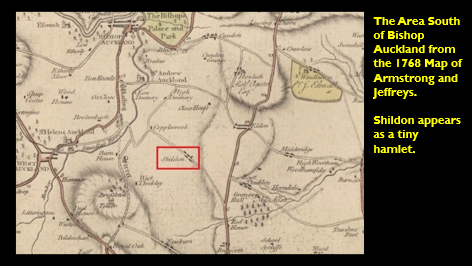
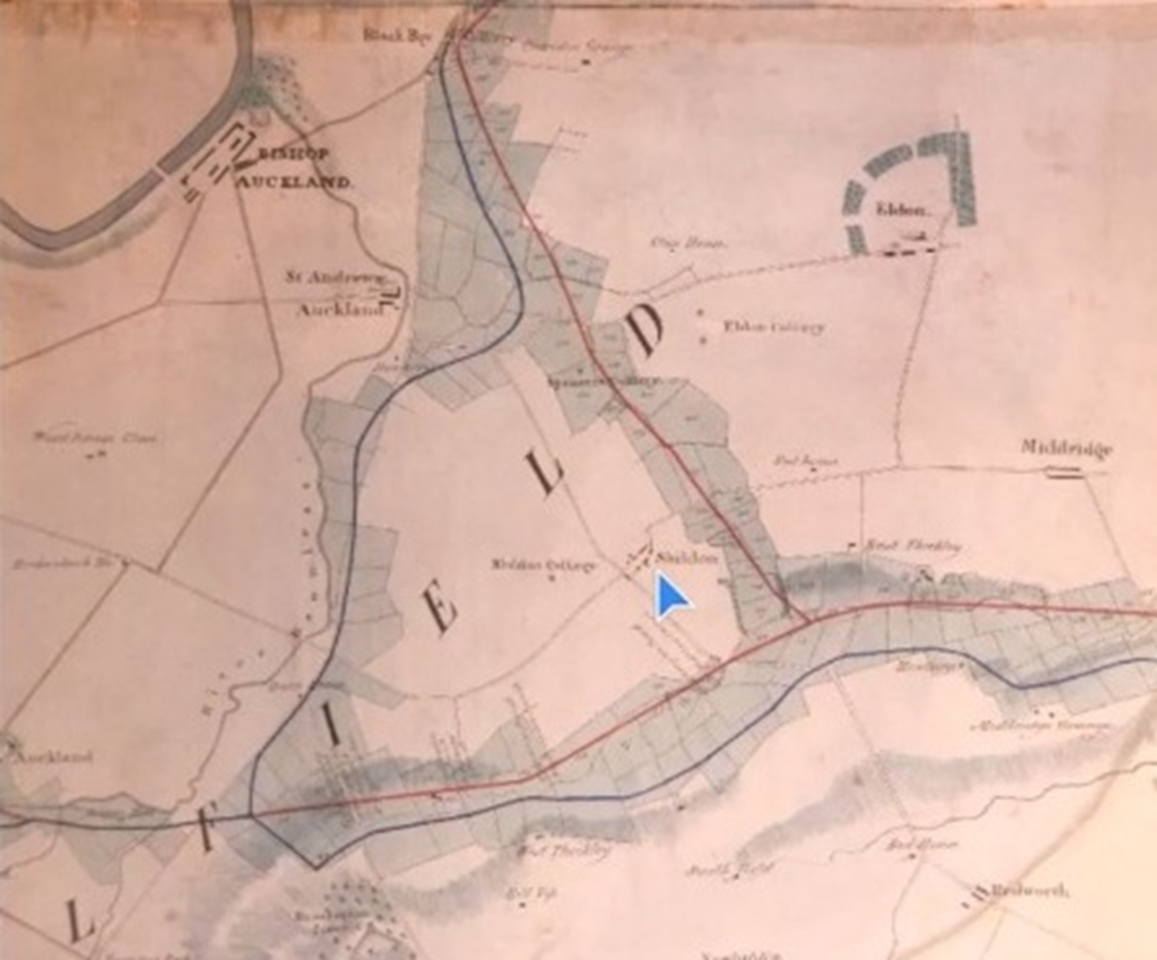
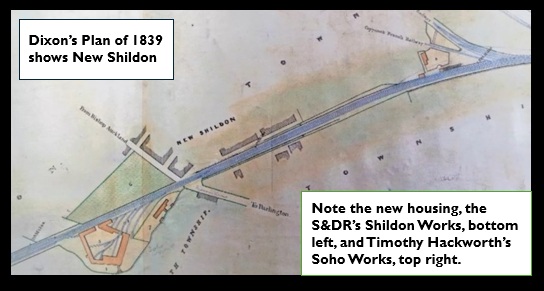
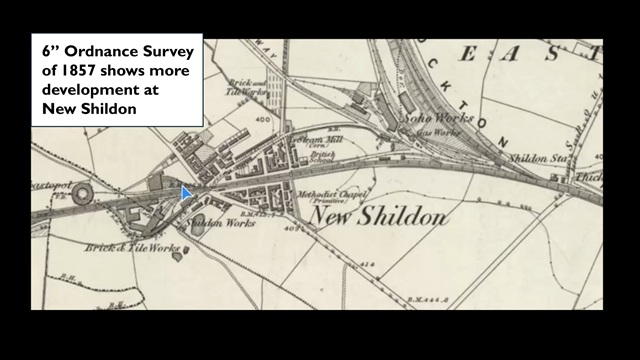
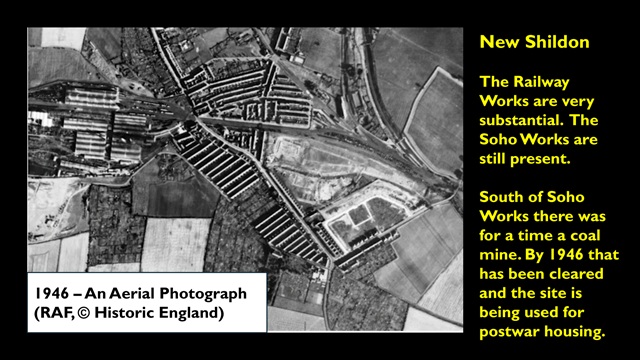
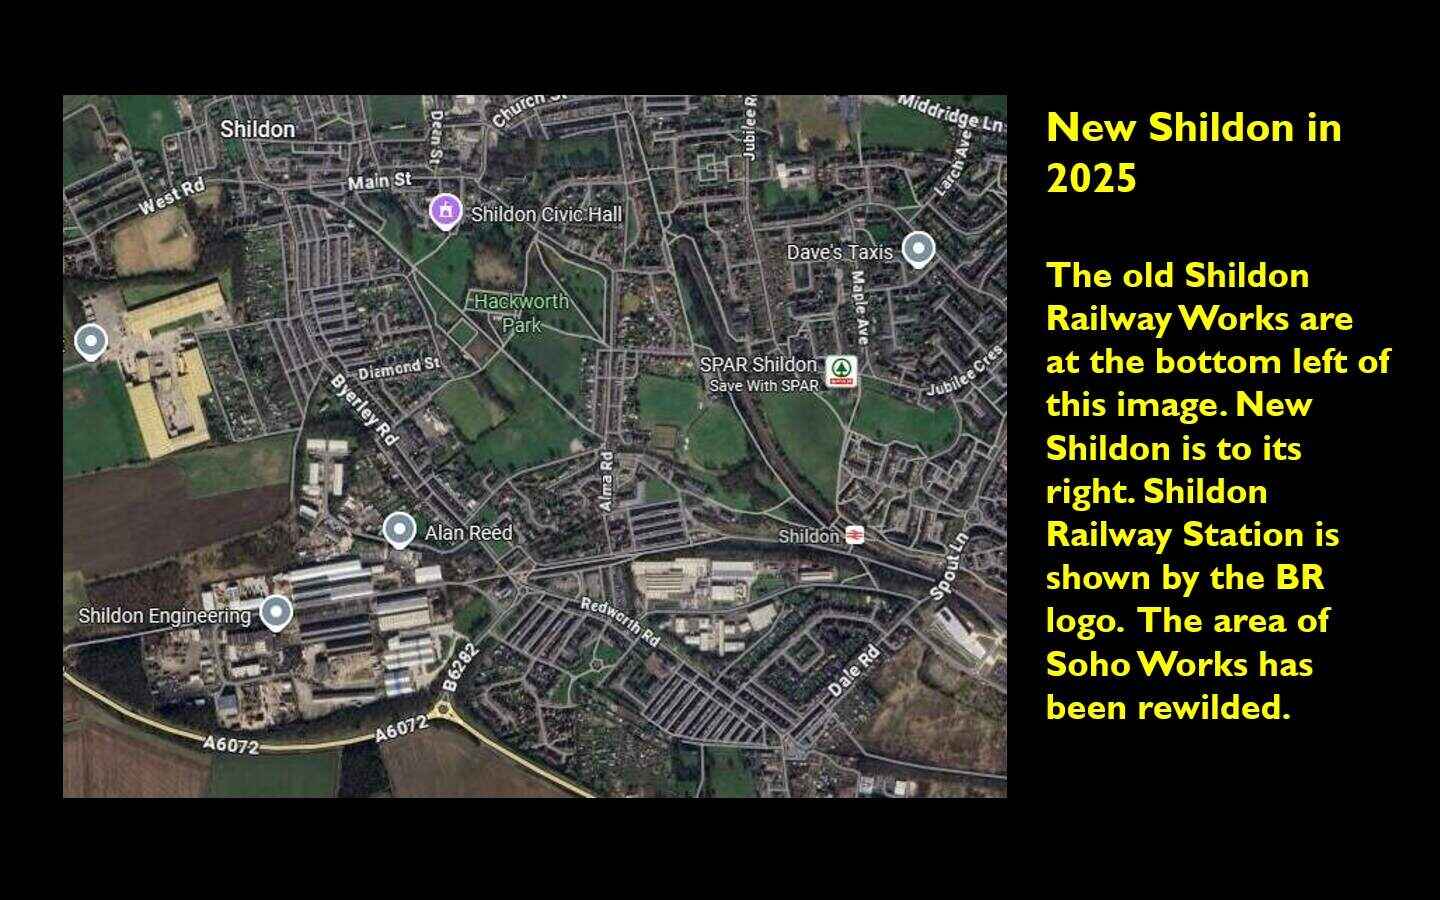
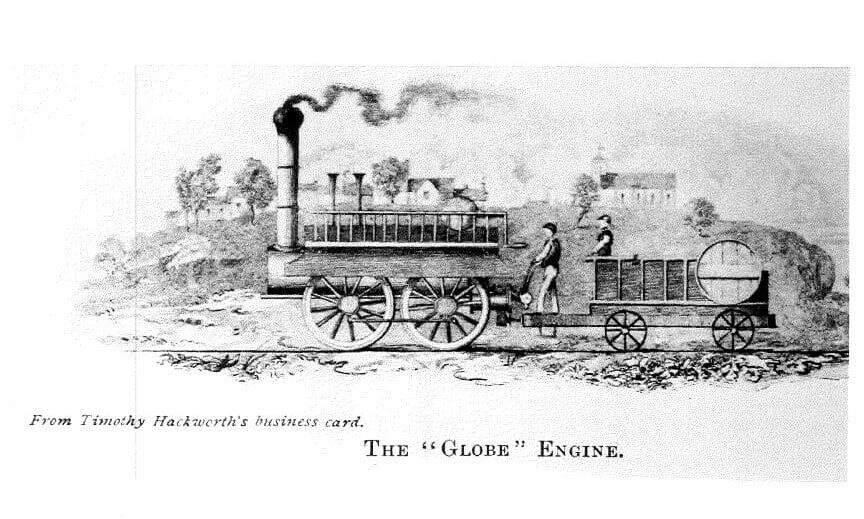
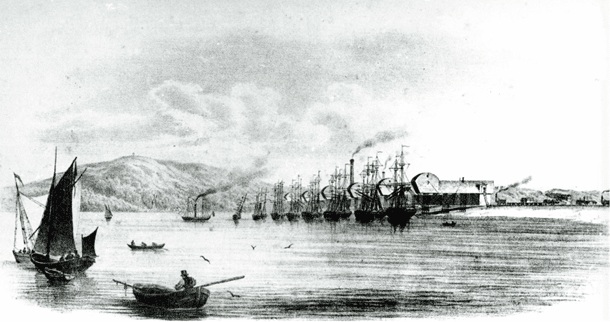
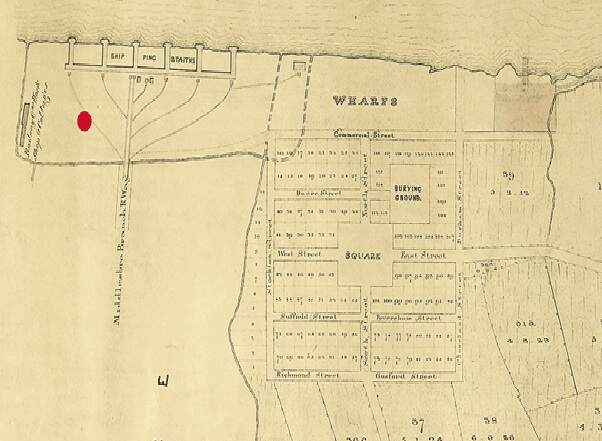

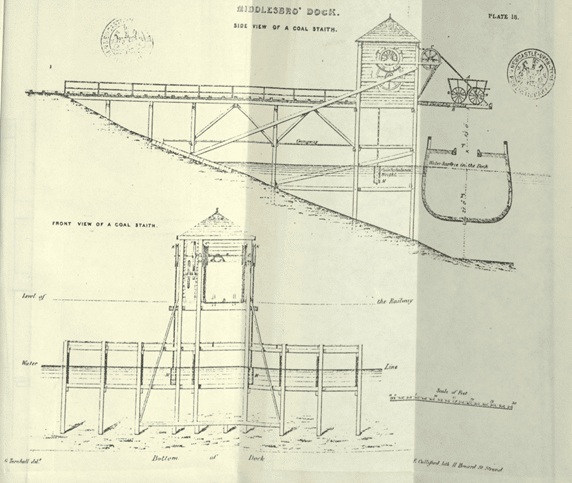
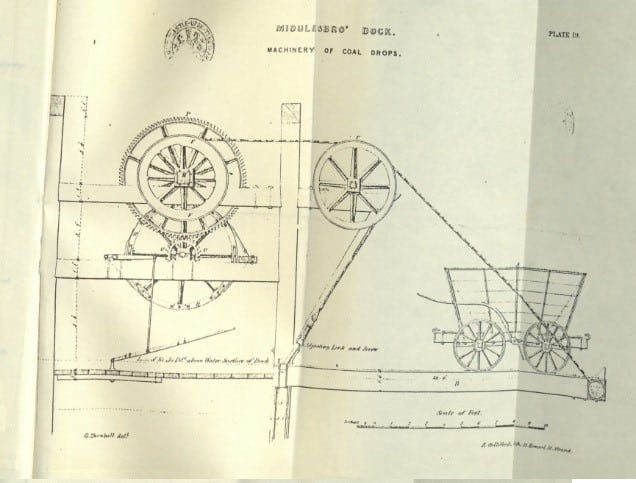
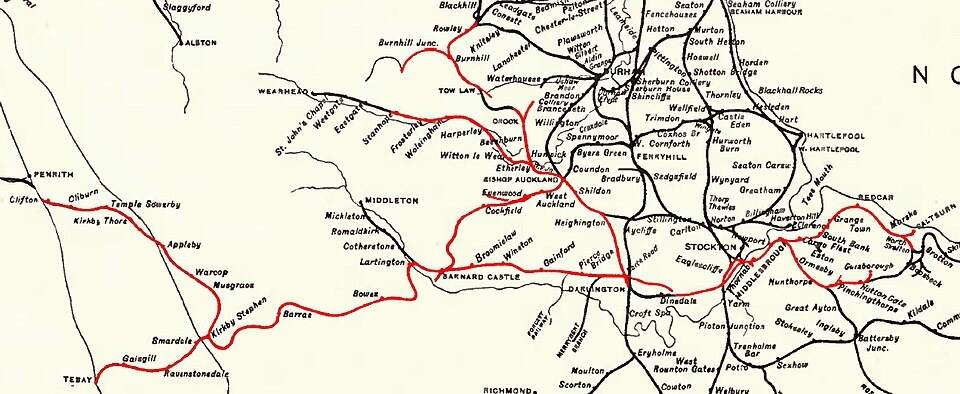

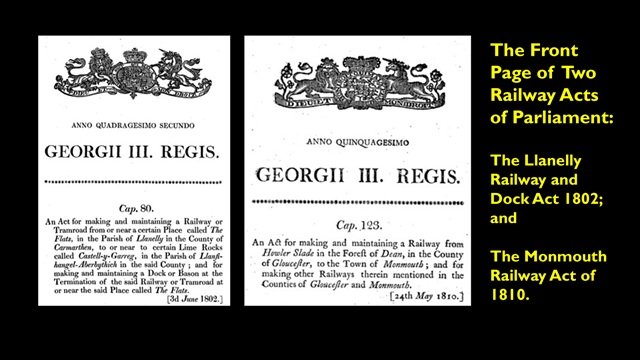

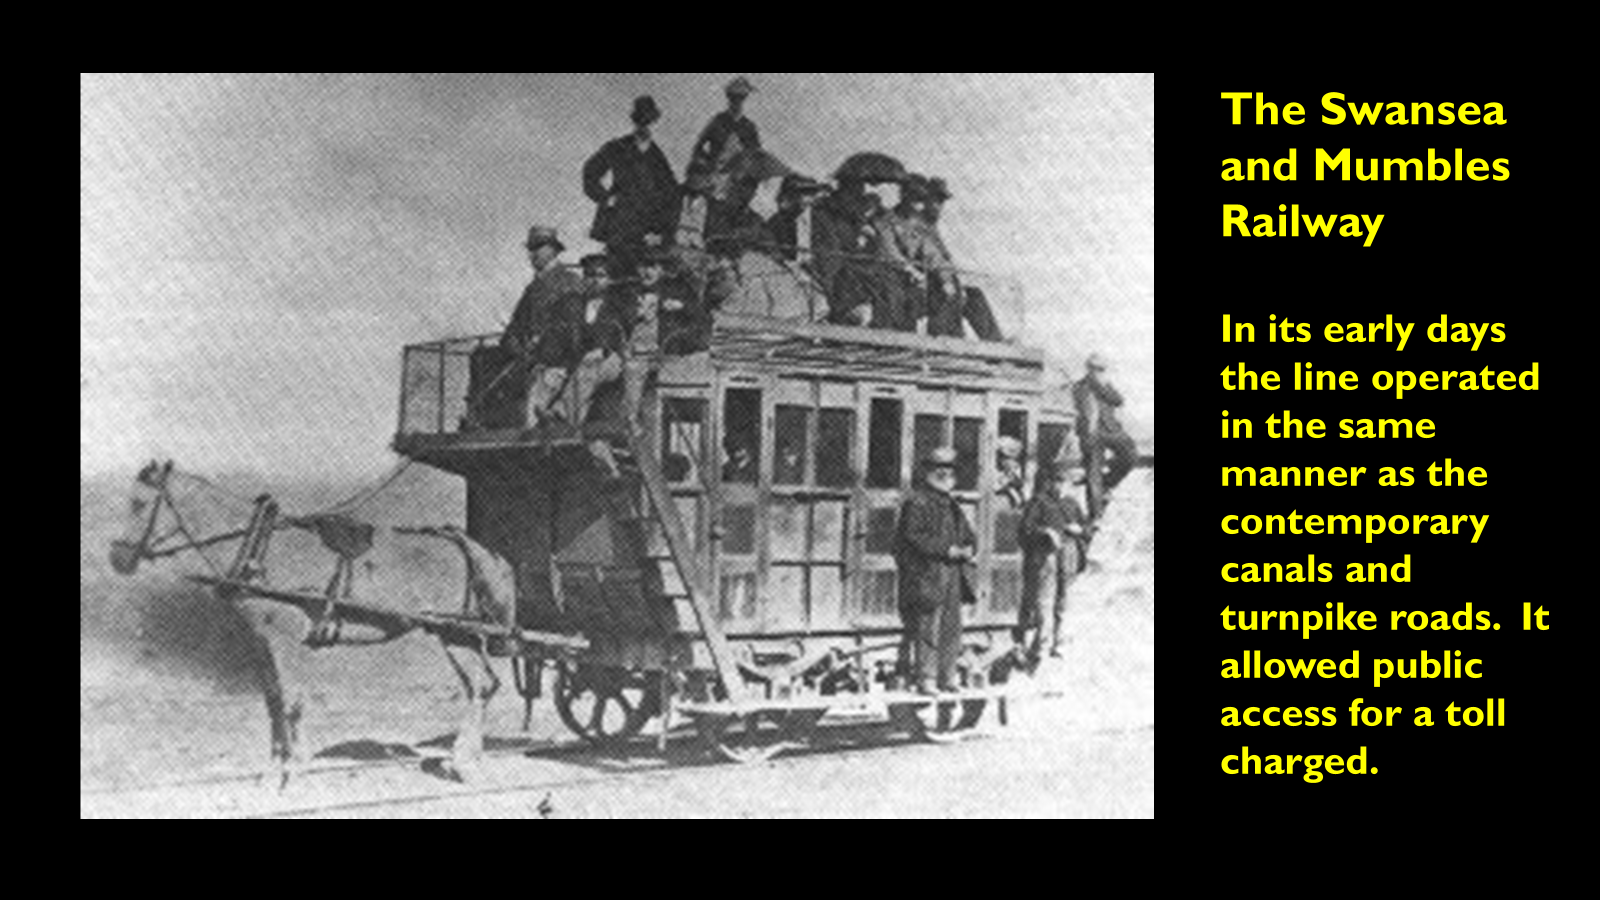
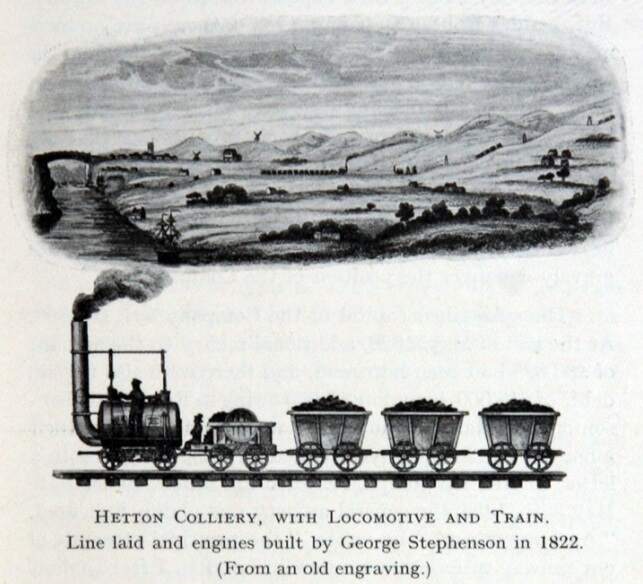
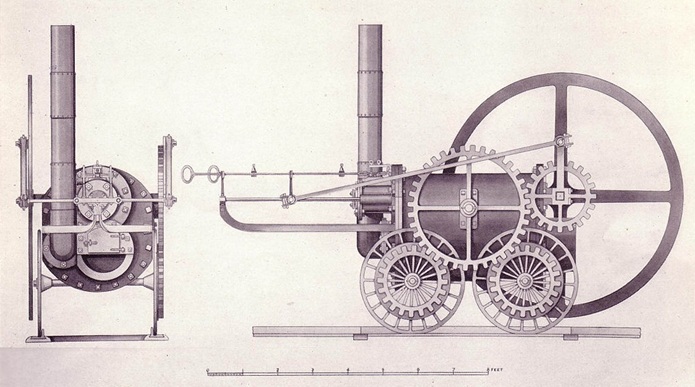
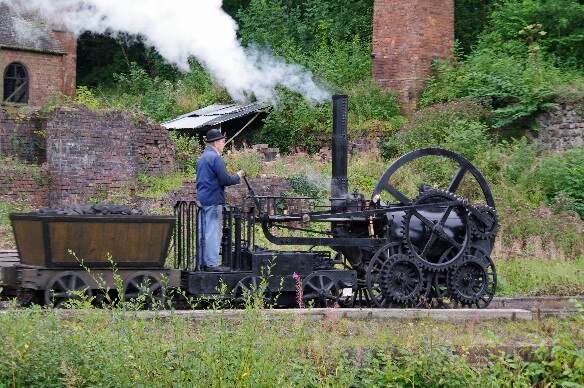
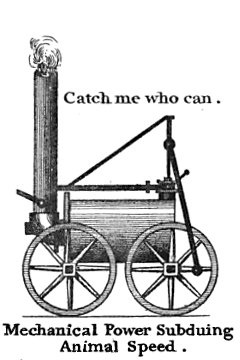
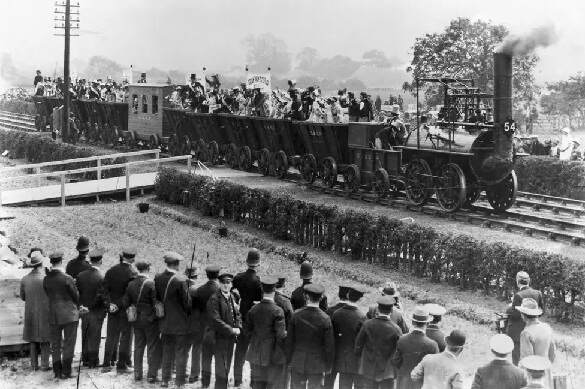
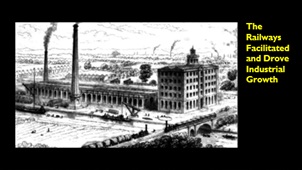
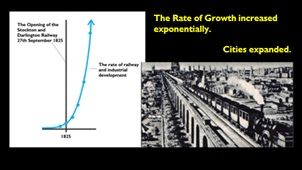
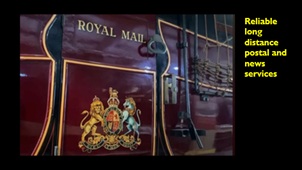

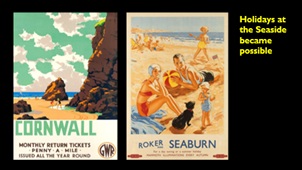

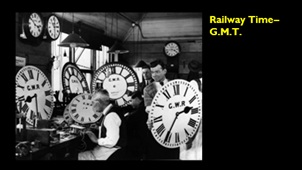
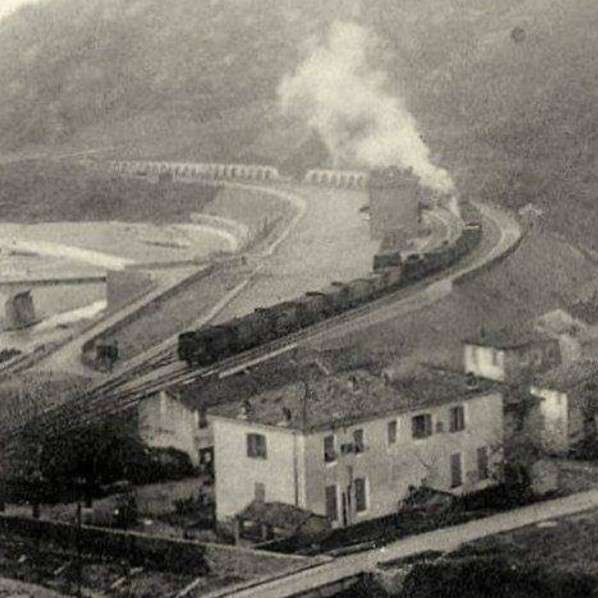
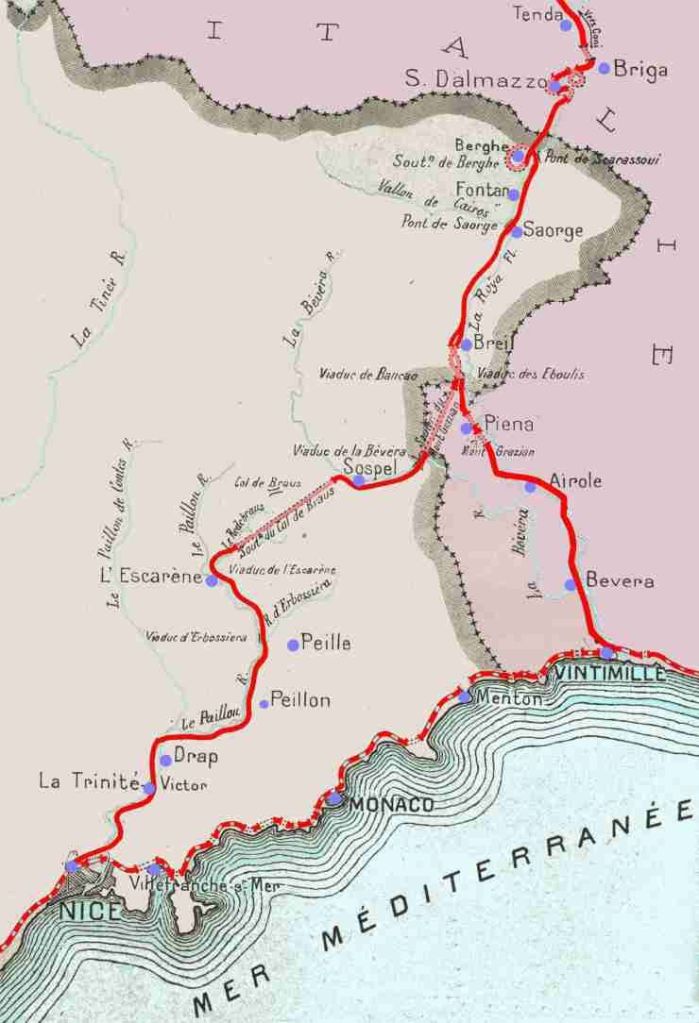
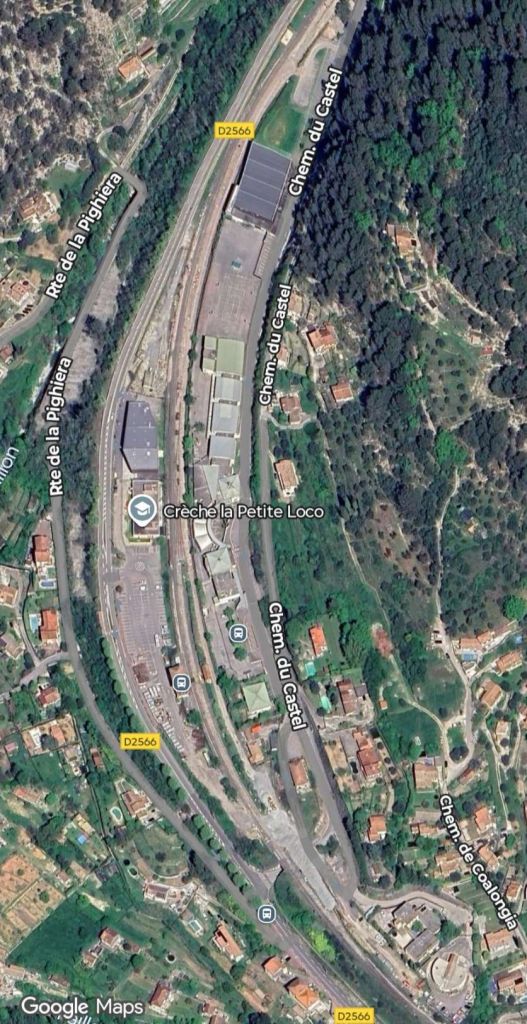
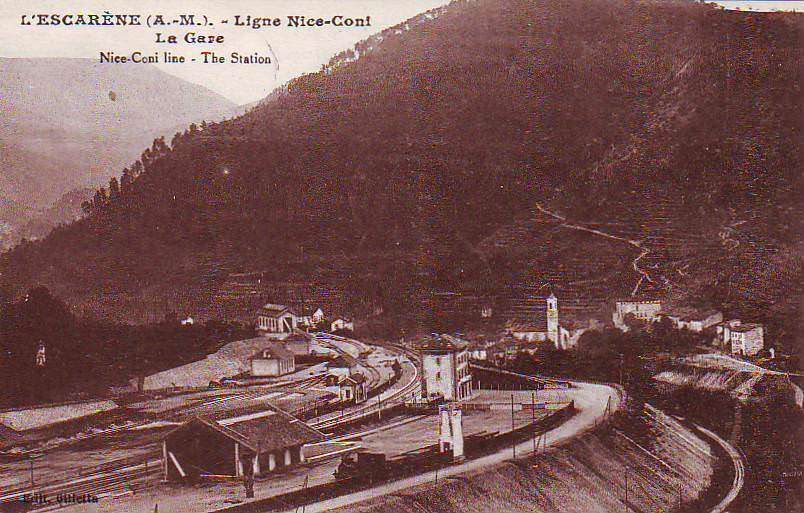
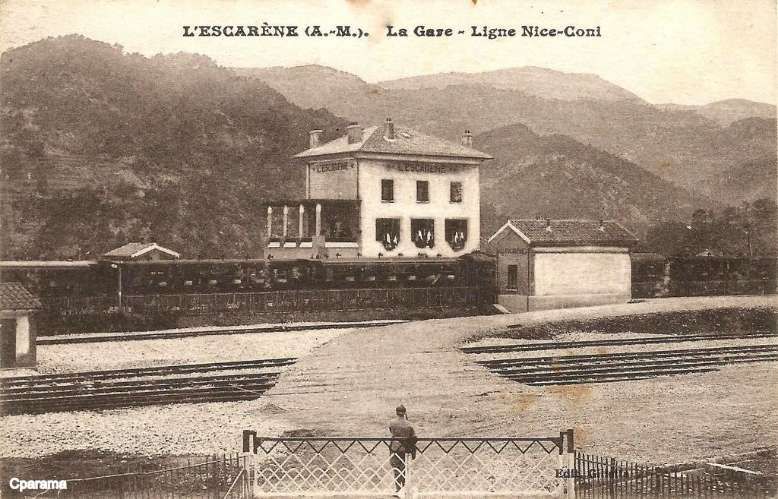
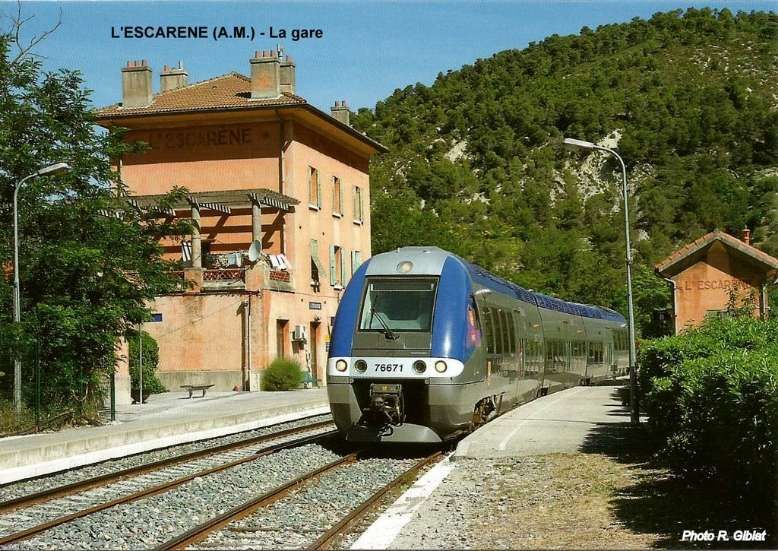
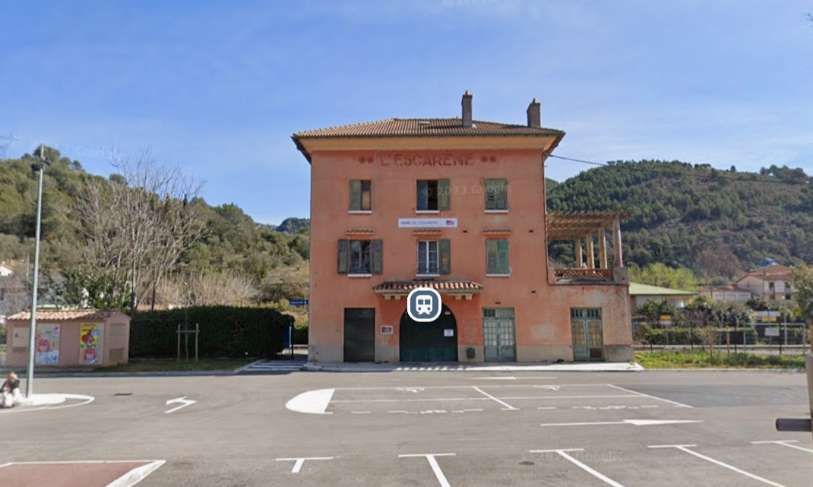

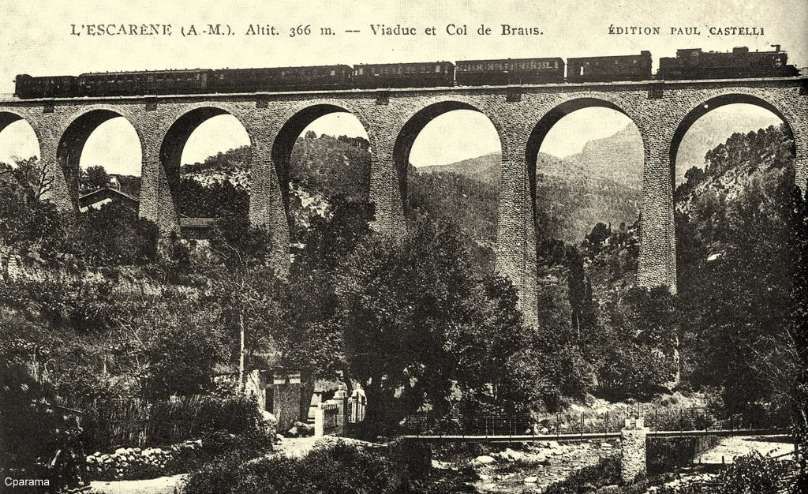

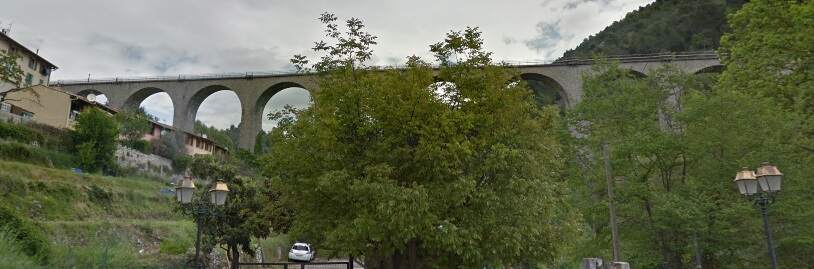
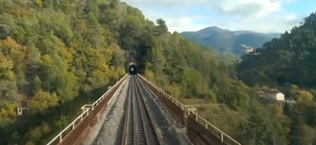
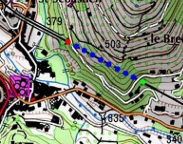
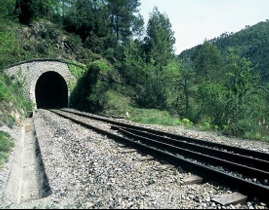
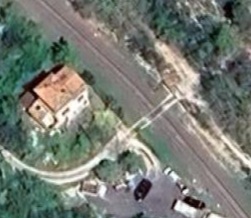
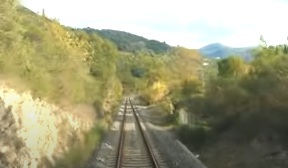
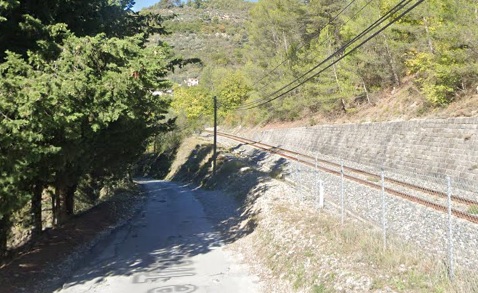

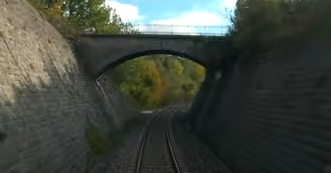

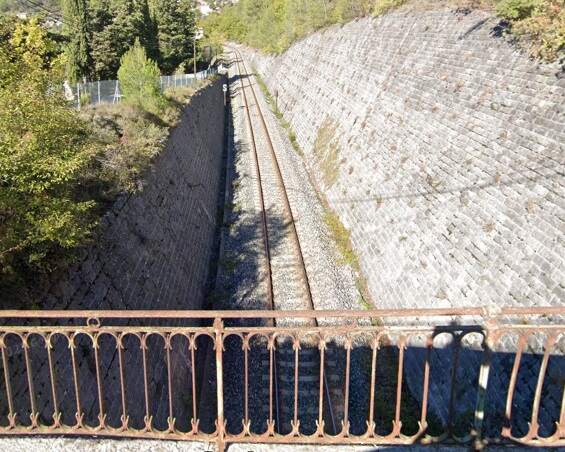
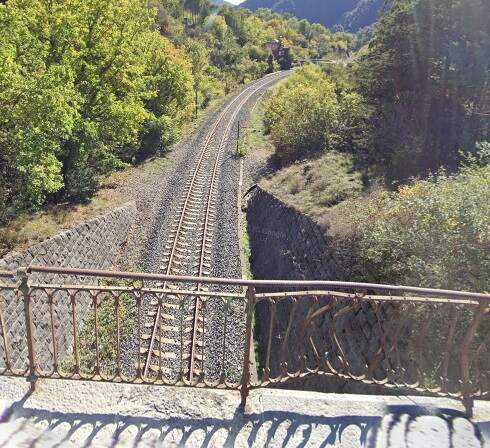
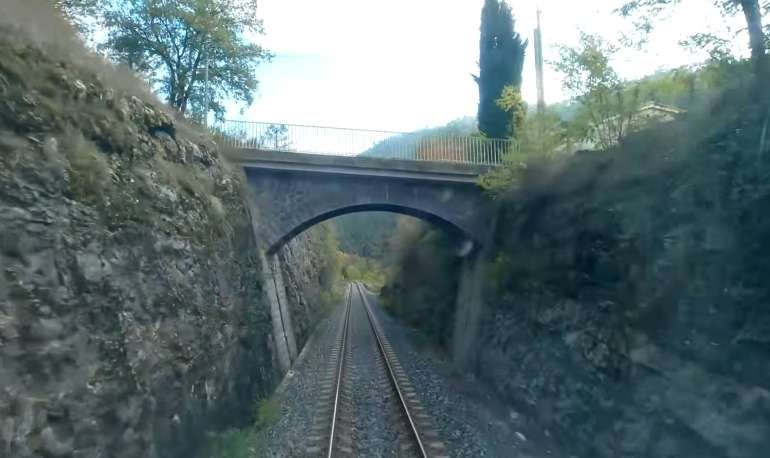
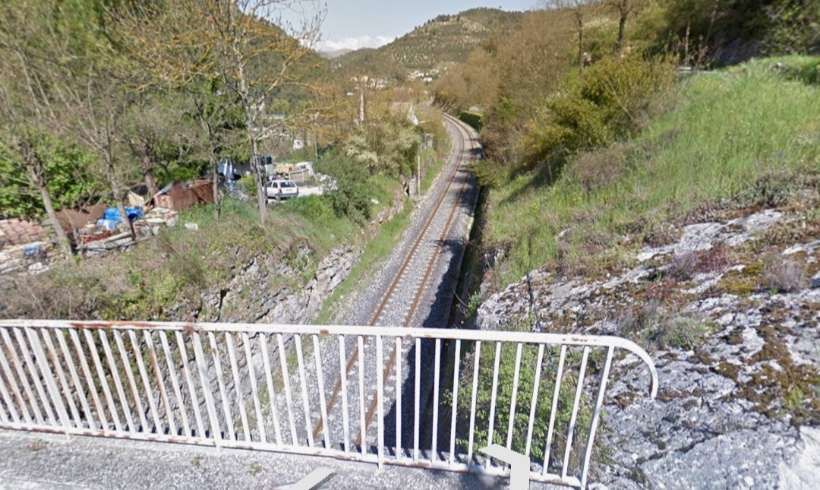
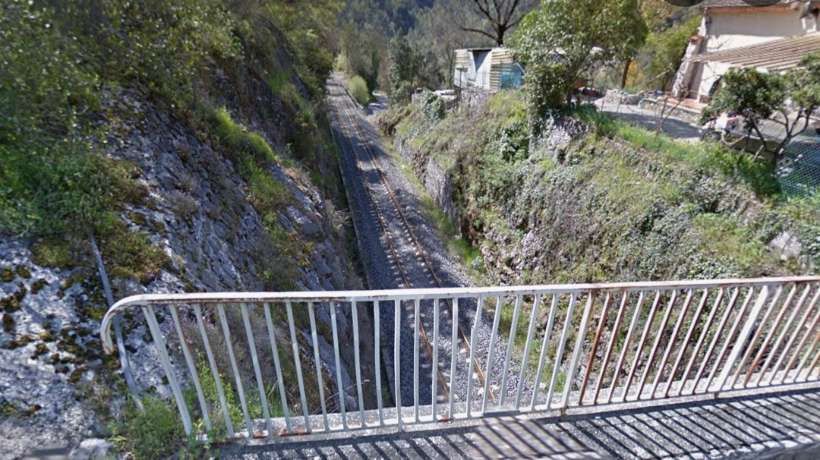
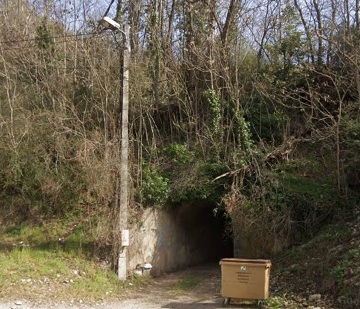
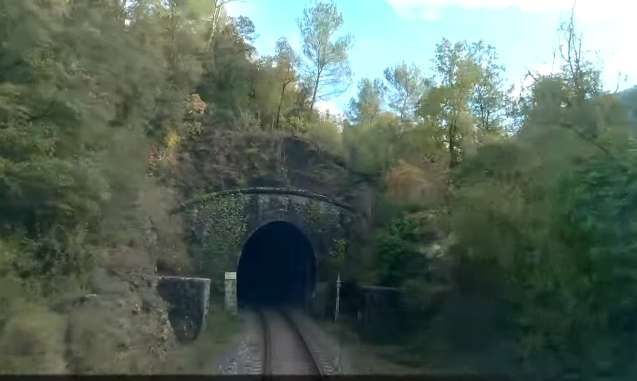
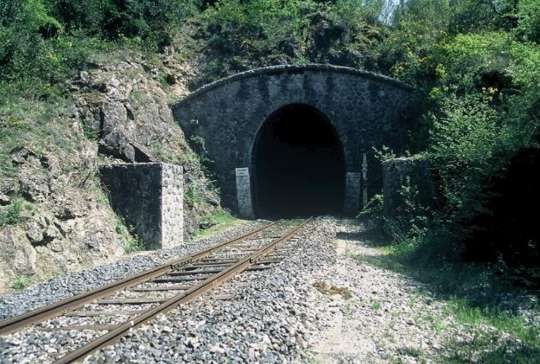
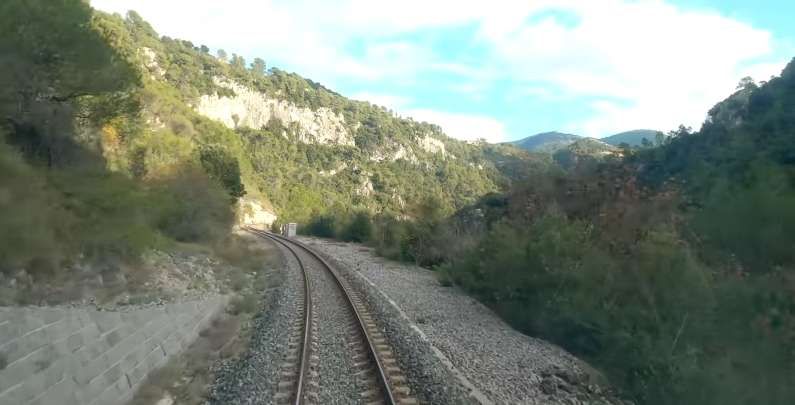
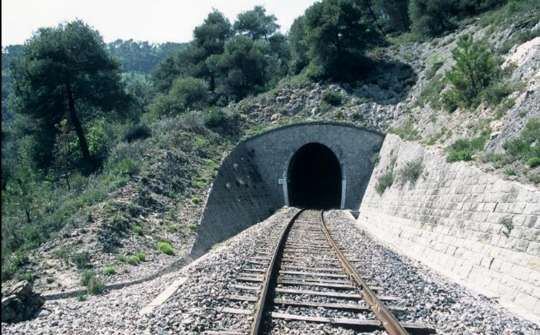
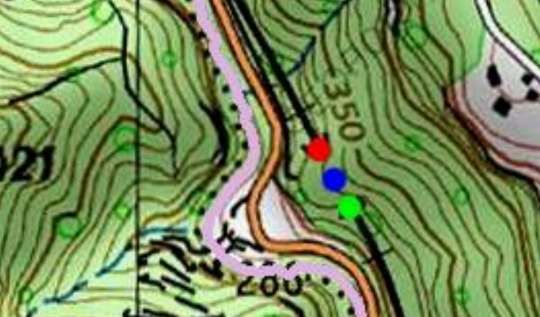
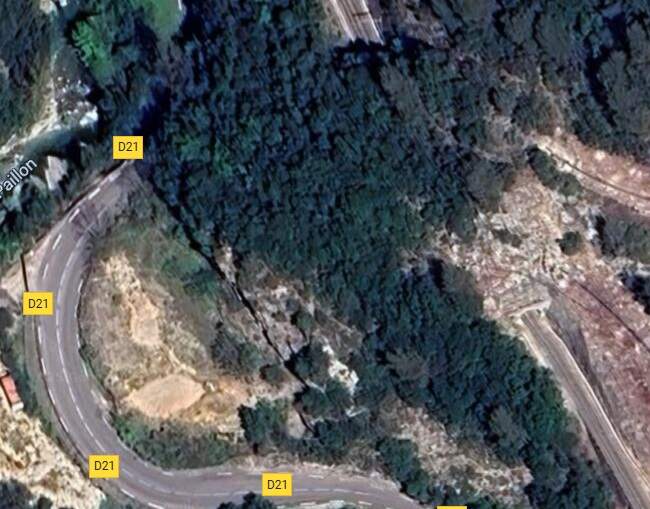
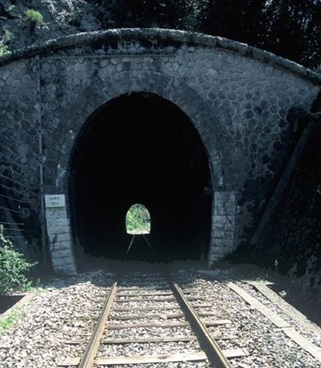
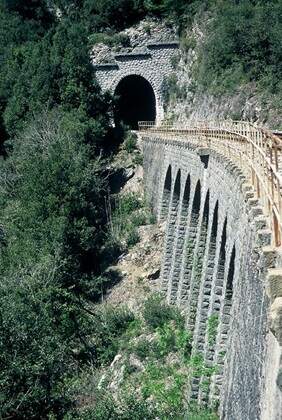
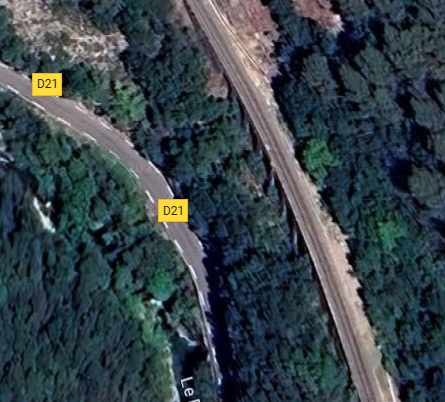
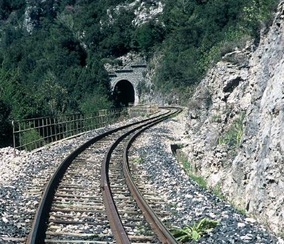
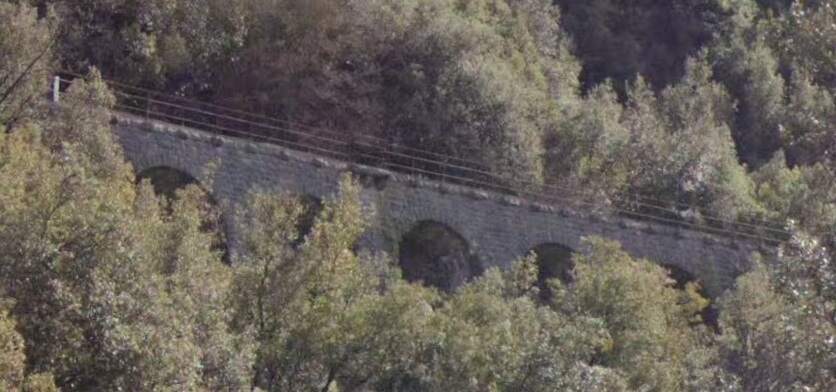
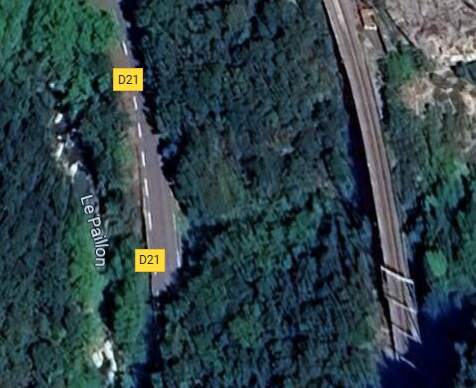
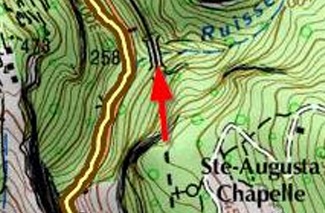
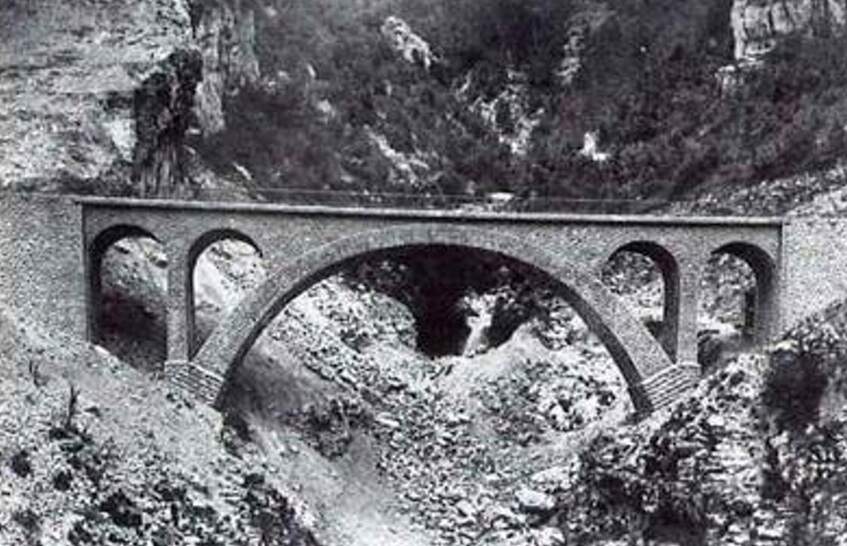

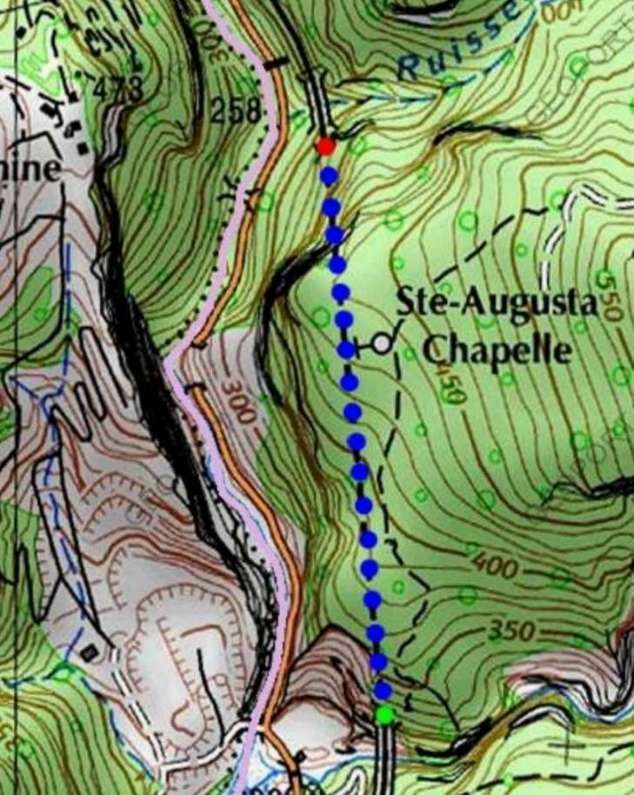
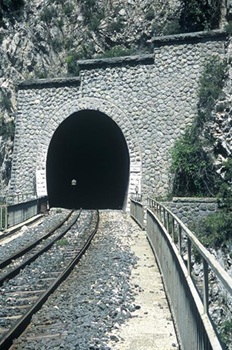

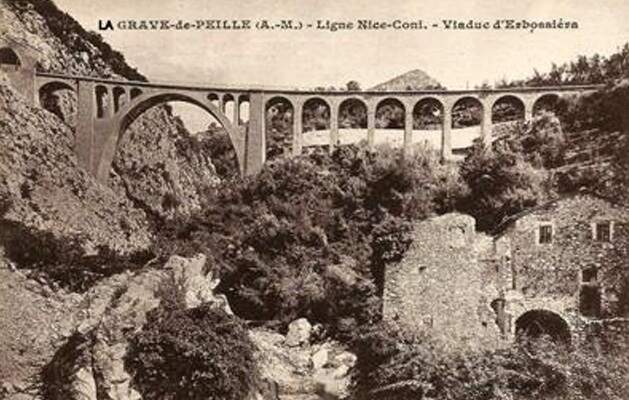
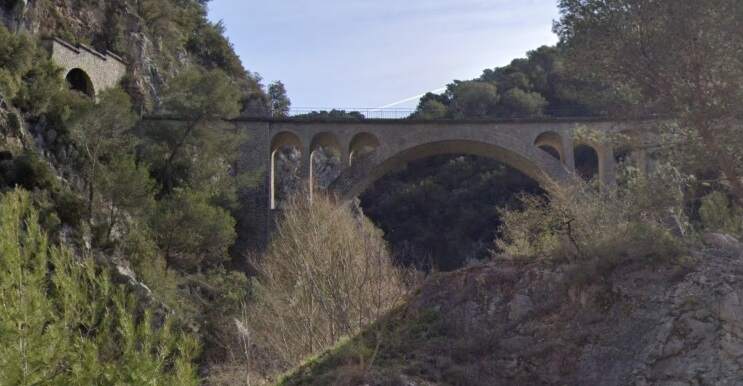
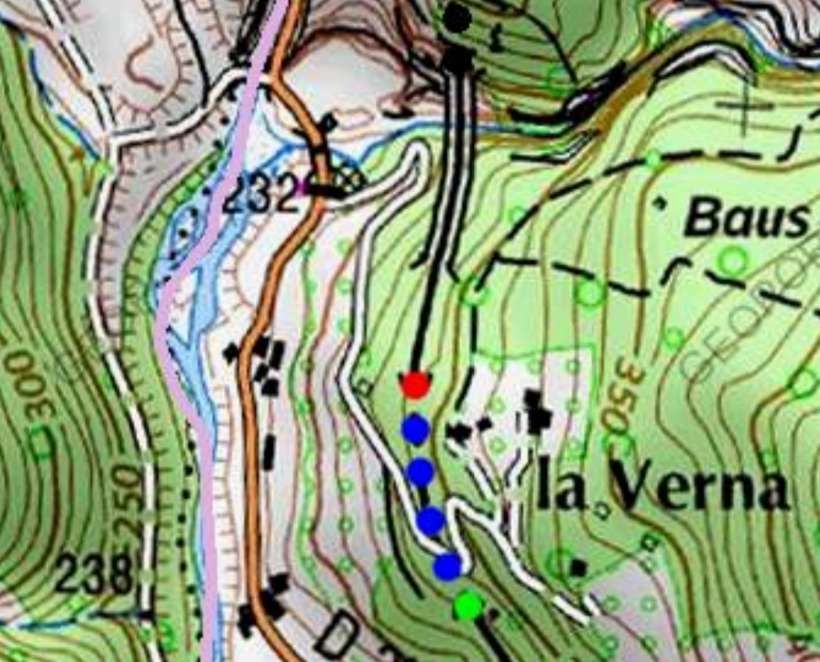
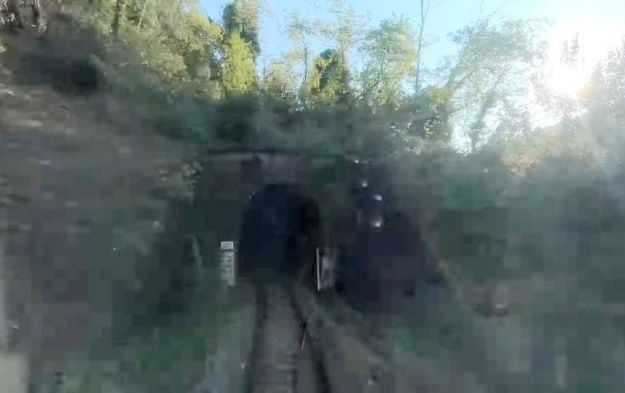
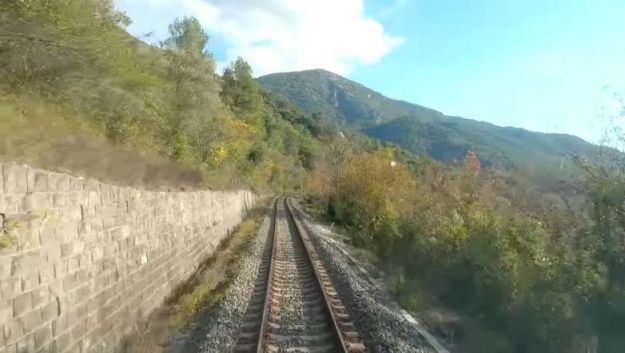
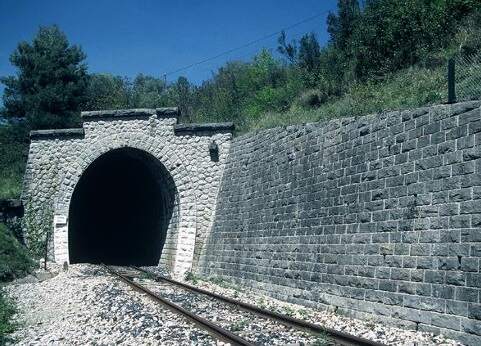
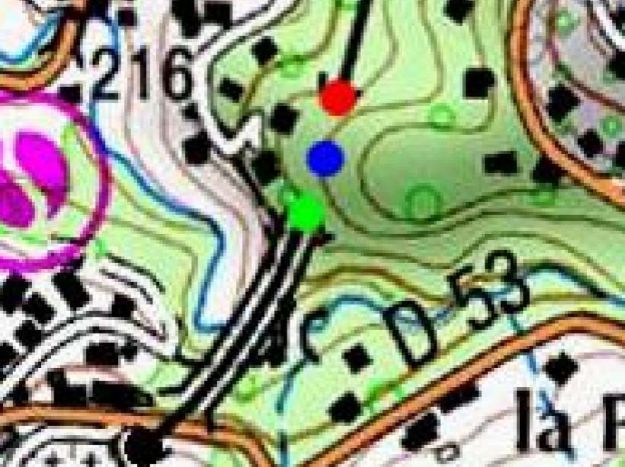
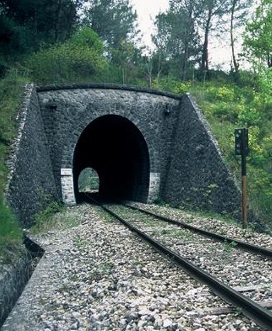
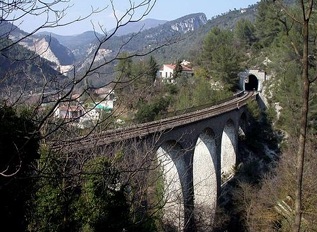
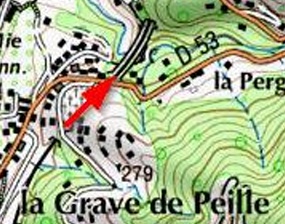
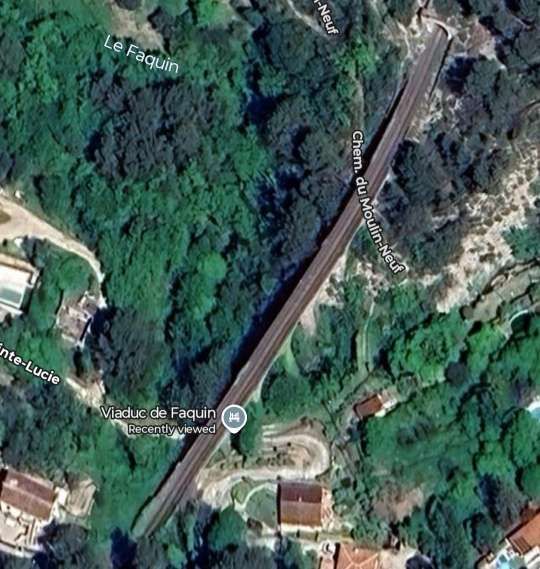
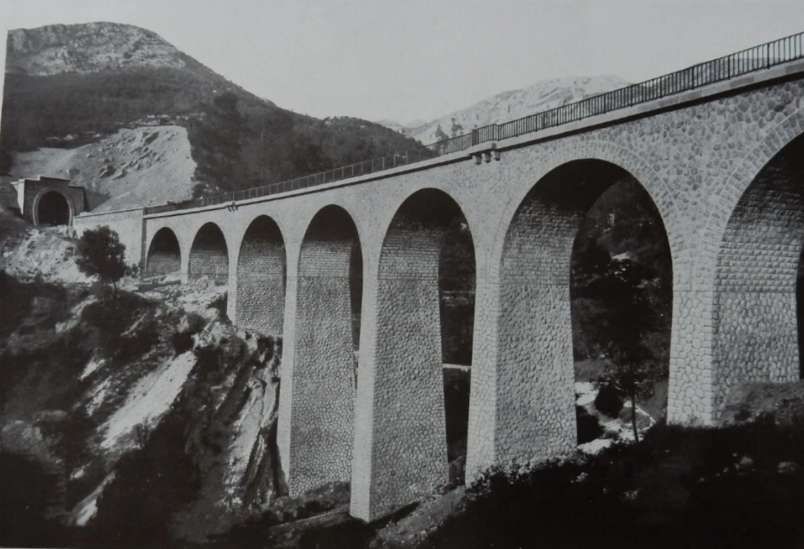
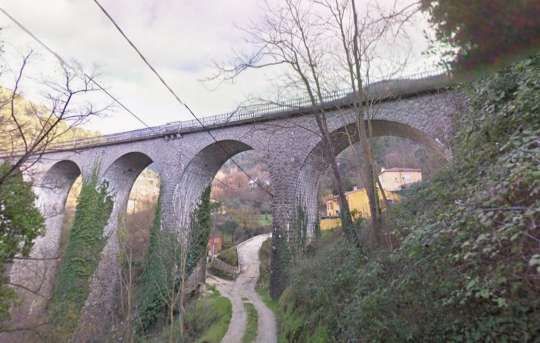
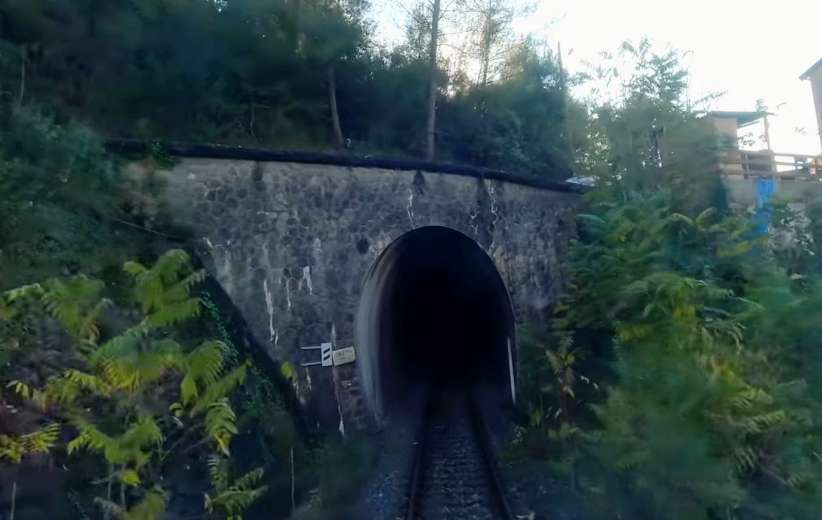
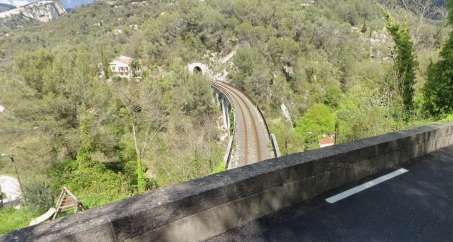
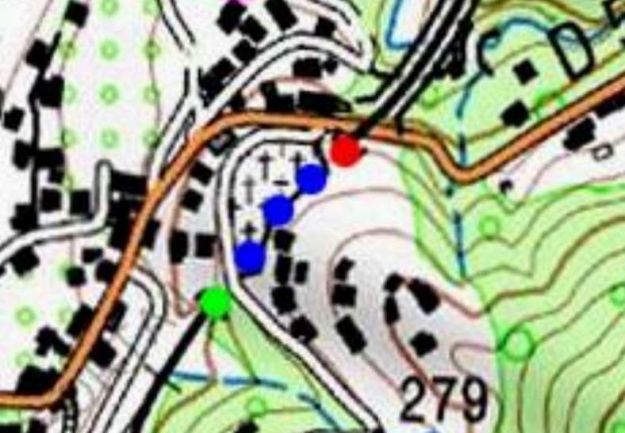


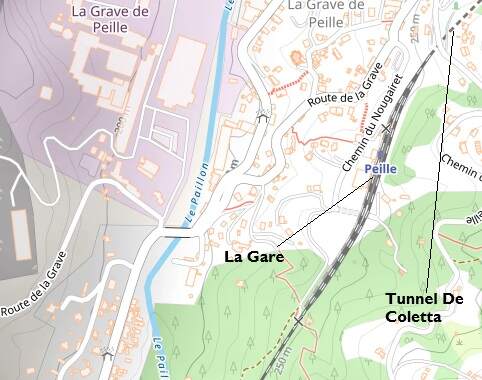
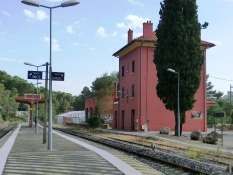
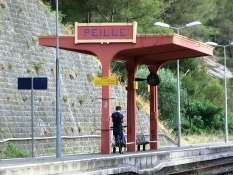
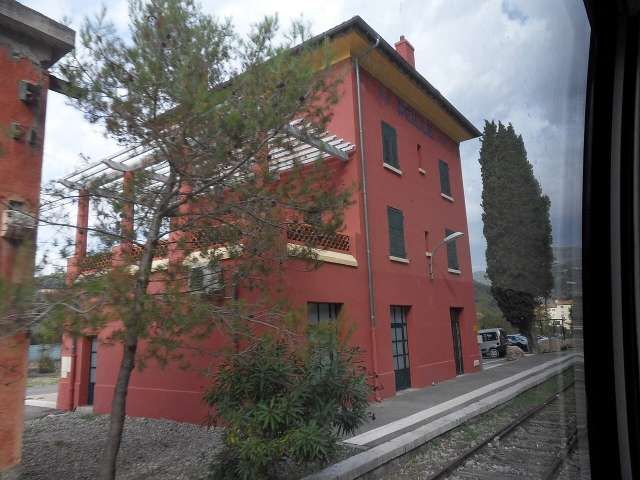
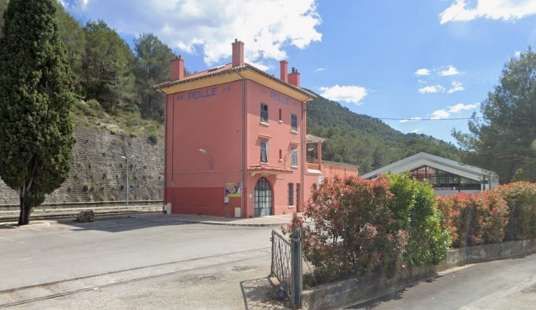
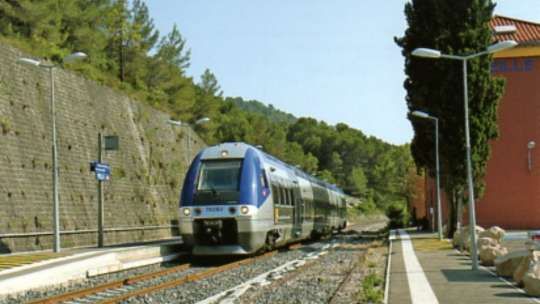
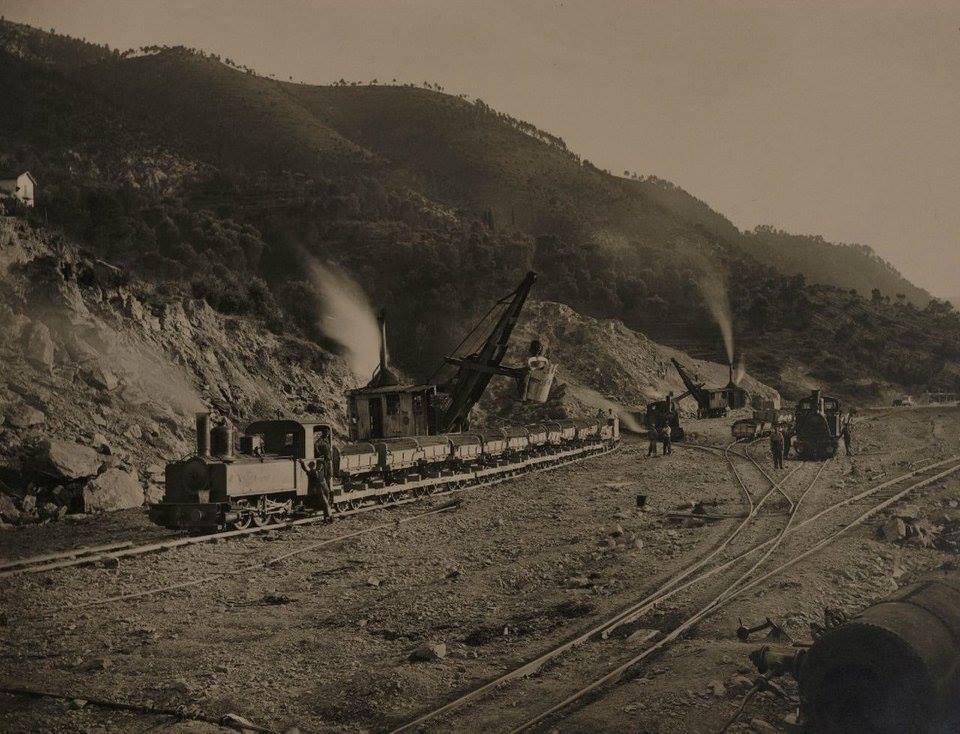
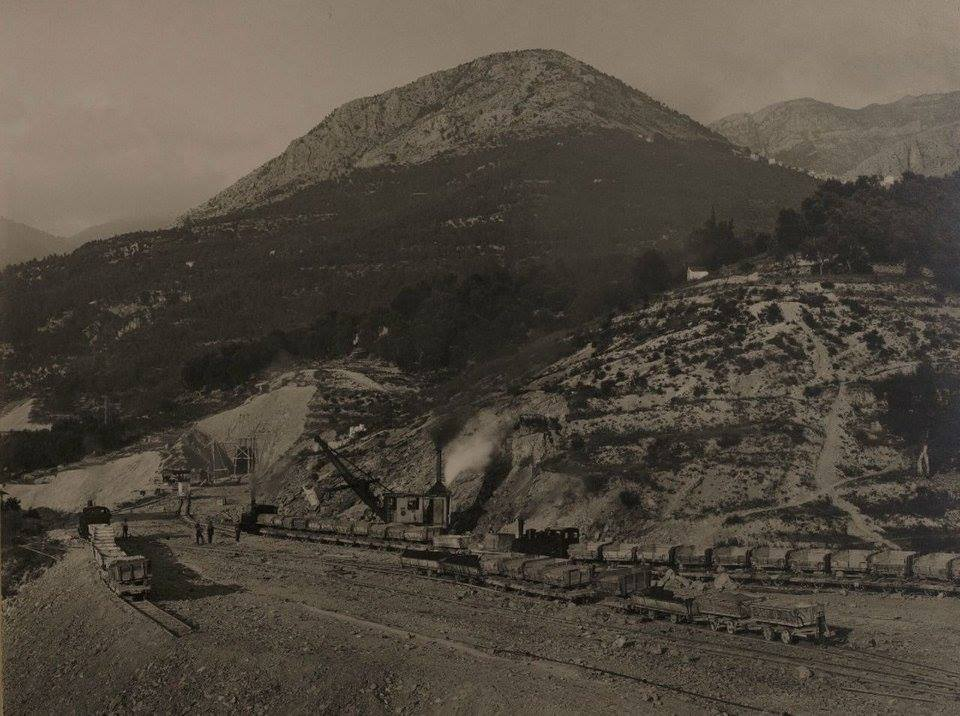

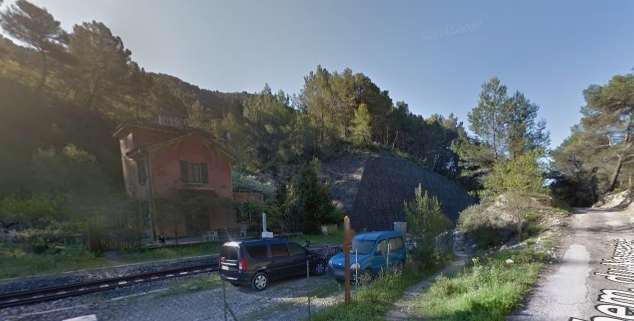
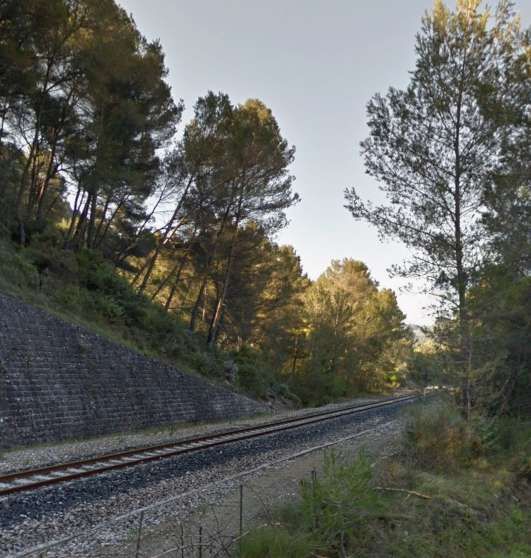
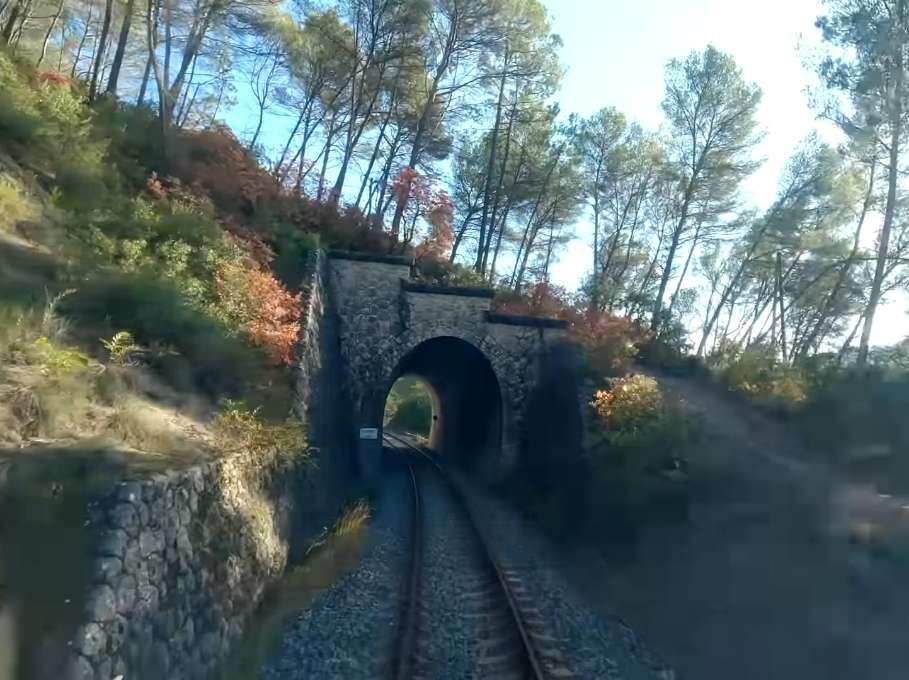
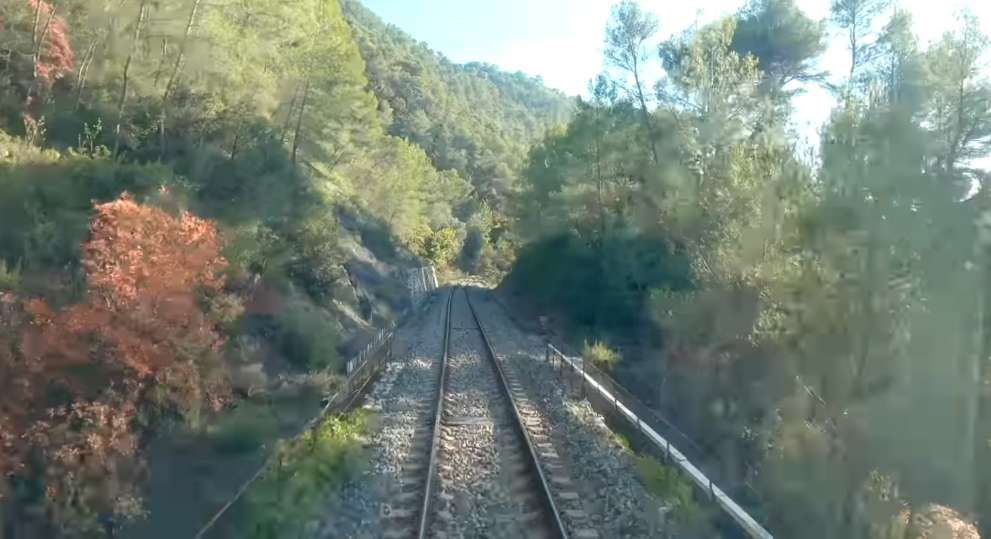

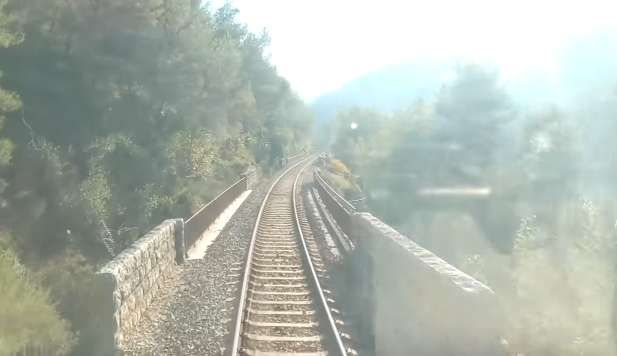
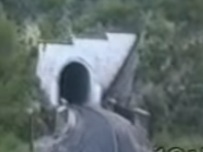

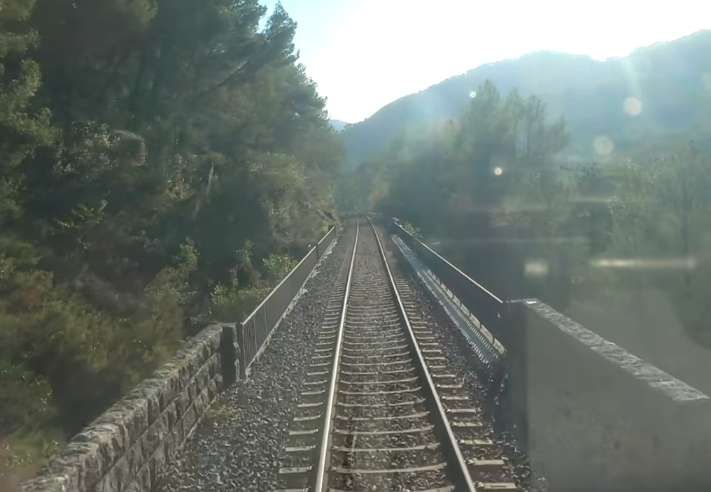
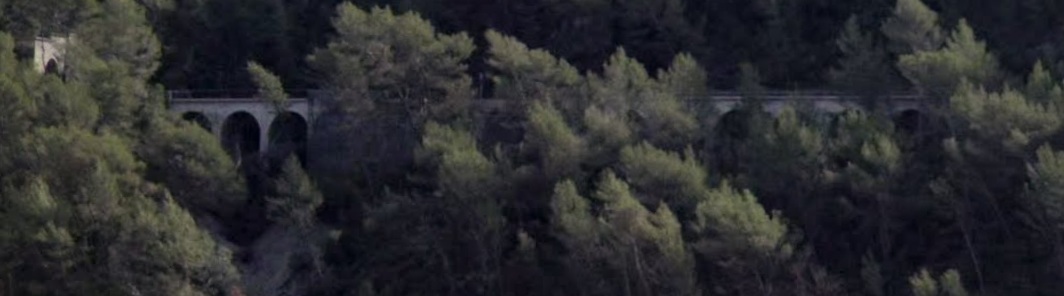
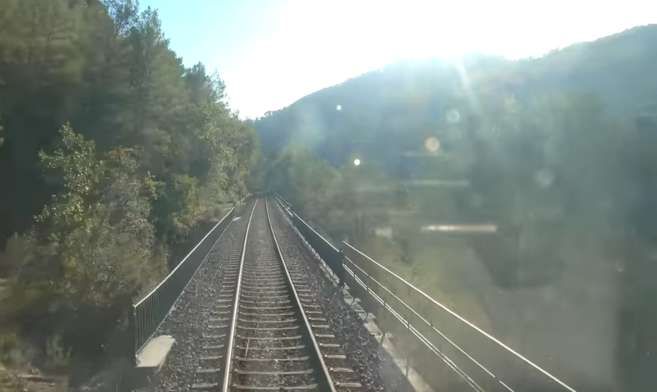
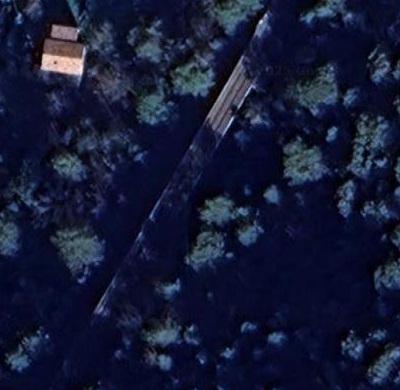
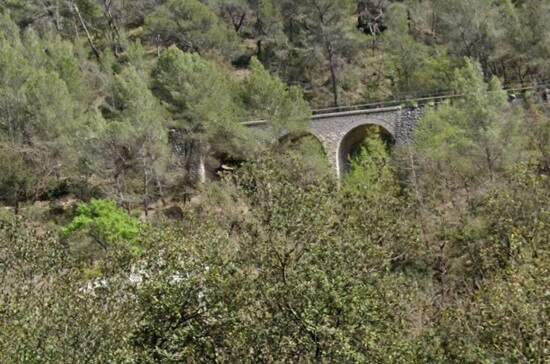
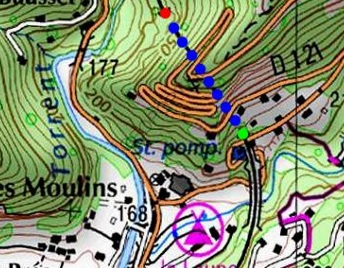
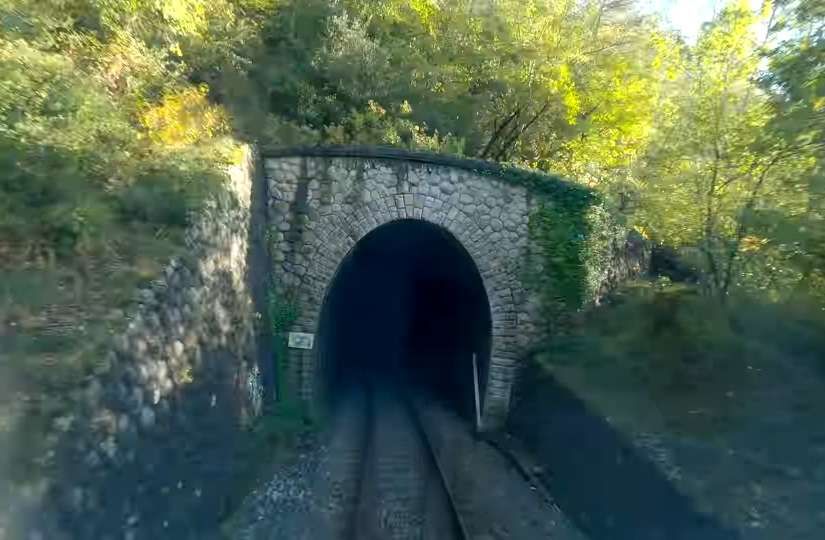
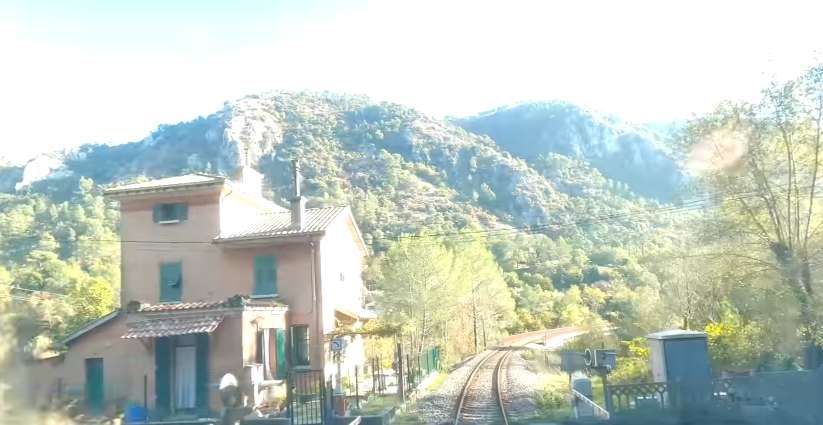

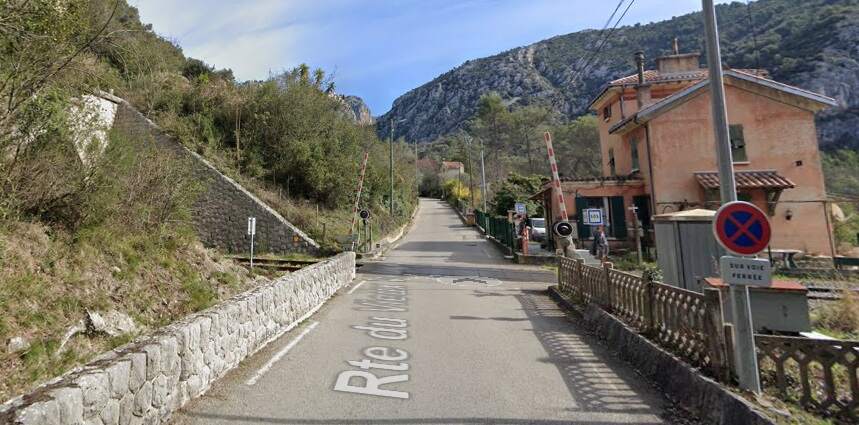


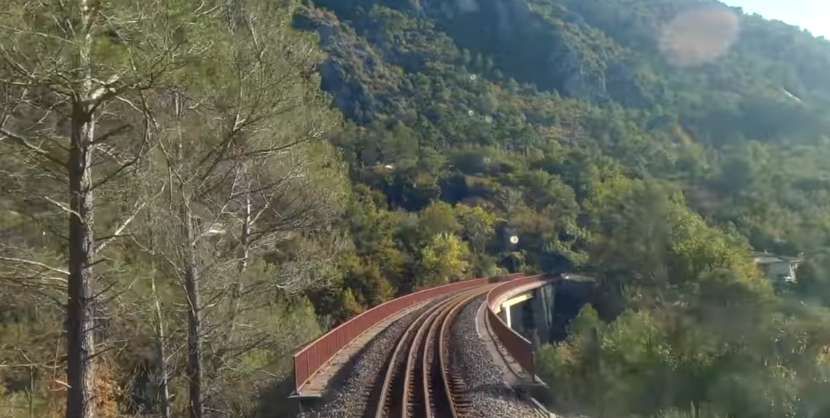
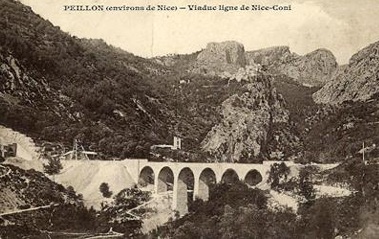
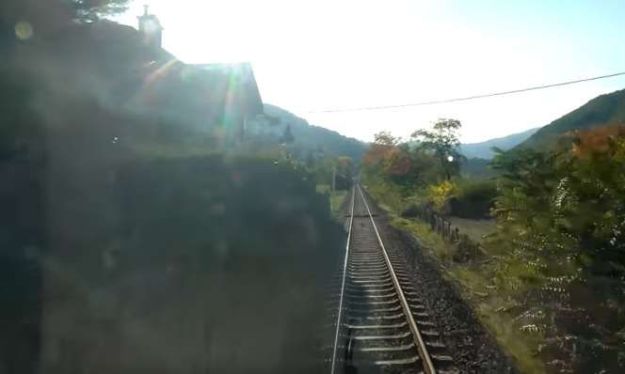
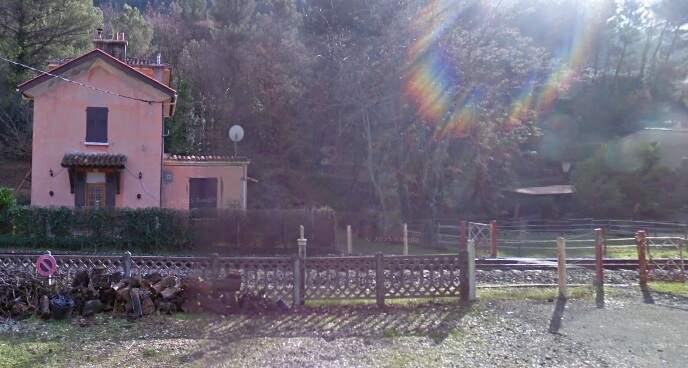
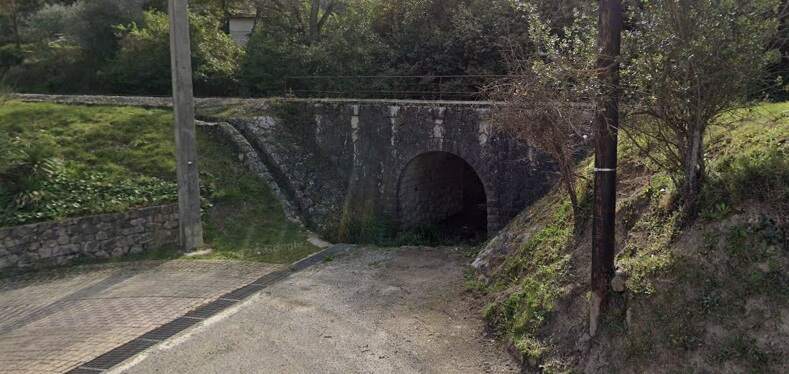
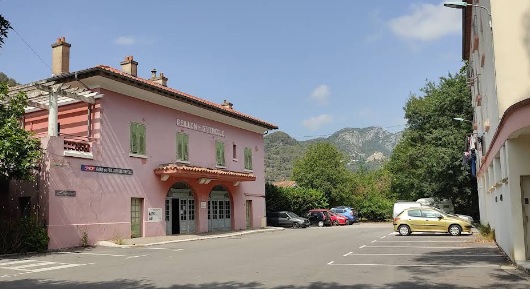
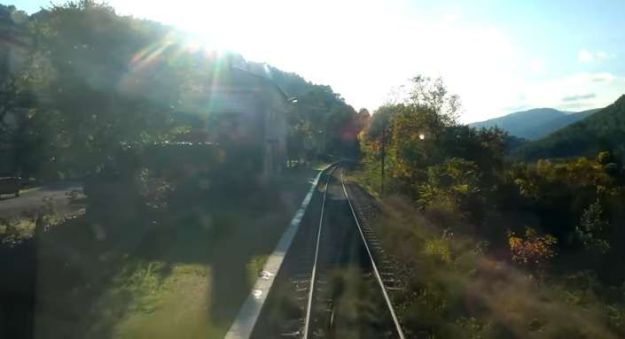
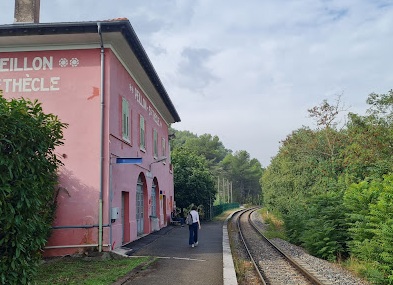
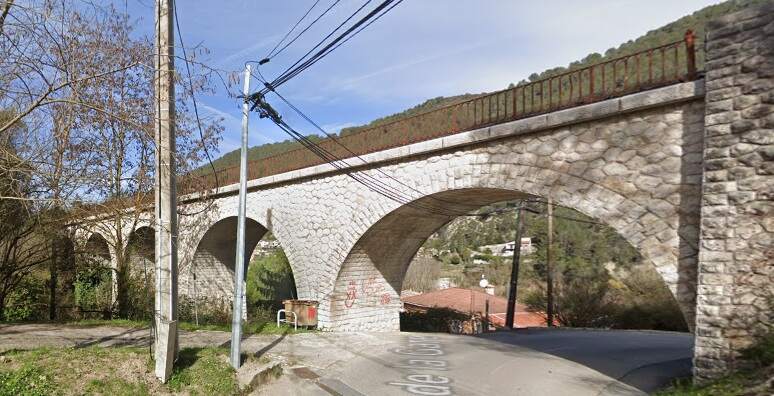
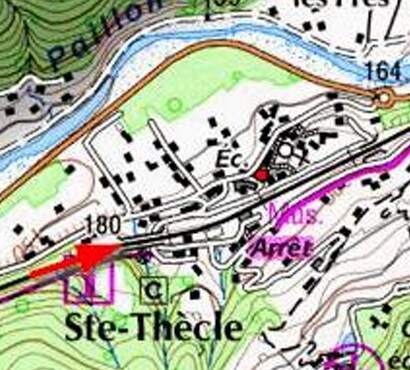
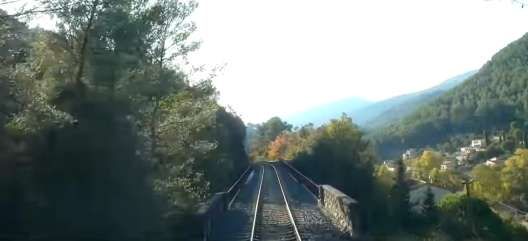
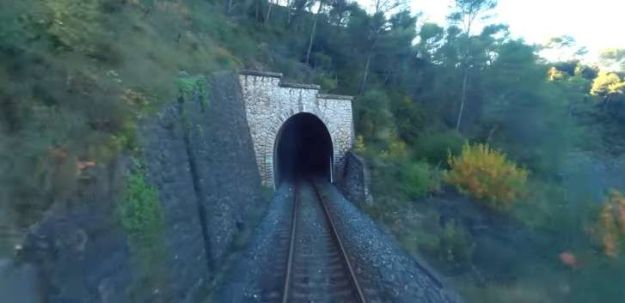
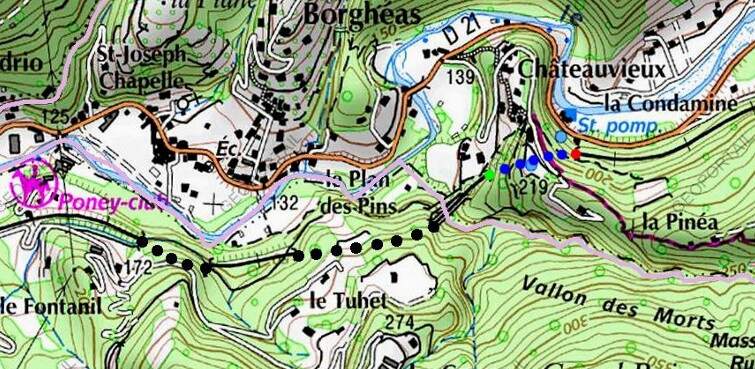
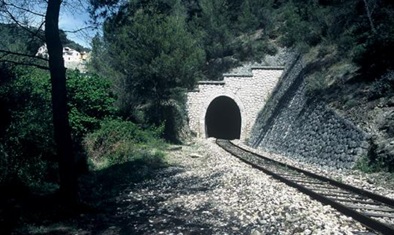
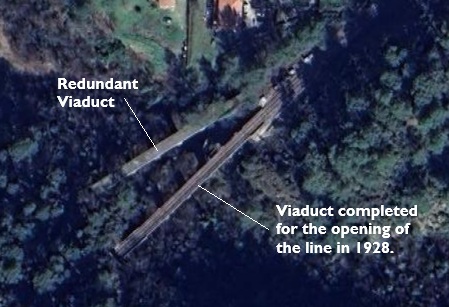
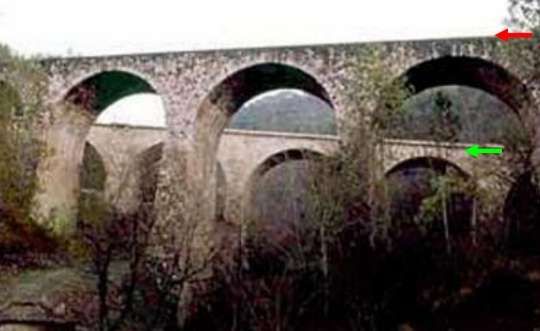
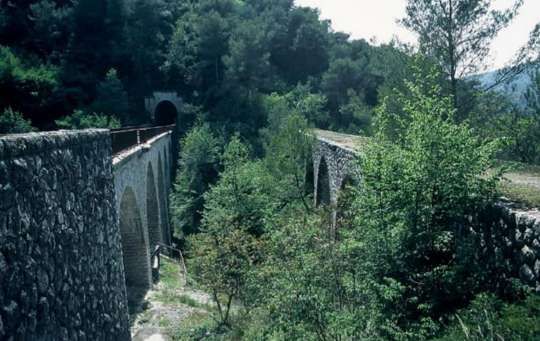
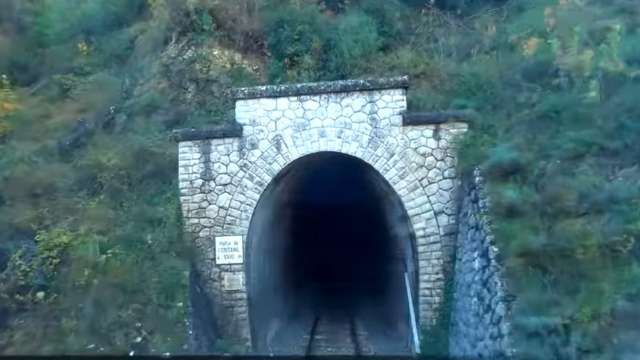
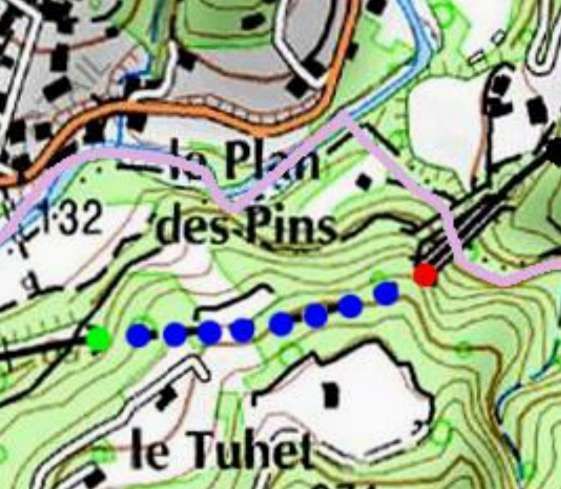
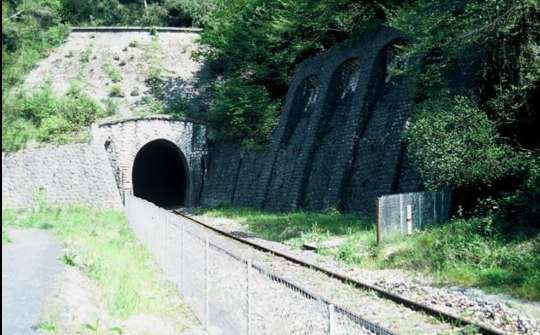
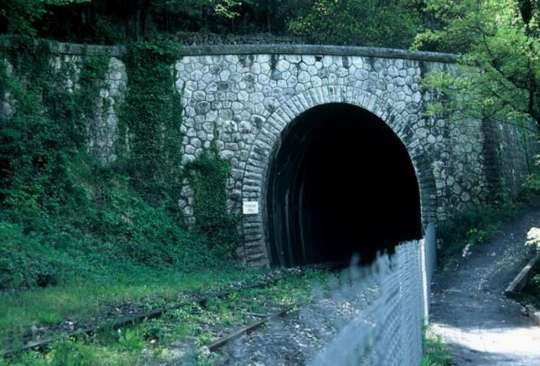
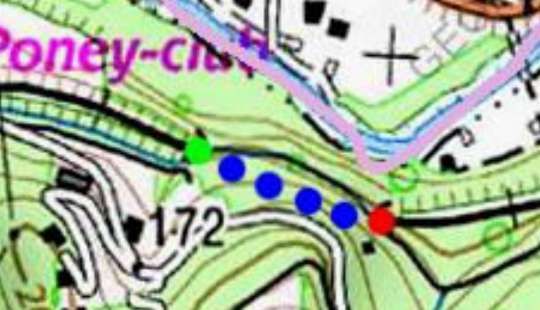
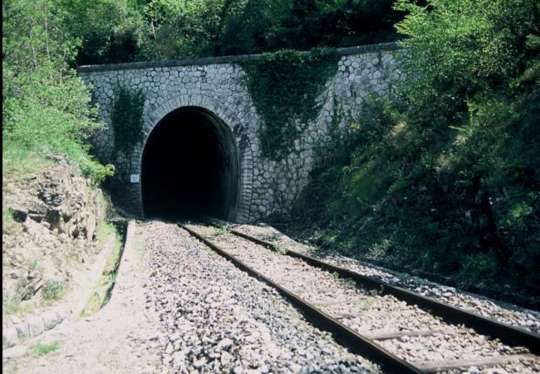
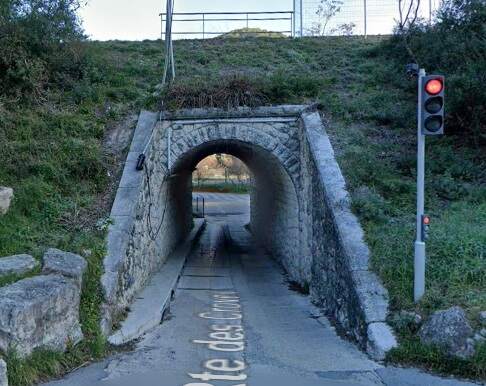
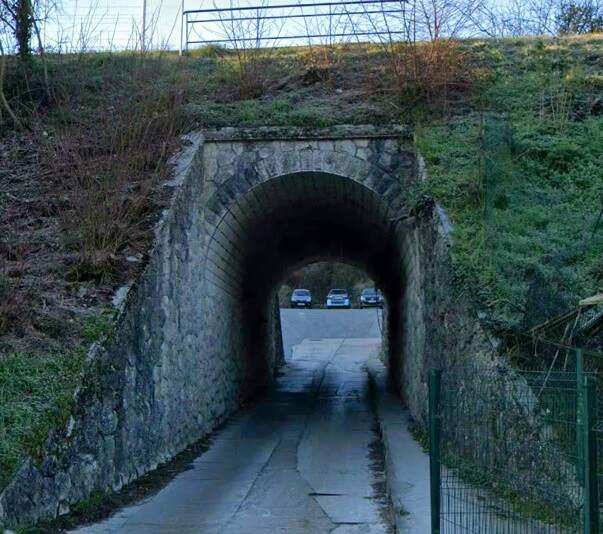
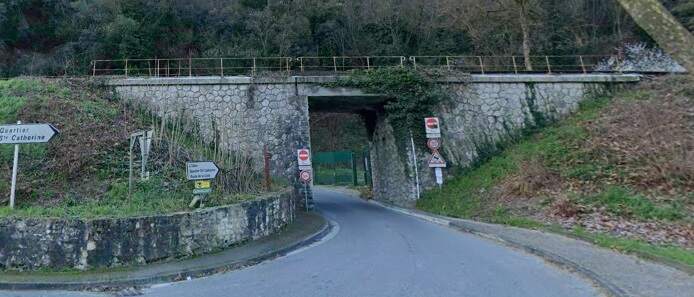
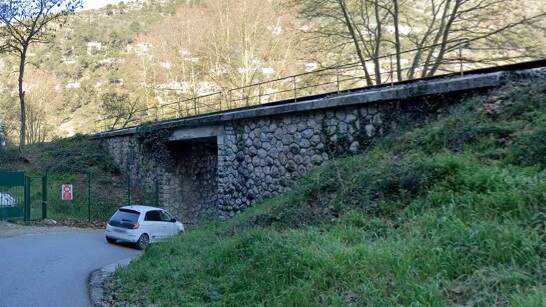

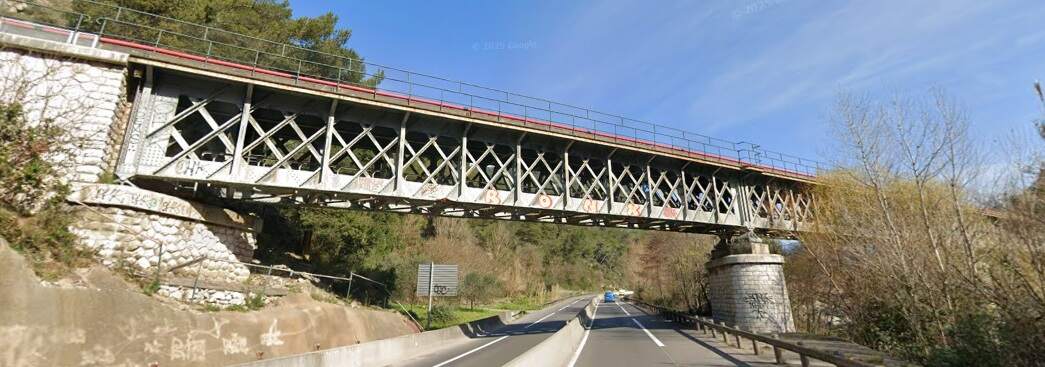
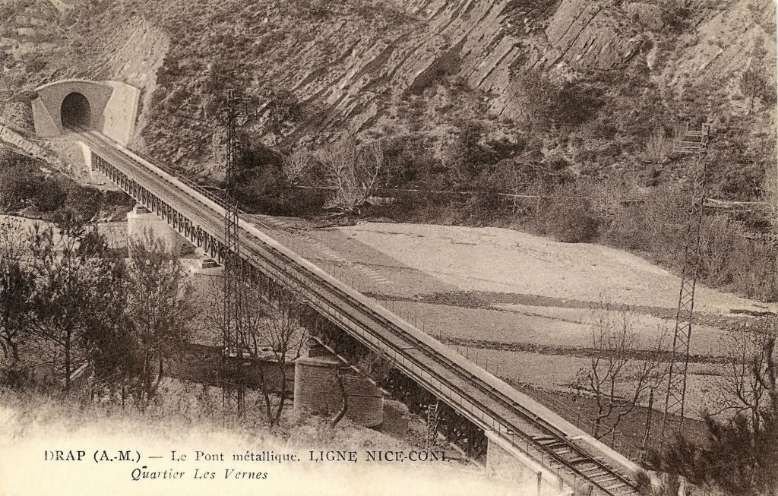
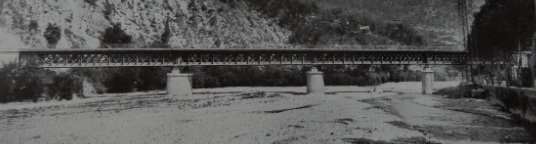
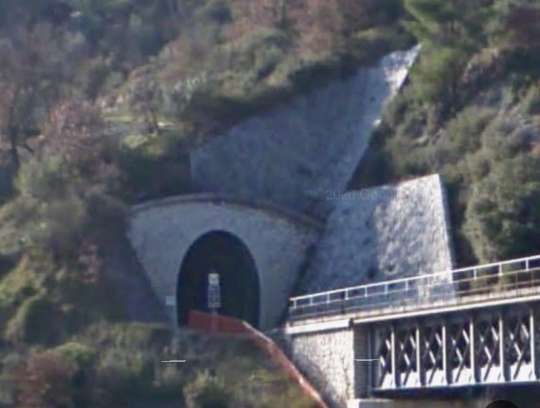

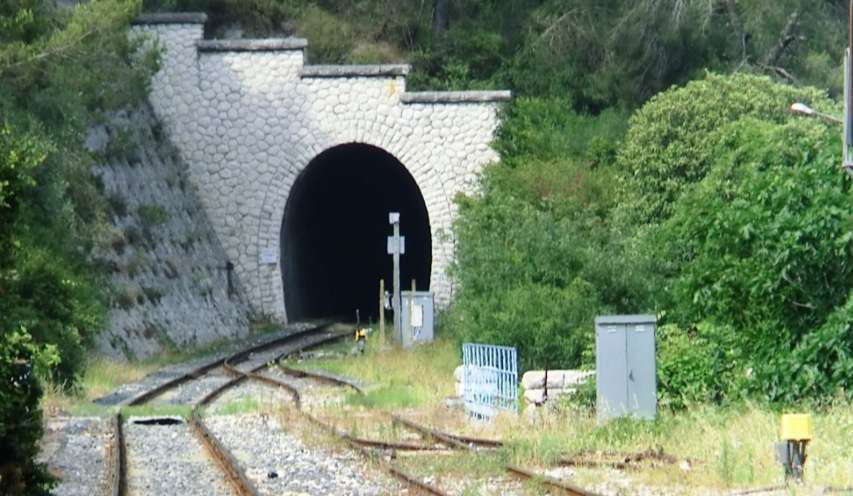
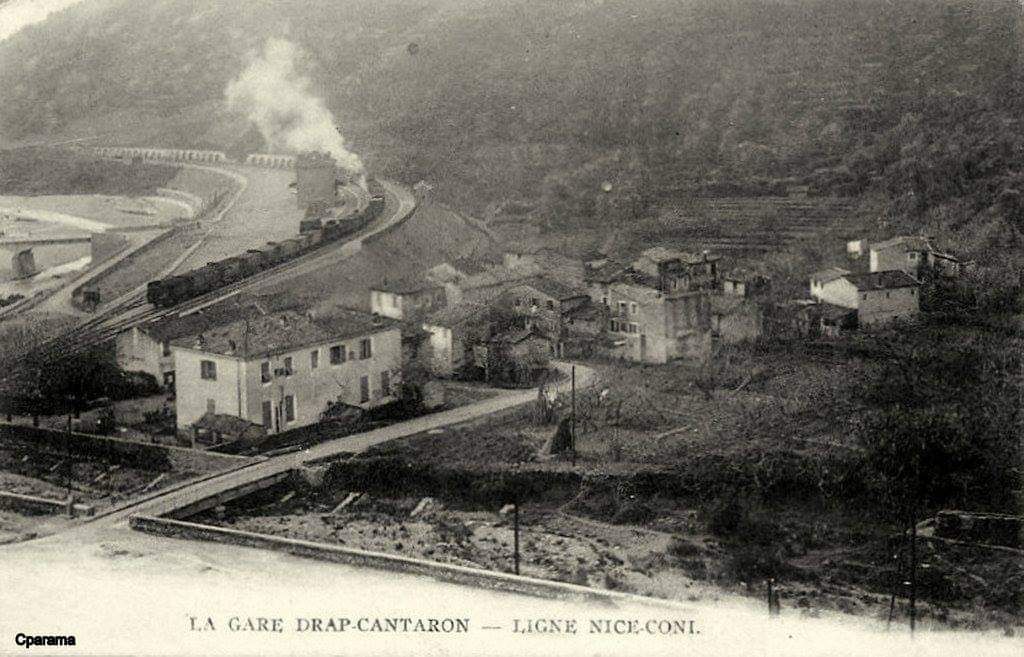
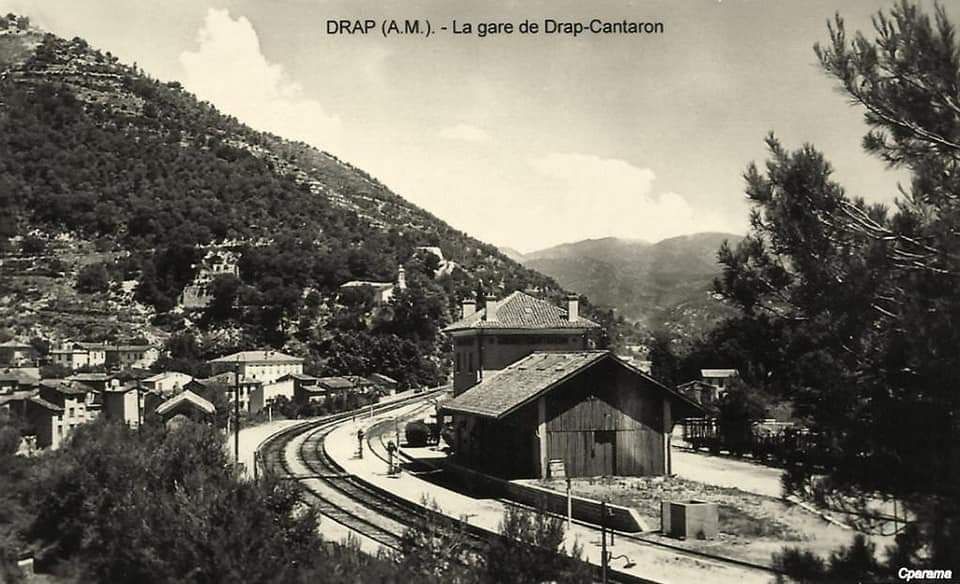
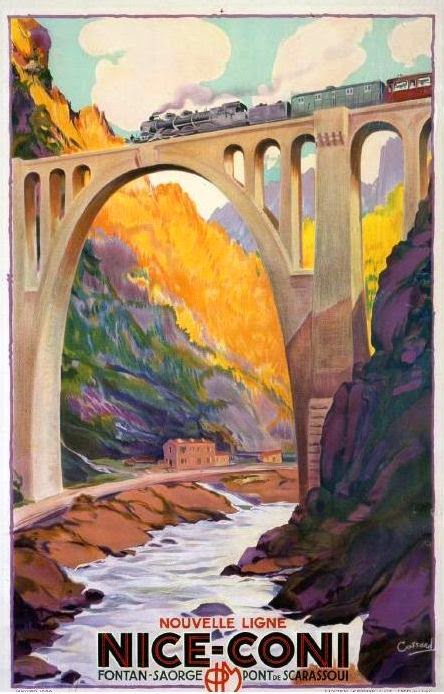
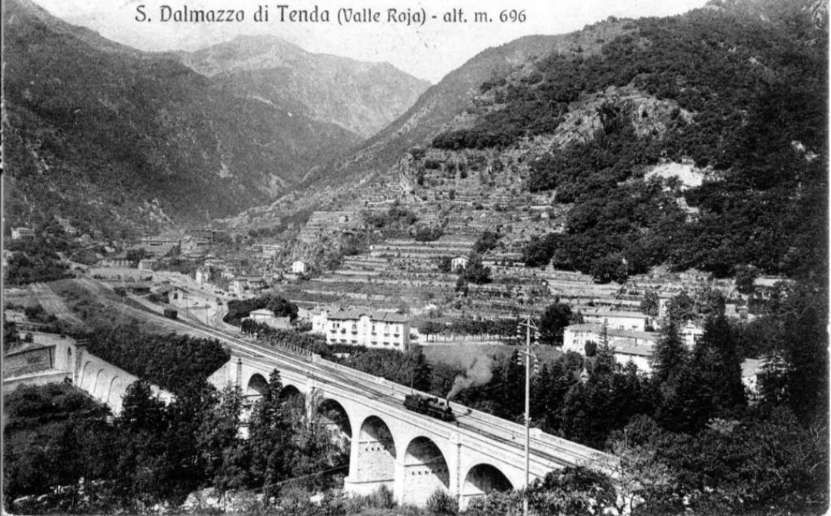
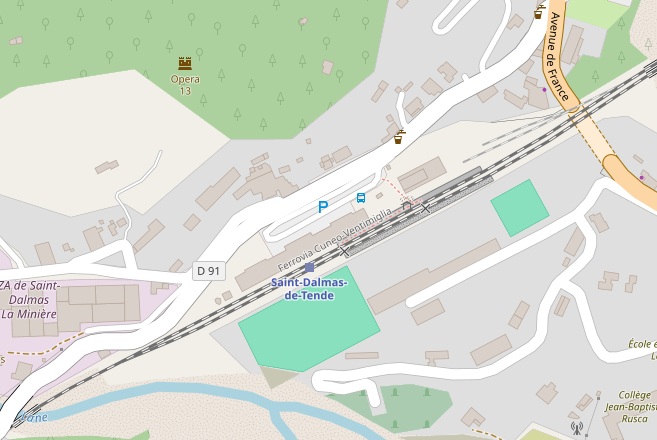
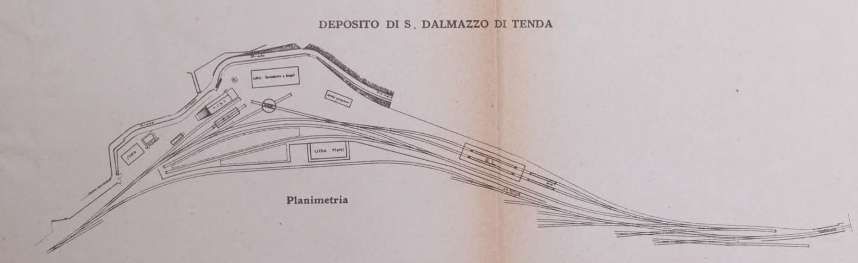
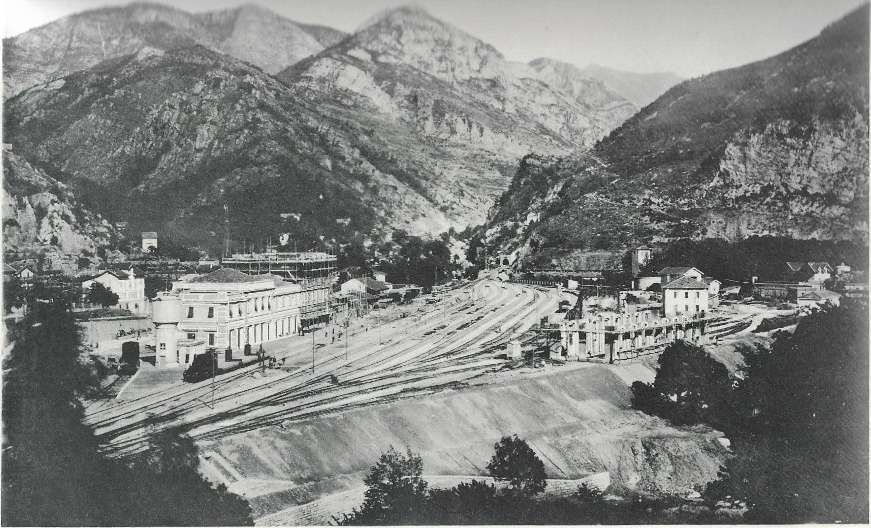
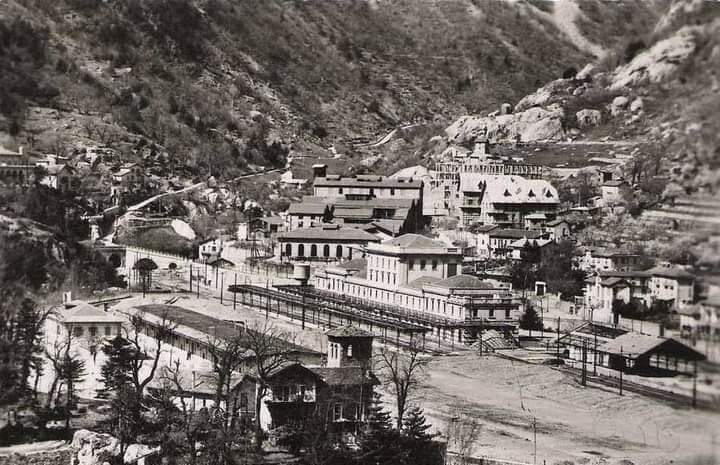

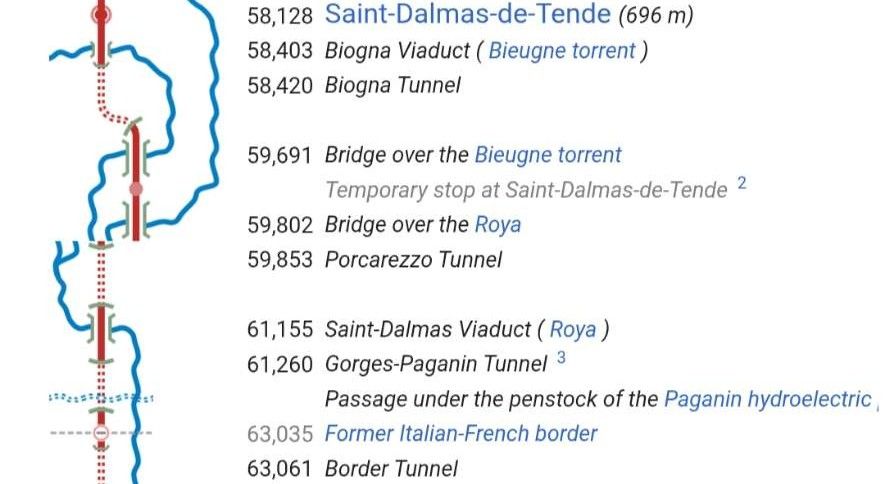
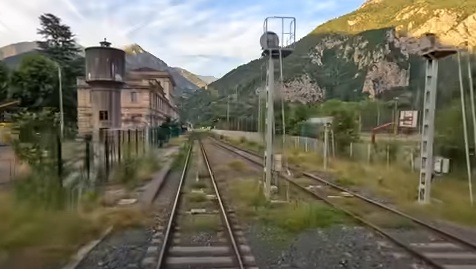
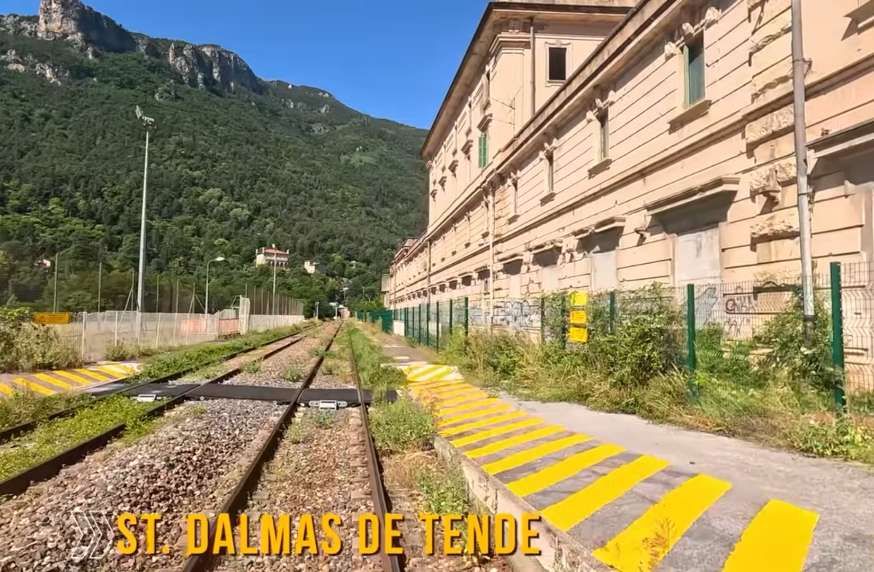

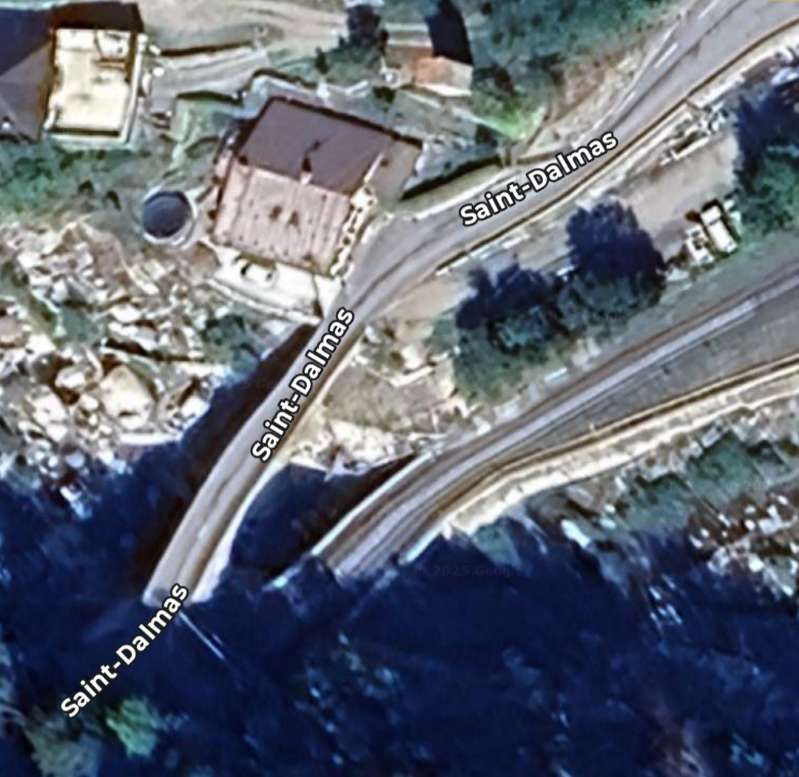

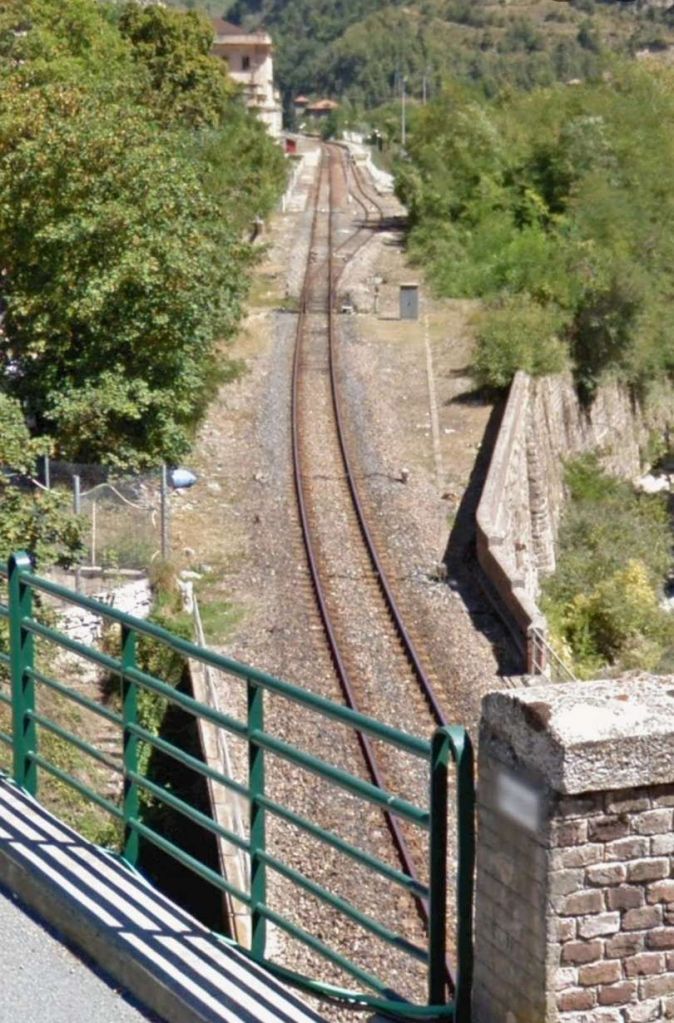
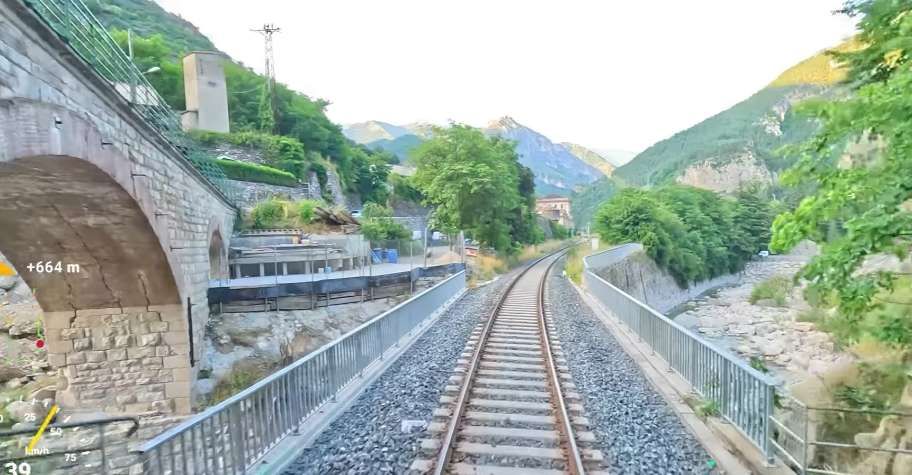
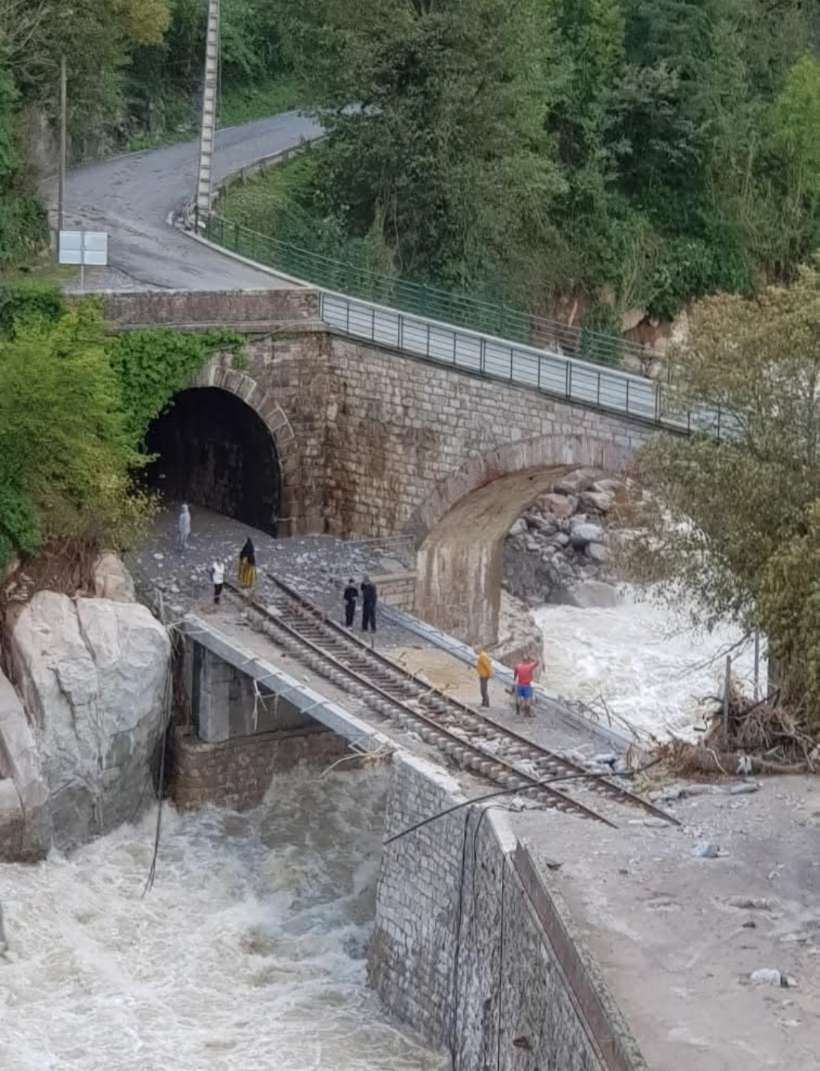
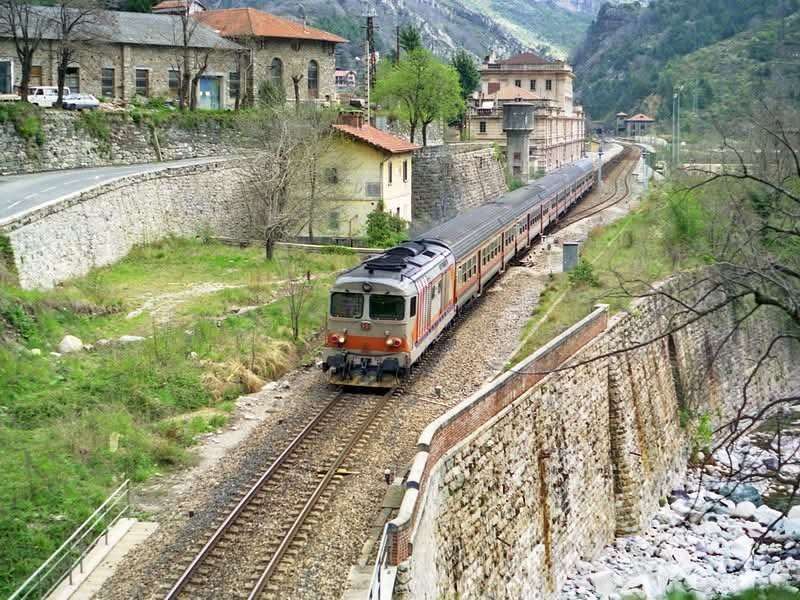
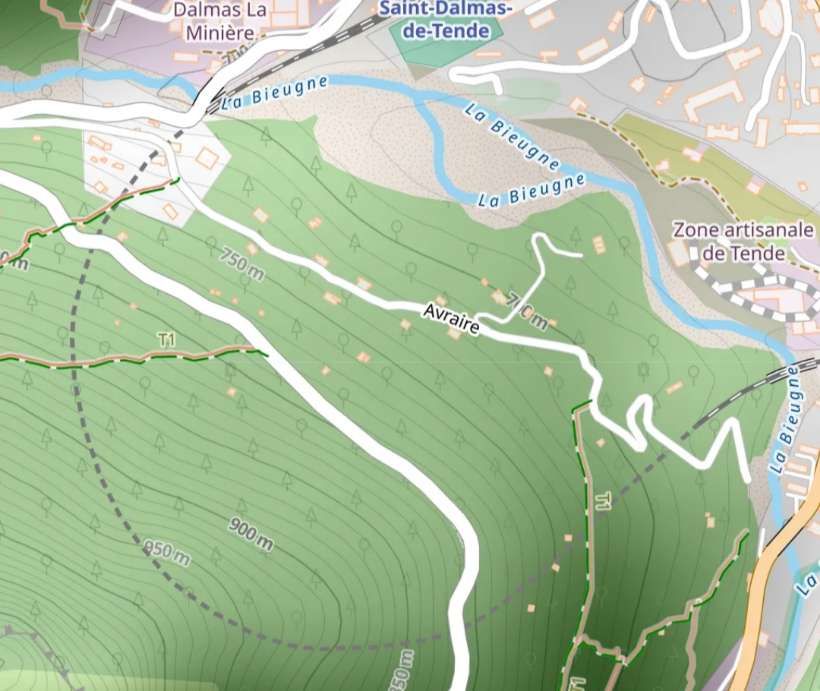
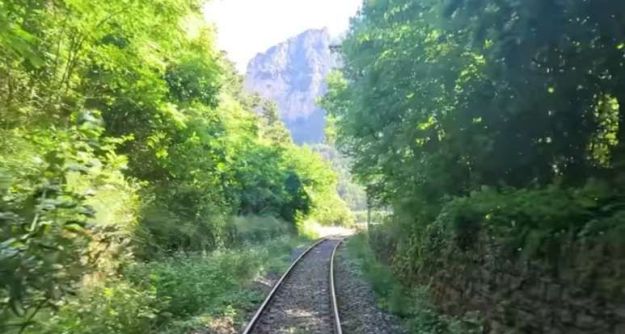
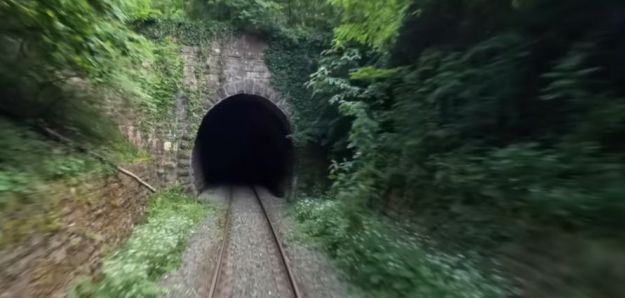
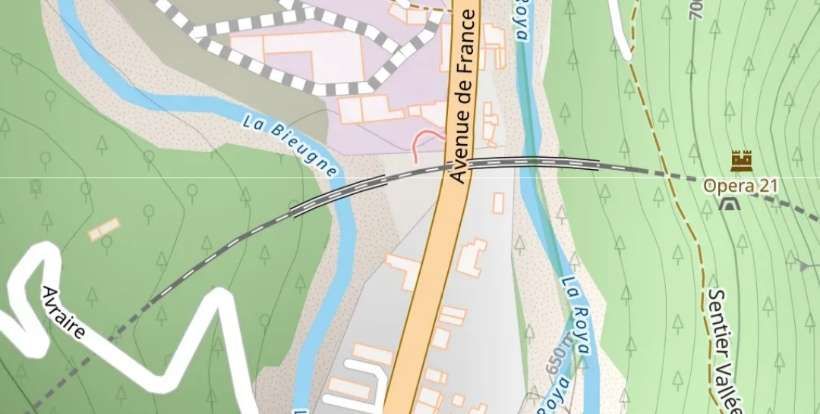
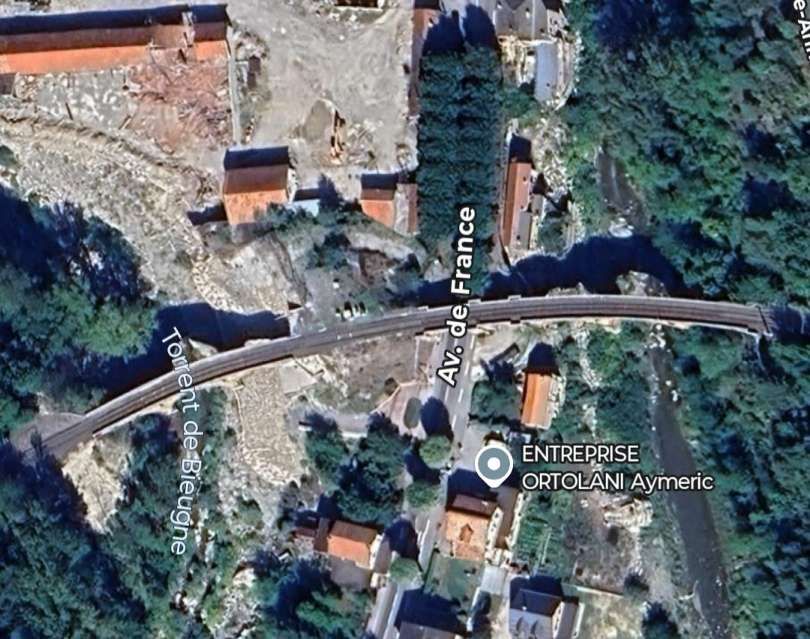
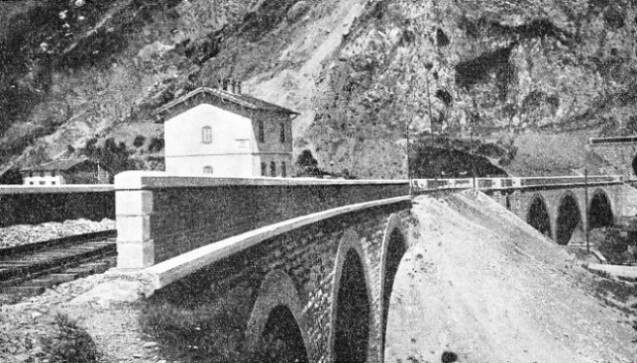
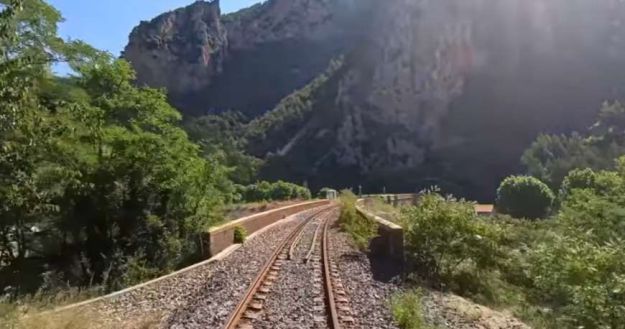
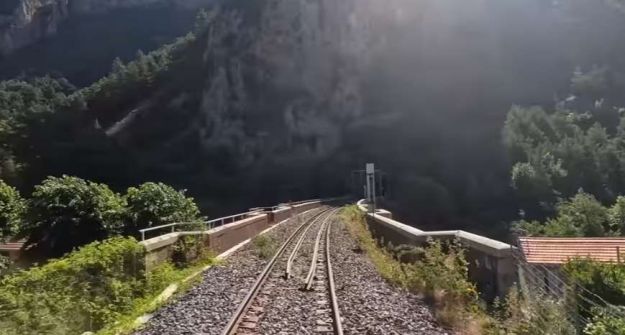
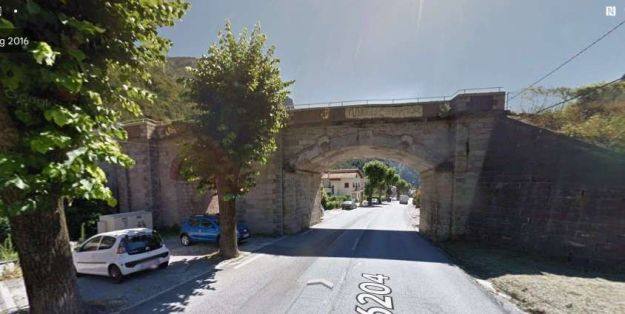
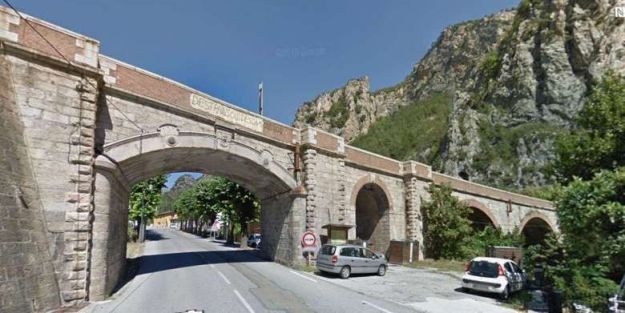
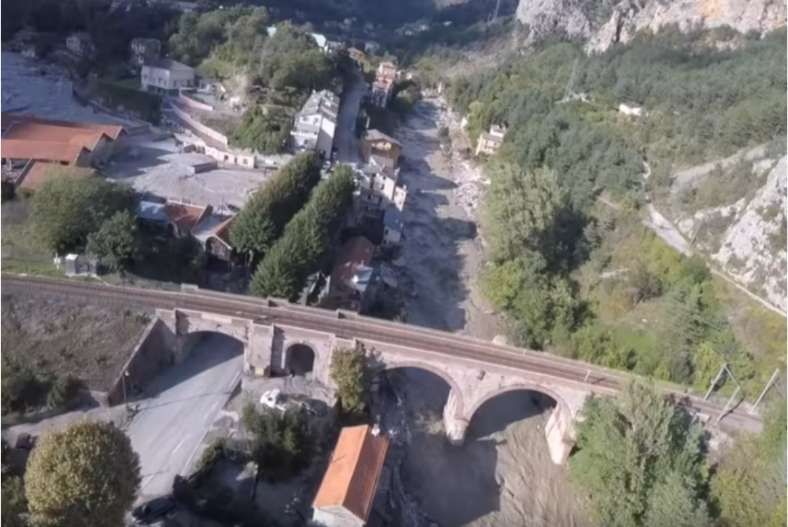
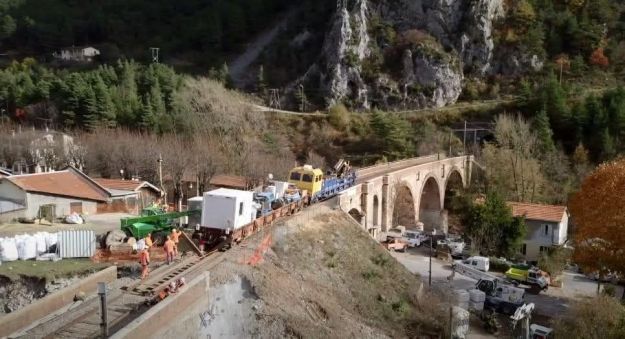
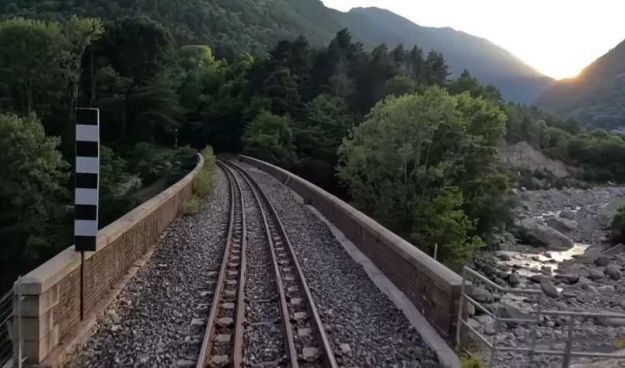
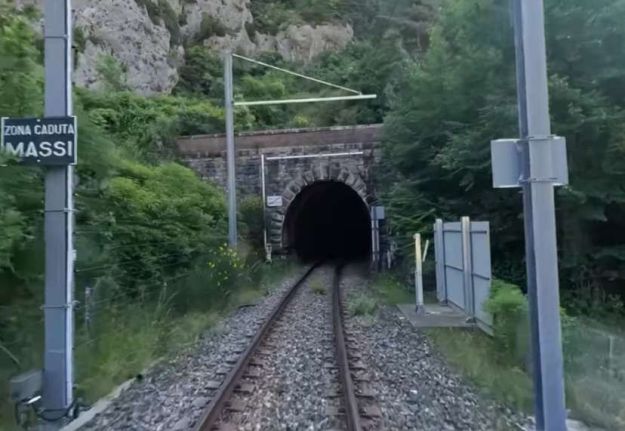
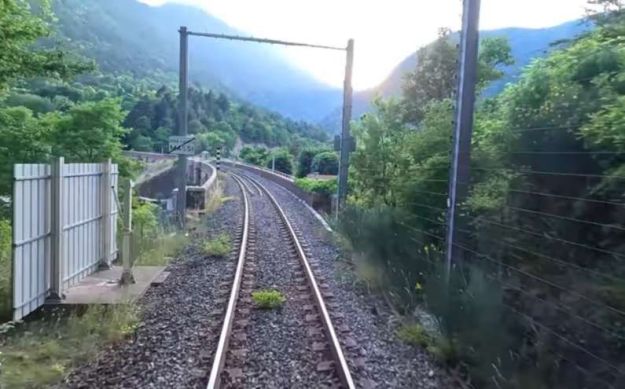

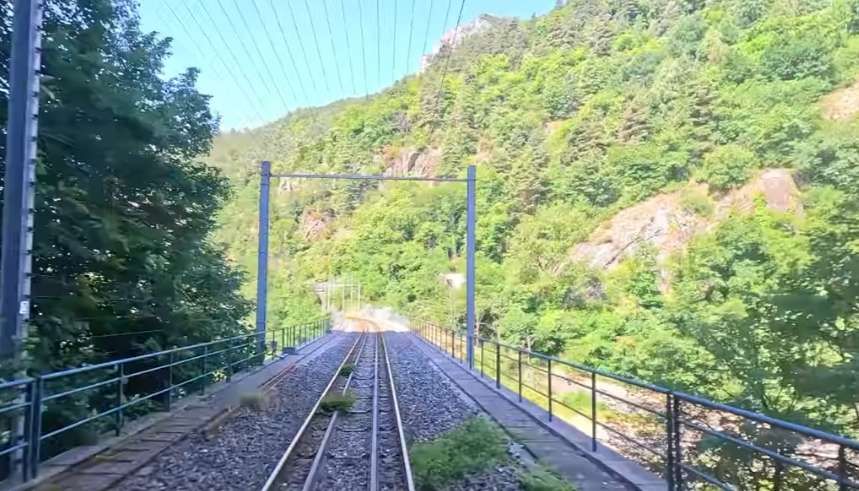
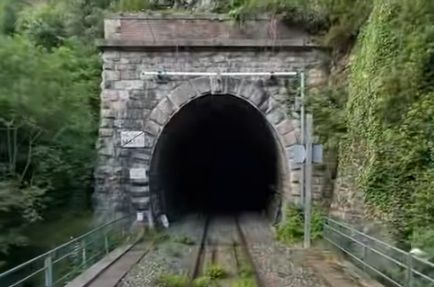
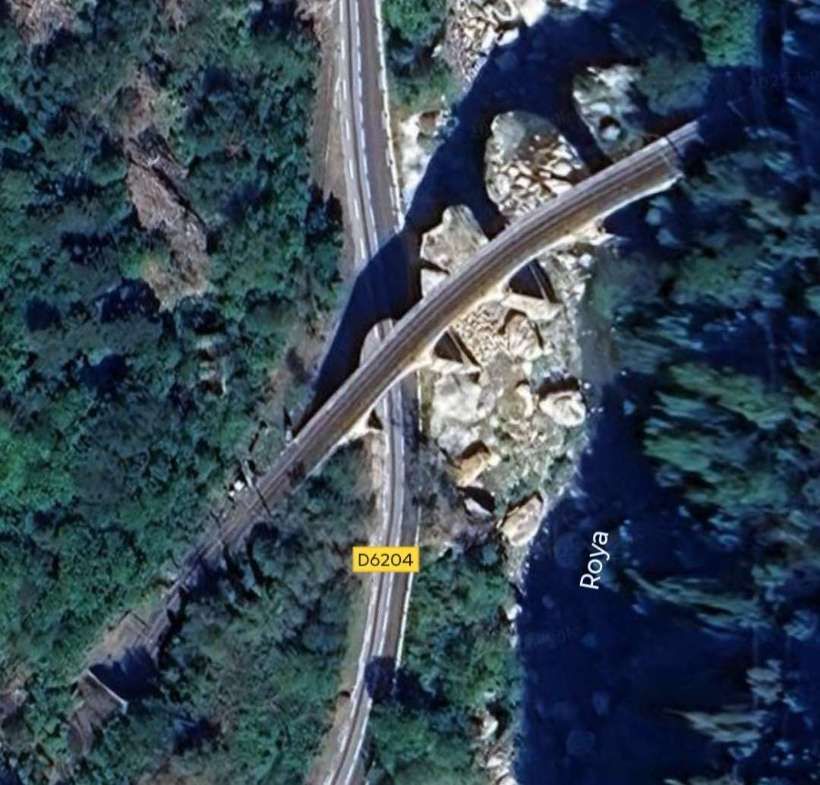
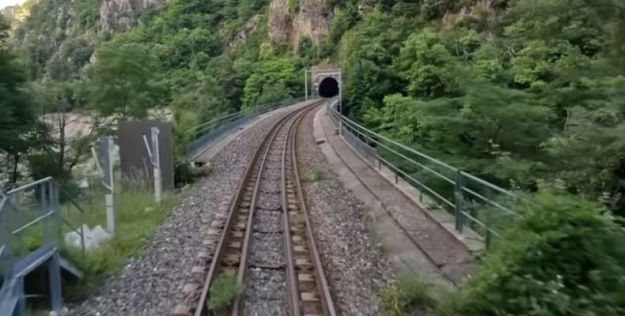
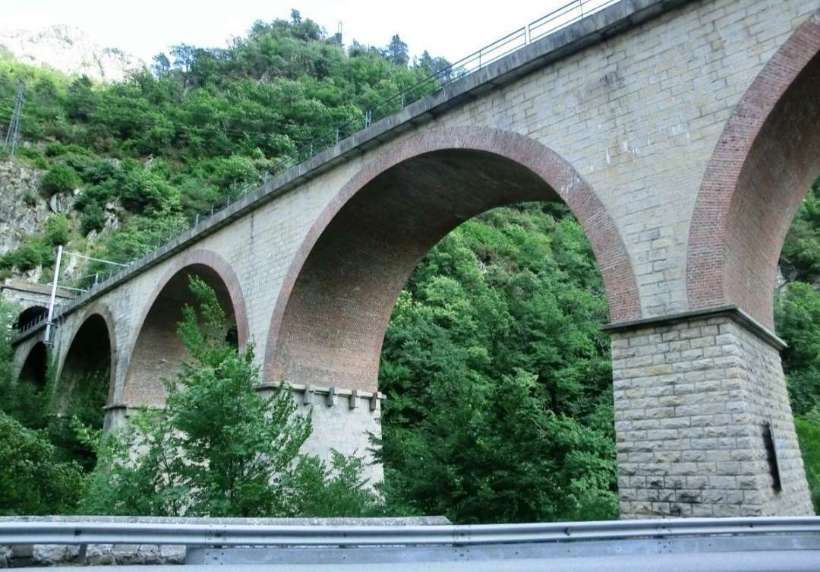
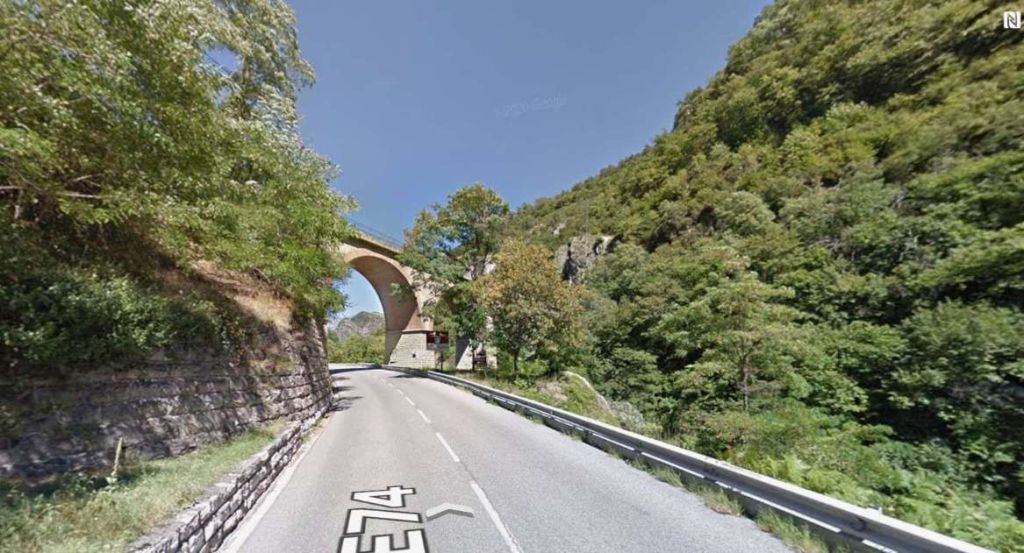
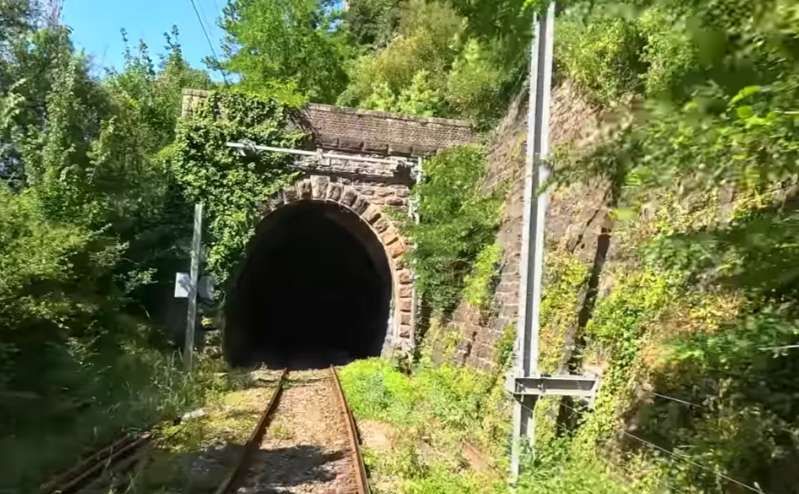
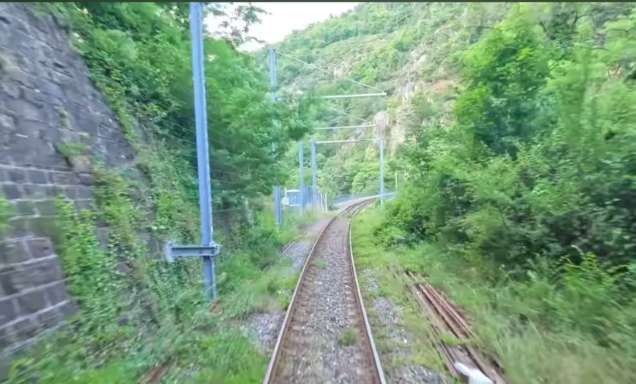
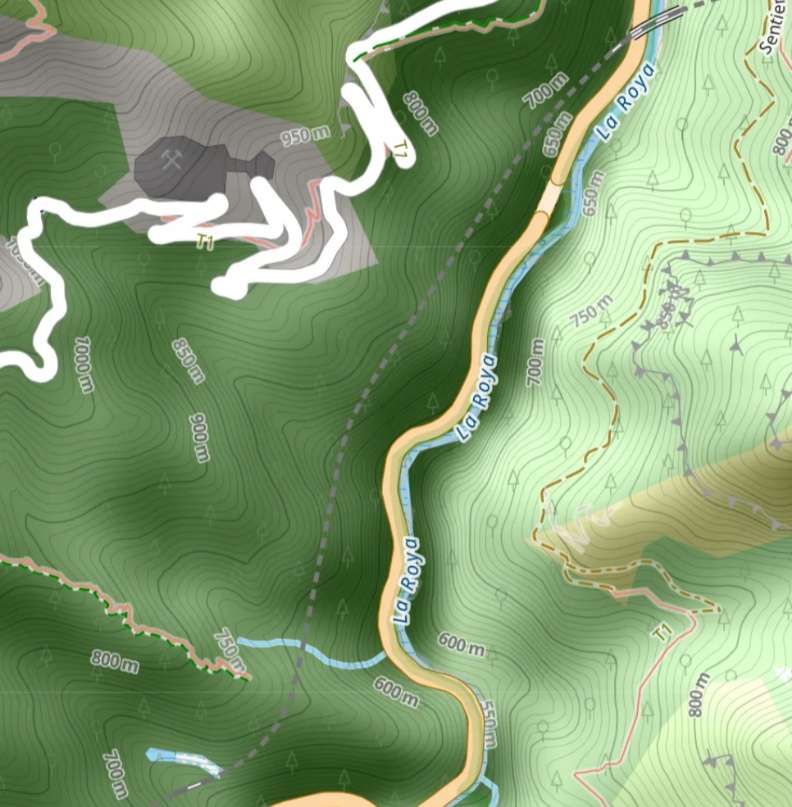
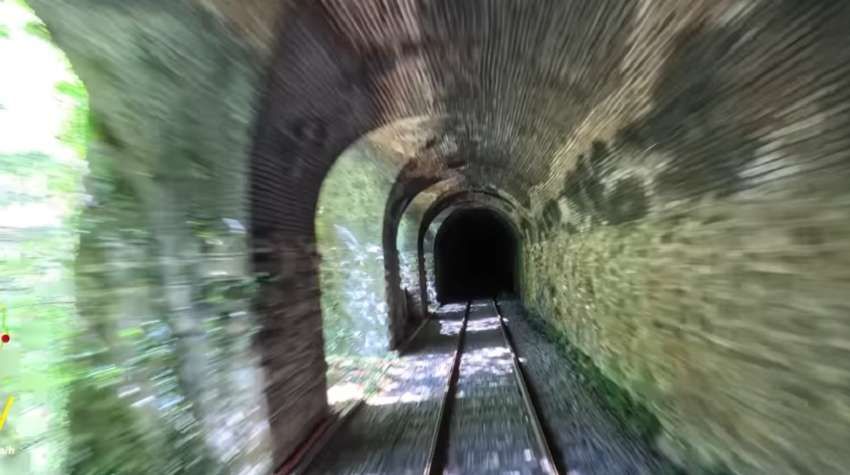
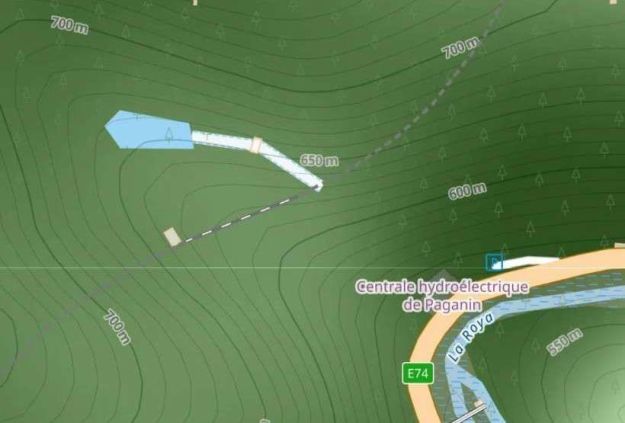
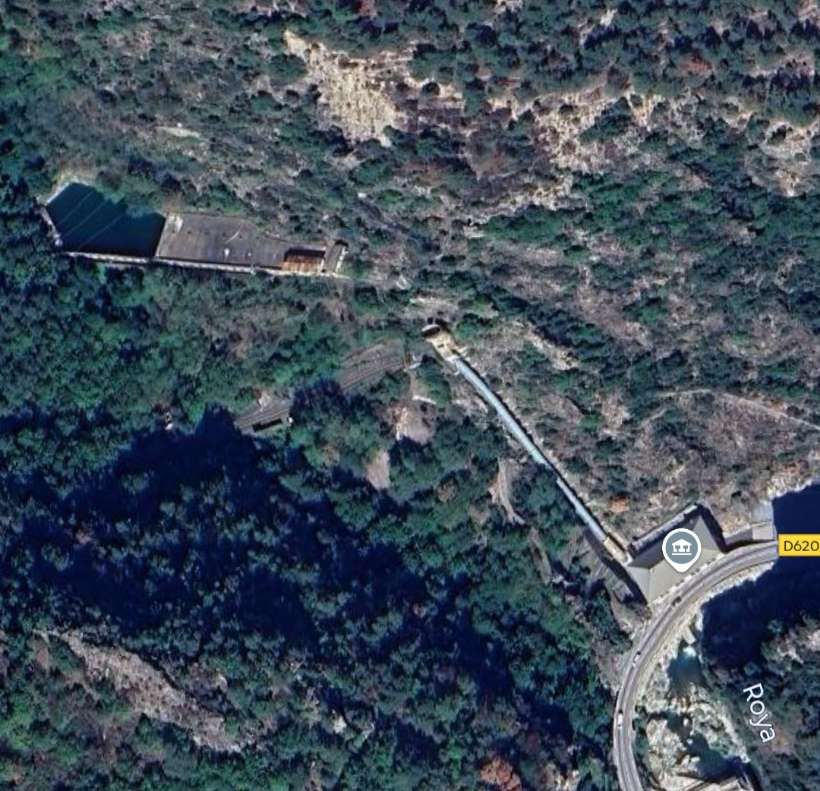

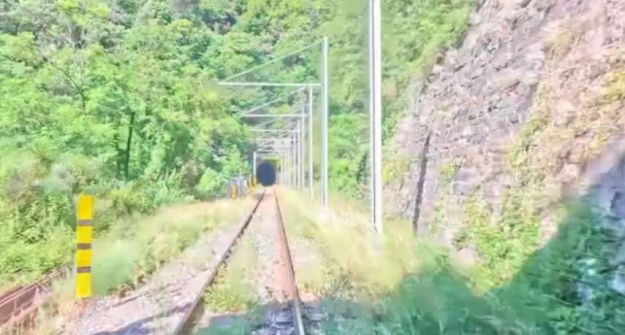
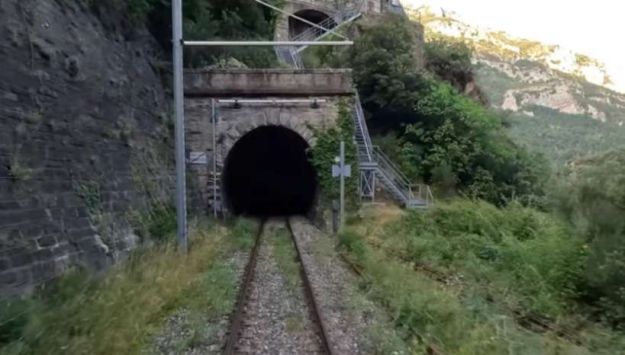
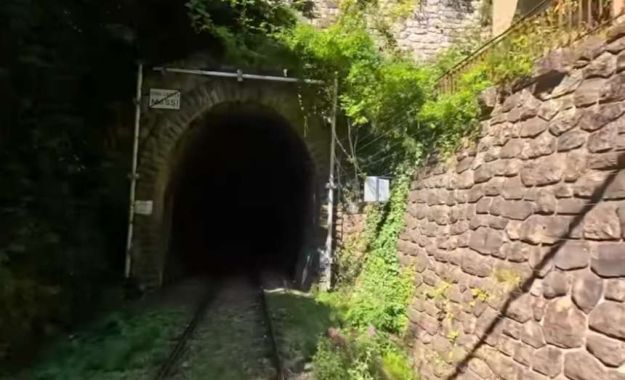
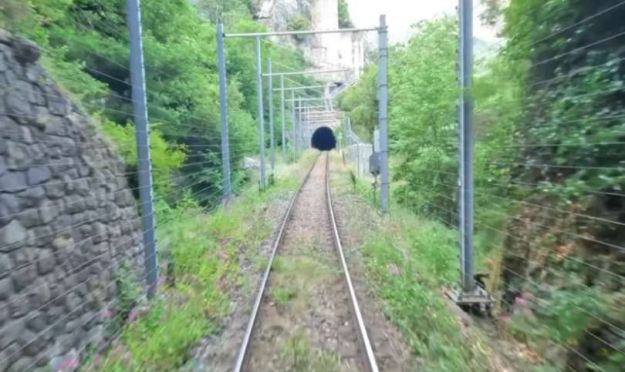
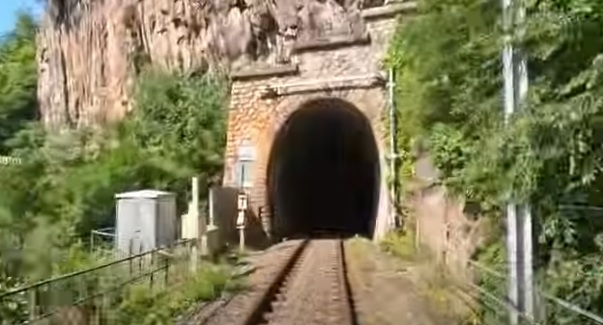
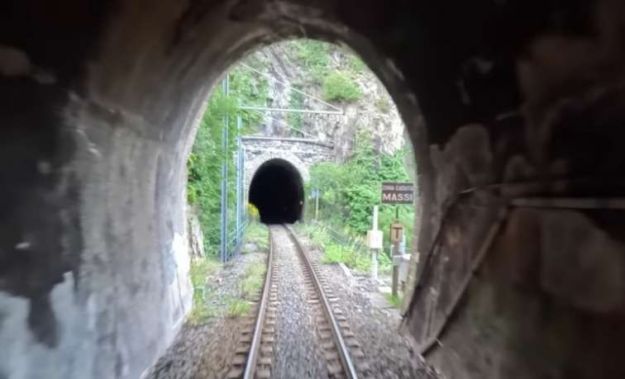
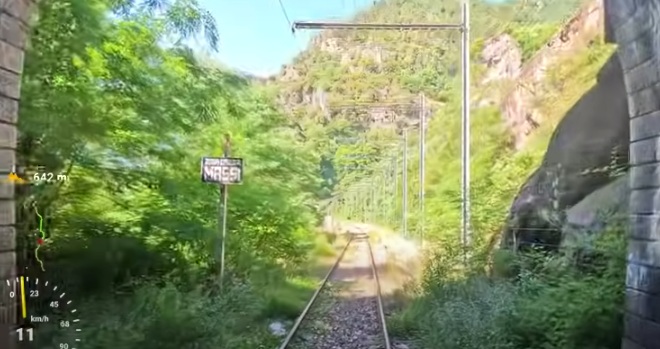
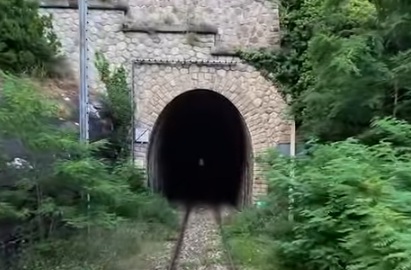
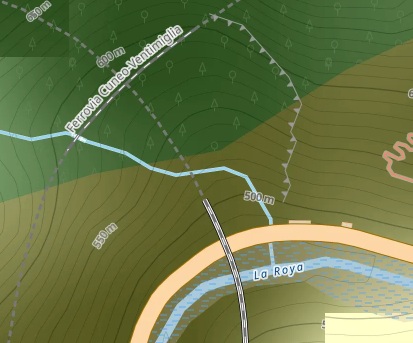
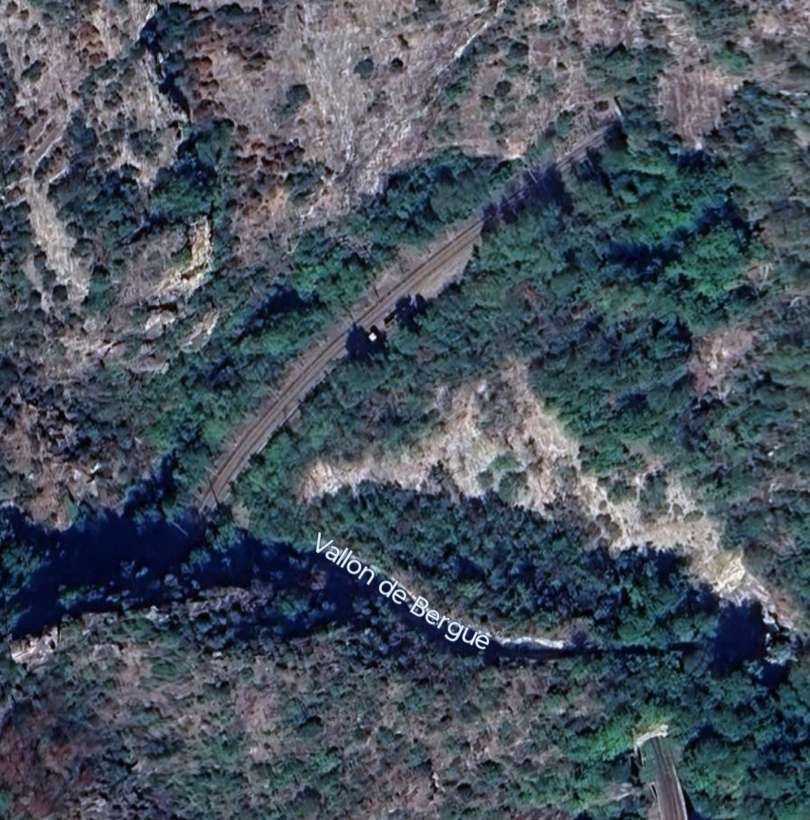

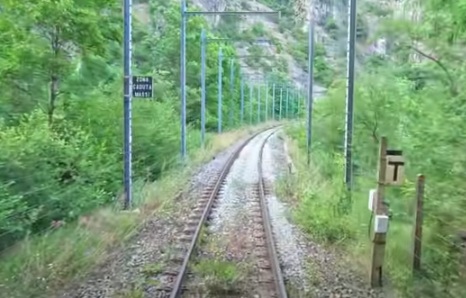
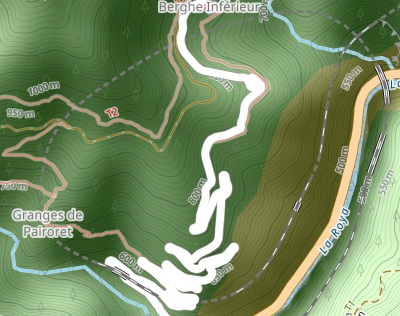

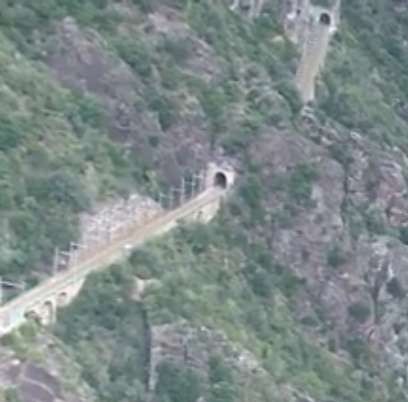
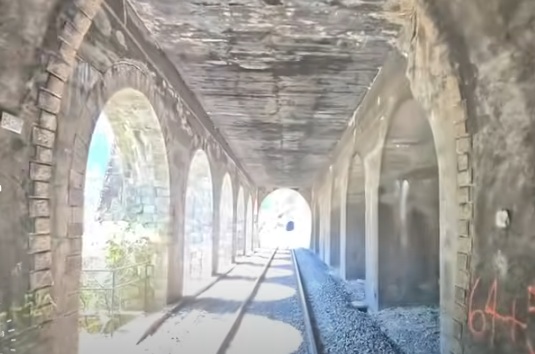

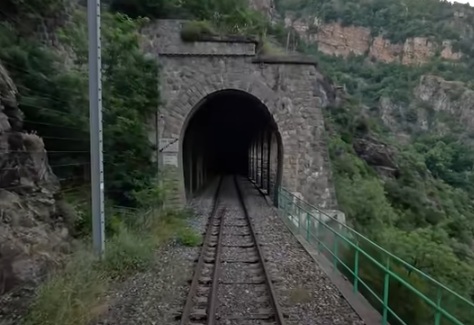
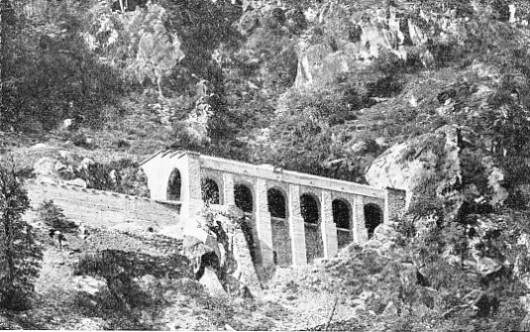
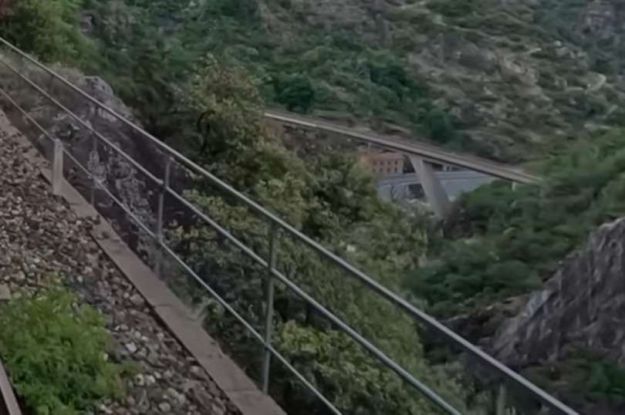
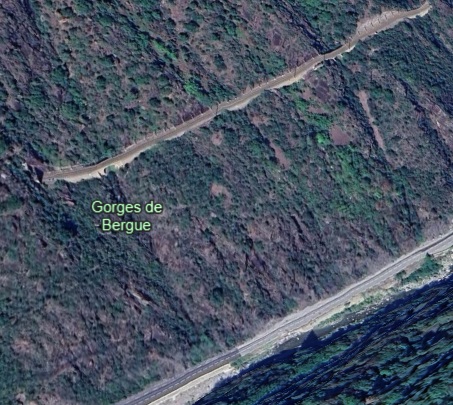
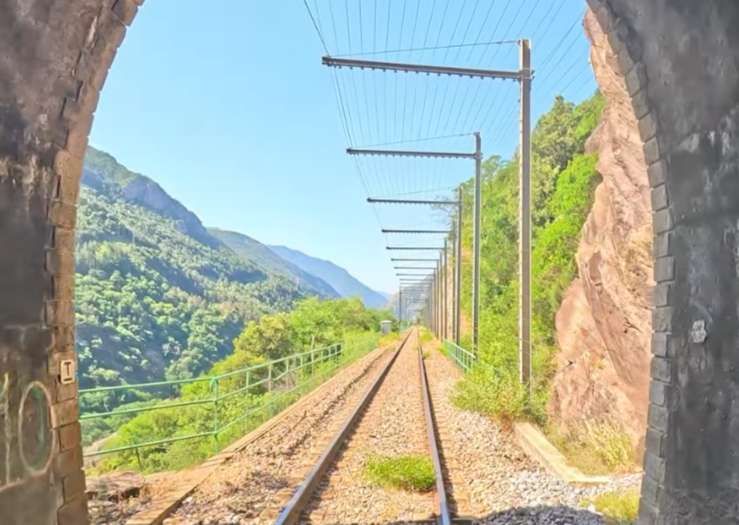

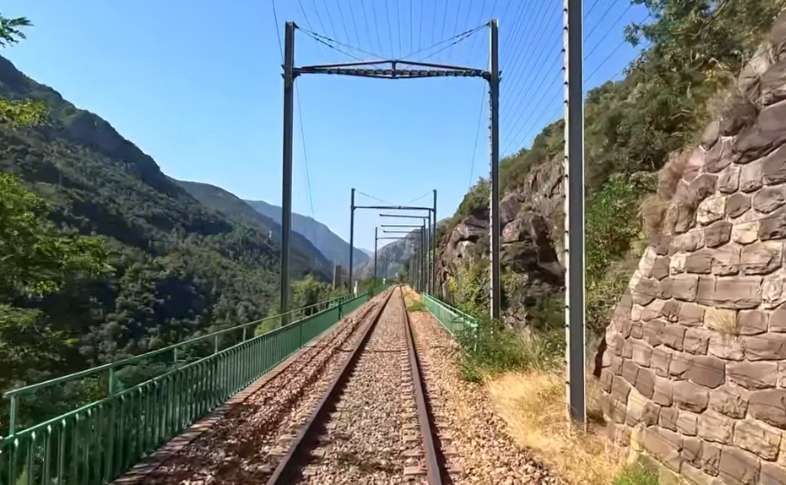
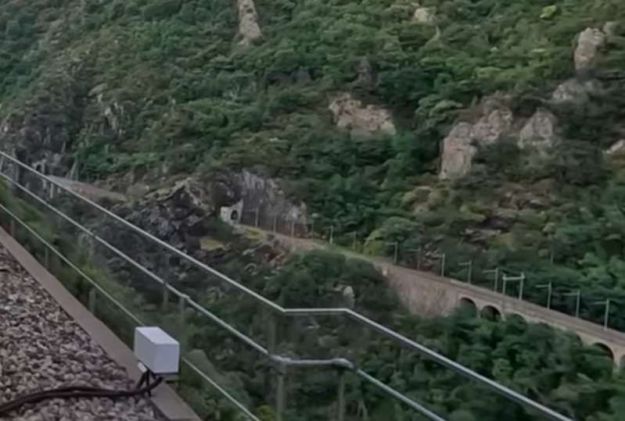
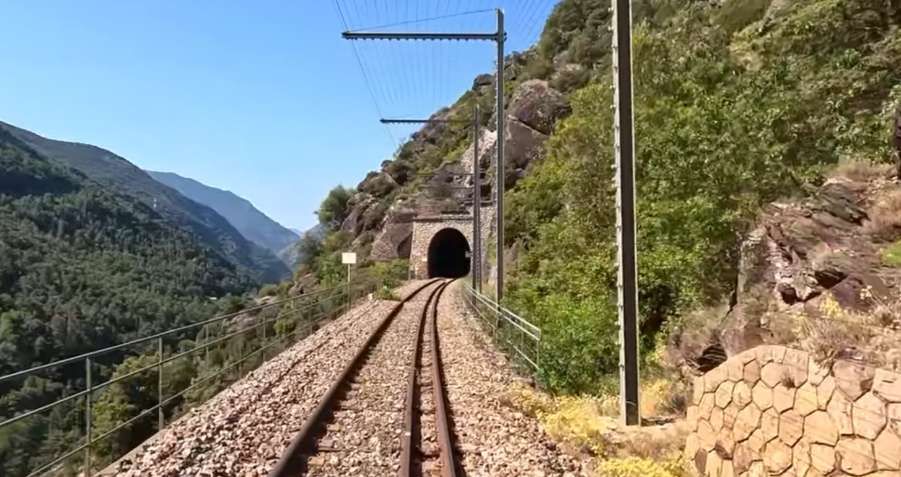

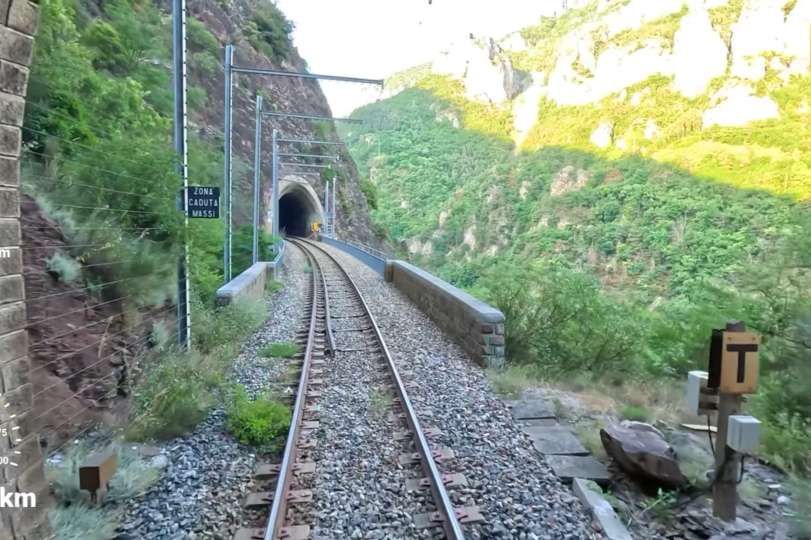
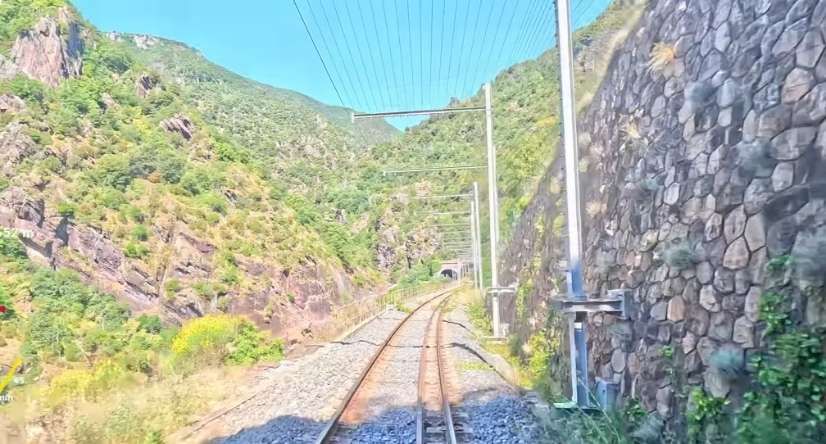

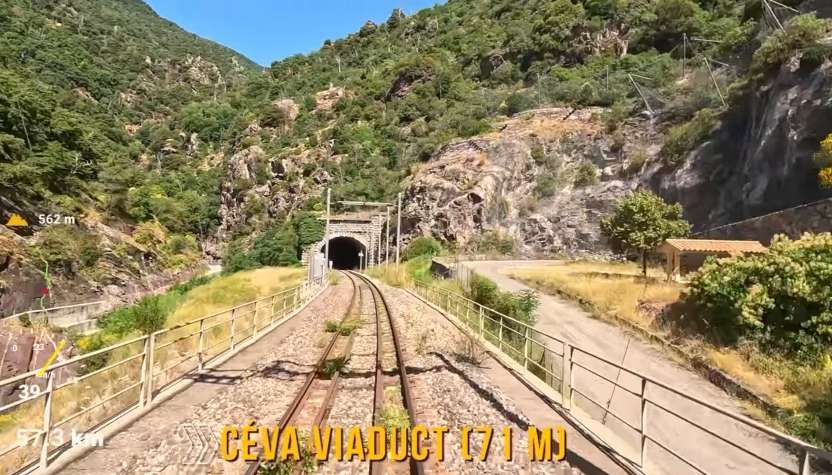
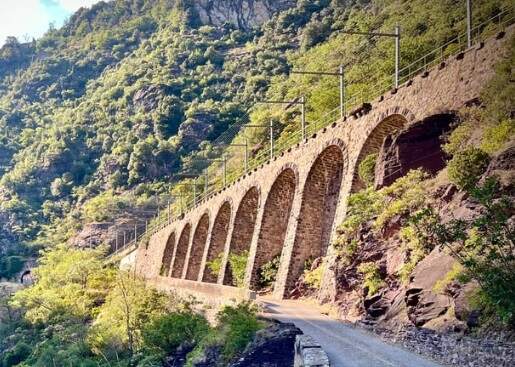
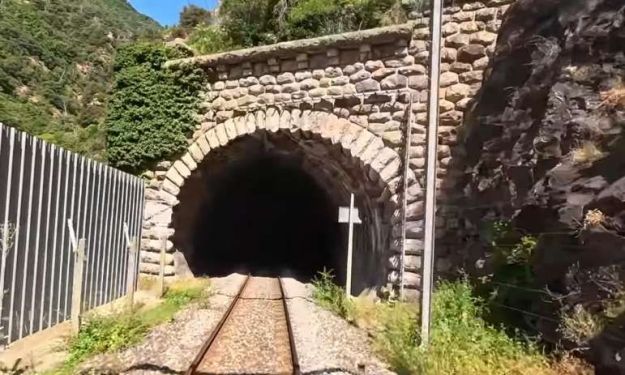
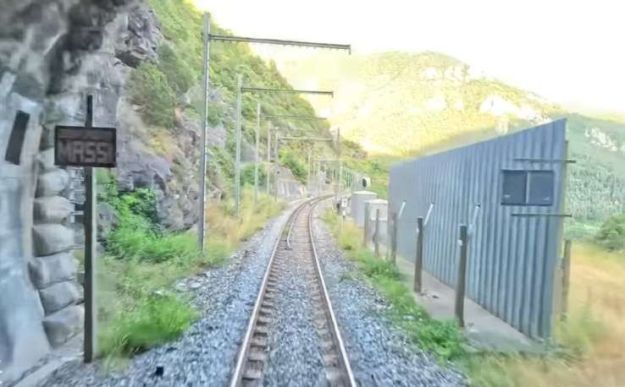
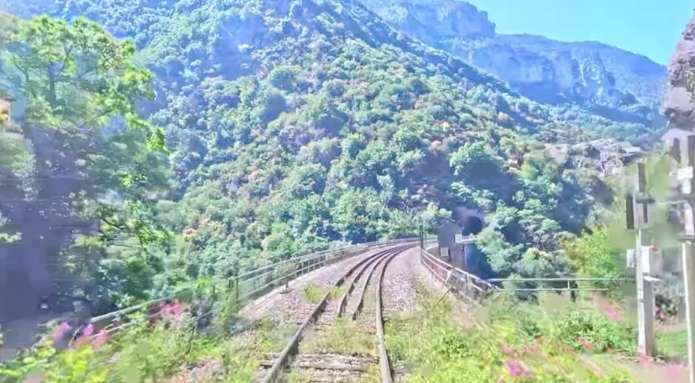
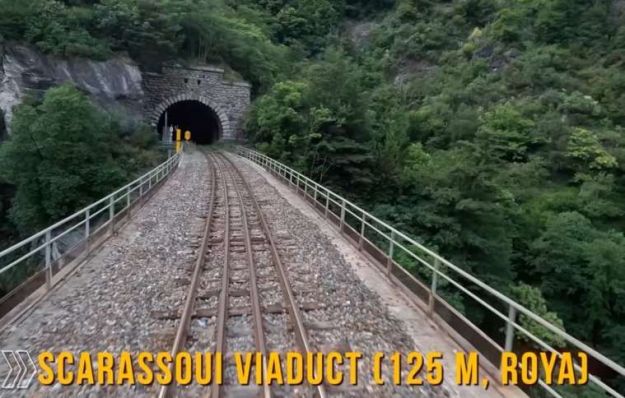
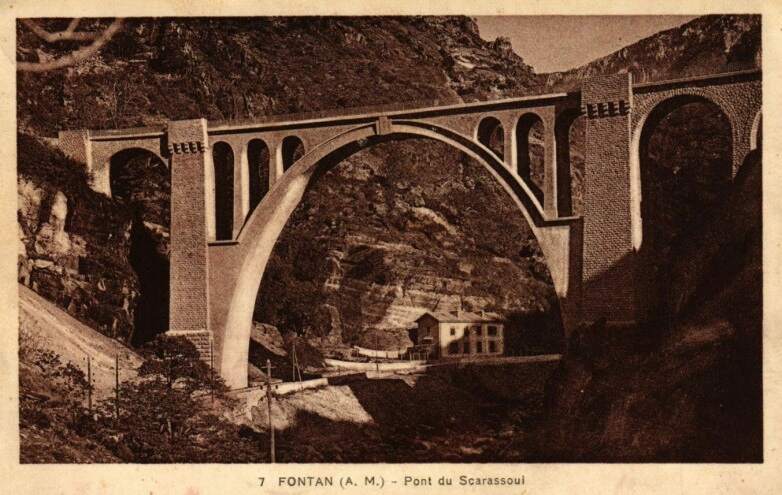
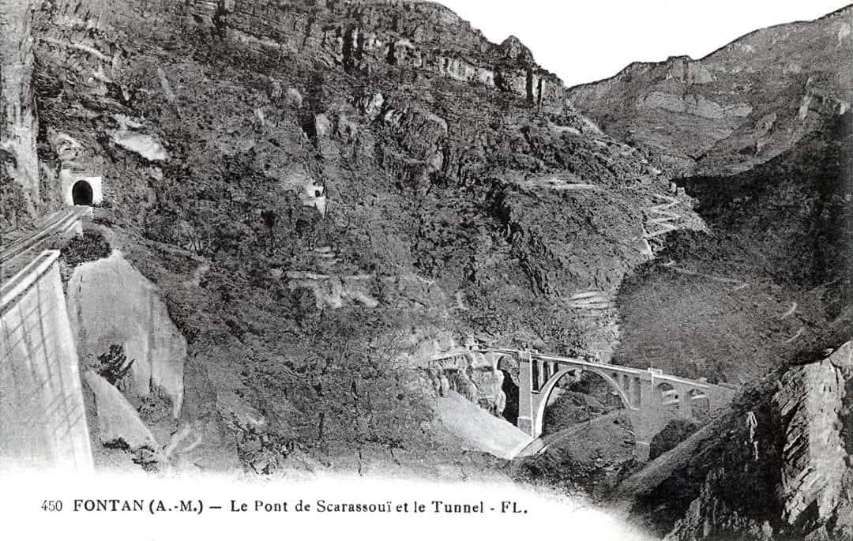
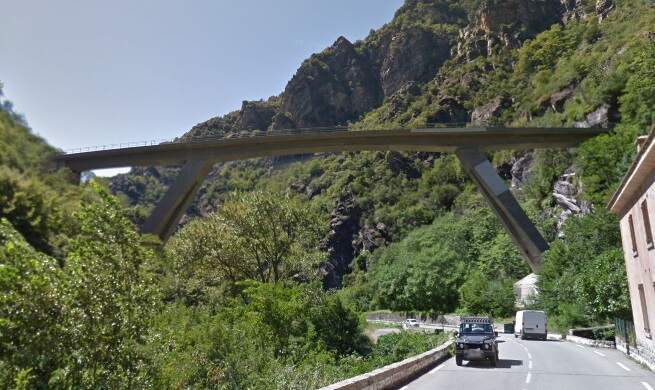
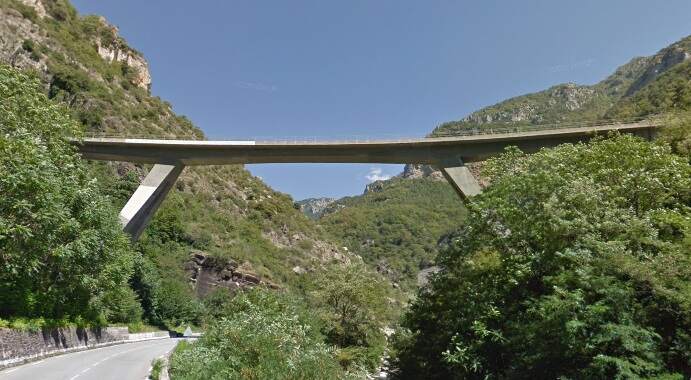
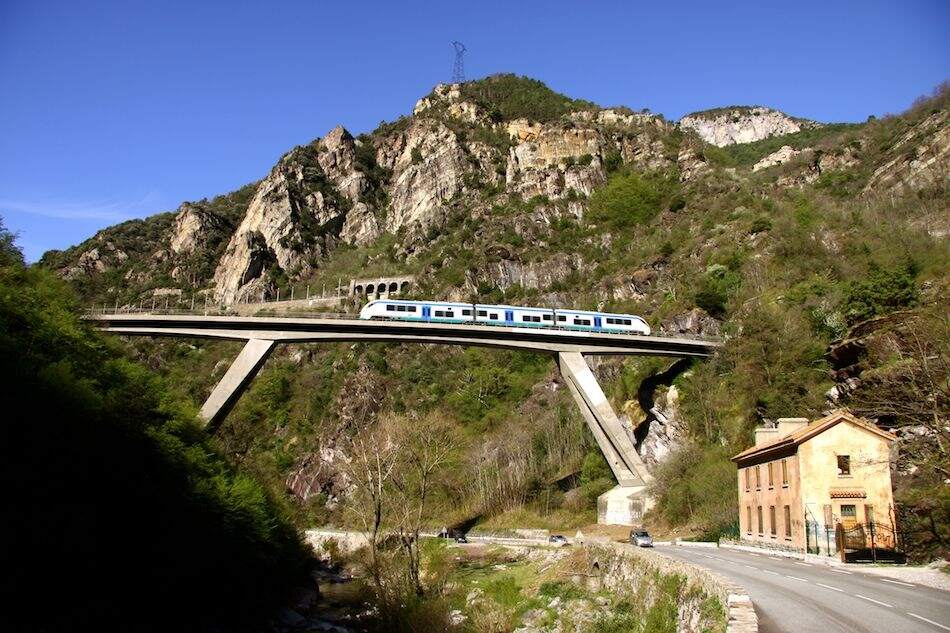
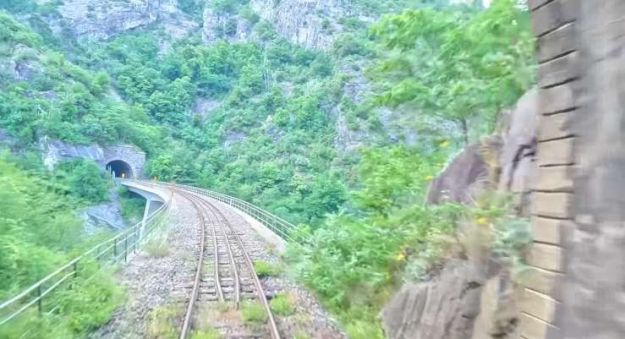
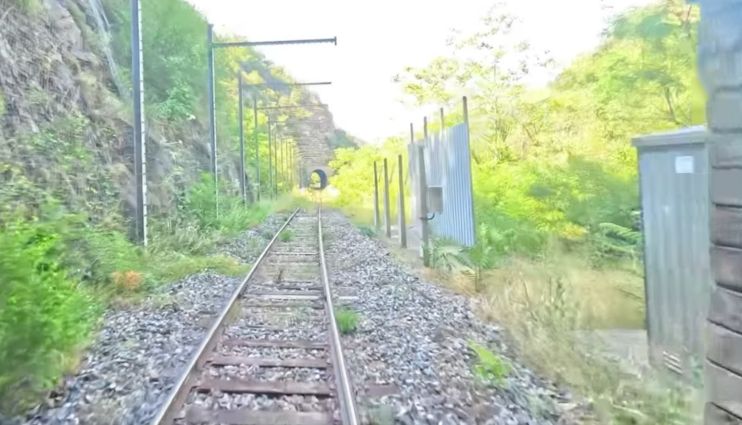
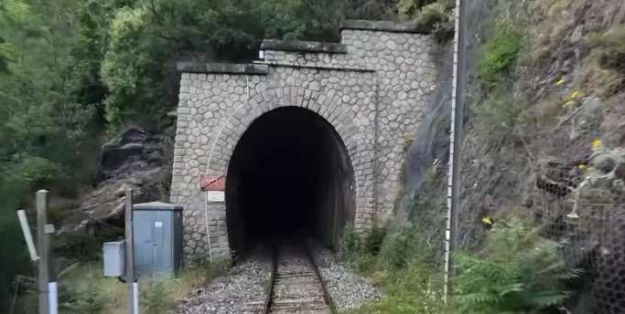
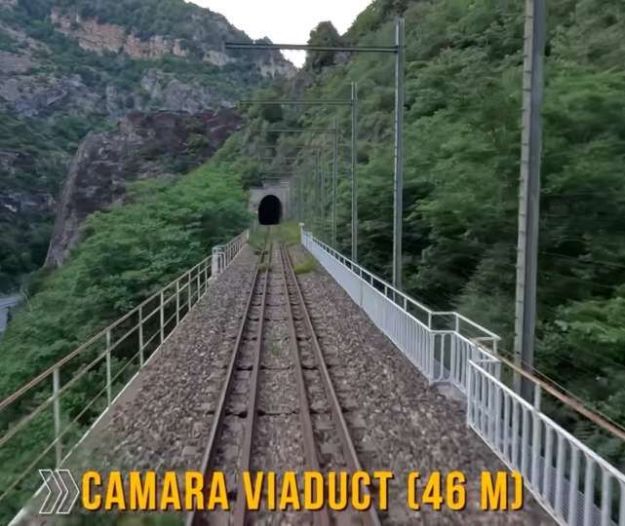


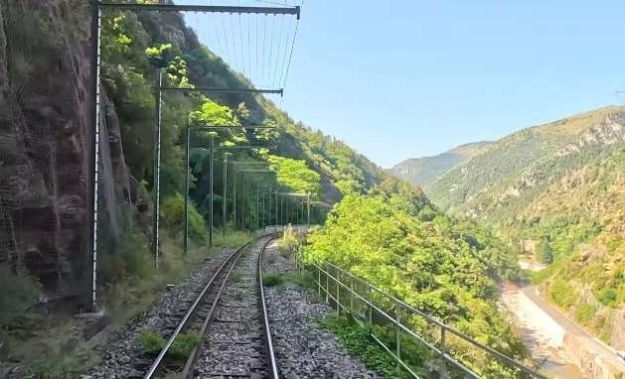
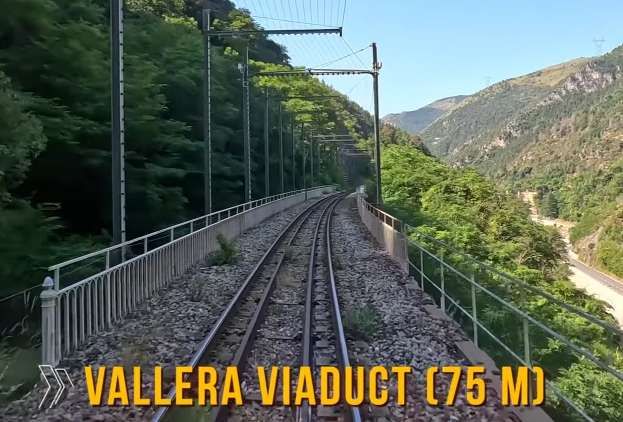
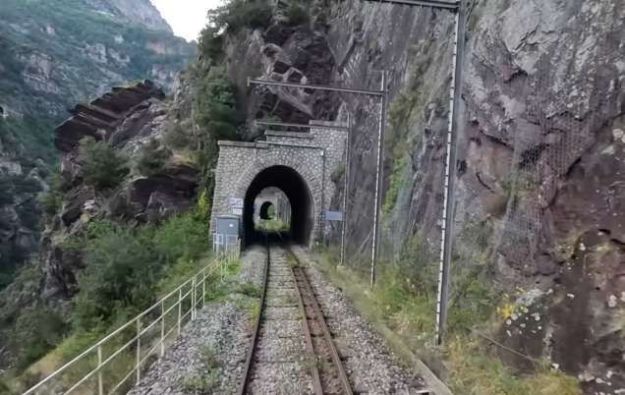
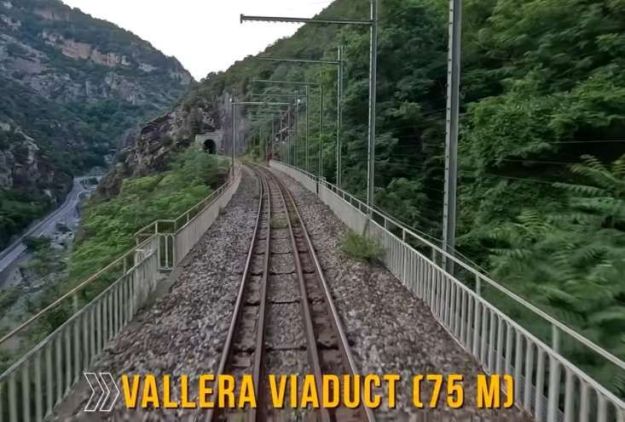
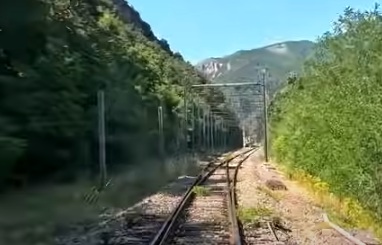
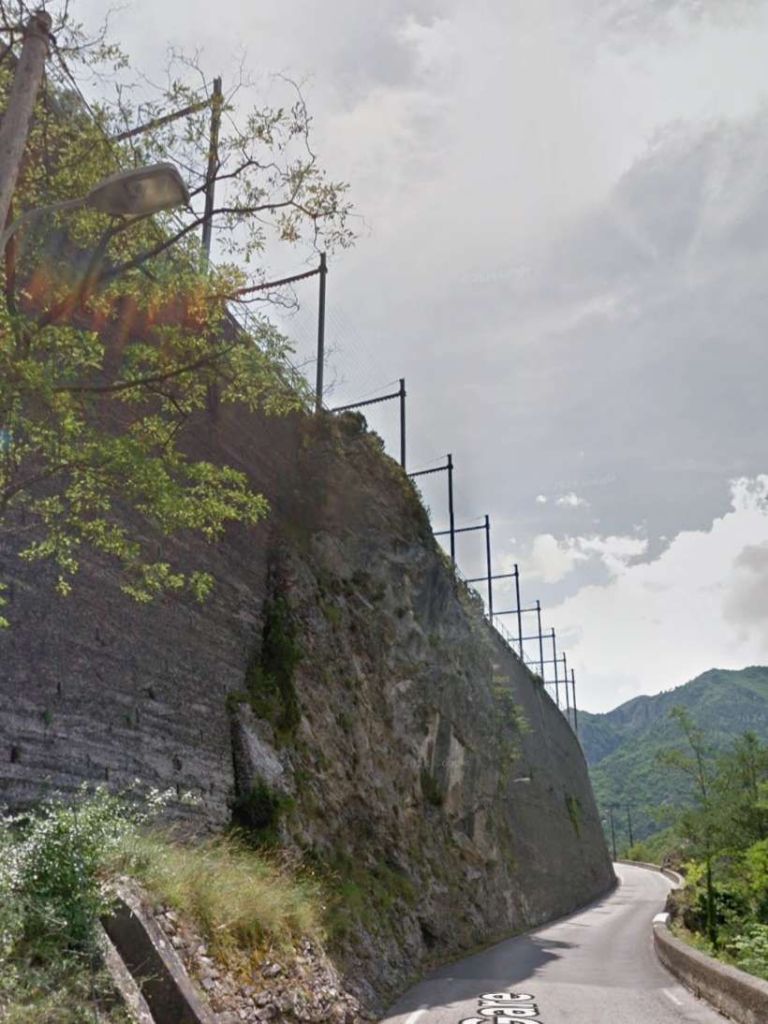
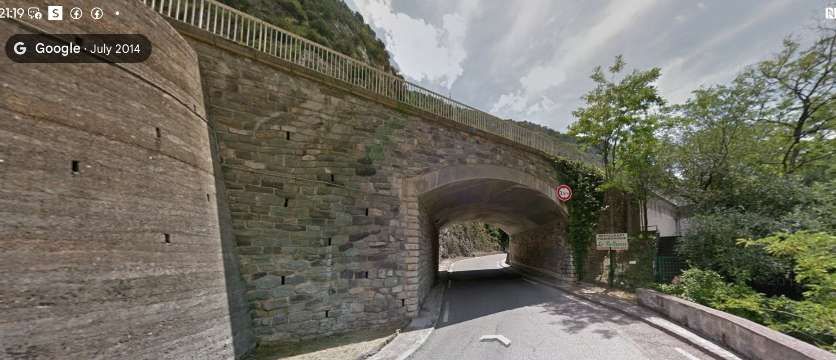
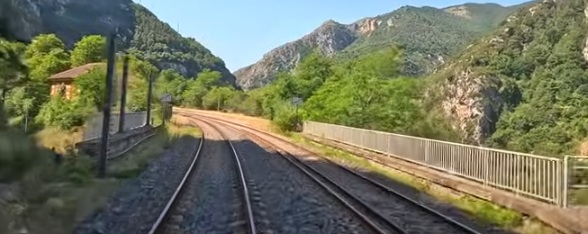
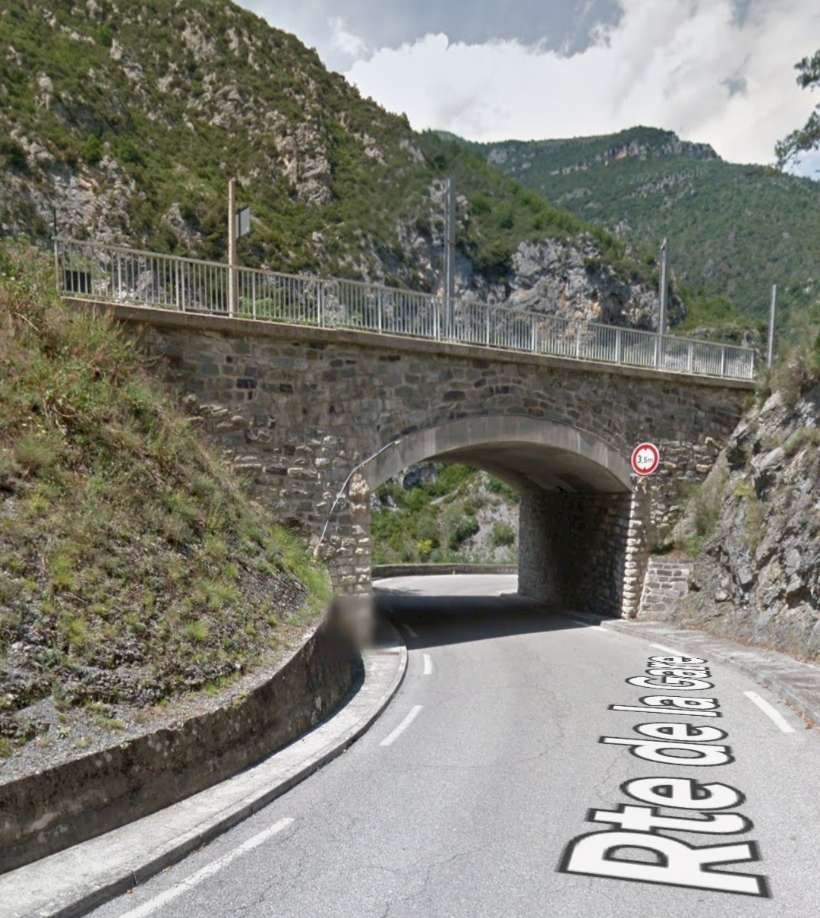

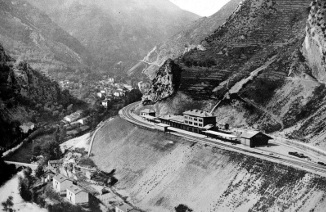

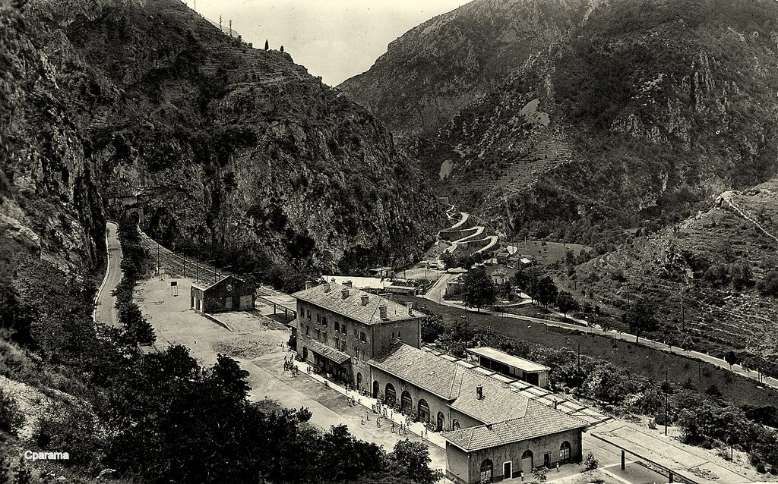
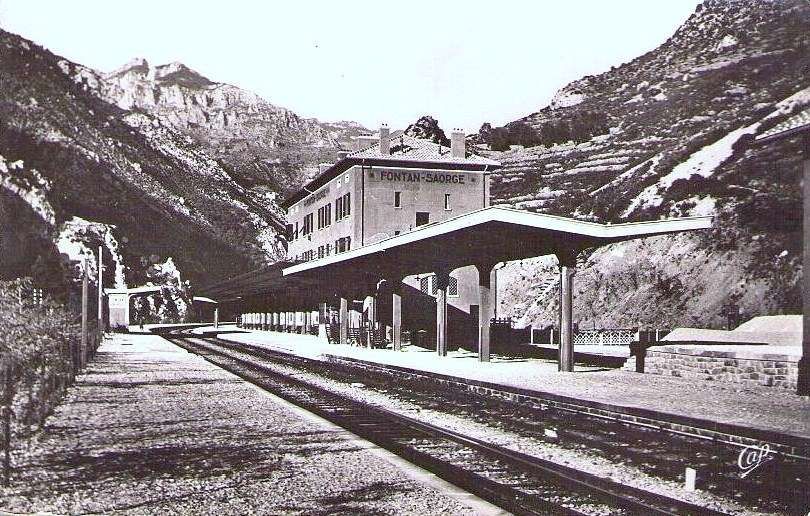
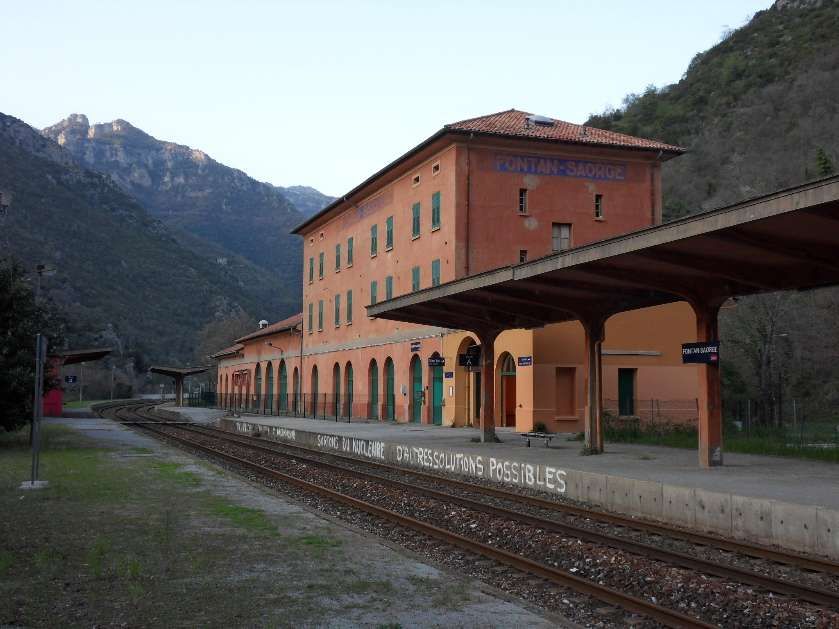
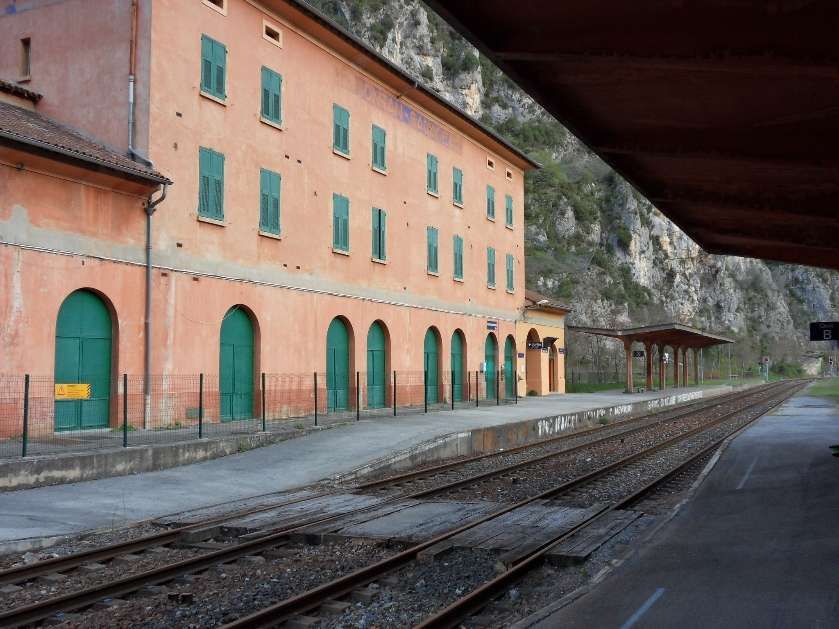
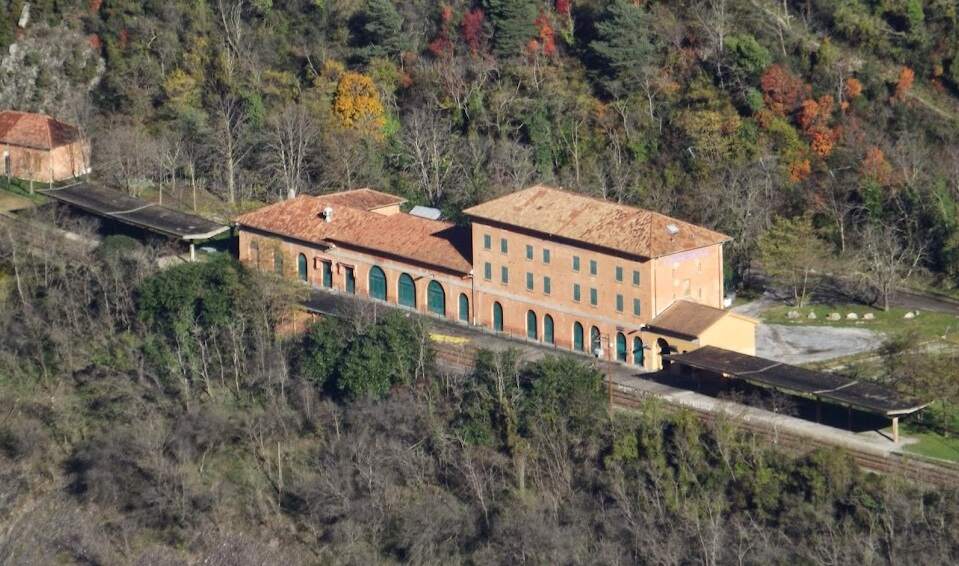
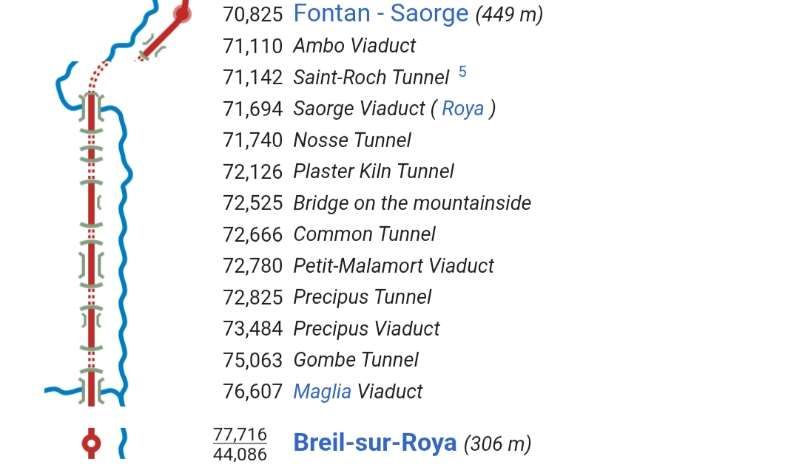
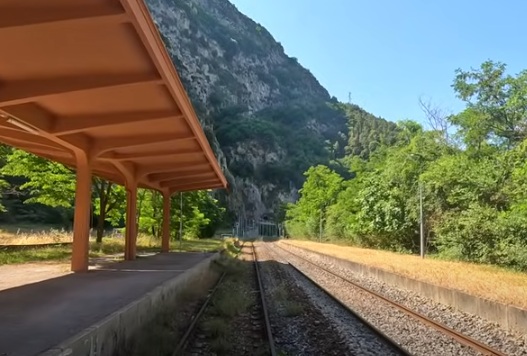
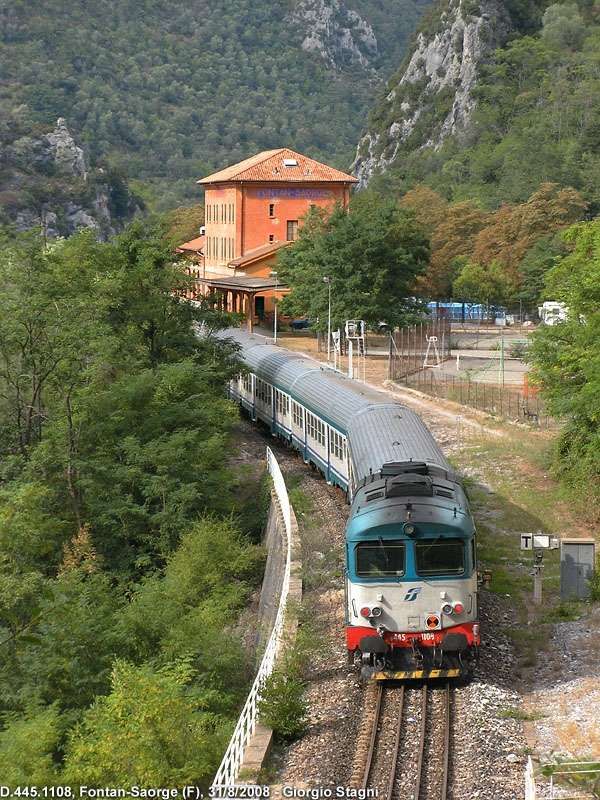
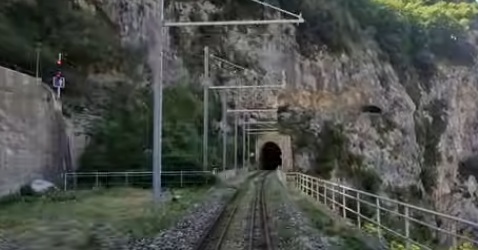
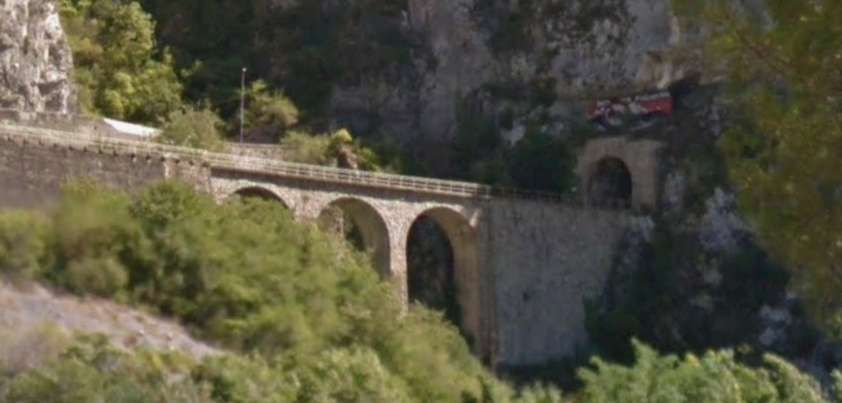
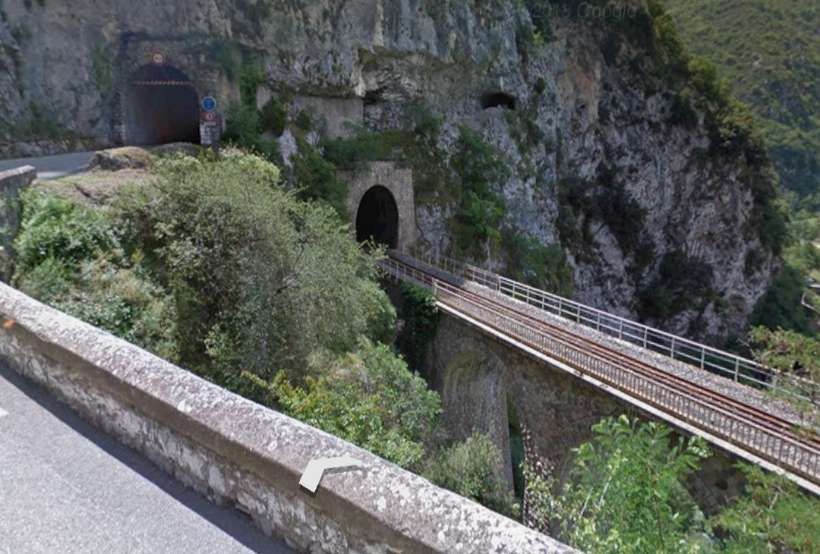

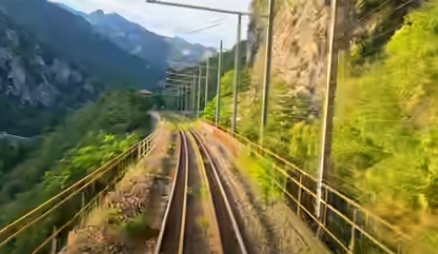
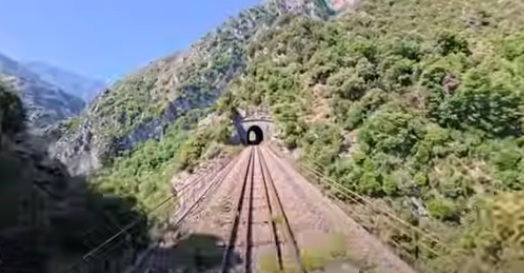
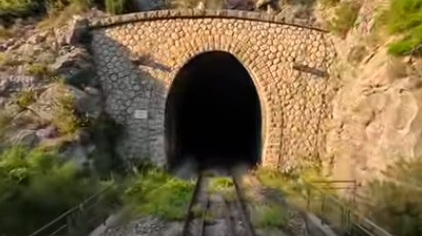
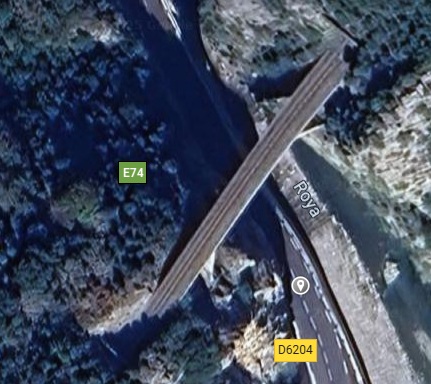
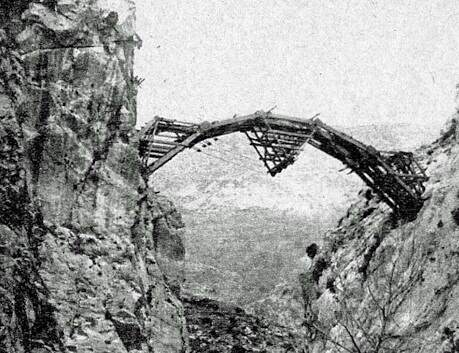
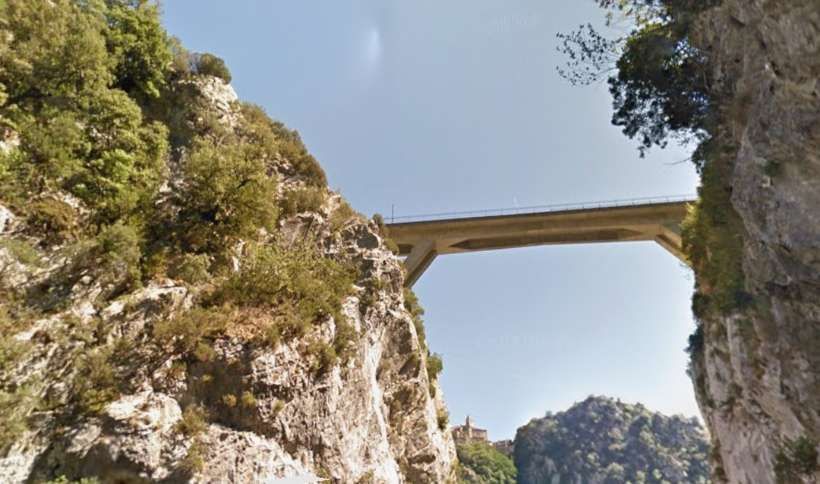
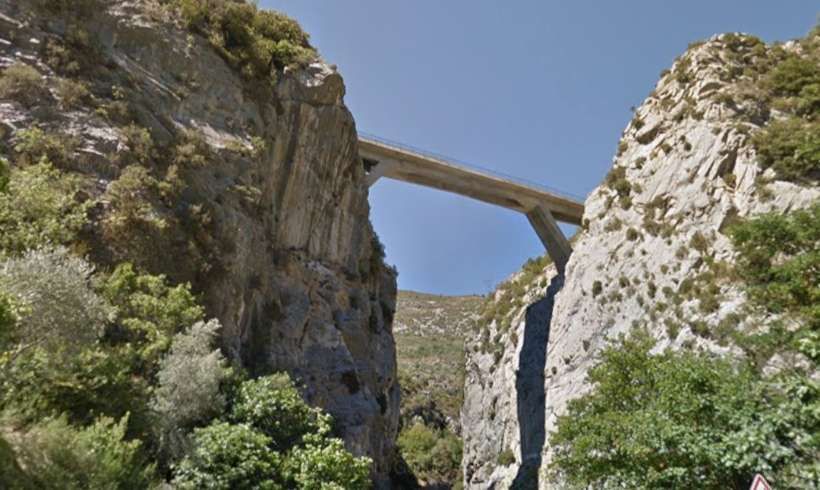
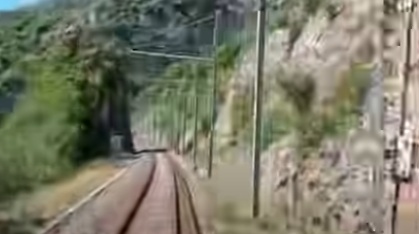
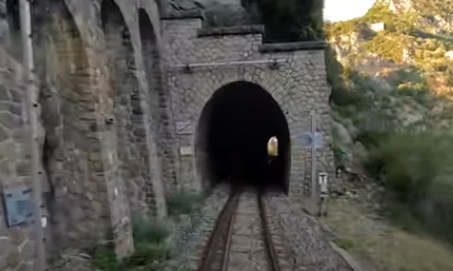
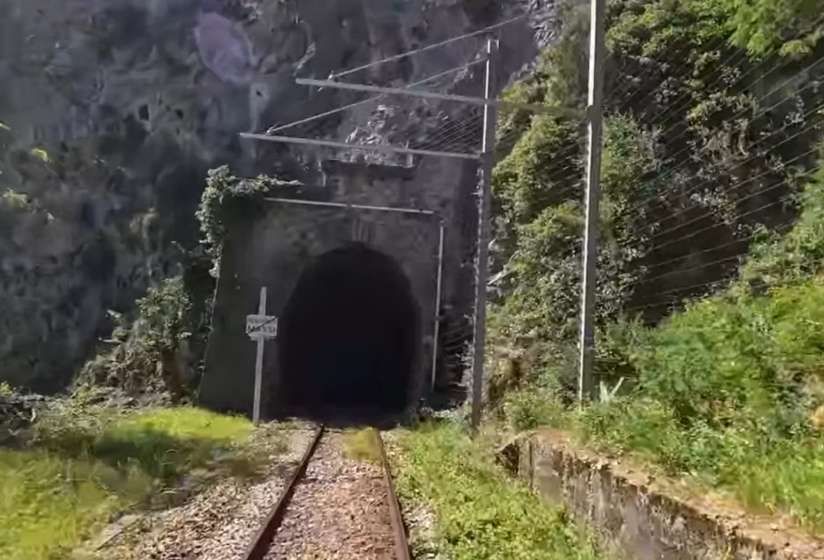
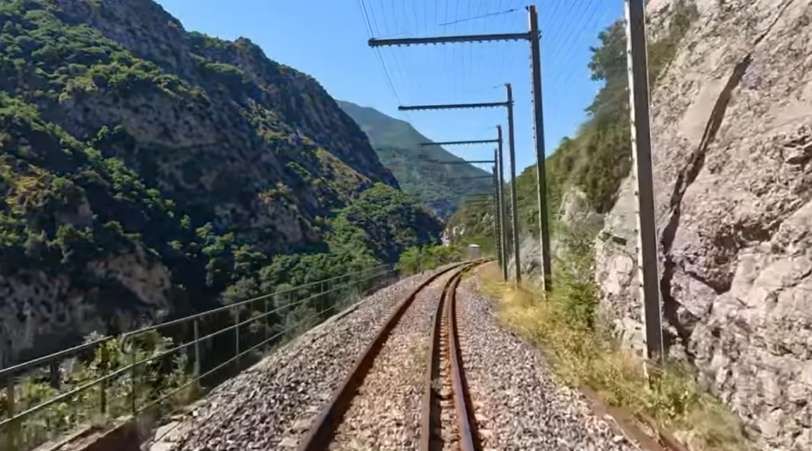
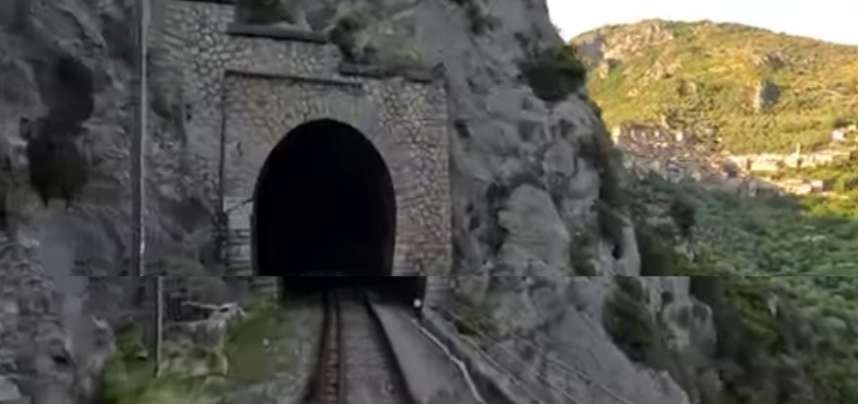

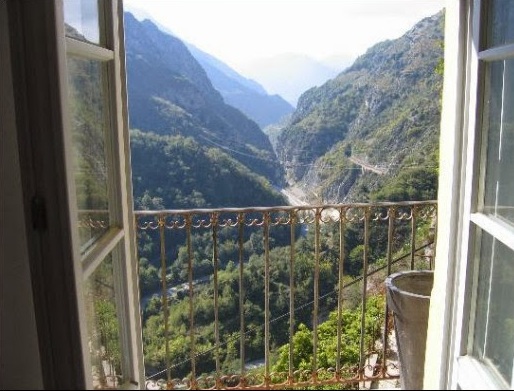
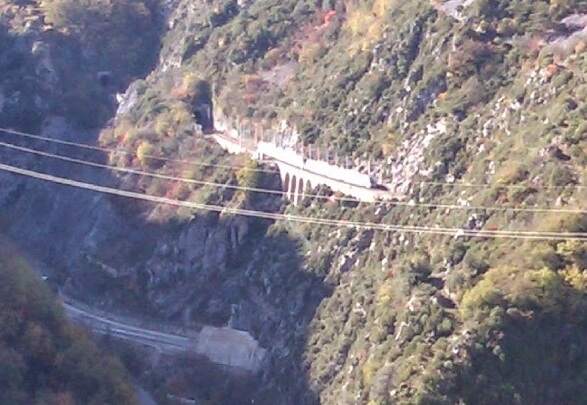
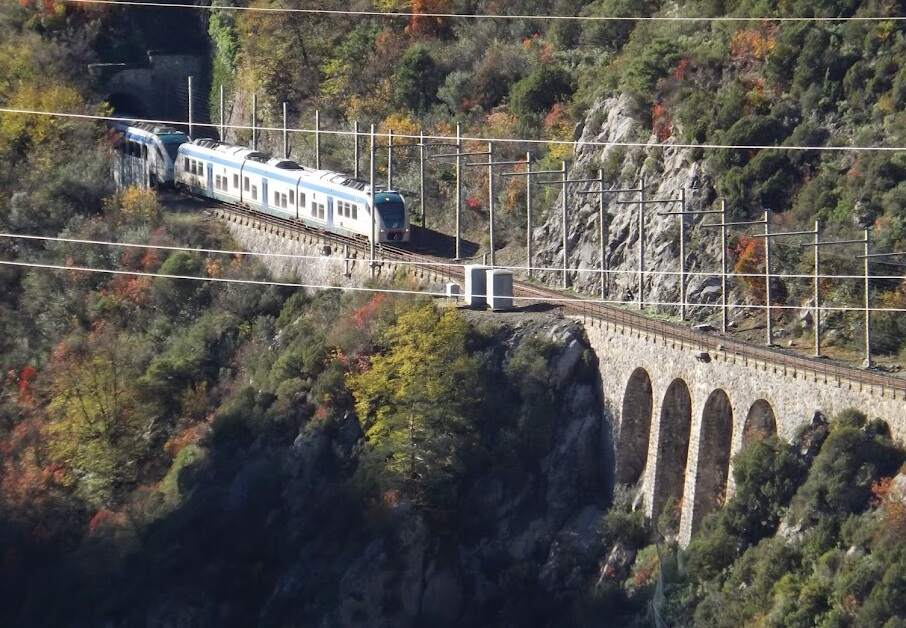
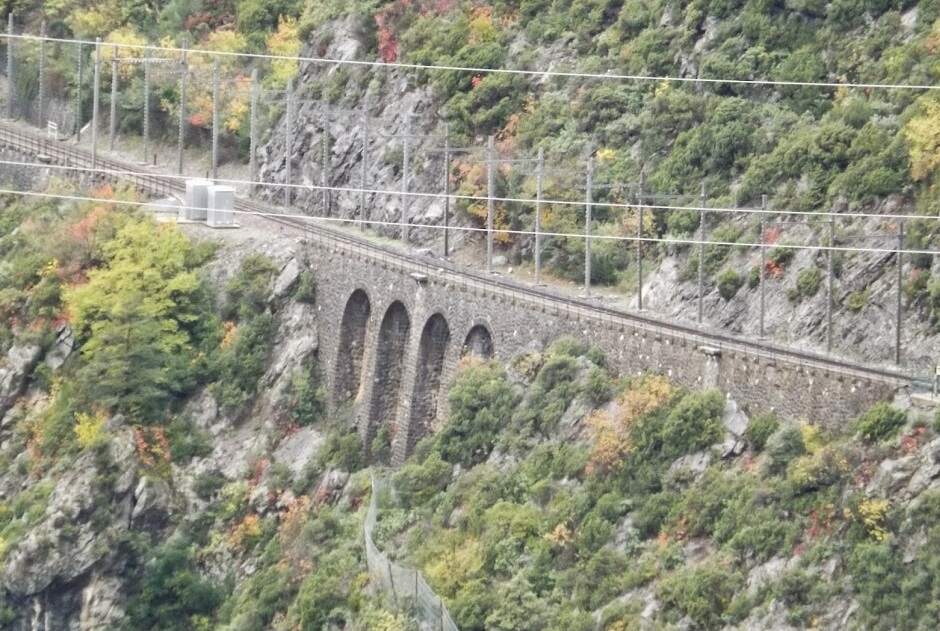
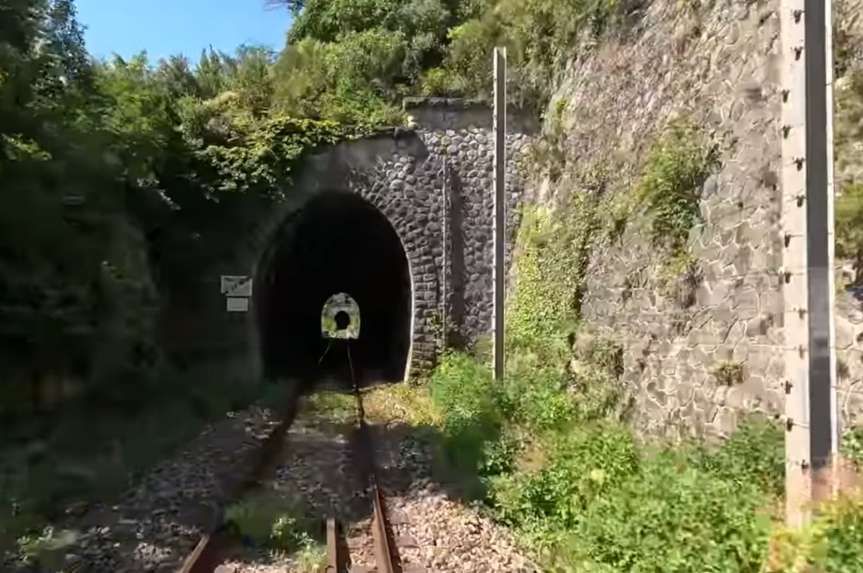
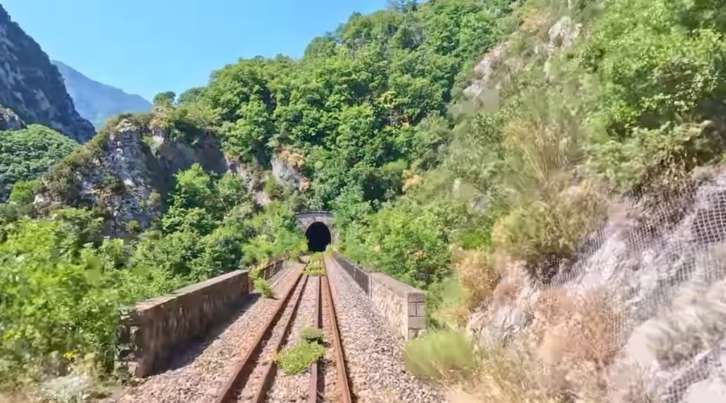
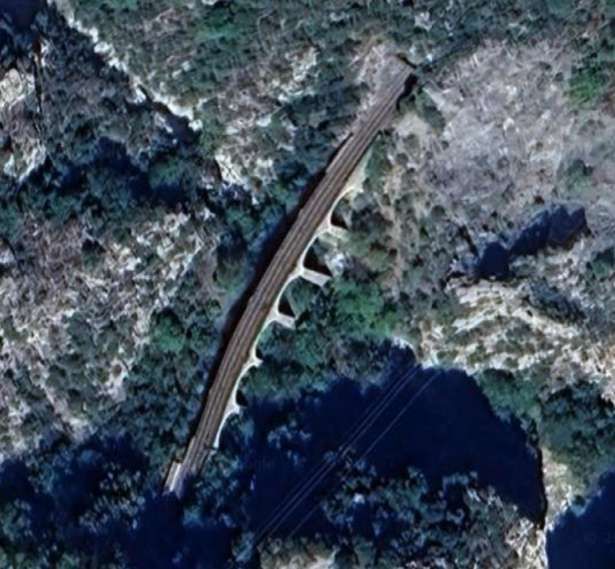
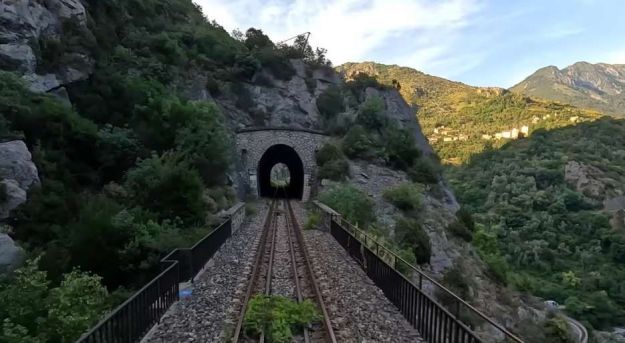
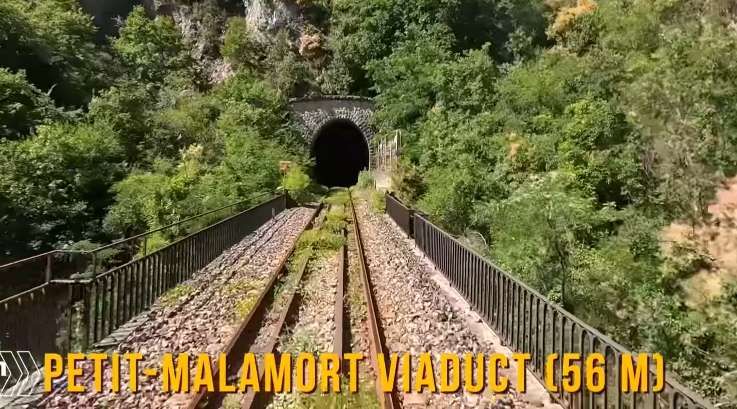
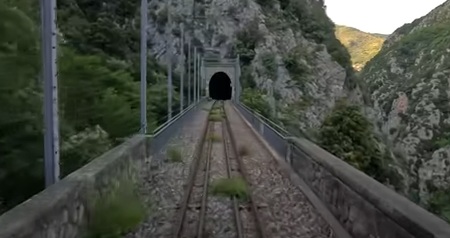
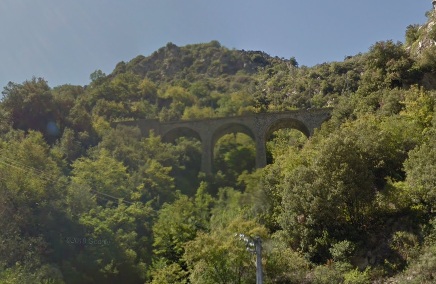
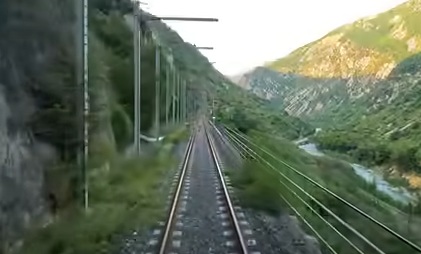
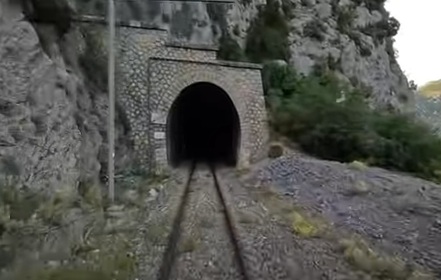
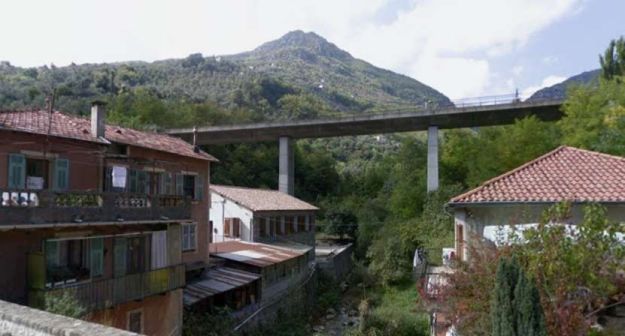
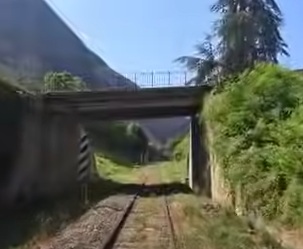

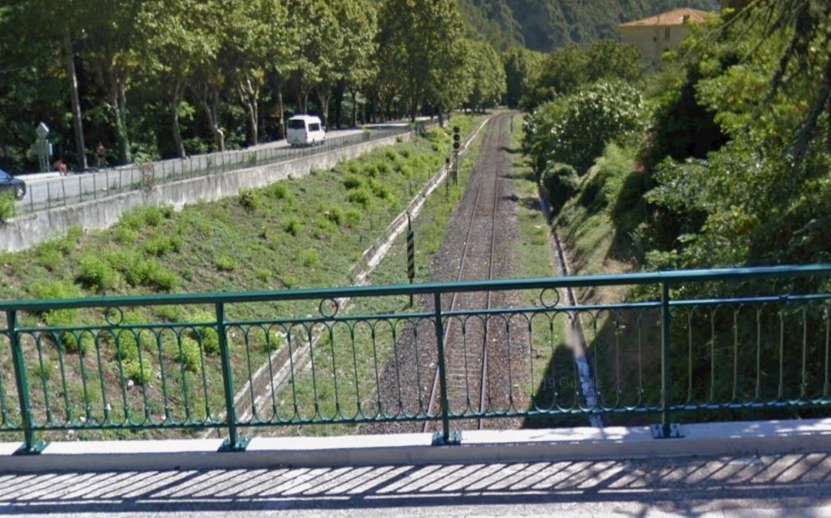
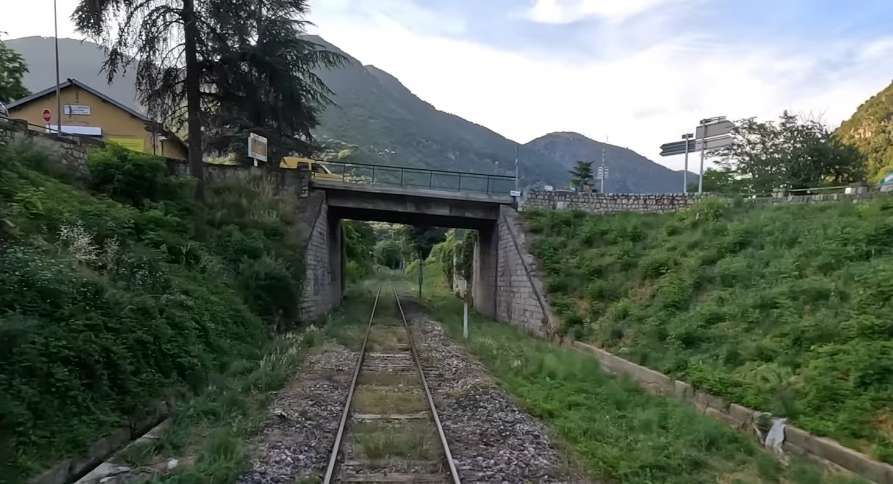
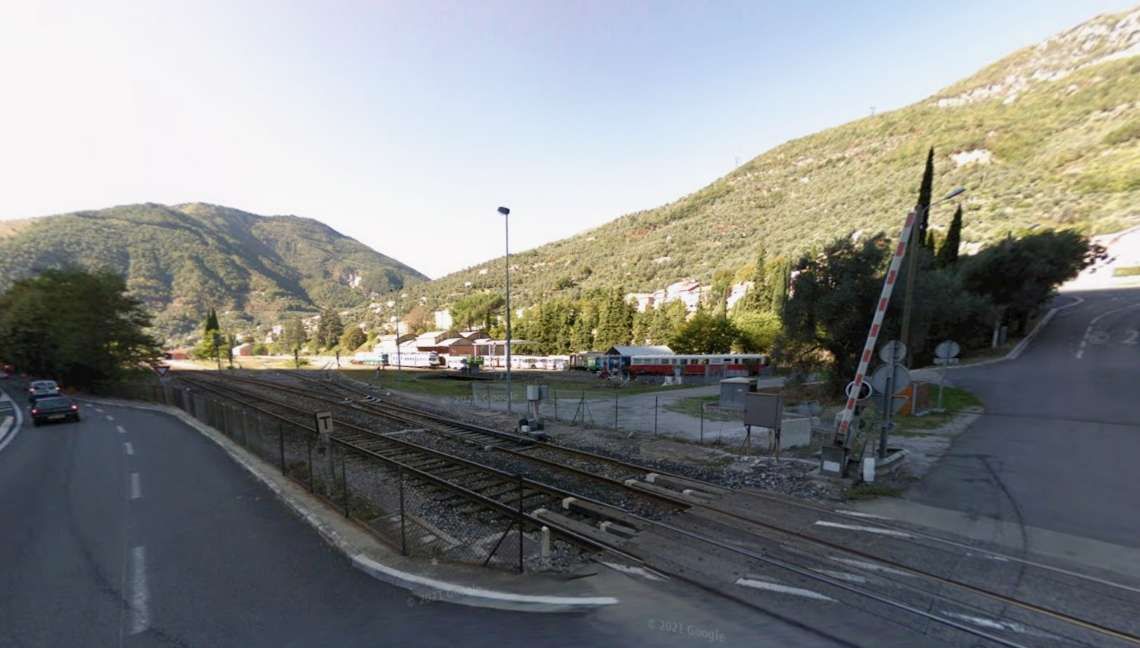
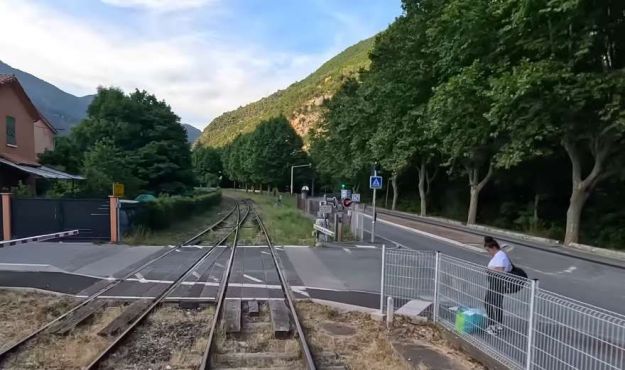
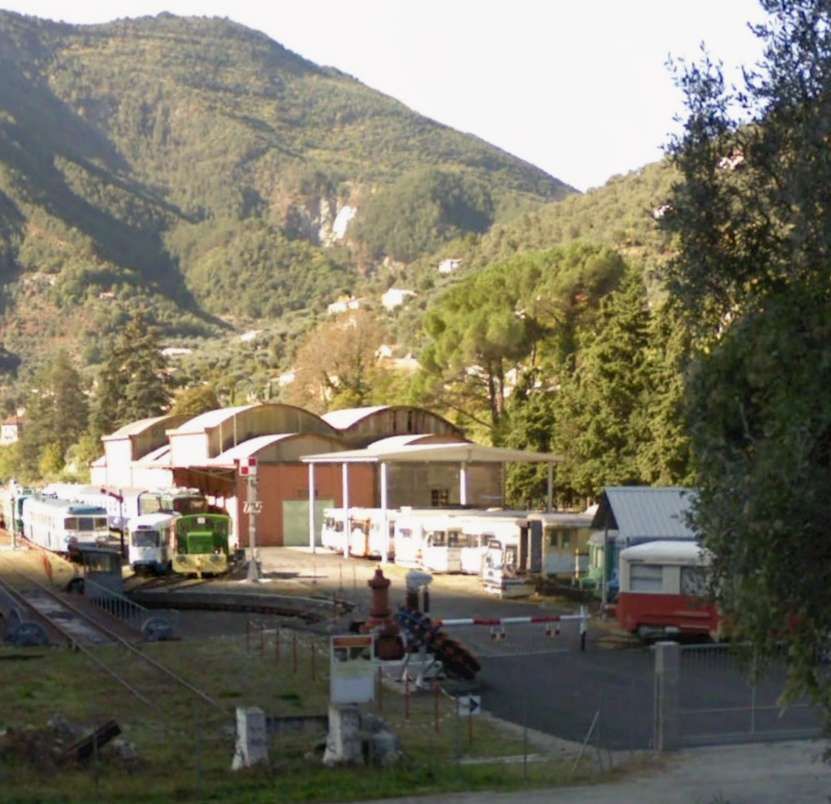
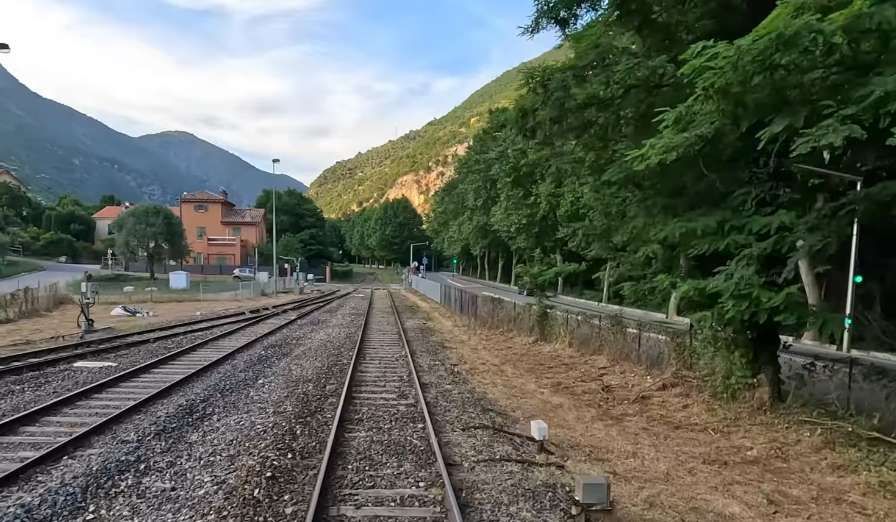
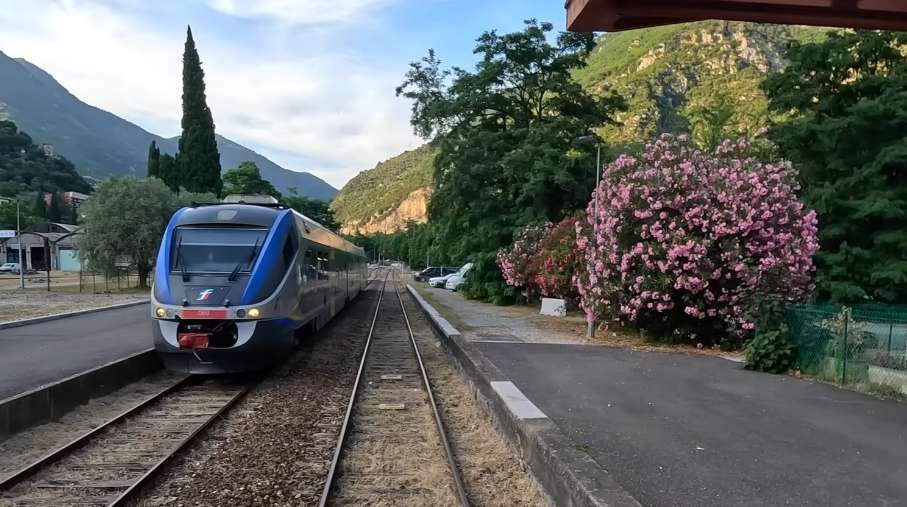
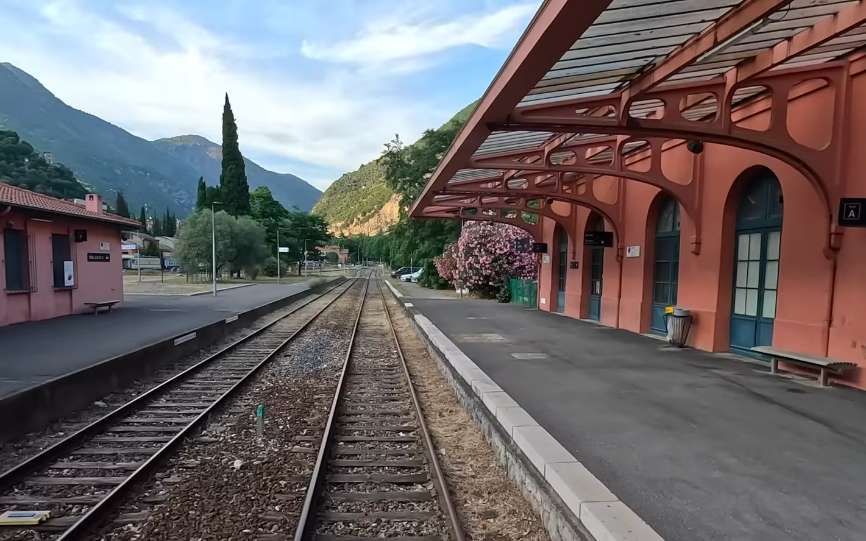
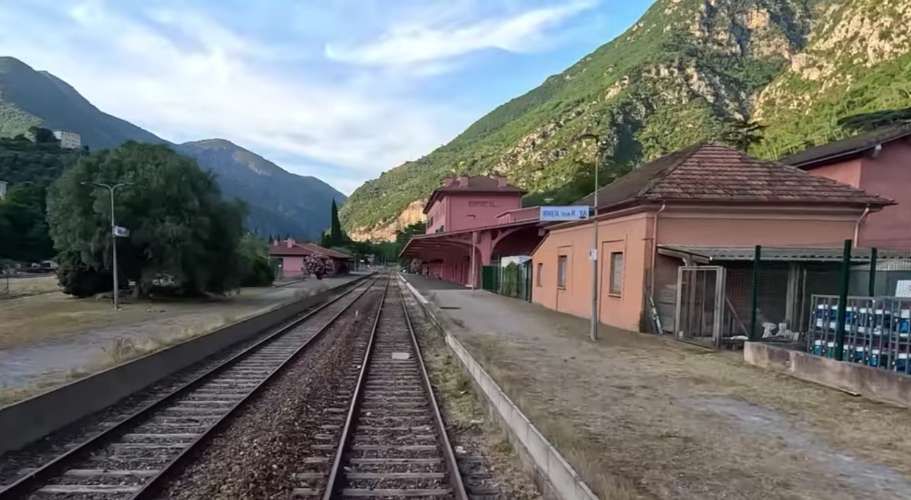
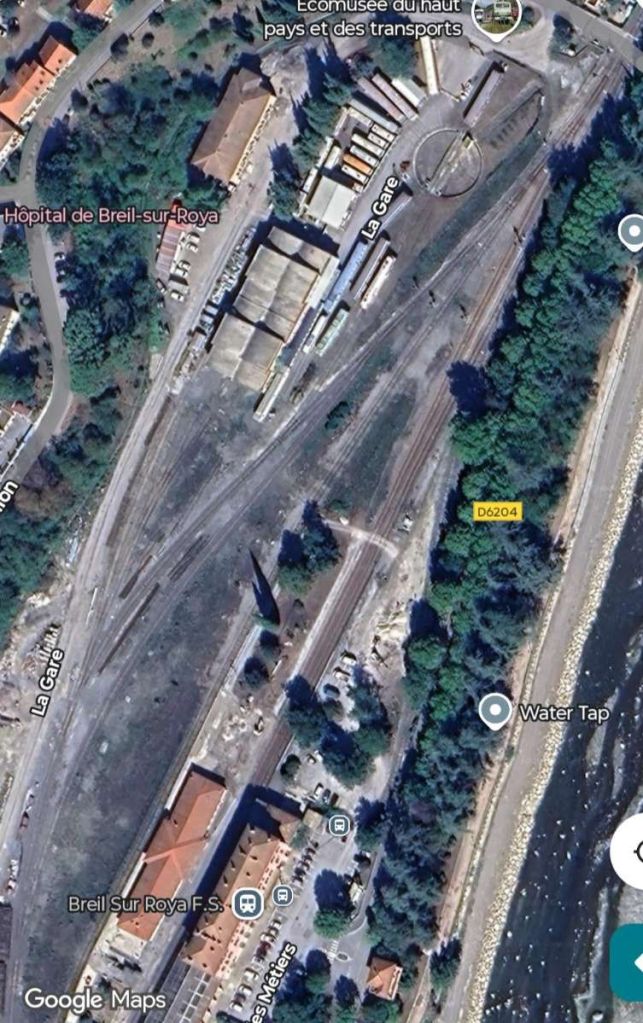
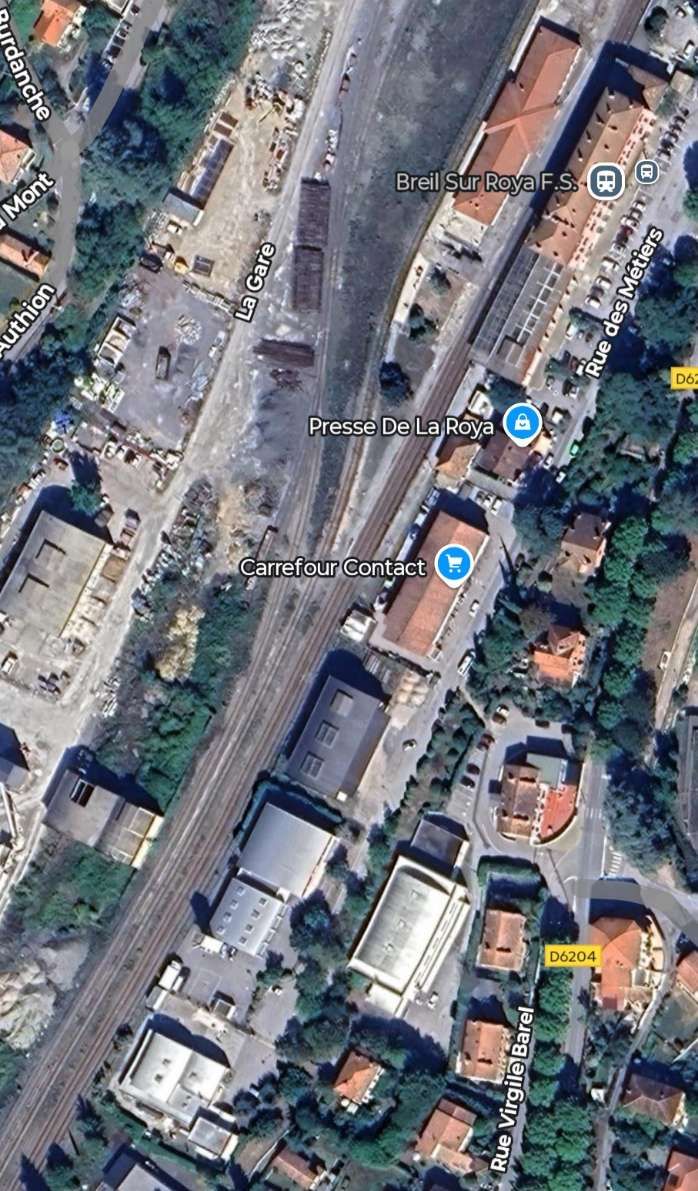
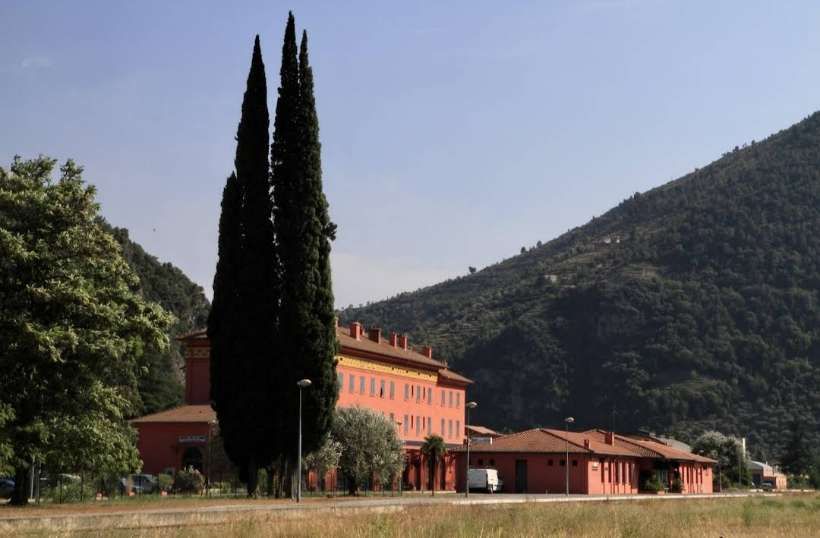
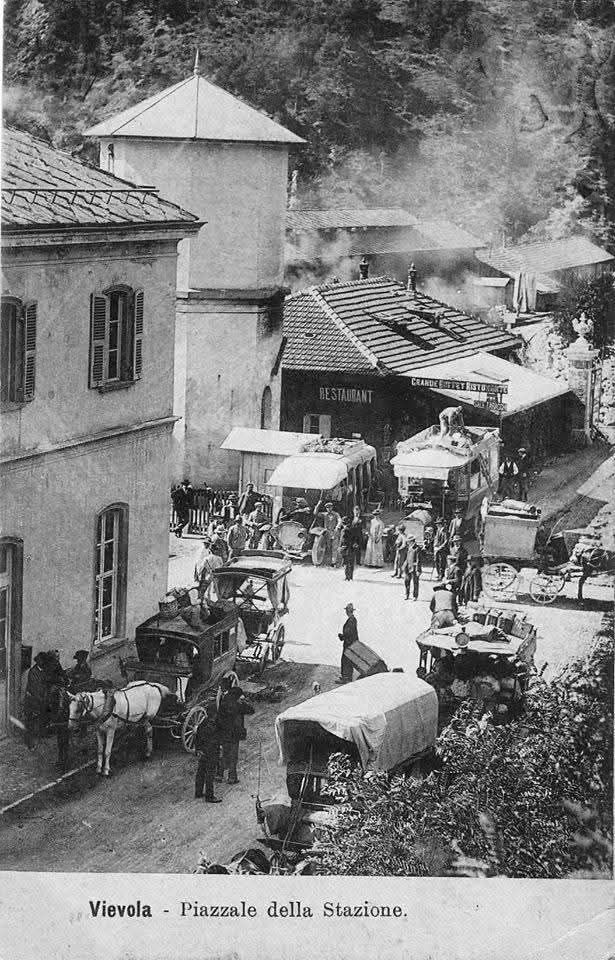
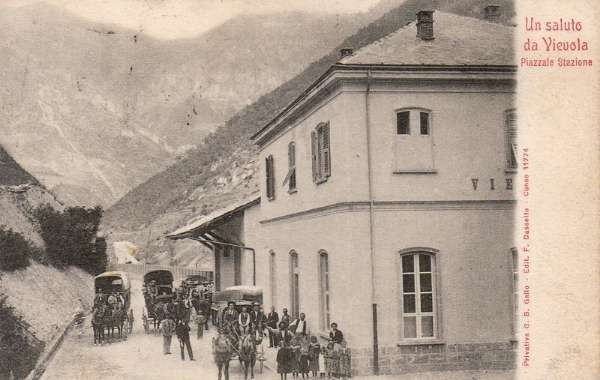

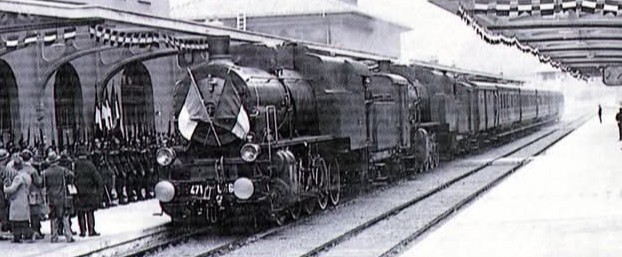
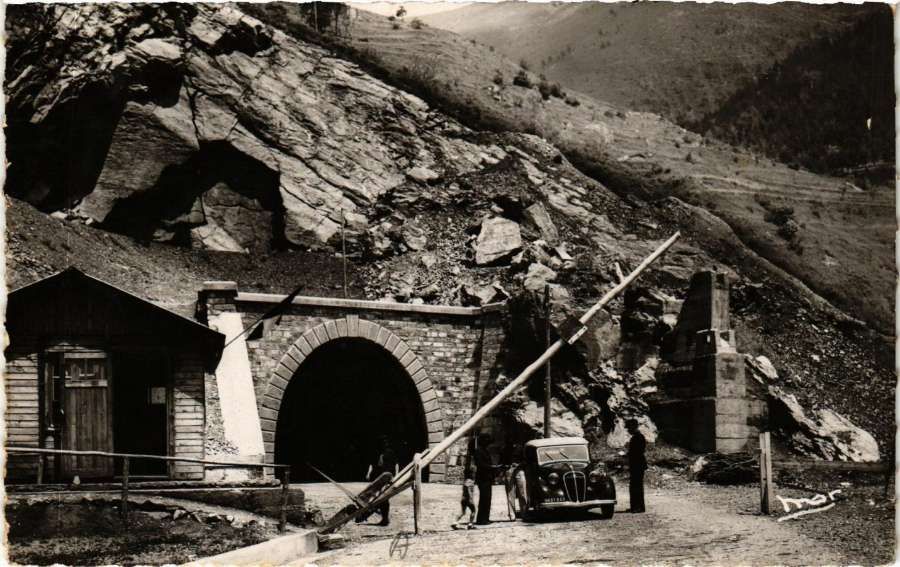
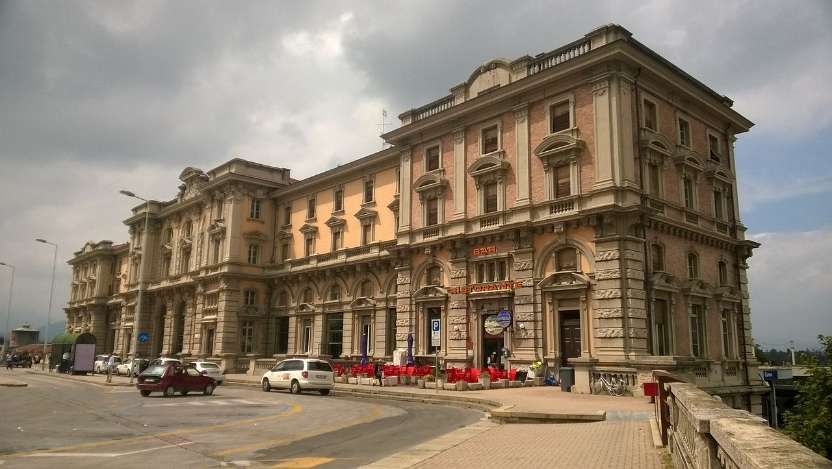
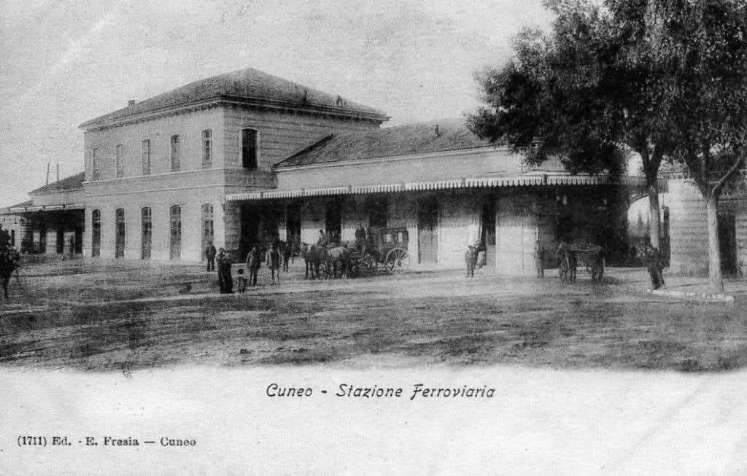

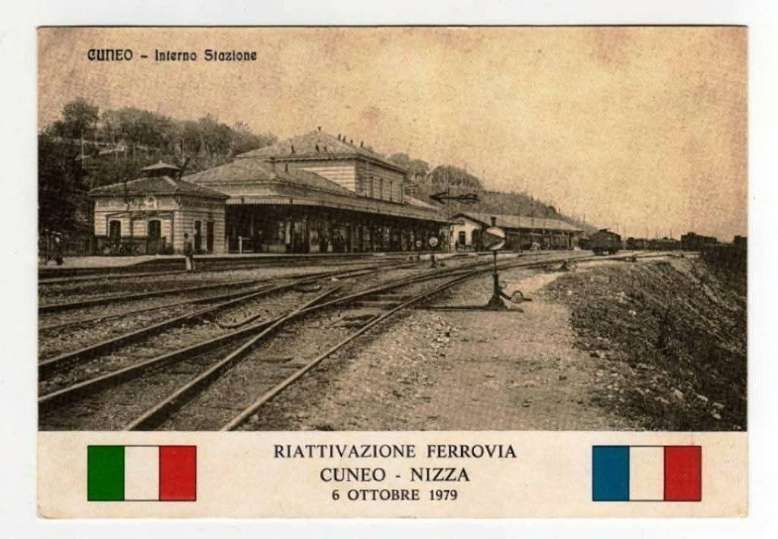
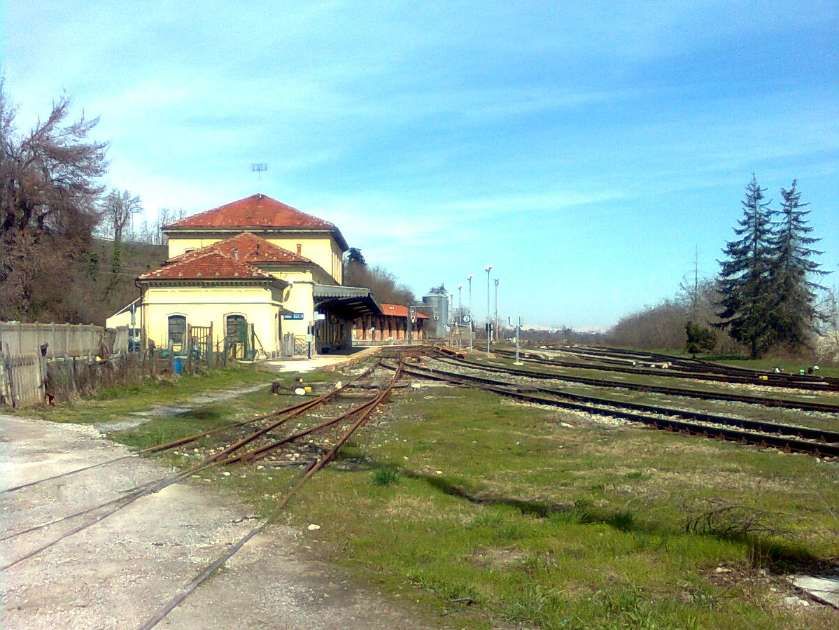
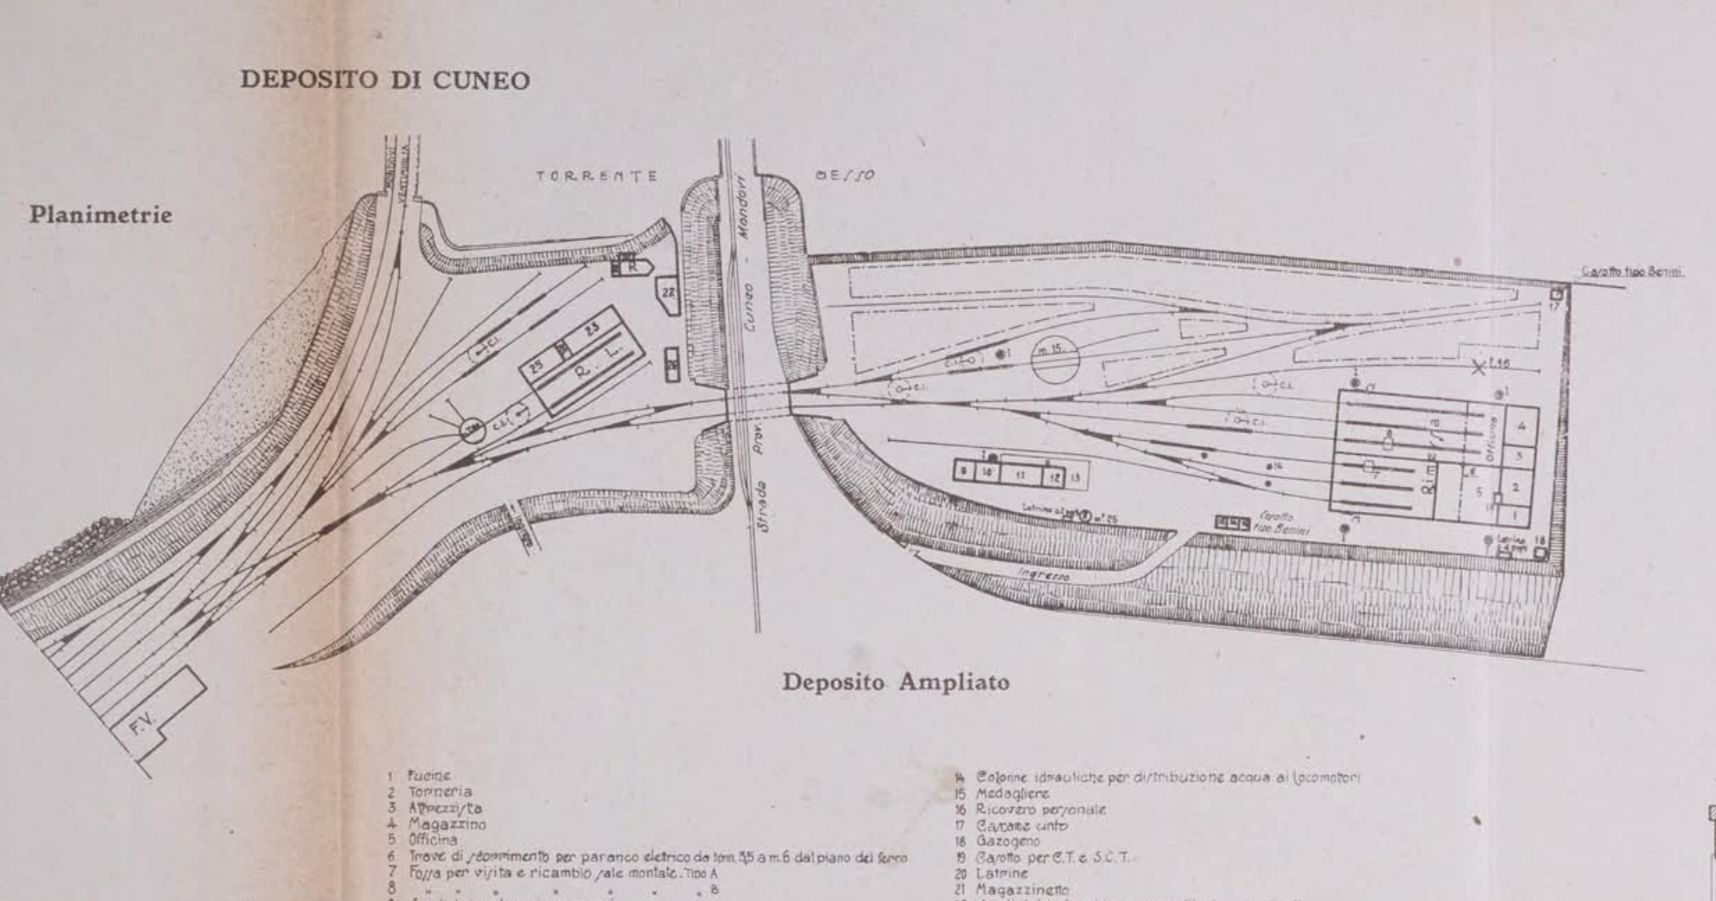
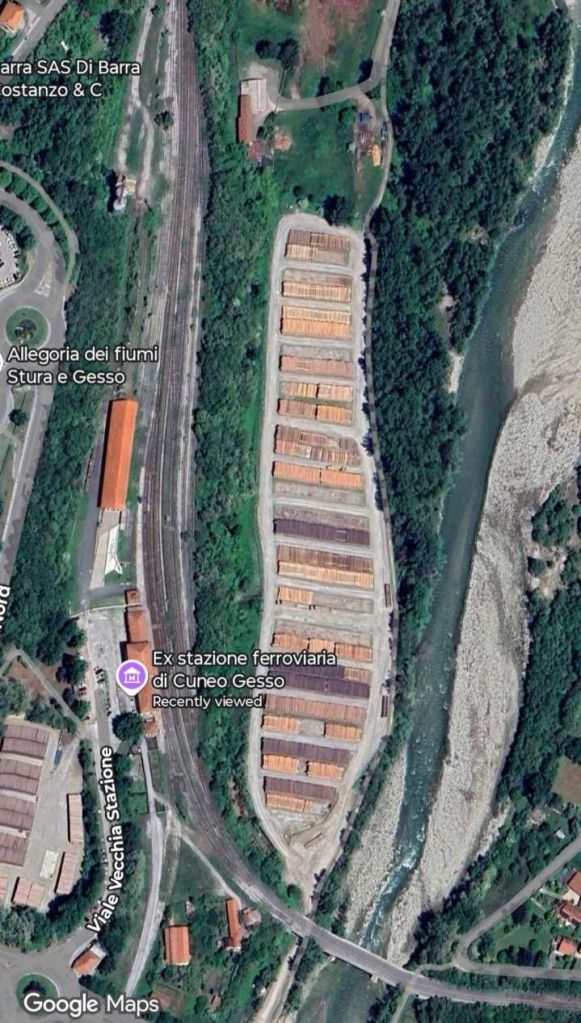
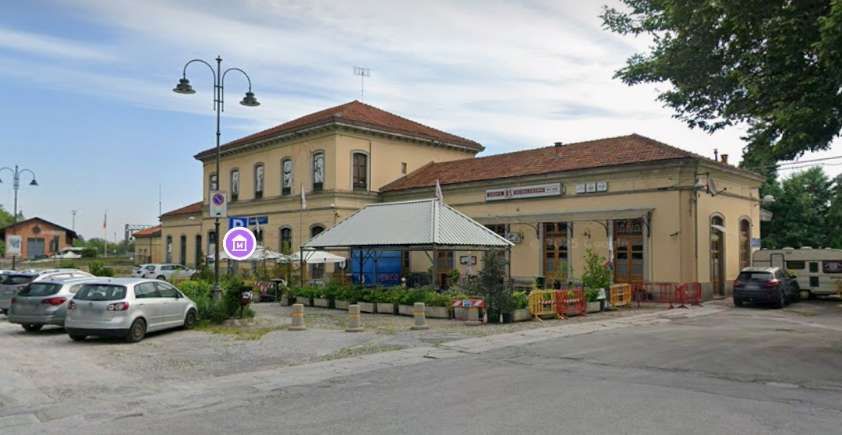
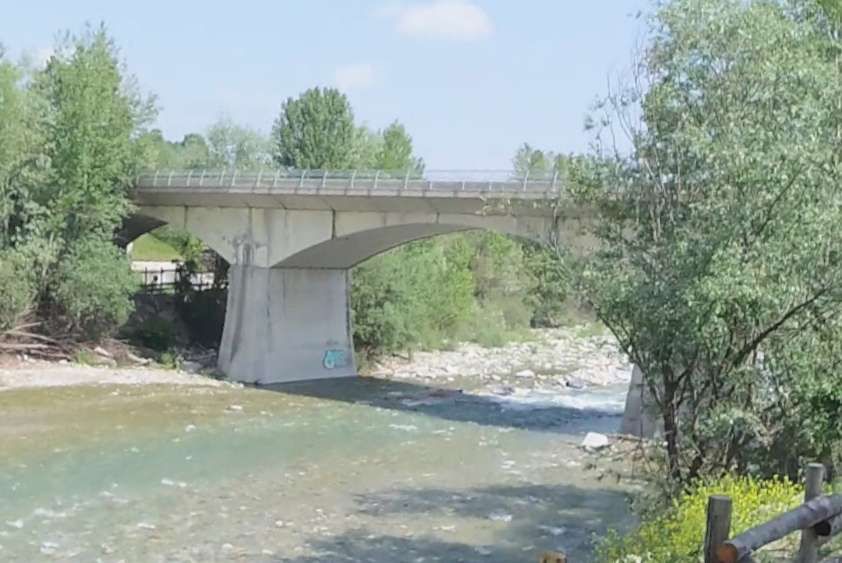
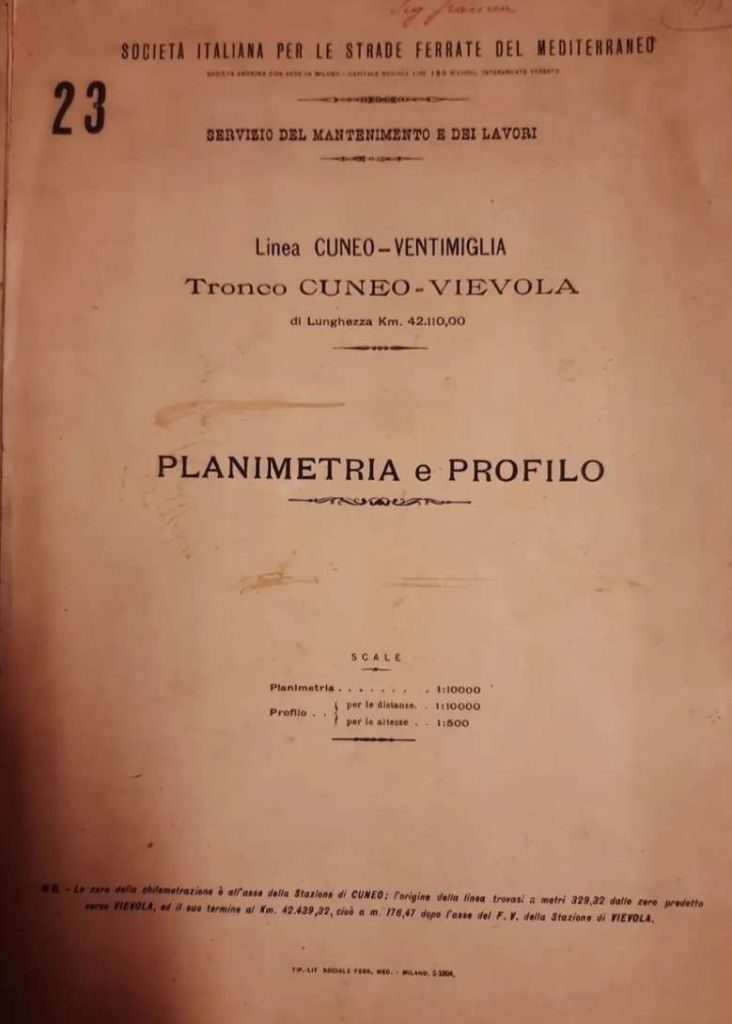

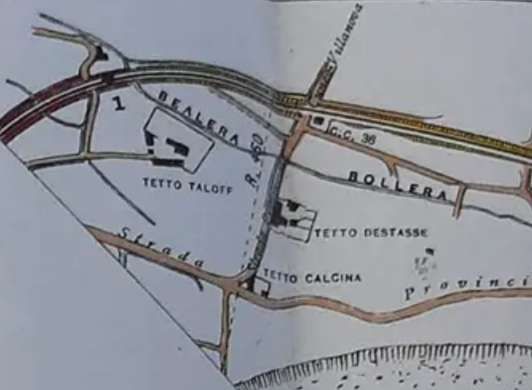
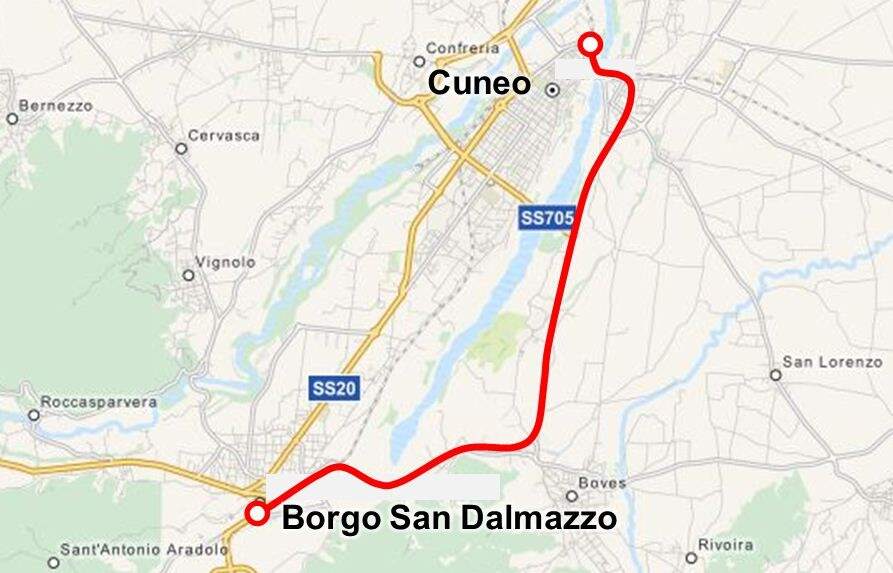
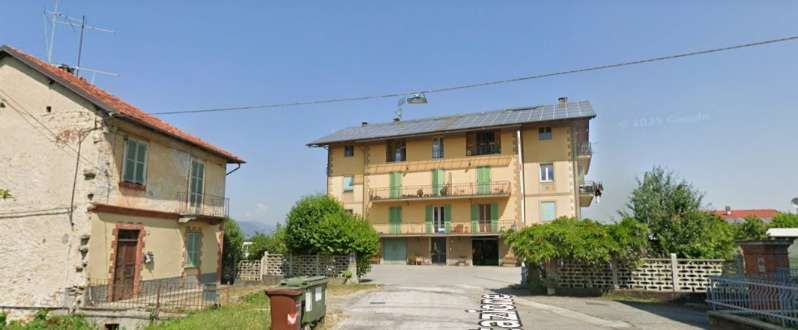
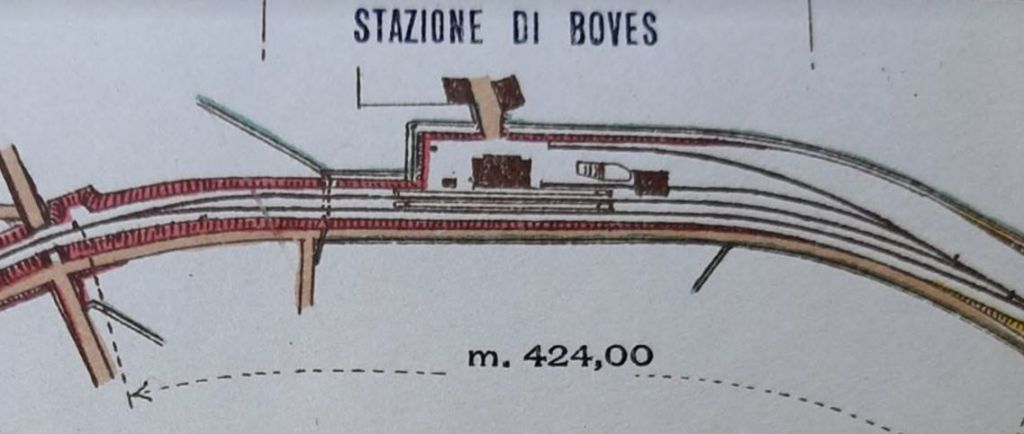

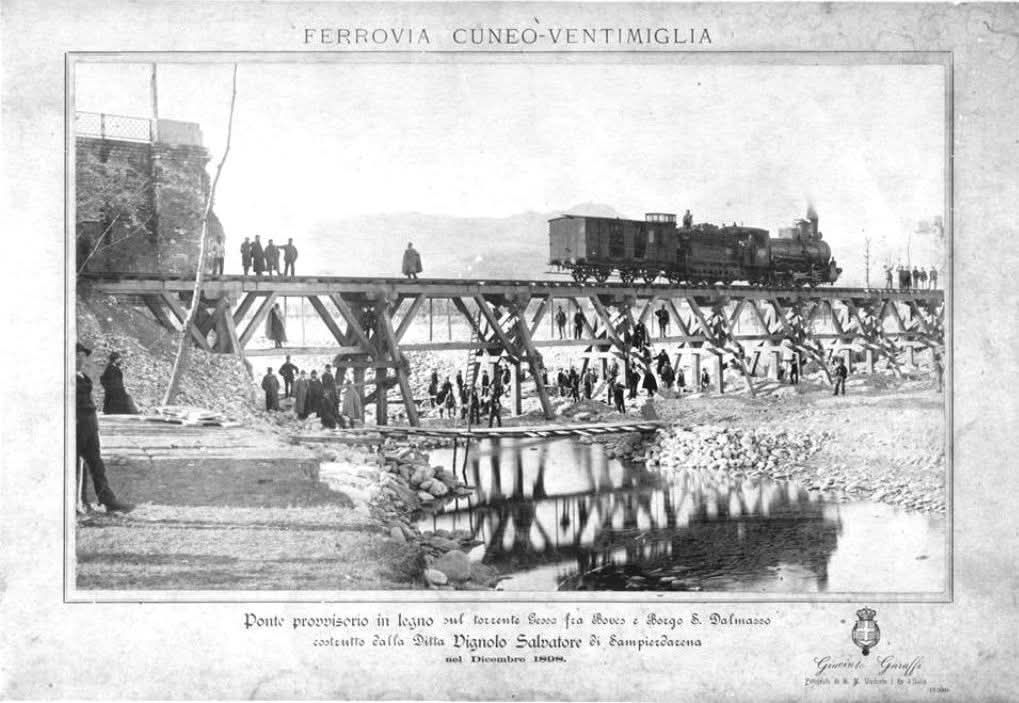
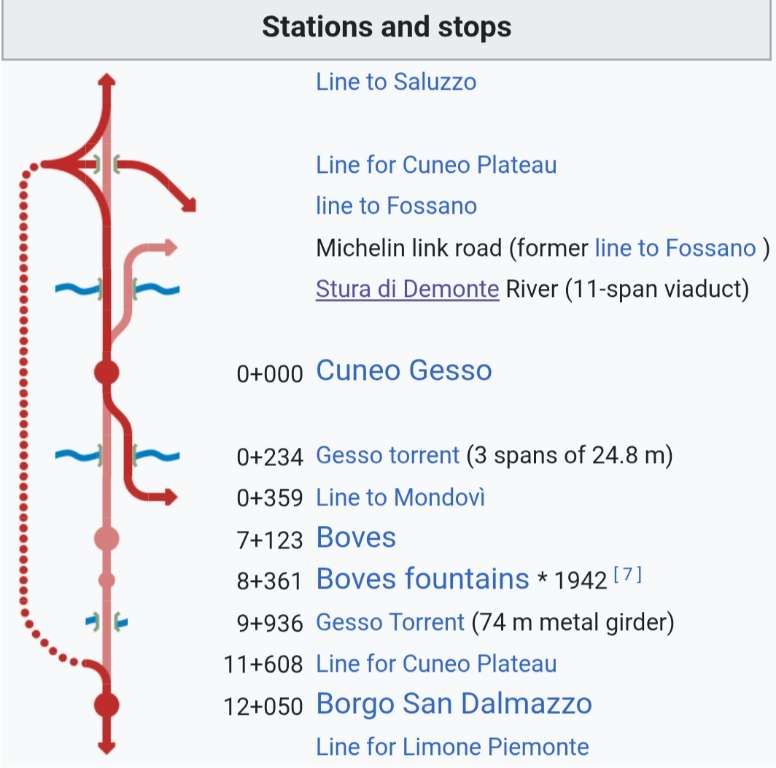
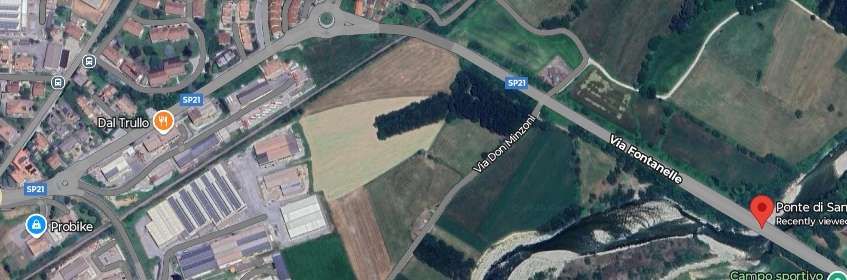
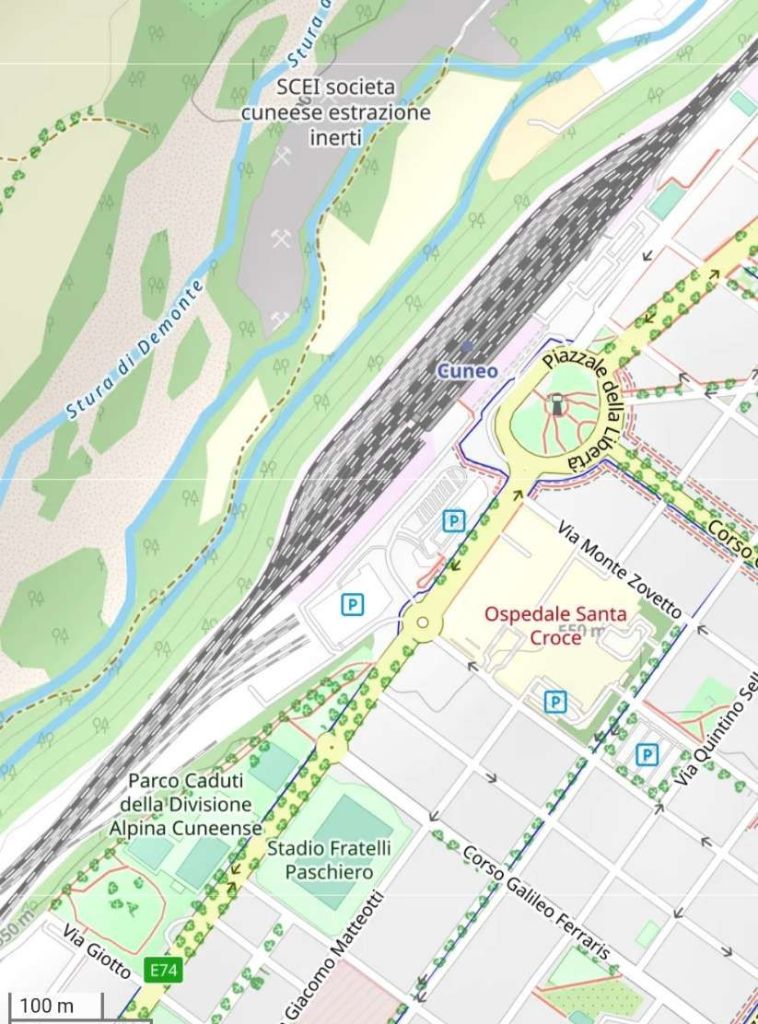
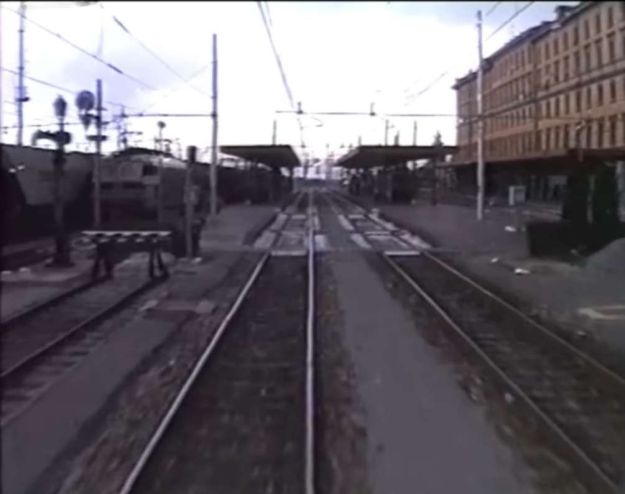
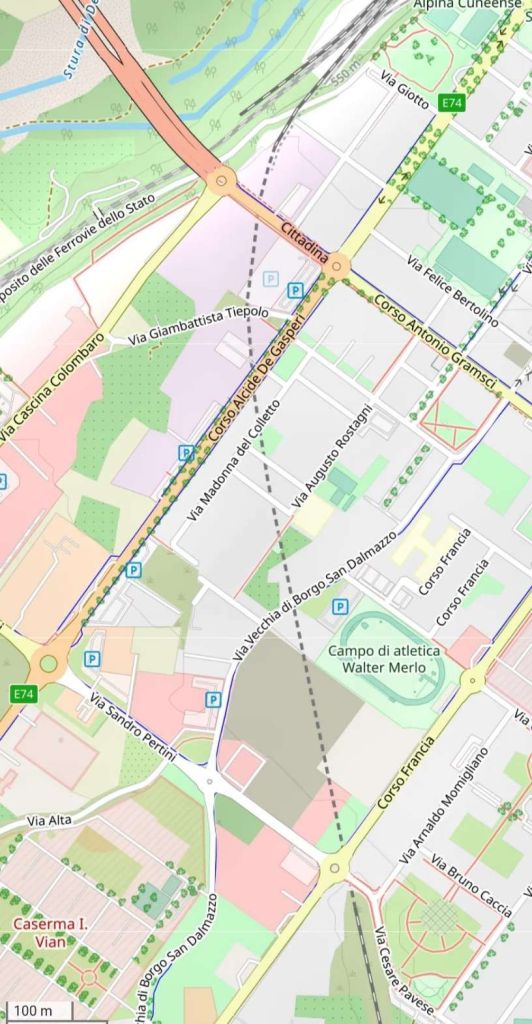


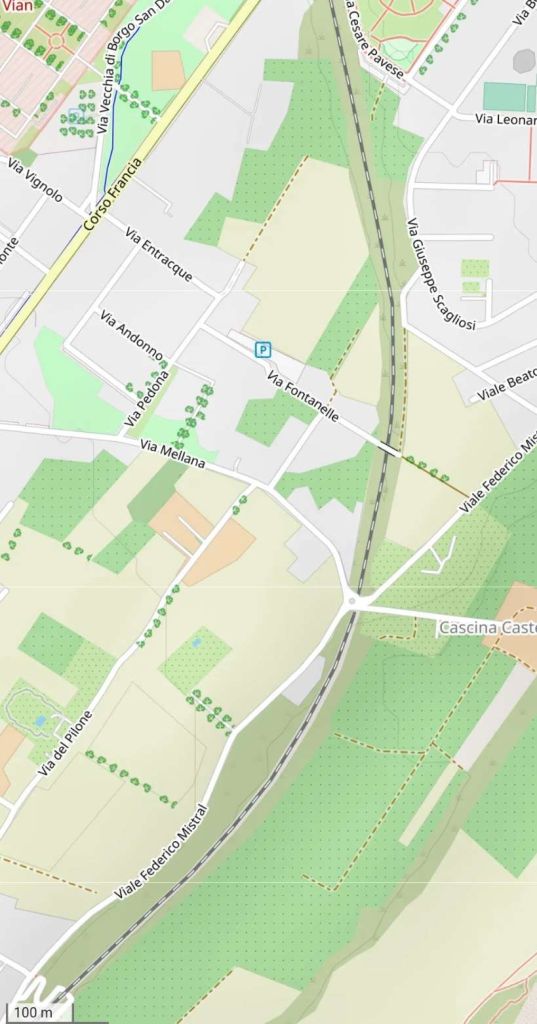
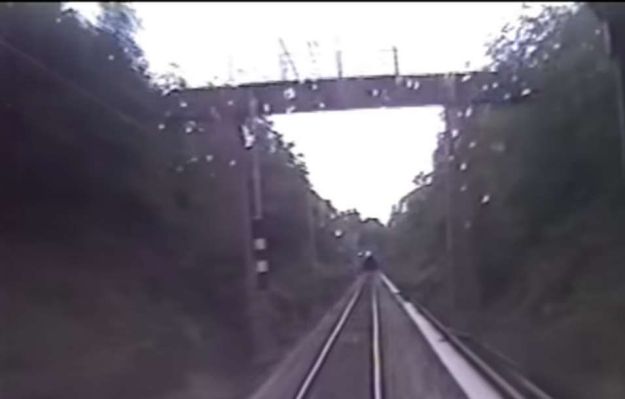
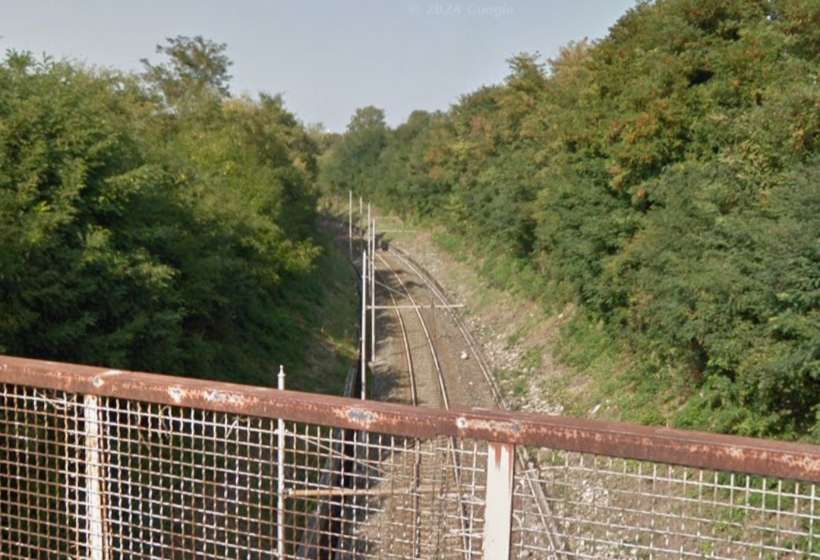
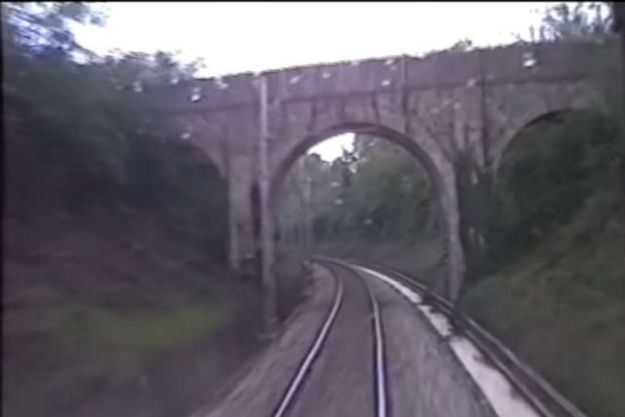
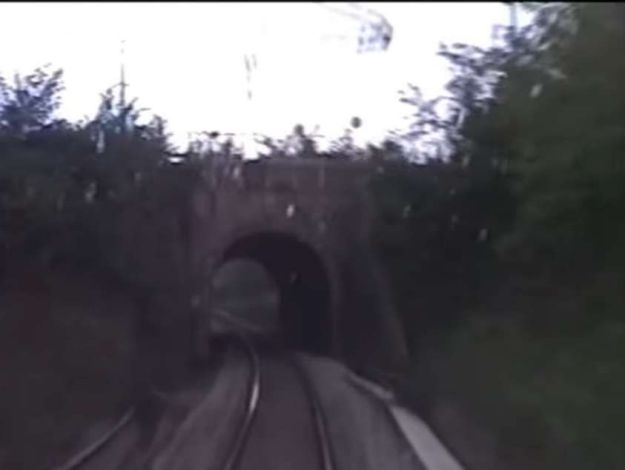

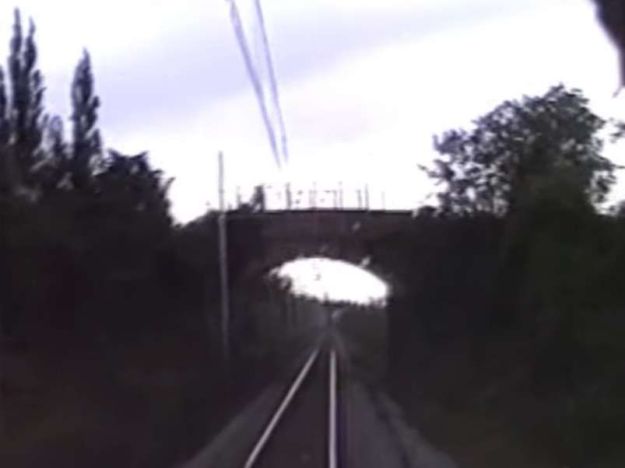
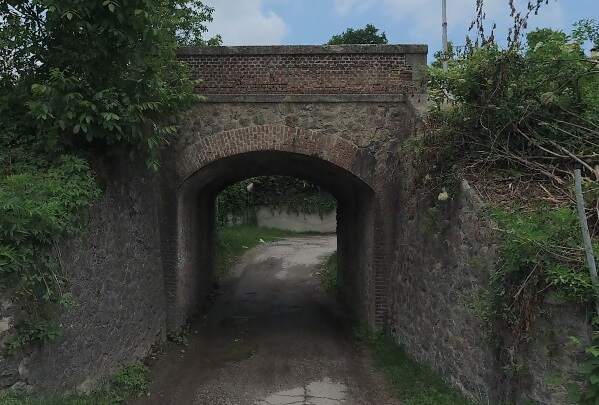
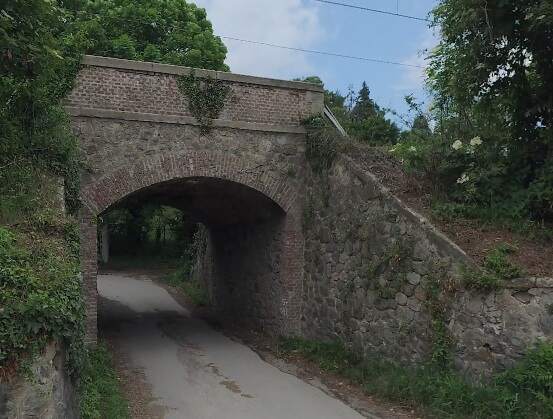
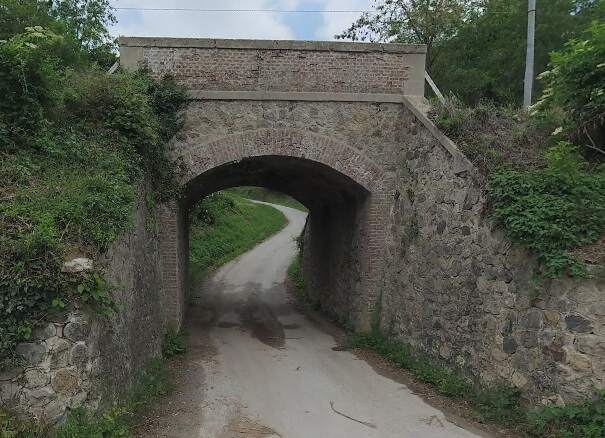
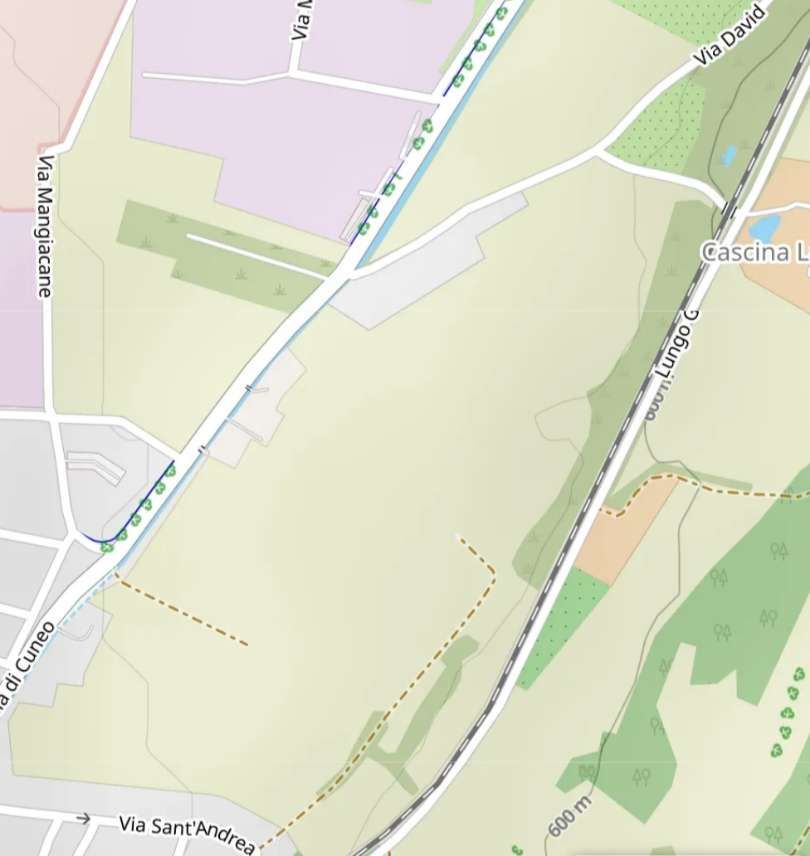
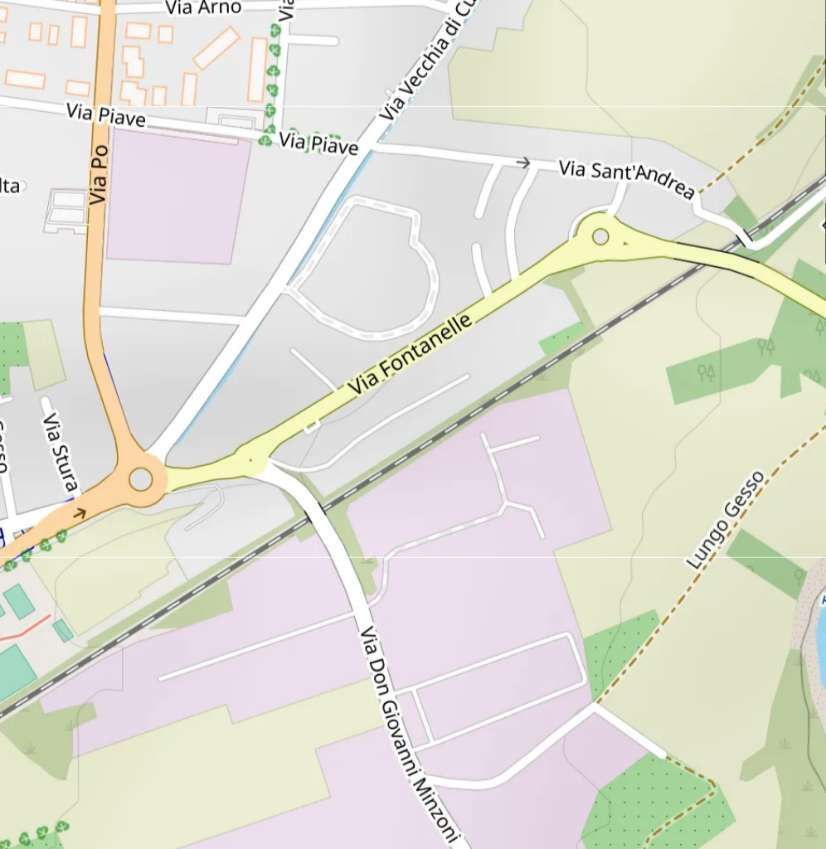
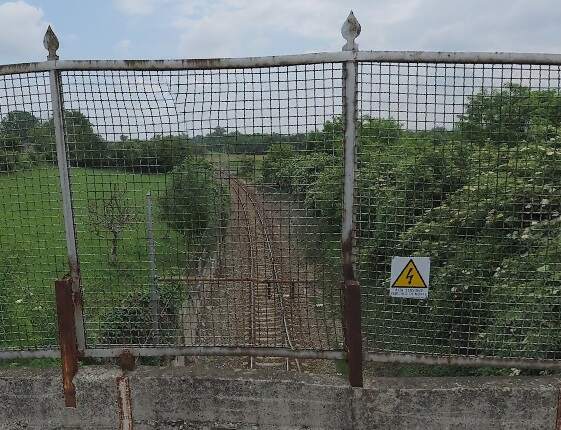
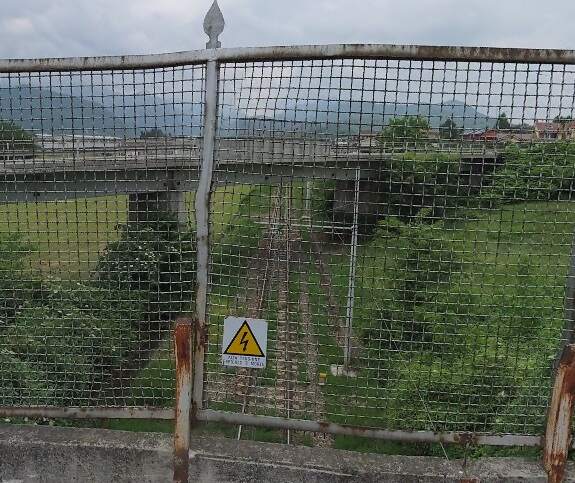
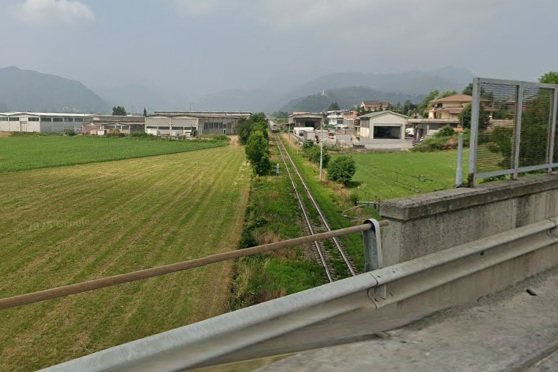
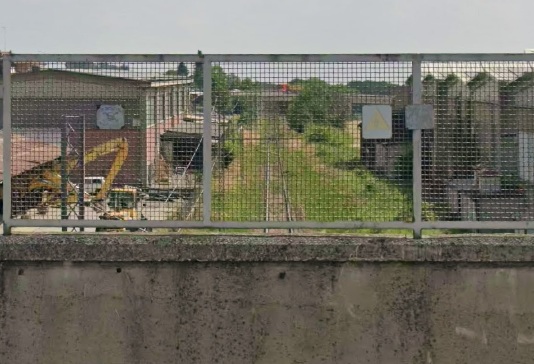
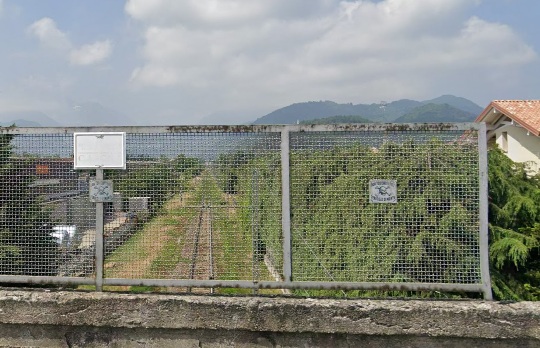
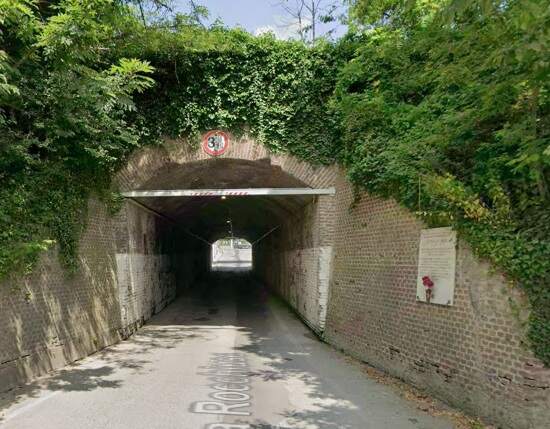
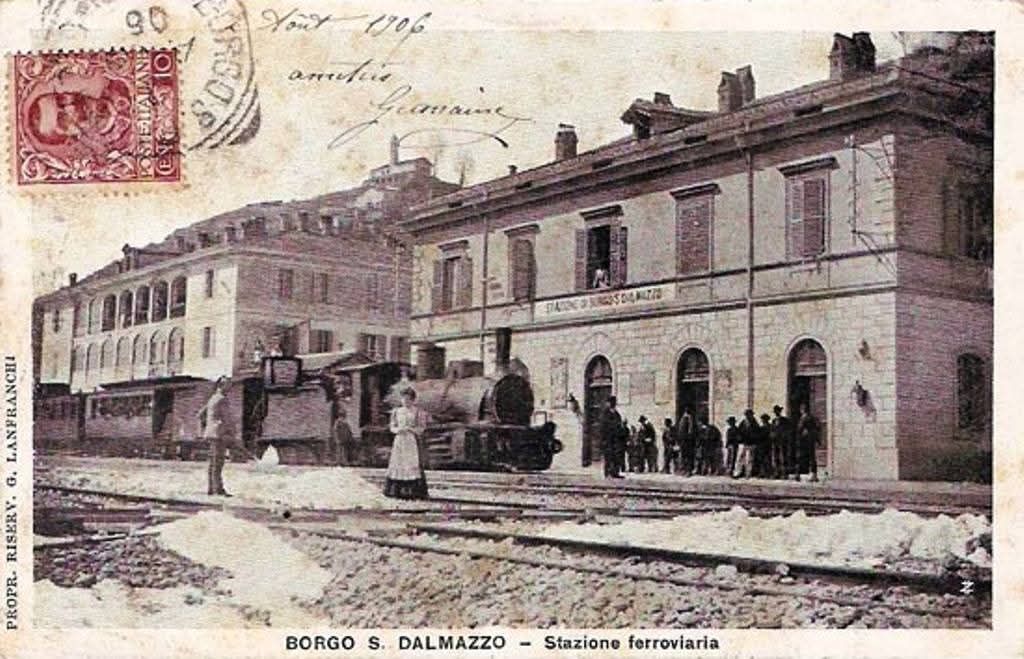

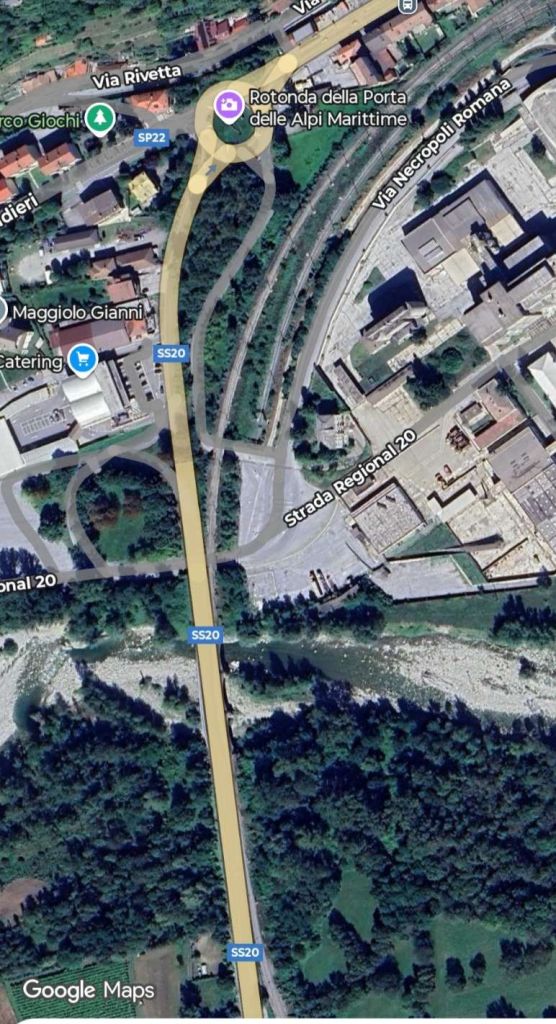

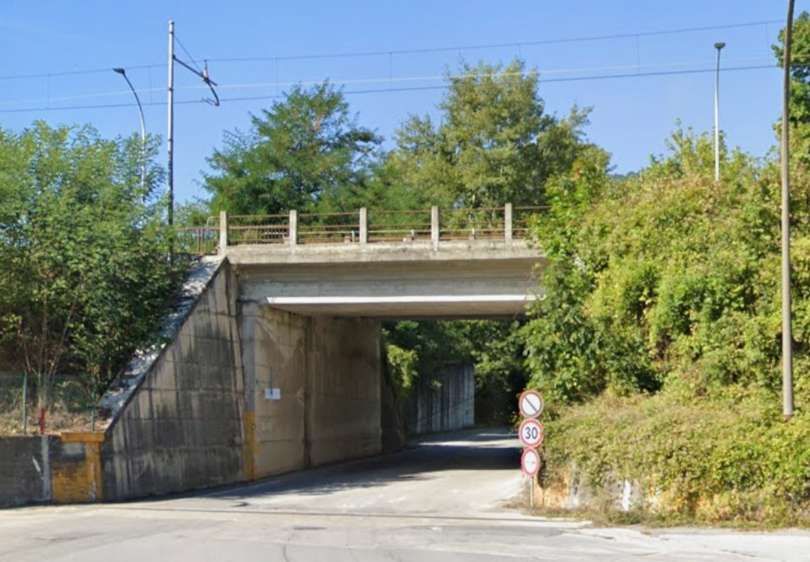
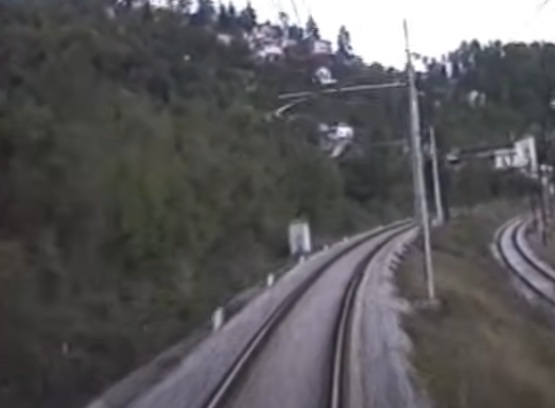
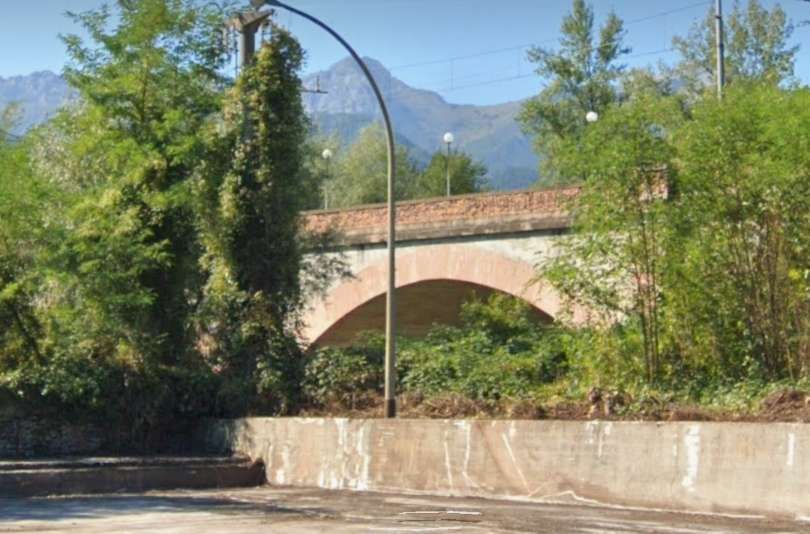
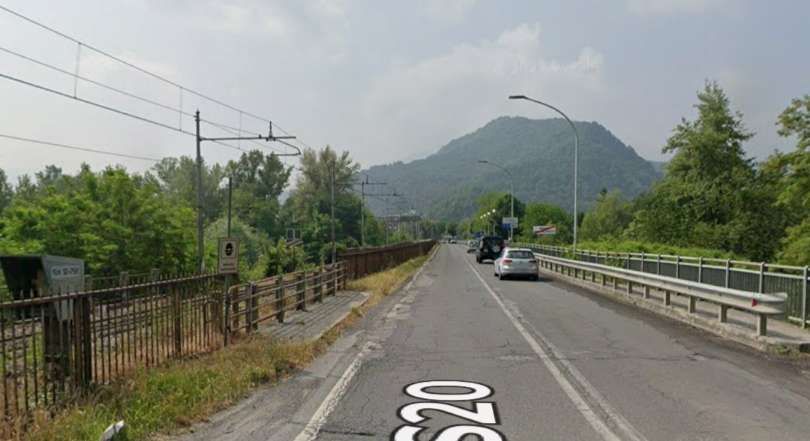
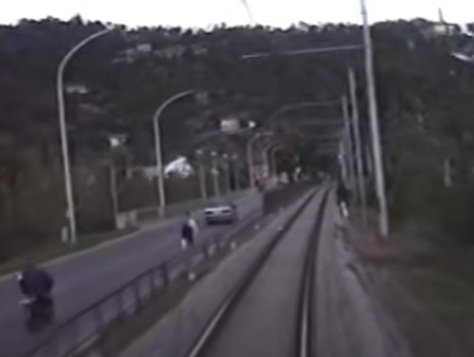
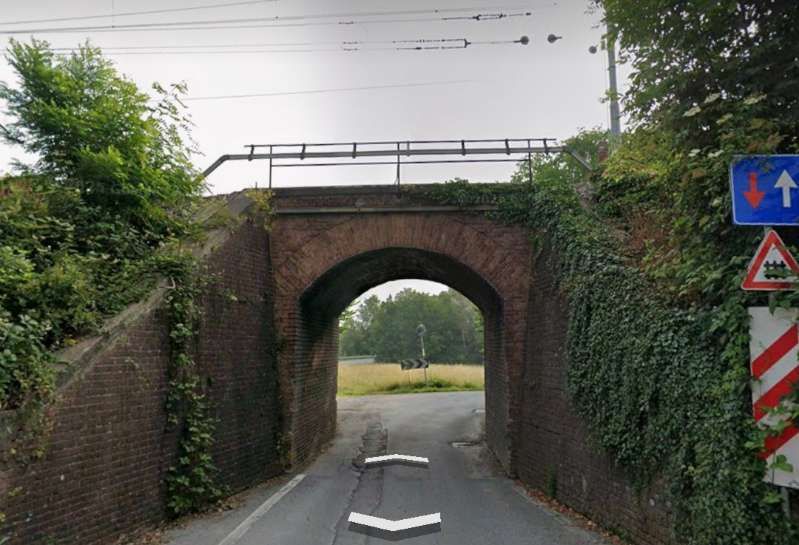
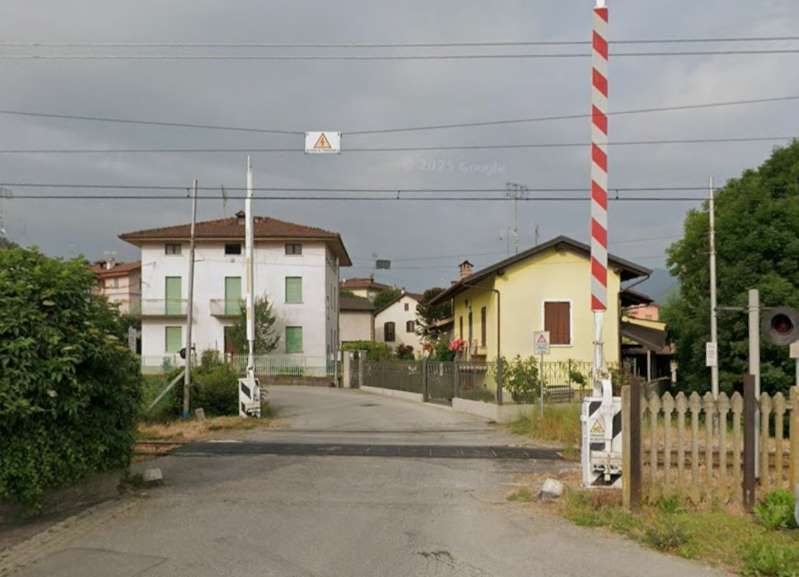
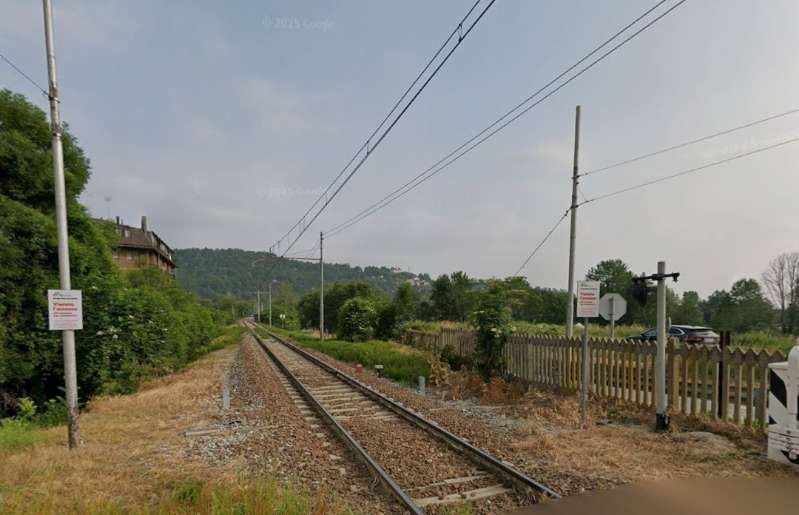
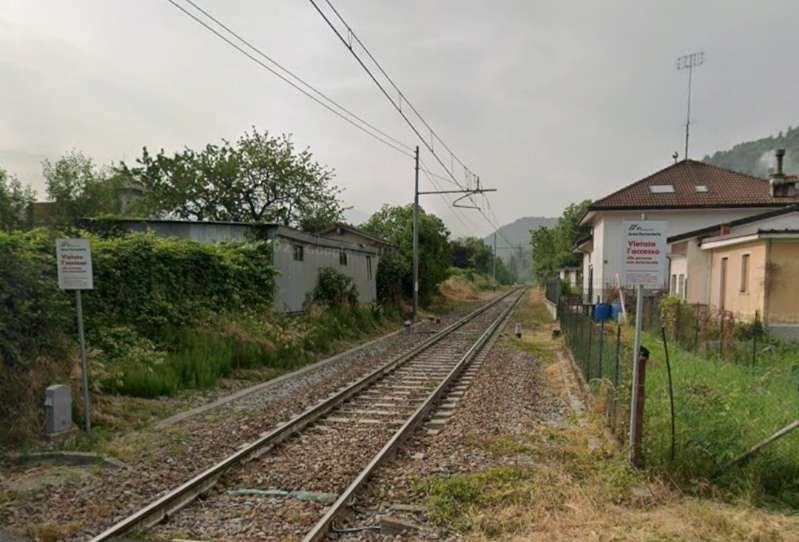
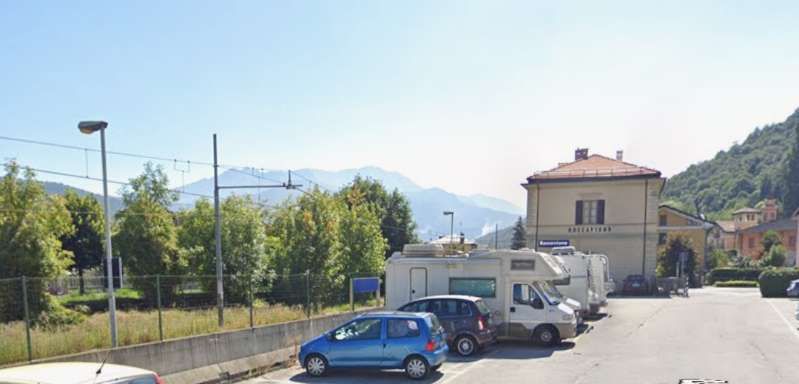
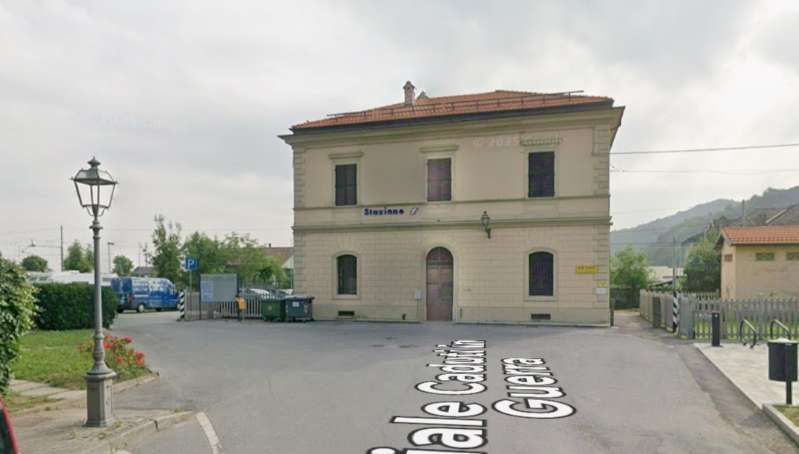

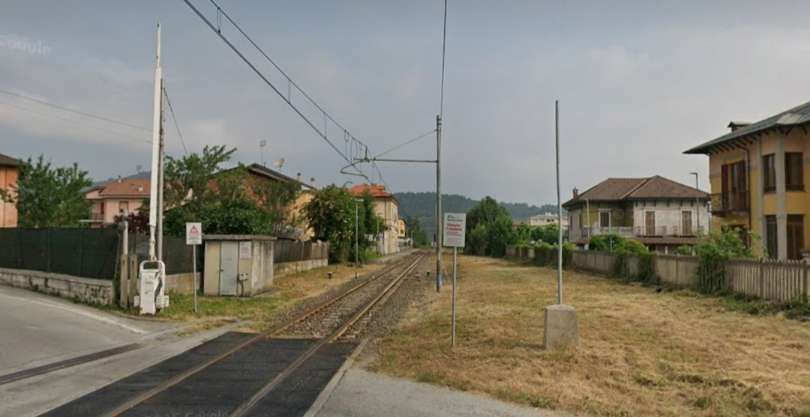
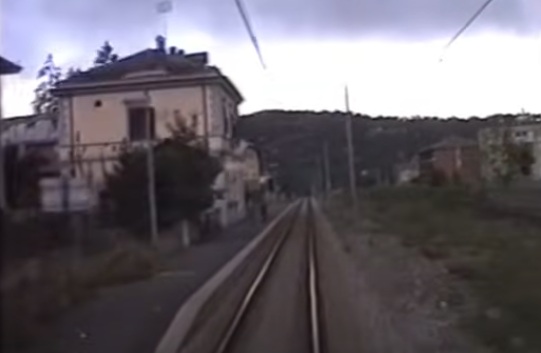
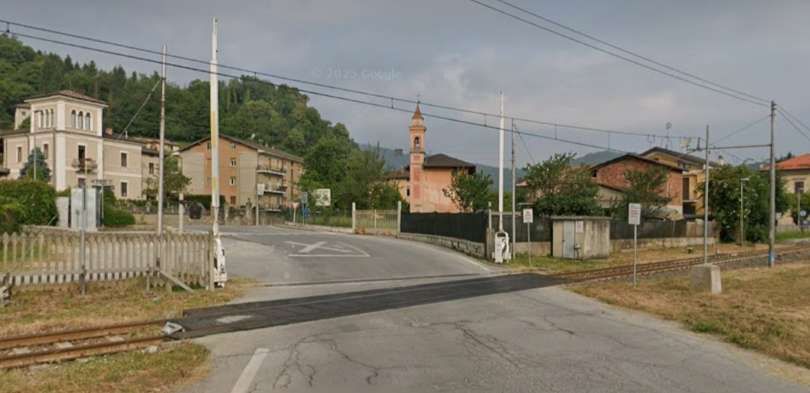

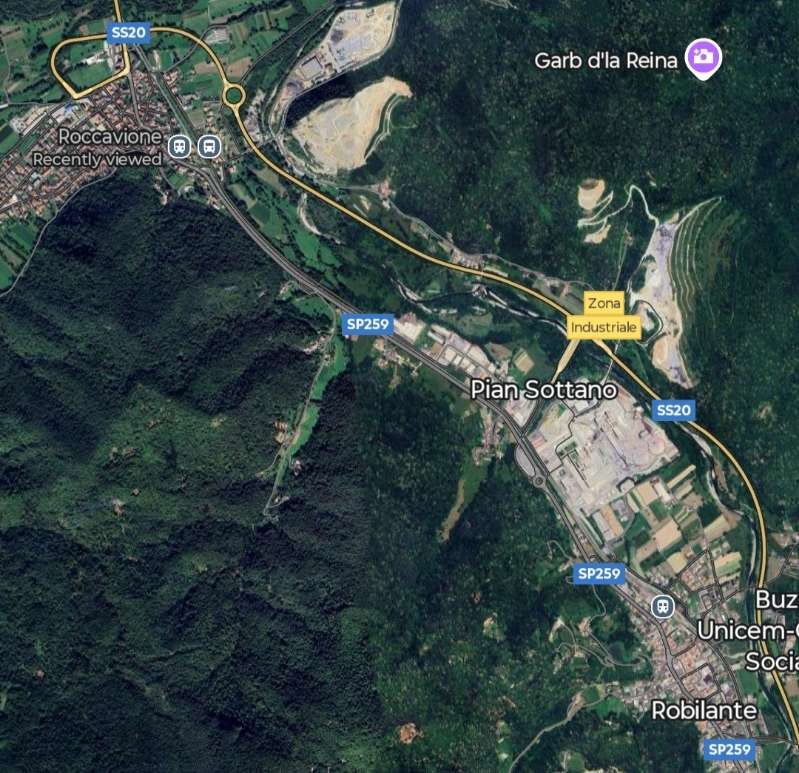
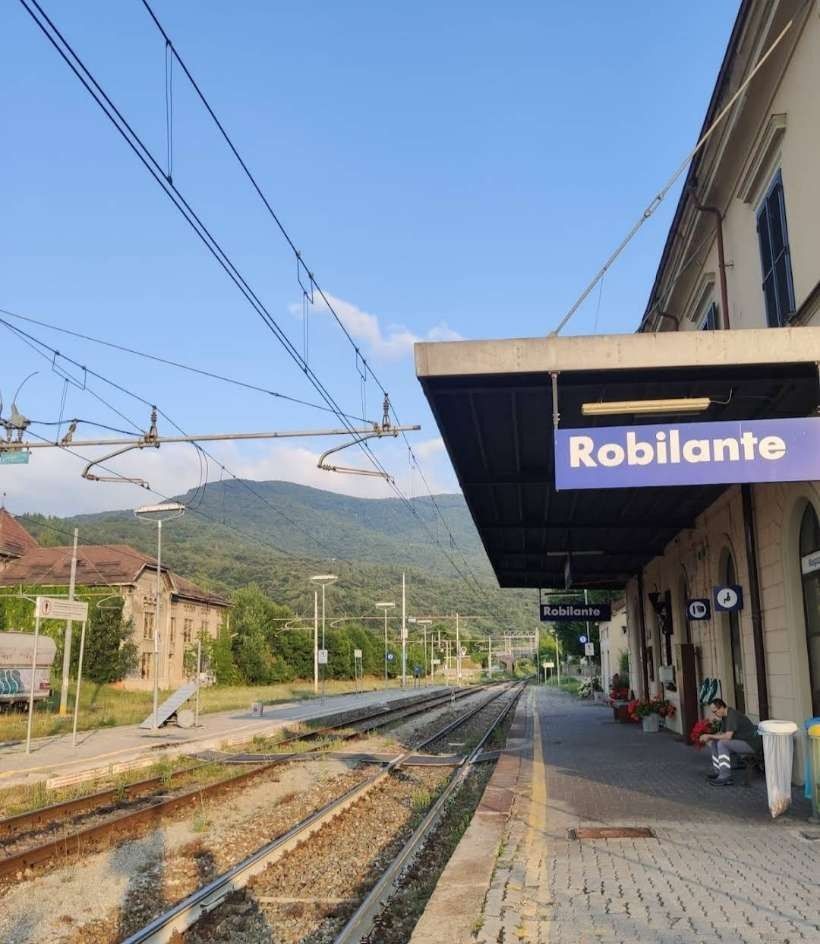
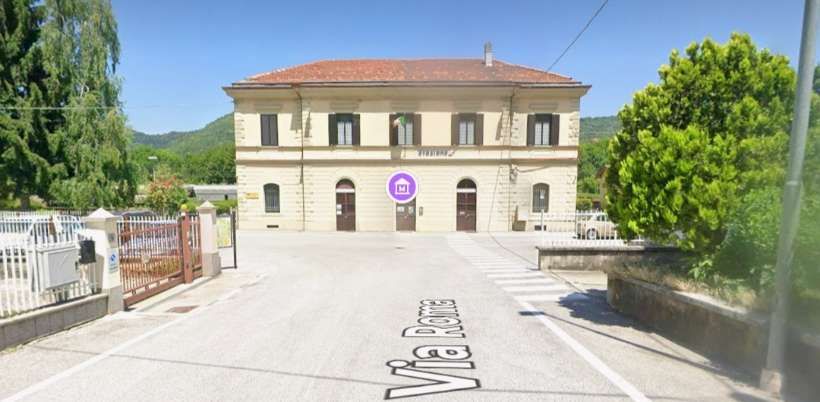
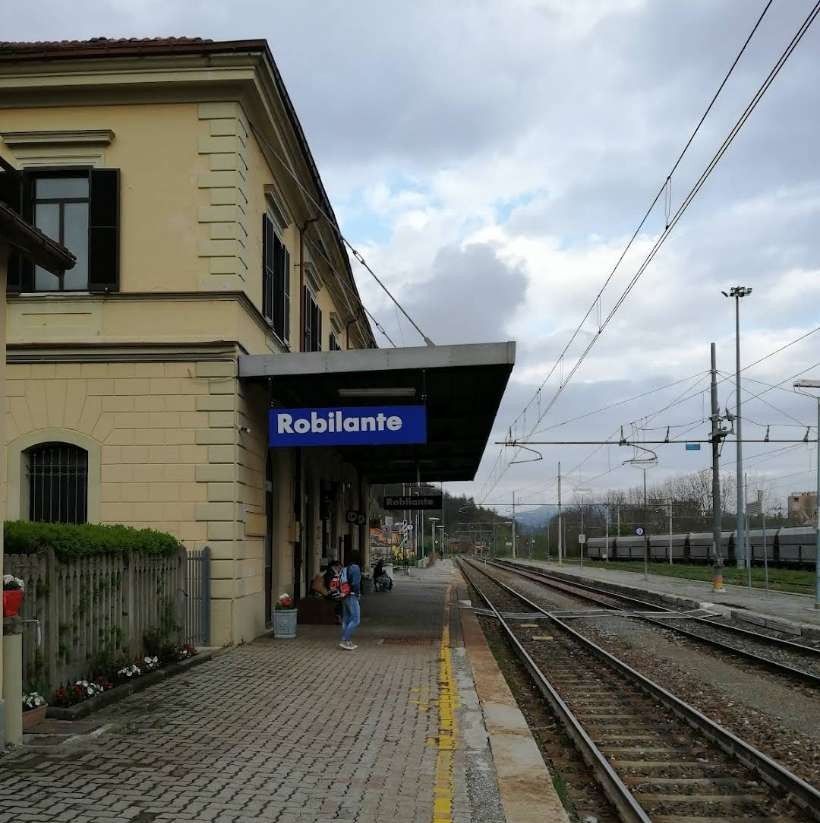
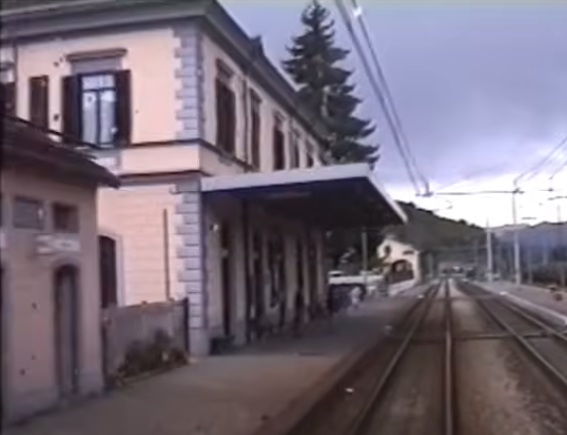

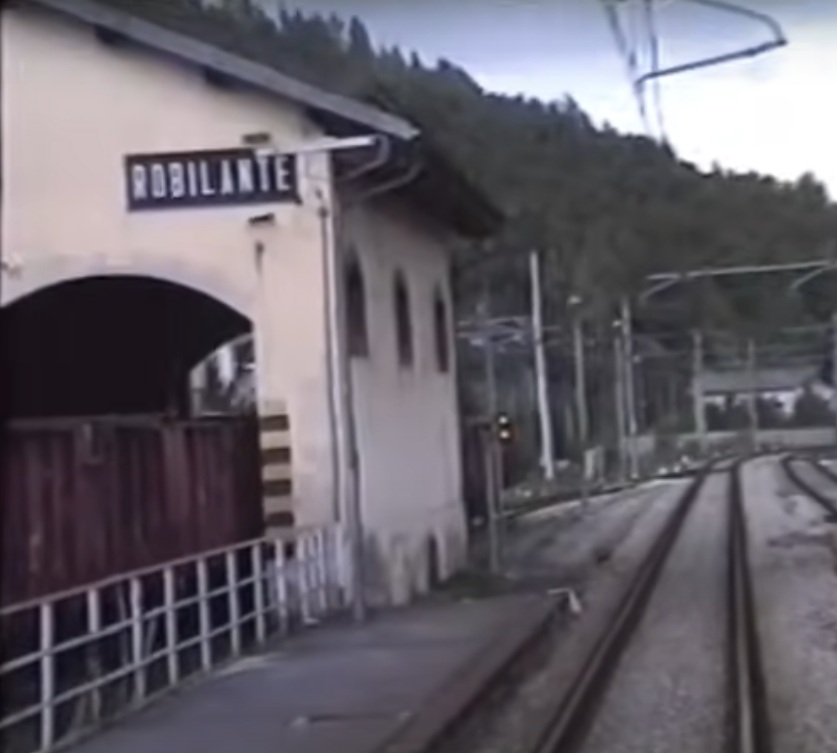
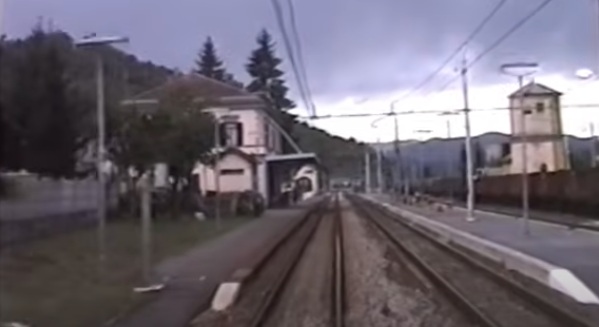
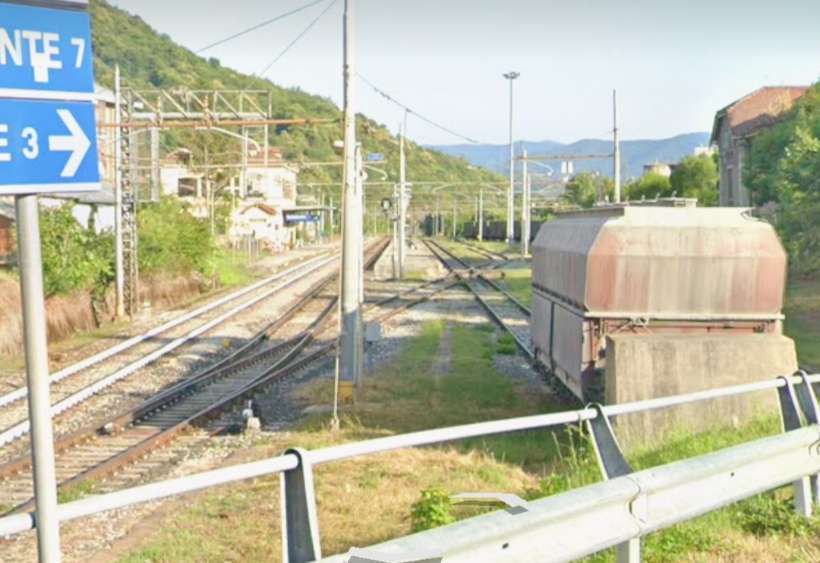
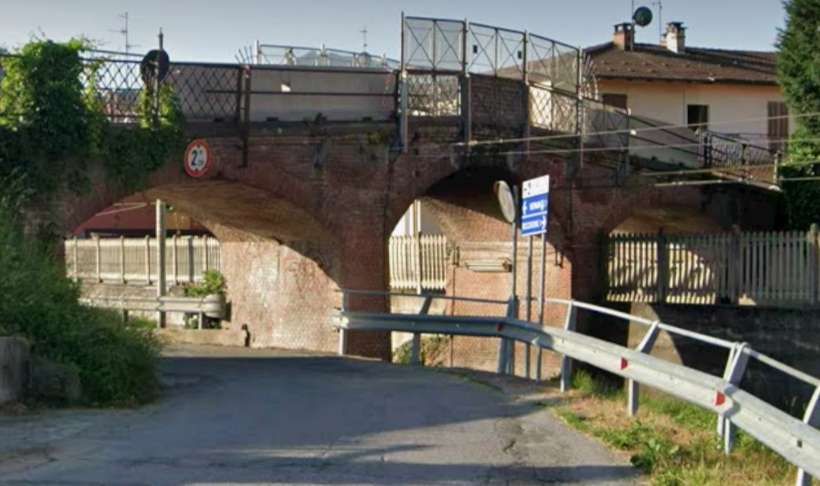
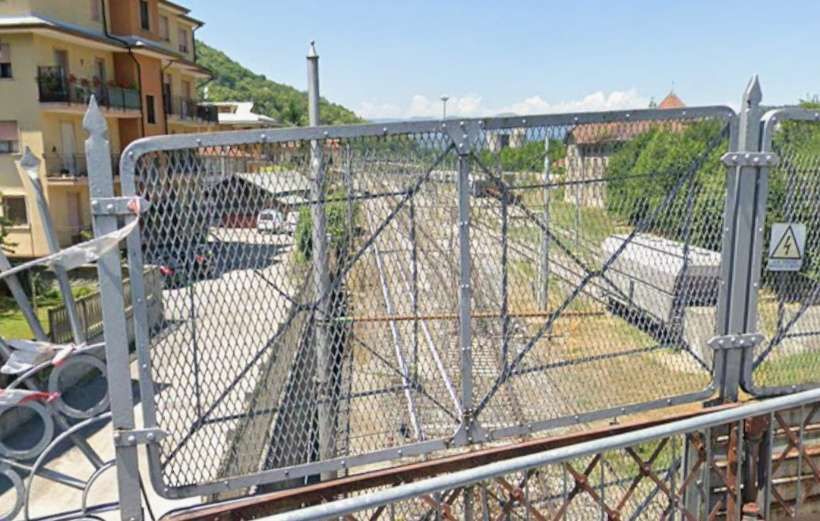
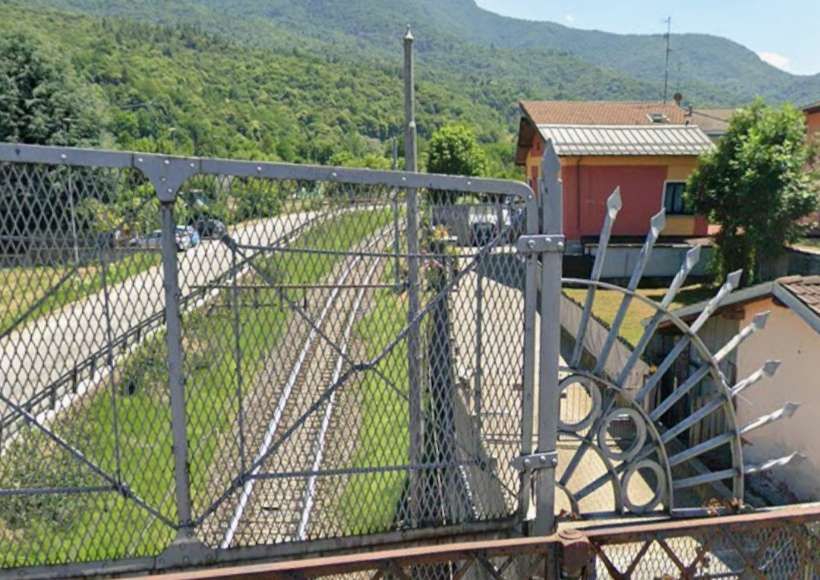
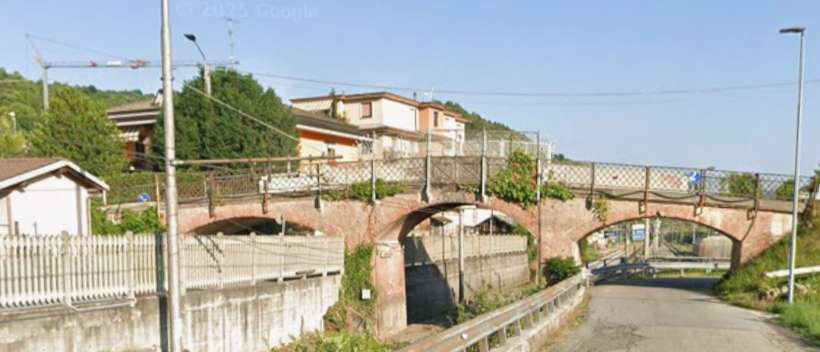
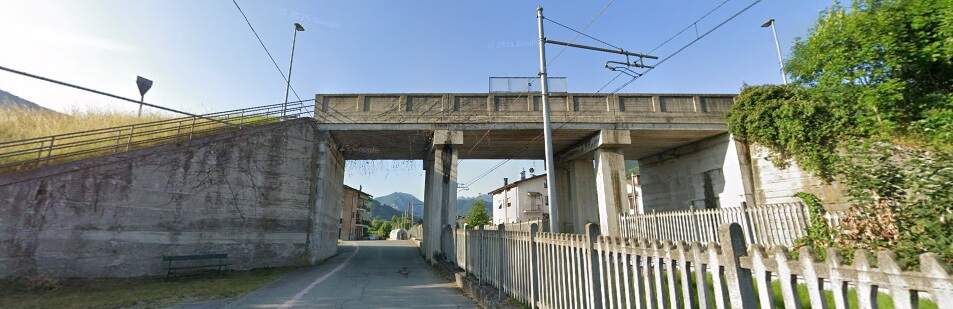
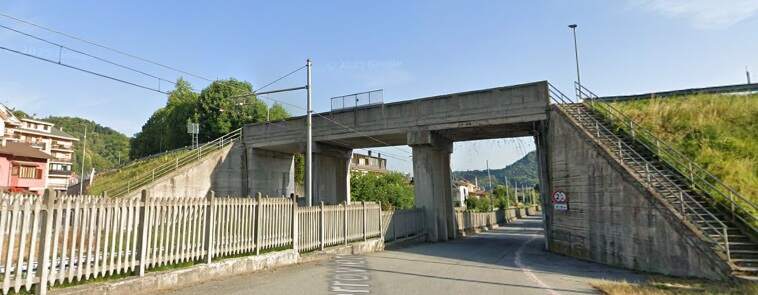
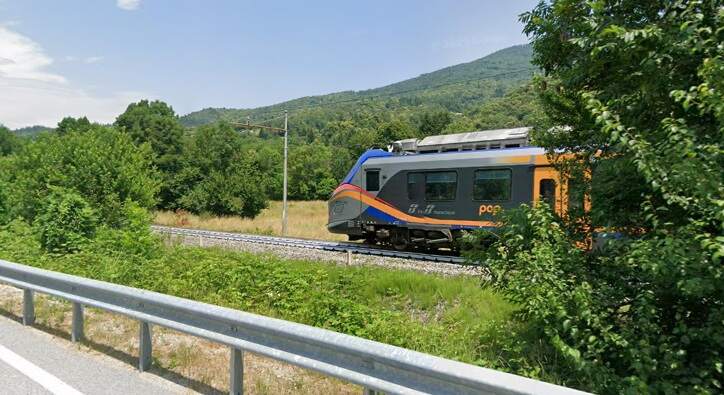
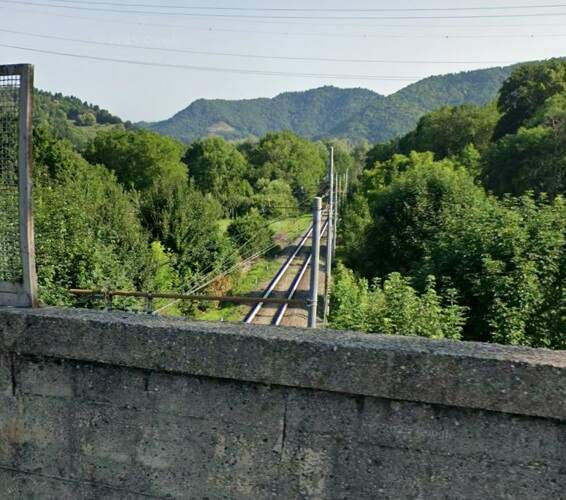

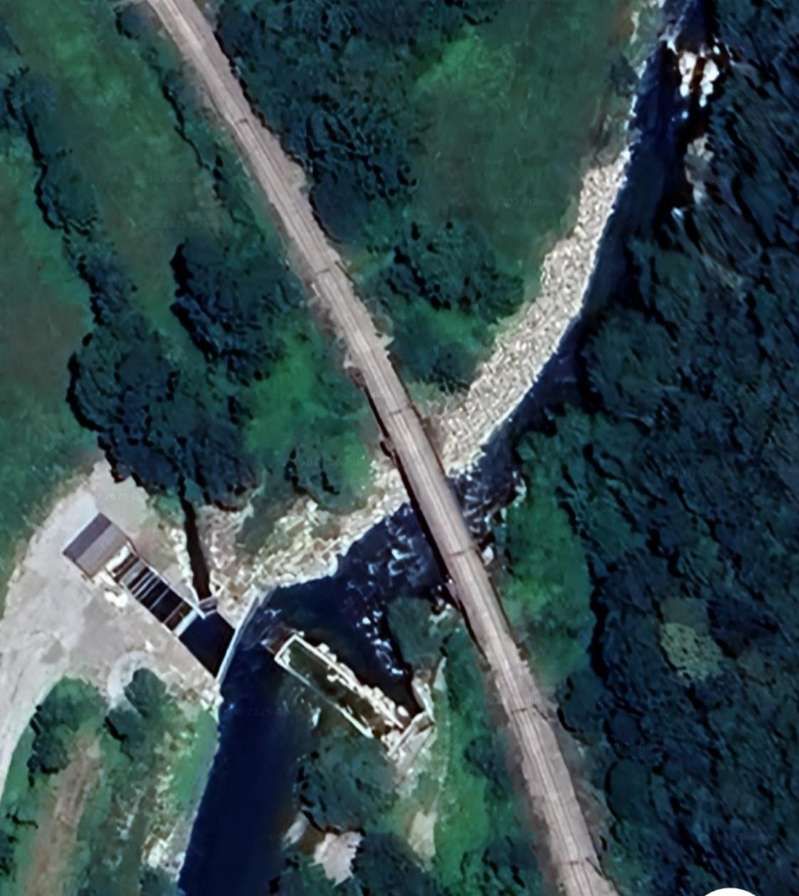
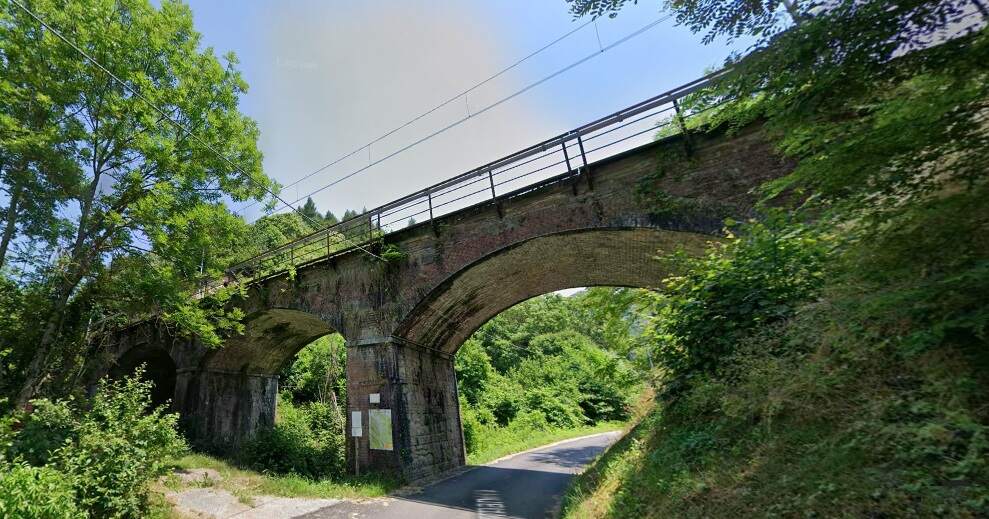
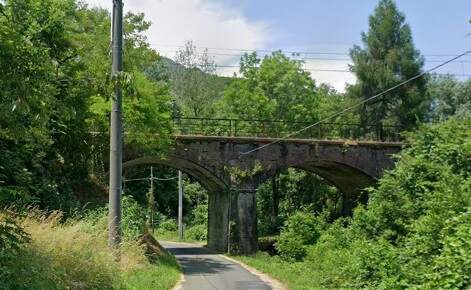
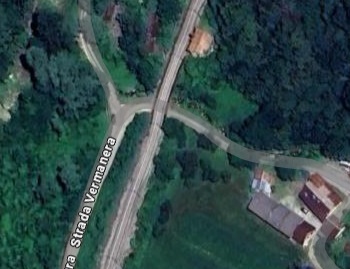
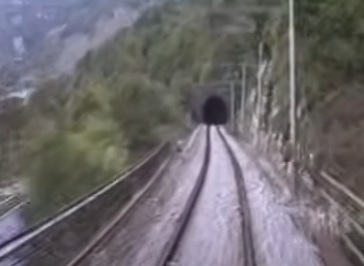
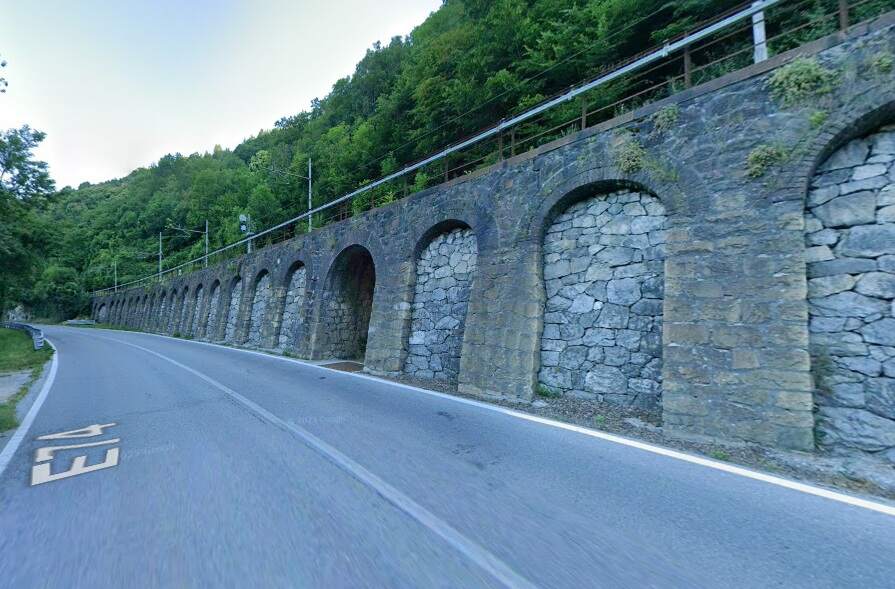
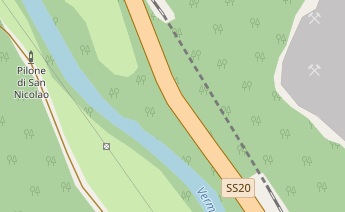
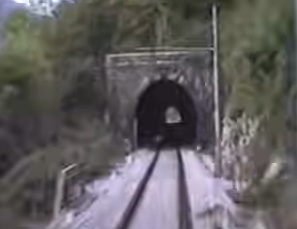
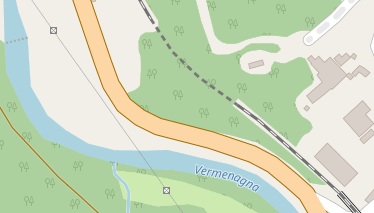
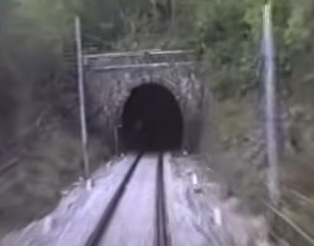

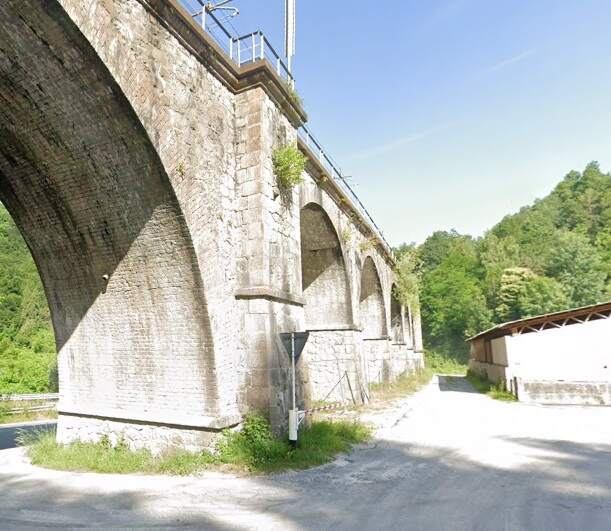
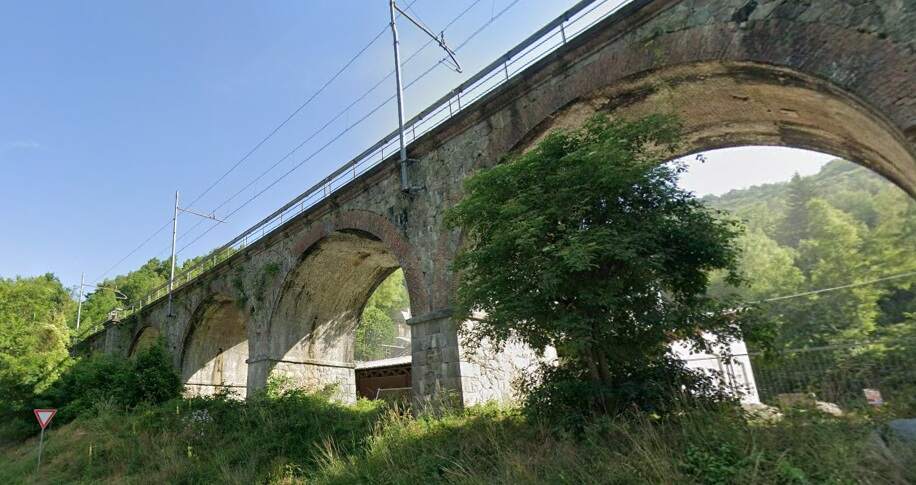
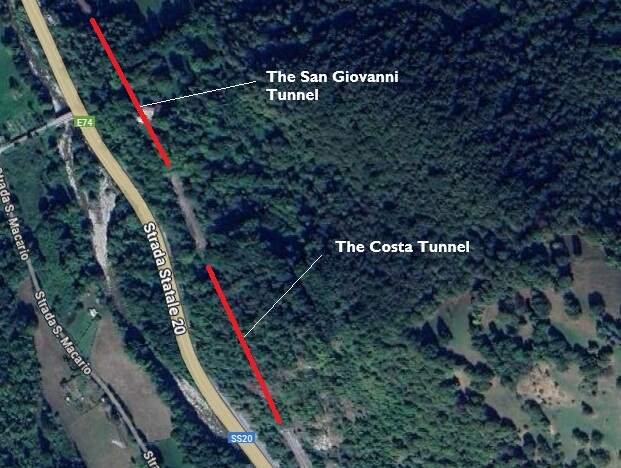

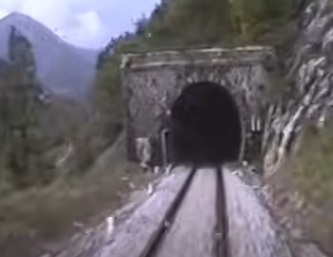
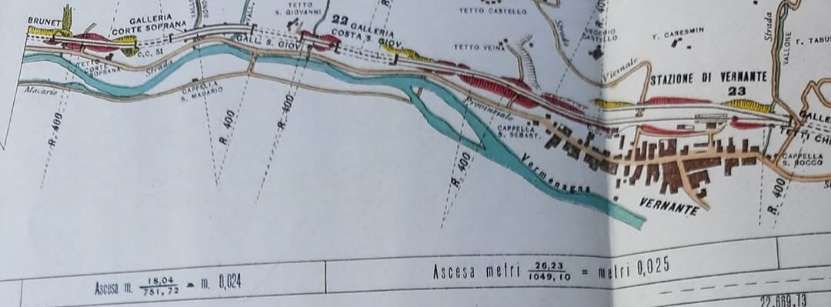
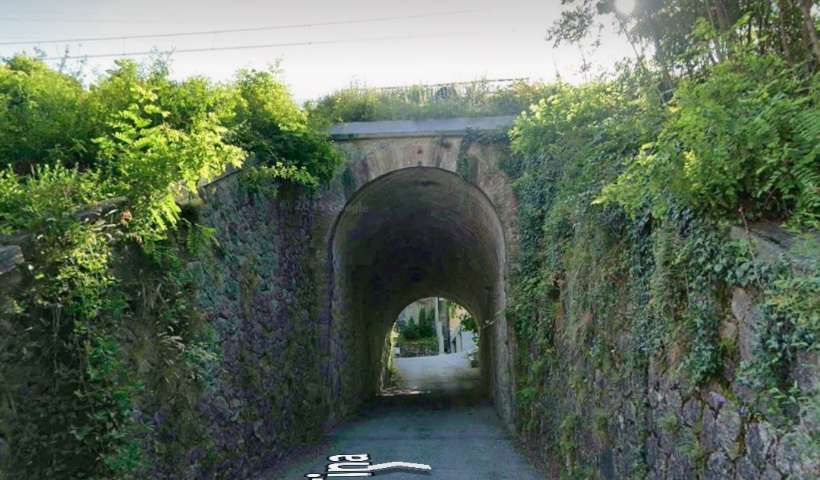
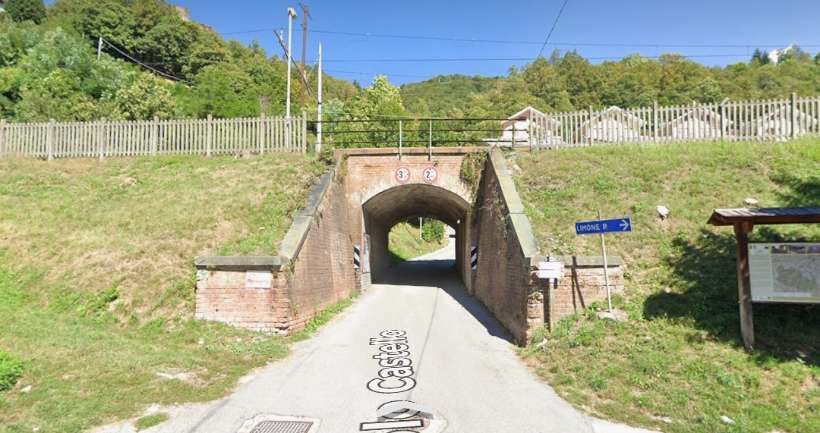
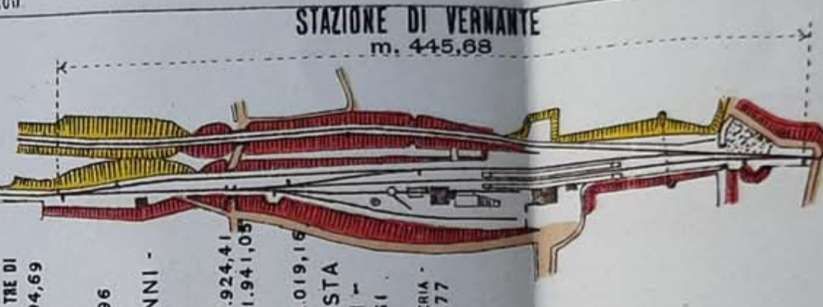
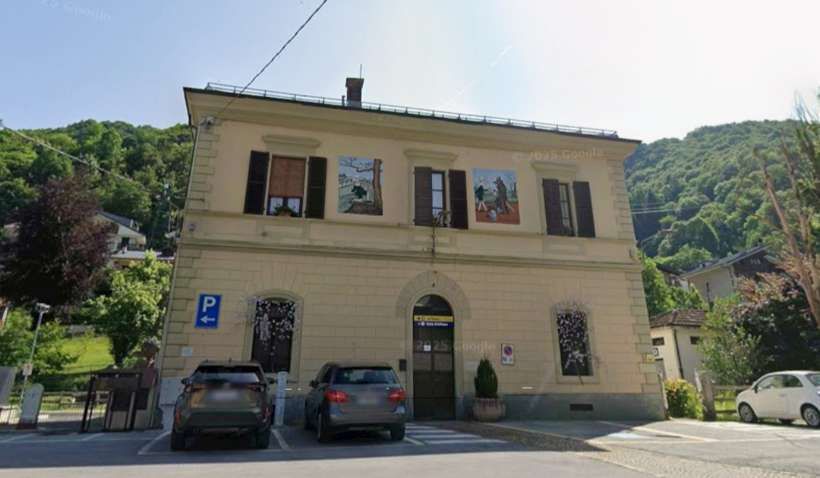
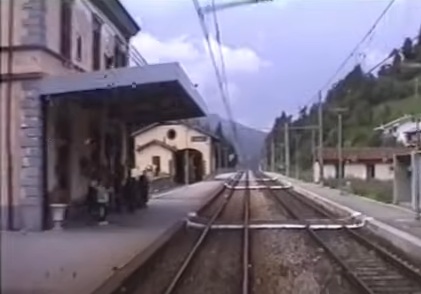


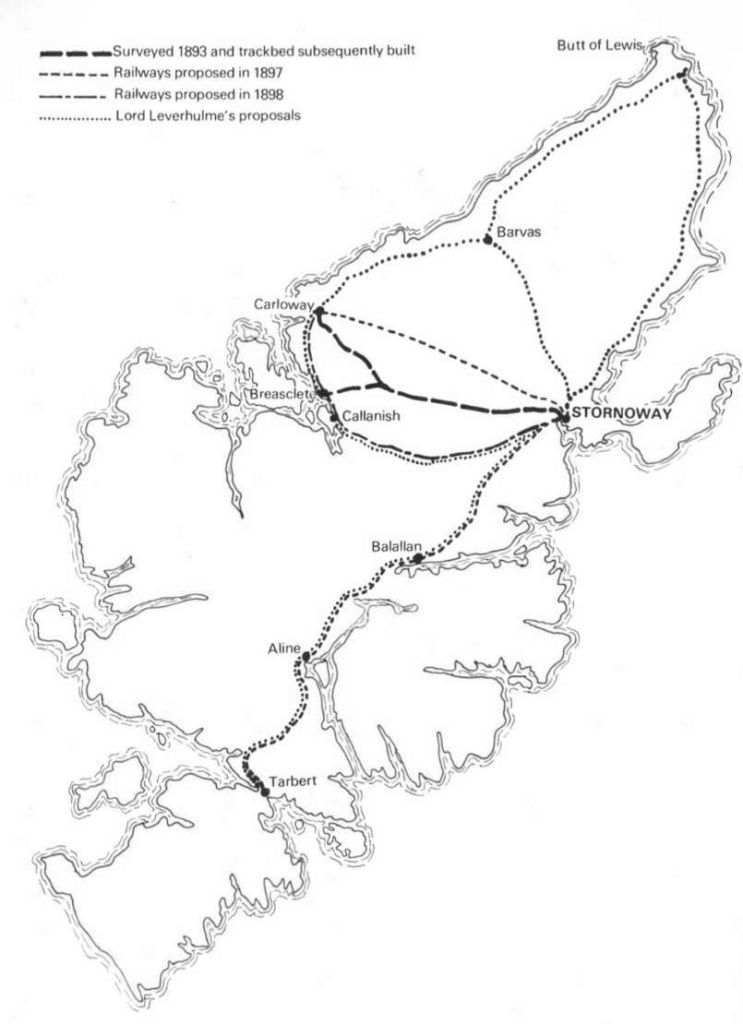
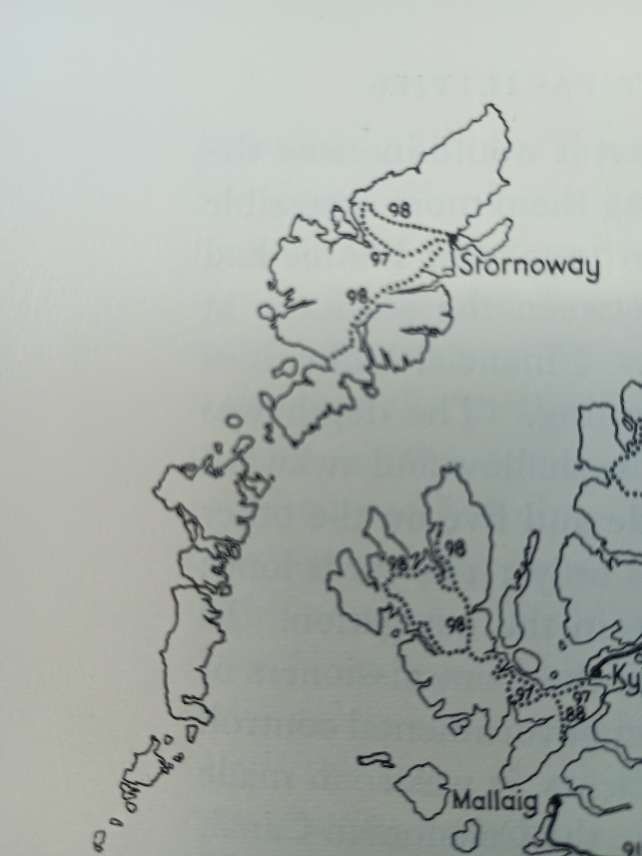


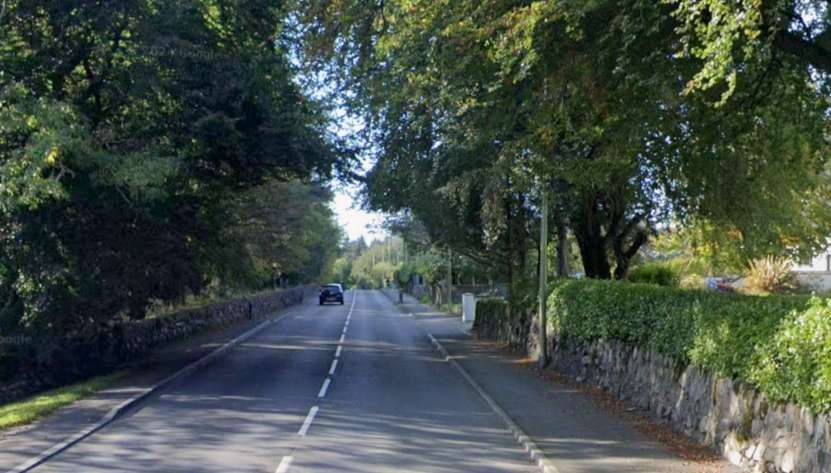
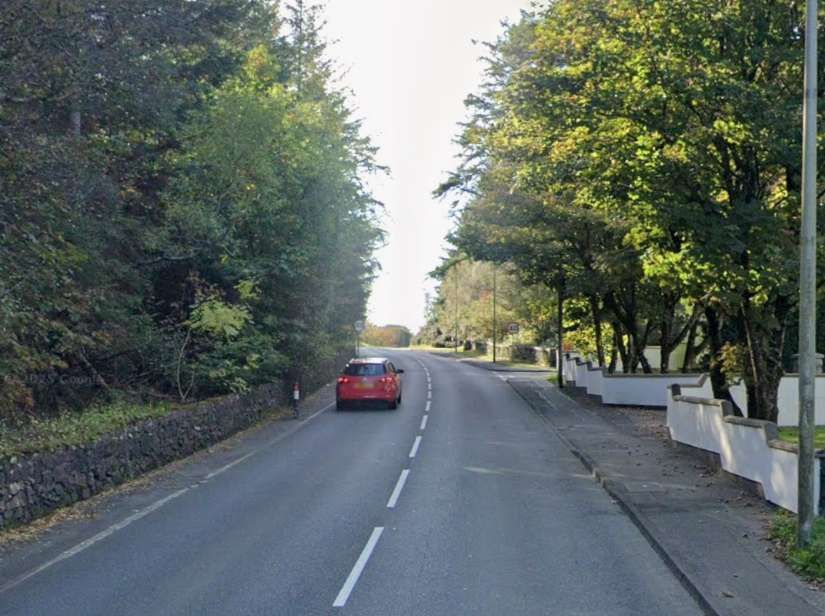
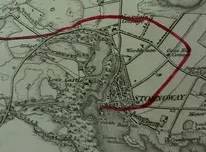
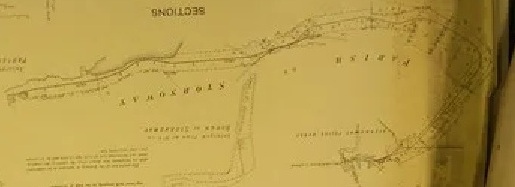

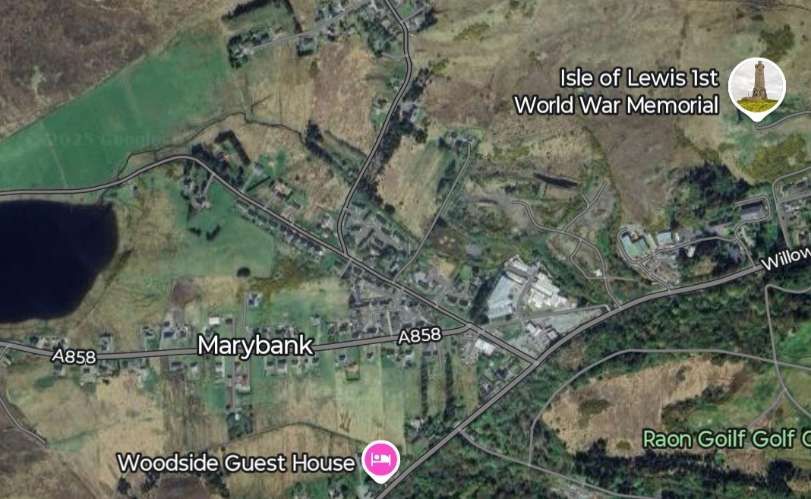
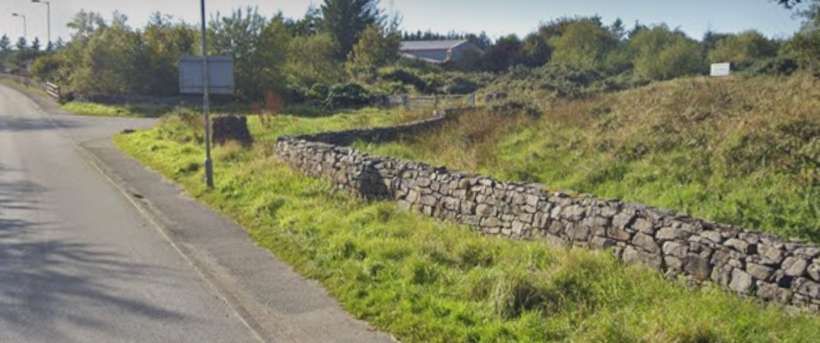
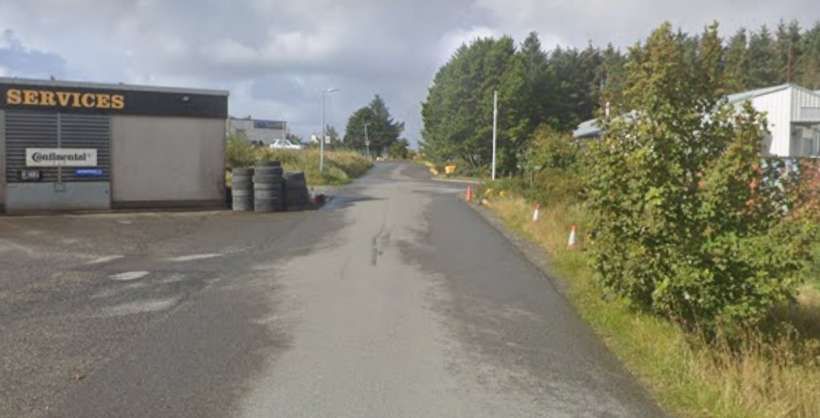

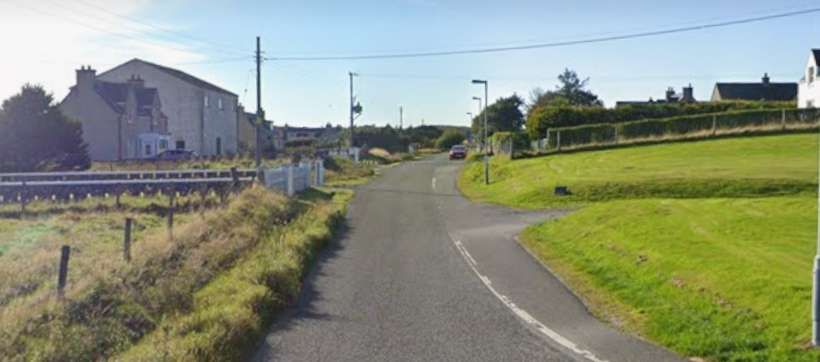
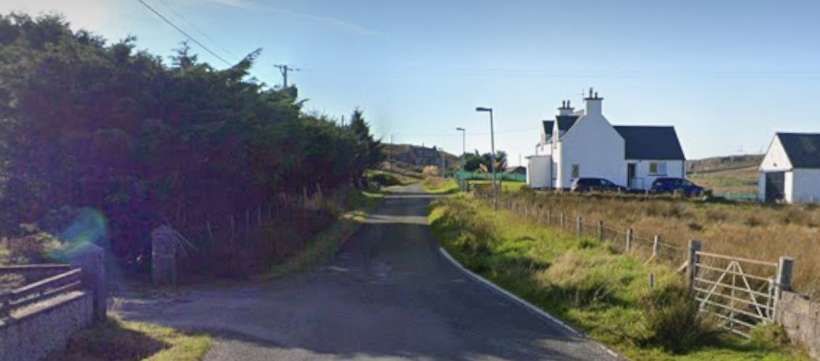
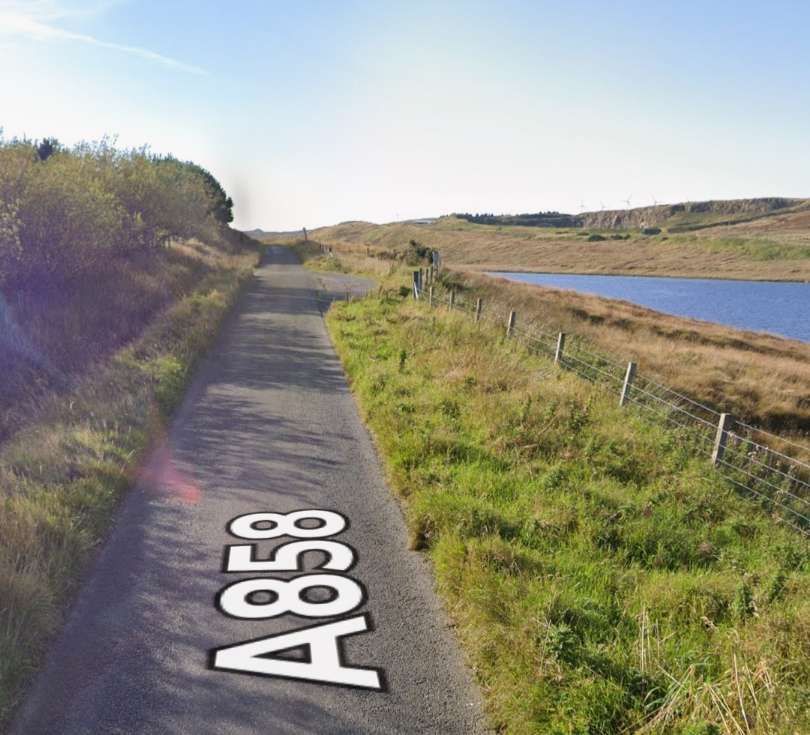
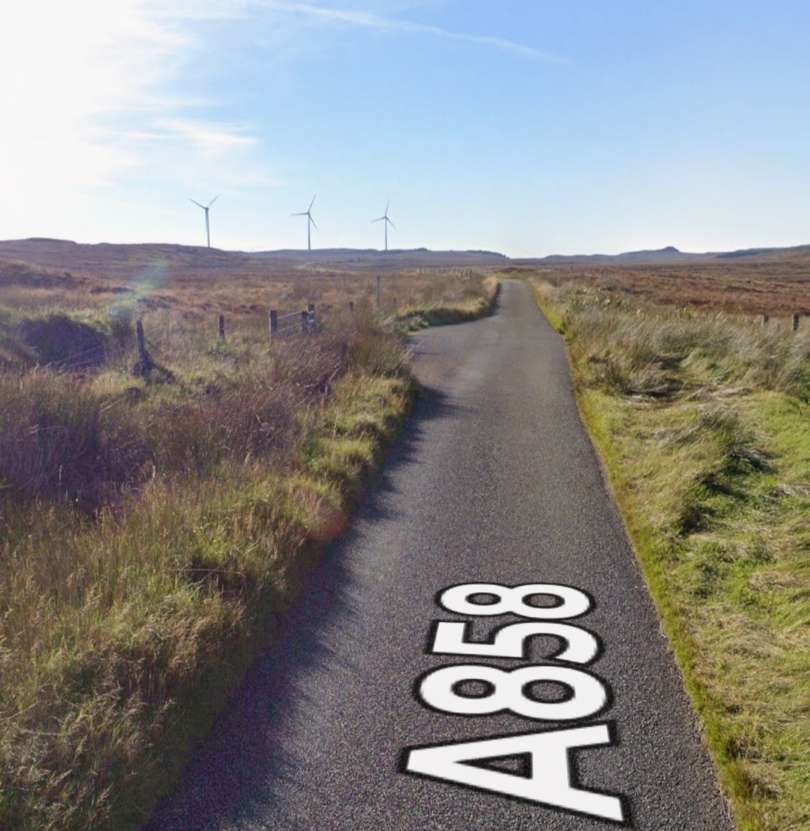
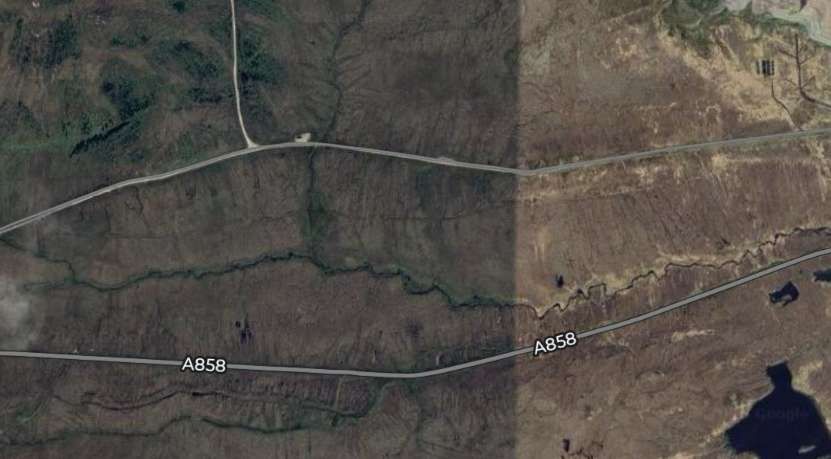
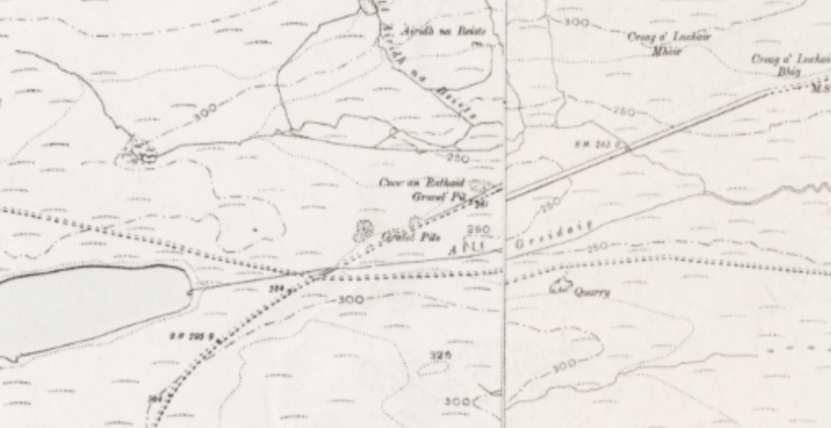
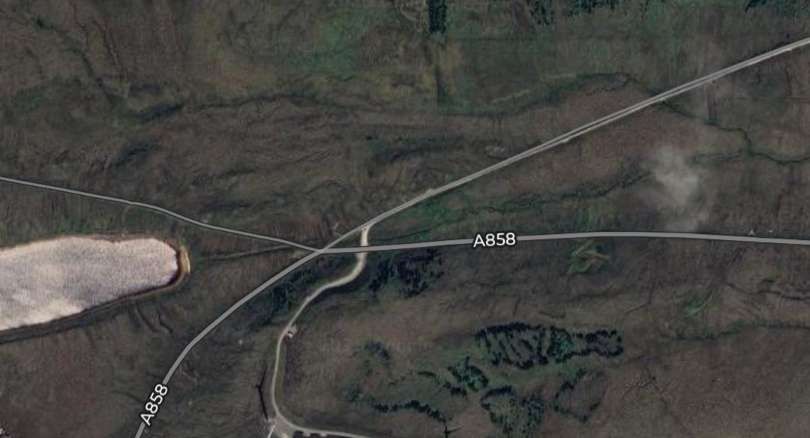
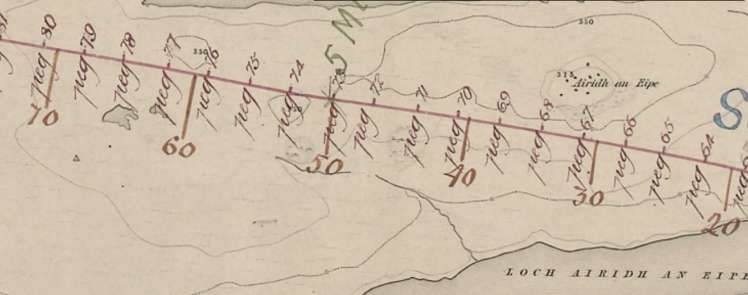
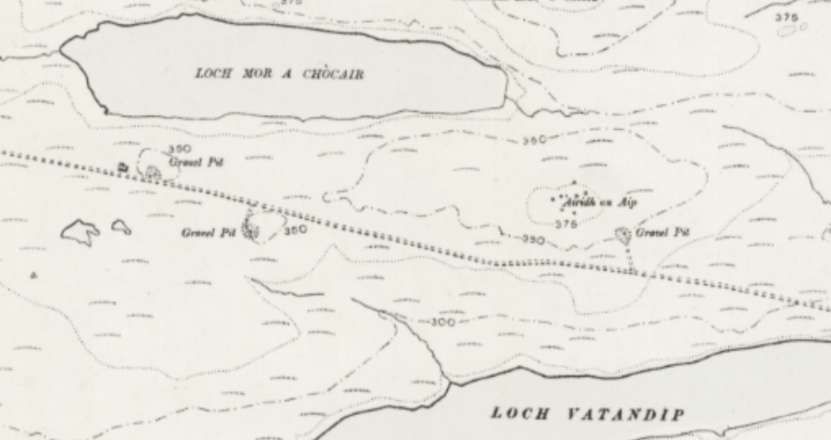
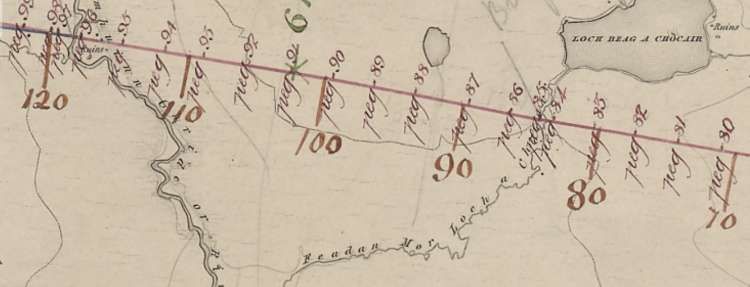
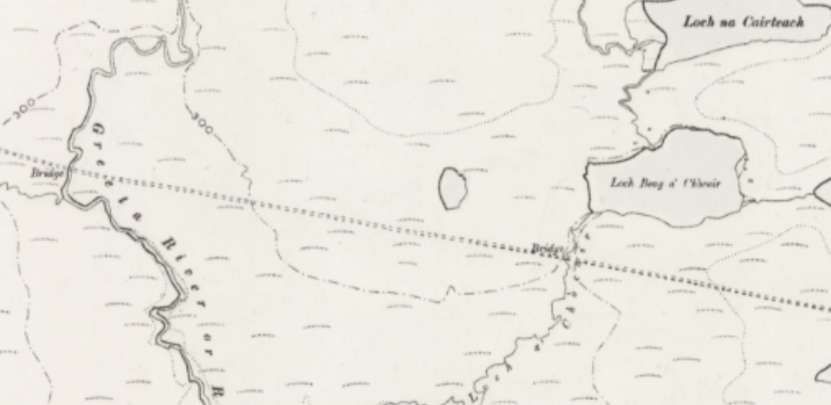
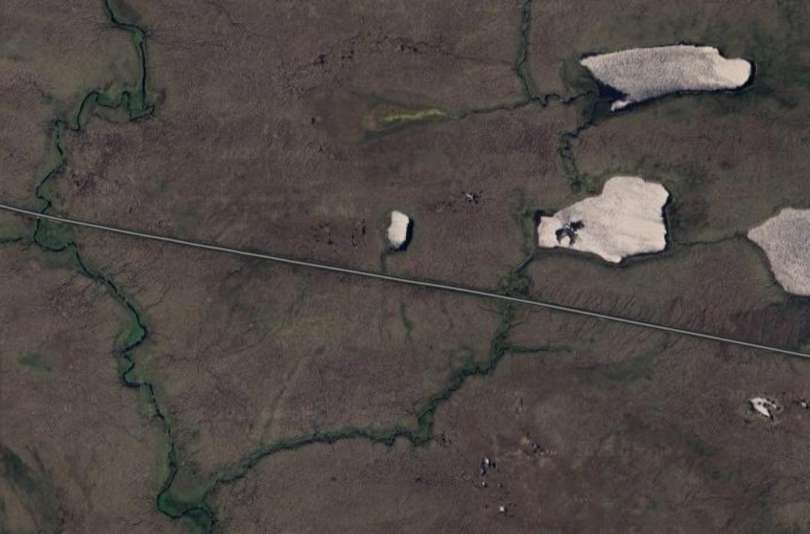
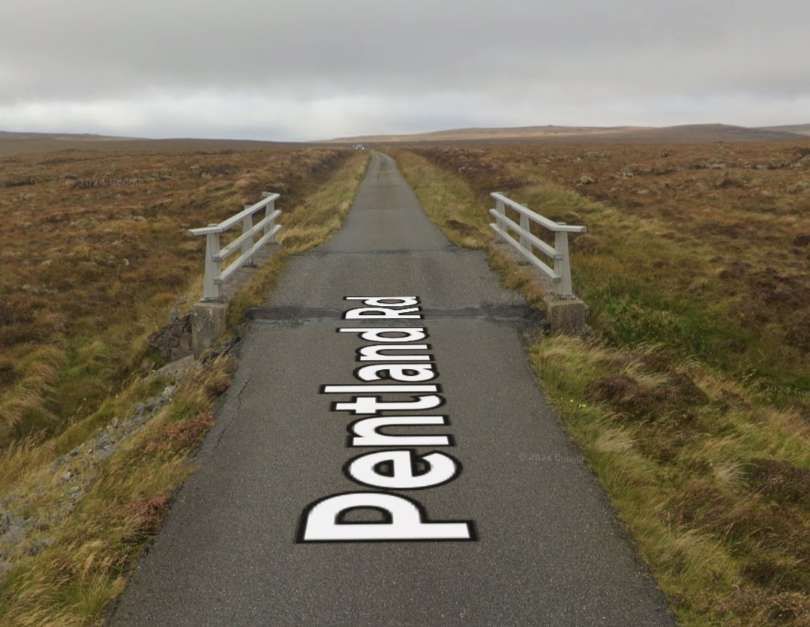
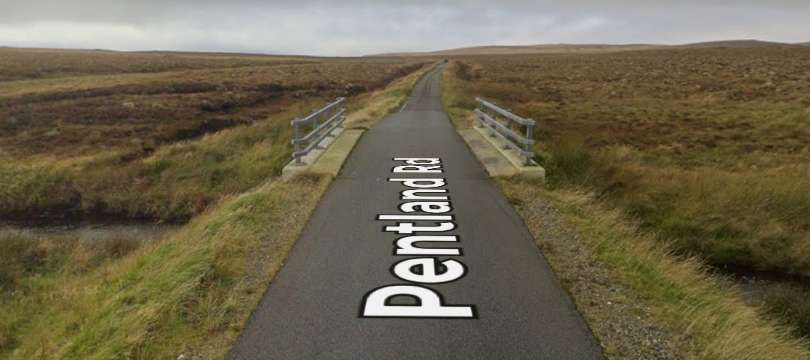

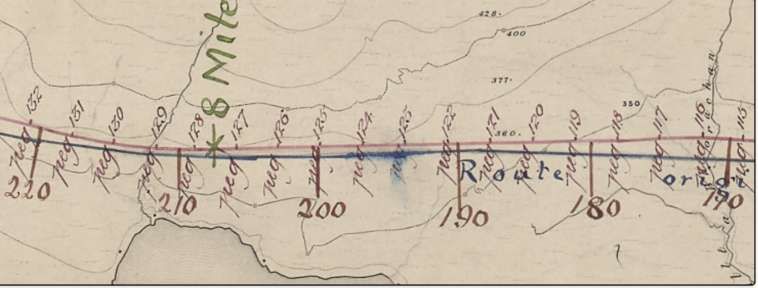
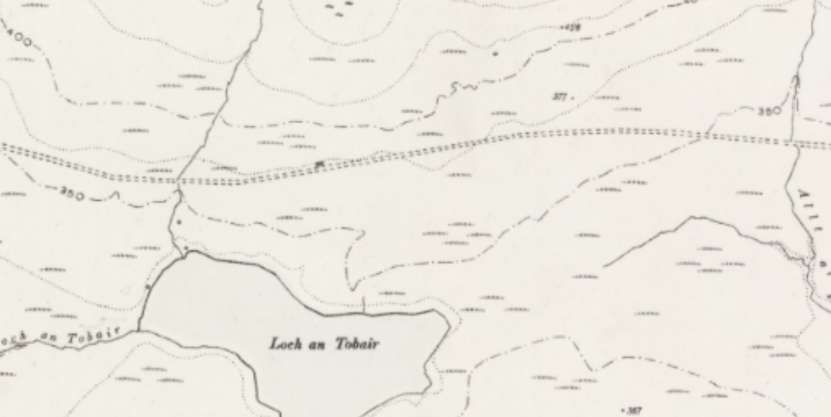
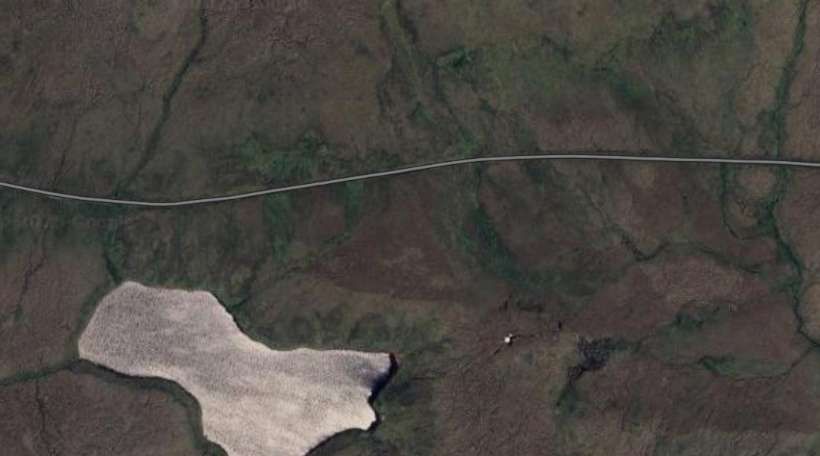
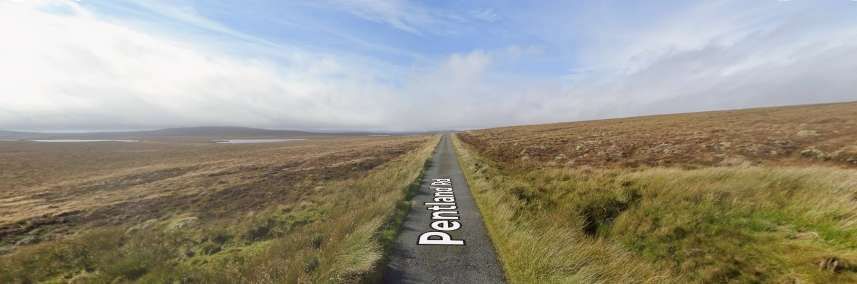
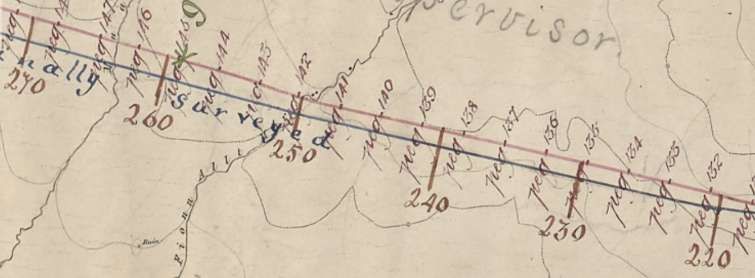
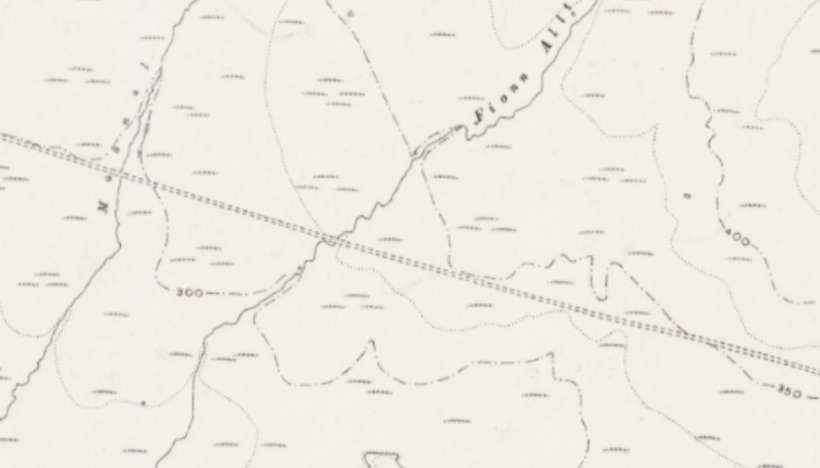
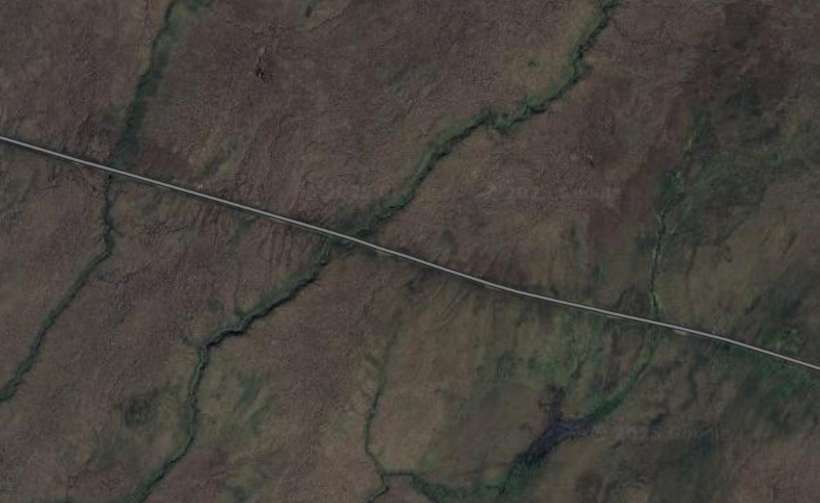
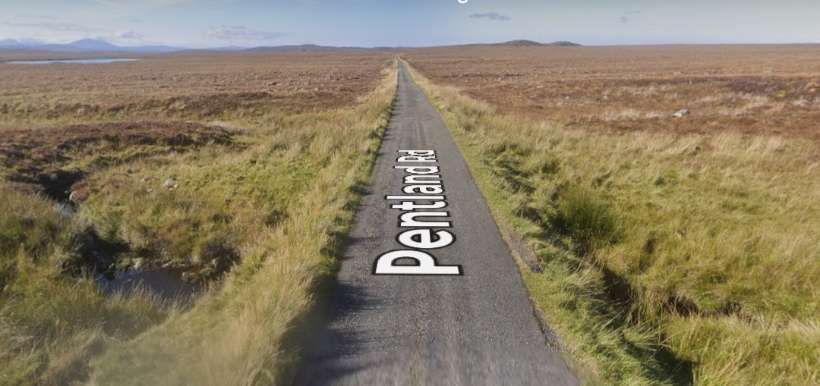
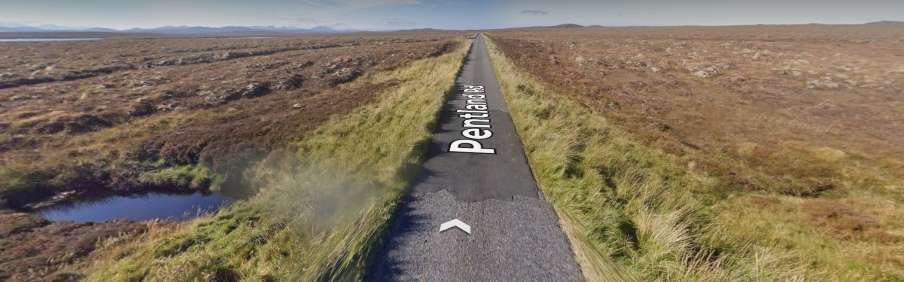
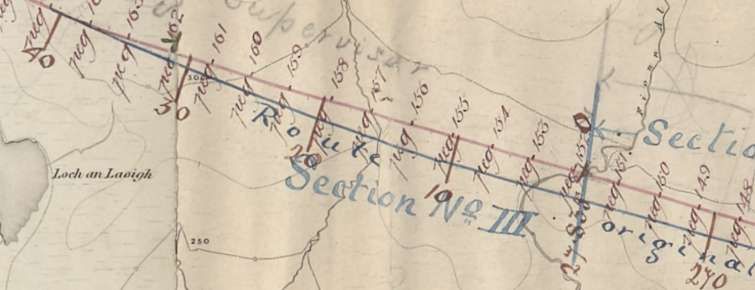
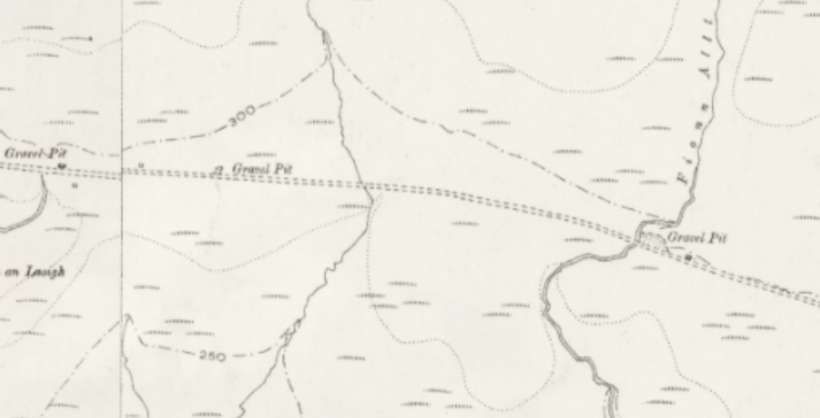
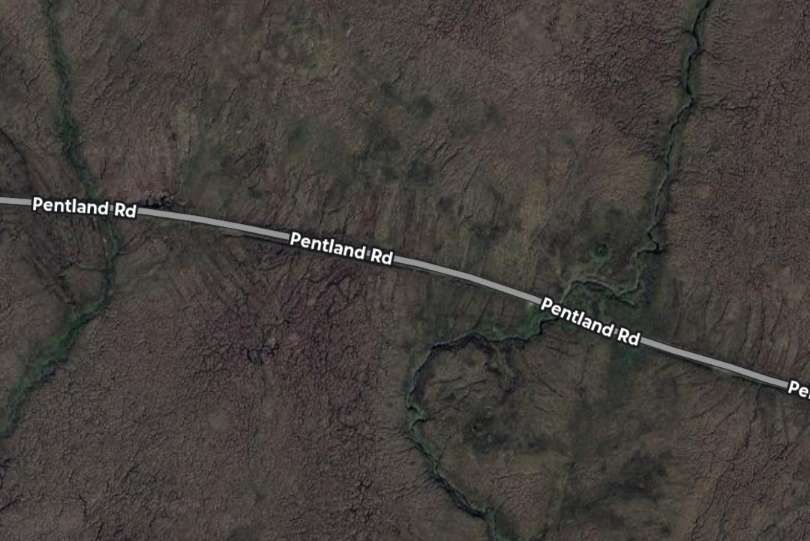
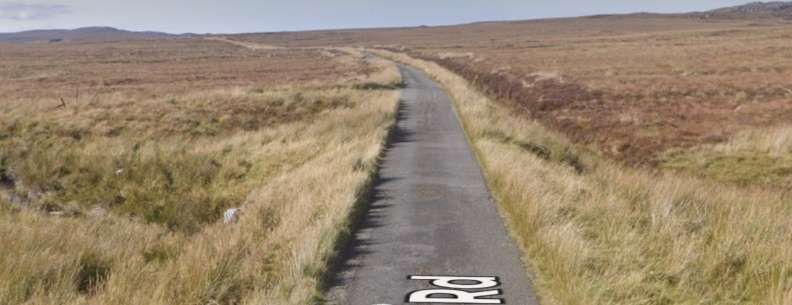
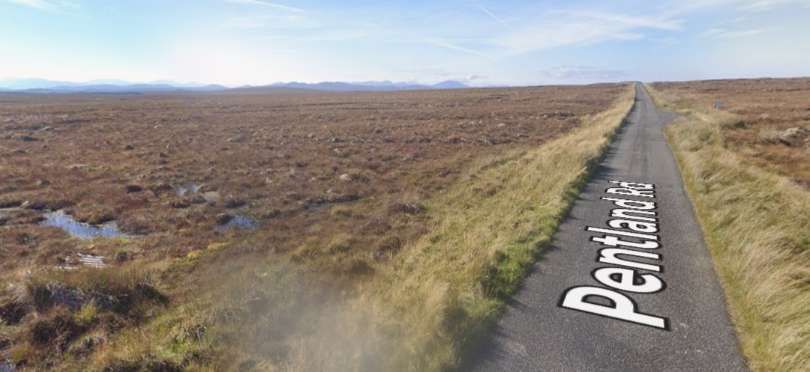
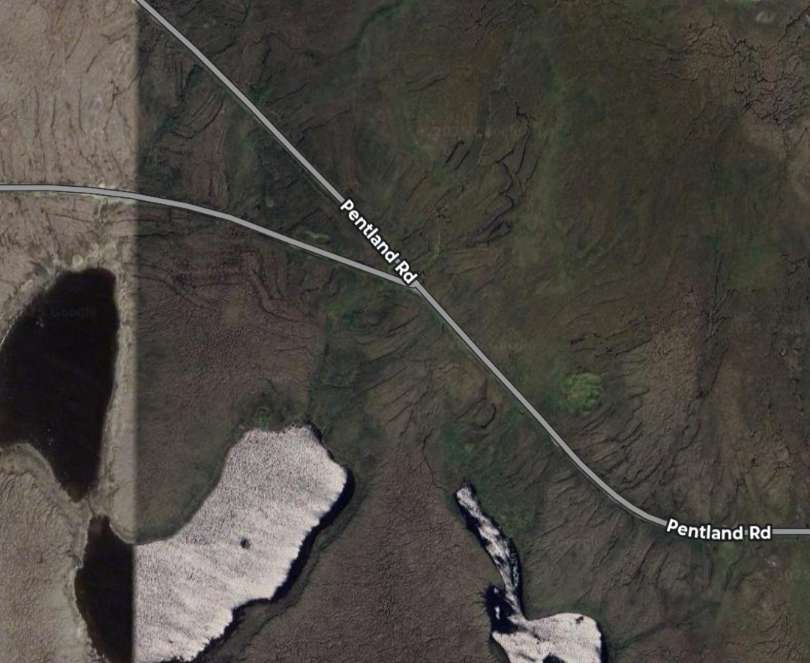
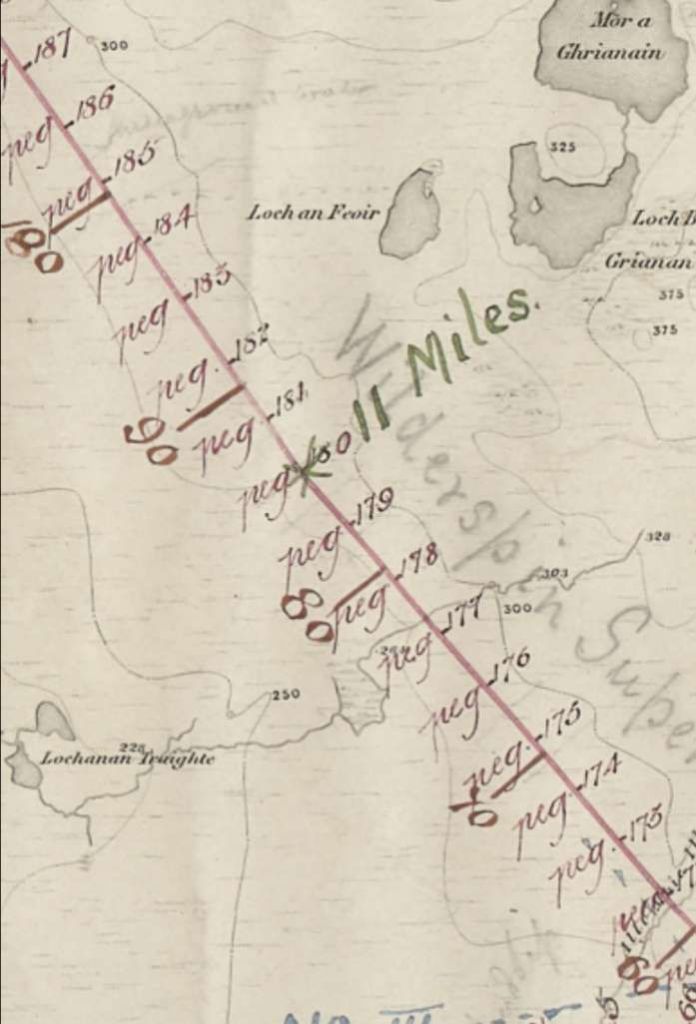
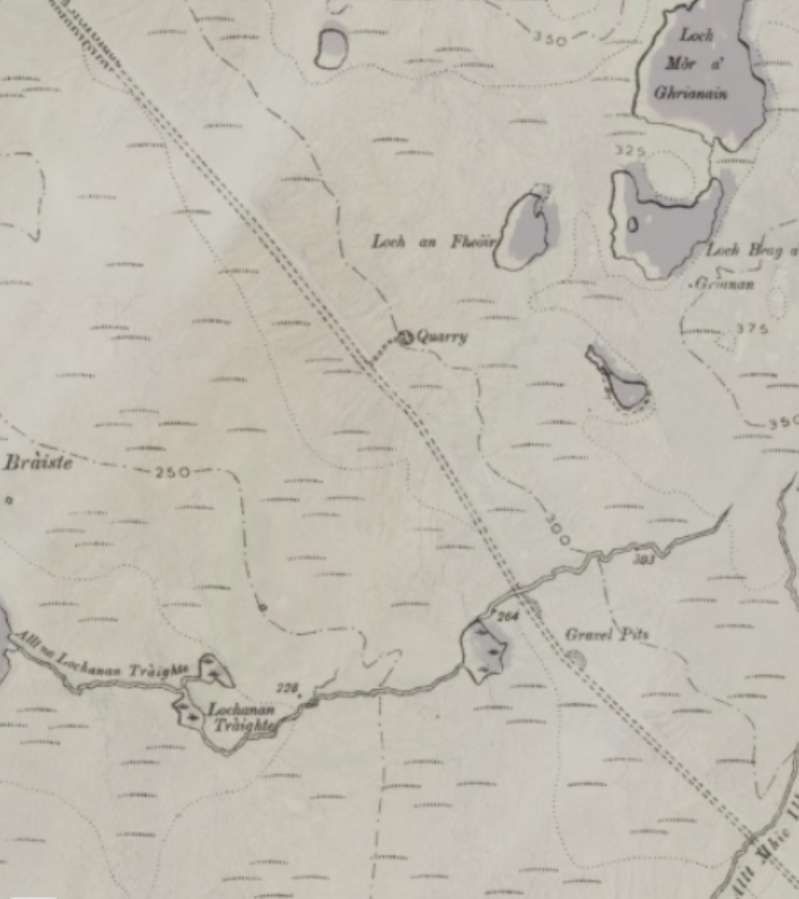

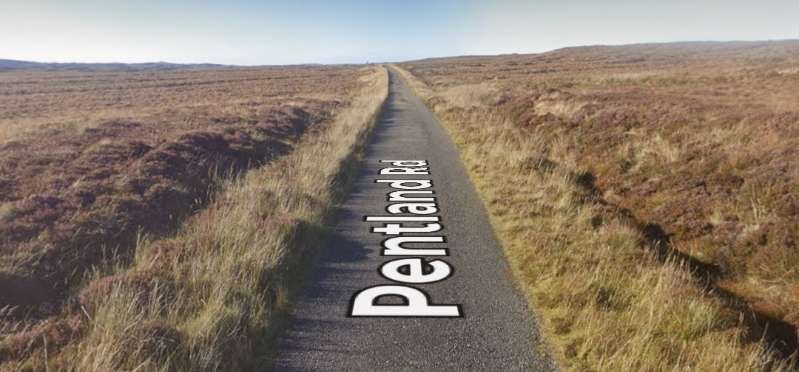

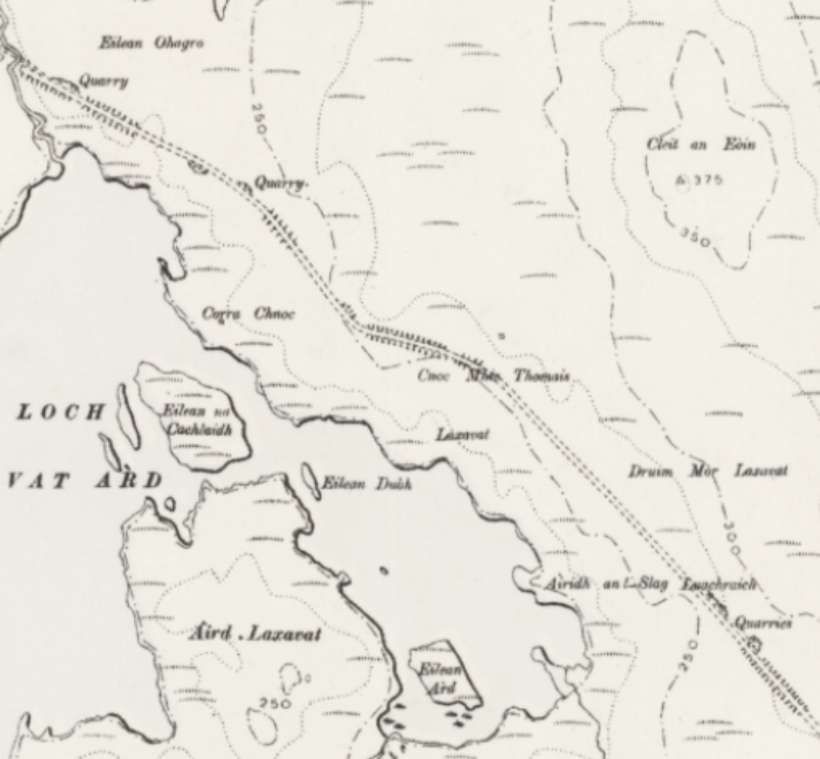
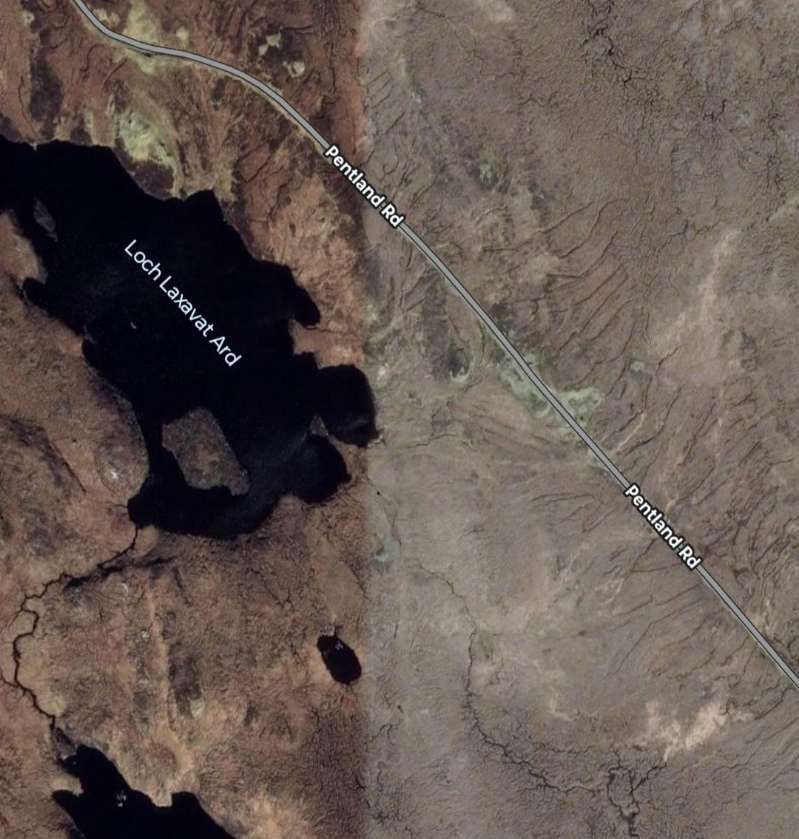
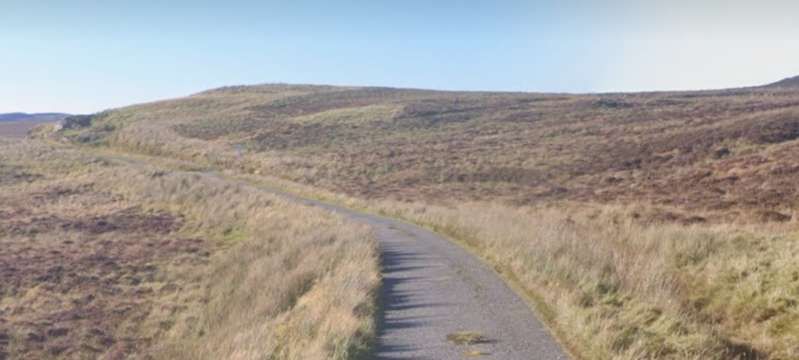

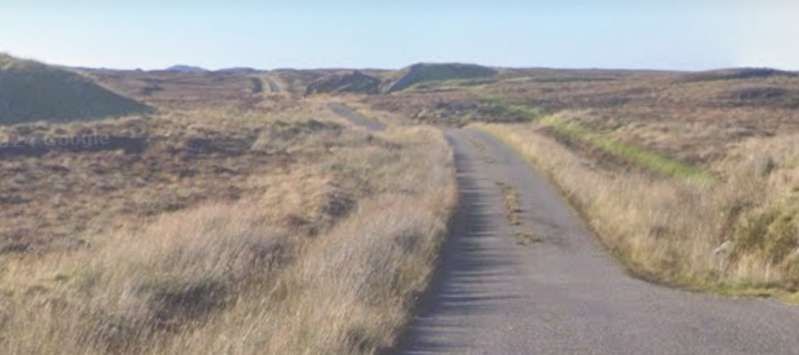

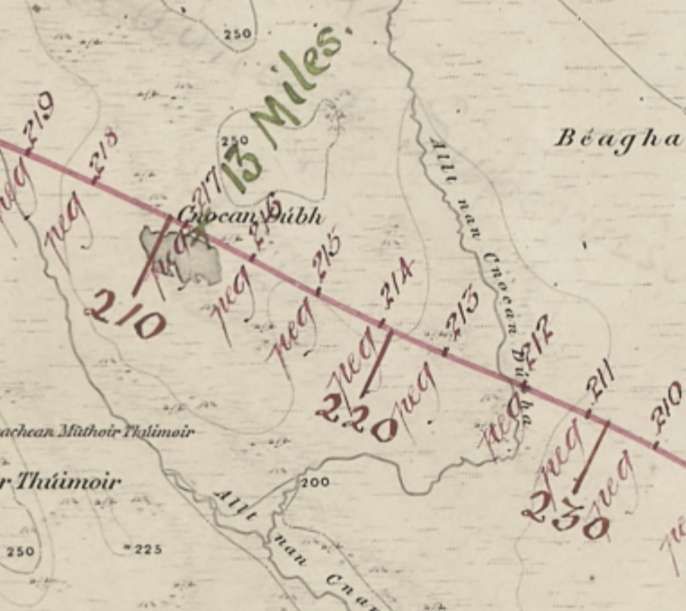
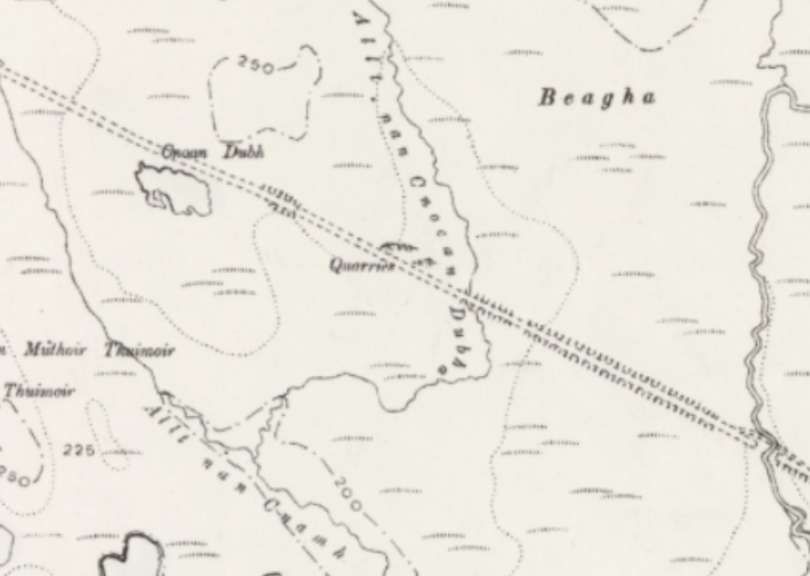
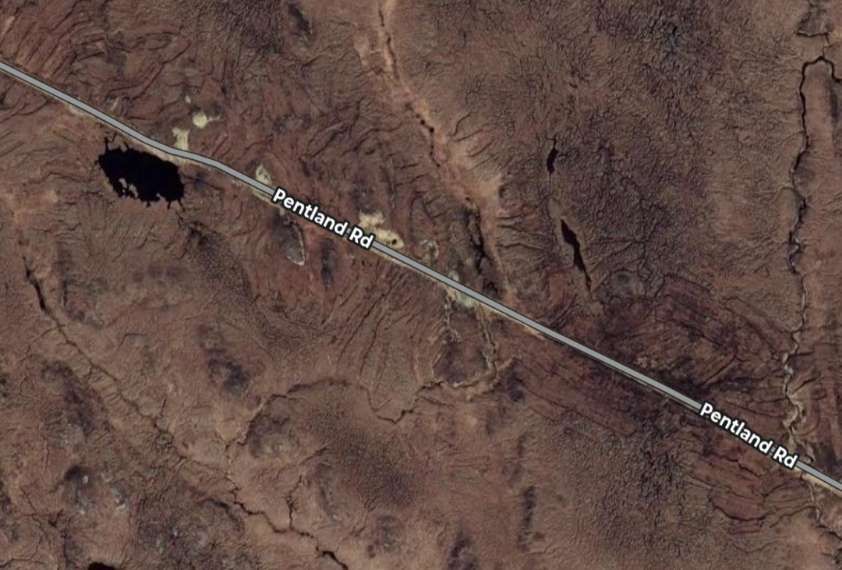
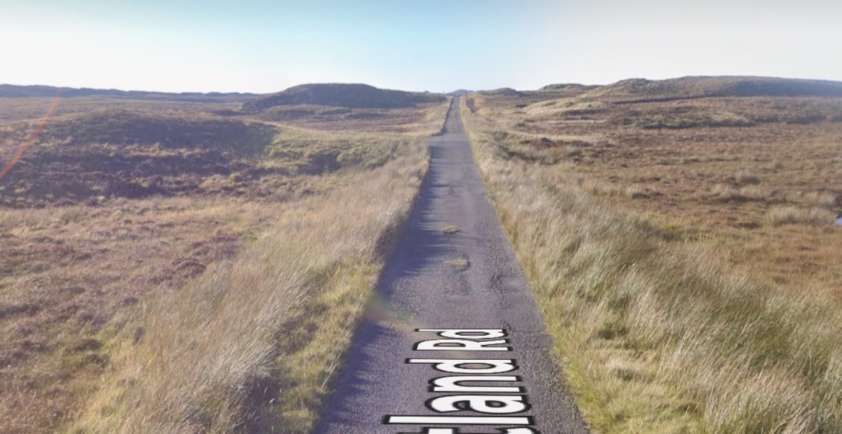

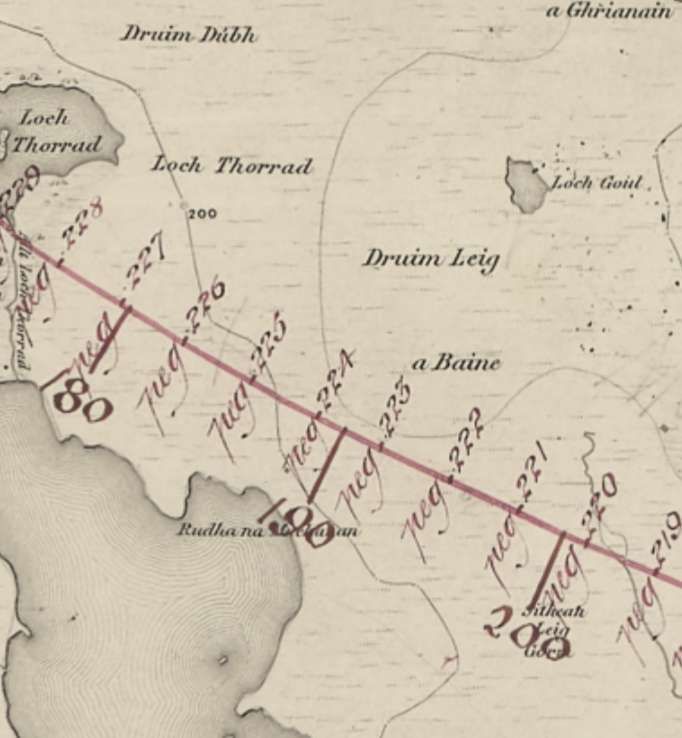
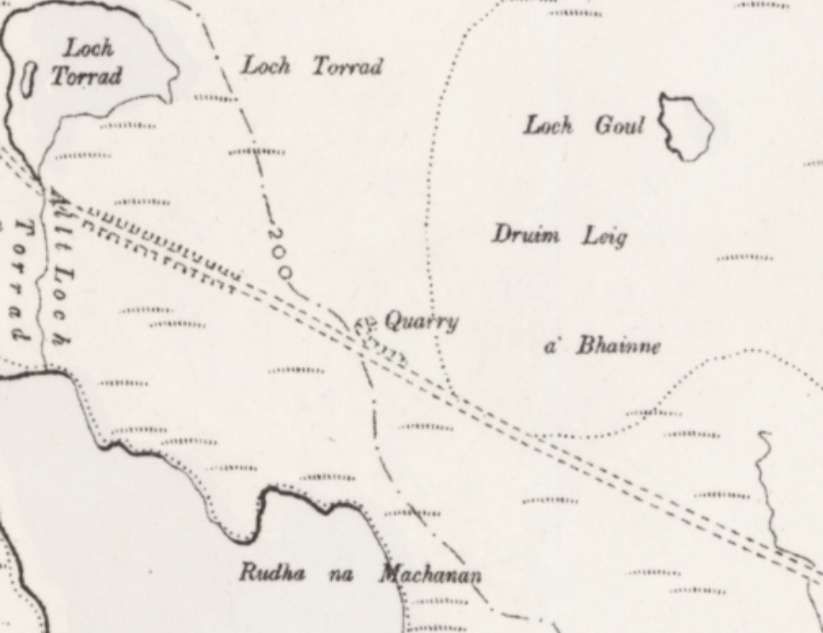
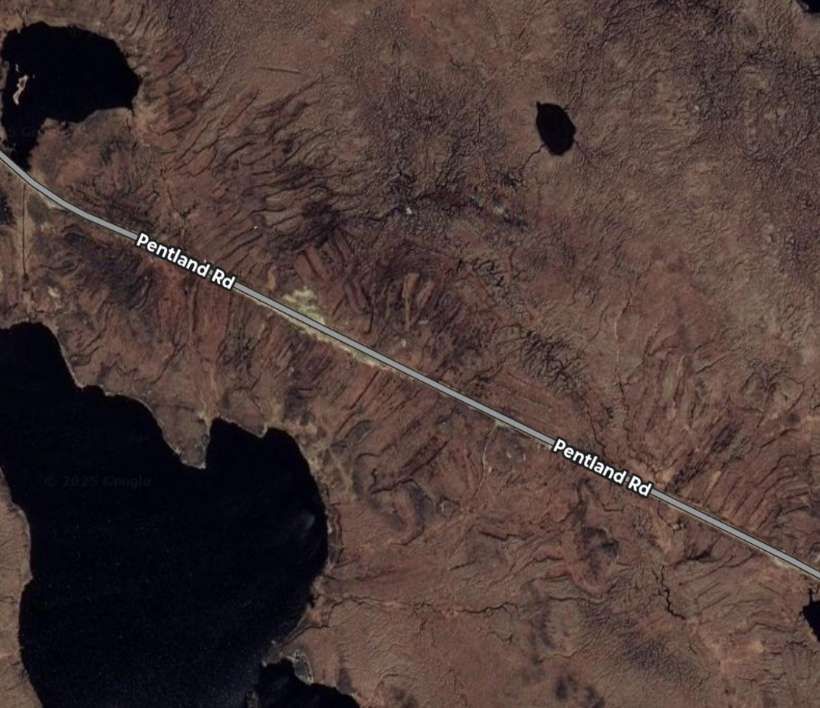
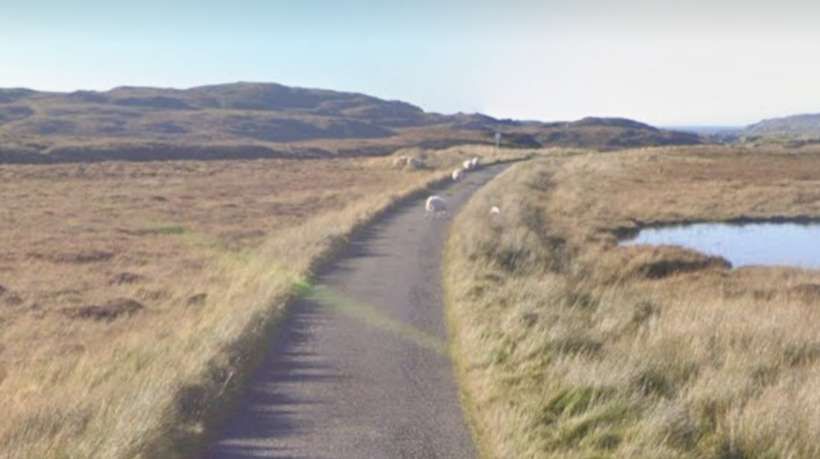


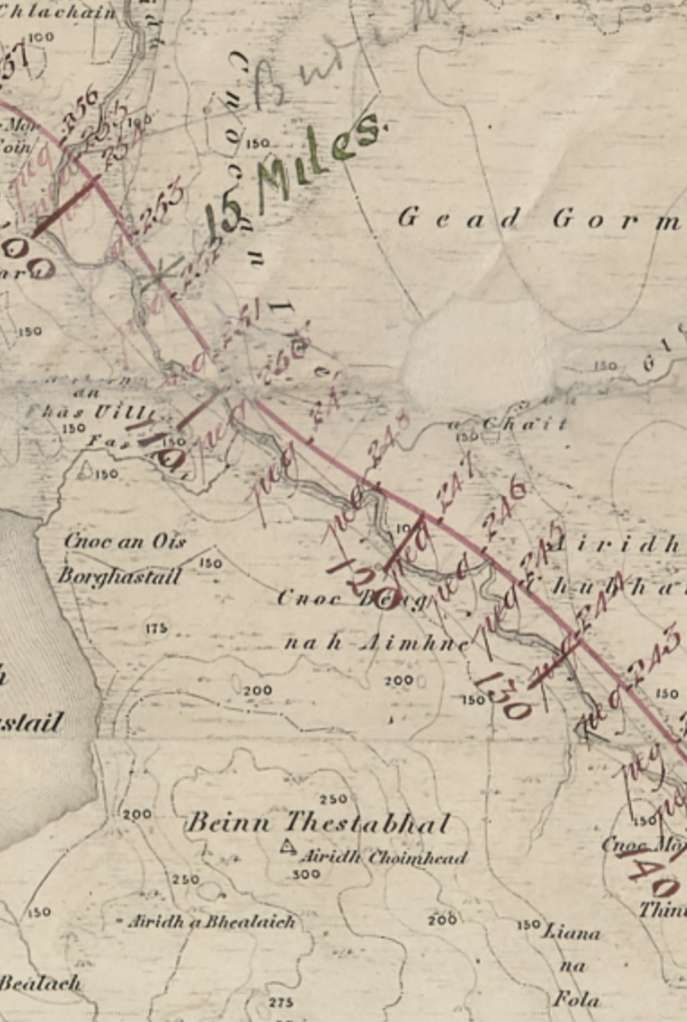
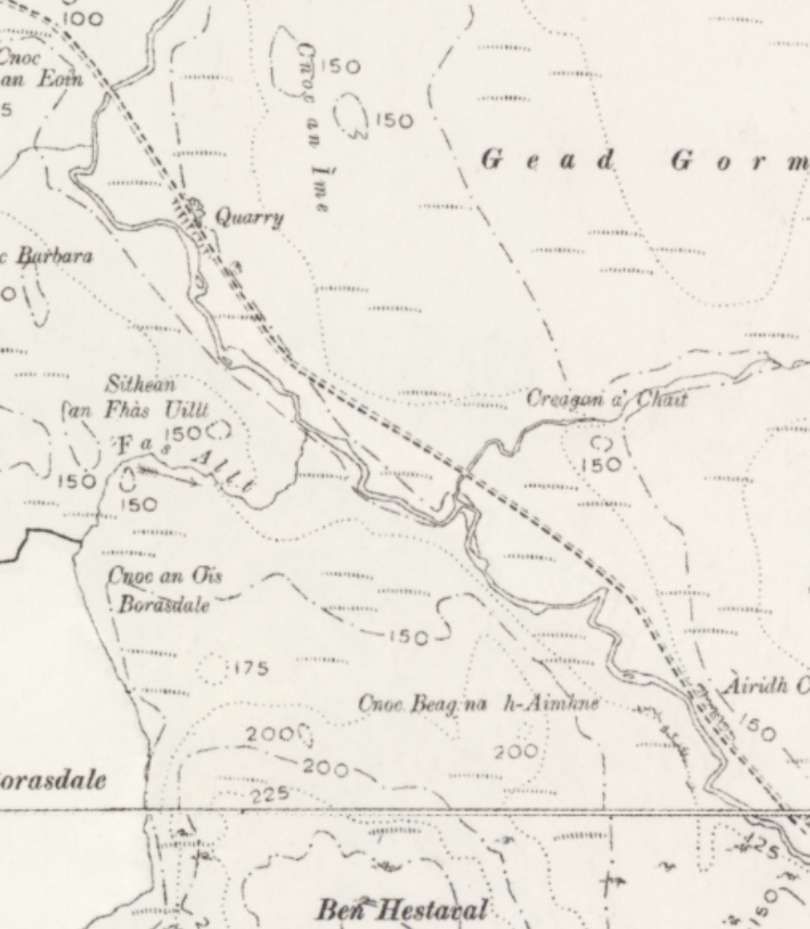
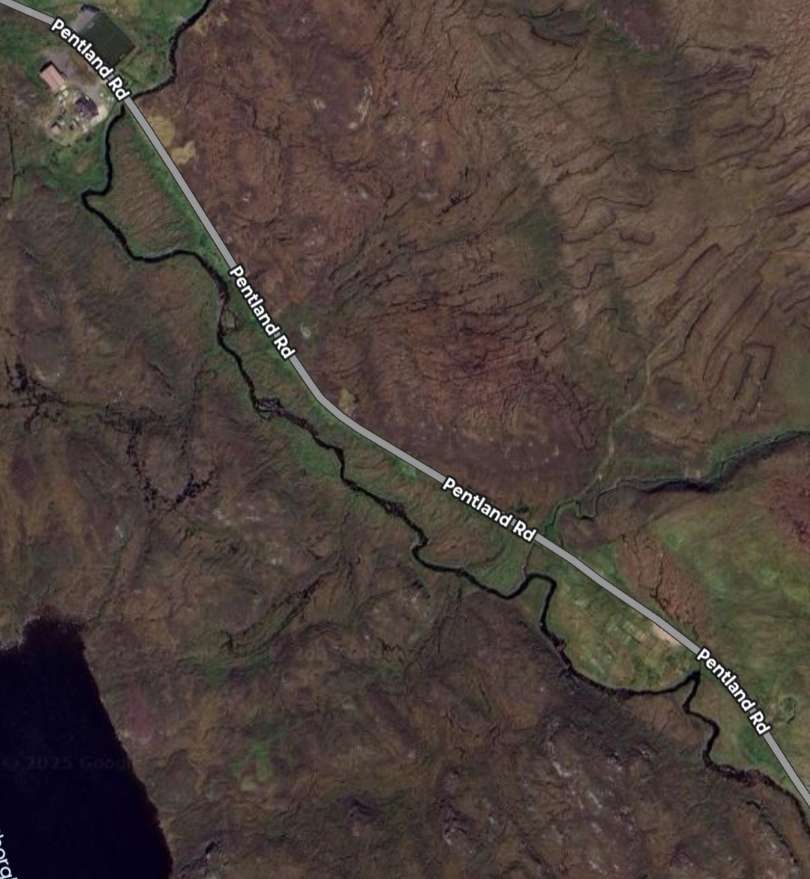
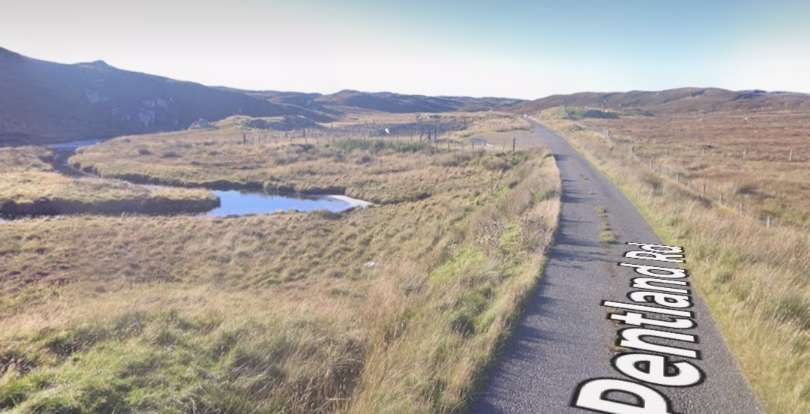
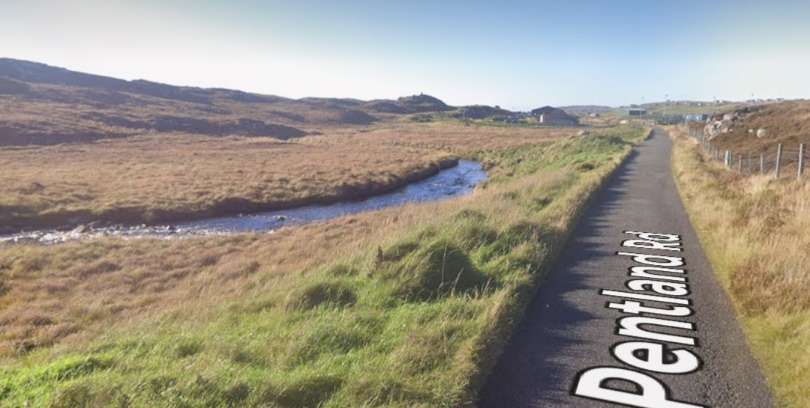
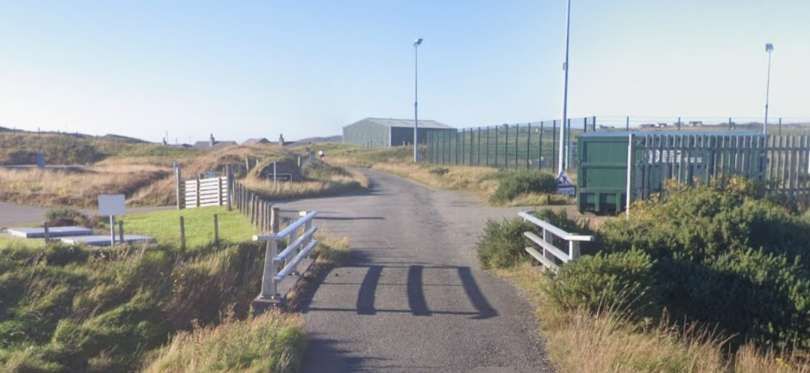
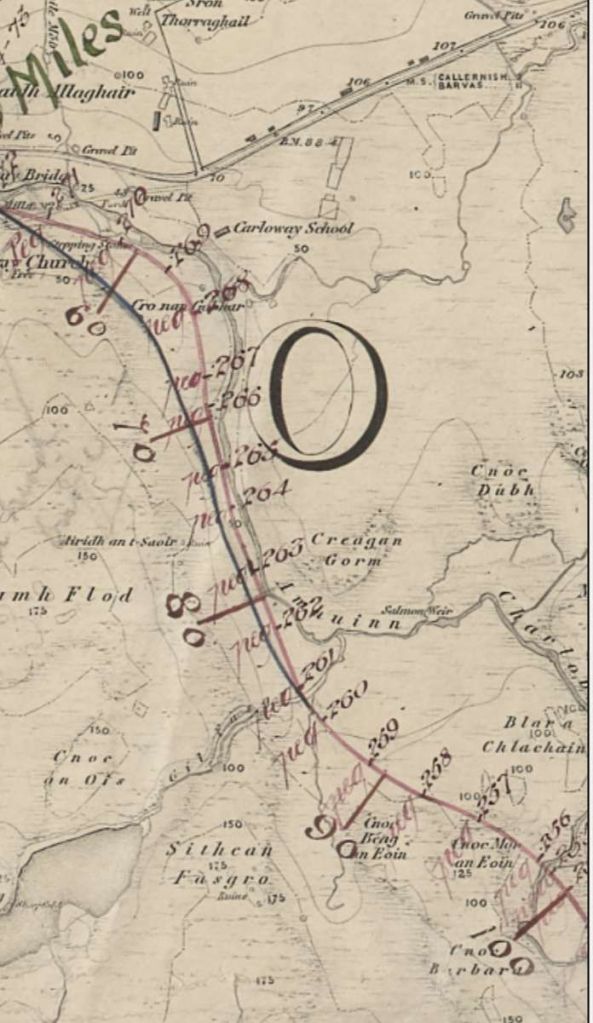
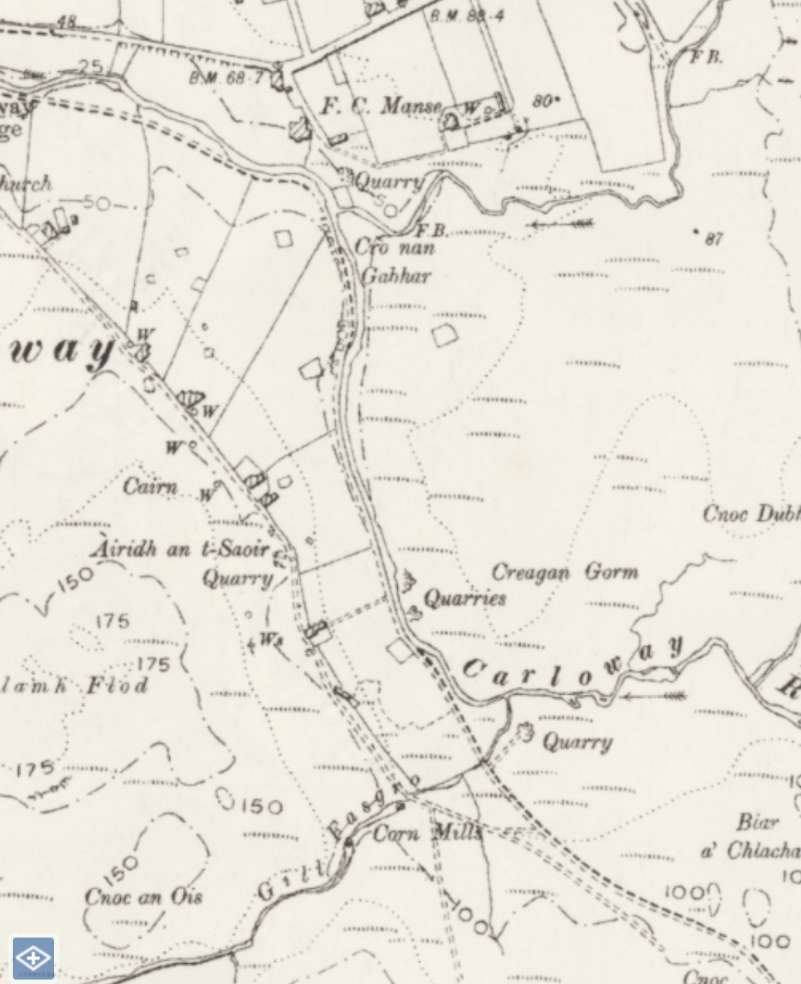
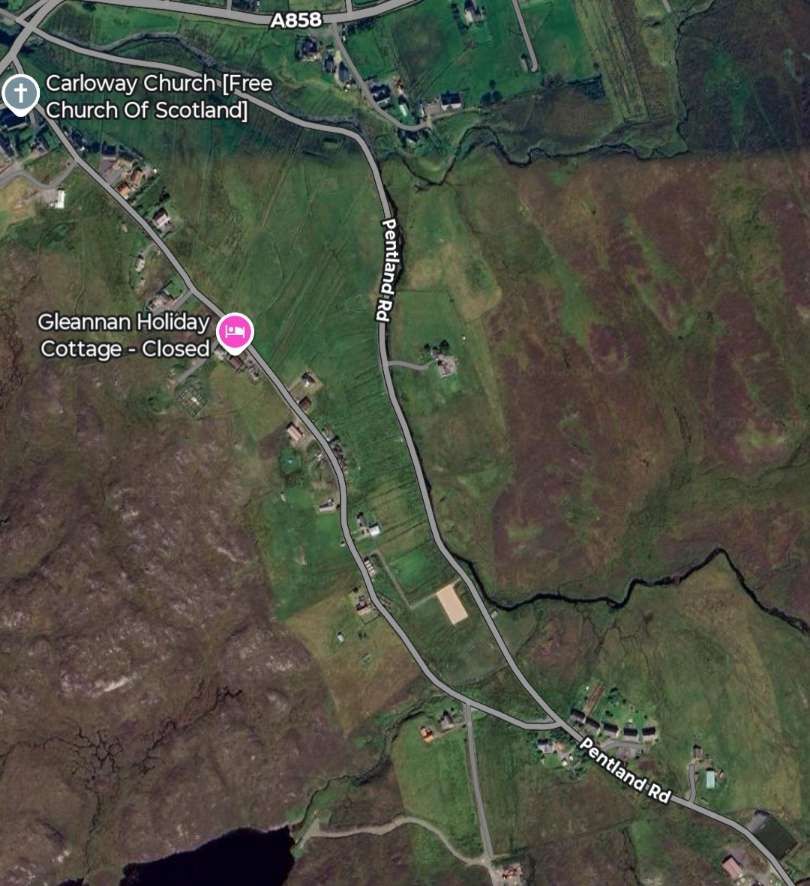
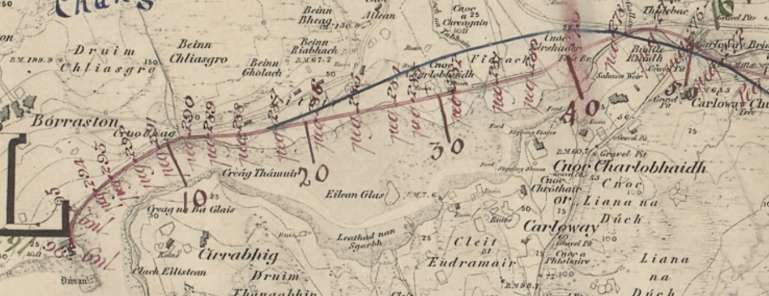

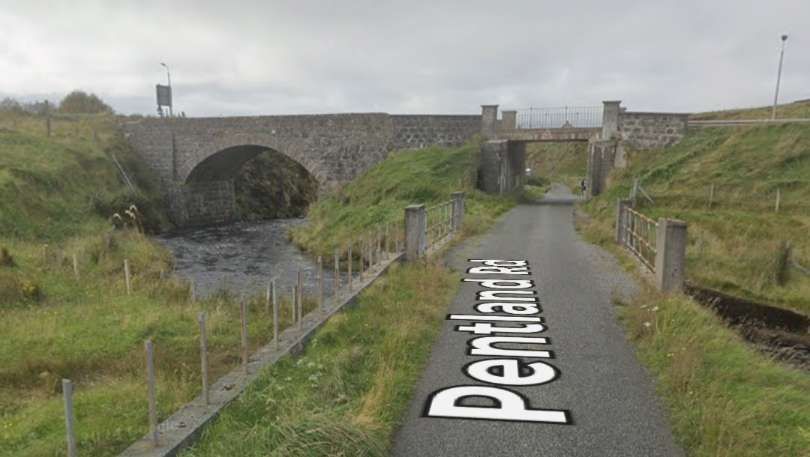
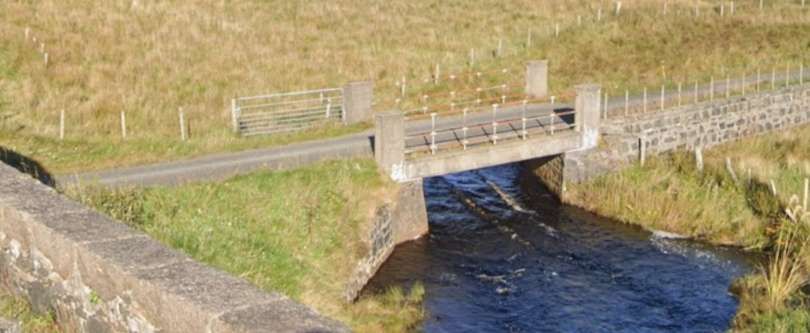
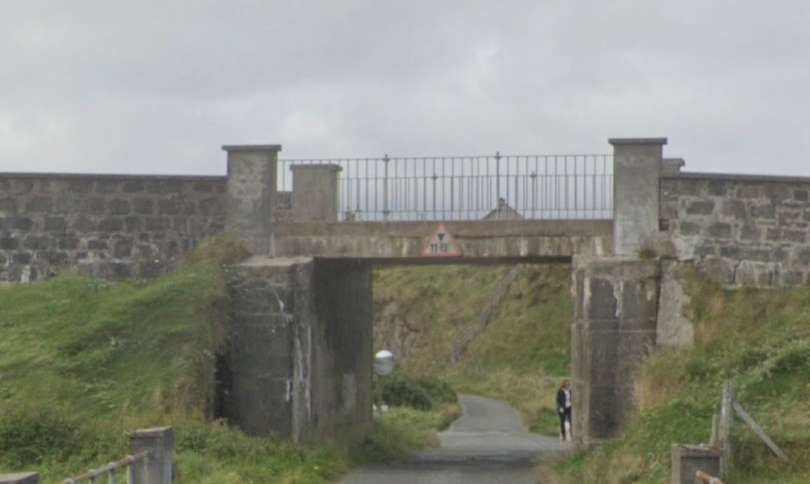
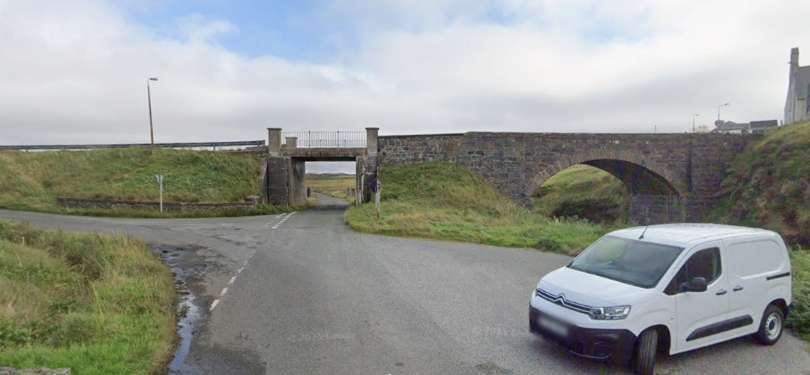
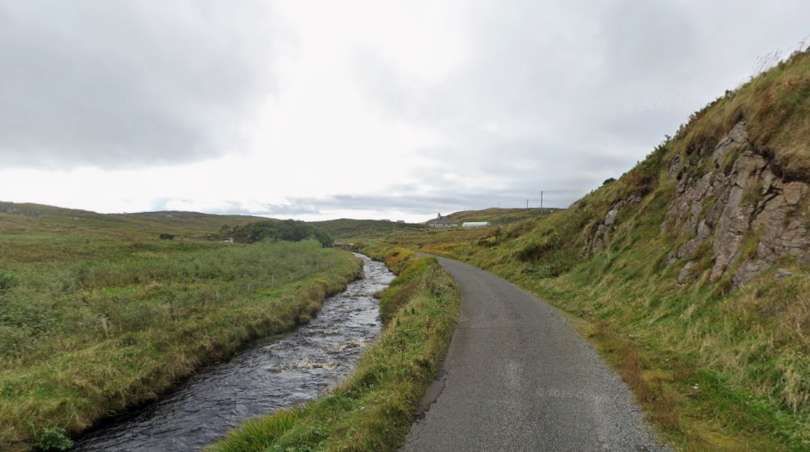
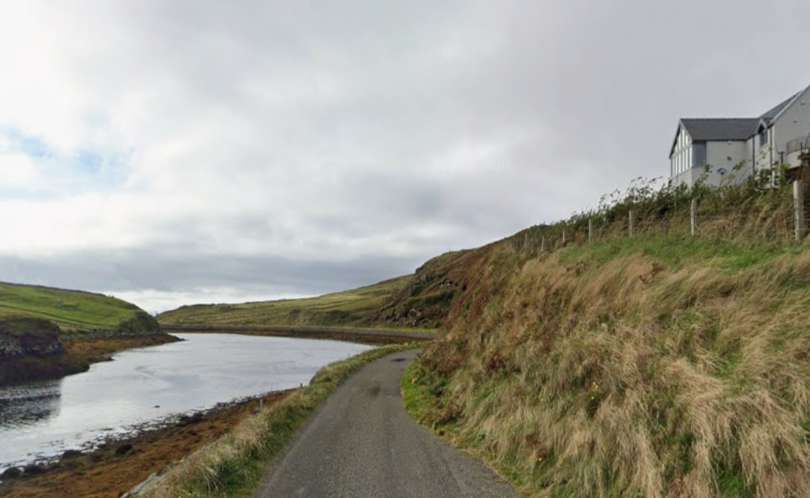
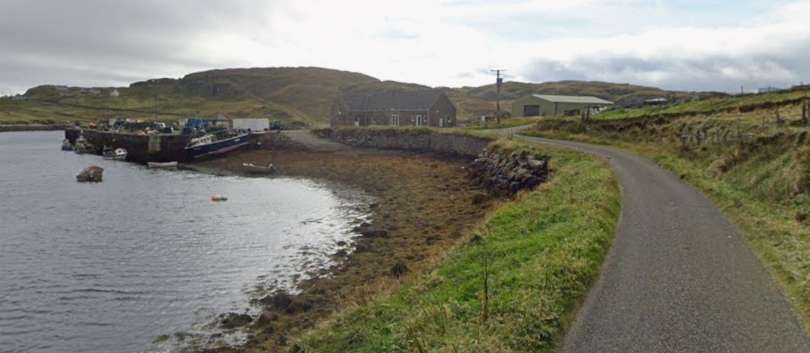
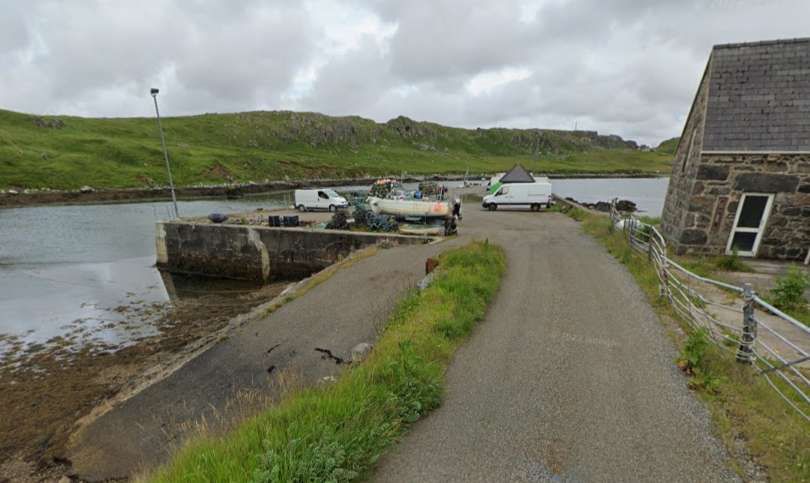
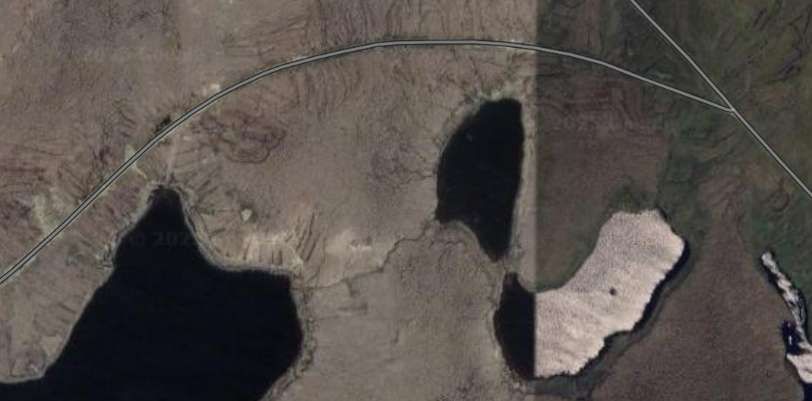
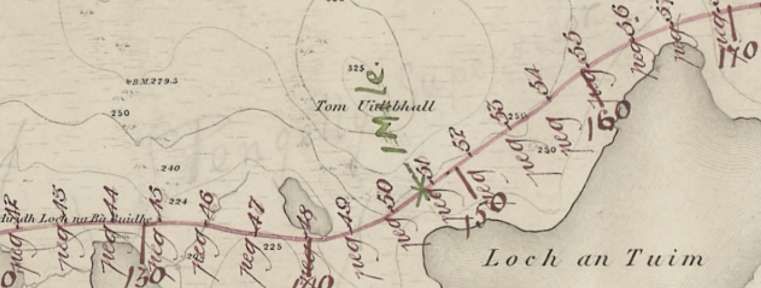
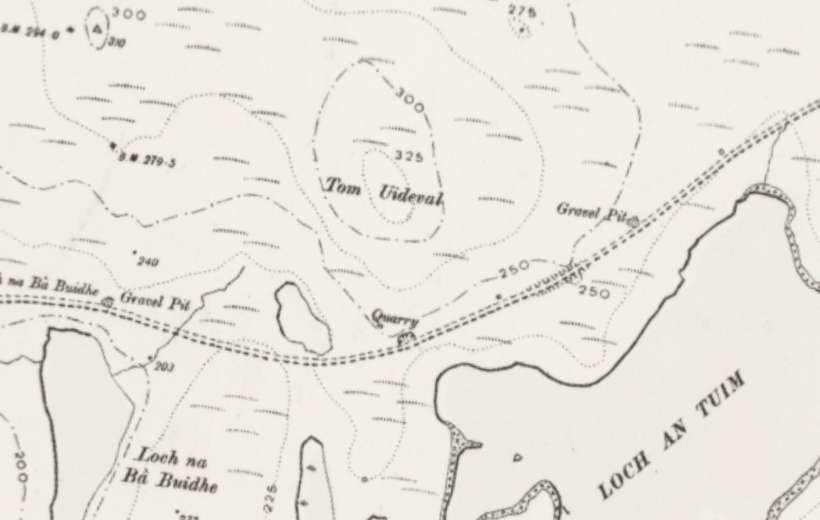

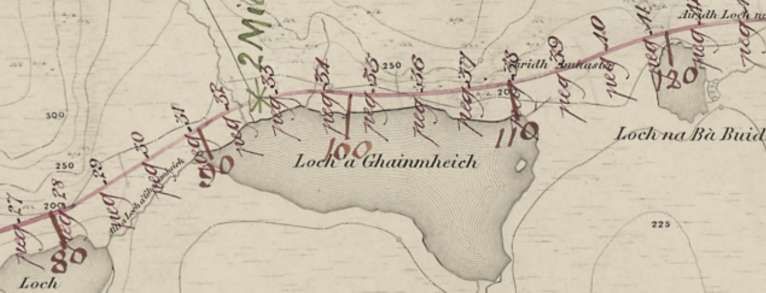
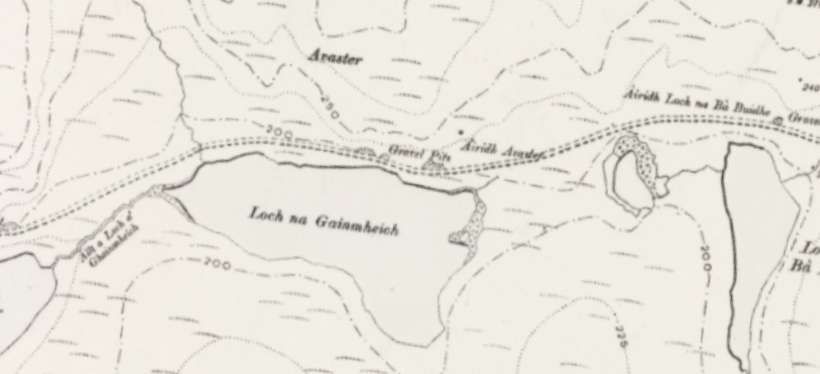
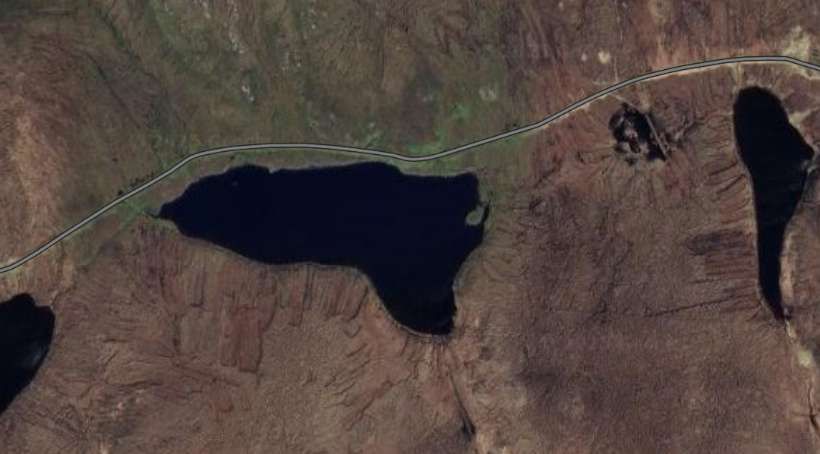
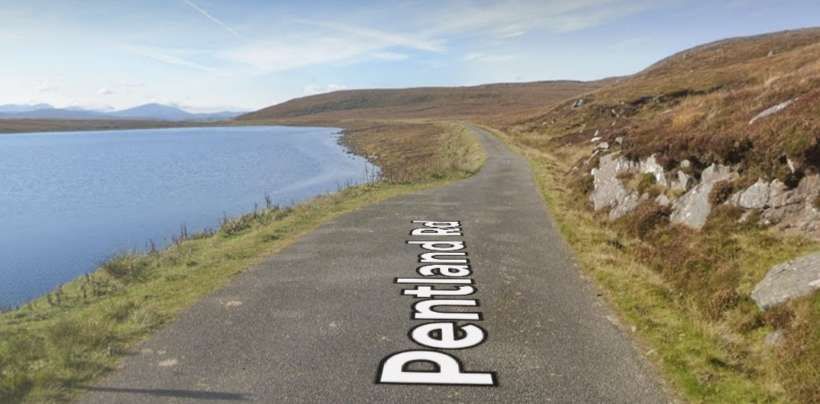
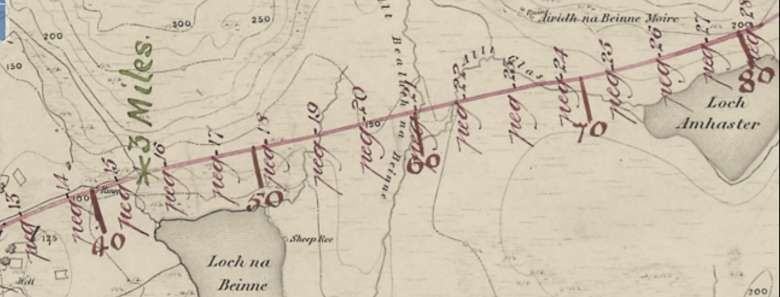
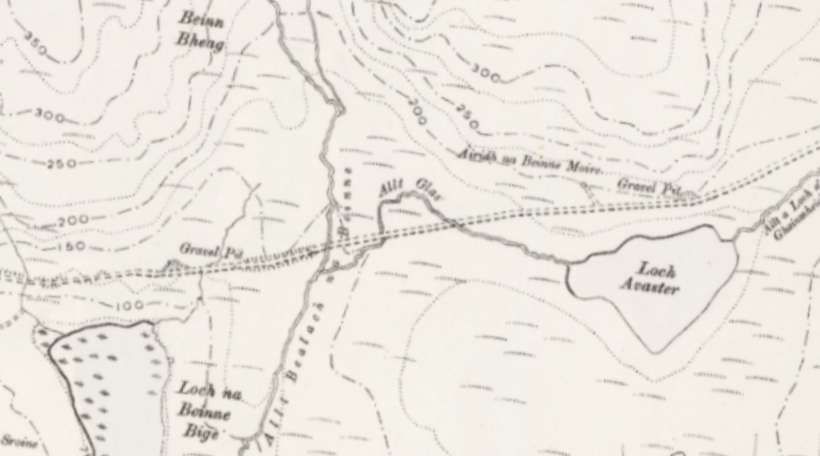
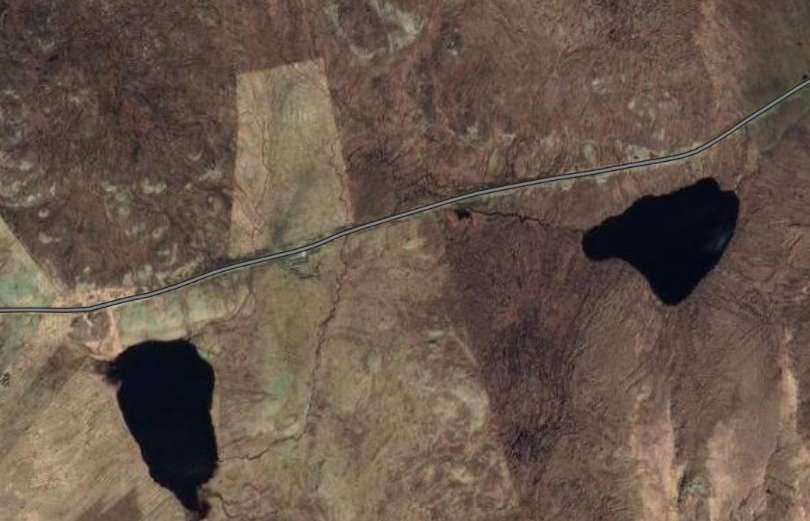

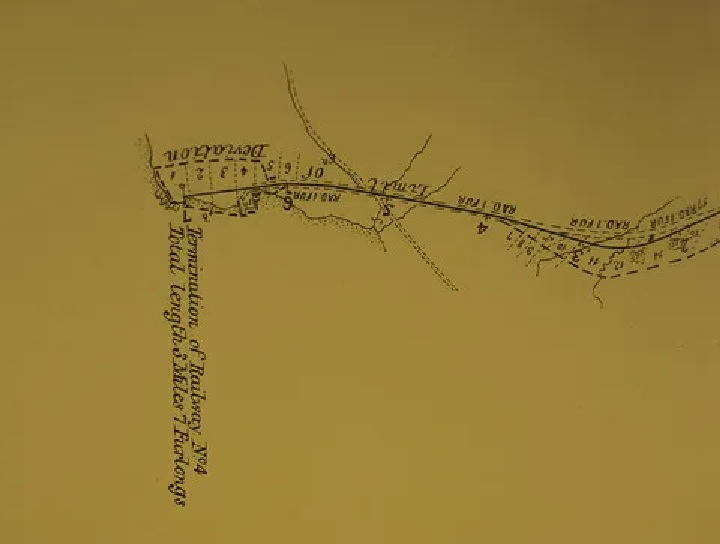
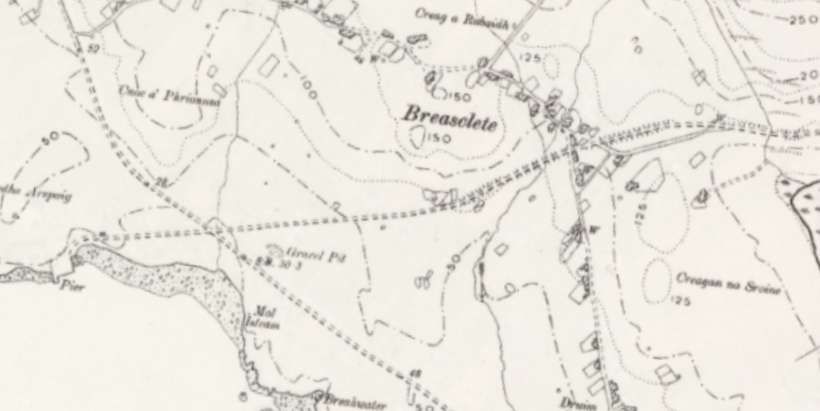
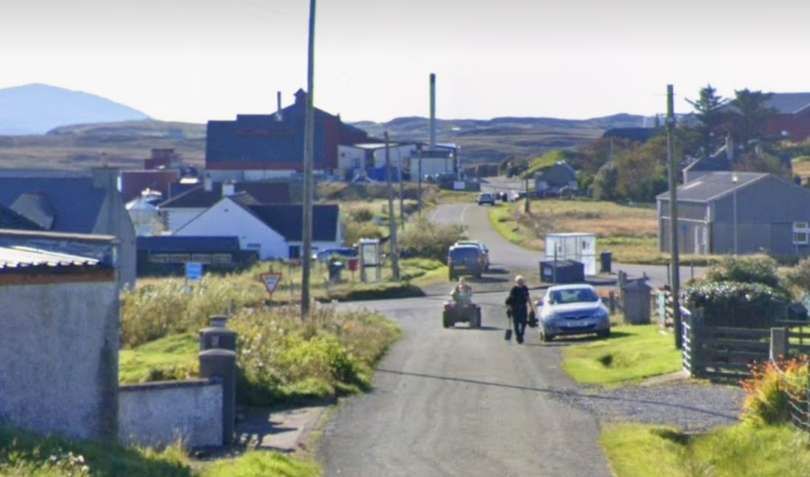
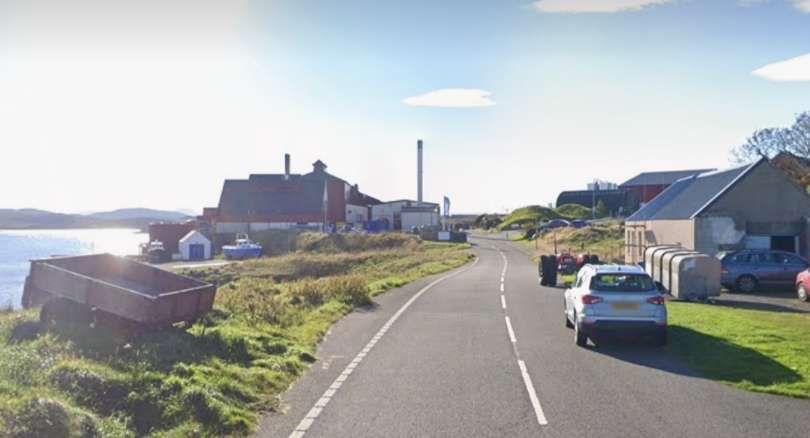
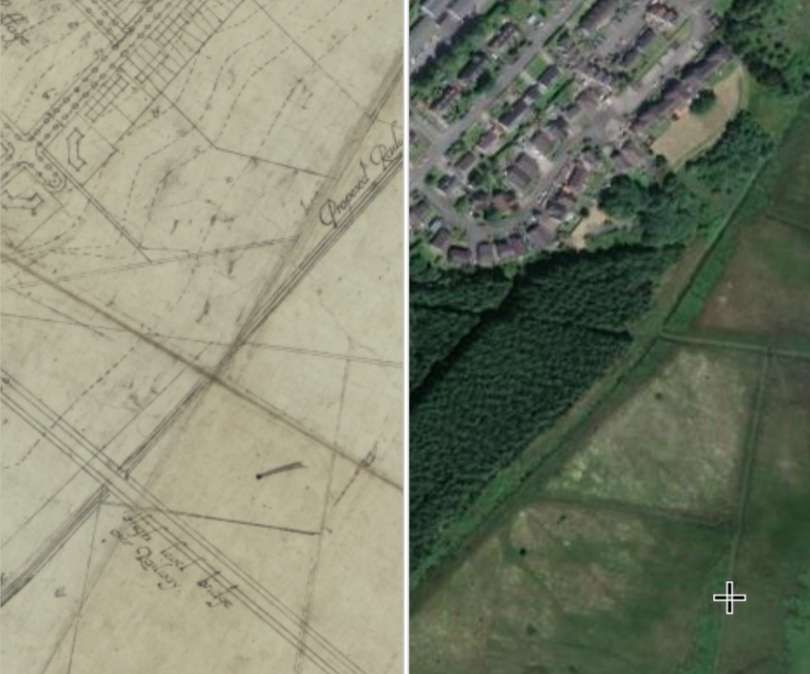
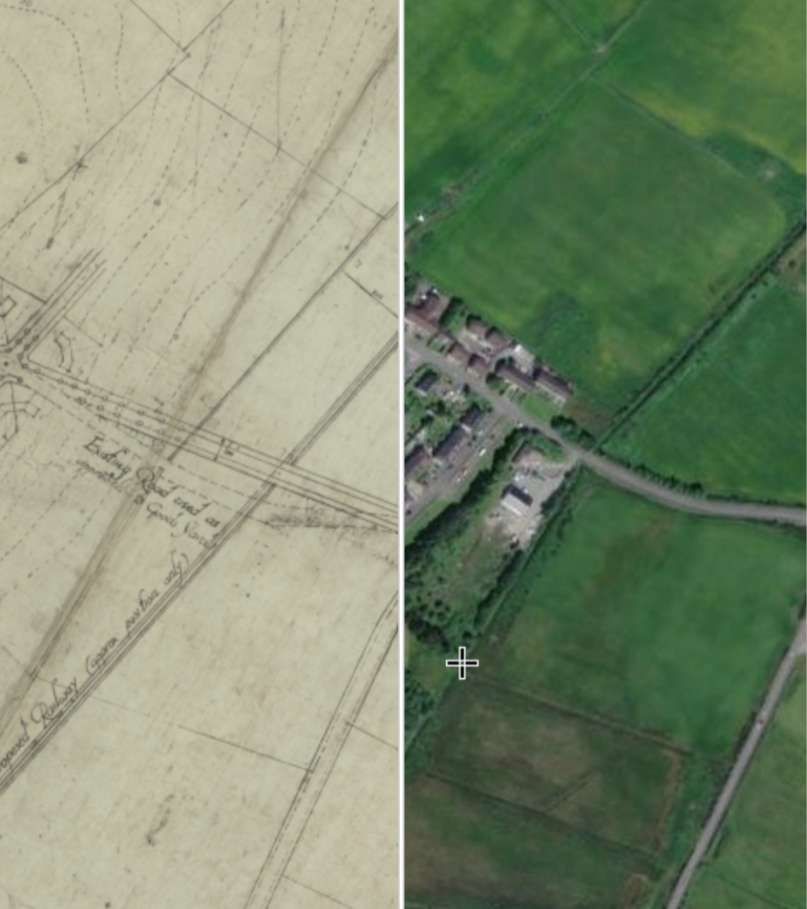
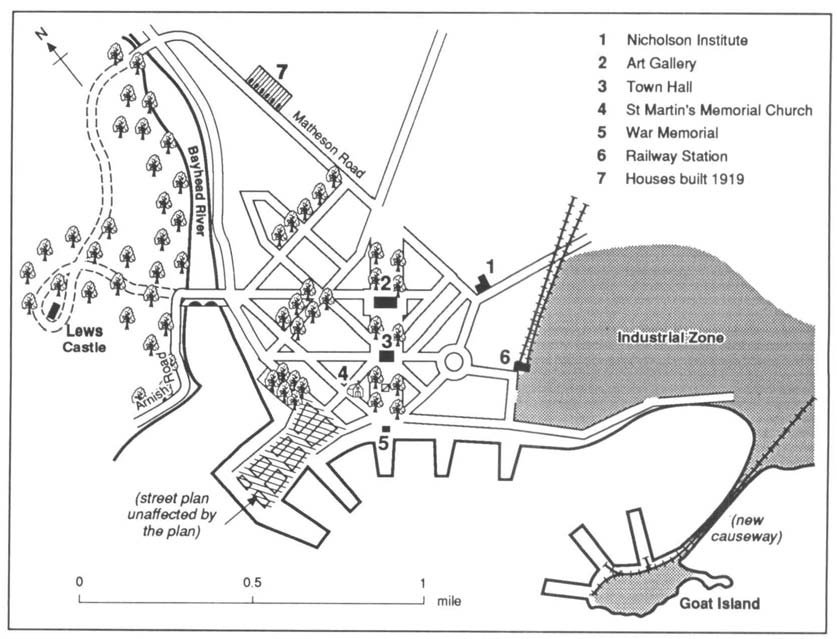
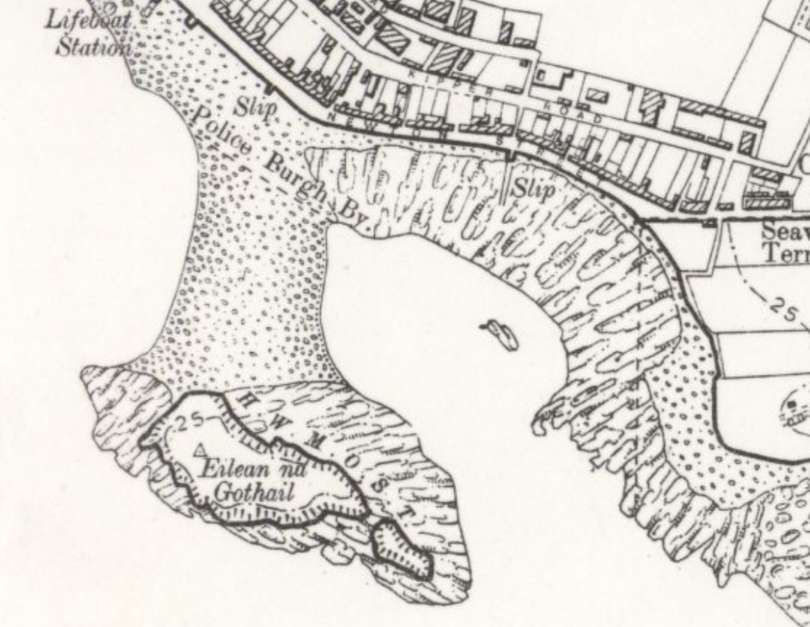

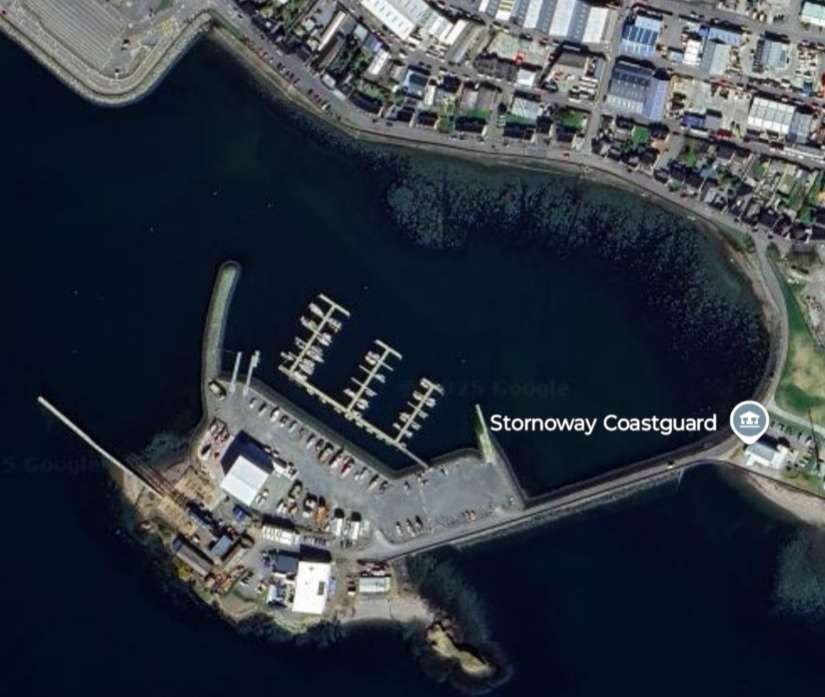
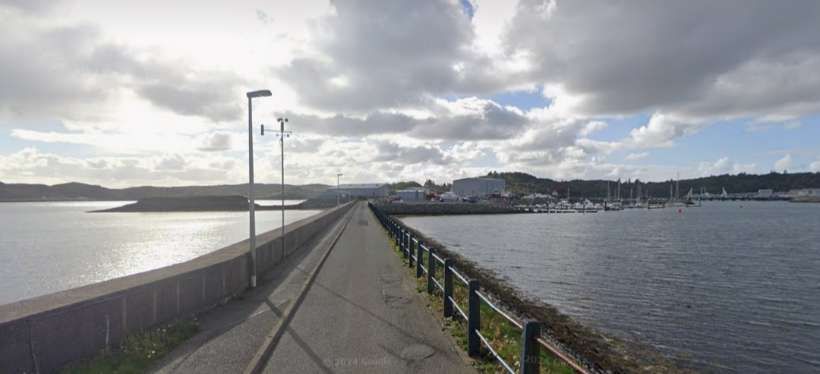
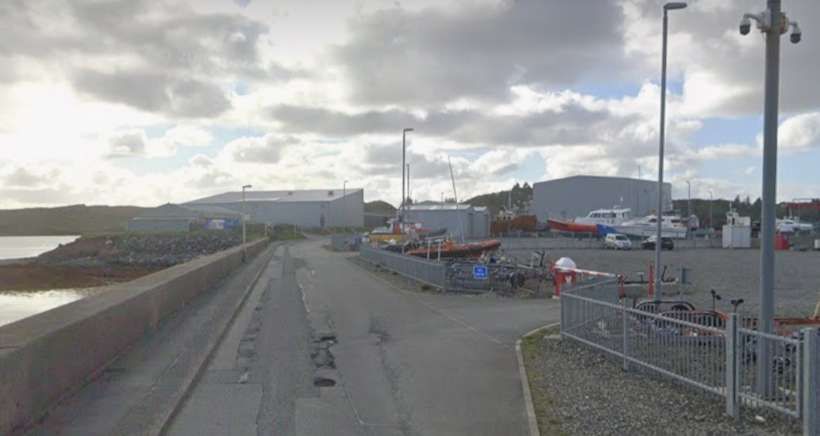
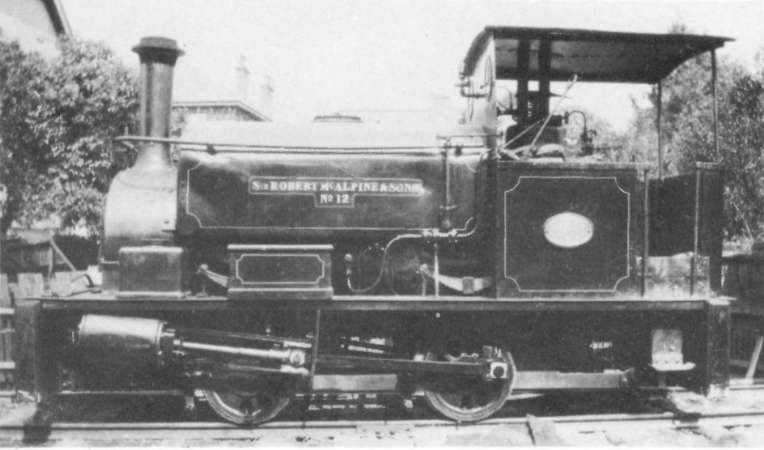
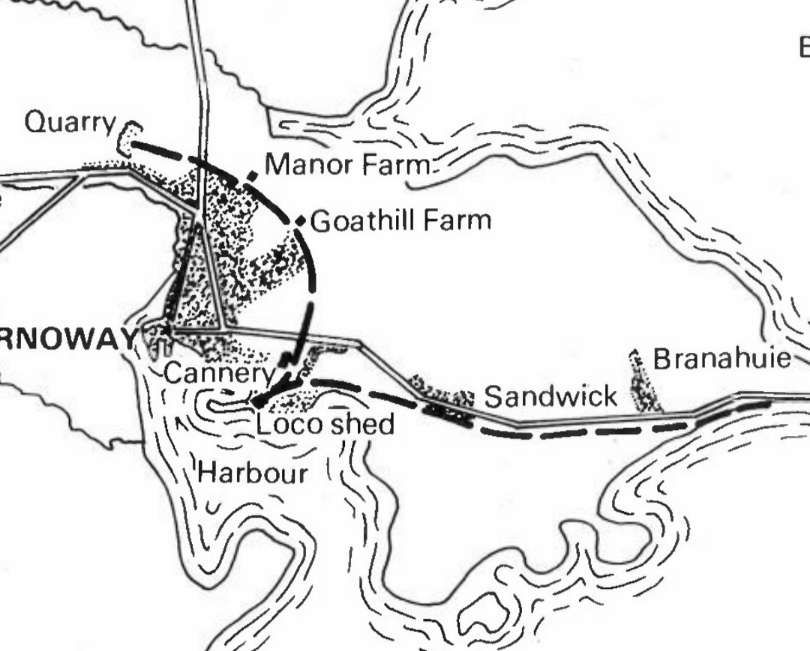
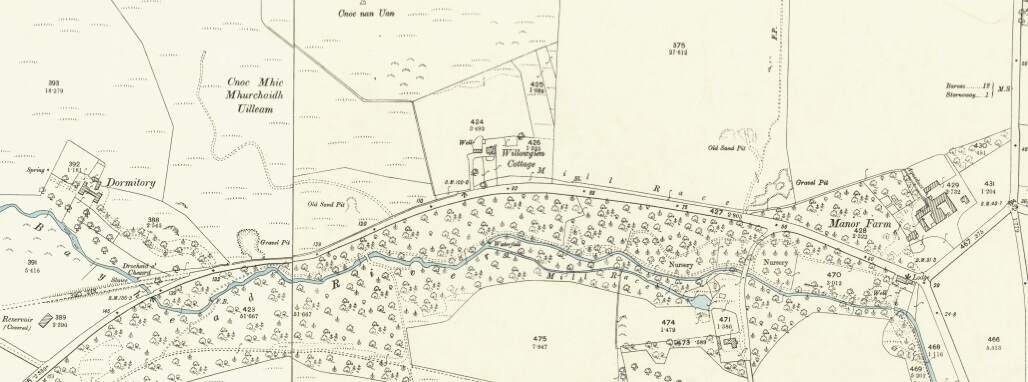
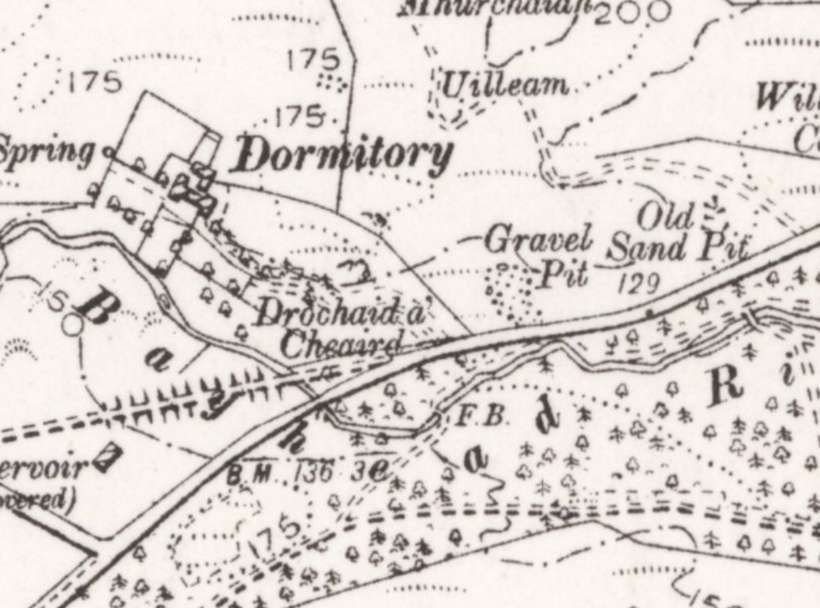
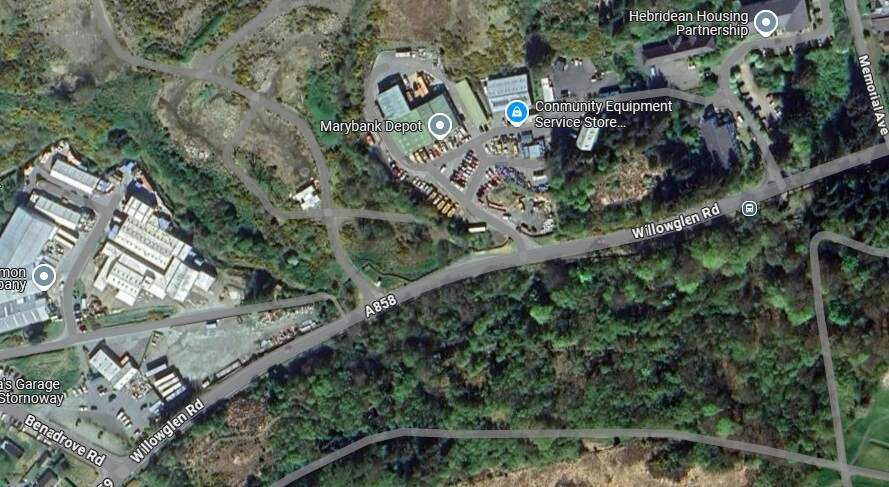
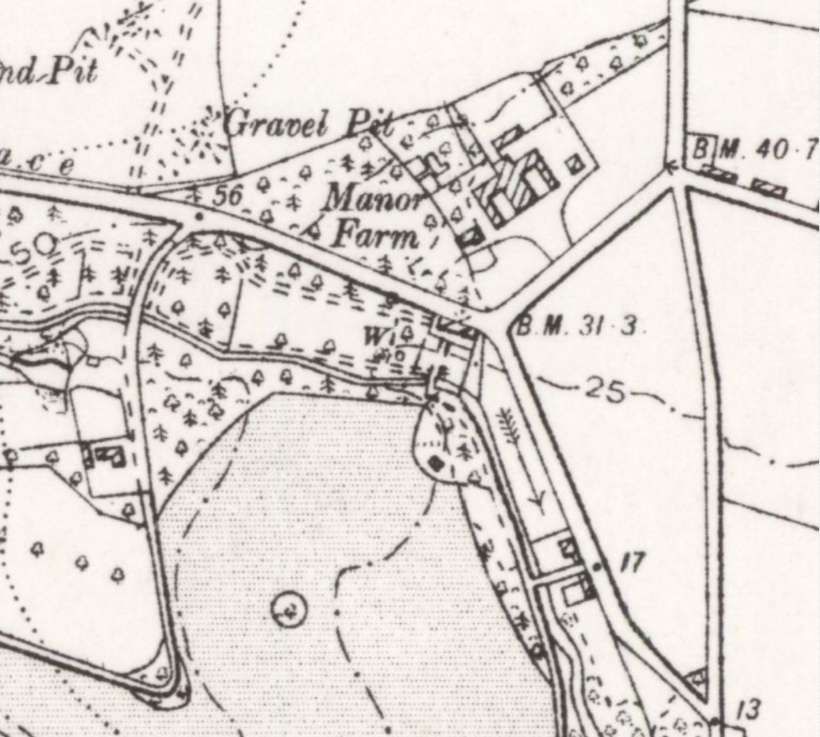

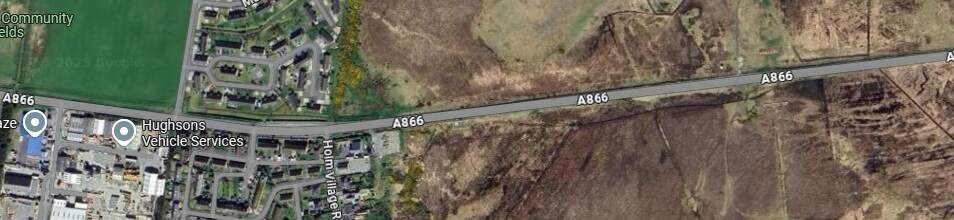
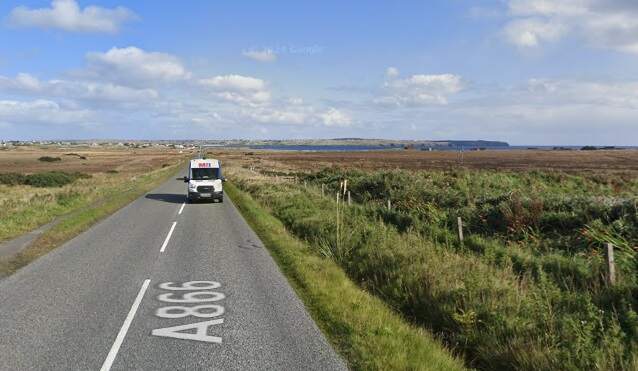

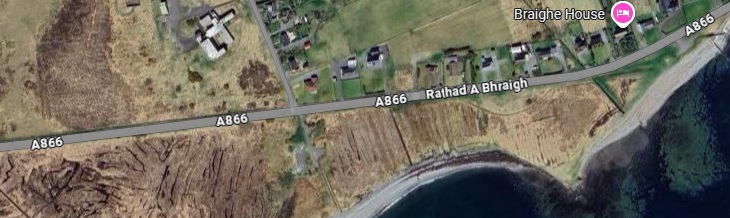
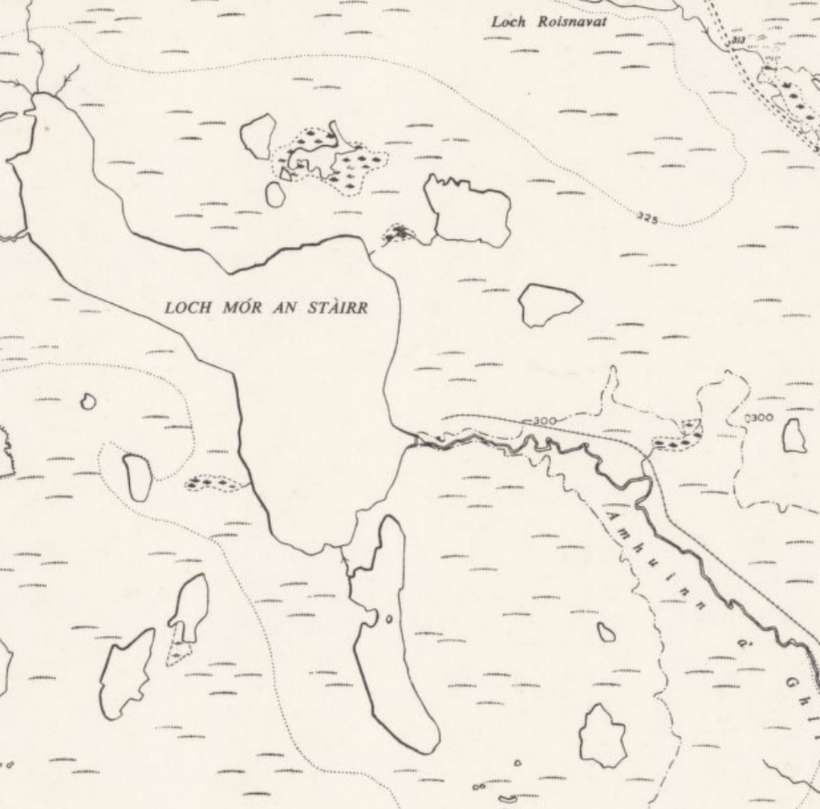


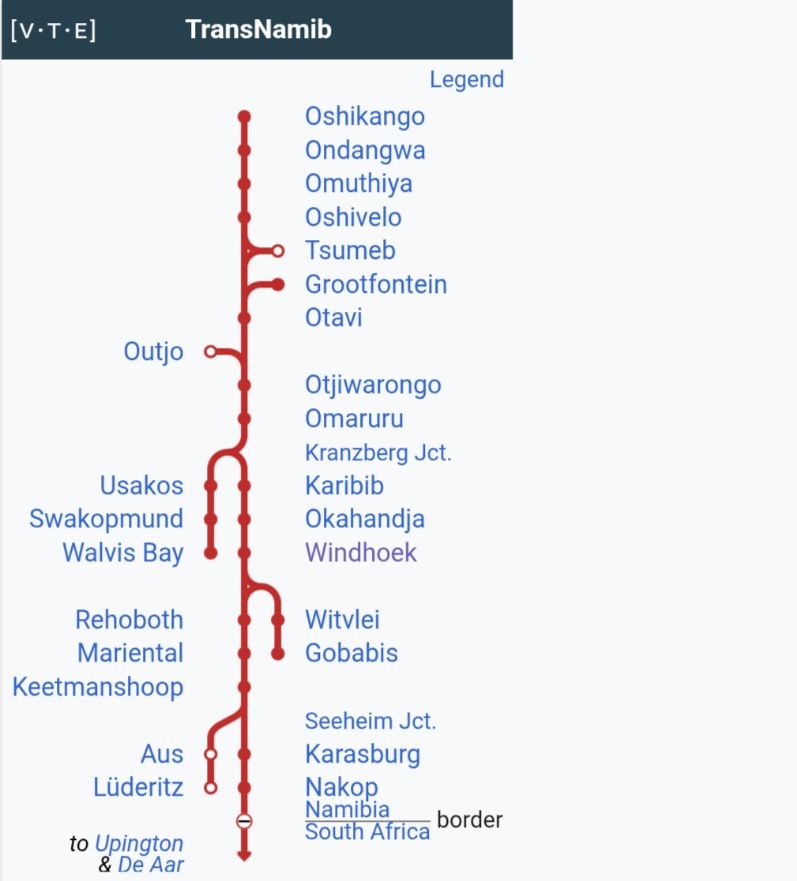
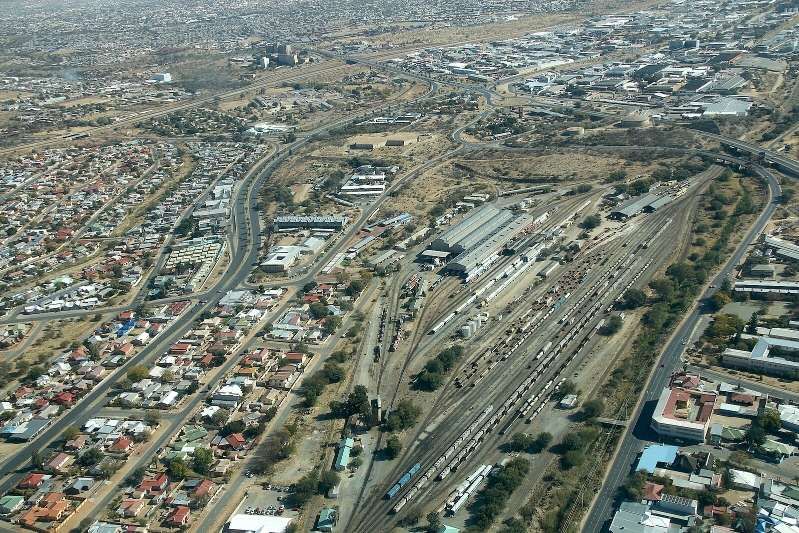
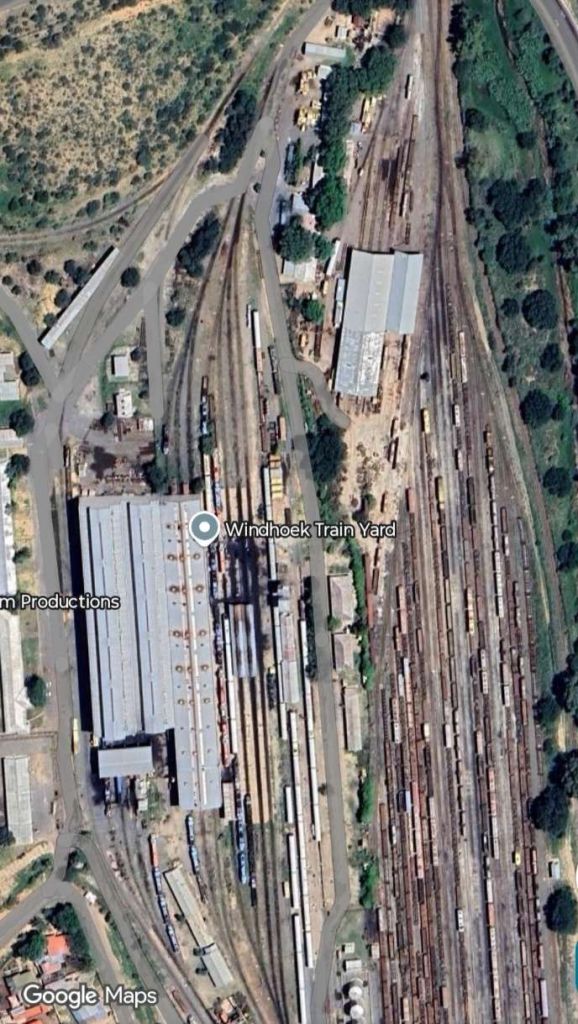

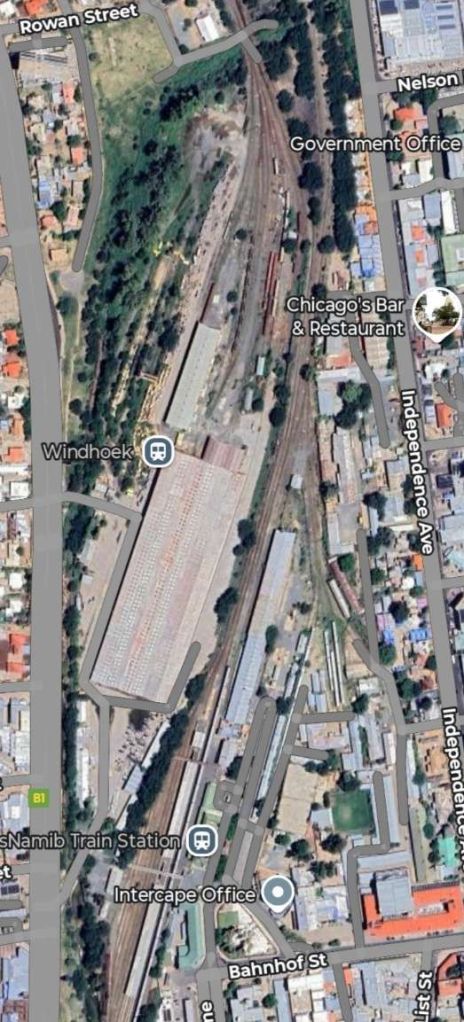
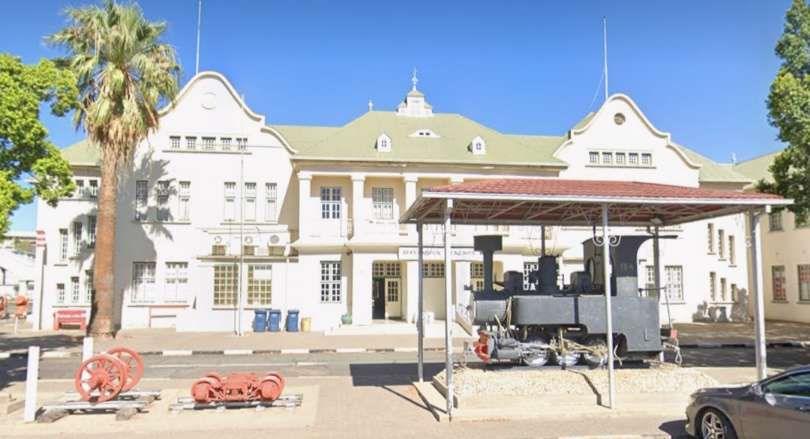
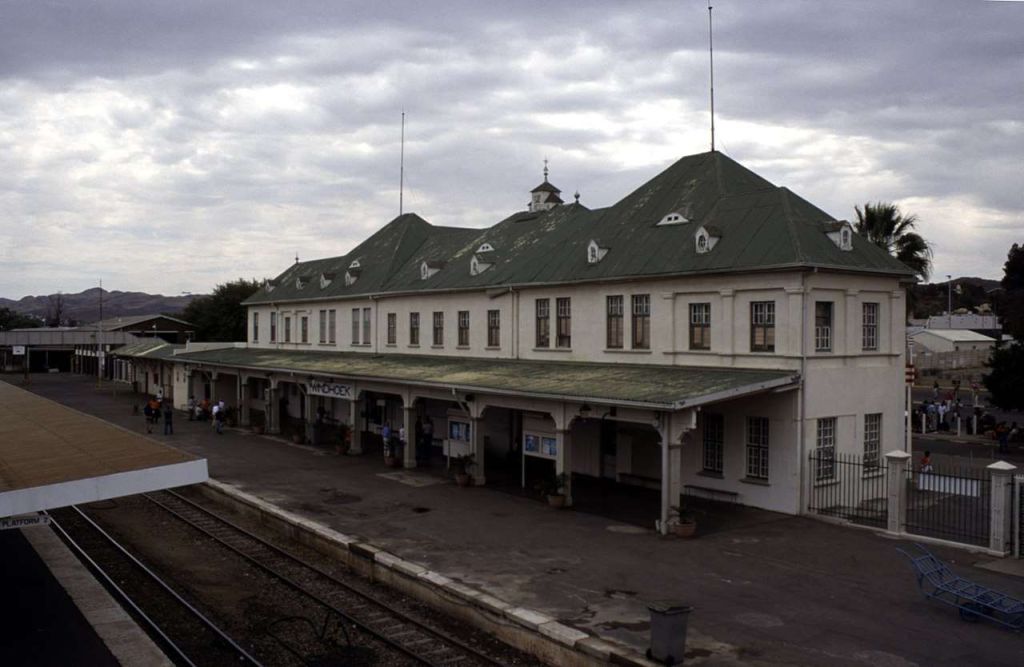

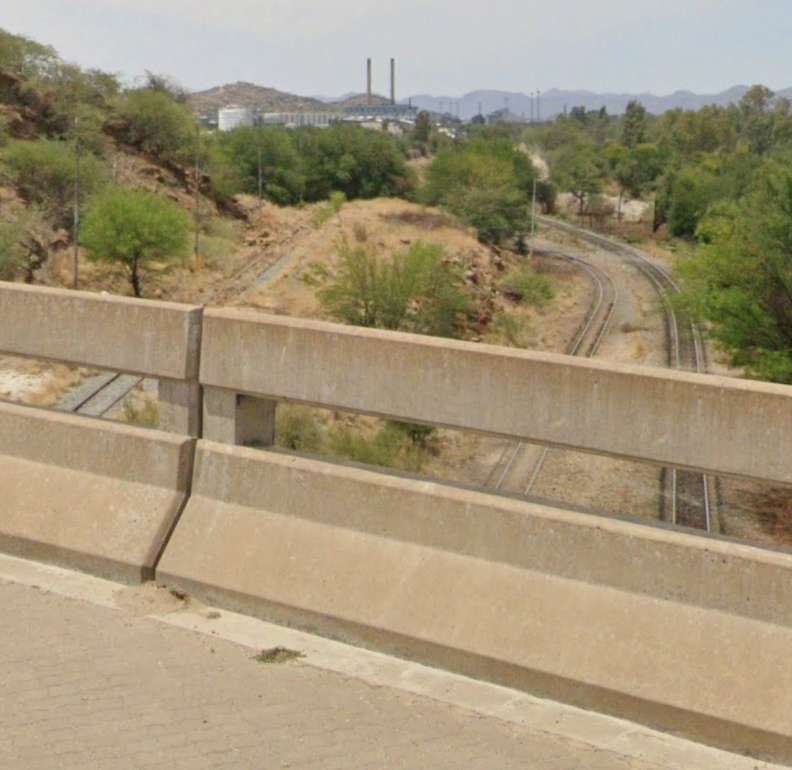
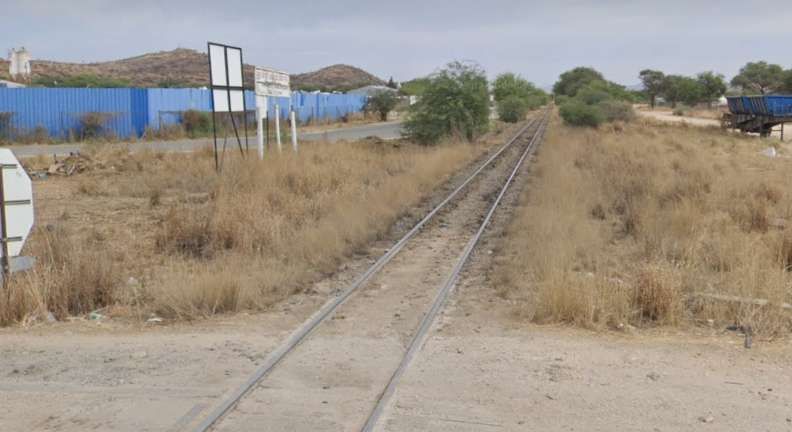
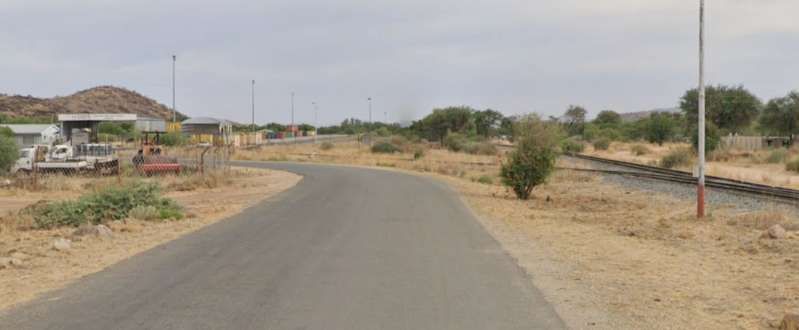
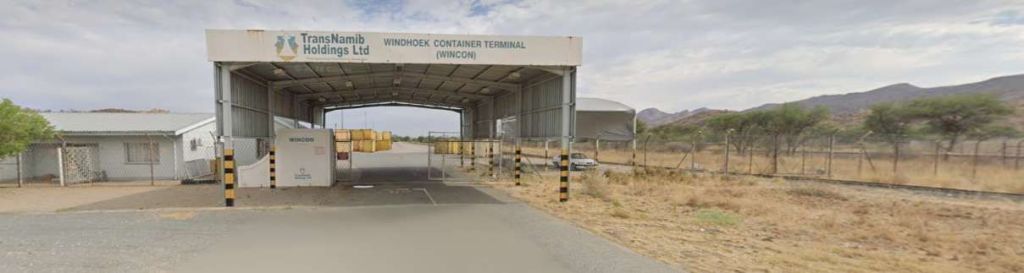
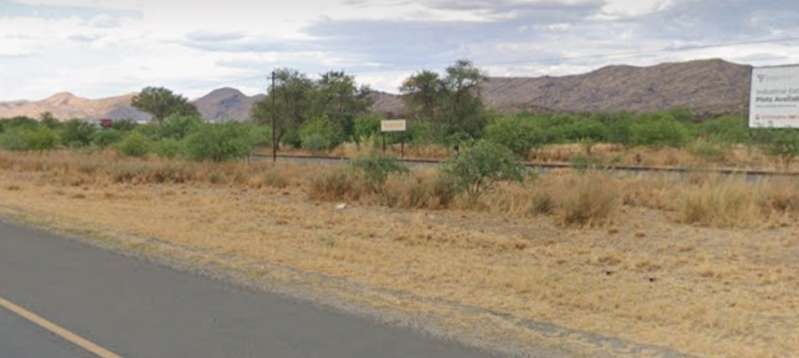
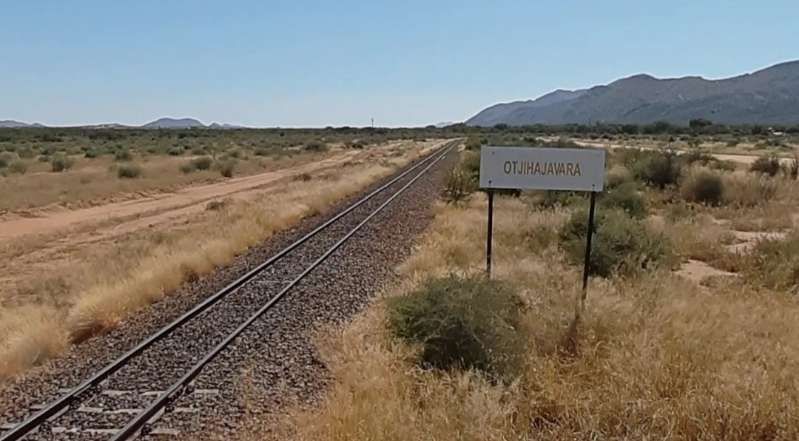
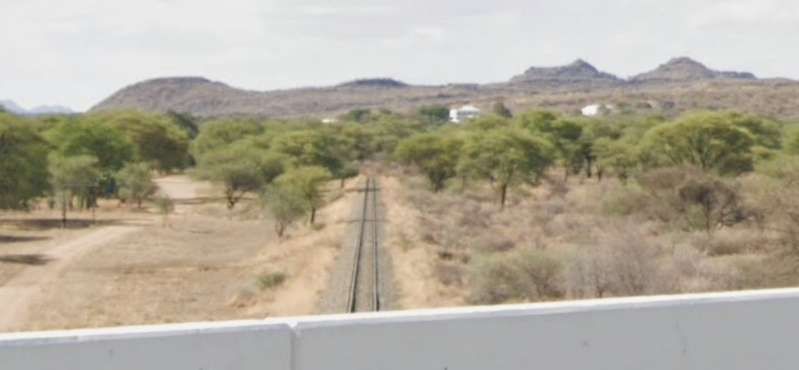
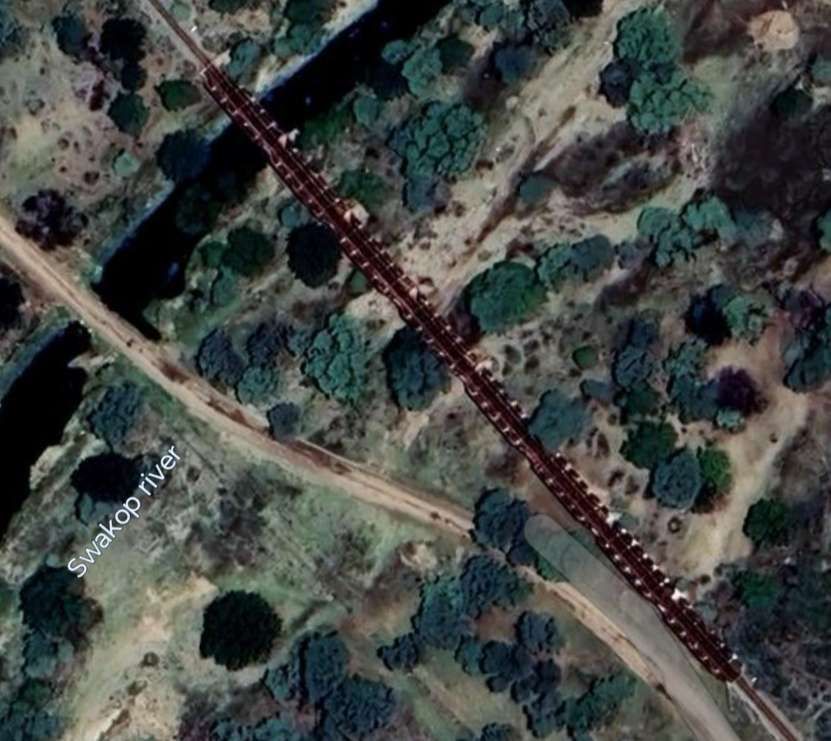
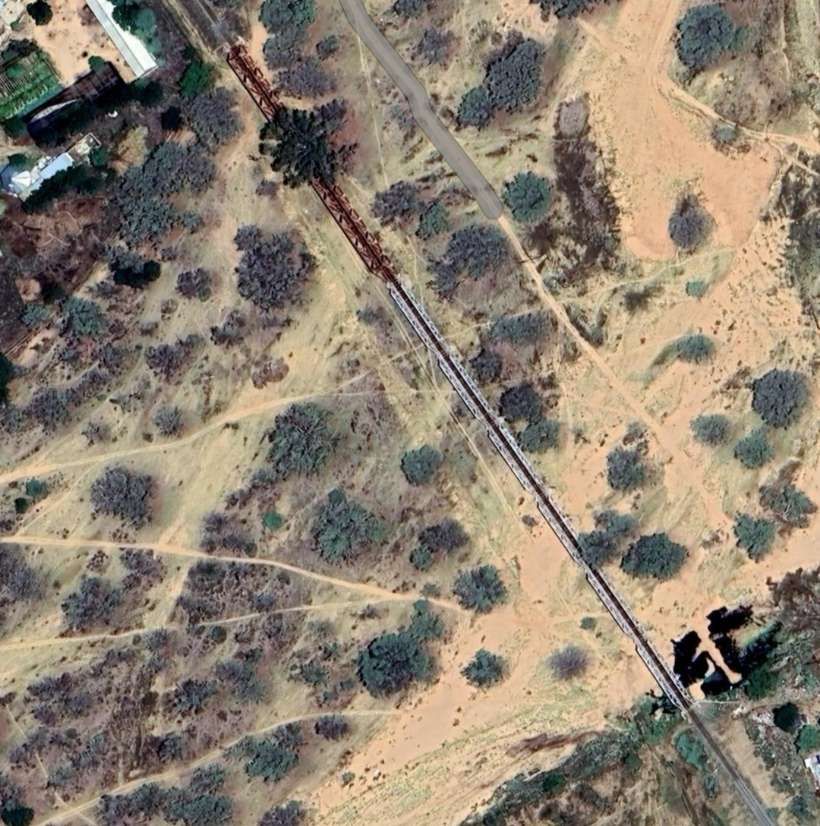
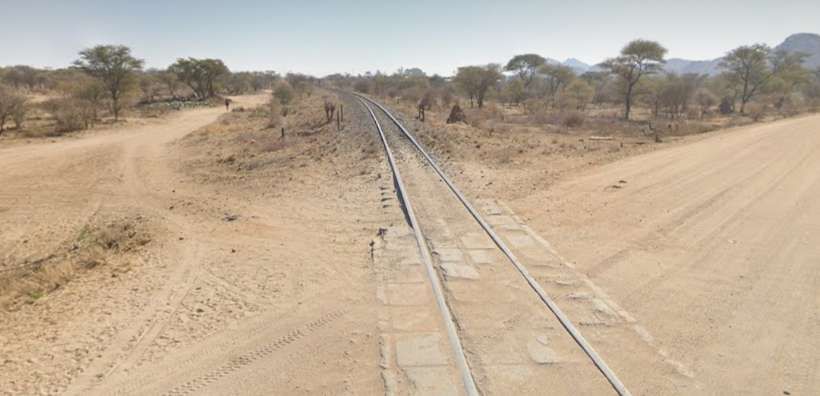
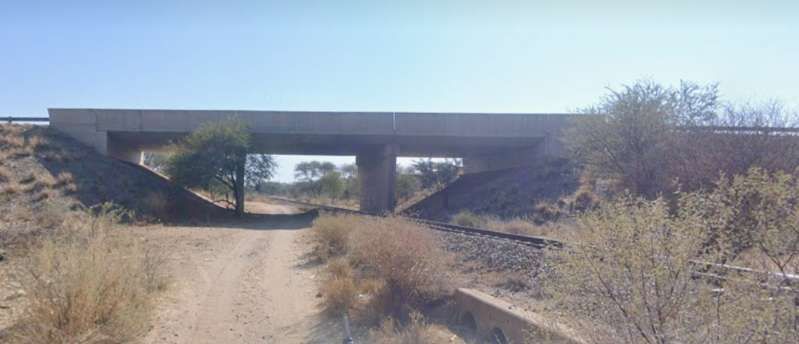
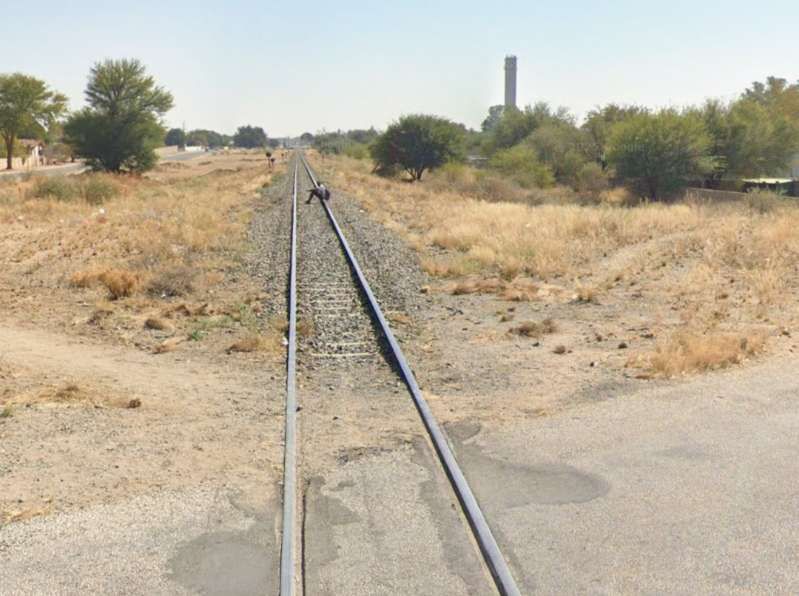
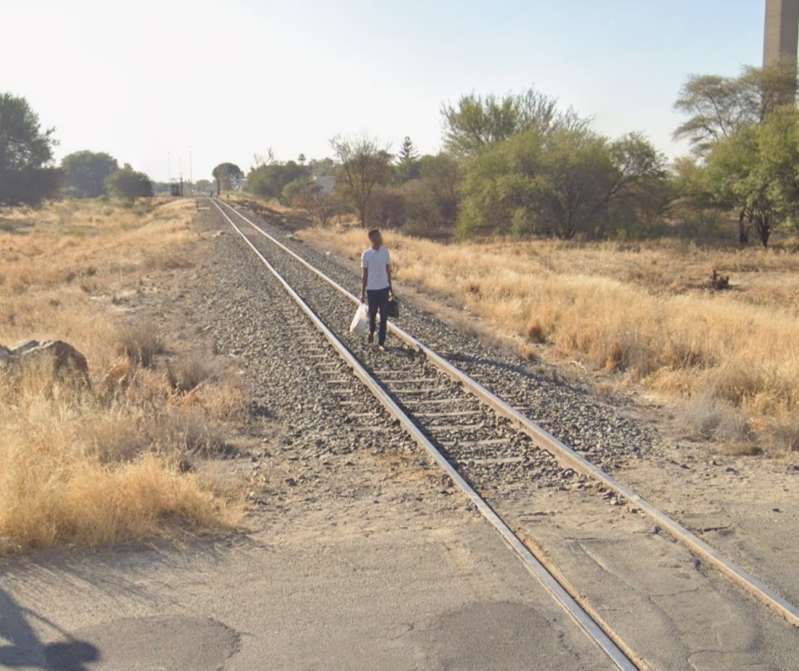
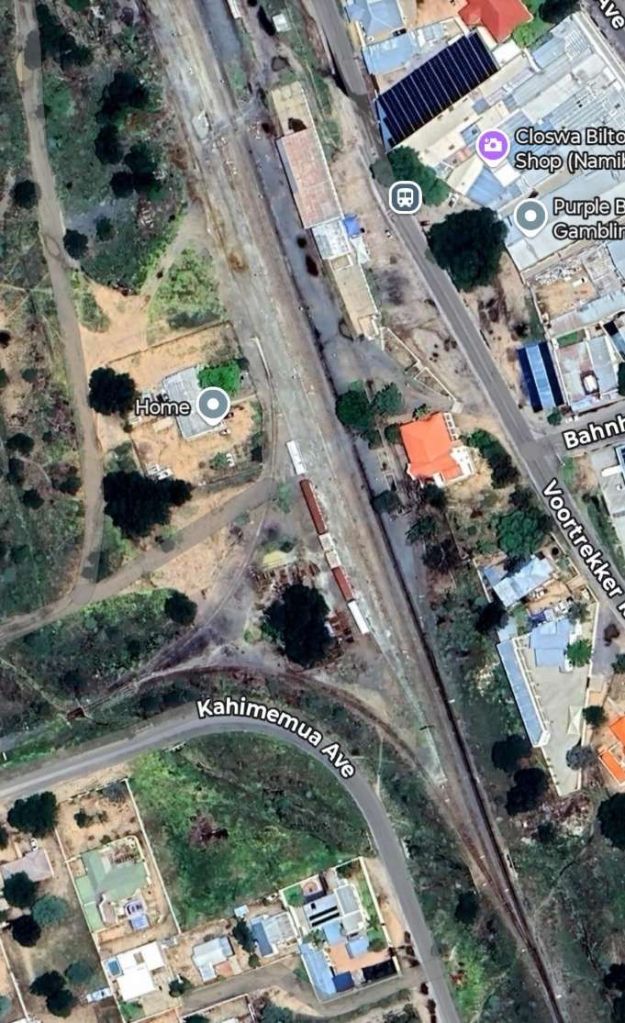
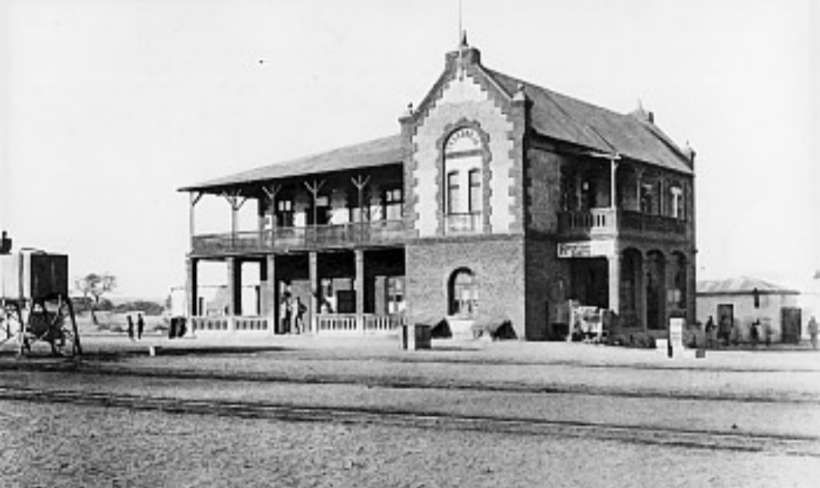
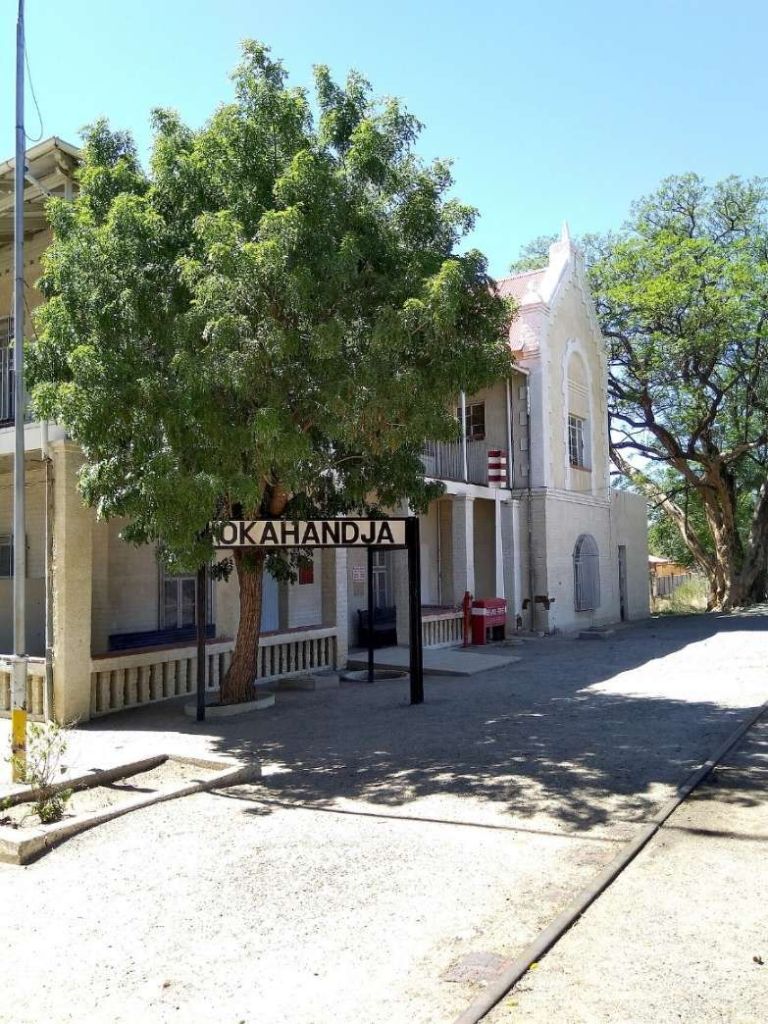
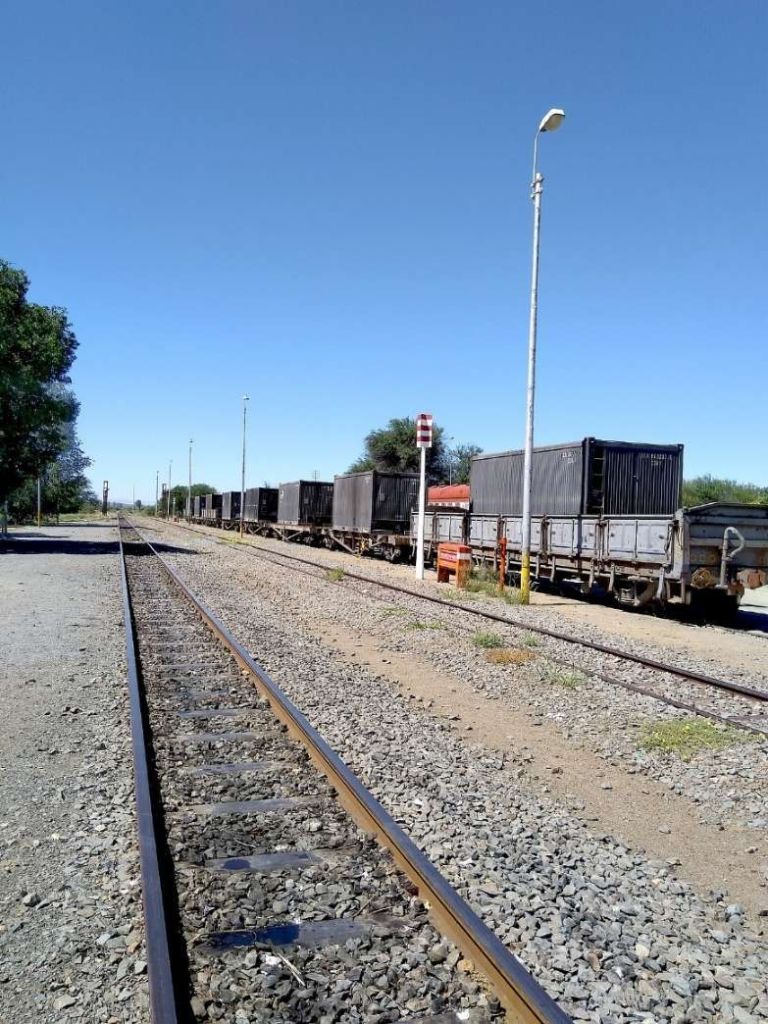
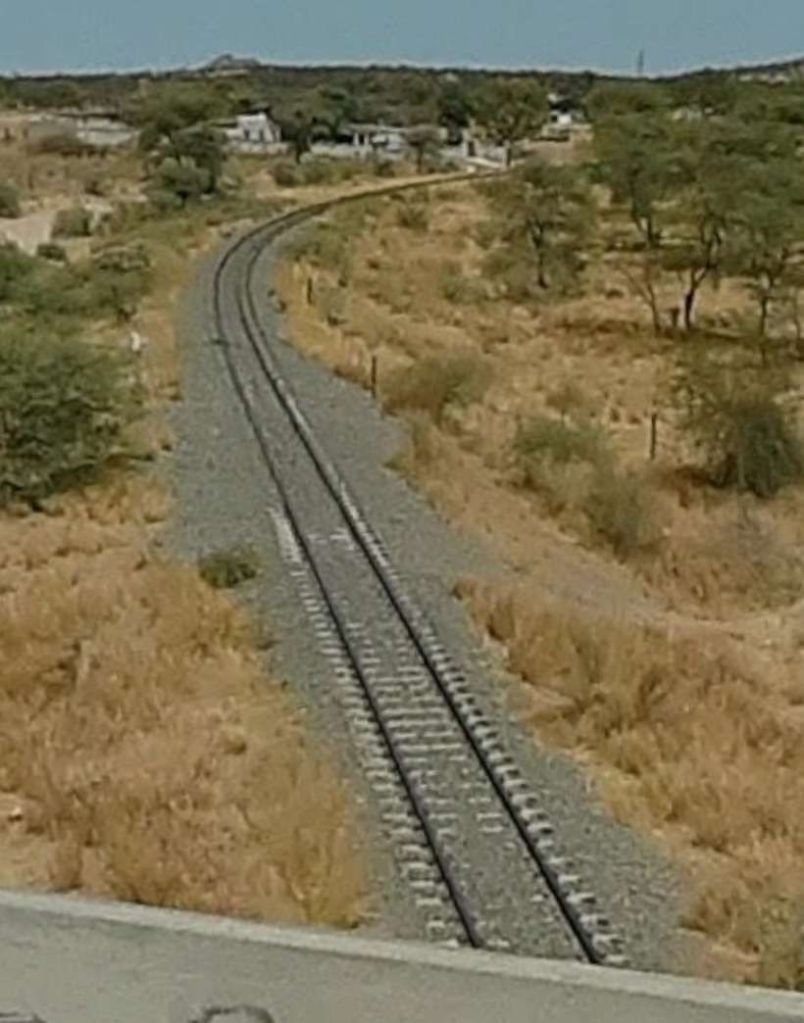

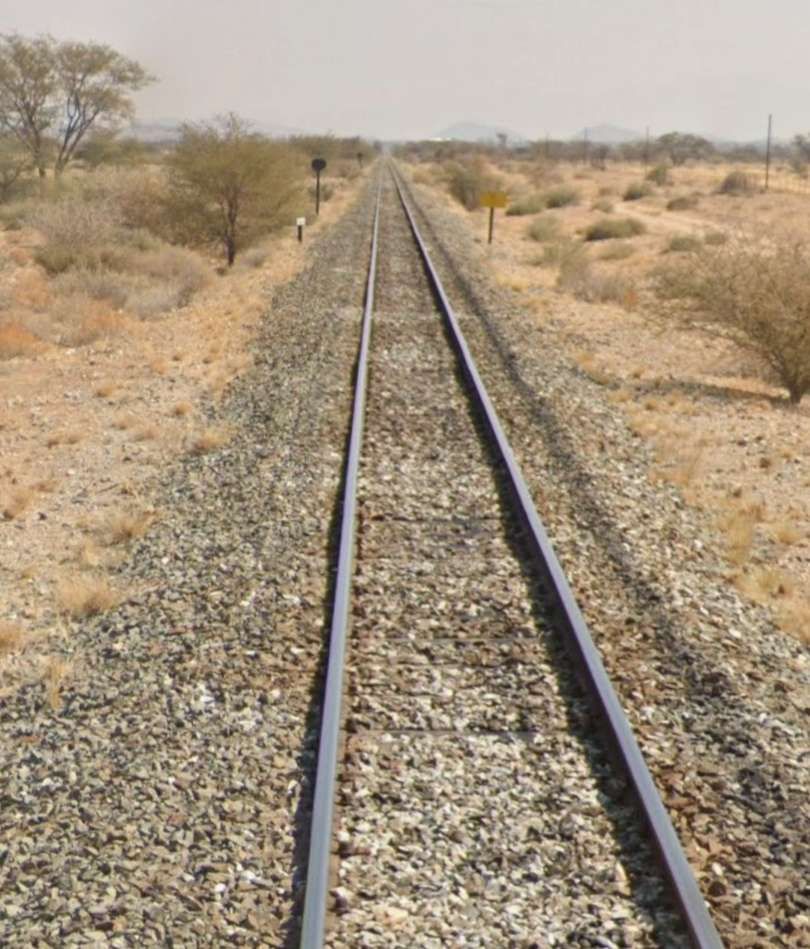
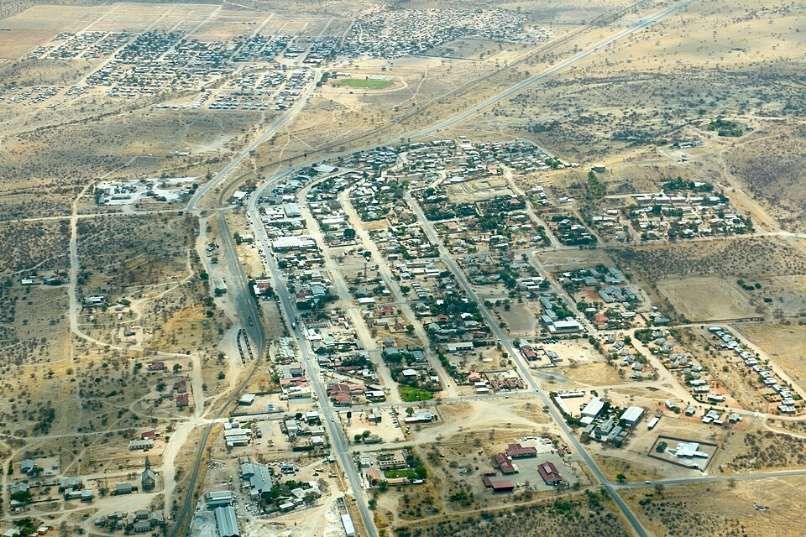

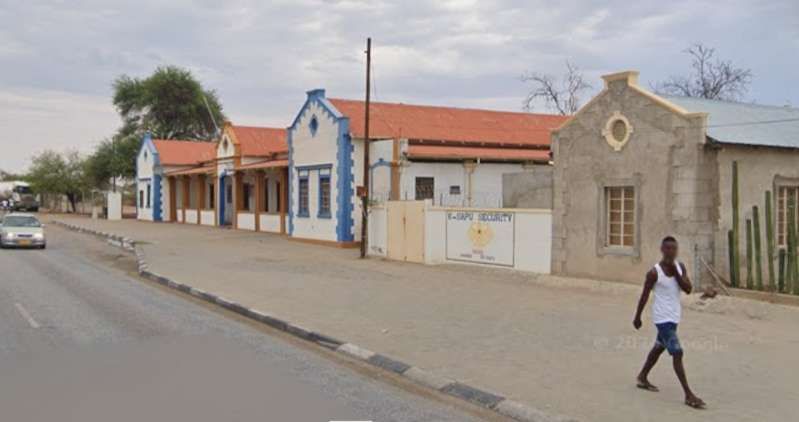
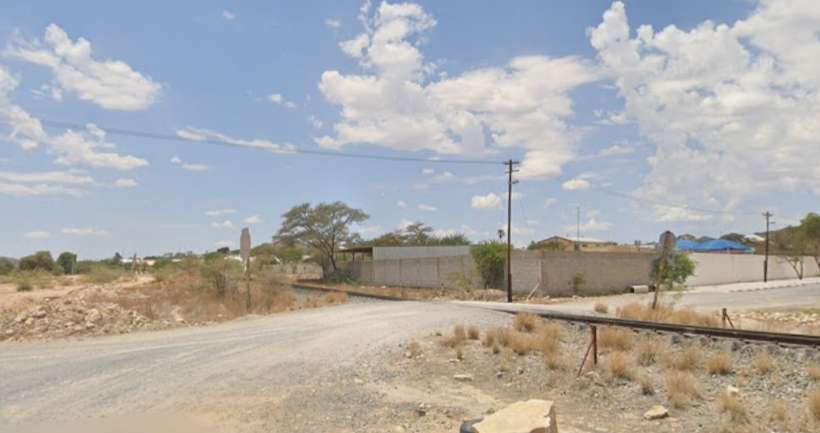
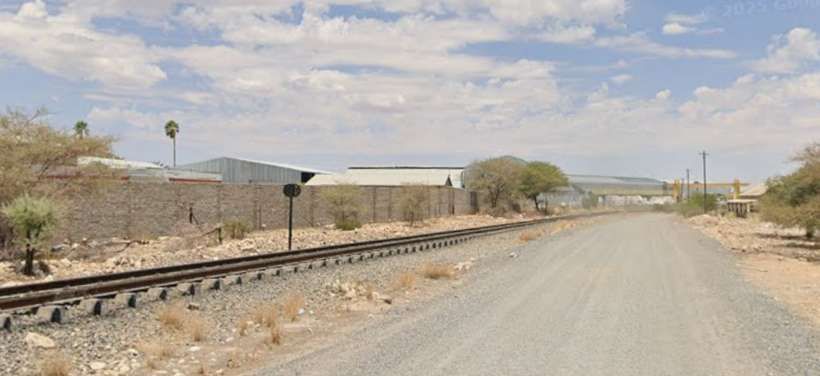
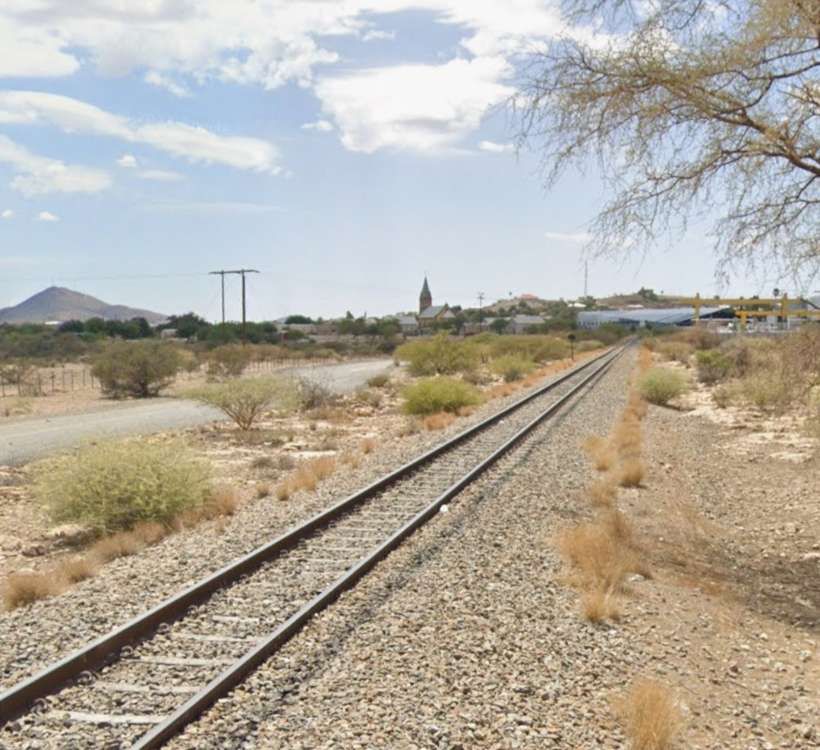
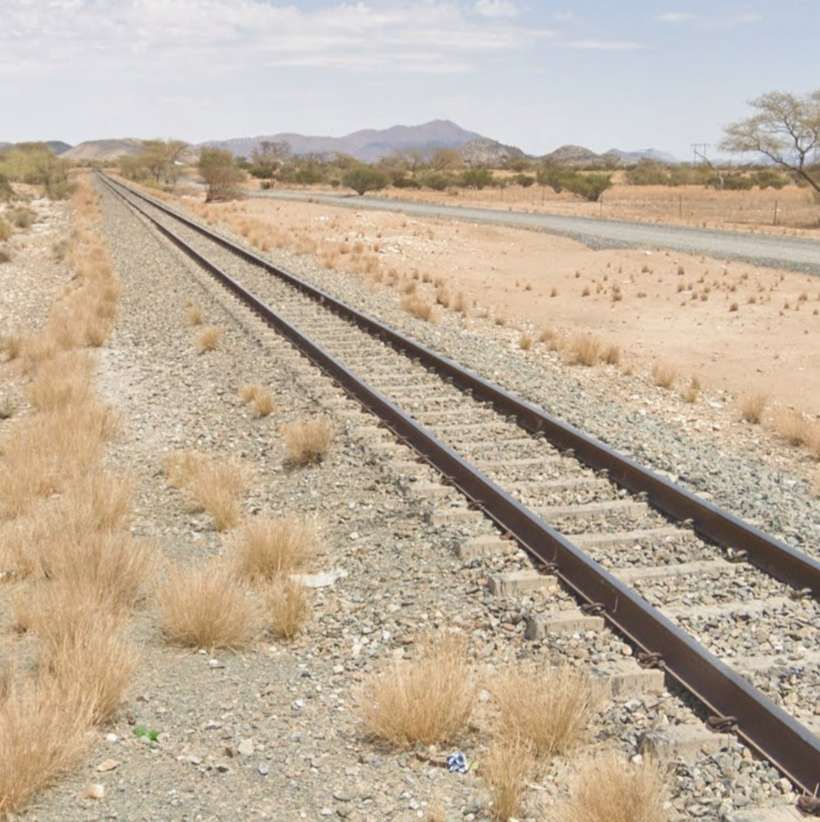

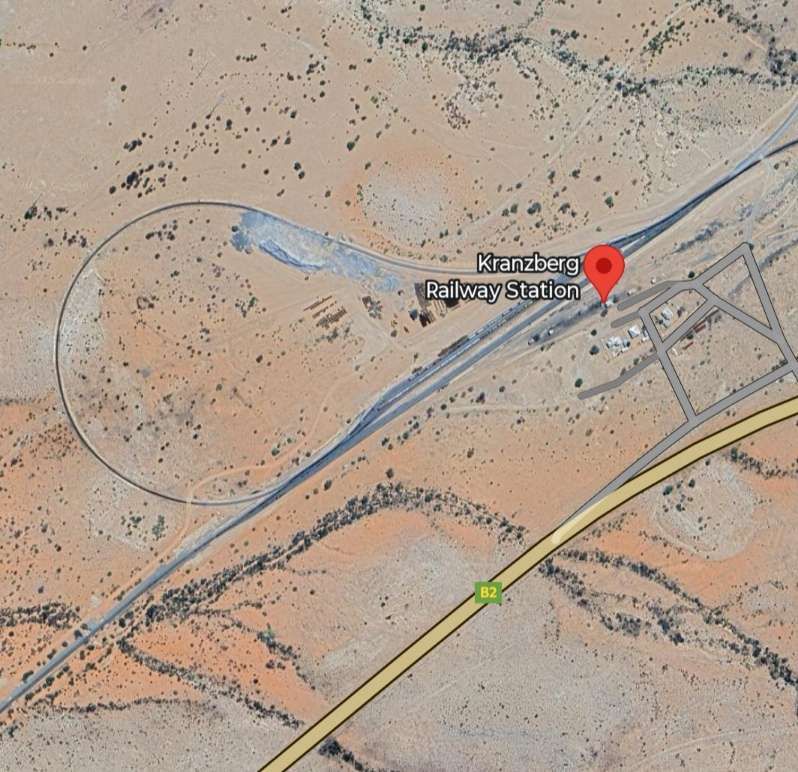
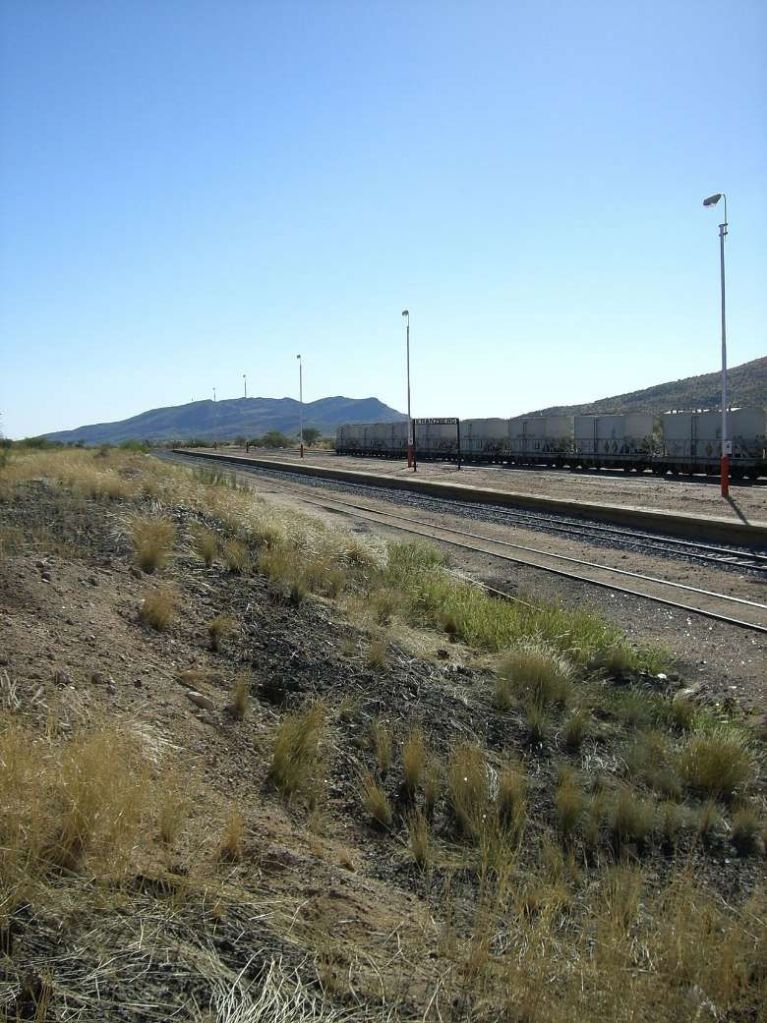
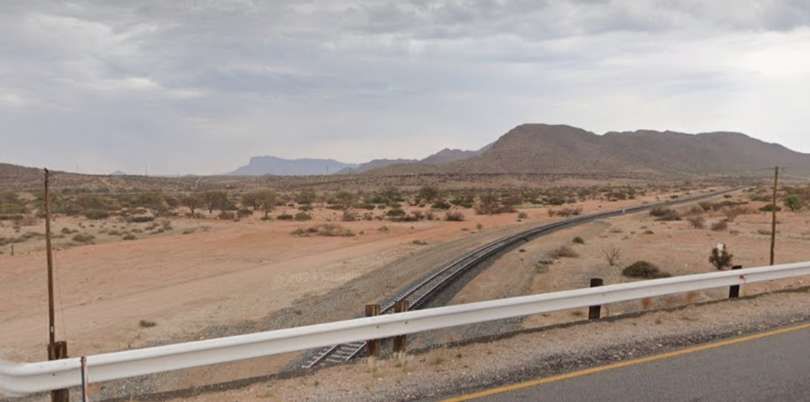
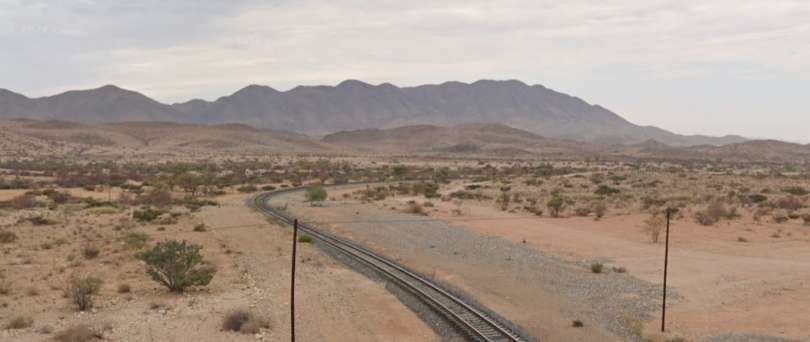
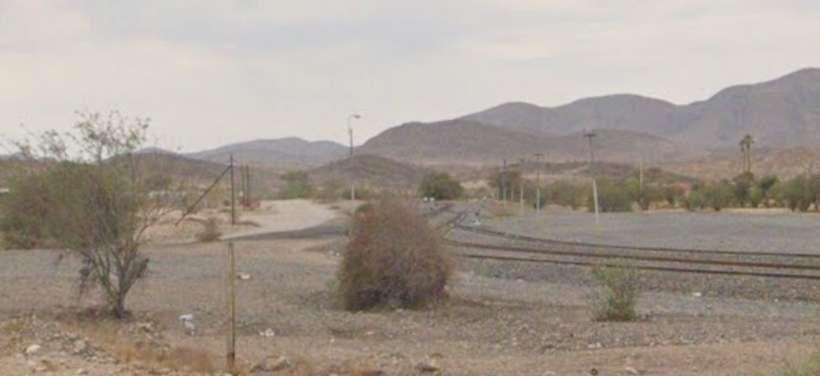
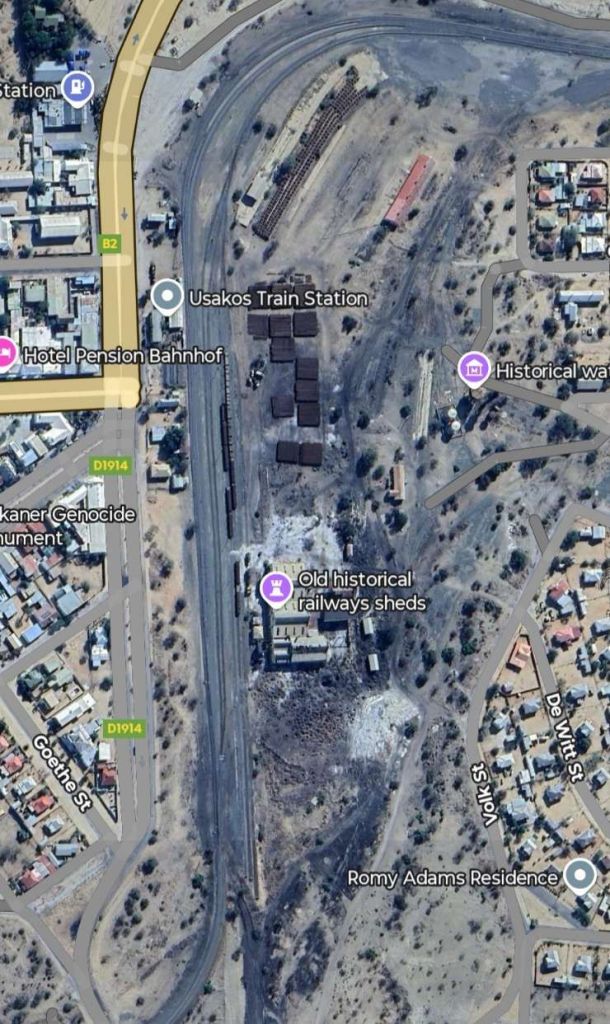
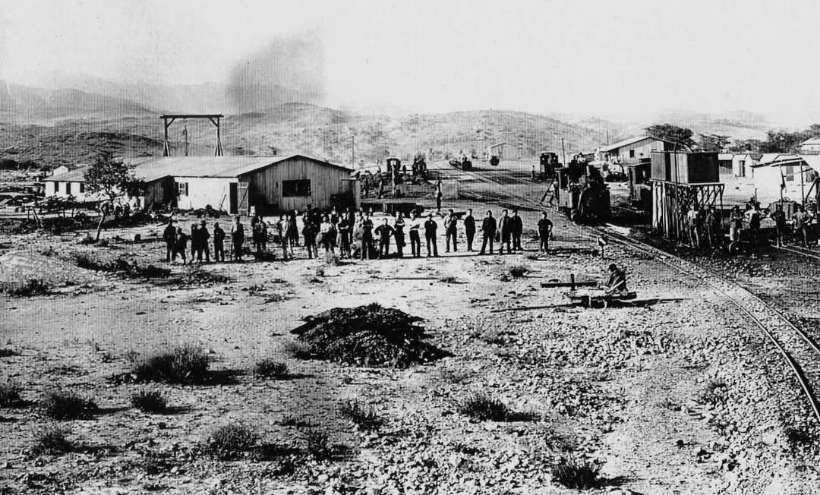
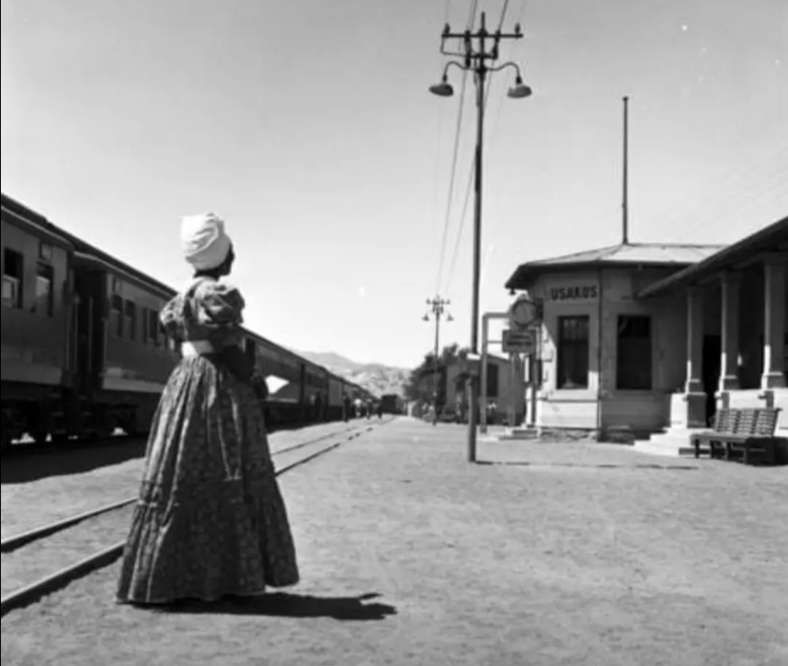
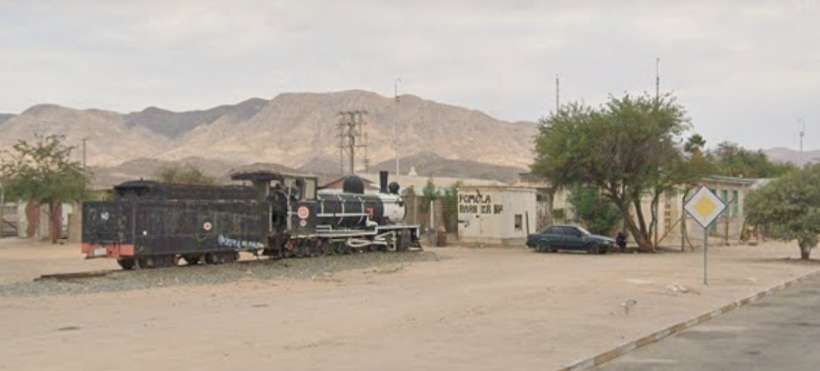
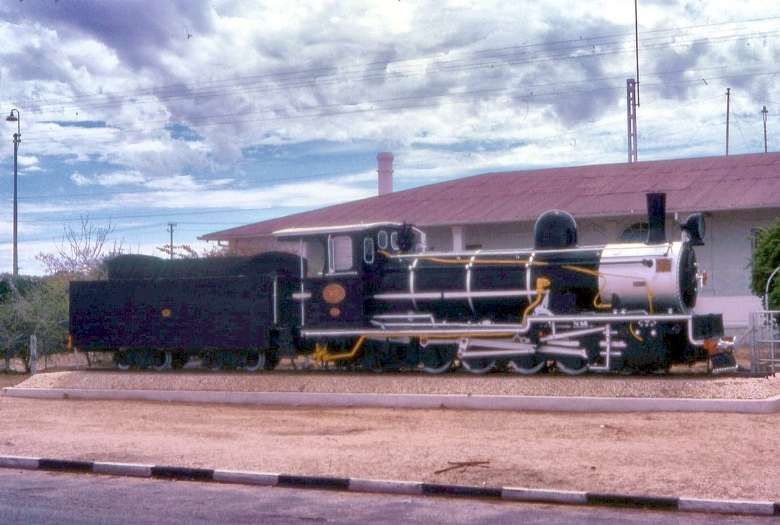
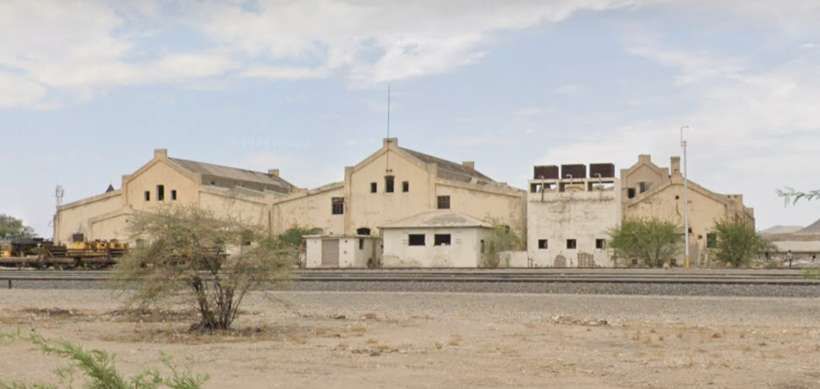

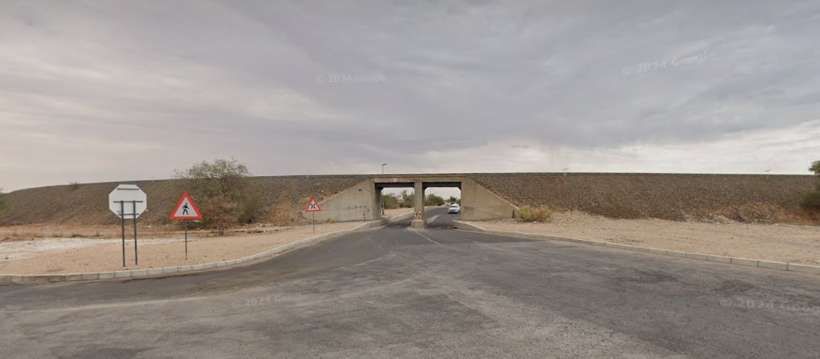
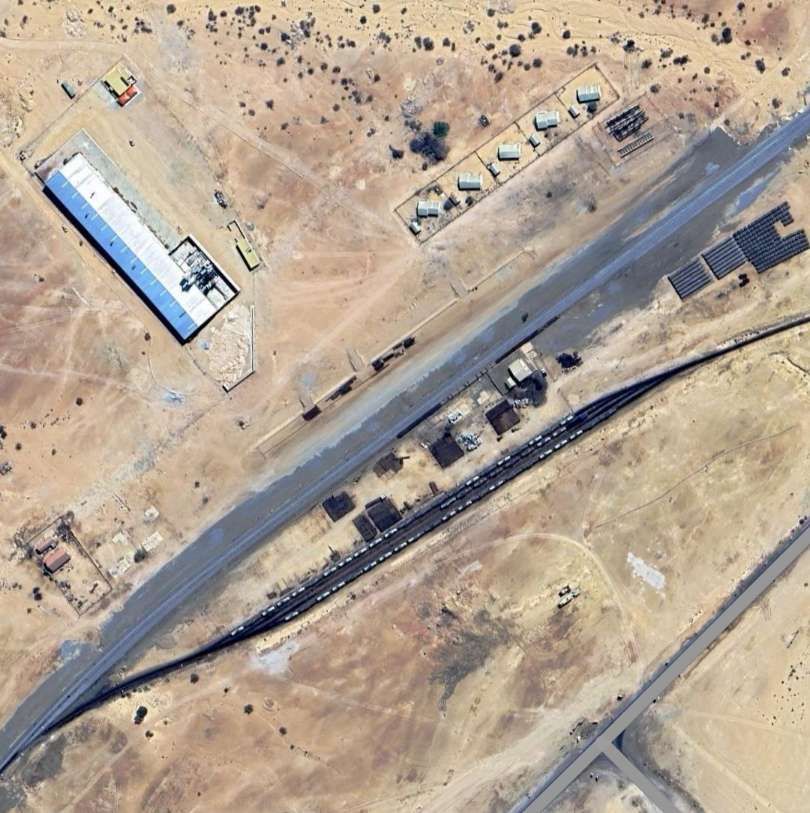
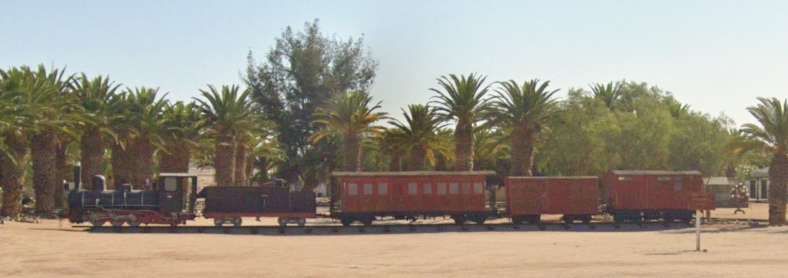
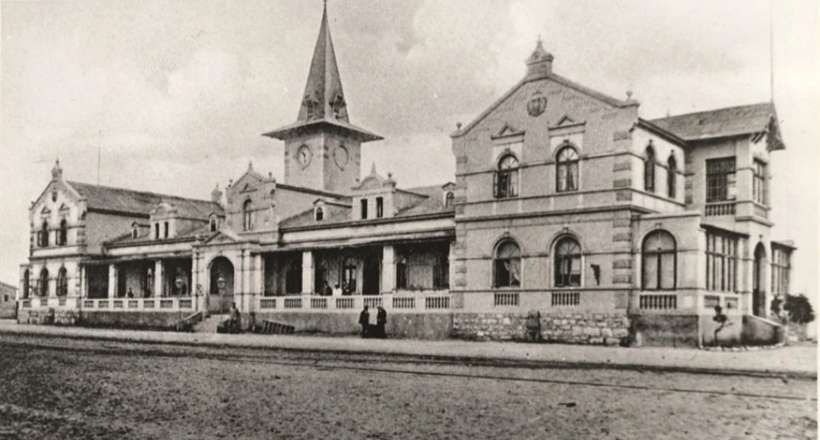
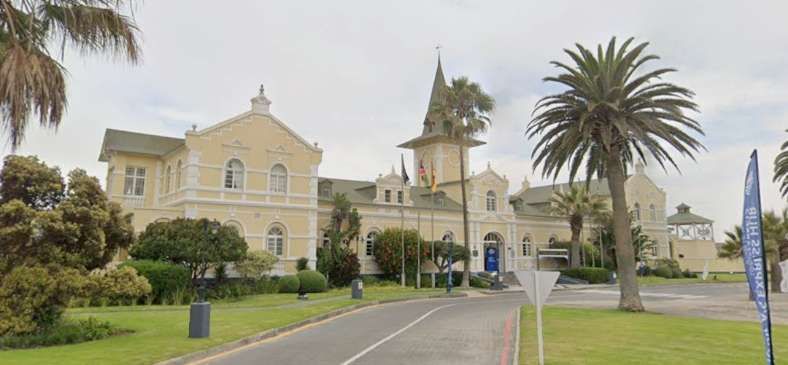
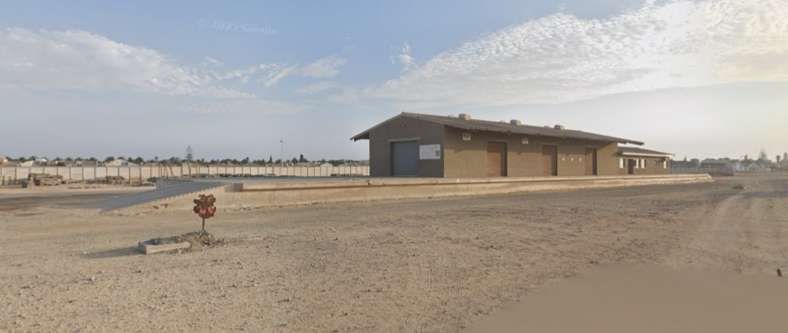
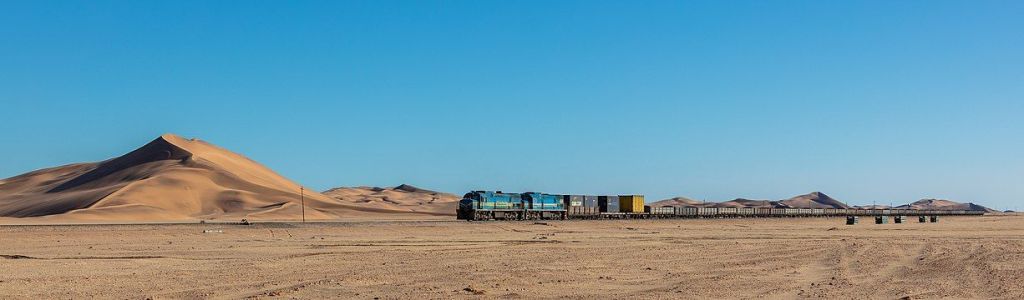
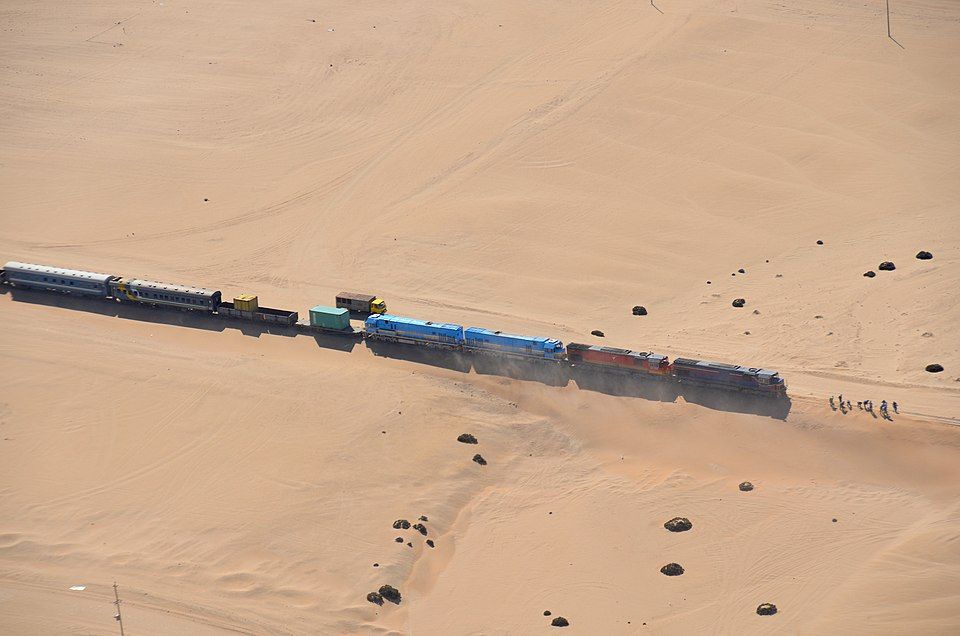
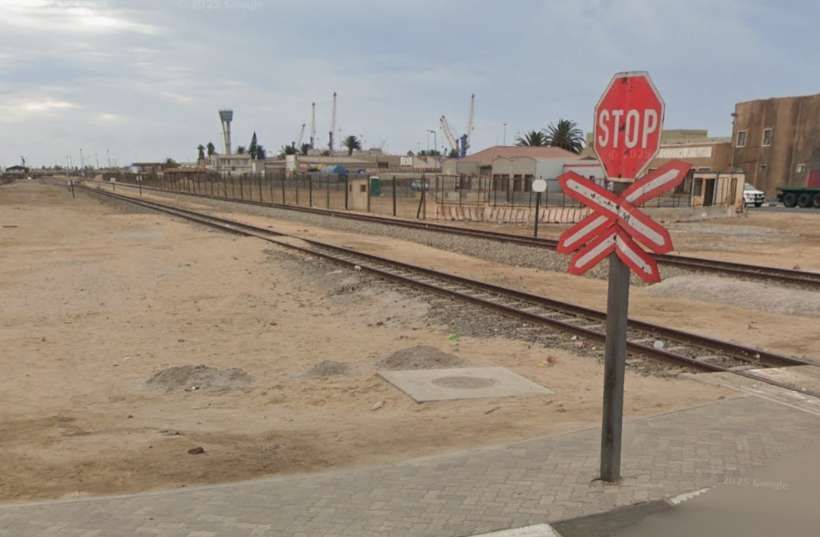
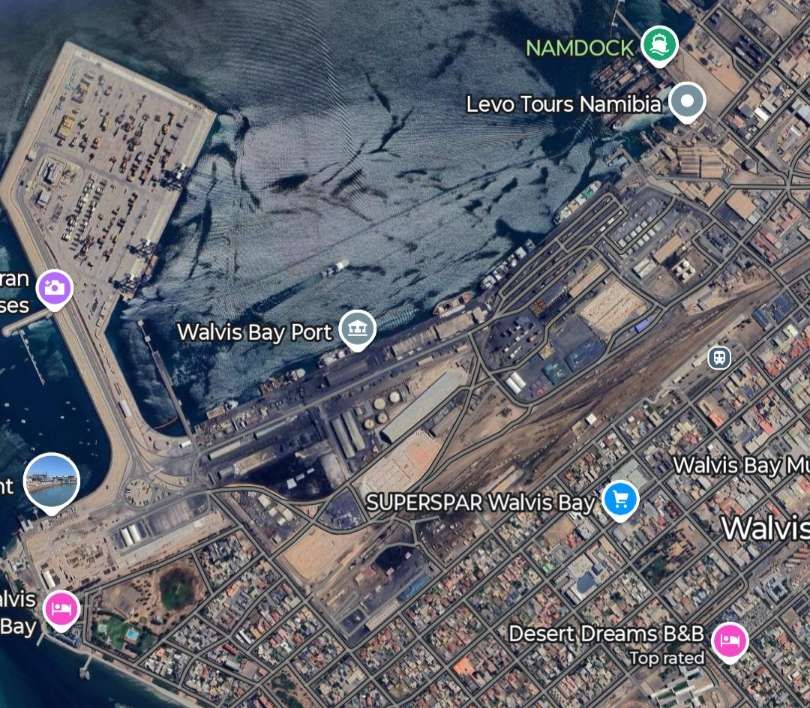
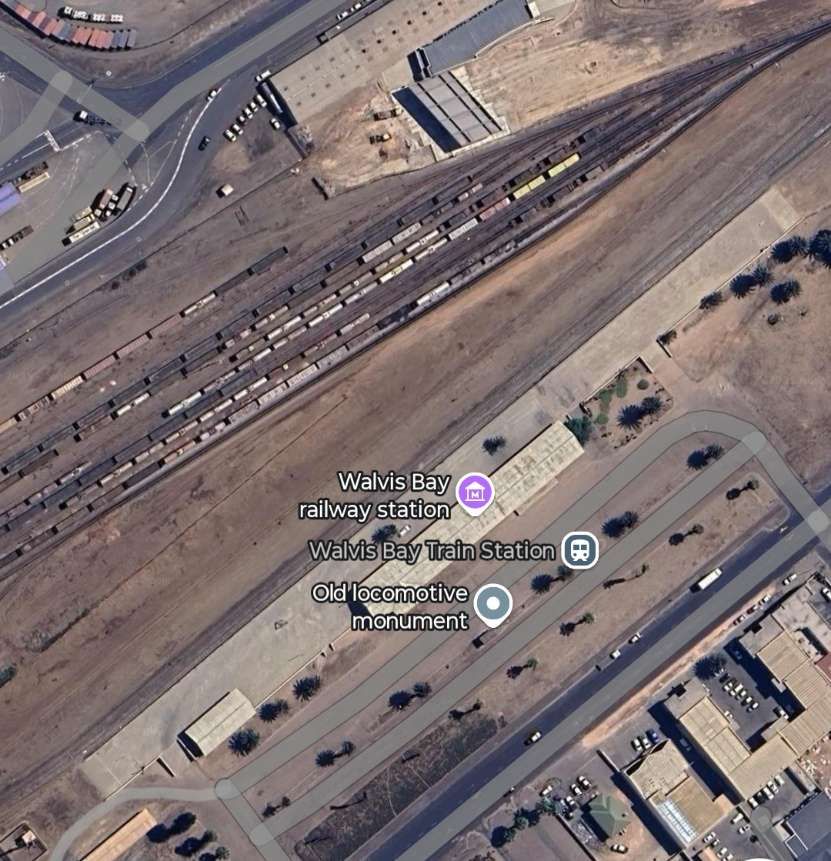
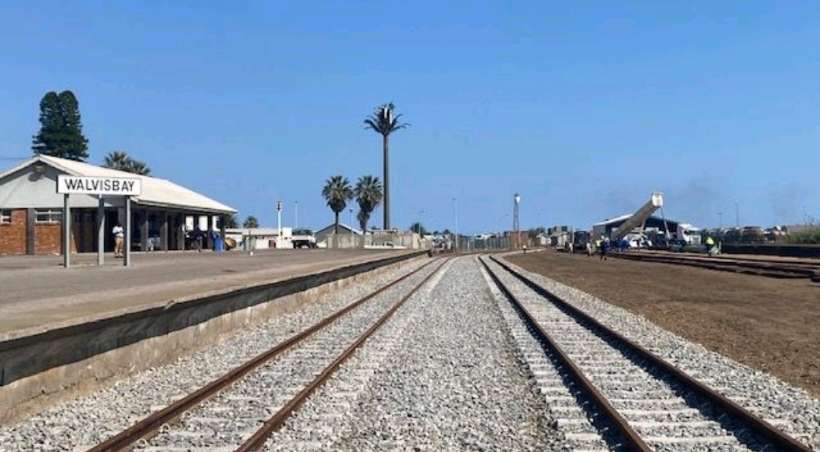

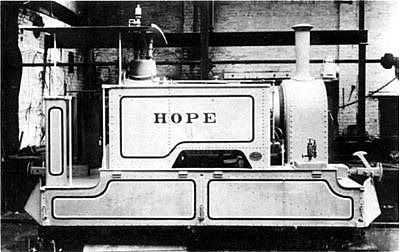
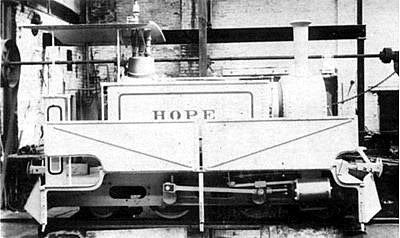
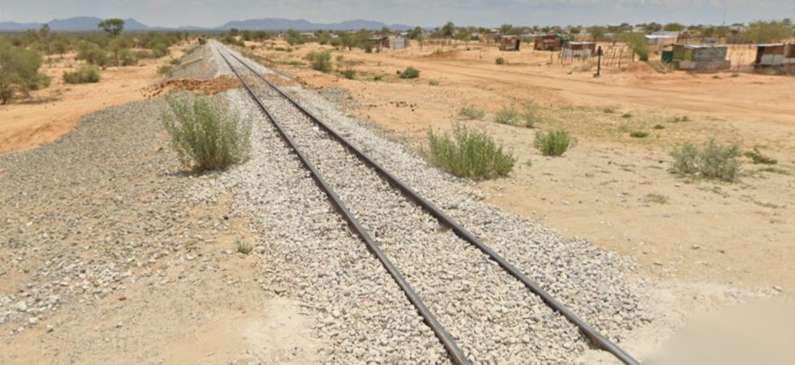
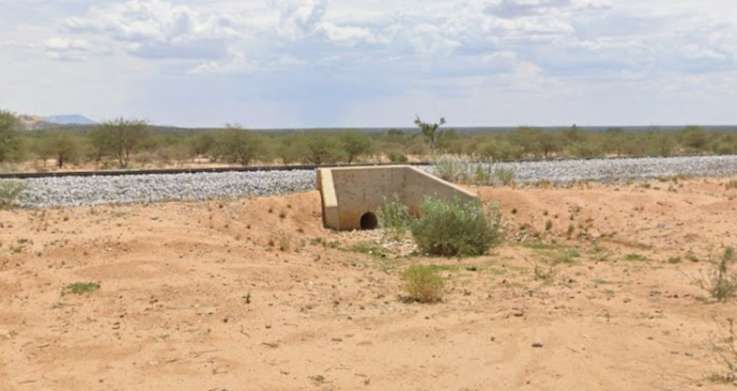

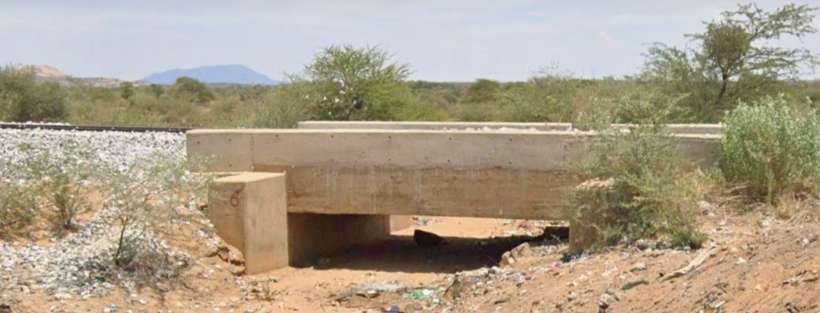
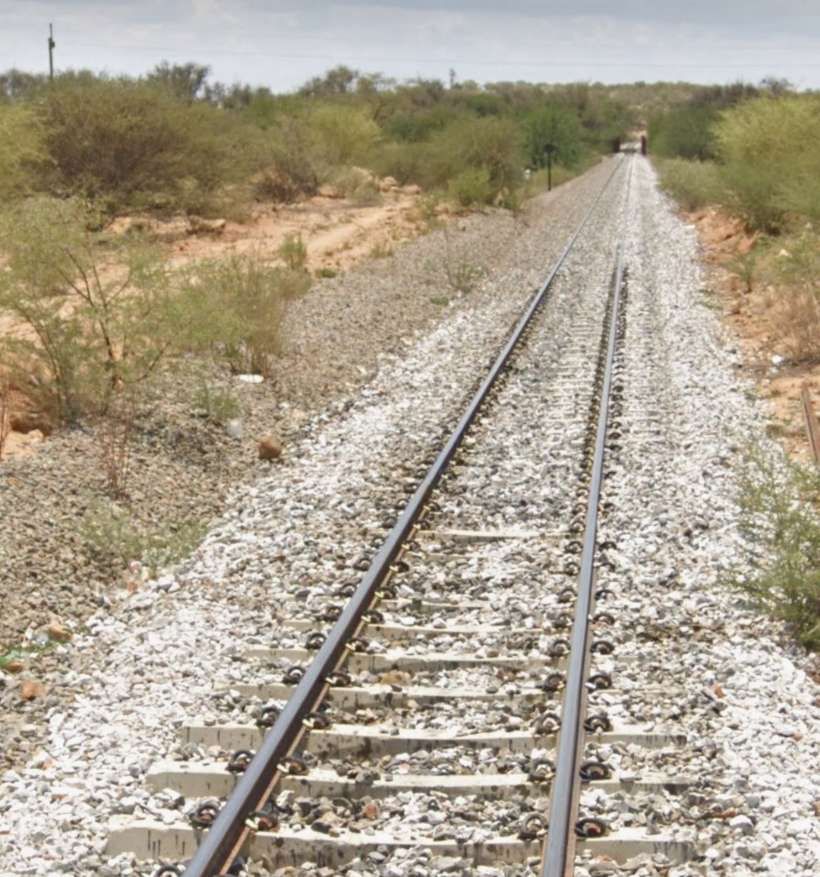
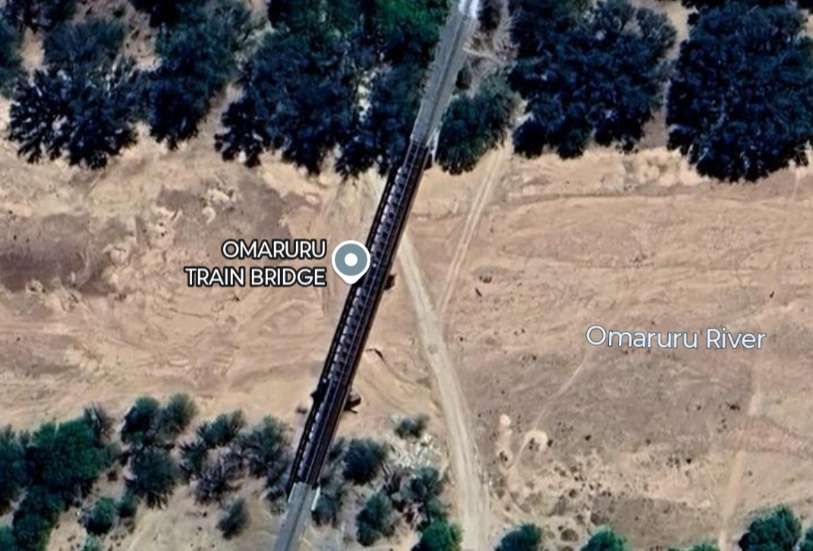
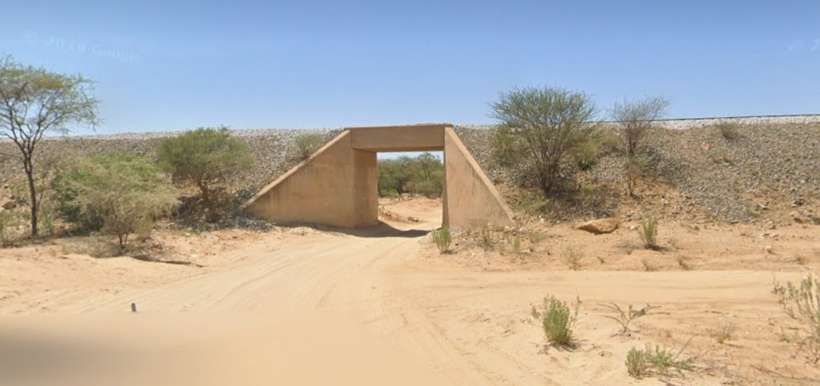
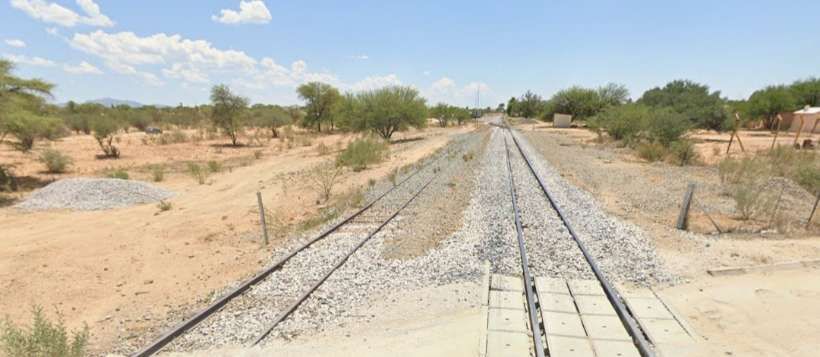
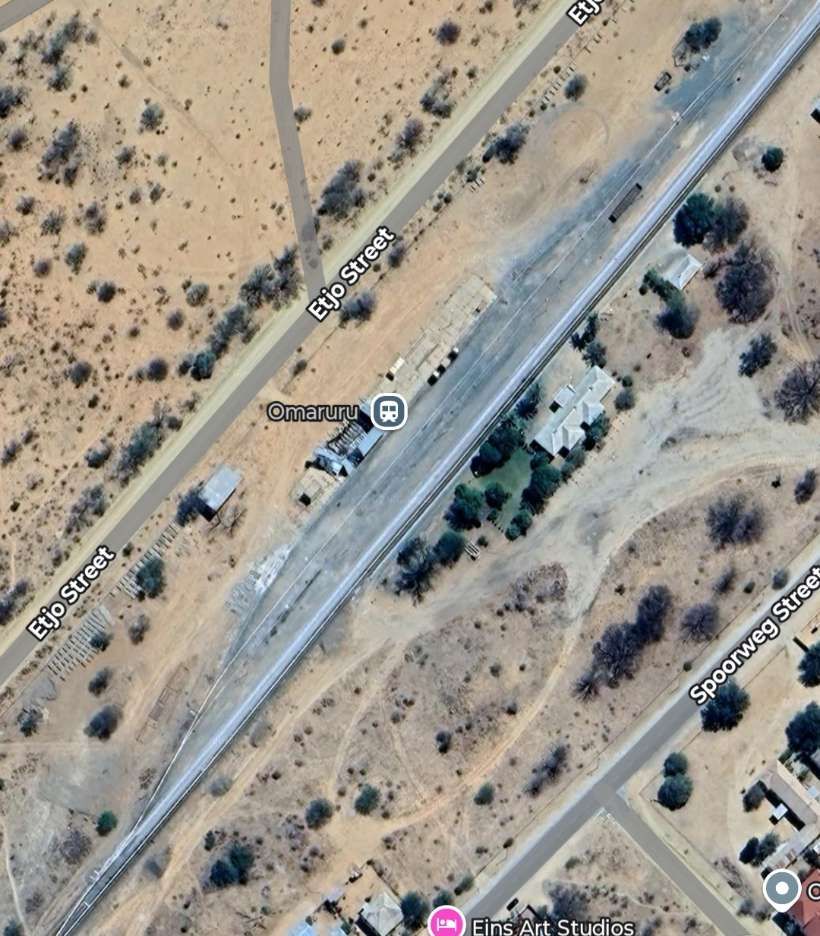
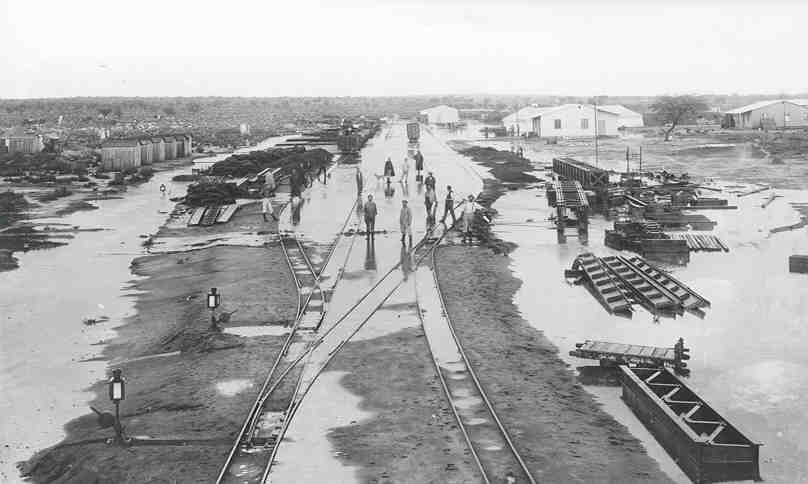
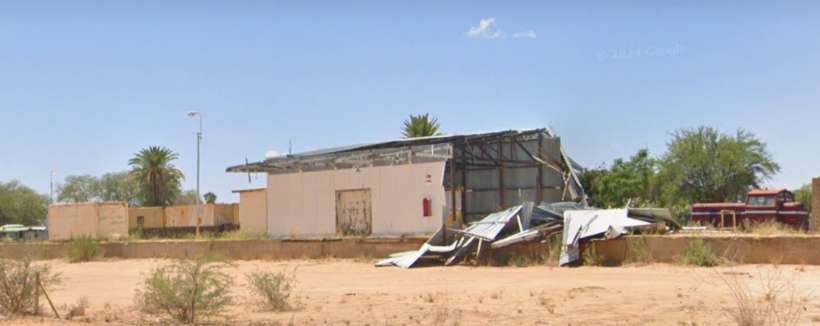
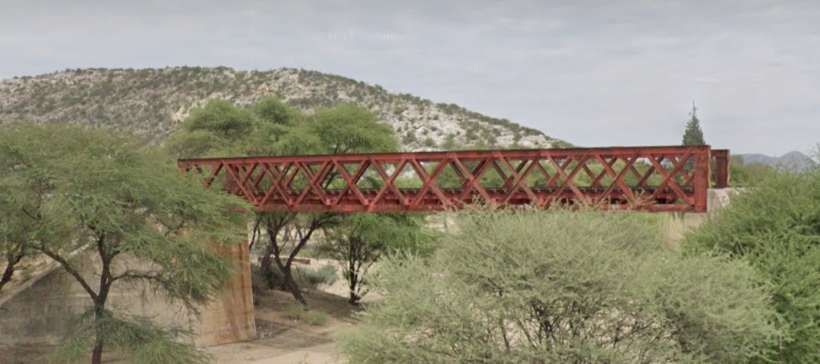
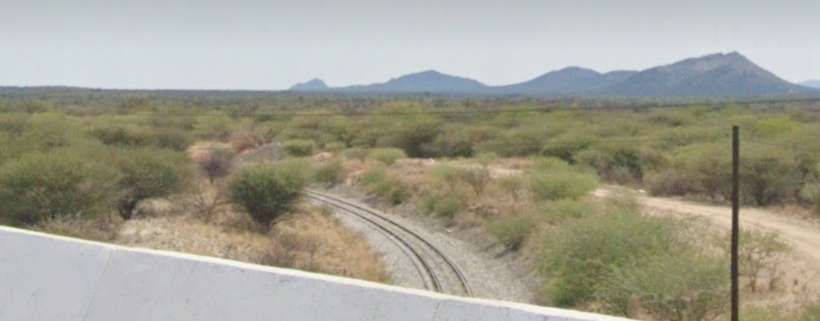
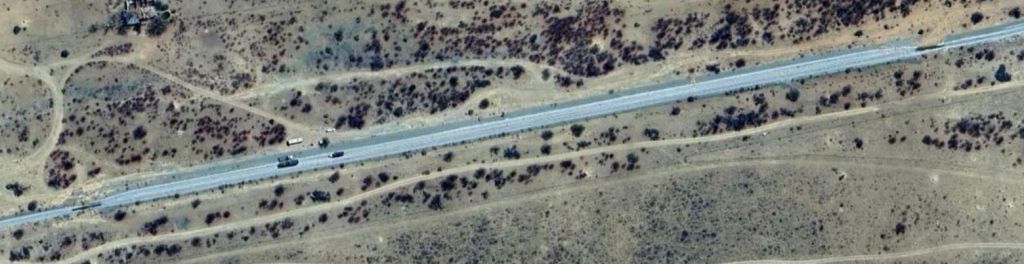
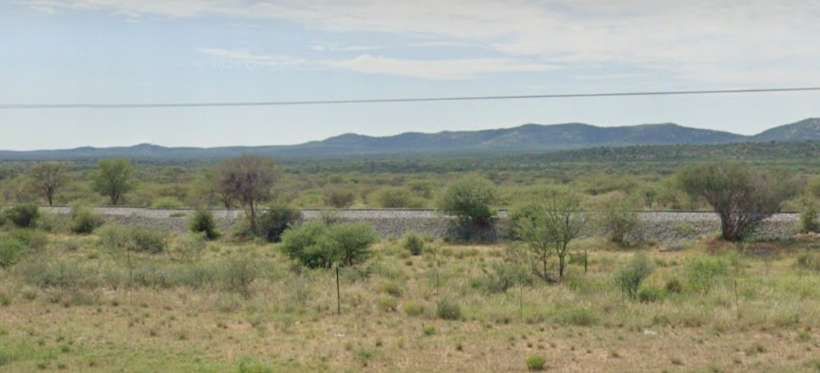
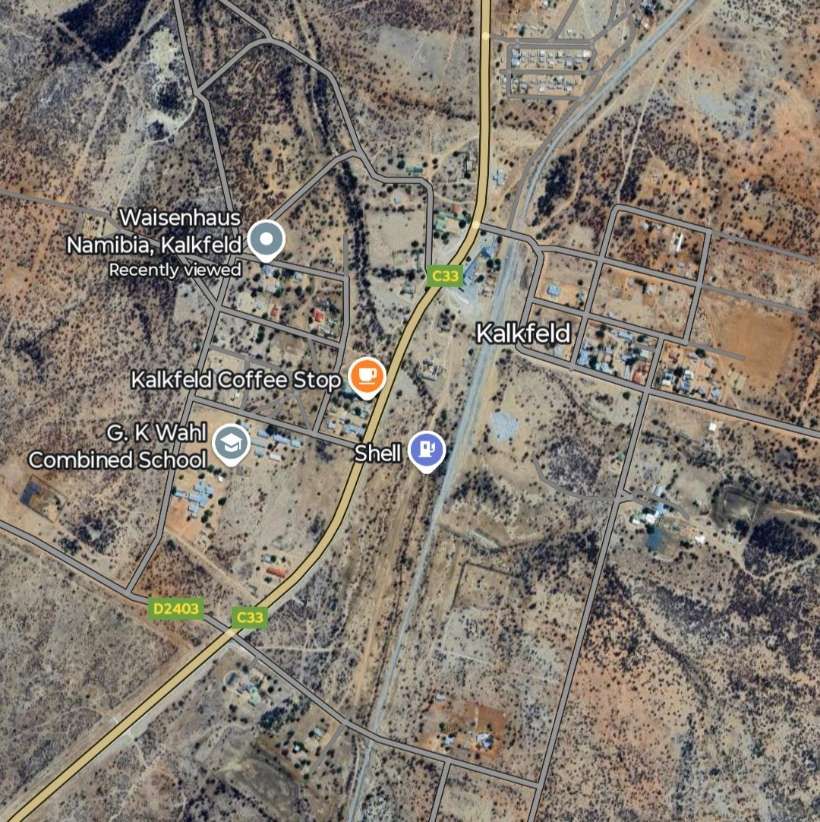
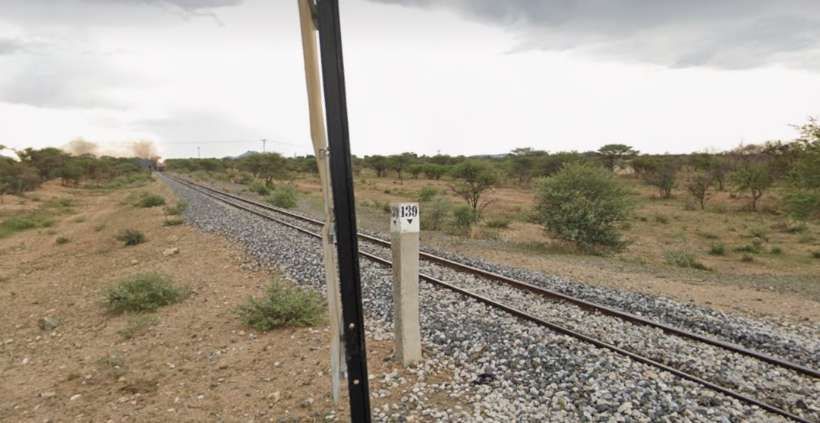
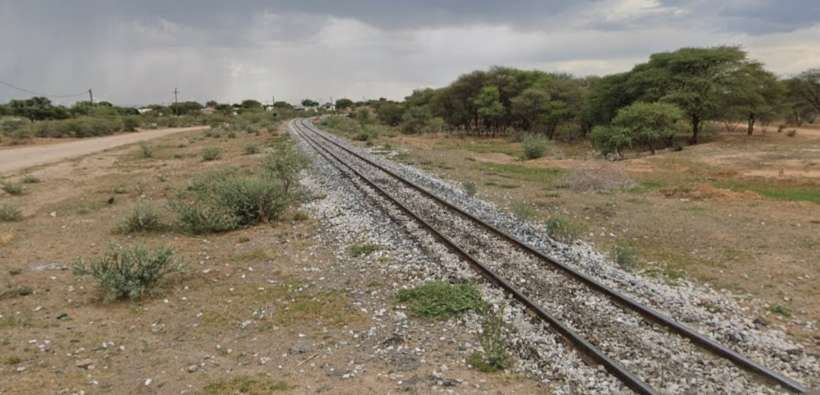
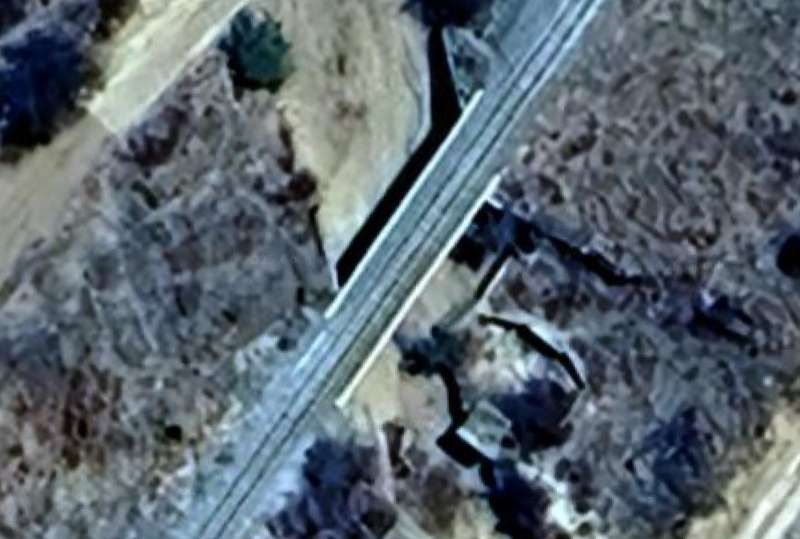
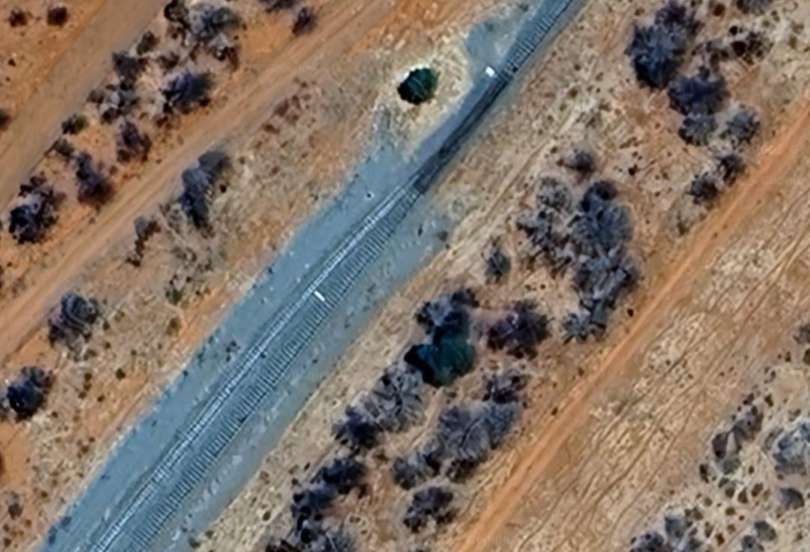
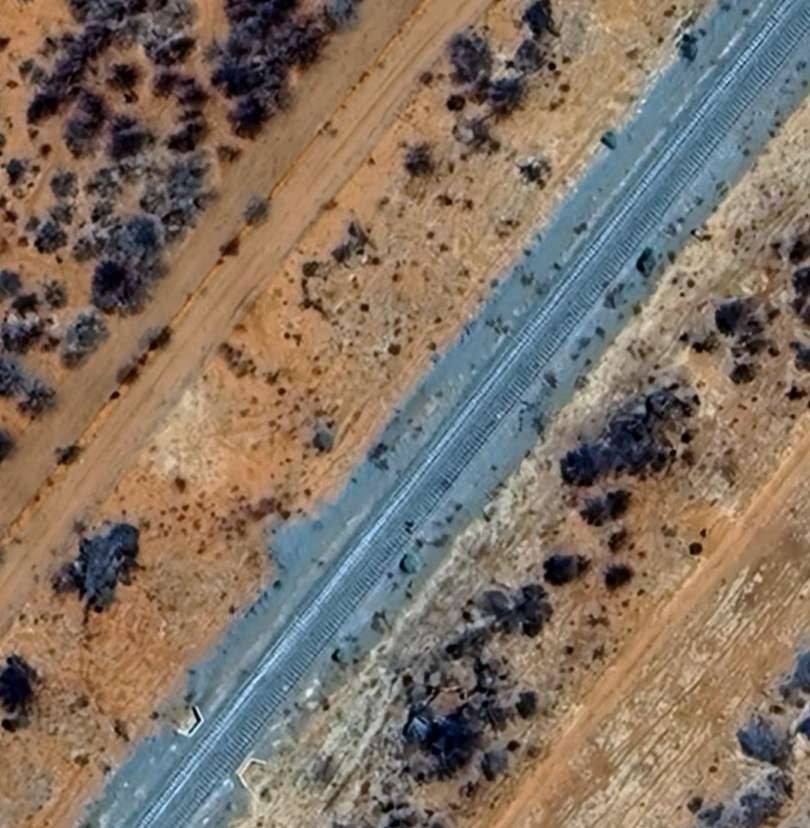
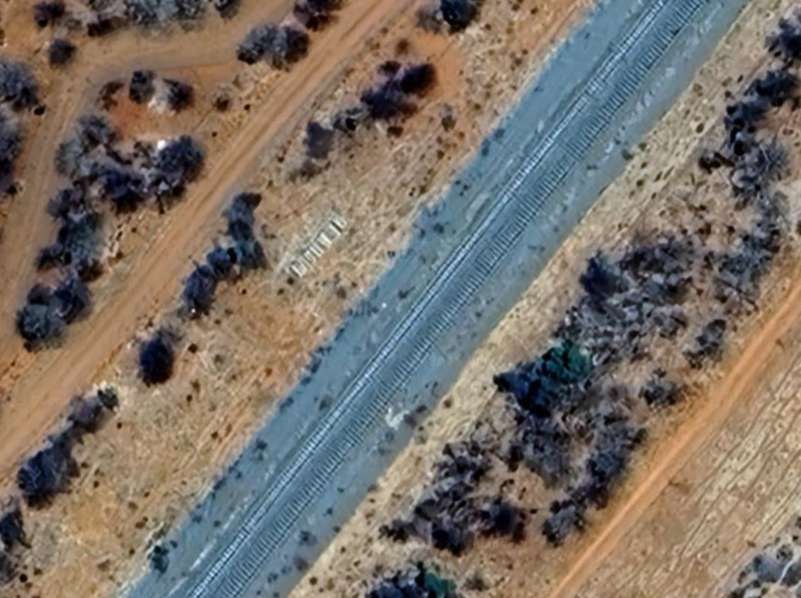
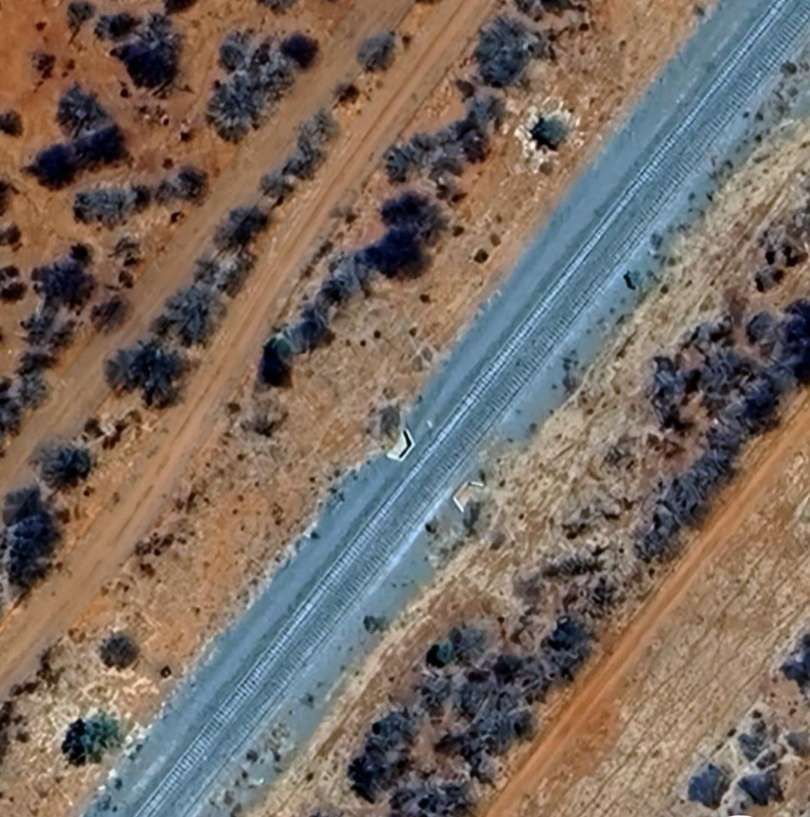
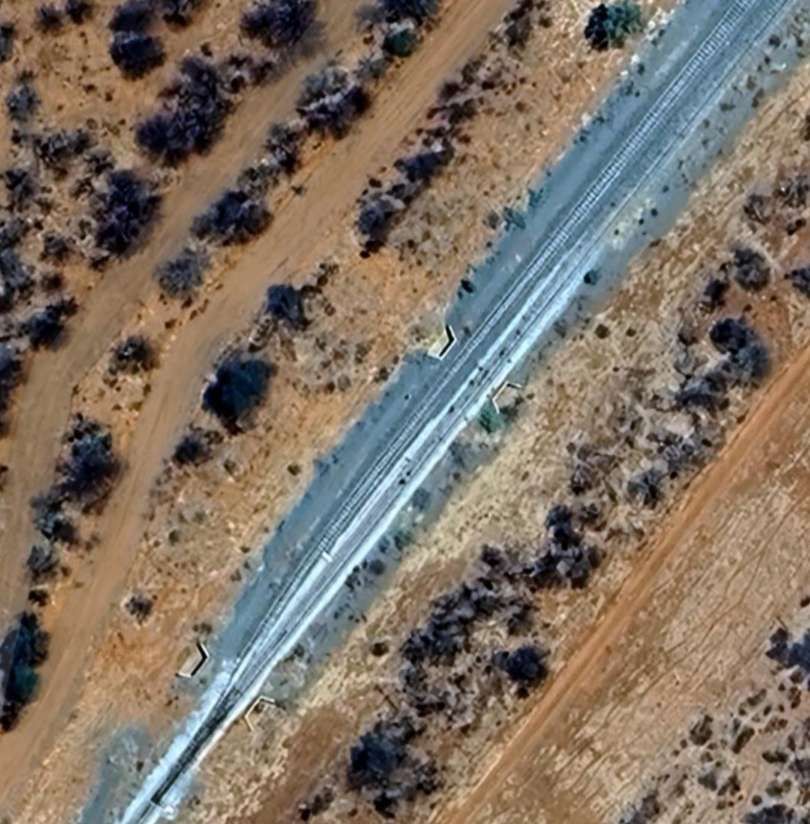
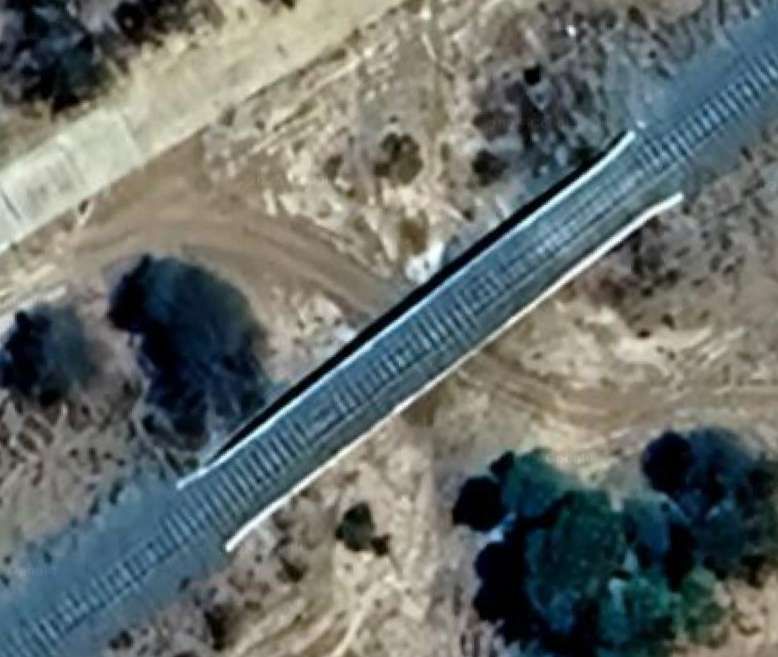
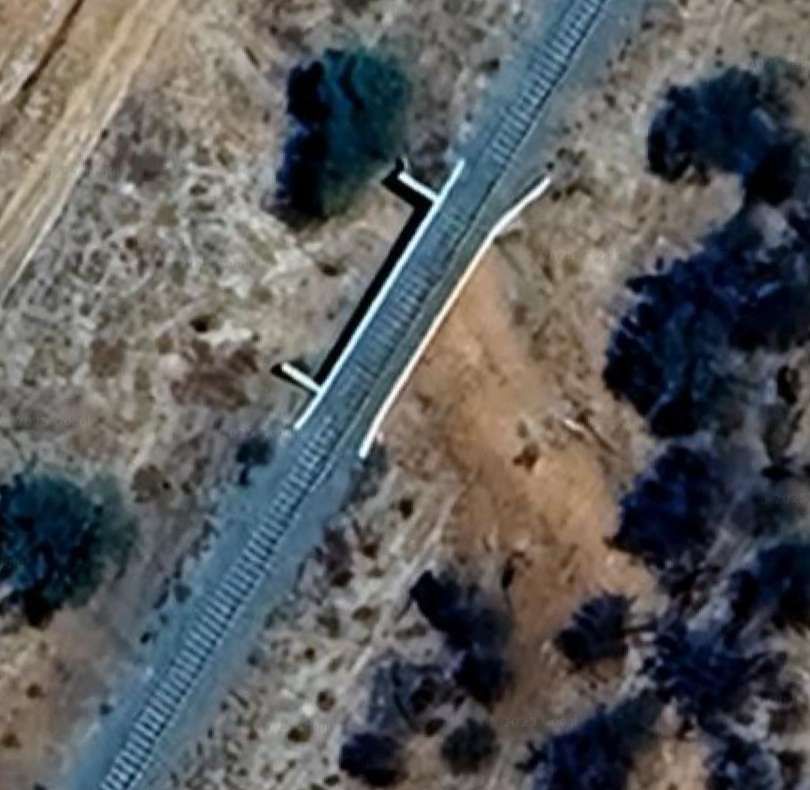
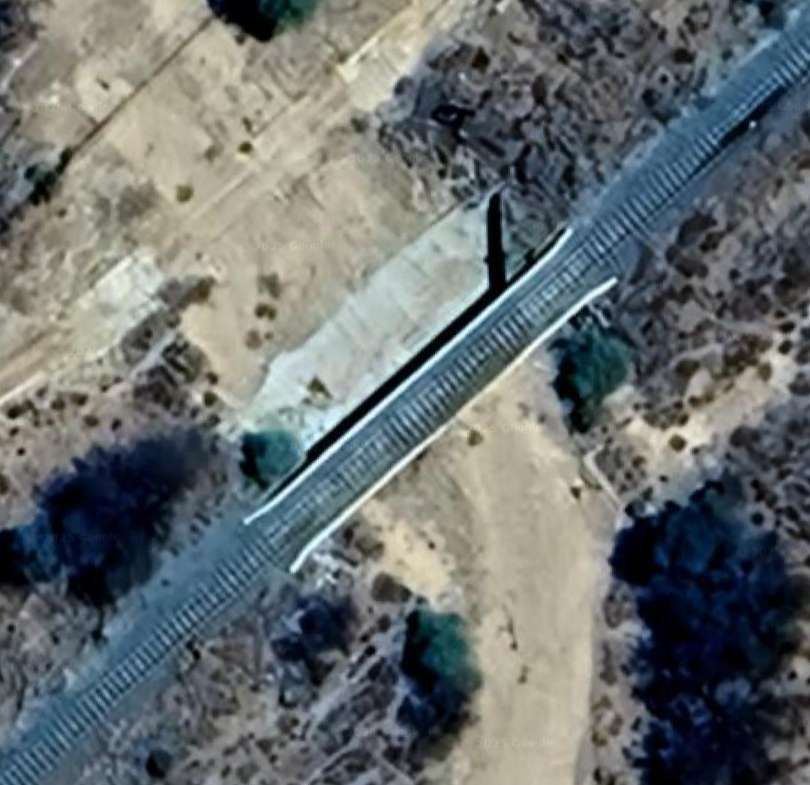
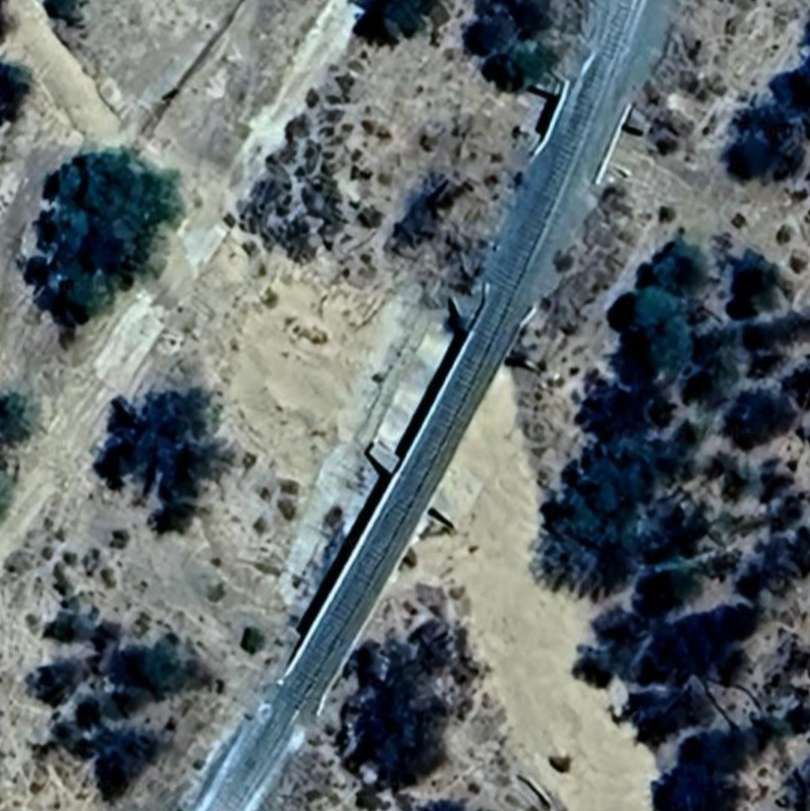
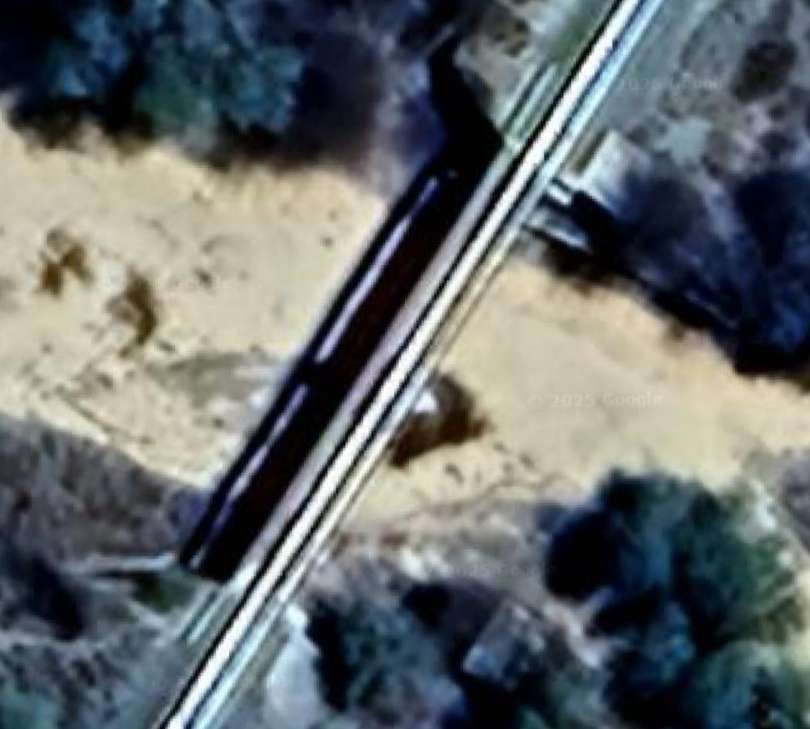
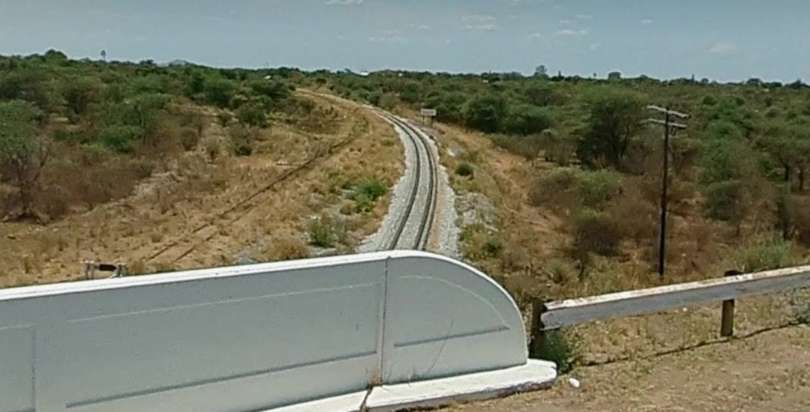
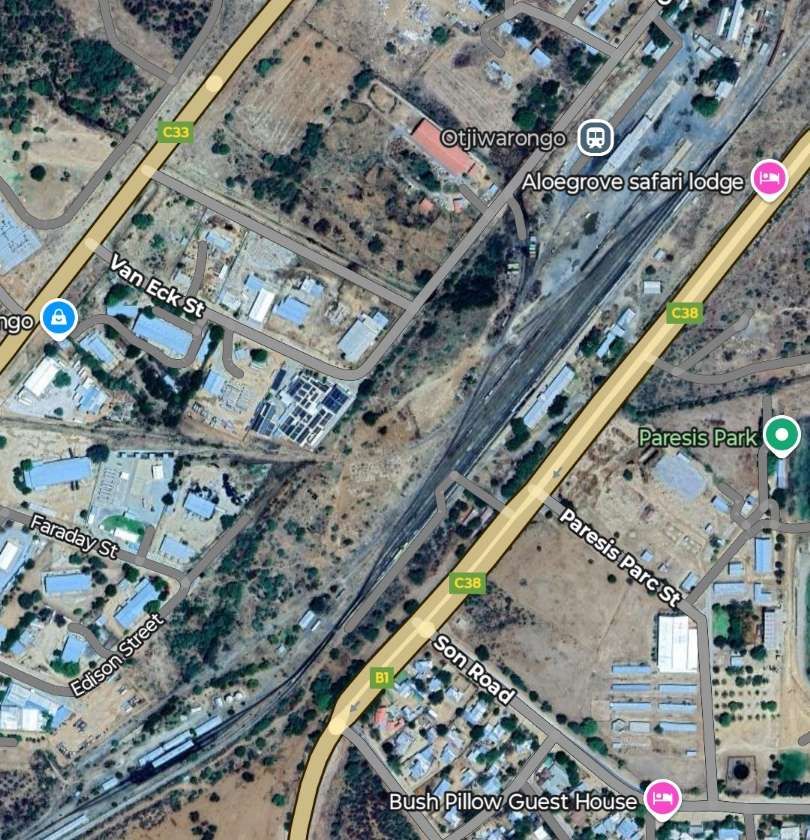
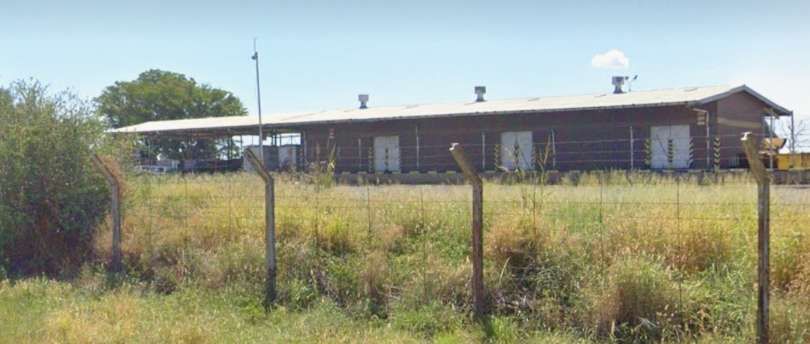
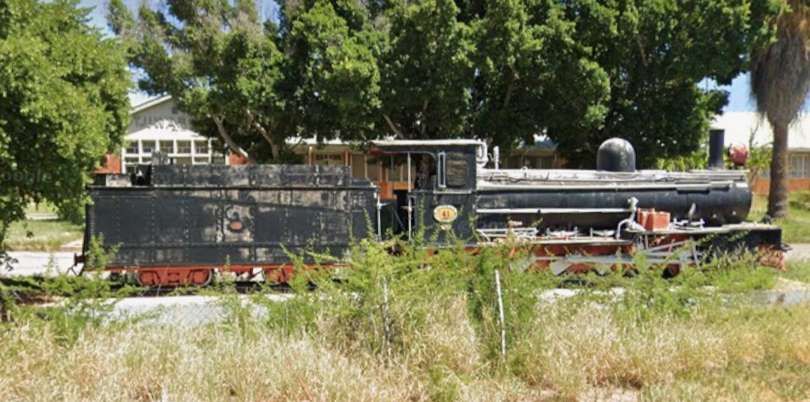
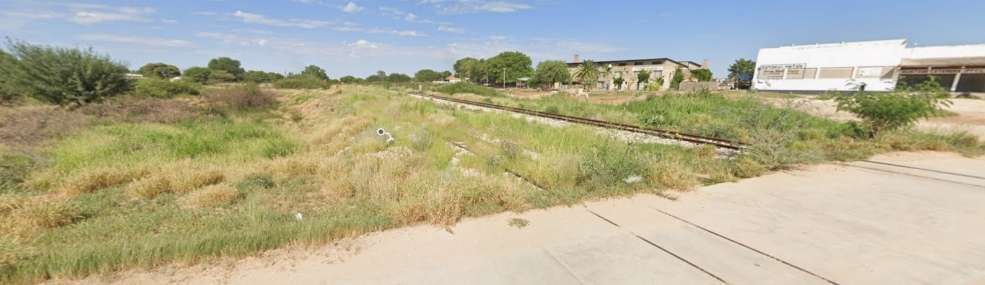
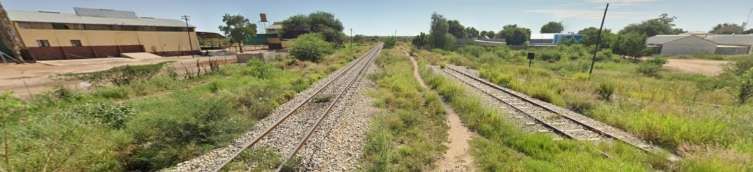
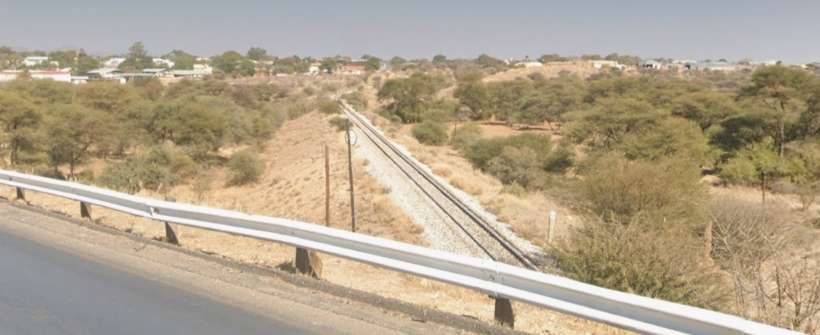
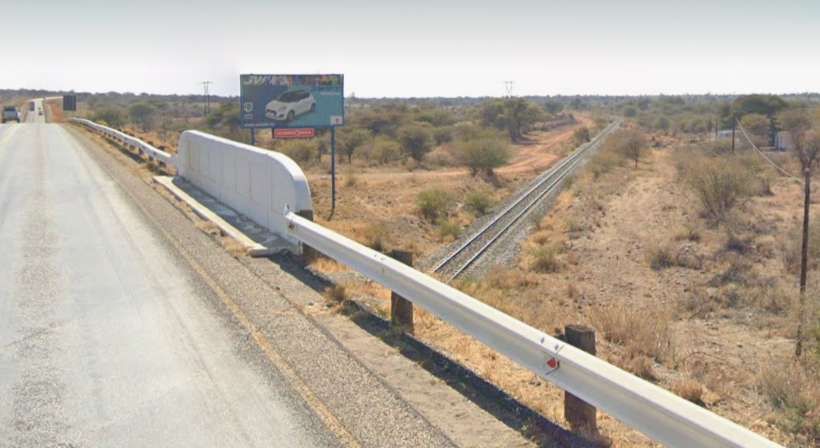
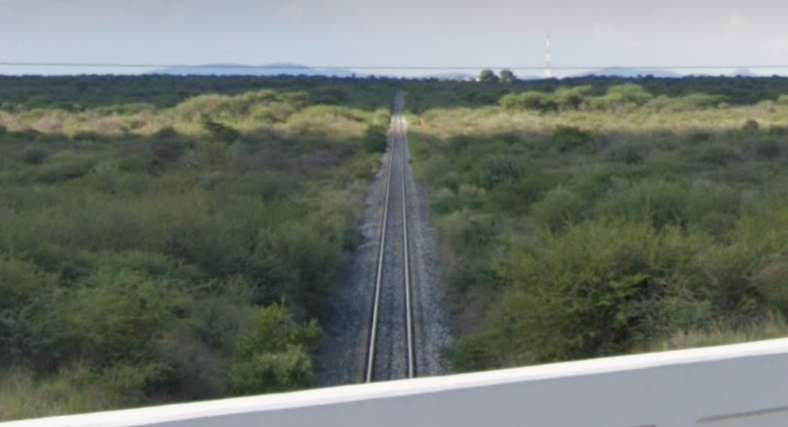
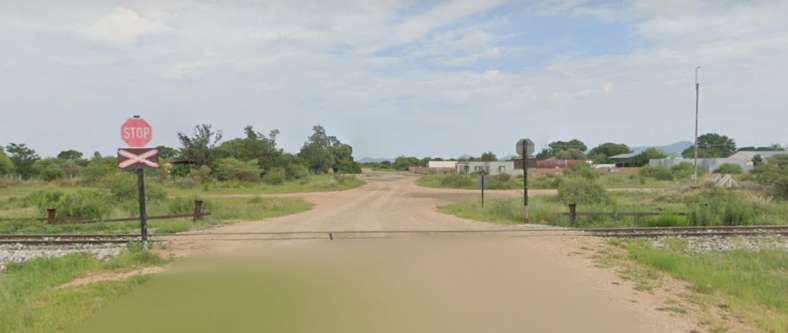
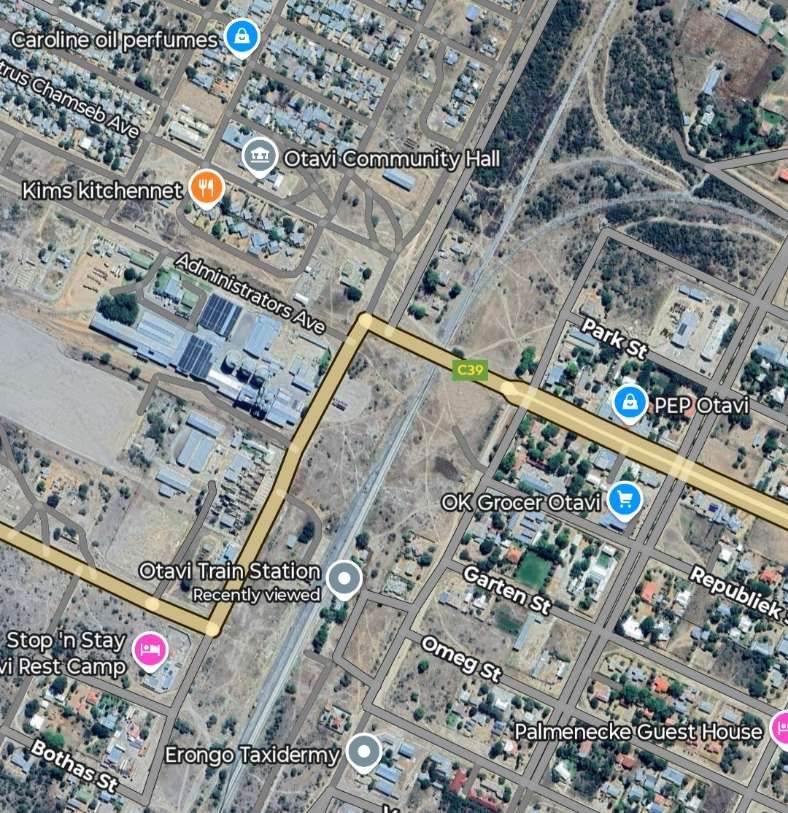
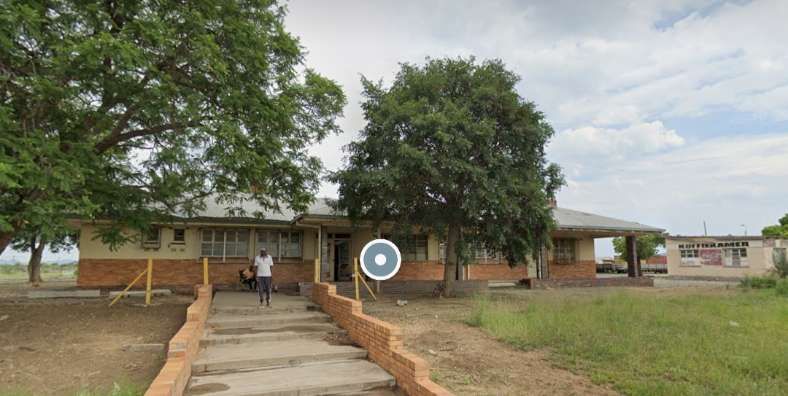
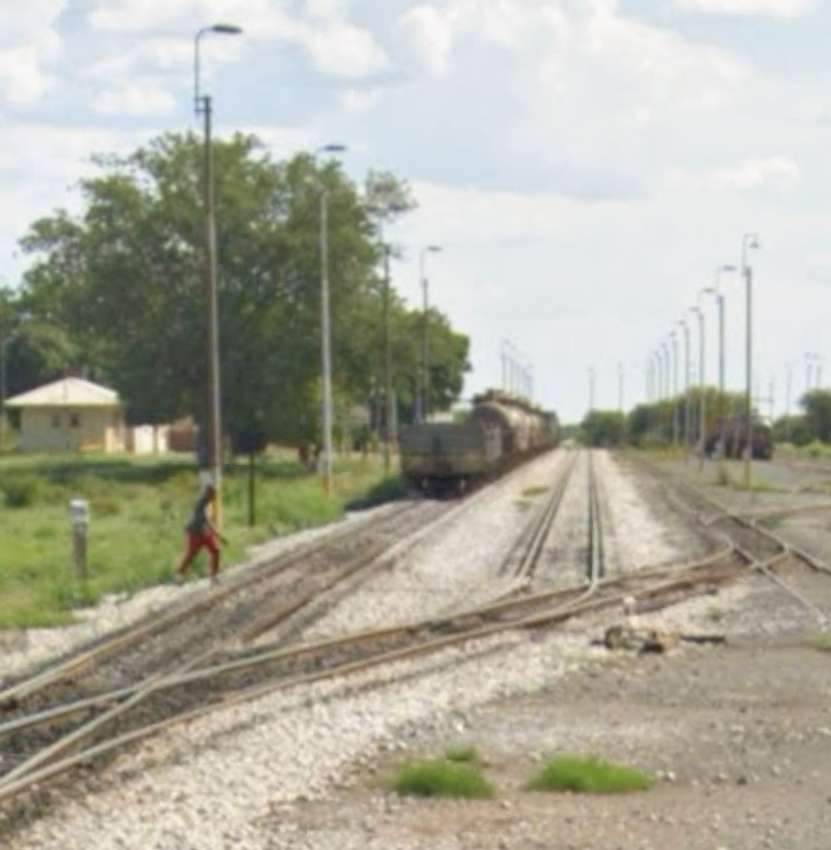
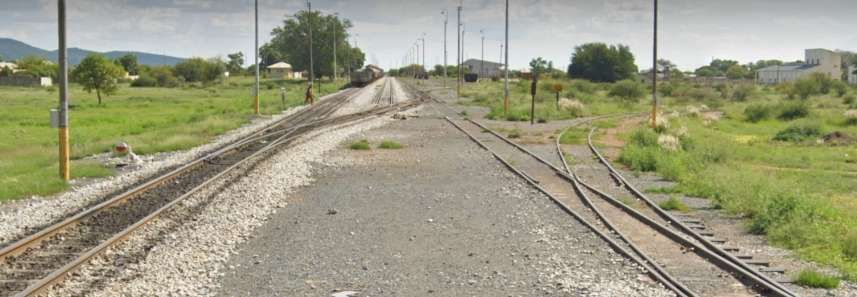
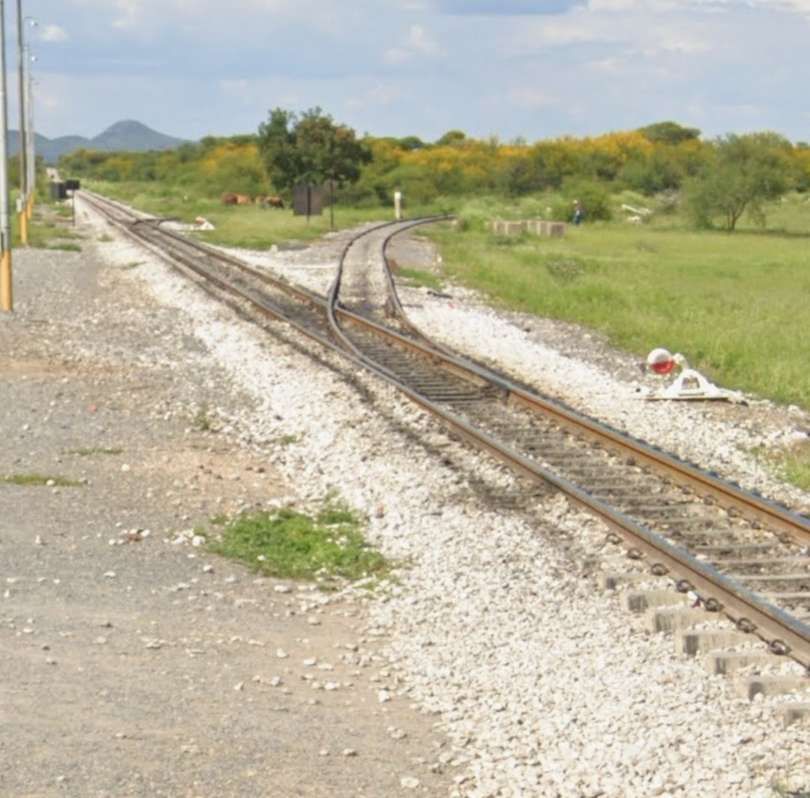
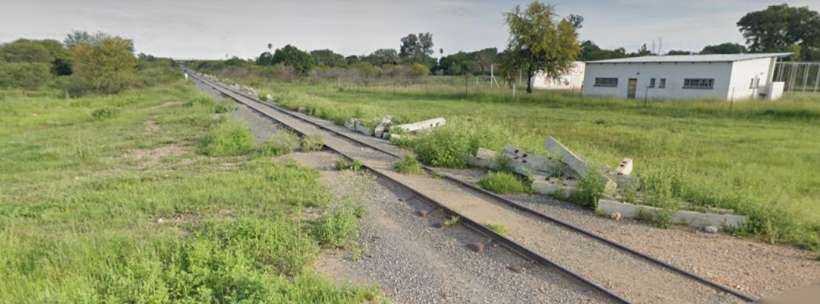
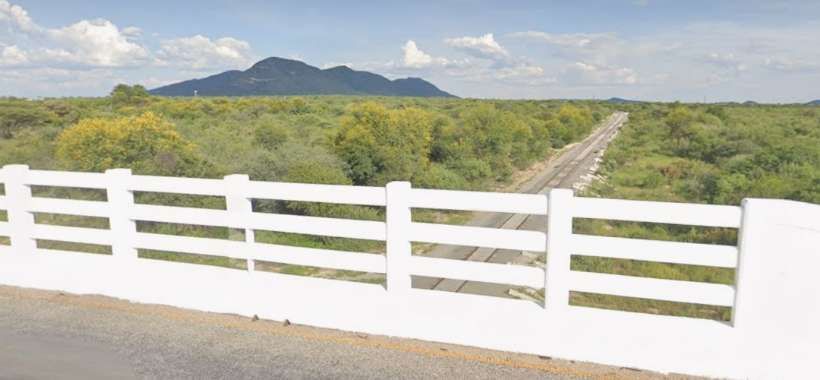
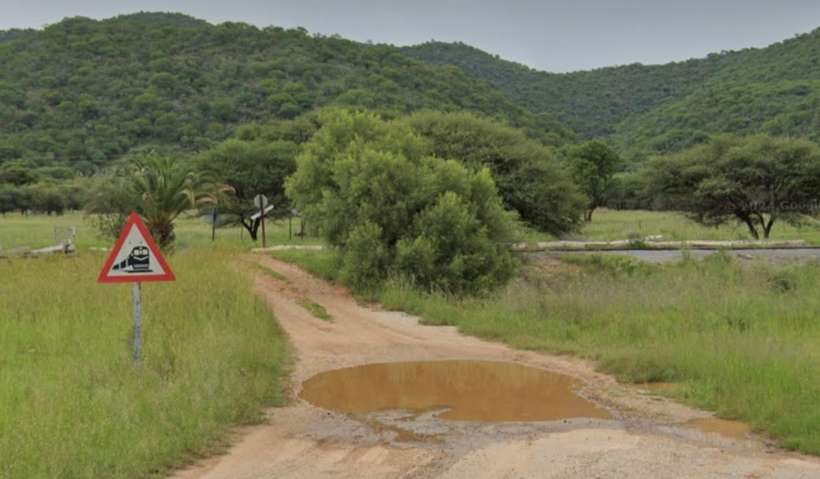
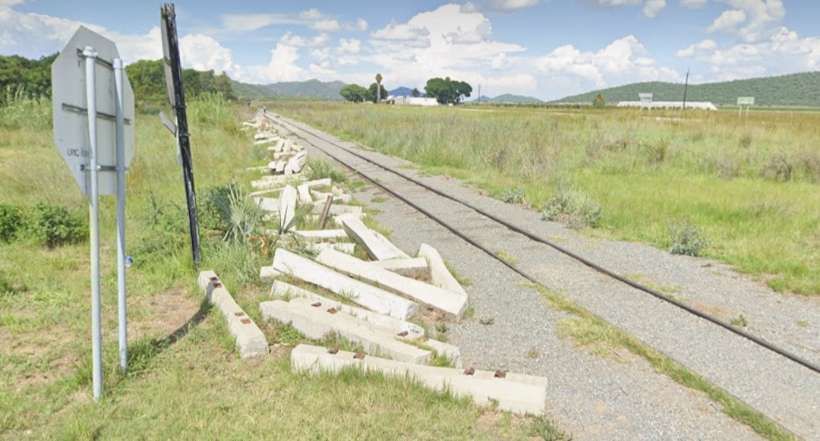
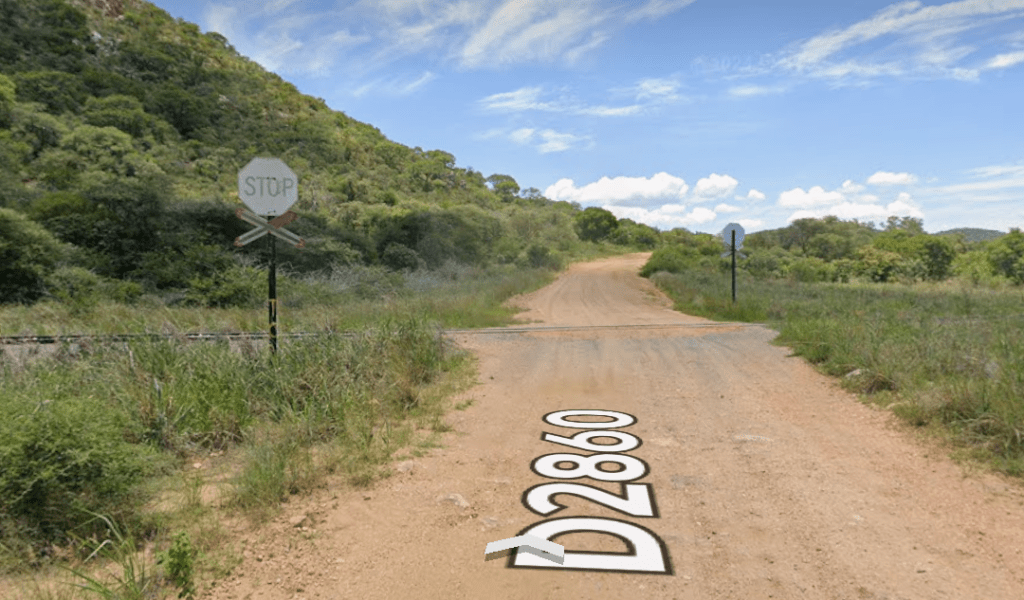

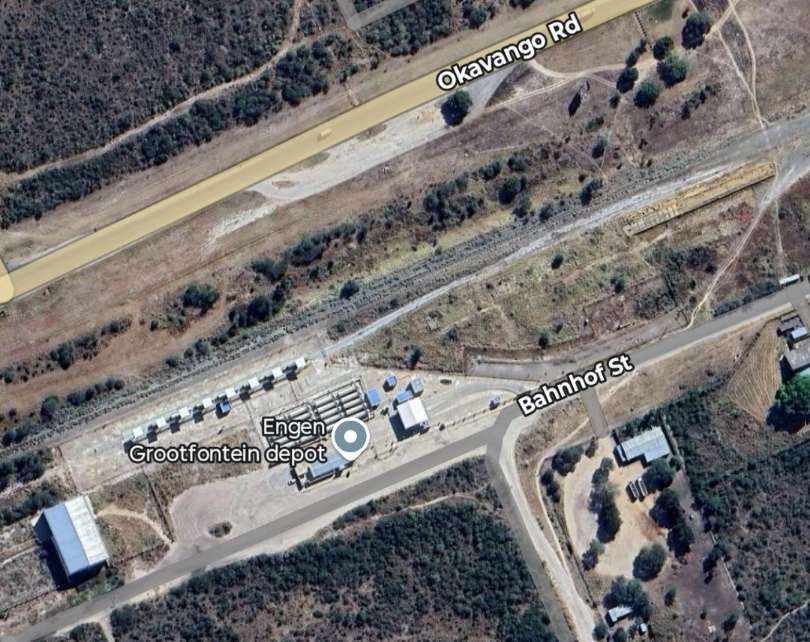
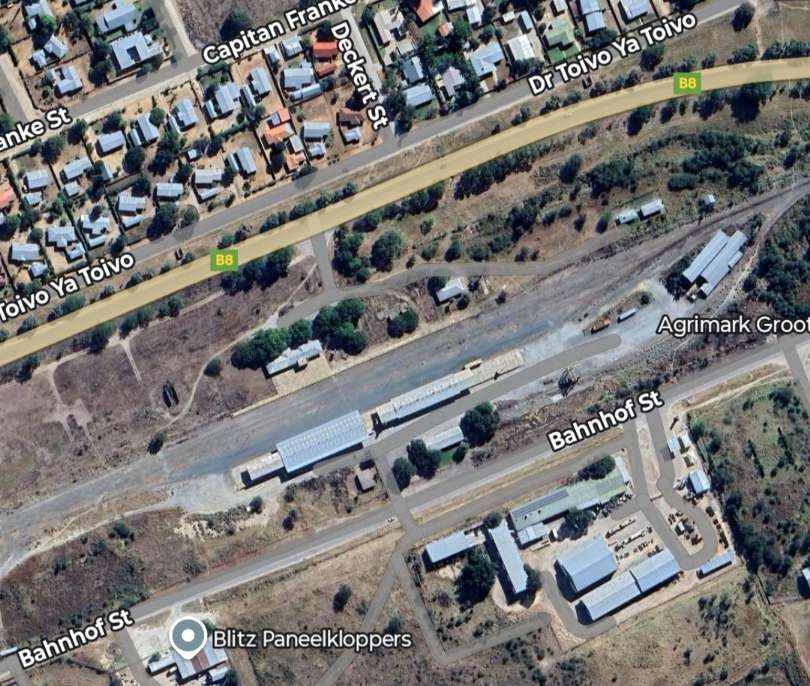
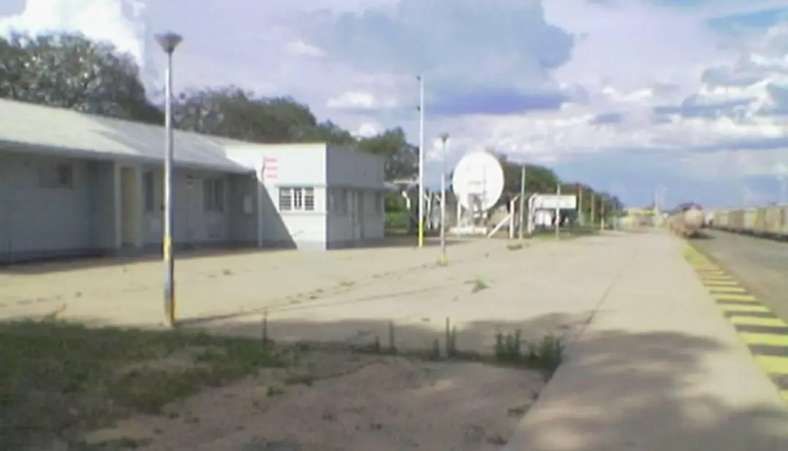

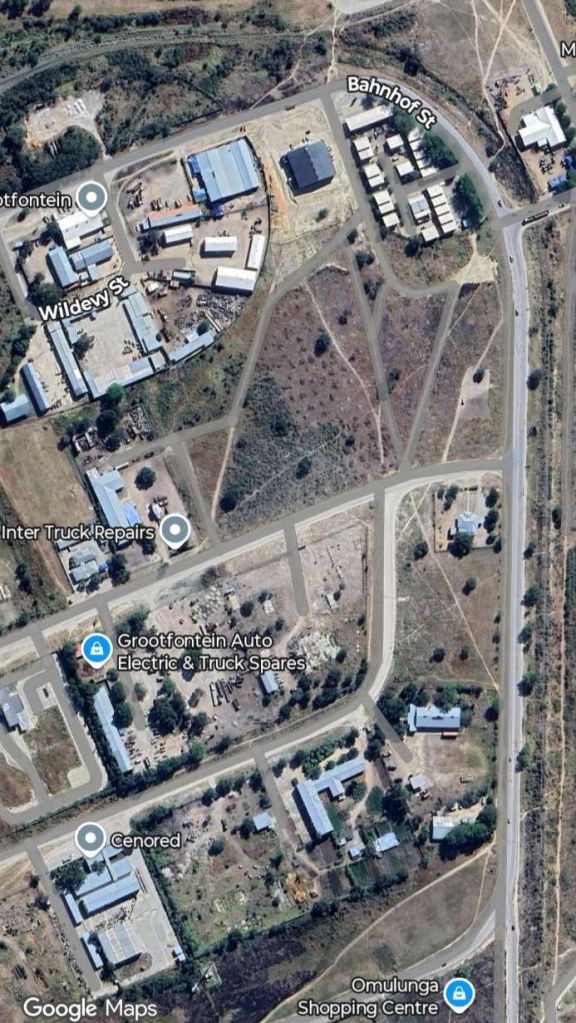
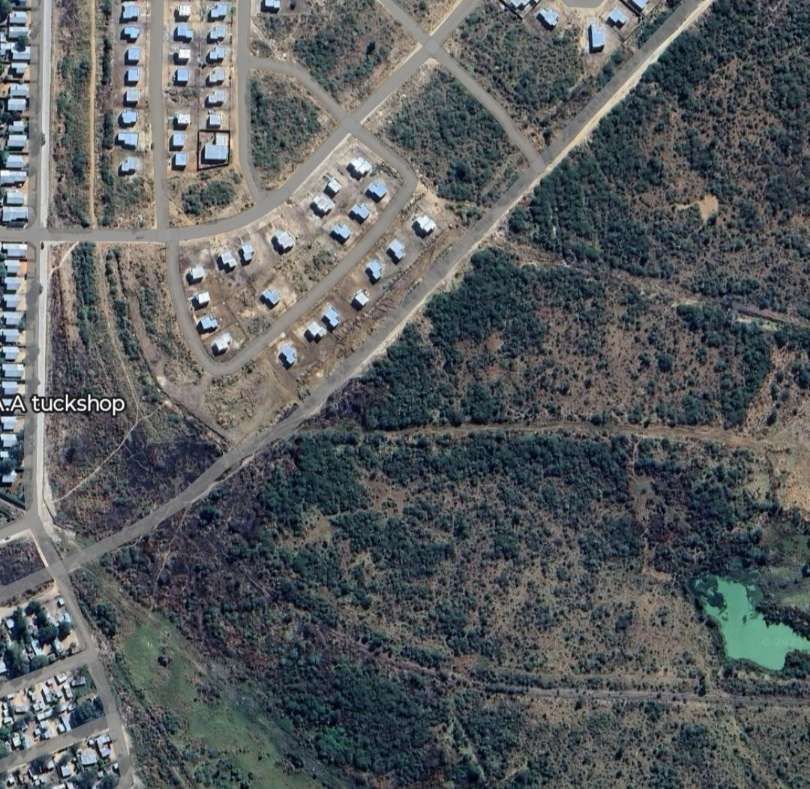
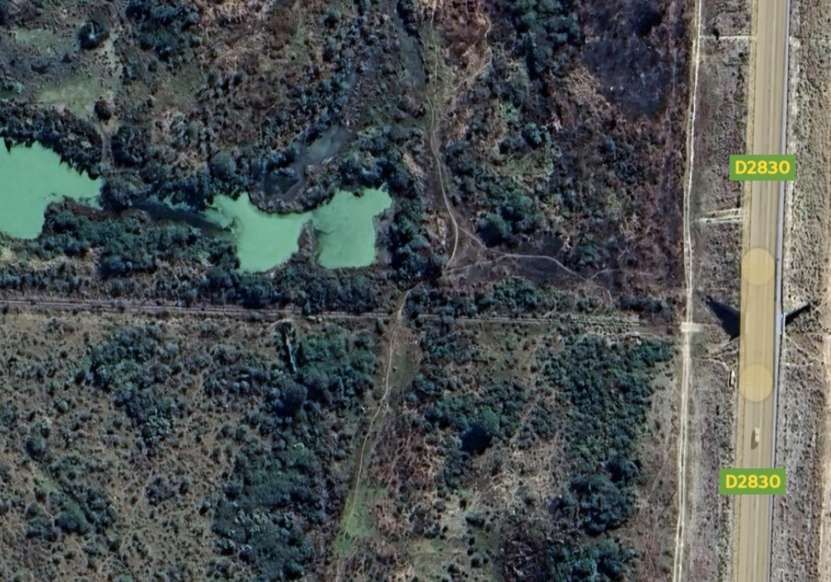


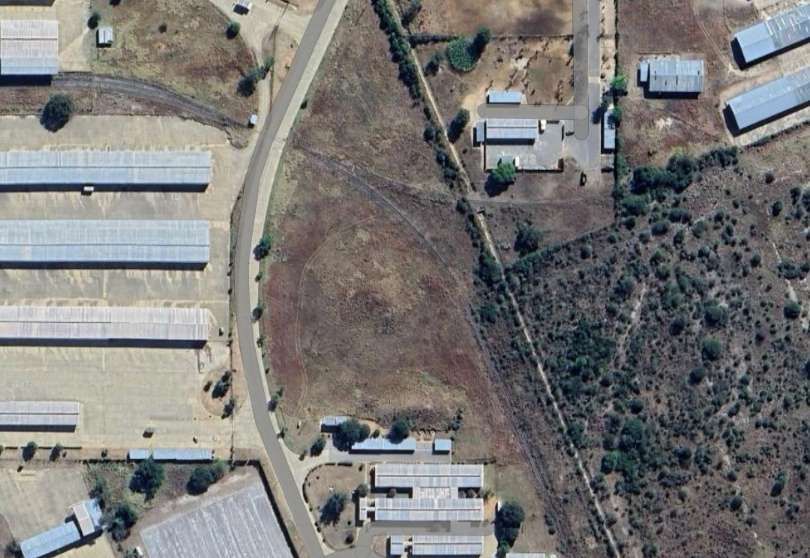
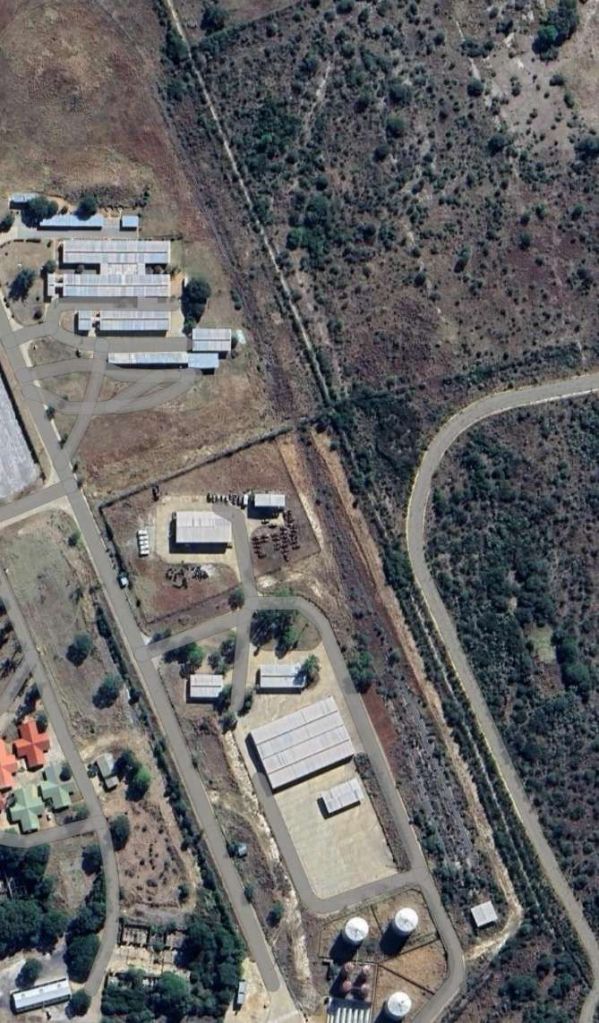
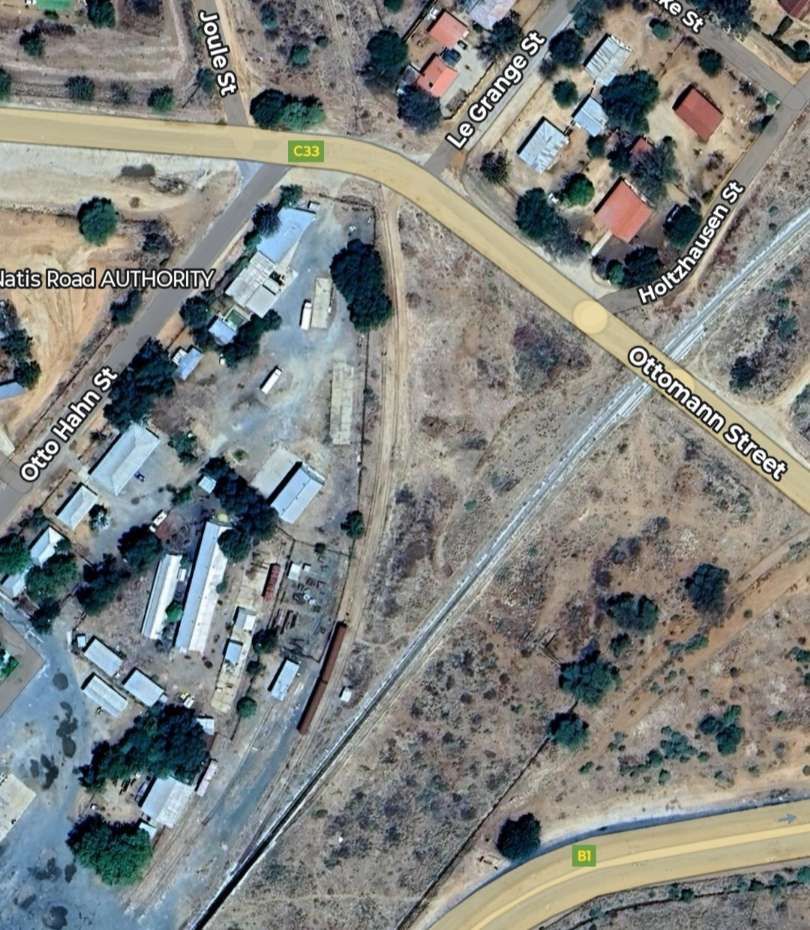

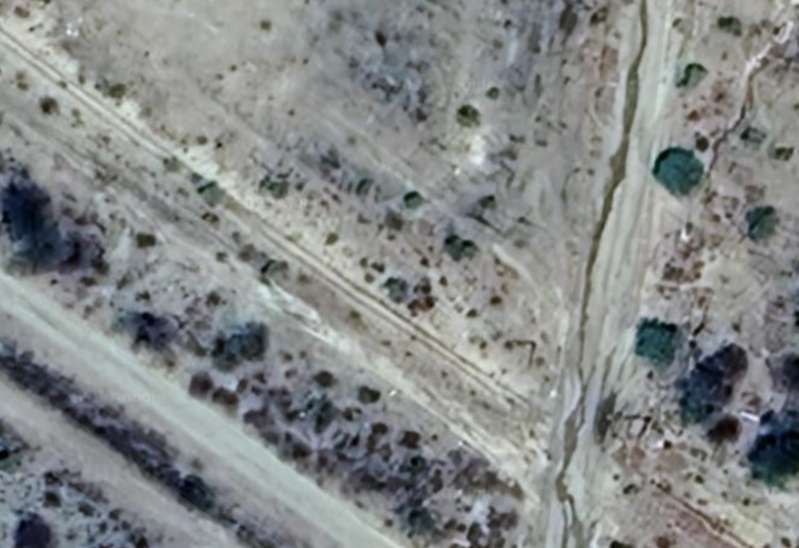
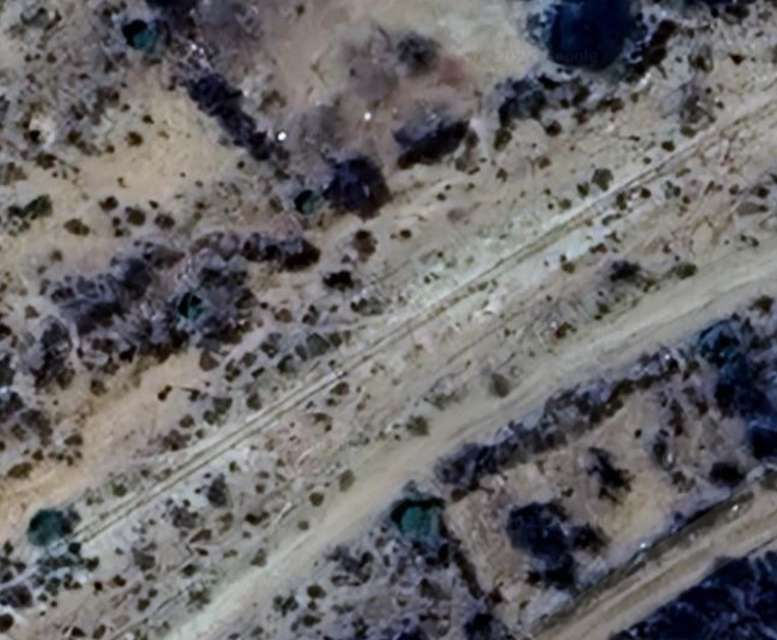
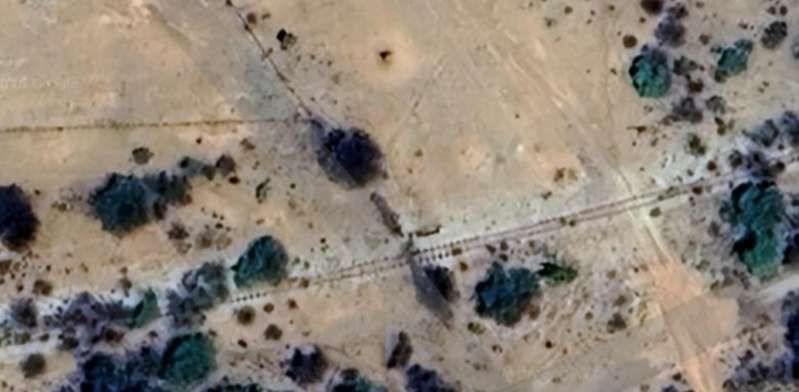
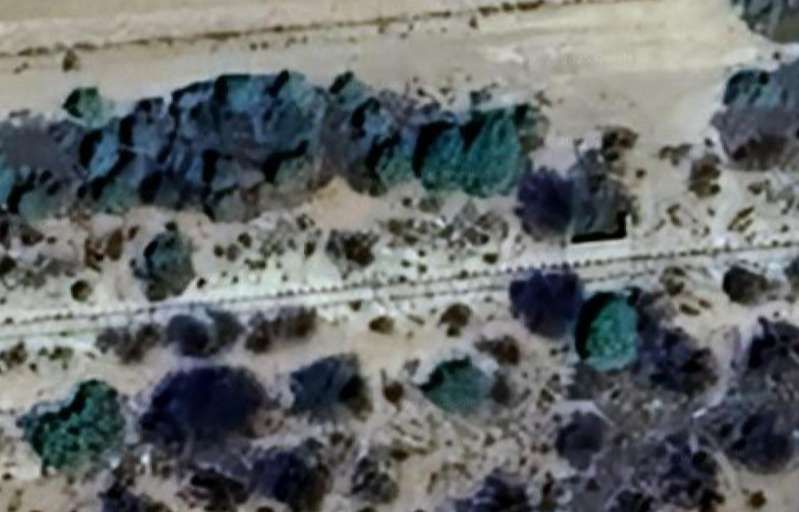
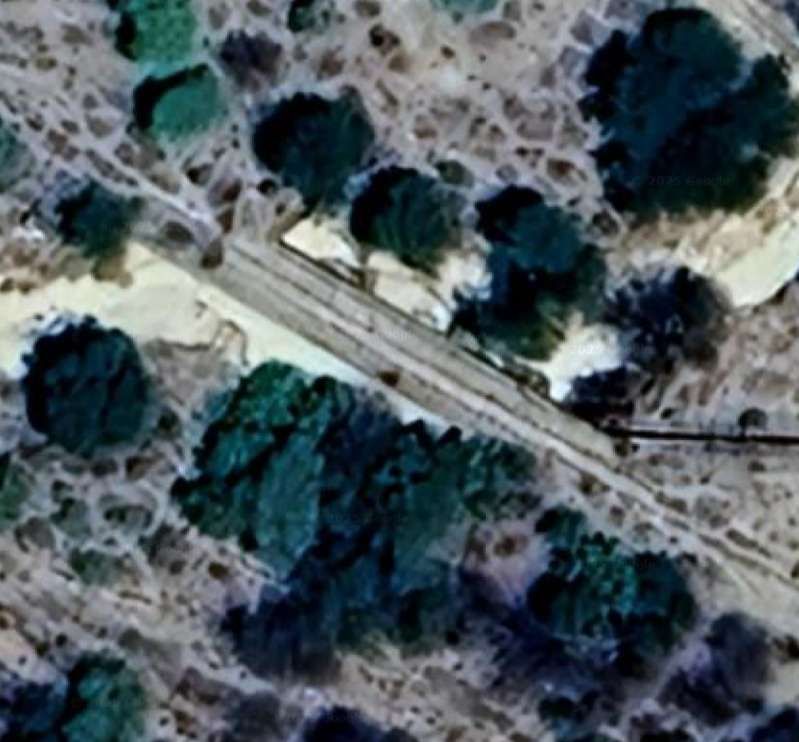

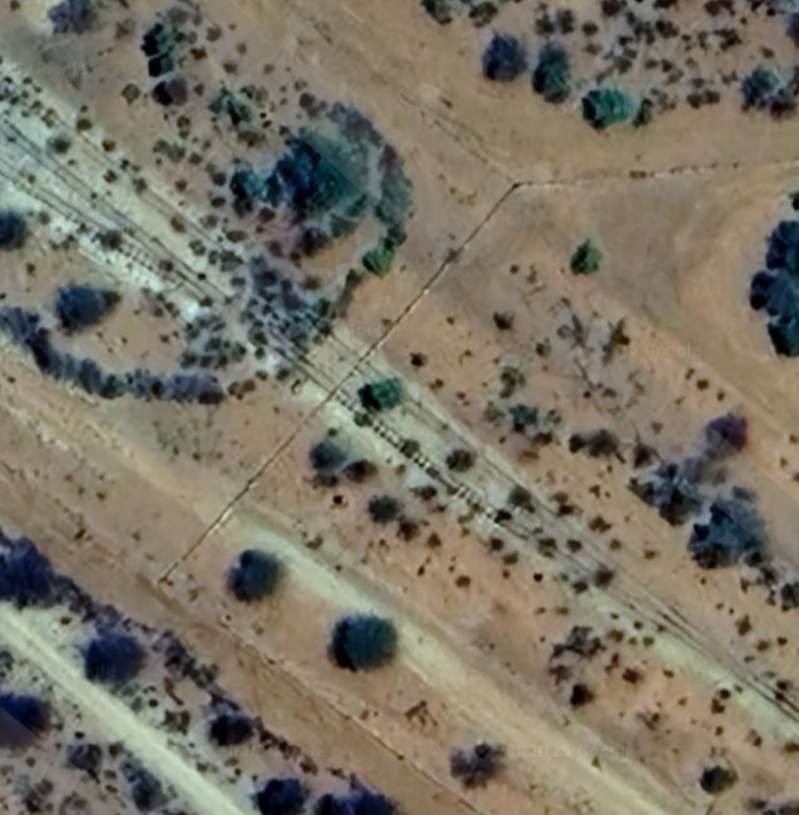
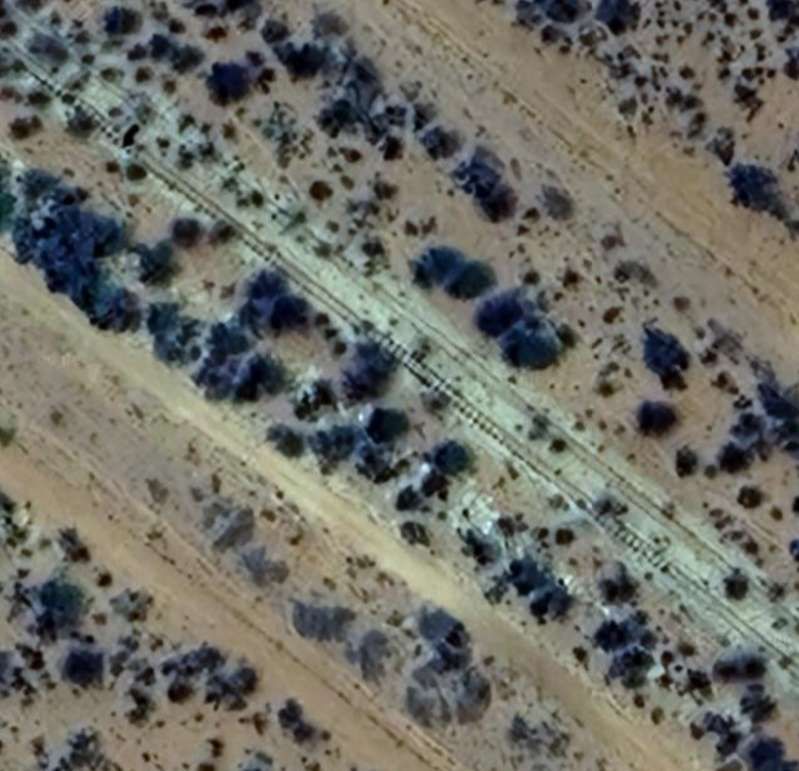
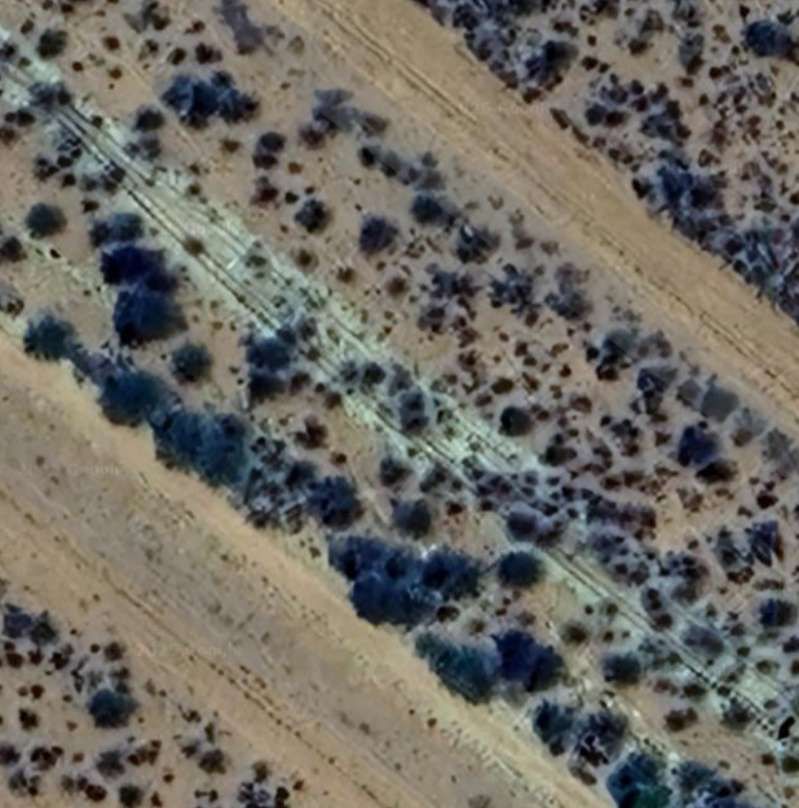
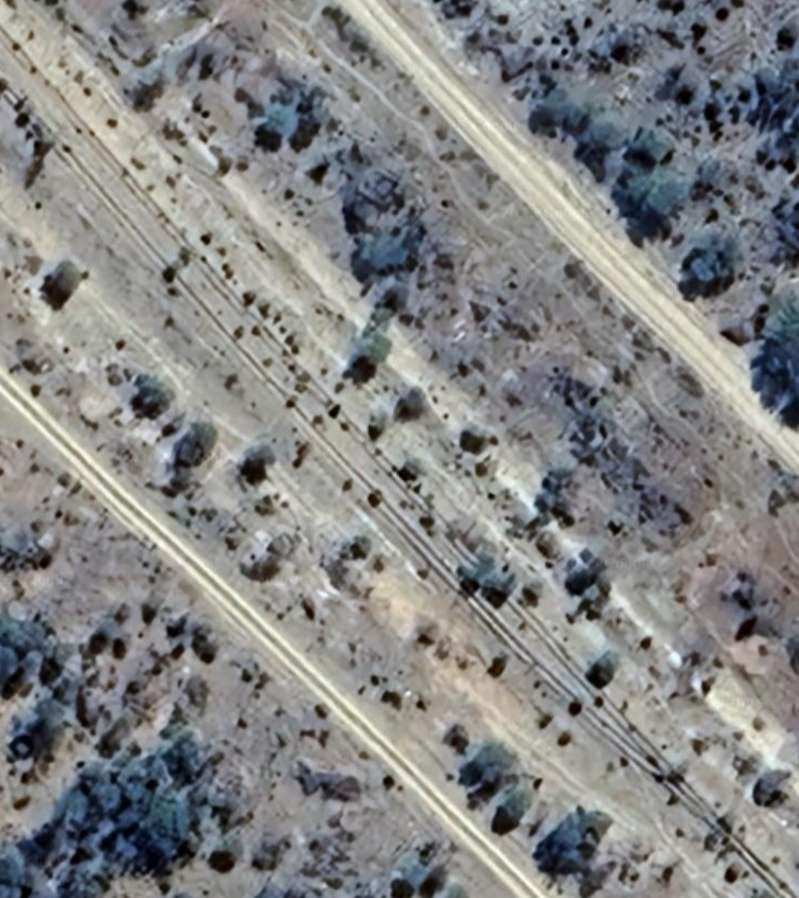
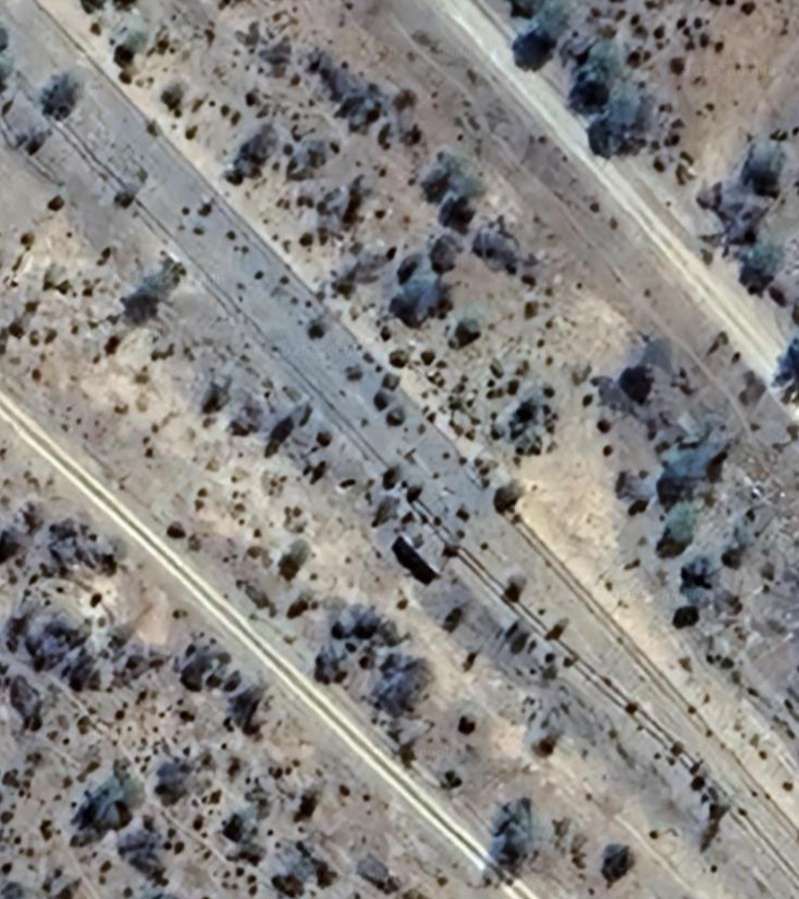

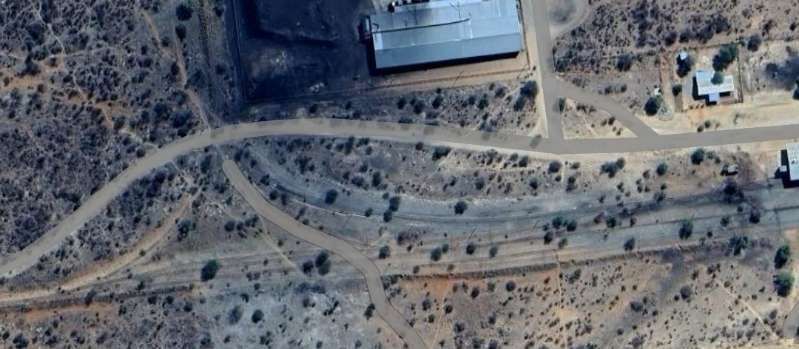
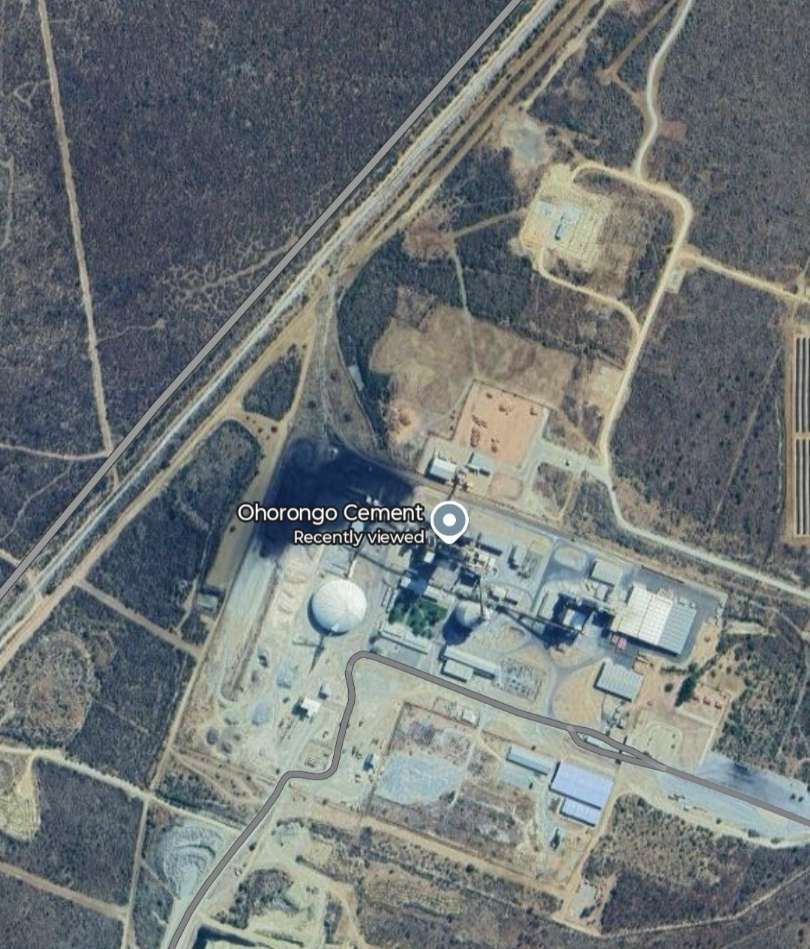
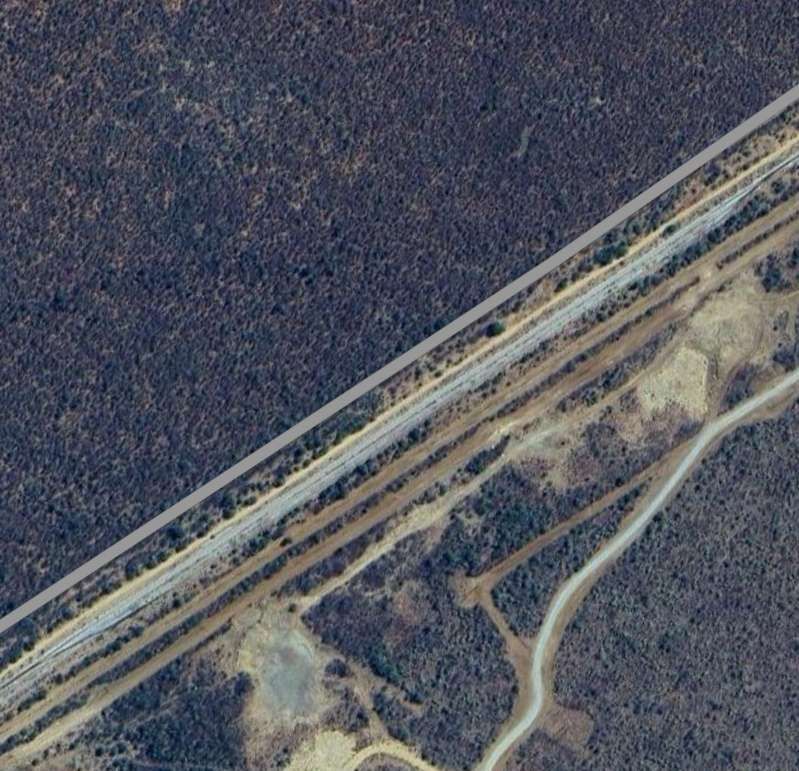
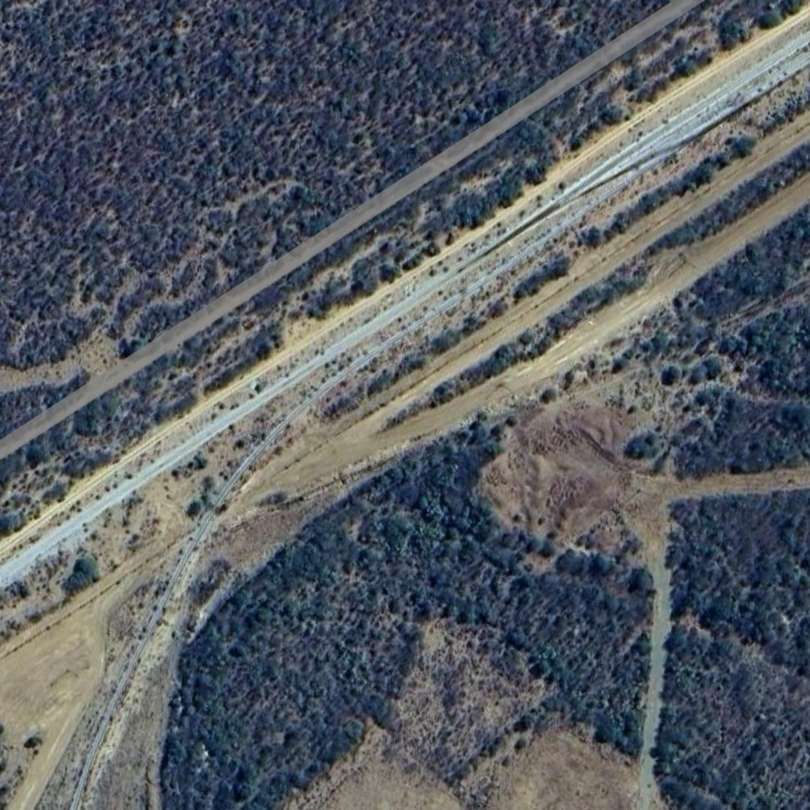
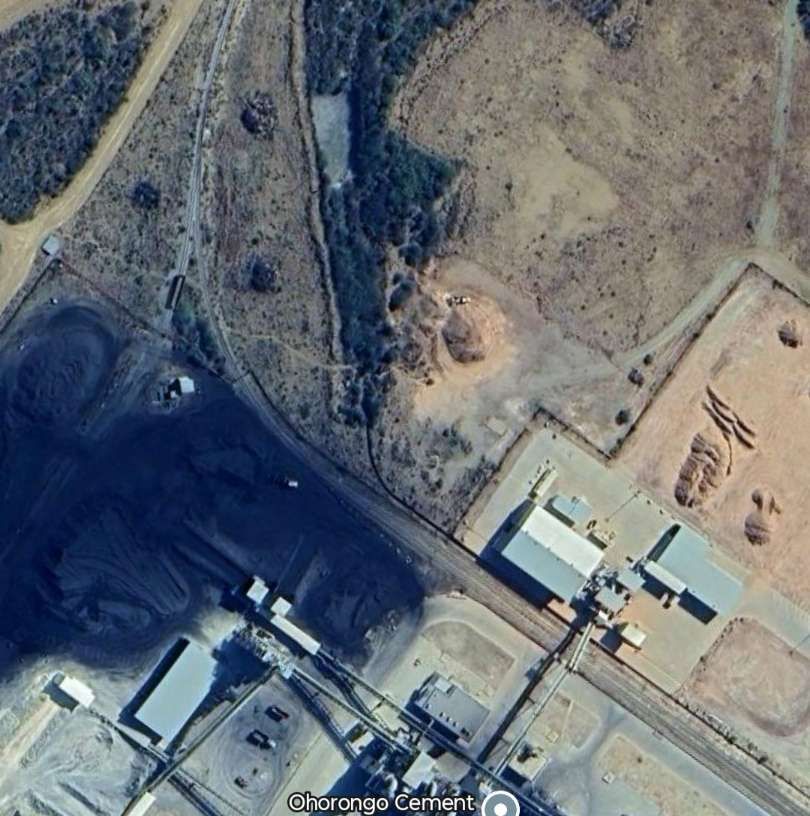
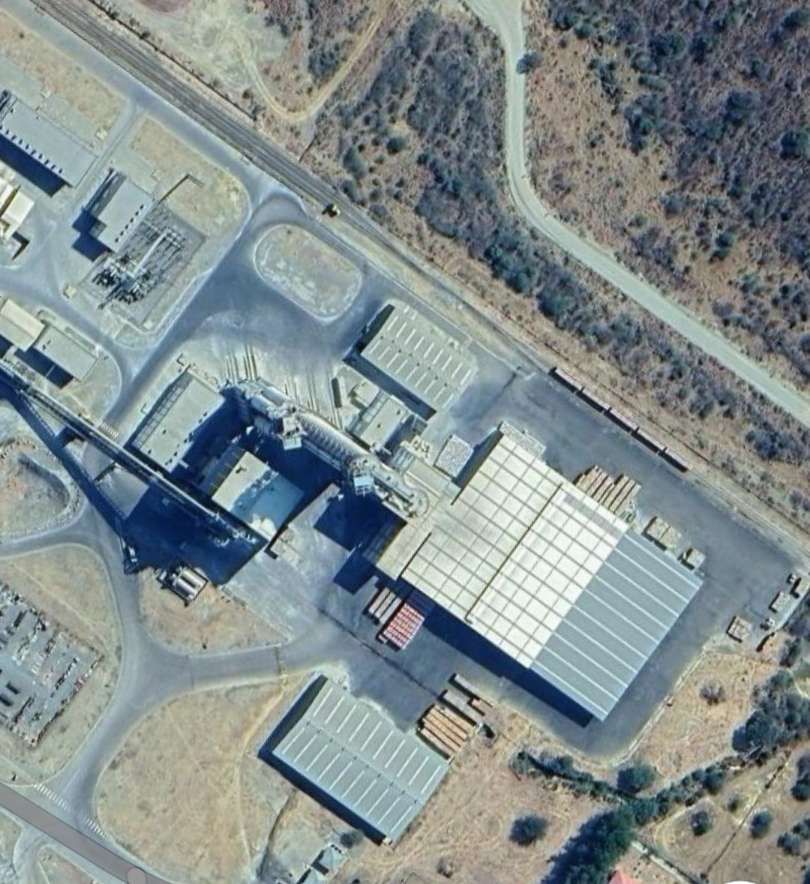
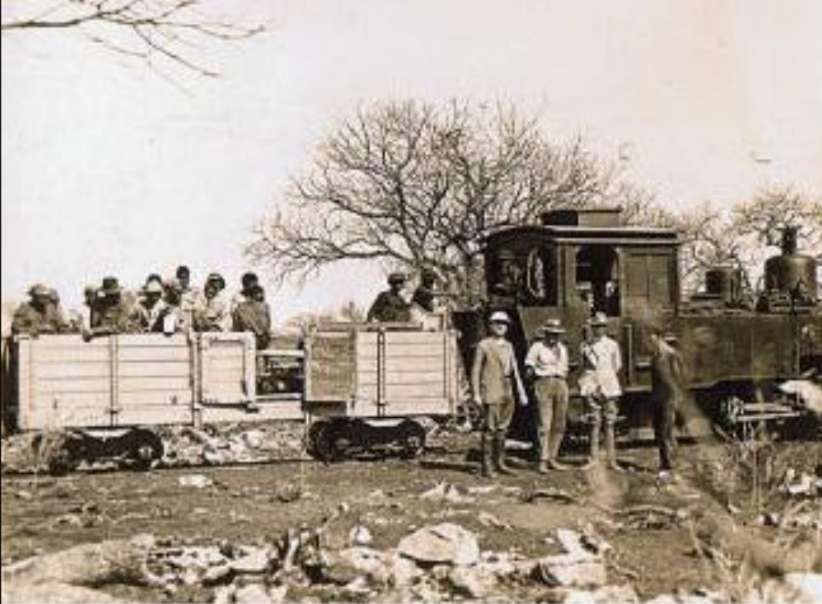
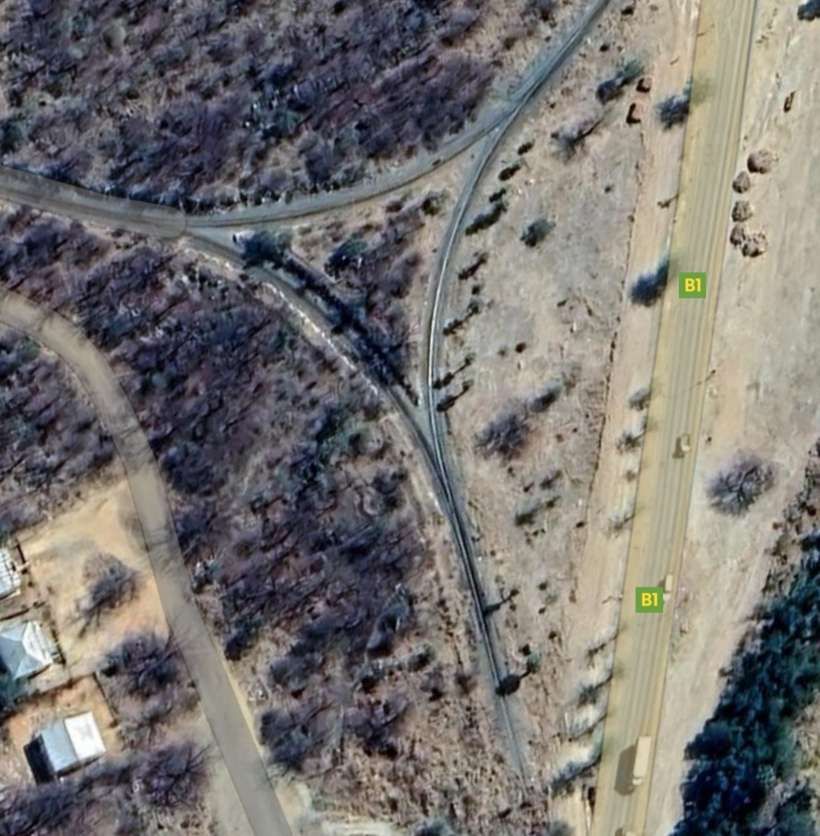
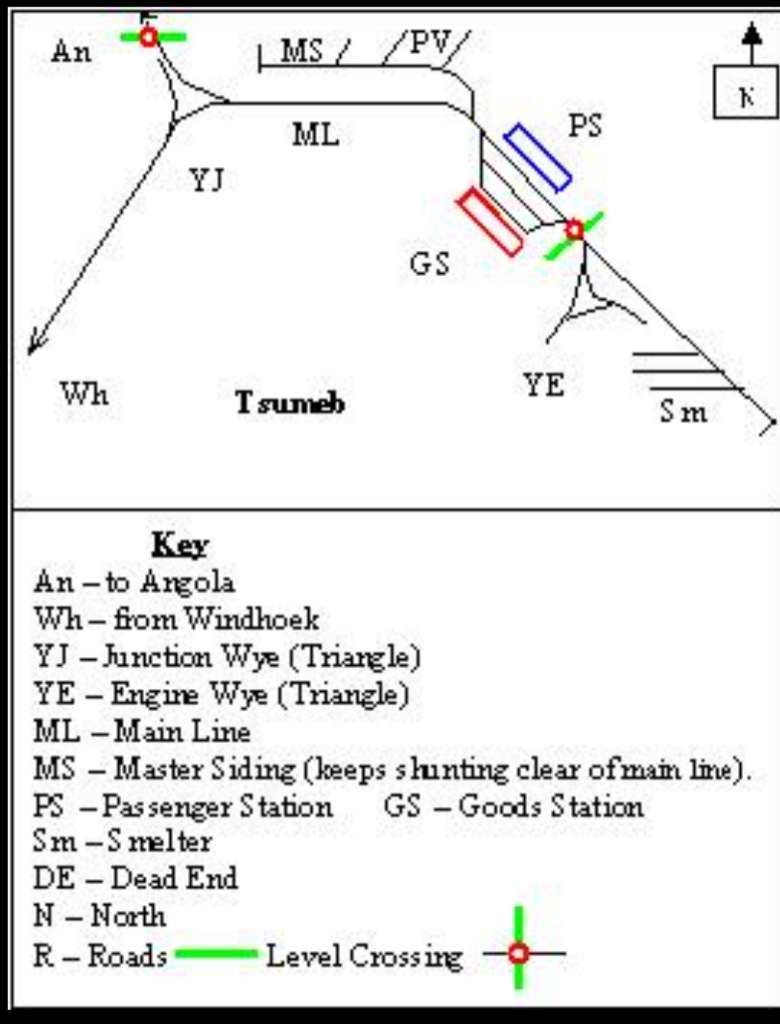
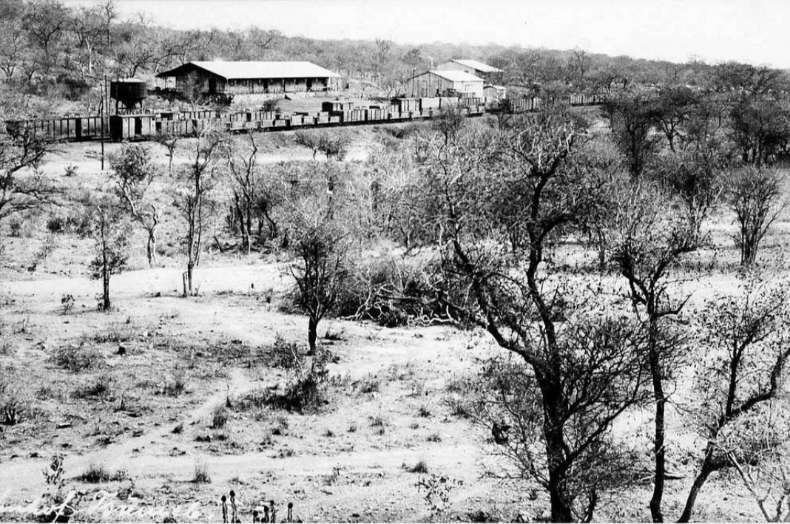
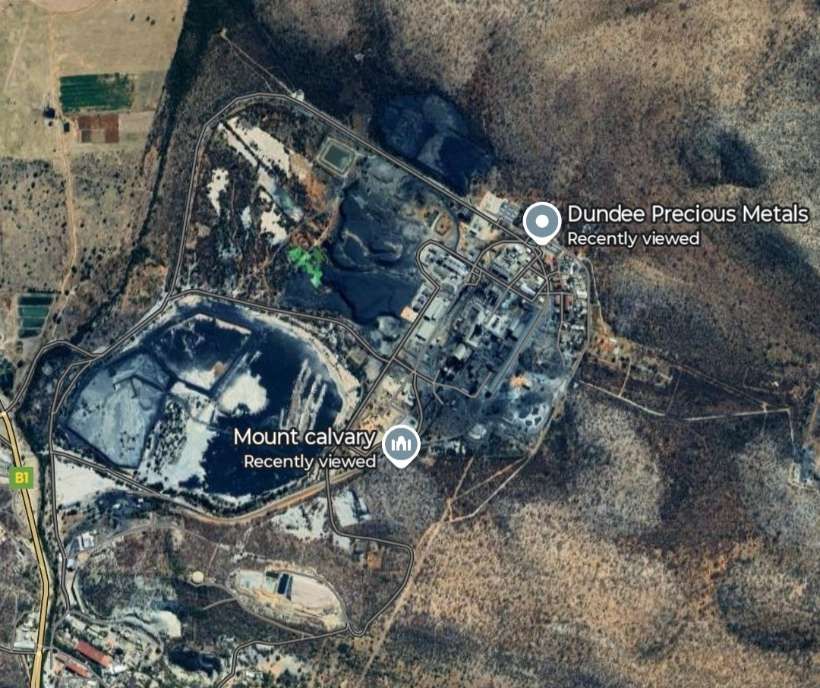
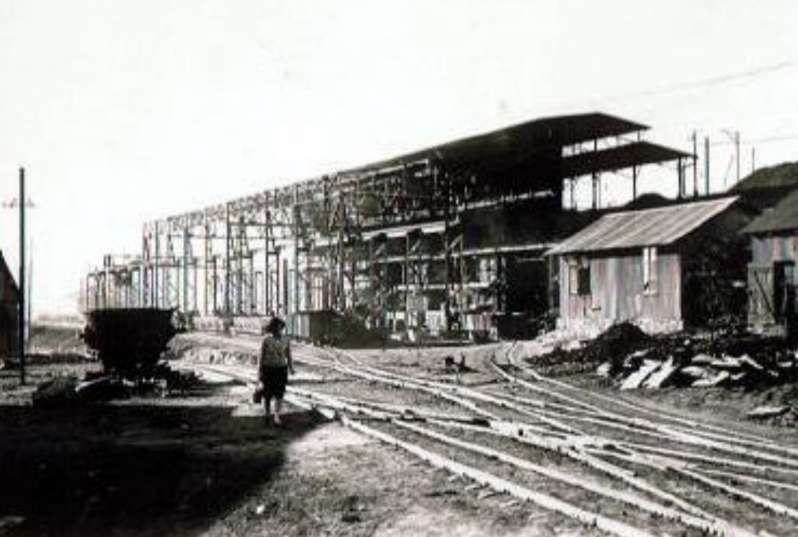
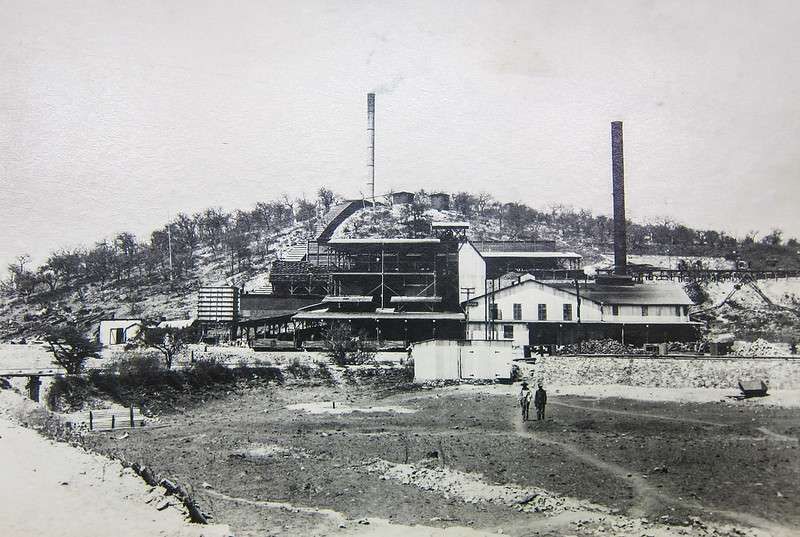
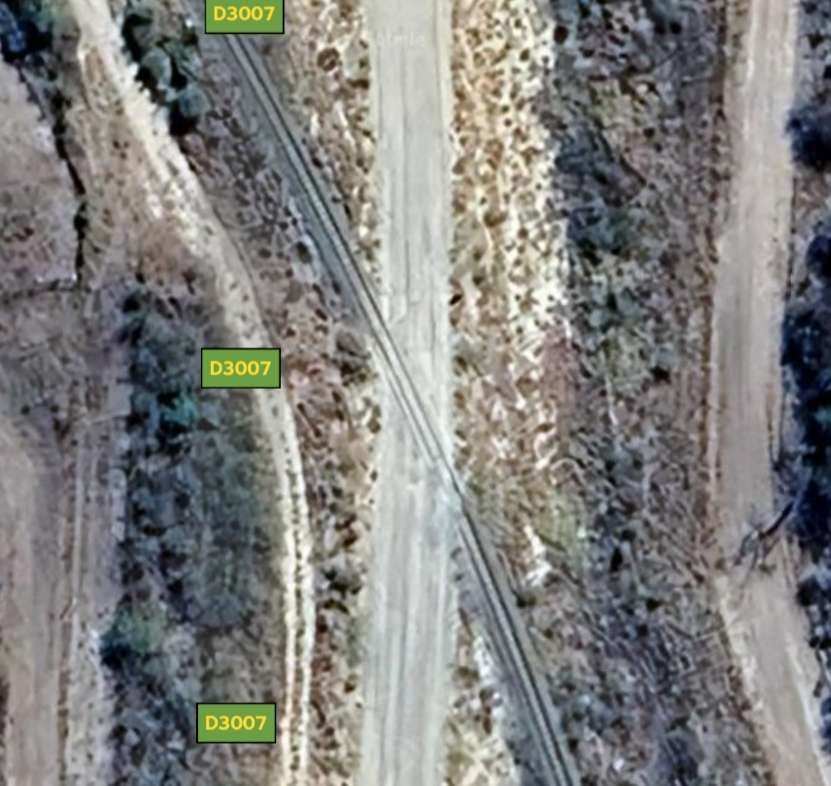
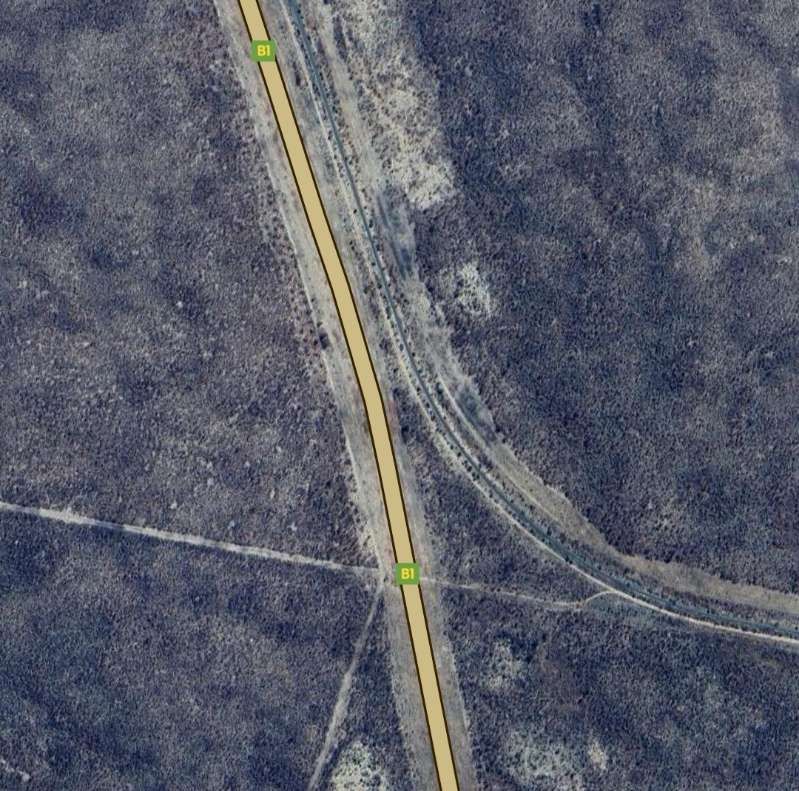
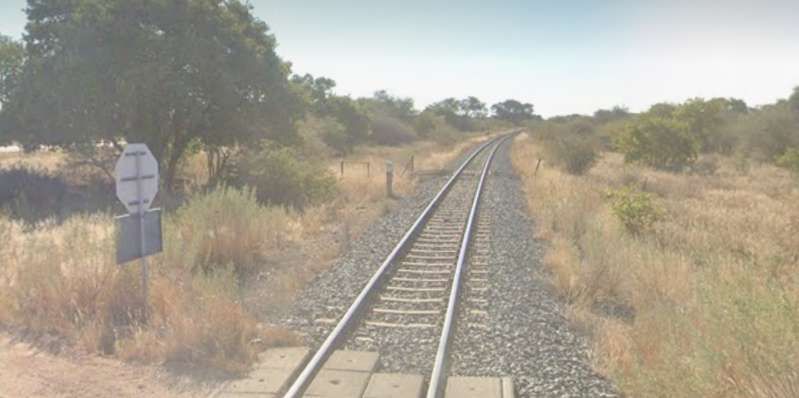
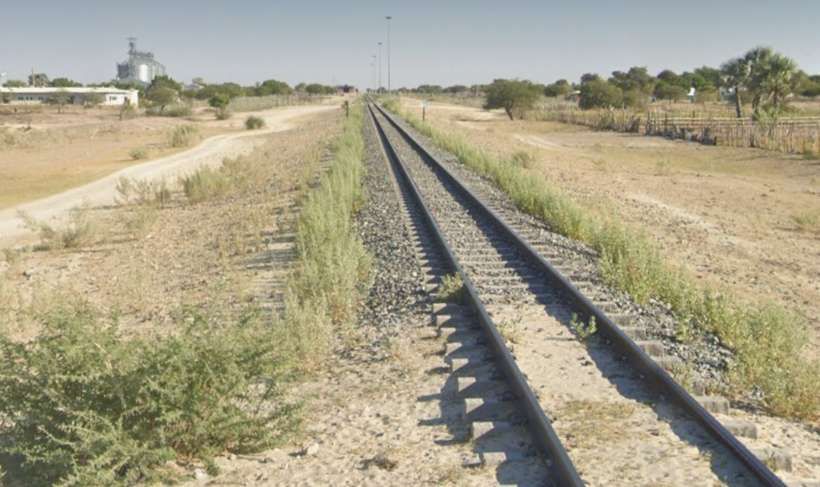
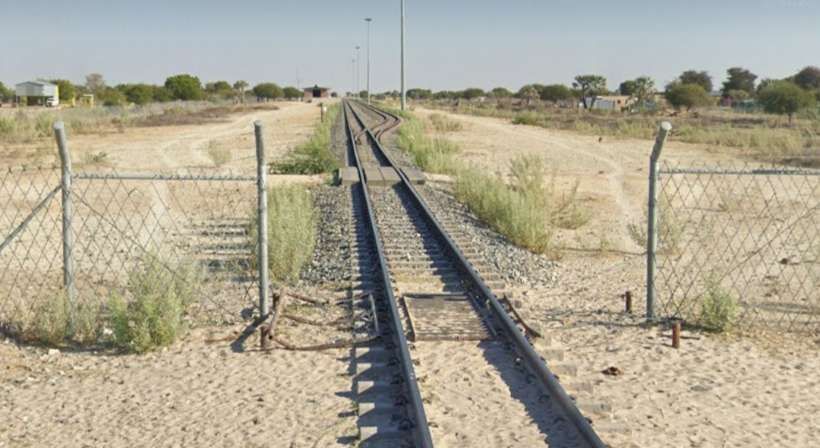
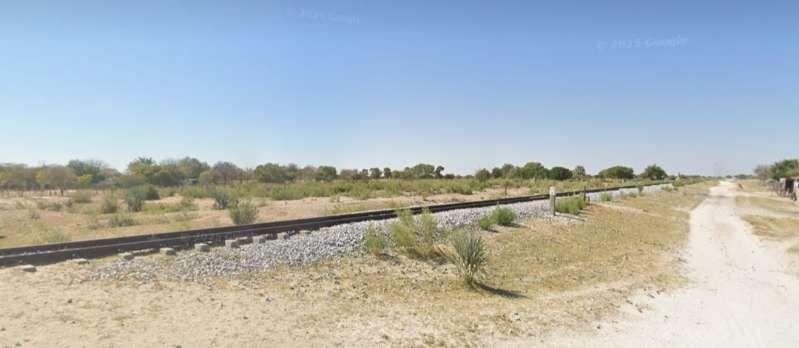
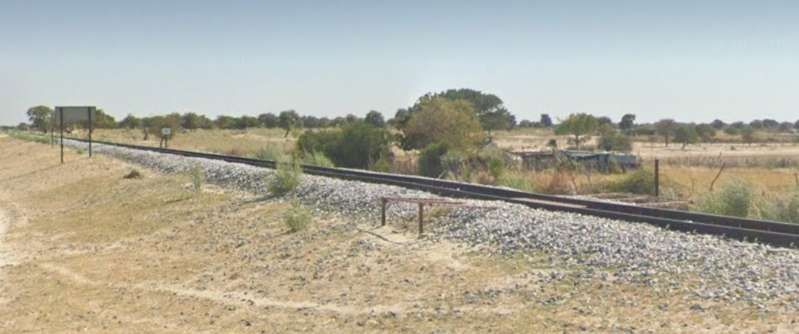
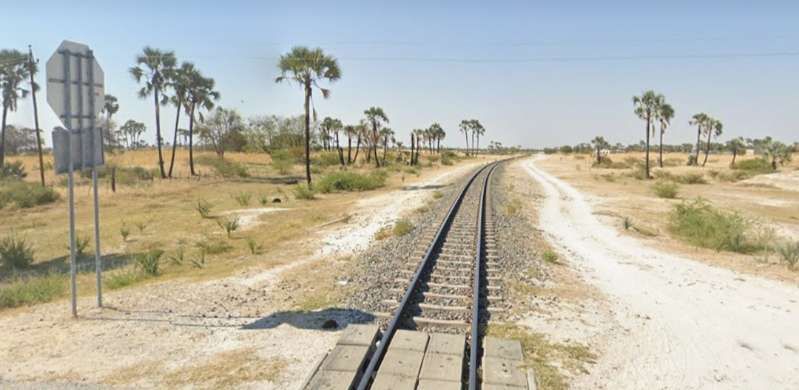


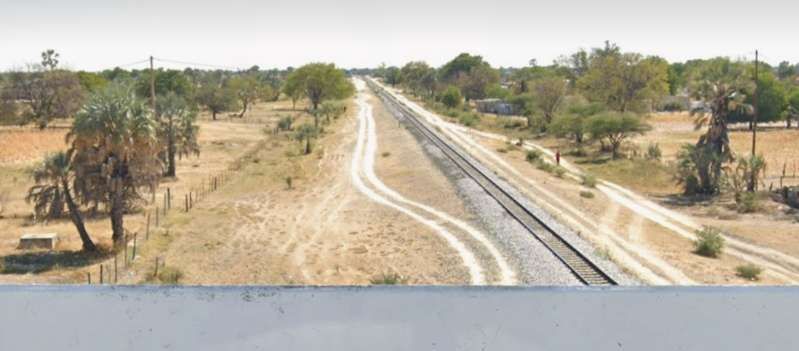
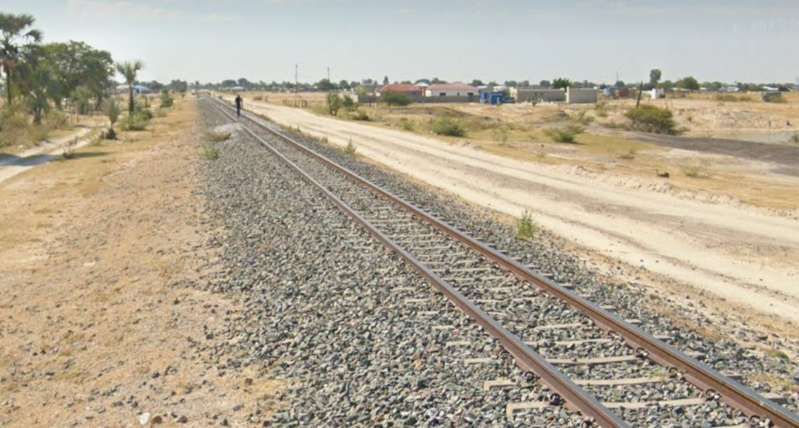
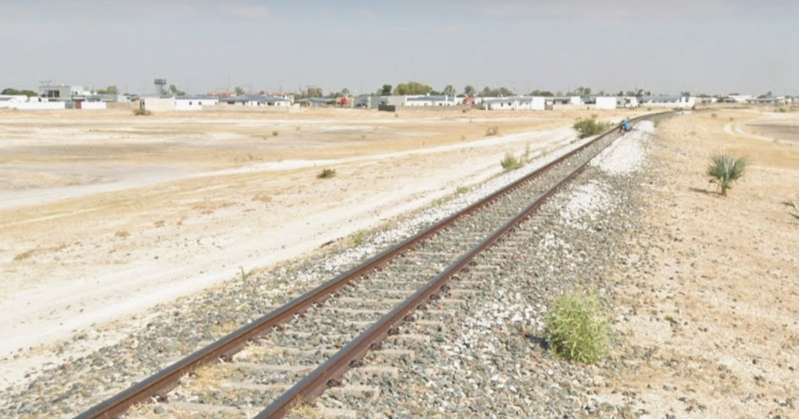
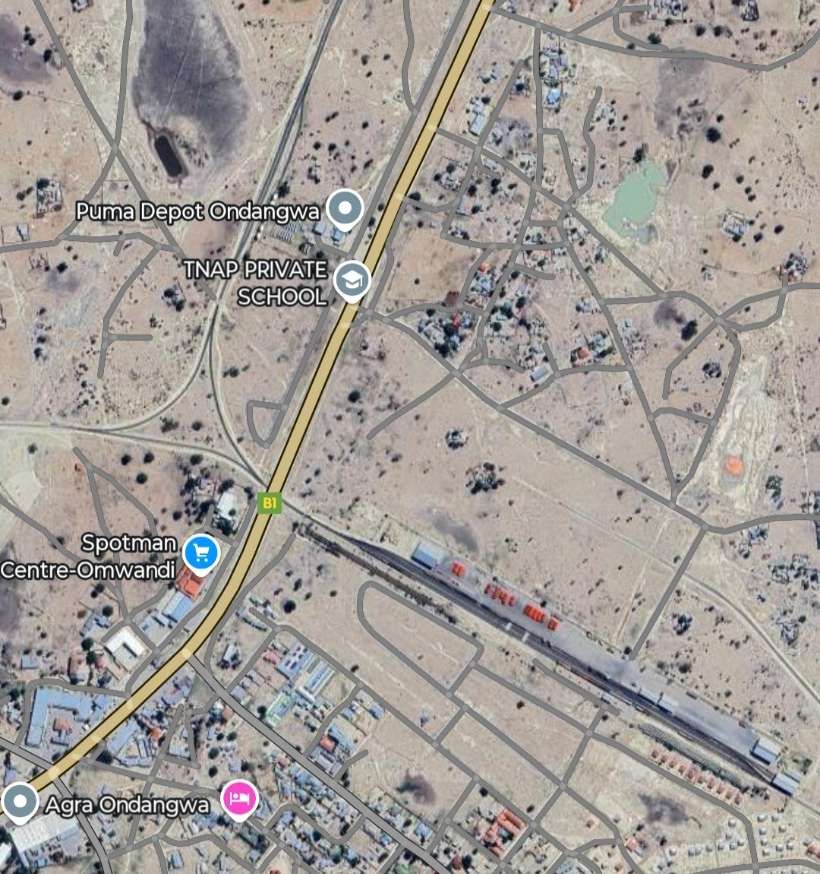
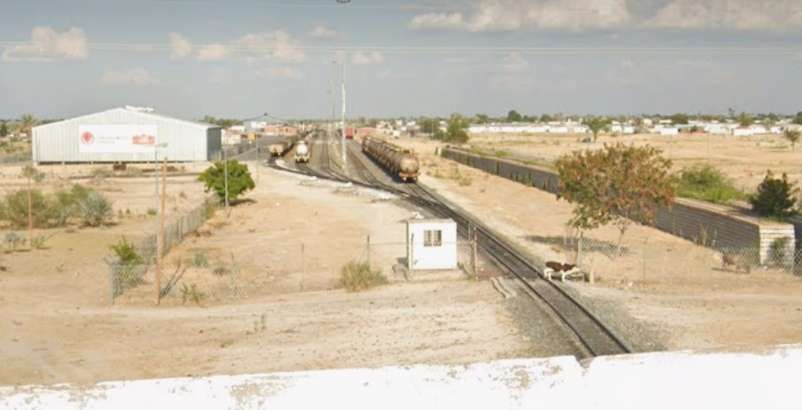
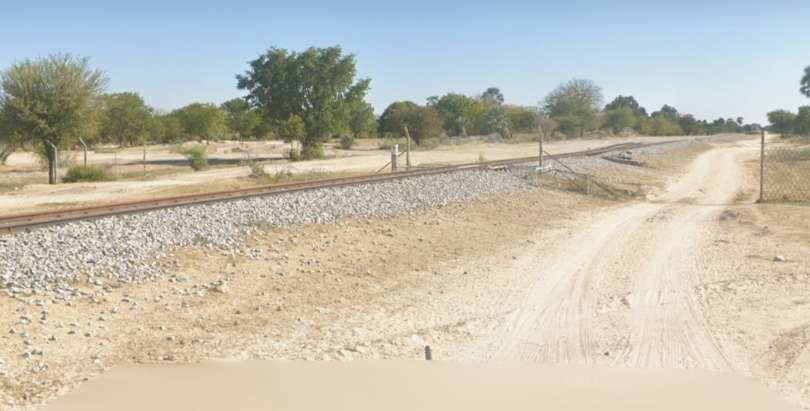
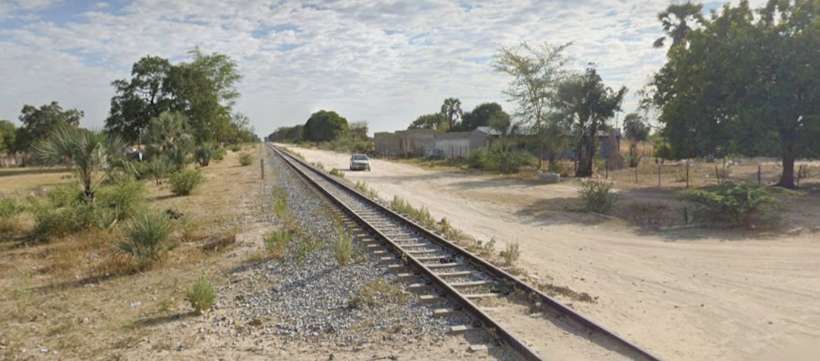
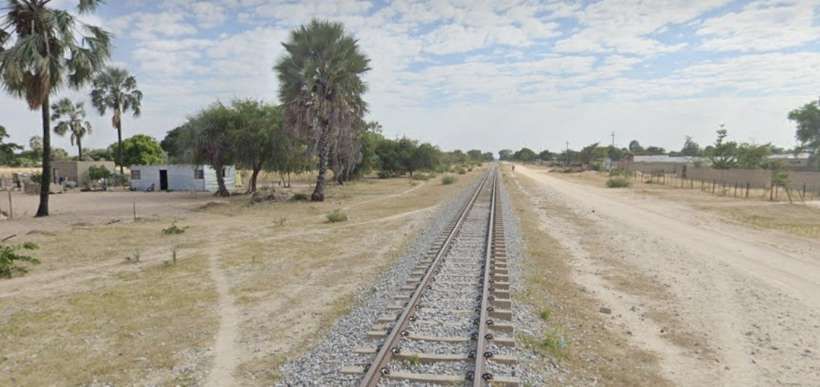
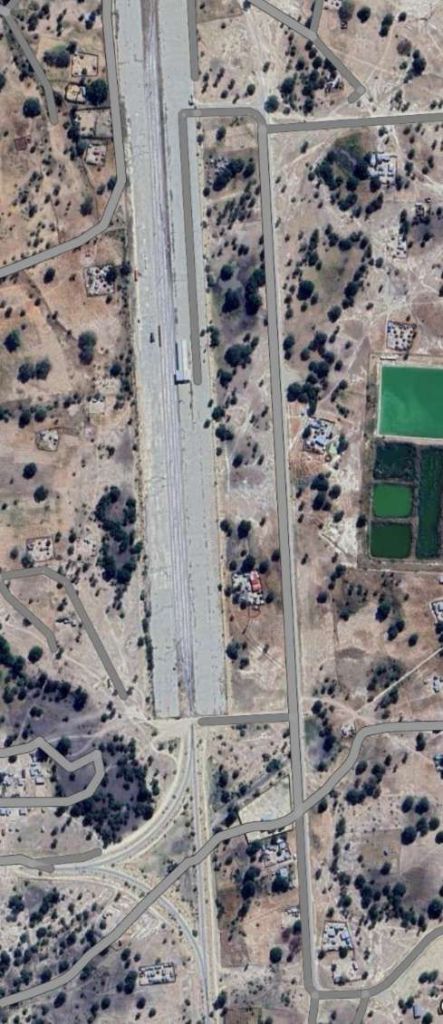

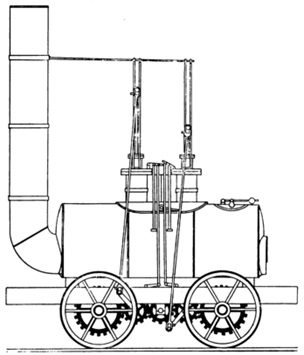

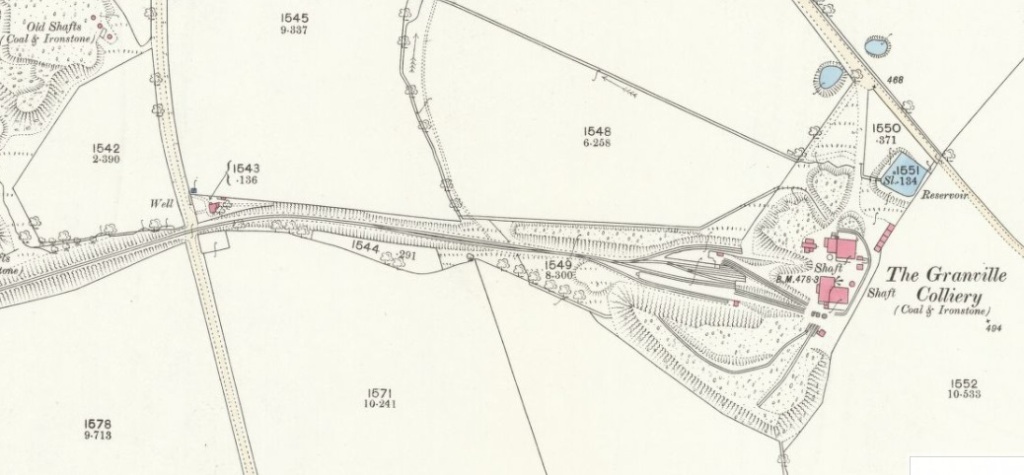
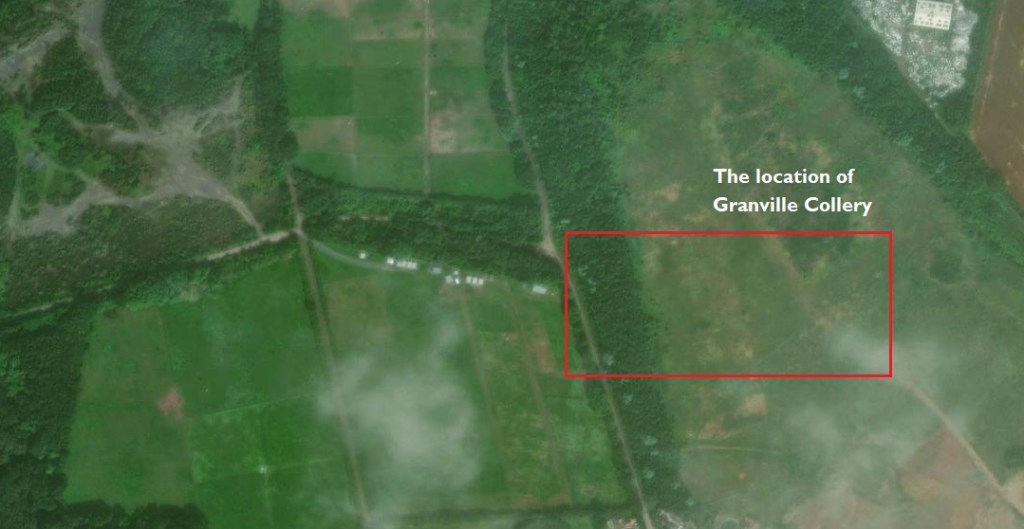
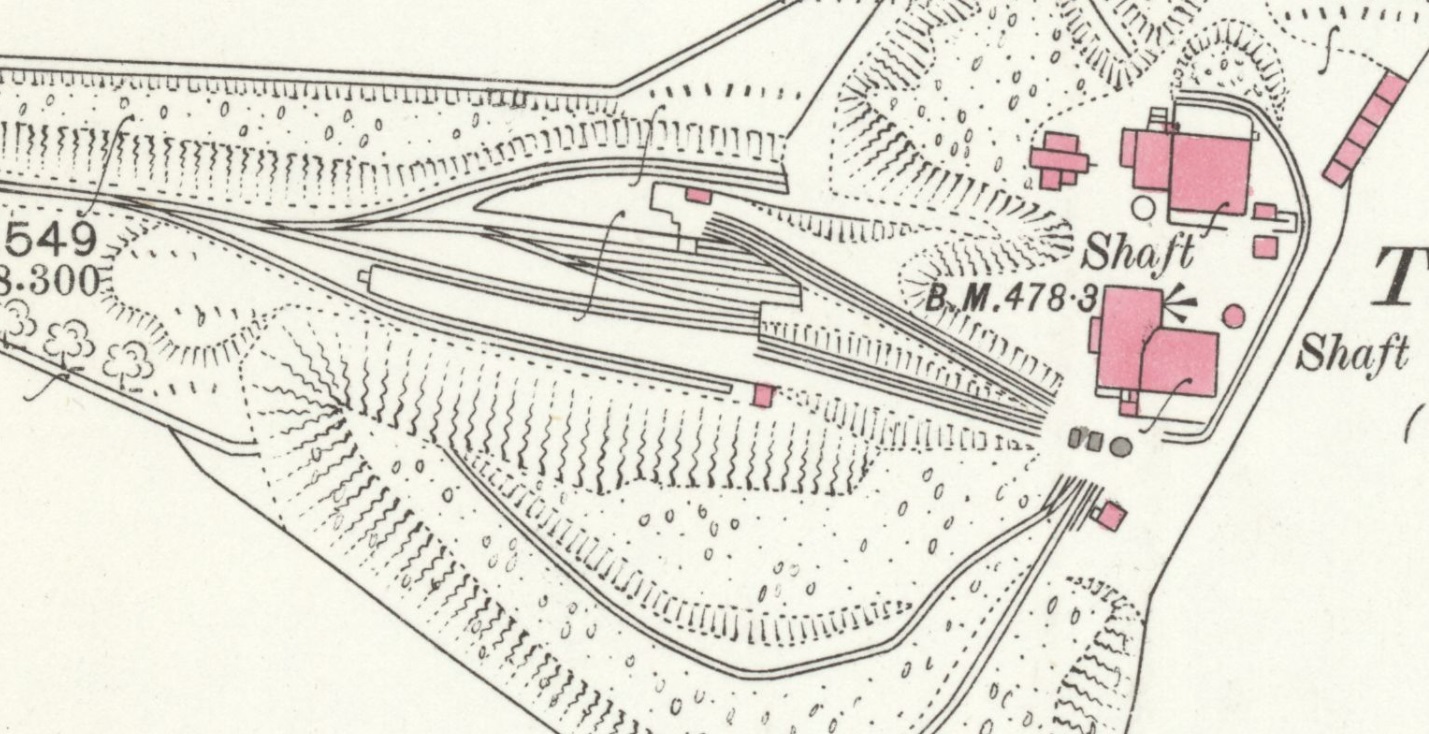
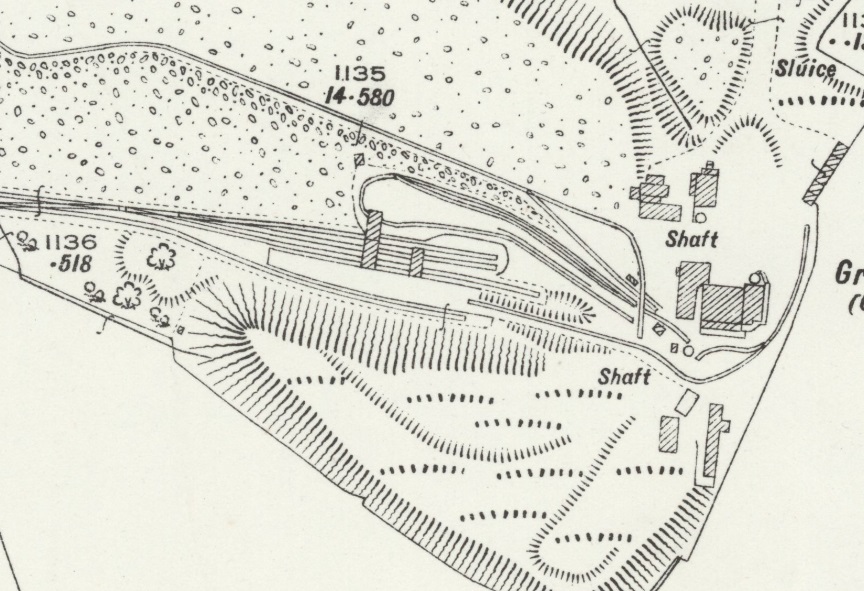
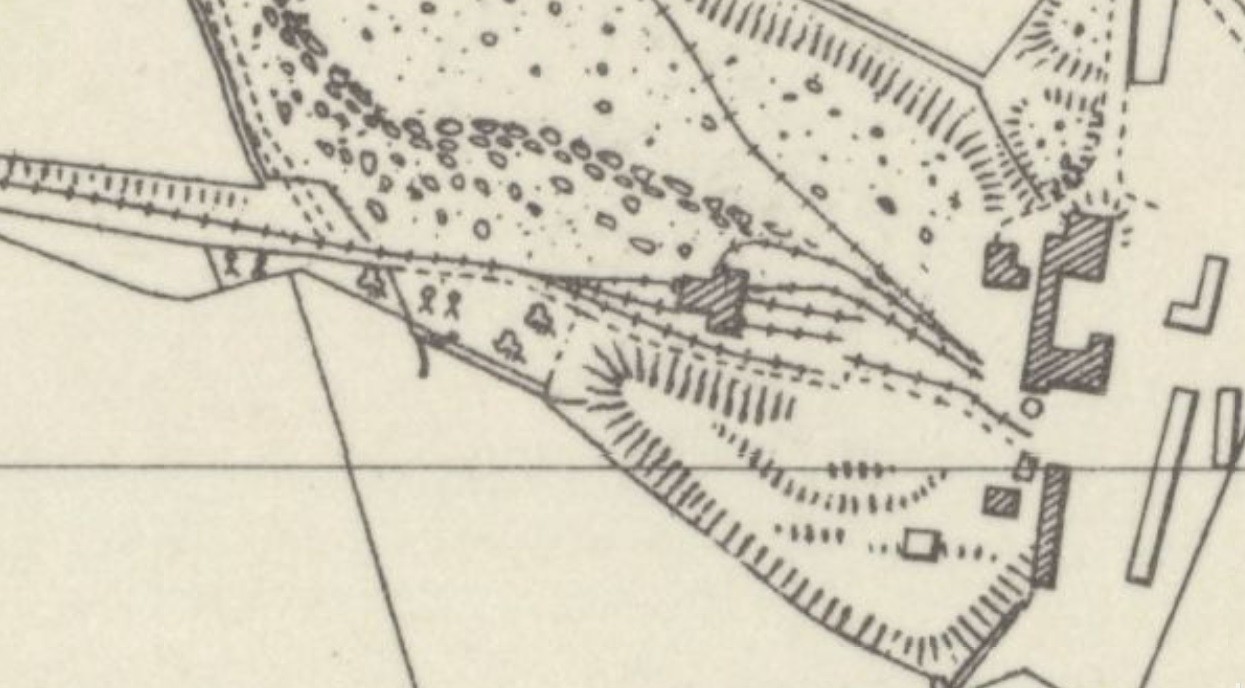
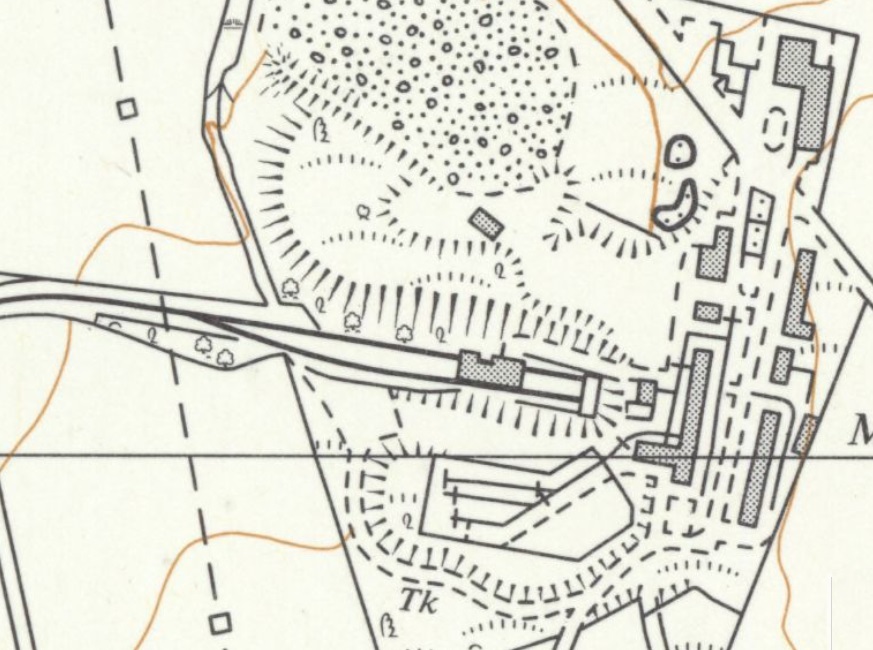
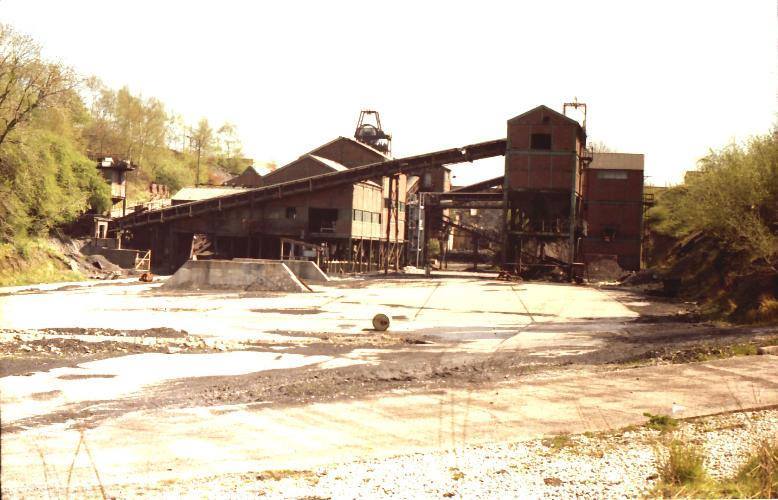
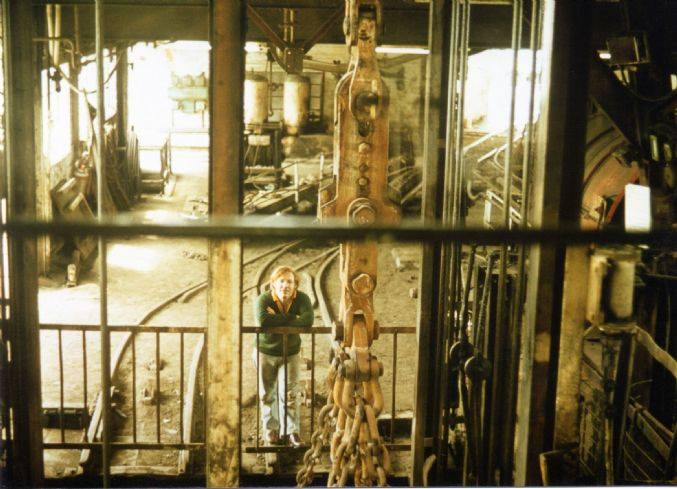
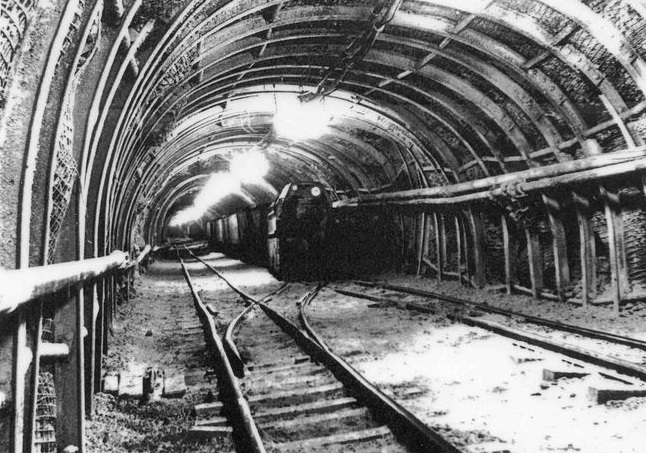
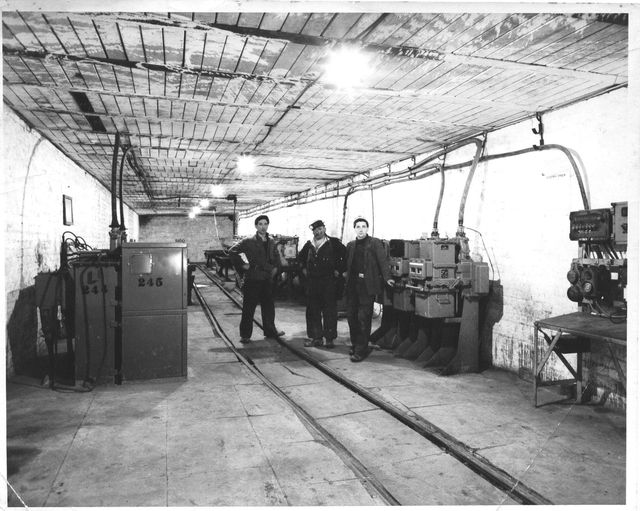
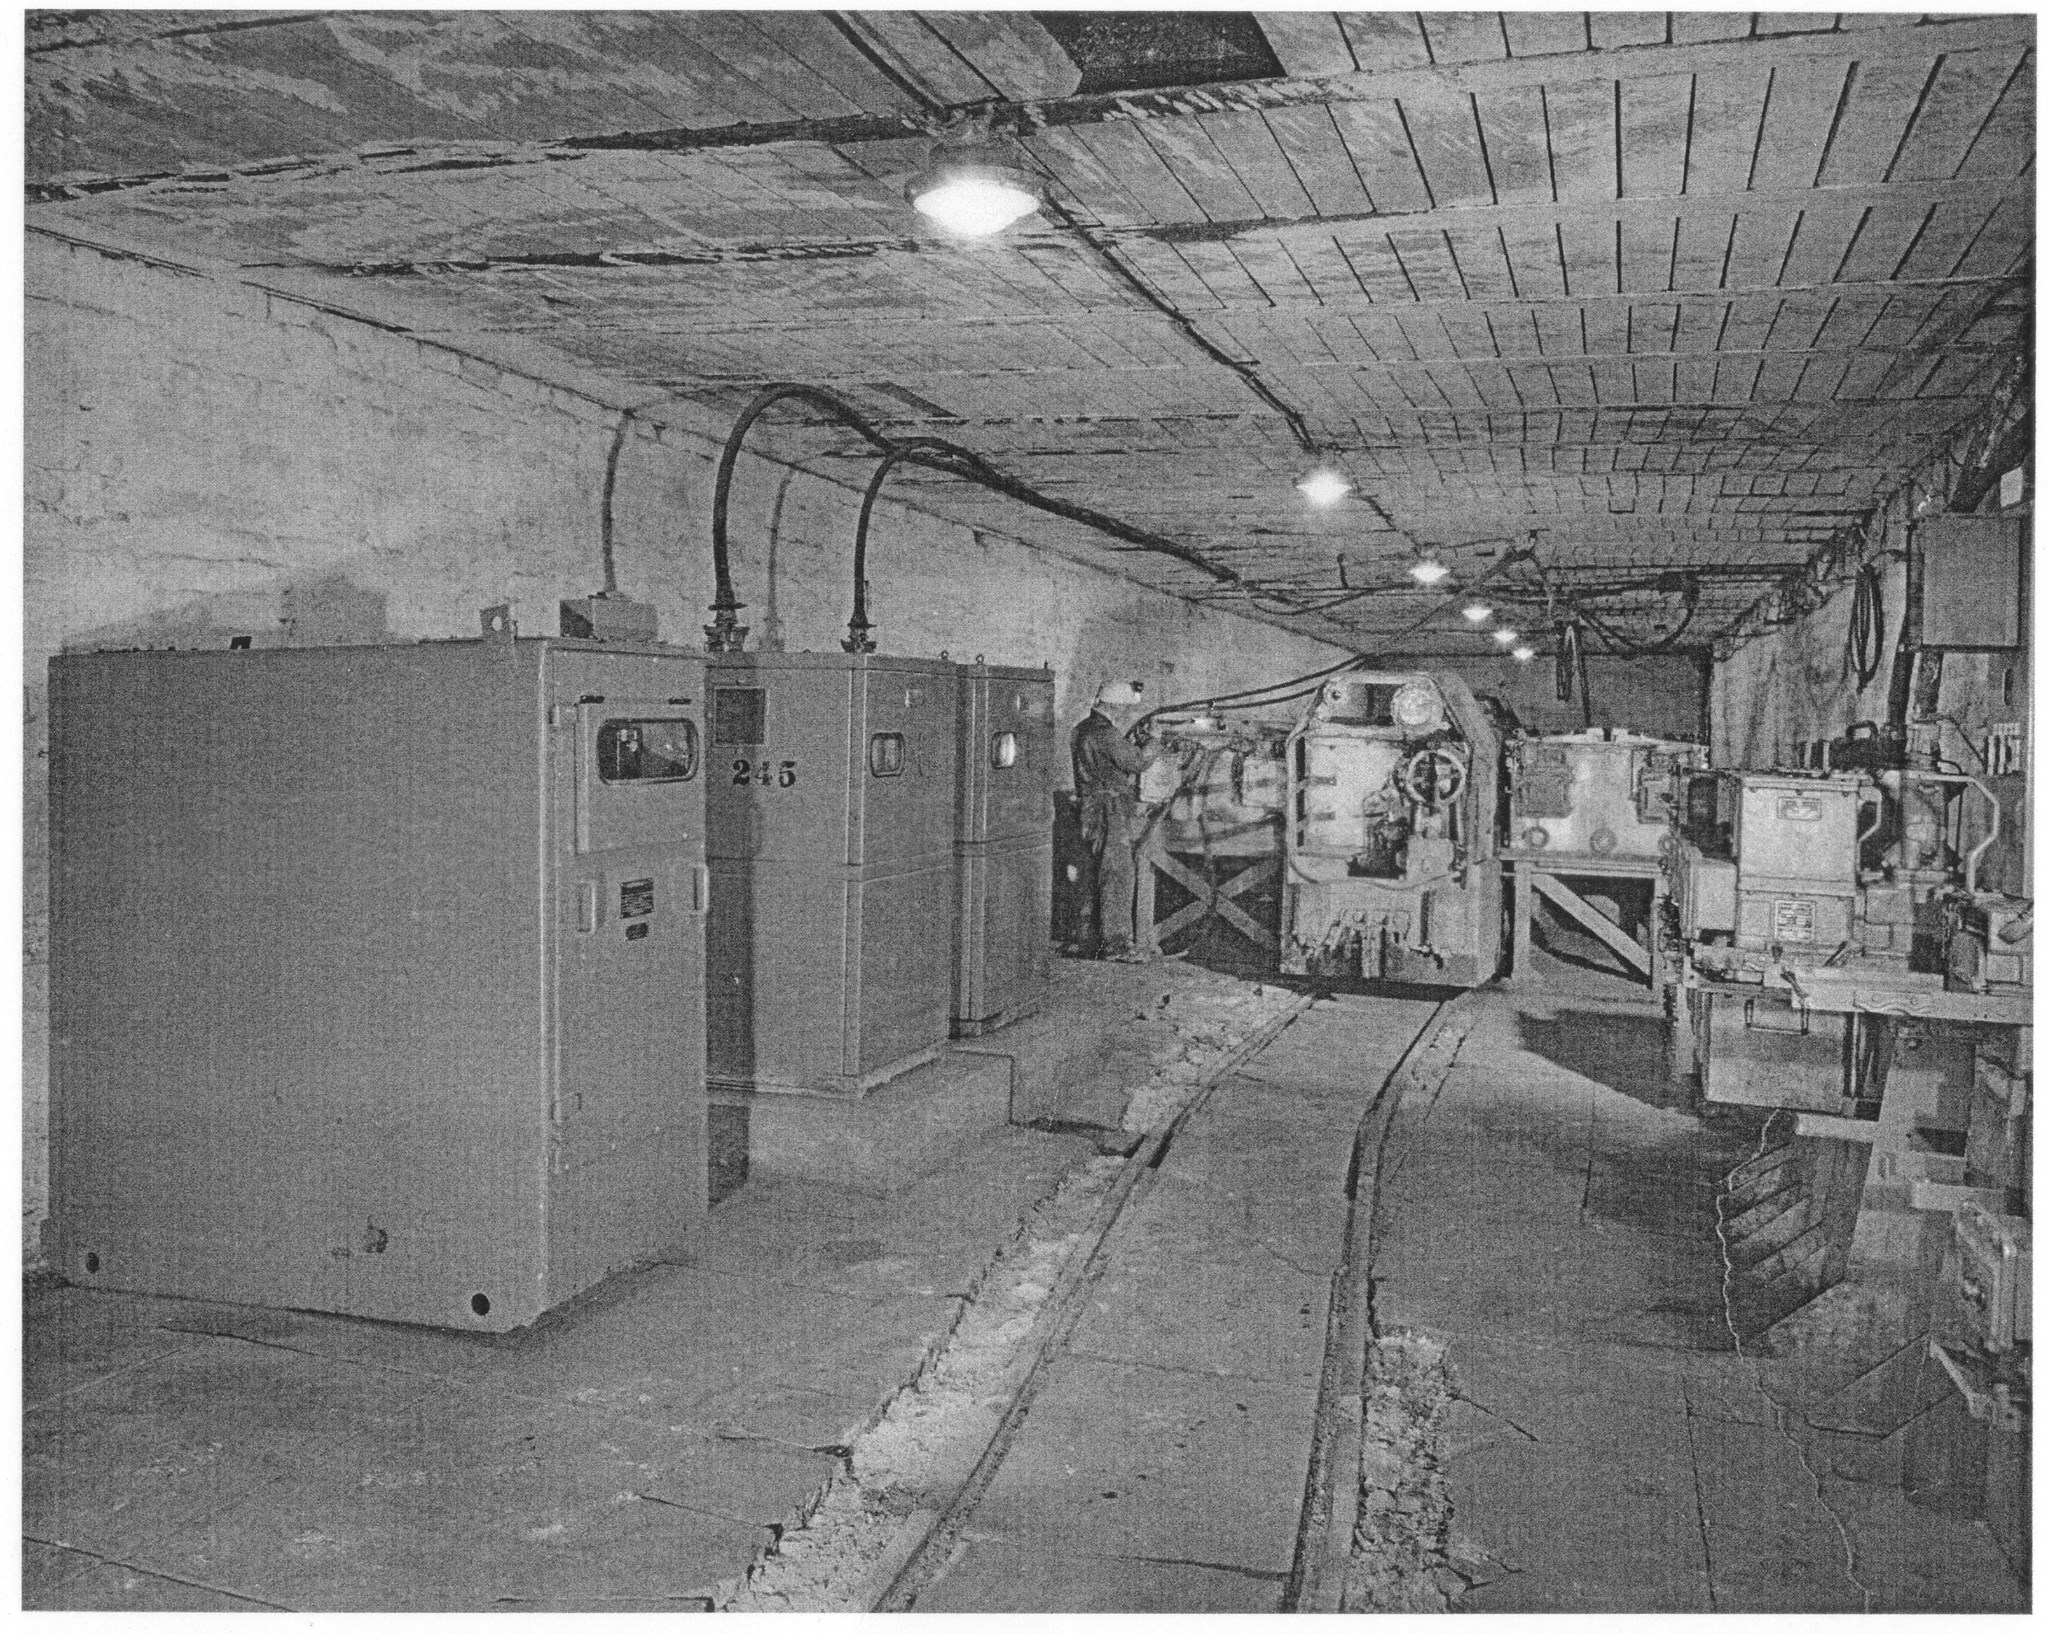
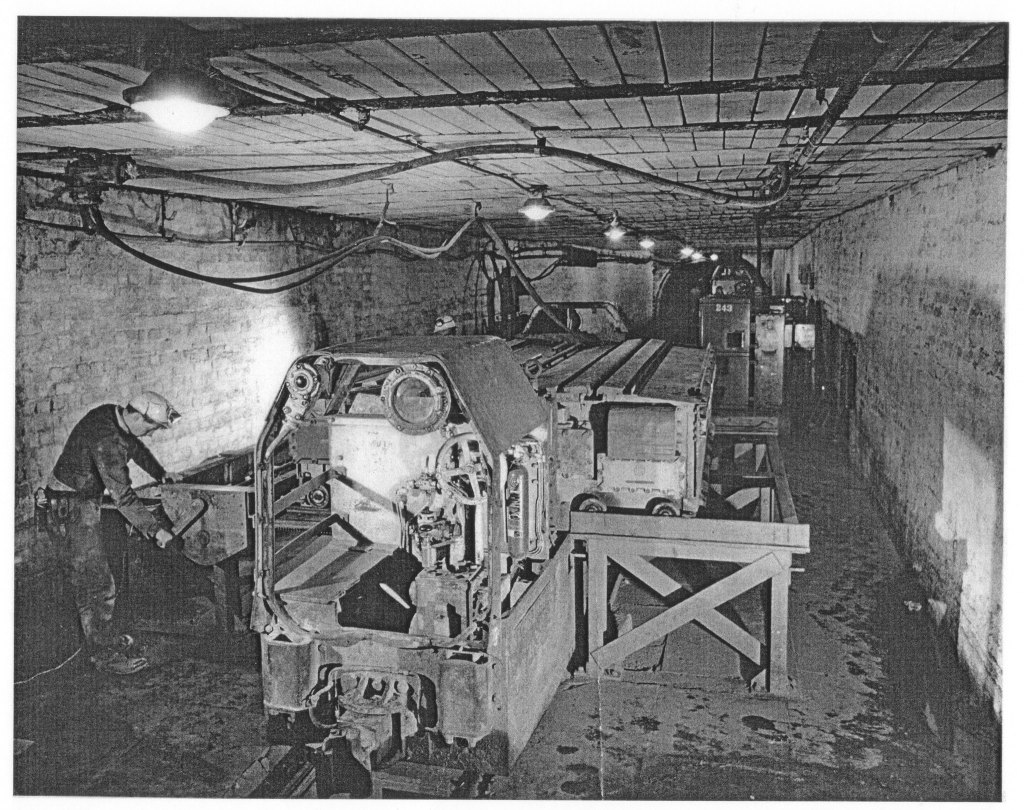
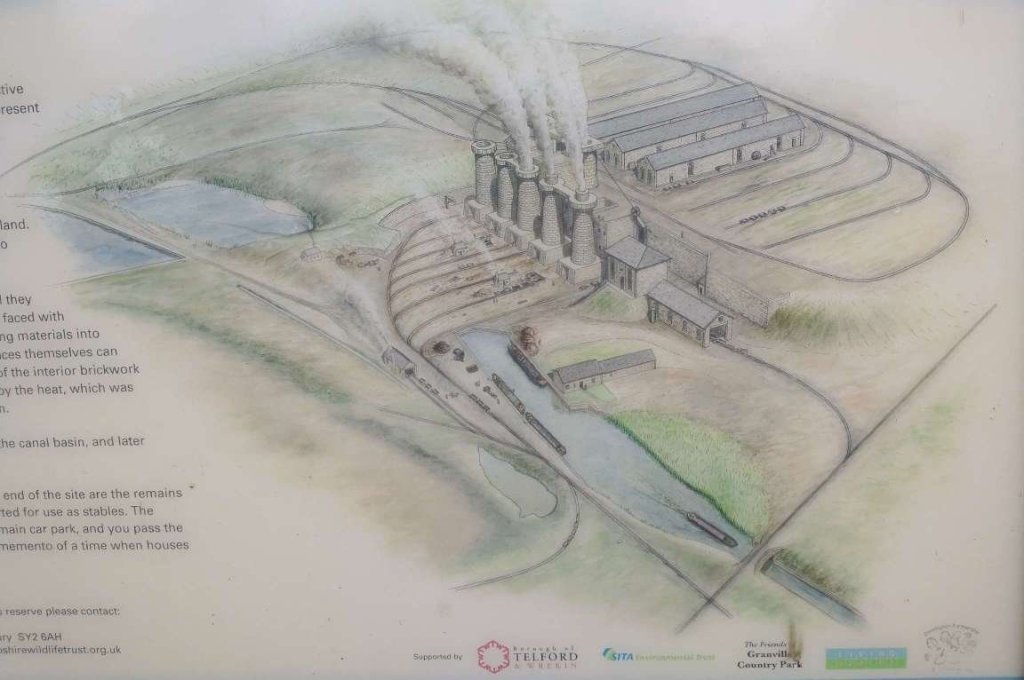
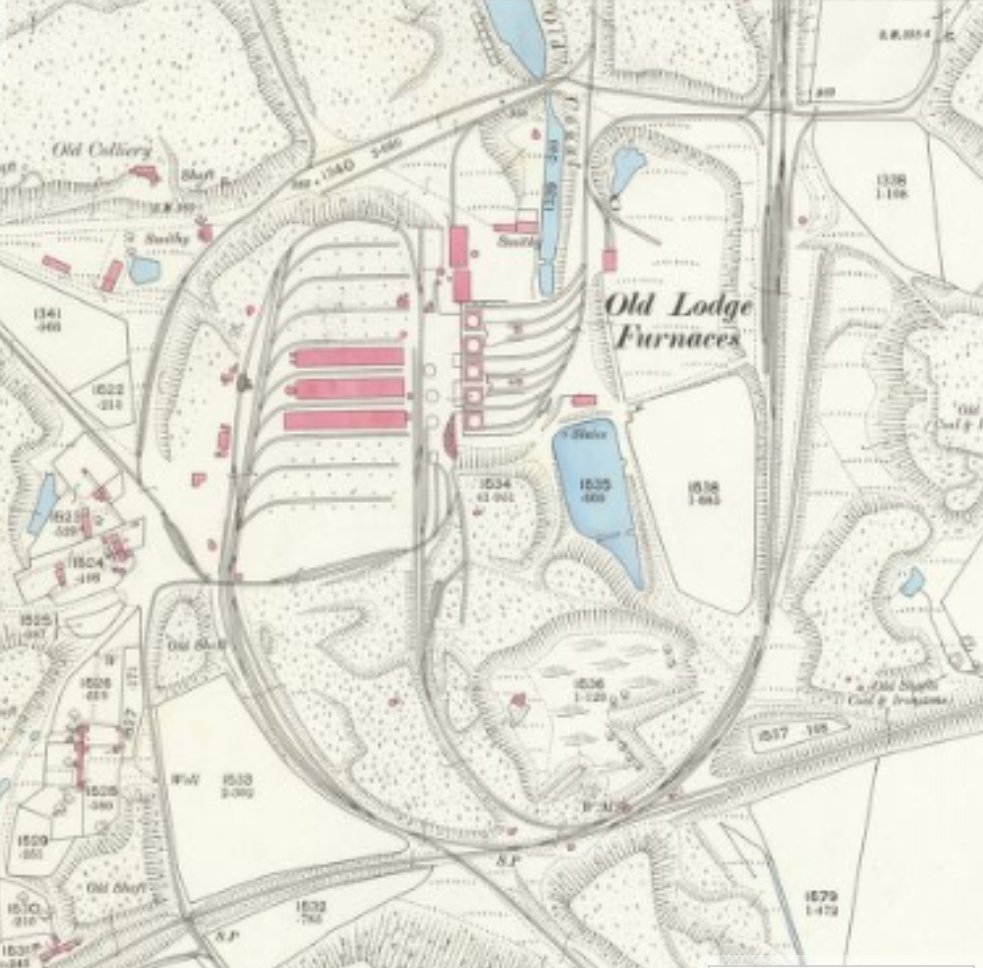
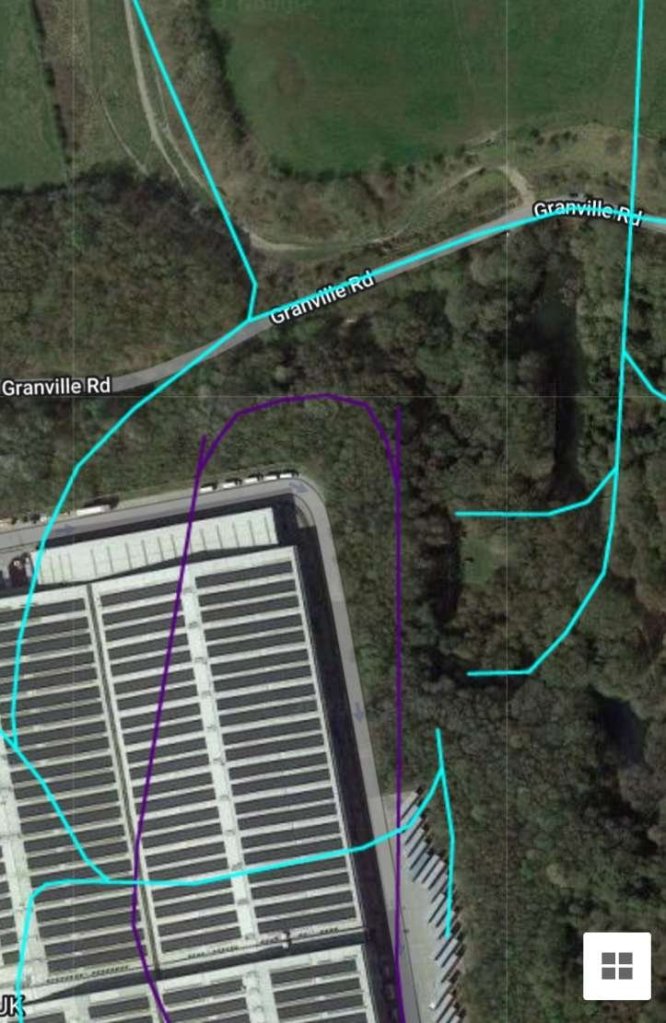
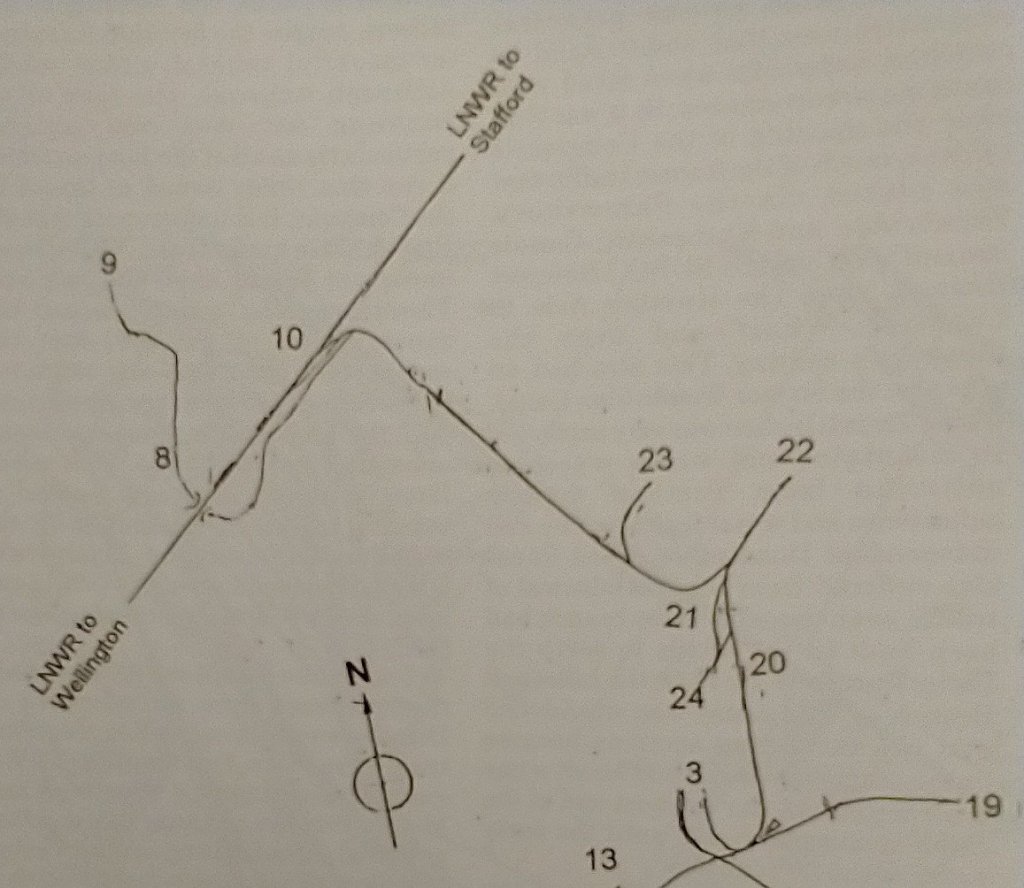
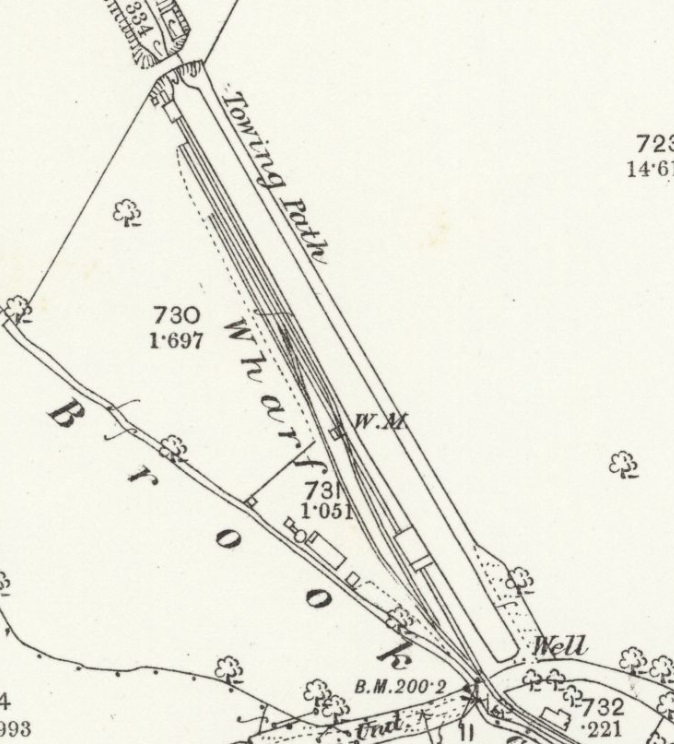
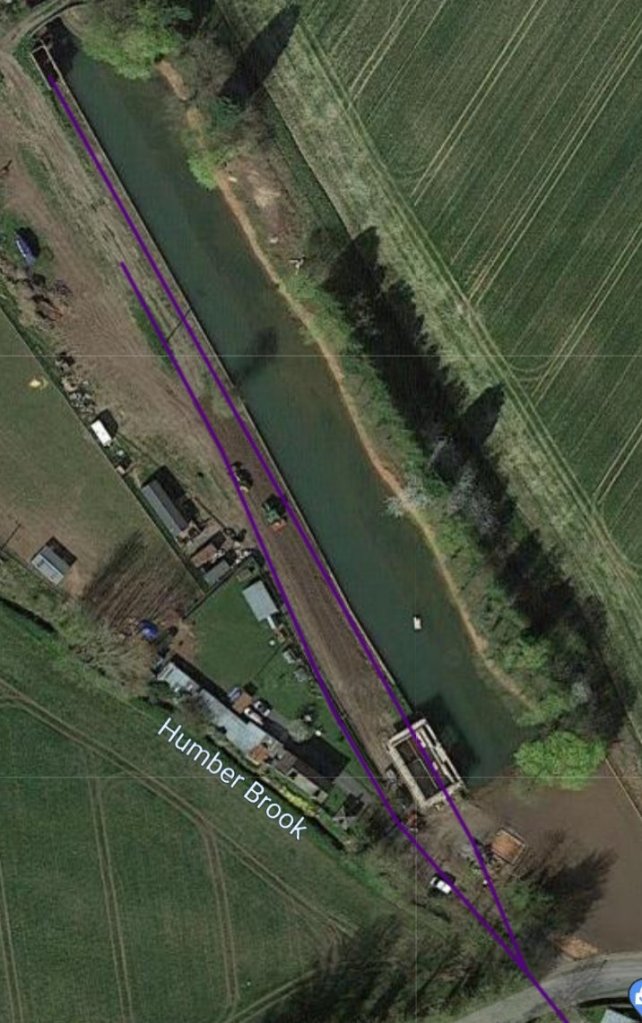
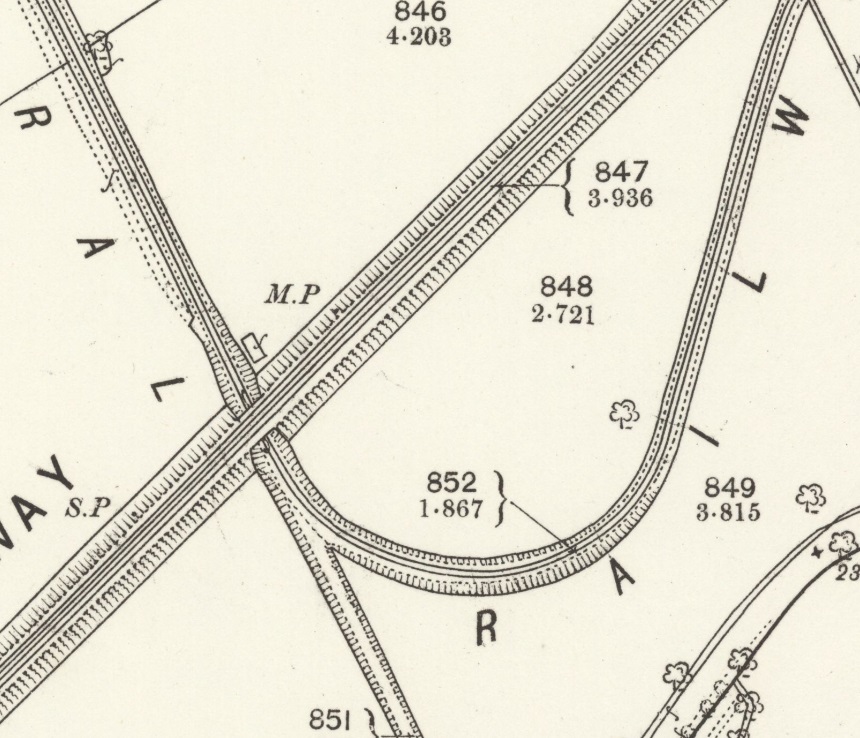
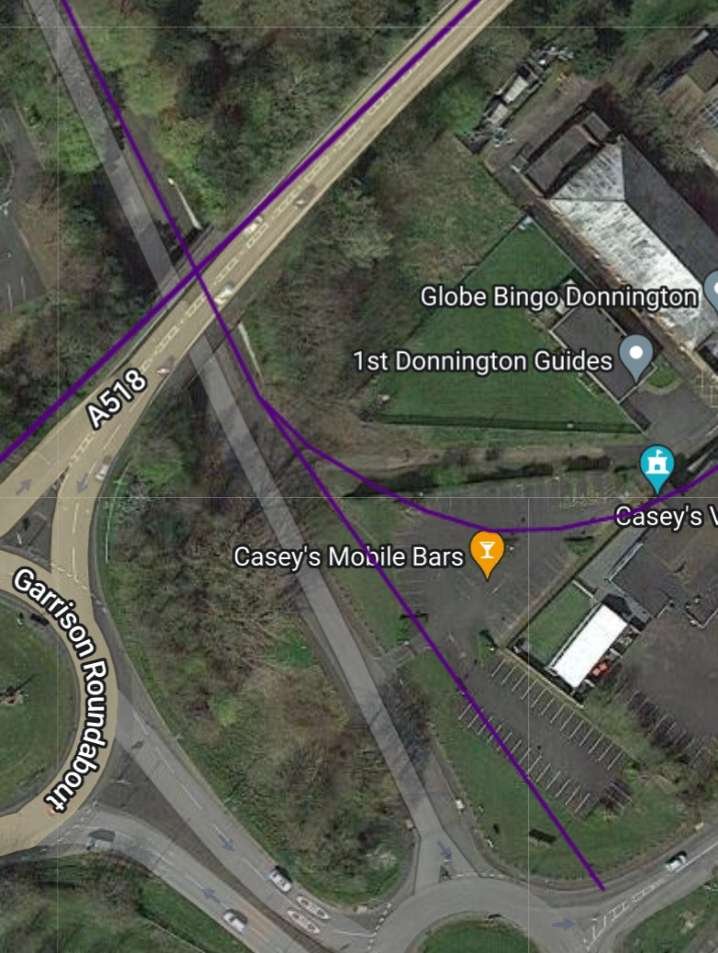
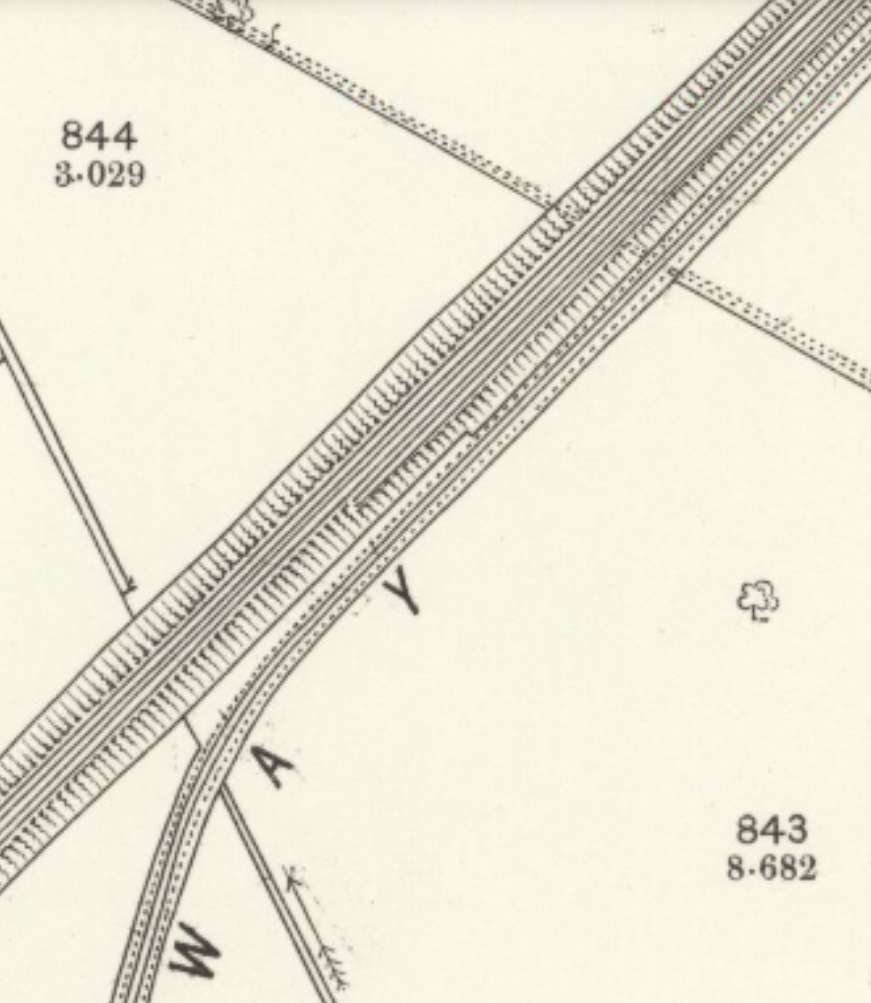
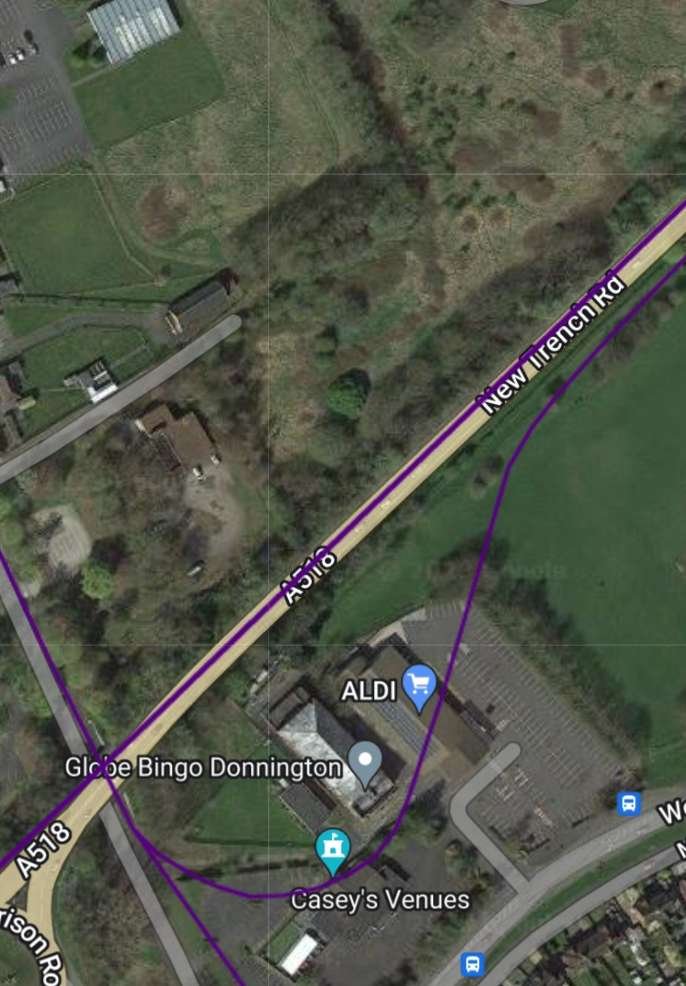
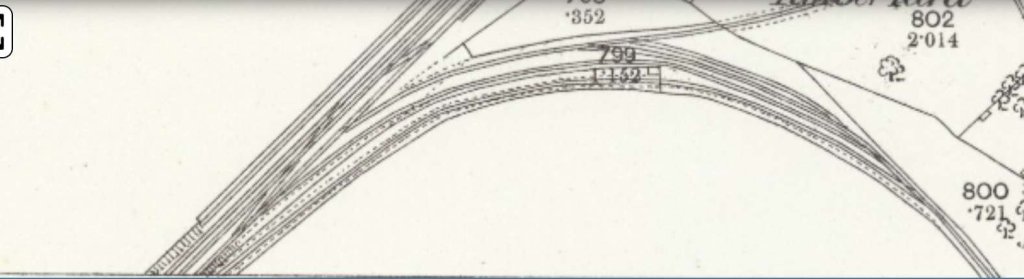
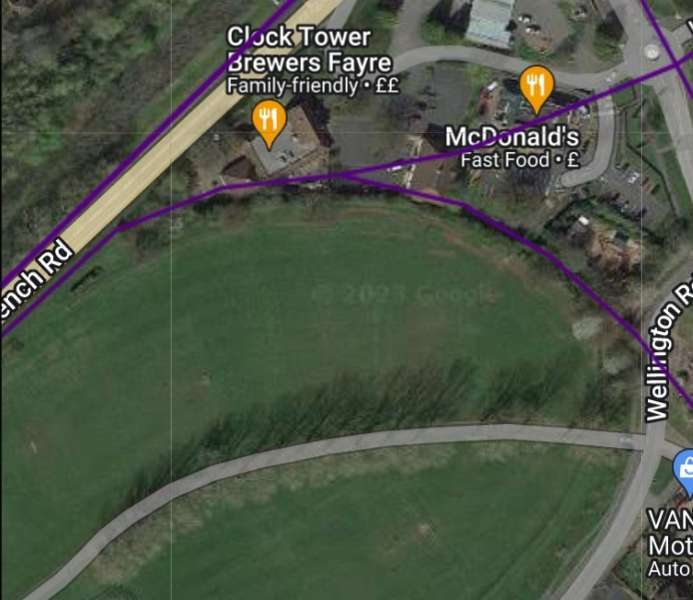
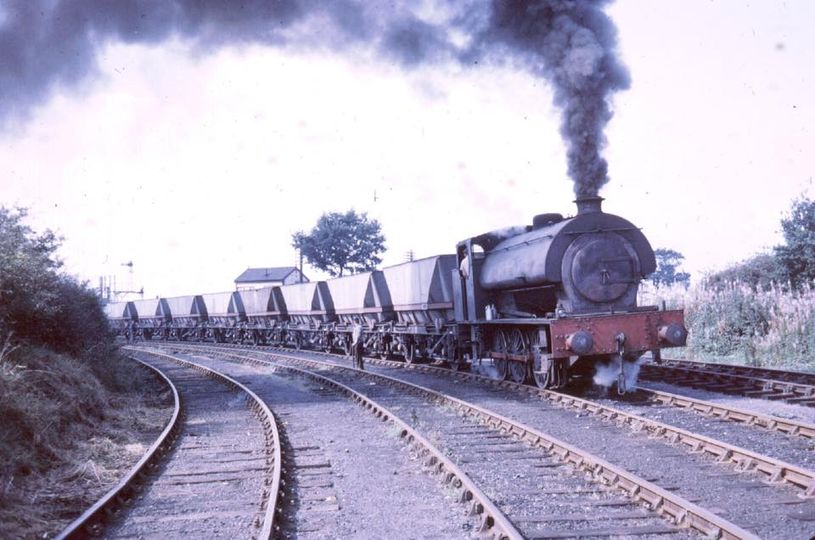
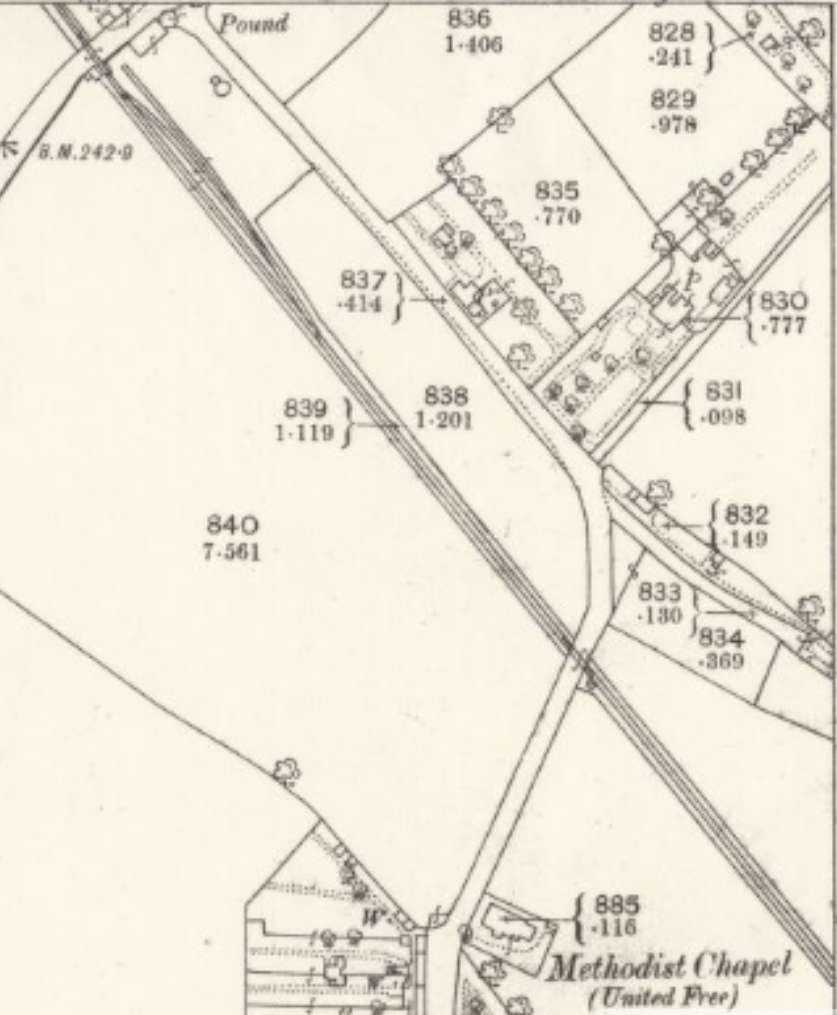
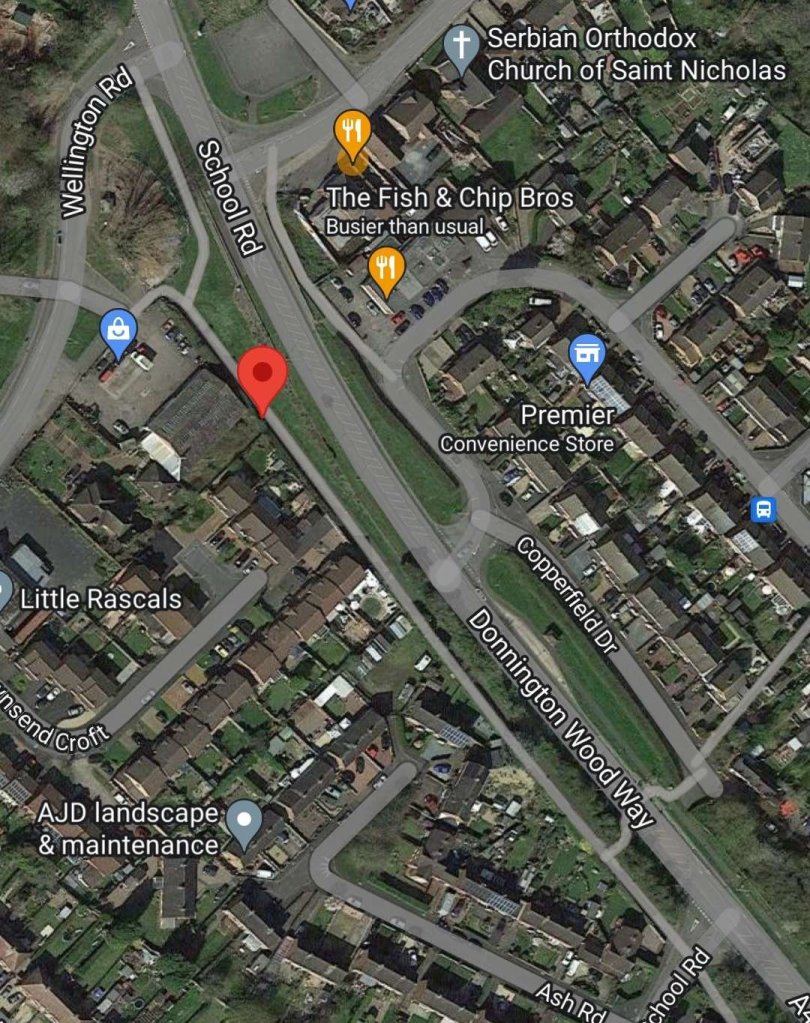
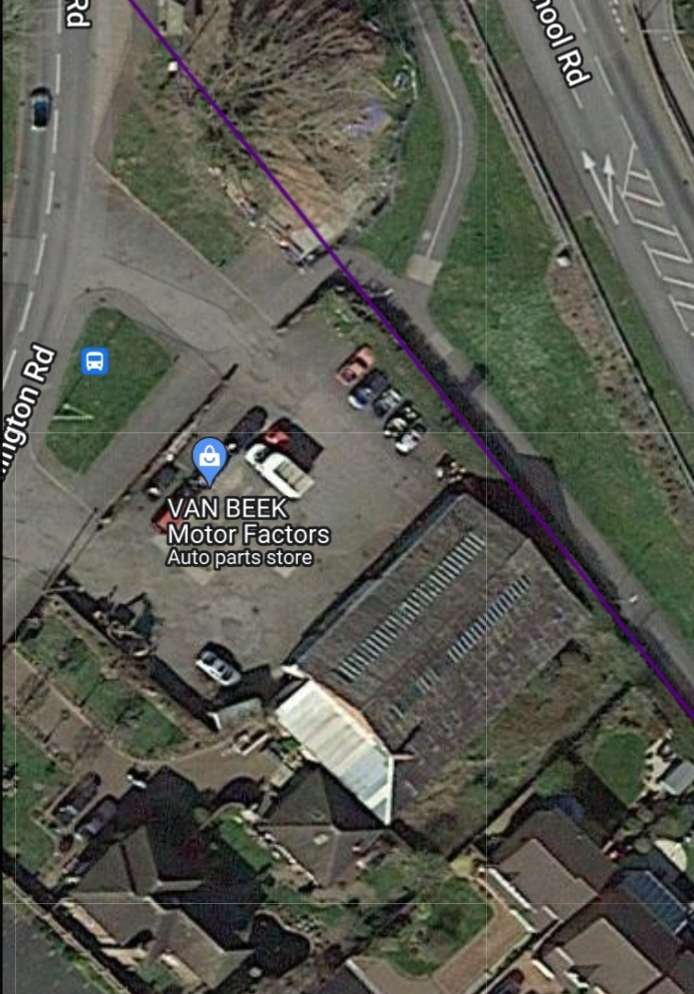
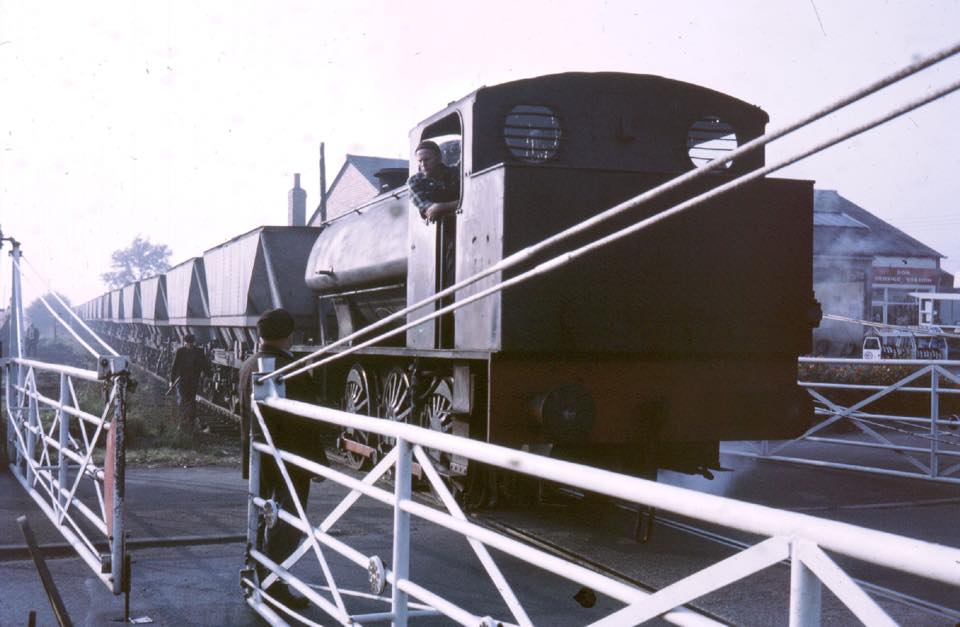
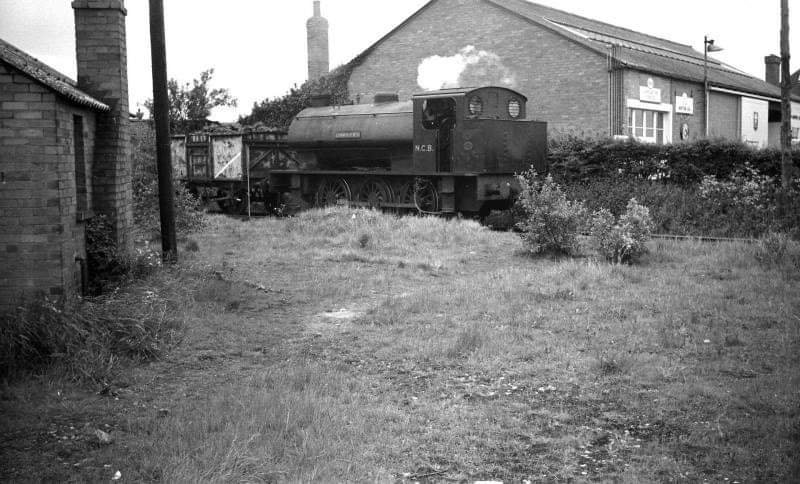
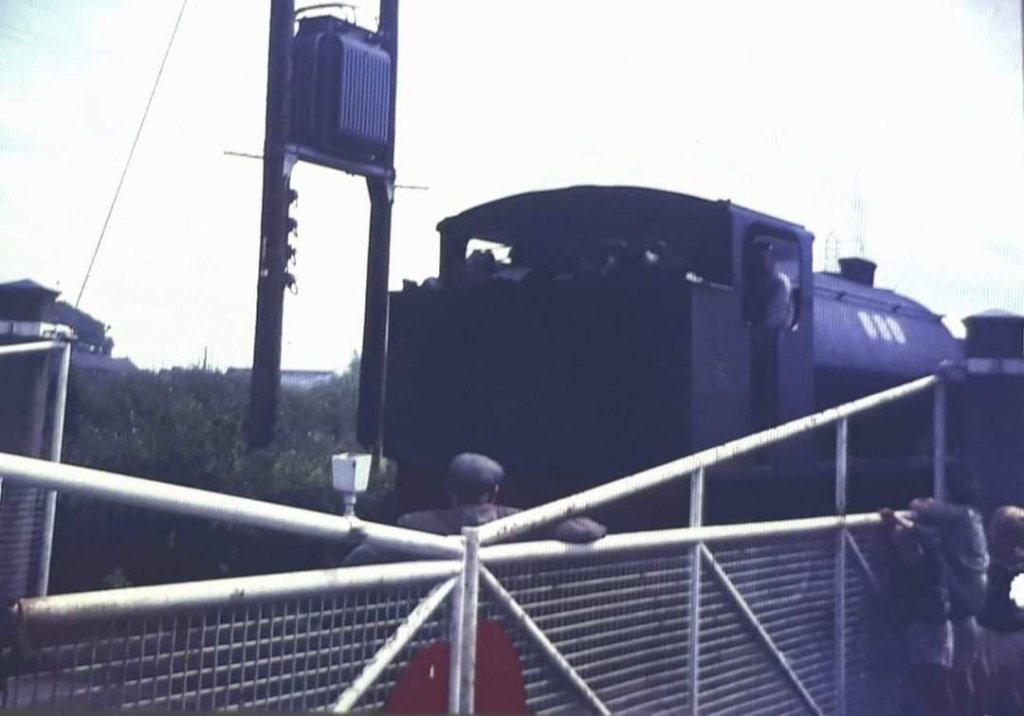
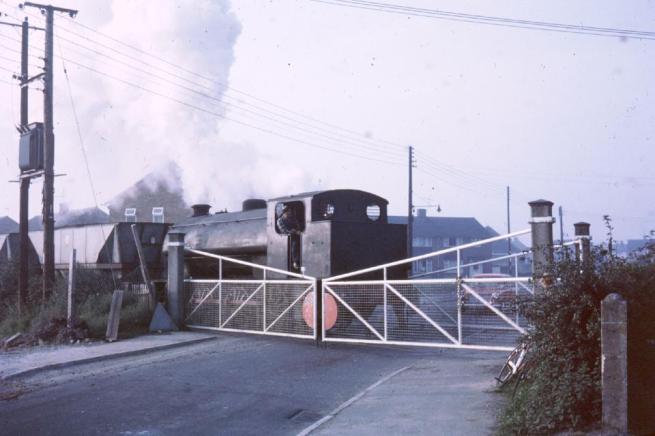
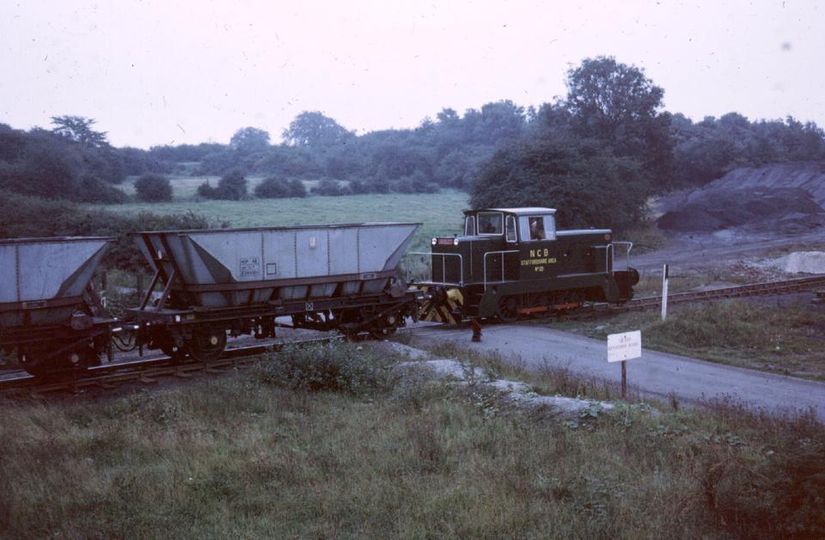
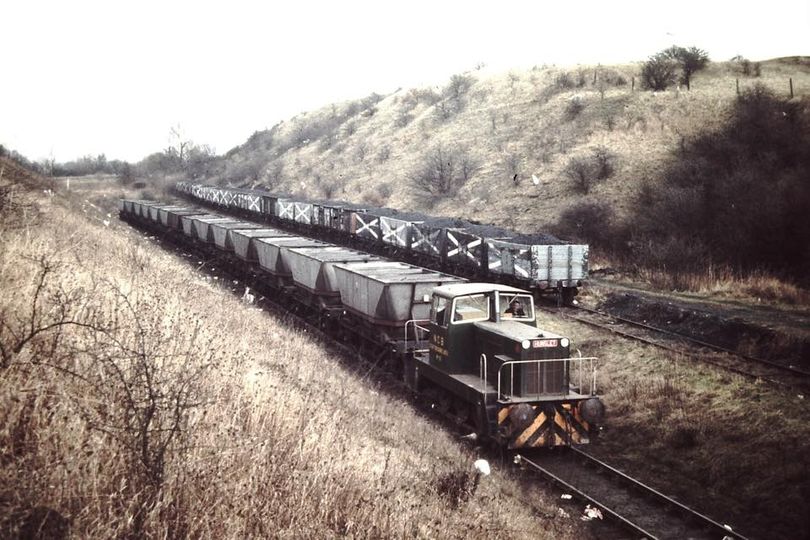
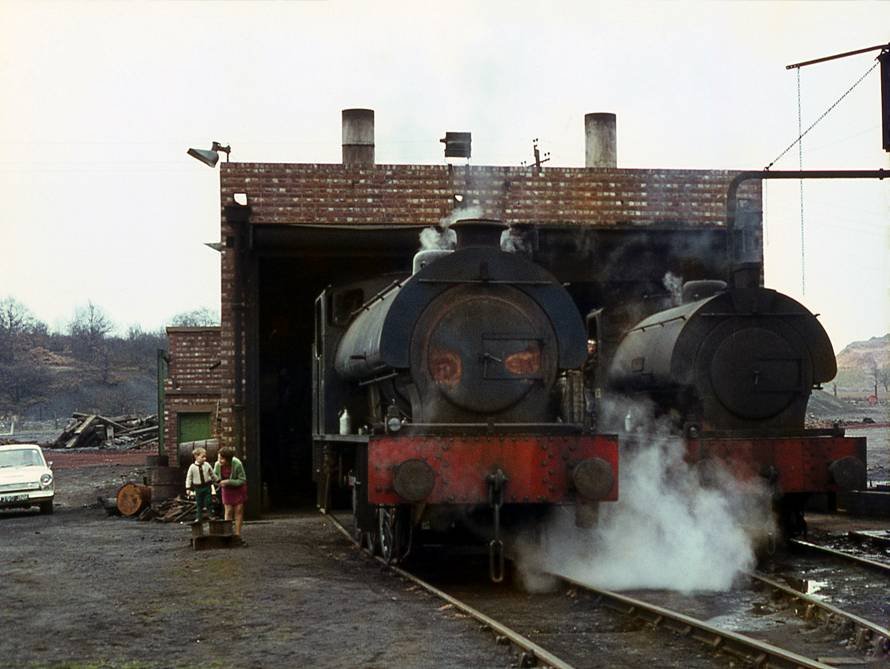
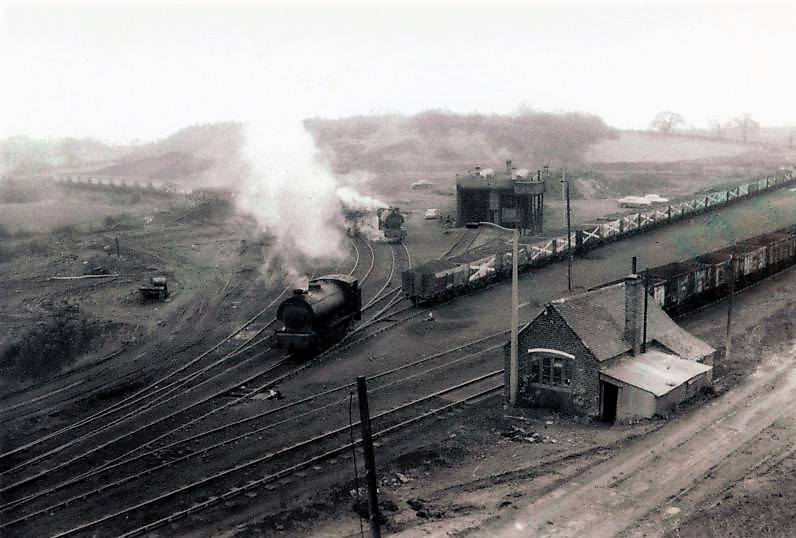
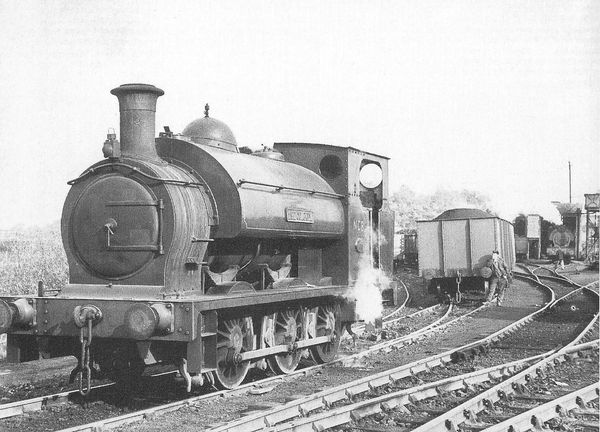
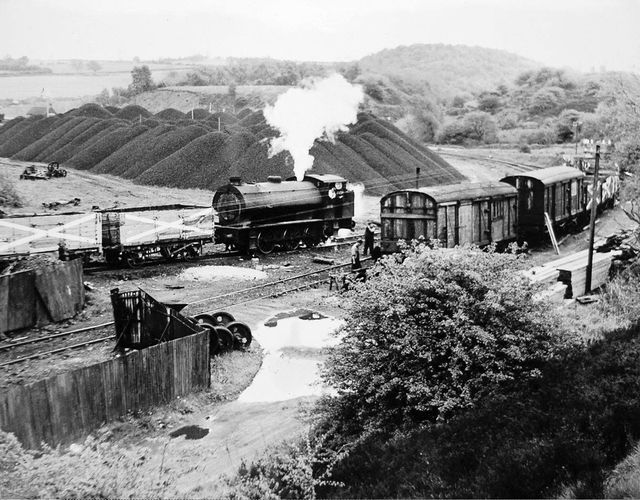
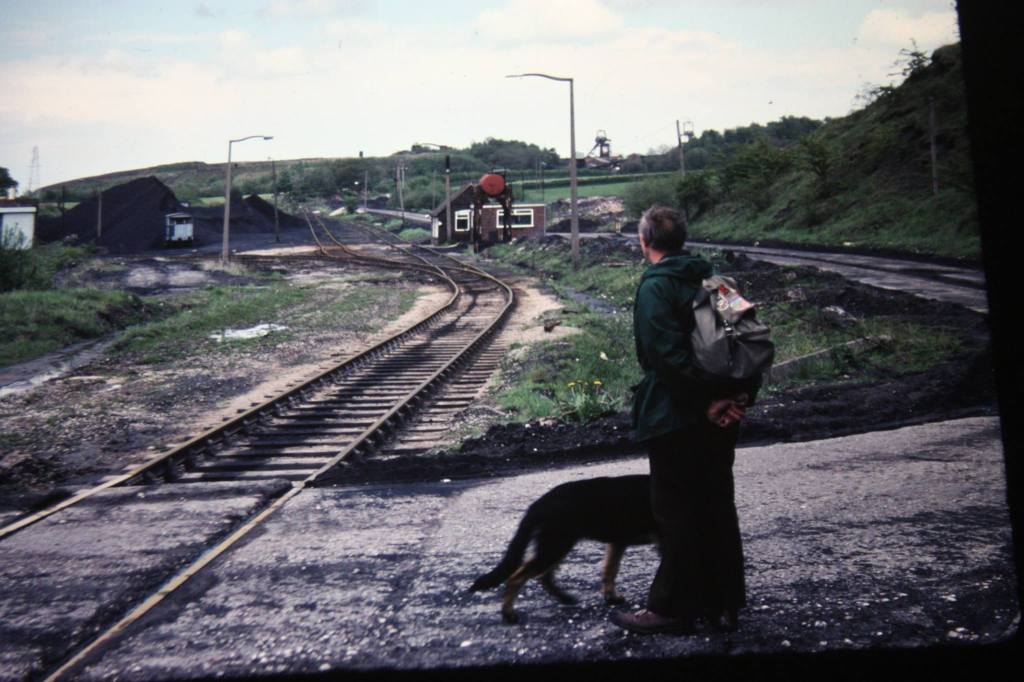
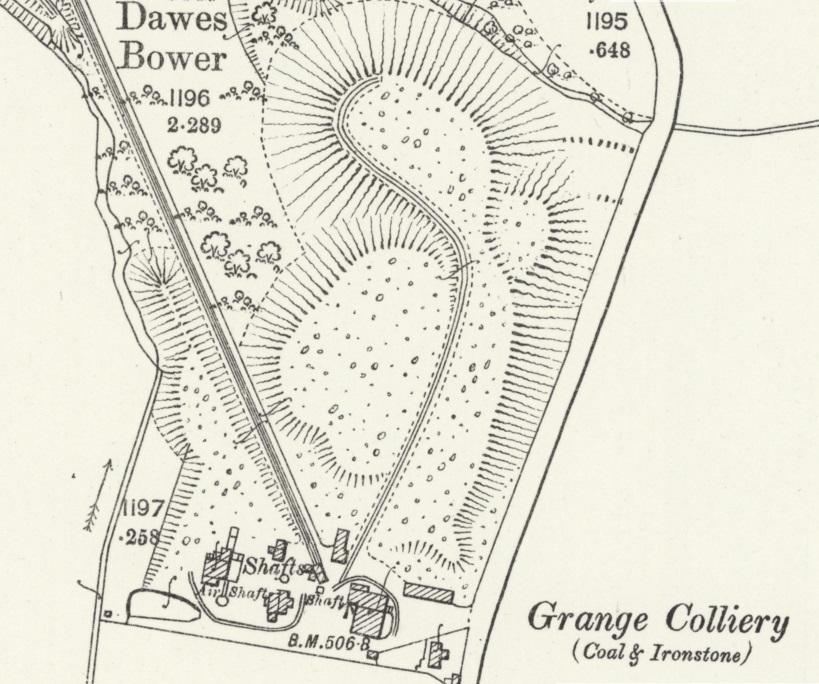
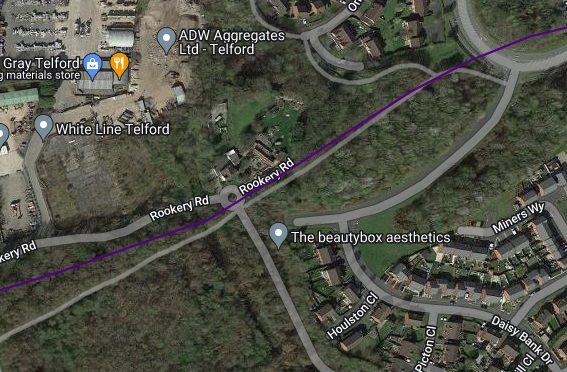
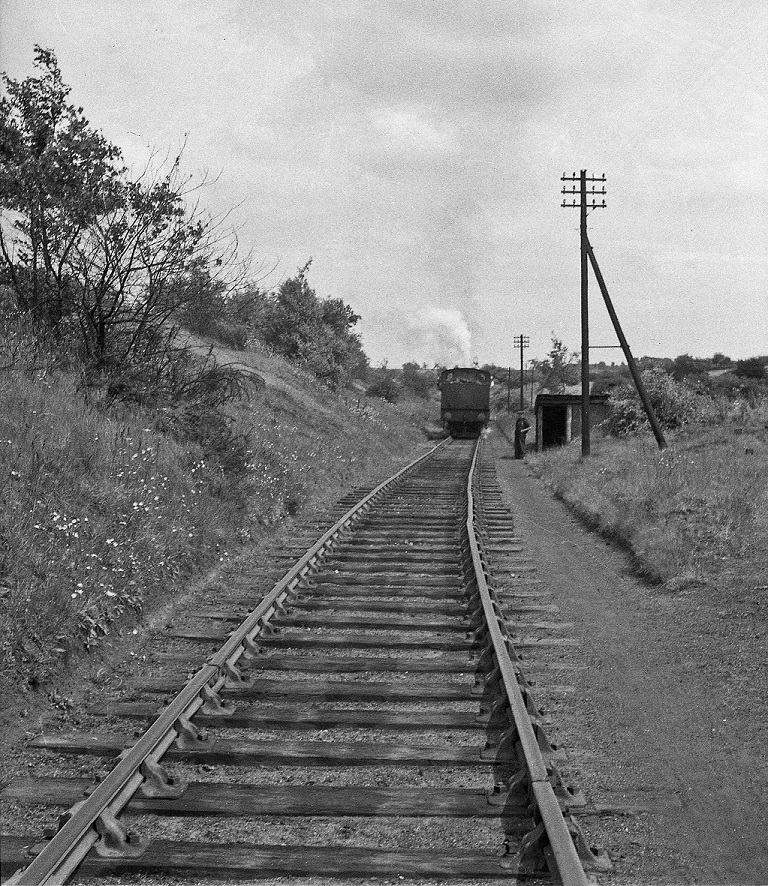
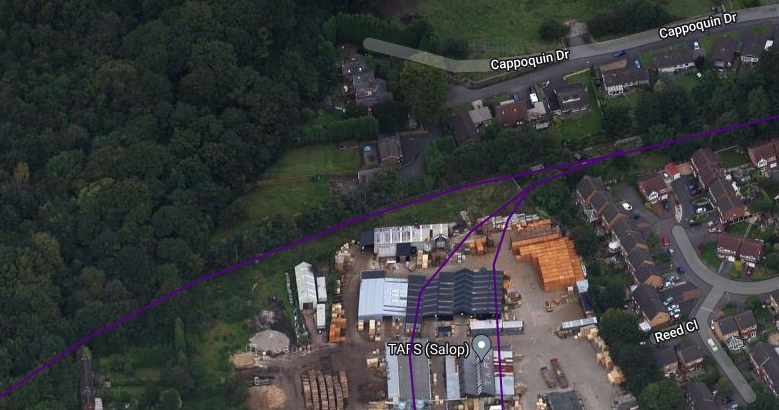
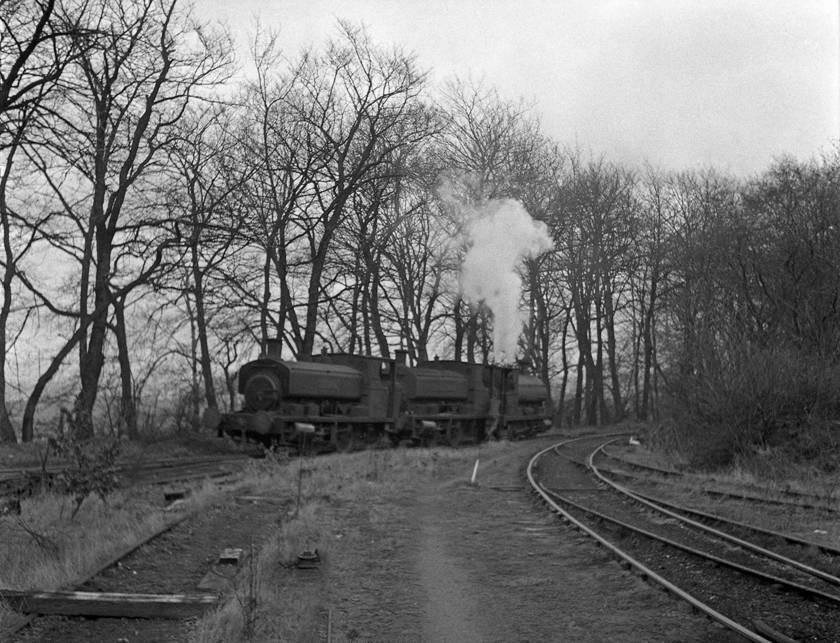
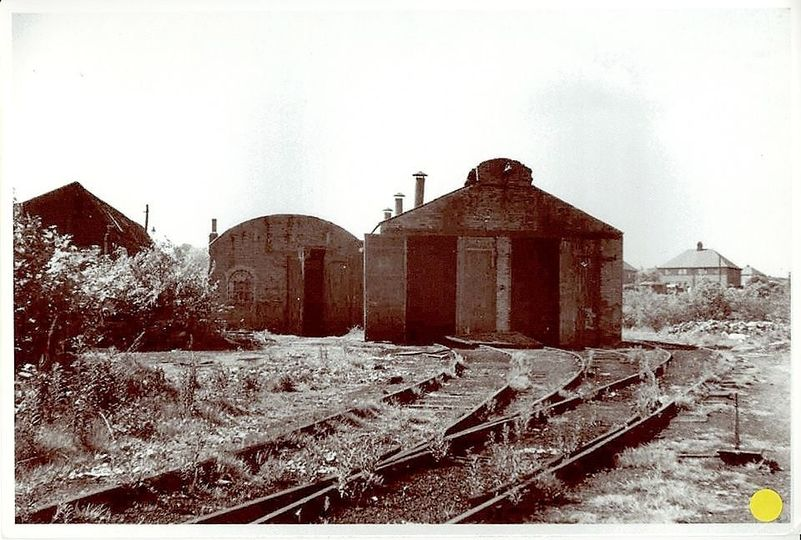
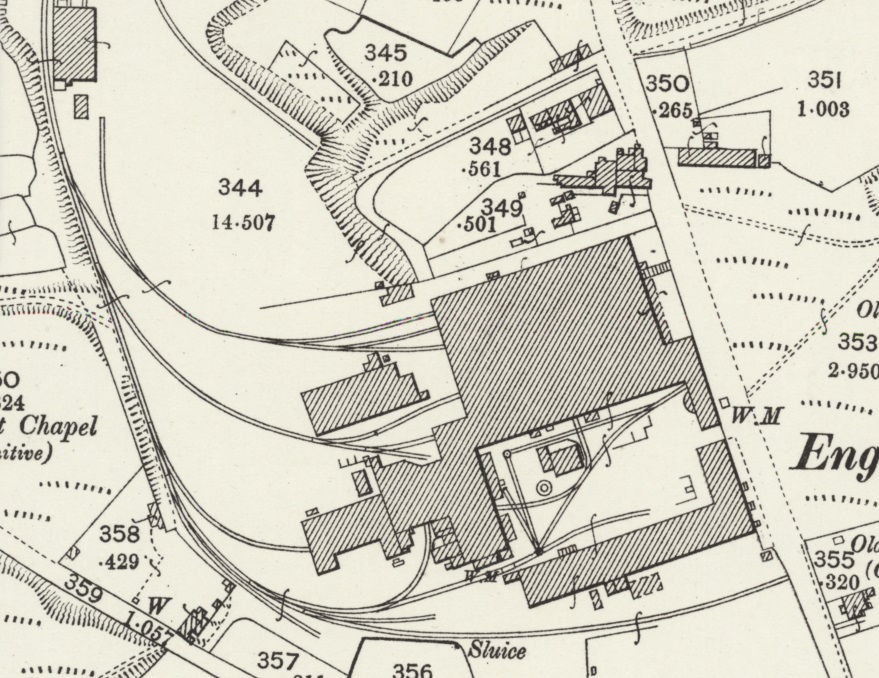
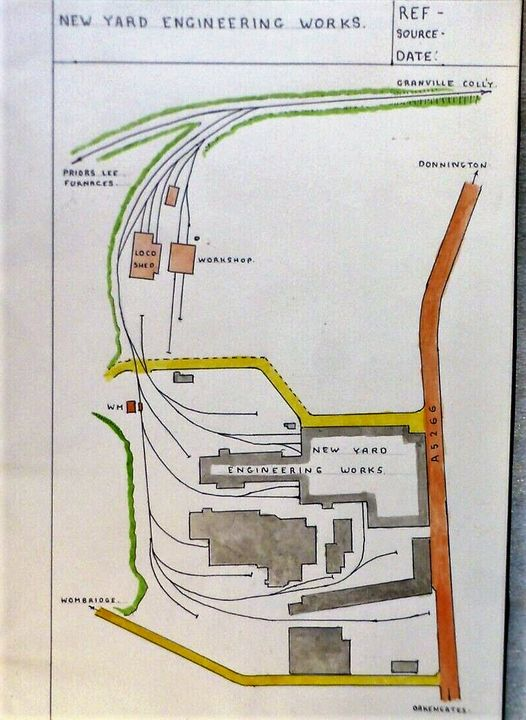
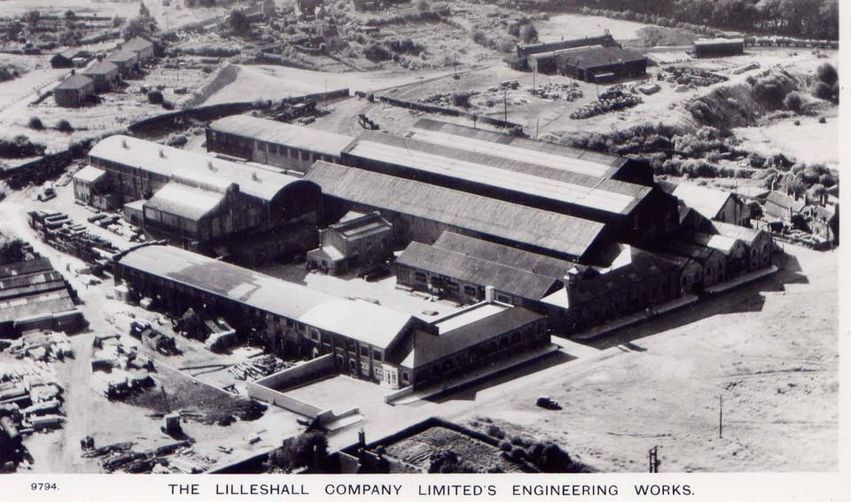
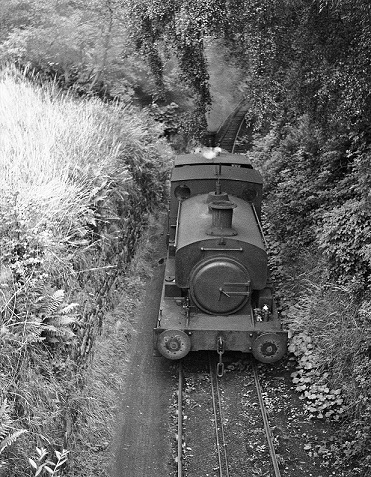
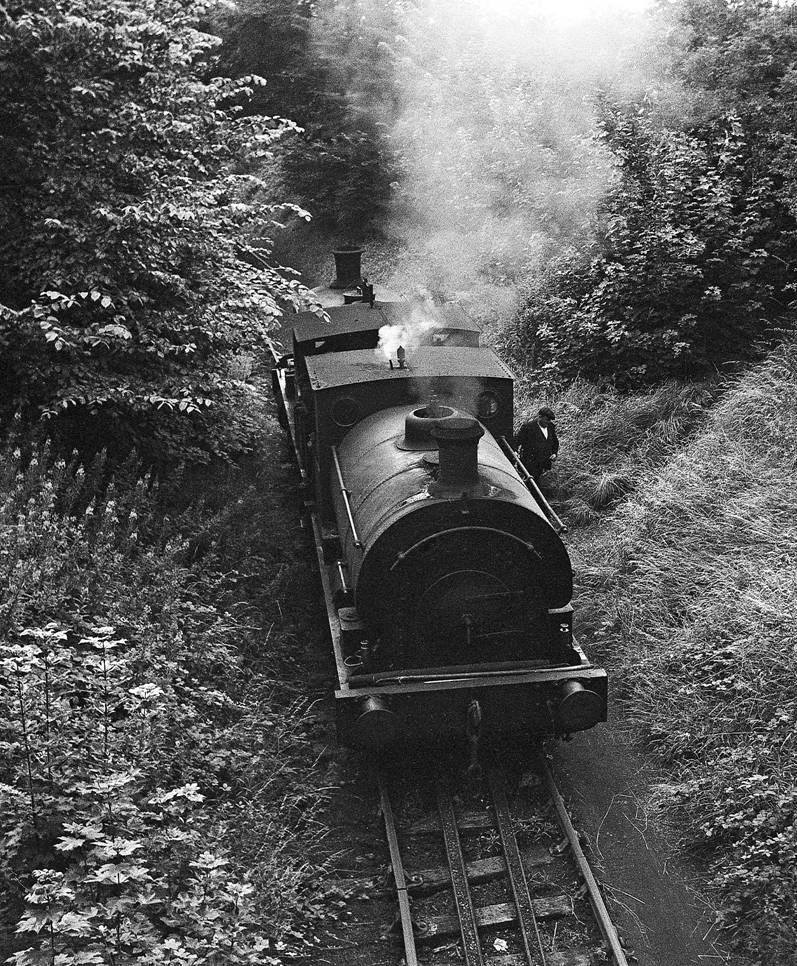
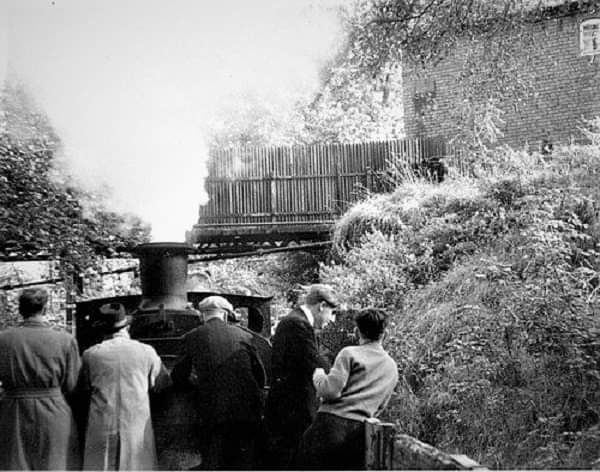
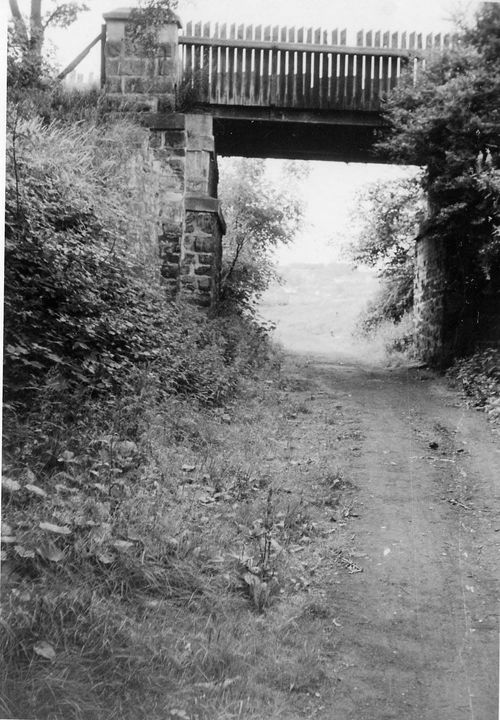
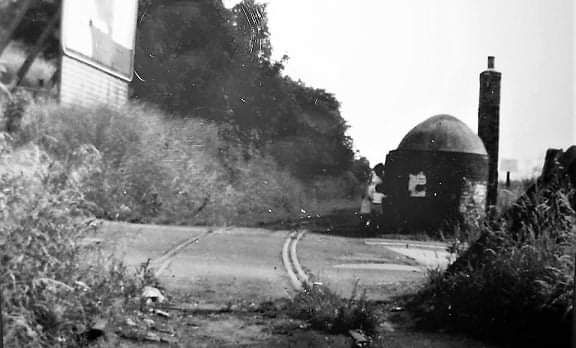
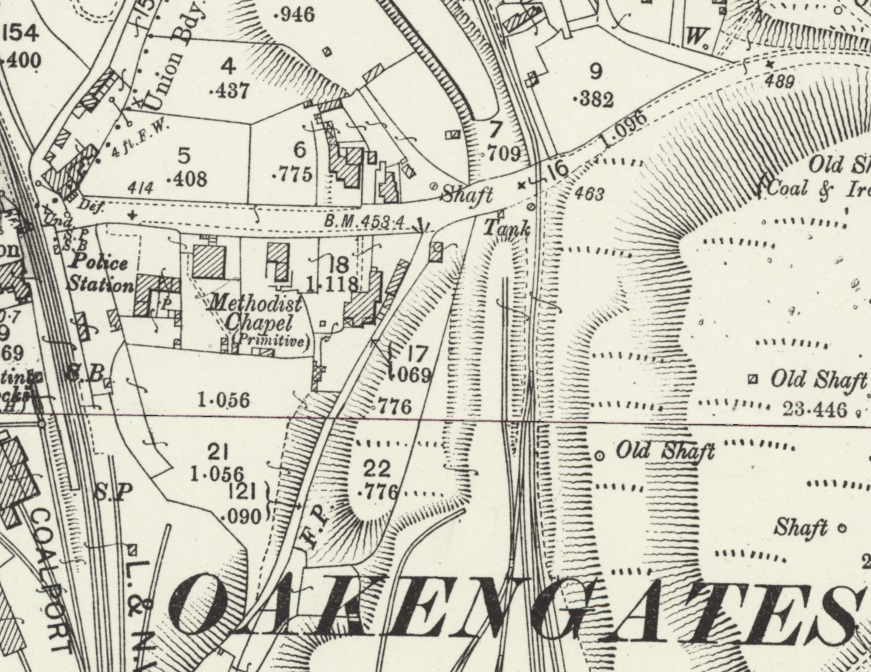
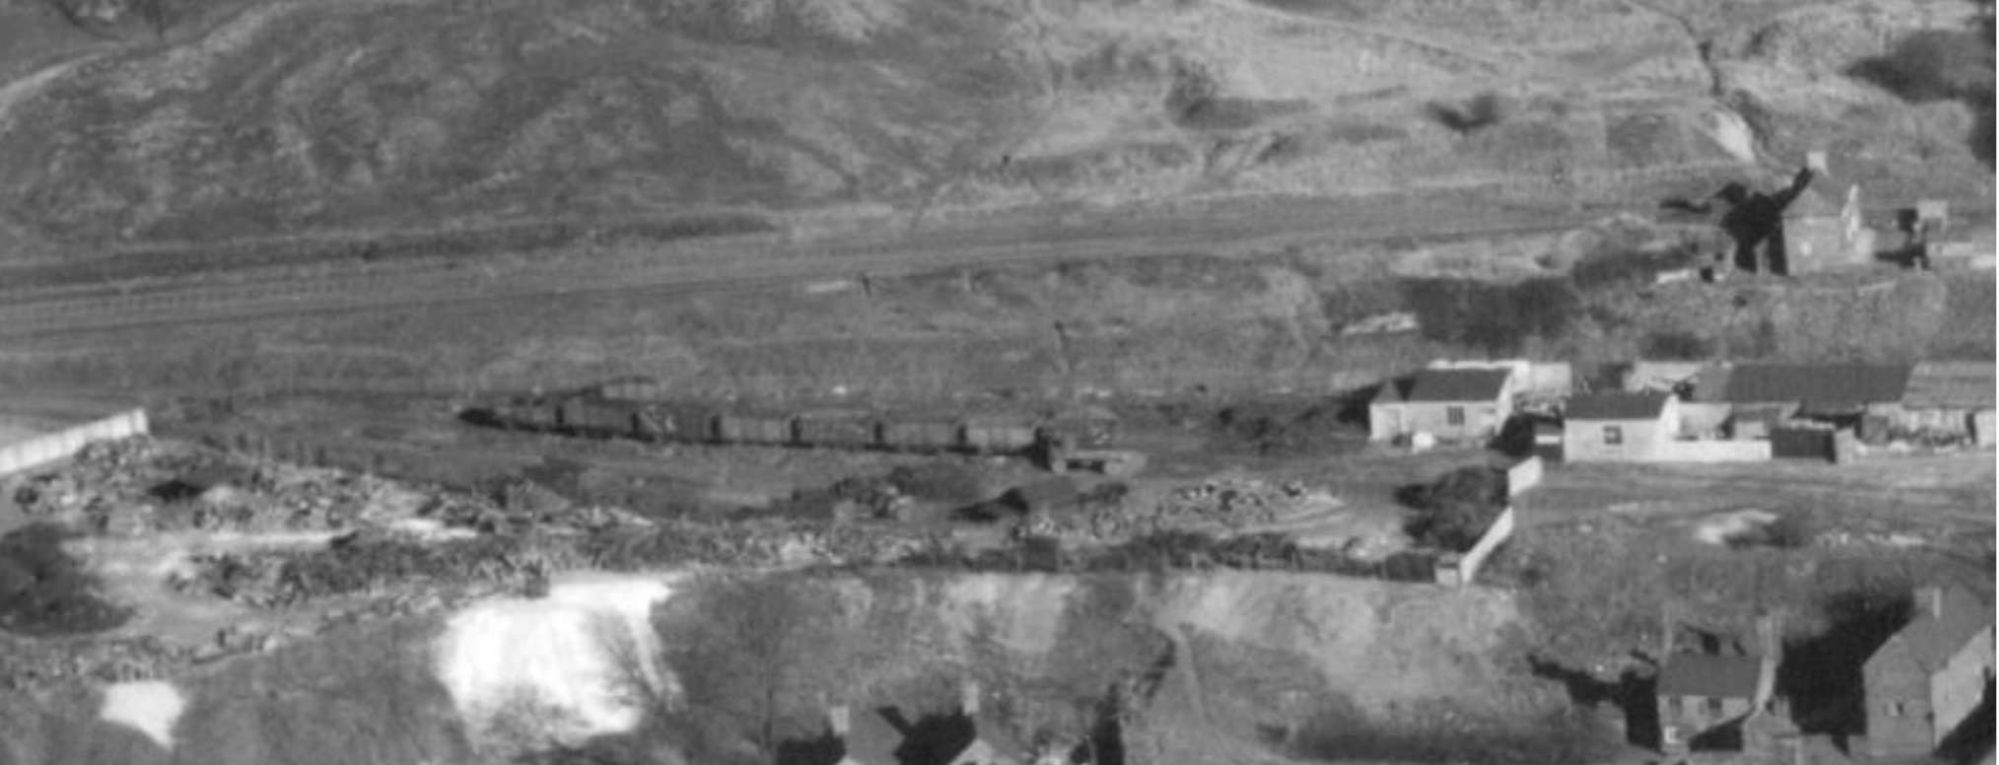
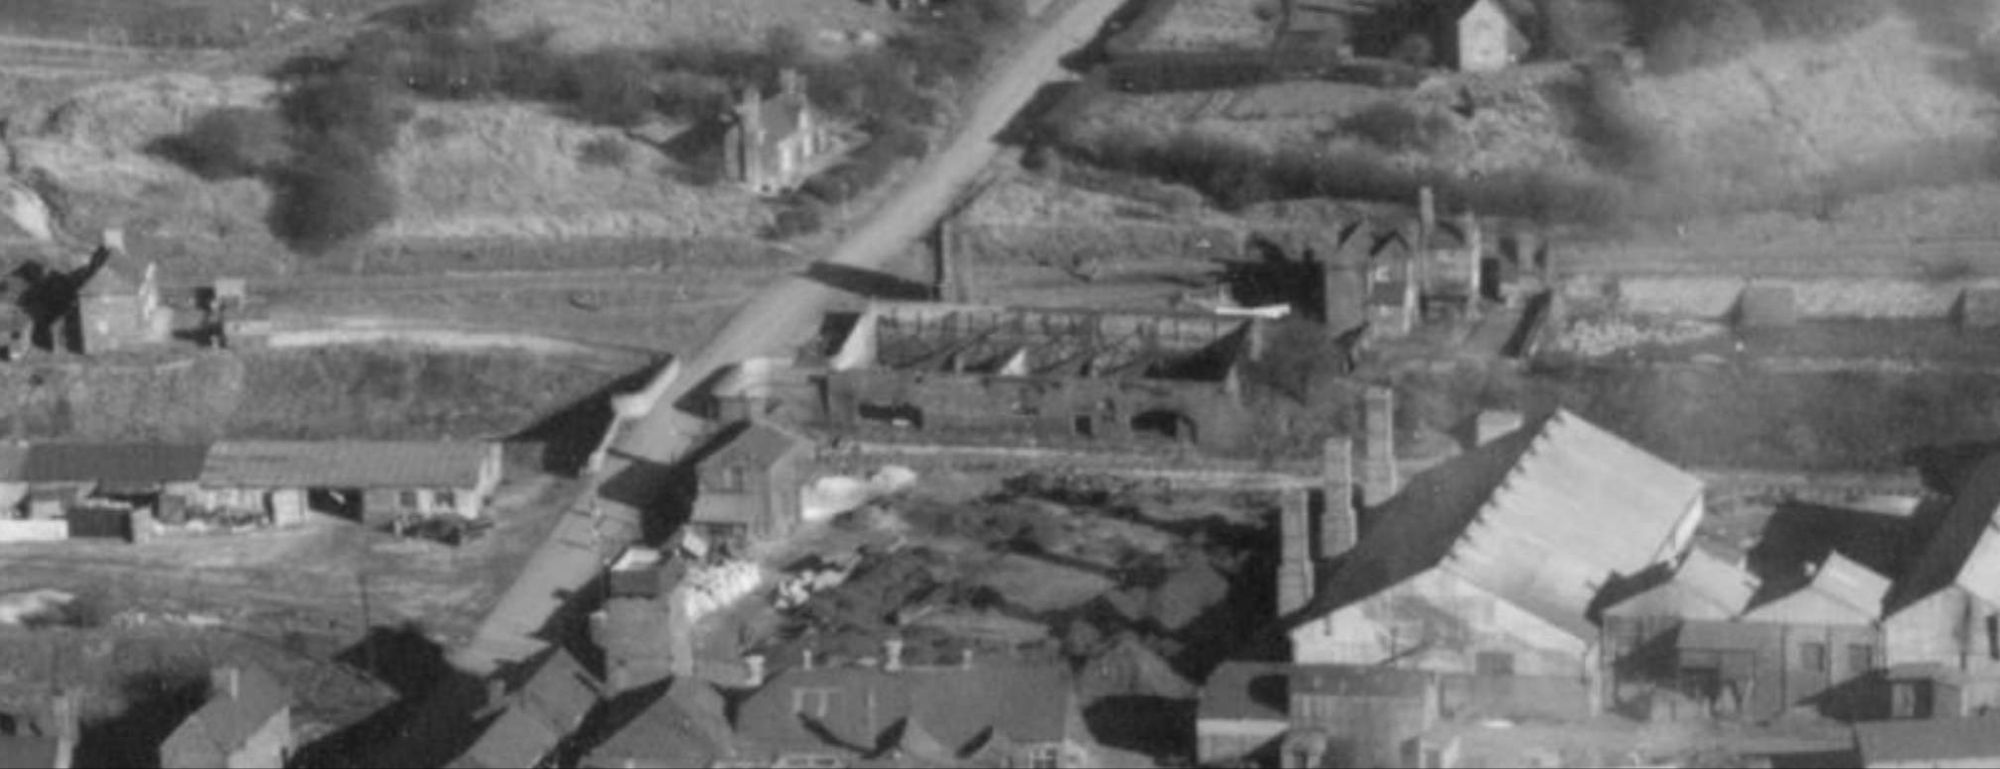
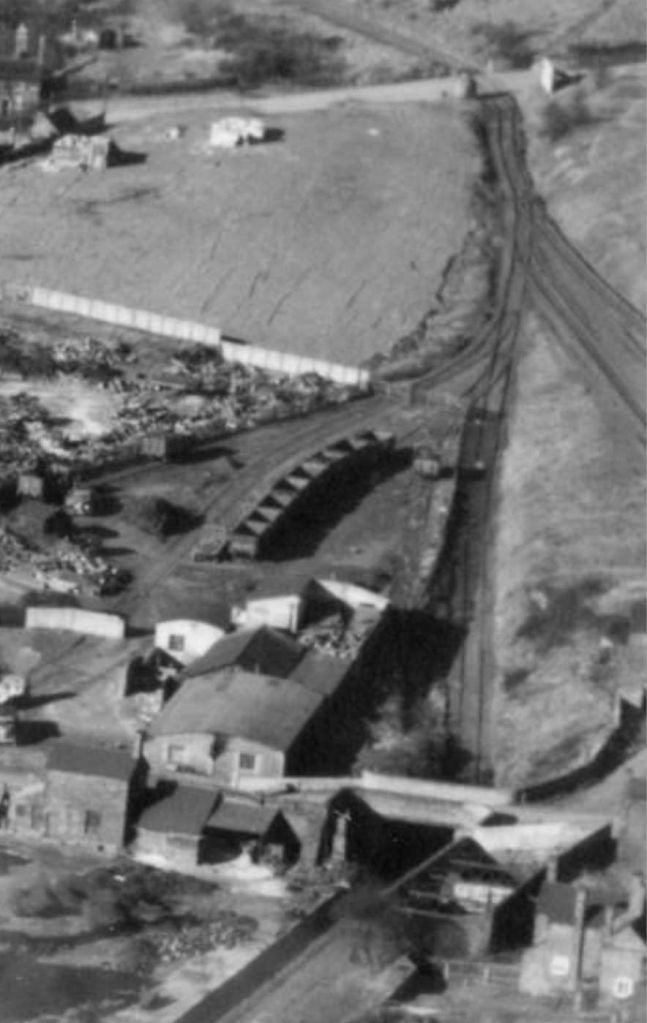
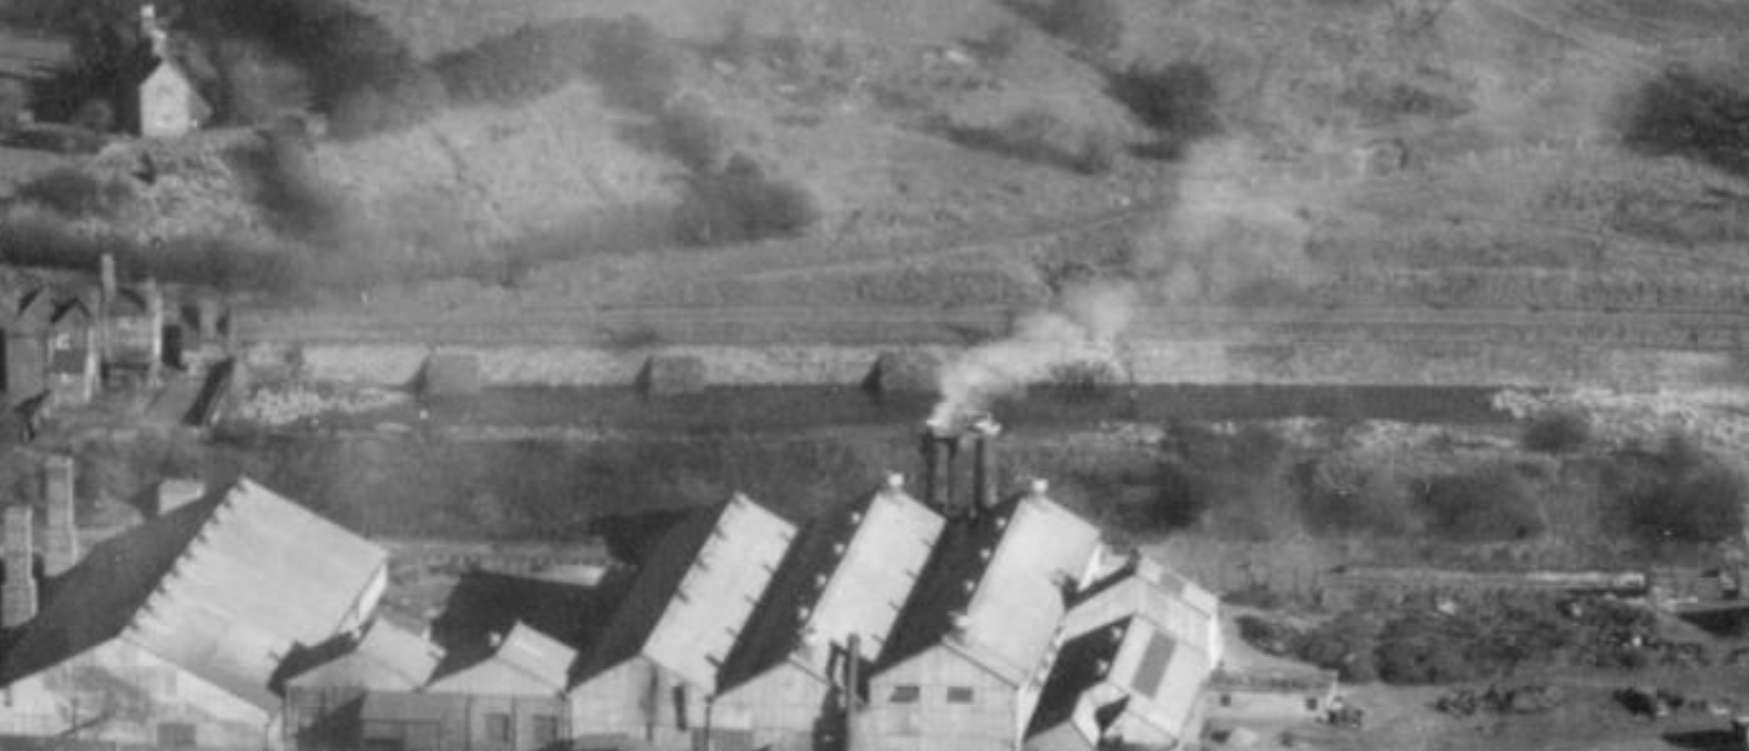
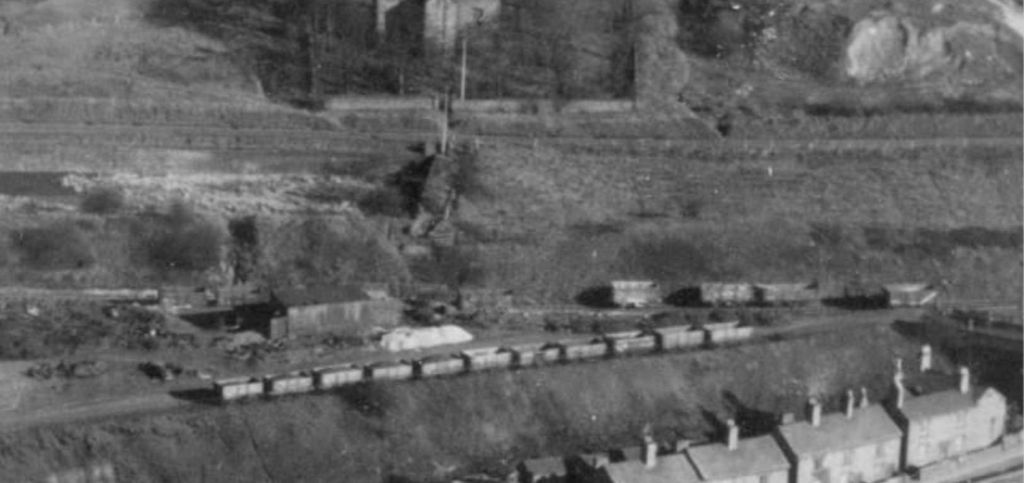
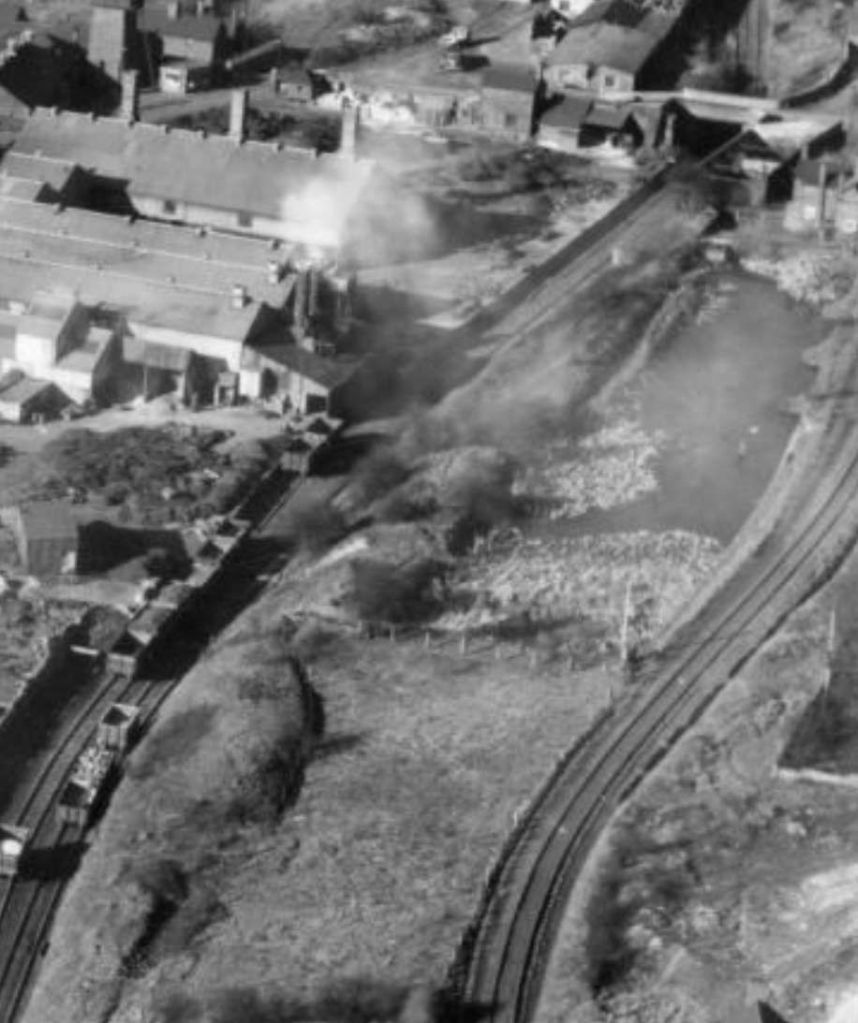
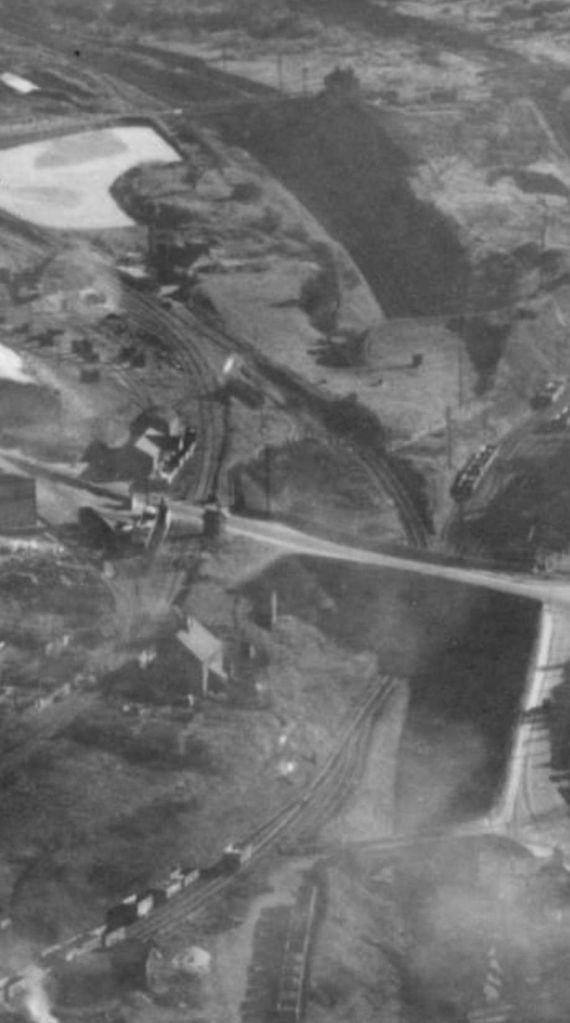
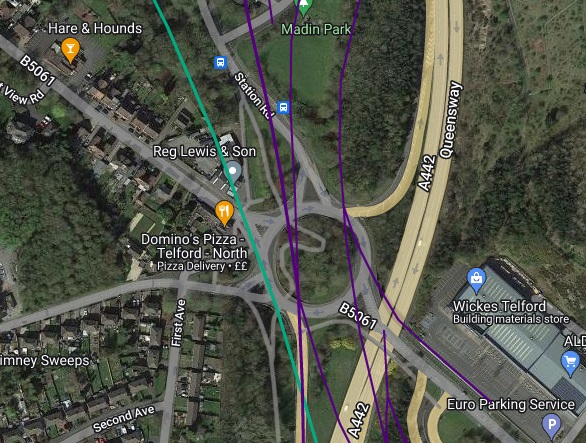
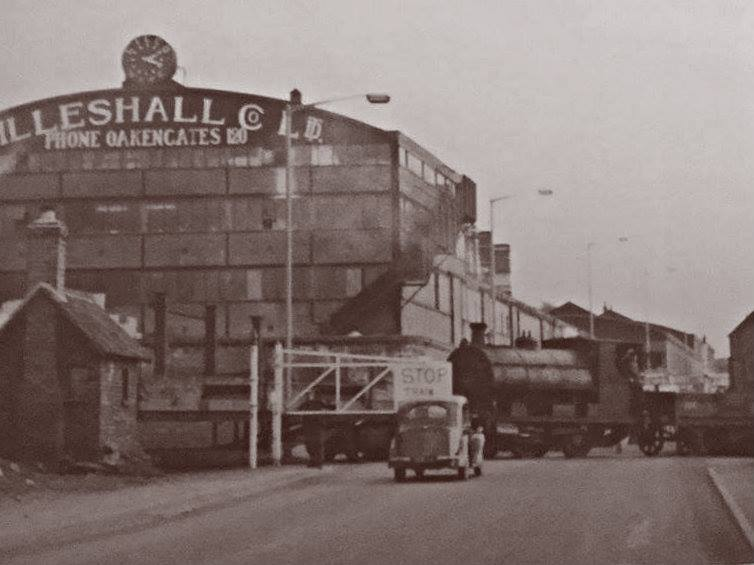
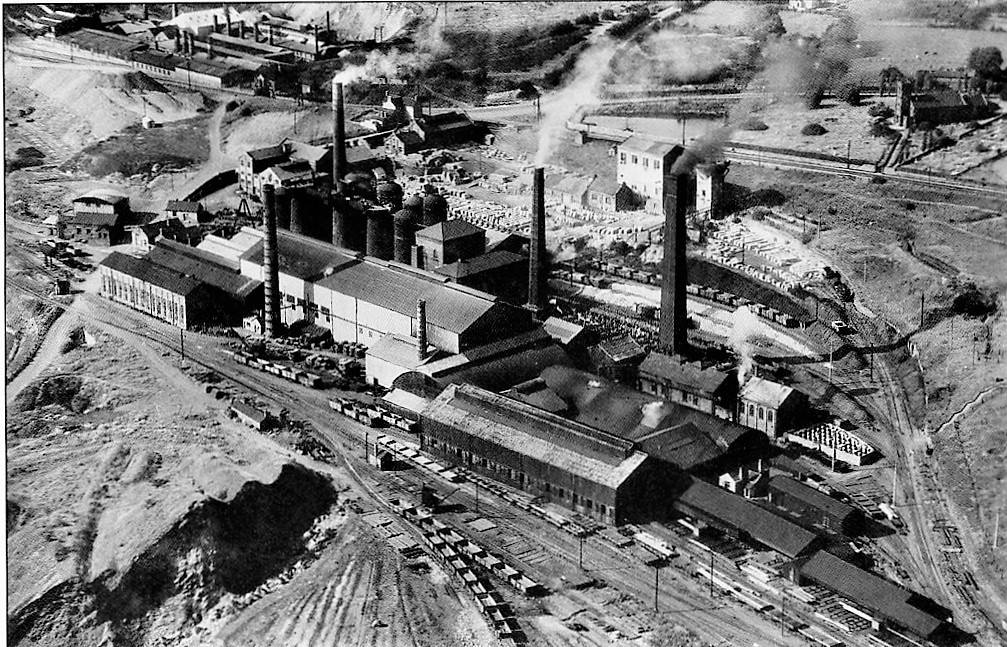
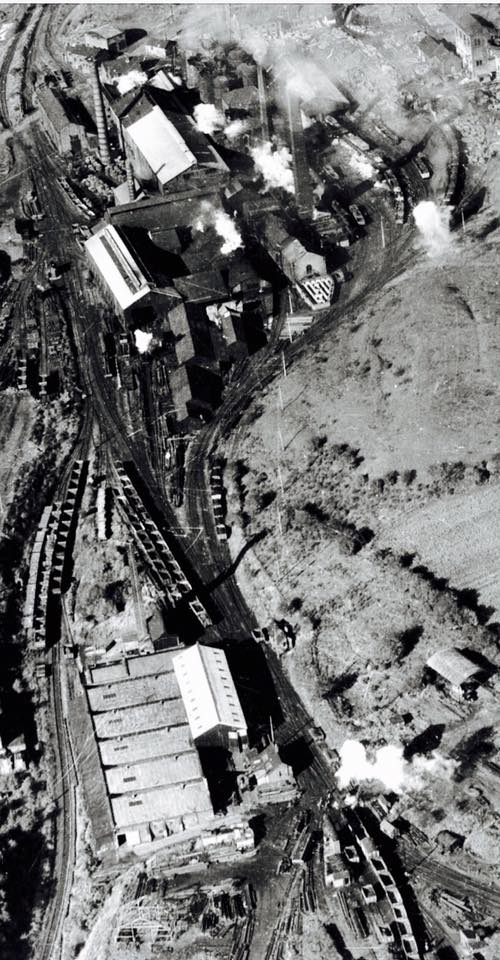
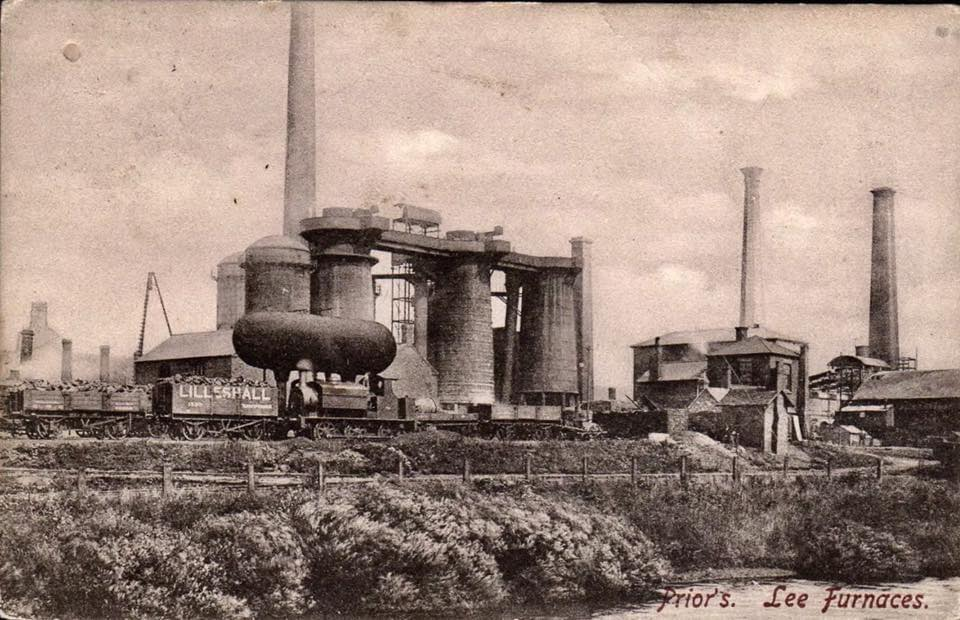
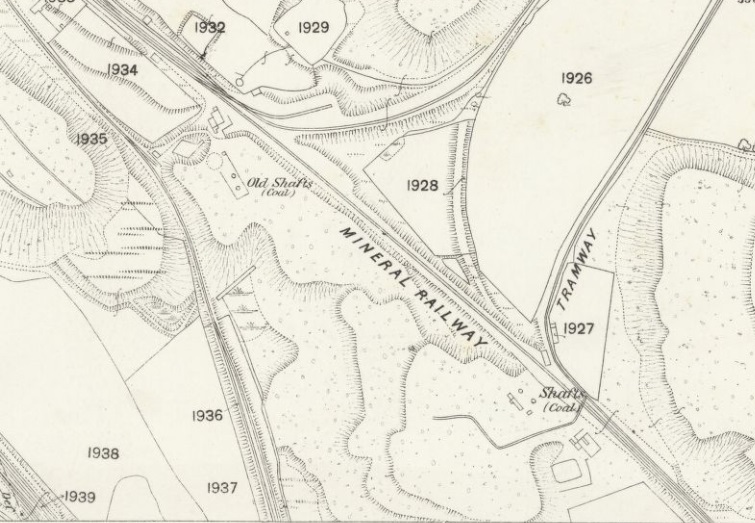
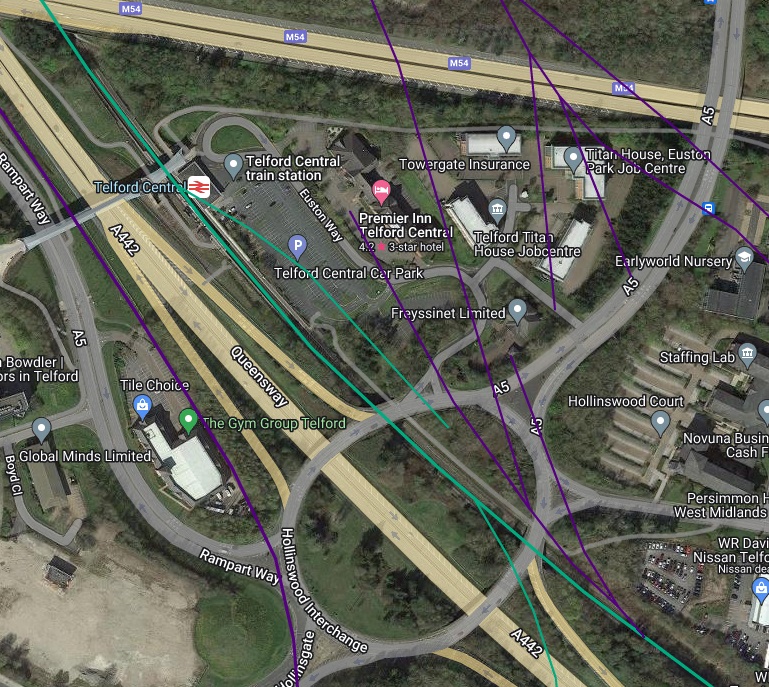
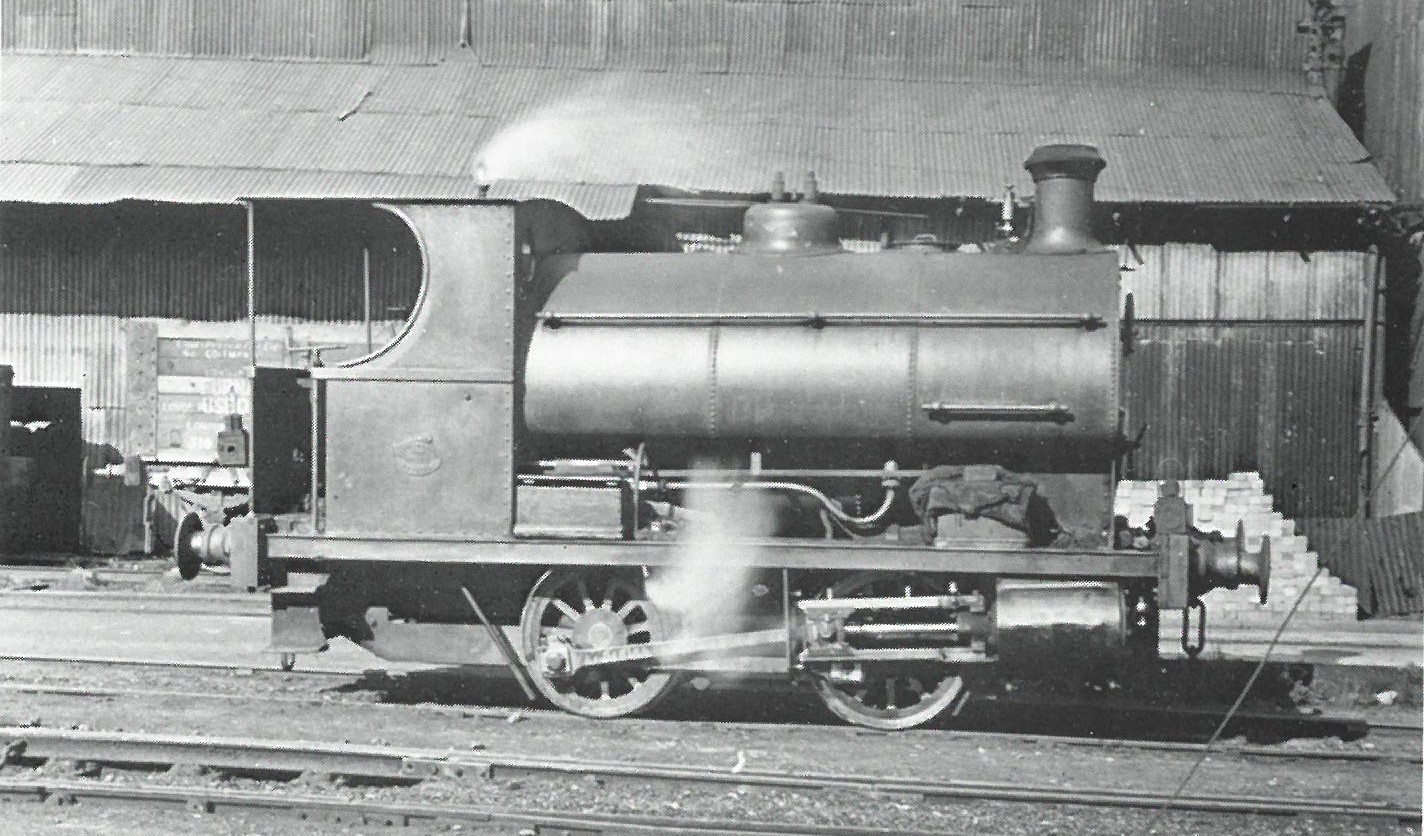
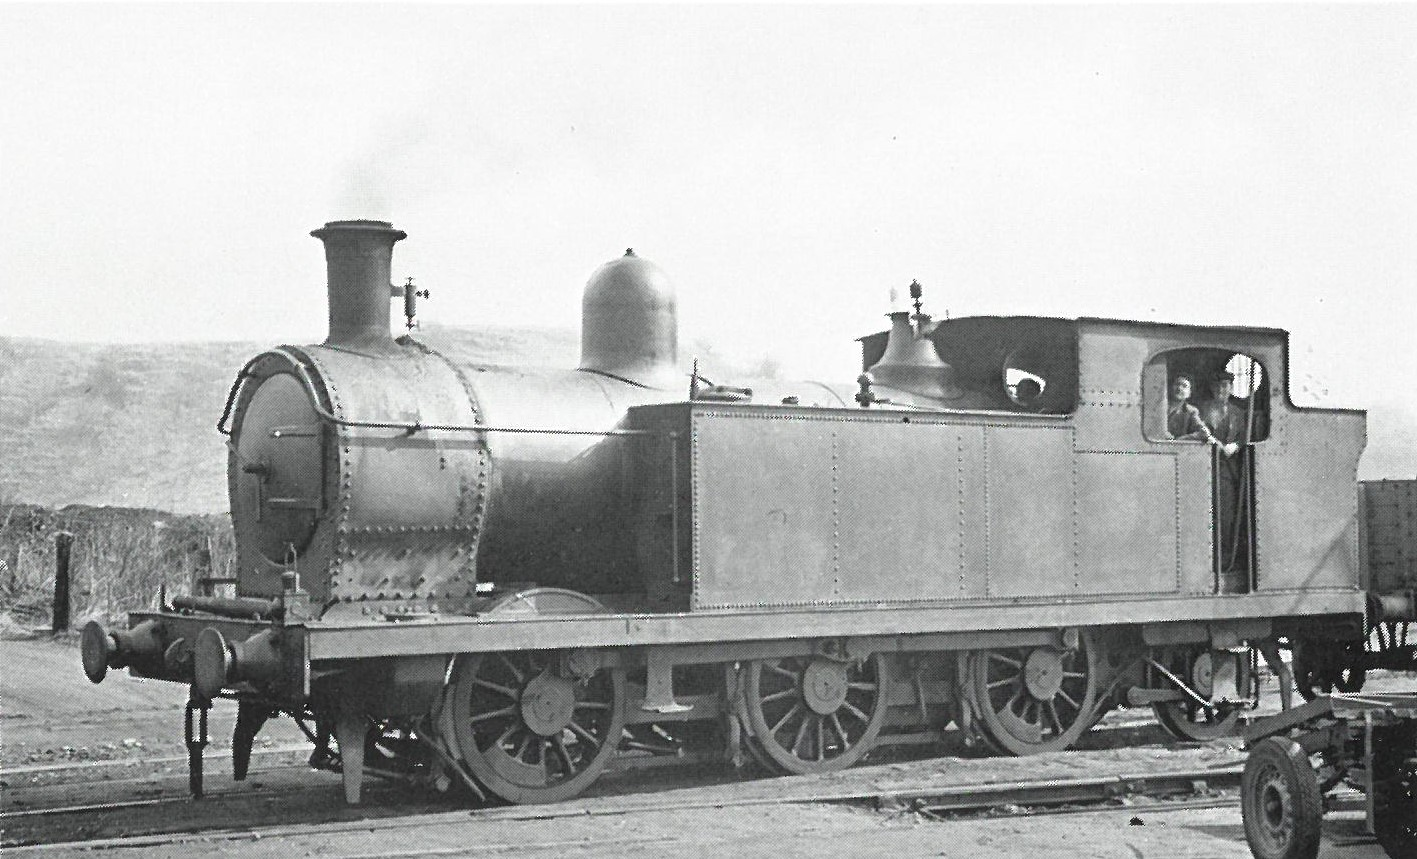
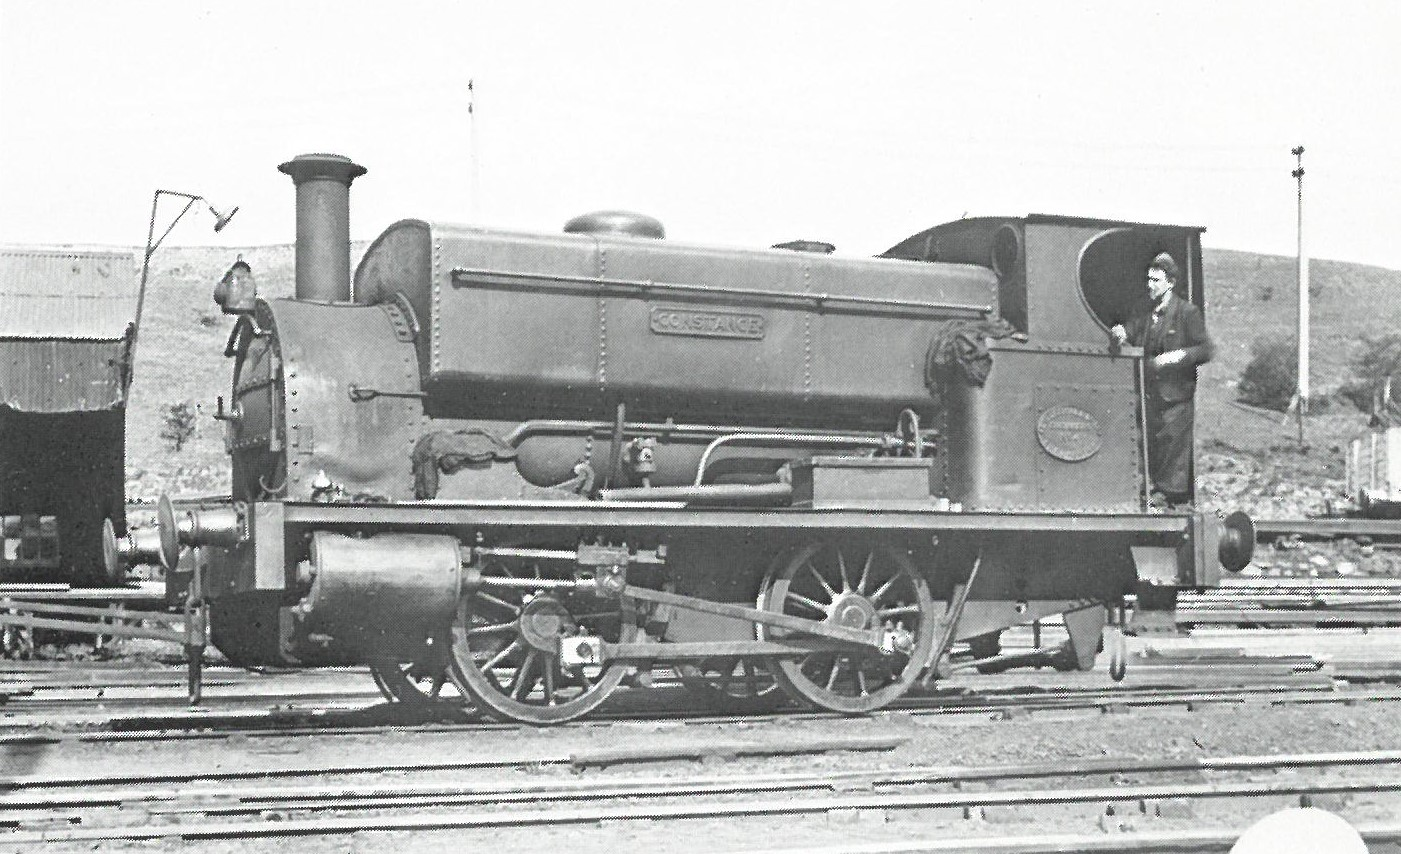
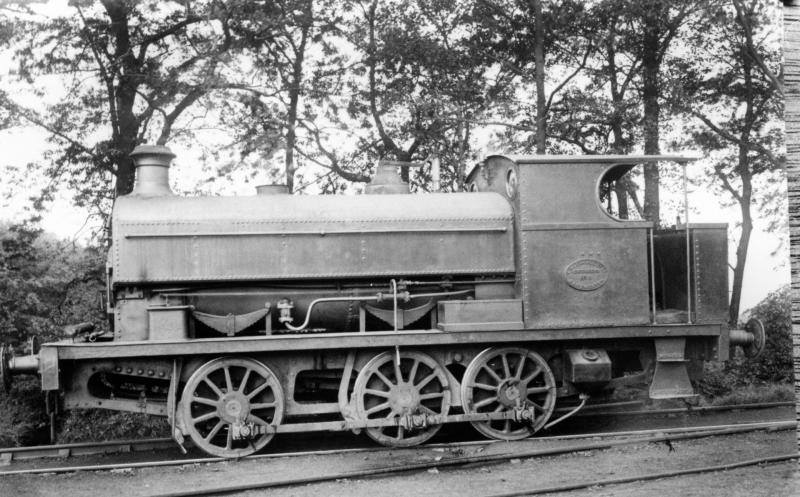
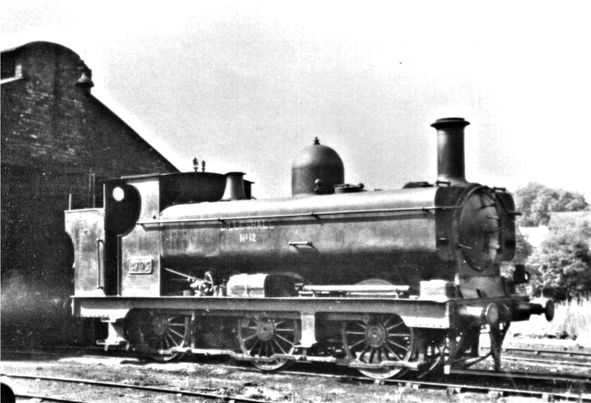
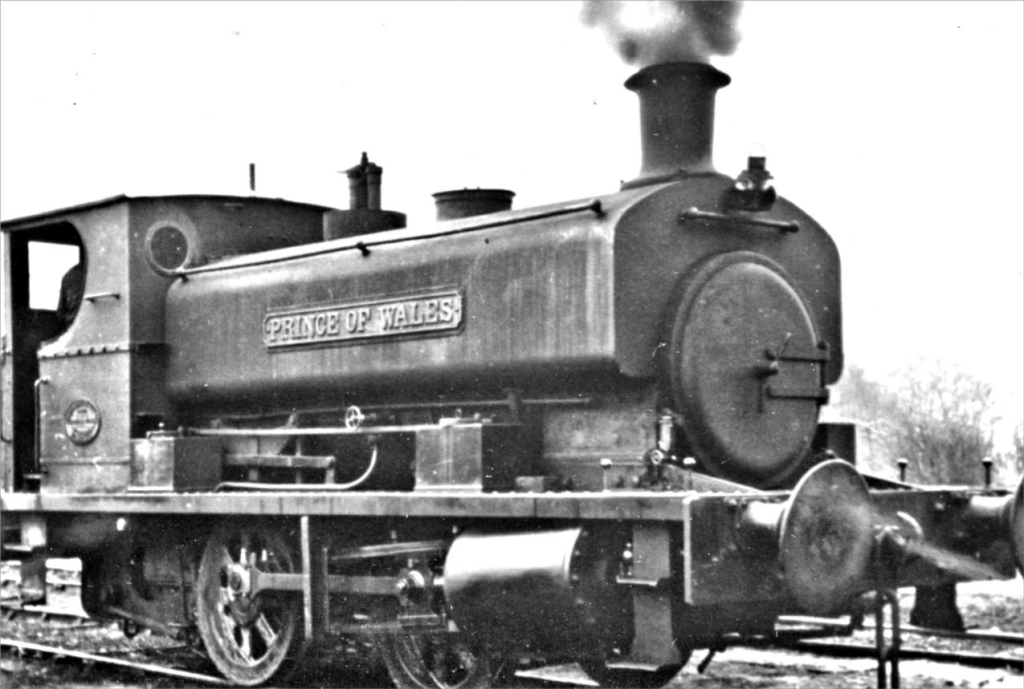
.jpg)
.jpg)
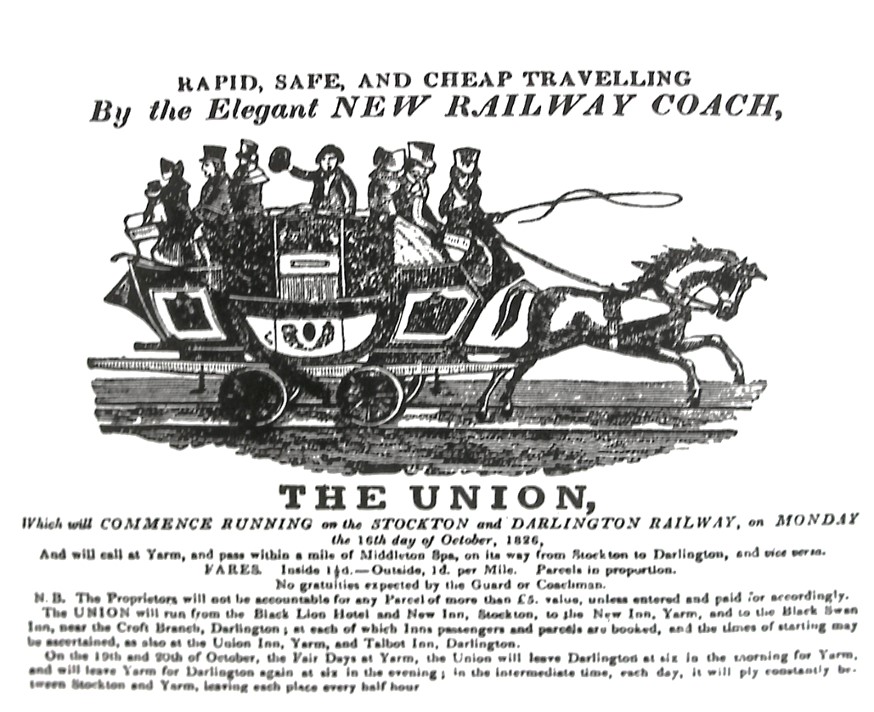
.jpg)
.jpg,baccrssef)